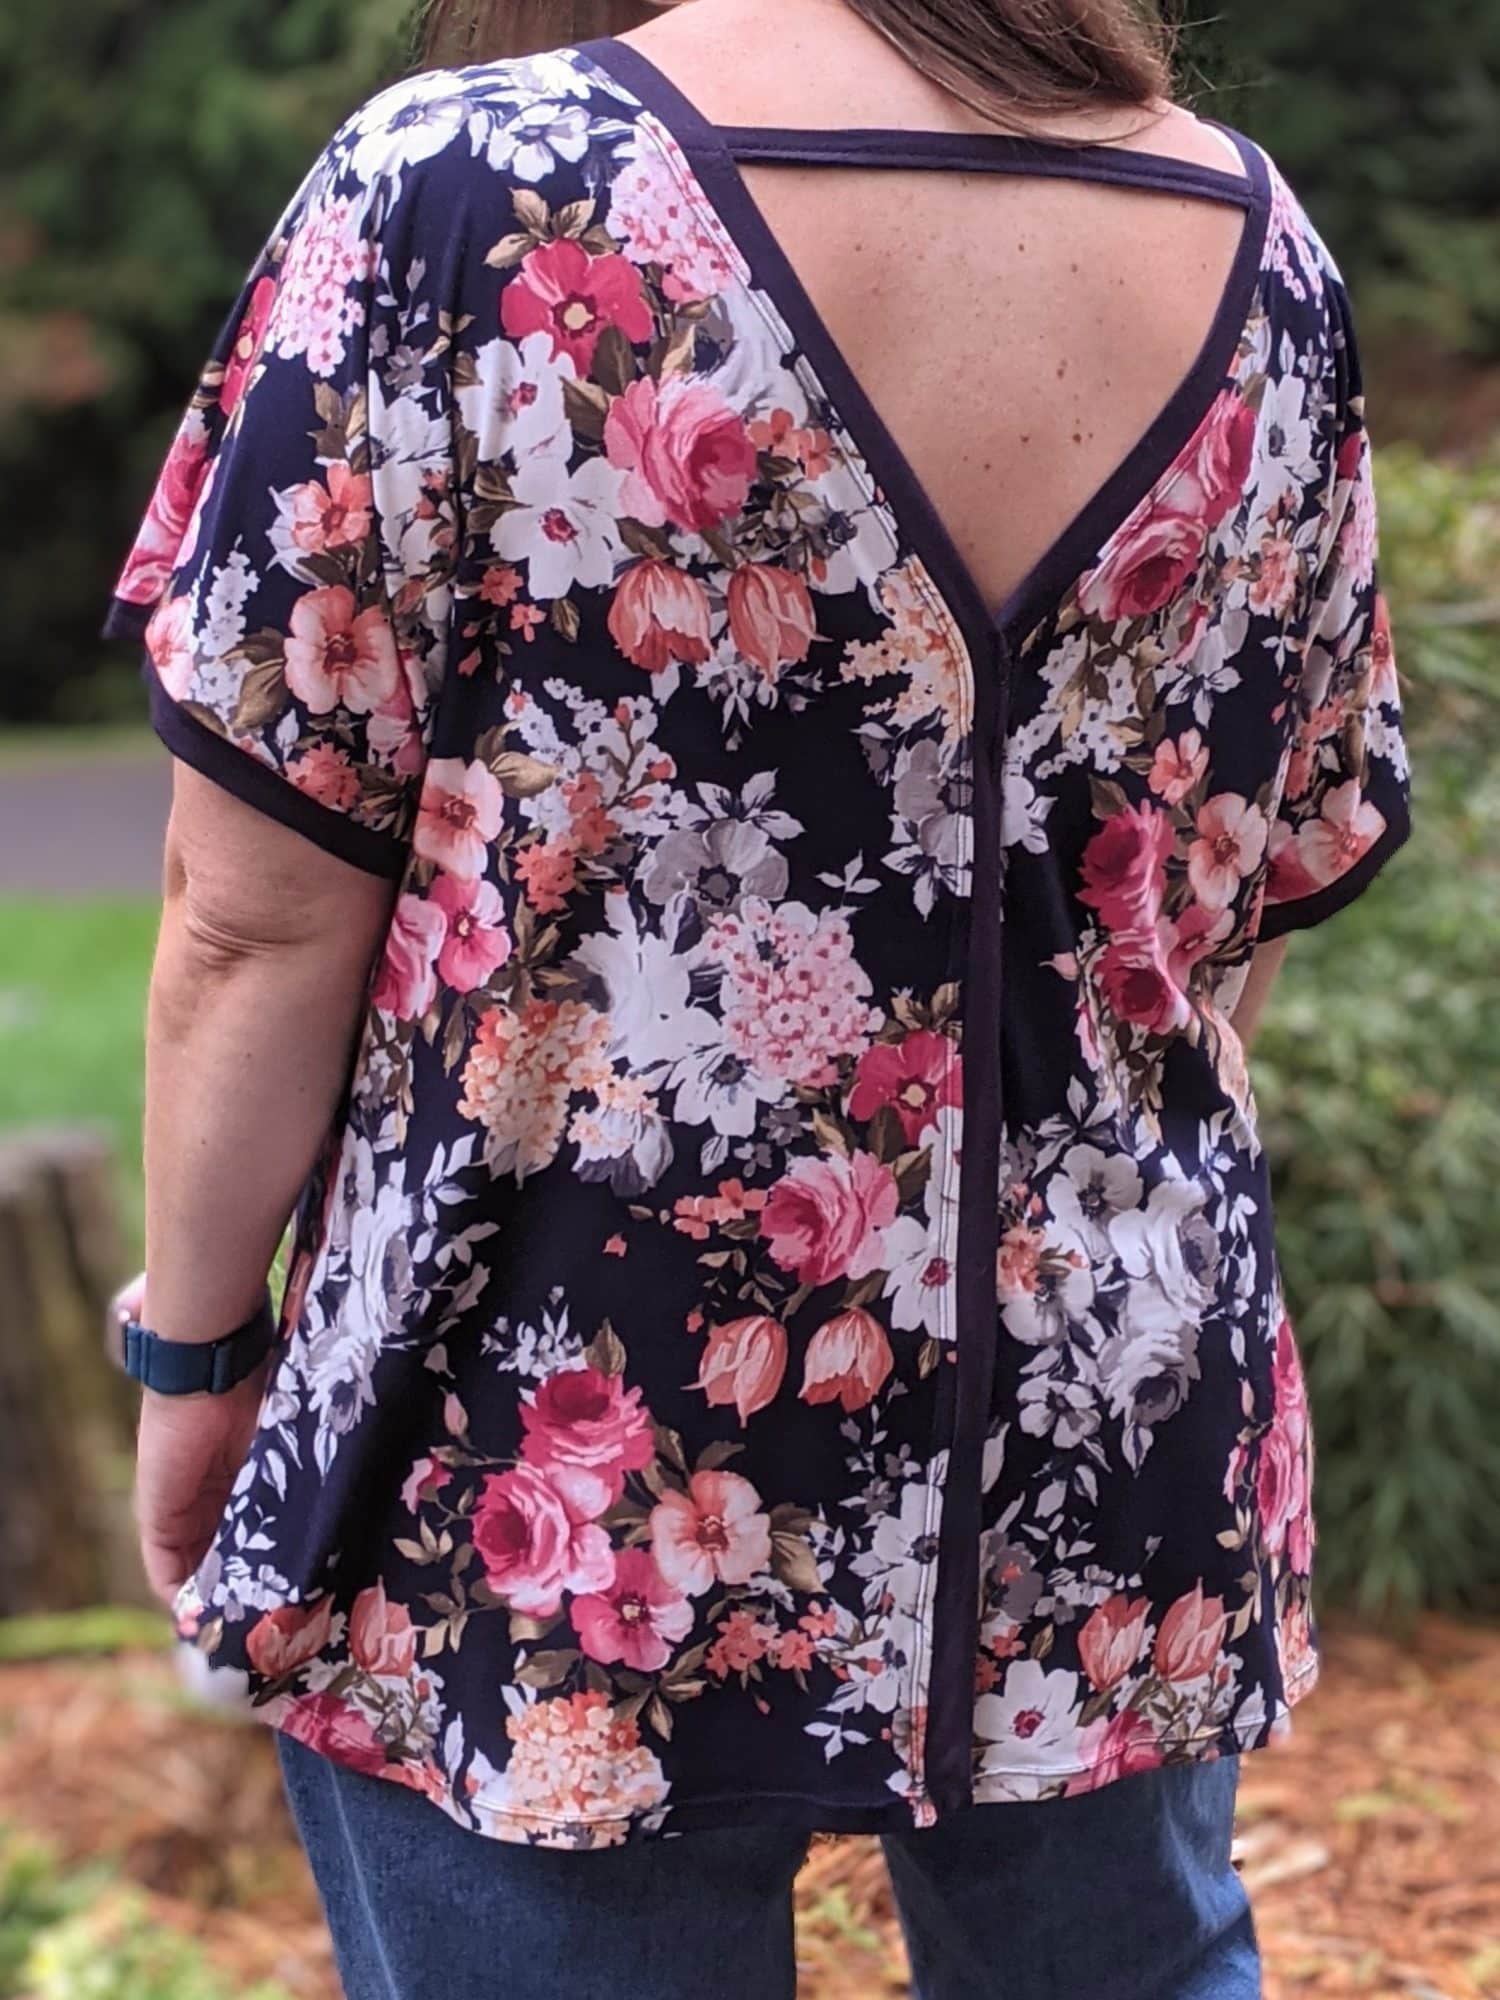
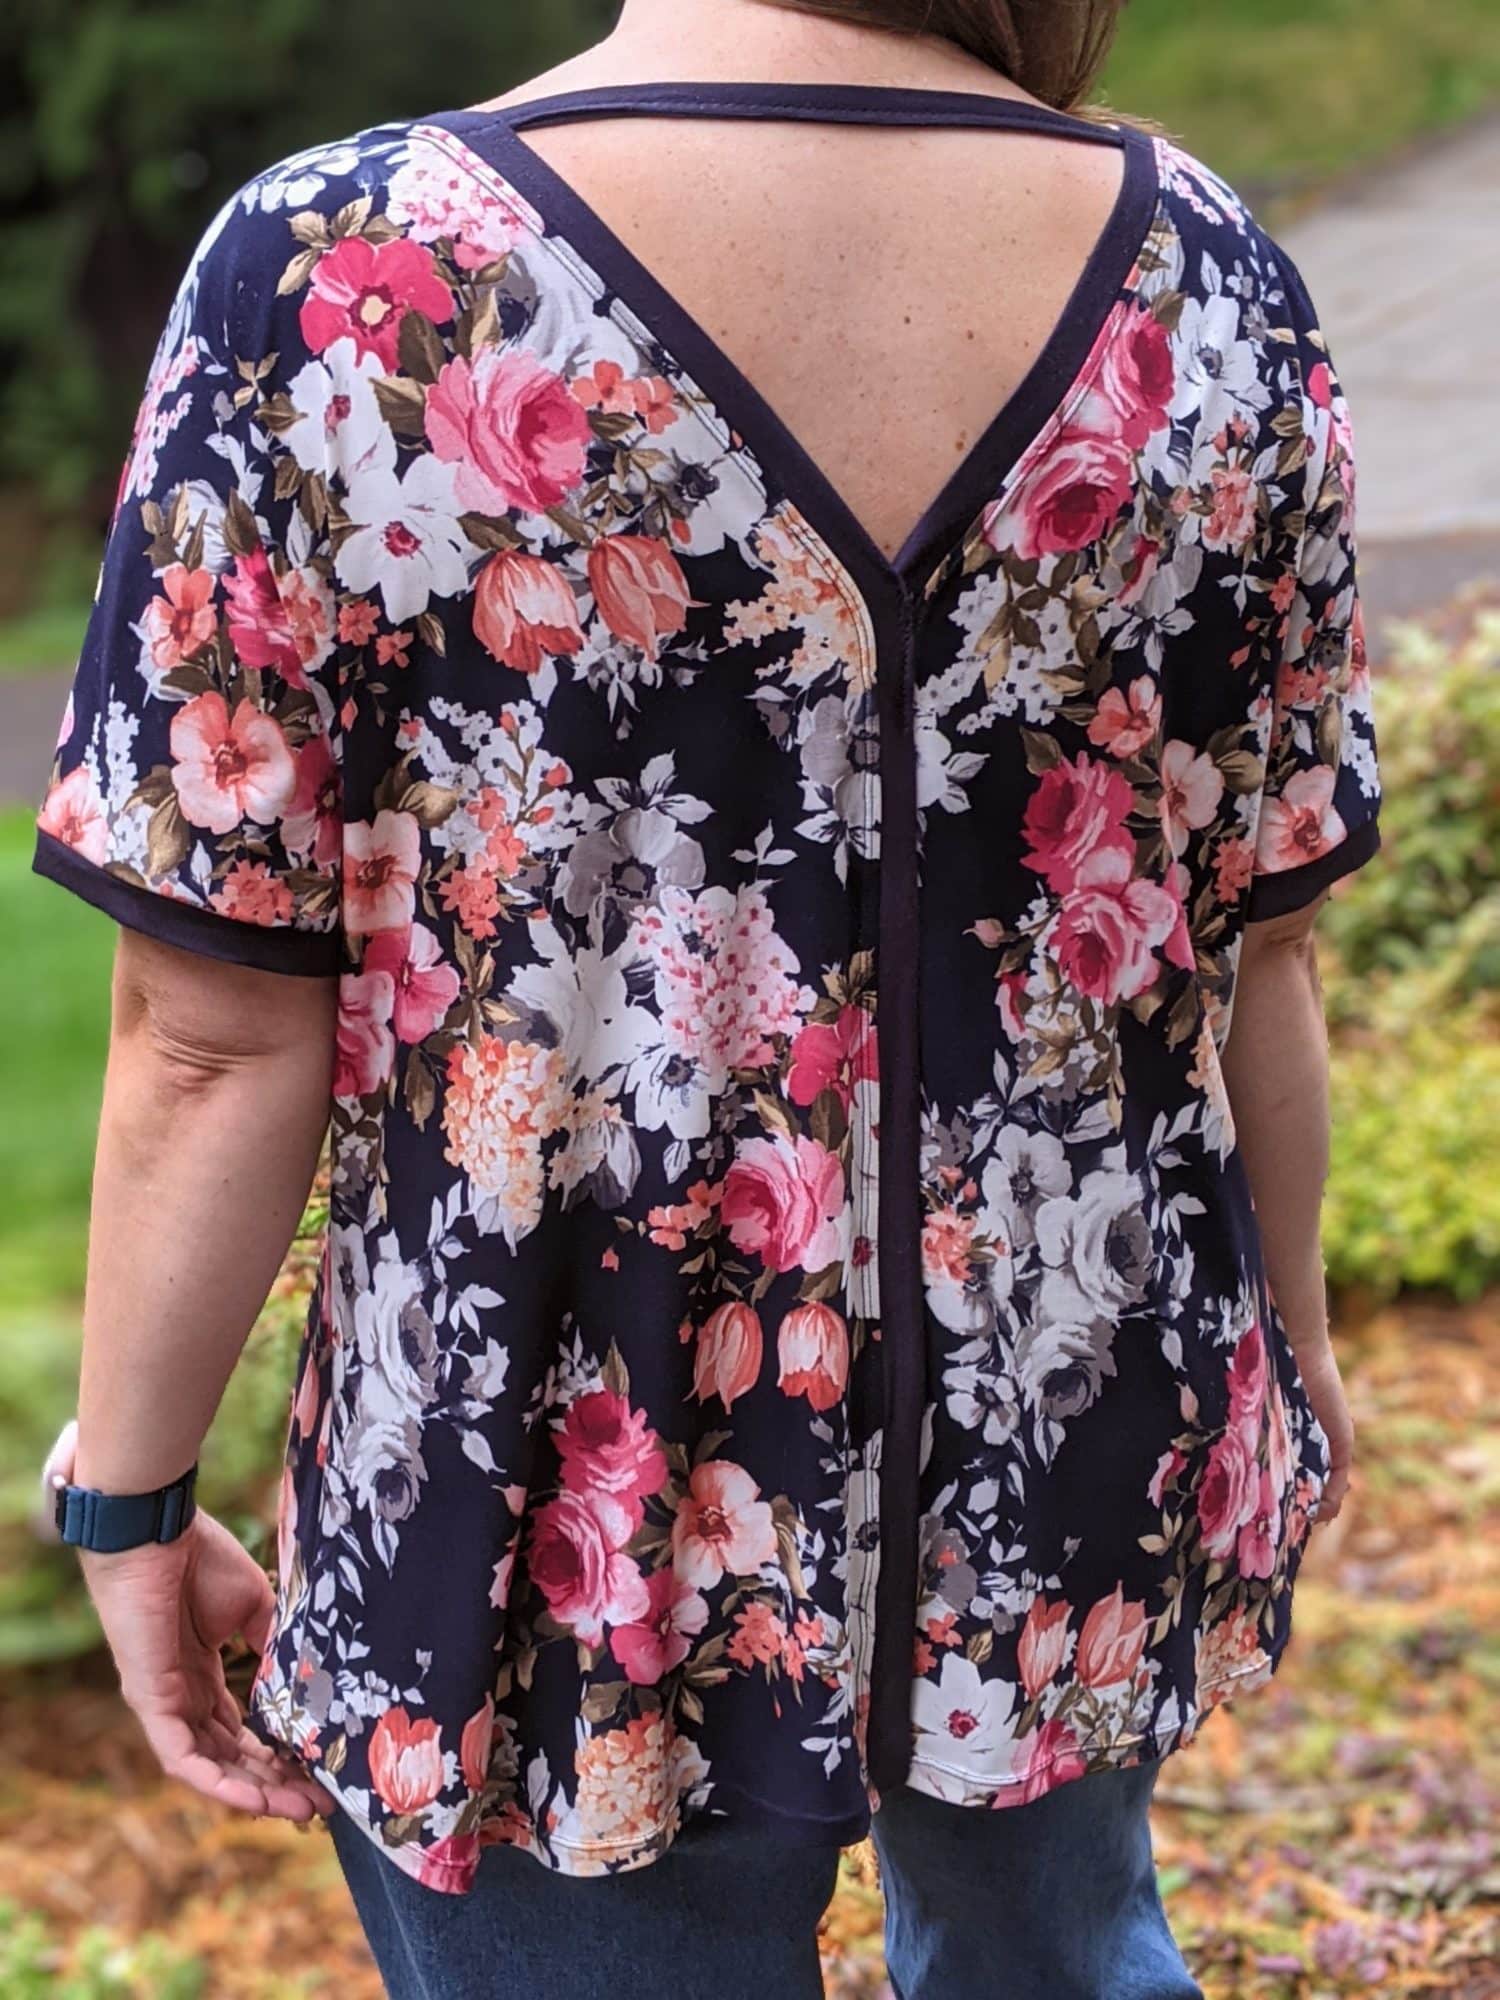
I was recently shopping at a thrift store with my girls and fell in love with a top that was definitely not my size, and had no tags of any kind for me to go search for it. It had a beautiful V-back that the two sides overlapped and had a strap across the top. I snapped a picture and went to work trying to decide how to recreate it. The Sandra Tunic already has a seam down the center of the back making it the perfect pattern for this hack.
If you don’t have it already, you can get the Sandra Tunic and Dress HERE. Follow the tutorial to print and assemble your pattern. You will need to print the crew neck tunic version of the pattern.
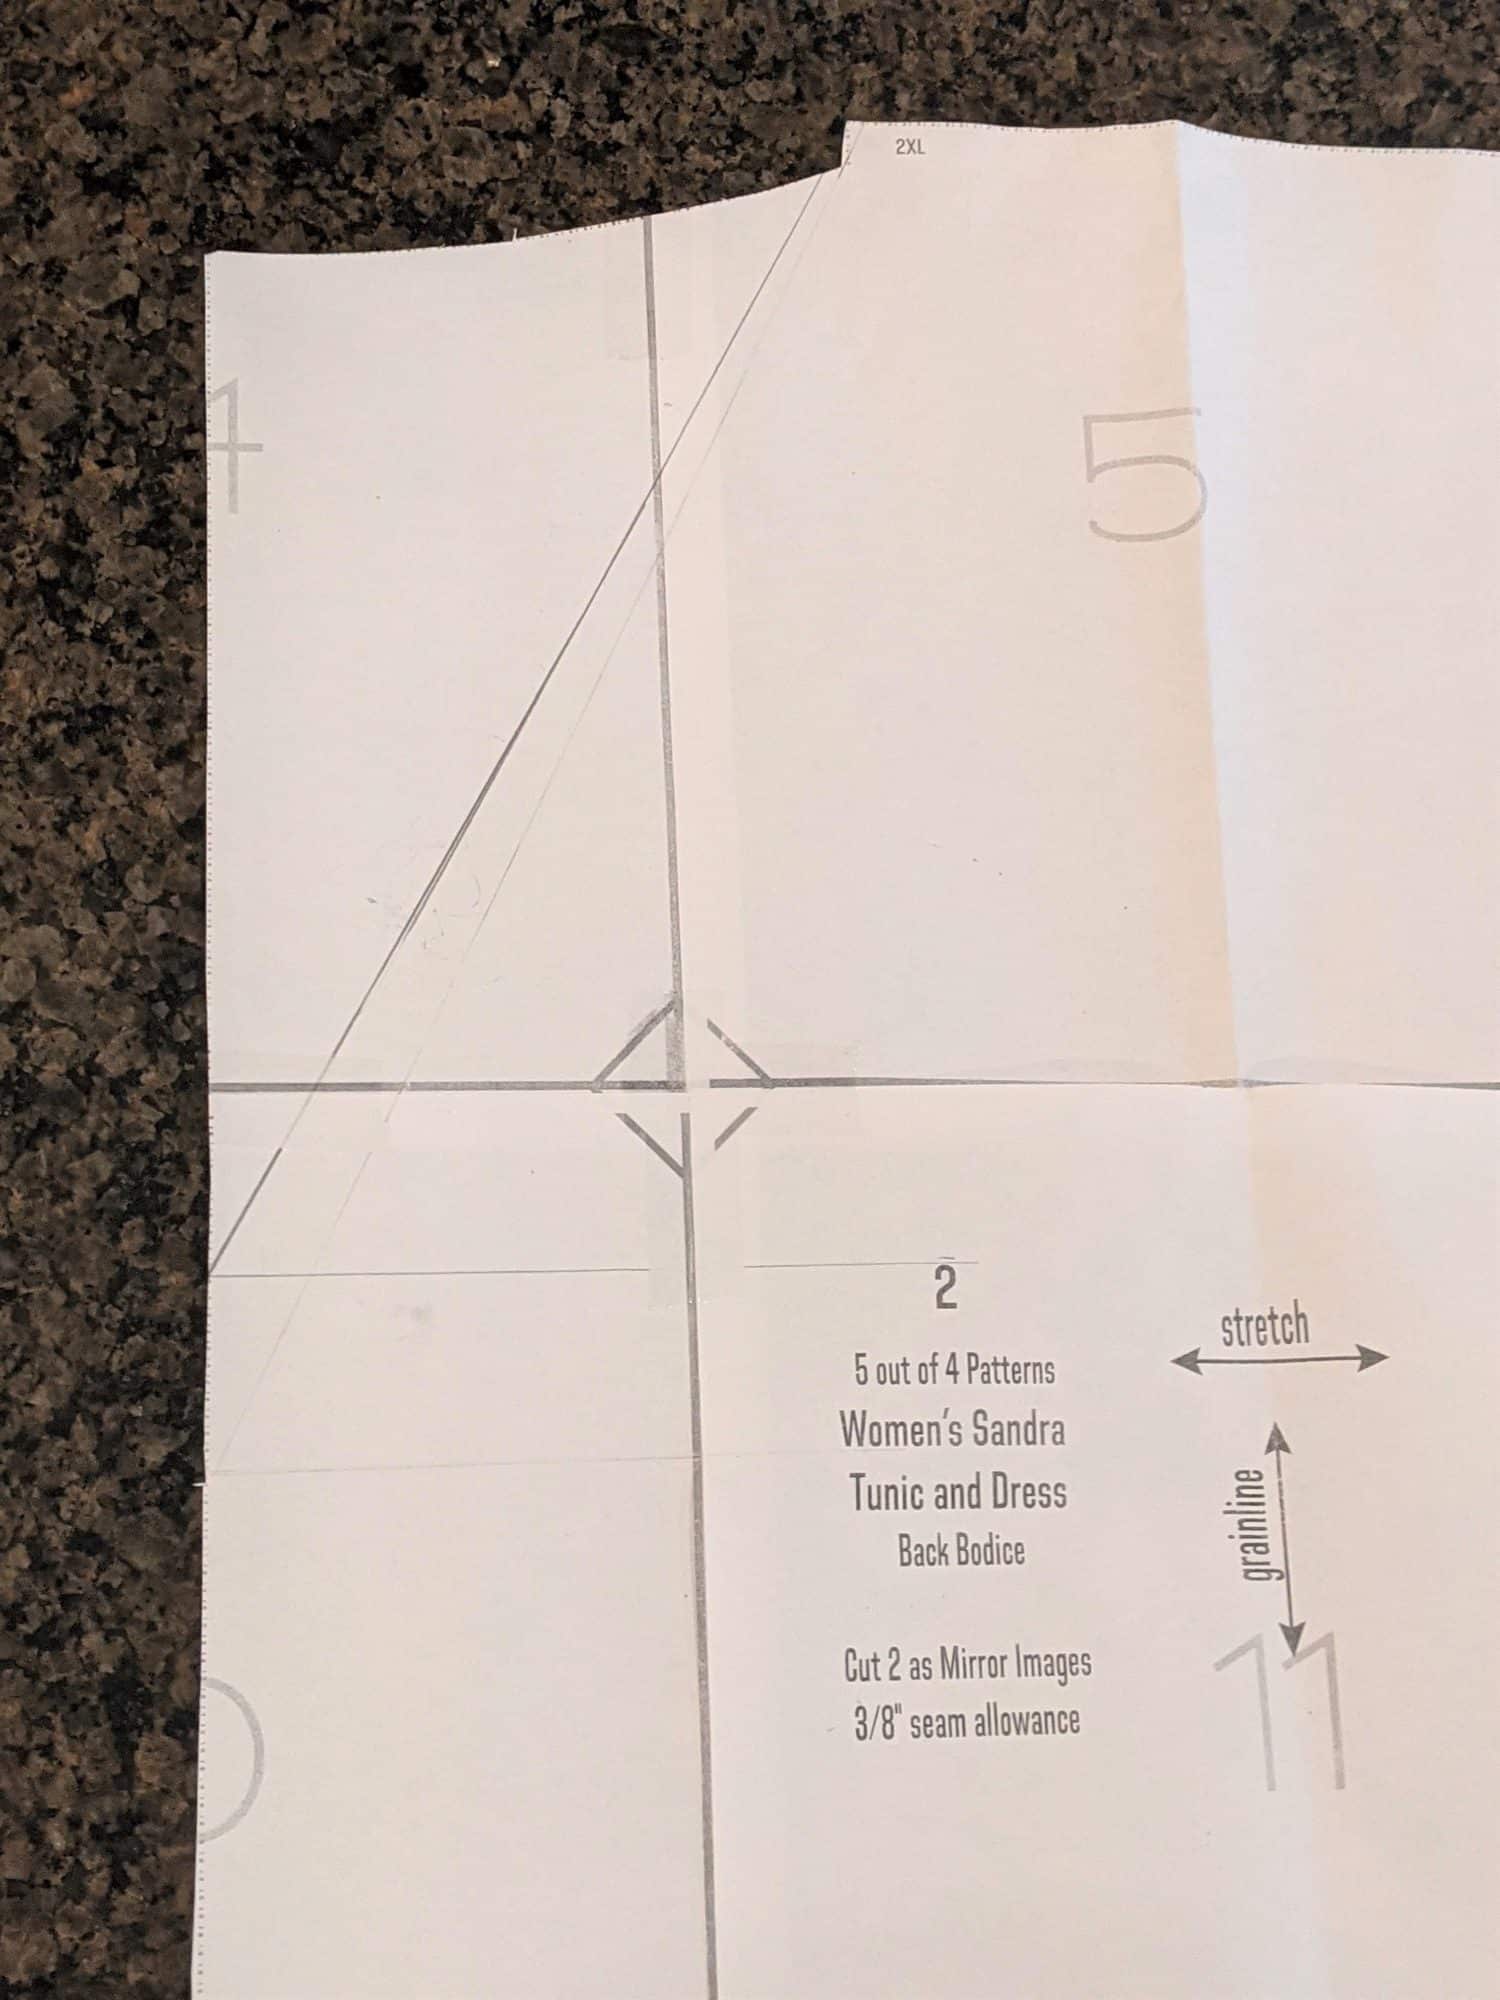
Pattern Alterations
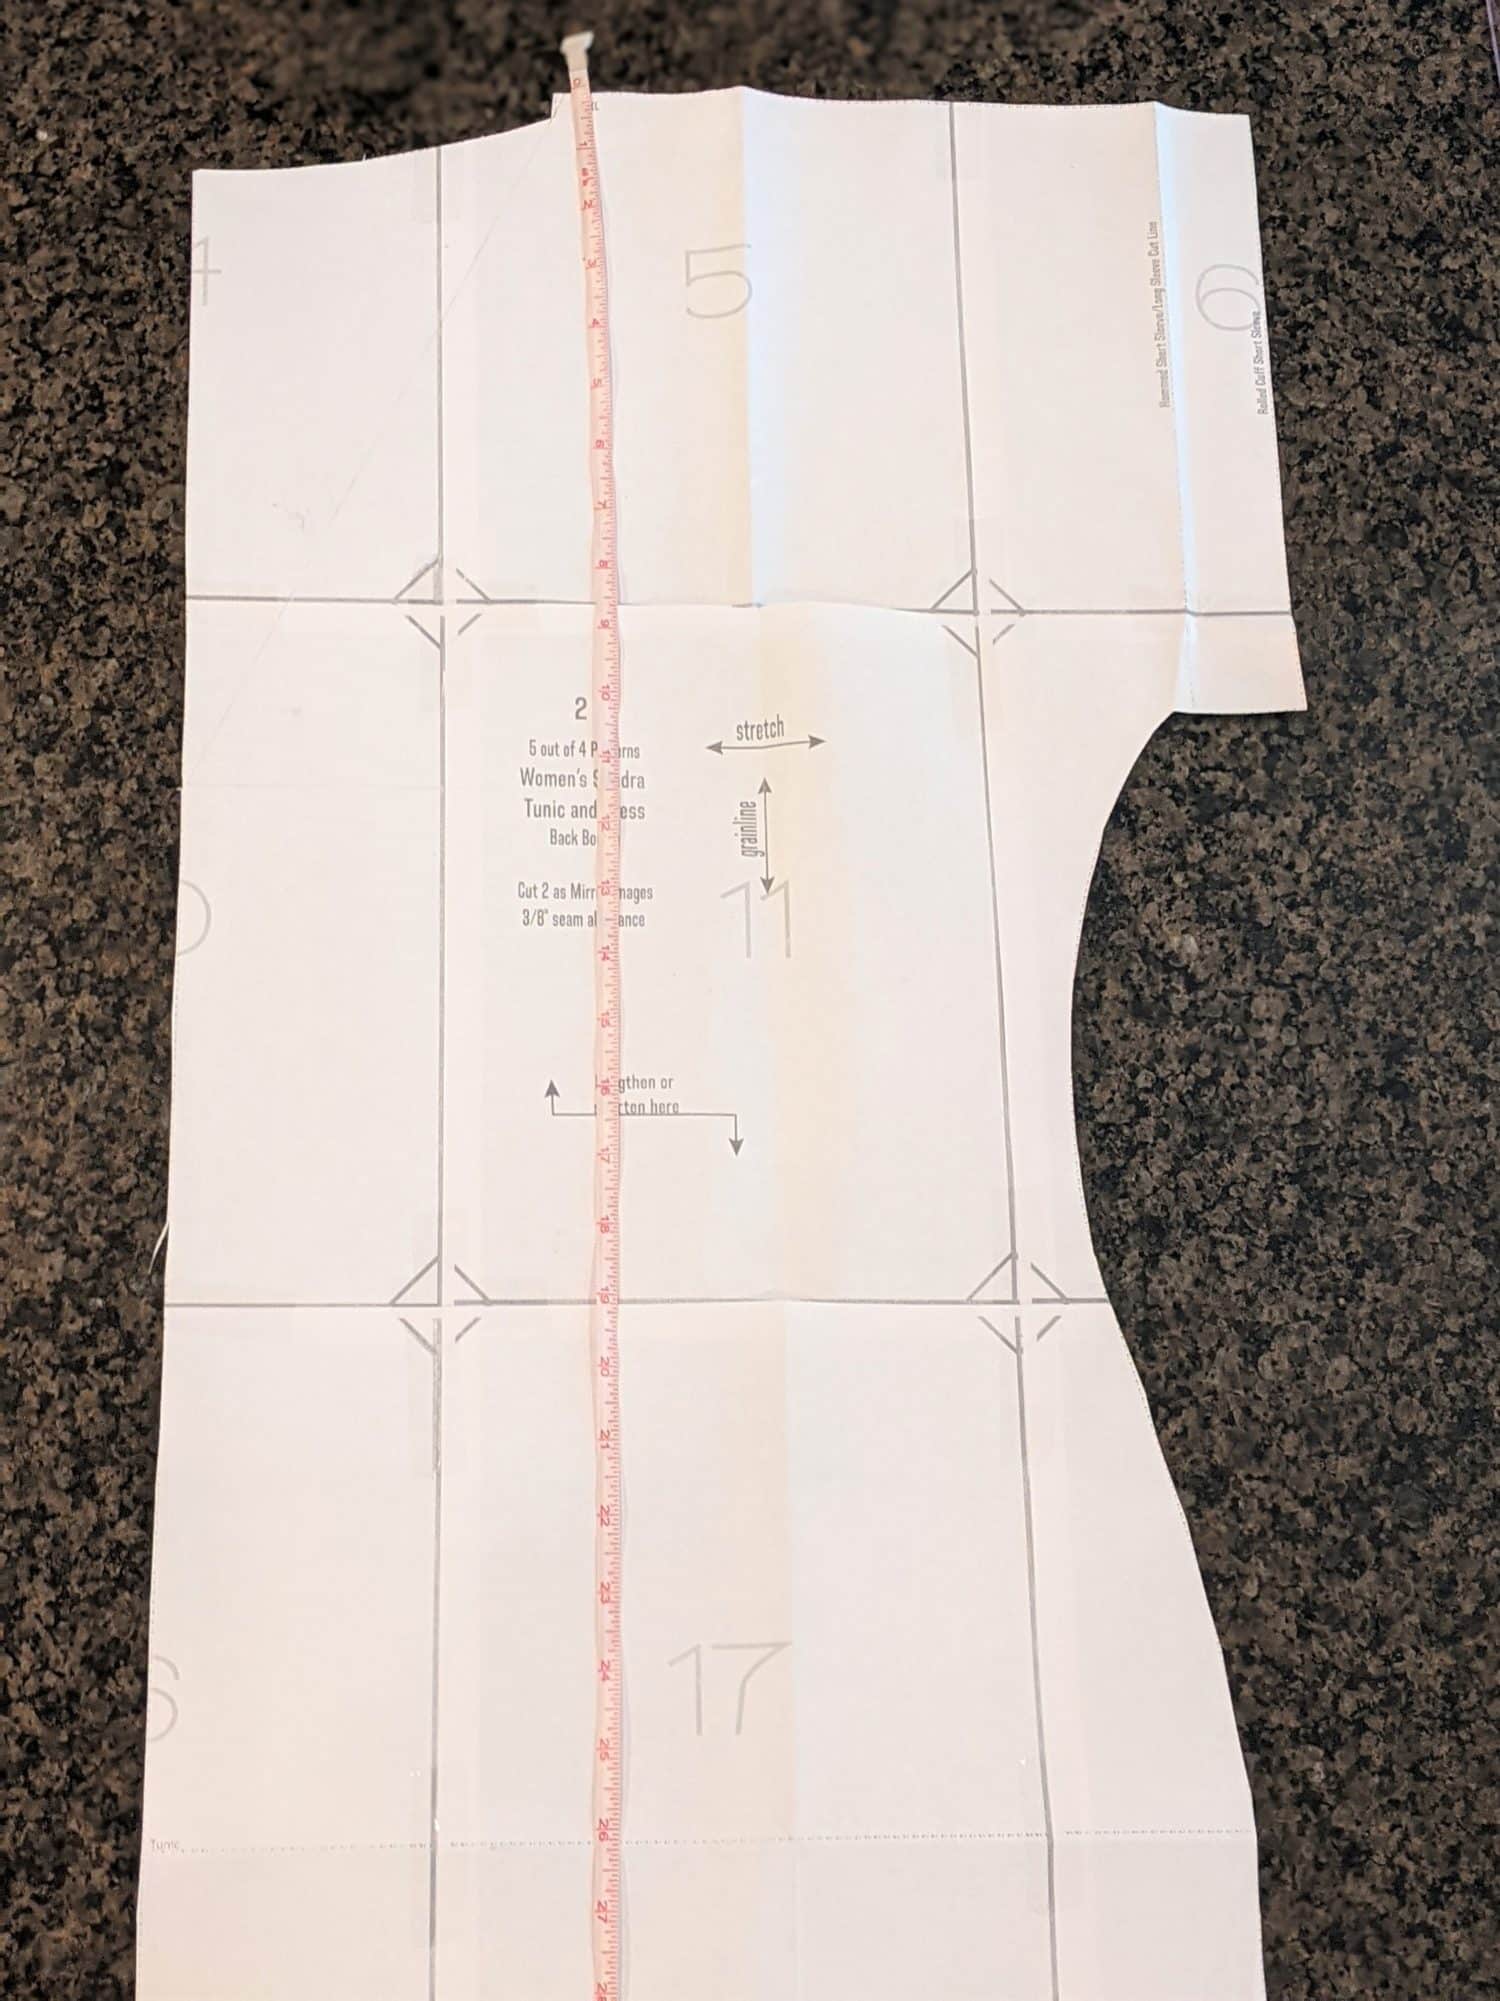
You will only be changing the back bodice piece of the pattern. You can set the rest aside for now. (In addition to what is shown in this hack, I chose to round the bottom edge of the top and put bands on the sleeves.)
- Lay your back bodice pattern piece out and measure the length from the neckline edge next to the shoulder seam, down to the bottom of the hem.
- Divide that measurement by 3. (Round to the closest 1/2″)
- For my size, the bodice my length was 29″ divided by 3 equals 9.66″. I rounded it up to 10″
- Take that 1/3 measurement, and measure down that amount from the top inner shoulder seam edge and draw a small line.
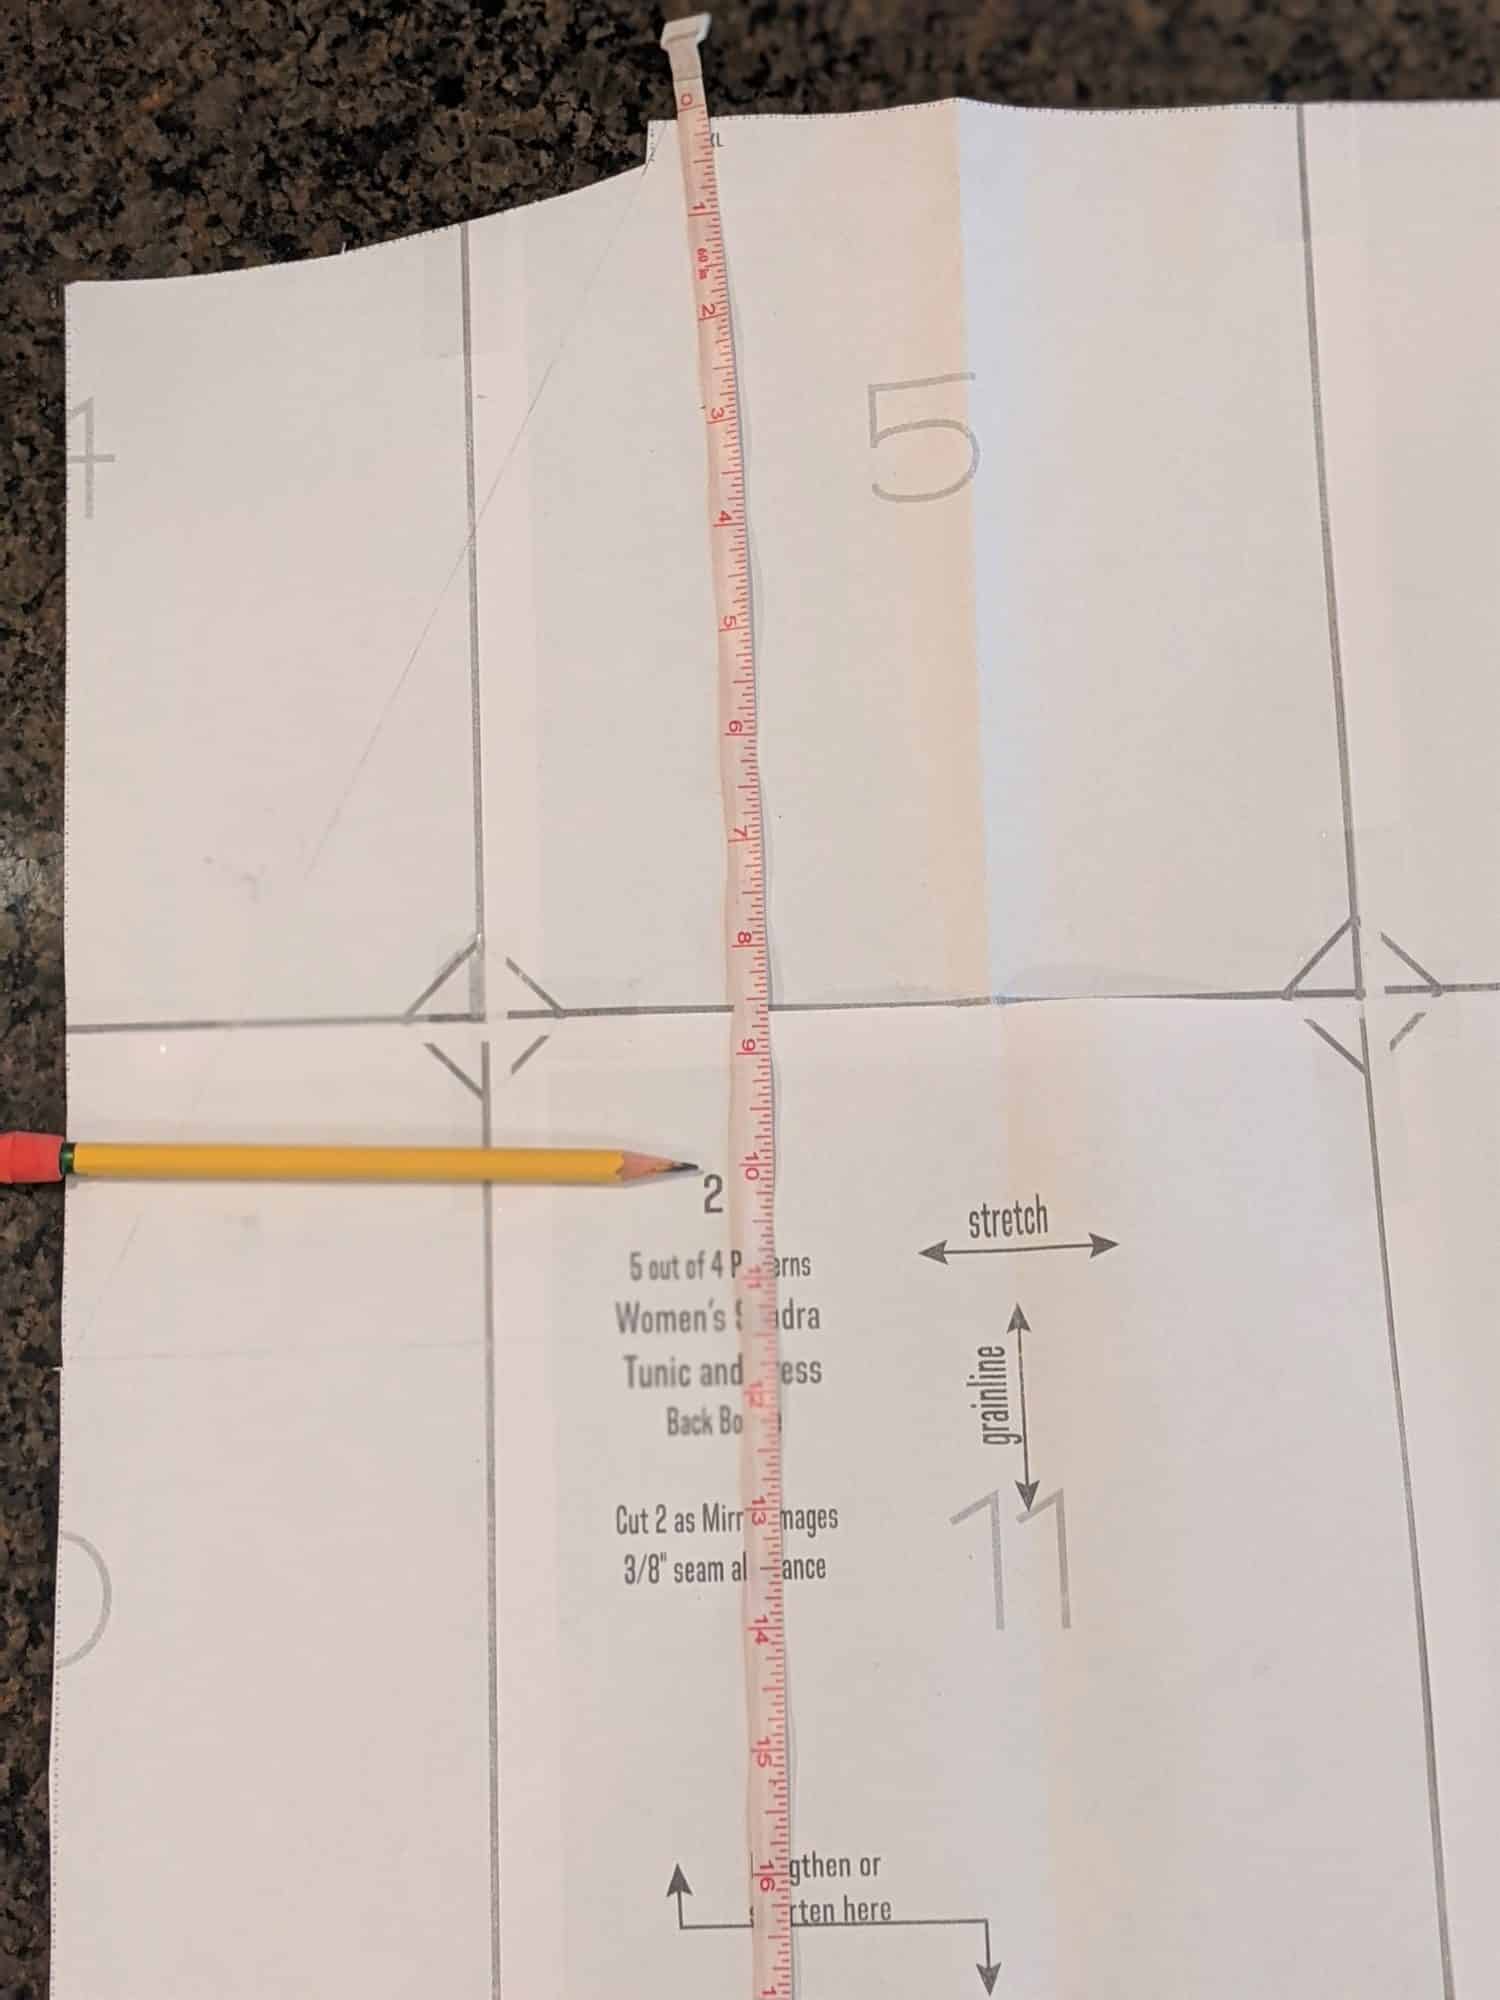
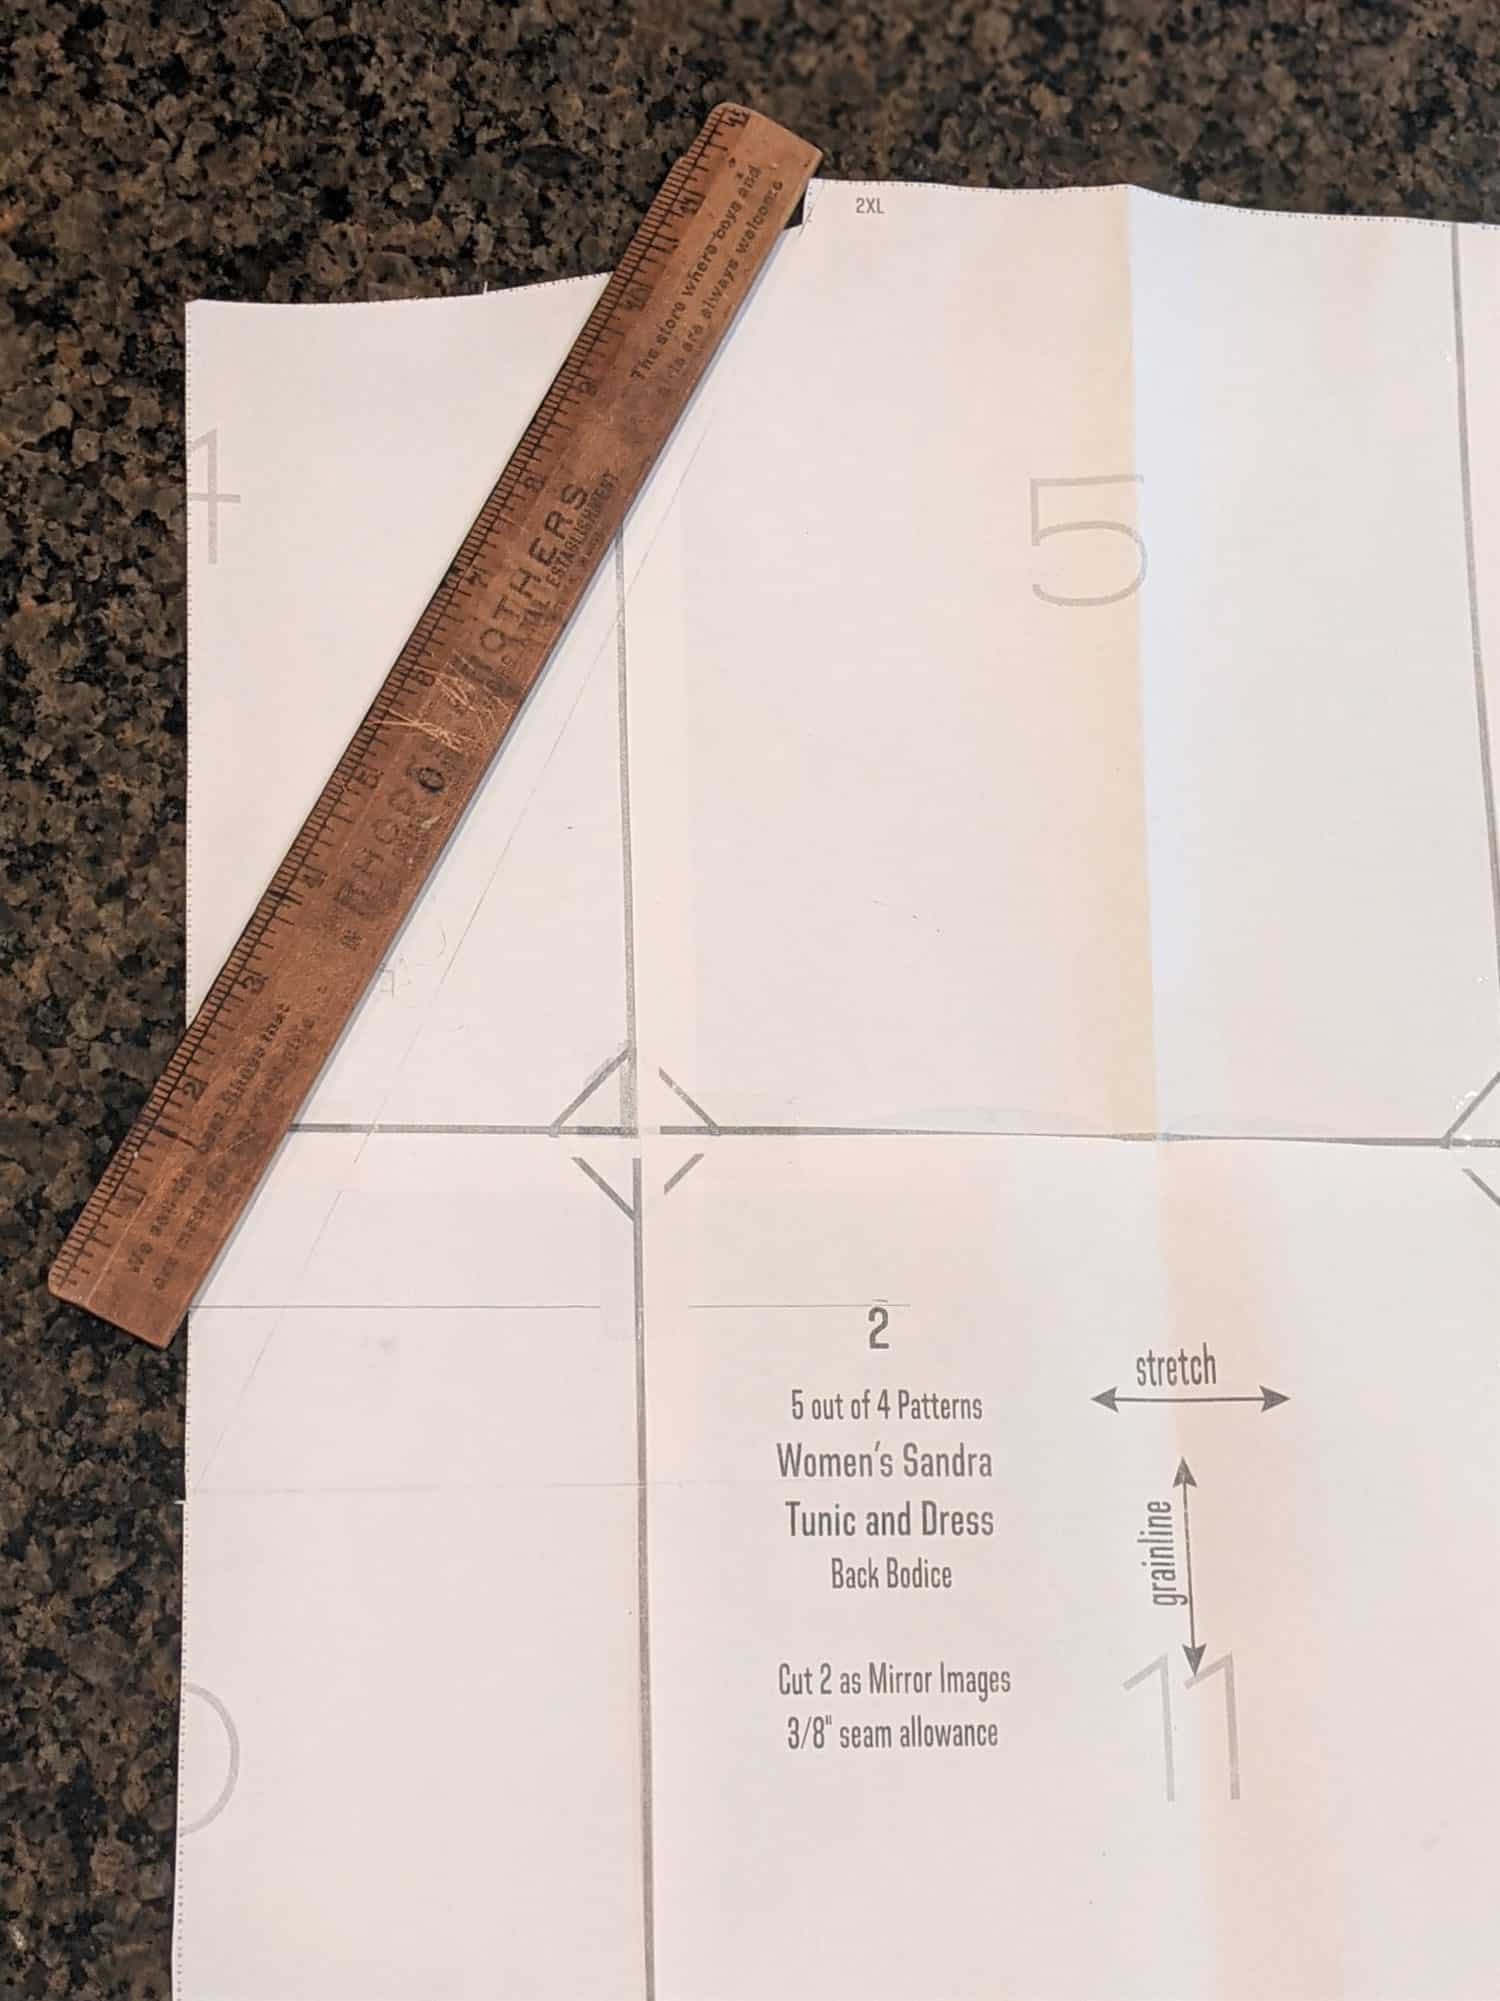
- Angle a straight edge from the top inner corner down to your marking.
- Cut off the extra triangle section.
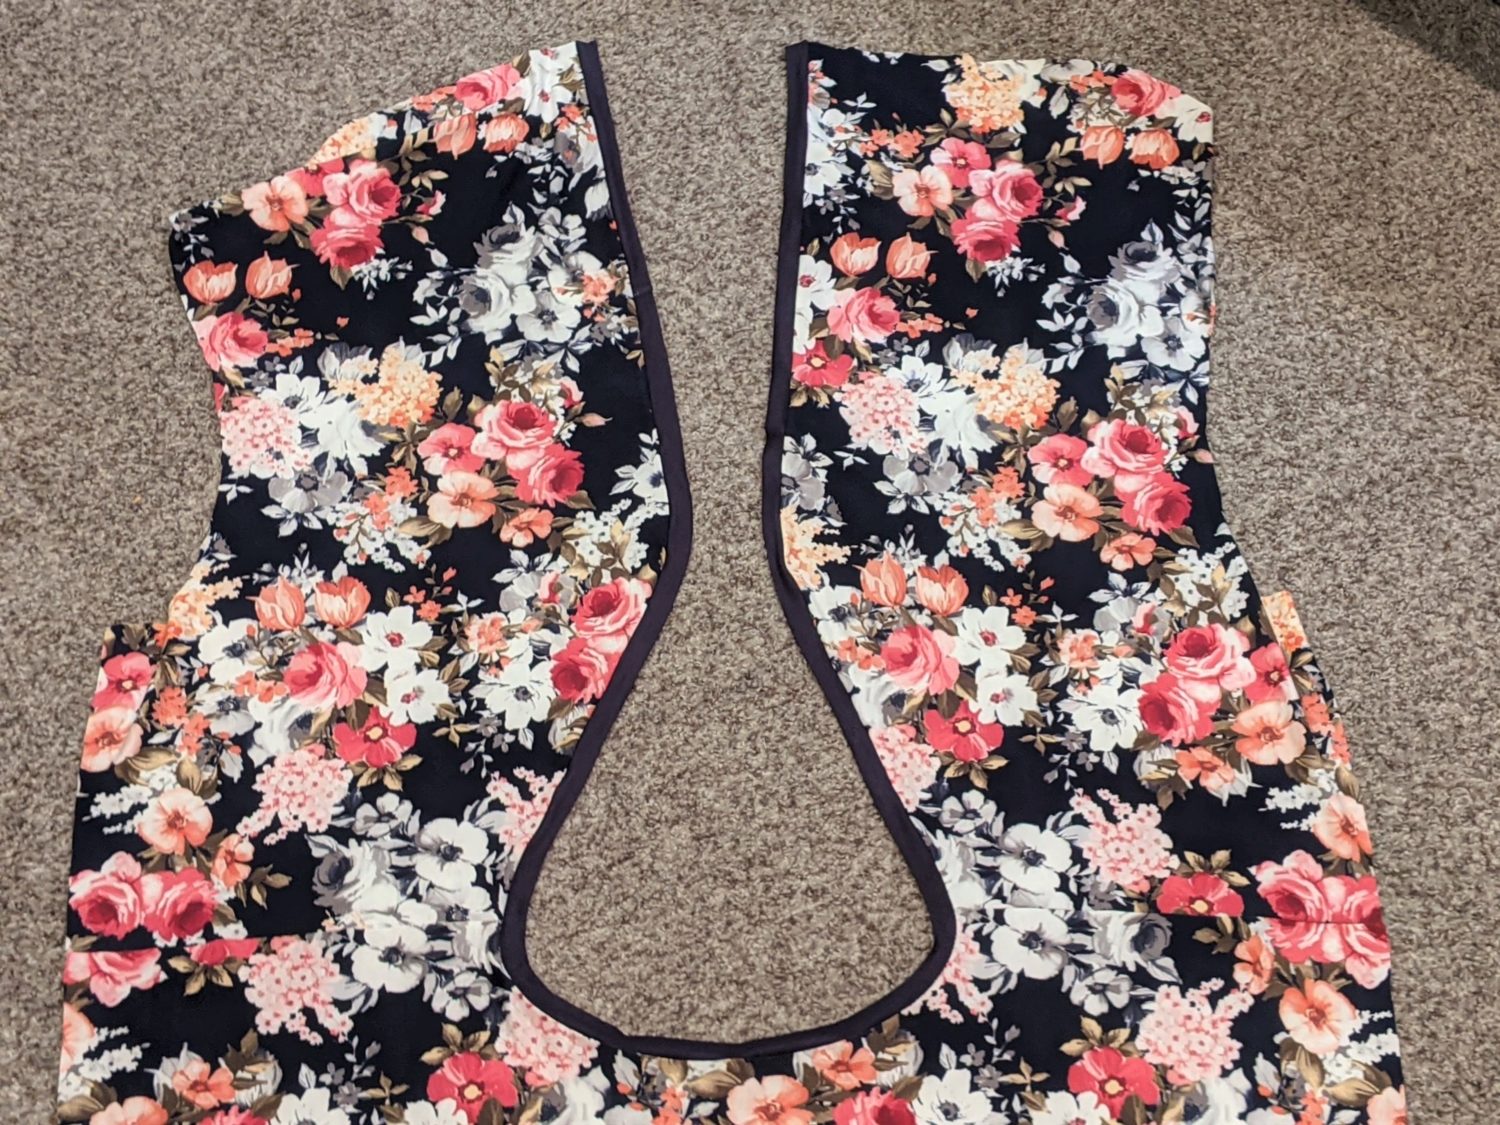
Cut and Sew the Bodice
- 1 front bodice piece cut on the fold
- 2 mirrored back bodice pieces from your altered pattern piece.
- We will get to the neckband and t-back measurements in the next section
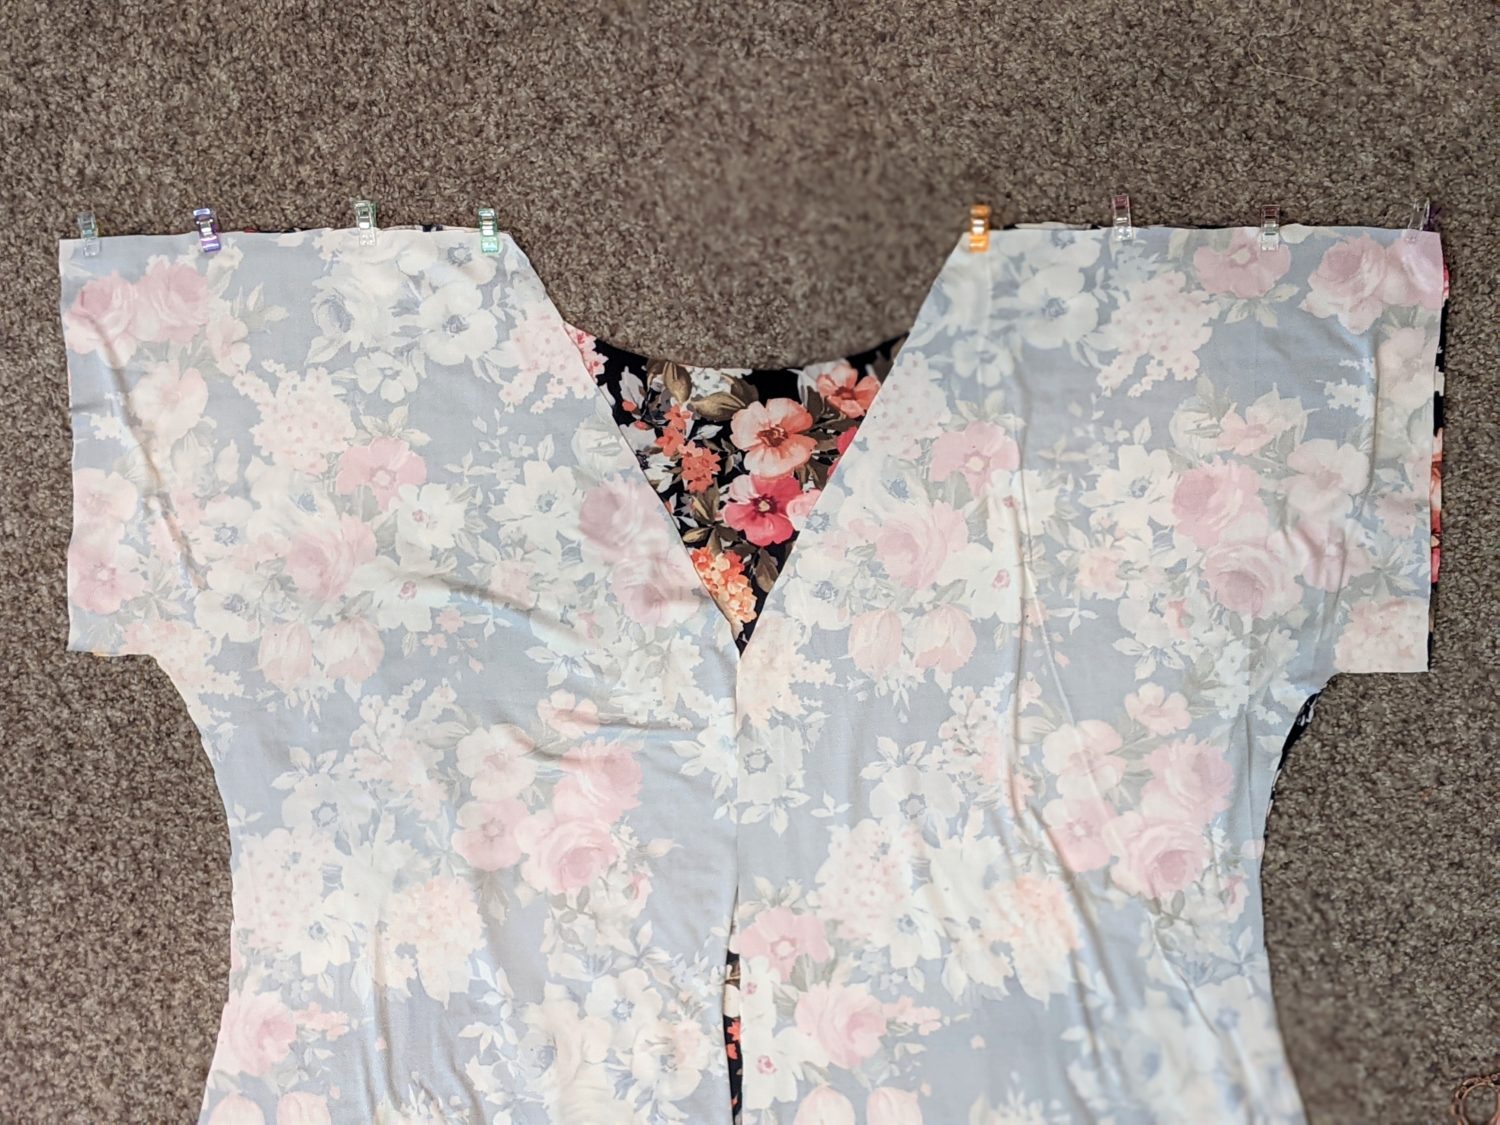
- Lay each back piece on top of the front bodice right sides together and line up the shoulder seams.
- Pin and sew the shoulder seams.
Neckband Measurements
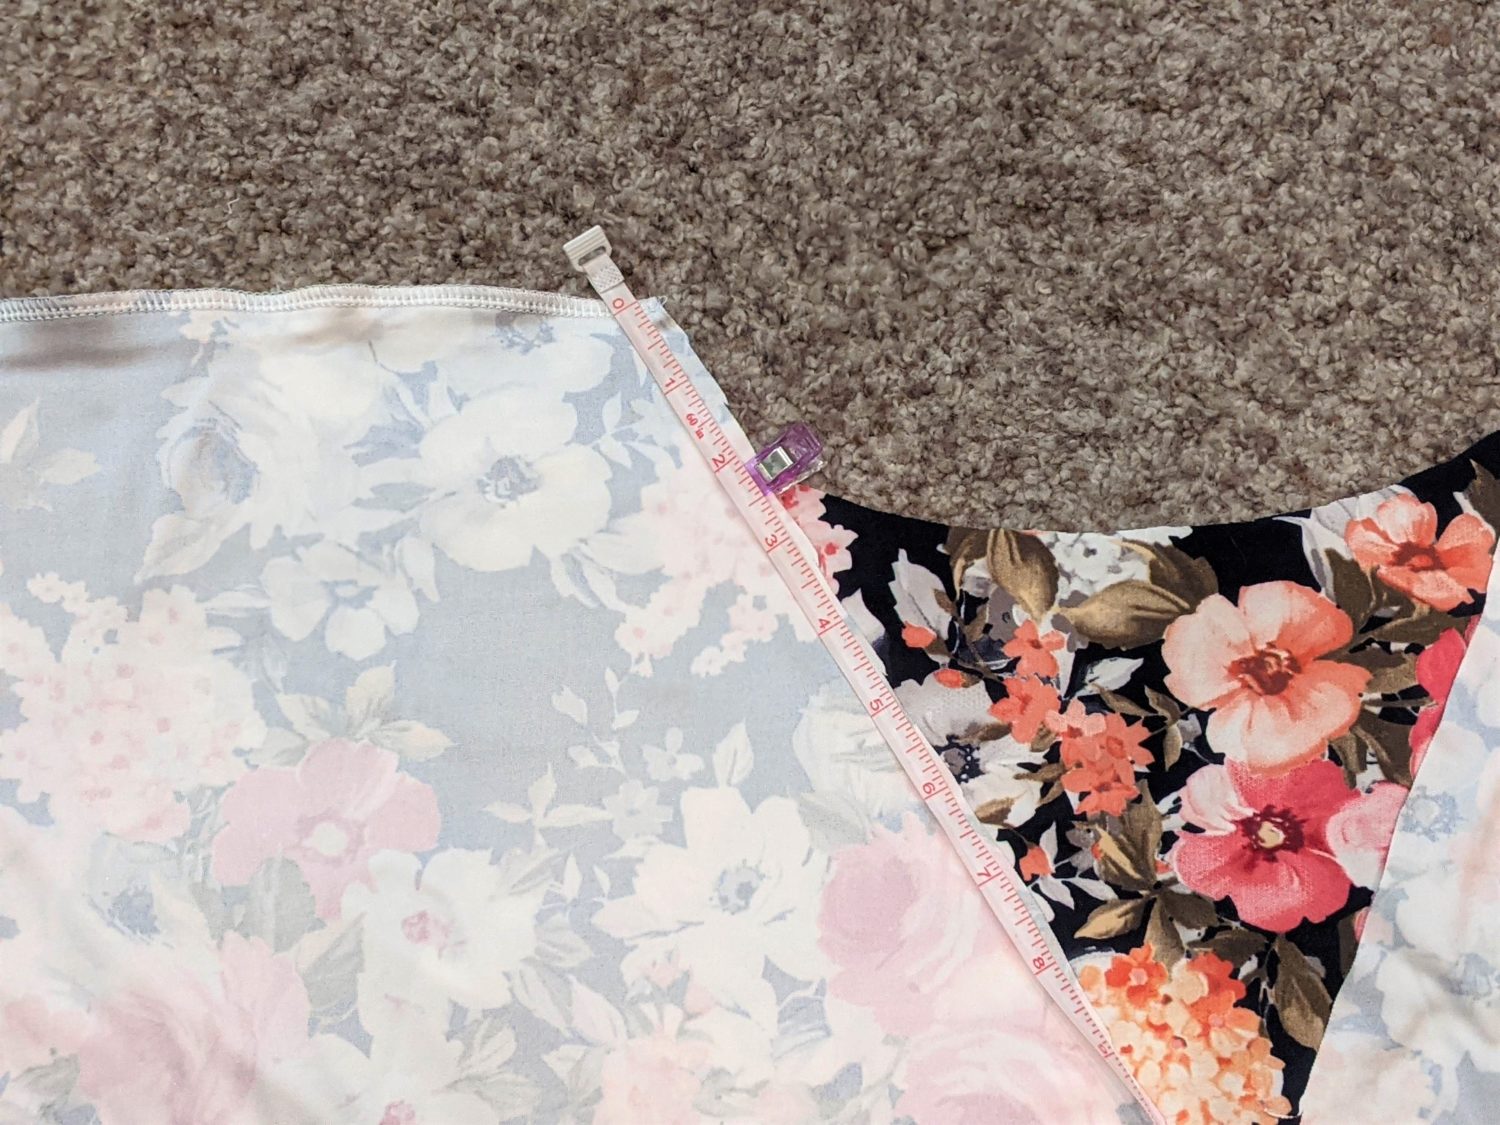
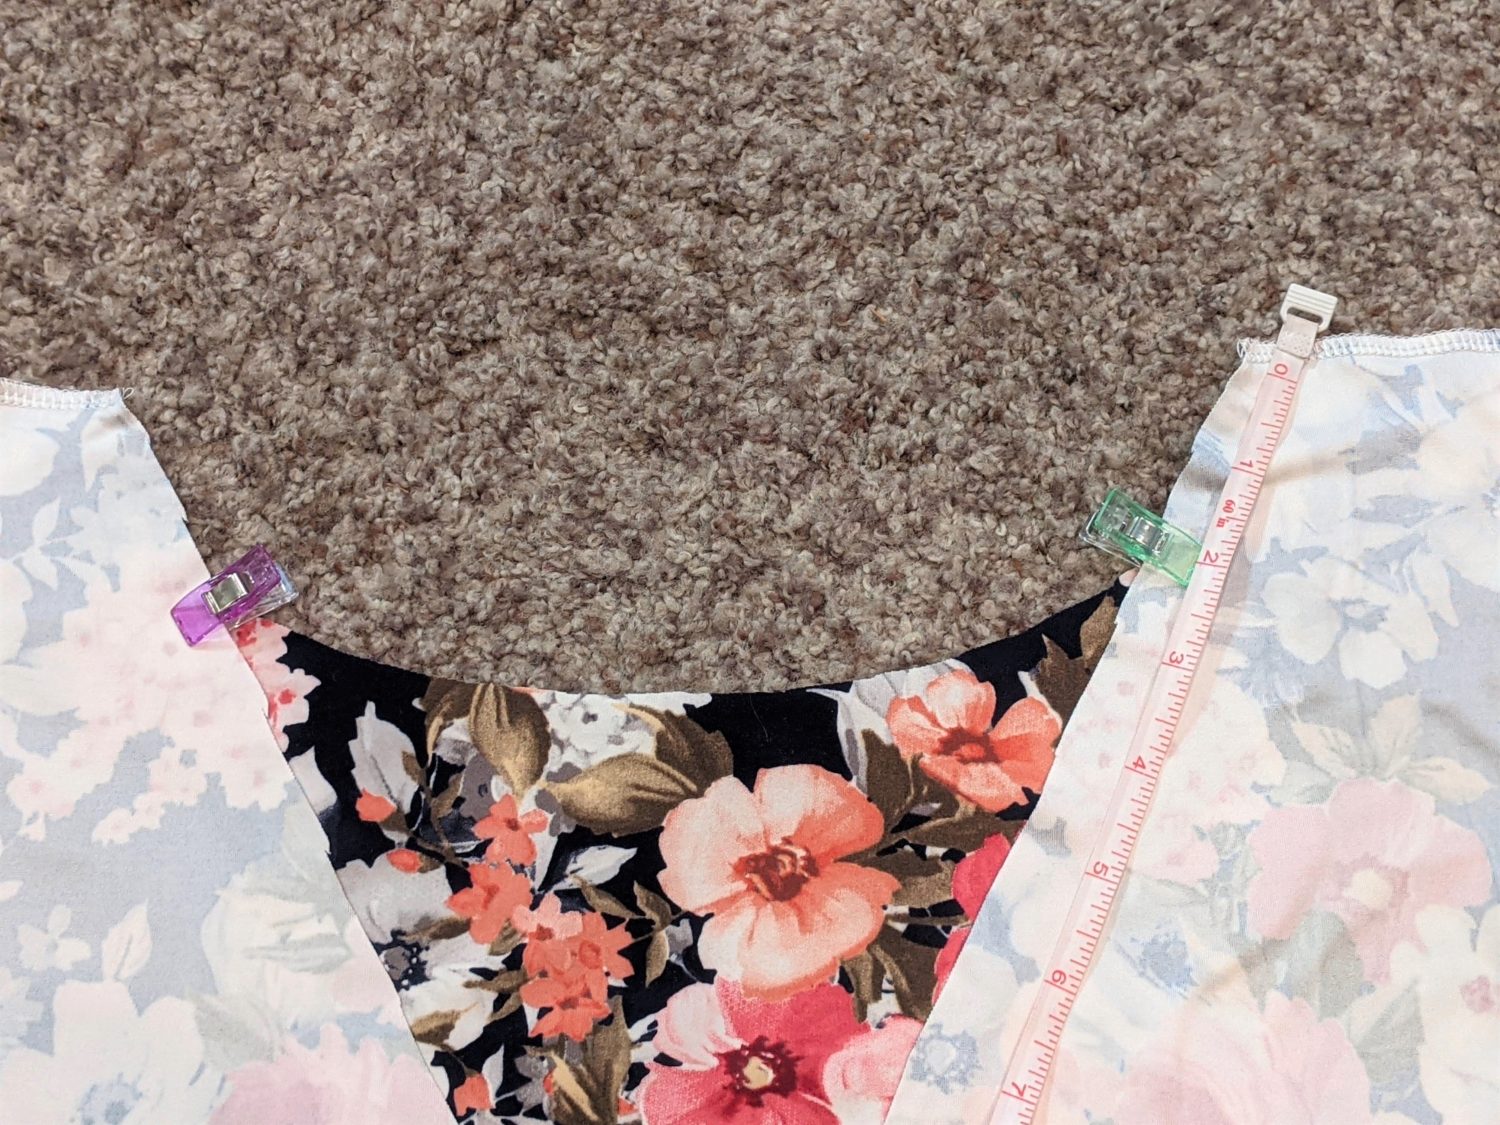
- On each side of the back, measure down 2″ from the shoulder seam and mark them with a pin or clip. (Leave the pins in for marking your neckband placement.)
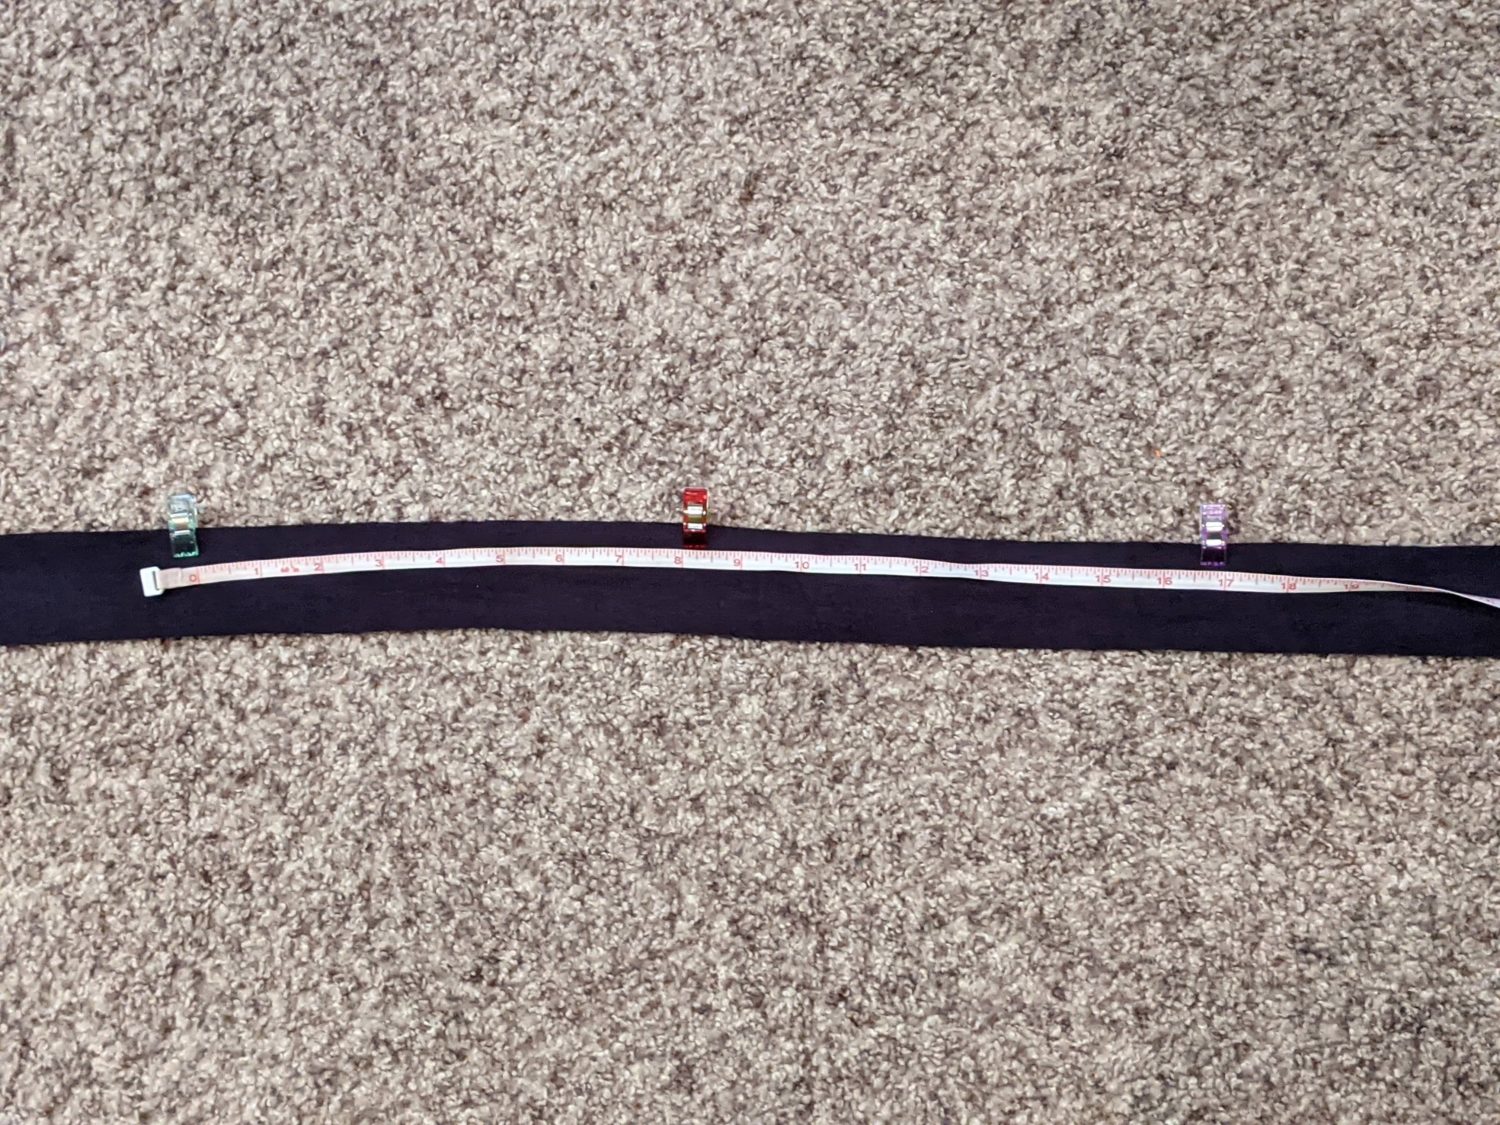
- Measure from one of those clips, across the front neckline and back down to the other clip and write down your measurement.
- Multiply that measurement by 90%. This will be your Measurement #1.
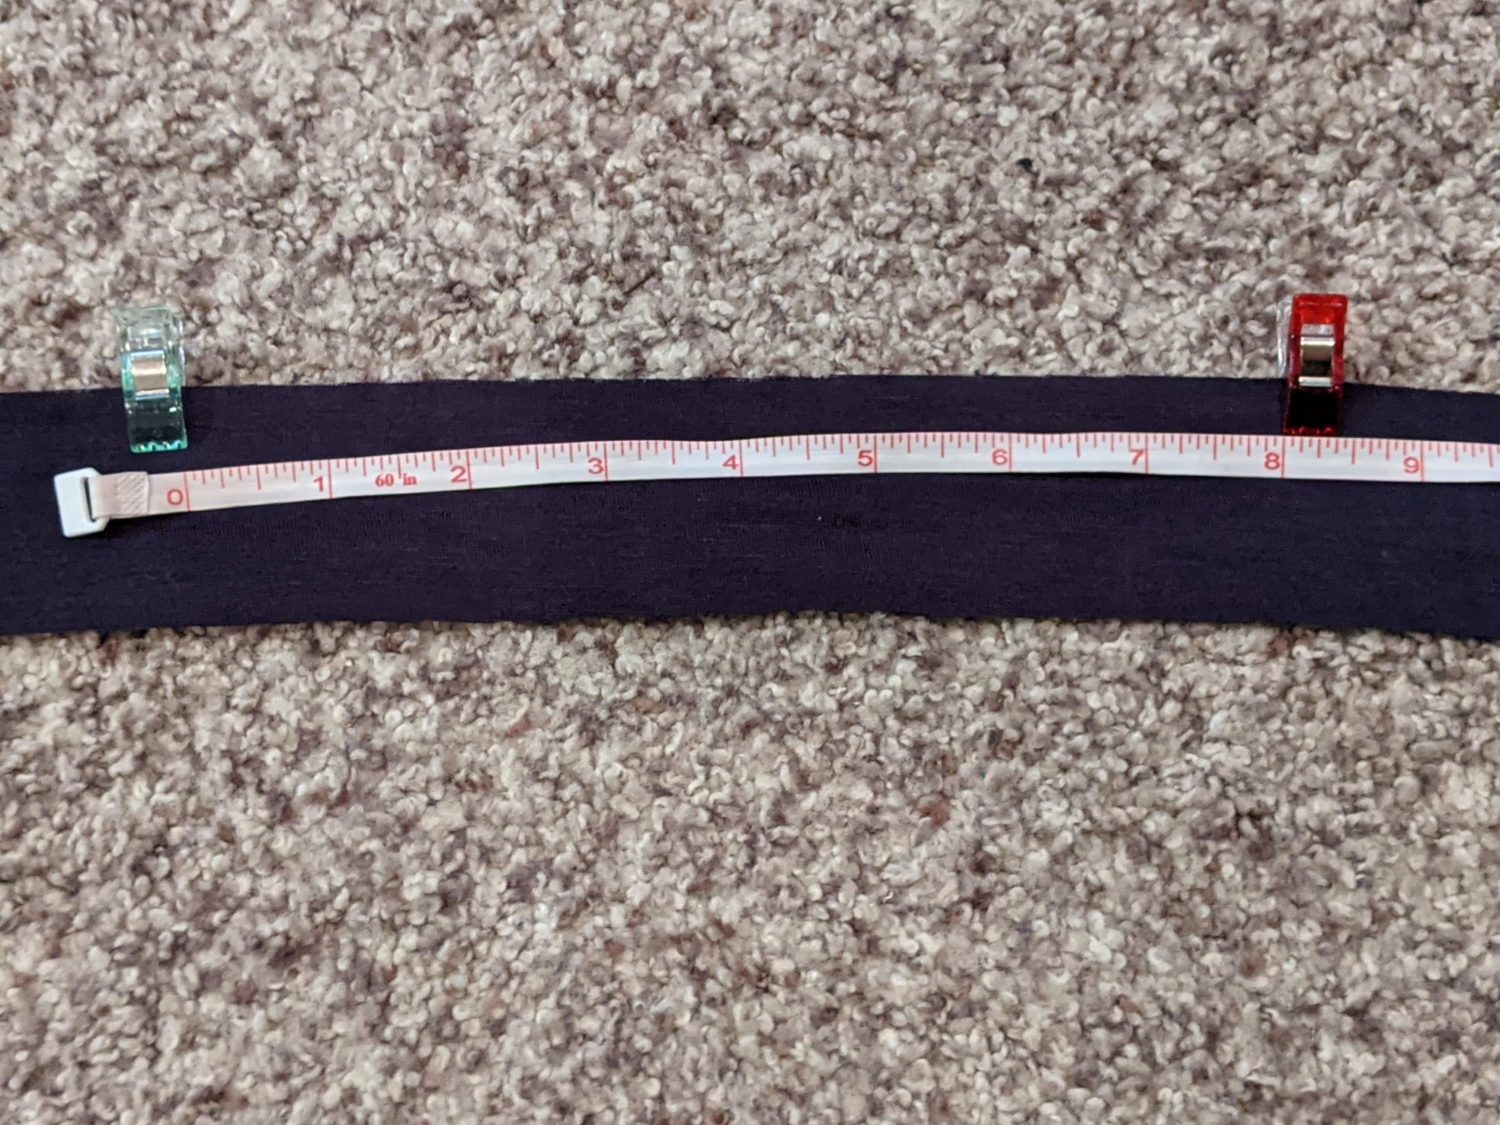
- For the rest of the band, measure from the clip marking the 2″ point, down to the hem. Multiply that by 2 to get the total for both sides. This will be your Measurement #2.
- Add measurements #1 and #2 to get the total length of your band. The width should be 2″ wide.
- You will likely need multiple pieces to make a band long enough. Add extra length for the seam allowance if needed.
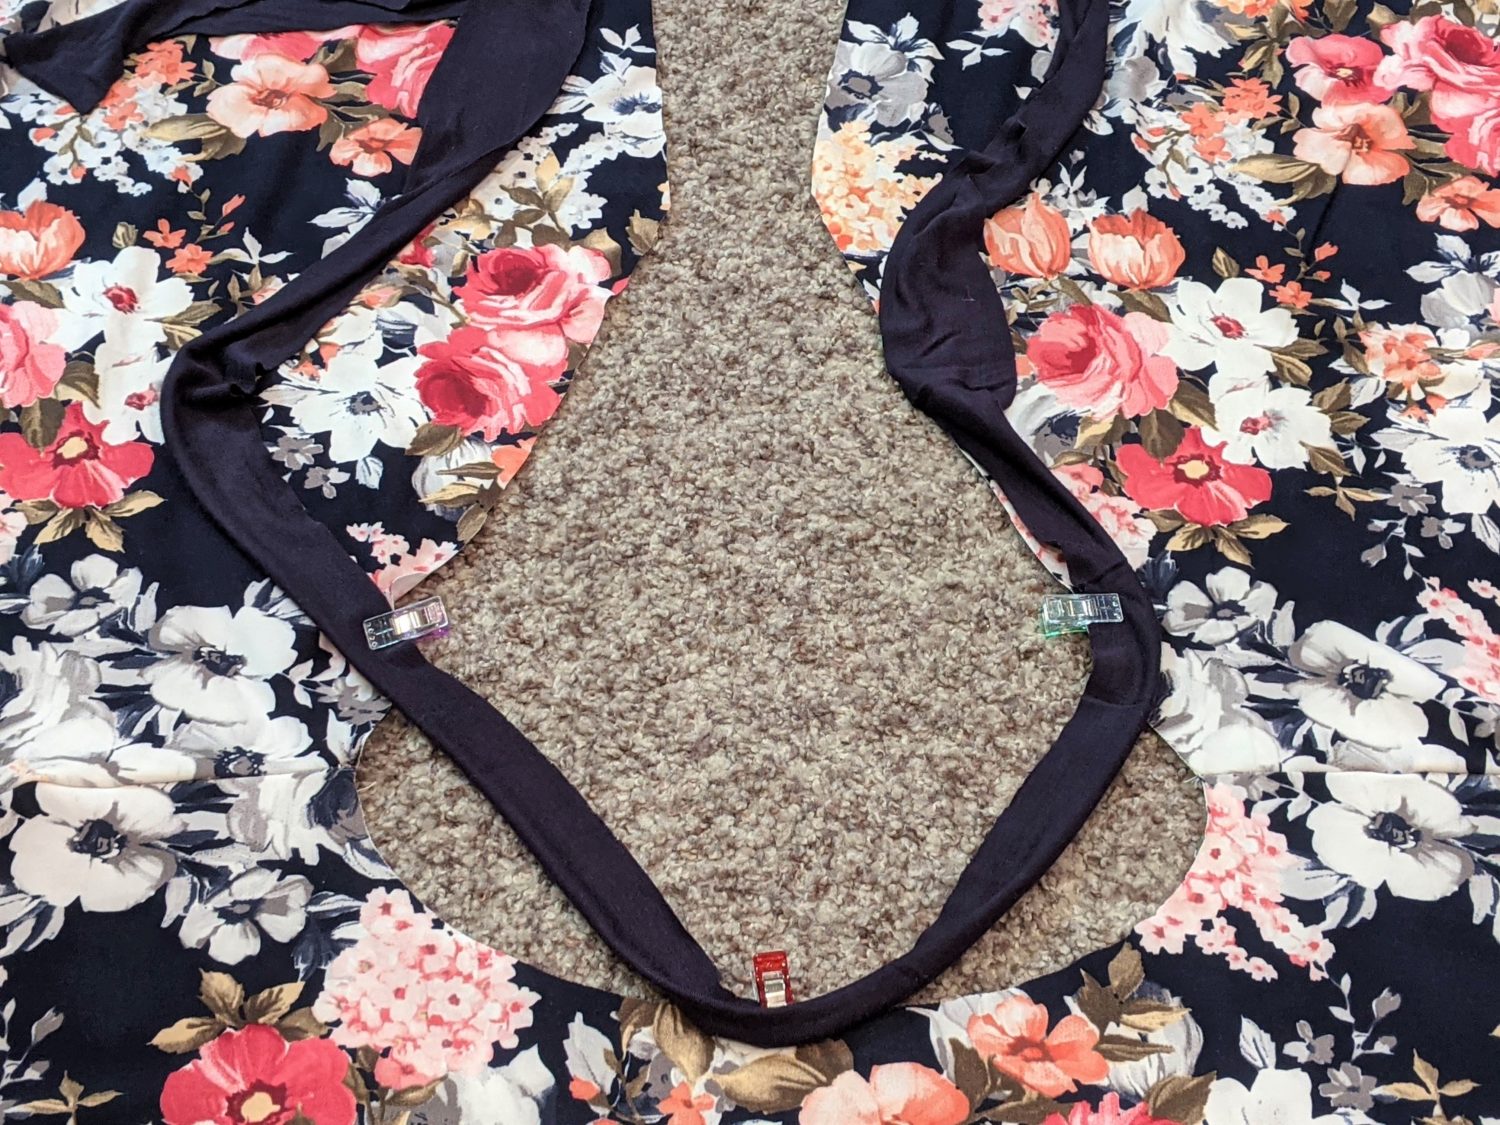
Attaching the Band
- Fold your band in half lengthwise and press it.
- Now fold the band widthwise to find the center of the band and place a pin at the center.
- Take your Measurement #1 and divide it equally on each side of the center pin. Place pins at both of those points.
- Place a pin at the center point of the front bodice neckline.
- Match up the center pins of the neckband and front neckline.
- Match up the two outer pins on the neckband with the pins marking 2″ down on the back bodice pieces.
- The rest of the band will be equal to the length of back bodice edge. Pin the band to the back bodice down to the hem. (It’s ok if there’s a little excess of the band.)
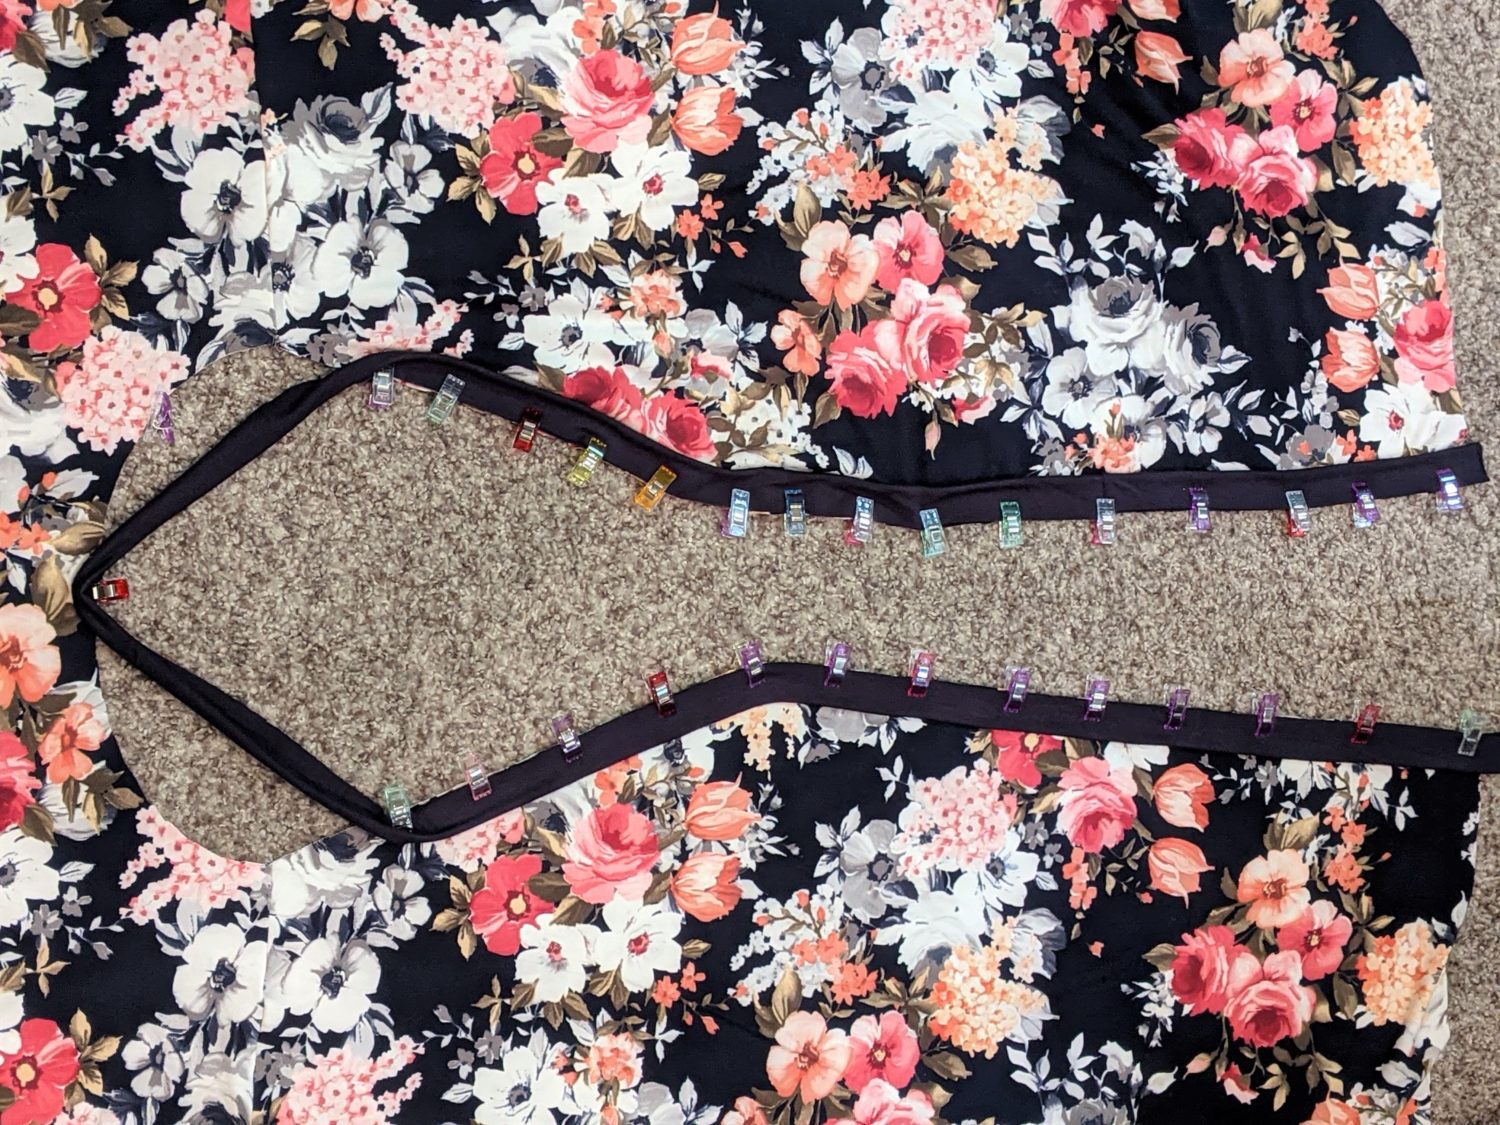
- Starting at one end of the band at the hem, sew it in place with a stretch stitch or serger.
- Do not stretch the band as you sew, EXCEPT from the 2″ clip, along the front neckline, and back to the other 2″ clip.
- Cut off any excess band you may have and press the seam allowance towards the bodice.
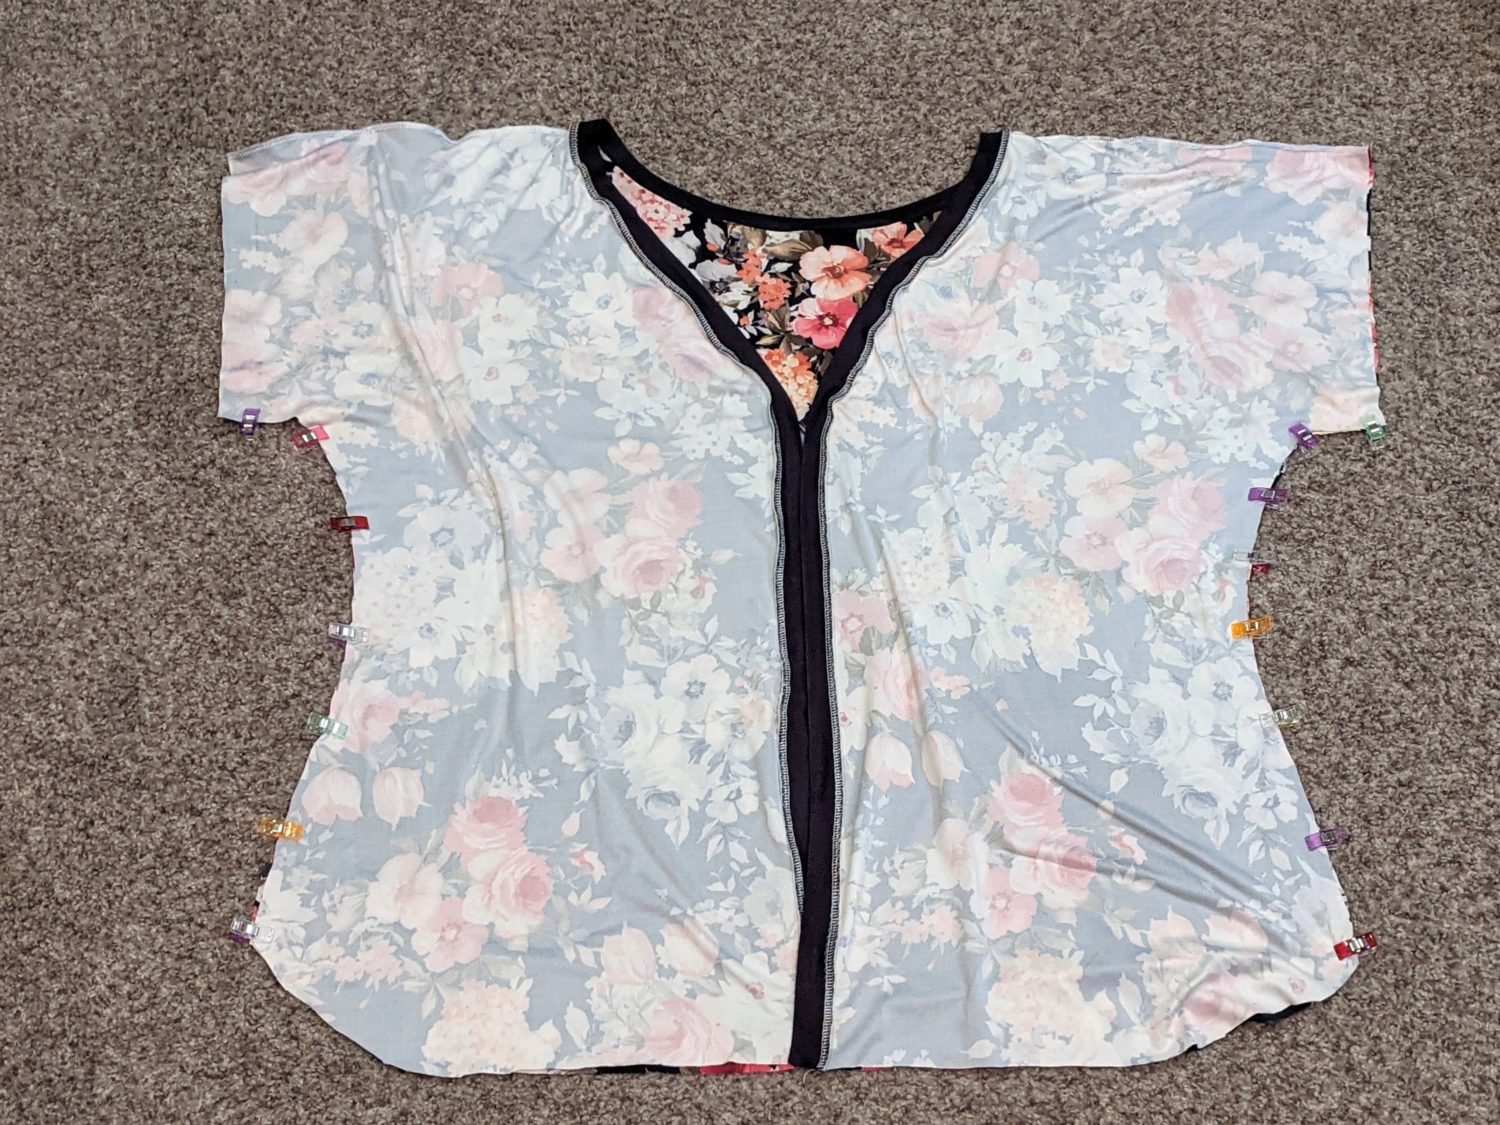
Finishing the Bodice
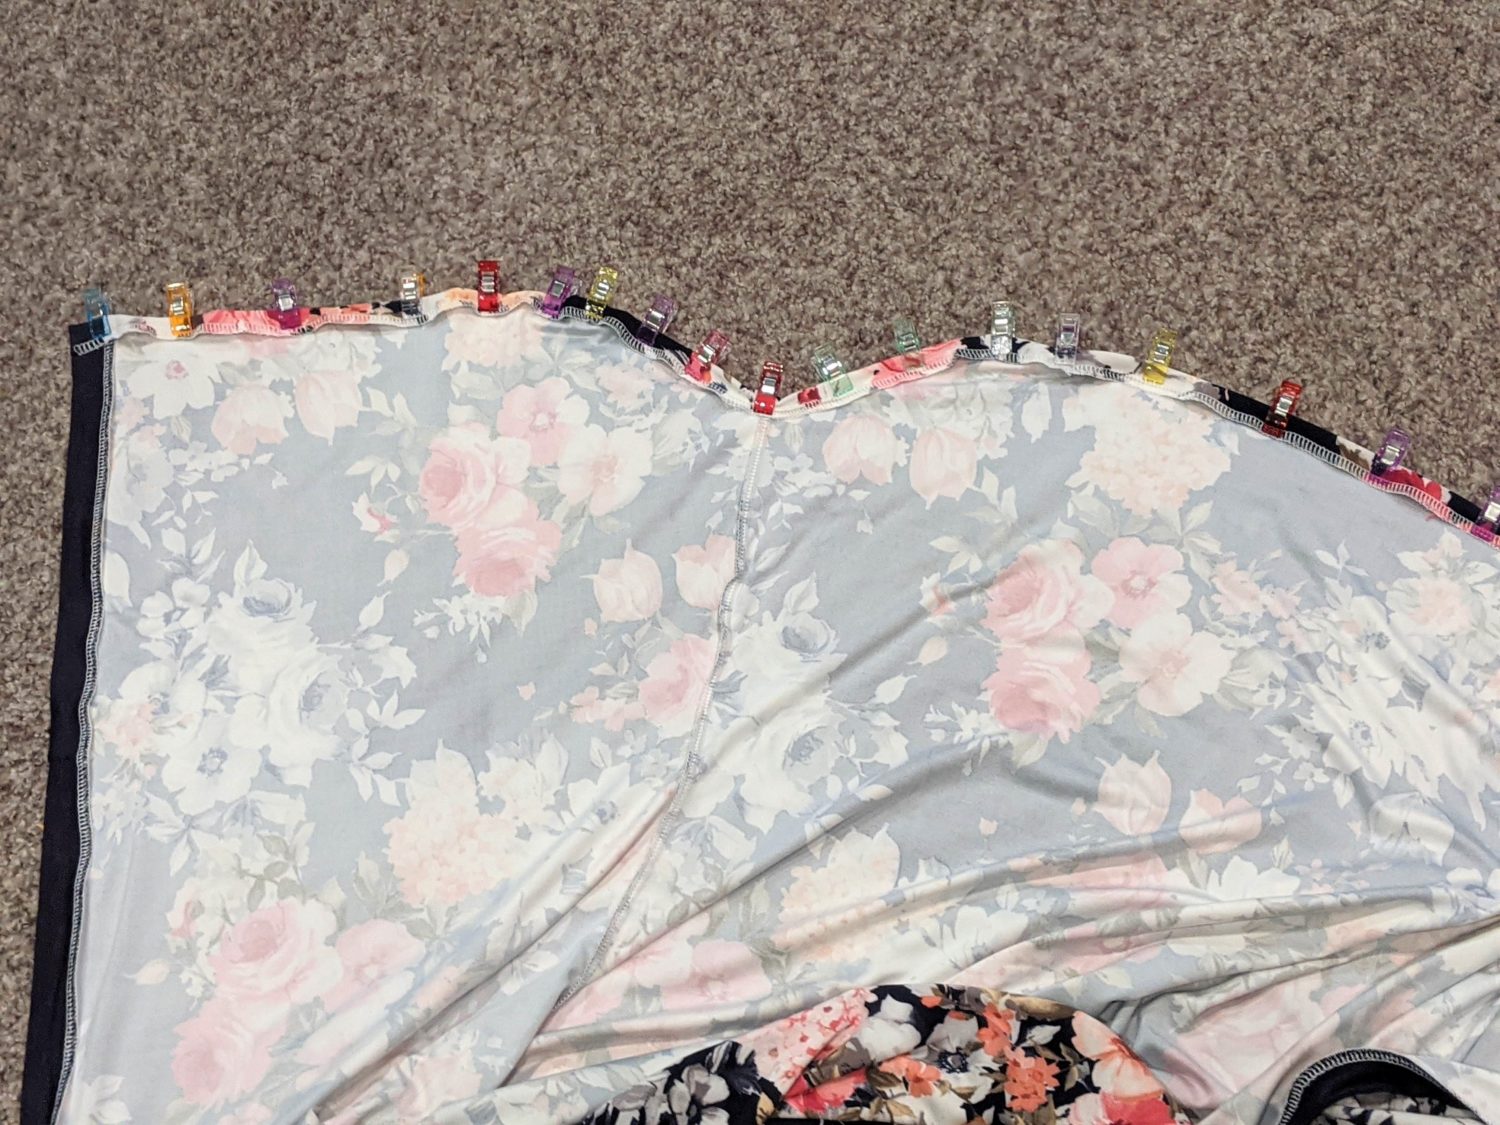
- Fold your front and back bodice right sides together at the shoulder seams and line up the sides.
- Pin the side seams together and sew with a stretch stitch or serger.
- Hem the bottom edge of the bodice.
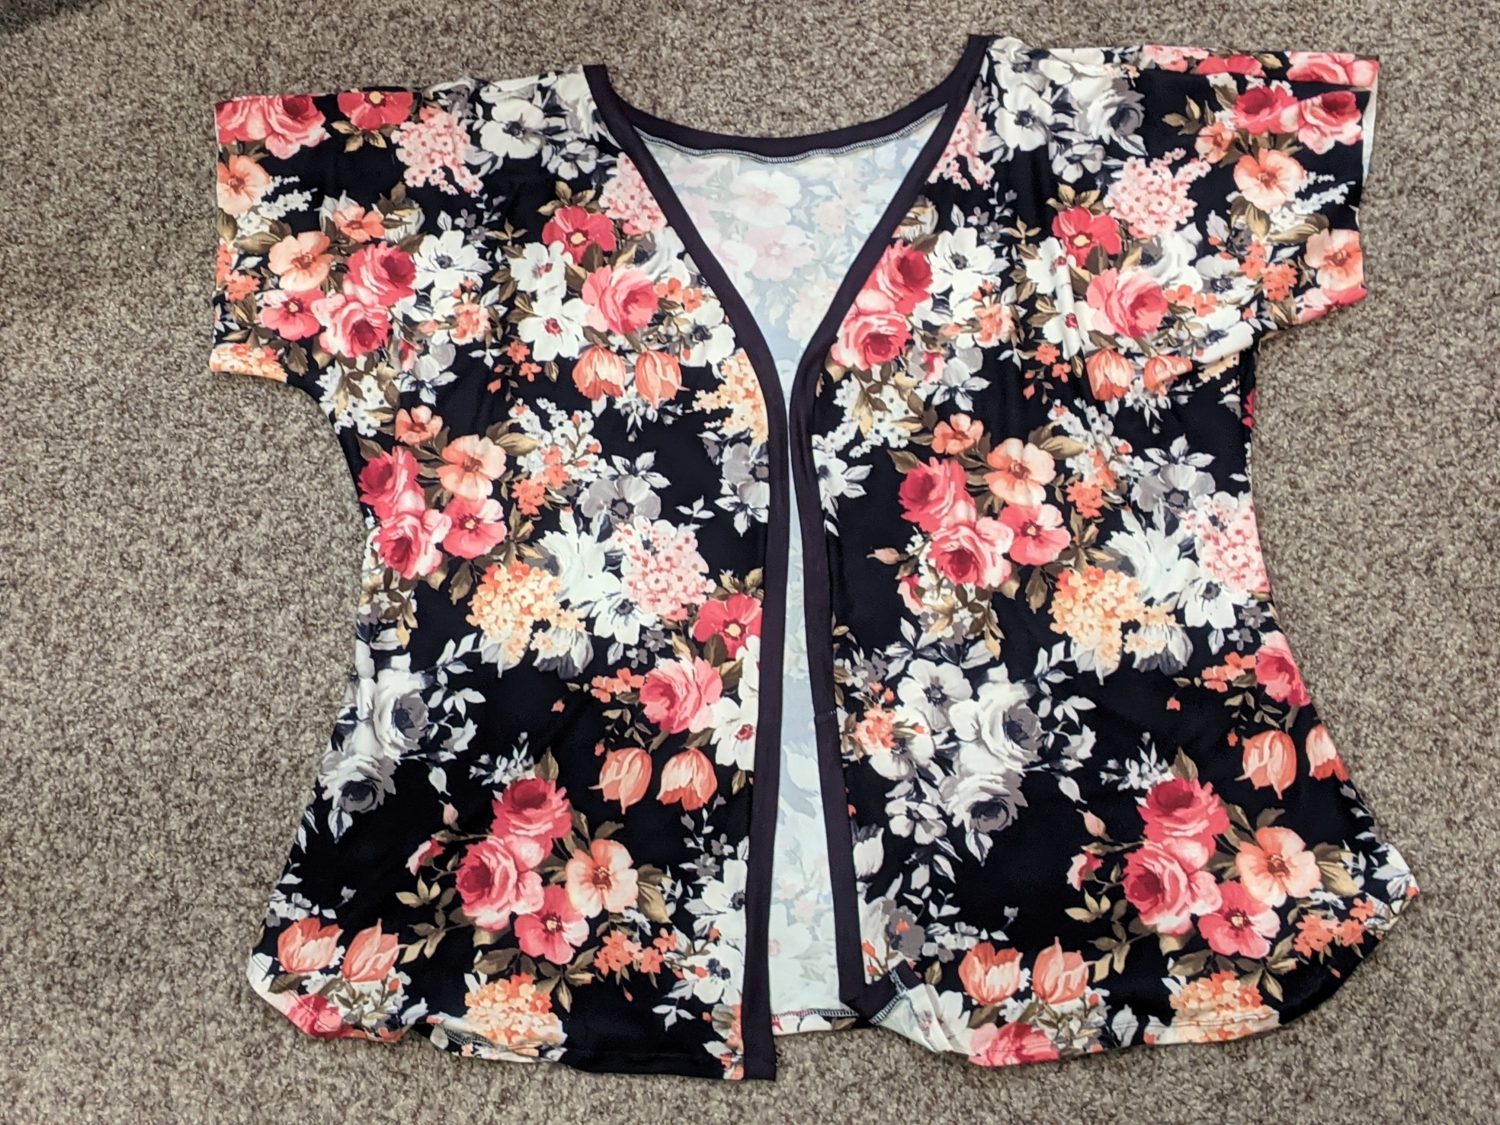
- Turn your bodice right side out.
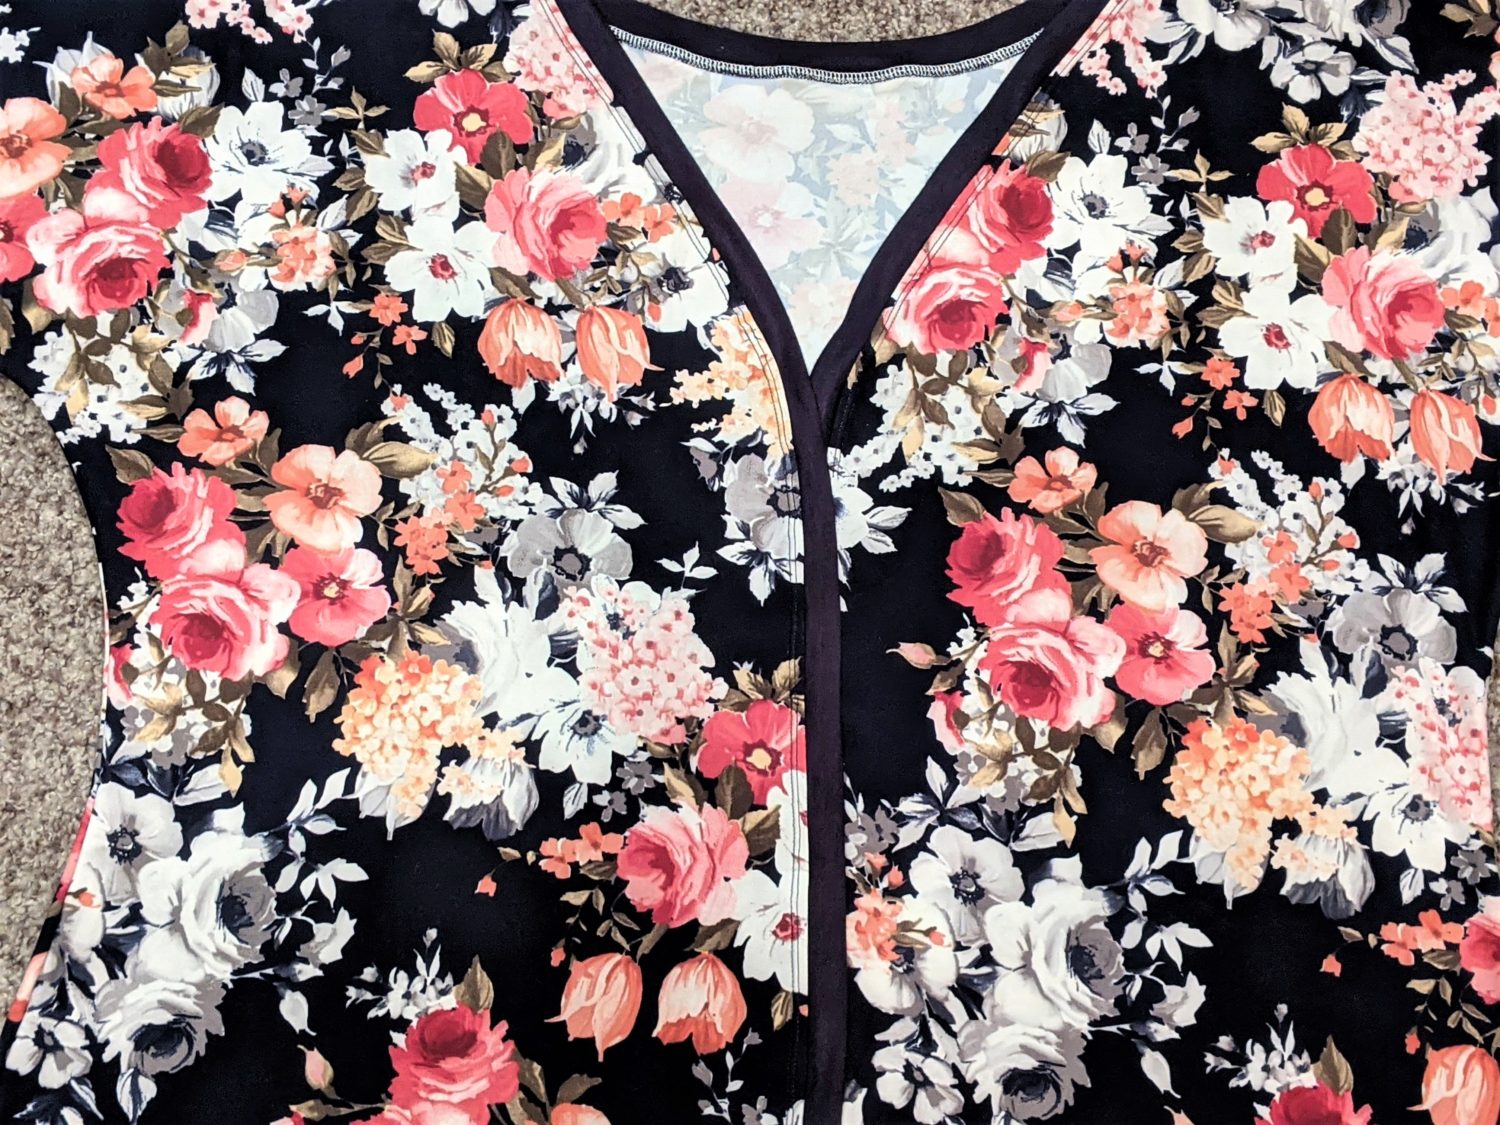
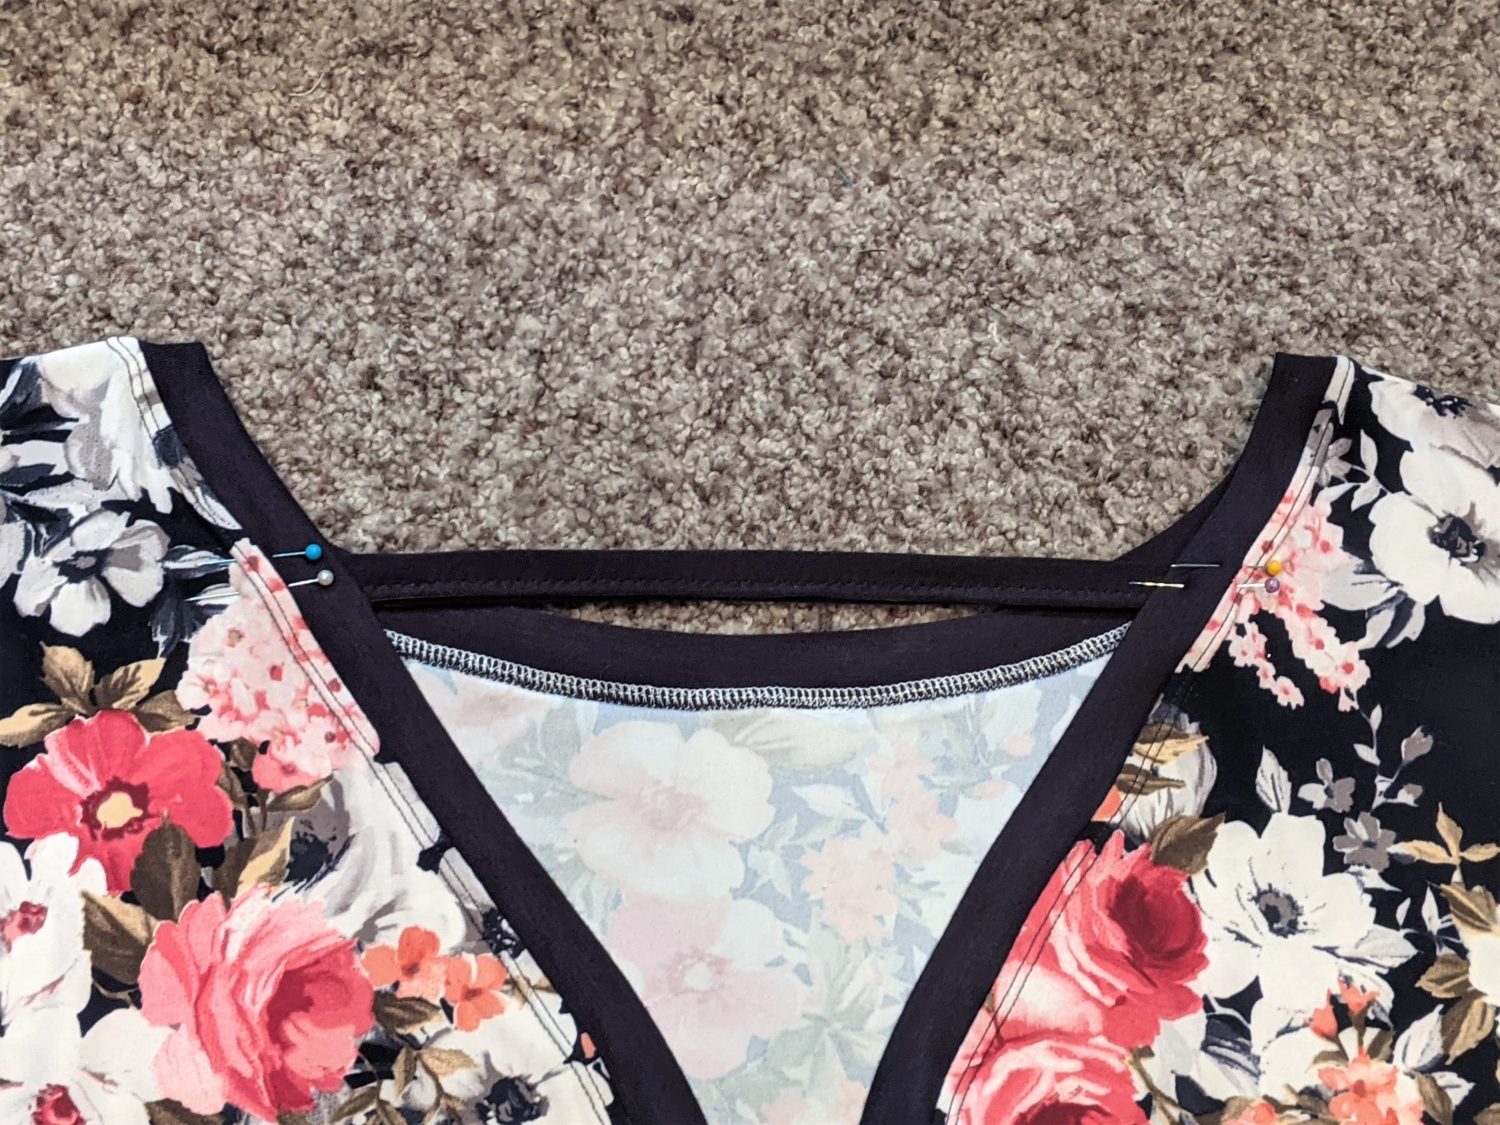
- Overlap your back pieces from where they create the bottom of the V, down to the hem.
- The band seam allowance of the top piece should run down the middle of the band of the under piece.
- Pin down the back starting 2″ below the point of the V.
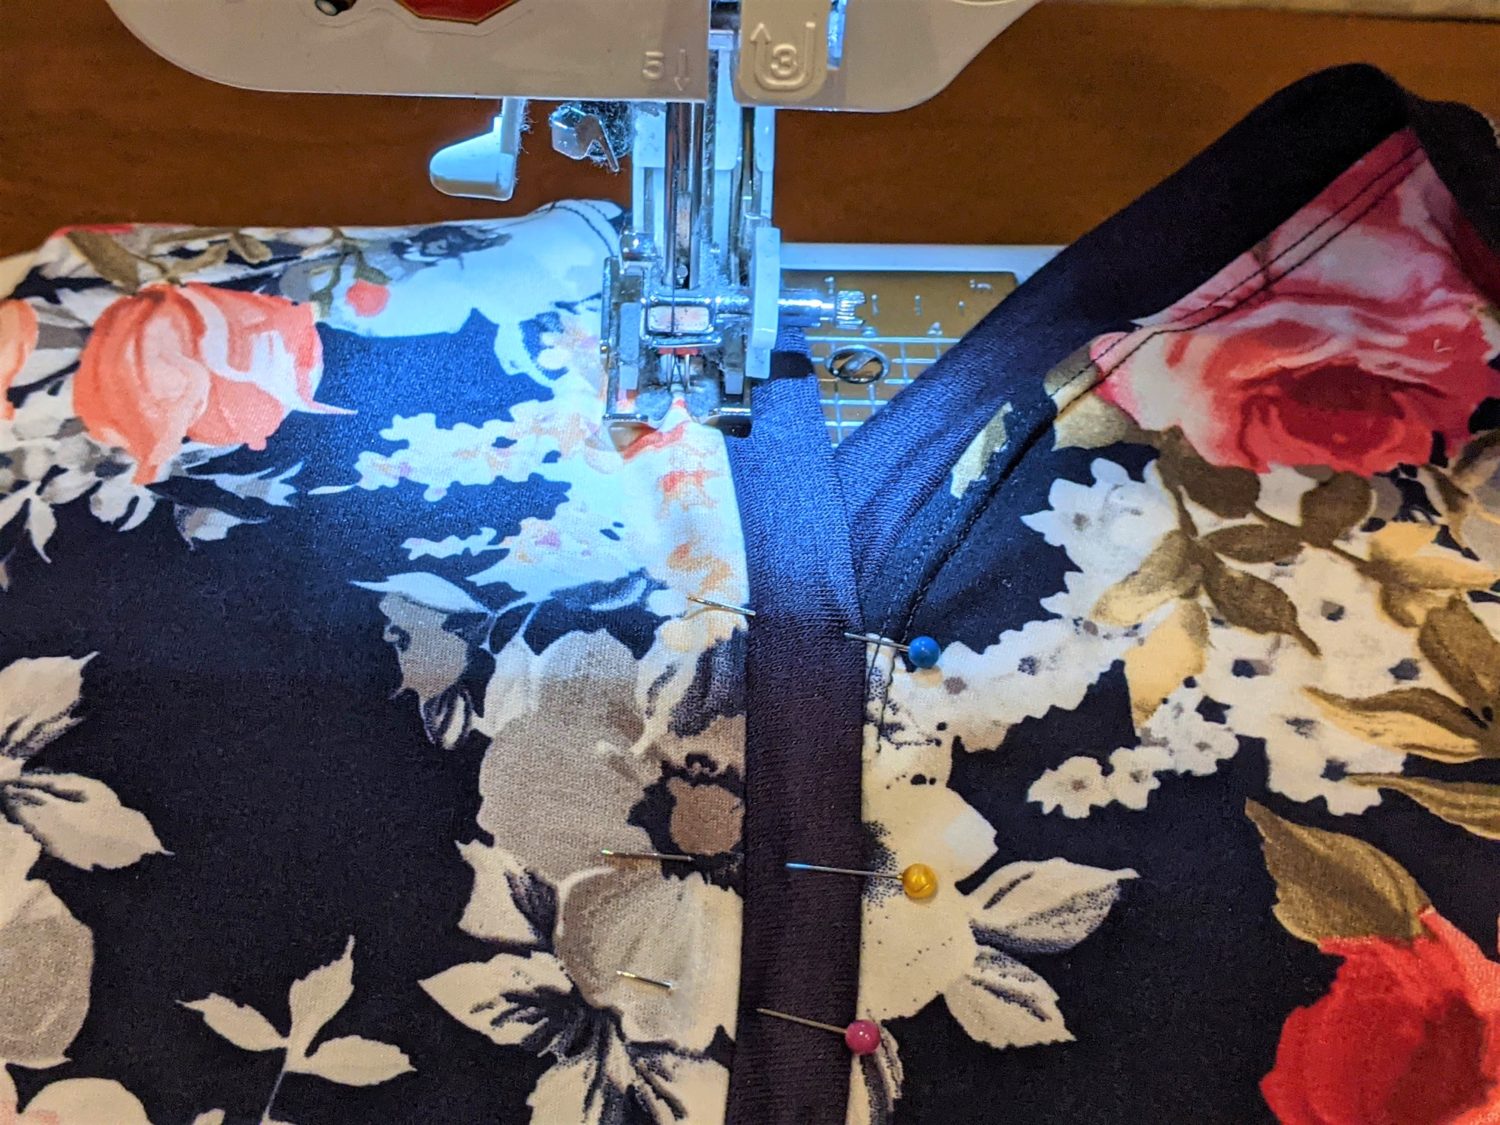
- Starting on the side that is underneath, topstitch the seam allowance from 2” below the overlap, up and across the front neckline, and down the other backside stopping 2” above the overlap.

- Pin the top part of the V together making sure the start of the topstitching of the under piece is covered by the top piece.
- Continue your topstitching where you left off on the top piece making sure to stitch through the seam allowance and the band of the under piece all the way down.
- Press your stitching well.
Add the Strap
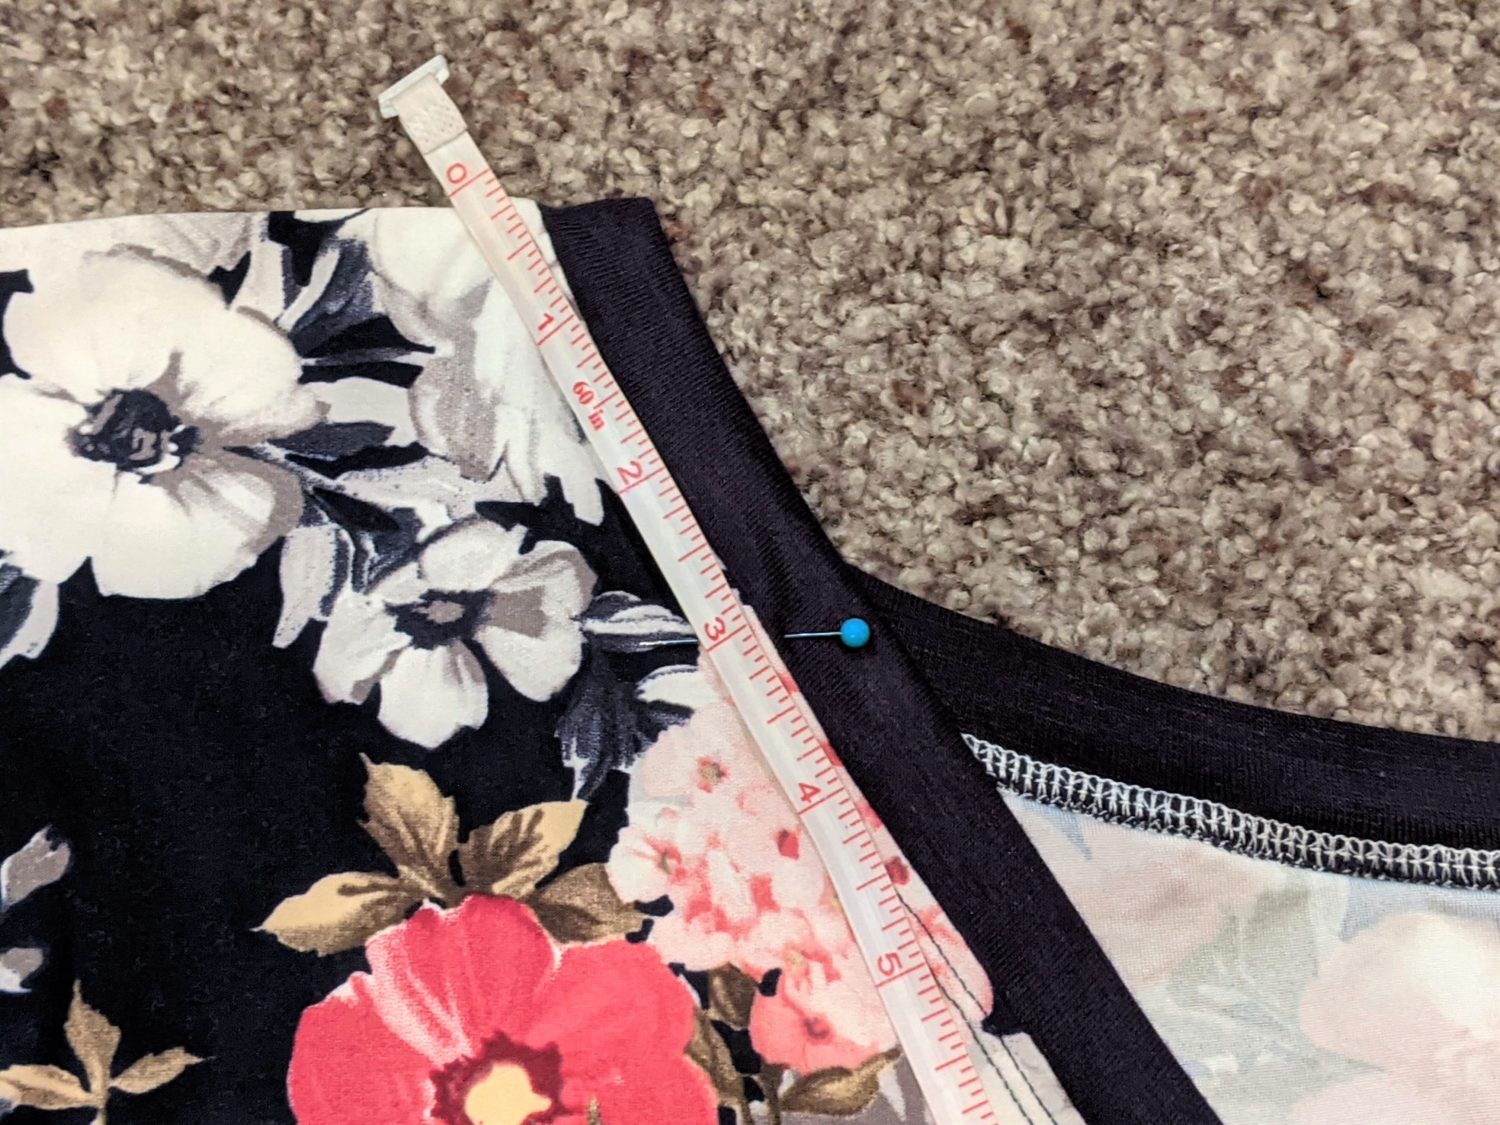
- Lay your bodice out with the backside facing up.
- Measure down 3″ from the shoulder seam on either side and mark with pins. (You can choose to put the band higher or lower if you prefer.)
- Use the same fabric as your neckband to cut a strip that is 3″ wide and reaches across the back opening where you placed the pins. Add a little extra to each side.
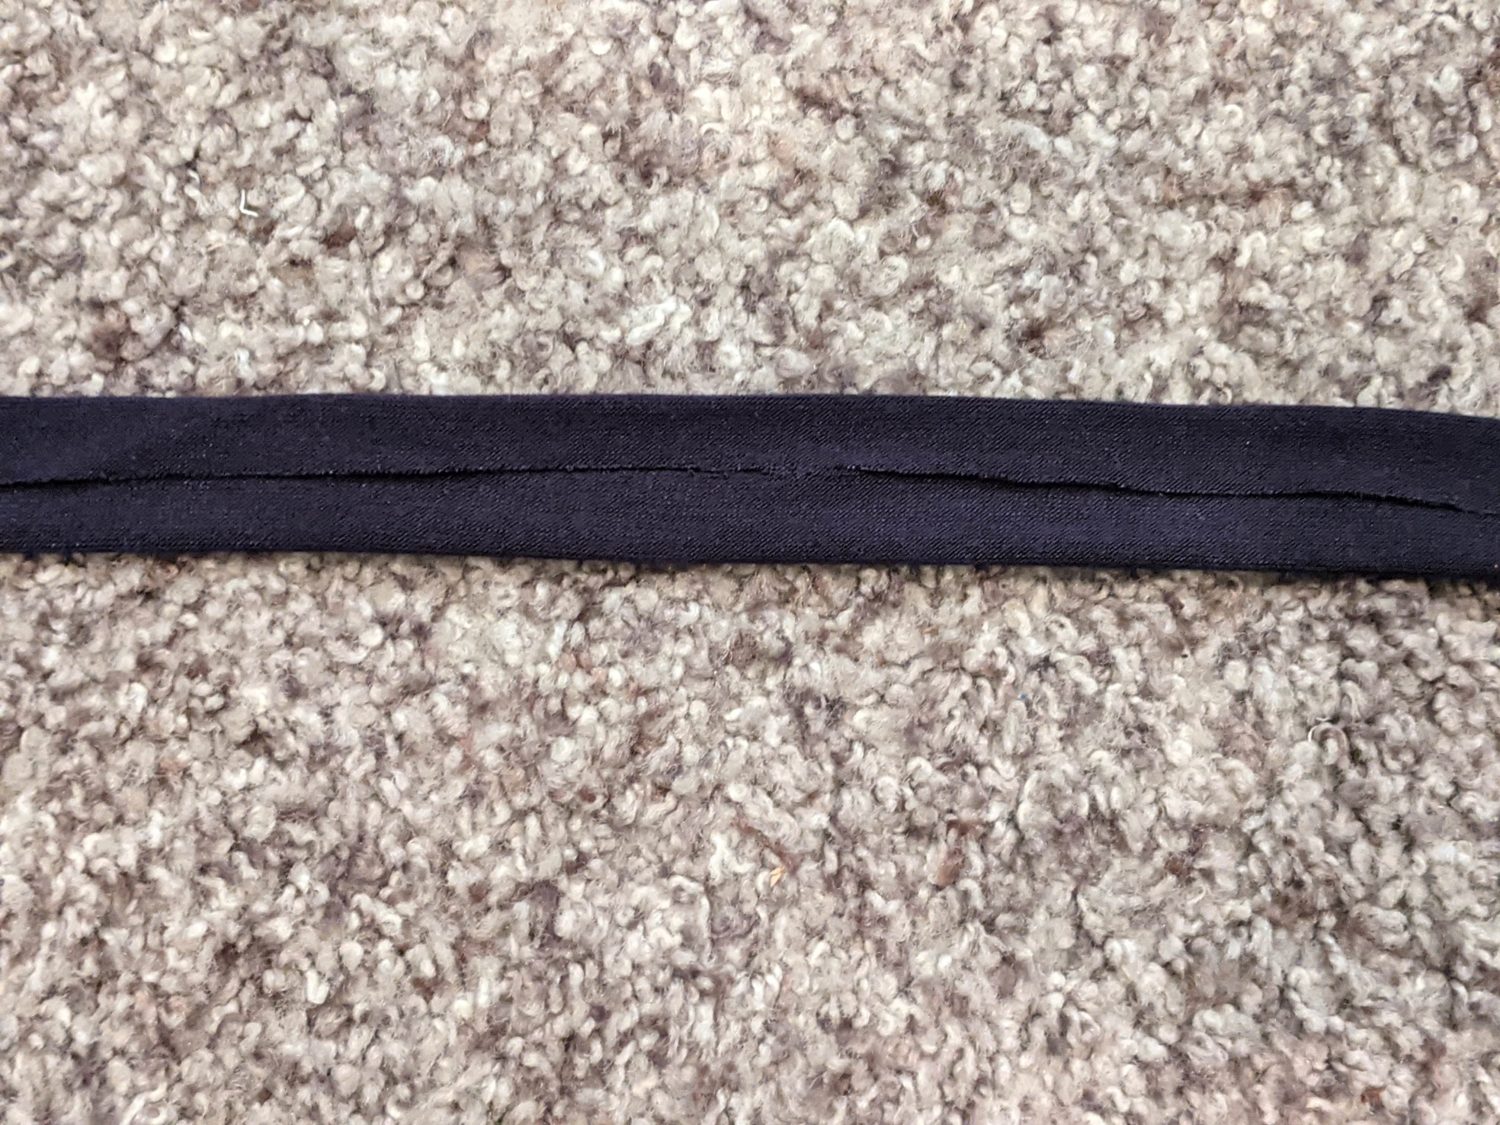
- Create a binding piece by folding that strip of fabric in half lengthwise and pressing.
- Open the strip and fold the long edges in towards the center.
- Fold the whole piece in half again and pin the open edge. Sew along the open edge with a stretch stitch.
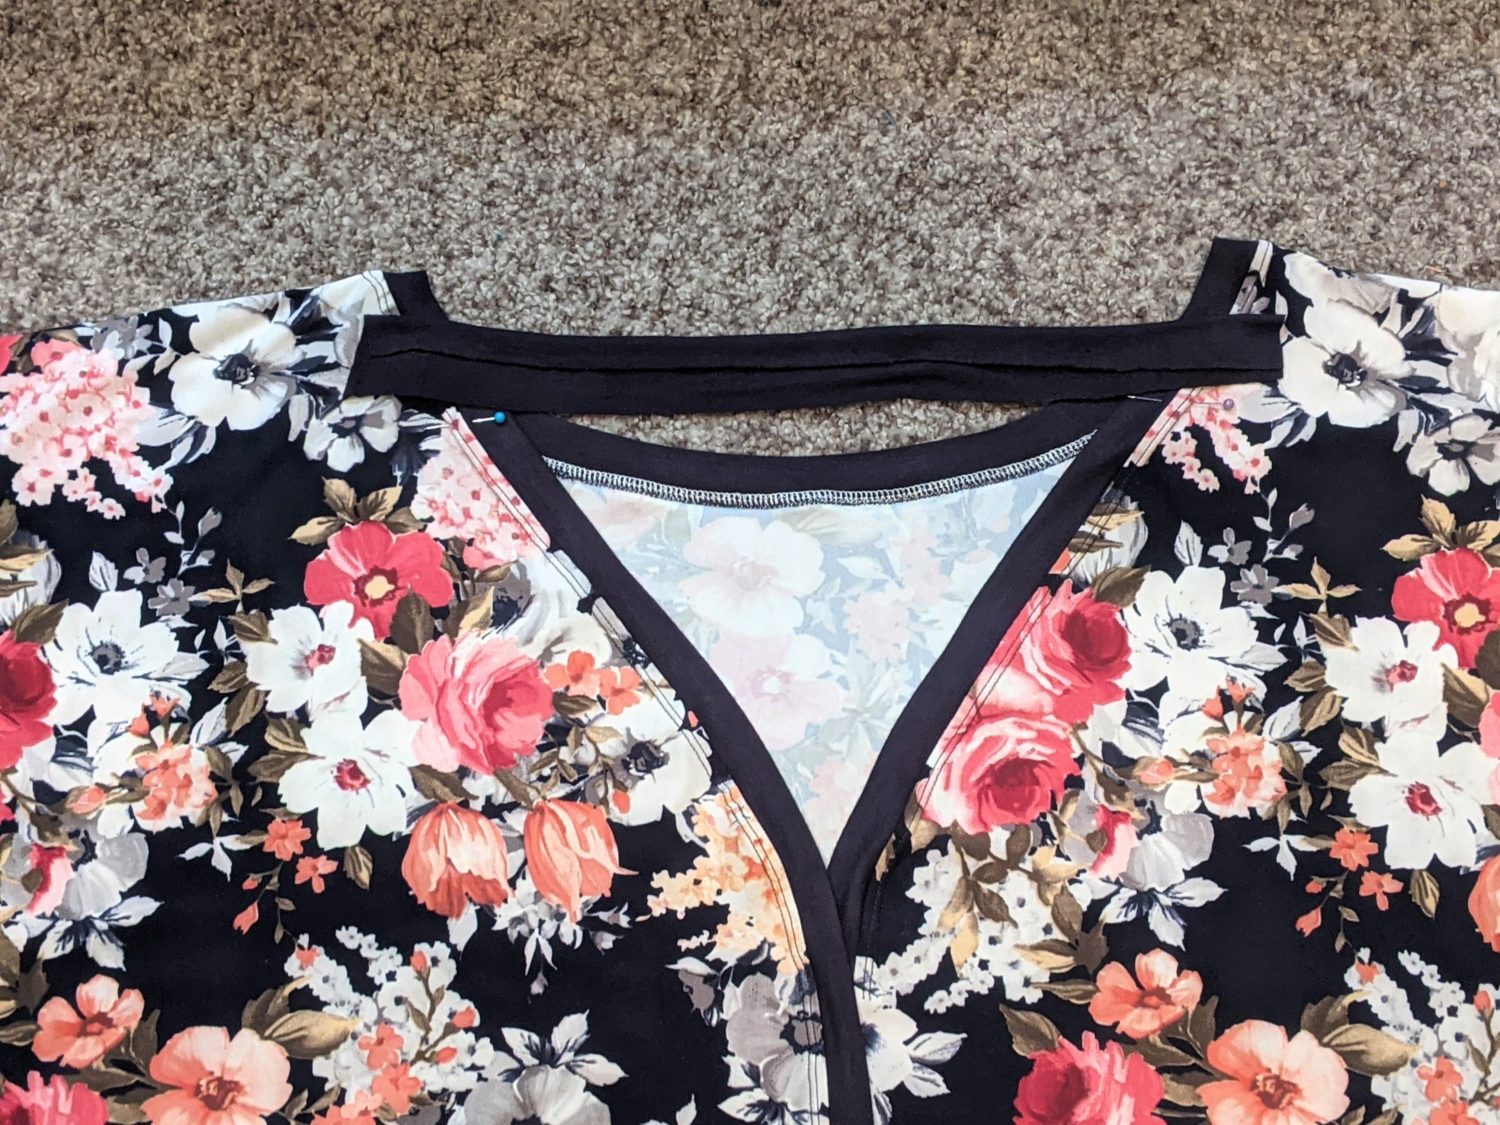
- Slide your binding piece under each side of the back bodice where you have your pins marking their placement and pin them in place.
- Sew over both sides with a stretch stitch.
- Cut off any excess binding on the inside.

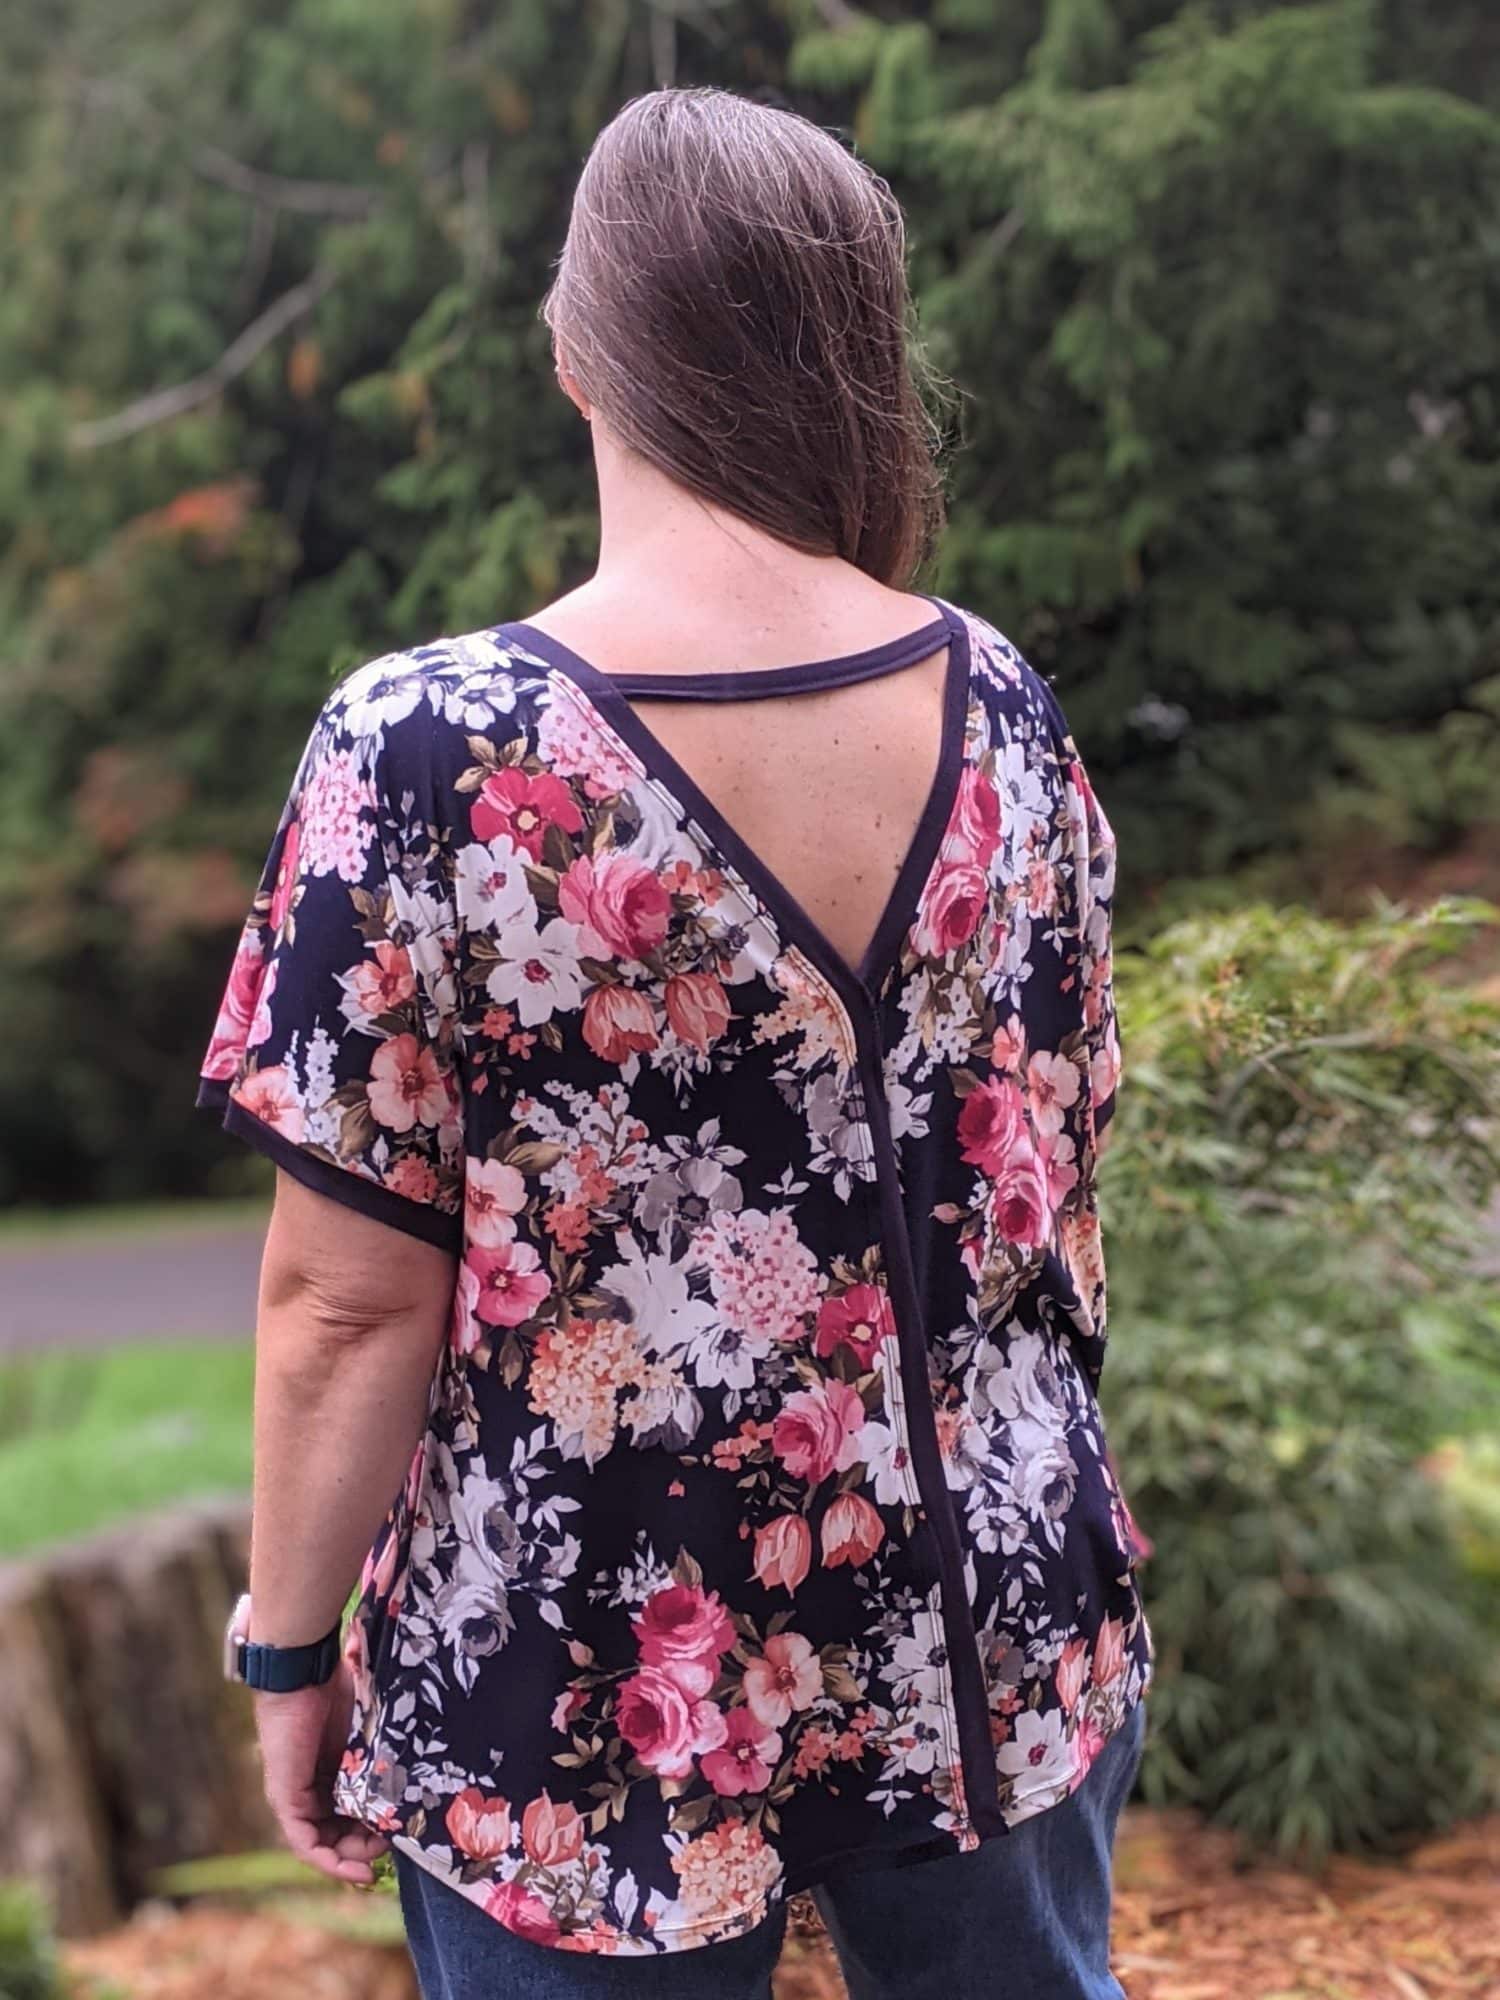
Woot! Woot! You did it!
Want more FUN DIY Freebies? Check out the FREEBIE TUTORIALS and the FREEBIE PATTERNS!
As always, we’re here to help if you need it! Join us HERE and on Facebook, Instagram, Twitter, Youtube, and Pinterest. We’re everywhere you are.
Love this!