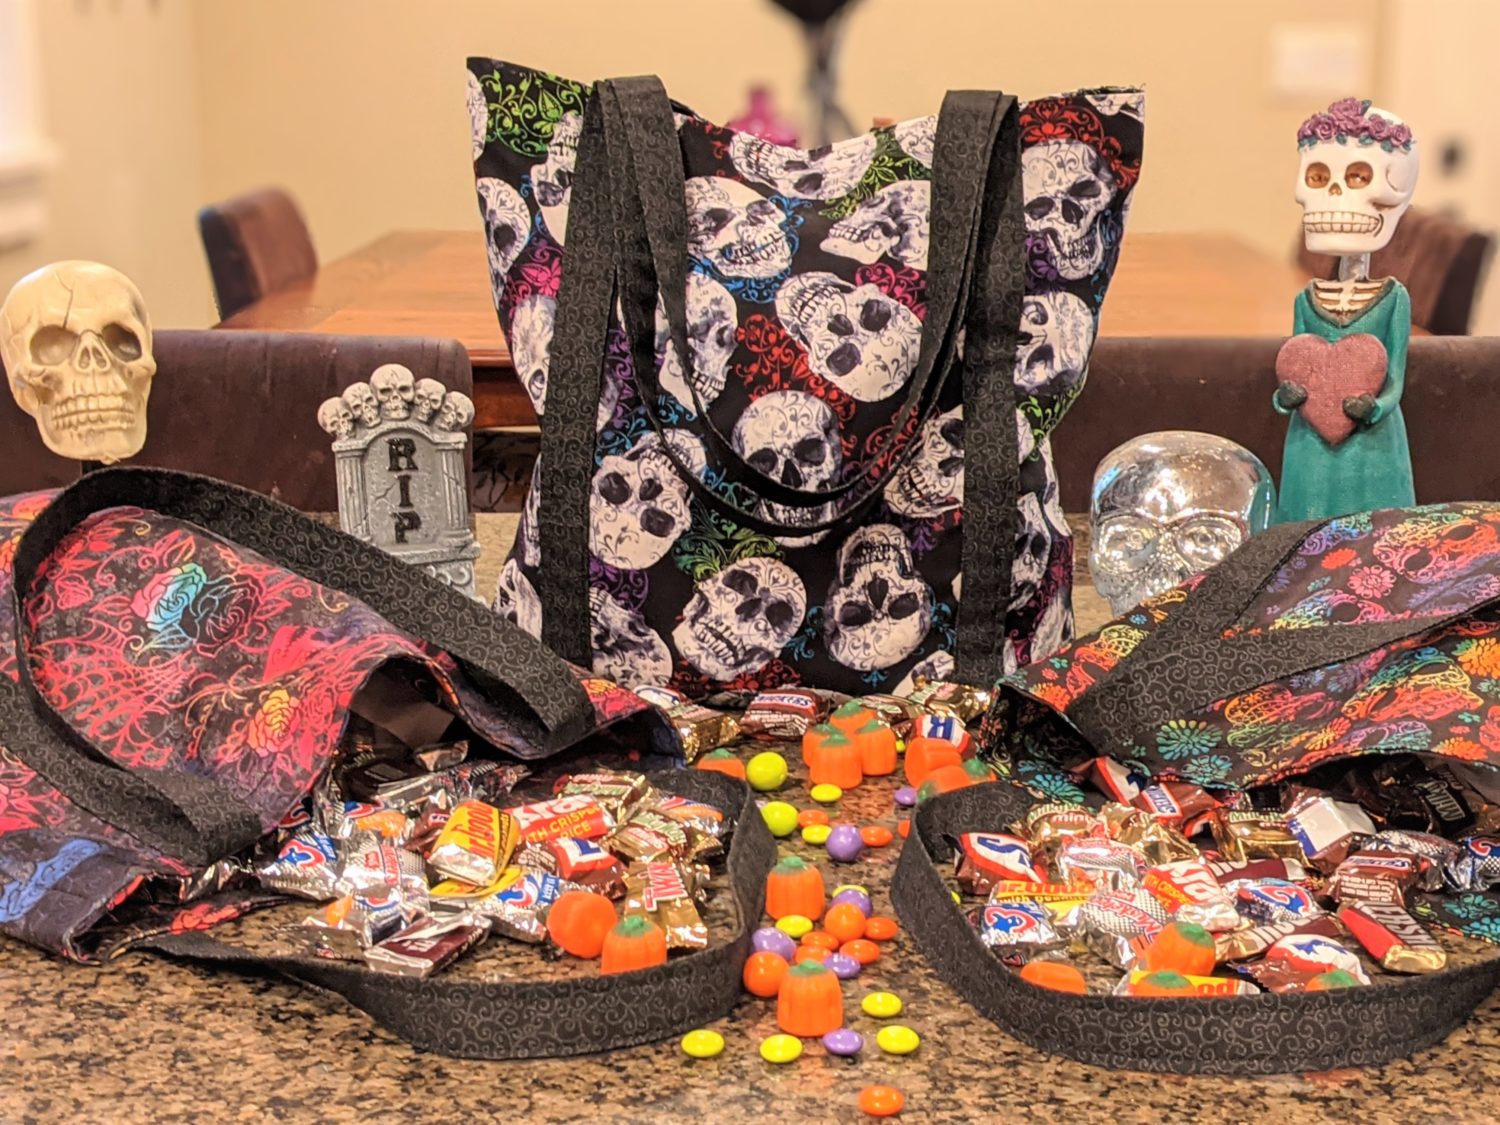
Growing up, my sister and I had Trick-Or-Treat bags that our mom sewed for us and I had always planned on making some for my kids. My oldest is now 13, but I guess it’s better late than never! I wanted to put their names on them with vinyl, but apparently, that’s embarrassing. Yet another reason I should have done this years ago before any of them were old enough to have an opinion.
Lined and Unlined Bag Options
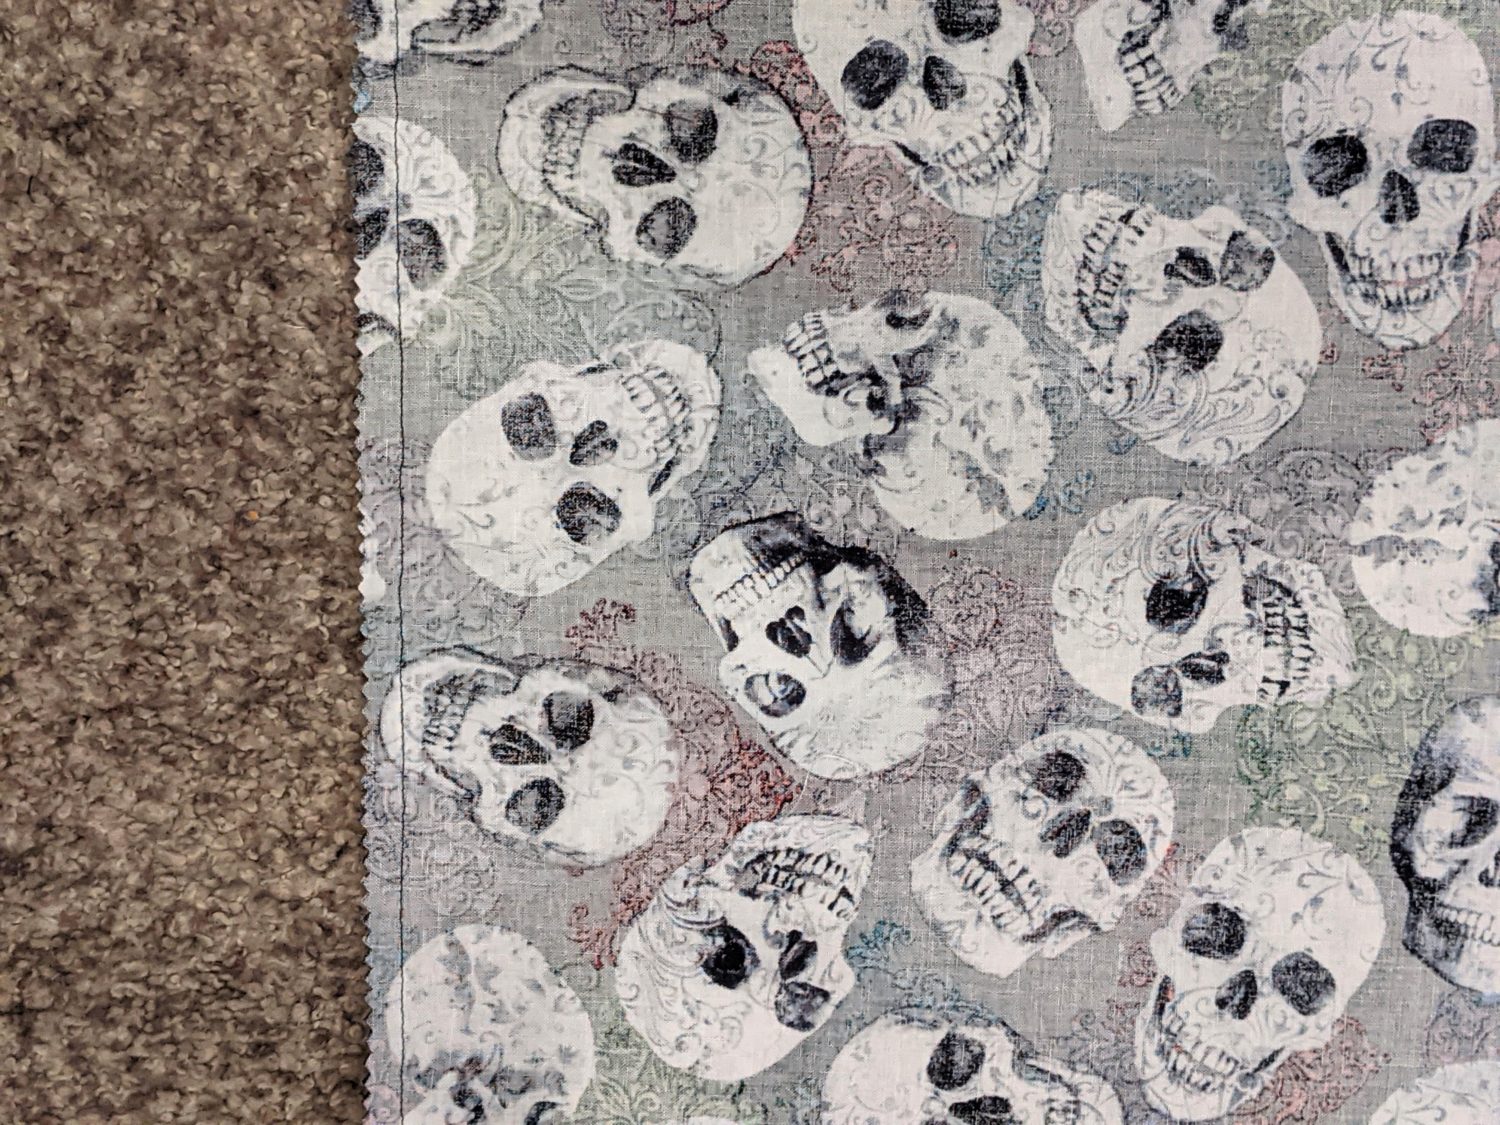
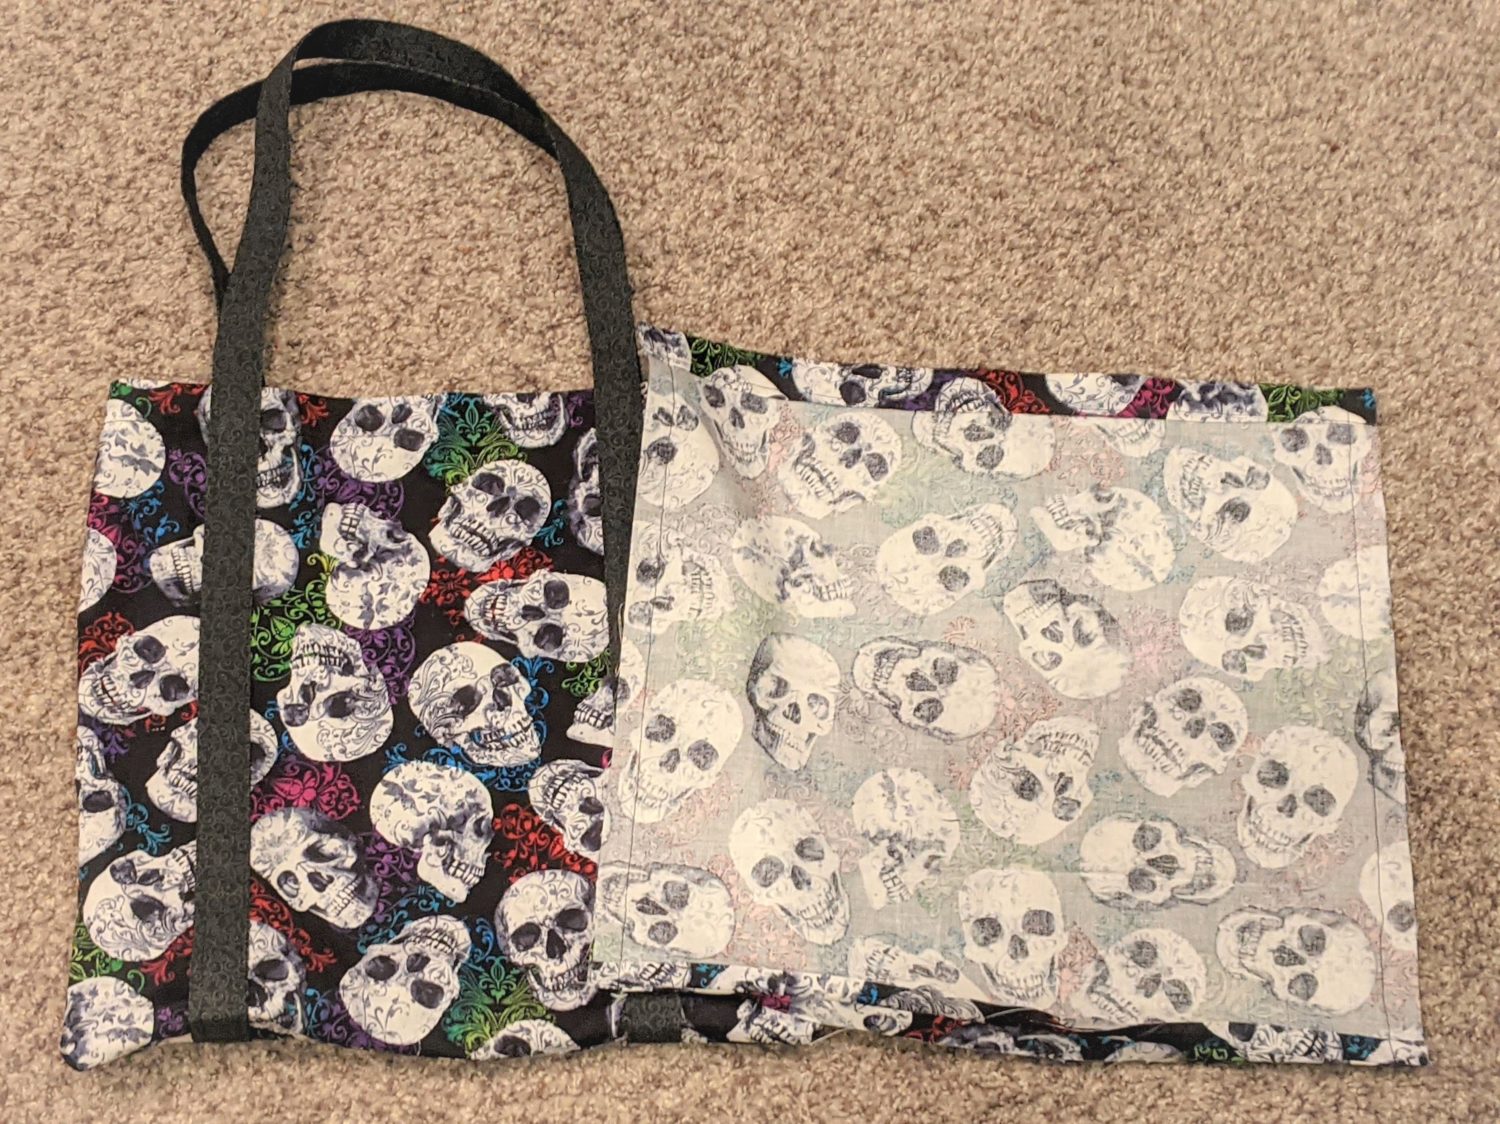
I started with making an unlined bag but decided that the fabric I used wasn’t quite stable enough for what I wanted. I sewed up a lining that was easily added in after. You can choose whatever makes you happy, and I’ll tell you when to add the extra steps if you are choosing to have the lining.
*All seam allowances are 1/2″ and sewn with a straight stitch unless otherwise stated.
*If you make an unlined bag, use pinking shears or an overcast stitch along the bottom and side edges to prevent fraying.
Fabric and Supplies
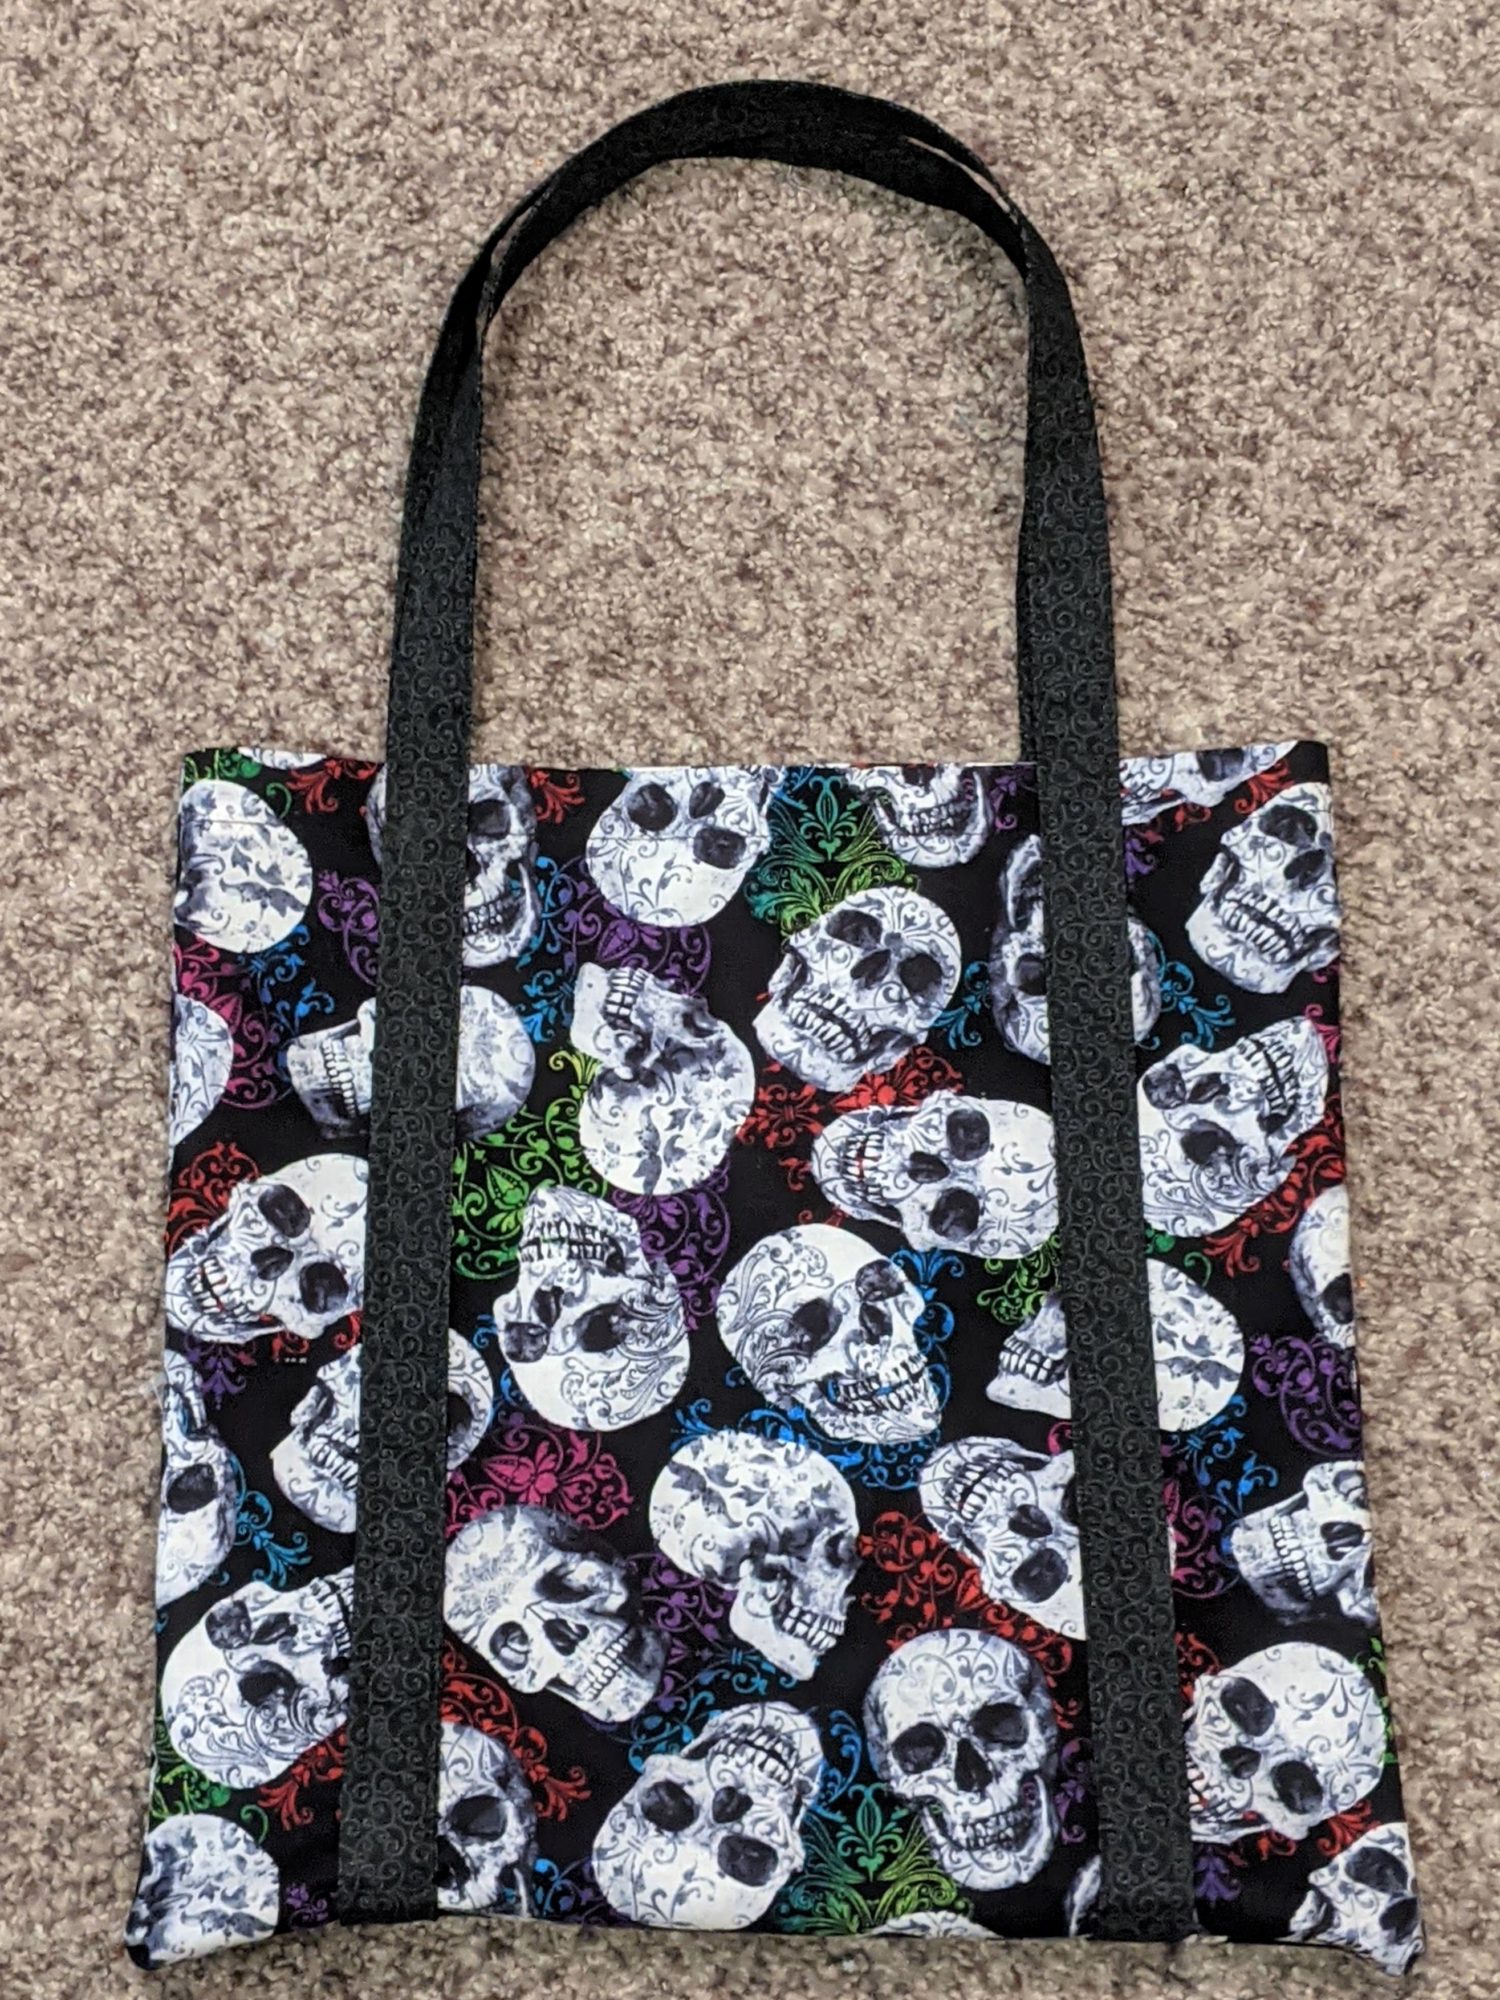
The finished bag measures approximately 14″ X 14″ and each handle extends about 18″ past the top of the bag.
- Woven Fabric:
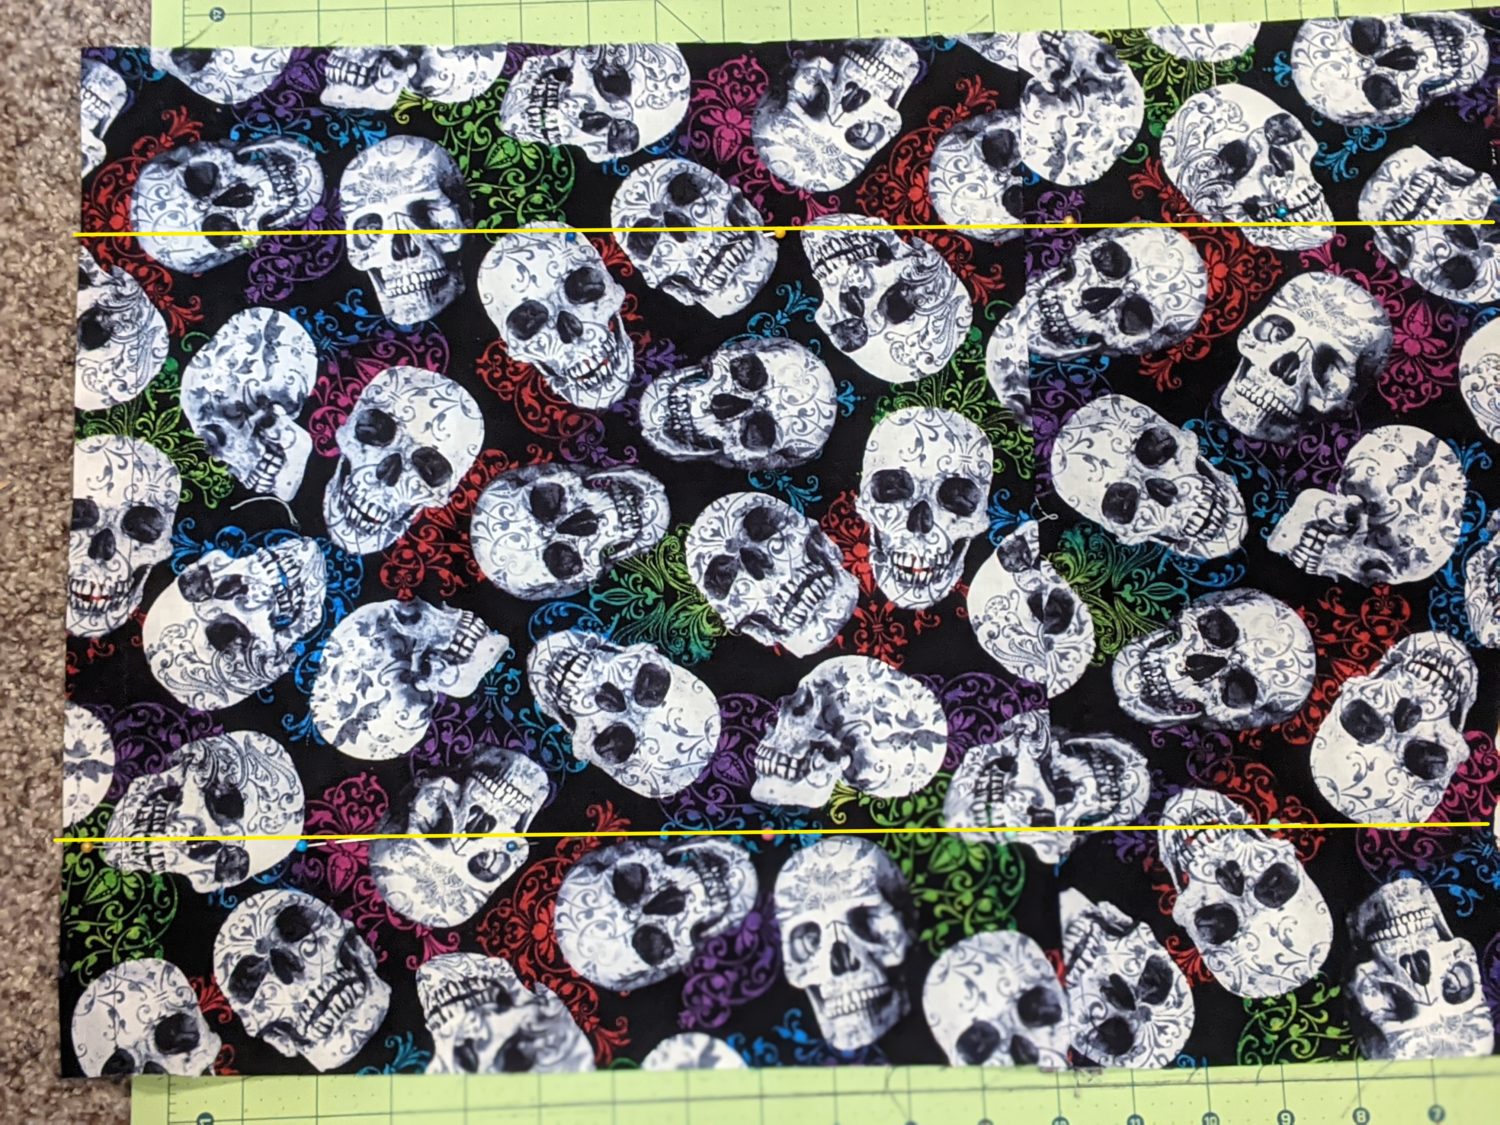
- Main fabric: 30″ wide by 16″ high – Cut into two 15″ X 16″ pieces (if you are using a directional print fabric, make sure you are cutting it the correct direction.)
- Optional lining fabric: same measurements as the main fabric
- Straps: 97″ long by 4″ wide. You will likely need multiple pieces sewn together to make a piece this long. If so, be sure to add the extra seam allowance into your measurement.
- Coordinating thread
- Sewing machine and basic sewing supplies
- Optional: wash-away wondertape and a rotary cutter and mat are very helpful
Let’s Get Sewing!
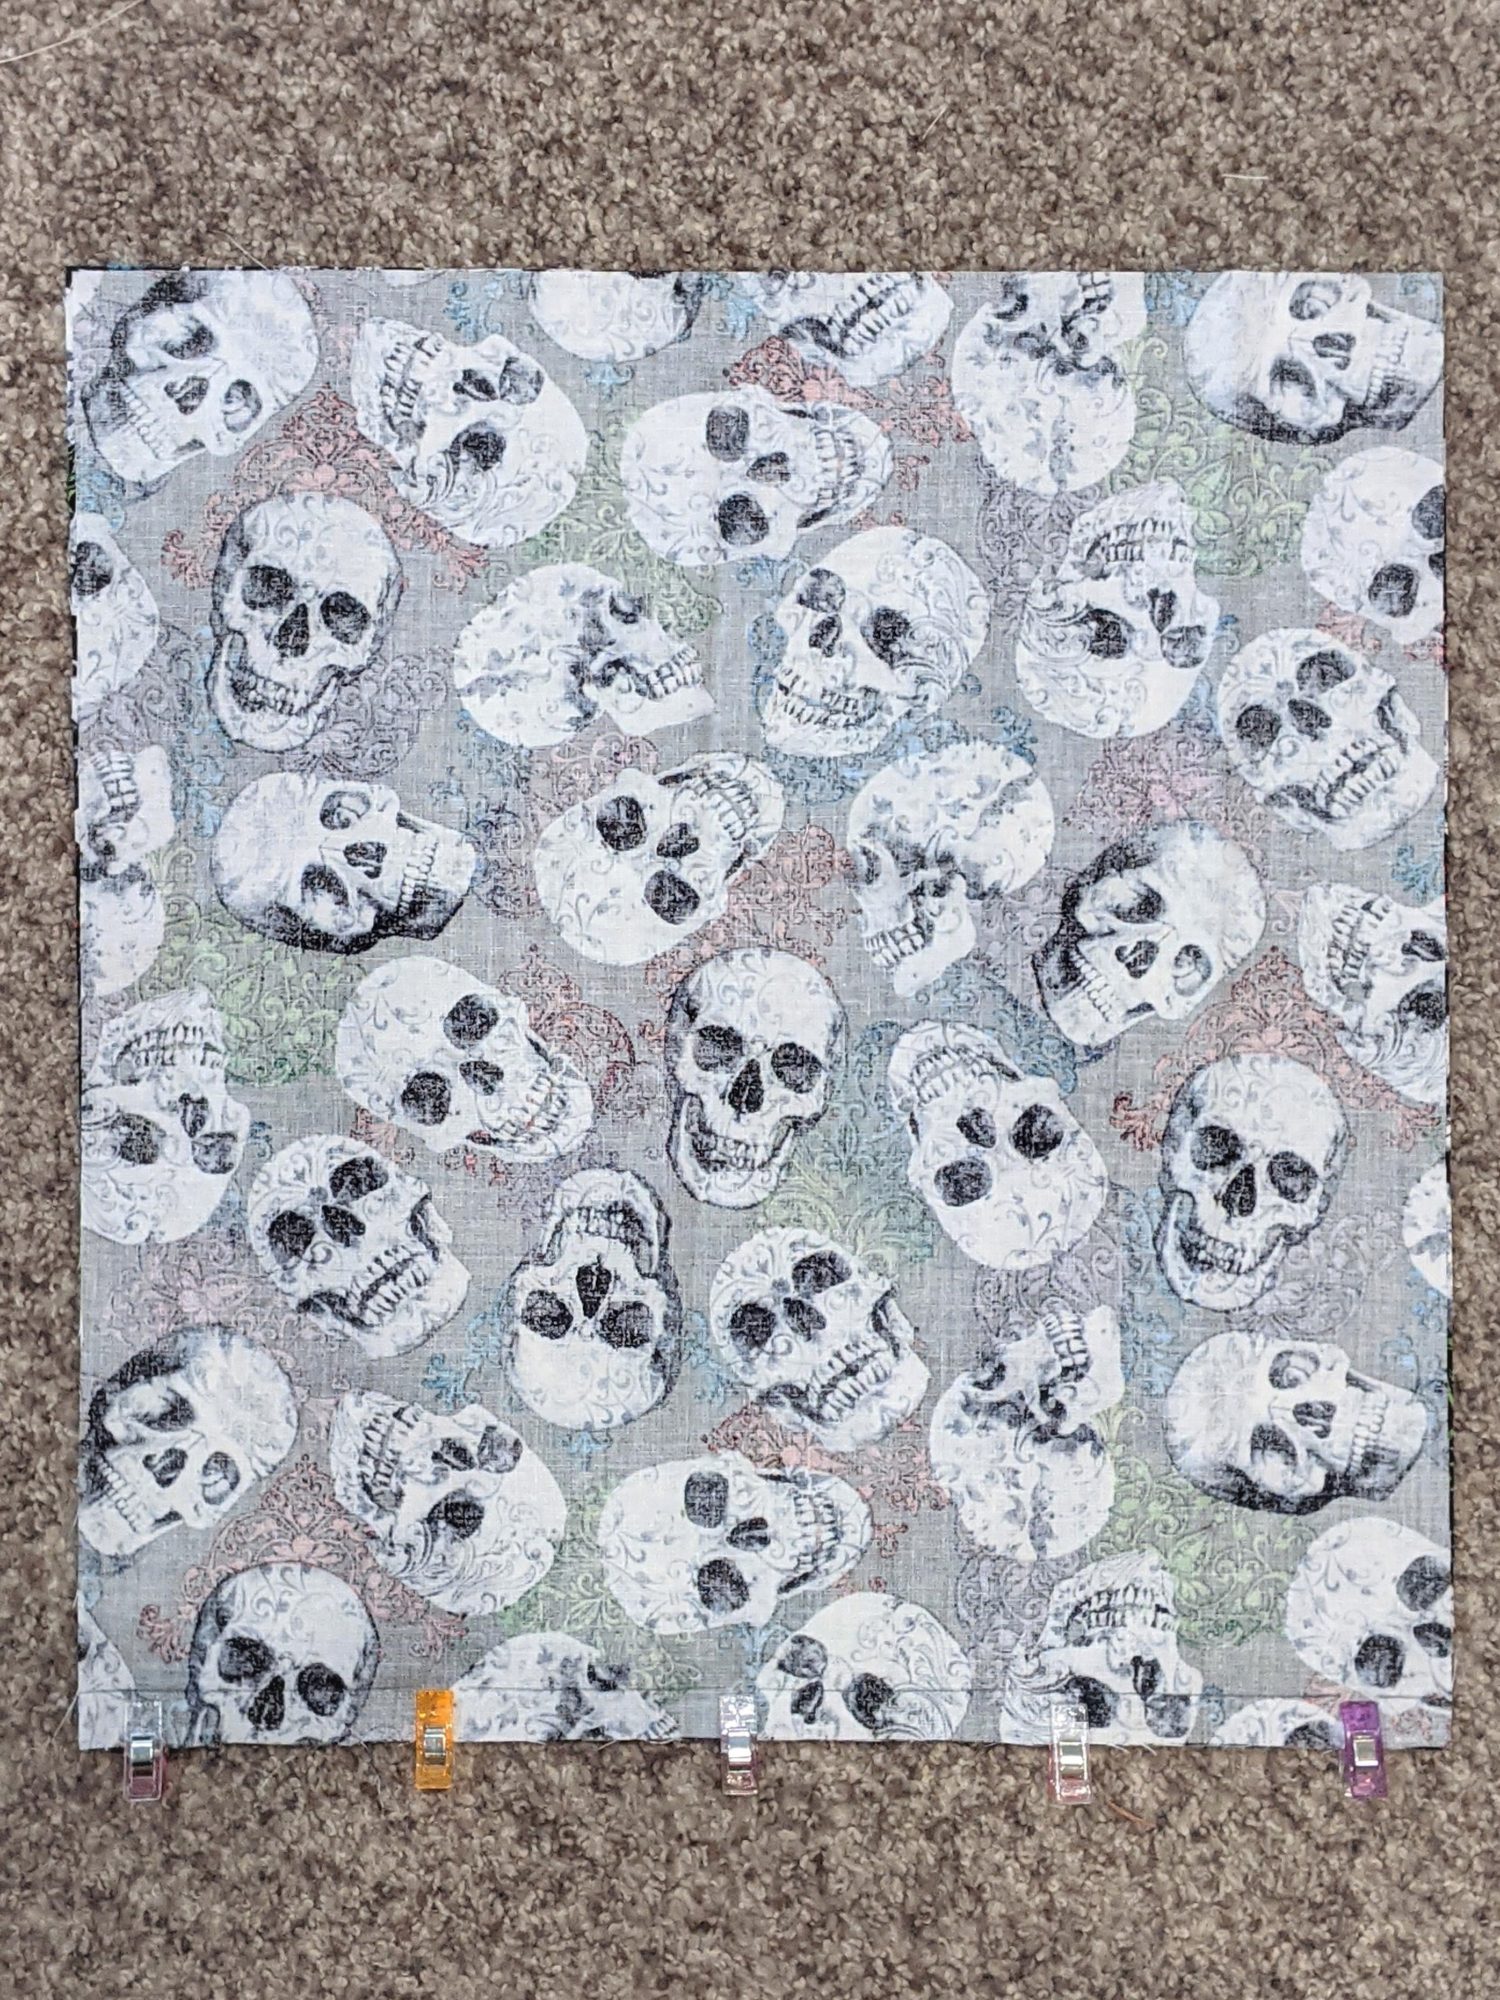
- Make sure you have your main fabric cut into two 15″ X 16″ pieces.
- Lay your two pieces right sides together and pin along the bottom (15″) edge.
- Sew along the bottom edge.
- Press the seam allowance open.
Pin the bottom edge 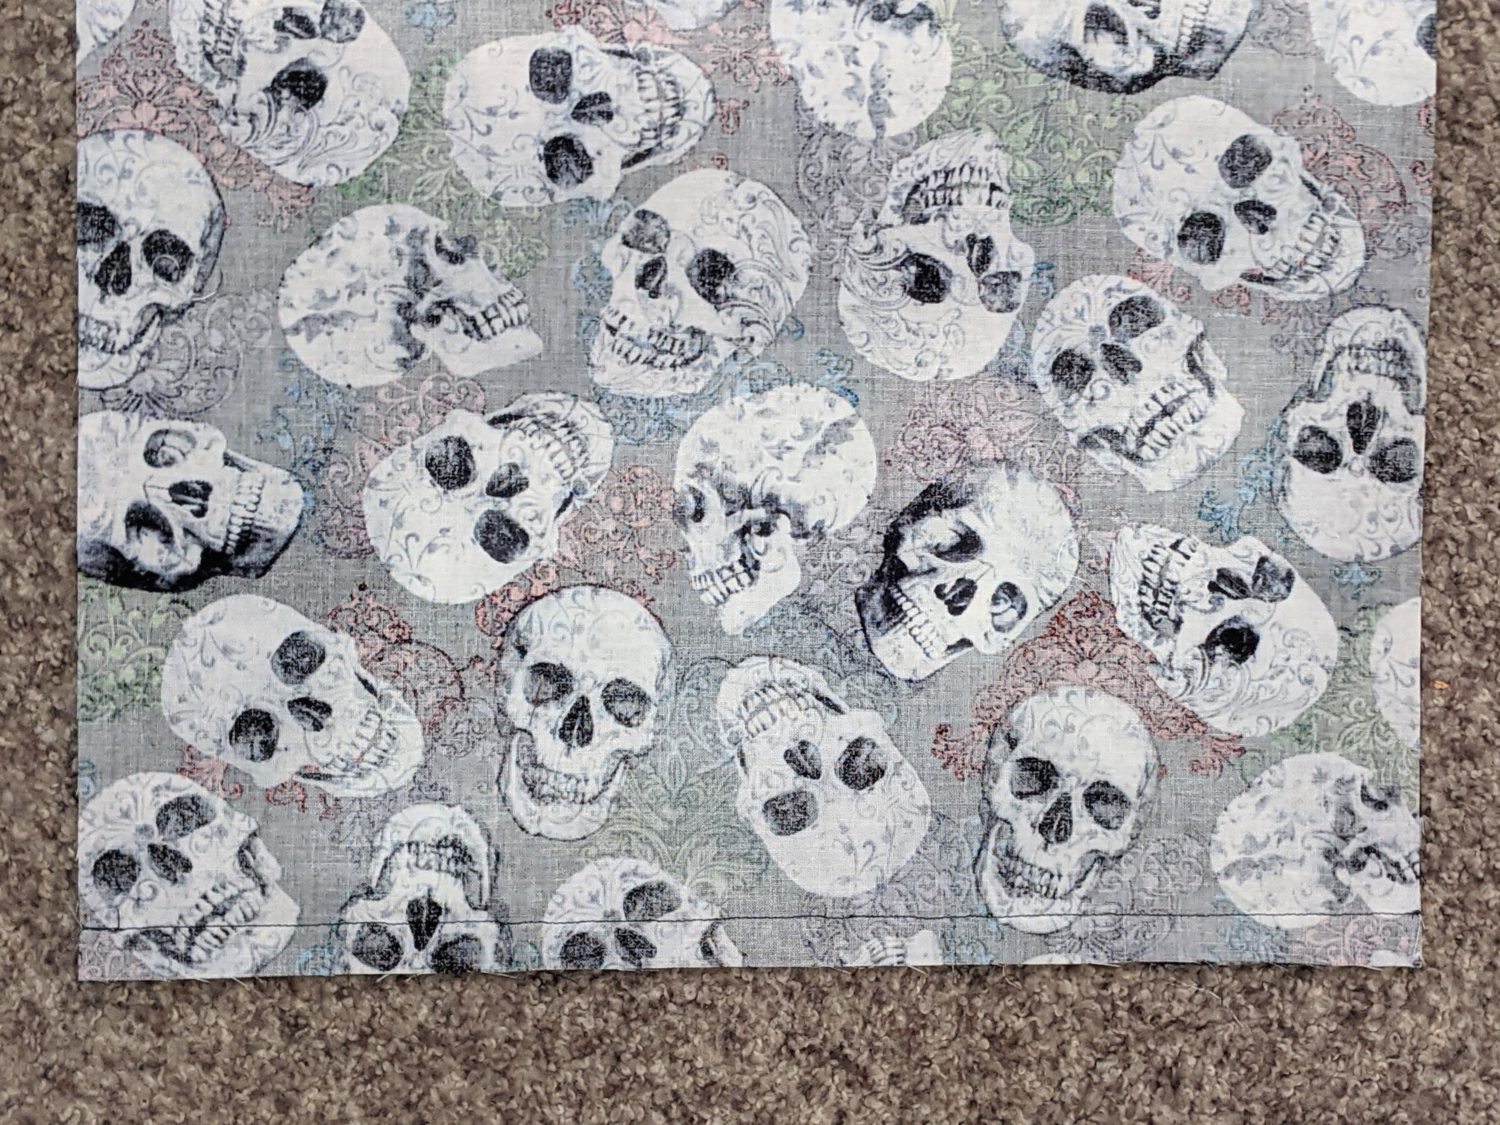
Sew the bottom edge
Trim seam allowance with pinking shears 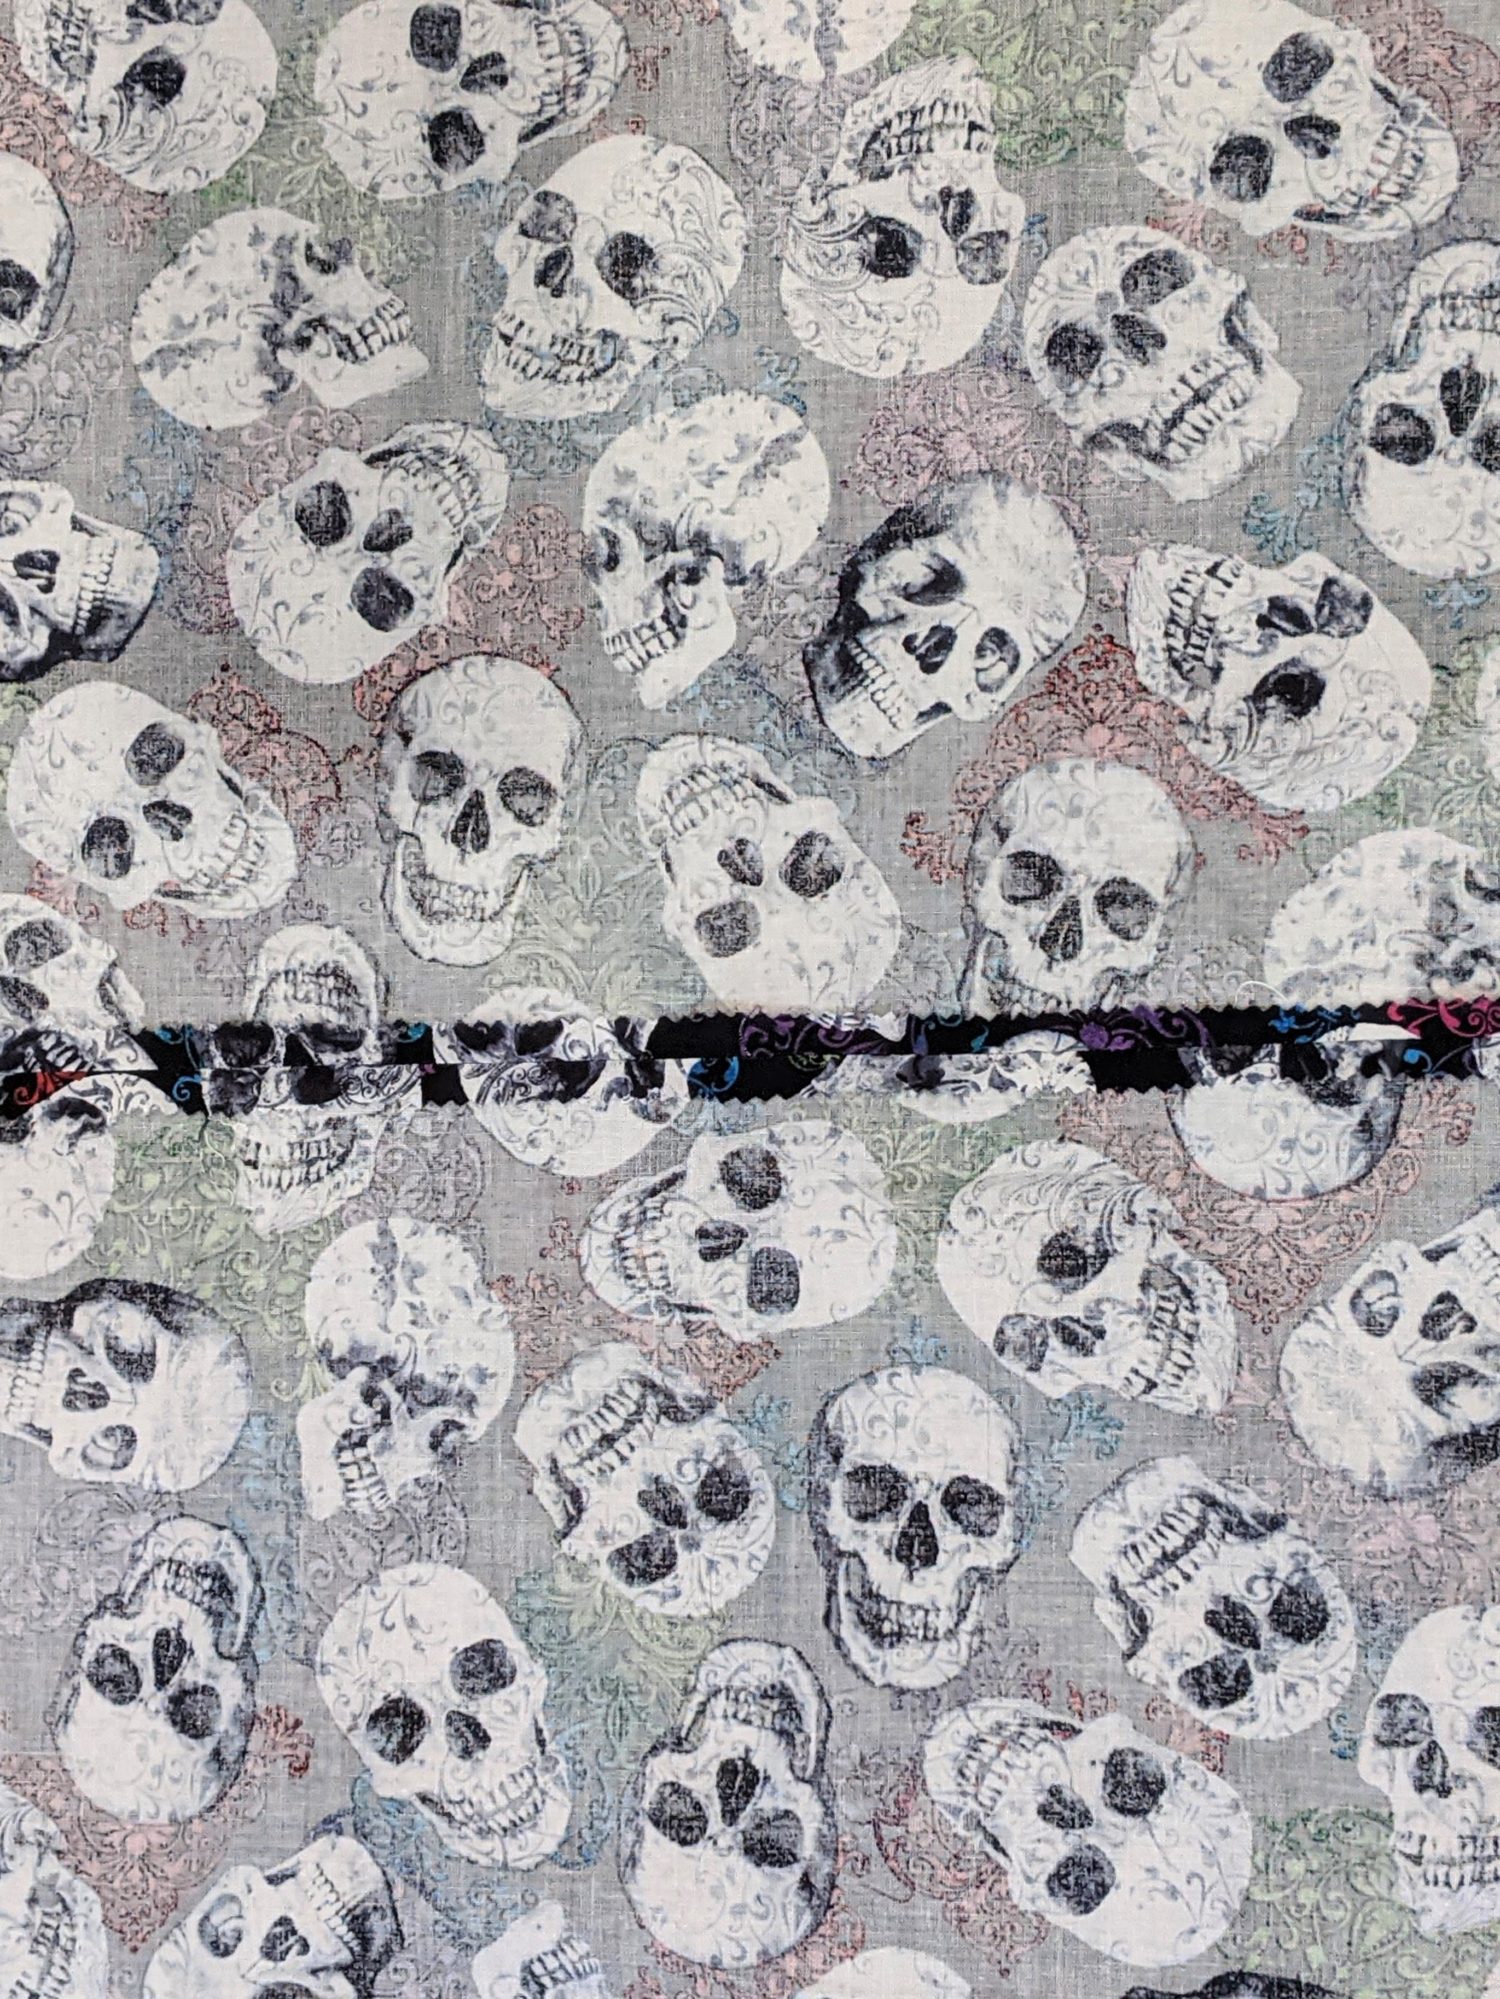
Press seam allowance open
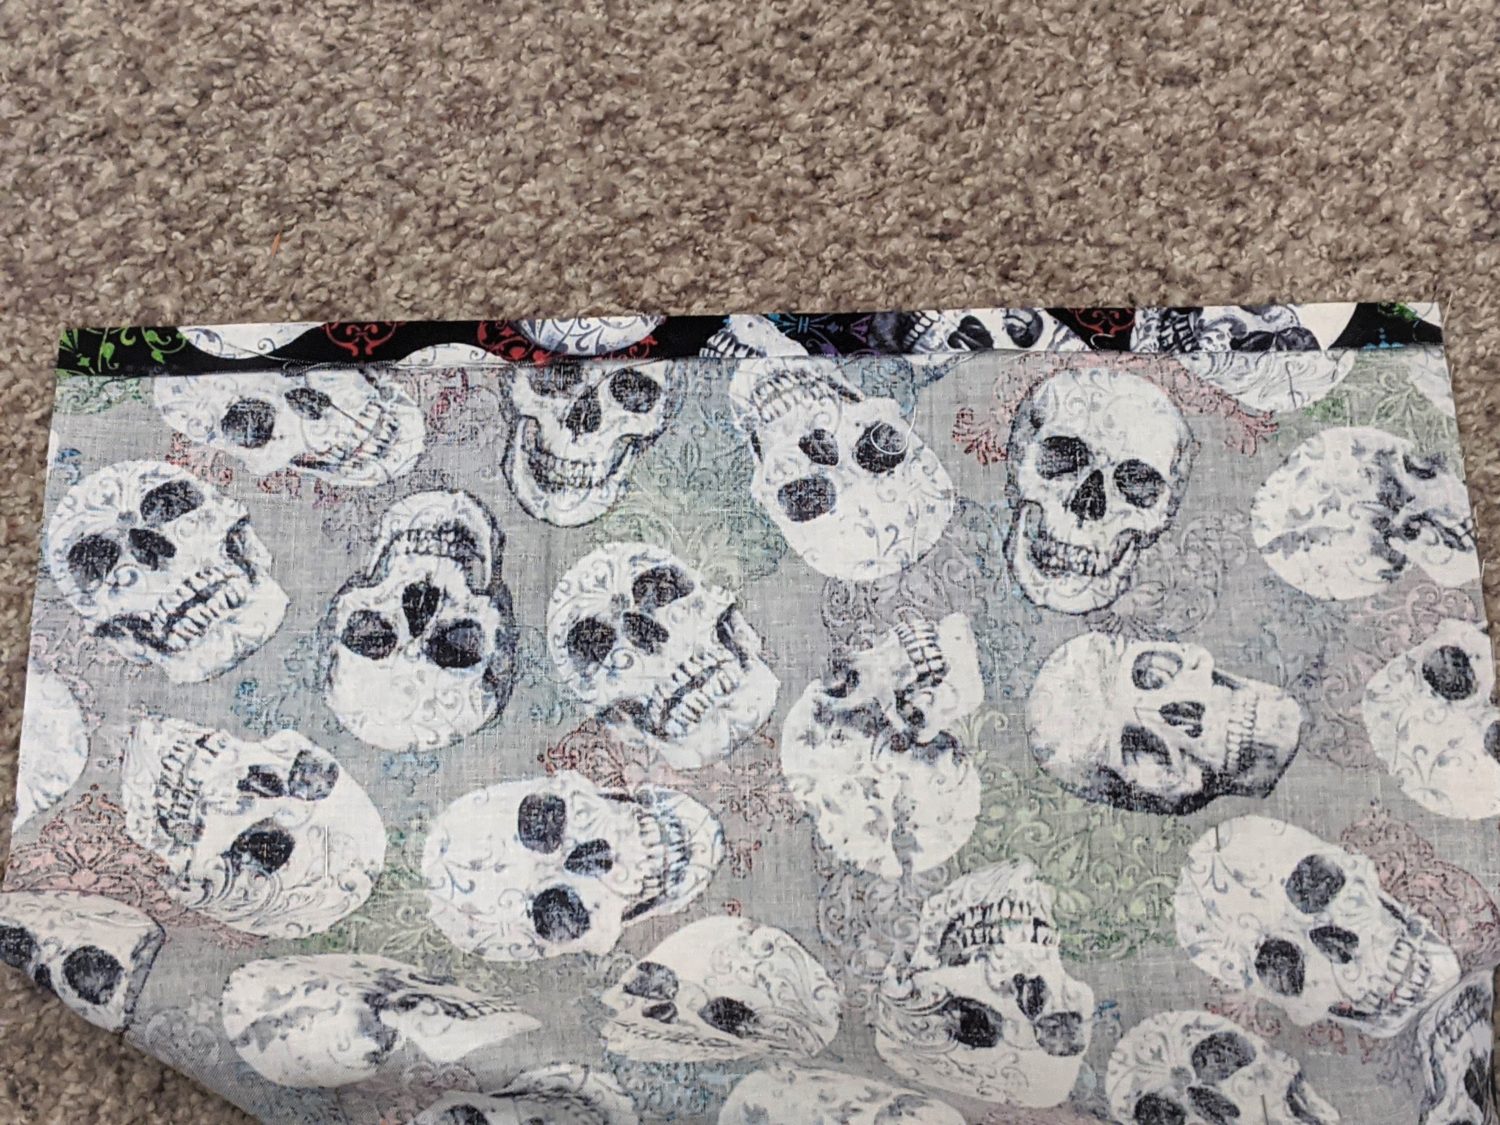
- At each short end, fold the edge in towards the wrong side 1/2″ and press.
- Fold the same edge over another 1″ and press.
- Pin the edge and sew with a 3/4″ seam allowance.
IF YOU ARE ADDING A LINING, REPEAT ALL STEPS WITH THE LINING PIECES.
Fold over 1/2″ 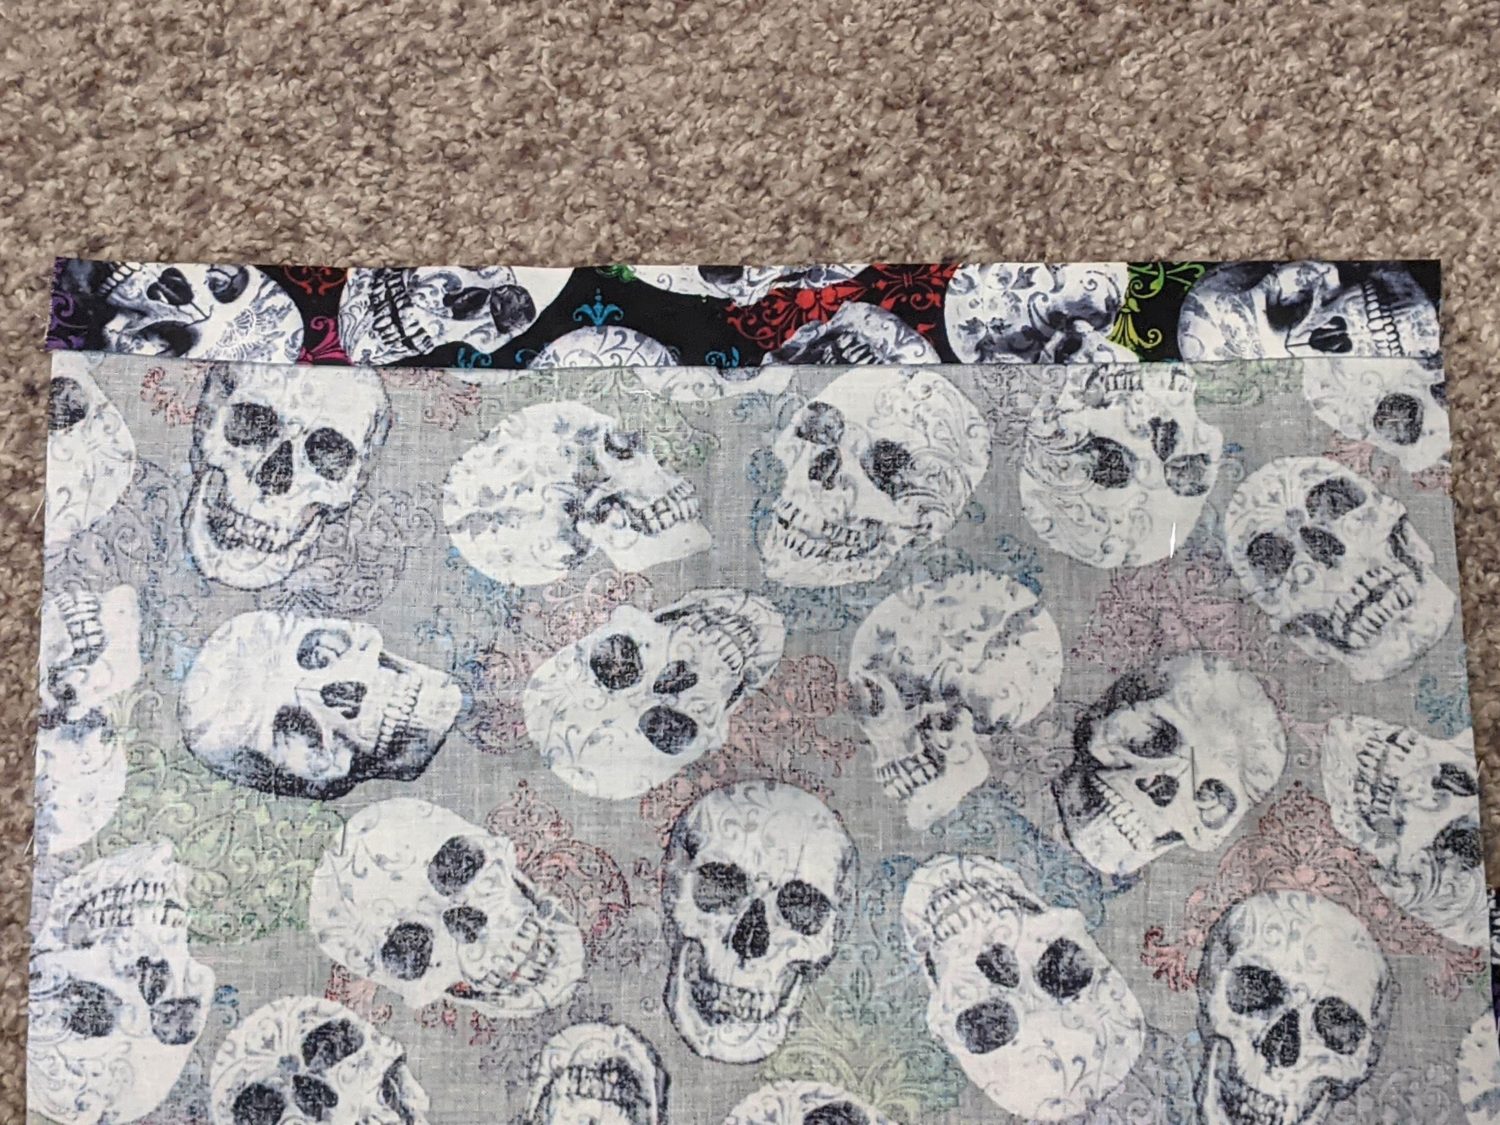
Fold over 1″
Sew with 3/4″ seam allowance
Straps
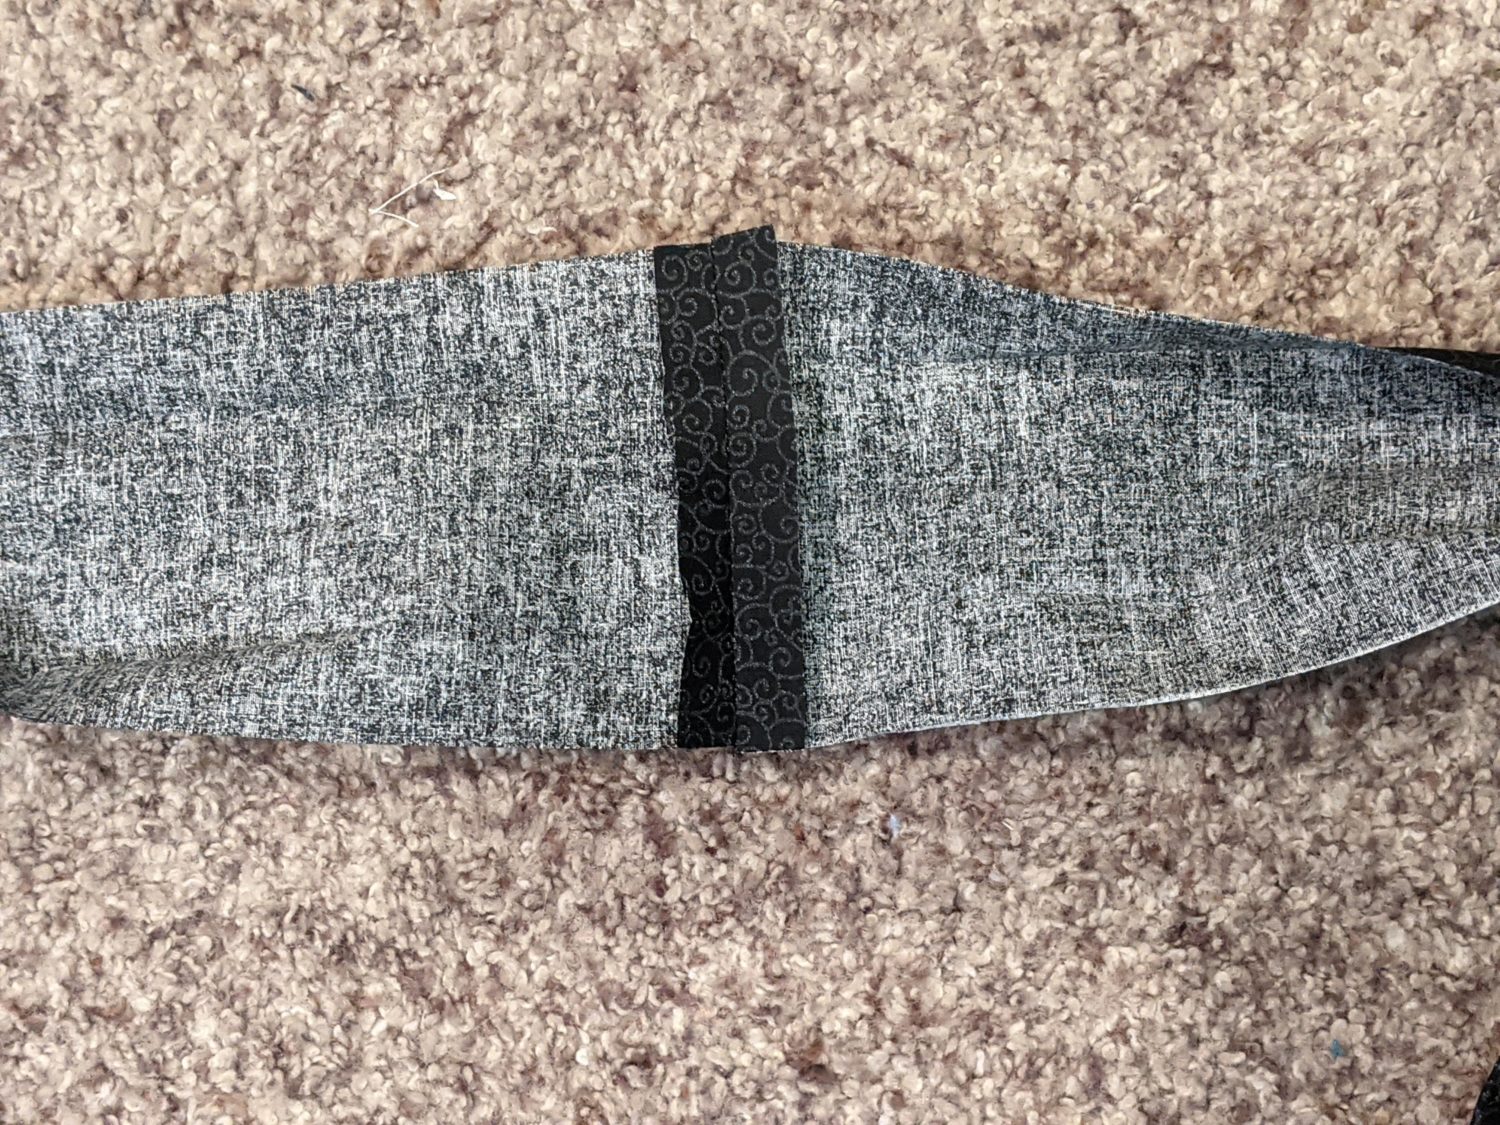
If you had to cut more than one piece of fabric to make your straps long enough, sew them right sides together at the short ends and press the seam allowance open.
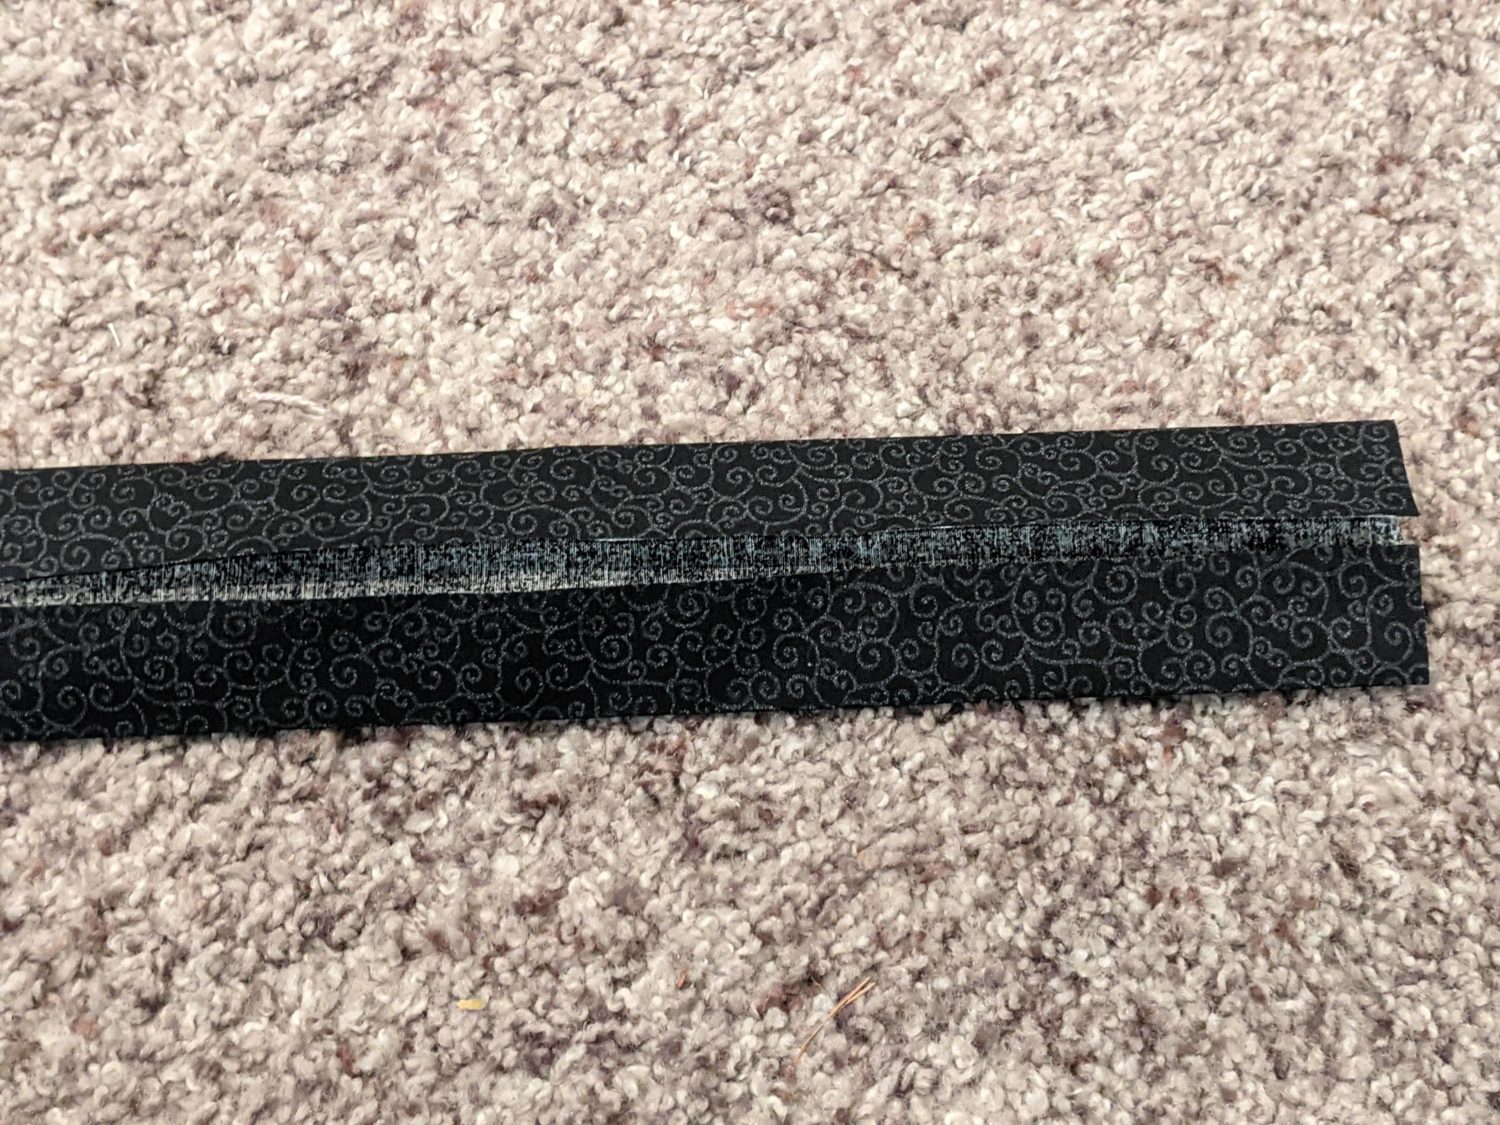
- Take your long fabric strap and fold it in half lengthwise all the way down and press.
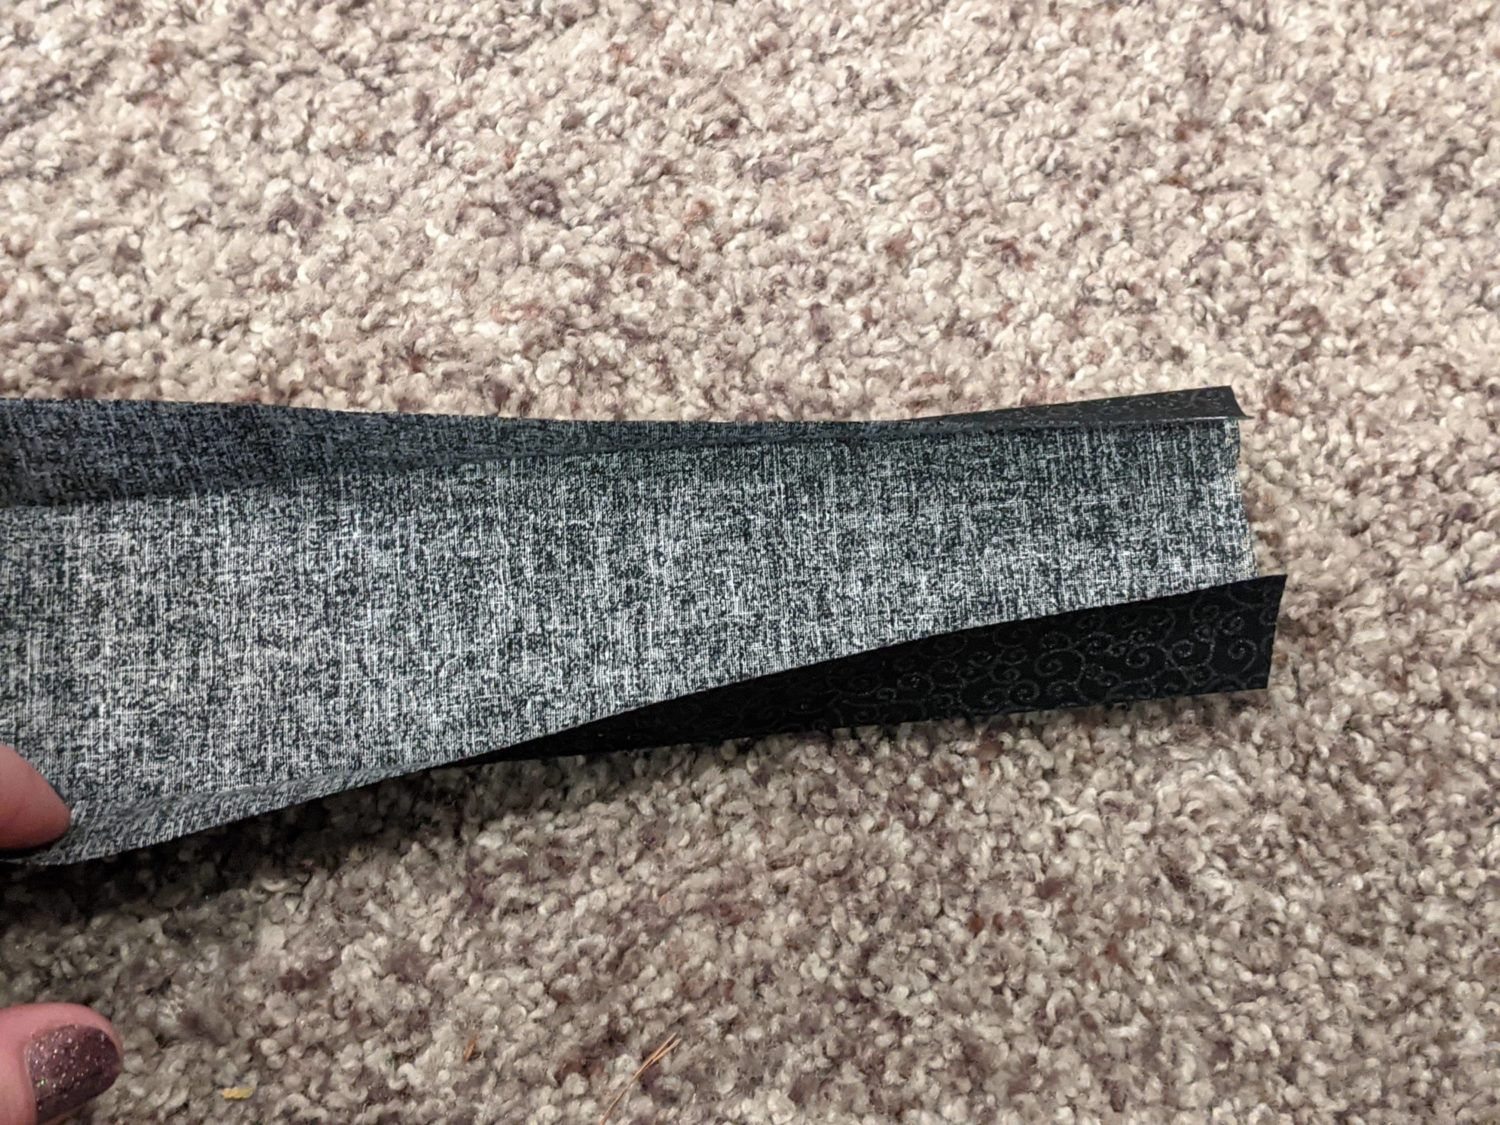
- Open the fabric and fold each long edge in towards the center crease line and press.

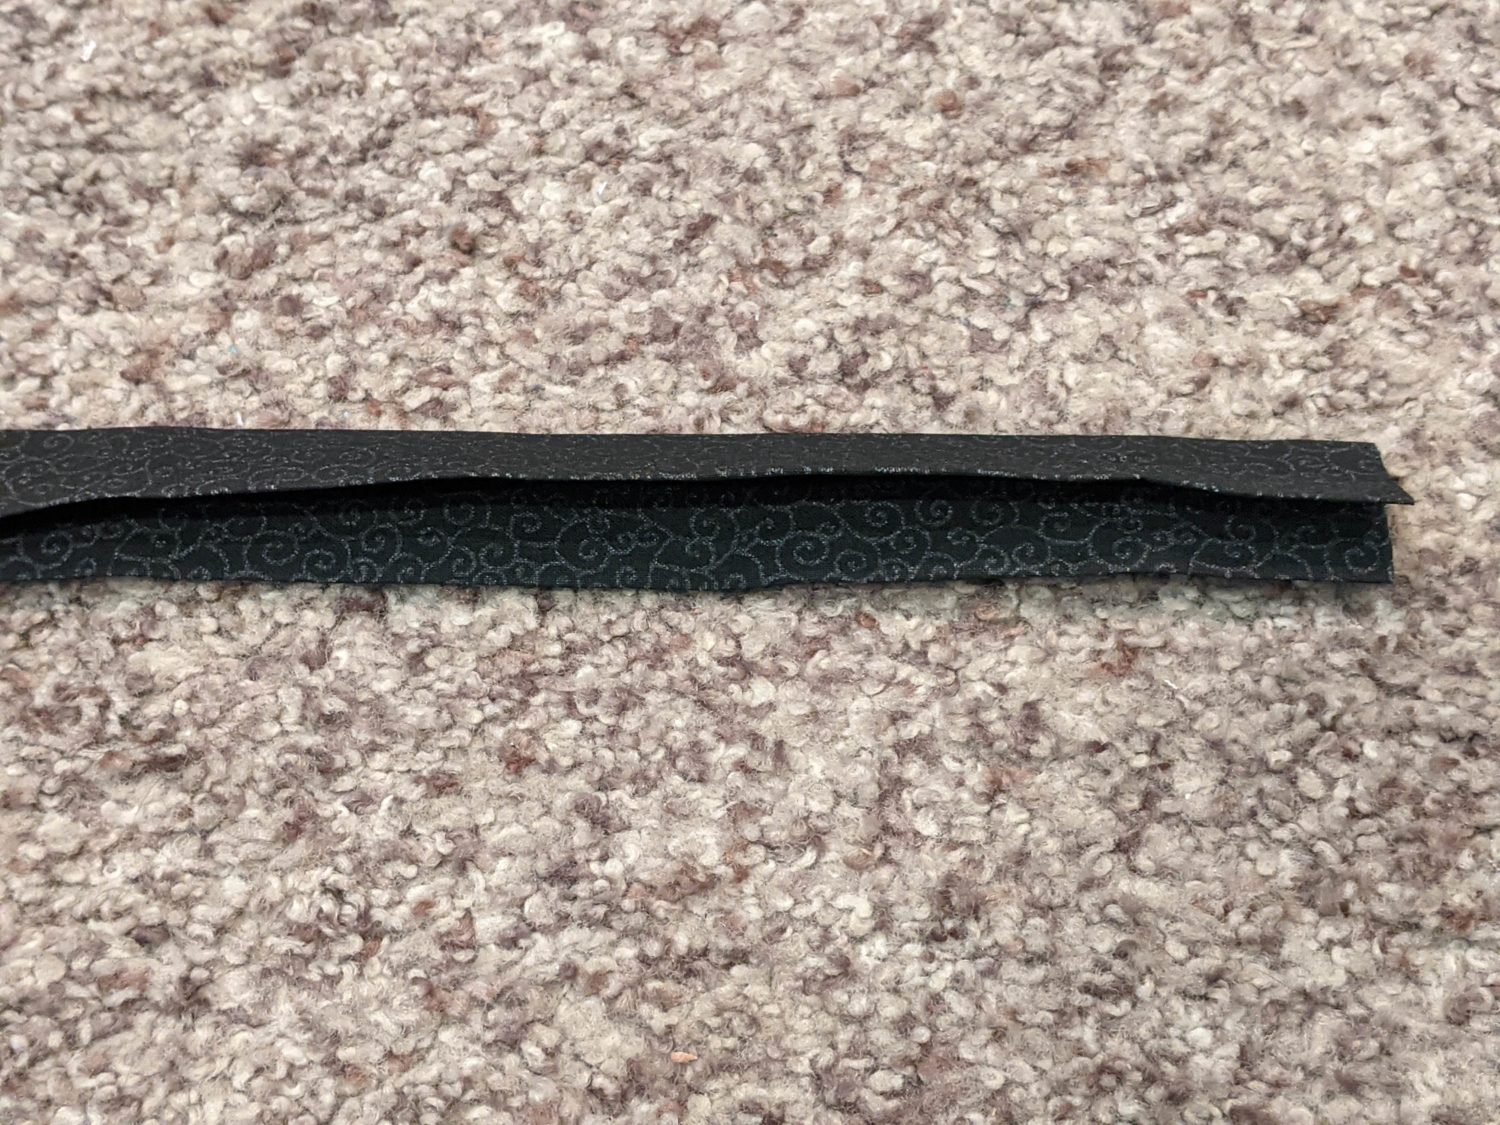
- Refold the whole piece lengthwise and press creating one long strip that is 1″ wide.
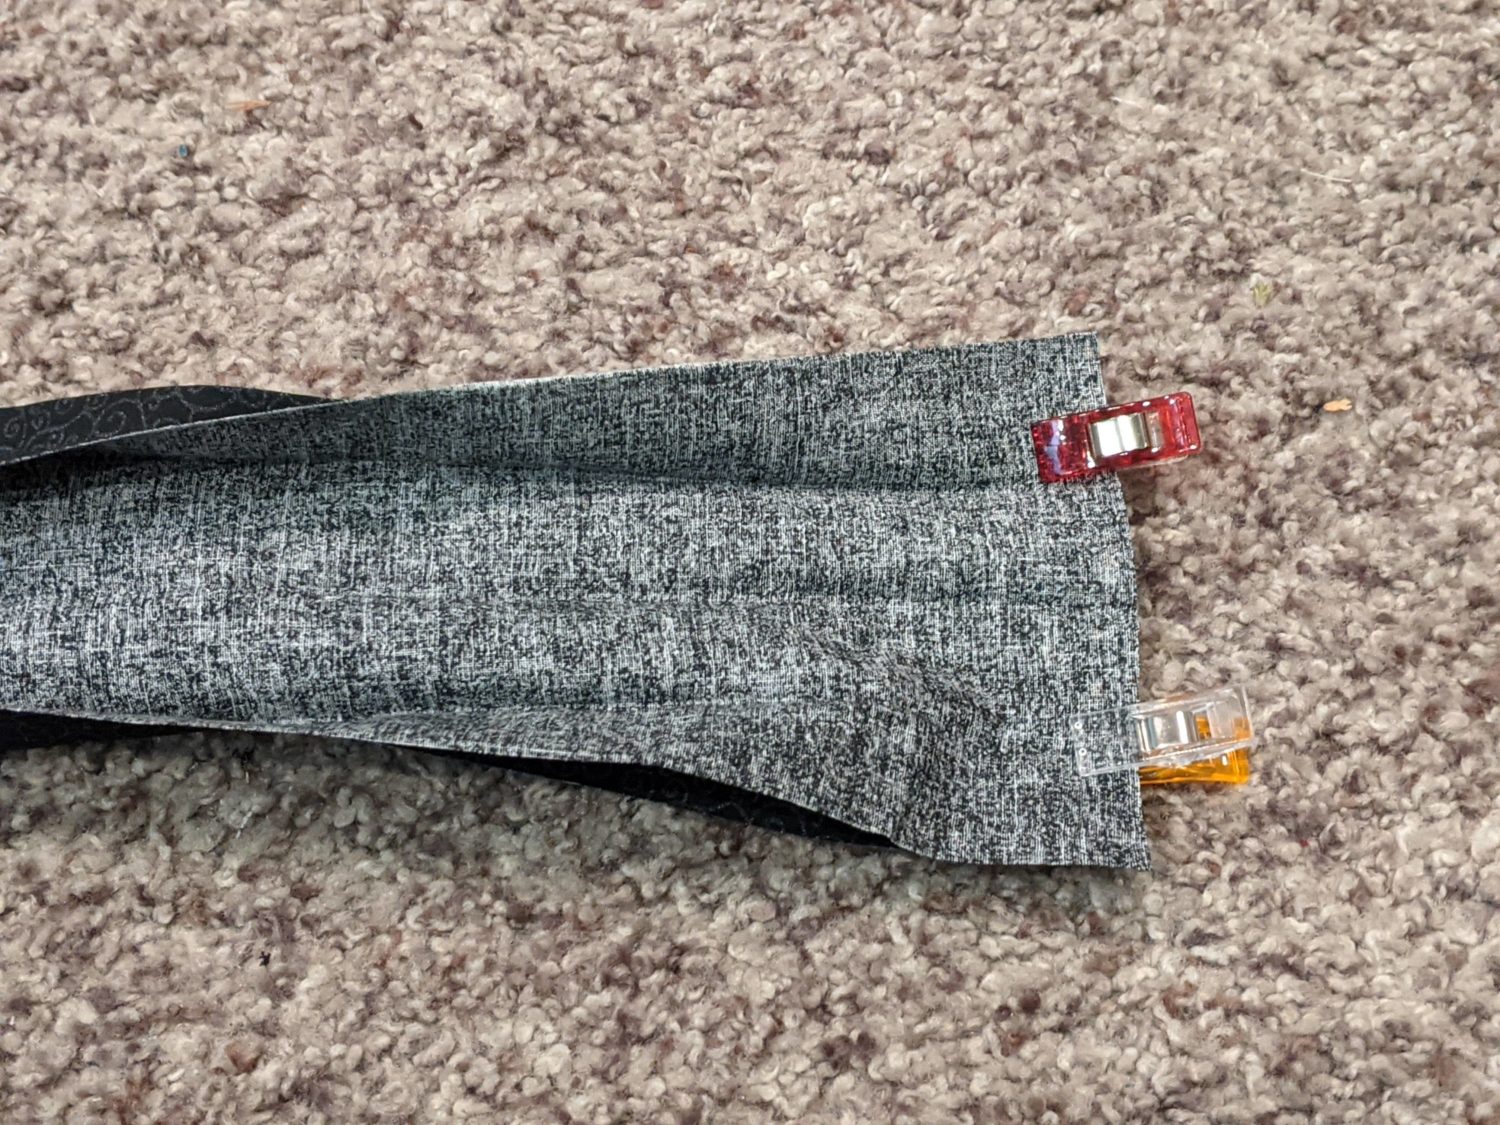
- Take both short ends of the long strap and open them up.
- Pin the ends right sides together and sew. Be sure it’s not twisted.
- Refold and press.
Attaching the Strap
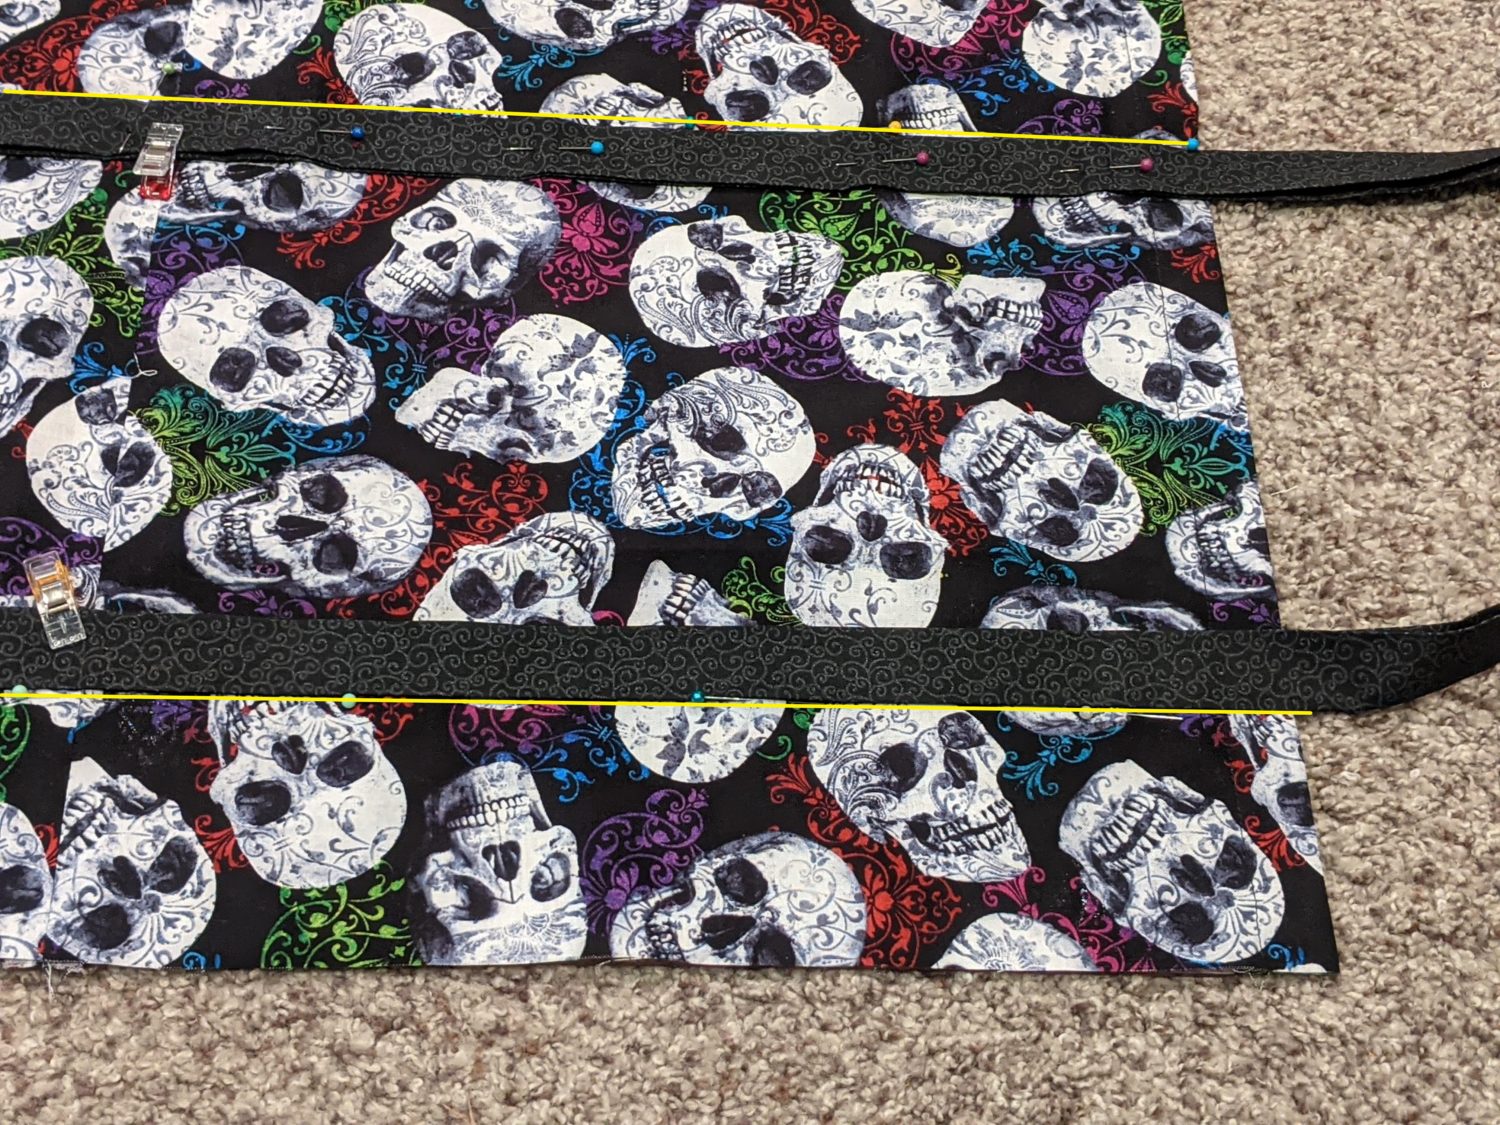
- On the right side of your main bag, measure in 3″ from both long sides and mark with pins.
- Optionally, you can stick a long strip of wash-away wondertape 3″ in from each long edge.
- Quarter and pin your strap piece.
Measure 3″ in on both sides 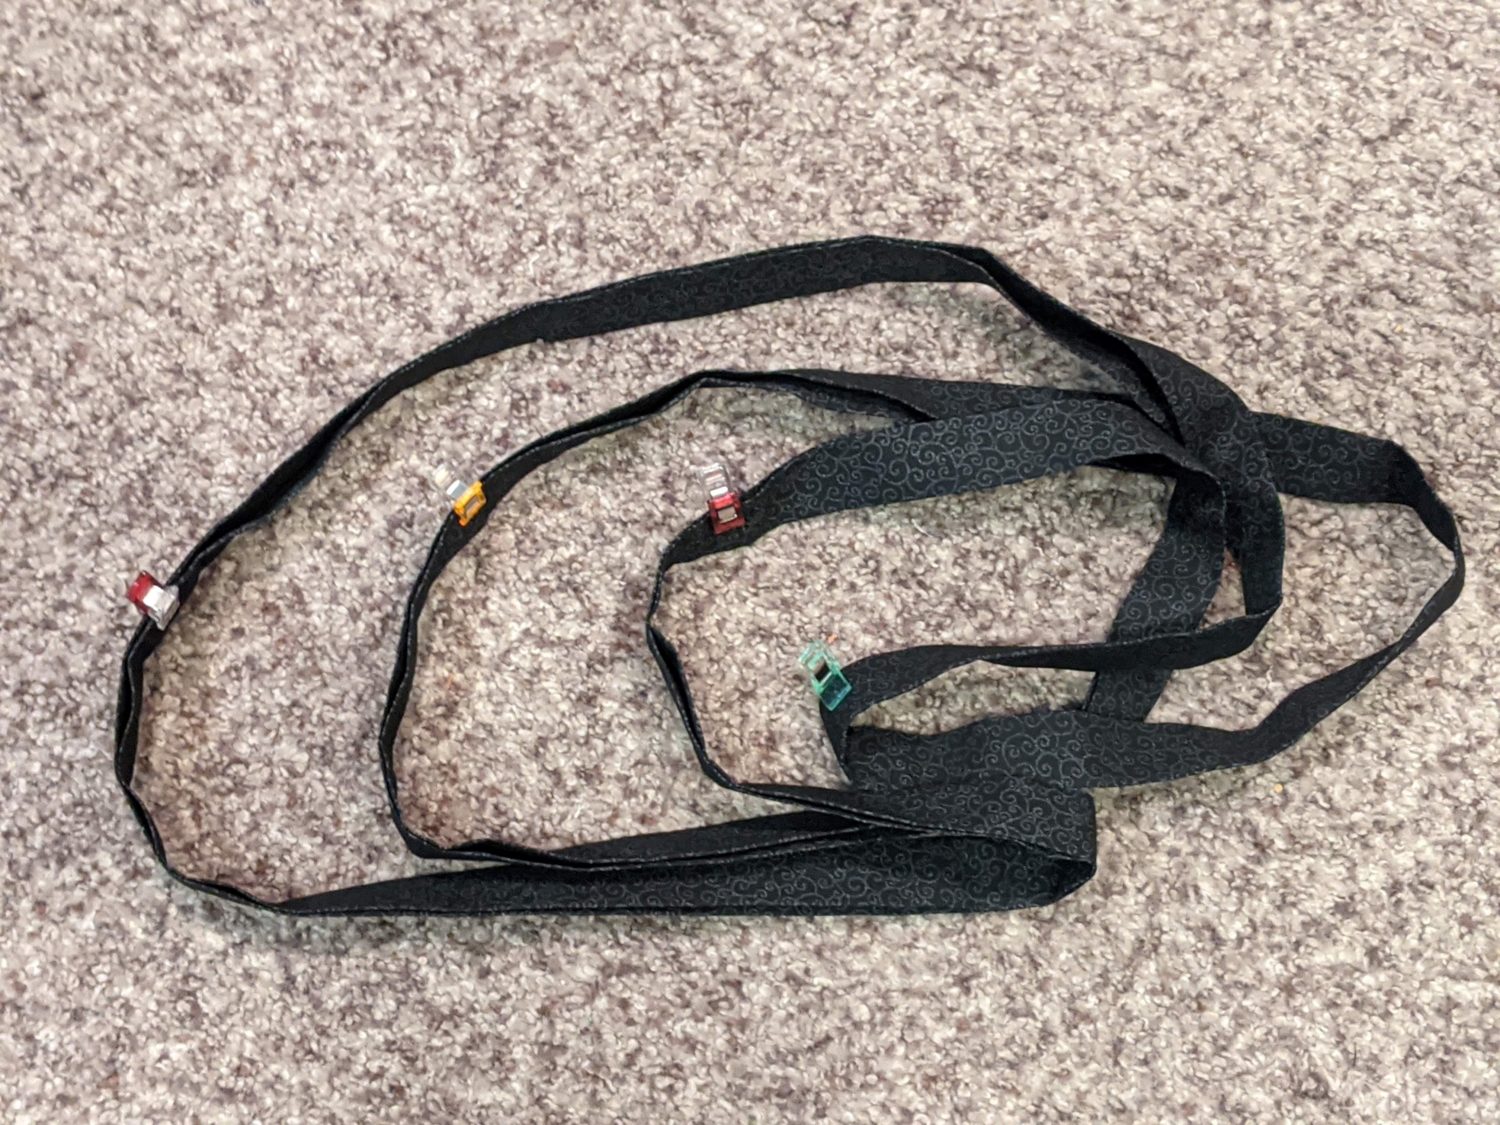
Quarter and pin the strap
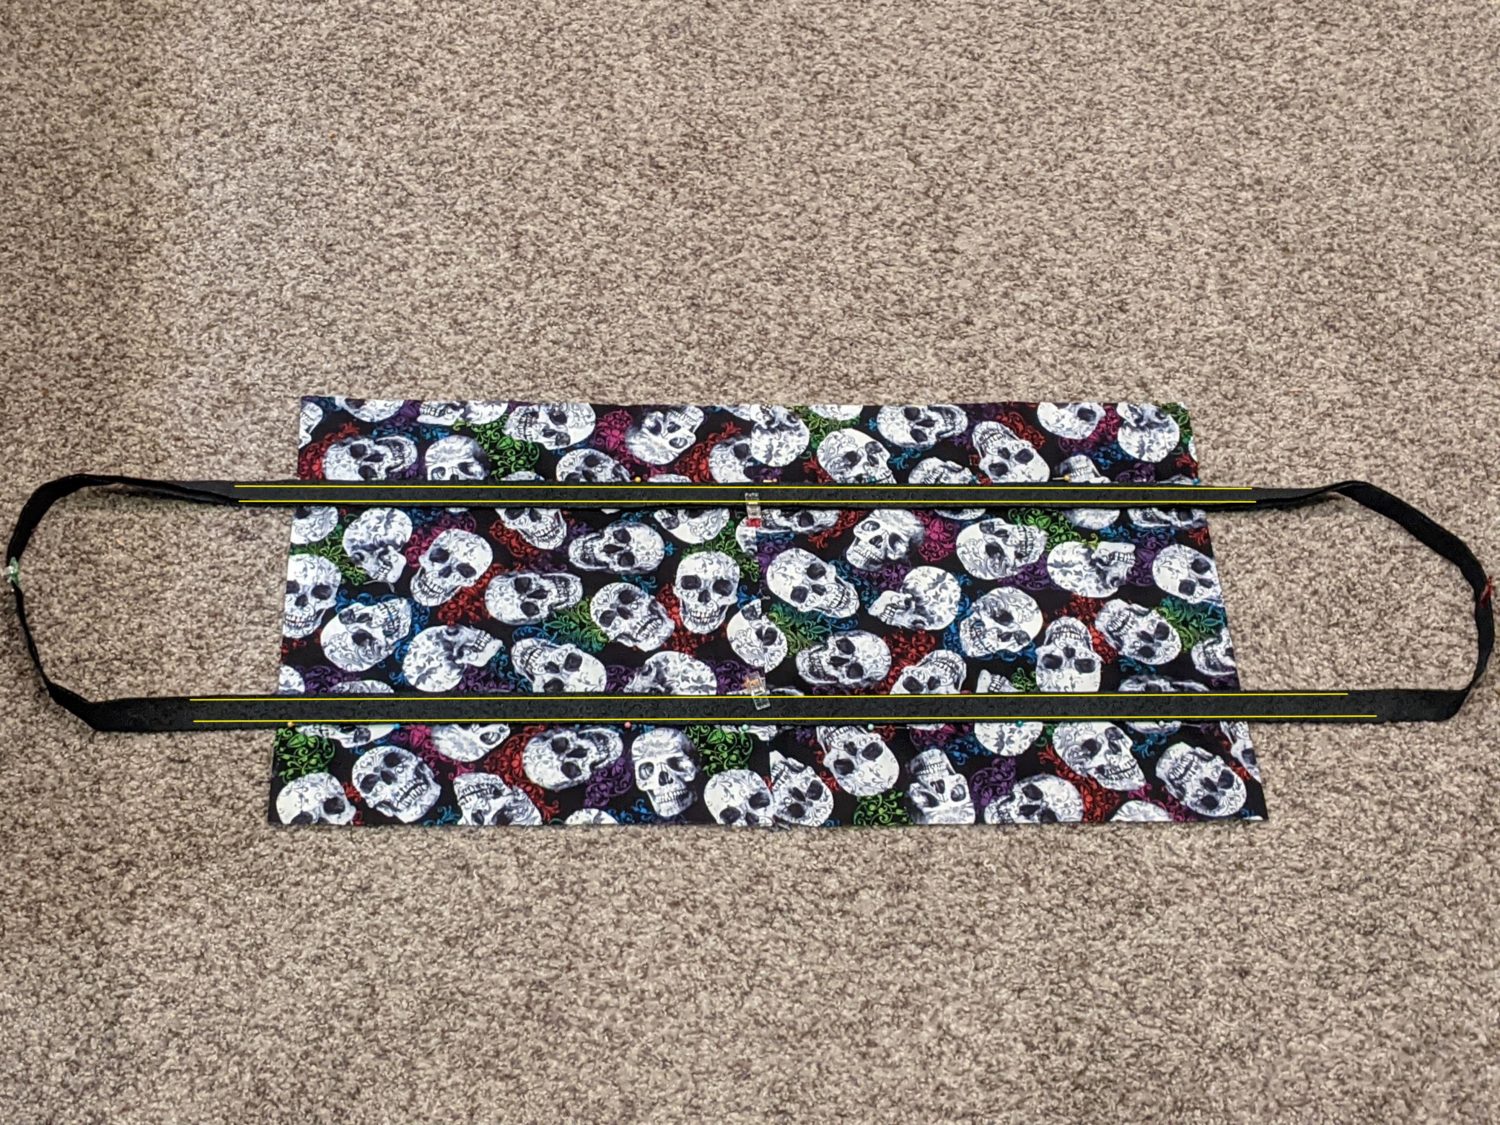
- Line up the two center pins on the strap with the center seam of the bag.
- The other two clips should be at the center of each end of the strap that extends over the ends of the bag.
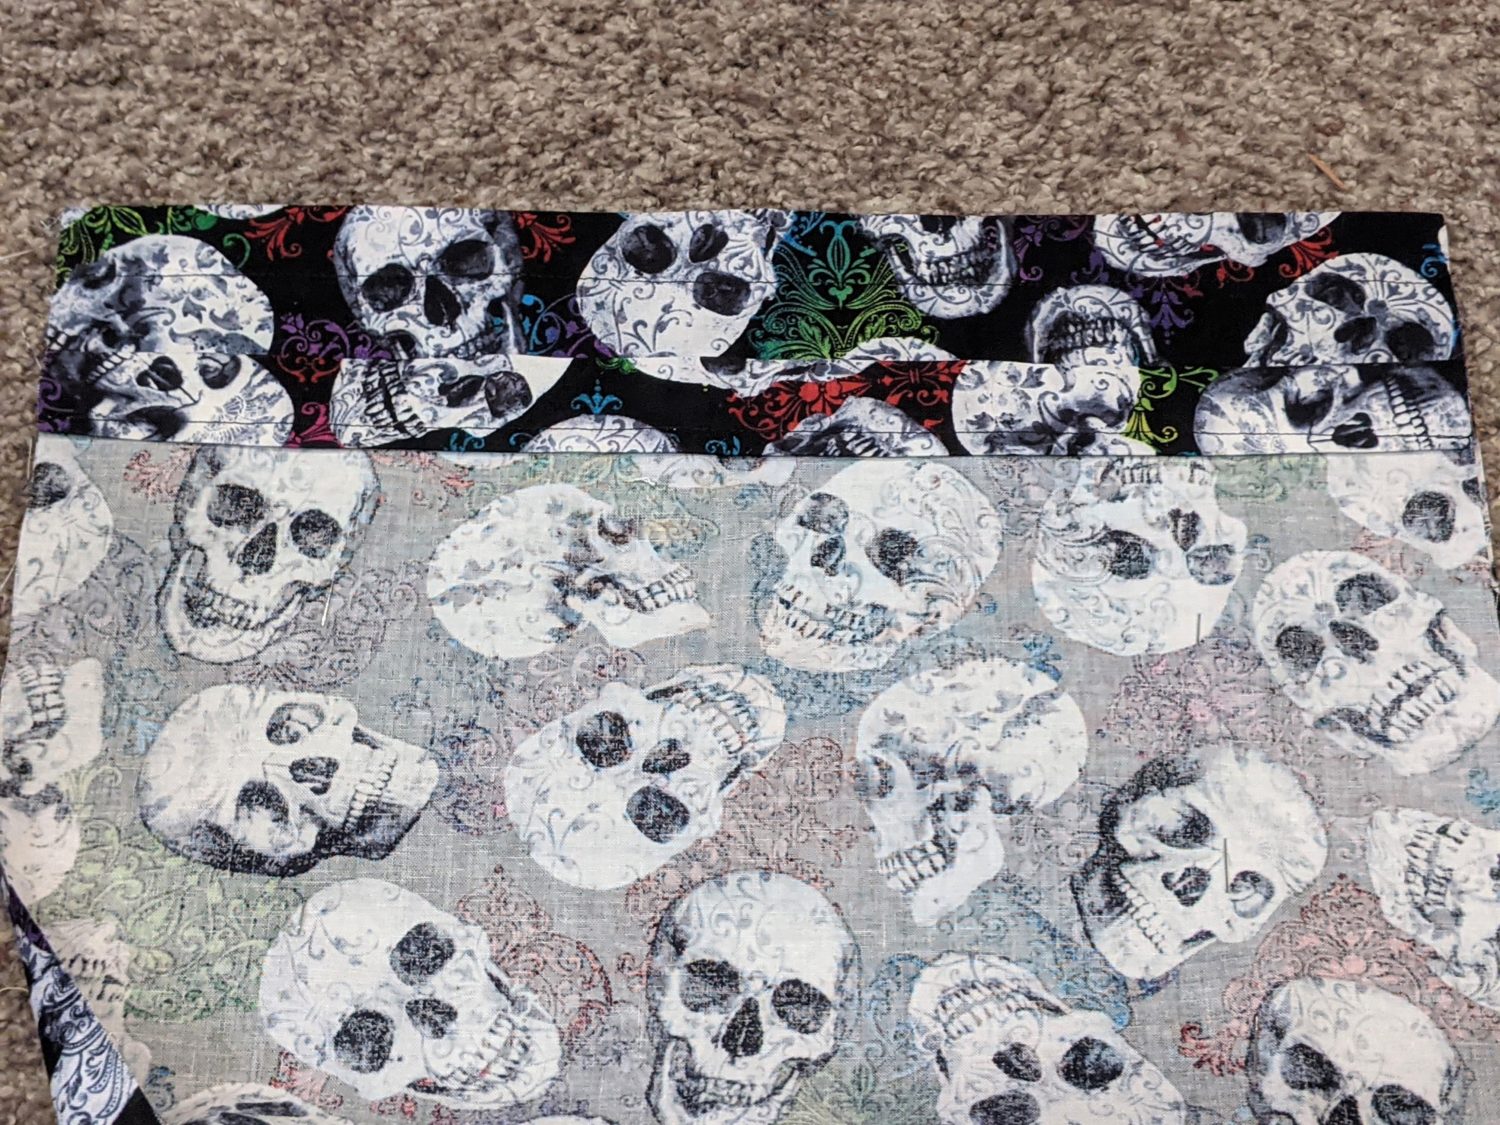
- Lay the outer edge of the strap along your pin line (or wash-away wondertape) and press or pin onto the bag.
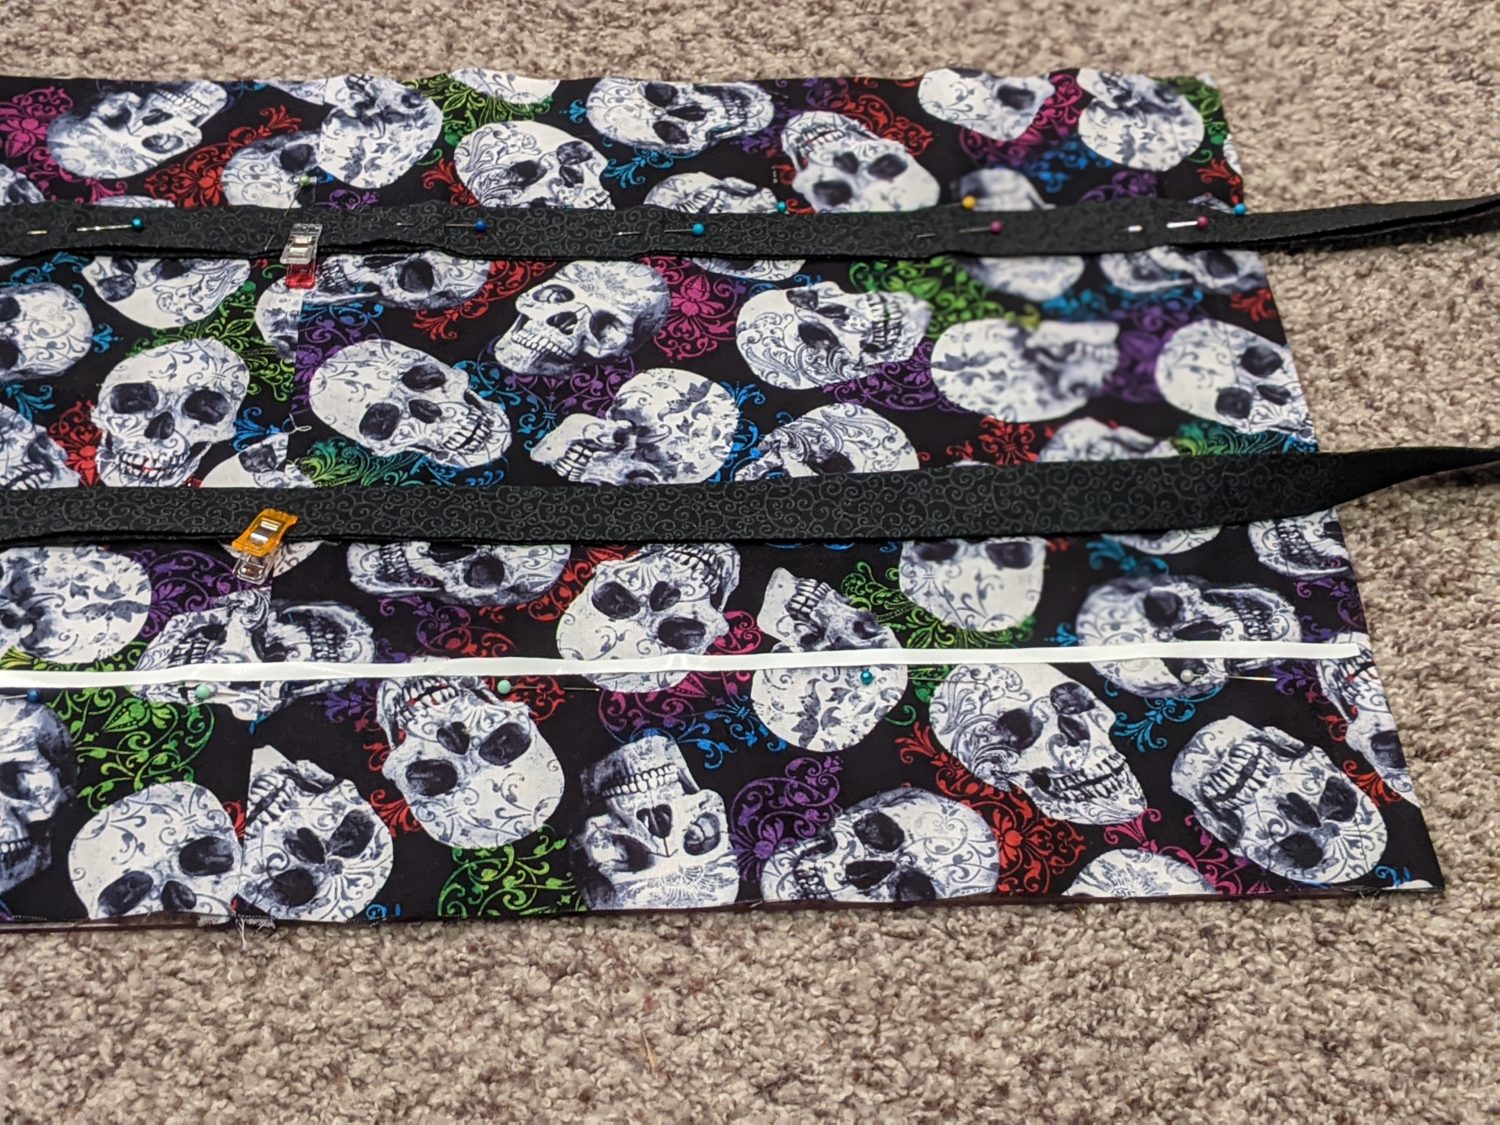
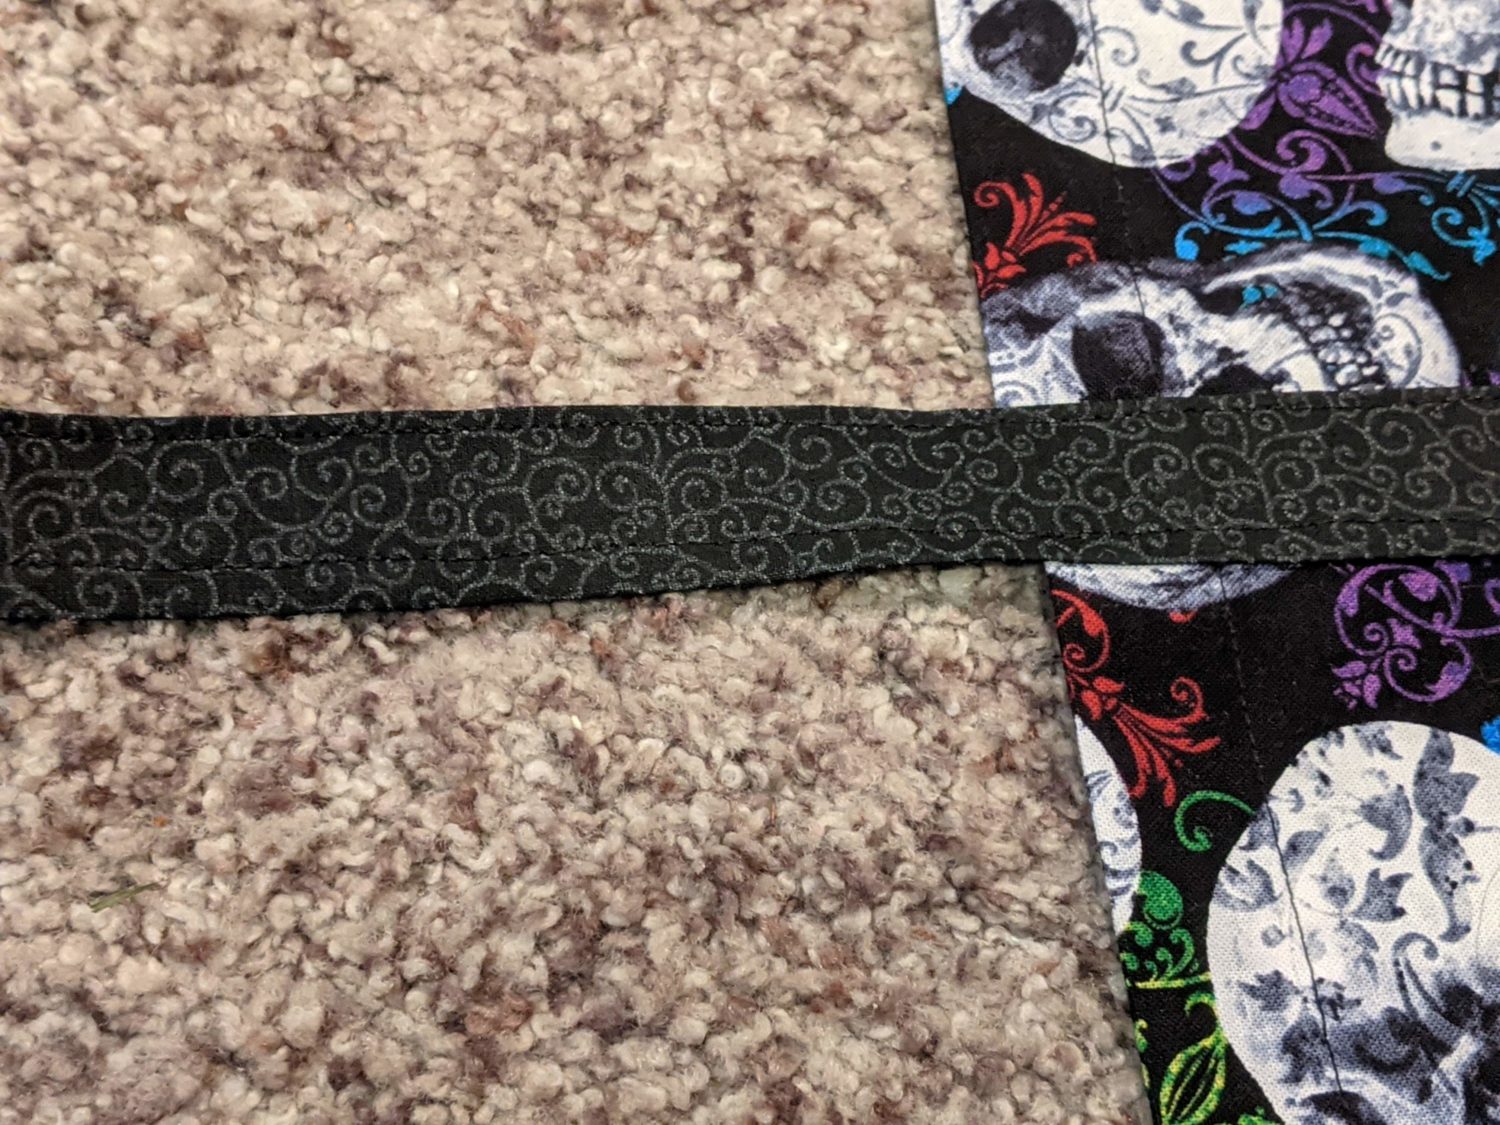
- Sew all the way down and around each edge of the strap using a 1/4″ seam allowance attaching it to the bag and securing the handle pieces.
- Sew back and forth a few times at each edge where the handle goes over the ends. This is especially important if you are not adding a lining to keep the handles secure.
You Almost Have a Bag
- Fold the bag in half right sides together at the center seam.
- Pin along both edges and sew.

IF YOU HAVE A LINING REPEAT THIS WITH THE LINING PIECE.
If you don’t want a lining, turn that bag right side out and you are ready to go!
Sew in the Lining
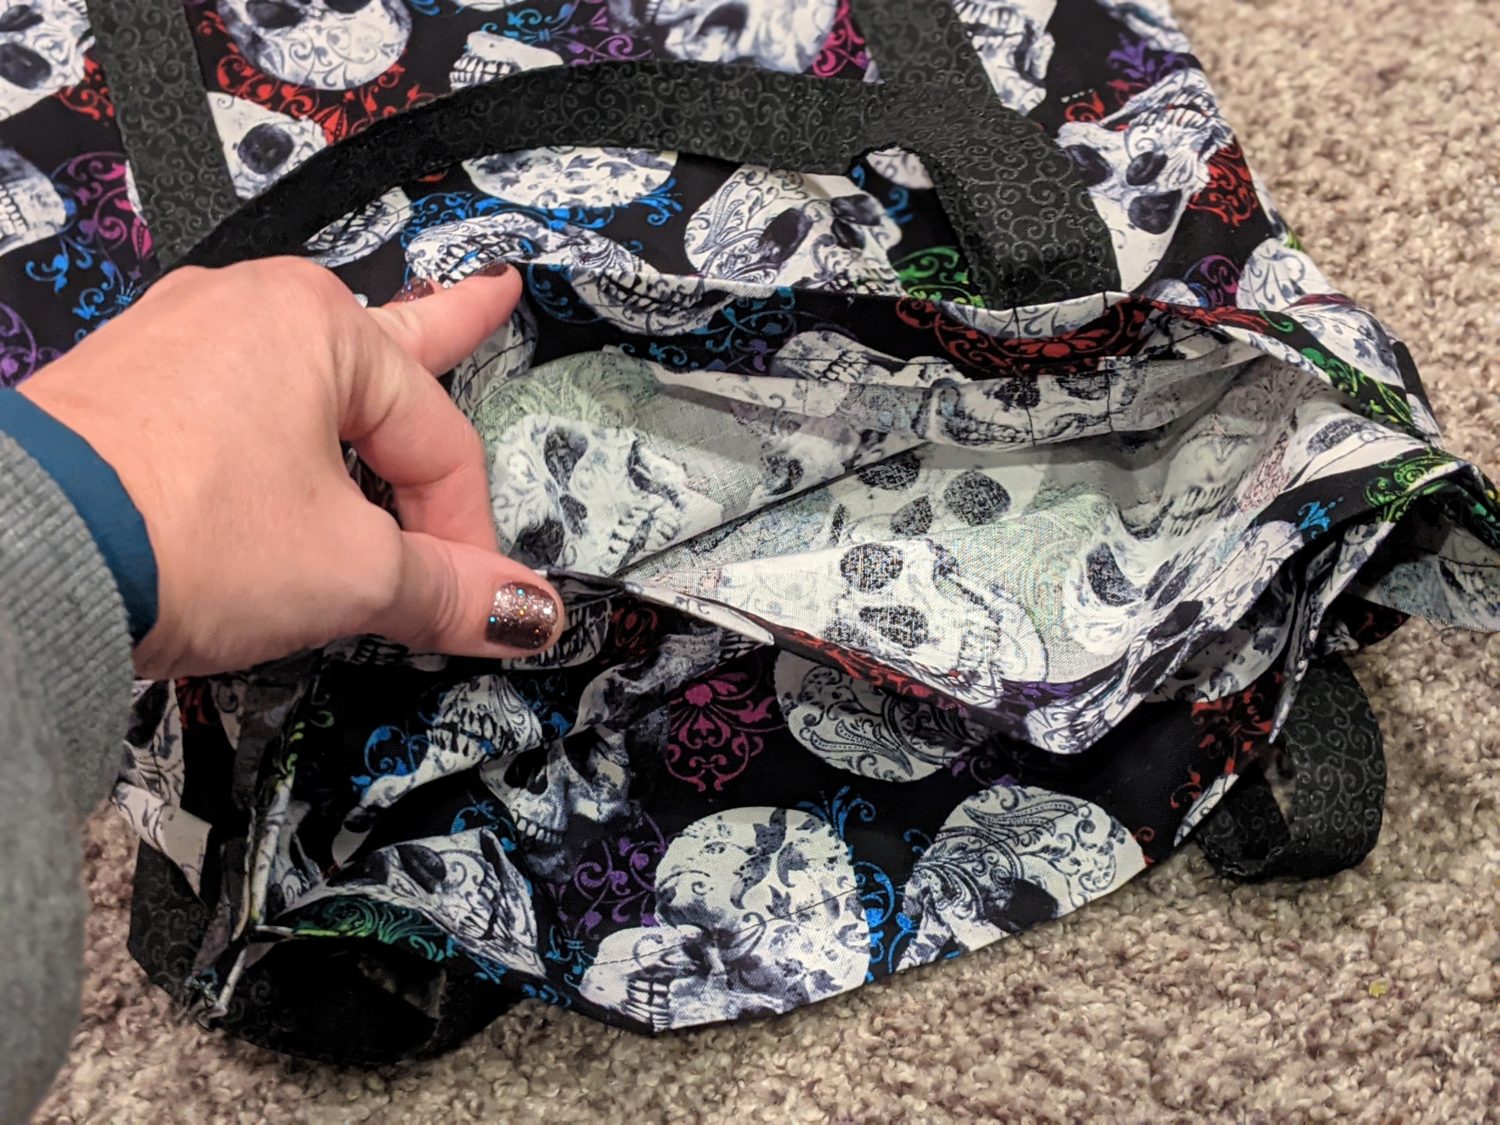
- Turn your main bag right side out and keep your lining bag inside out.
- Slide the lining inside the main bag with their wrong sides together and line up the side seams.
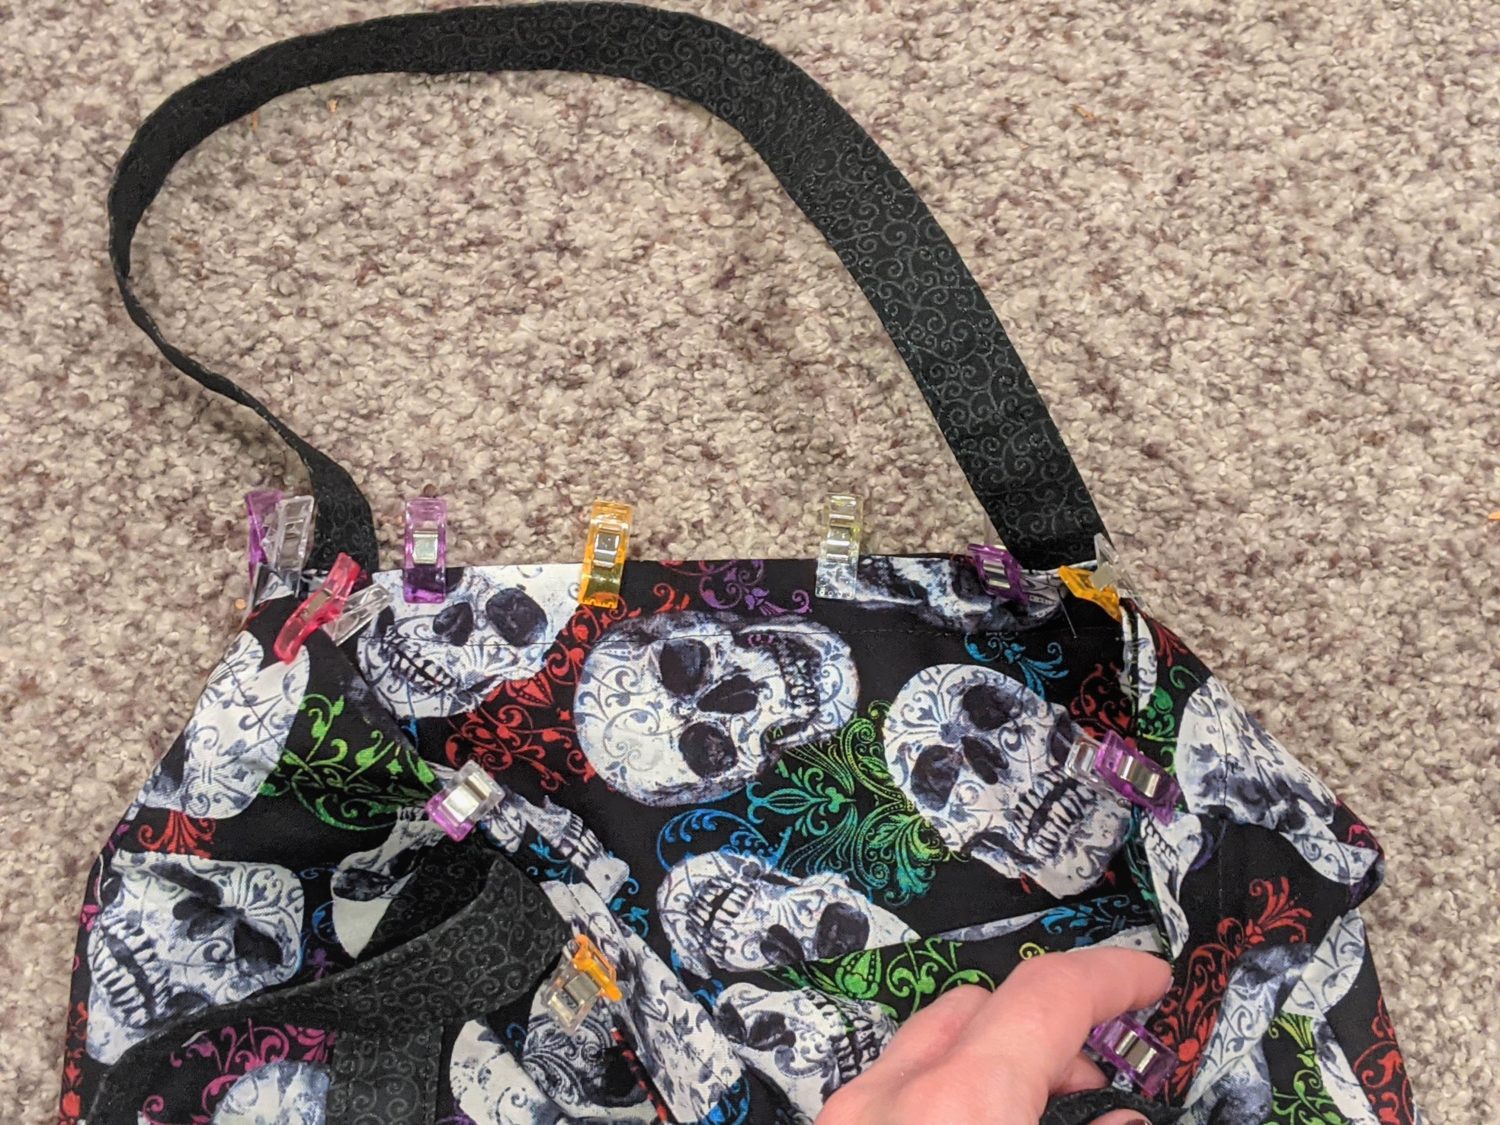
- Pin around the top edge.
- Sew along the top edge with a 1/4″ seam allowance.
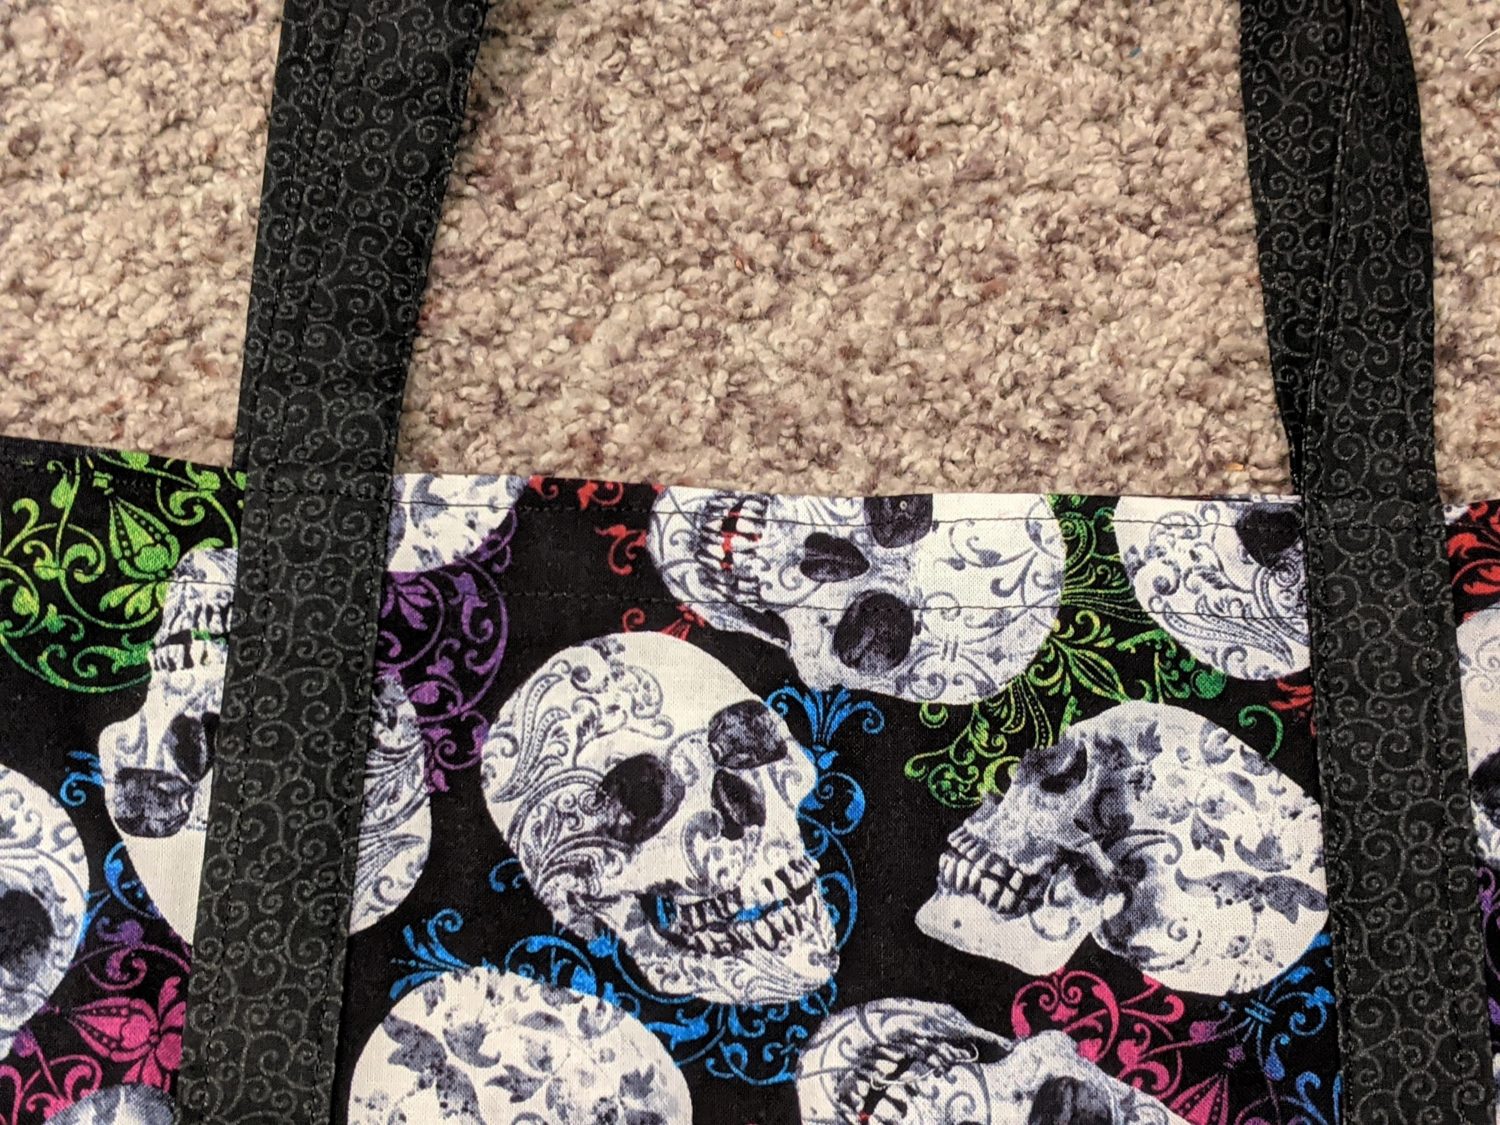
- Optionally, you can sew a second line of stitching around the top edge, and/or you can sew a square with an X at the point where the handle meets the top of the bag.
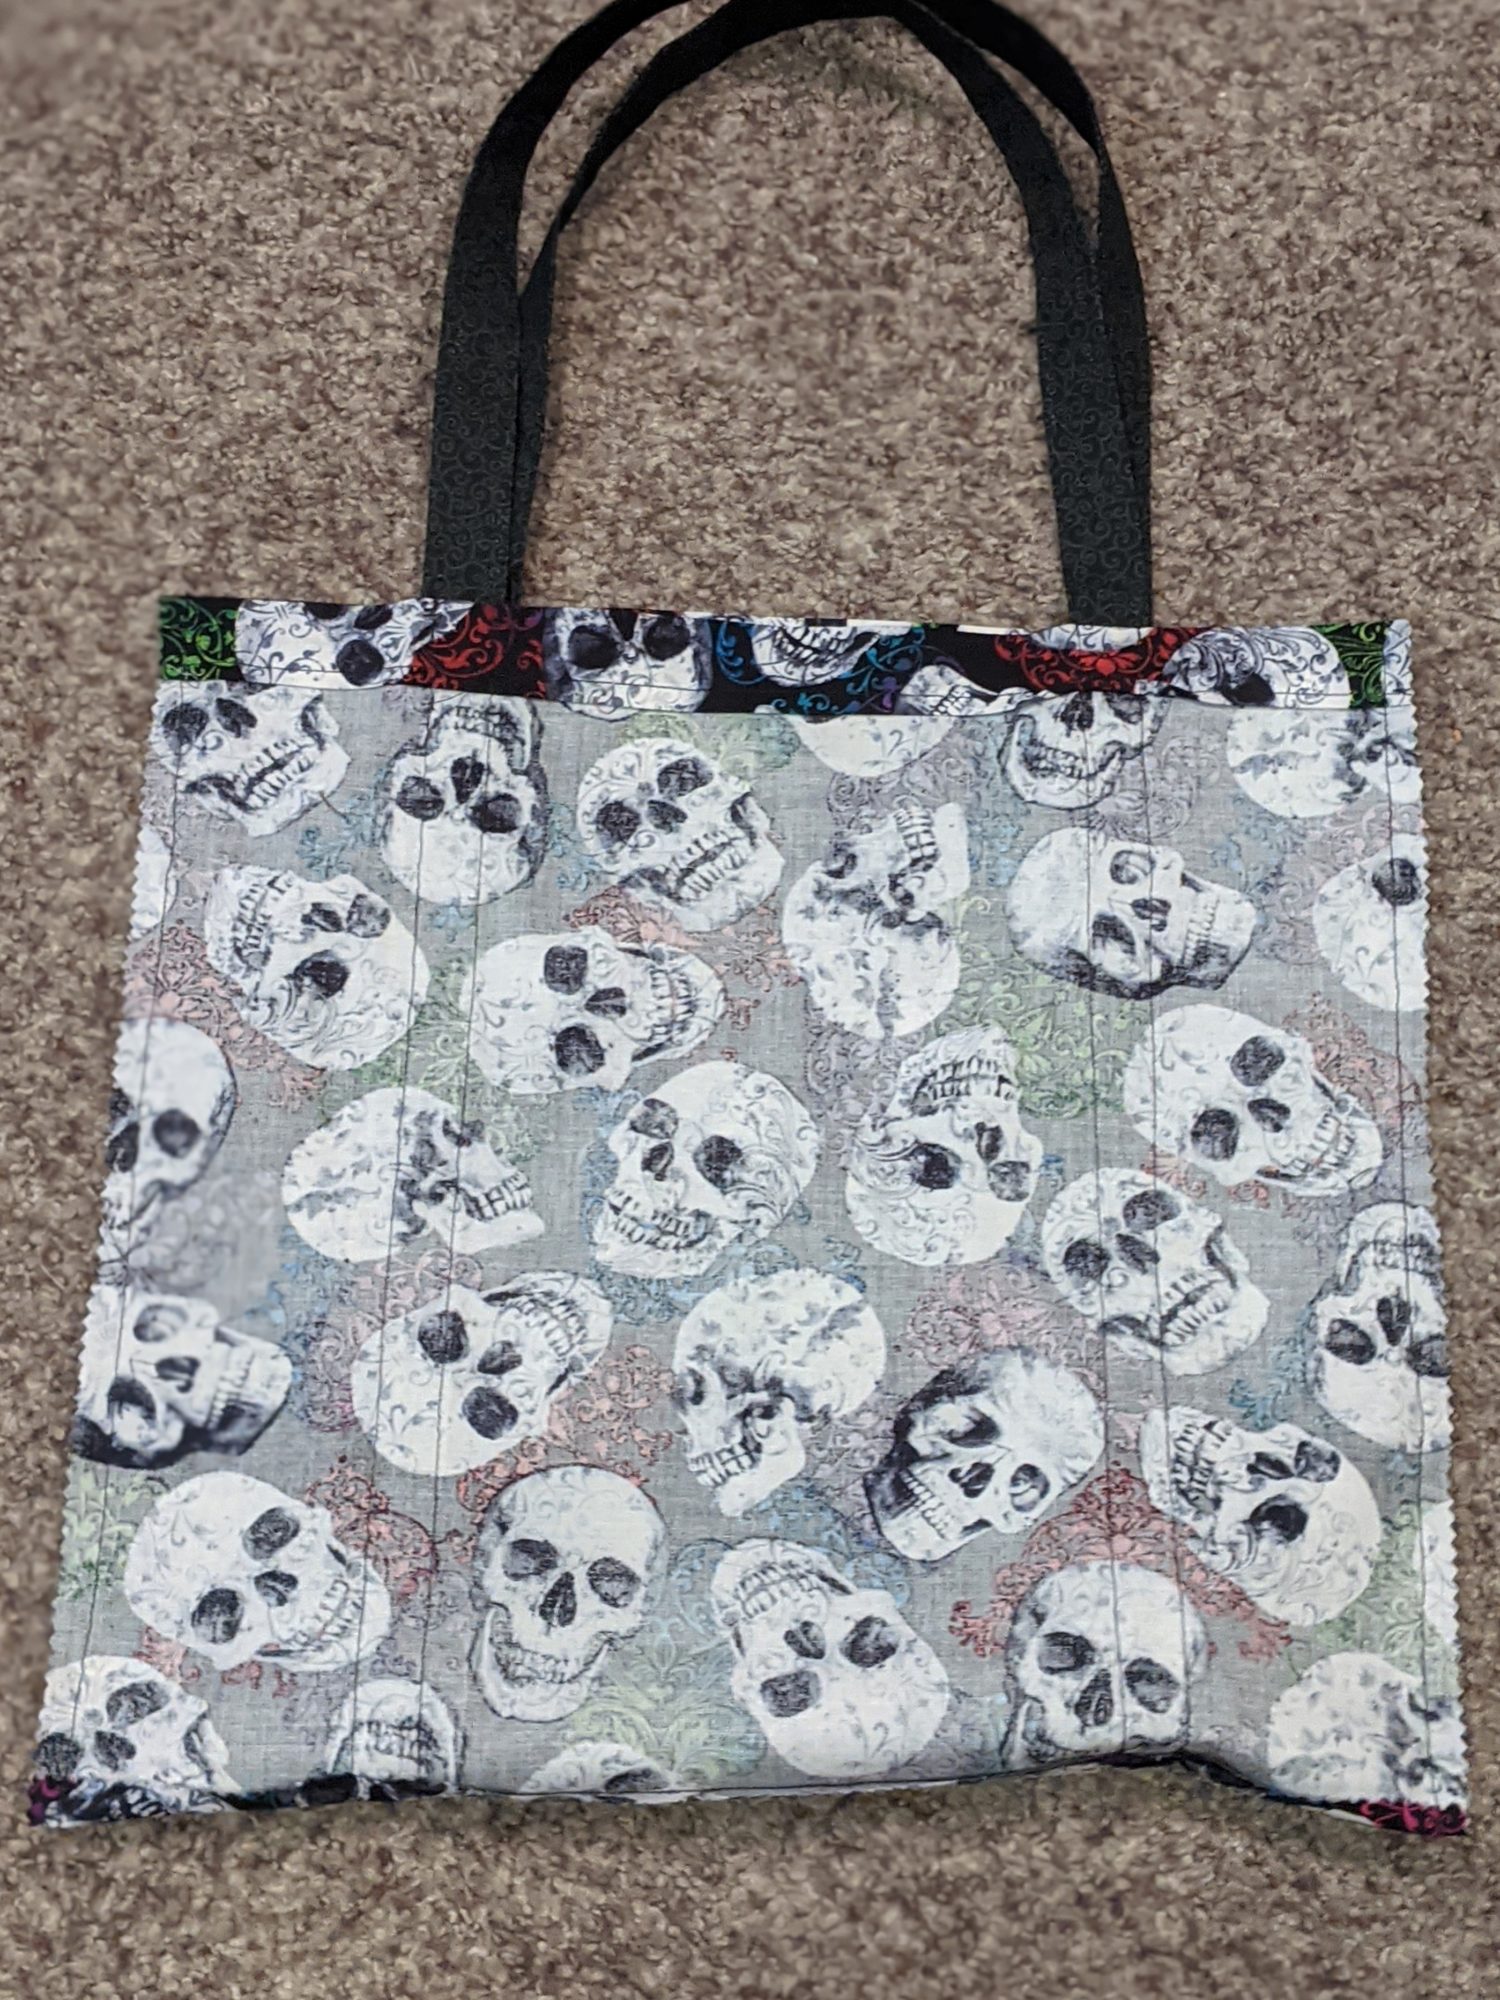
Trick-Or-Treat! Go Collect That Candy!

Want more FUN DIY Freebies? Check out the FREEBIE TUTORIALS and the FREEBIE PATTERNS!
As always, we’re here to help if you need it! Join us HERE and on Facebook, Instagram, Twitter, Youtube, and Pinterest. We’re everywhere you are.
Leave a Reply