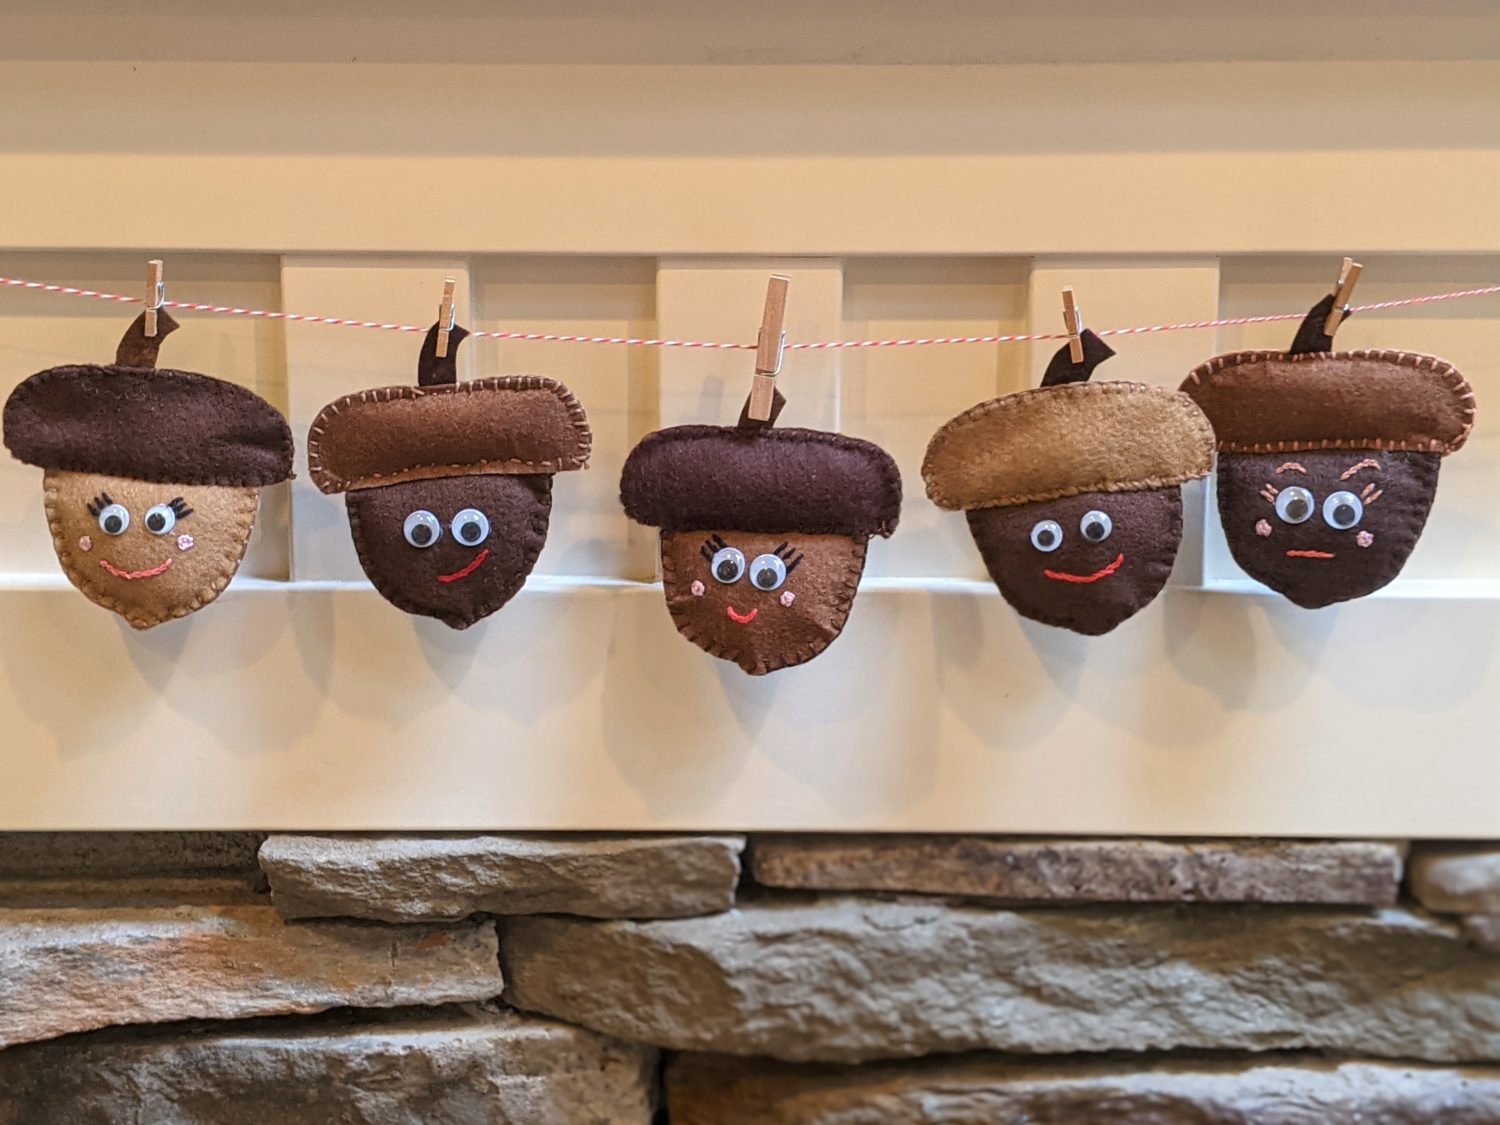

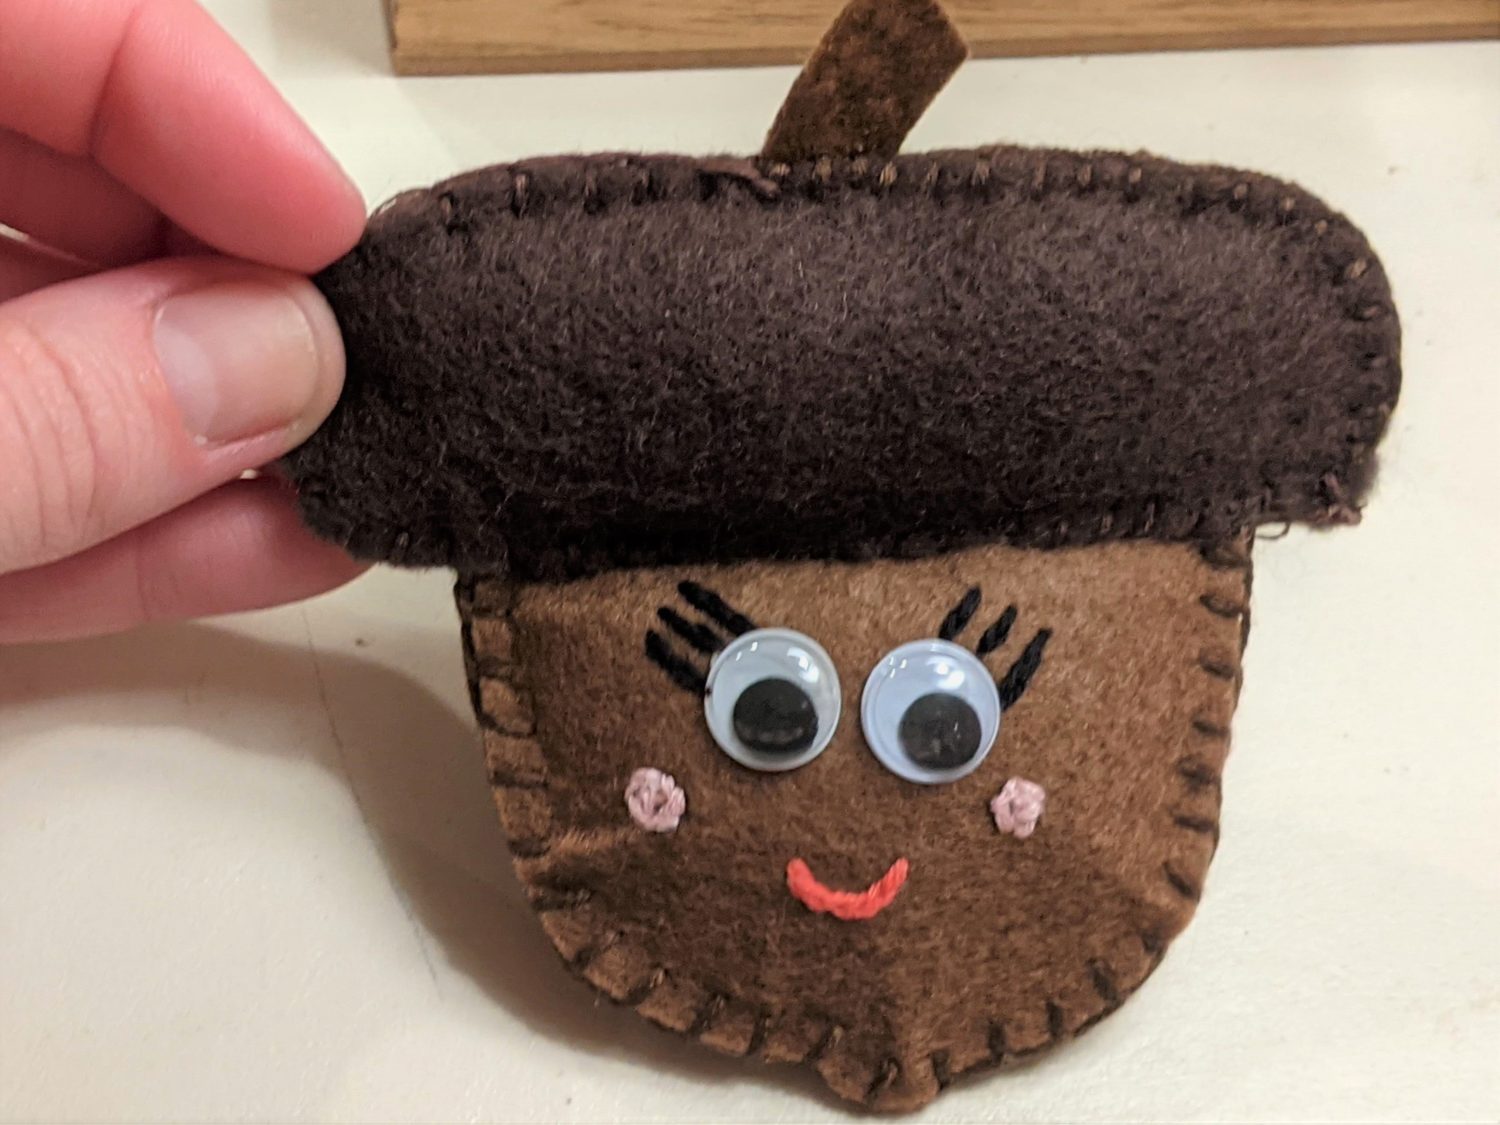
Continuing on with my fall decorating, I made some happy little acorns to go along with my pumpkins. Of course, you don’t have to give them faces, and you can add any extra details you want. Just in case your acorns need some friends to hang out with, you can find both of the tutorials for the pumpkins that mine are hanging out with on the blog as well. The bigger, no-sew pumpkins in the back are HERE, and the smaller sock pumpkins are HERE.
Supplies
- Downloaded acorn template
- Felt
- Embroidery floss and needle
- A small amount of stuffing
- Optional:
- Hot glue gun
- Google eyes
Get your Pieces Ready
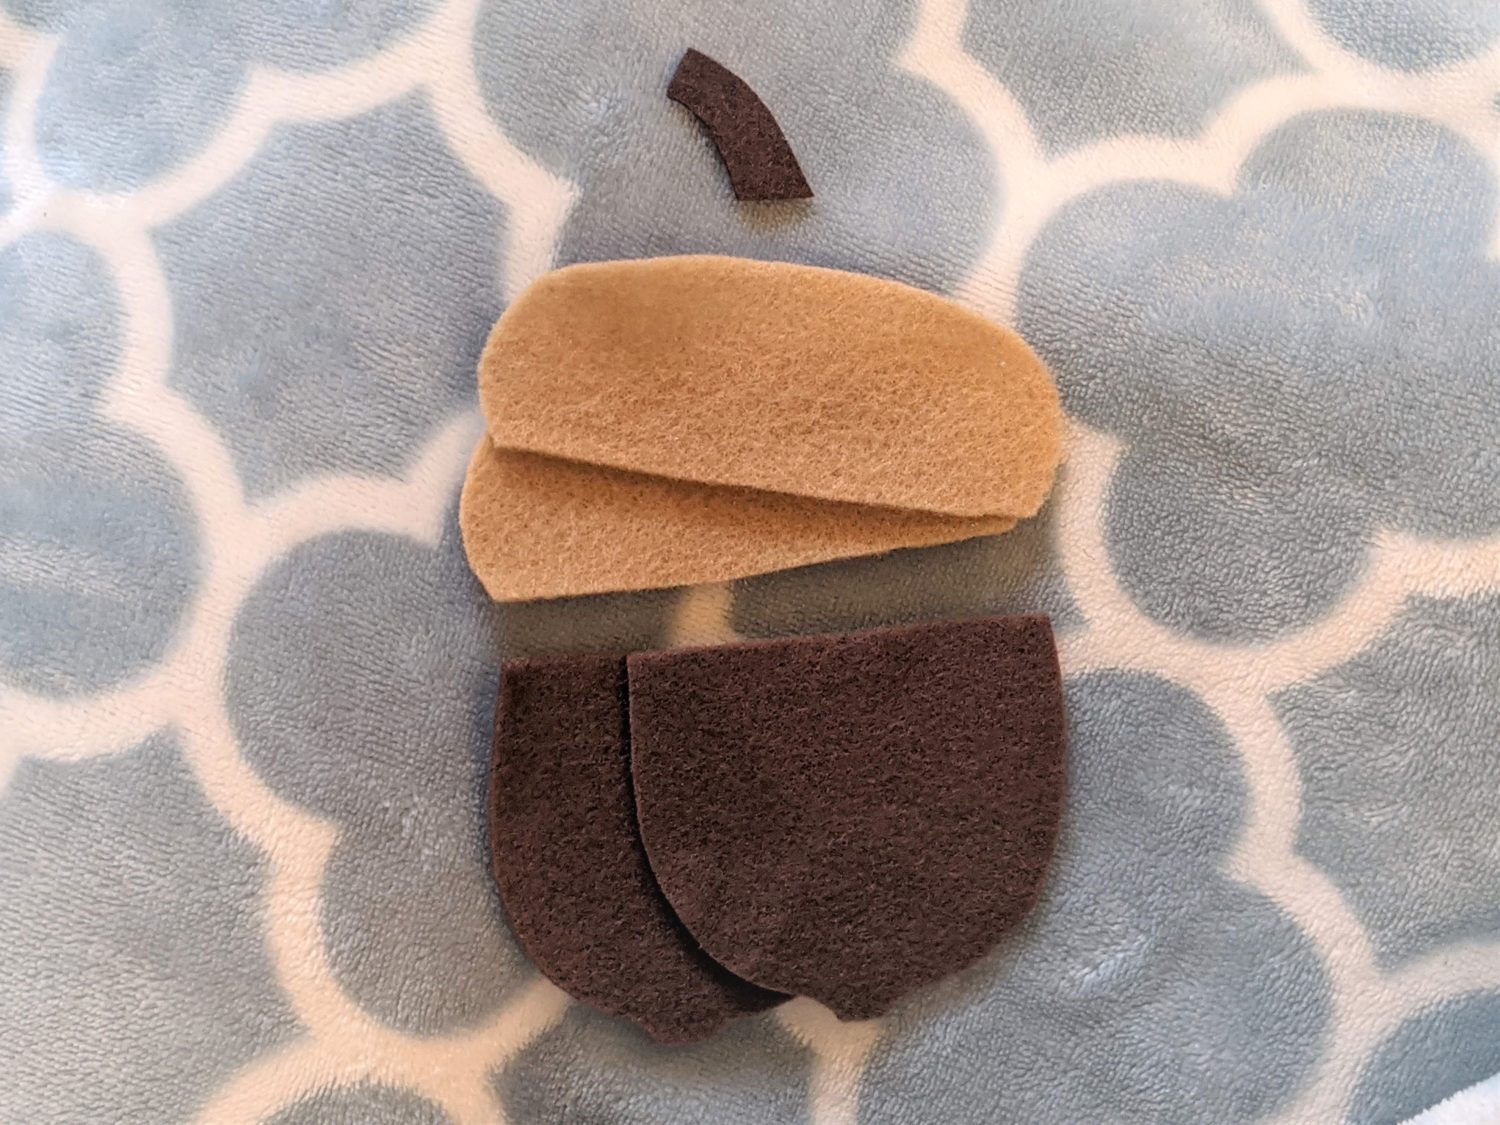
- Download and print your acorn template
- Cut out your template pieces
- Cut your felt pieces:
- 2 mirrored main pieces
- 2 mirrored top pieces
- 1 stem
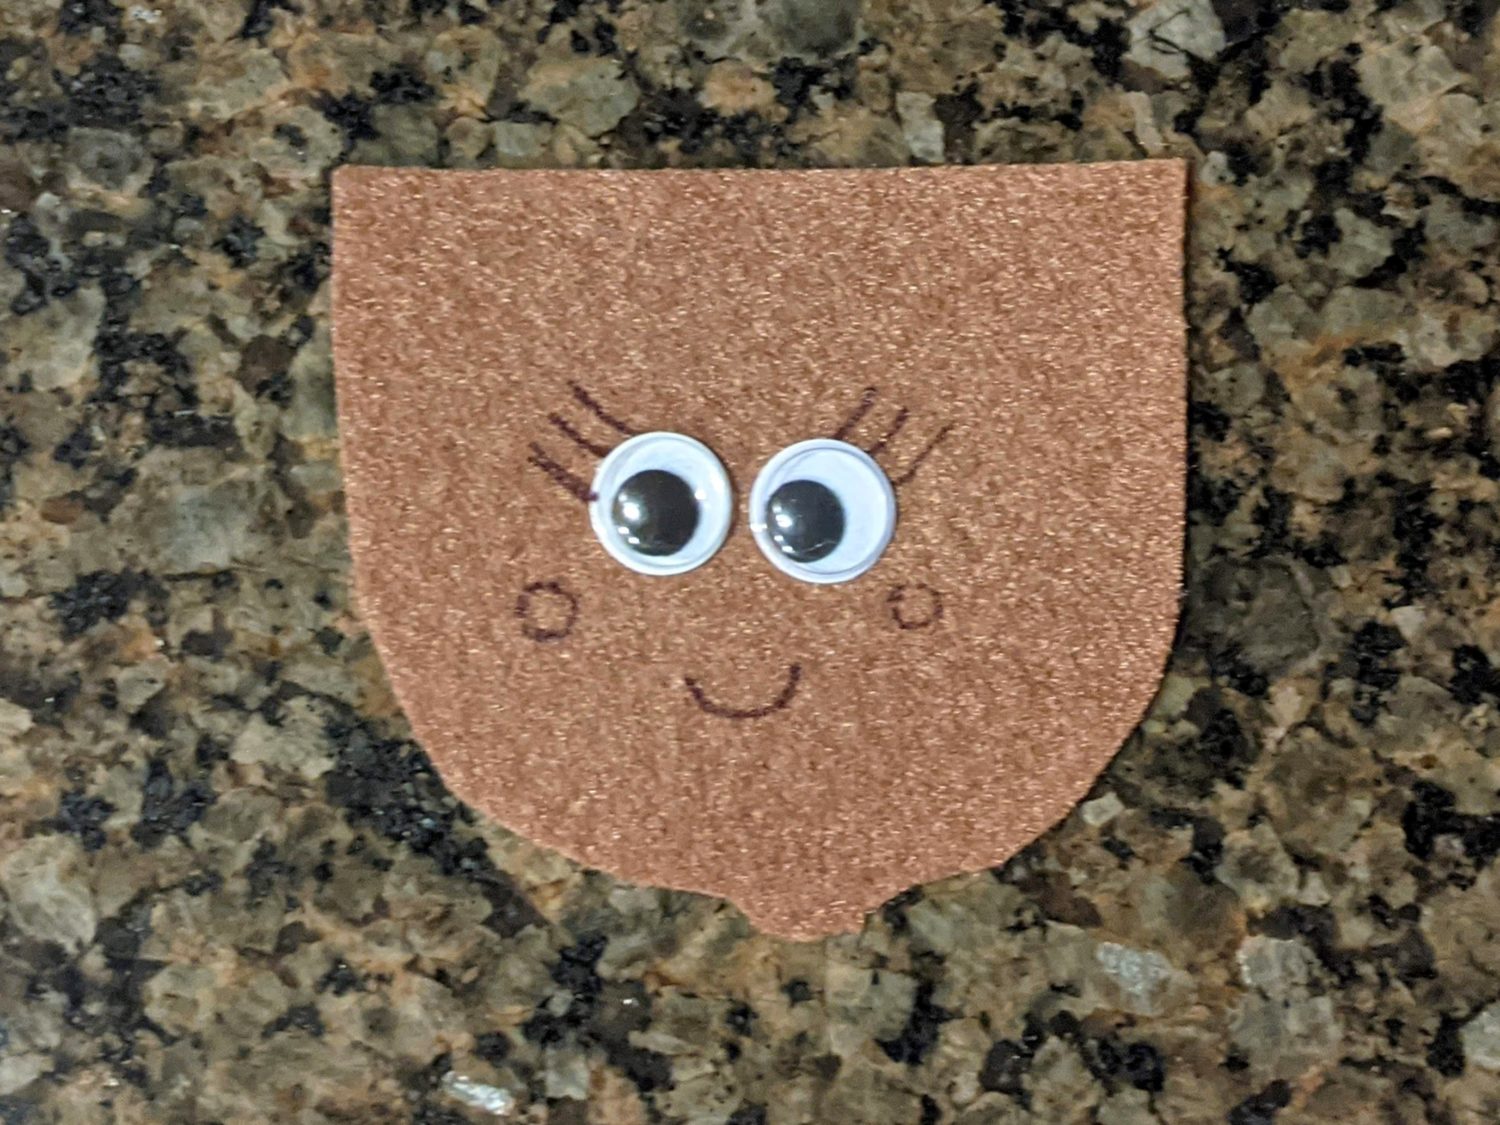
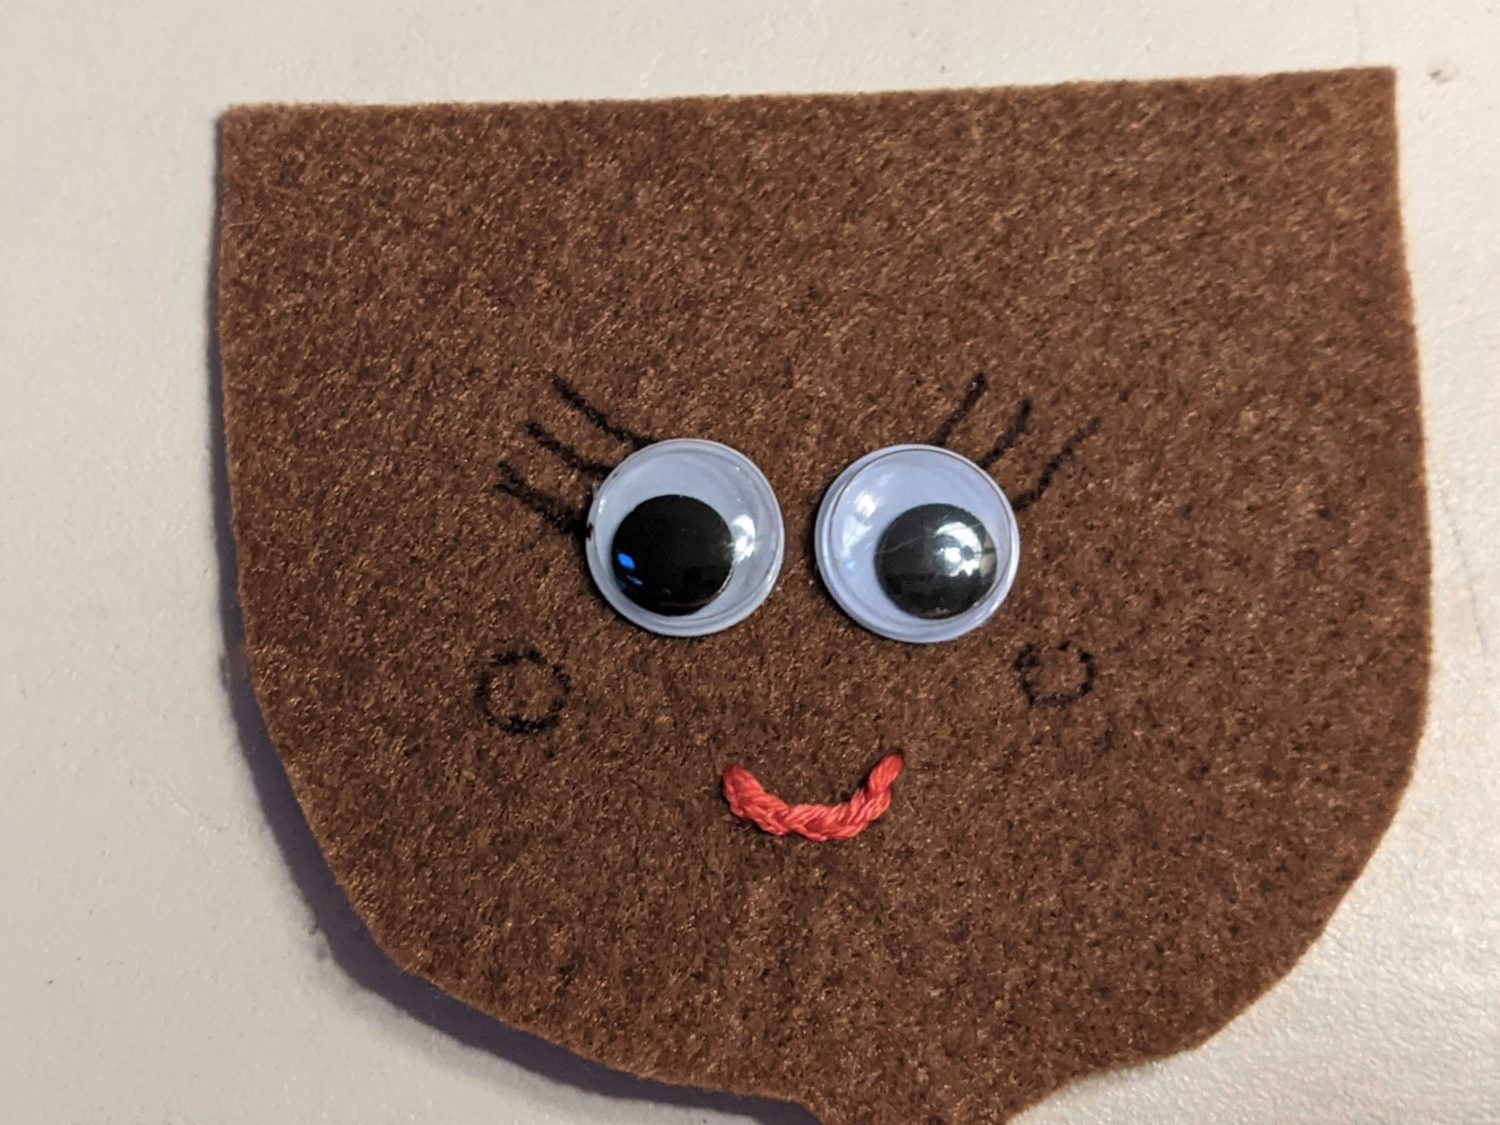
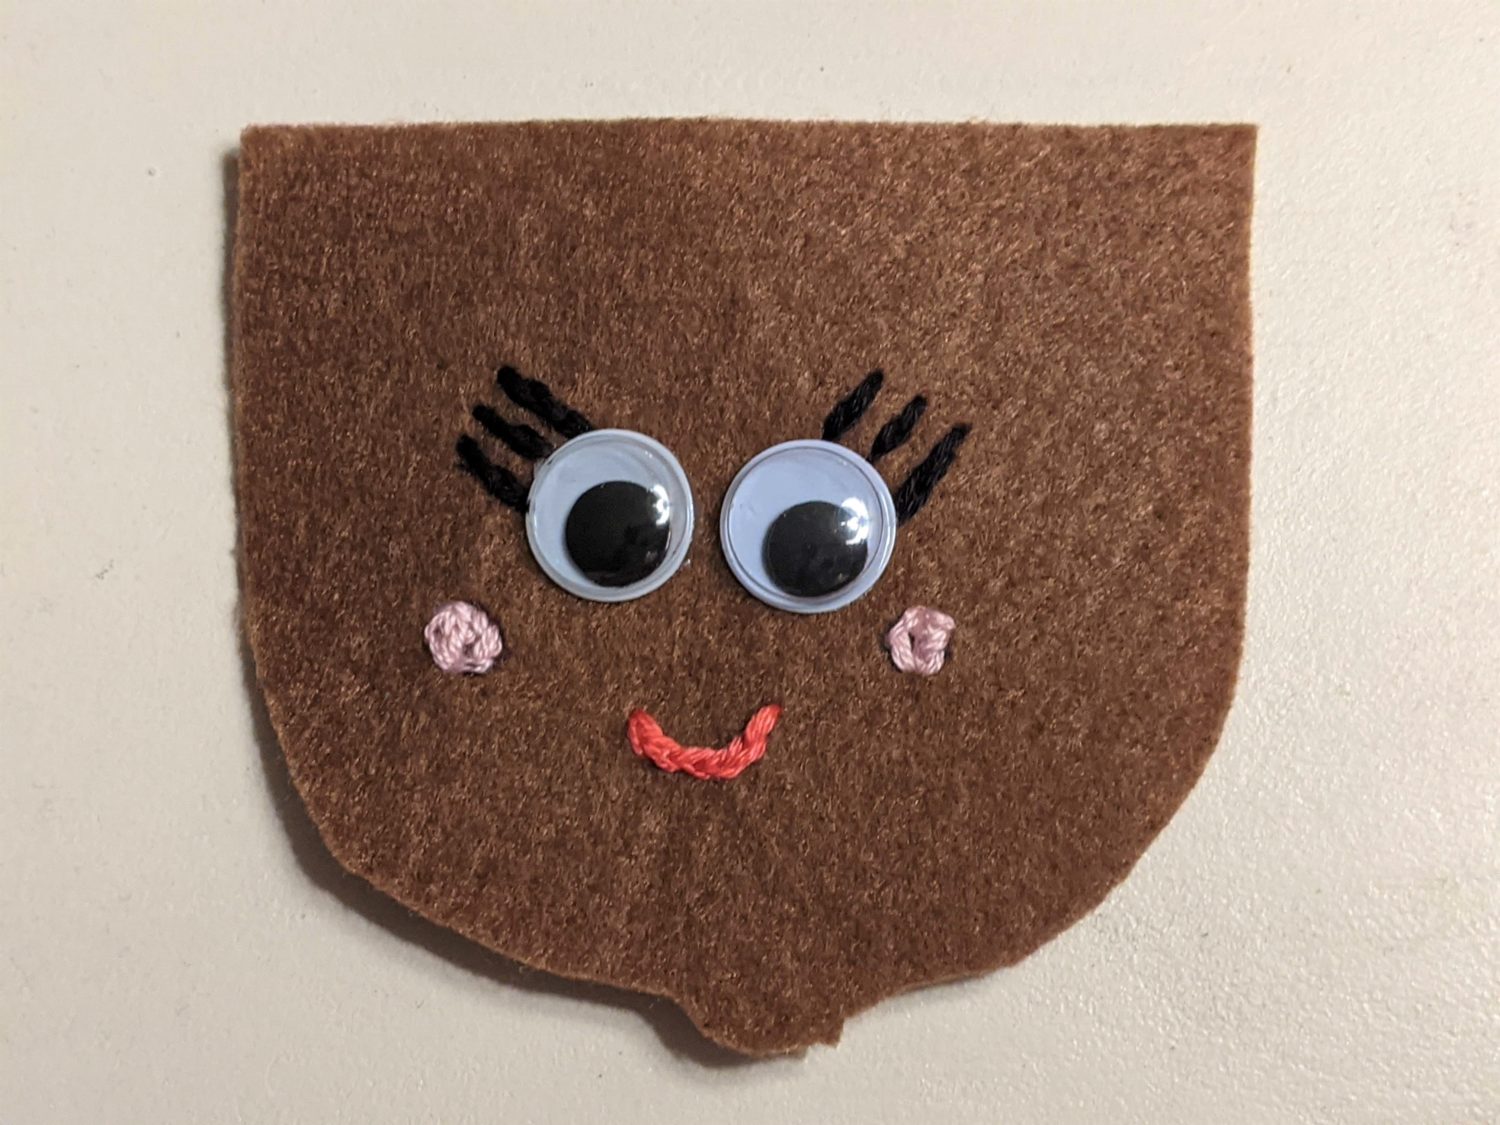
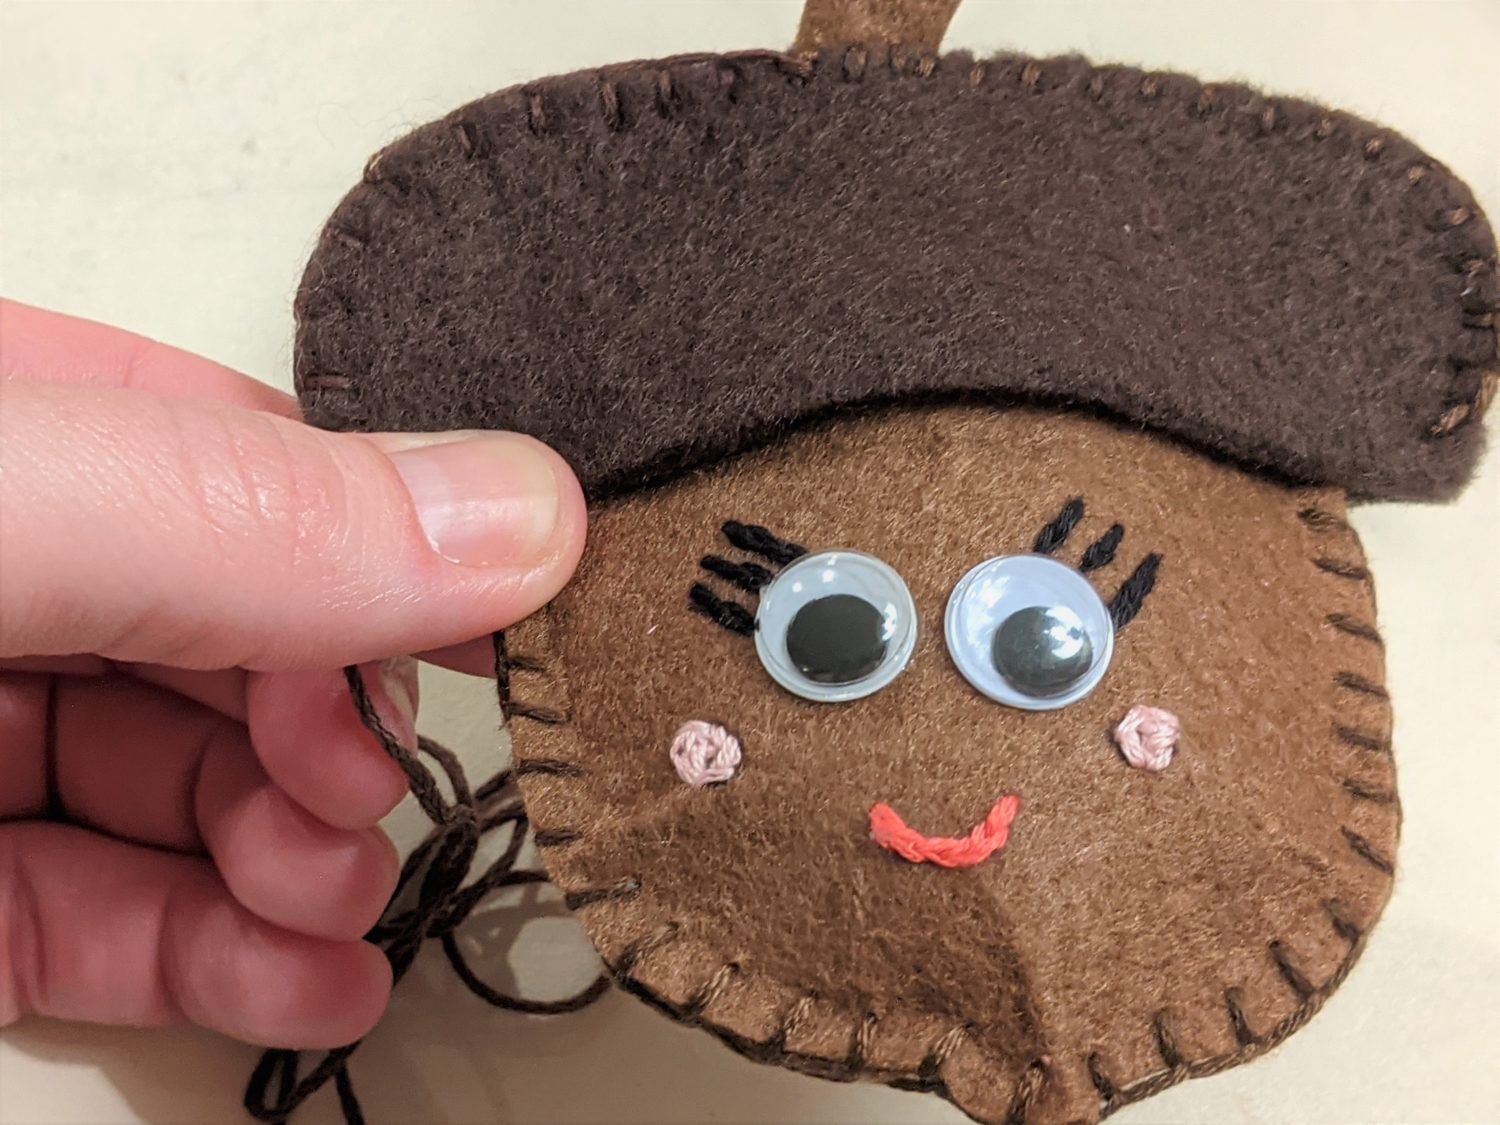
Give it a Cute Little Face
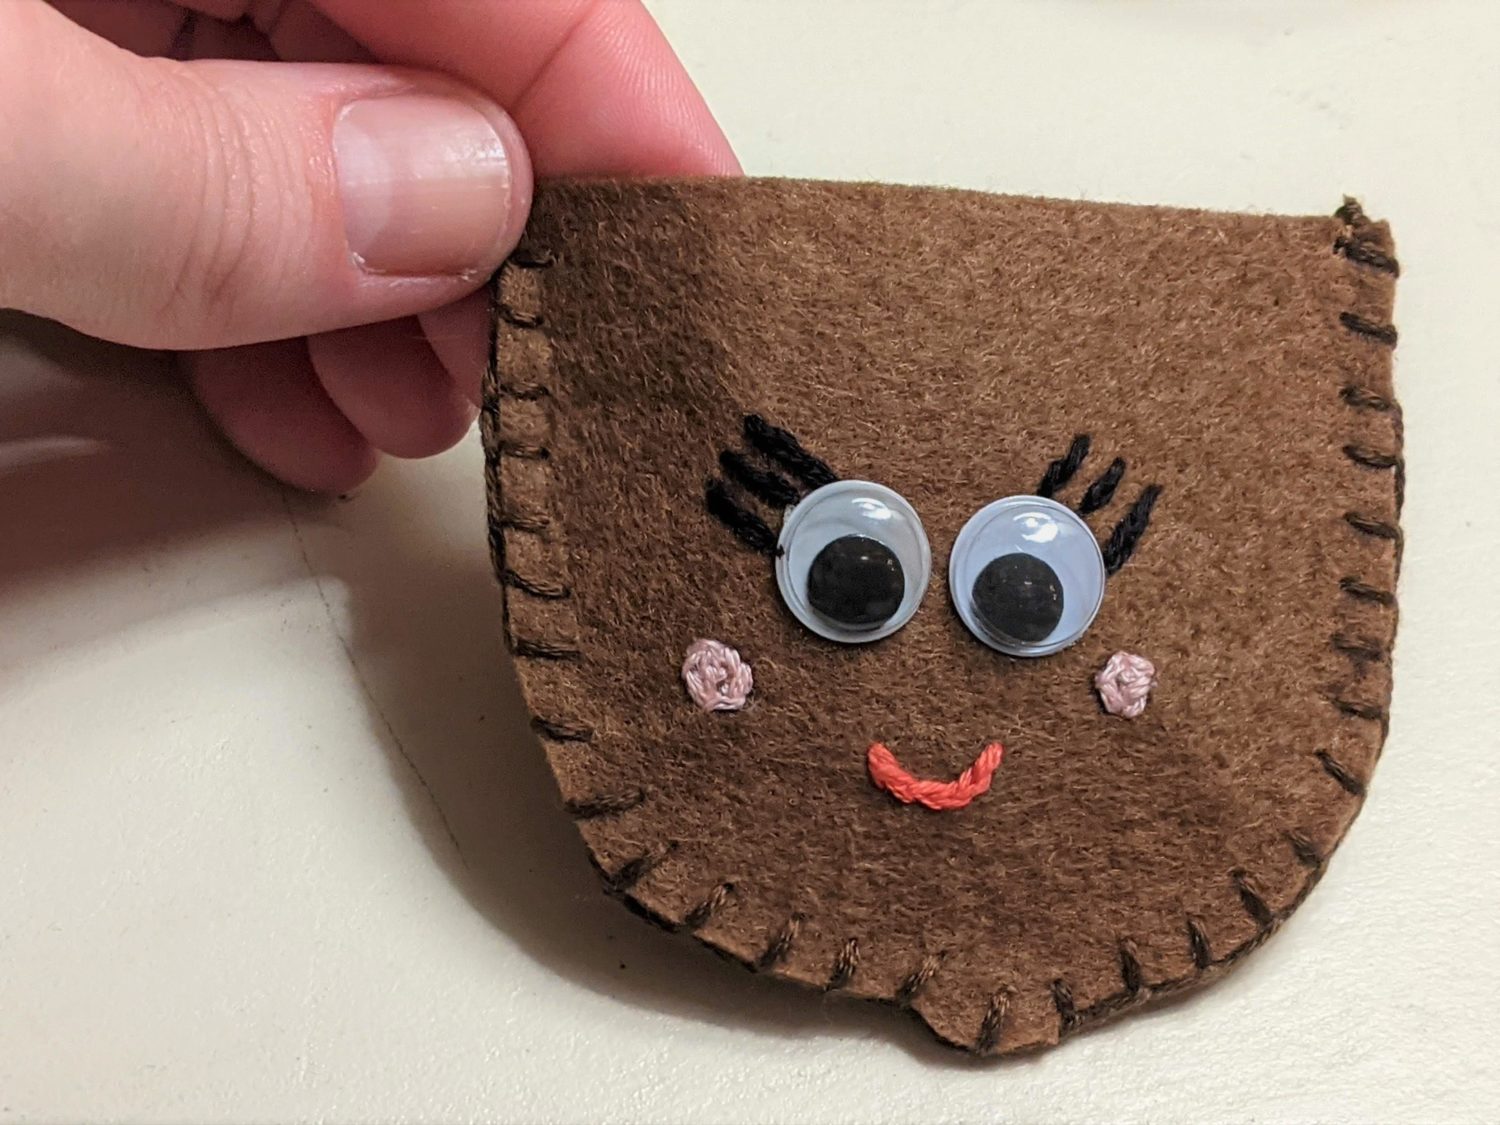
This part is optional of course, but it gives them each their own personality. I chose to use a blanket stitch and a split stitch. In the tutorial for Lovebirds, I explain these stitches in detail if you want to check them out. To skip the stitching, continue on down the sewing them together.
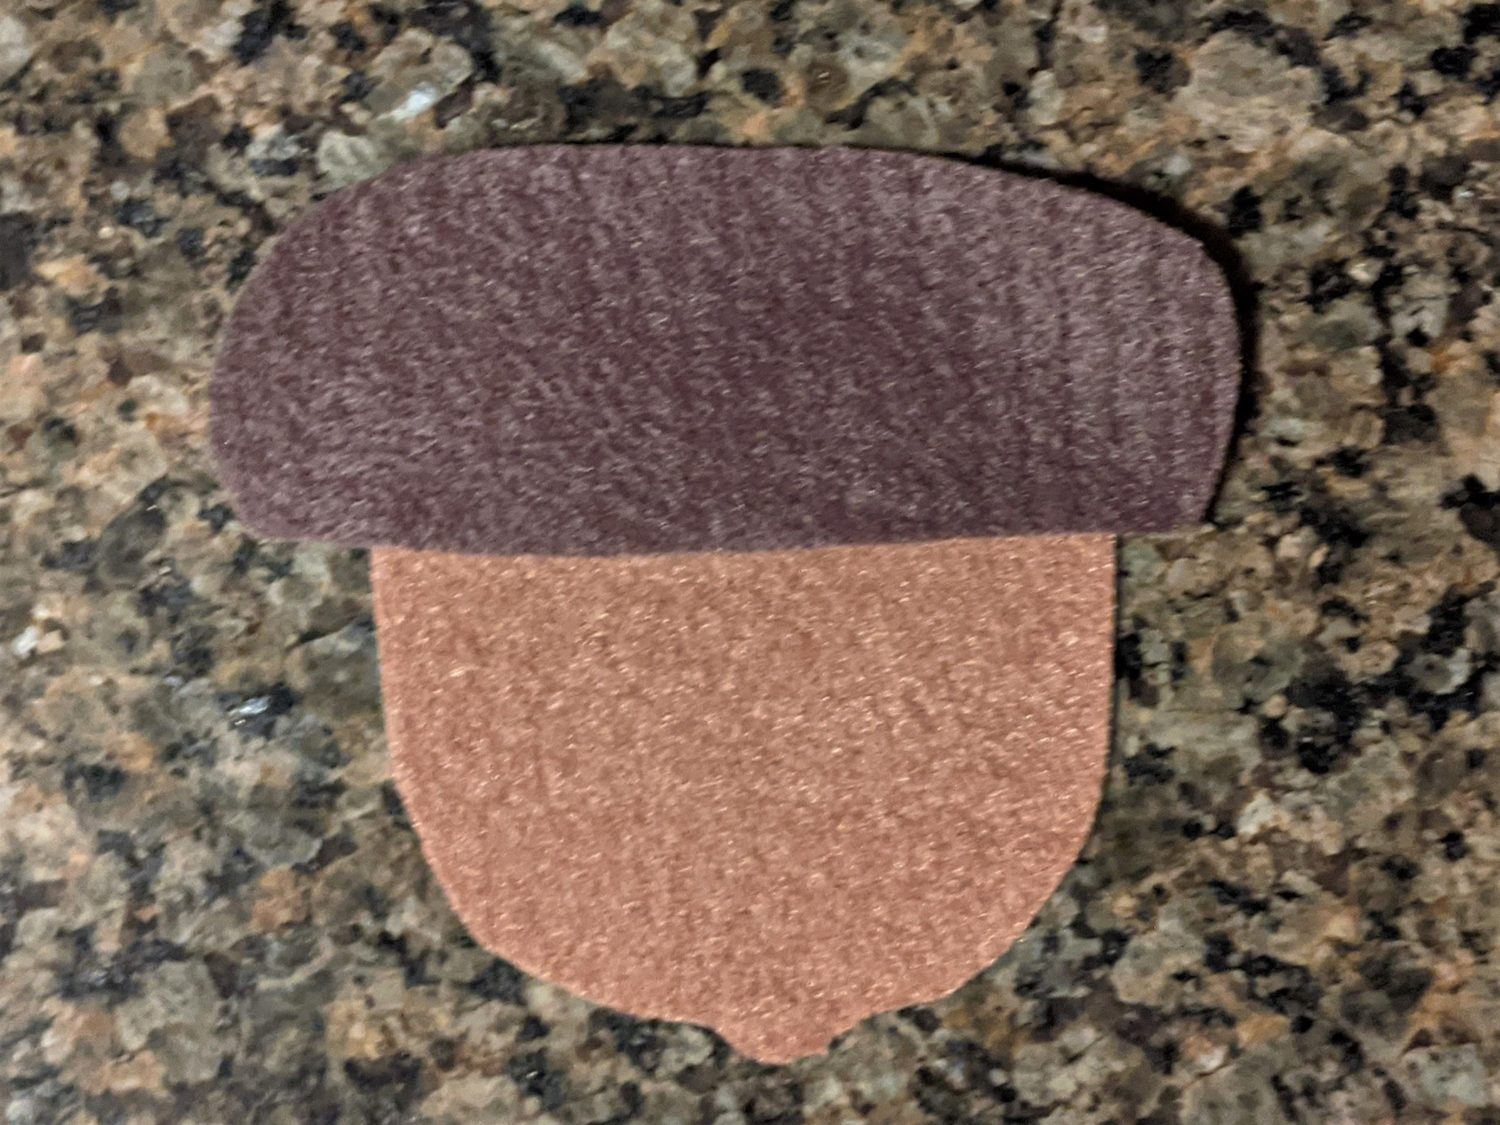
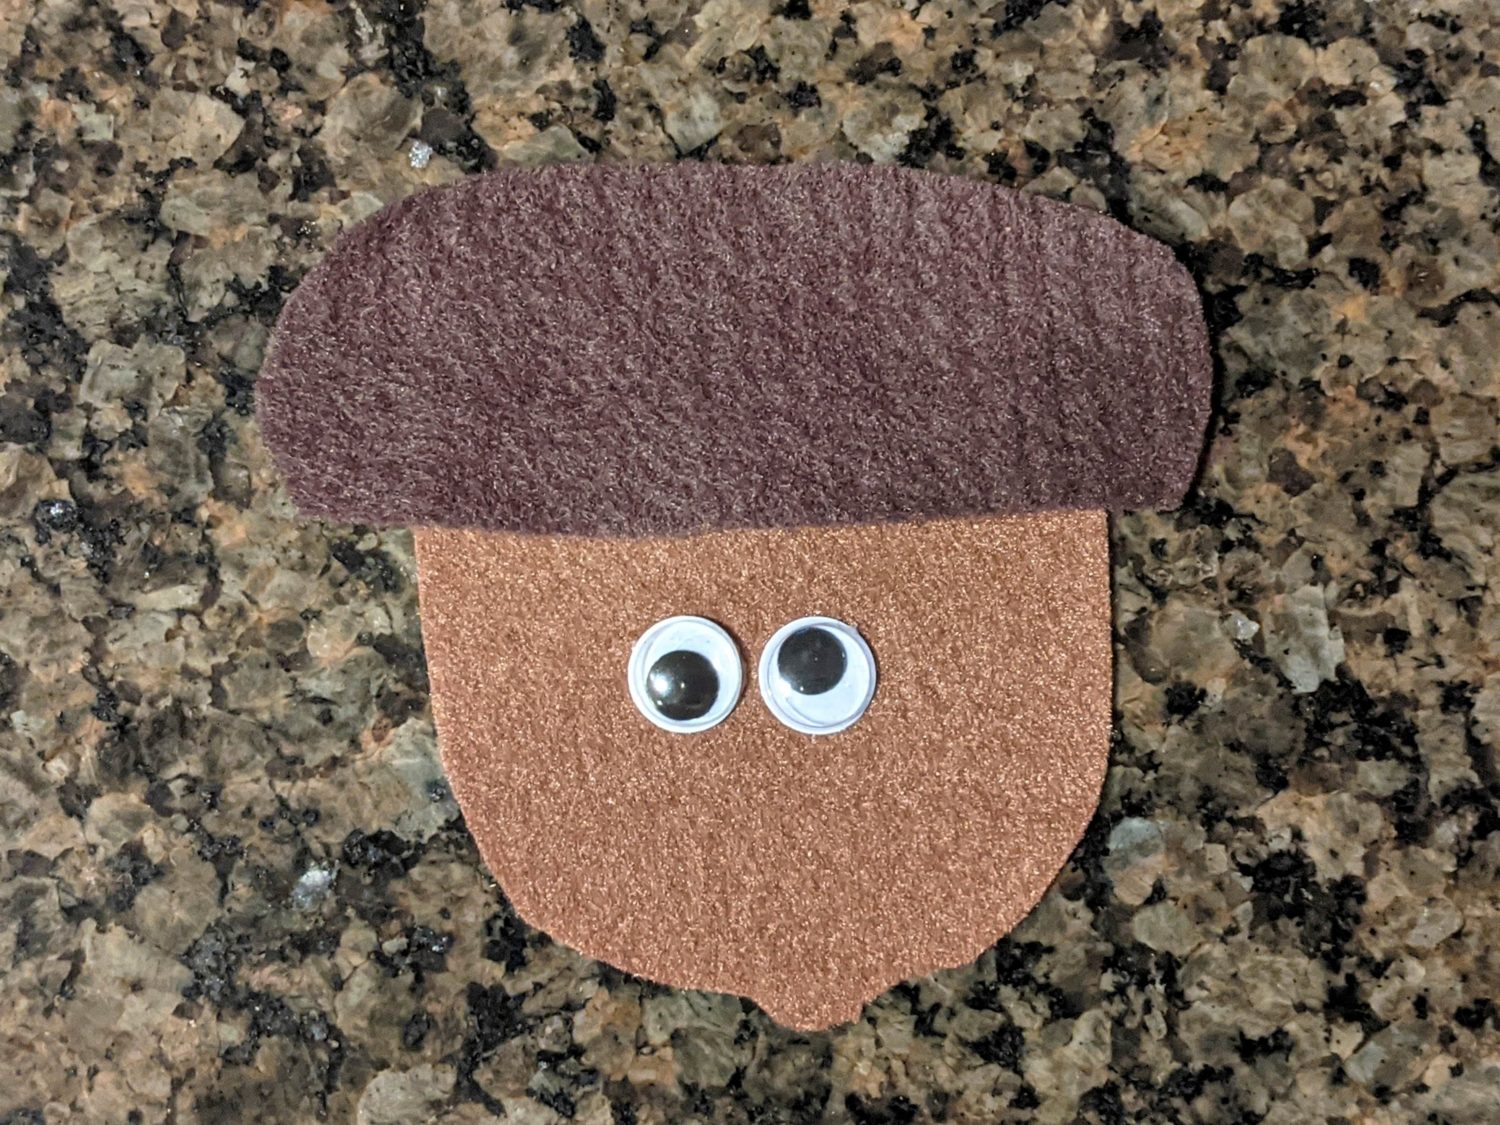
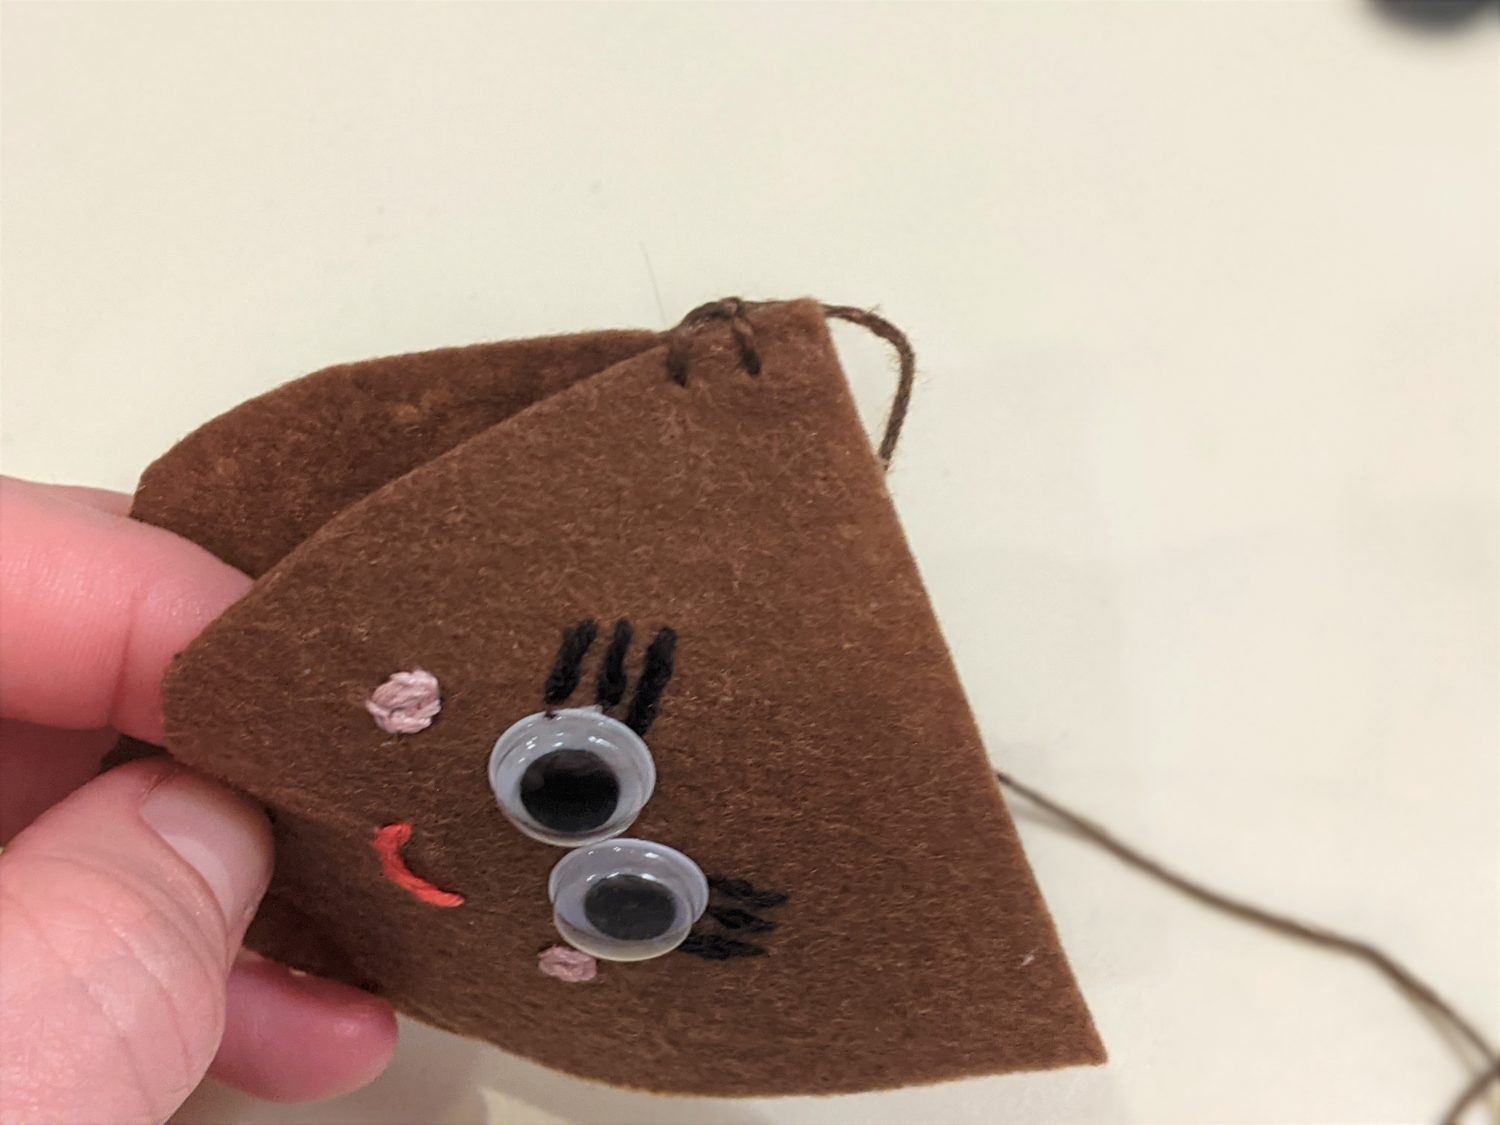
- Set the top piece on top of the main piece to decide on its placement so you can figure out where you want the face to be.
- Hot glue on your google eyes. It makes it easier to position the face details if the eyes are already placed.
- Use a pencil or pen to draw on your acorn face.
- Use a straight stitch and/or split stitch to go over your drawn-on facial features.
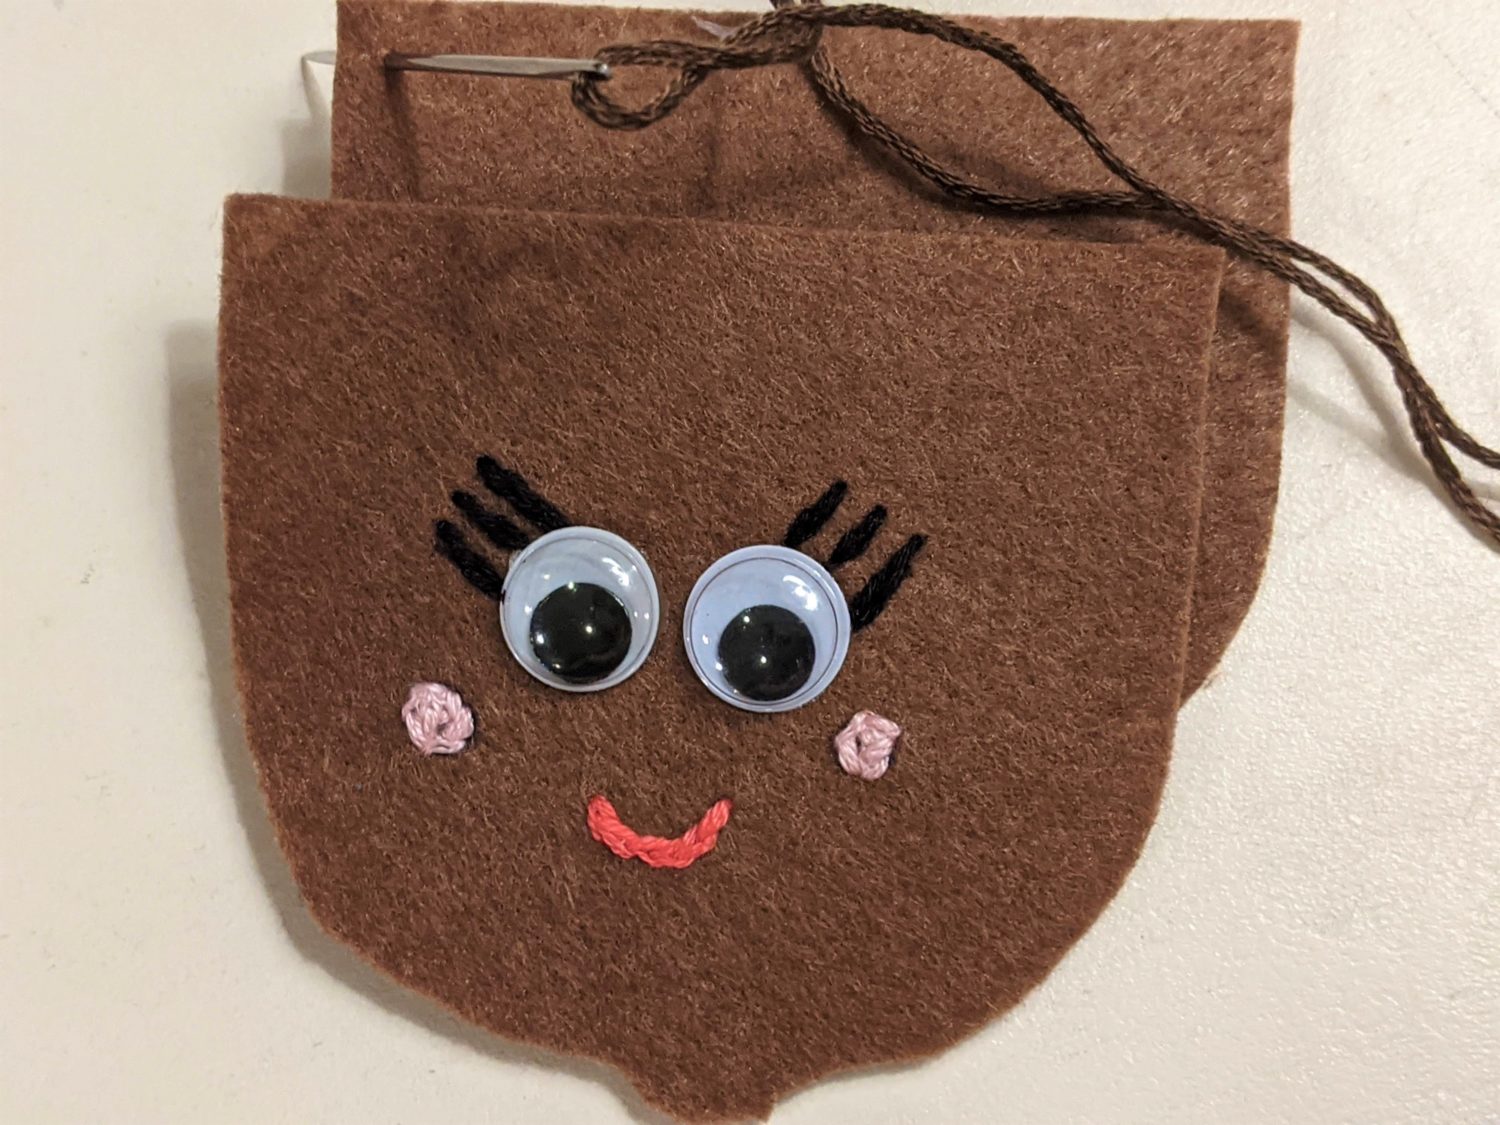
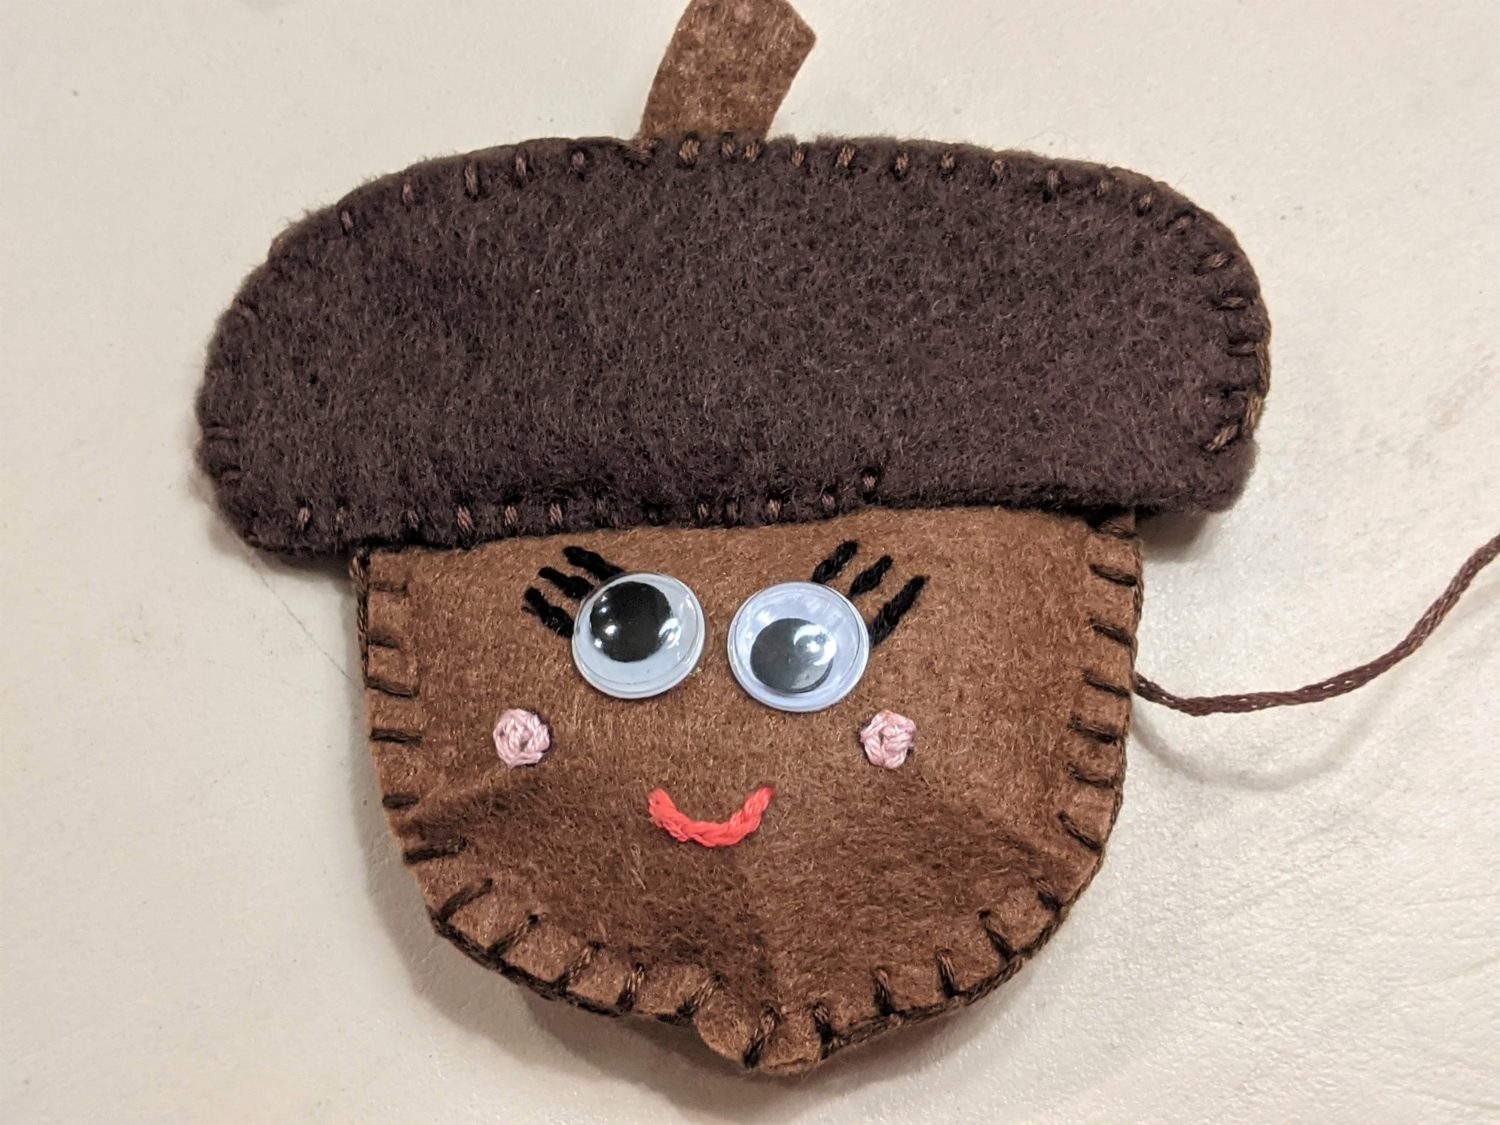
Sewing Your Acorn
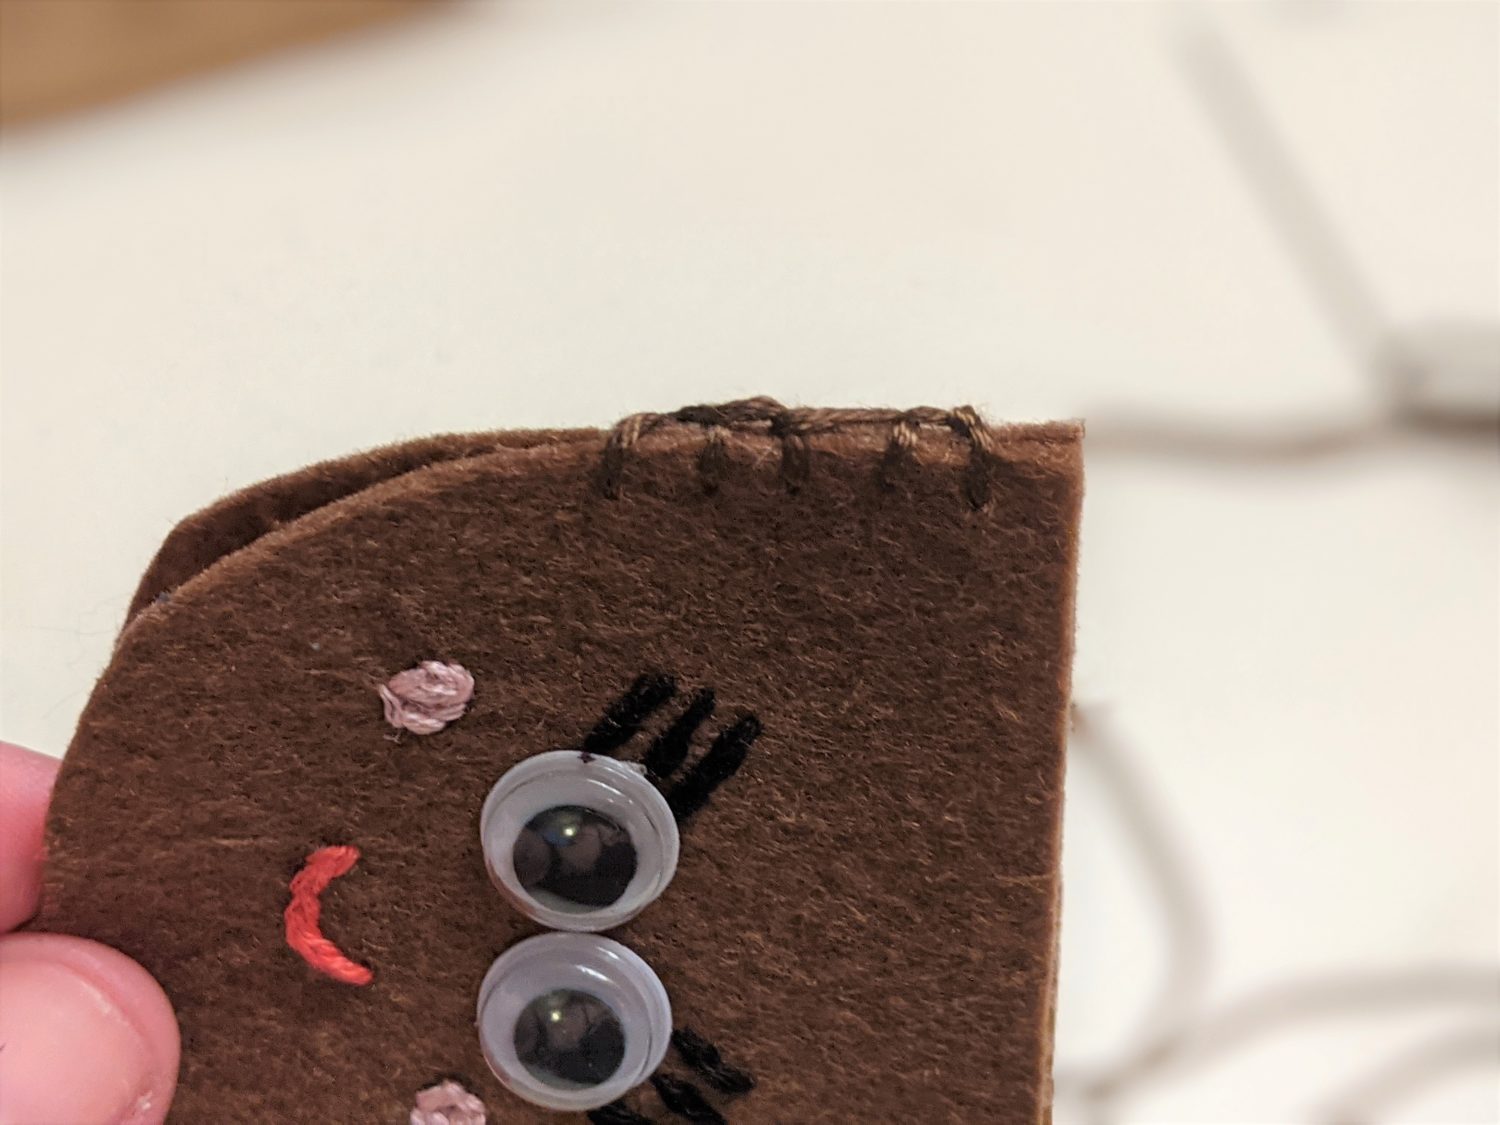
- Once your face is sewn on, put the two main pieces together with the face side out.
- Use a blanket stitch or whipstitch to sew along the edges while still leaving the top portion open.
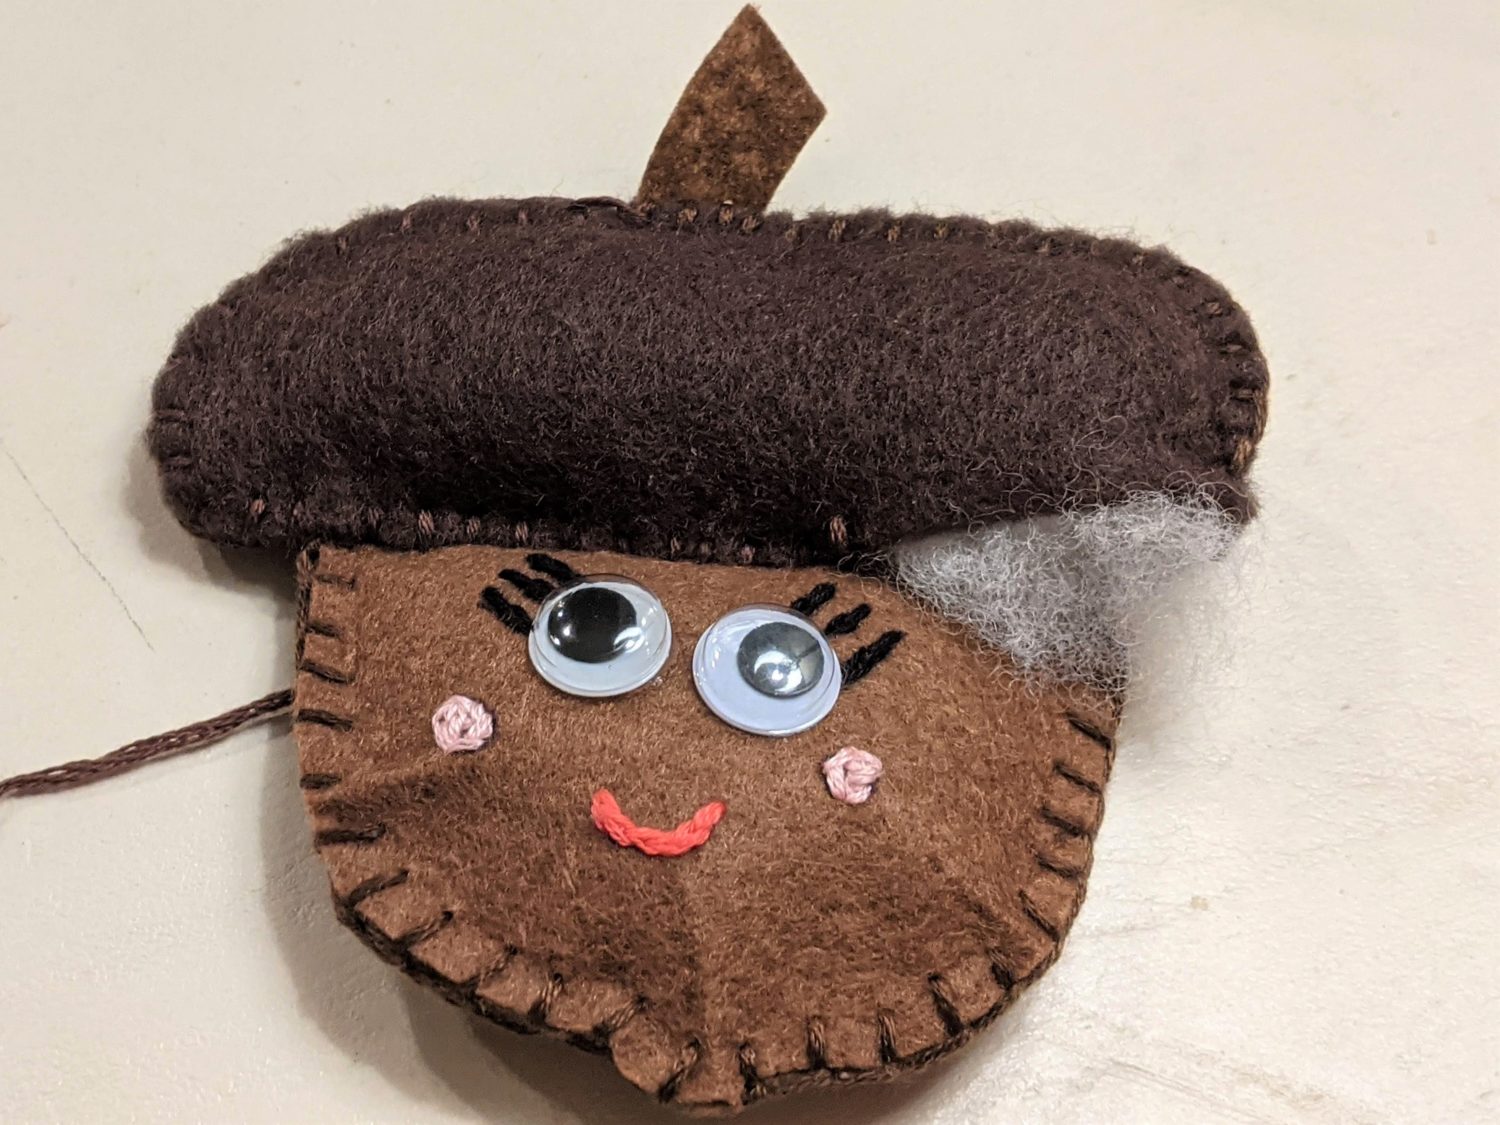
- Put a small amount of stuffing into your acorn and set it to the side.

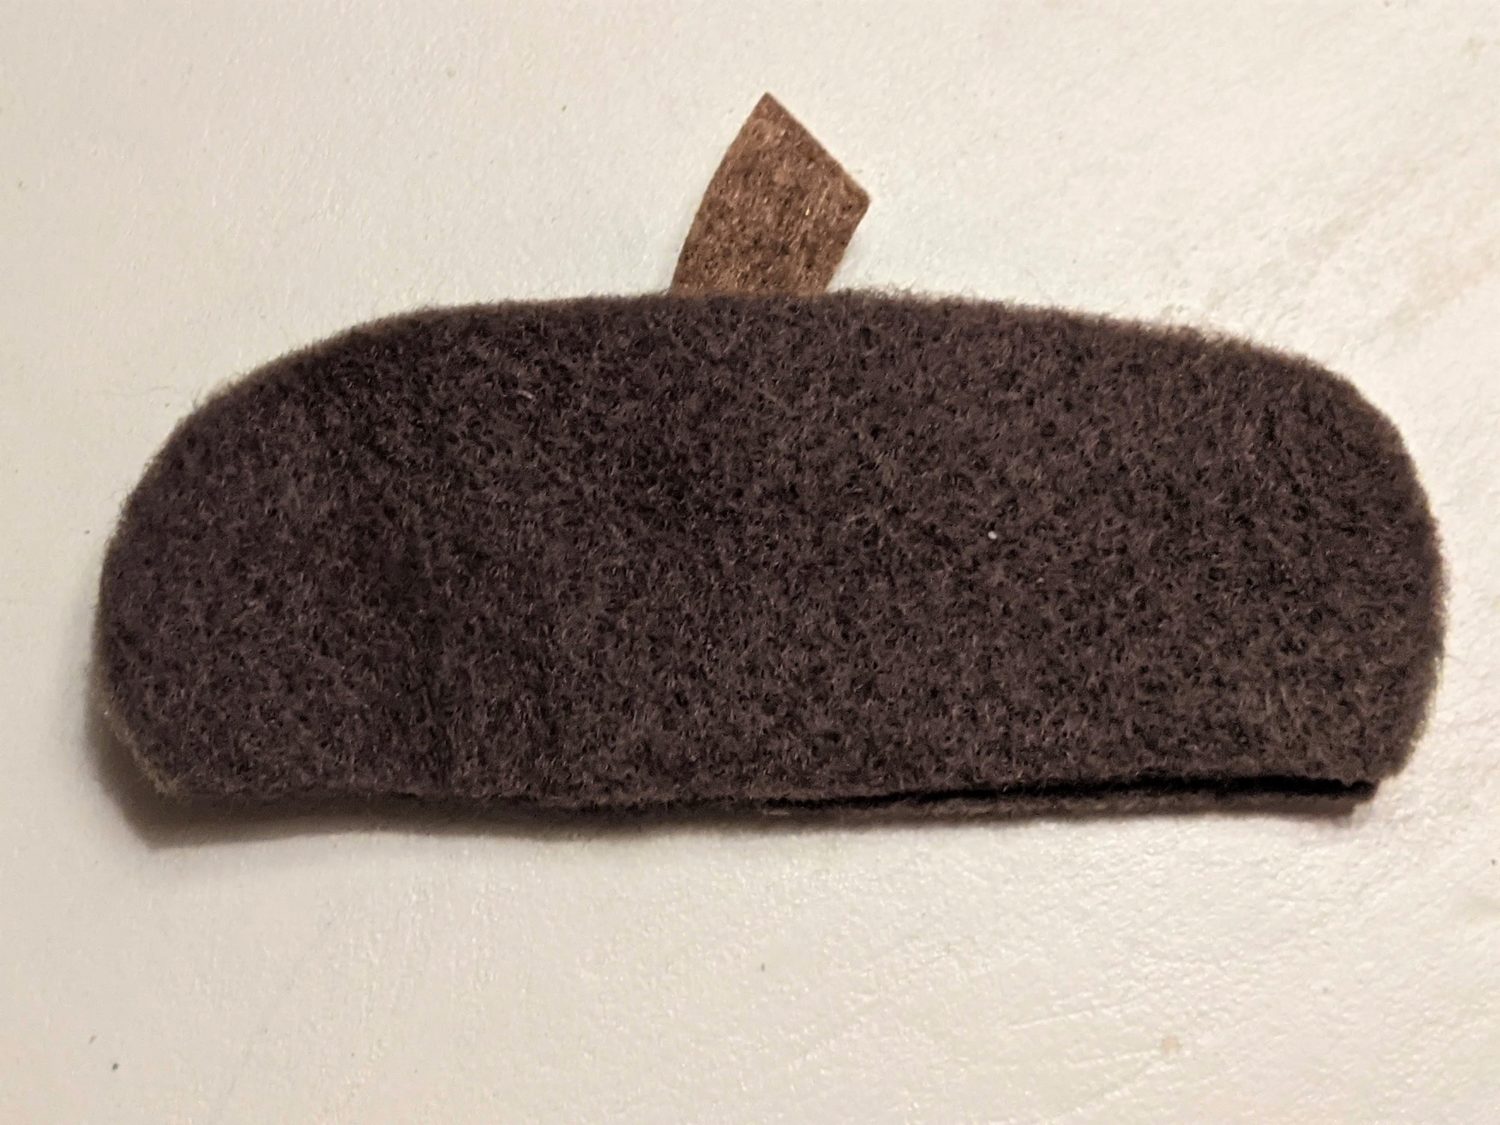
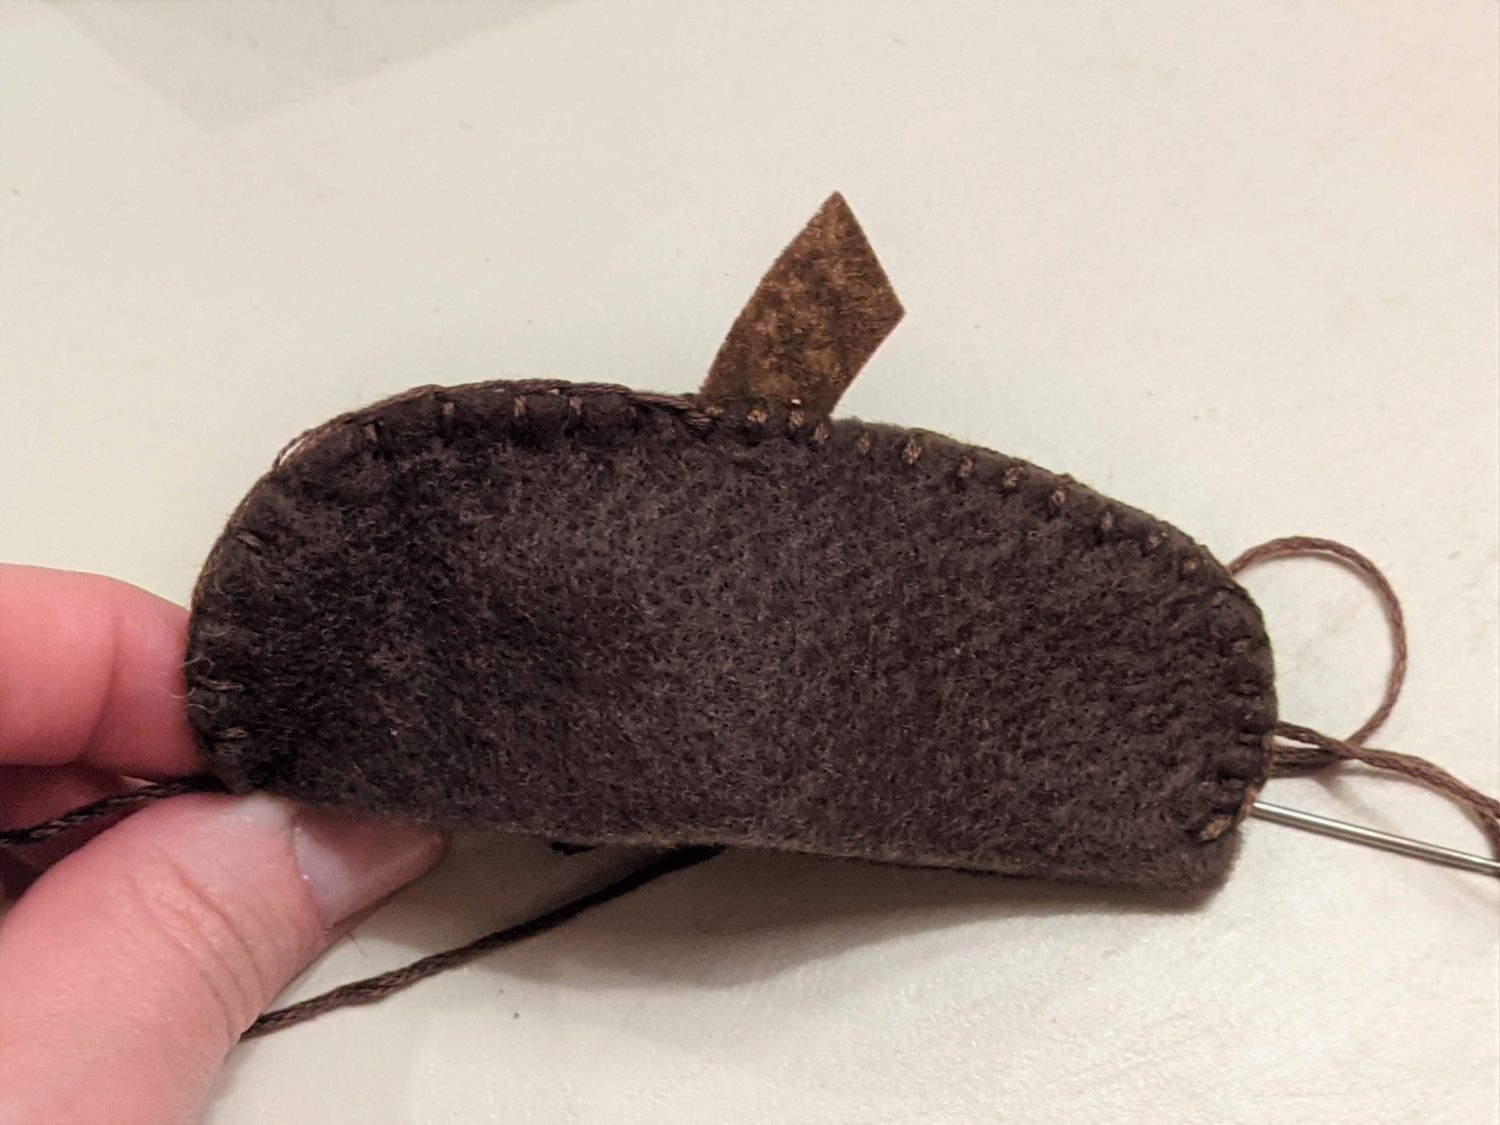
- Set the top pieces together and slide the stem in between the two.
- Pin or clip the stem in place.
- Sew the two sides together, stitching through the stem to secure it in place using your stitch of choice, leaving the bottom edge open.
- Take the bottom of the acorn and slide it into the opening of the top part.
- Stitch the bottom edge of the acorn top closed, sewing through all of the layers of both the top and bottom leaving an opening big enough to put a bit of stuffing into the top.
- Put the stuffing in, then continue stitching to the end and tie off the thread.
Throw those acorns with their pumpkin friends or hang them up along your fireplace with your fall garland. (Tutorial and template for the garland HERE.)
Want more FUN DIY Freebies? Check out the FREEBIE TUTORIALS and the FREEBIE PATTERNS!
As always, we’re here to help if you need it! Join us HERE and on Facebook, Instagram, Twitter, Youtube, and Pinterest. We’re everywhere you are.
Leave a Reply