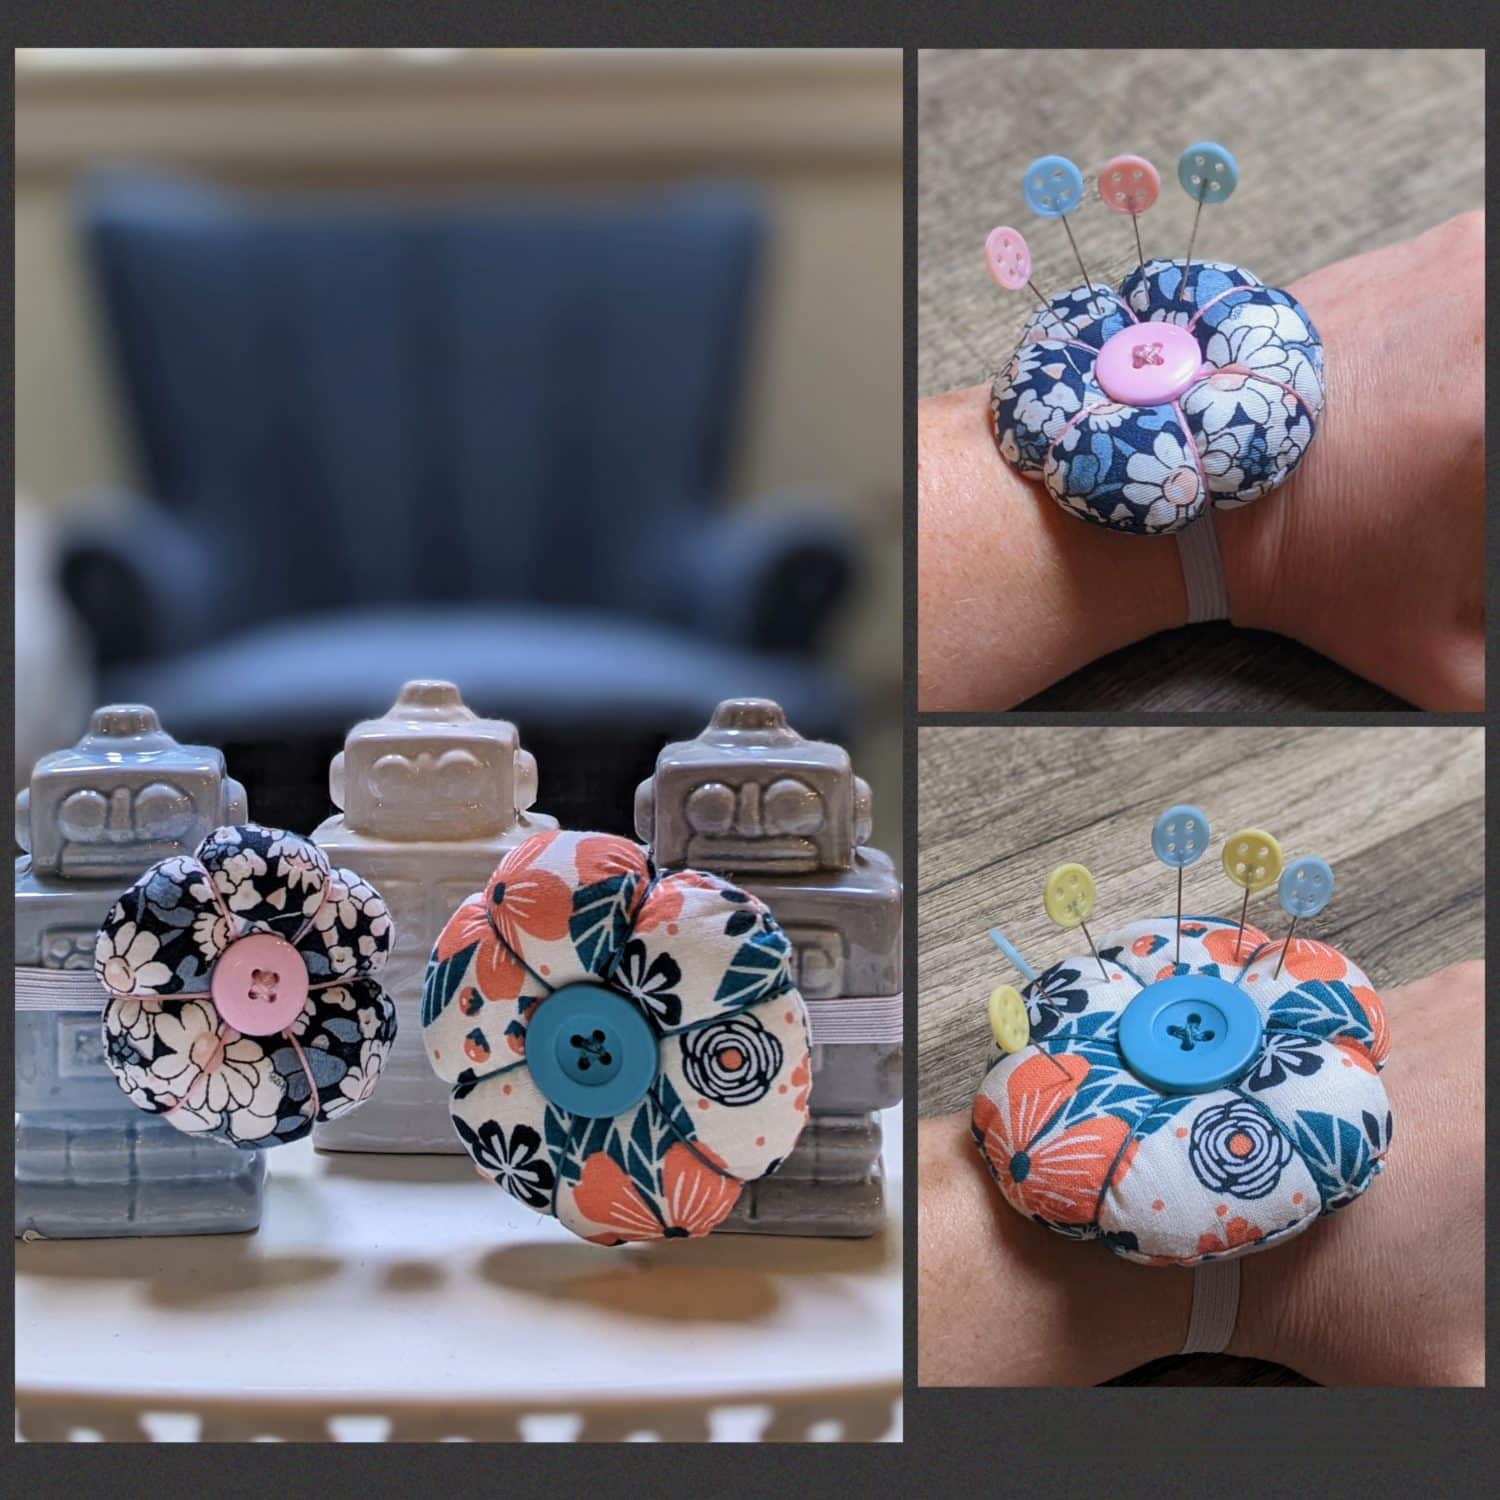
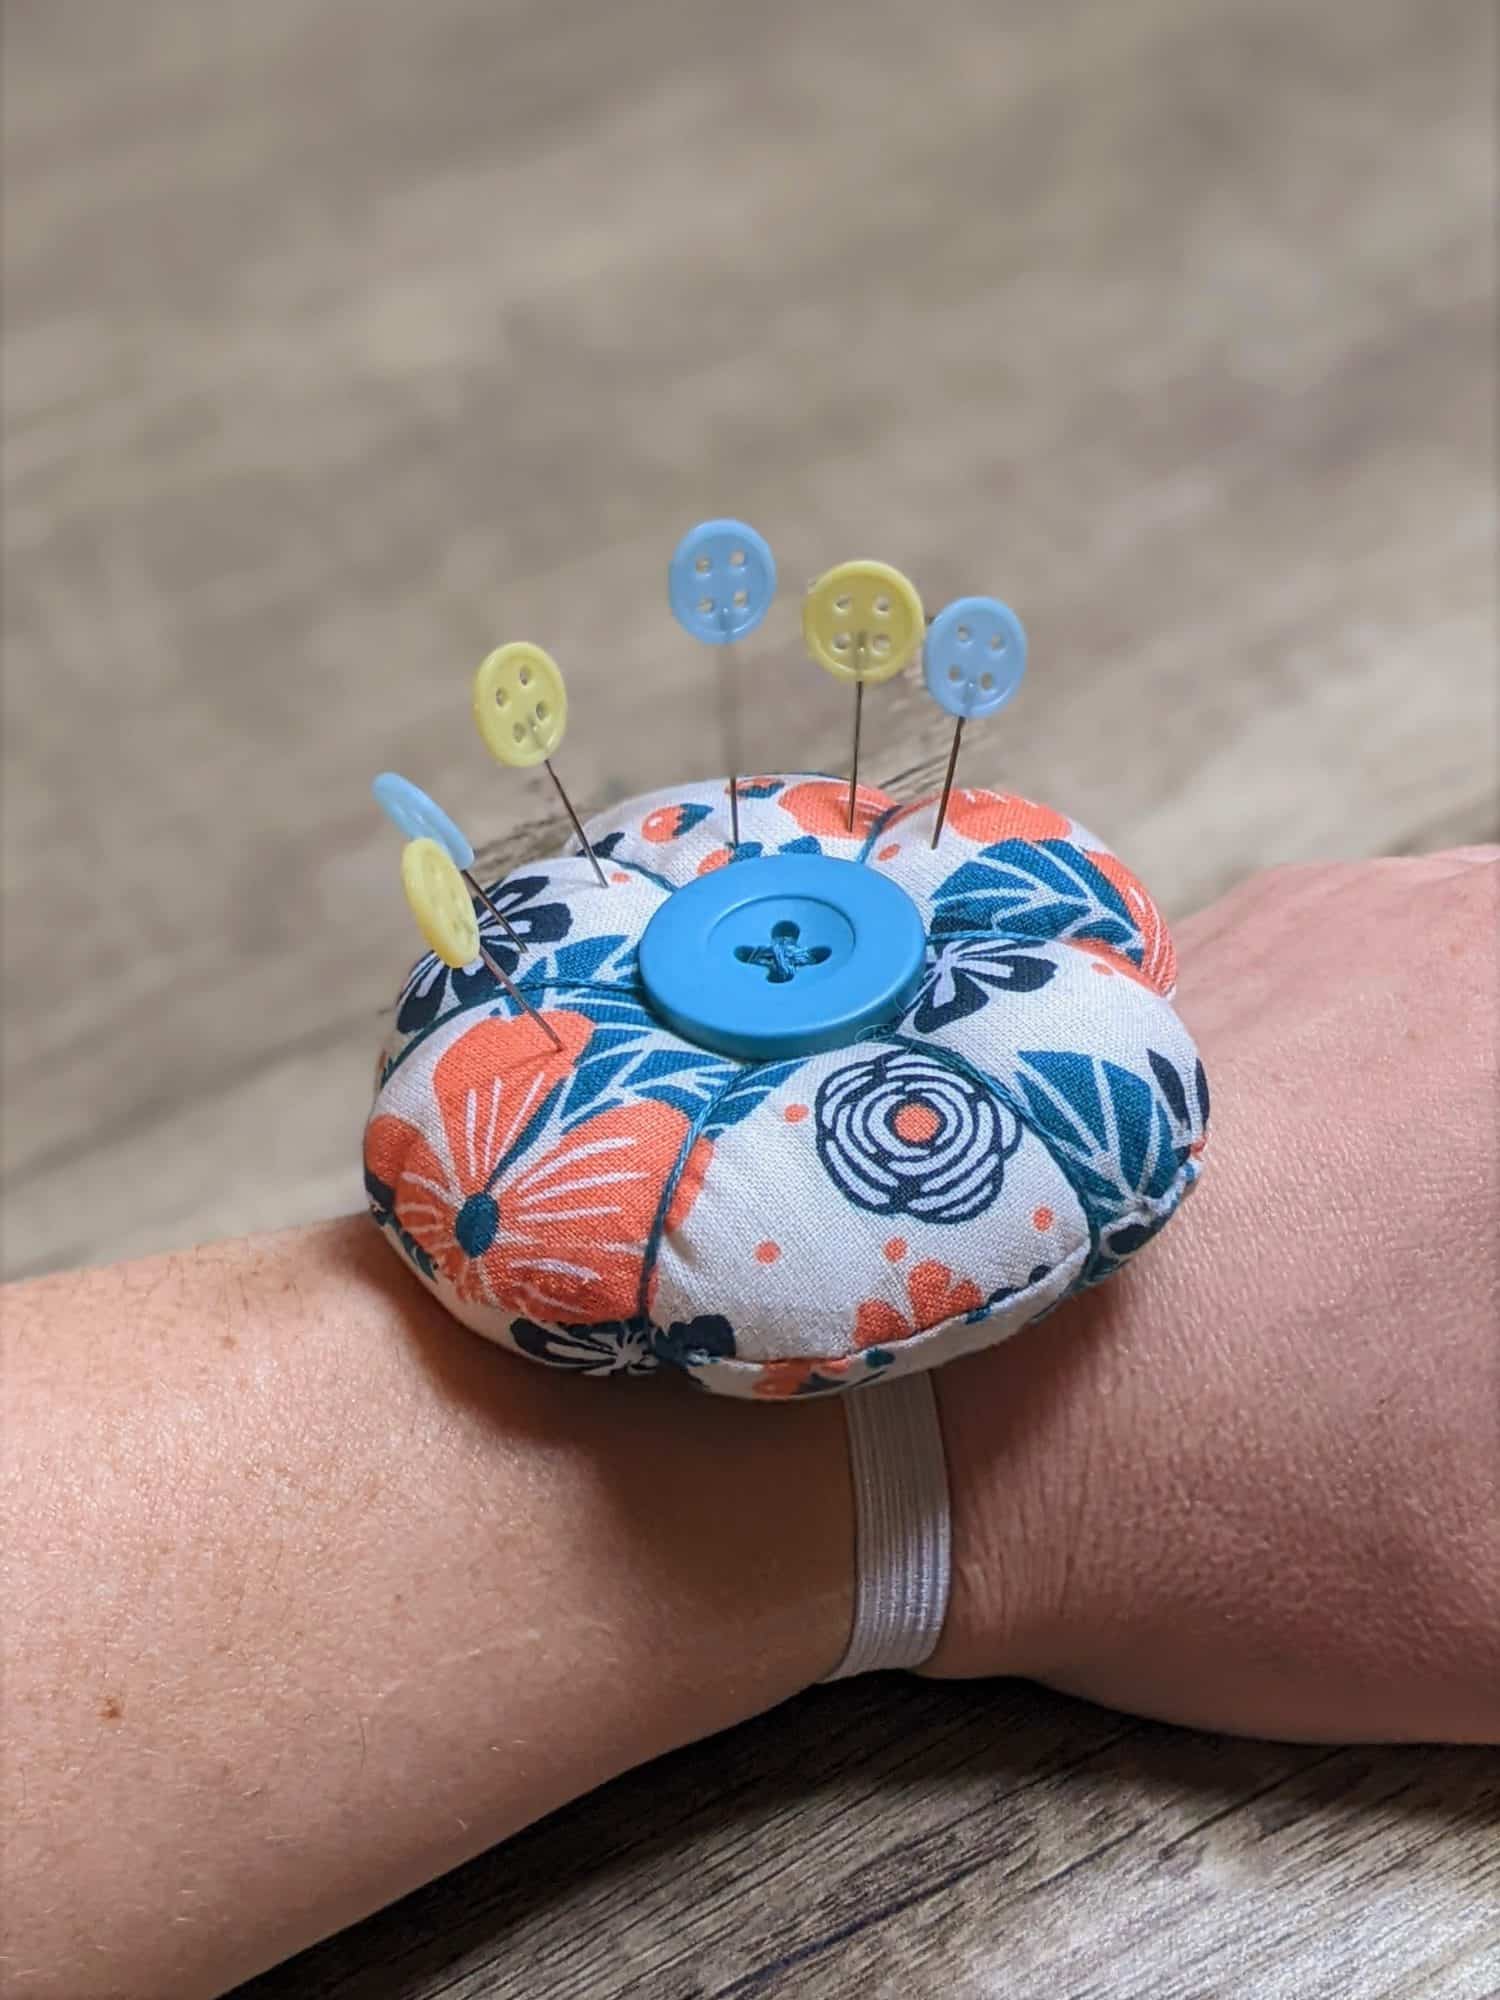
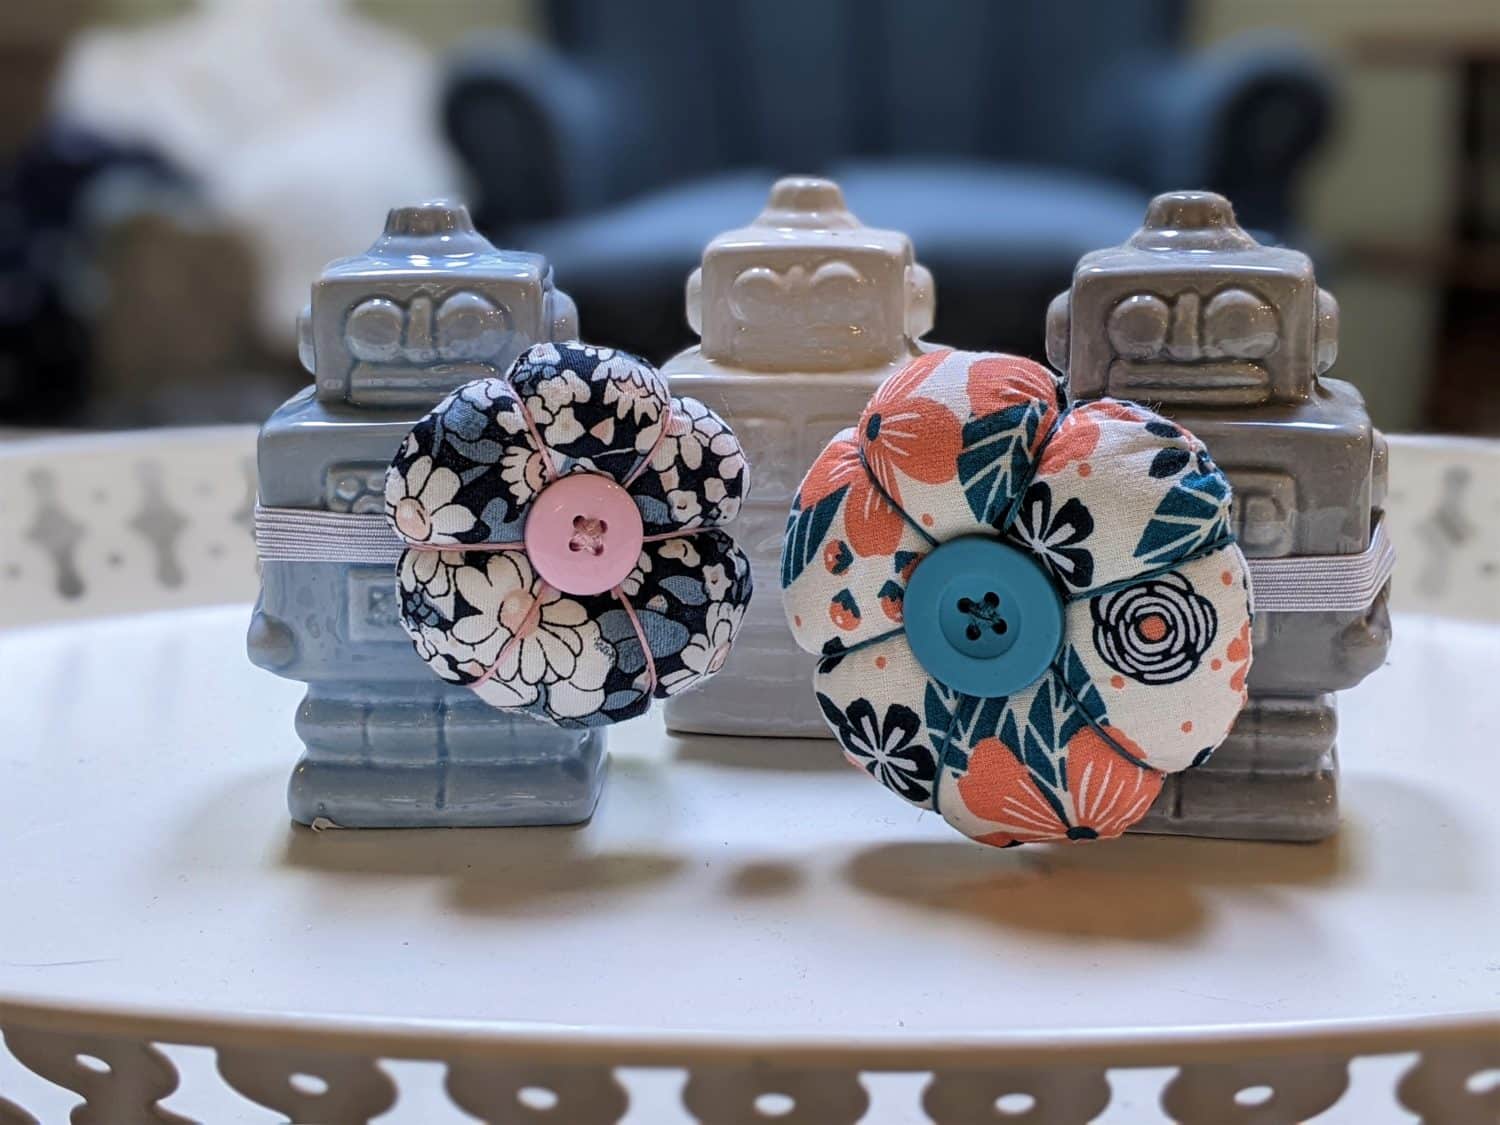
This wrist pincushion is quick and easy, it makes a great gift for any sewist in your life, is an excellent scrap buster and you can easily customize it to make it exactly the right size, and colors to suit your style.
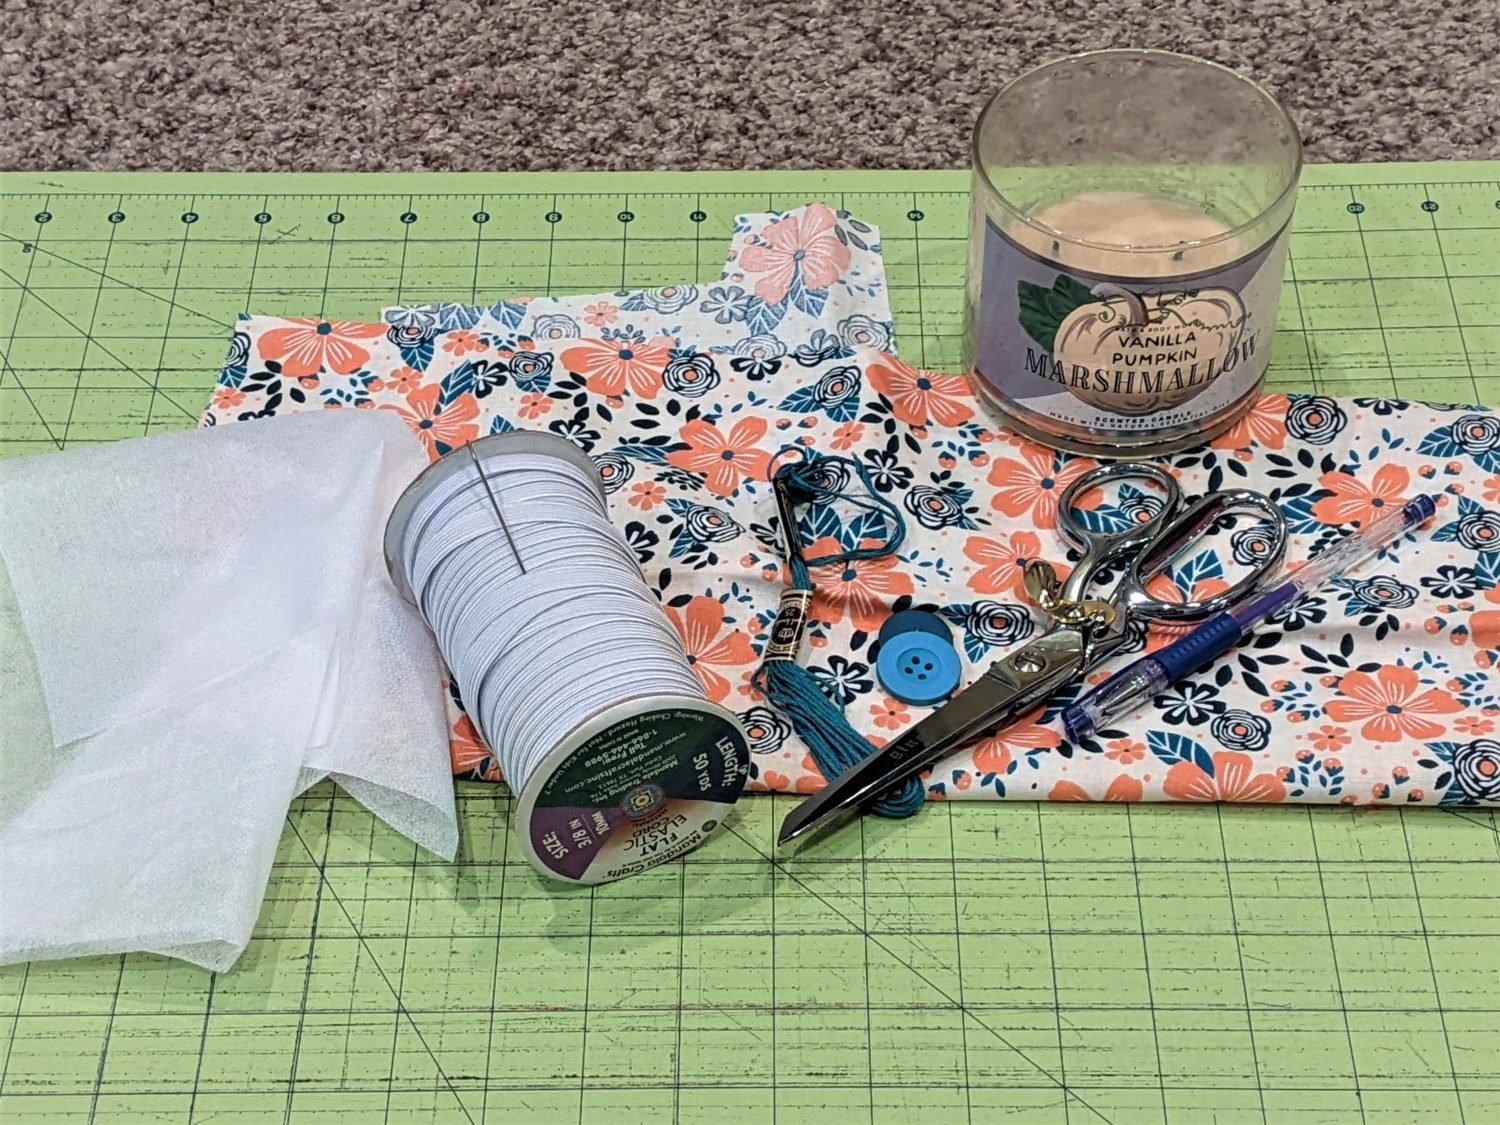
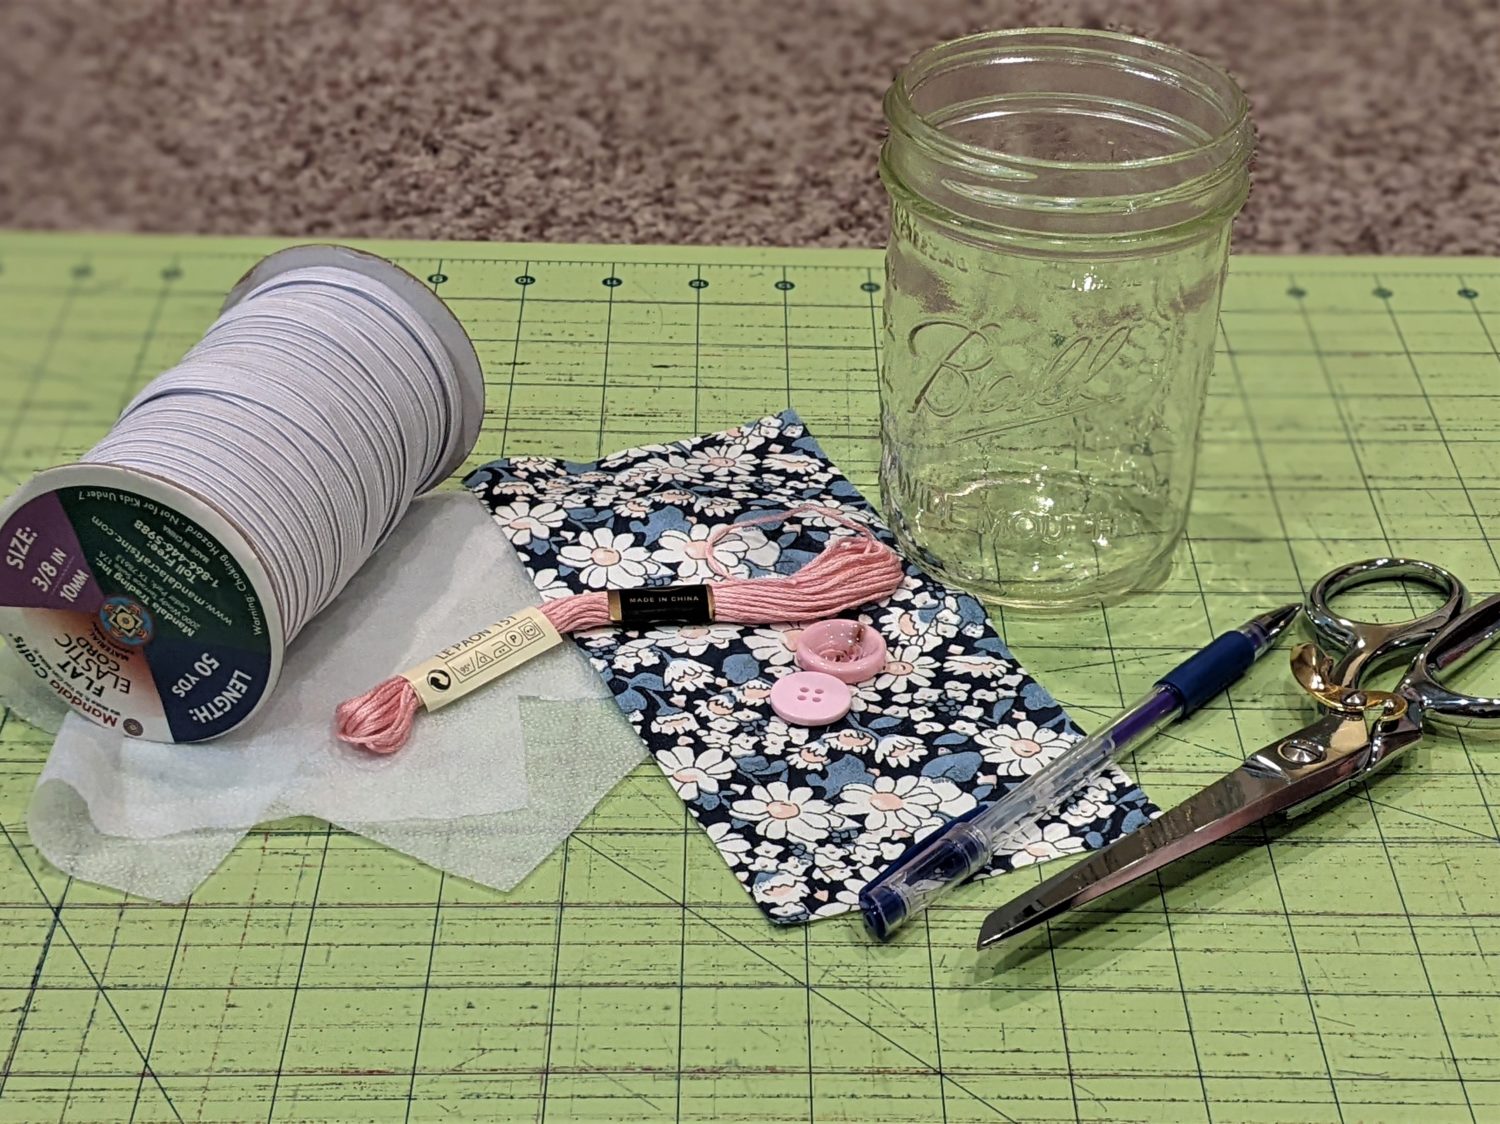
Materials Needed:
- Woven fabric
- optional: fusible interfacing
- 3/8″ elastic
- Circle template: (large=3 wick candle jar small=wide mouth mason jar)
- Coordinating button and thread or embroidery floss
- Poly-fil stuffing
- Basic sewing supplies
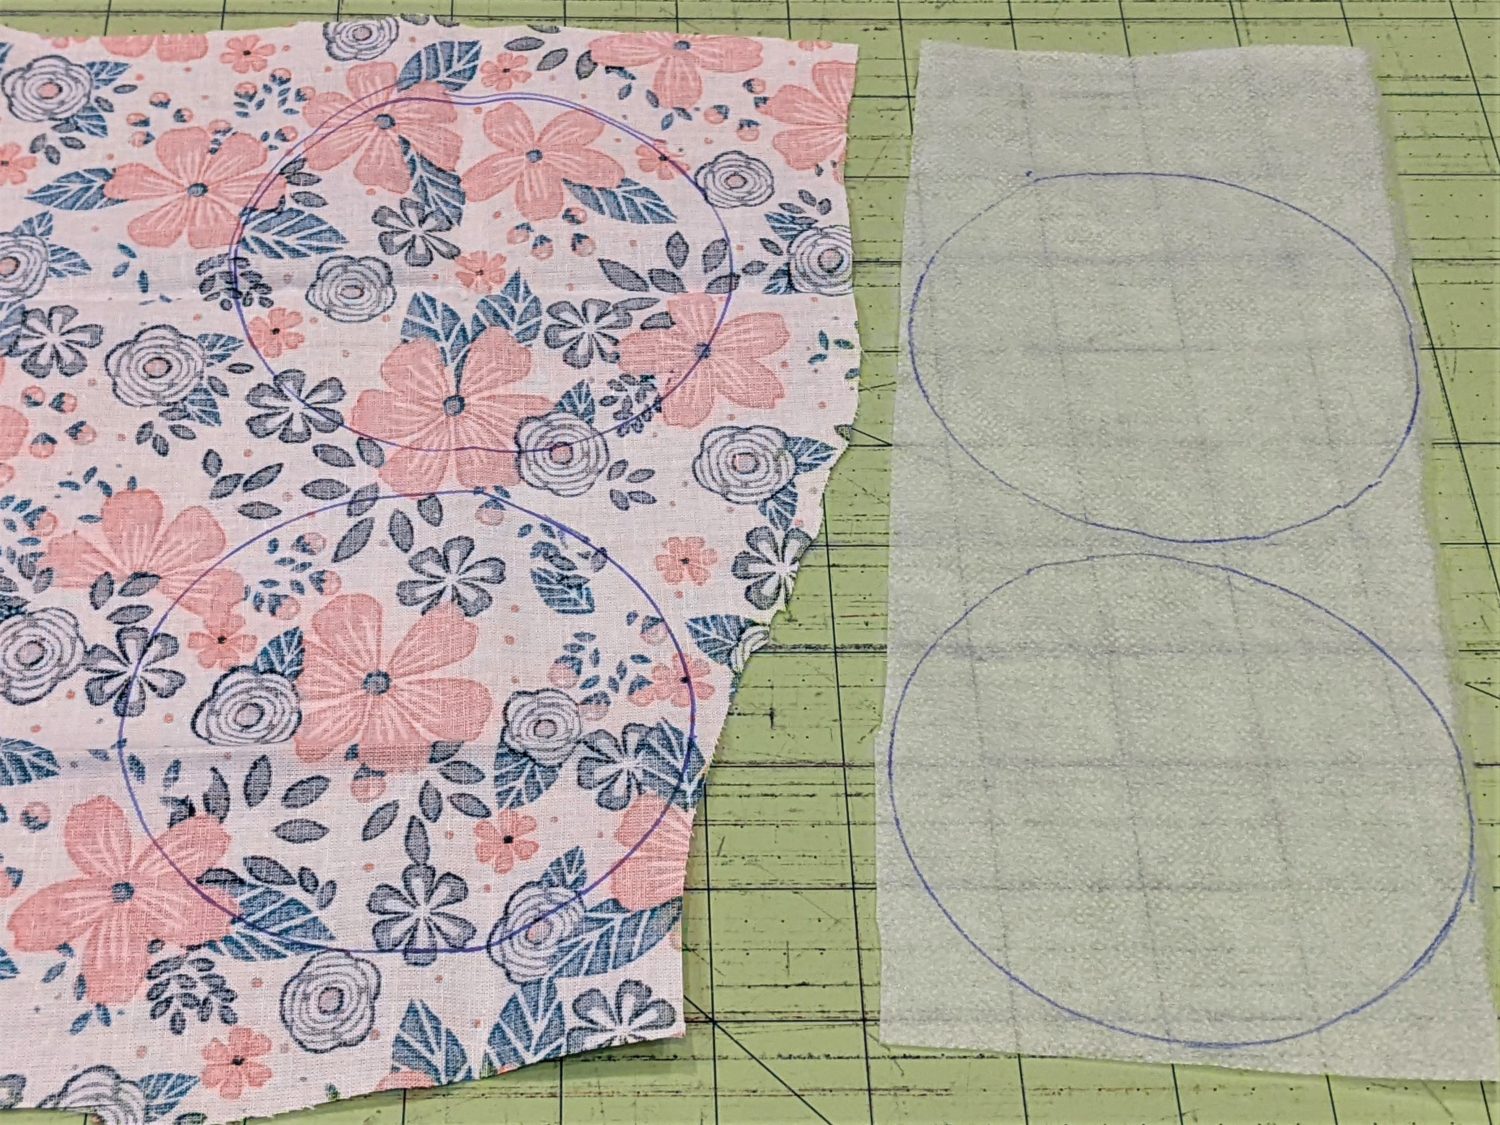
Pieces
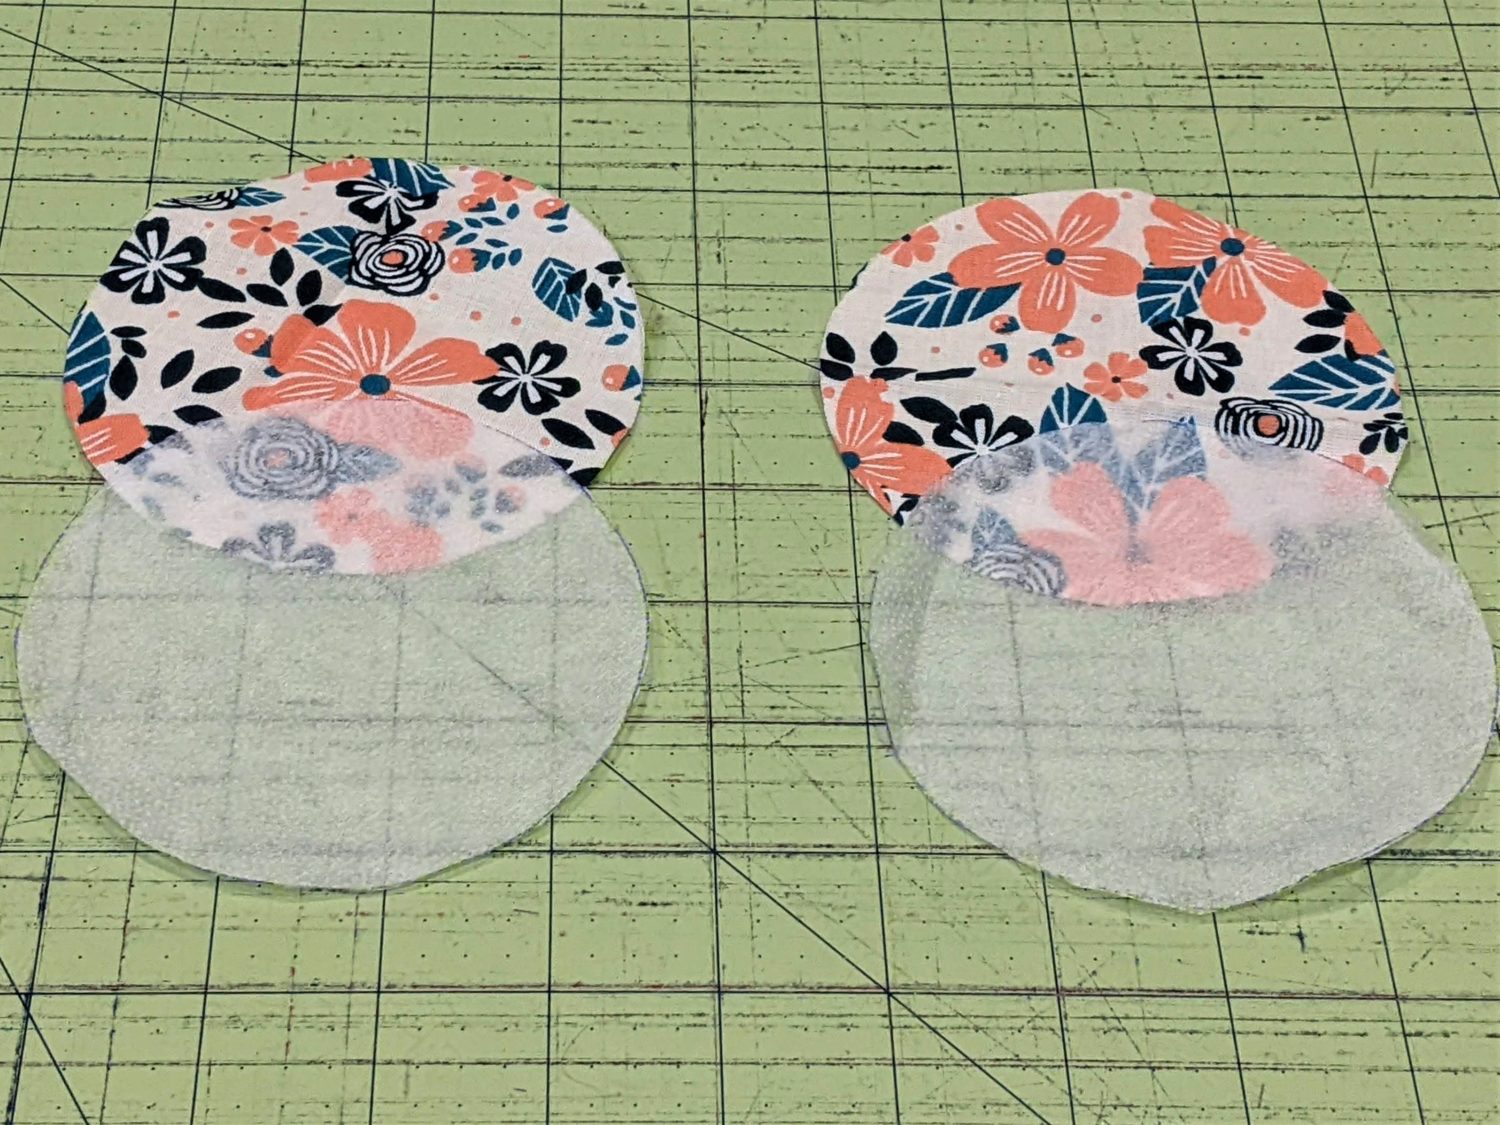
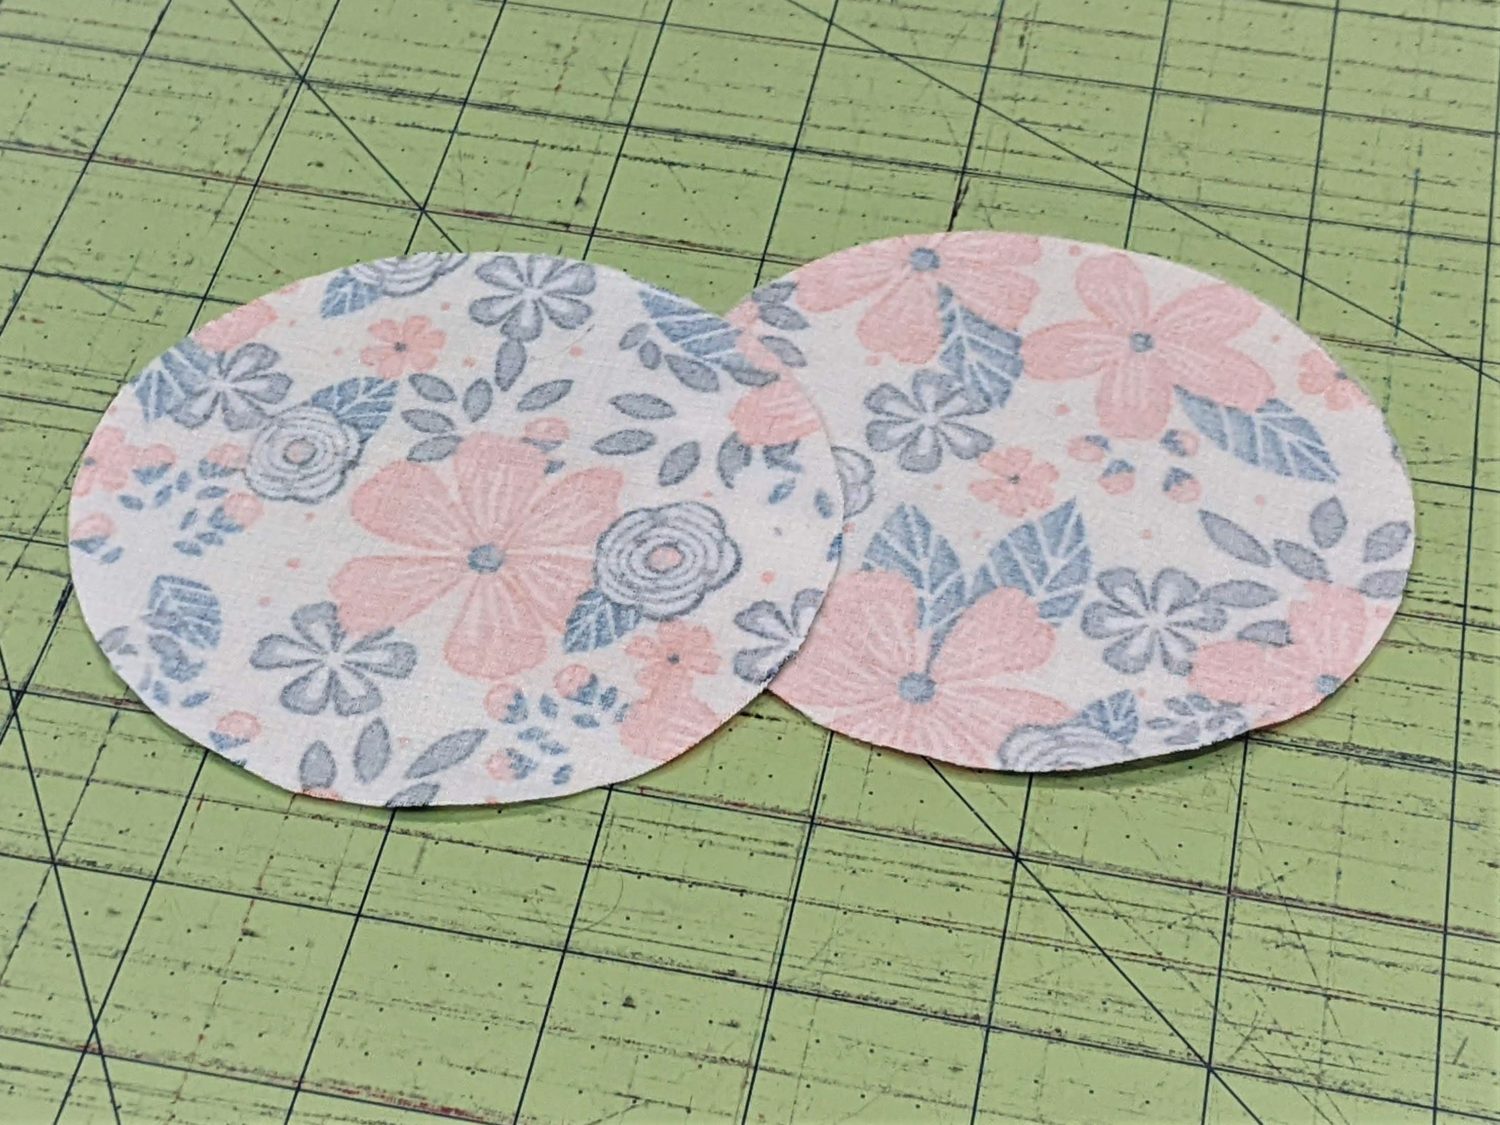
- Use your chosen size circle template and trace two circles on the backside of the fabric and 2 on your interfacing if you are using it.
- Cut out your circles.
- If you are using interfacing, follow the instructions for yours and iron it to the wrong side of the circles.
Sew
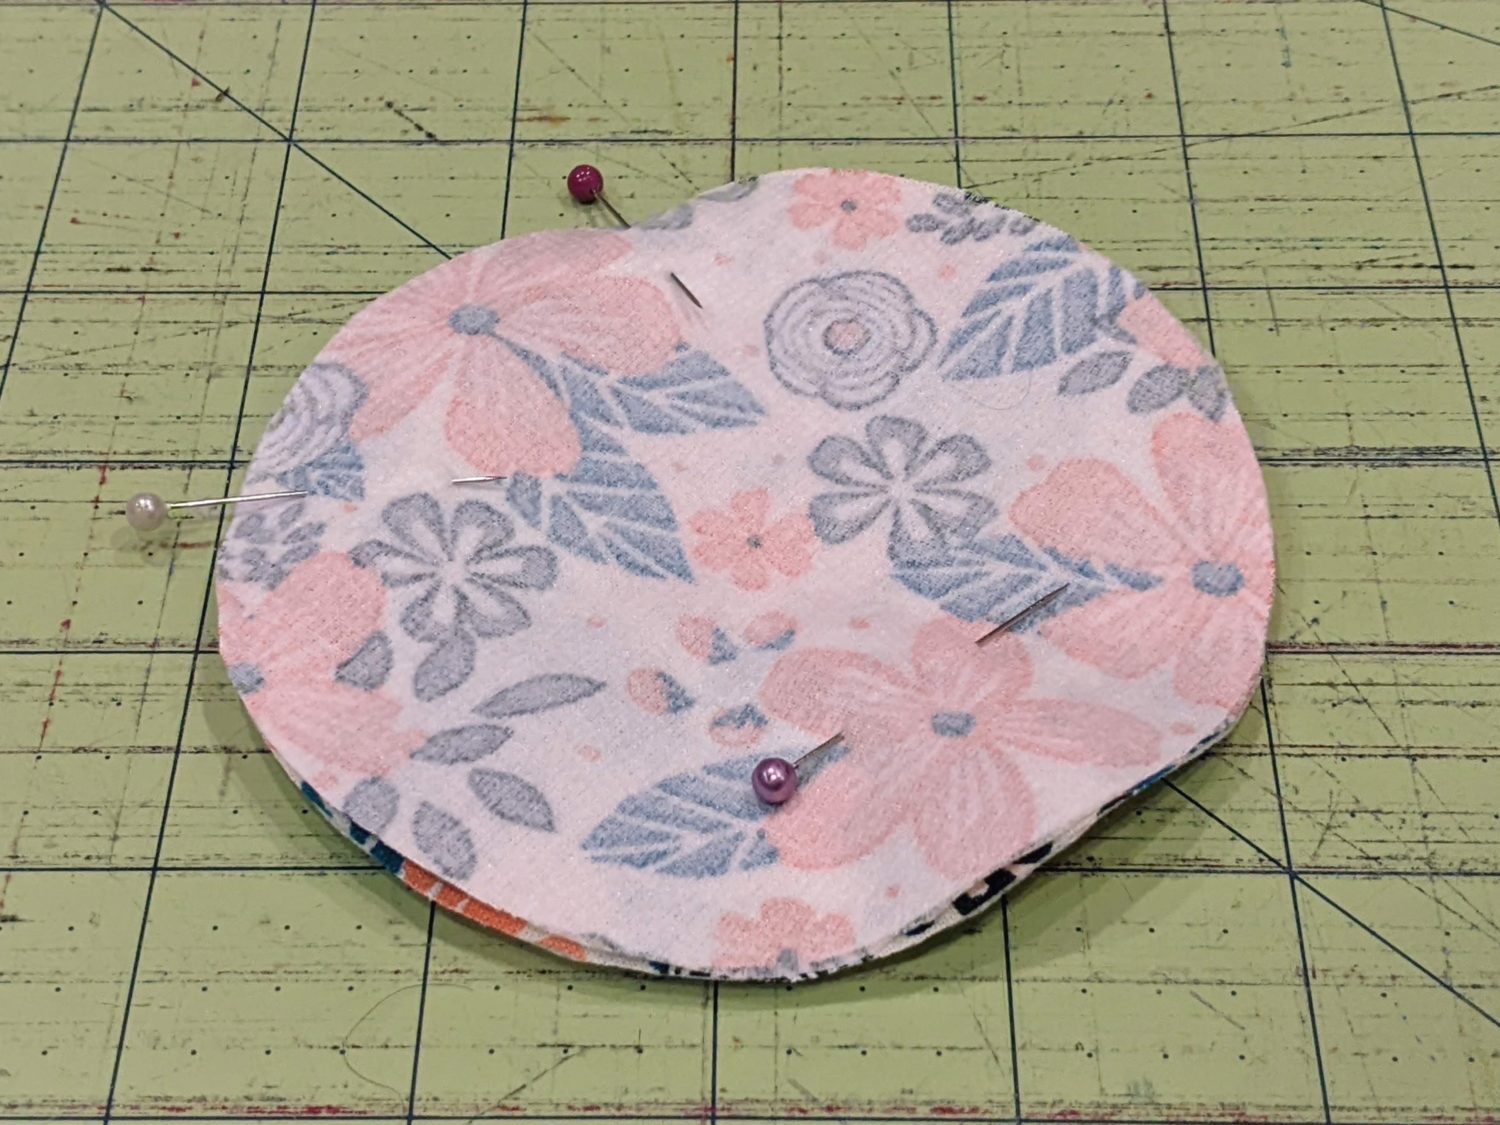
- Stack your two circles right sides together and pin.
- Sew with a straight stitch and 1/4″ seam allowance leaving a 1″-2″ opening for turning and backstitch several times at the beginning and end of the opening.
- Make snips in the fabric all around the edge (except for where it is not sewn) up to the stitching making sure not to cut the stitches.

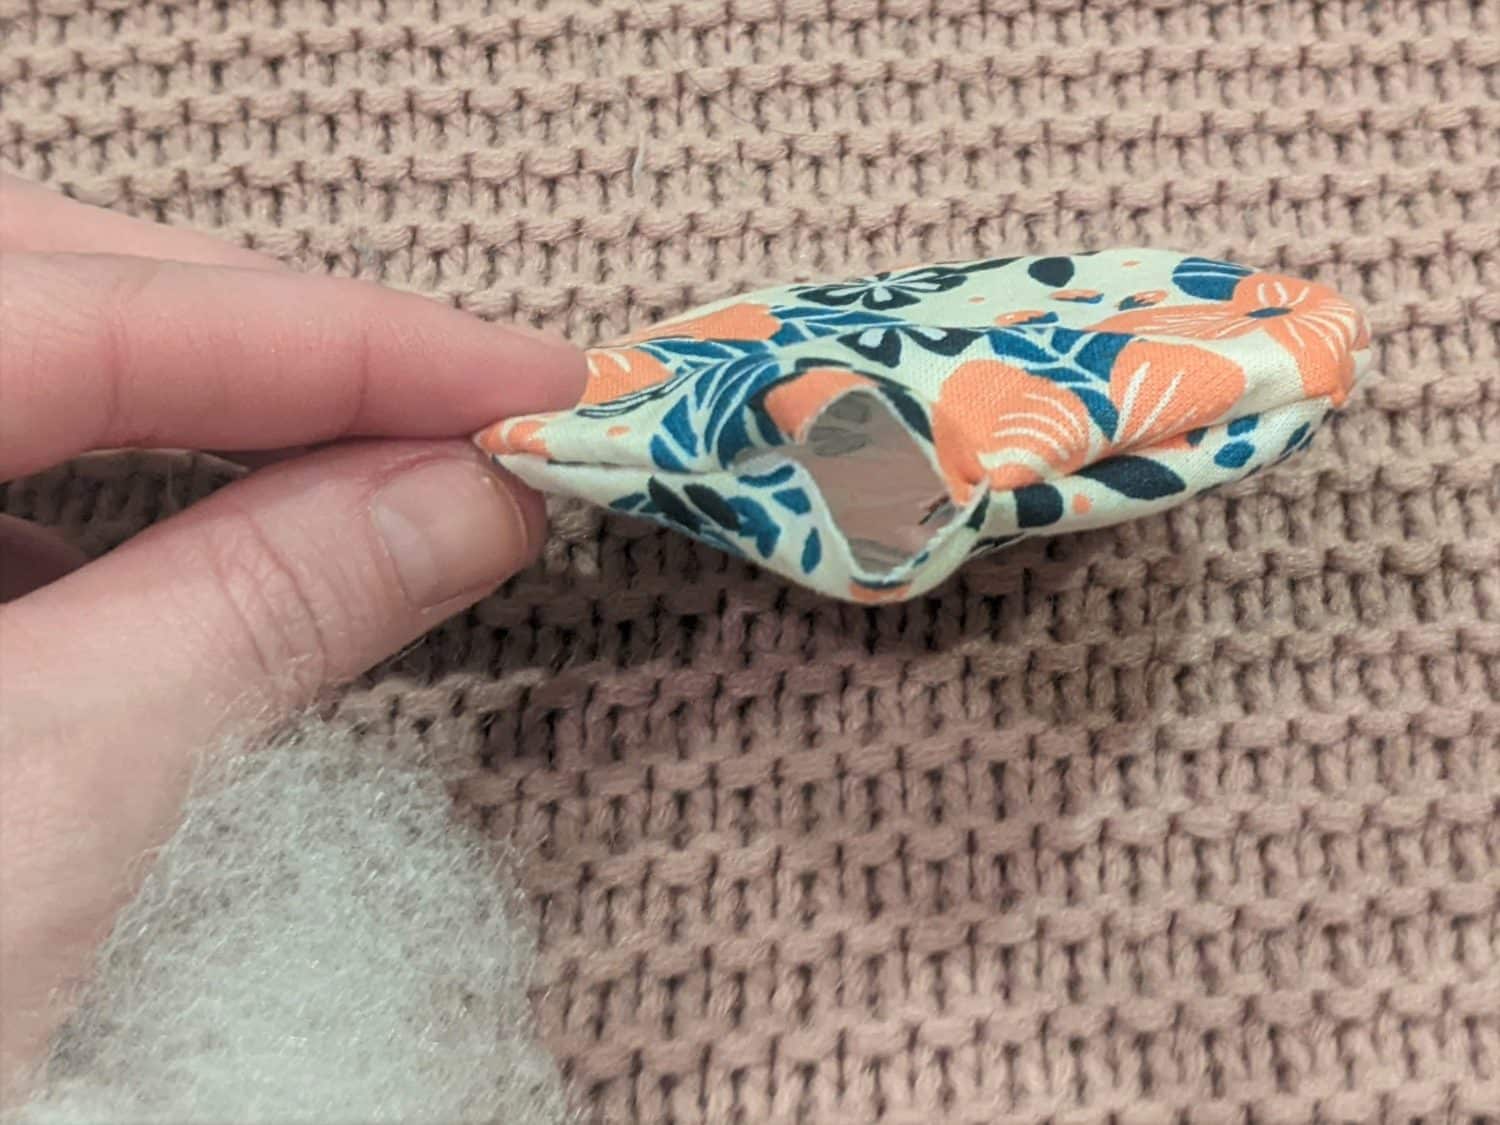
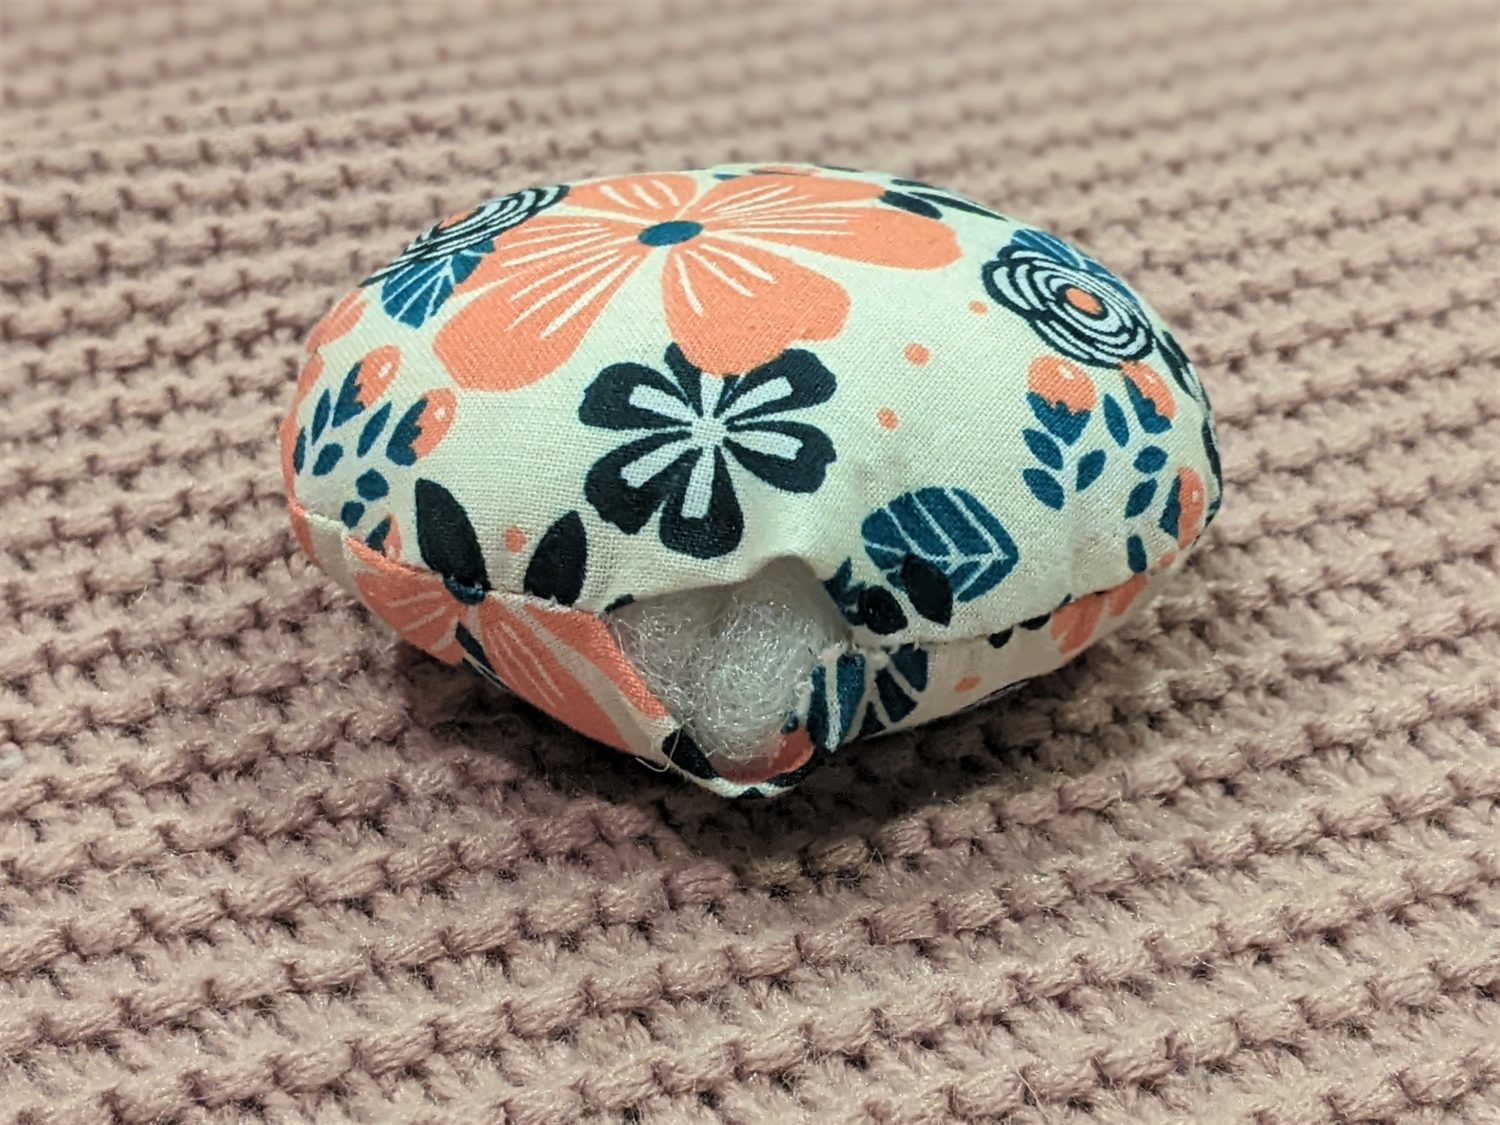
- Turn your cushion right side out.
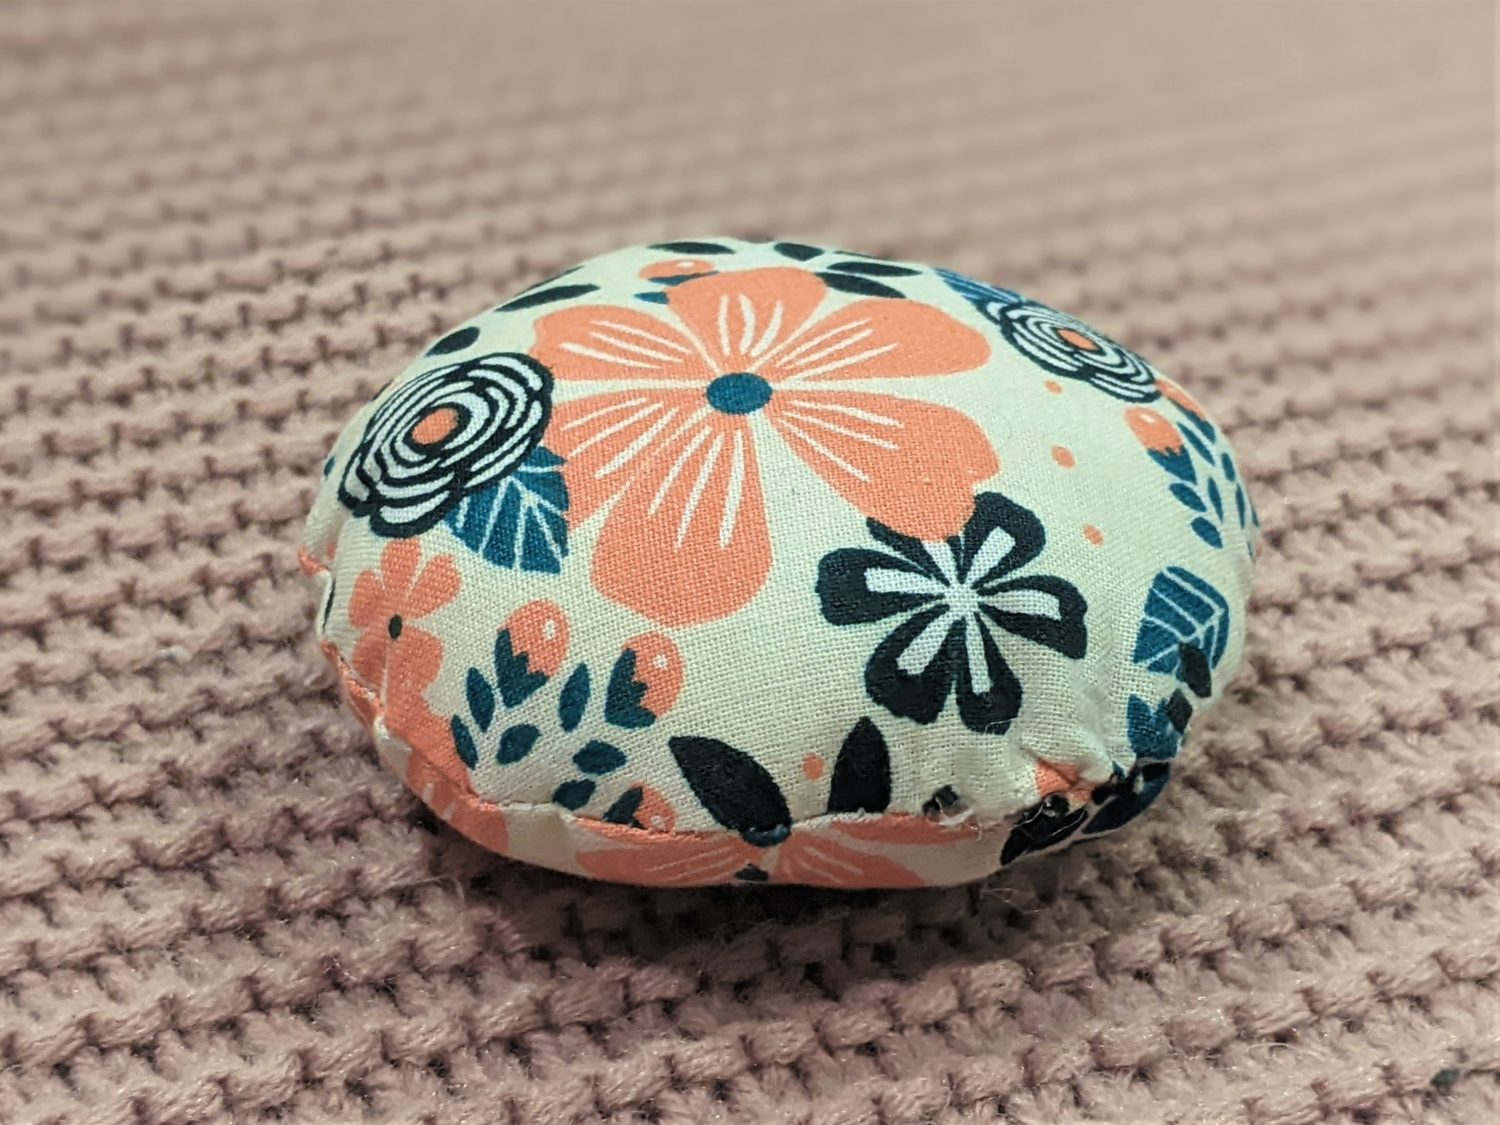
- Fill it with your poly-fil stuffing until it is nice and plump.
- Use a needle and thread to sew the opening using a ladder stitch.
Adding the Elastic for your Wrist
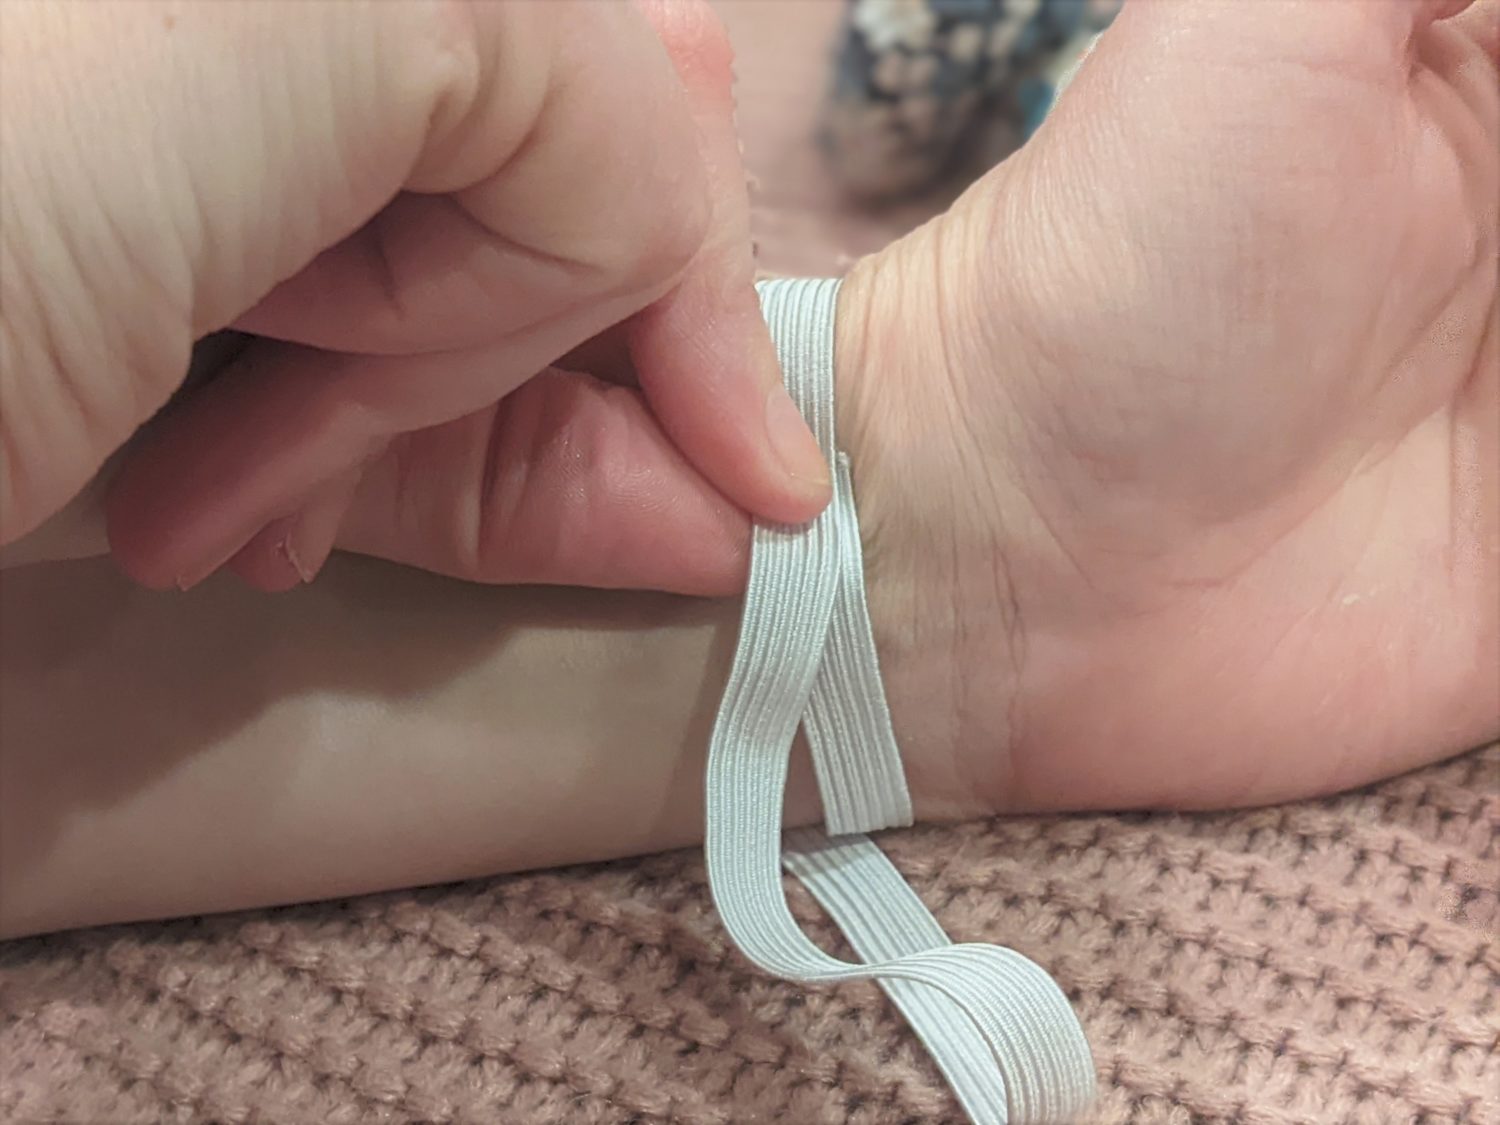
- Take your 3/8″ elastic and pull it snuggly around your wrist overlapping the ends. You do not want it to be uncomfortably tight, but you also don’t want it to slide around.
- Cut the elastic and pin the overlapped ends together.
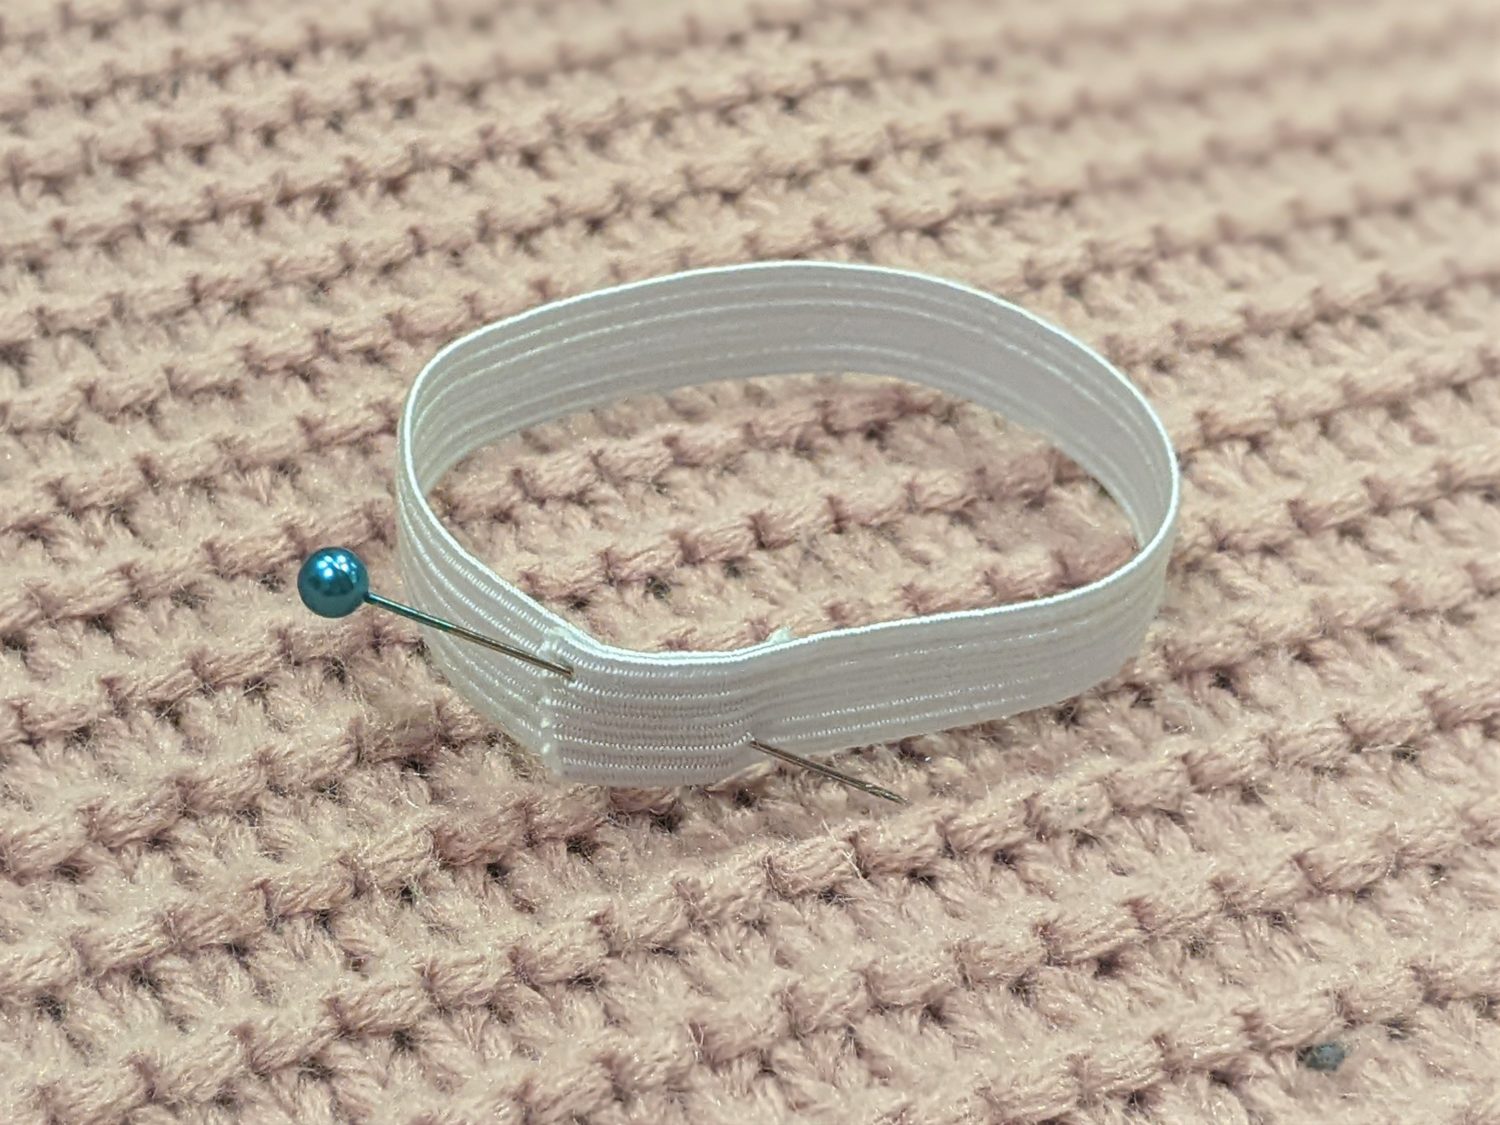
- Use a needle and thread (or sewing machine) to sew the overlapped portion of the elastic together.
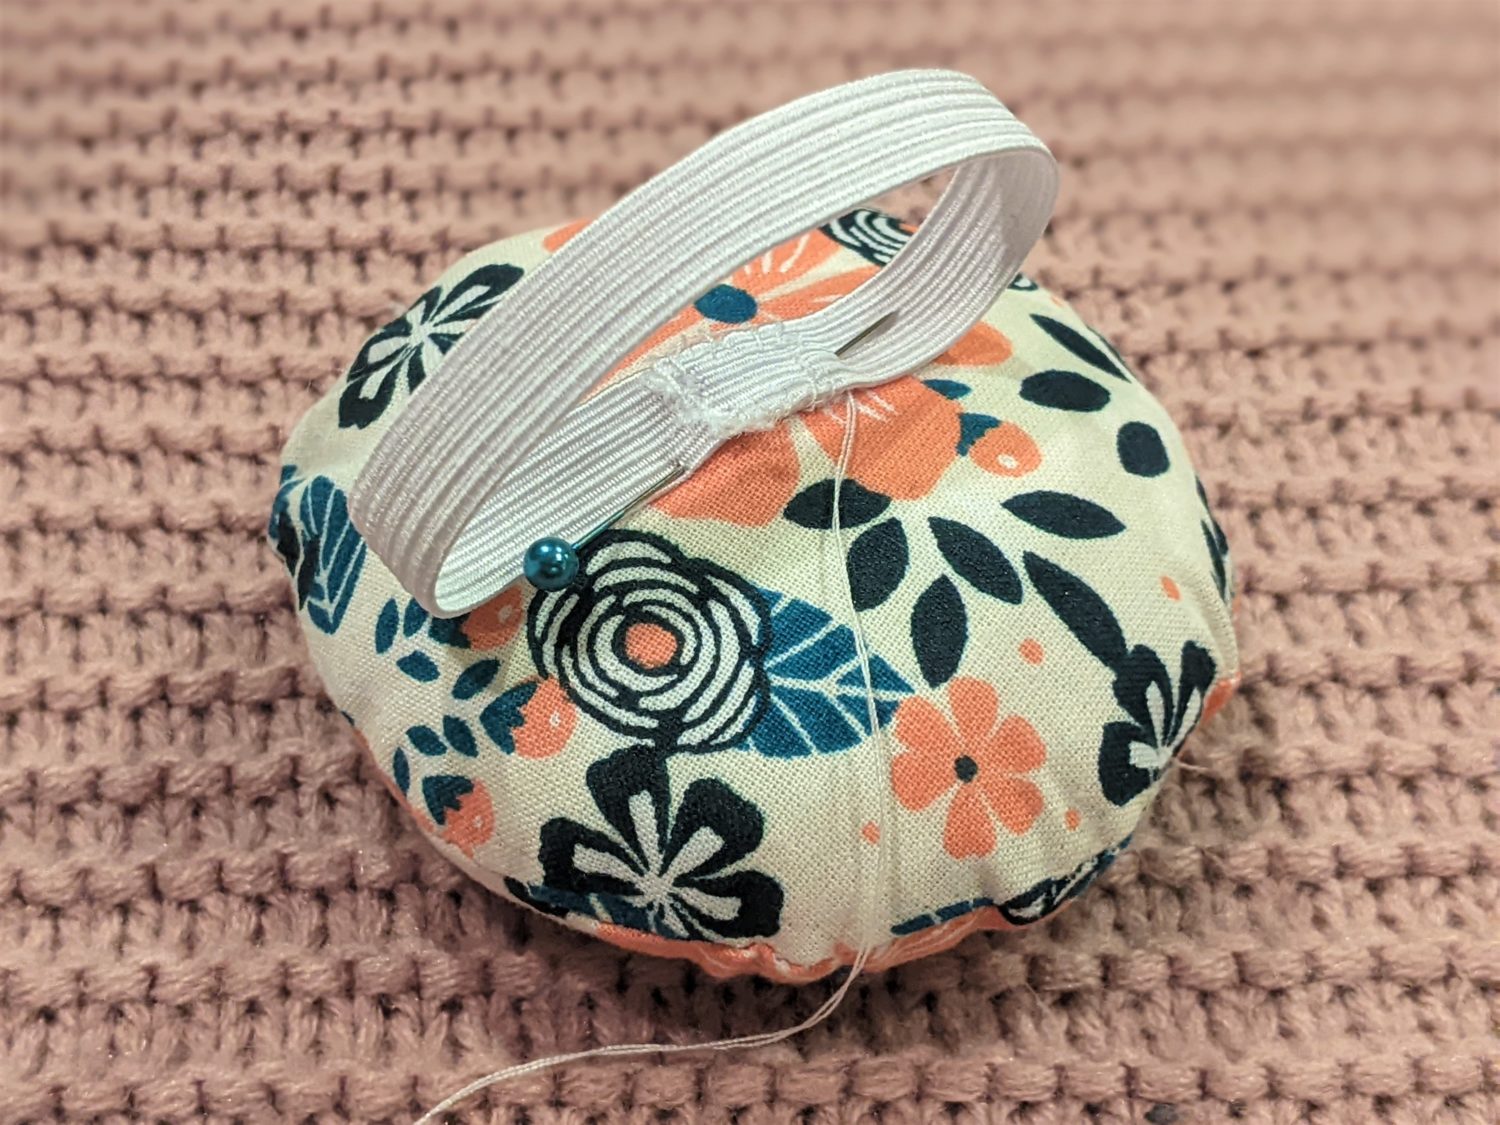
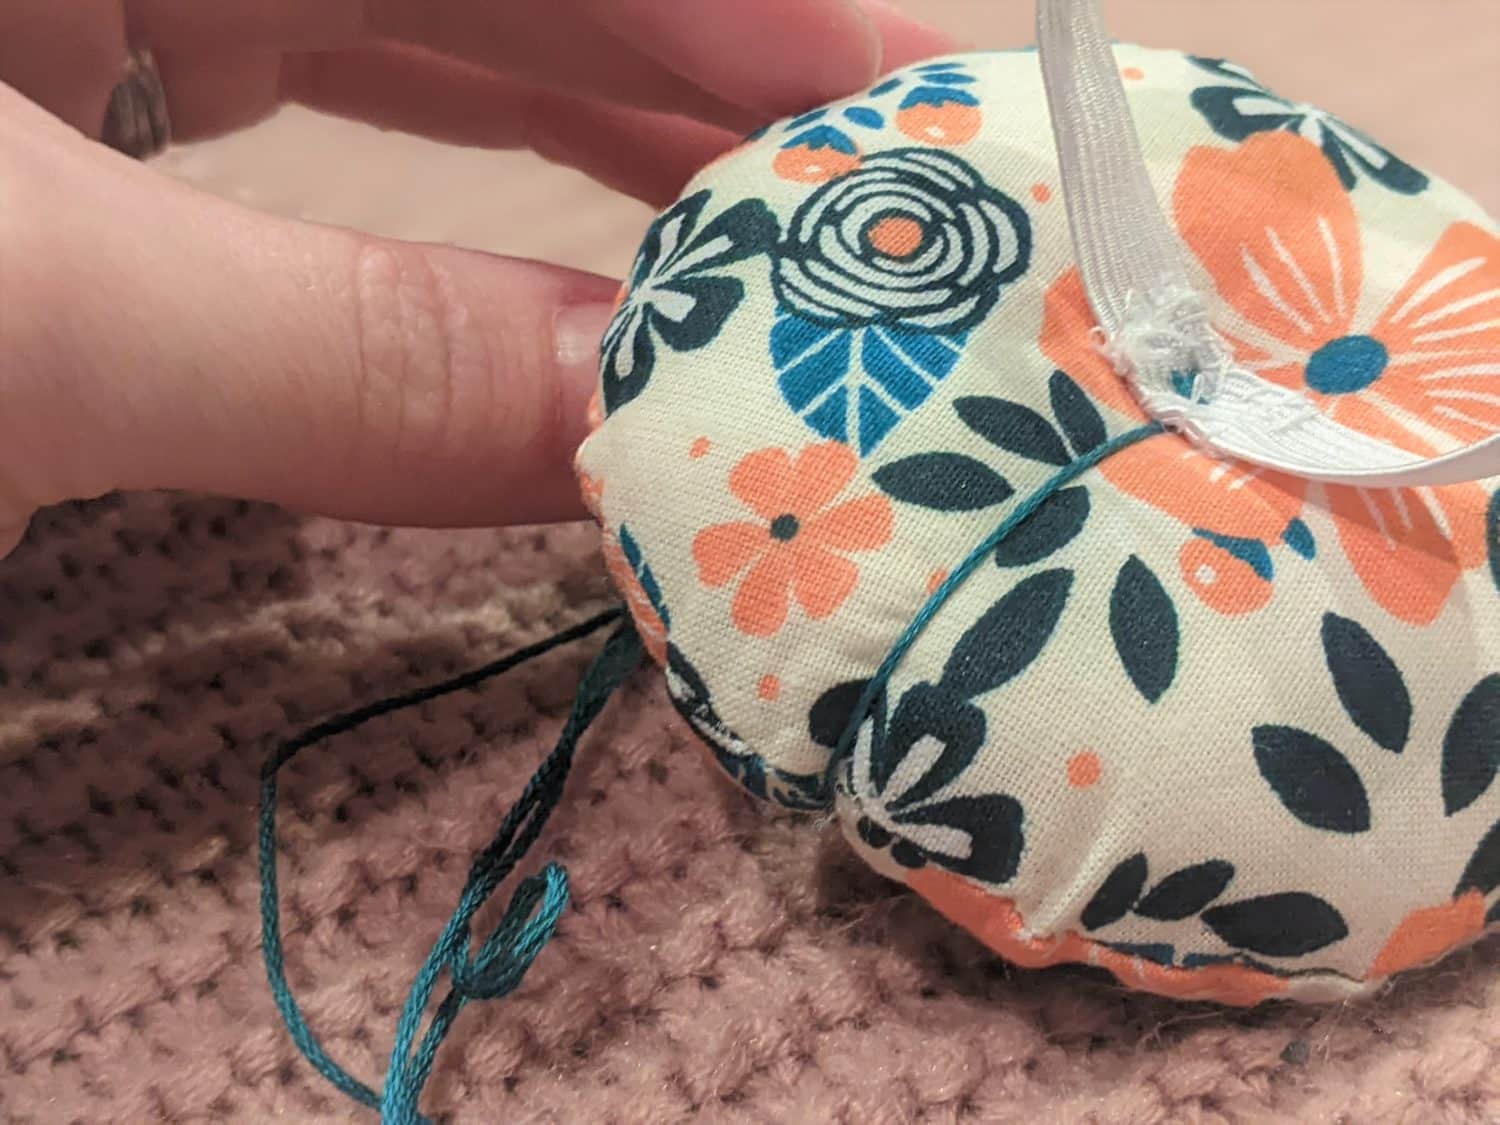
- Pin the sewn side of the elastic to the center back of the pincushion and sew them together with a needle and thread.

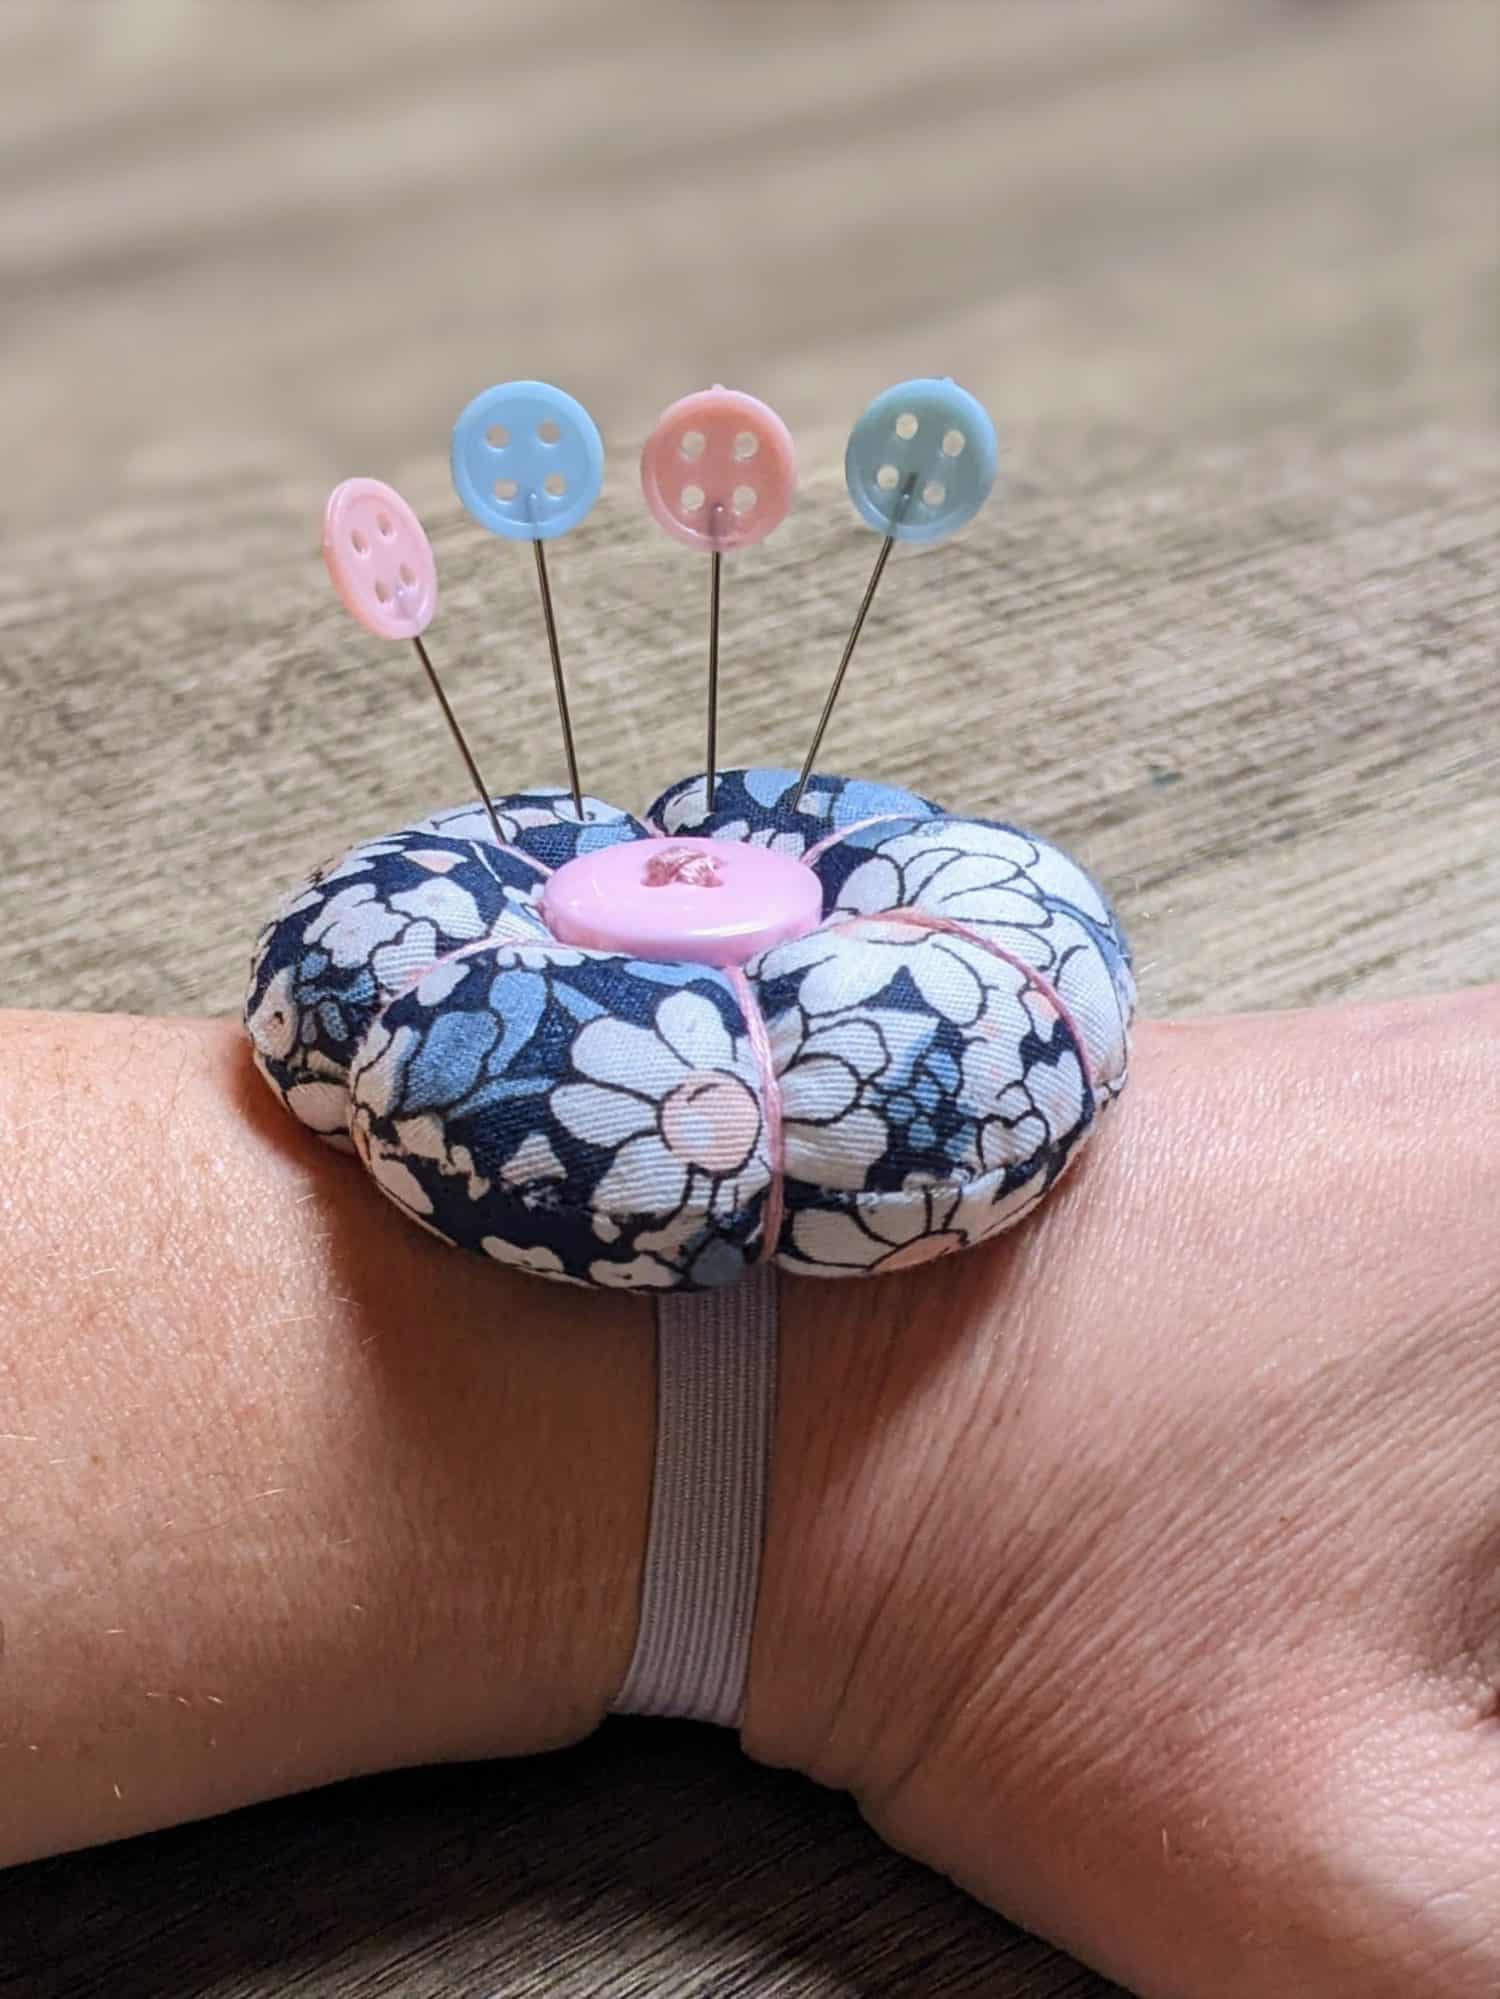
Add the Button and Ridges
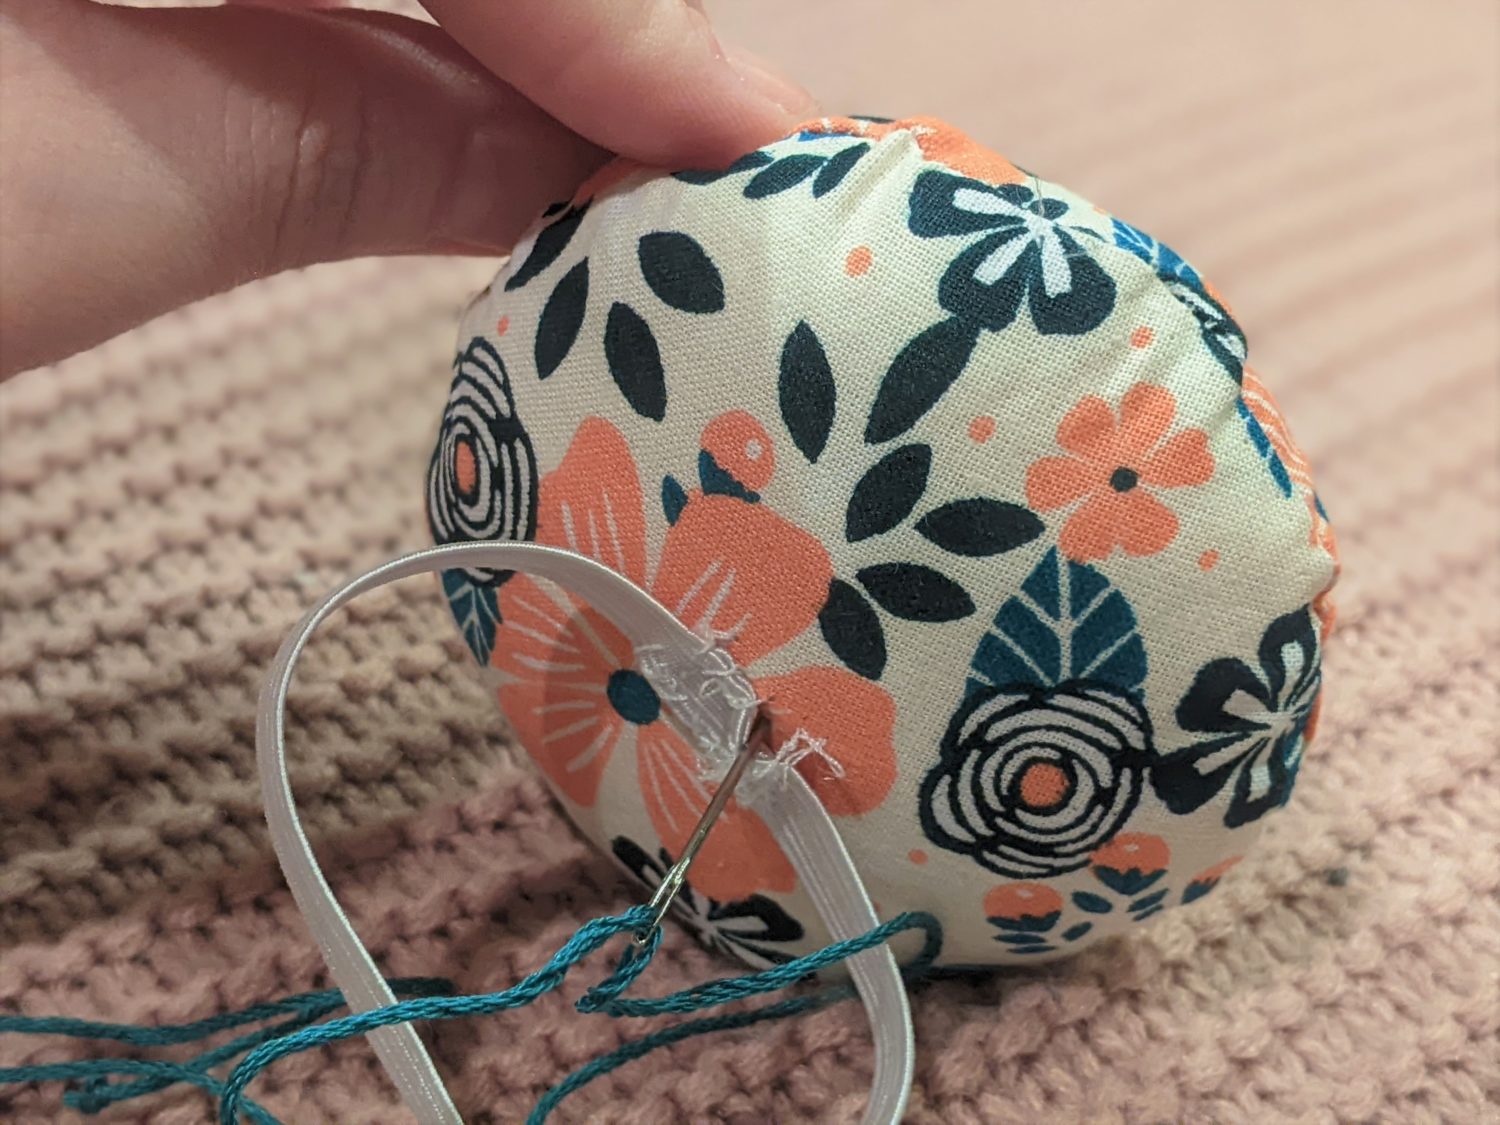
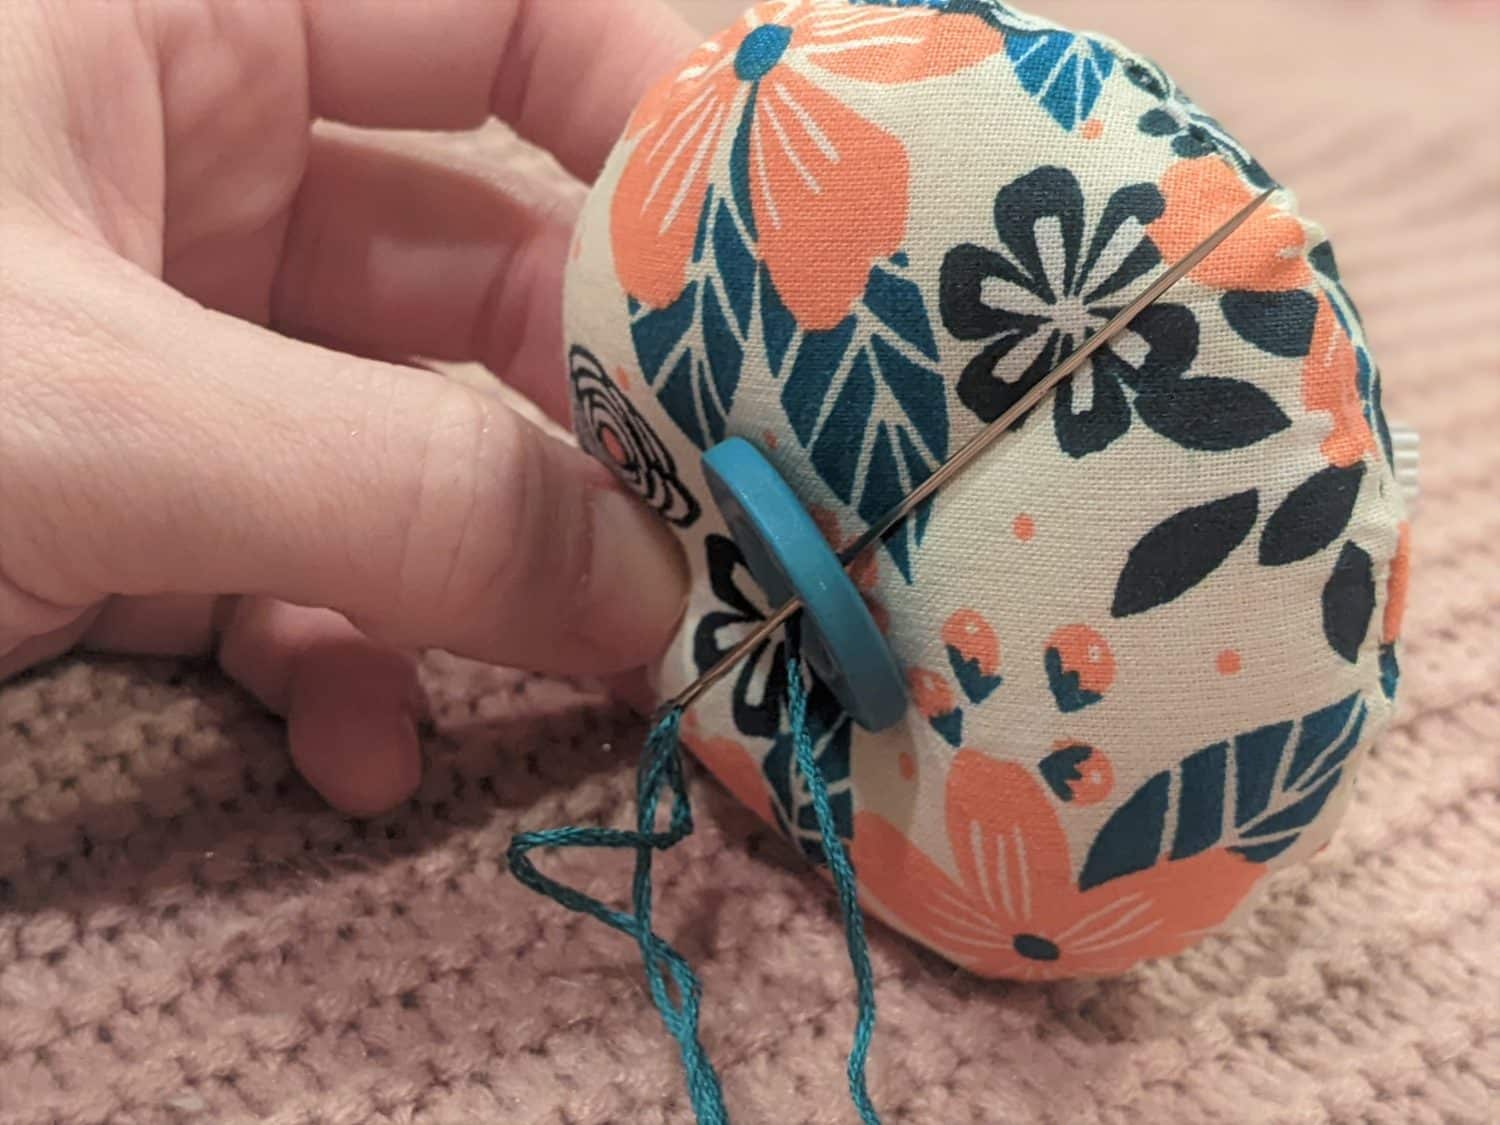
- With your embroidery floss (or sturdy thread) thread your needle then insert it through the backside of the pincushion. (You can slide it in just under the elastic to hide the knot if you’d like.)
- Push the needle up throught the center of the front side and through your button lining the button up in the middle of the cushion.
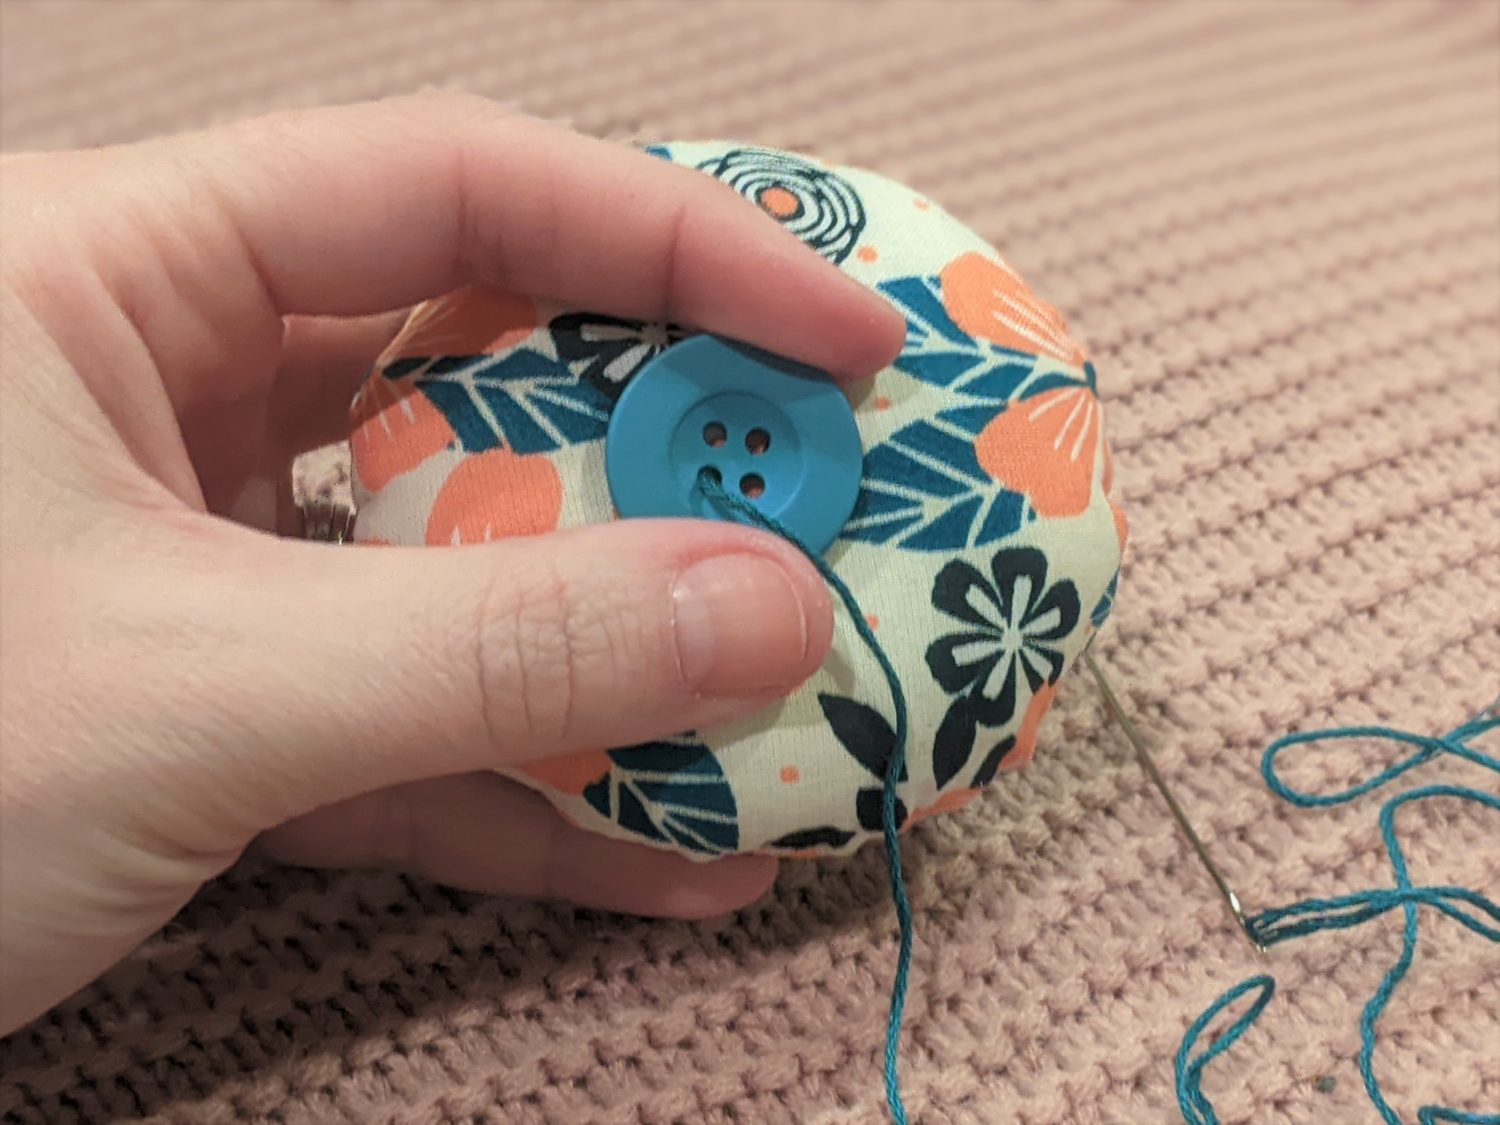
- Push the needle back through one of the buttonholes angling the needle so that it goes to the side instead of through the pincushion.
- Wrap the thread around to the back of the cushion and push the needle through to the front going through a buttonhole.
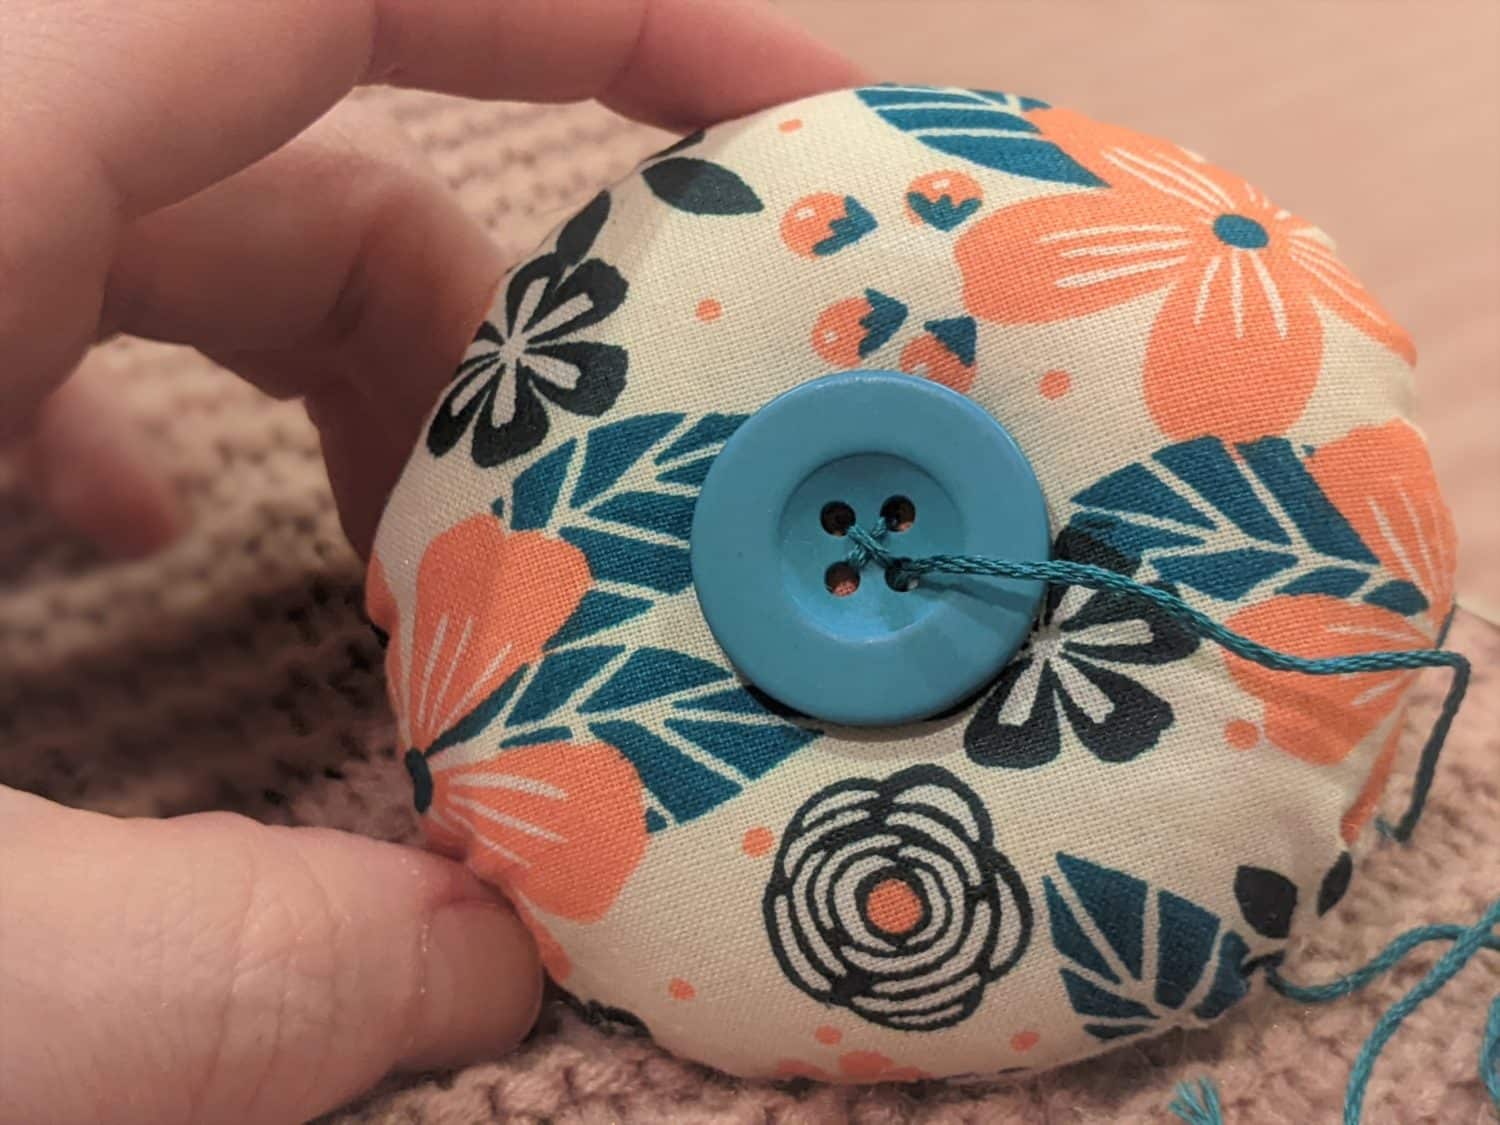
- Pull the thread tight to create a ridge.
- Repeat all the way around your pincushion making as many ridges as you choose.
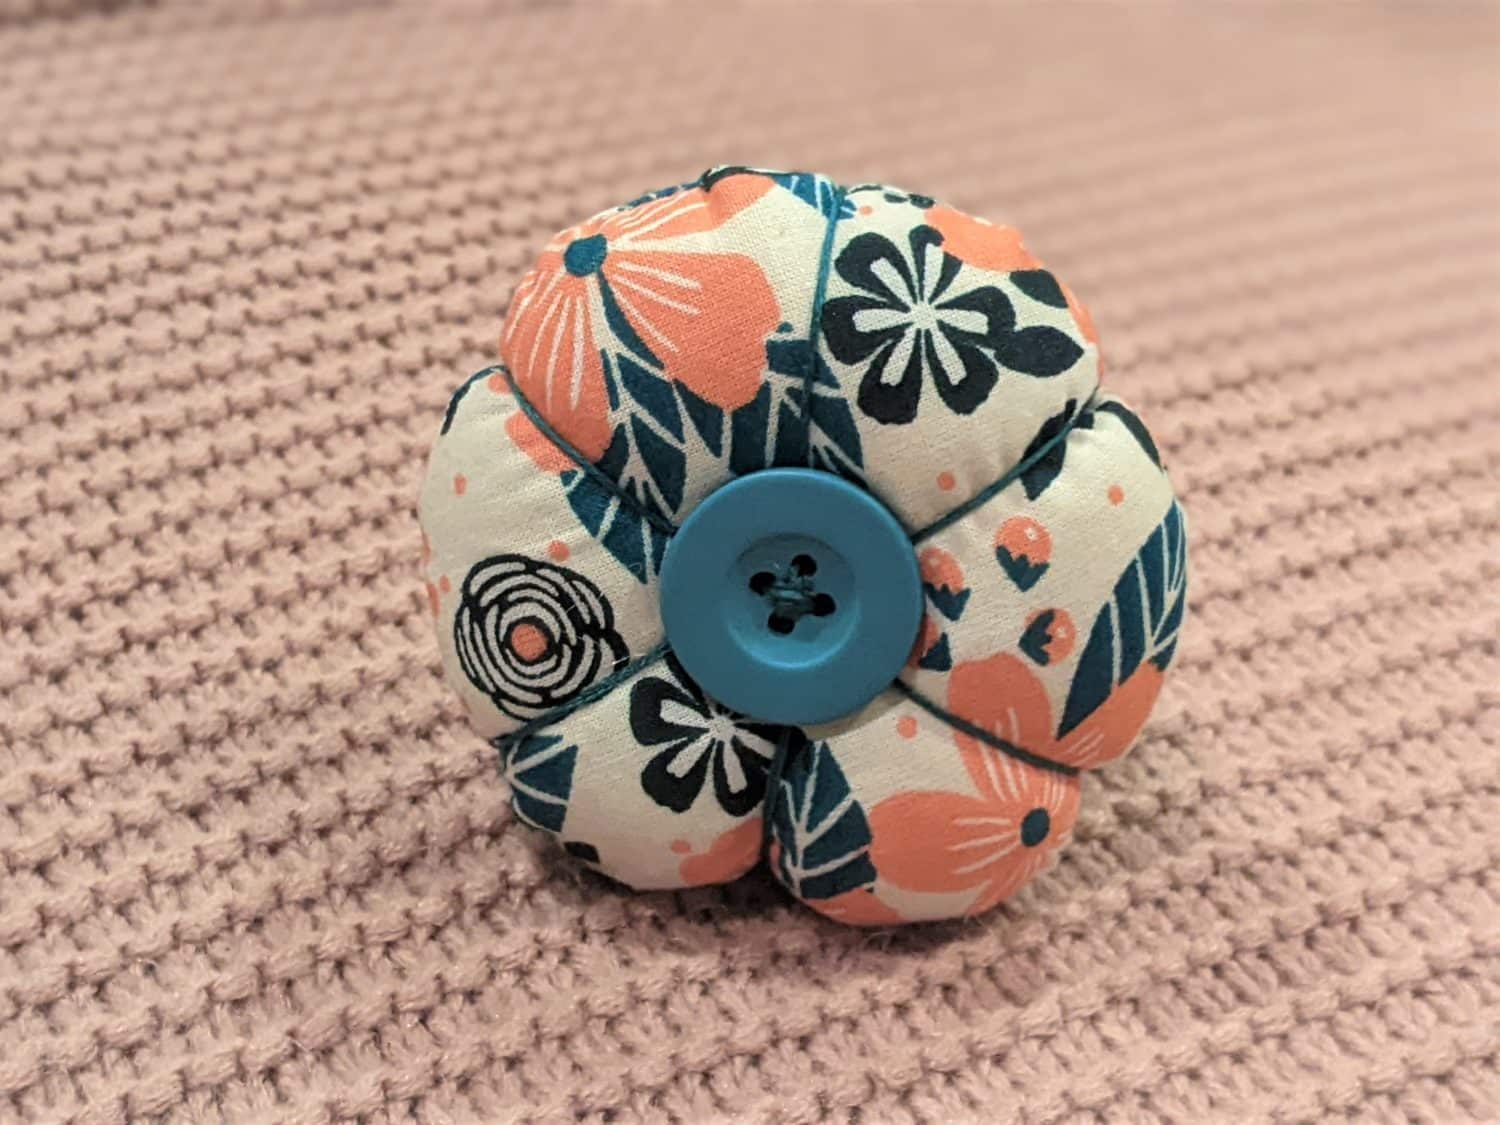
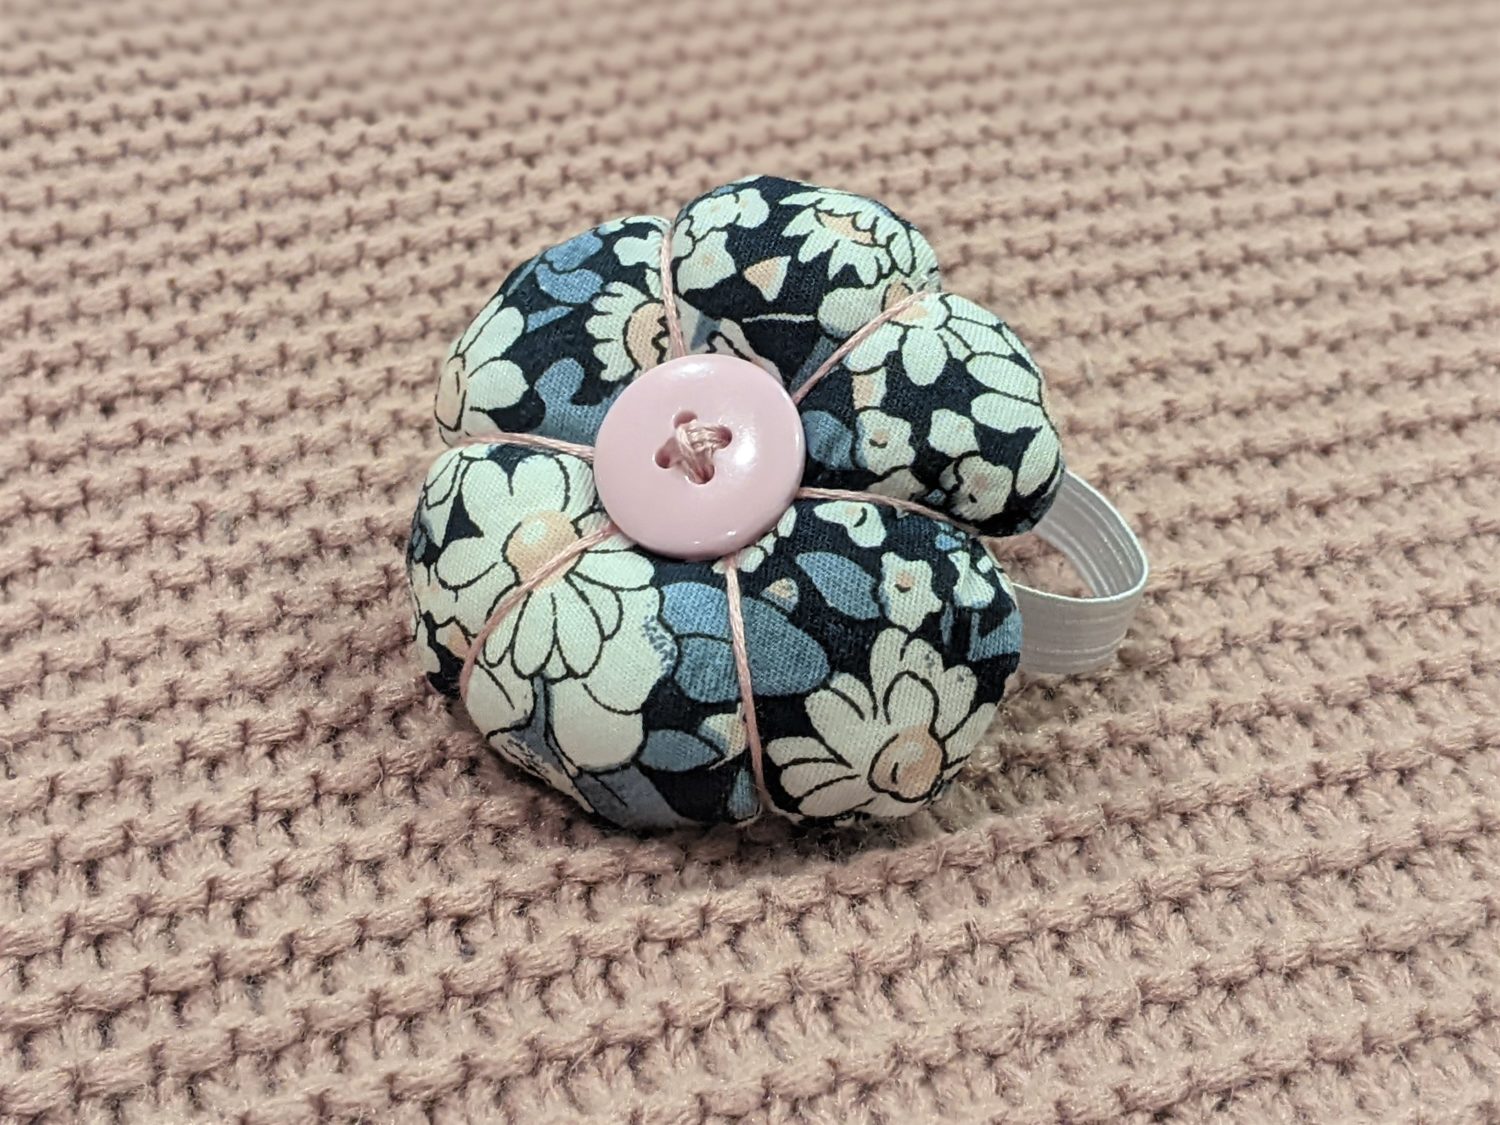
Slide that fancy pincushion on your wrist and you are ready to sew!
Want more FUN DIY Freebies? Check out the FREEBIE TUTORIALS and the FREEBIE PATTERNS!
As always, we’re here to help if you need it! Join us HERE and on Facebook, Instagram, Twitter, Youtube, and Pinterest. We’re everywhere you are.
Leave a Reply