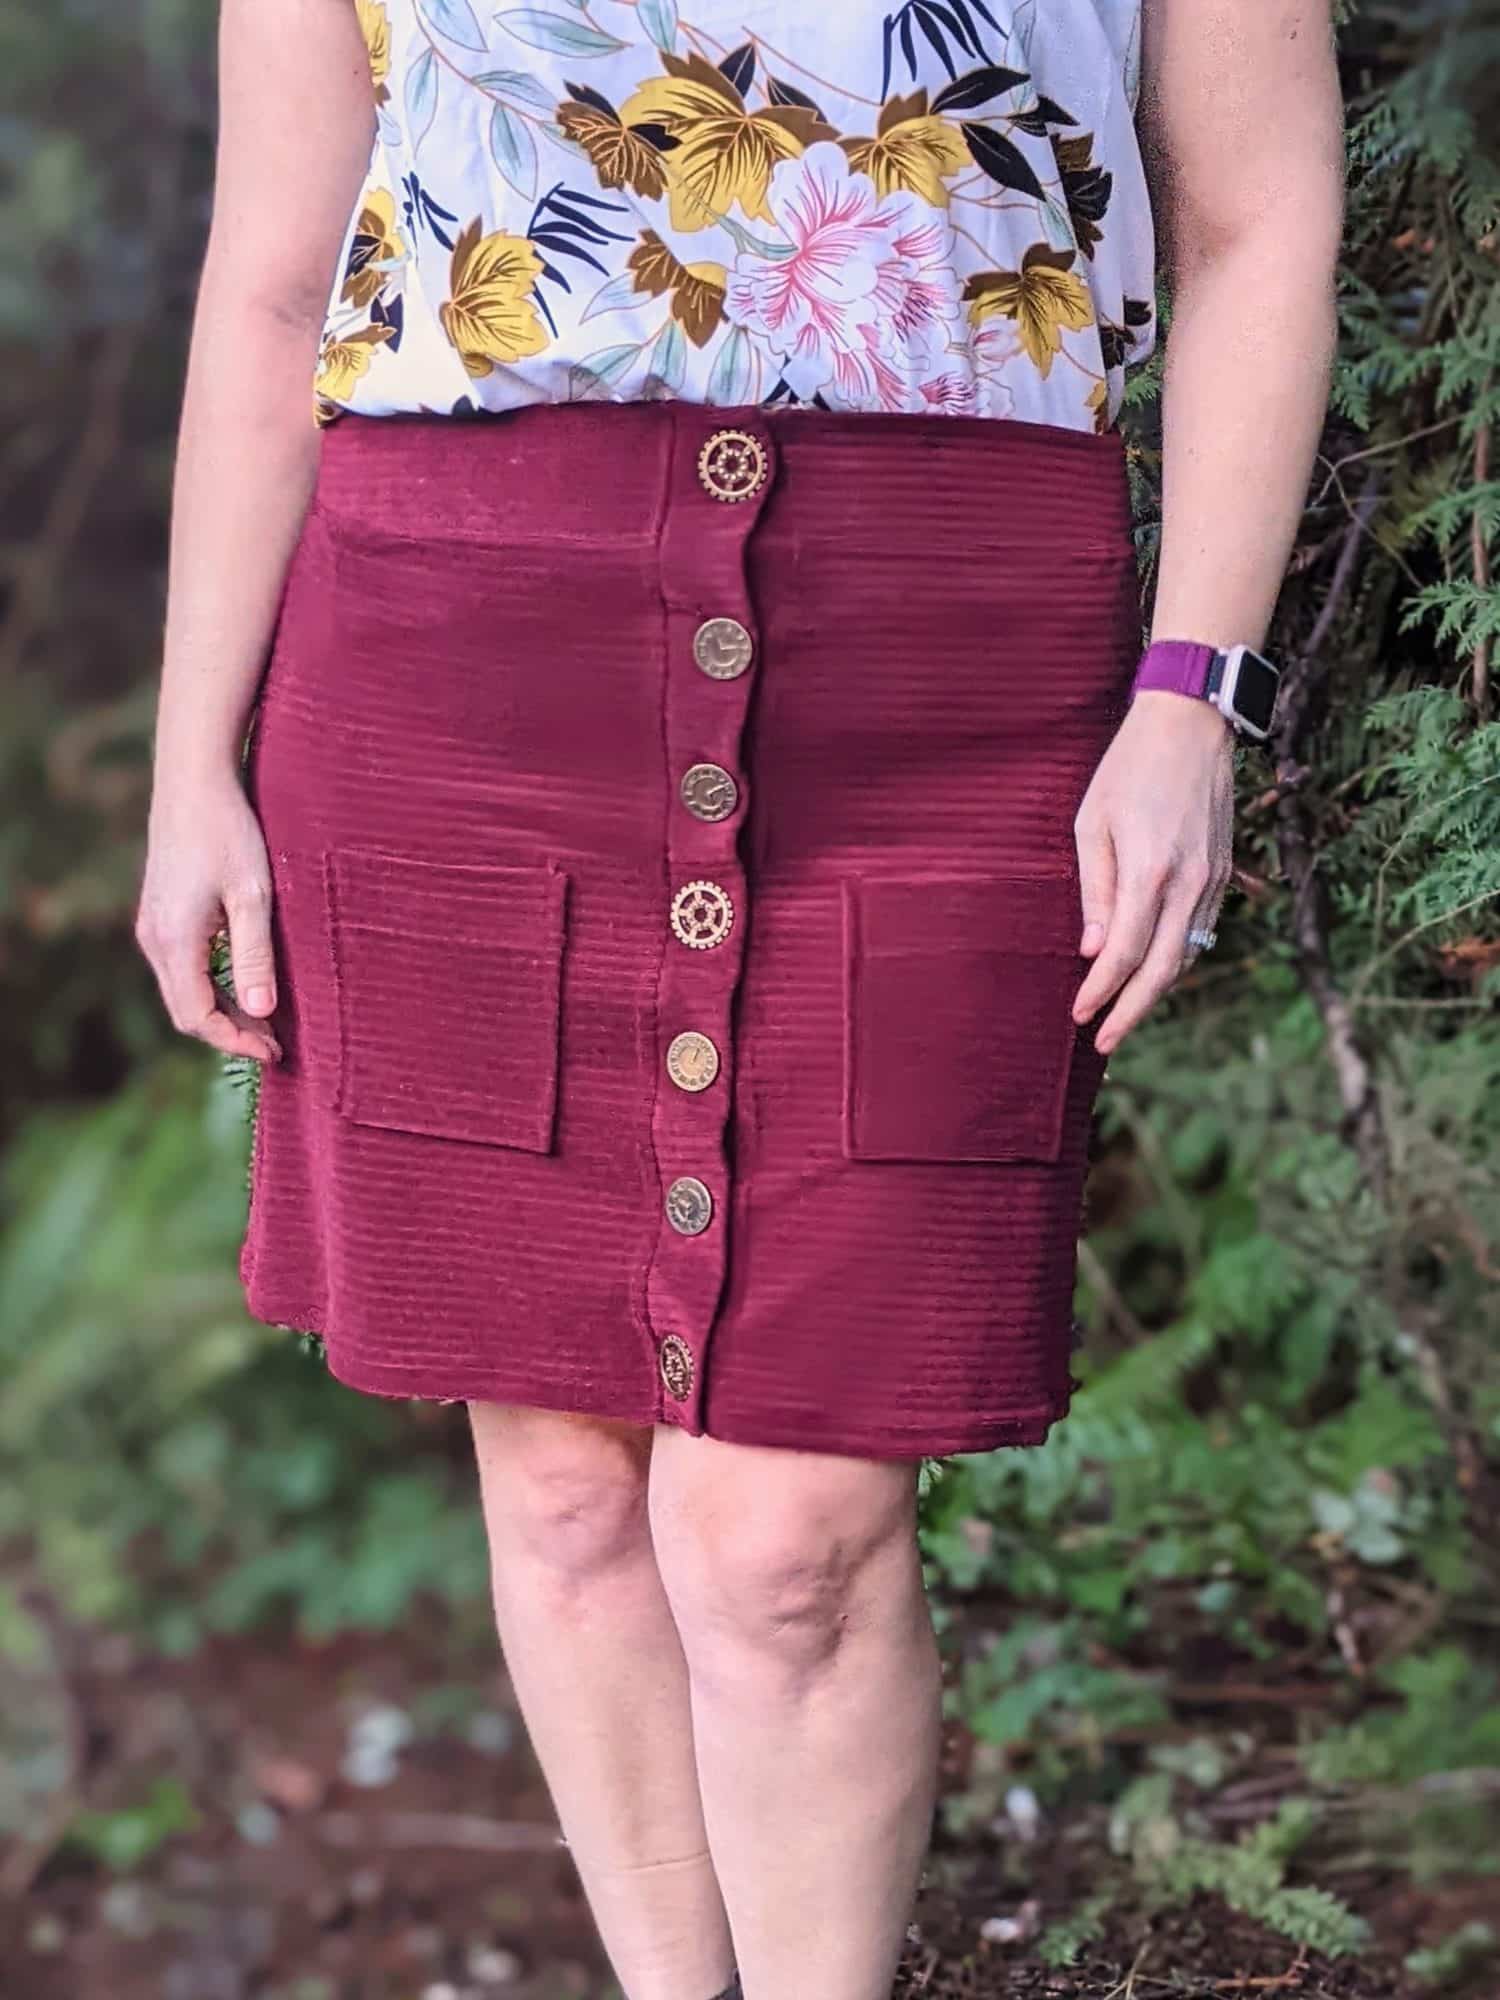
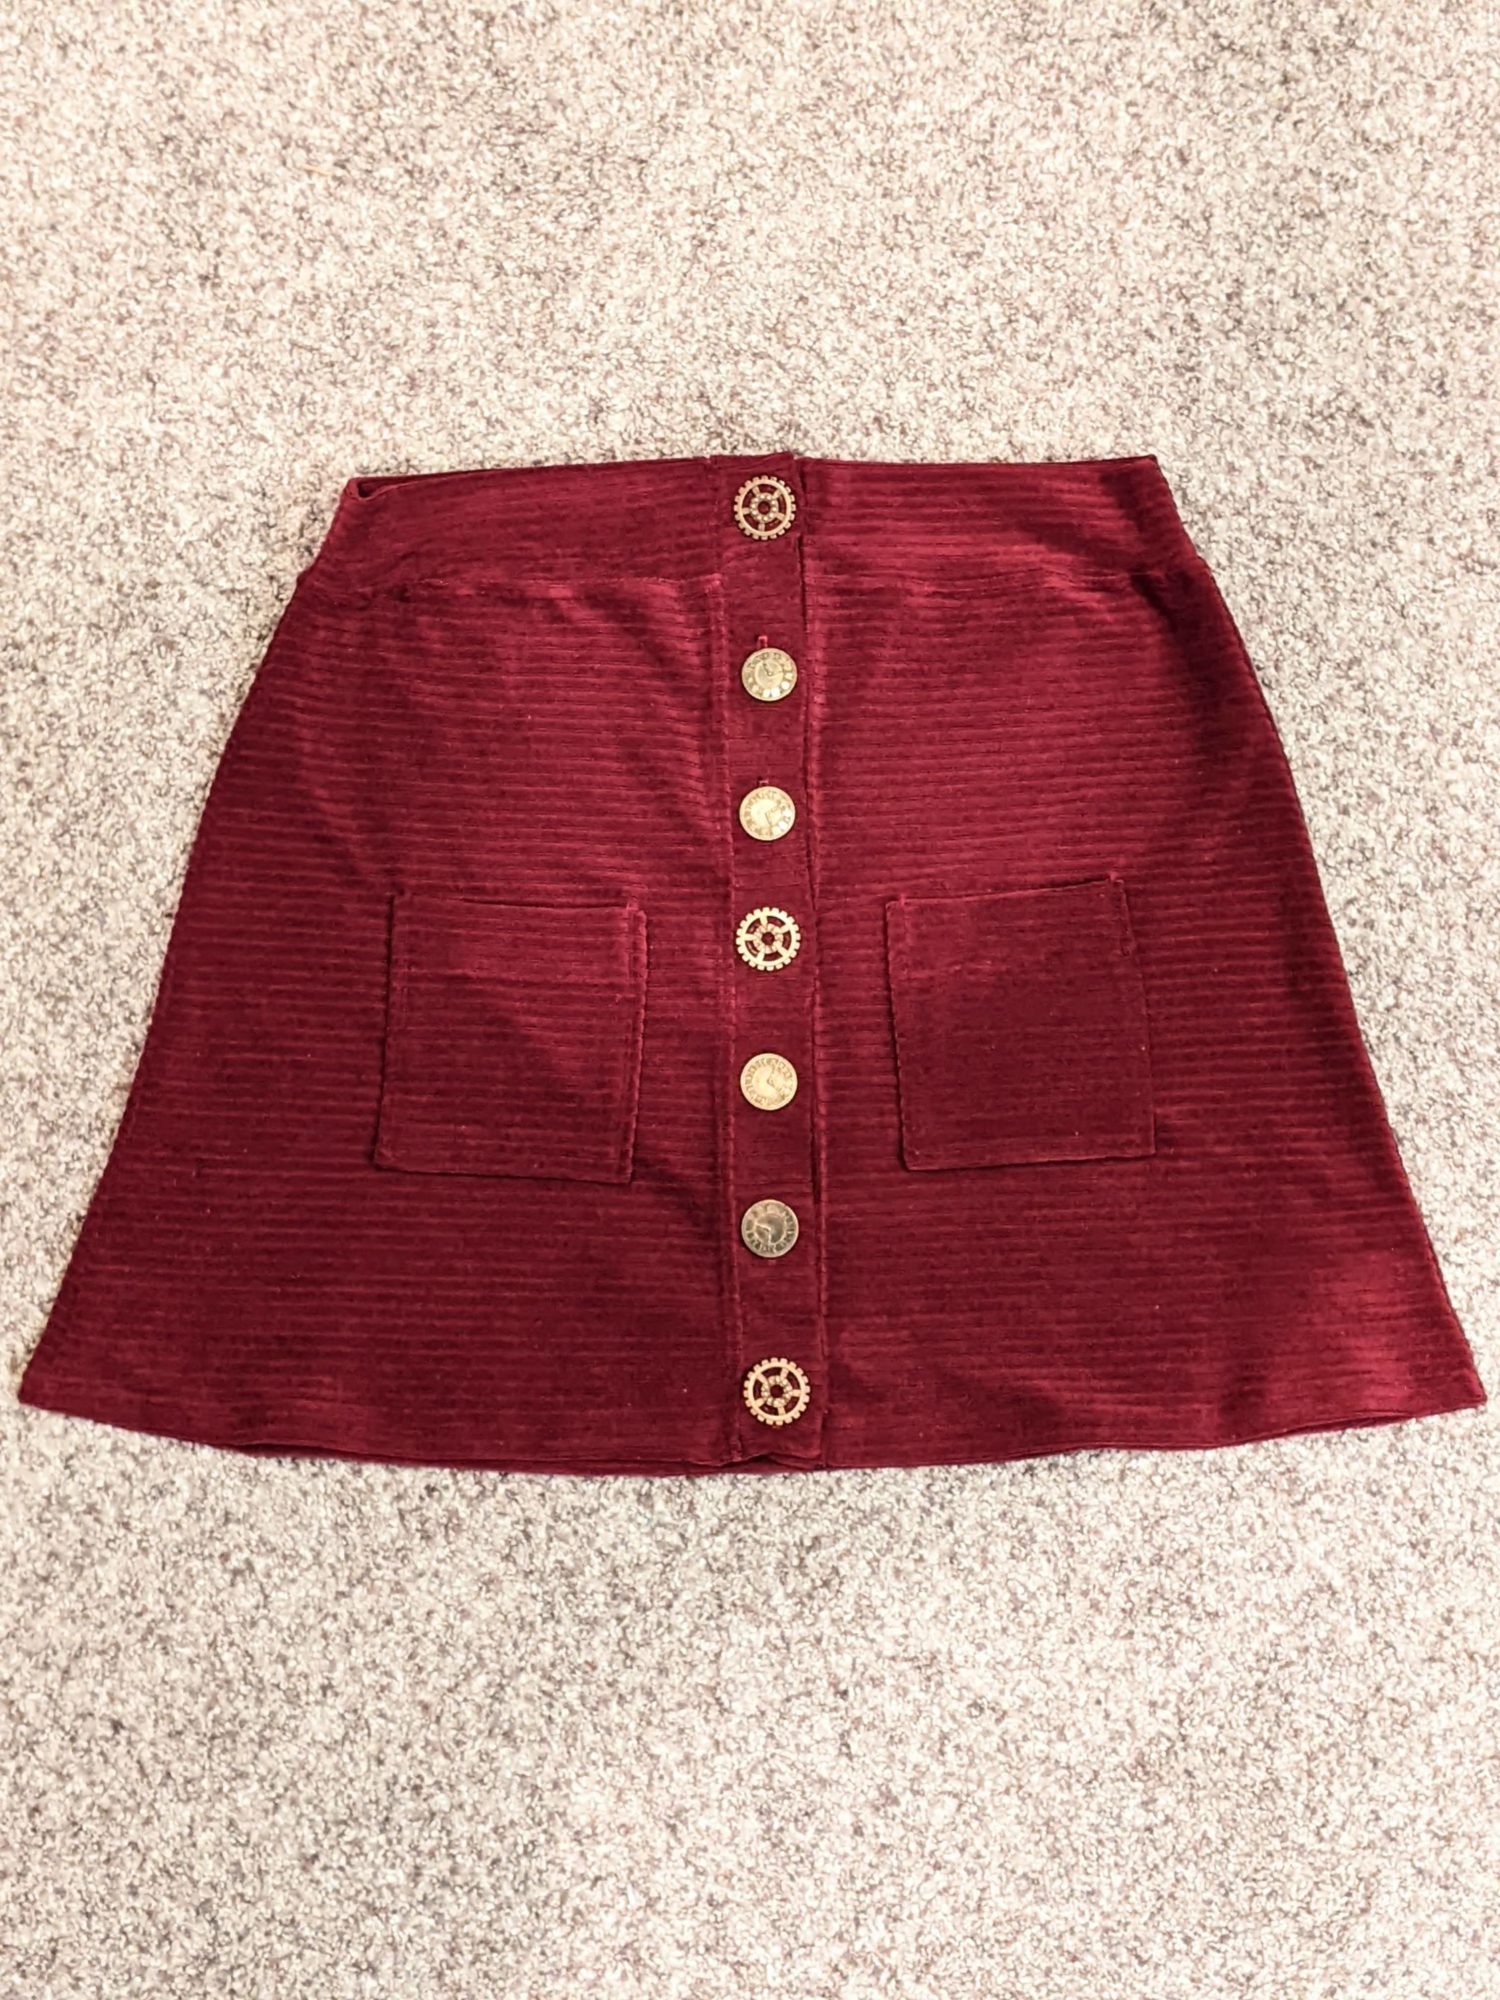
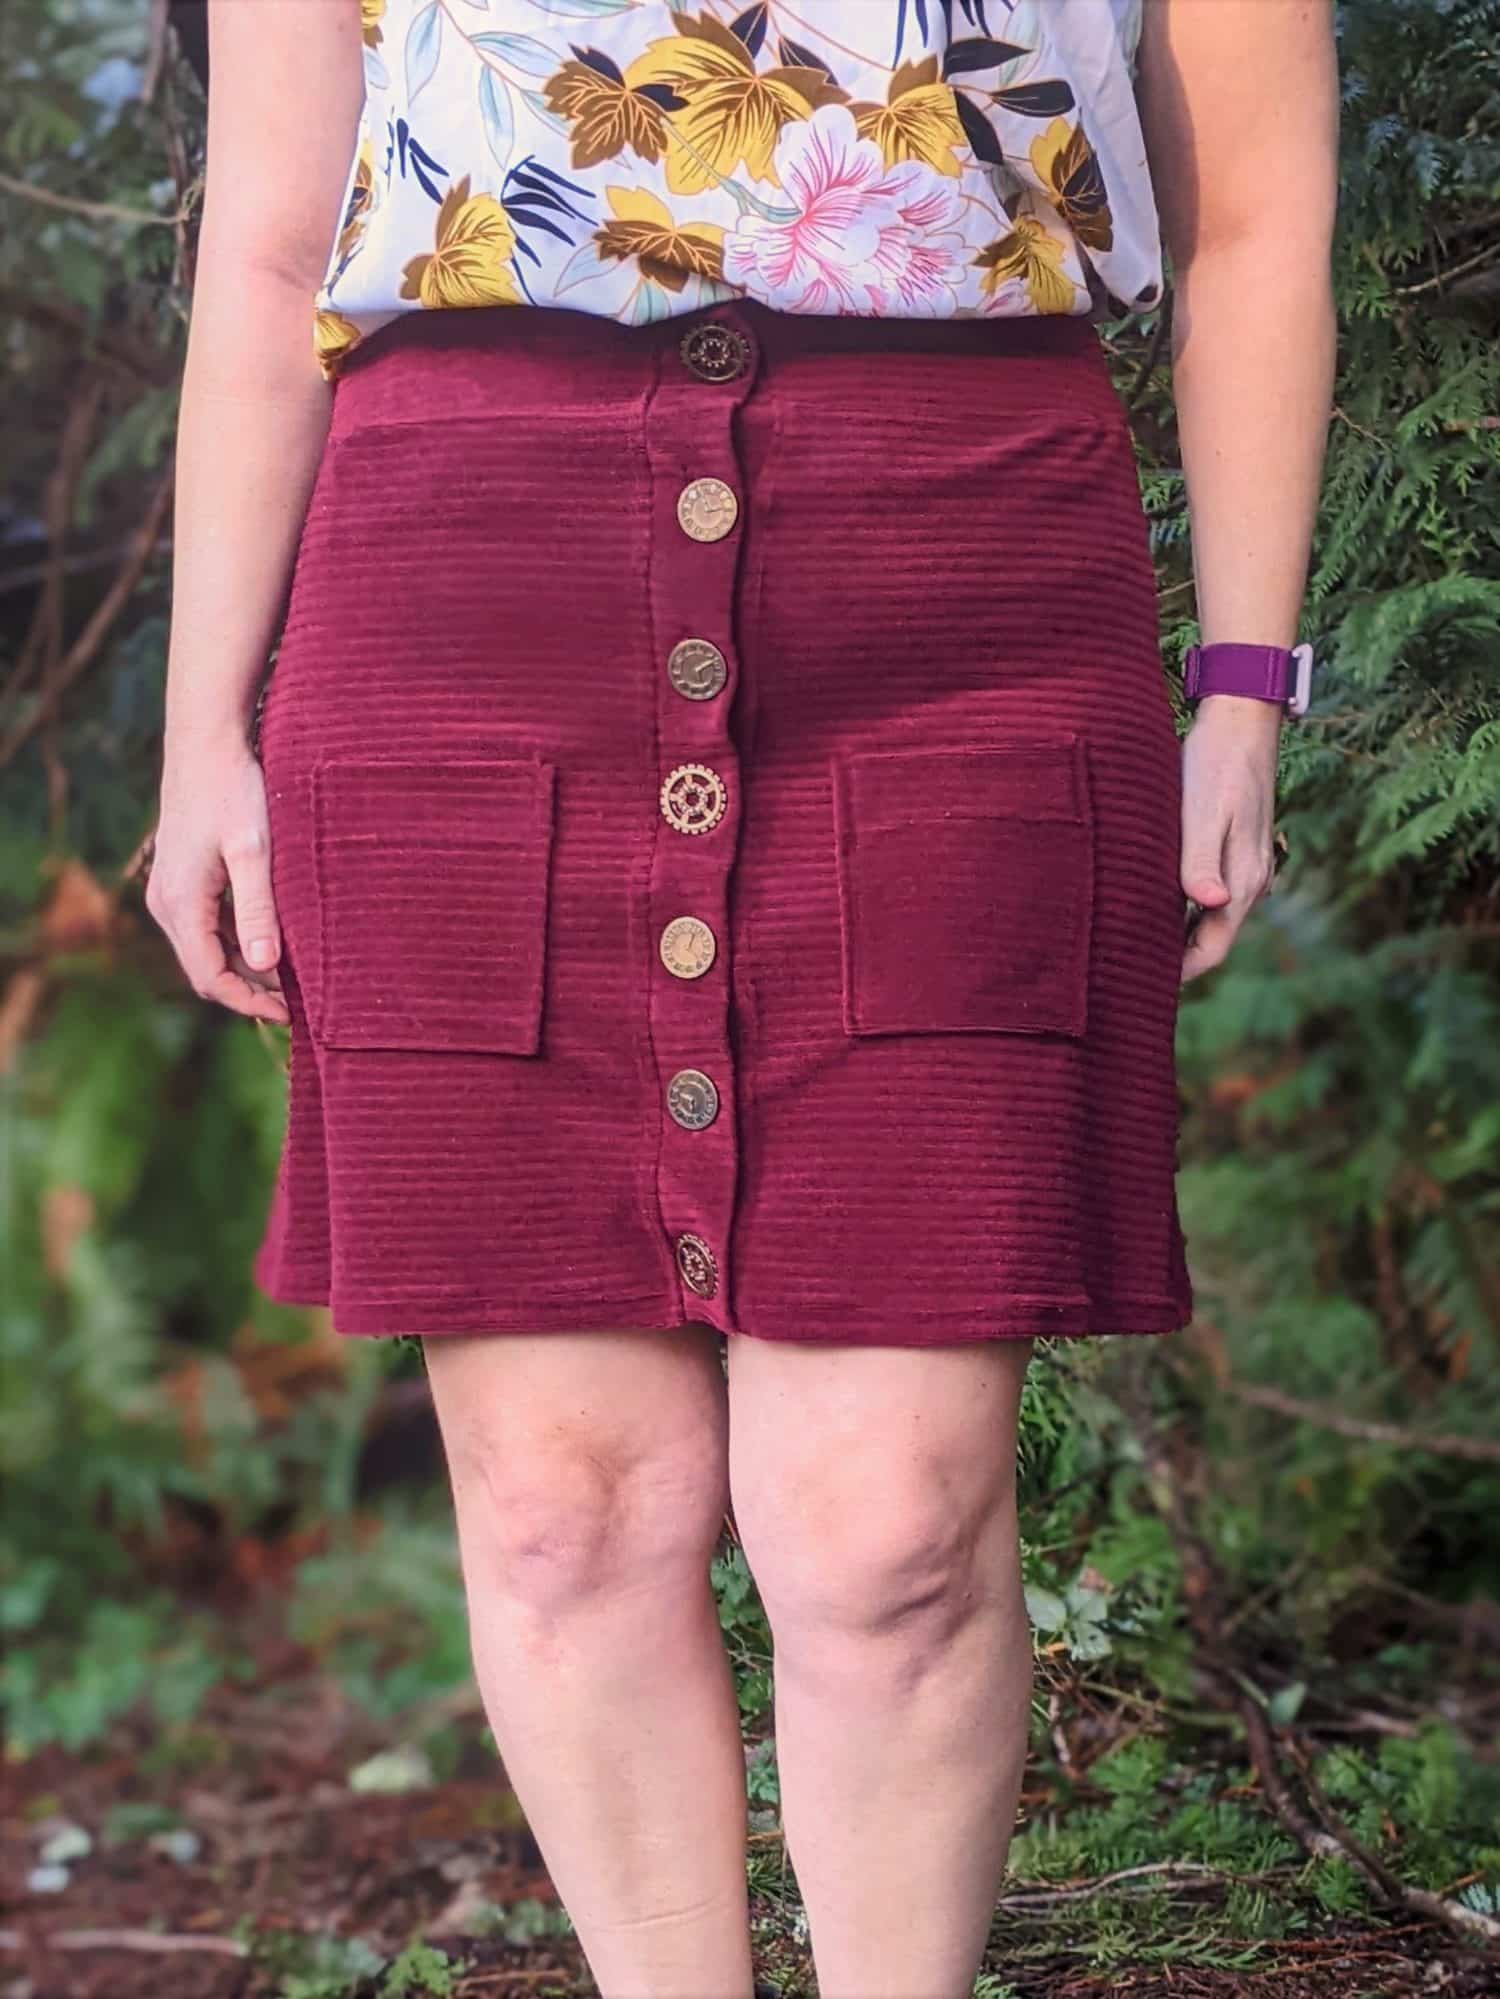
I’ve been seeing so many cute button-up skirts lately and thought “I could make that.” I looked through the 5 out of 4 patterns and decided to hack the Tina A-line Skirt to add a button-up placket to the front.
Start by printing and assembling your Tina A-line Skirt Pattern in your desired length. The only additional supplies you will need that are not in the tutorial are interfacing for the plackets and buttons.
Skirt Adjustment
The plackets that you will be attaching later are going to add 1.5″ to the front width of your skirt. Once you take the seam allowance on both the placket and skirt edges into consideration, you will still have 1 extra inch that needs to be removed from the front of the skirt.
- Measure in .5″ from the fold edge and draw a line all the way down.
- Fold in the skirt edge along the line. (These will be your front skirt pieces.)
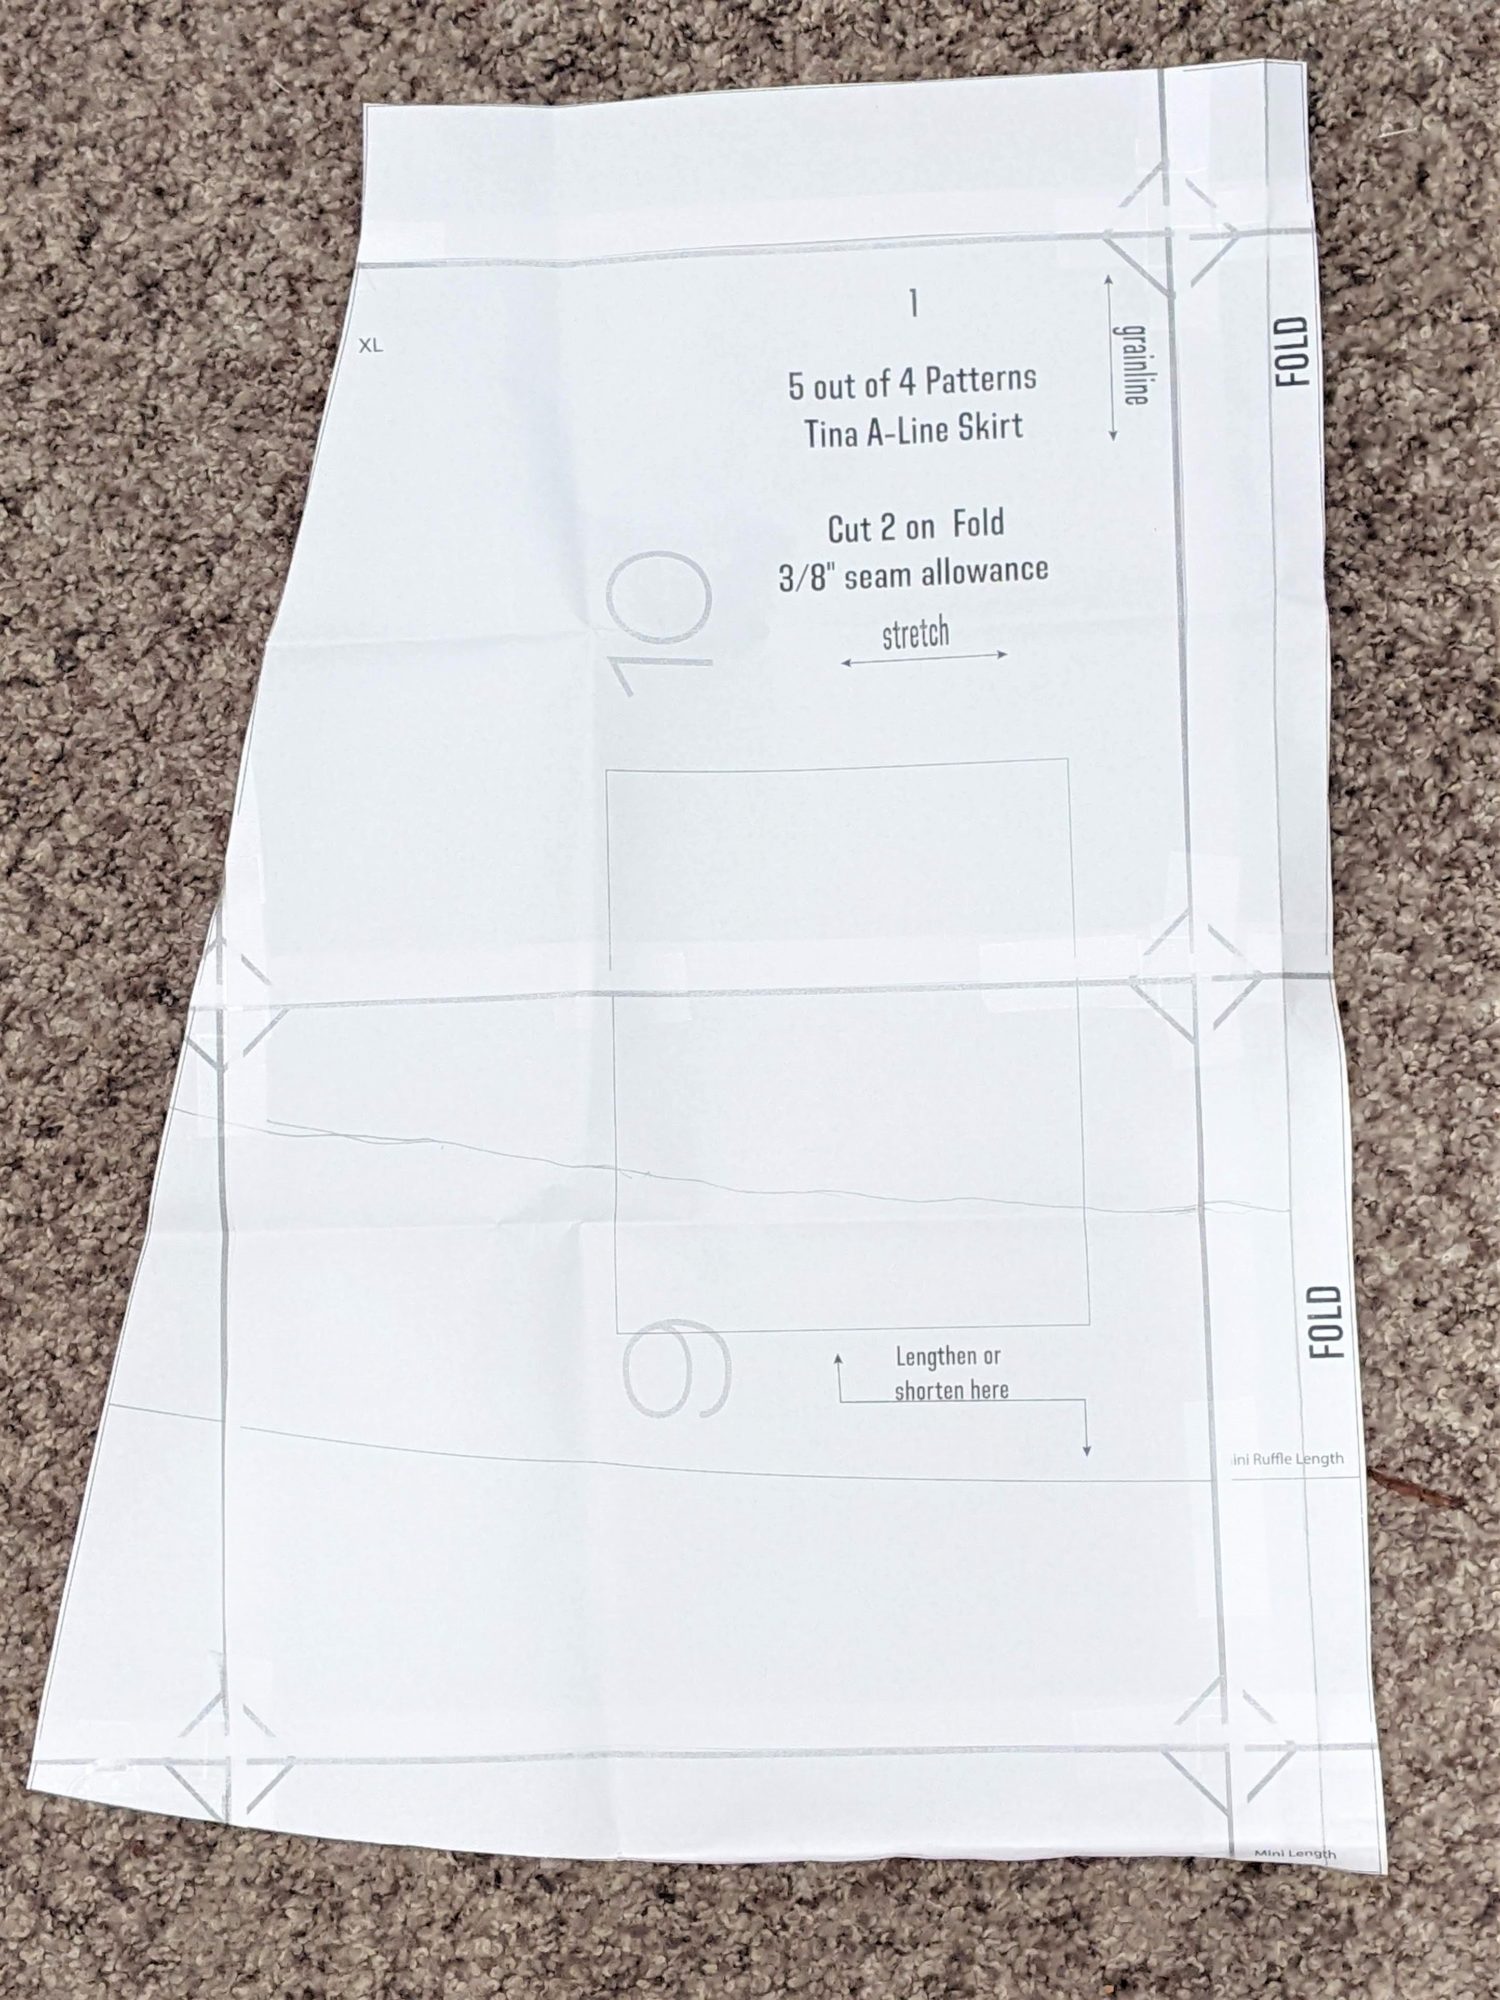
Back skirt: cut 1 on fold 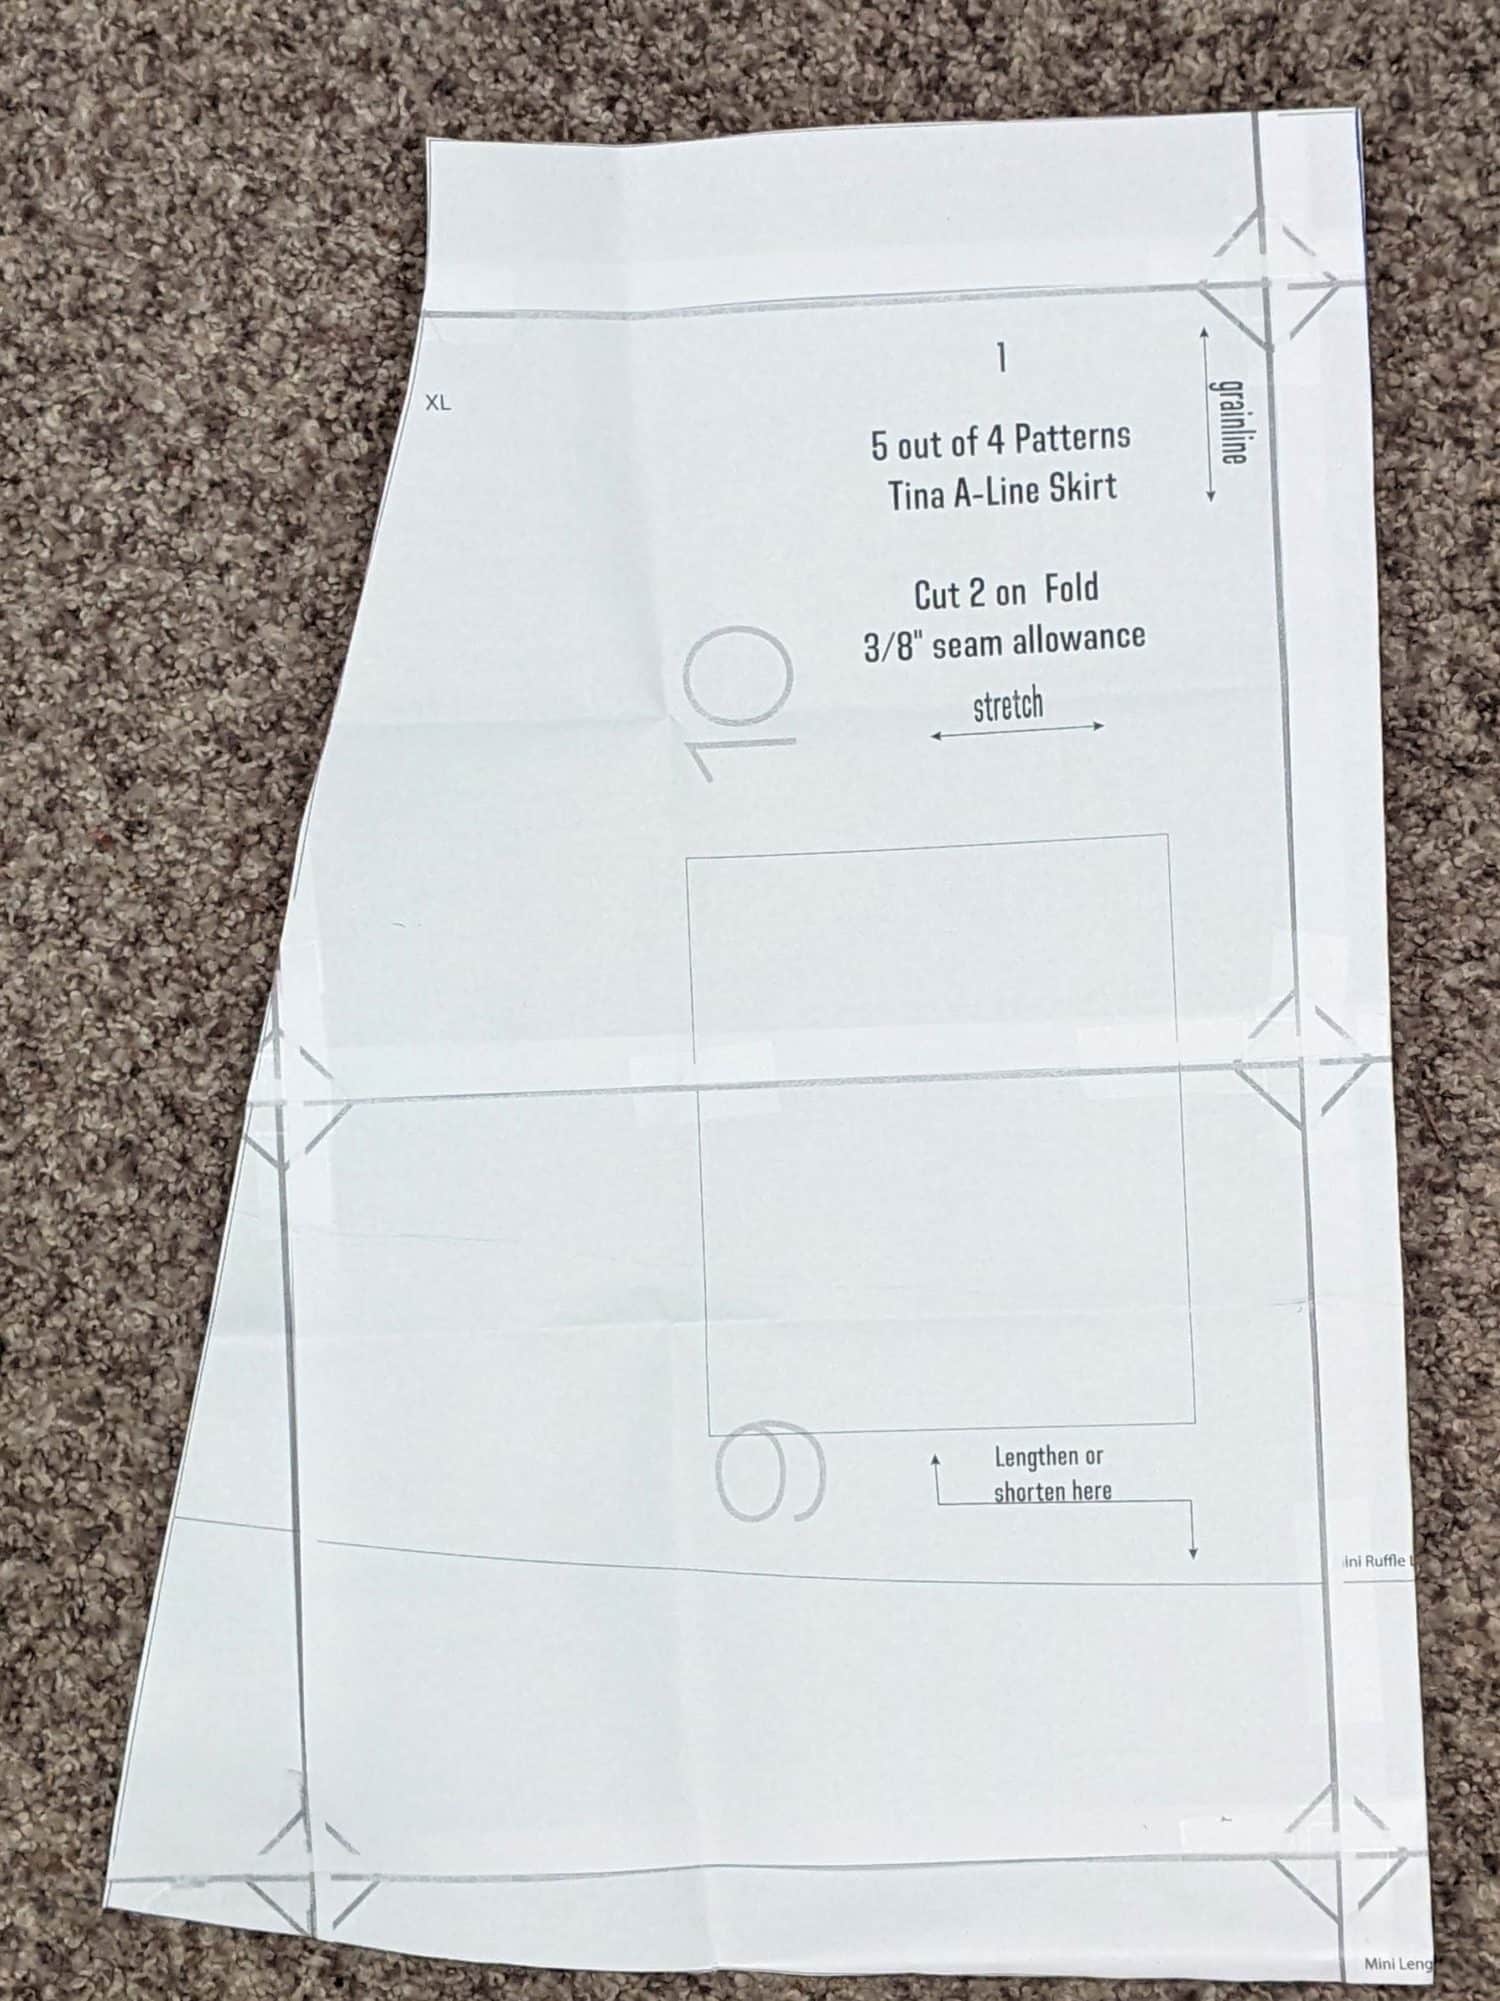
Front skirt: cut 2 mirrored
Placket and Waistband
Waistband:
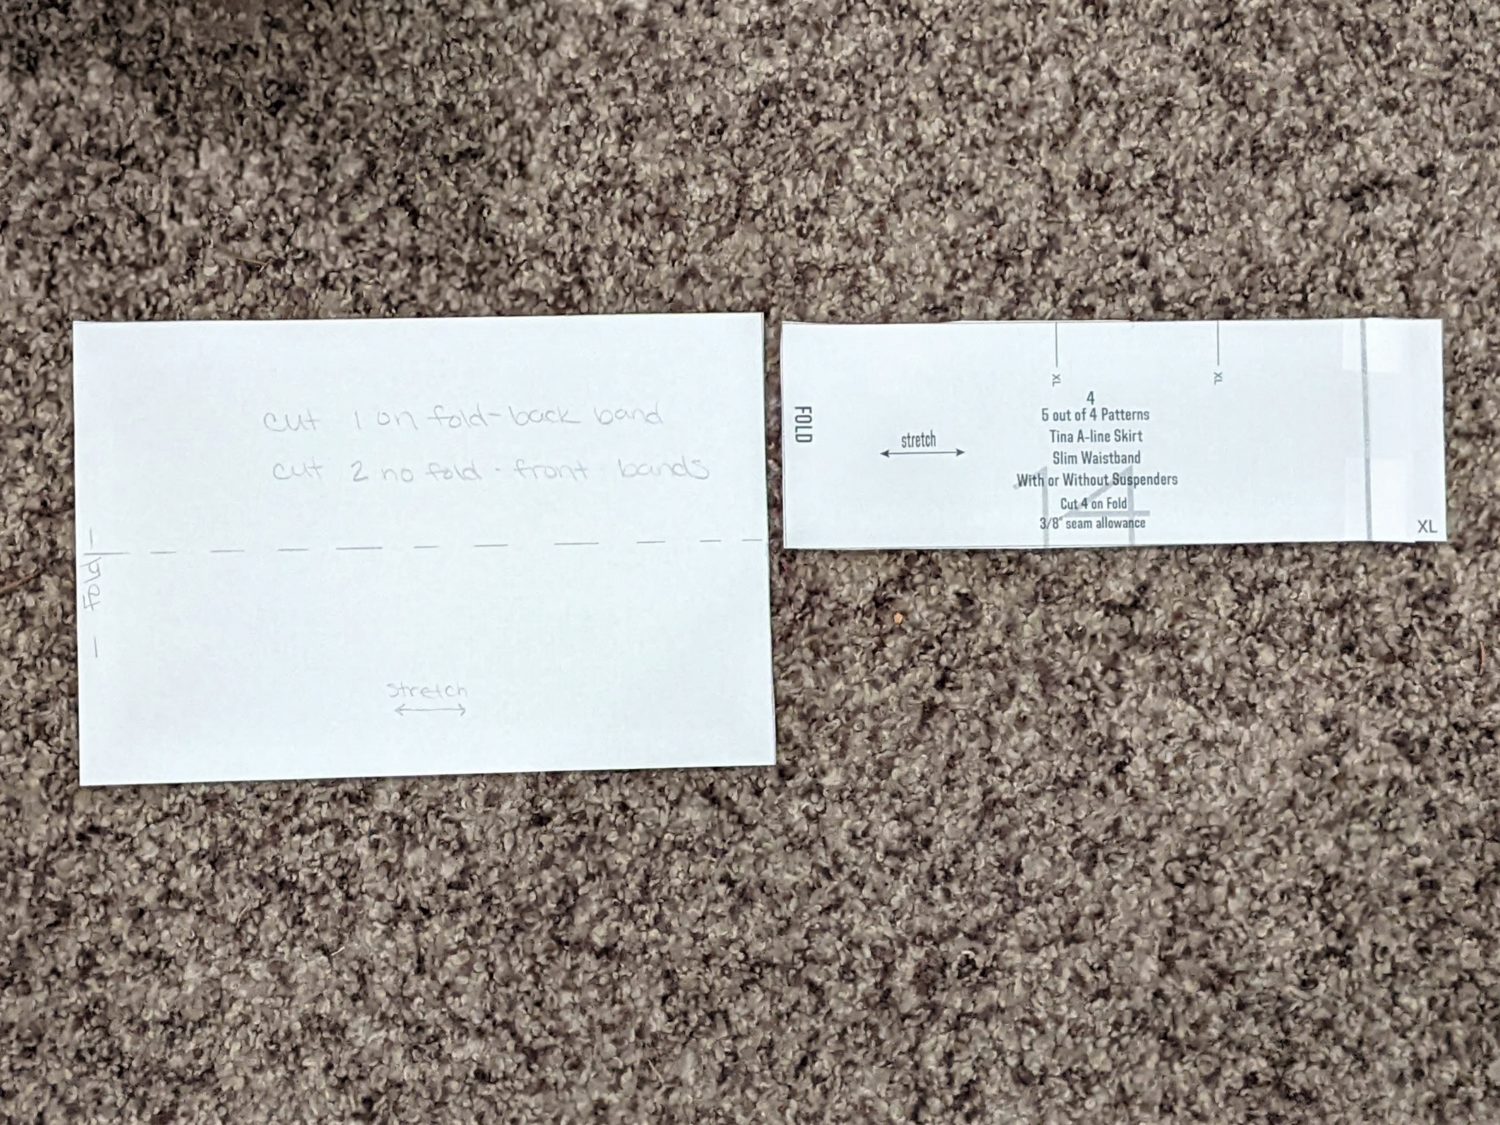
In the original tutorial, you sew along the top edges of the waistband pieces and then fold them in half lengthwise. You can still do that here, I just chose to double mine and fold them in half instead. The front band will not be cut on the fold. Instead, you will need to cut two separate pieces, not on the fold, and shorten each of them by approximately .5″ to account for the width you took off of the front skirt pieces.
Placket:
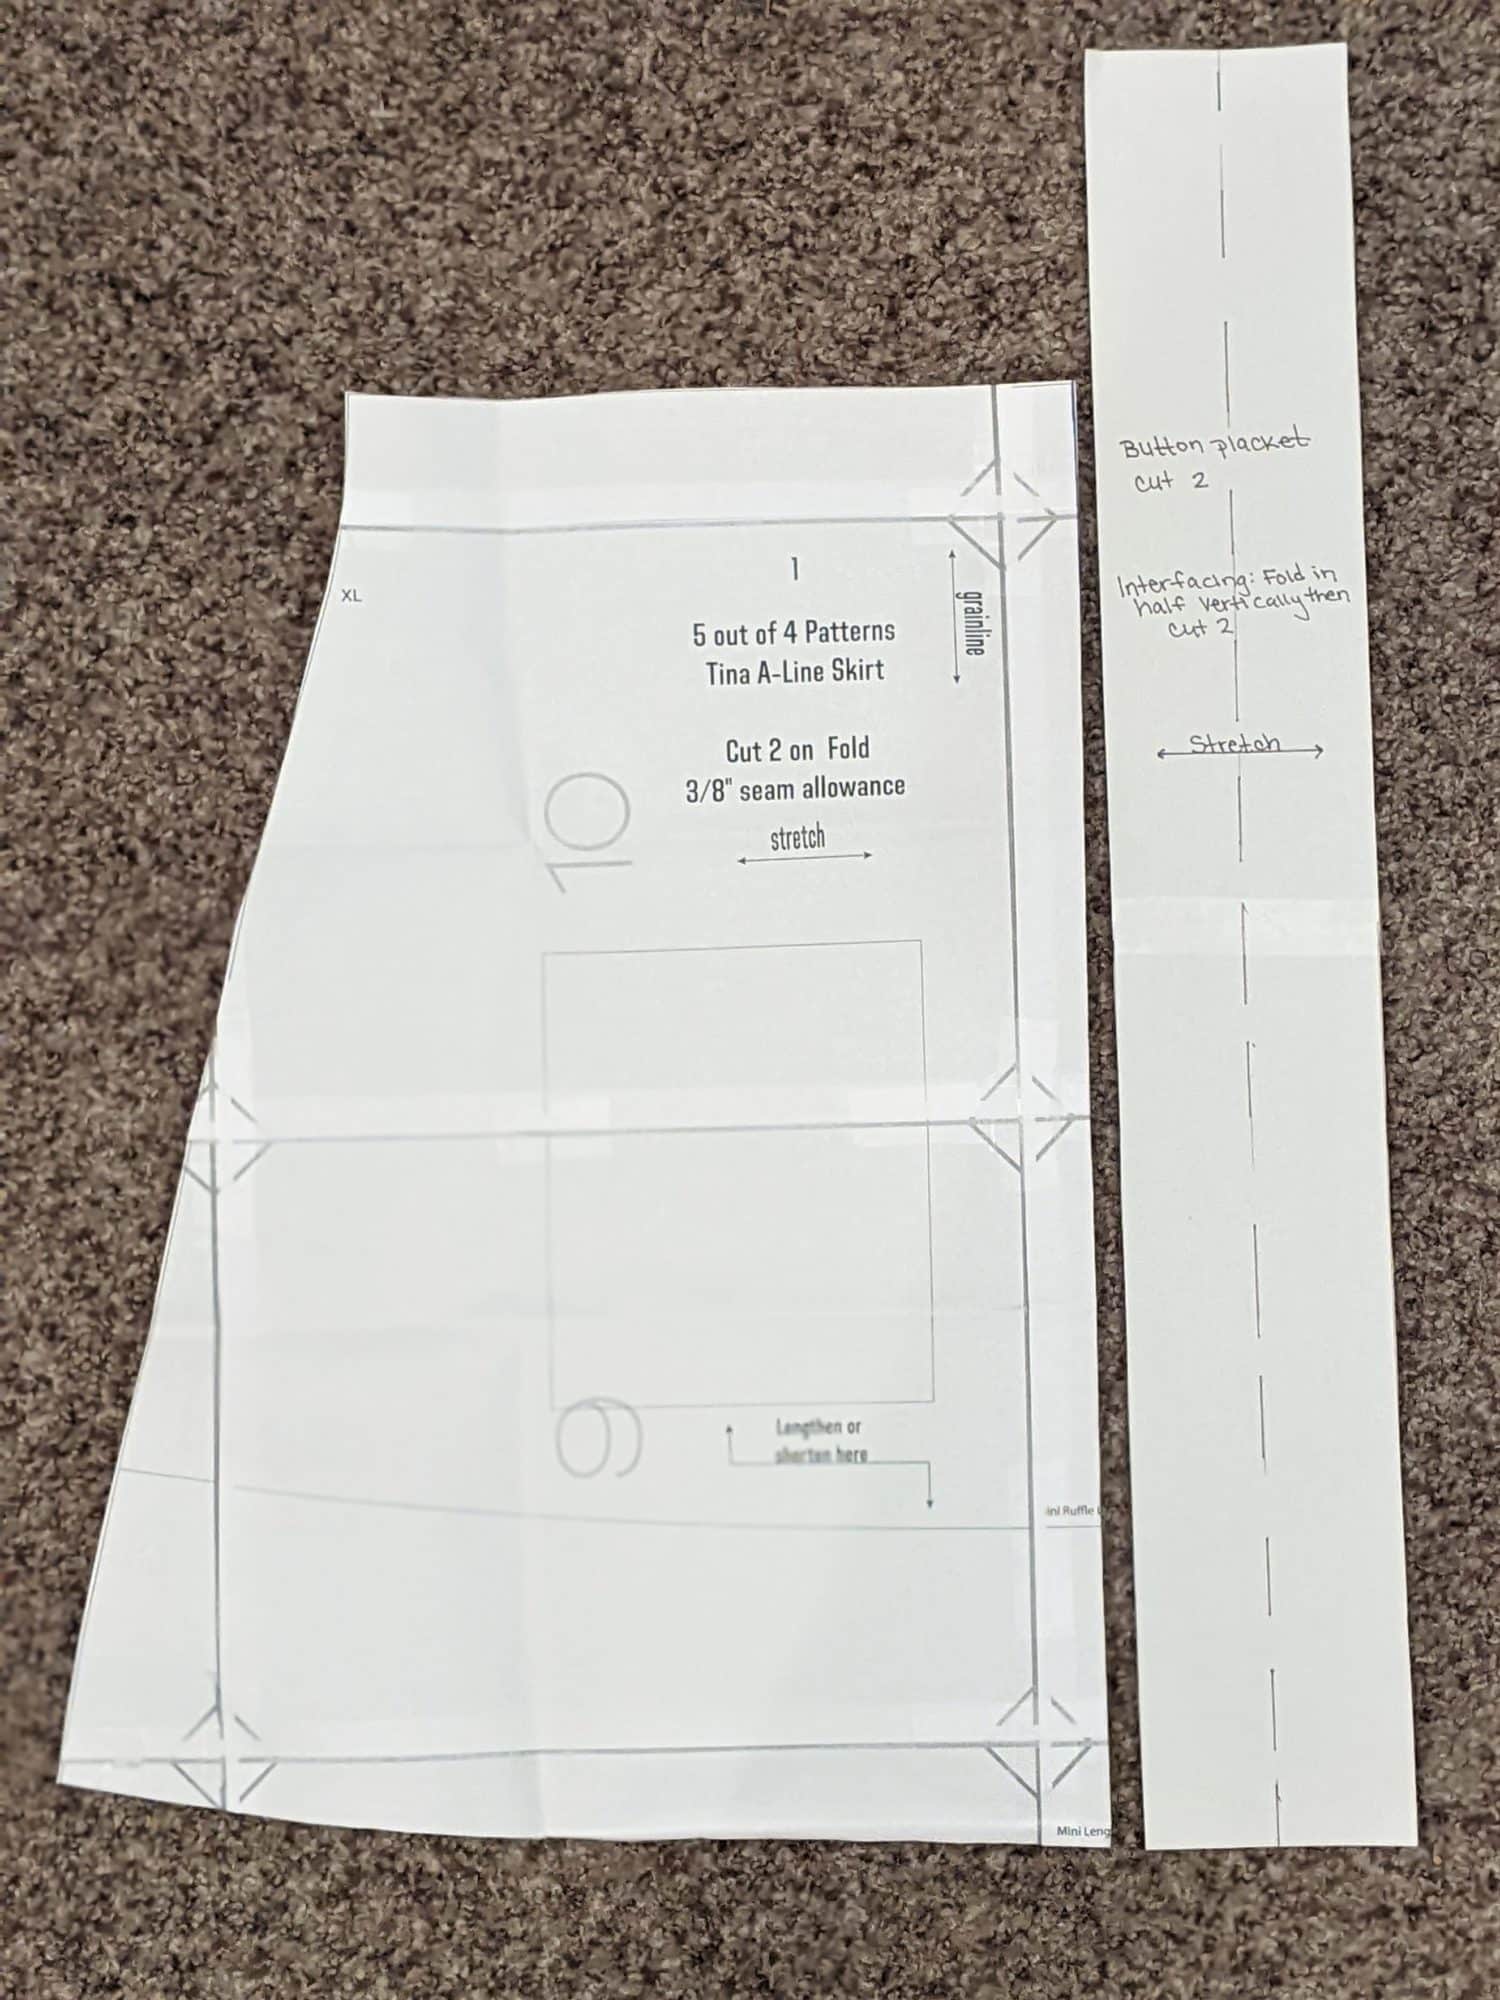
As mentioned above, your finished placket will be 1.5″ wide. It will be folded in half so it will need to start at 3″. Lastly, you will need to account for the 3/8″ seam allowance on each side of the placket for a total of .75″ This brings your total placket width to 3.75″ and you will need to cut two of them.
As far as the length goes, I found it easiest to lay my folded band piece along the top of the skirt then measure the length from the top edge of the band to the bottom edge of the skirt. I added on an extra 2″ just to give myself some wiggle room.
Cut Out Your Skirt Pieces
- Back skirt: cut 1 on the fold
- Front skirt adjusted: cut 2 mirrored
- Back band: cut 1 on the fold
- Front band shortened: cut 2
- Placket: cut 2
- Placket interfacing: cut 2 each one being half the width of the placket
Let’s Get Sewing
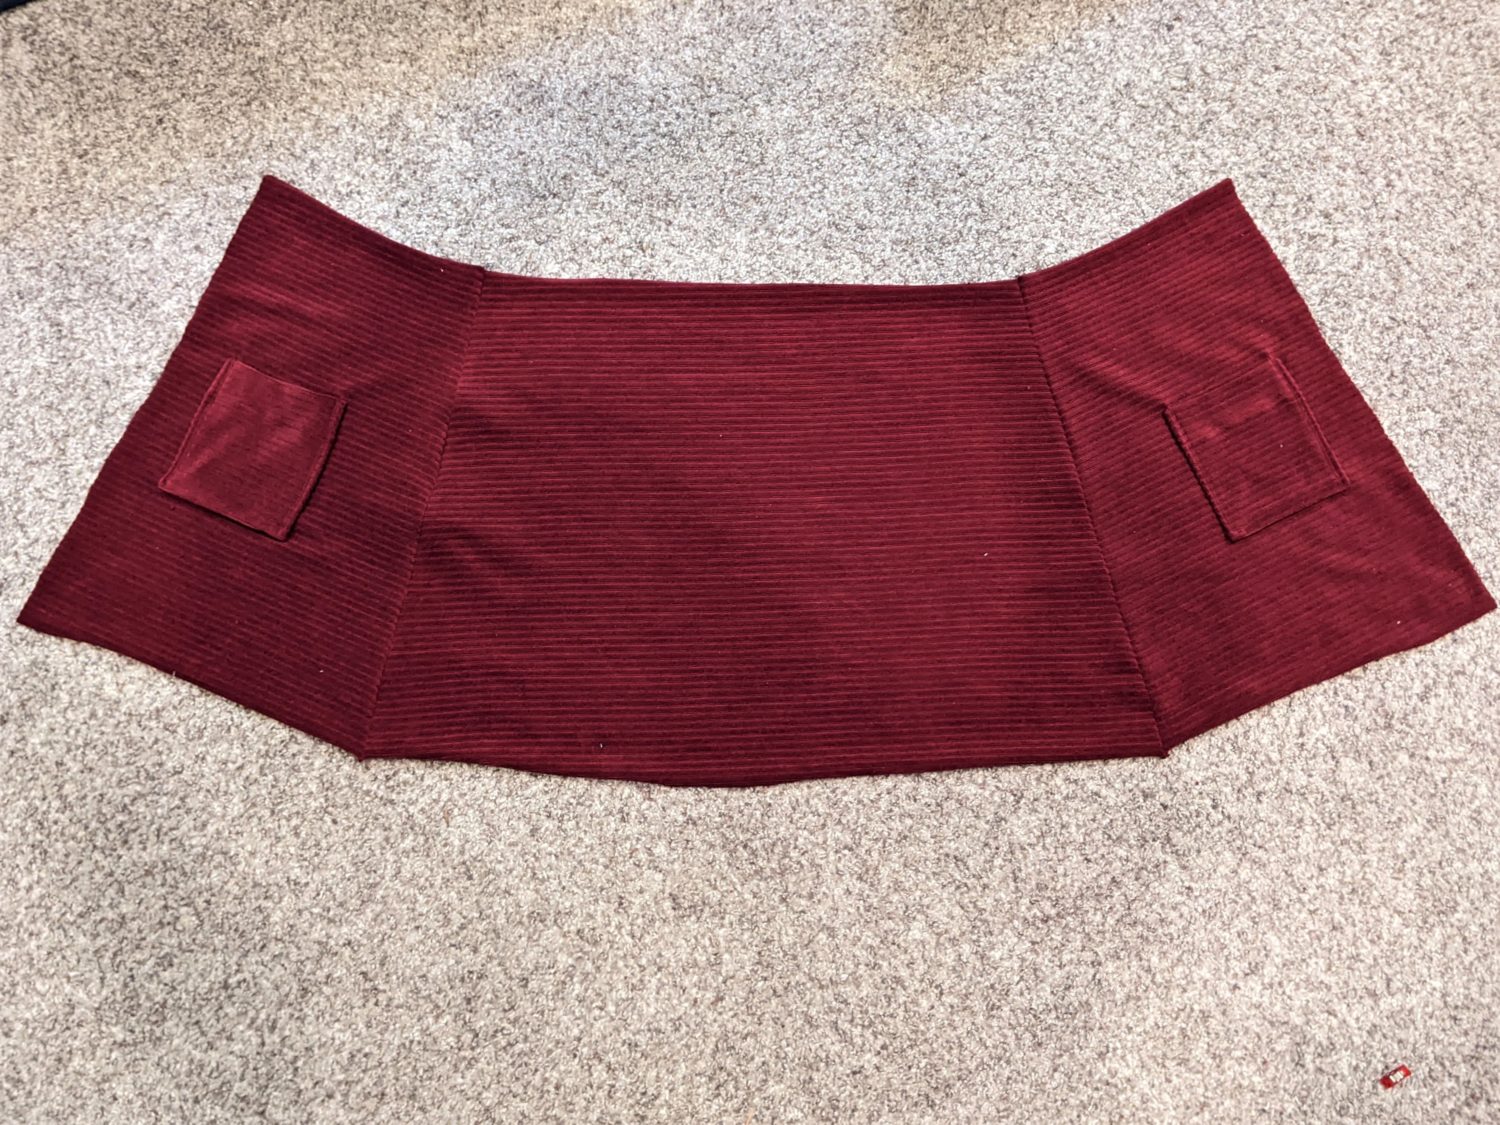
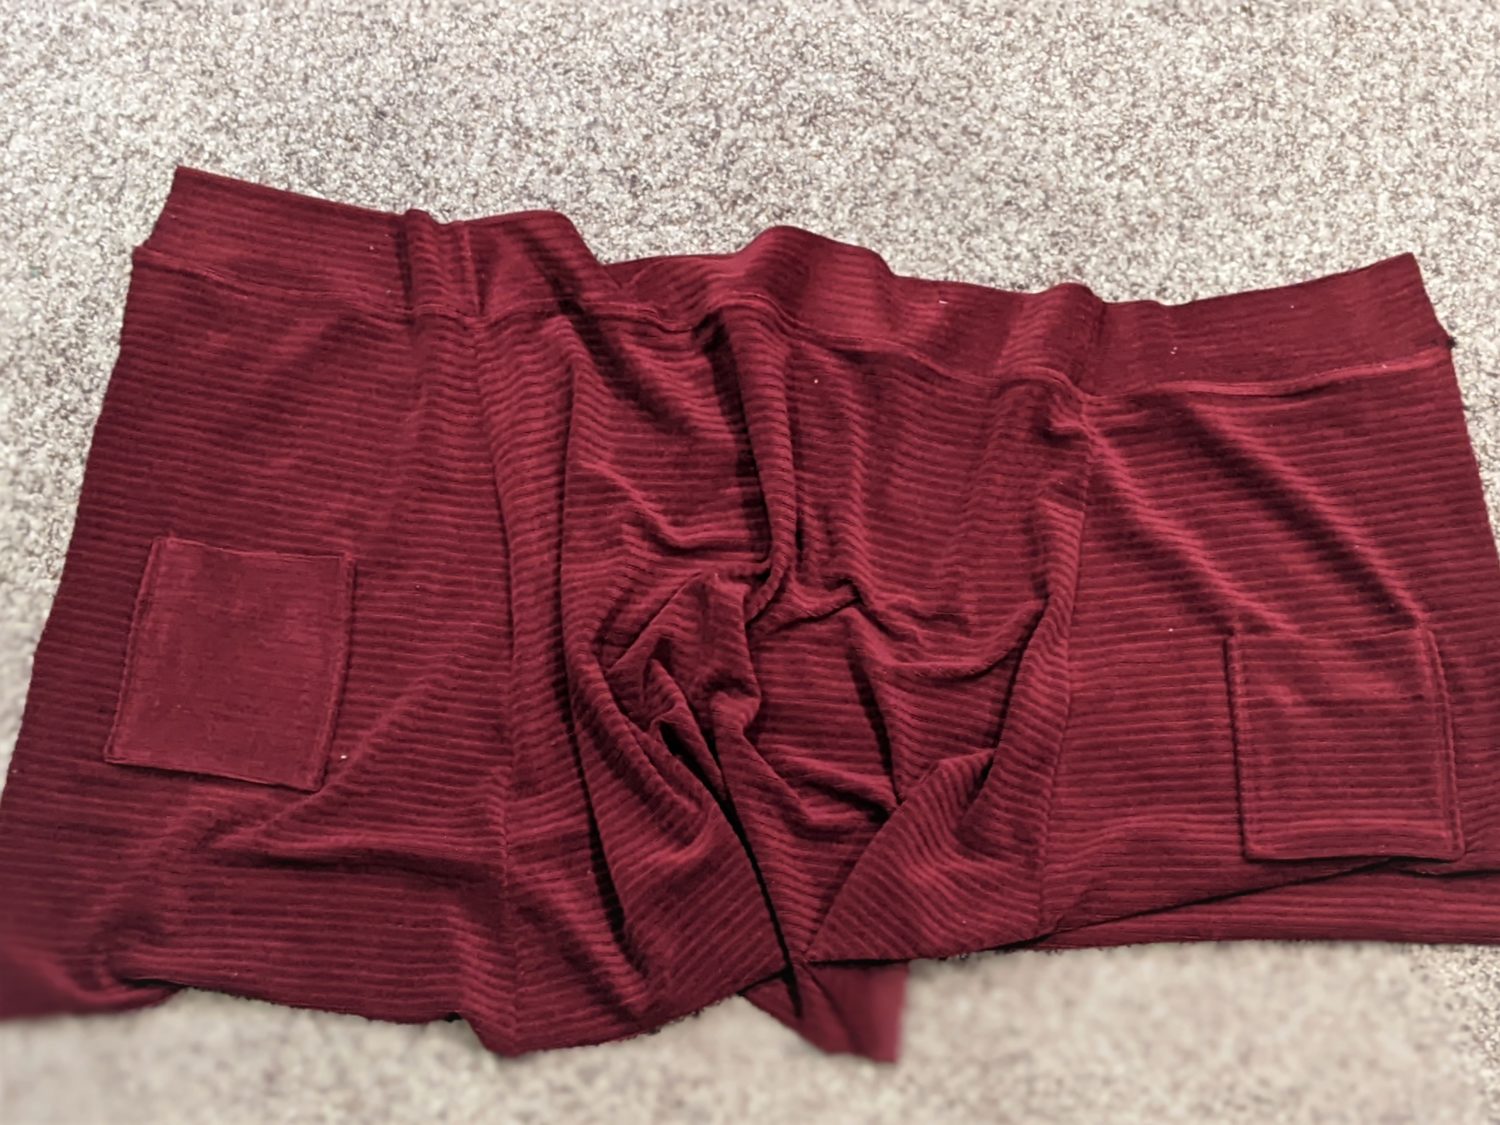
- If you are choosing to add pockets, follow the tutorial to add those on first.
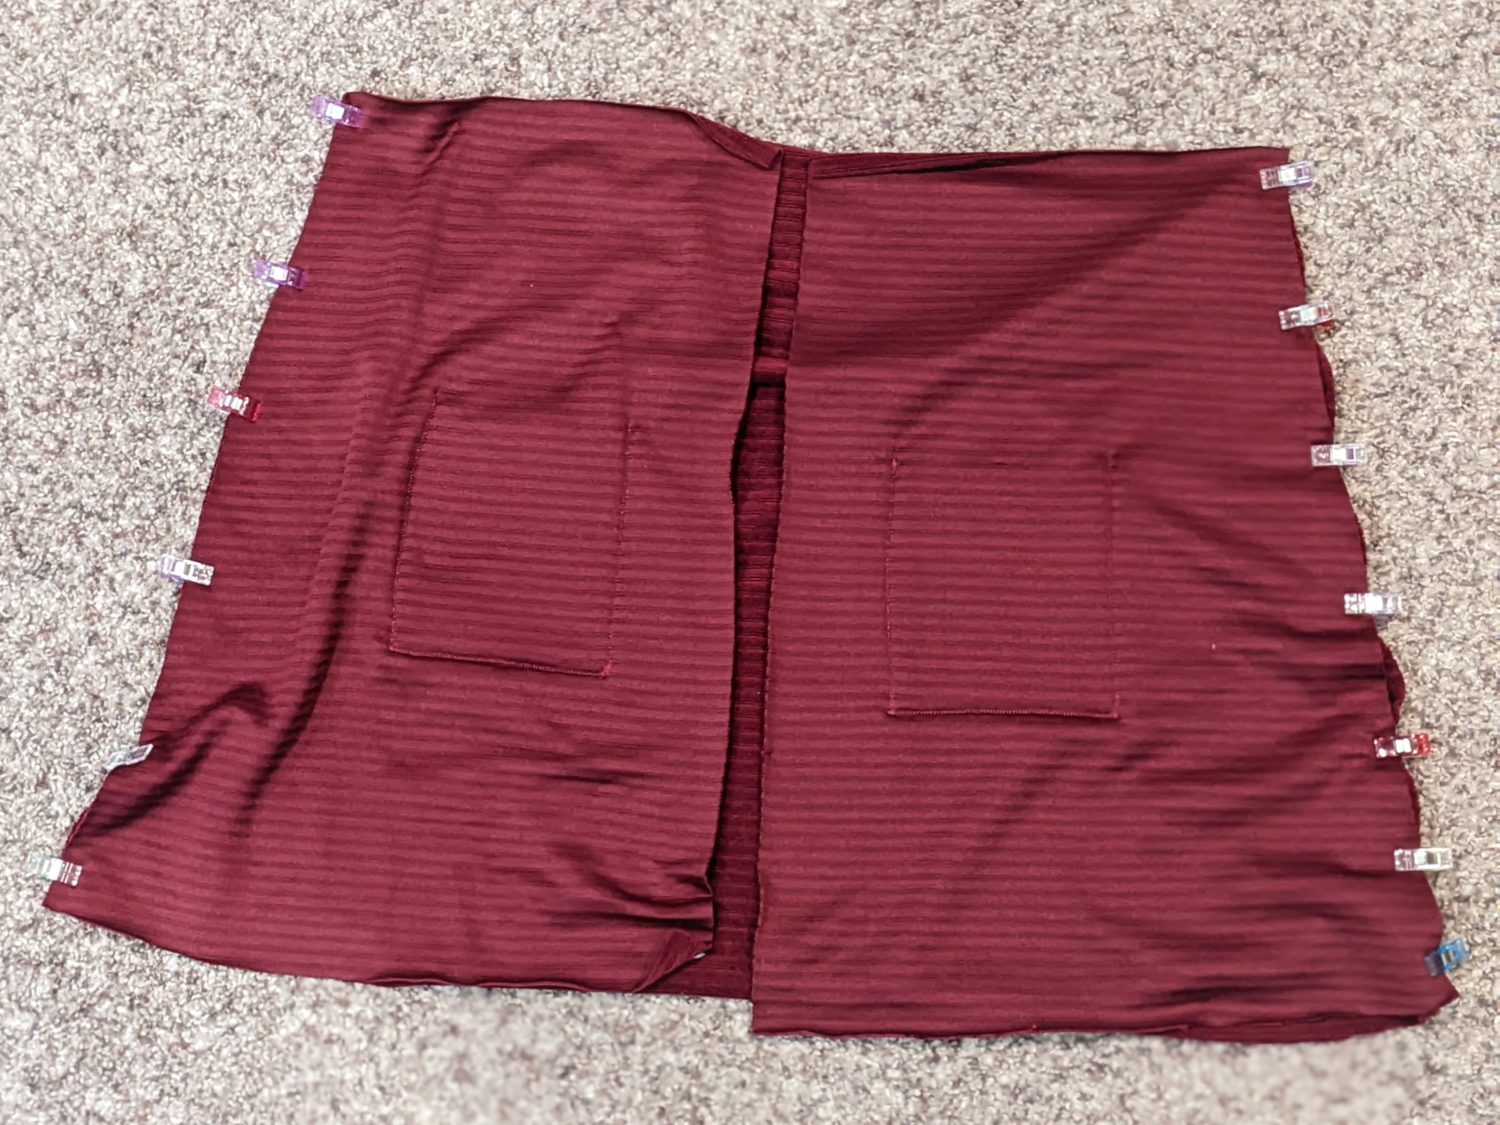
- Line up the sides of the two front skirt pieces with the sides of the back skirt right sides together and pin.
- Sew the front pieces to the back using a stretch stitch or serger.
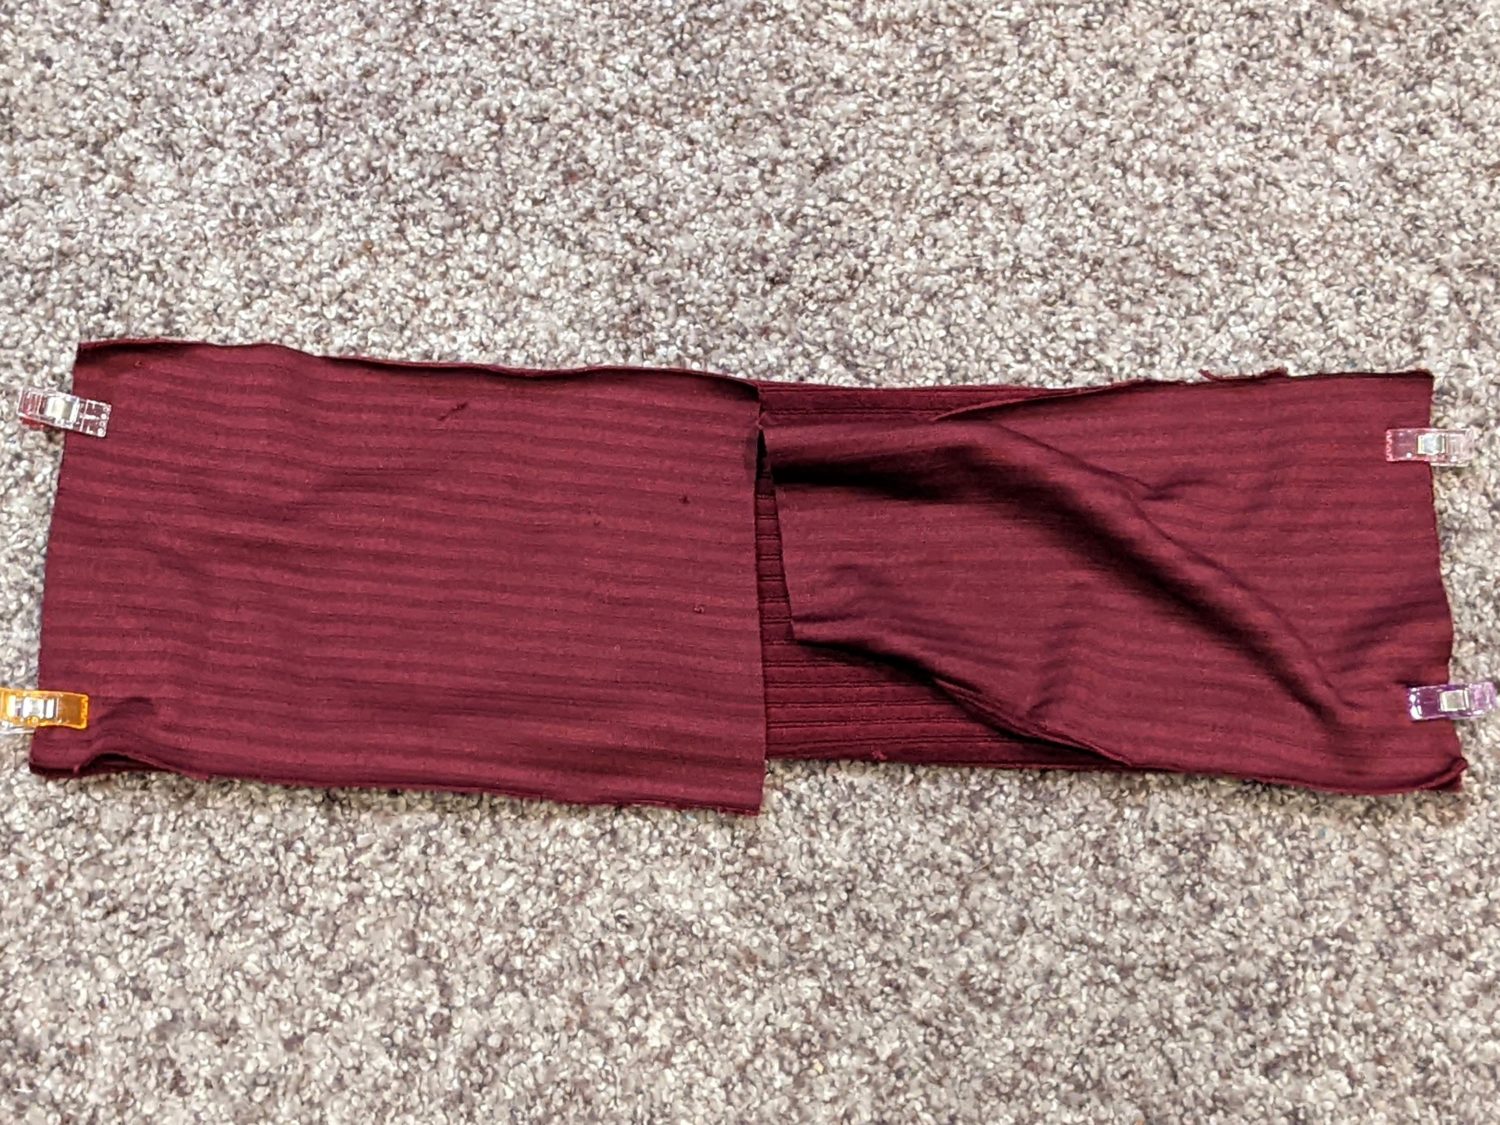
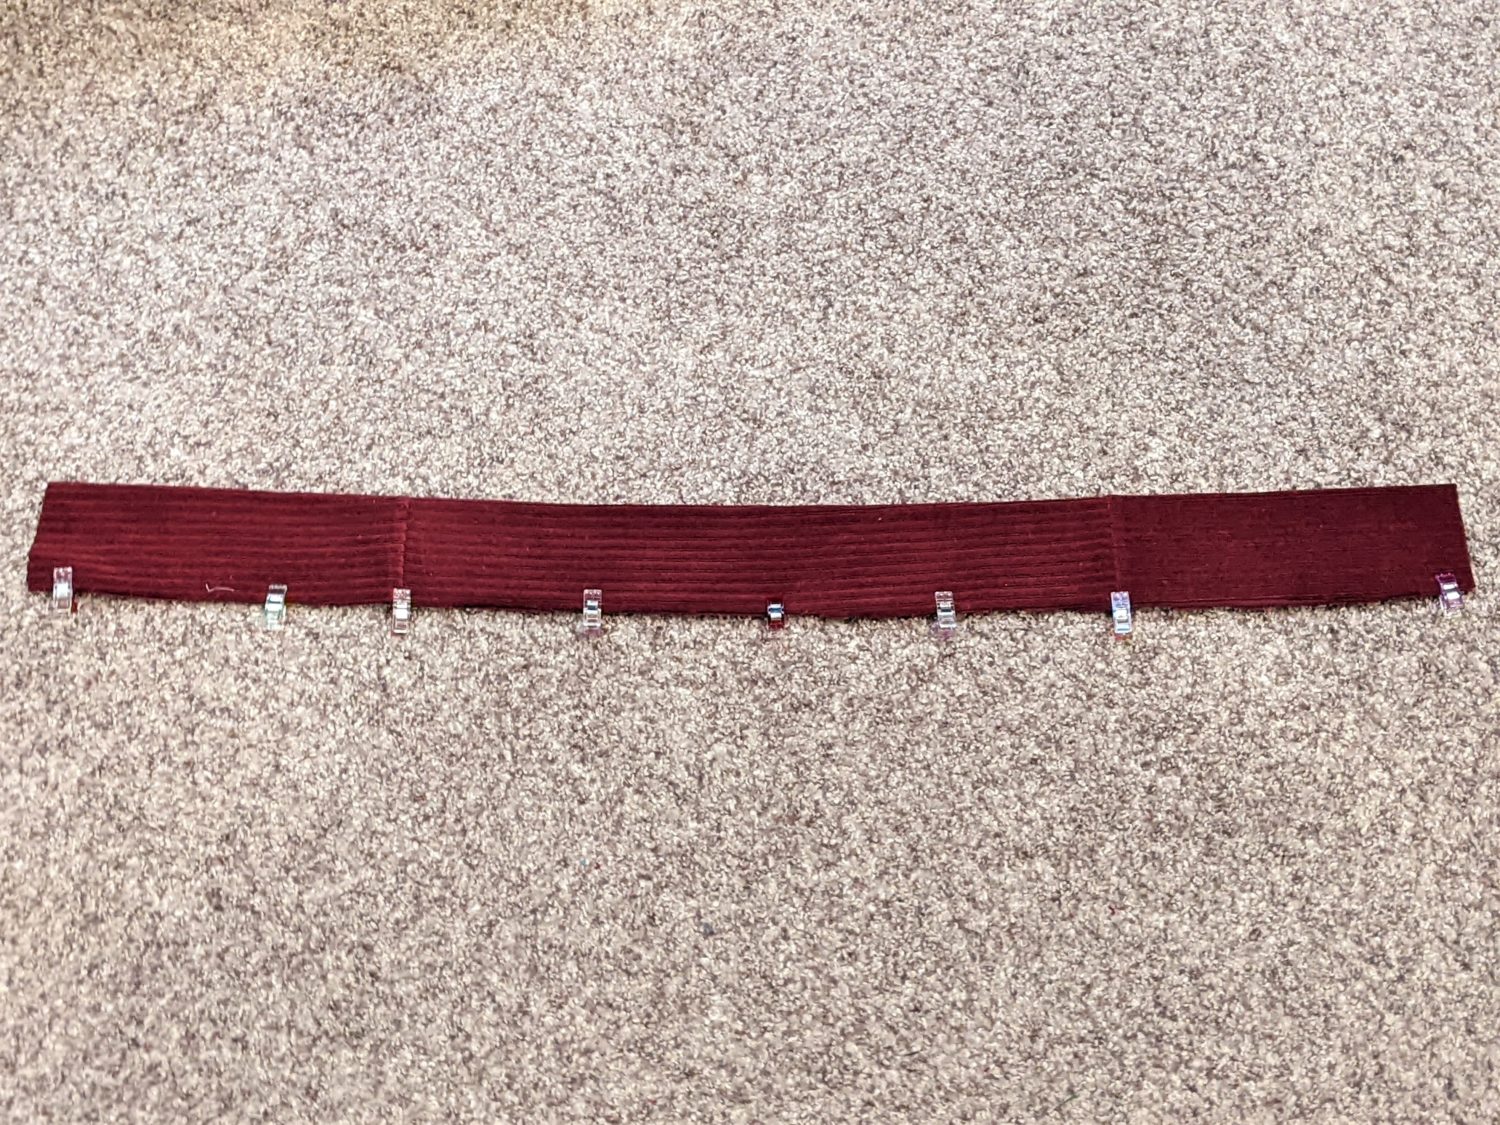
- Lay your back waistband piece right side up, then line up one short end of each front band pieces with the short ends of the back band and pin right sides together.
- Sew with a stretch stitch or serger.
- Fold you band in half lengthwise and press.
- Optional: baste along the raw edges of the folded band. I don’t always do this, but my fabric liked to slip around and my walking foot was broken so it helped to keep everything in place.
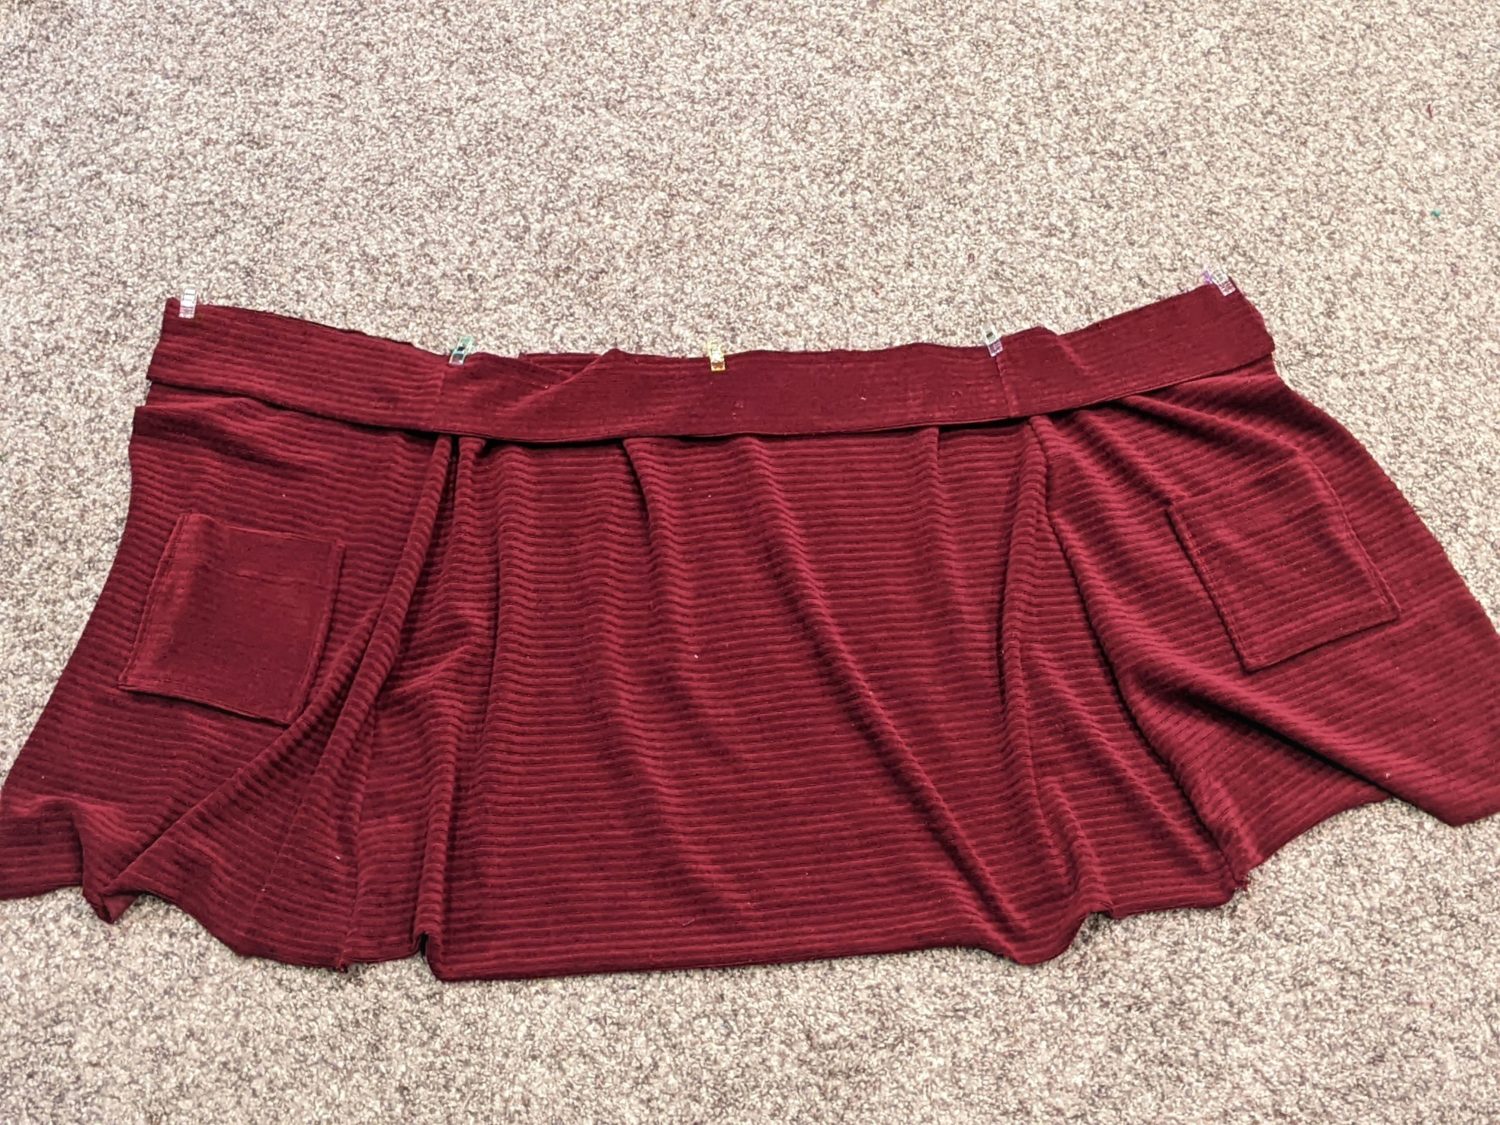
- Match up the center backs of the band and skirt and pin with right sides together.
- Pin both side seams of the band and skirt together, then pin at the center front raw edges of the band and skirt.
- Sew the band using a stretch stitch or serger stretching only the waistband as you go.
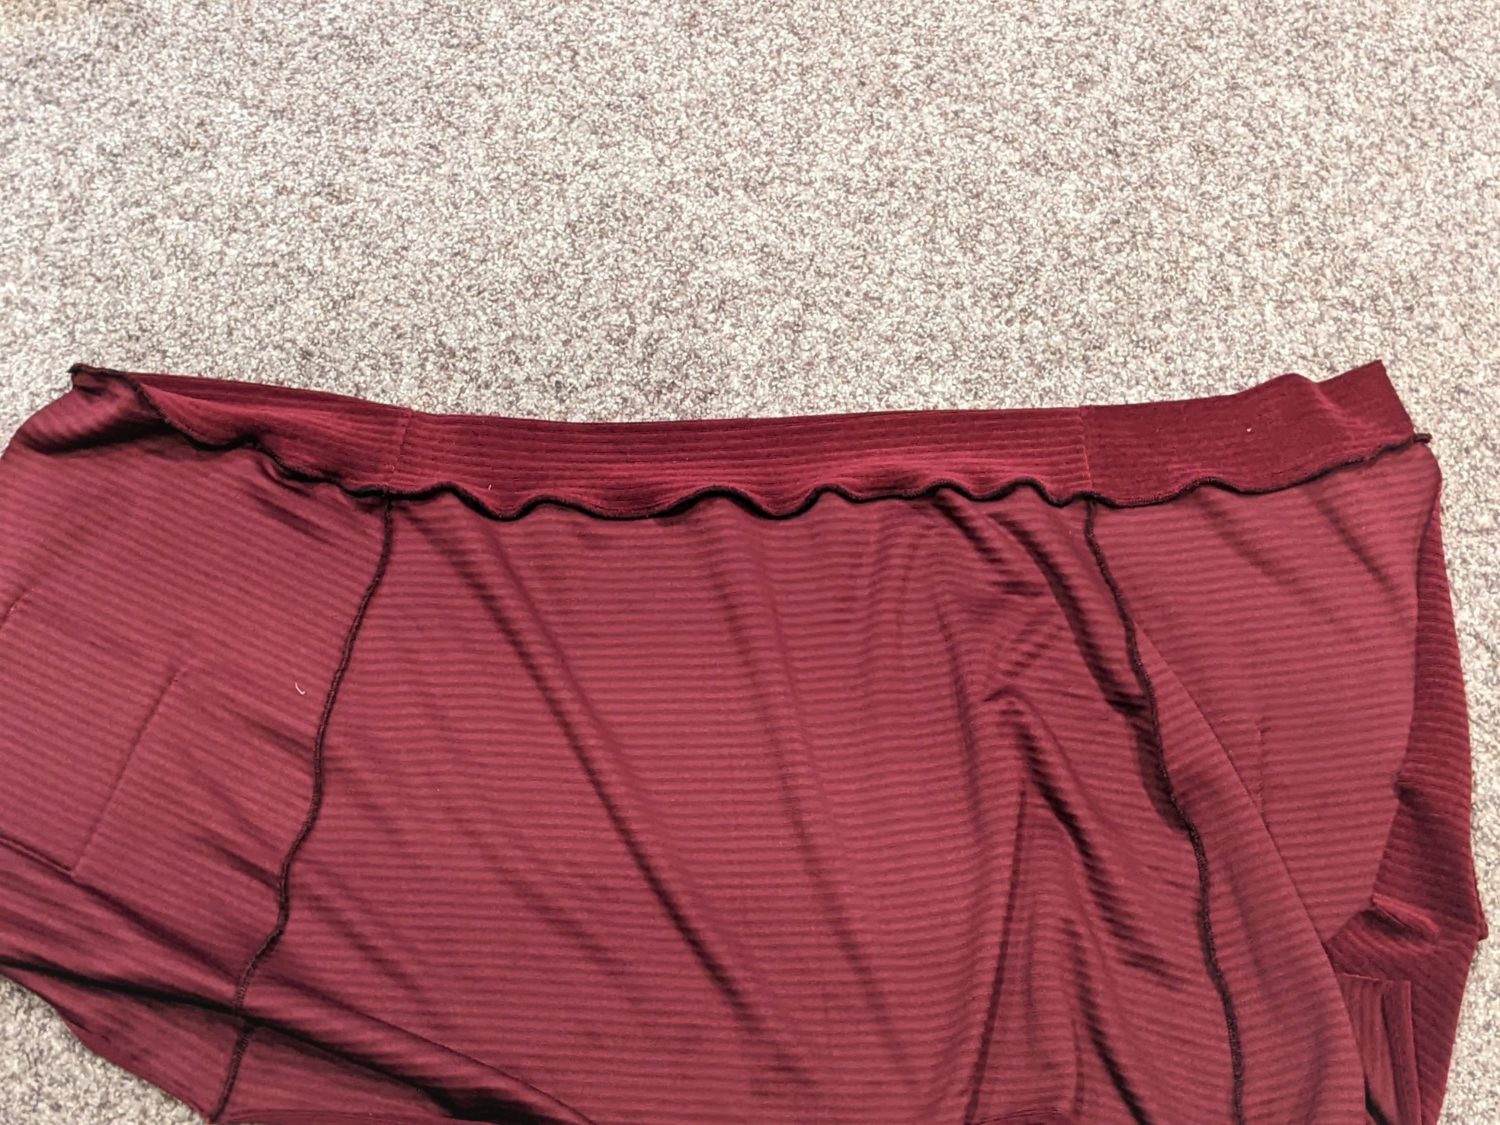
- Press the seam allowance down towards the main skirt.
- Topsitch the seam allowance if desired.
- Hem the bottom of your skirt as outlined in the tutorial.
Time For the Placket
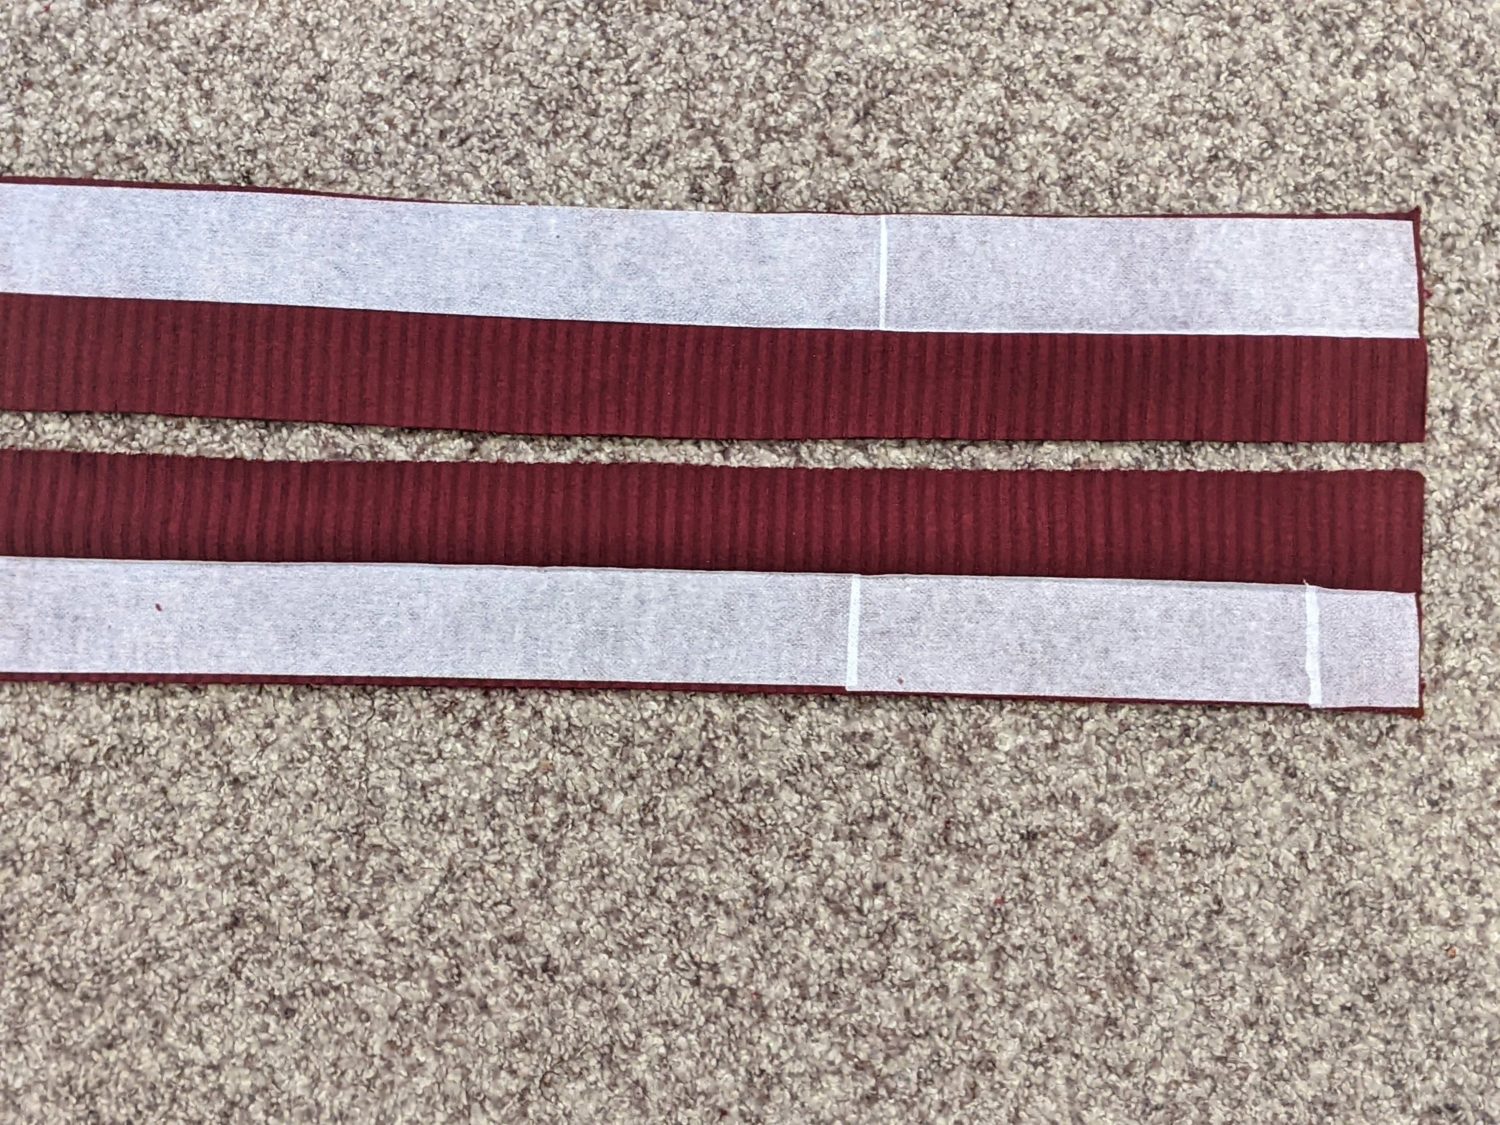
- Take each of your placket pieces and their interfacing pieces and line up the interfacing along one side on the back of each placket.
- Follow the instructions for your specific interfacing to adhere it to your fabric.
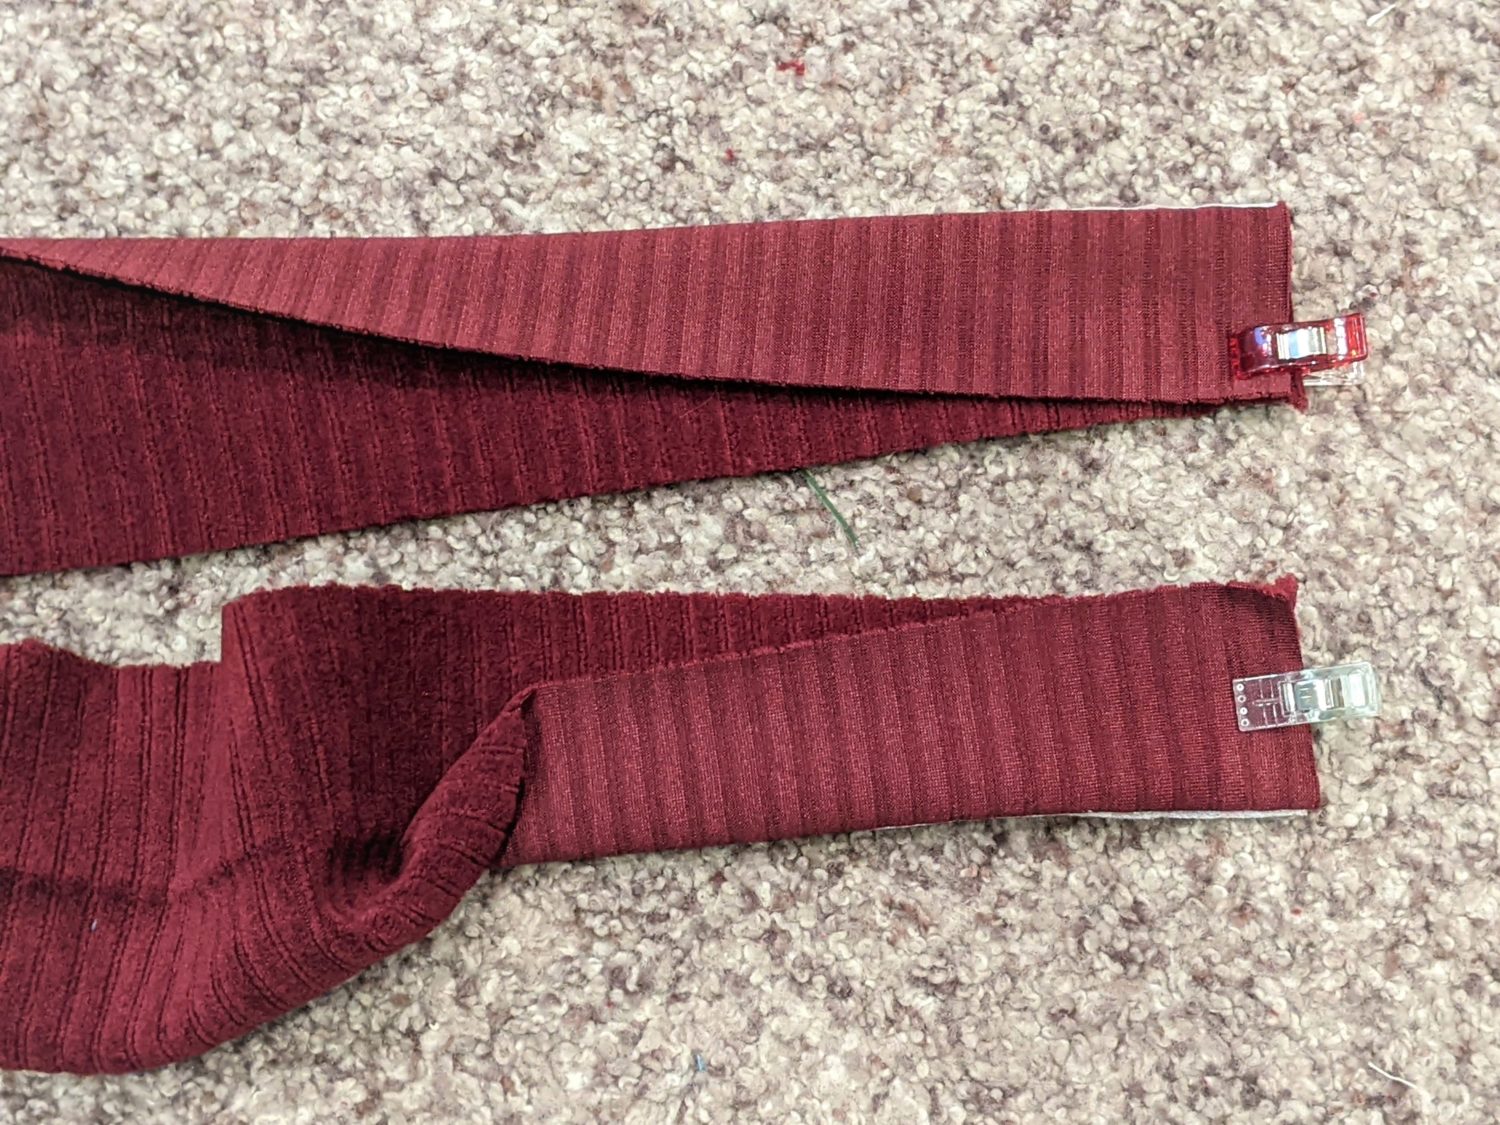
- Fold each placket in half wrong sides together and press to create a crease.
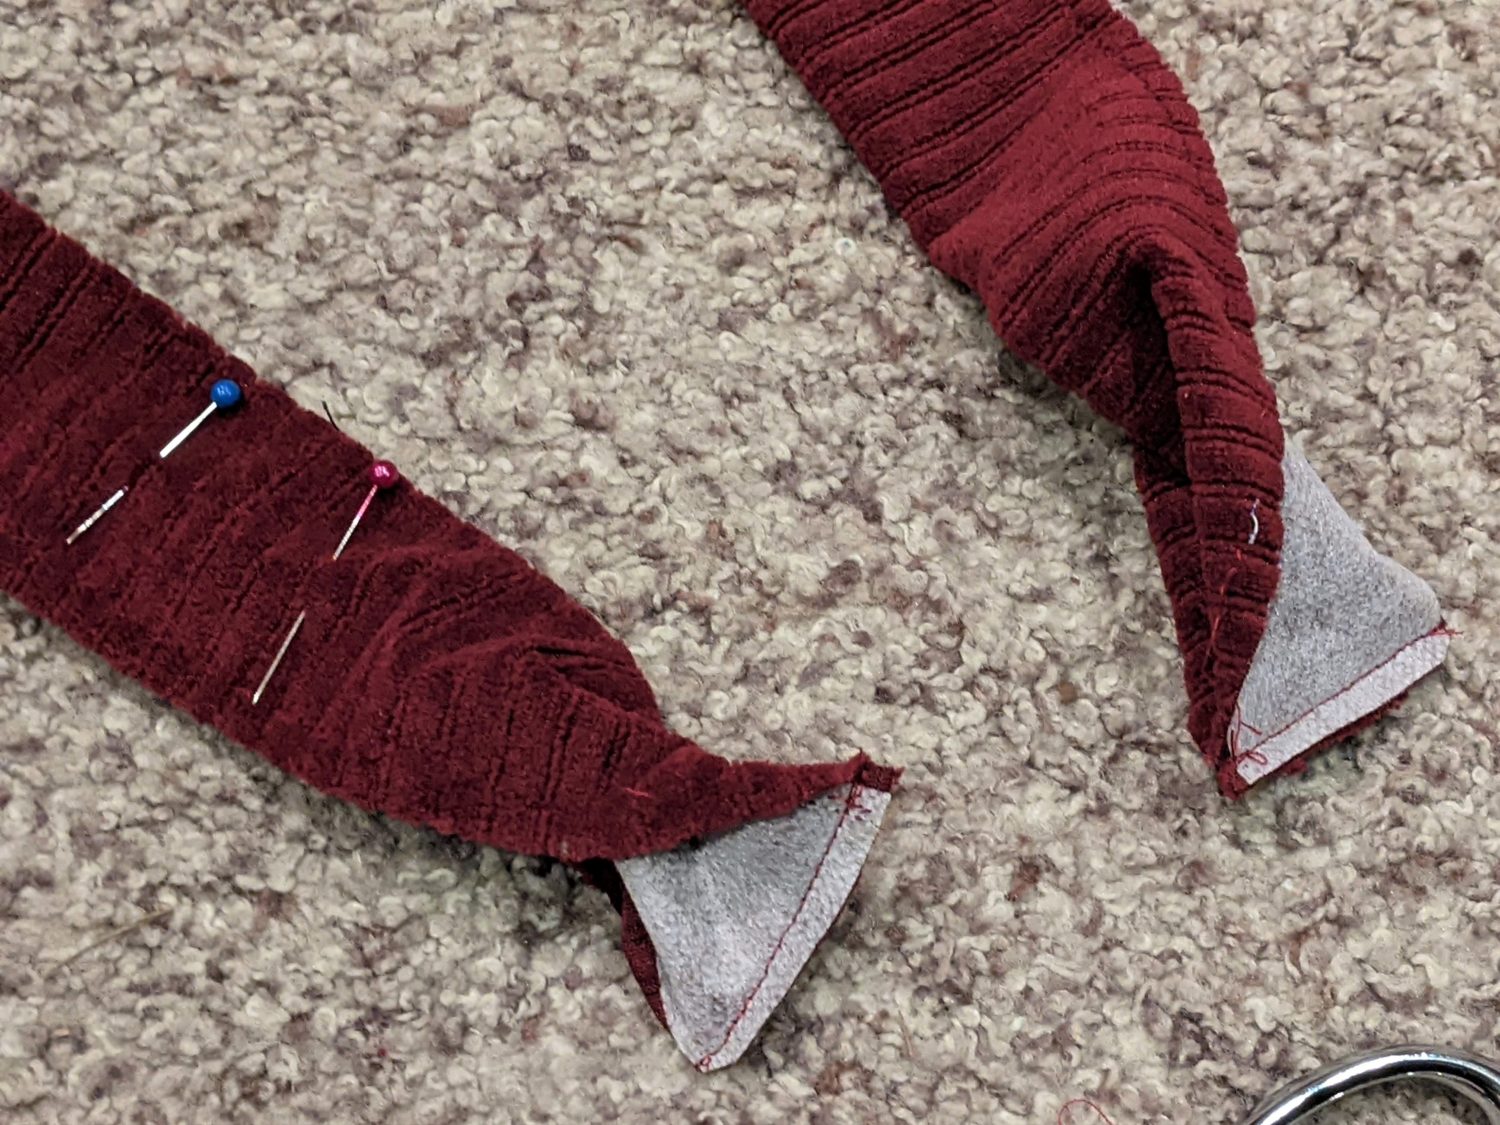
- At one short end of each placket, fold it in half right sides together and pin.
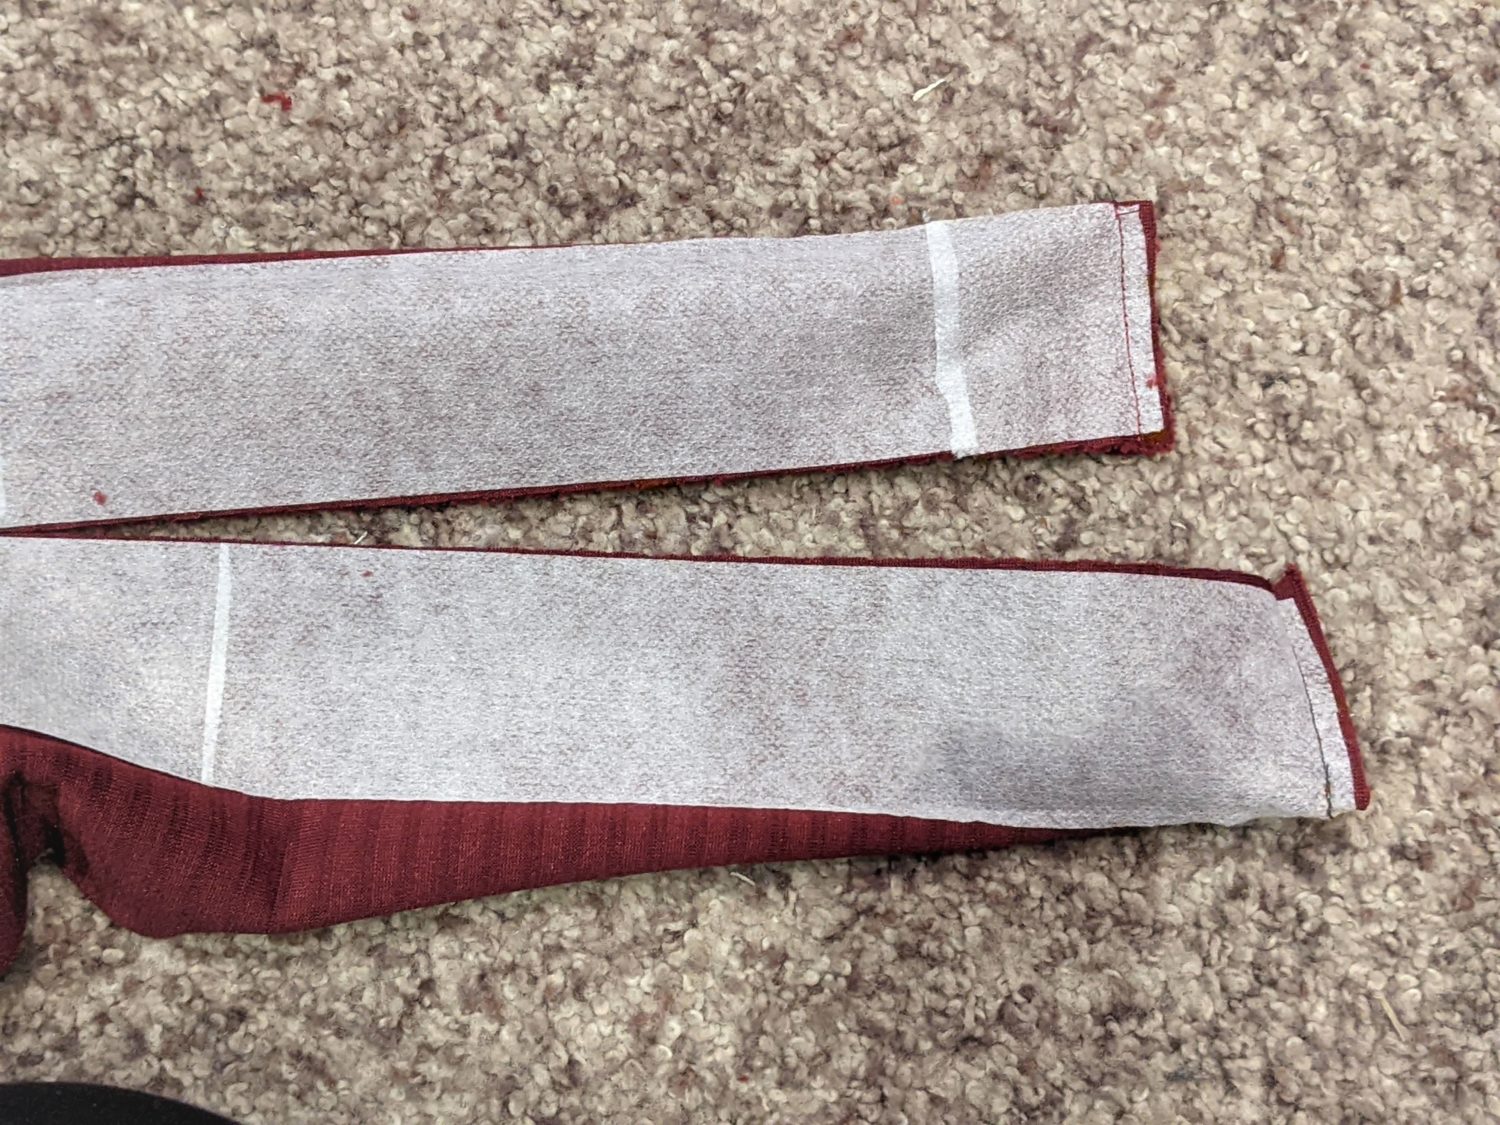
- Sew along the short end with a straight stitch and a 1/4″ seam allowance.
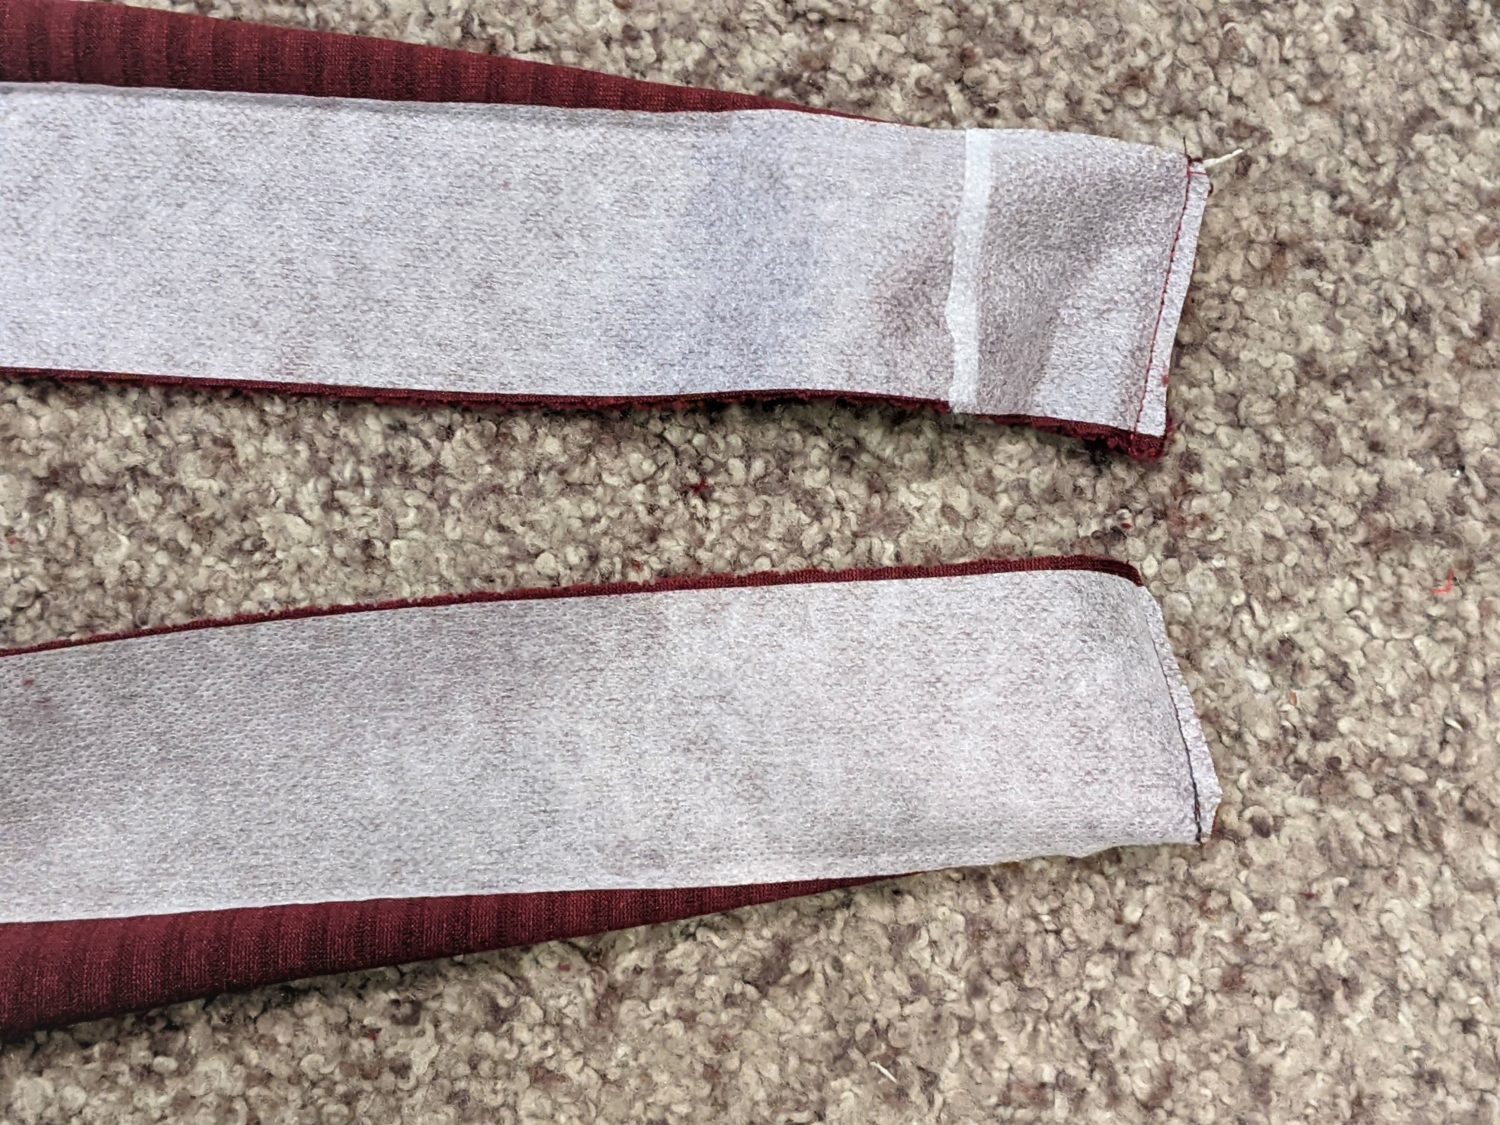
- Snip off the small folded corner to reduce bulk when it’s turned right side out.
- Turn placket pieces right side out.
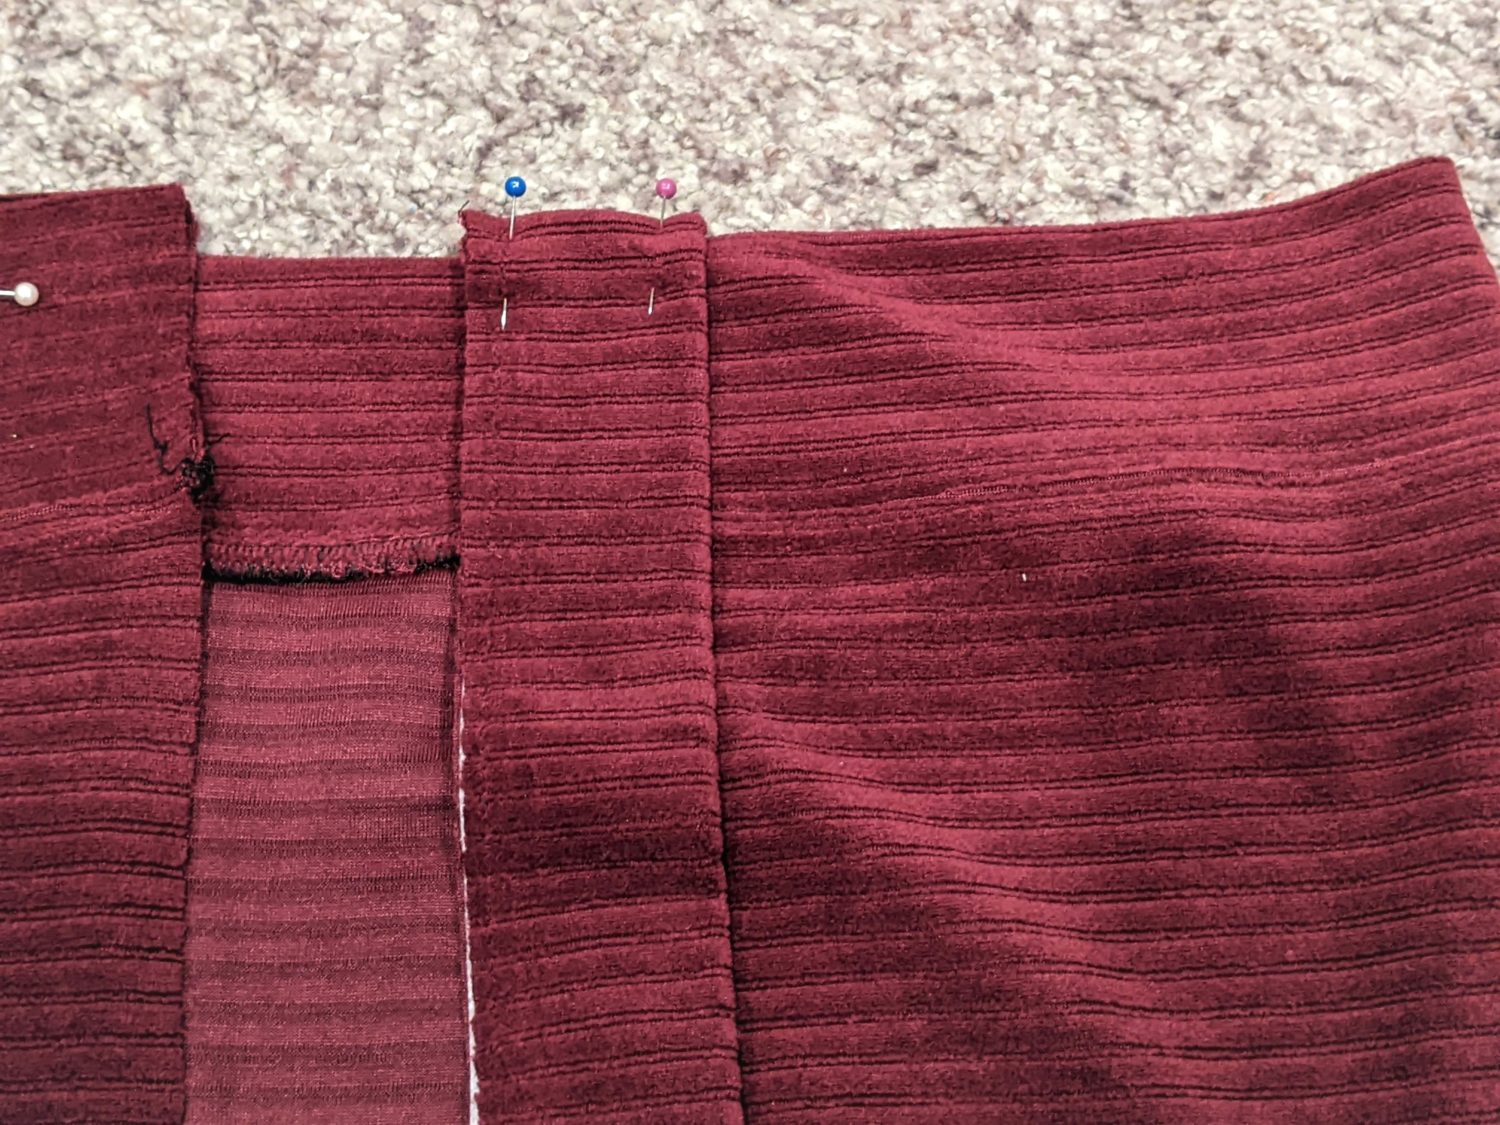
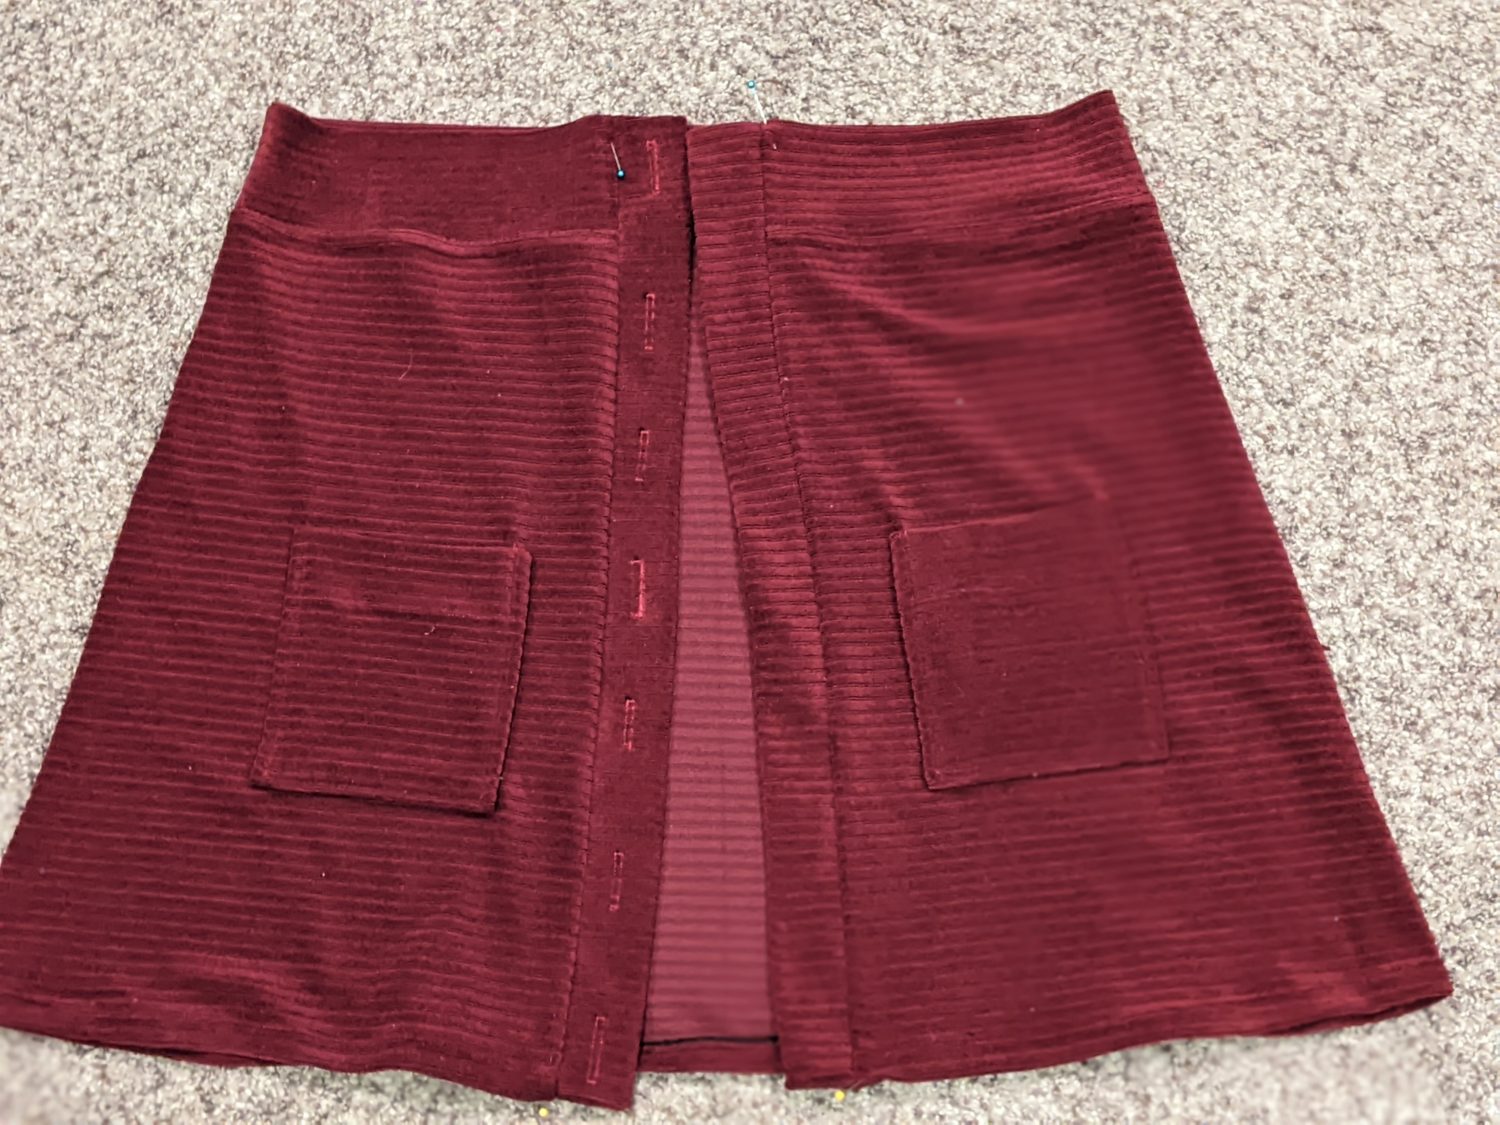
- Line up the finished edge you just sewed with the top edge of the waistband along the inner raw edge of the front skirt. Pin at the top to hold it in place if you’d like.
- *Note: You will want the sides with the interfacing to be facing outward when the skirt is finished so make sure you are keeping that in mind as you go.
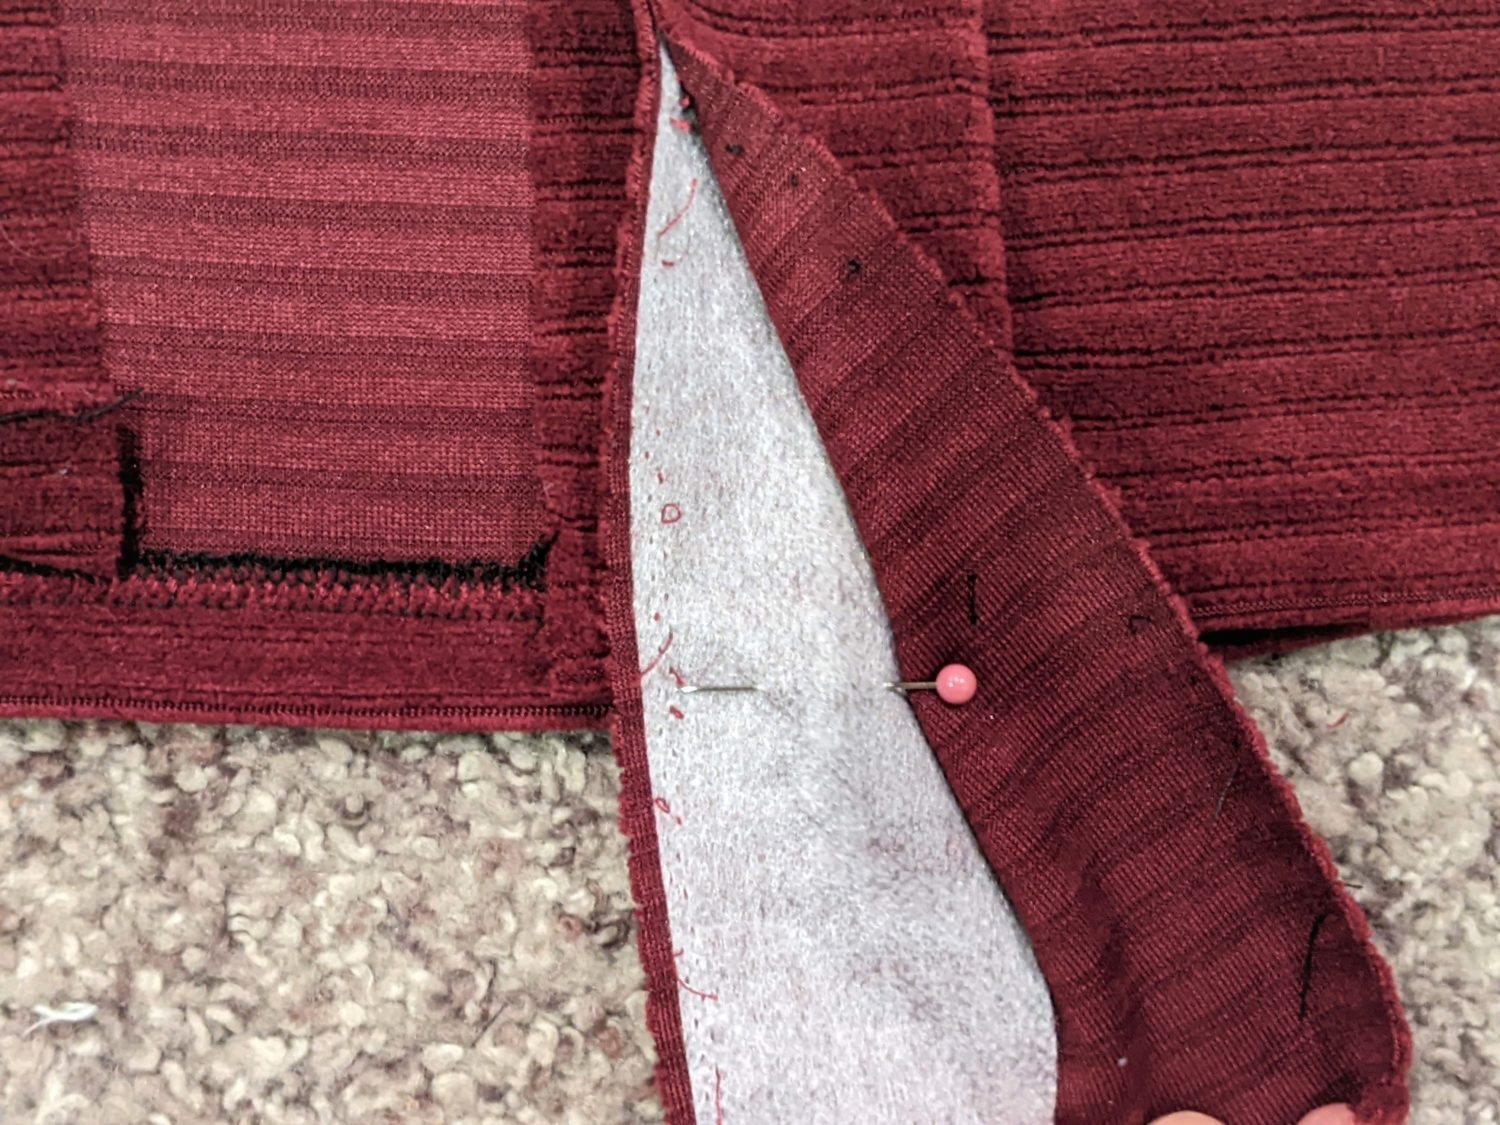
- Carefully lay the placket along the inner skirt edge matching up the raw edges until you reach the bottom hemmed edge of the skirt.
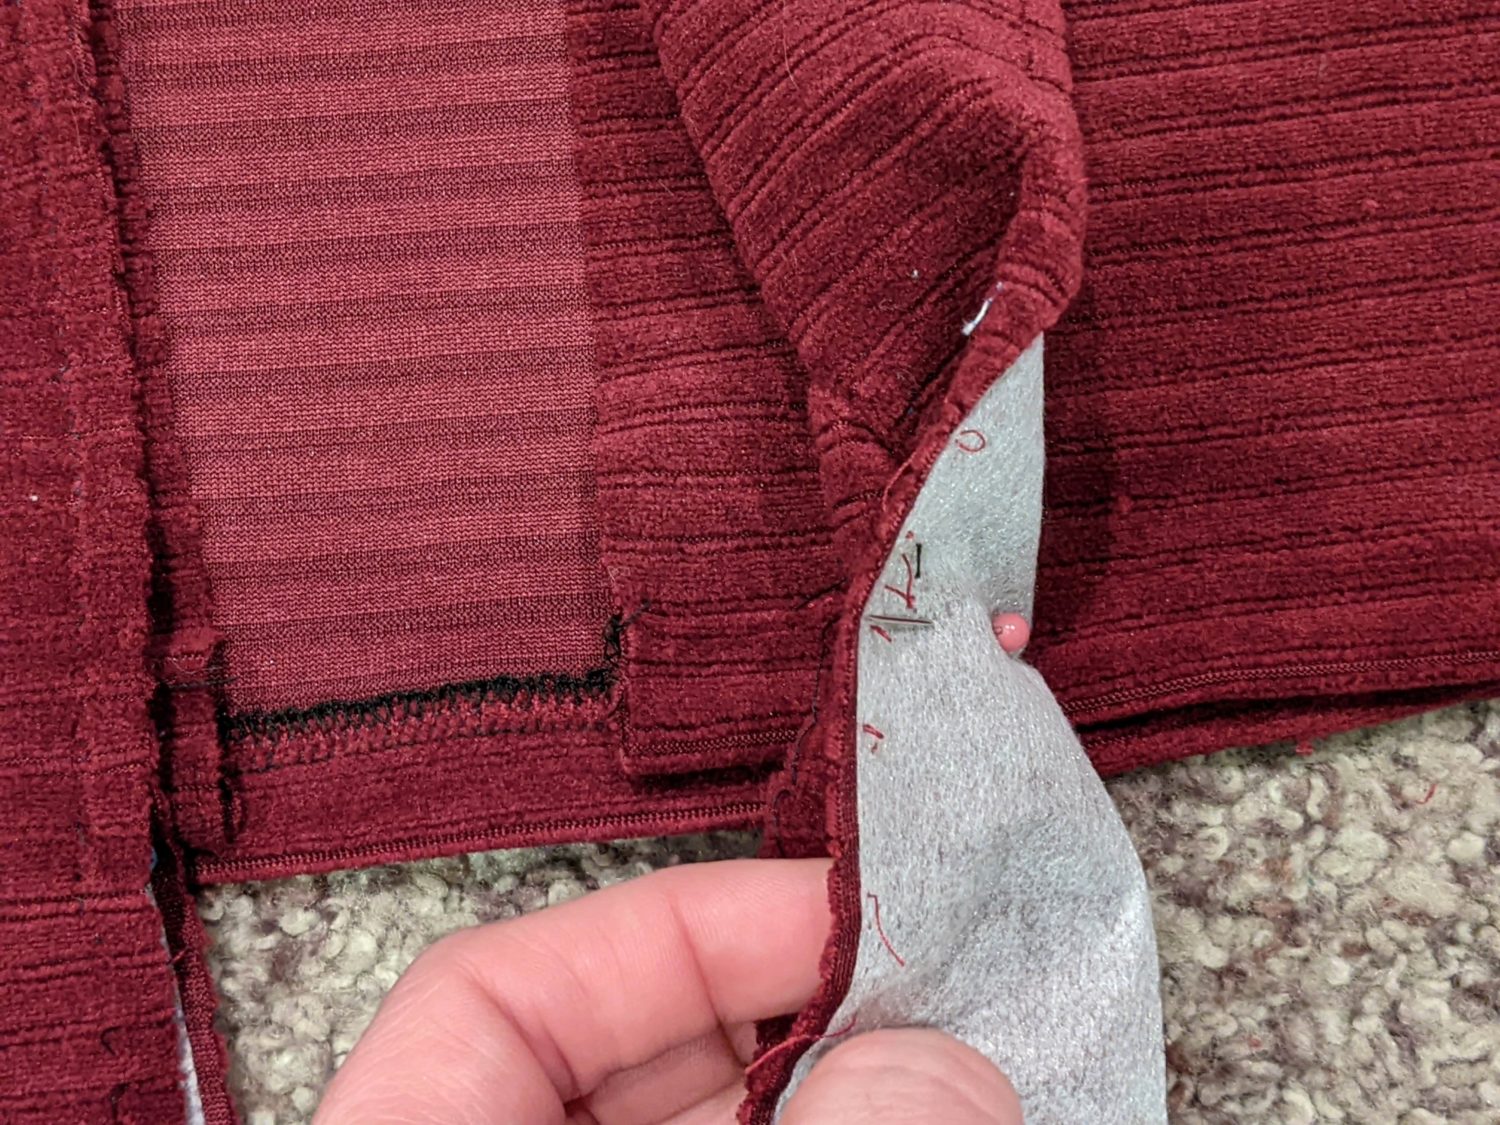
- Mark on the inside of the placket with a pin exactly where the hem hits.
- Turn the placket edge so the right sides are together keeping the pin in place then sew along where you placed the pin the same as you did for the top edge.
- Turn the placket right side out and check the placement before you cut off the excess fabric and snip the fold corner.
- Repeat the same steps for the opposite placket.
Buttons
For this part, you can skip down a bit and sew the placket pieces on first, then add the buttonholes if you prefer. My sewing machine and I don’t always agree on the buttonhole making process, so I did that before attaching the plackets so I wouldn’t have to seam rip the whole thing in case she was in a feisty mood.
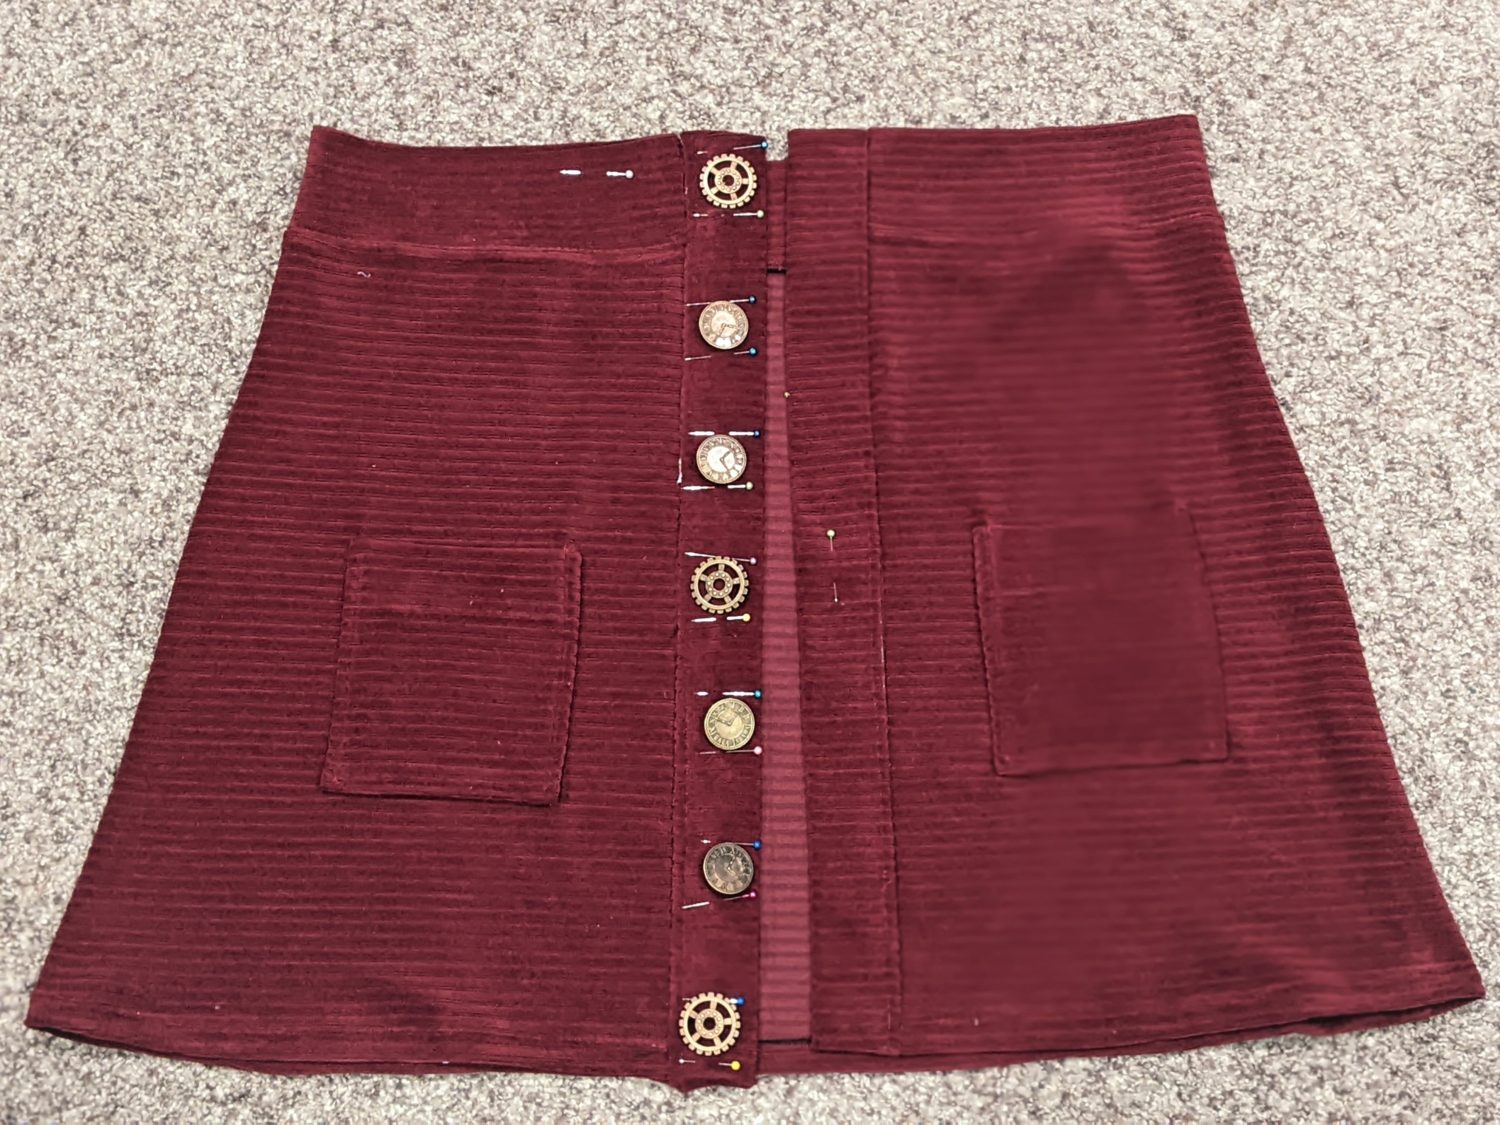
- Line up your button side placket with the inner edge of the skirt front.
- Set your buttons evenly along the placket until you like their spacing, then mark their placement with pins or a marker.
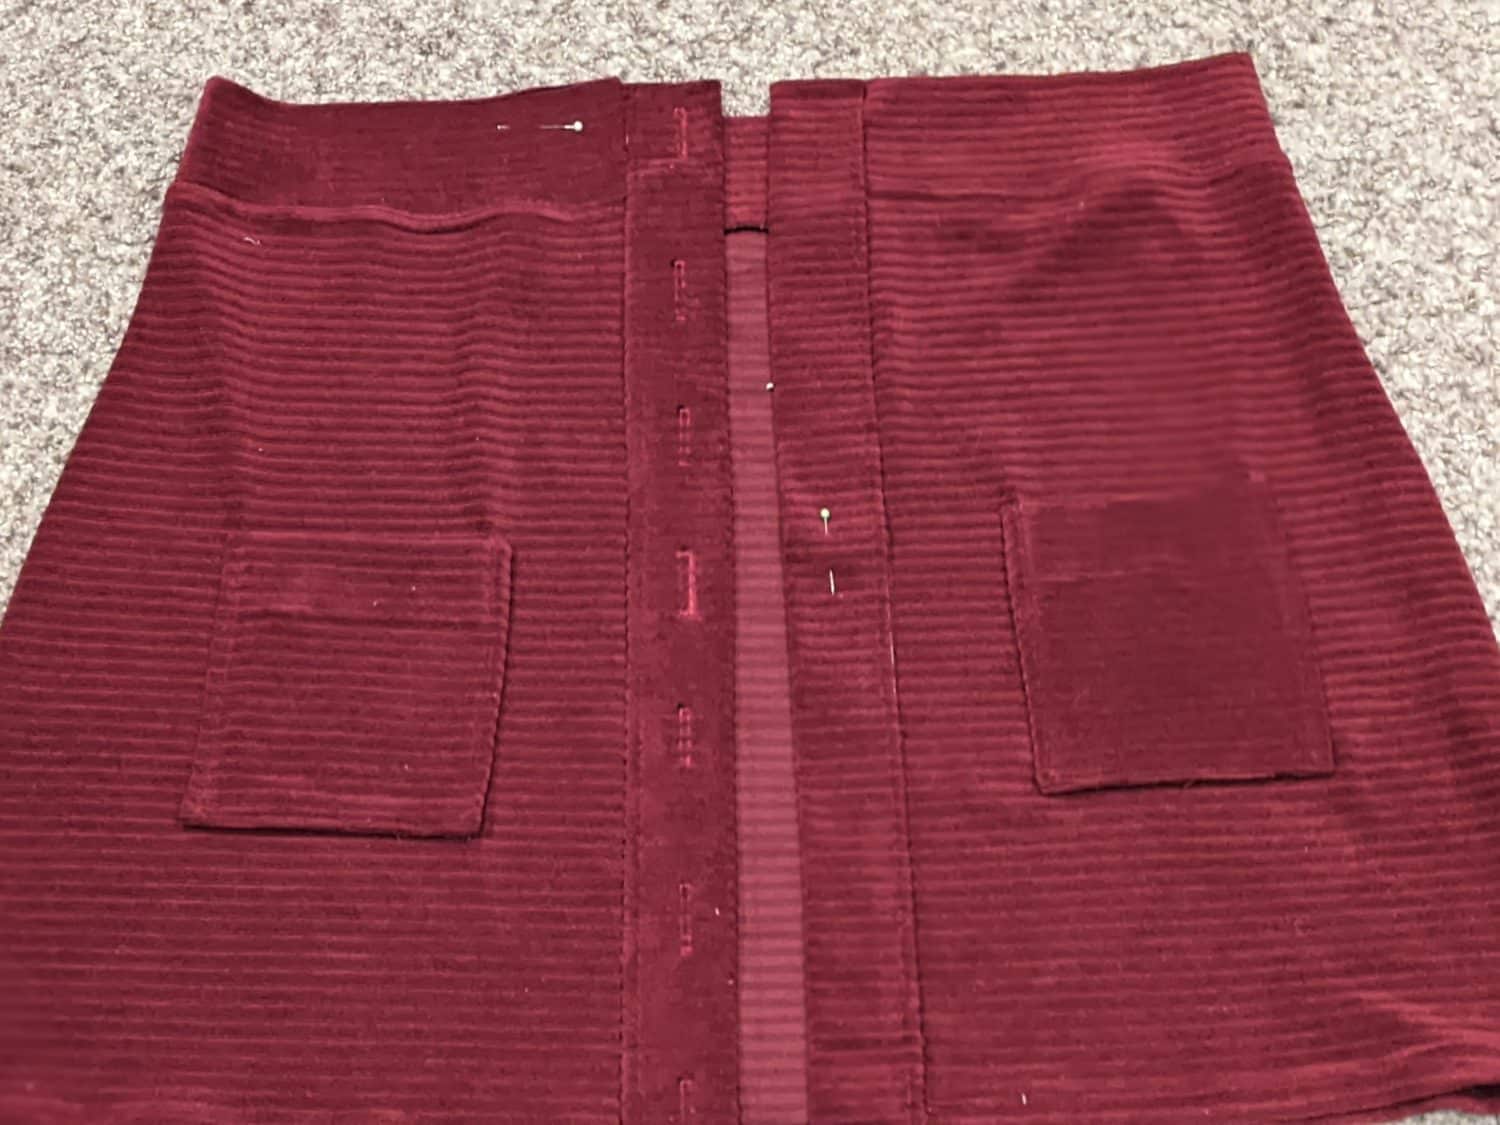
- Use the buttonhole setting on your sewing machine, or any other preferred method you have and sew all of those button holes along the placket.
- Use a seam ripper or small scissors to open each button hole.
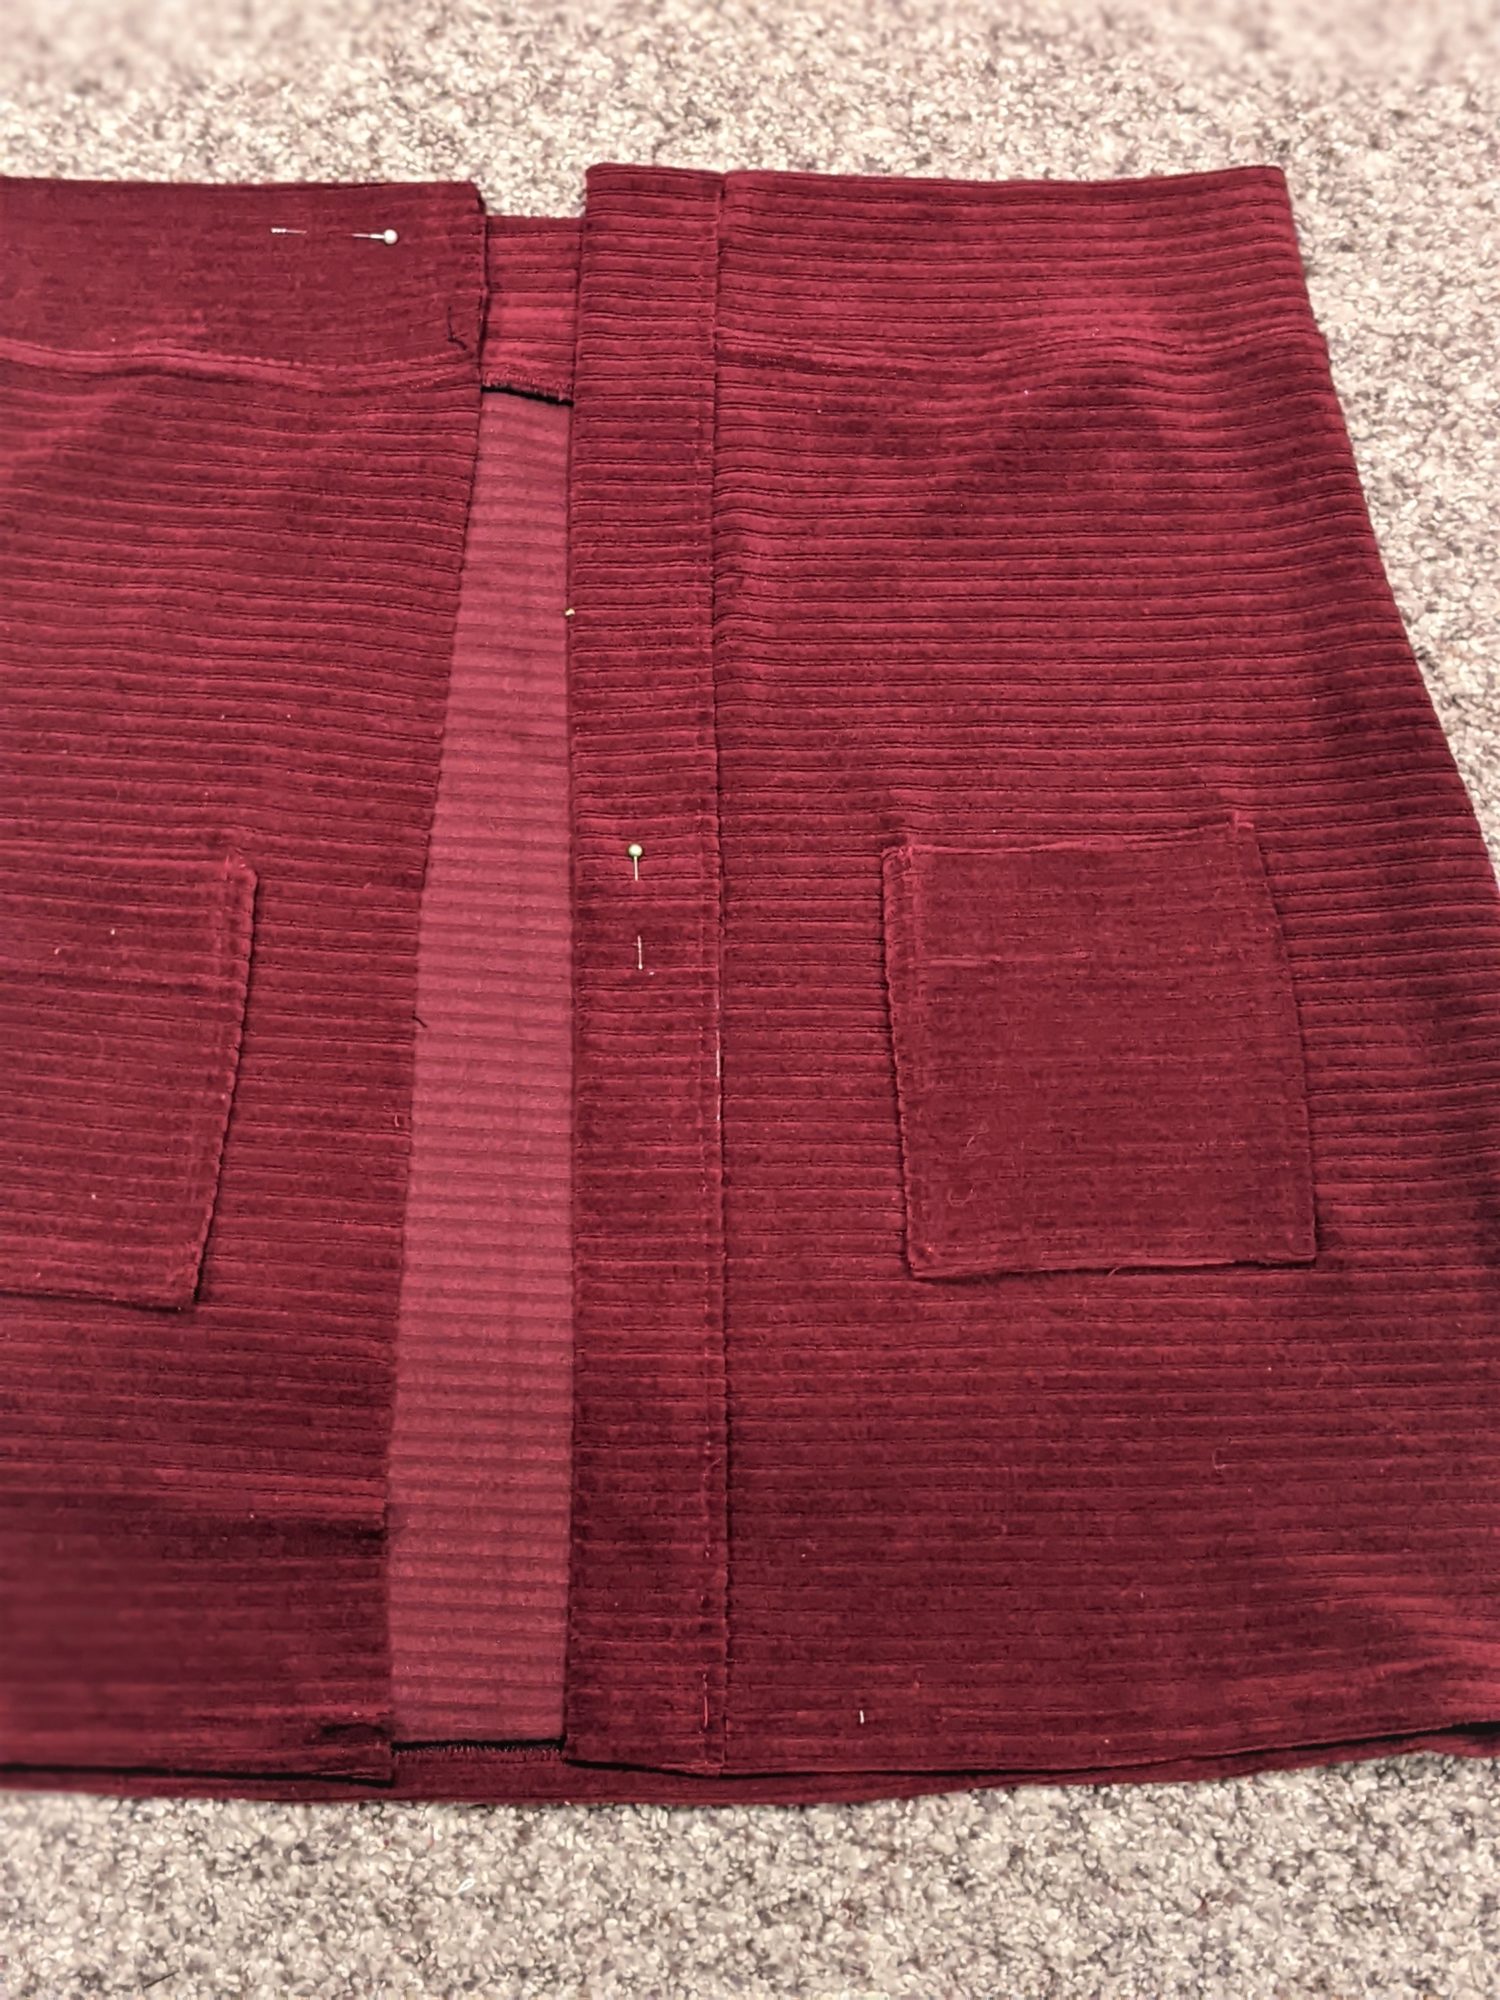
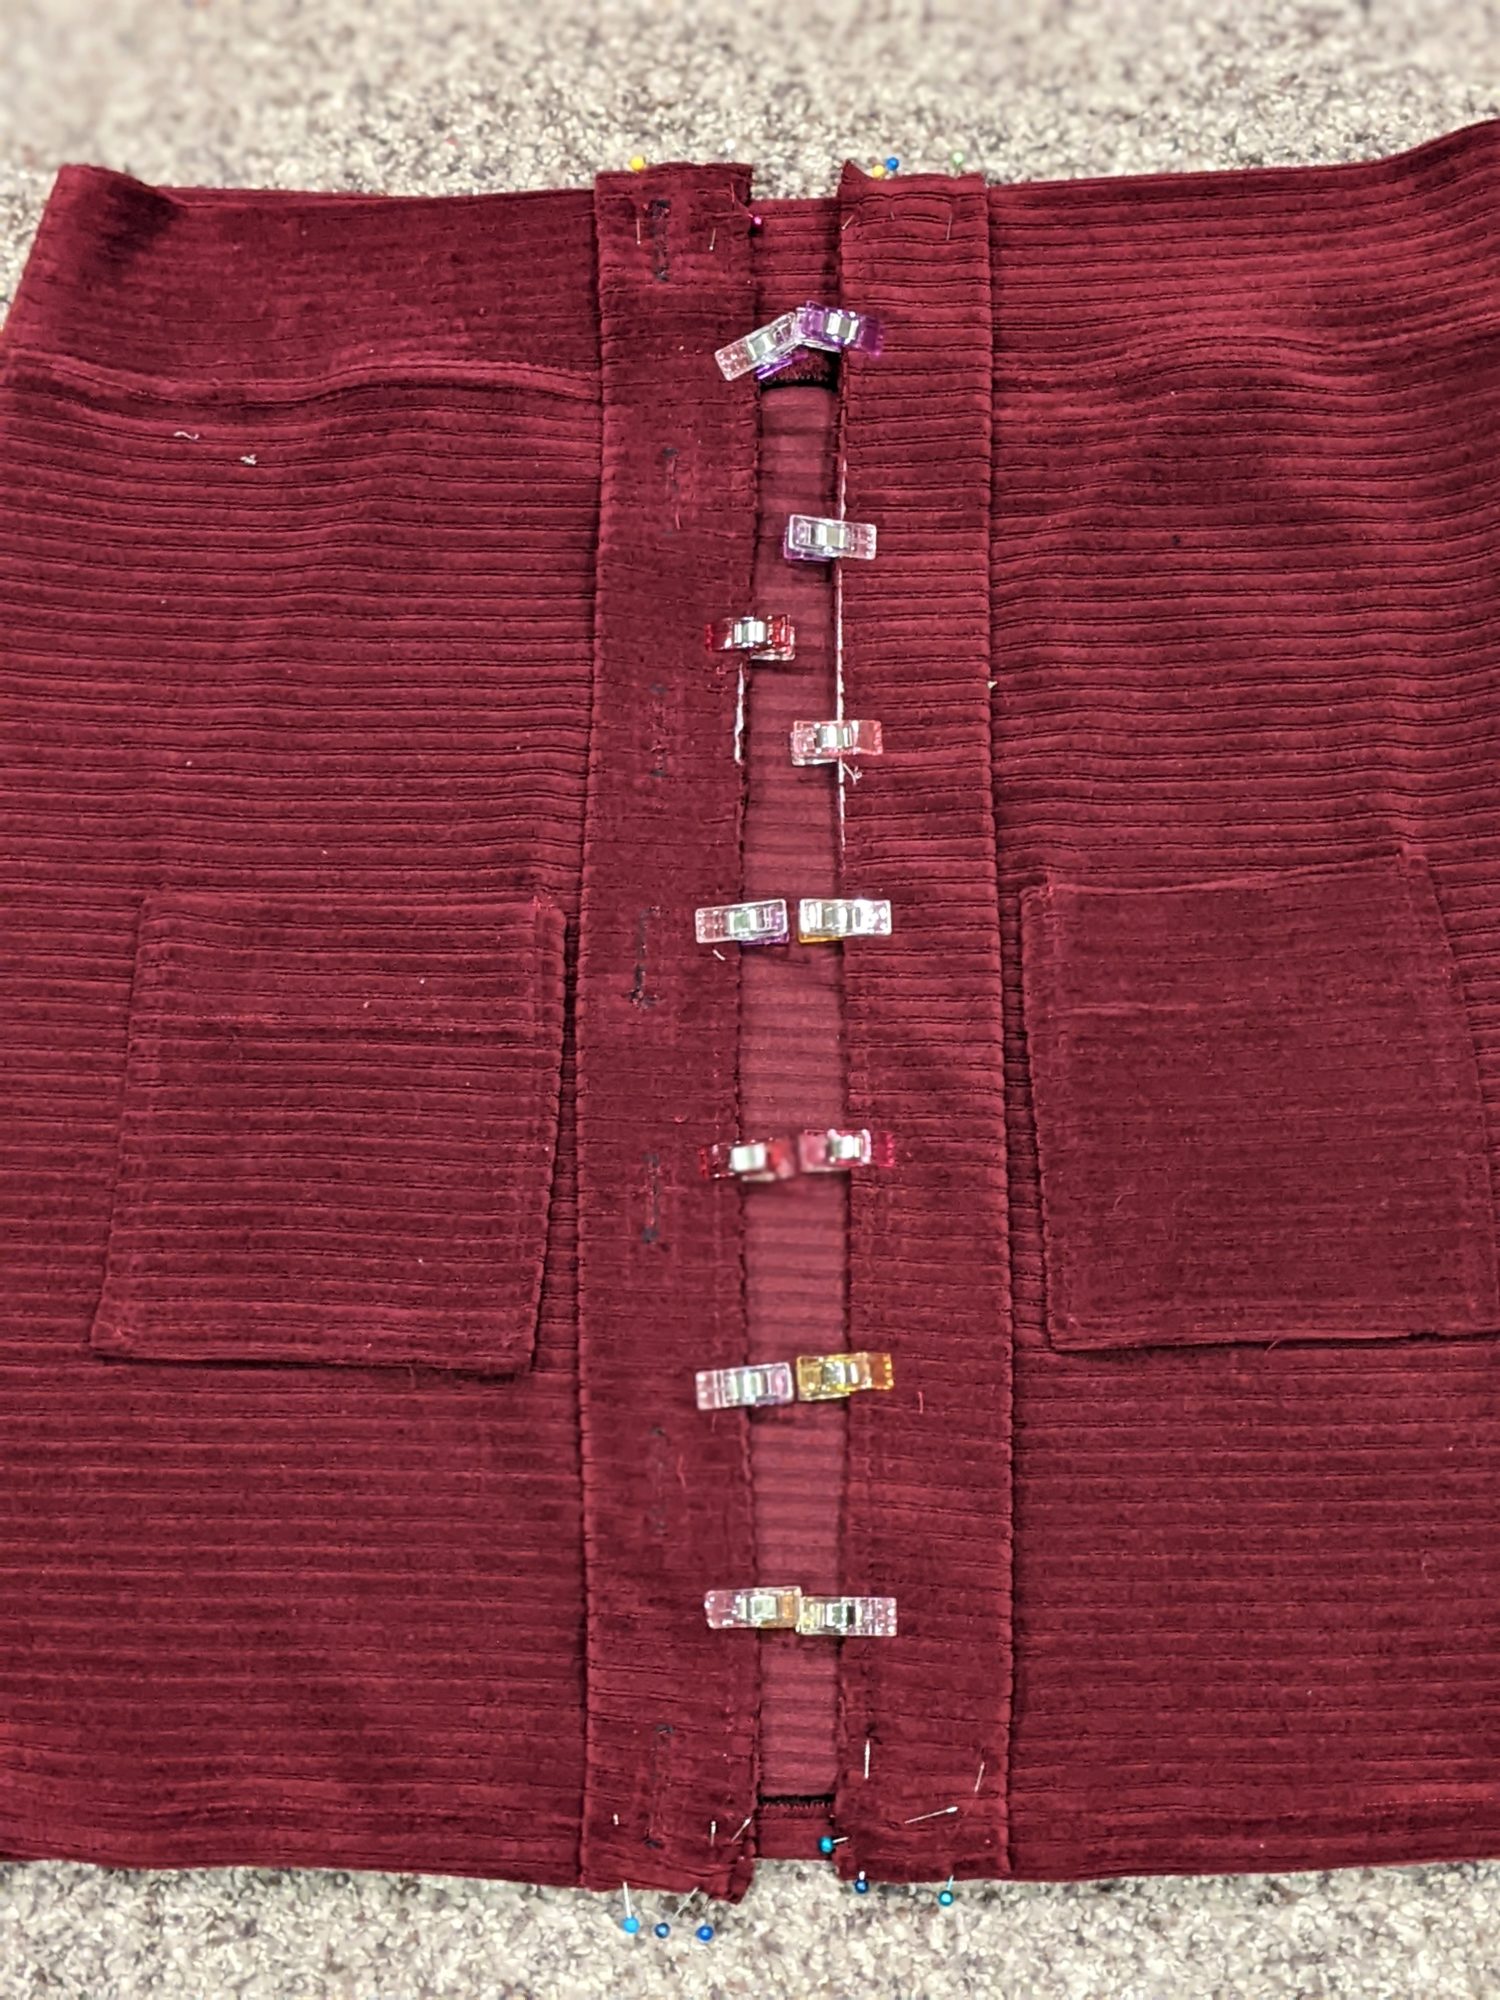
- Lay both of your placket pieces right side down on top of the front of your skirt.
- Line up the raw edges of the plackets with the raw edges of the center front of each side and pin them in place all the way down.
- Sew the plackets using a stretch stitch or serger.
- Press your seam allowances away from the plackets and topstitch if desired.
Finishing Up
Lastly, lay the buttonhole placket on top of the other placket and use a pen to mark through the center of each buttonhole onto the other side for the placement of each button.
Sew on those buttons and you are ready to go!
Want more FUN DIY Freebies? Check out the FREEBIE TUTORIALS and the FREEBIE PATTERNS!
As always, we’re here to help if you need it! Join us HERE and on Facebook, Instagram, Twitter, Youtube, and Pinterest. We’re everywhere you are.

Leave a Reply