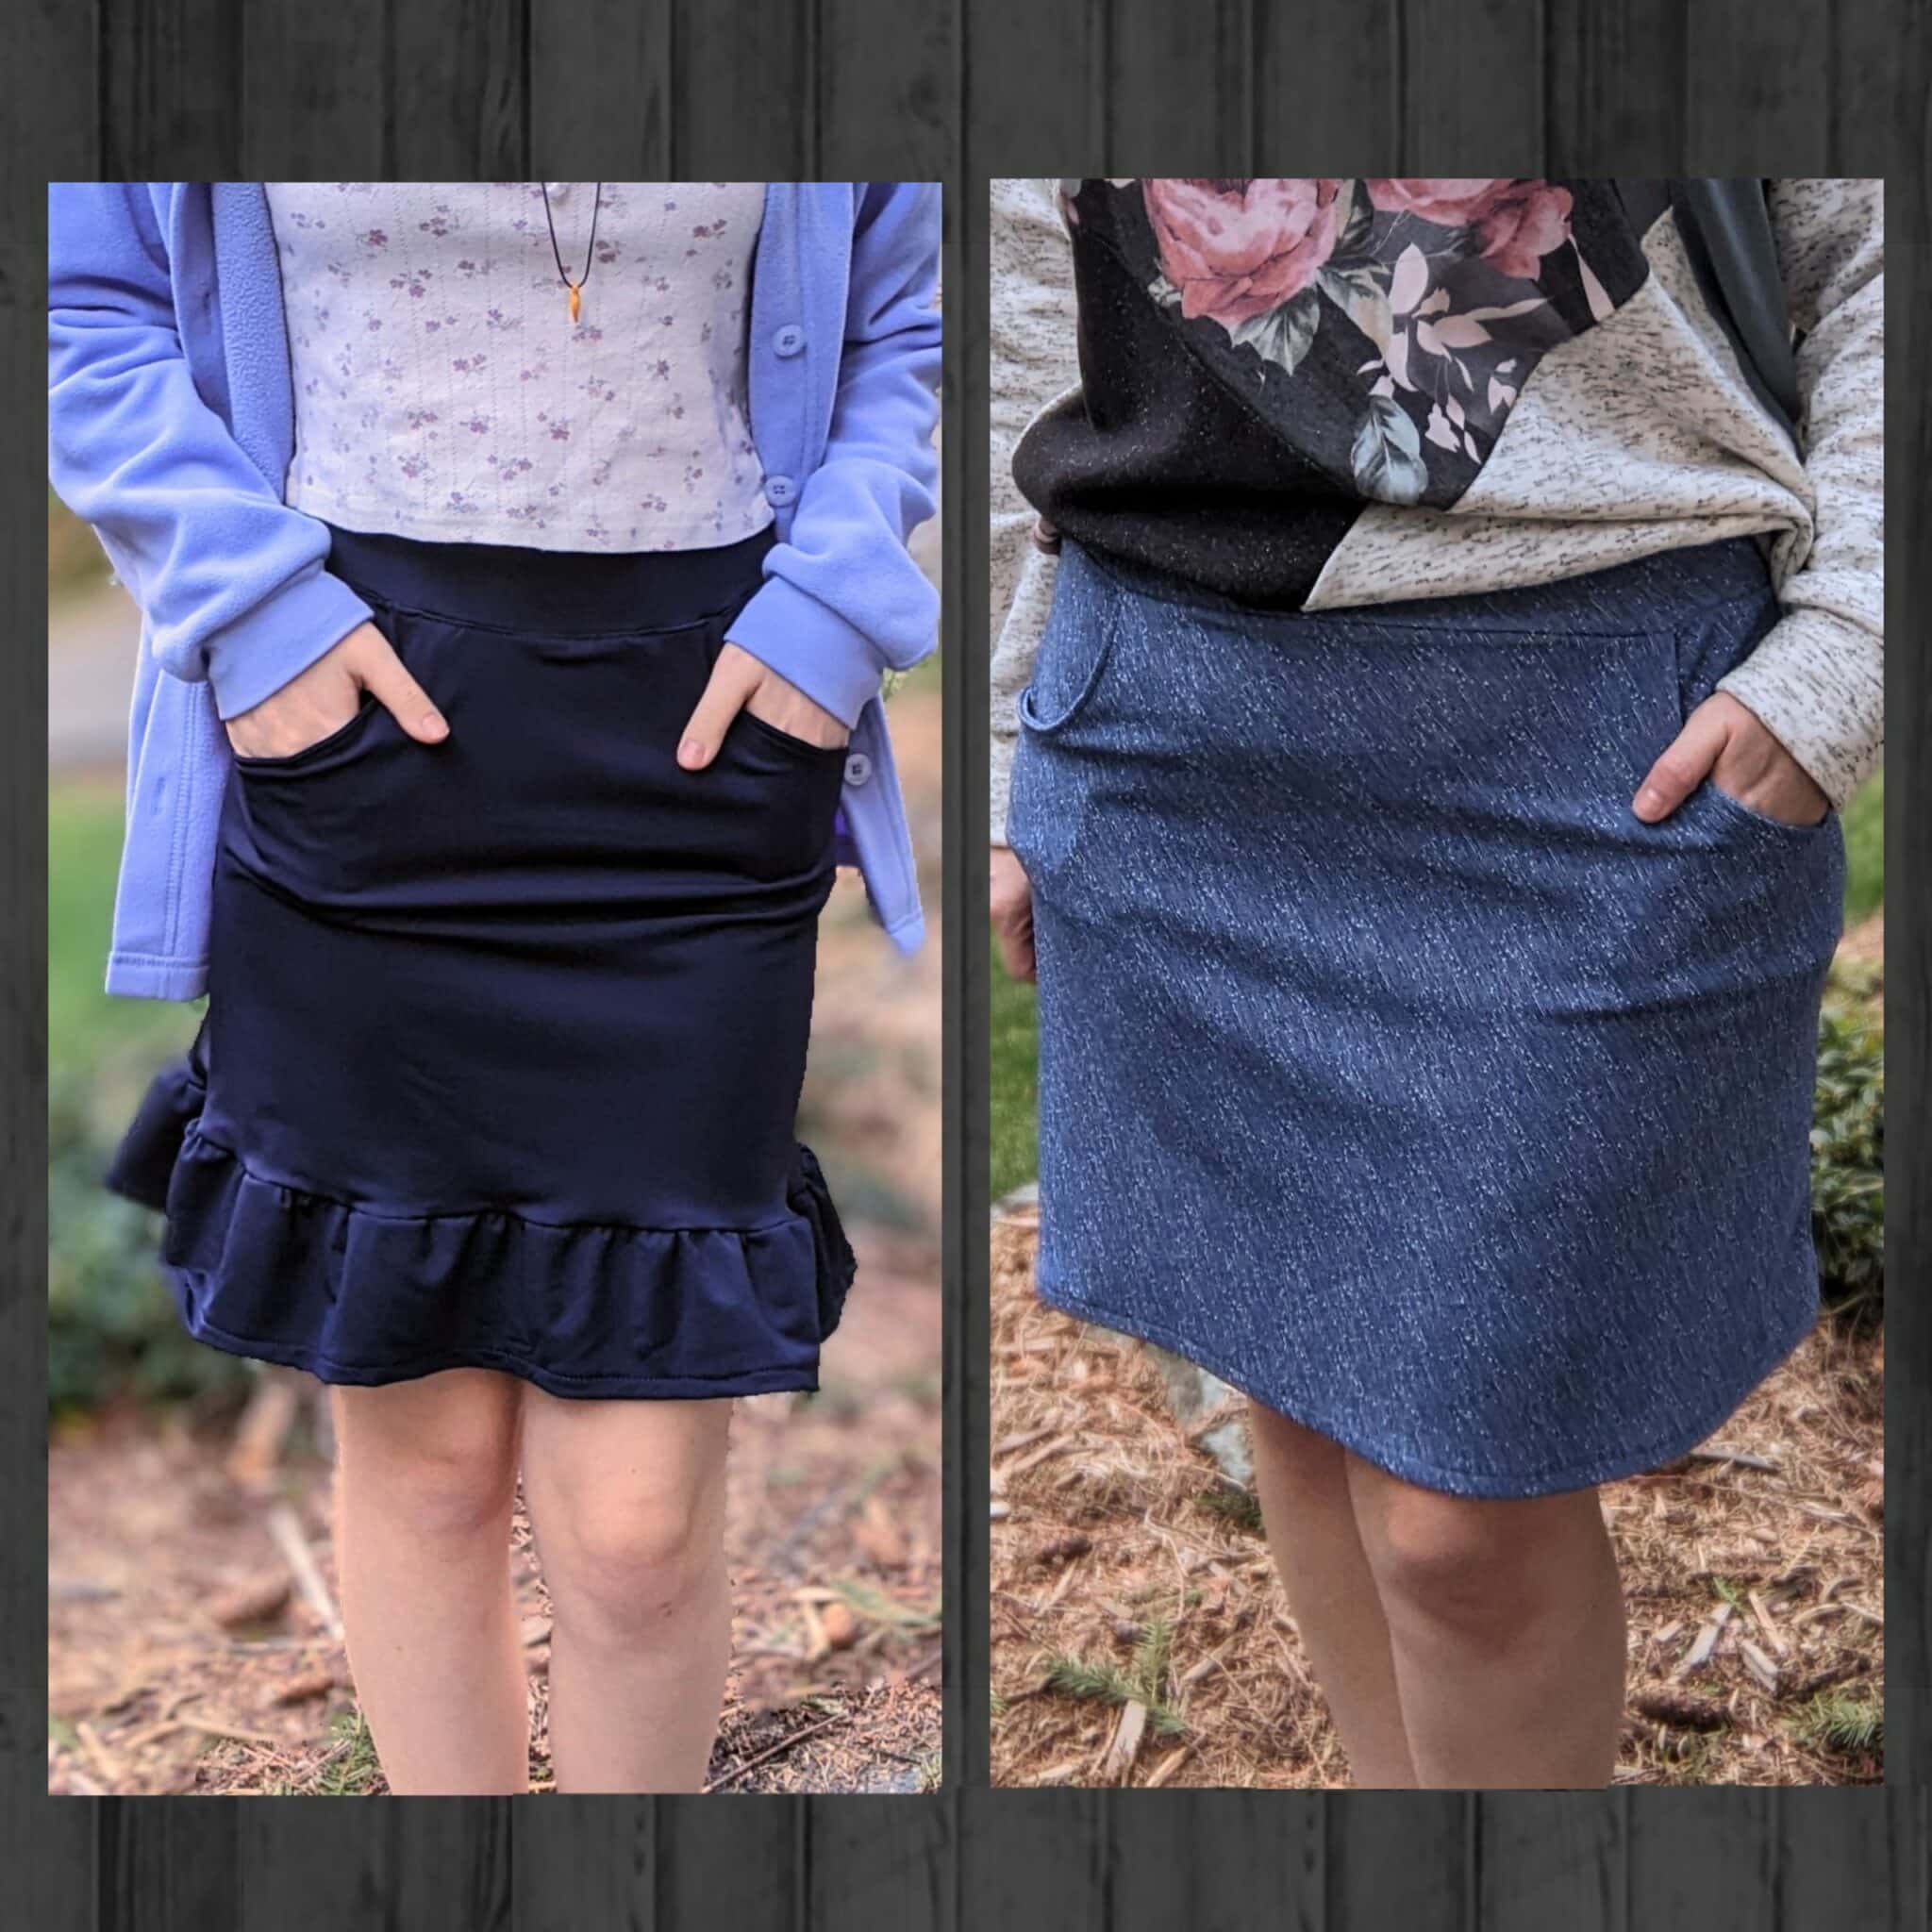
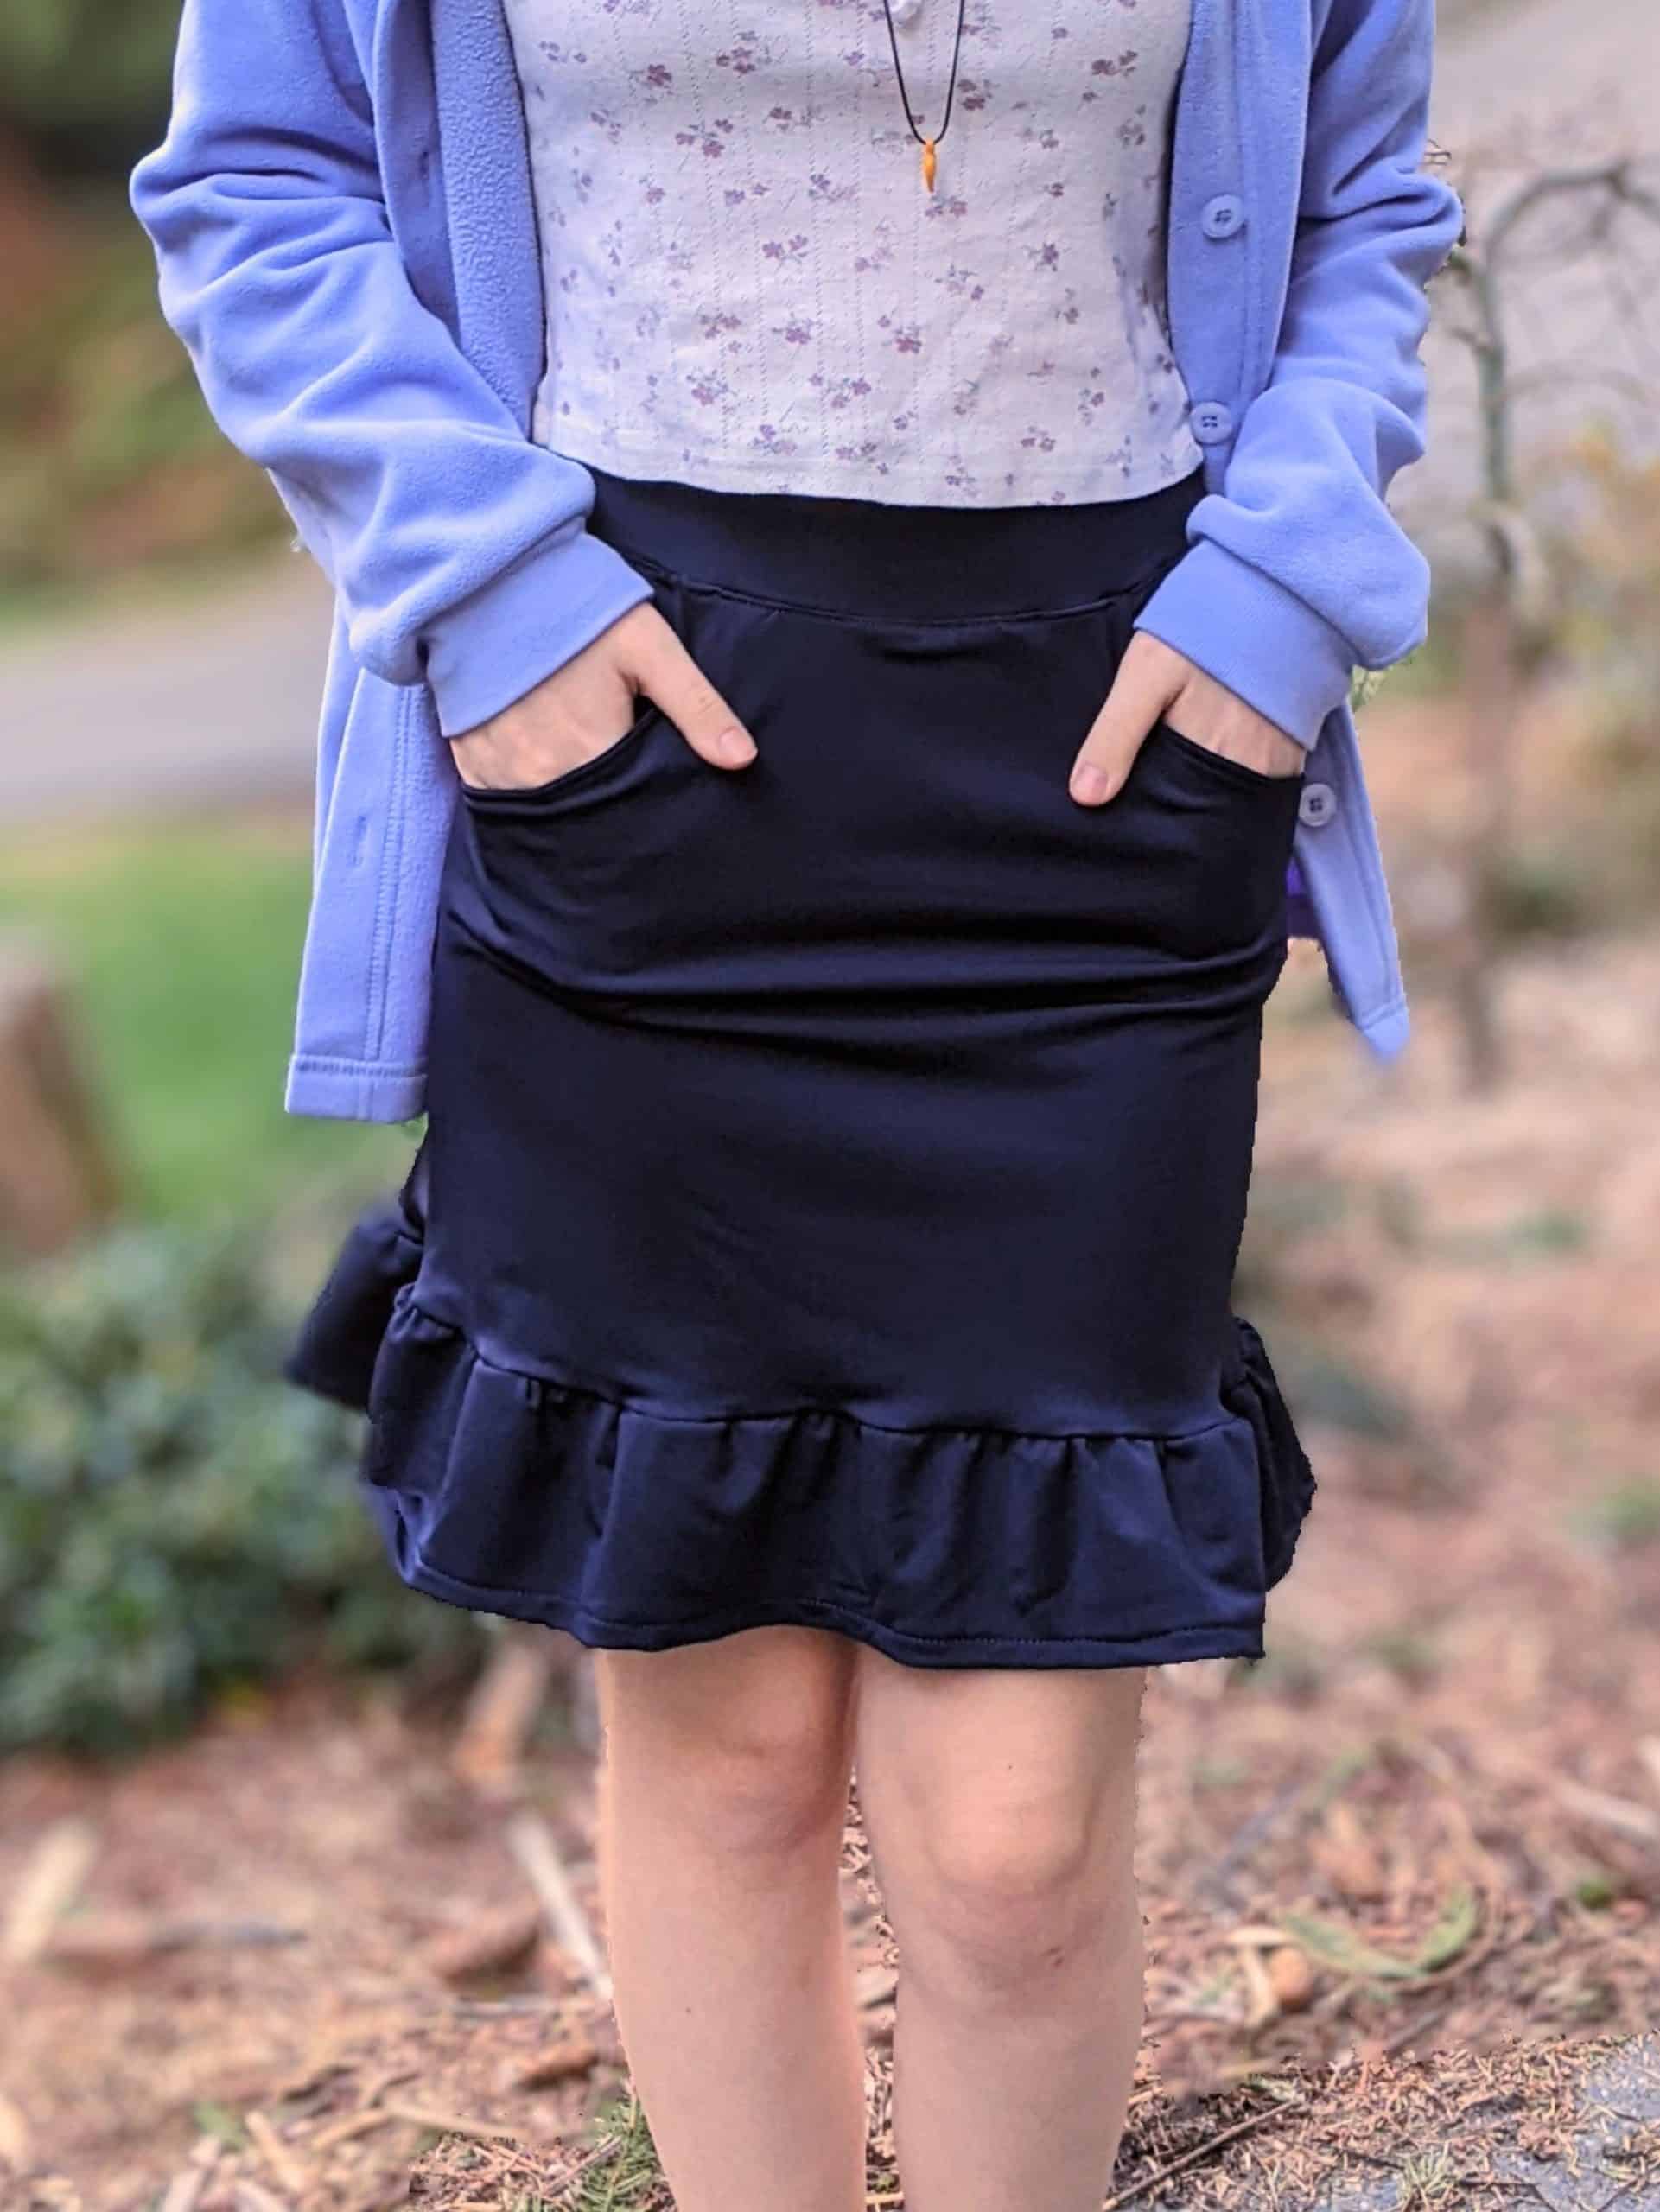
My daughter always complains about the lack of useable pockets in her clothes, specifically on her skirts. She brought me a pair of her pants and asked if I could make a skirt with the same kind of pockets. I used the Tina A-line Skirt to add on some inset pockets and she is ready to go! I liked the idea so much that I had to make one for myself too.
Make a Pocket Template
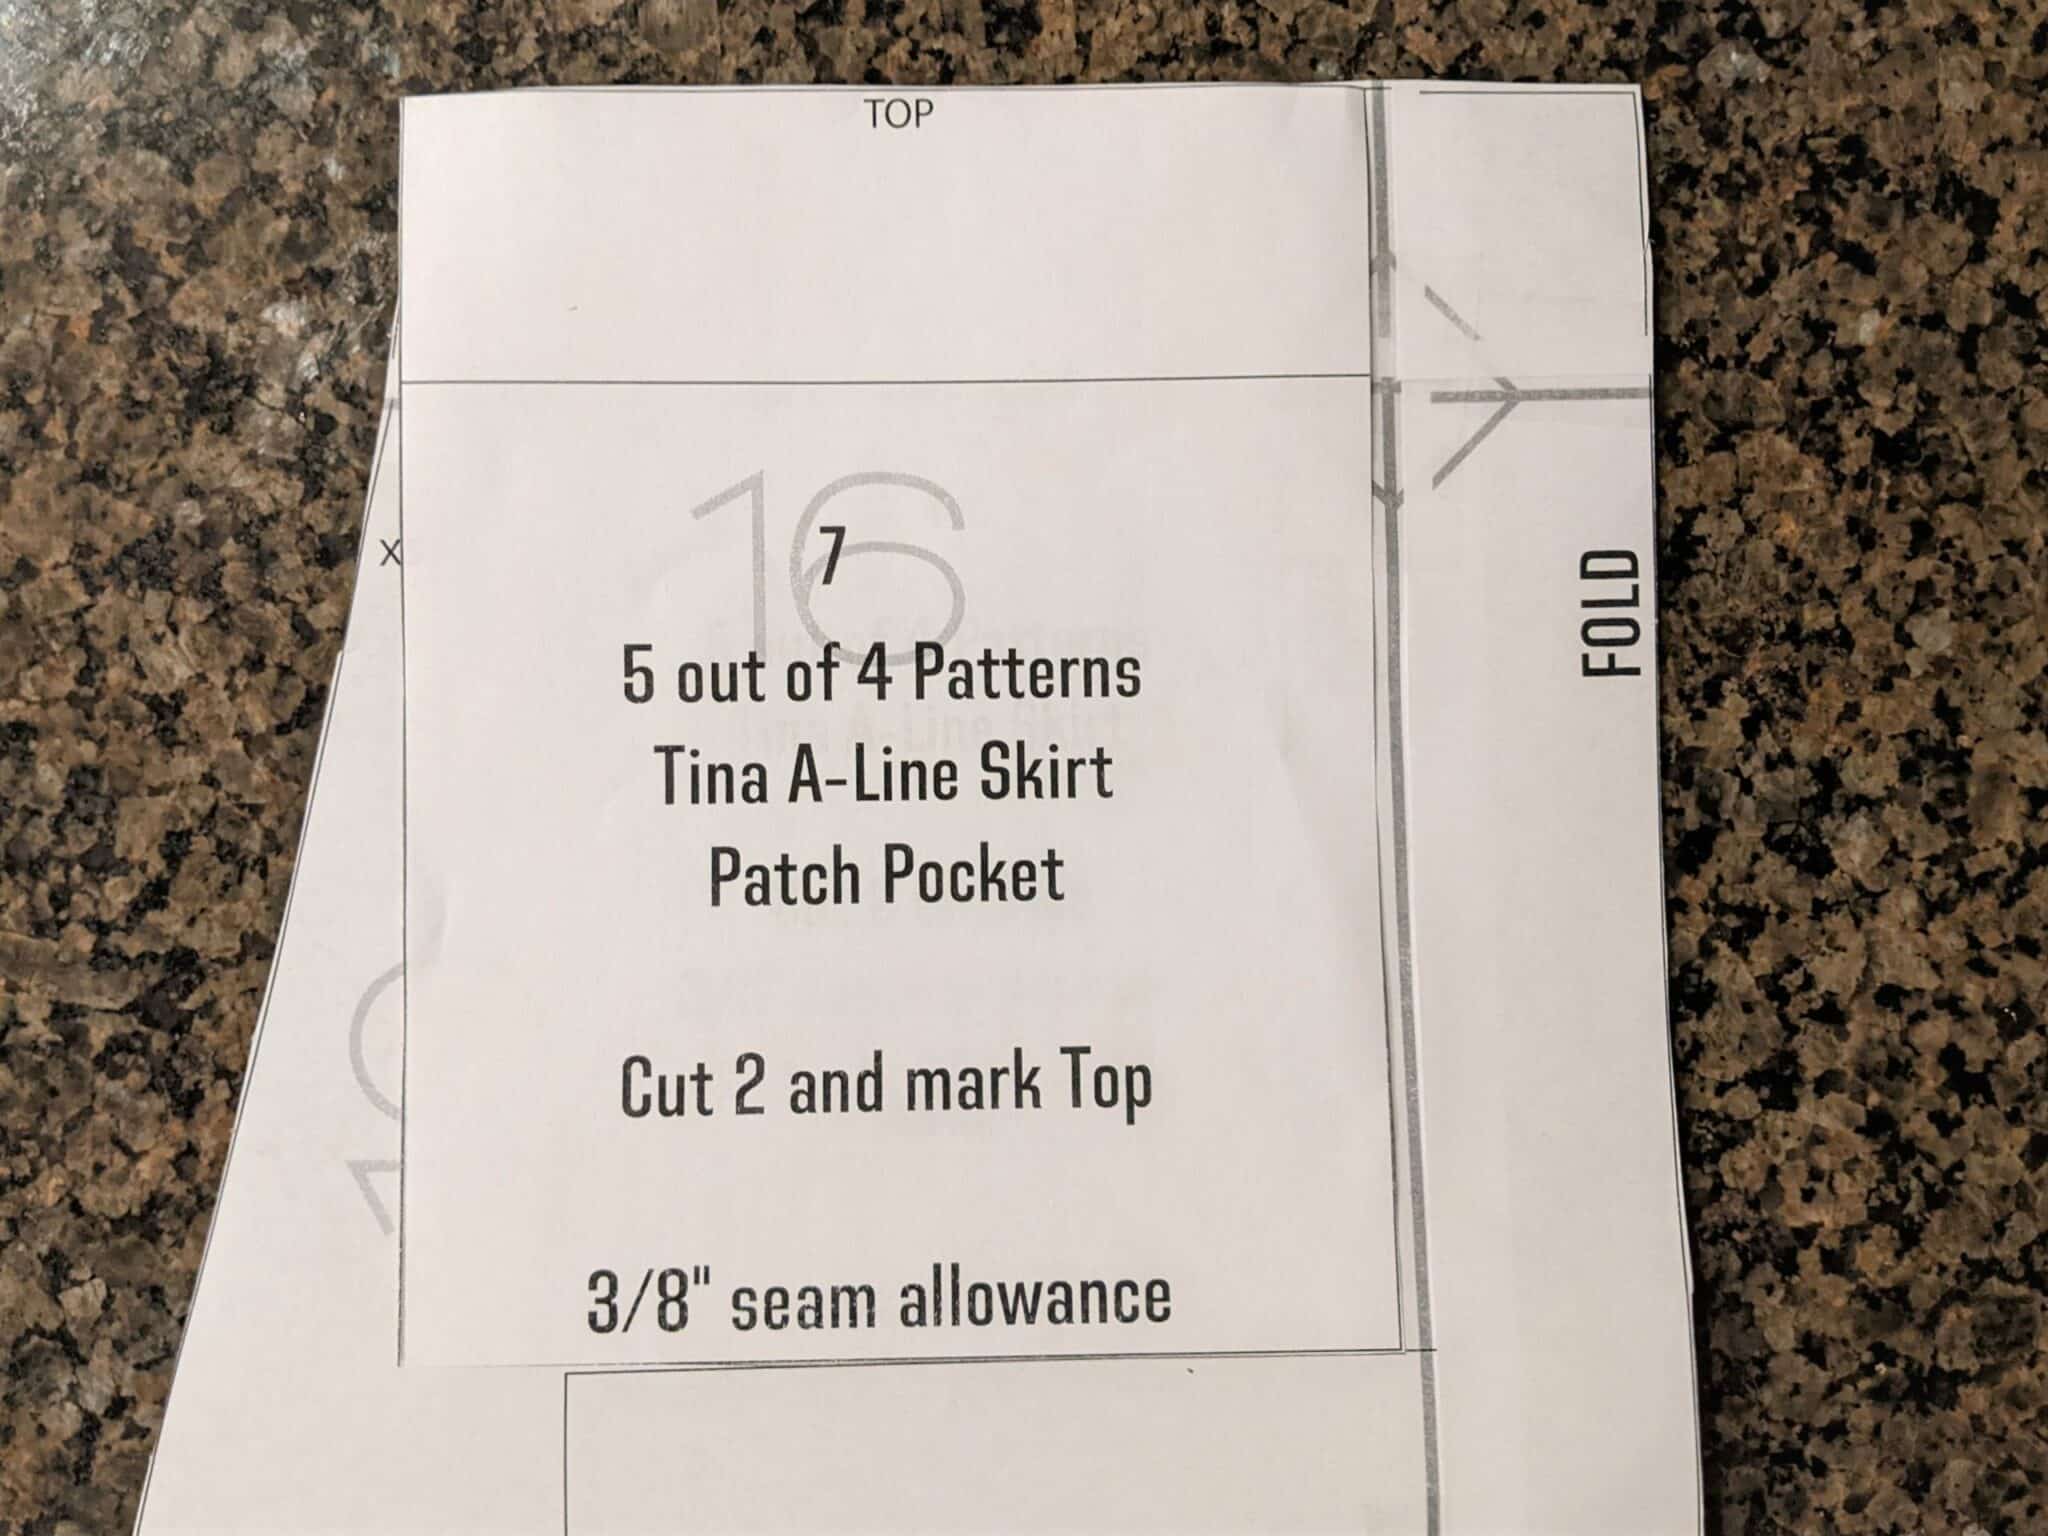
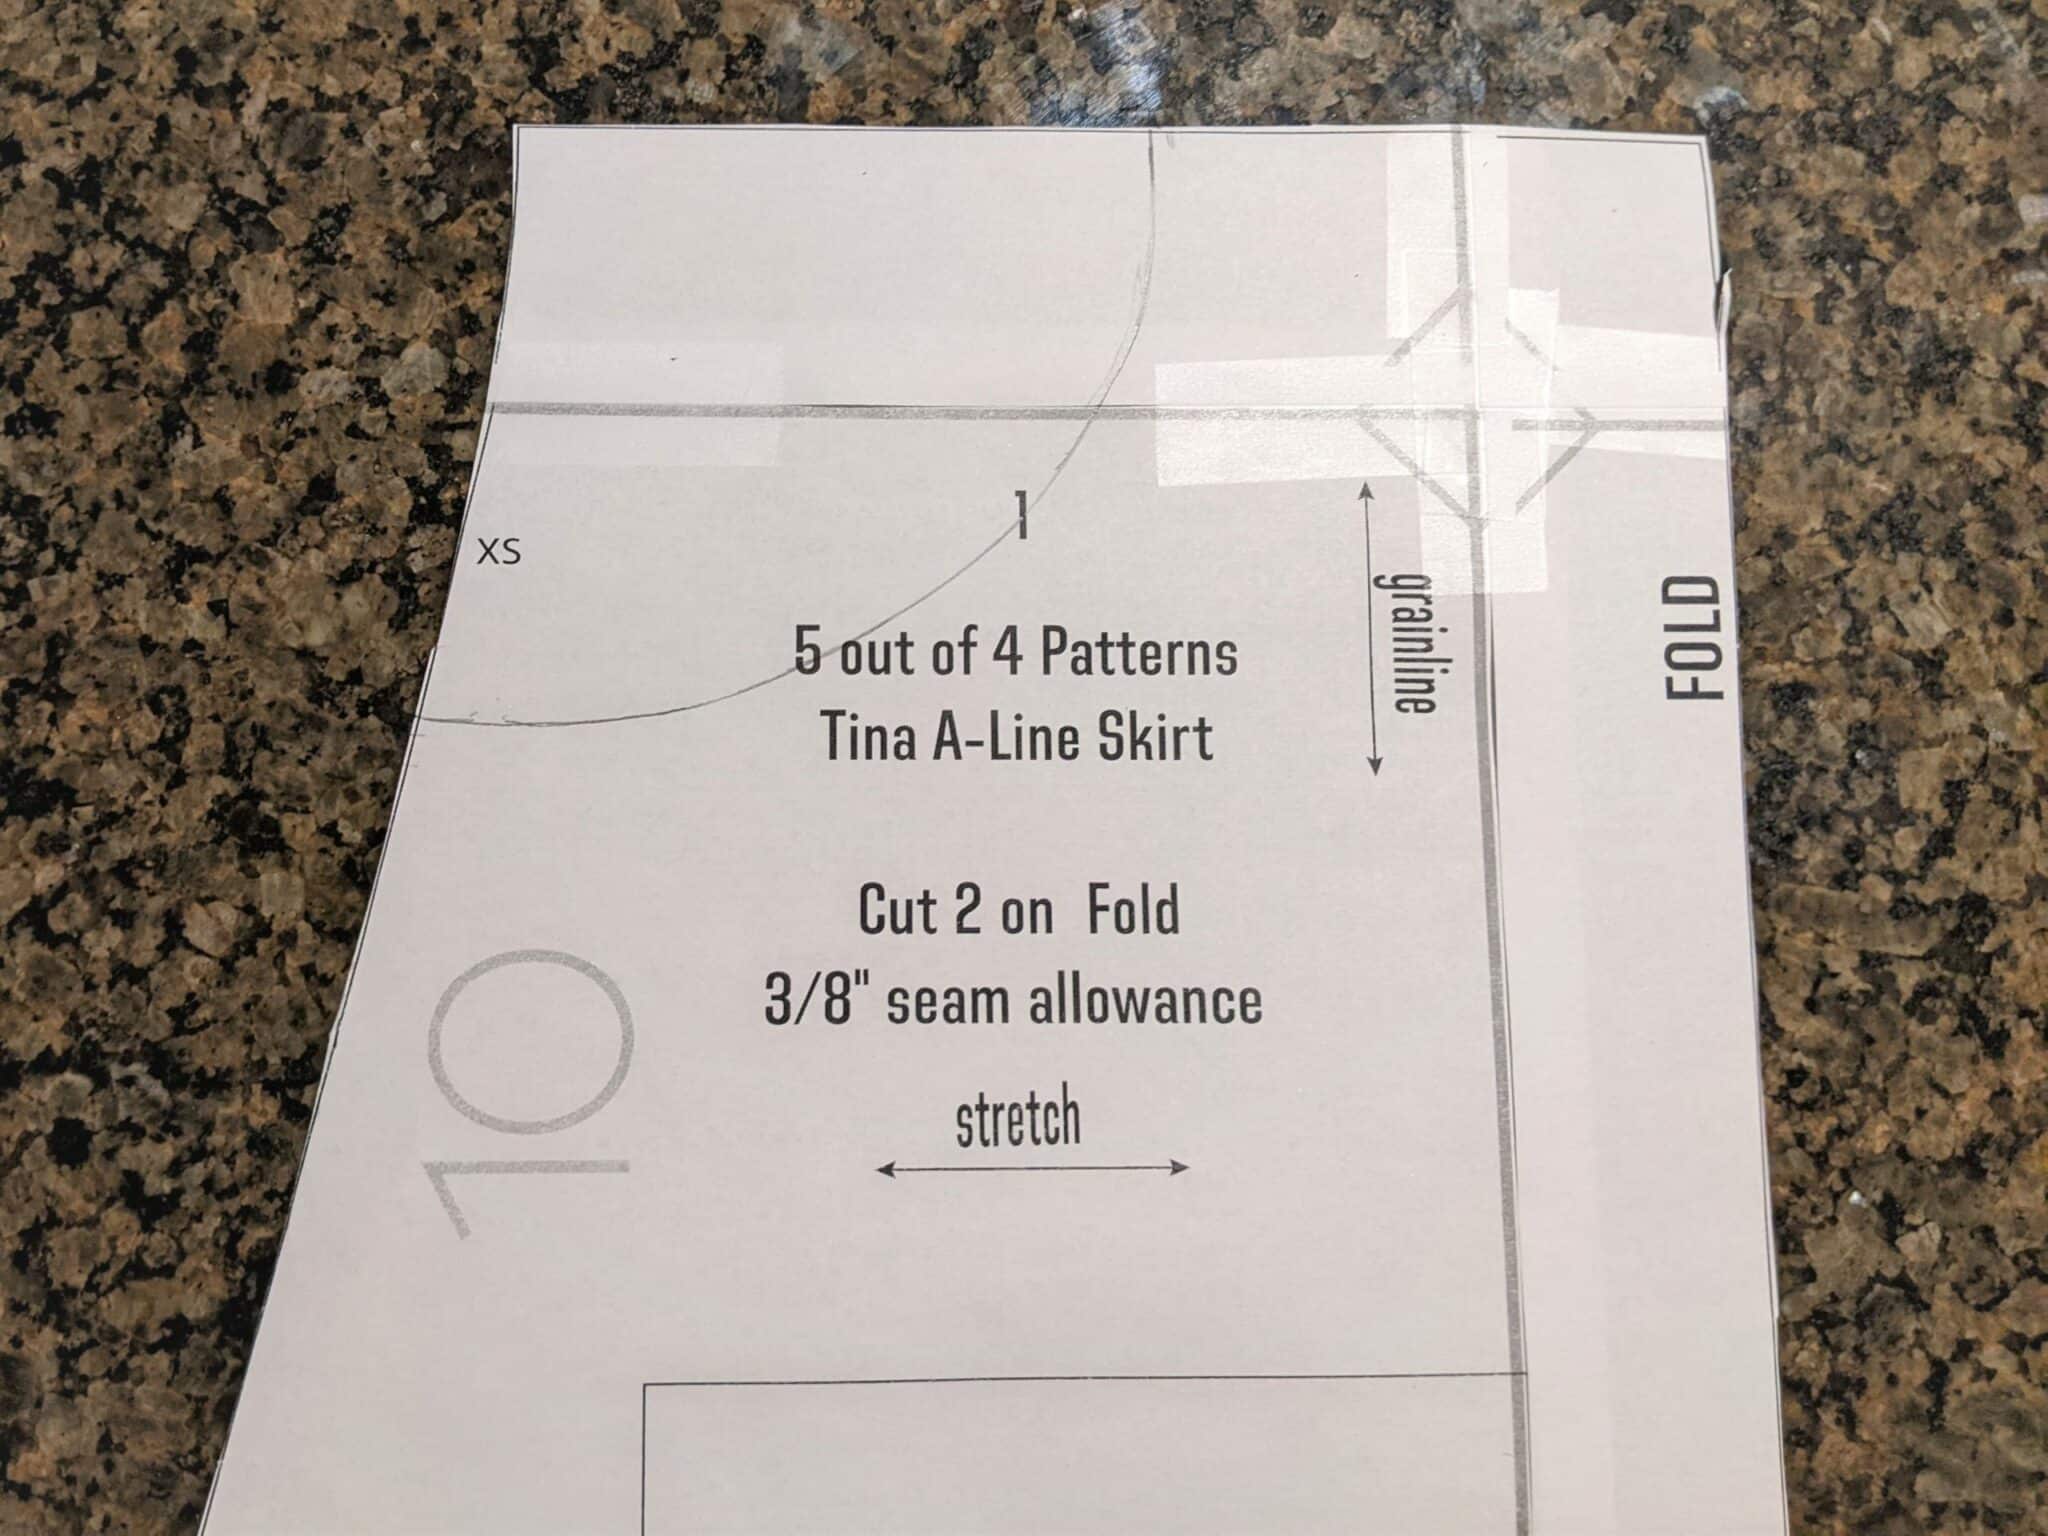
Inner Pocket Piece:
- Use the patch pocket piece included in the Tina A-line skirt pattern as a starting point for your pocket.
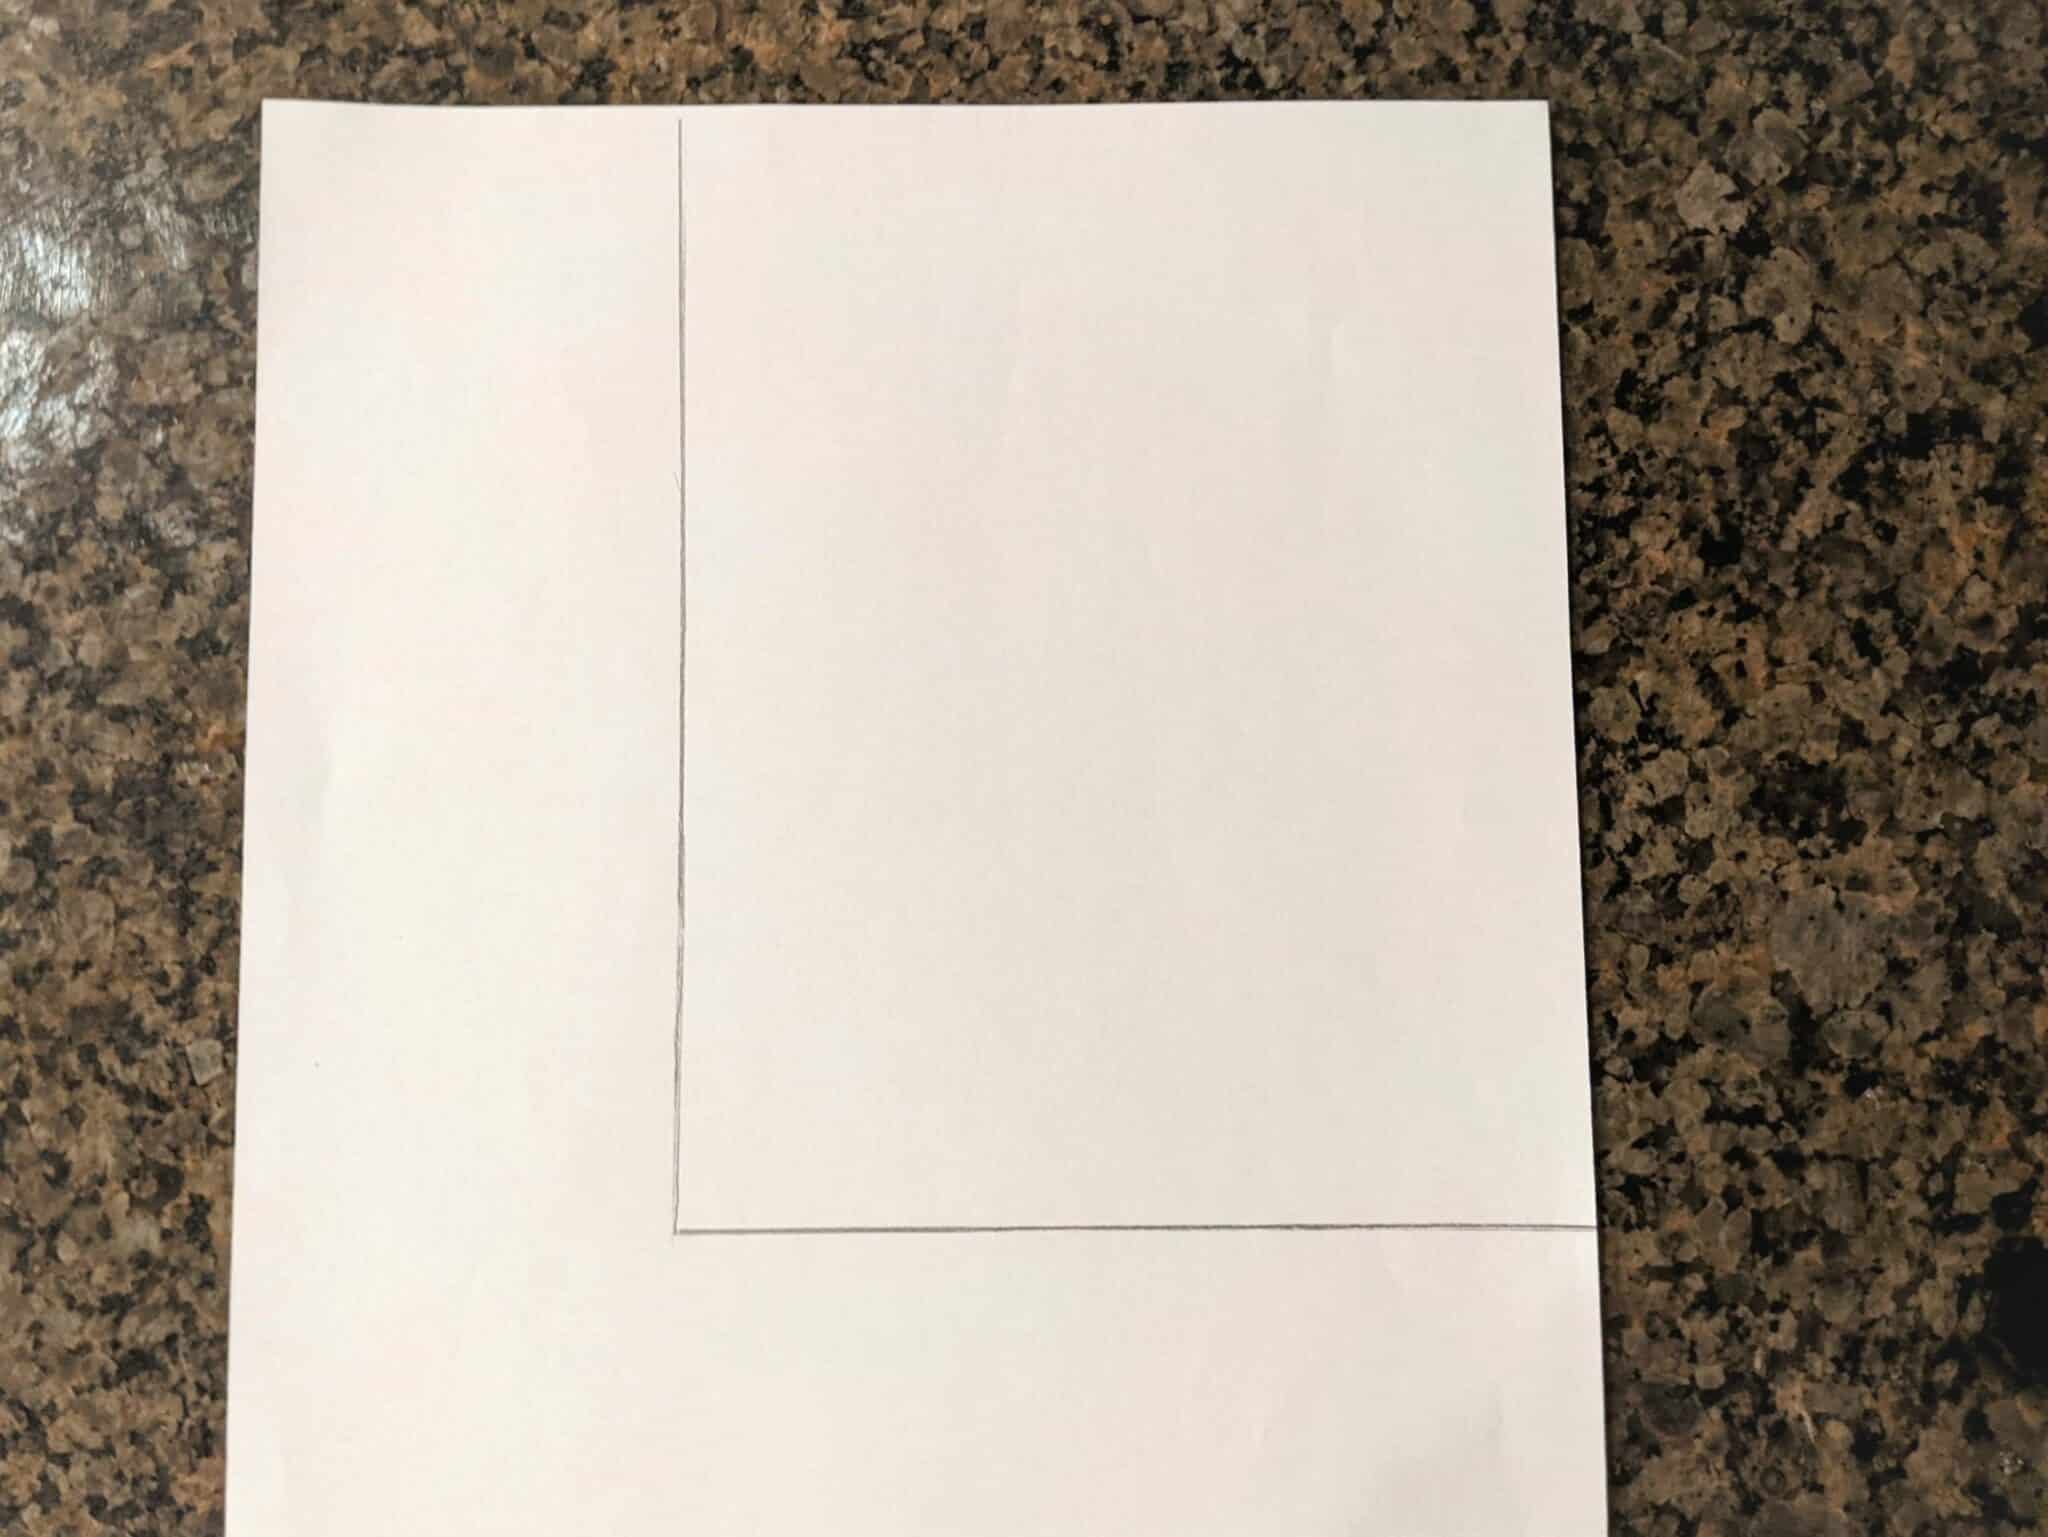
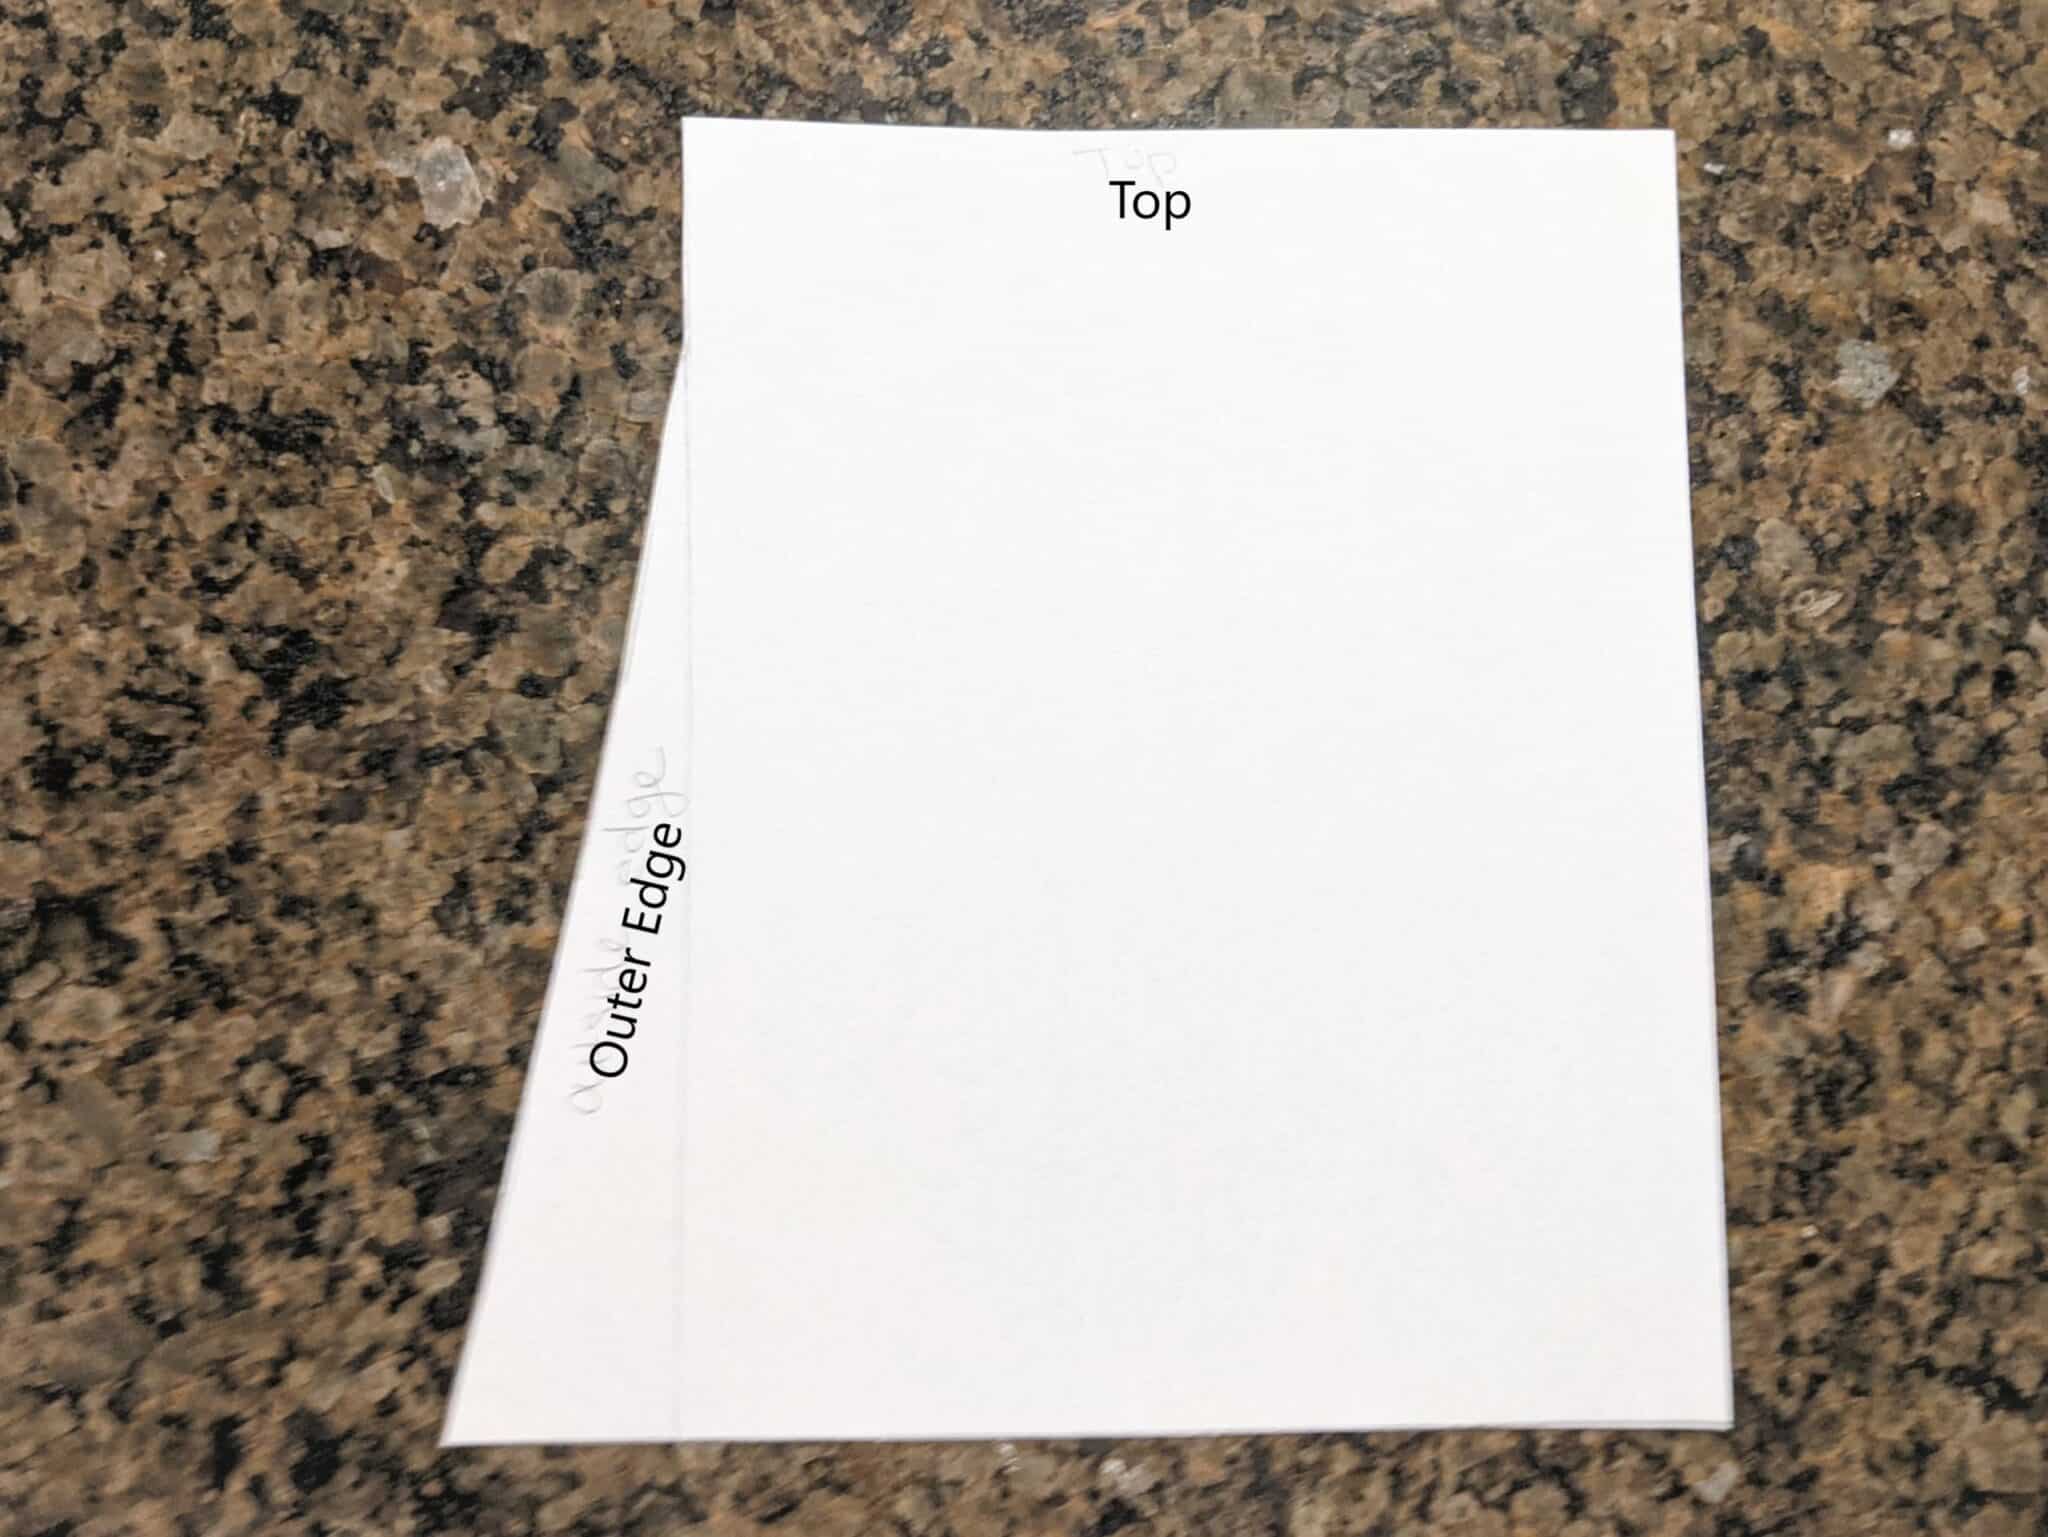
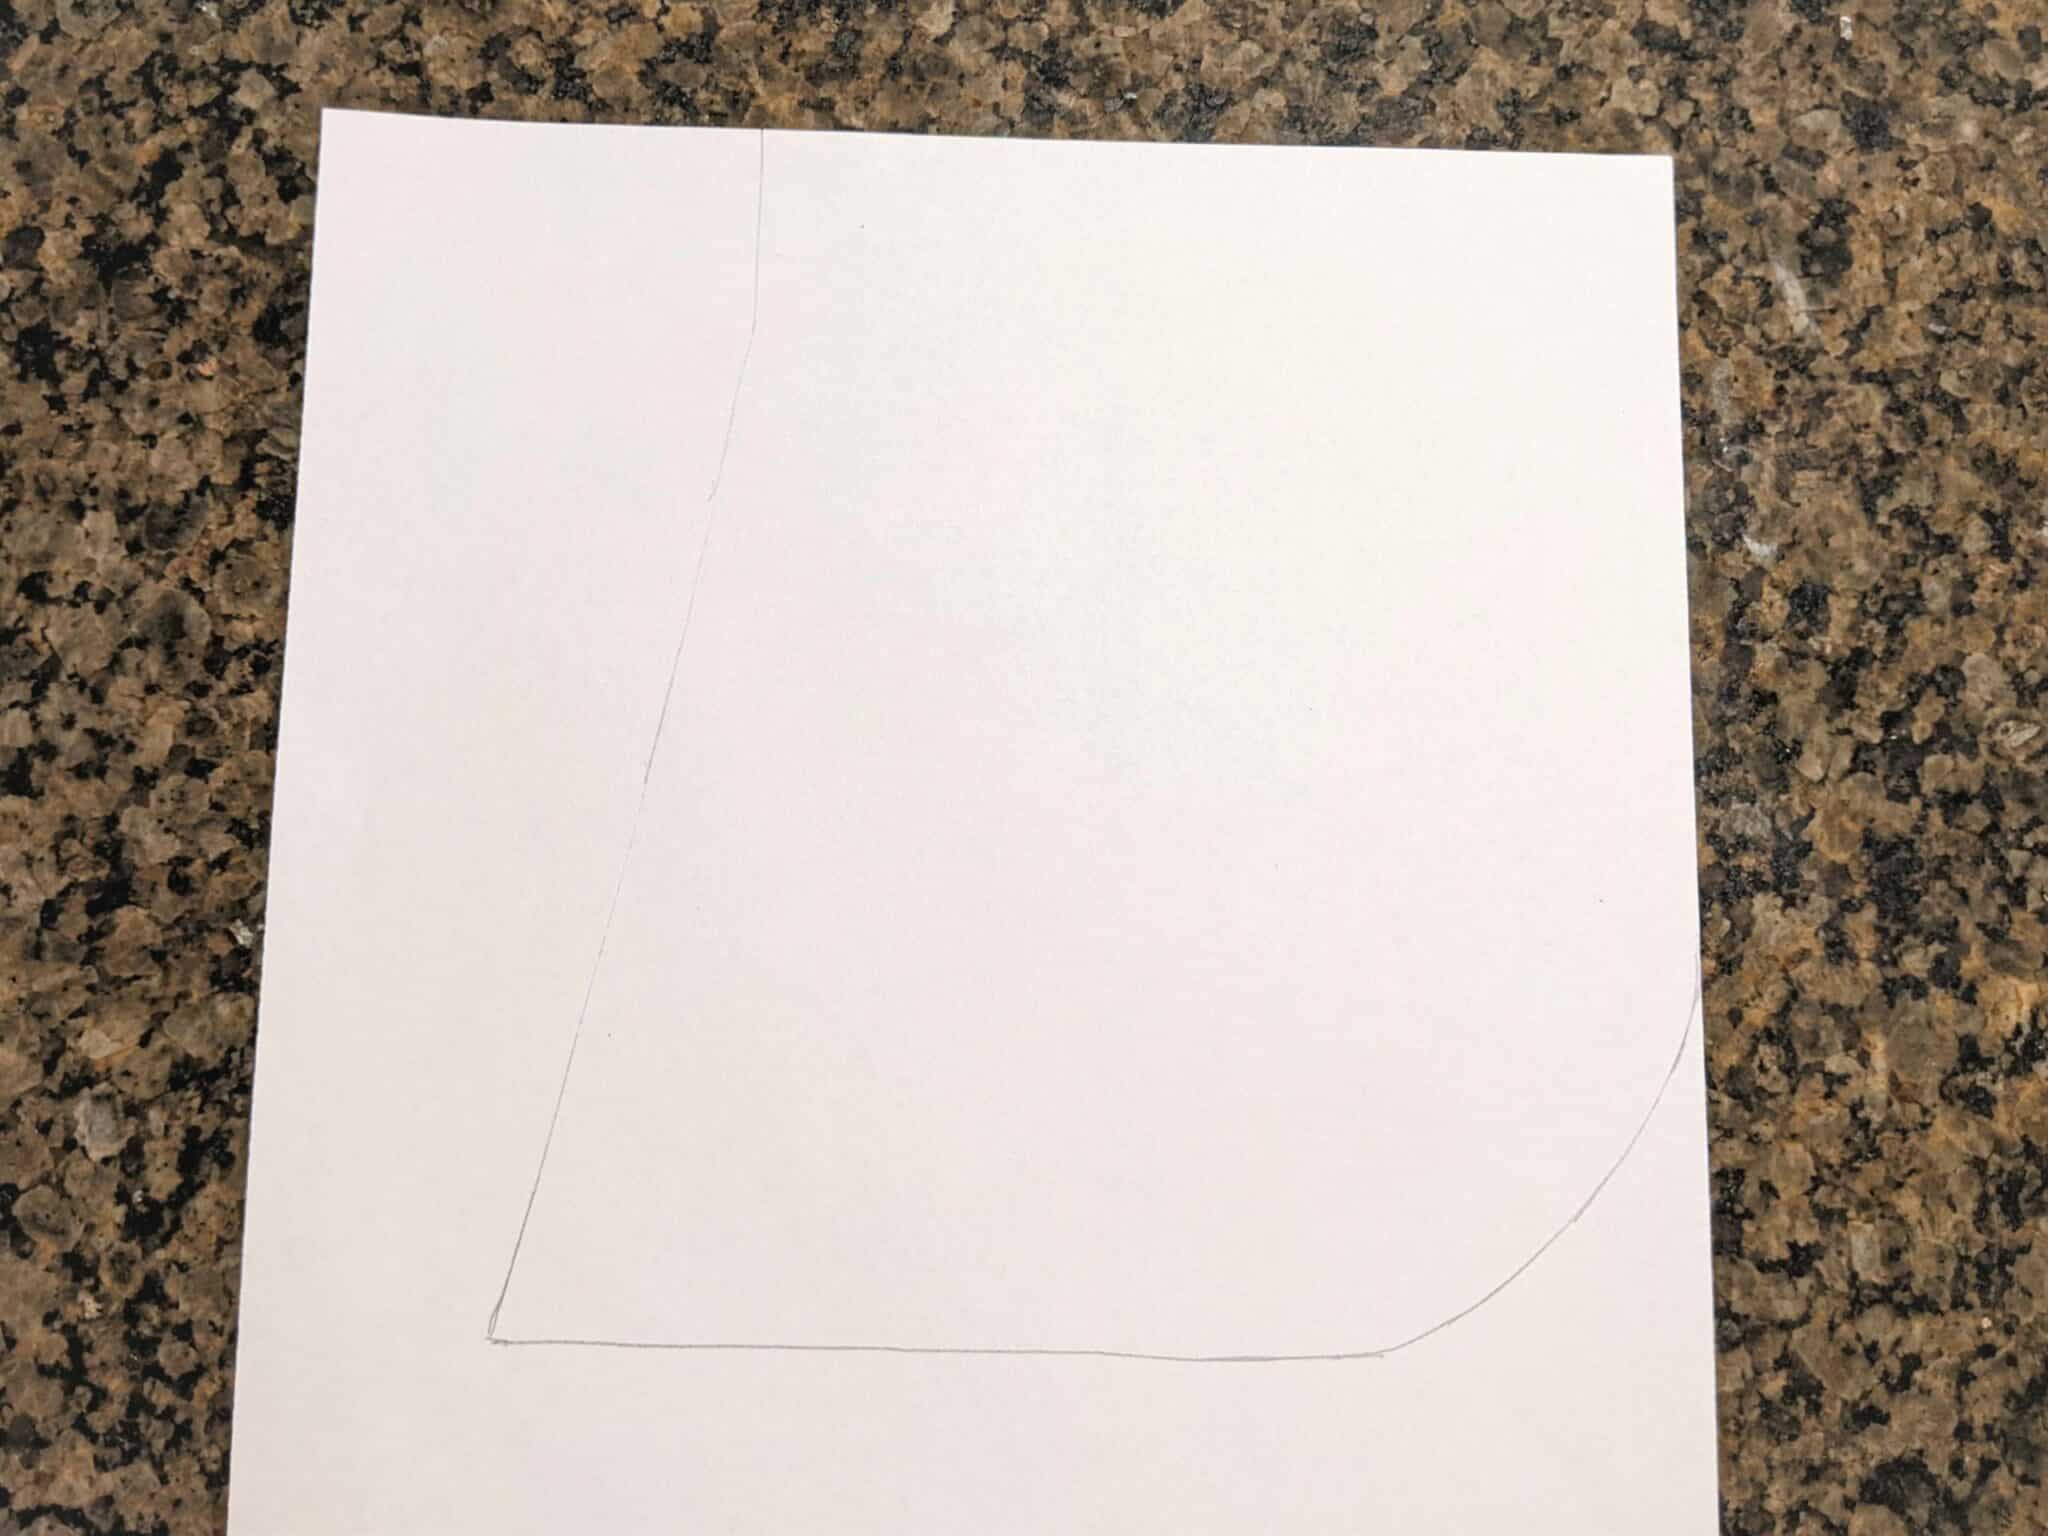
- Trace the pocket onto a separate piece of paper.
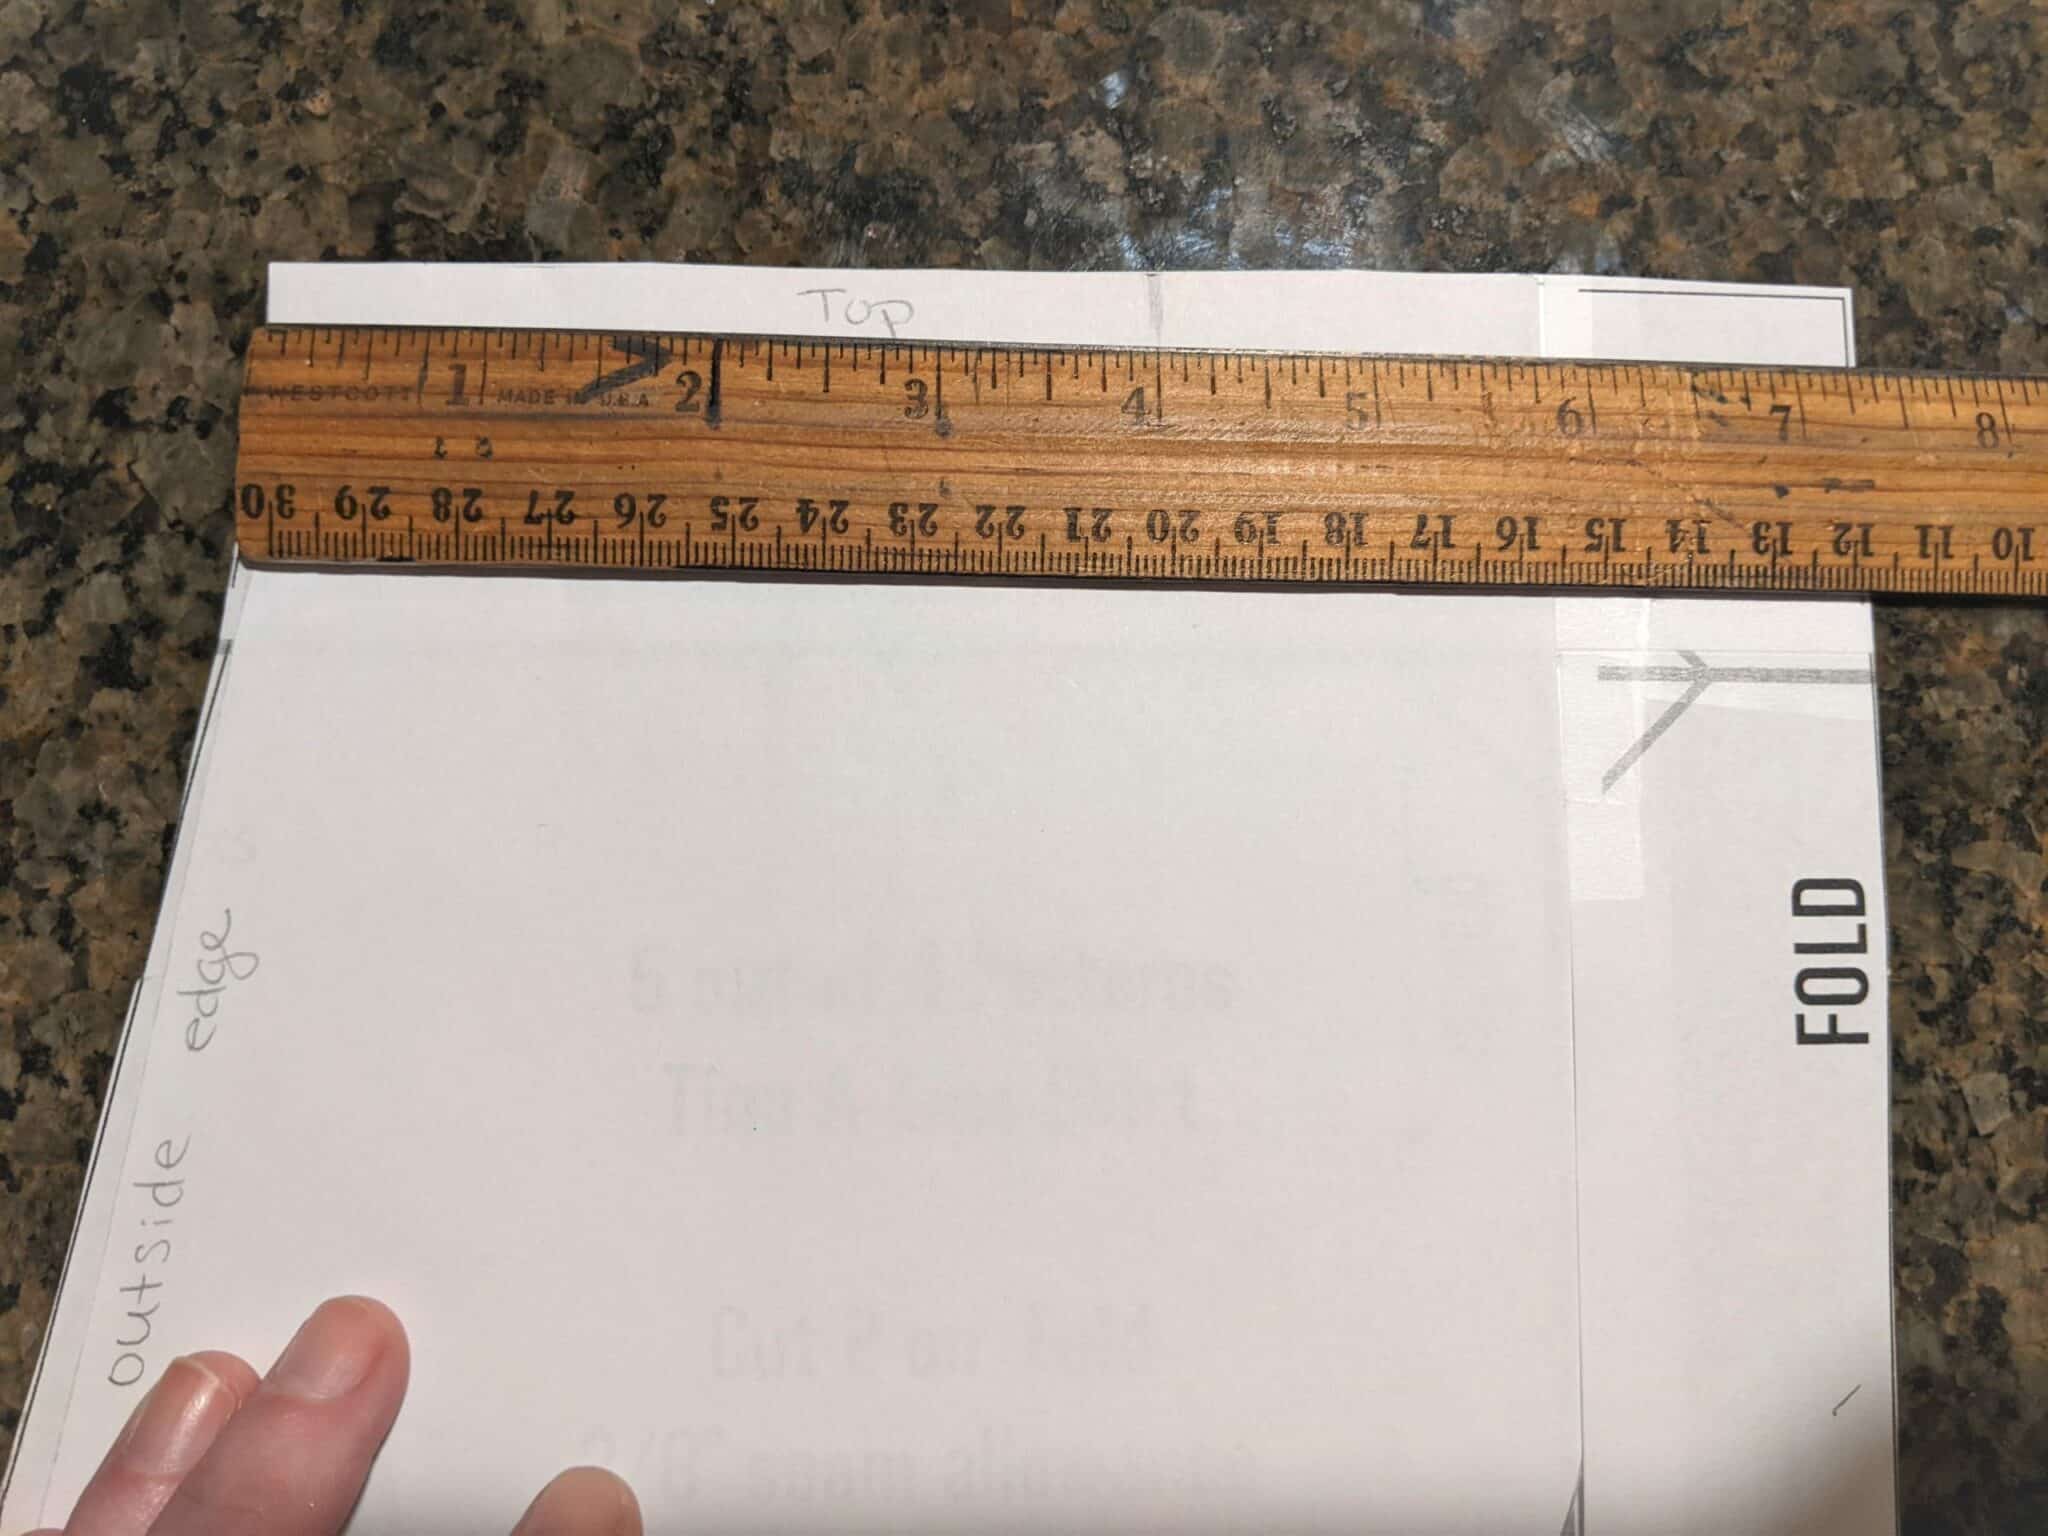
- Depending on what size skirt you make and your preference for pocket size, you may want to make your pocket larger. (I used the original size for my daughter’s size XS and added an inch to each side for my size XL.)
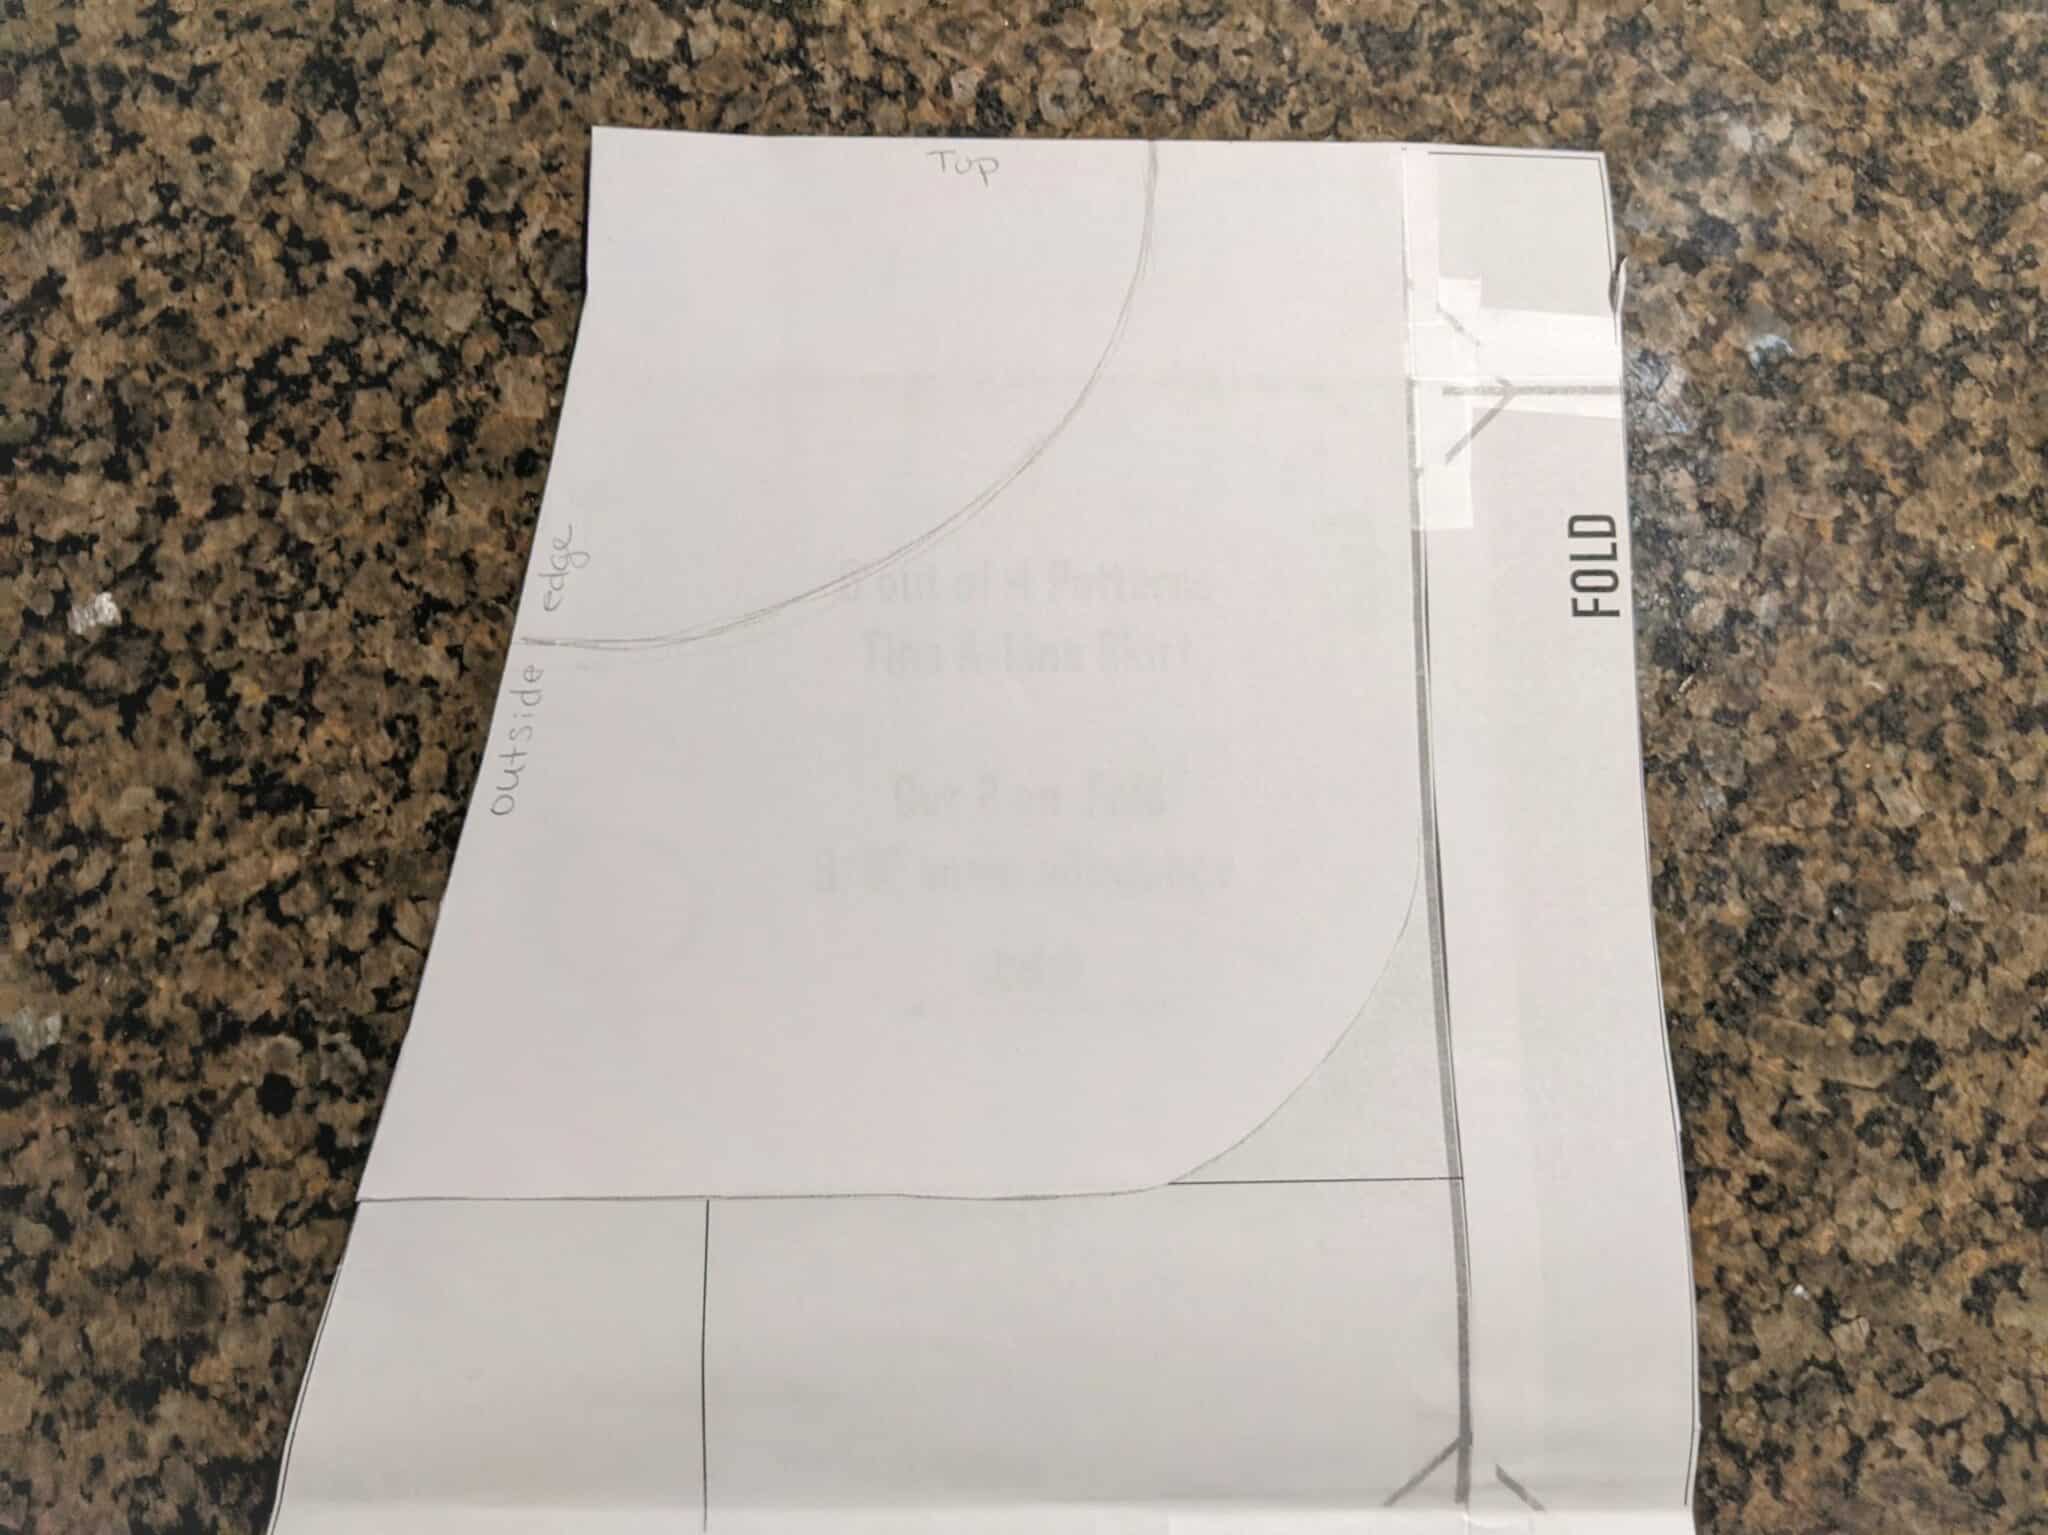
- Extend the bottom edge of the pocket out to the edge of the paper so you will be able to see how long to make the pocket in the next step.
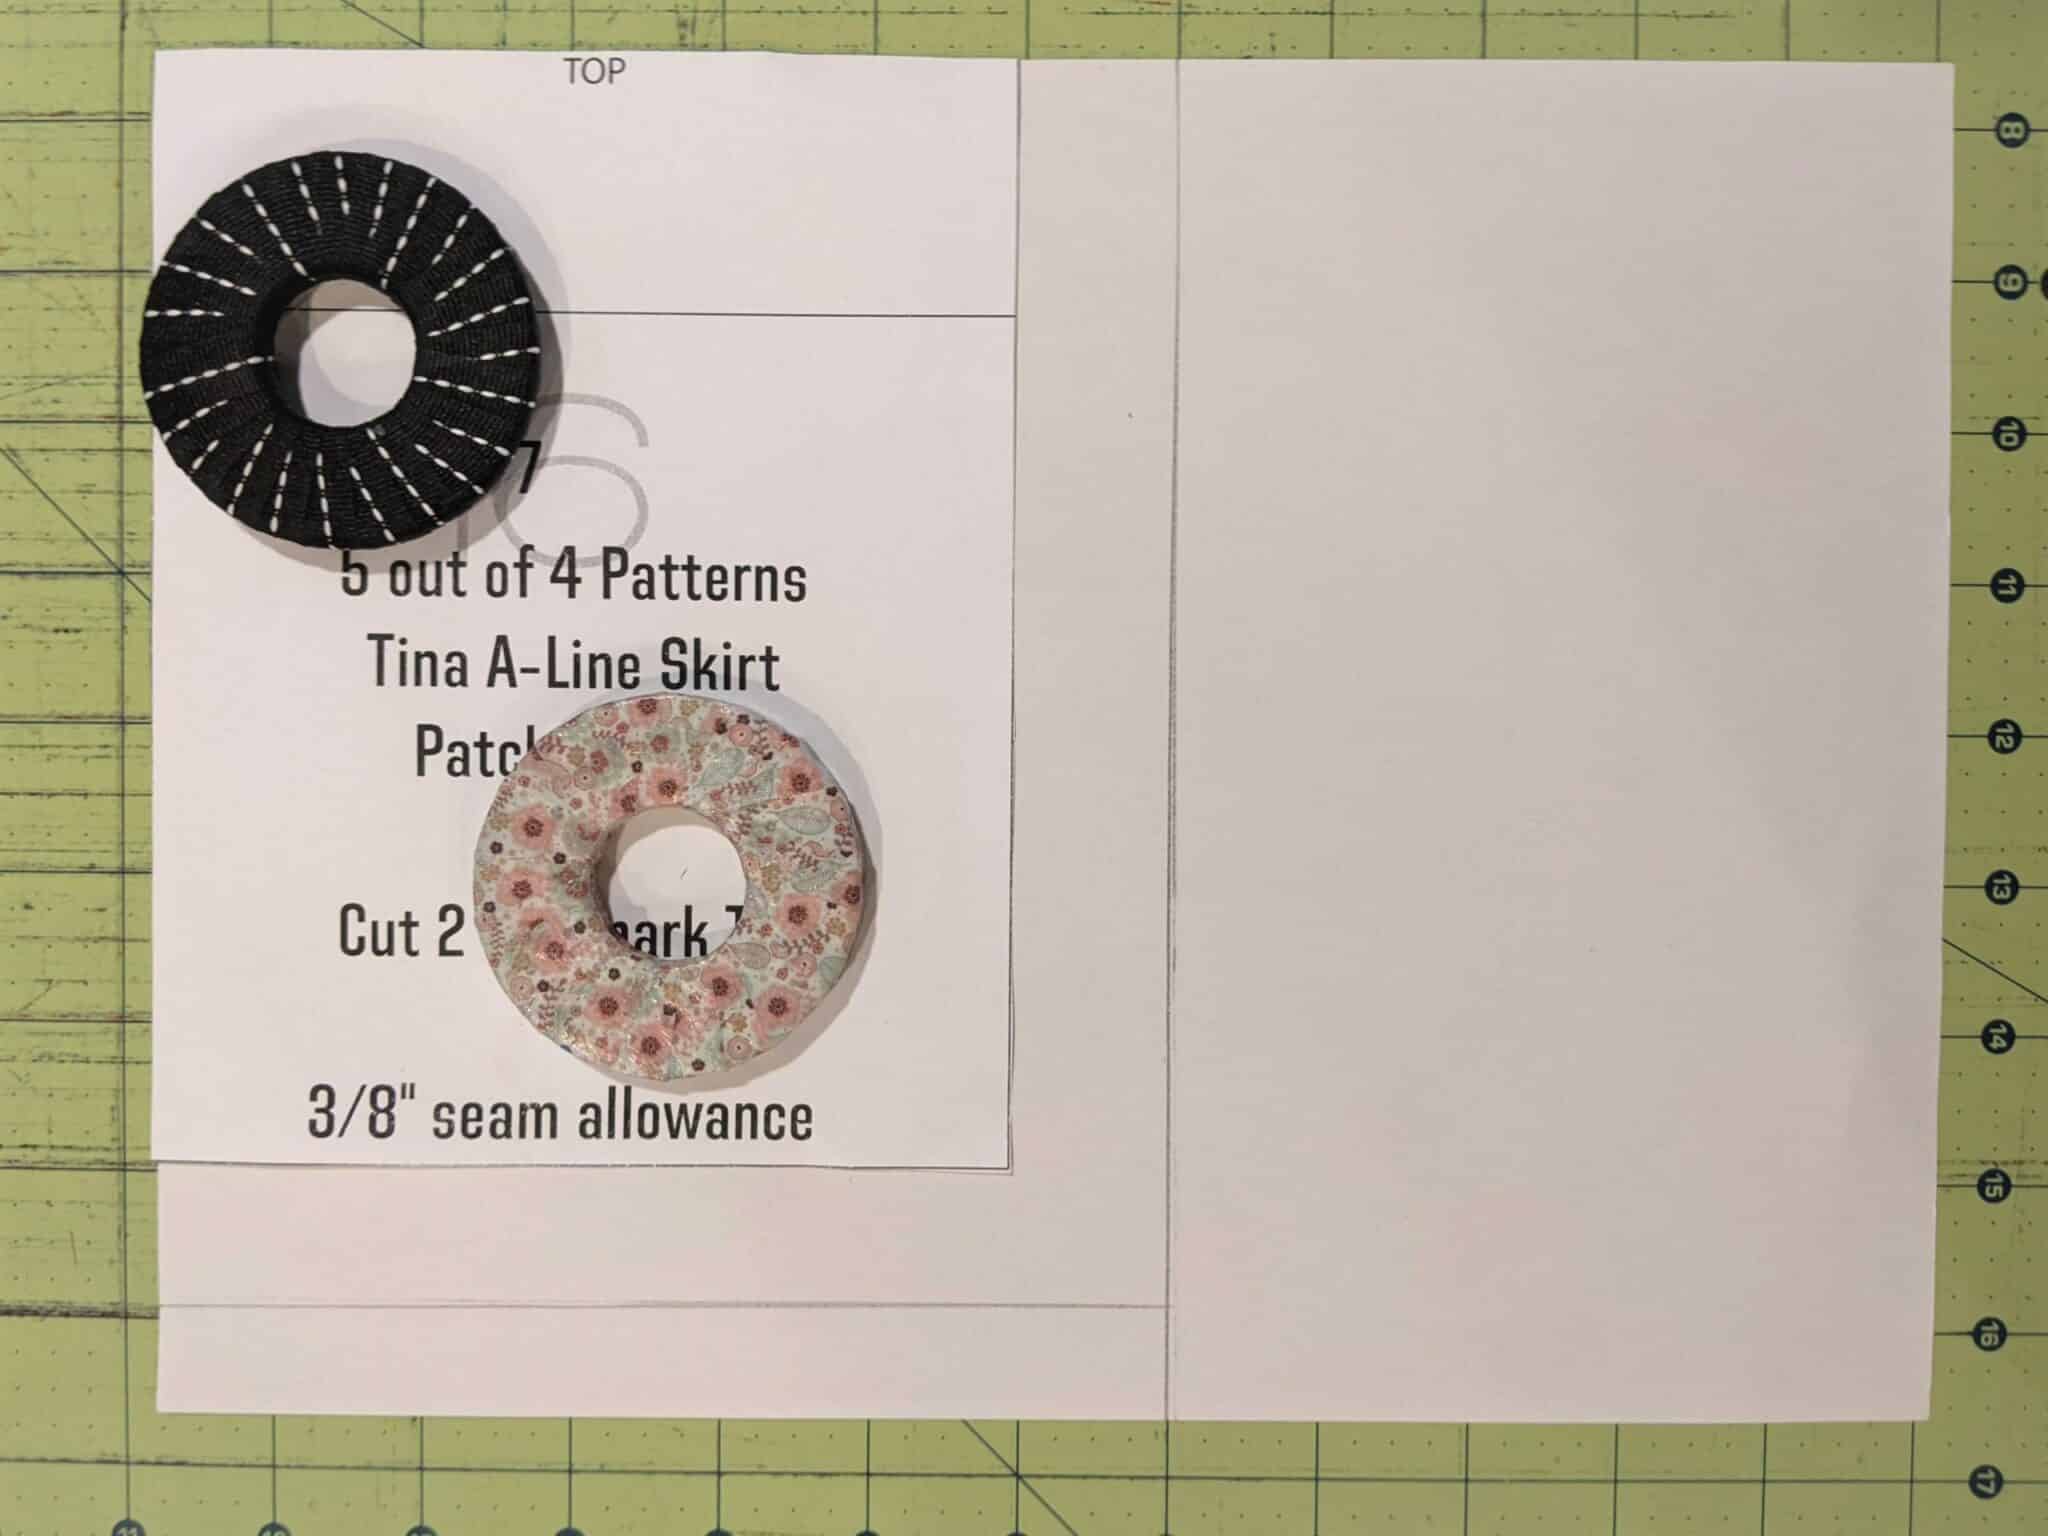

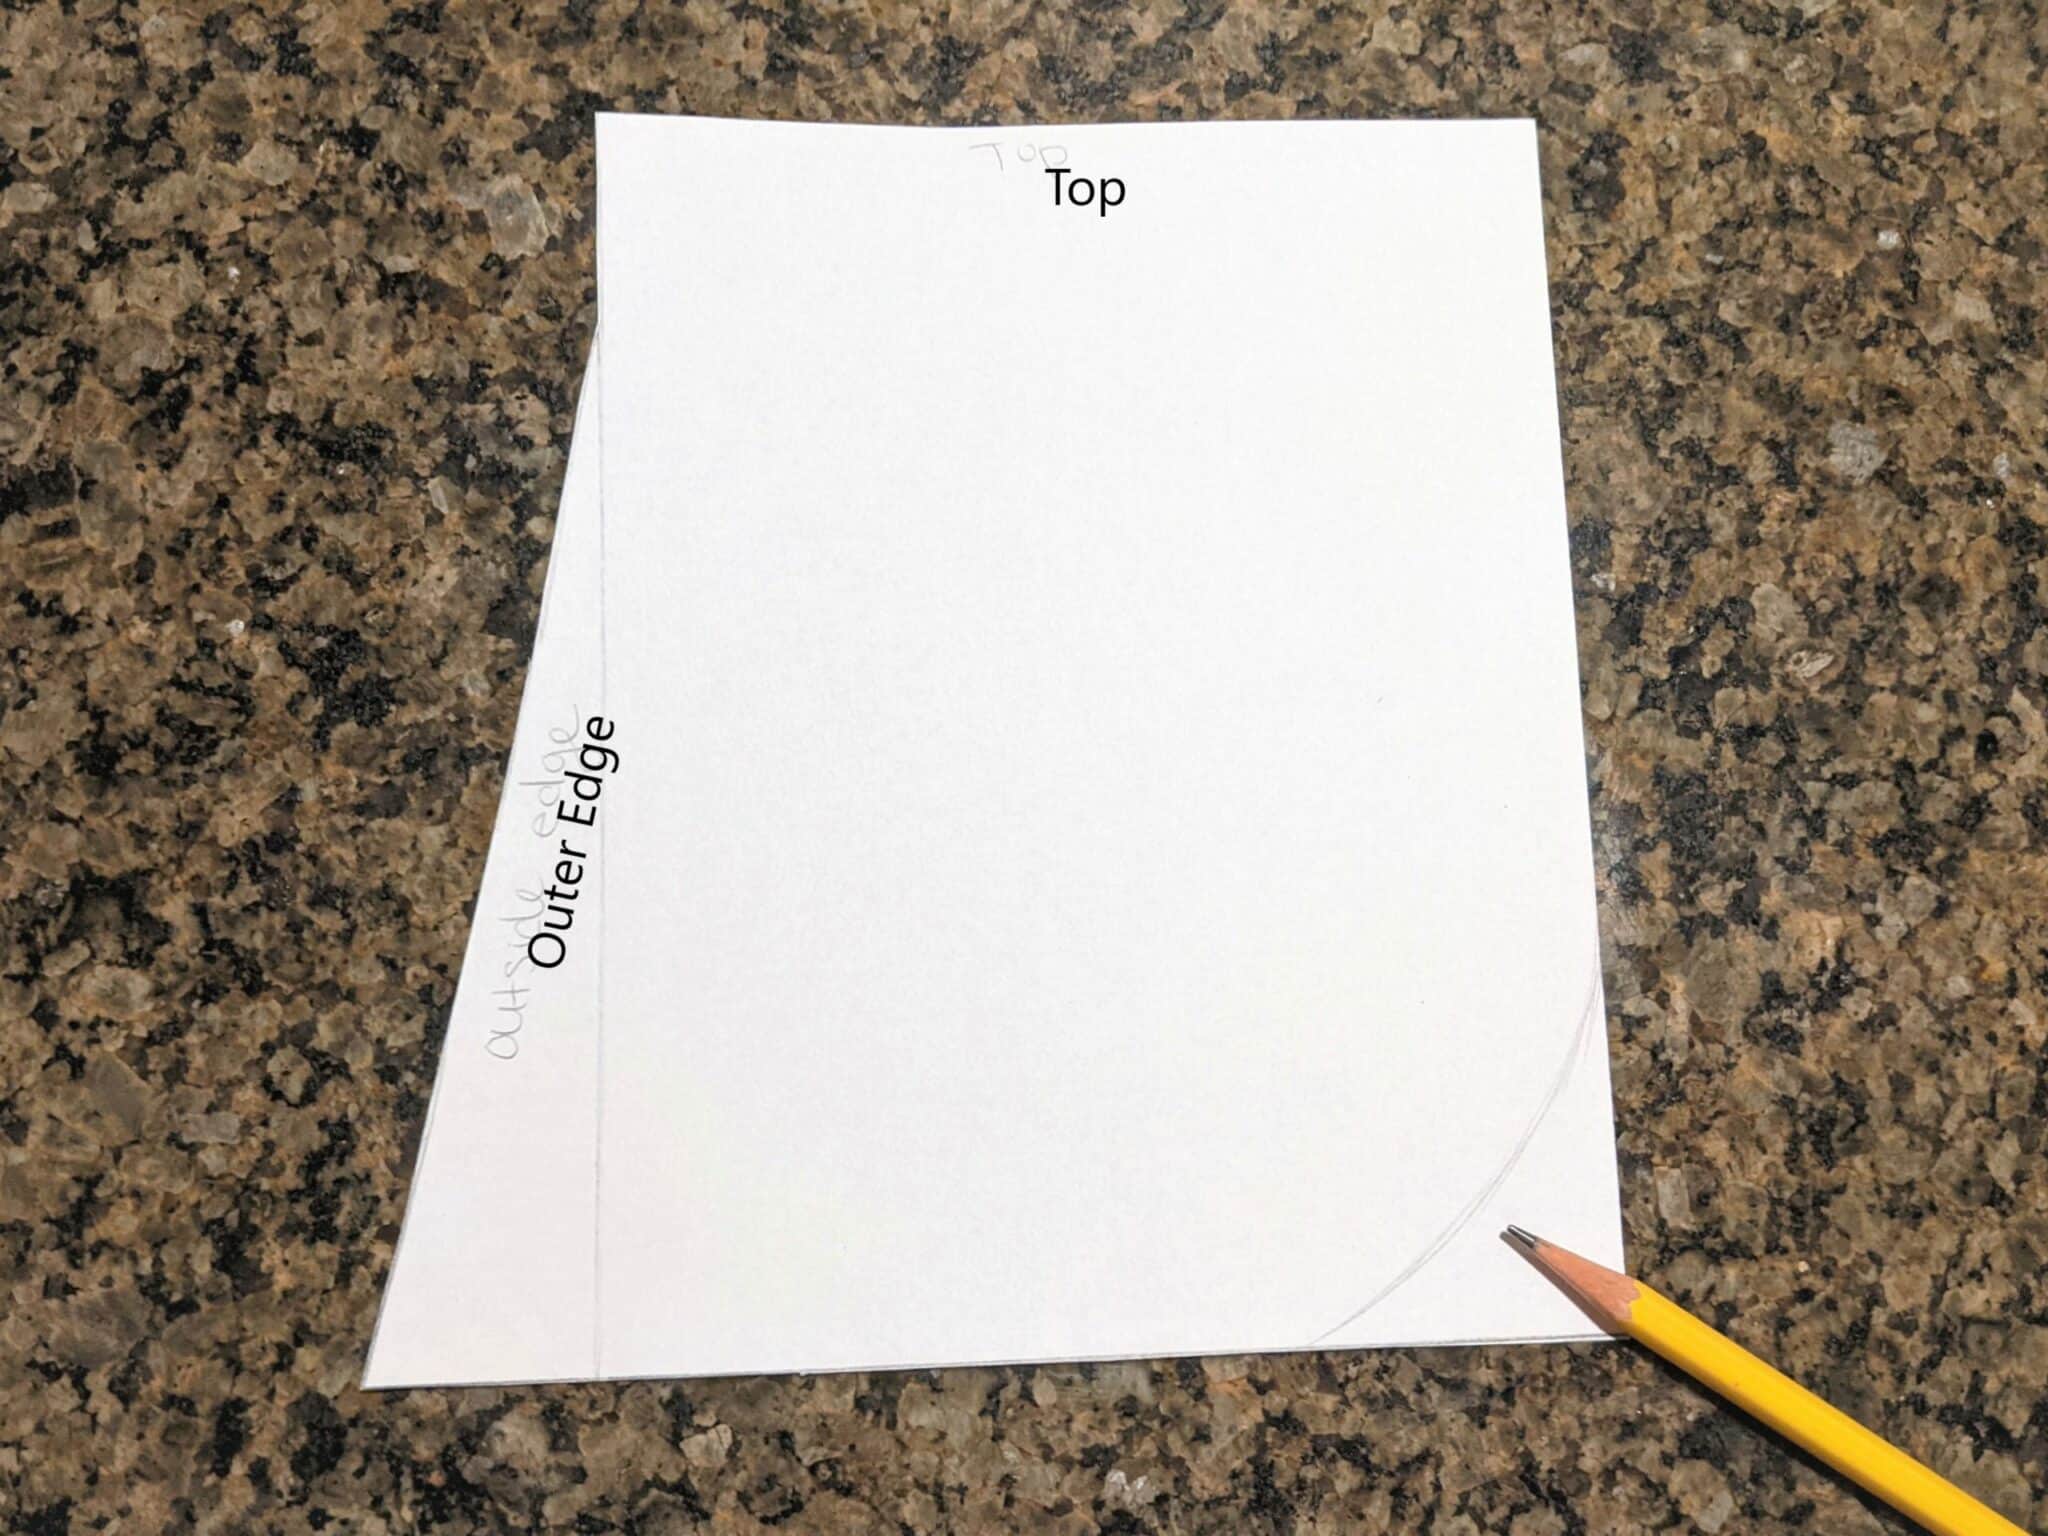
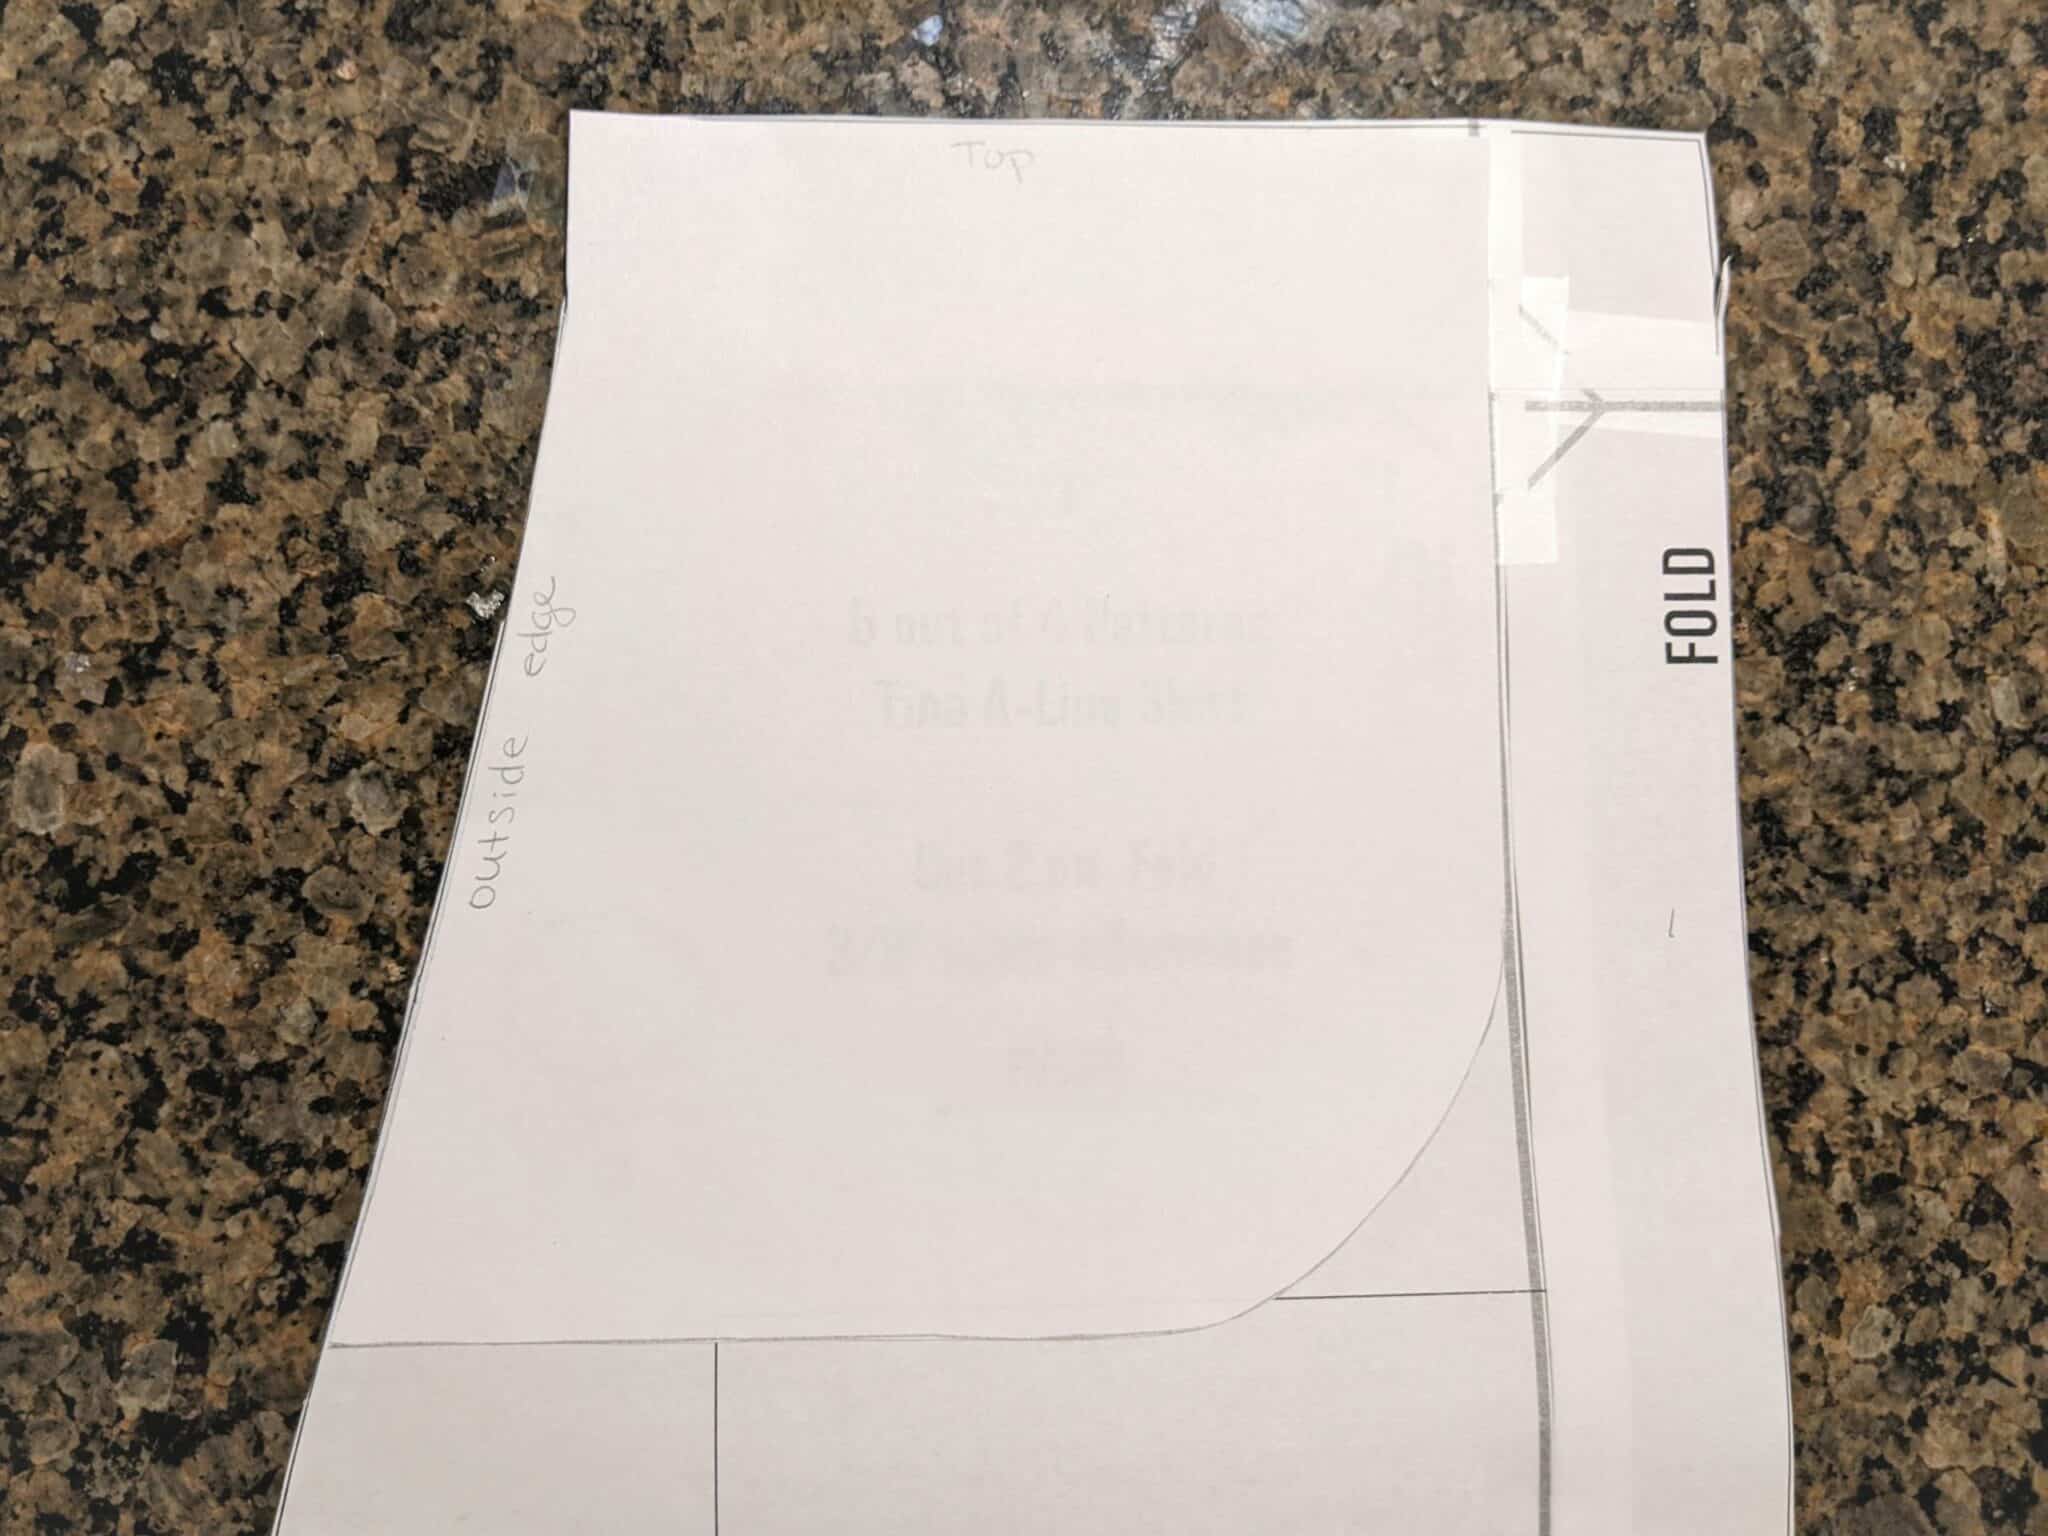
- Set the skirt pattern piece on top of the traced pocket lining up the outer edge of the skirt with the outer edge of the pocket you traced.
- Trace along the outer edge of the skirt down to the bottom of the traced pocket so that the pocket and skirt edges are the same shape.
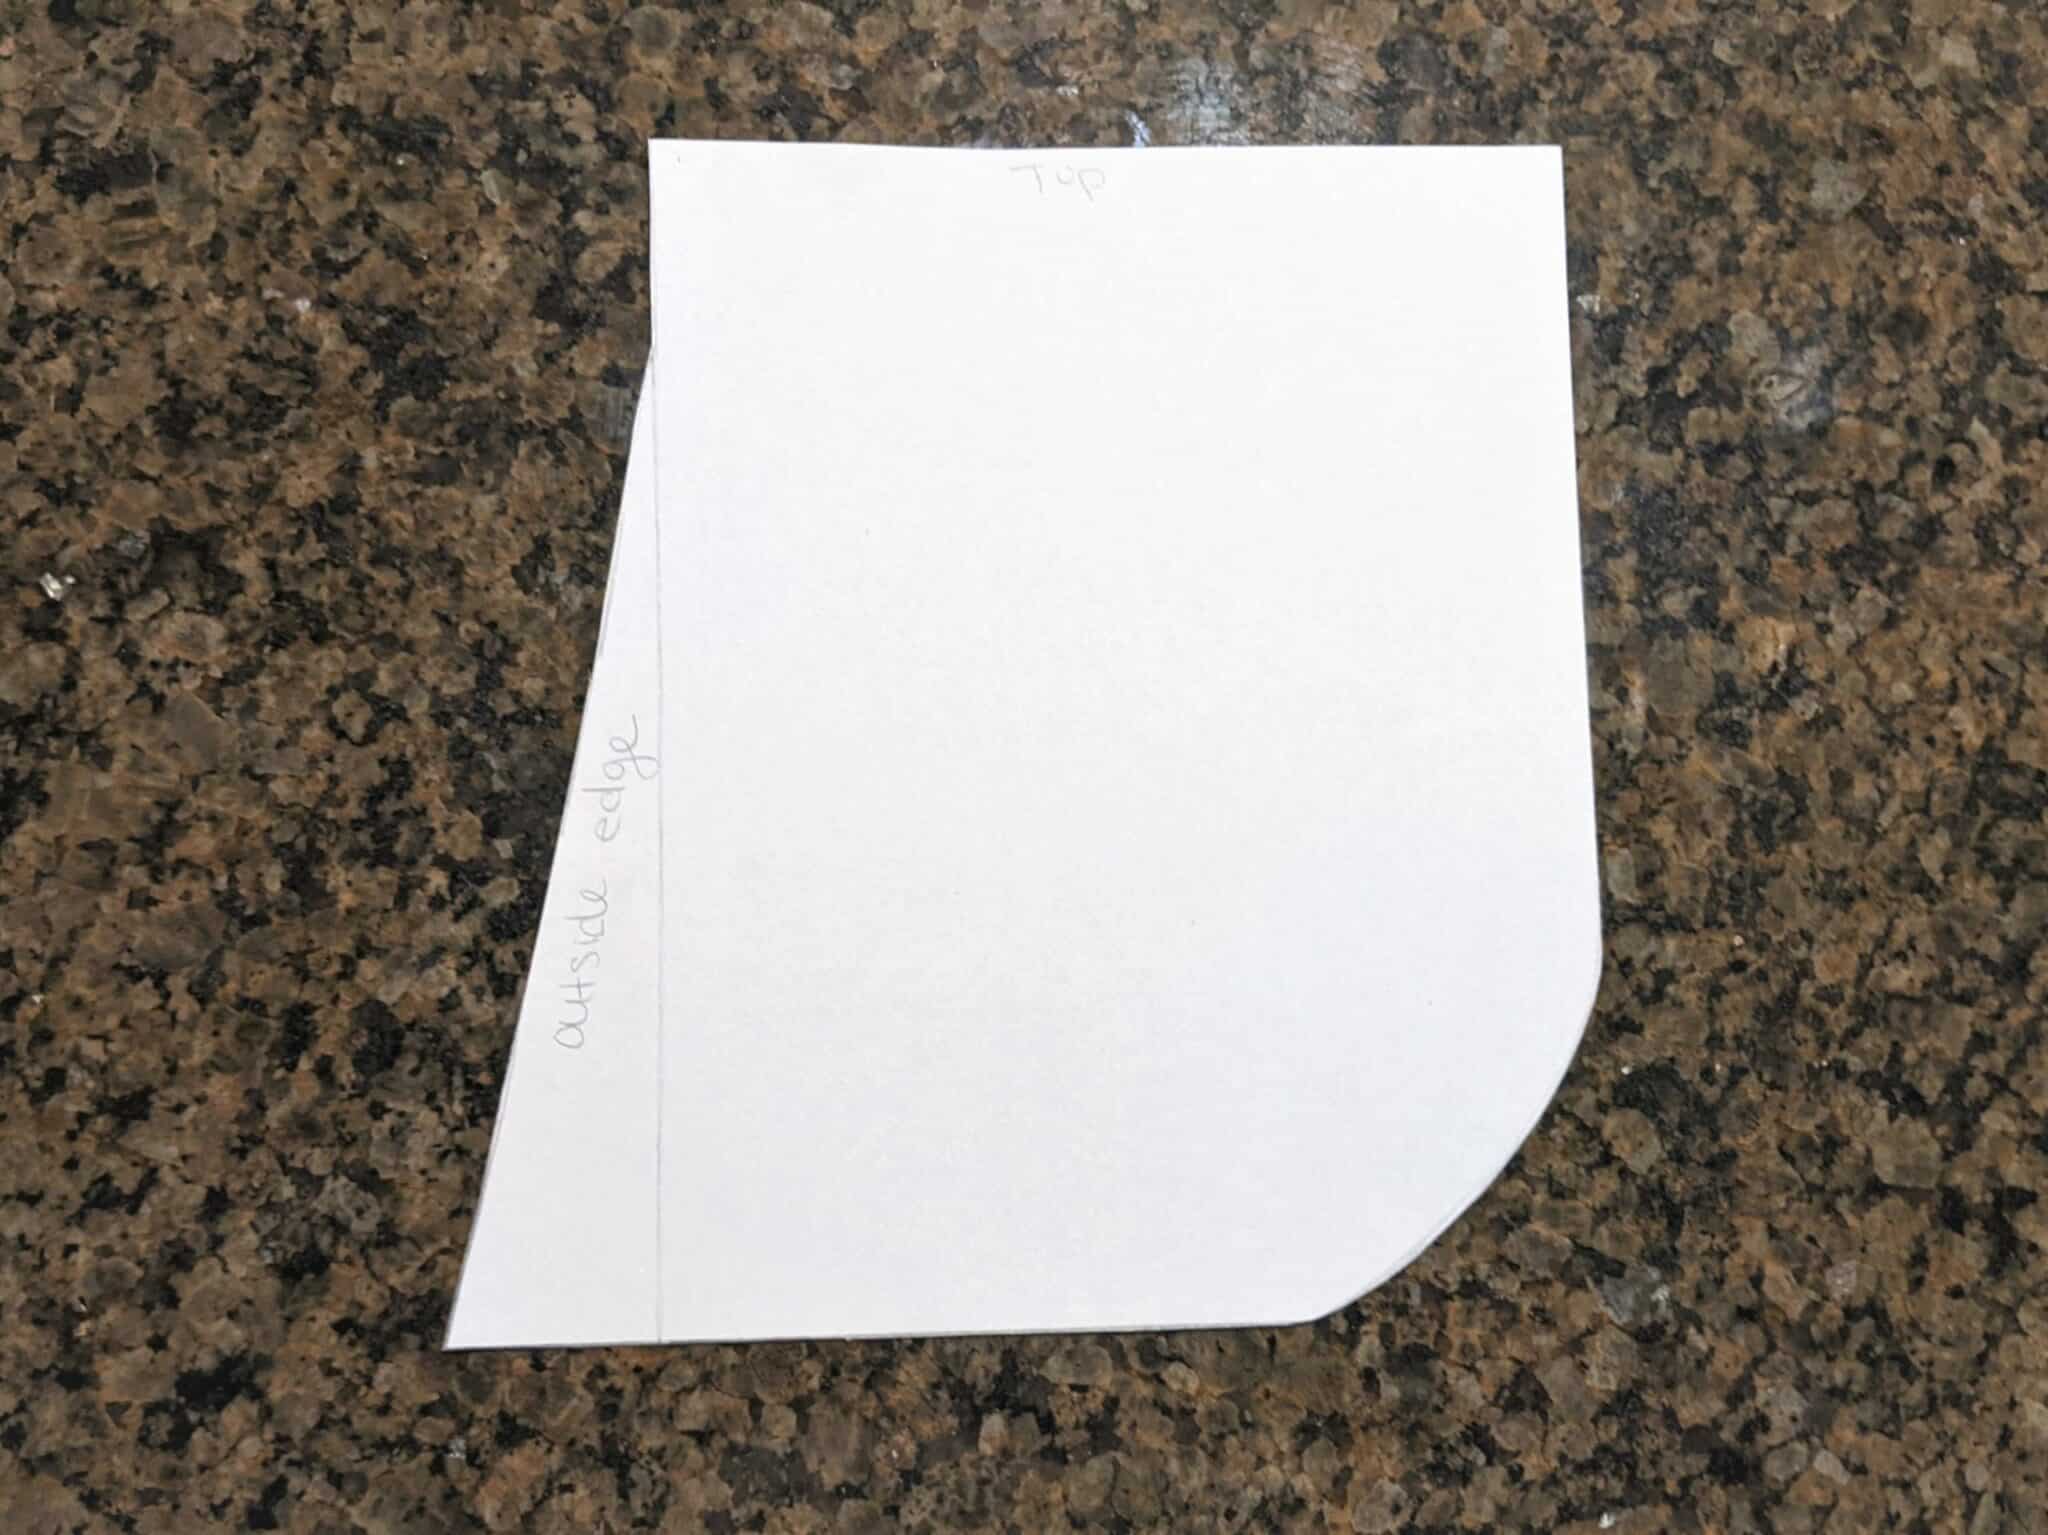
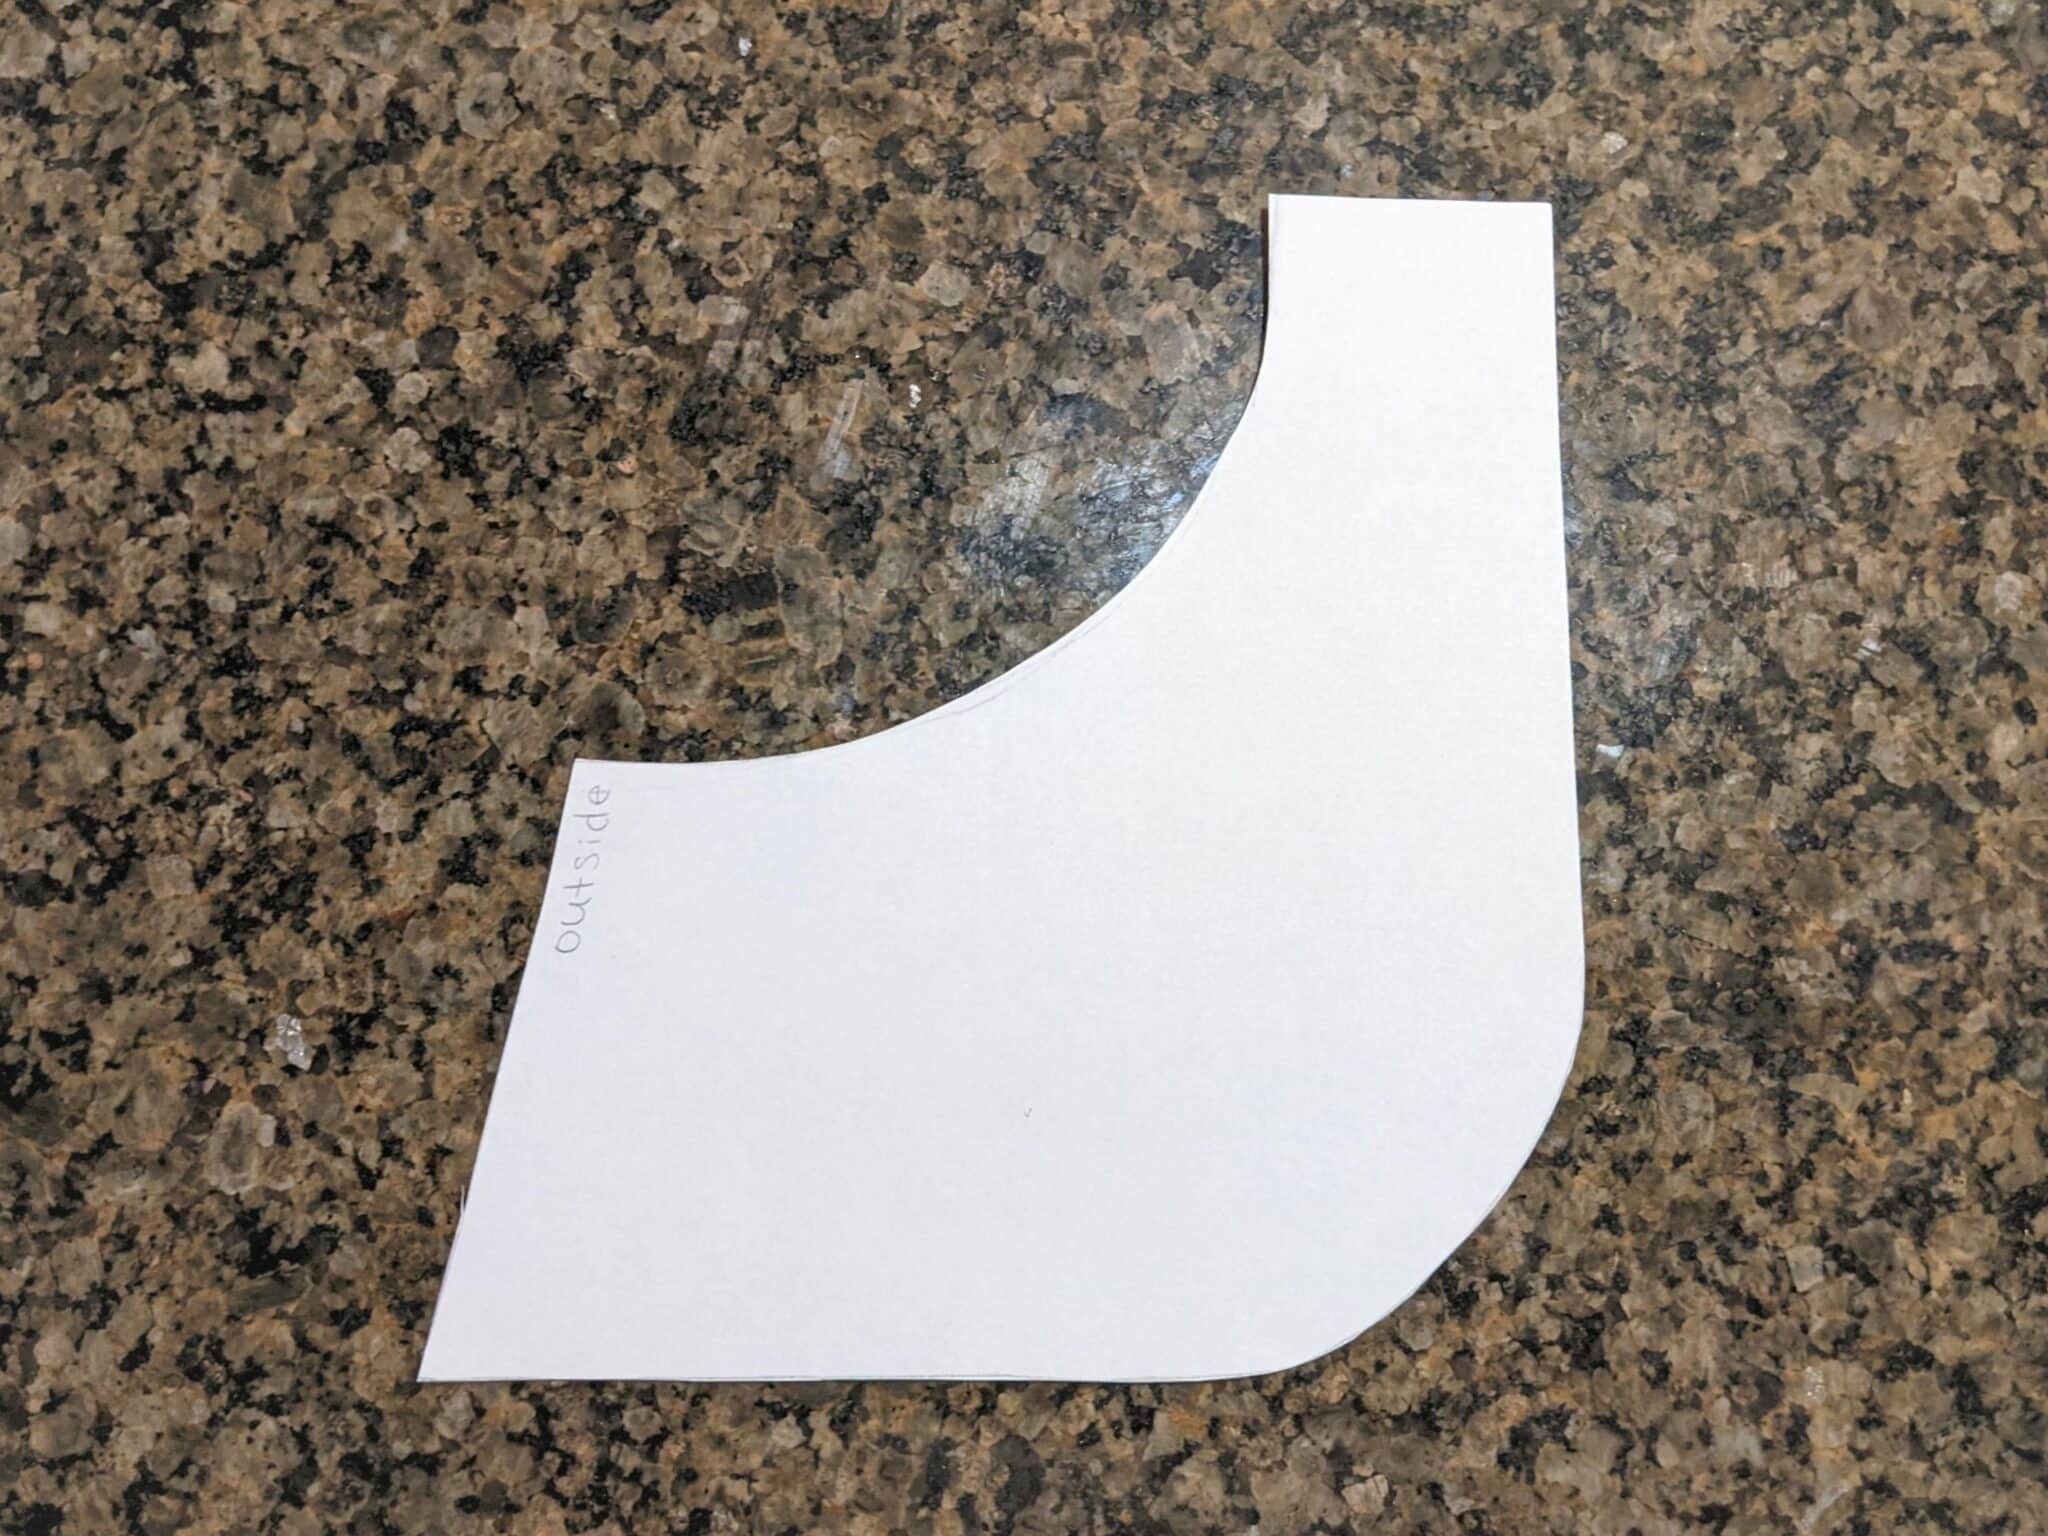
- Cut out the new pocket piece and label the top and outer edges.


- Optional: Round the bottom inner corner and trim off the extra.
Outer Pocket Piece:
- Trace your inner pocket piece onto another piece of paper and cut it out.
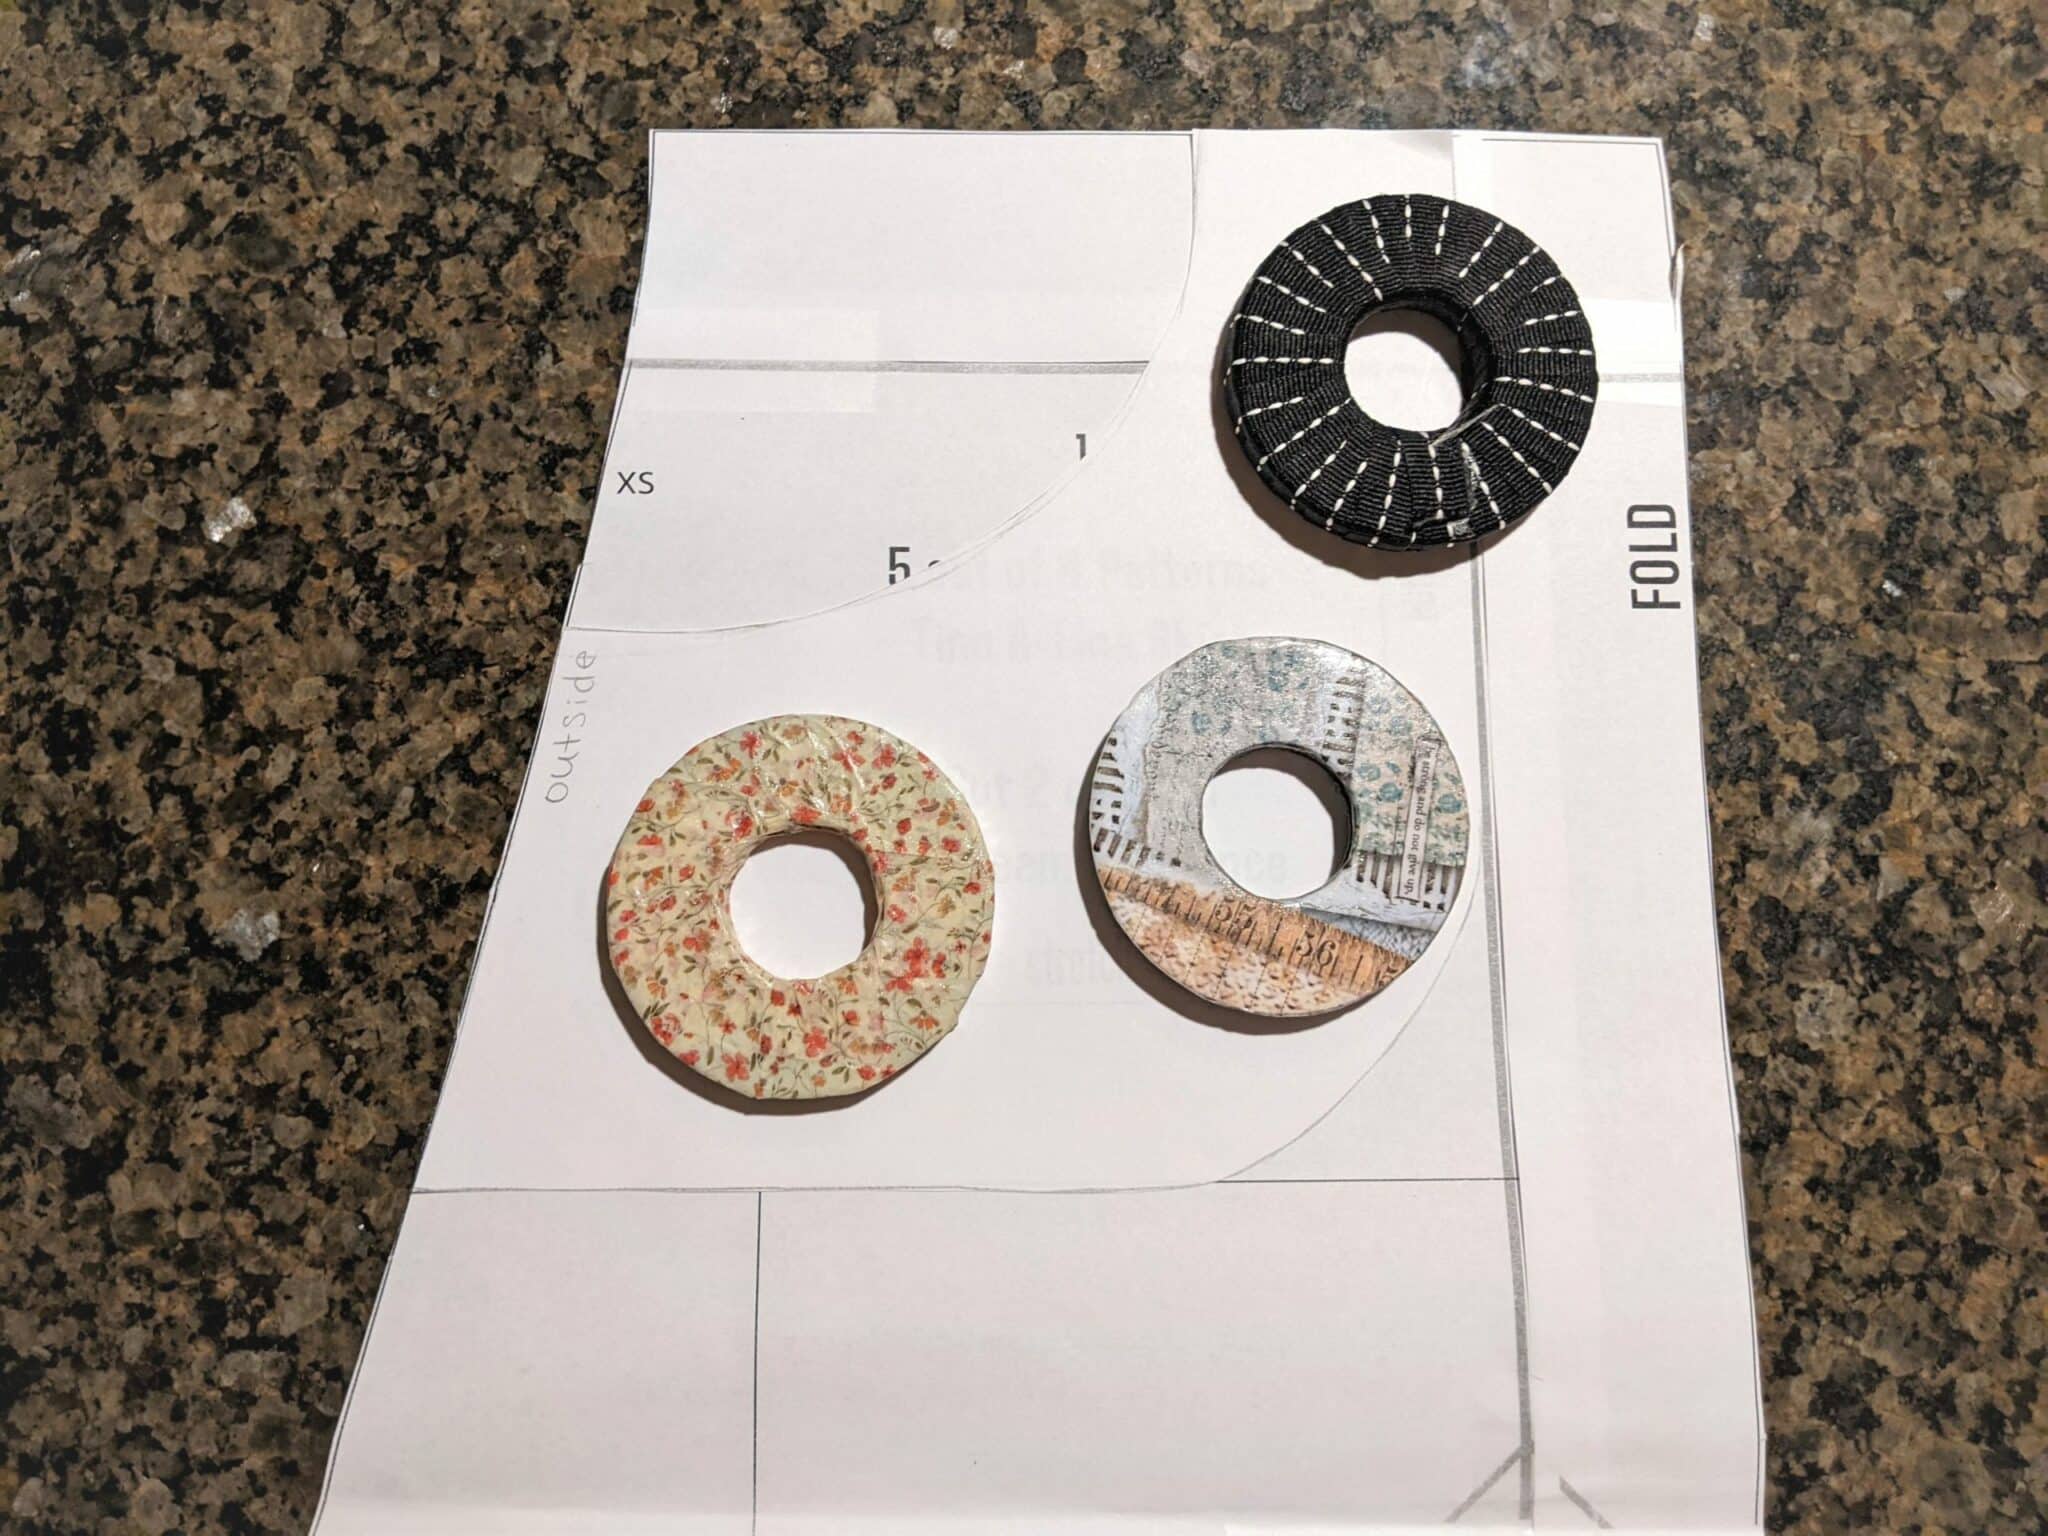
- Set the pocket on top of the skirt and line up the top and outer edges.
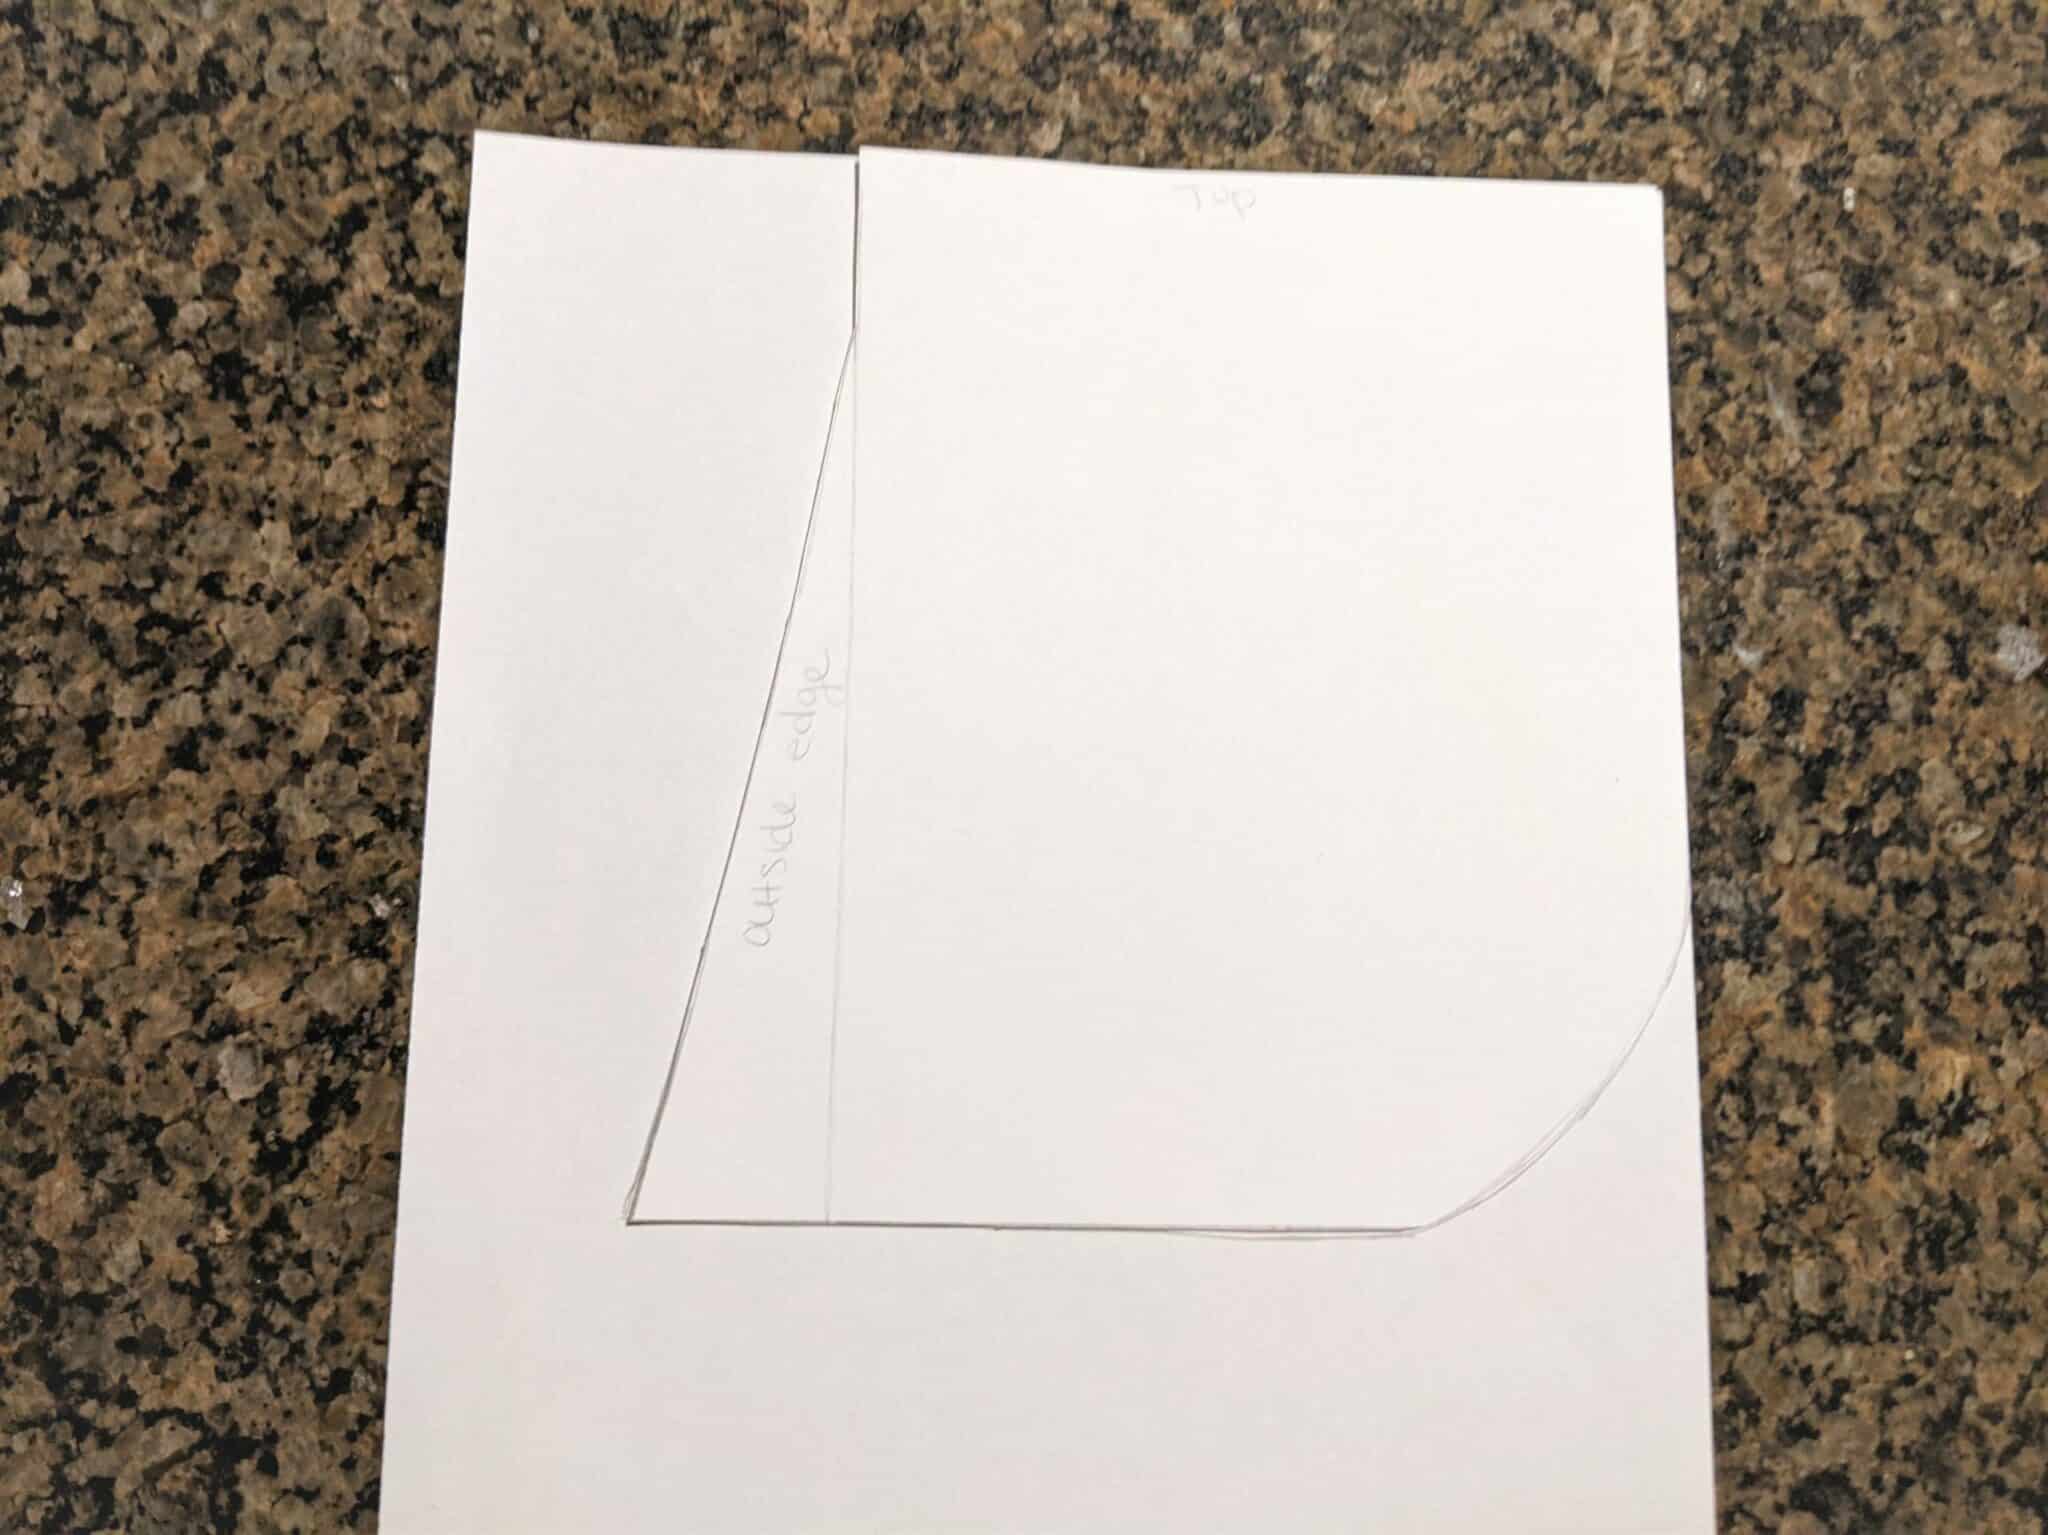
- Decide how wide you want the pocket opening to be and mark along the top part of your pattern piece. (It should start at least halfway across the top.)
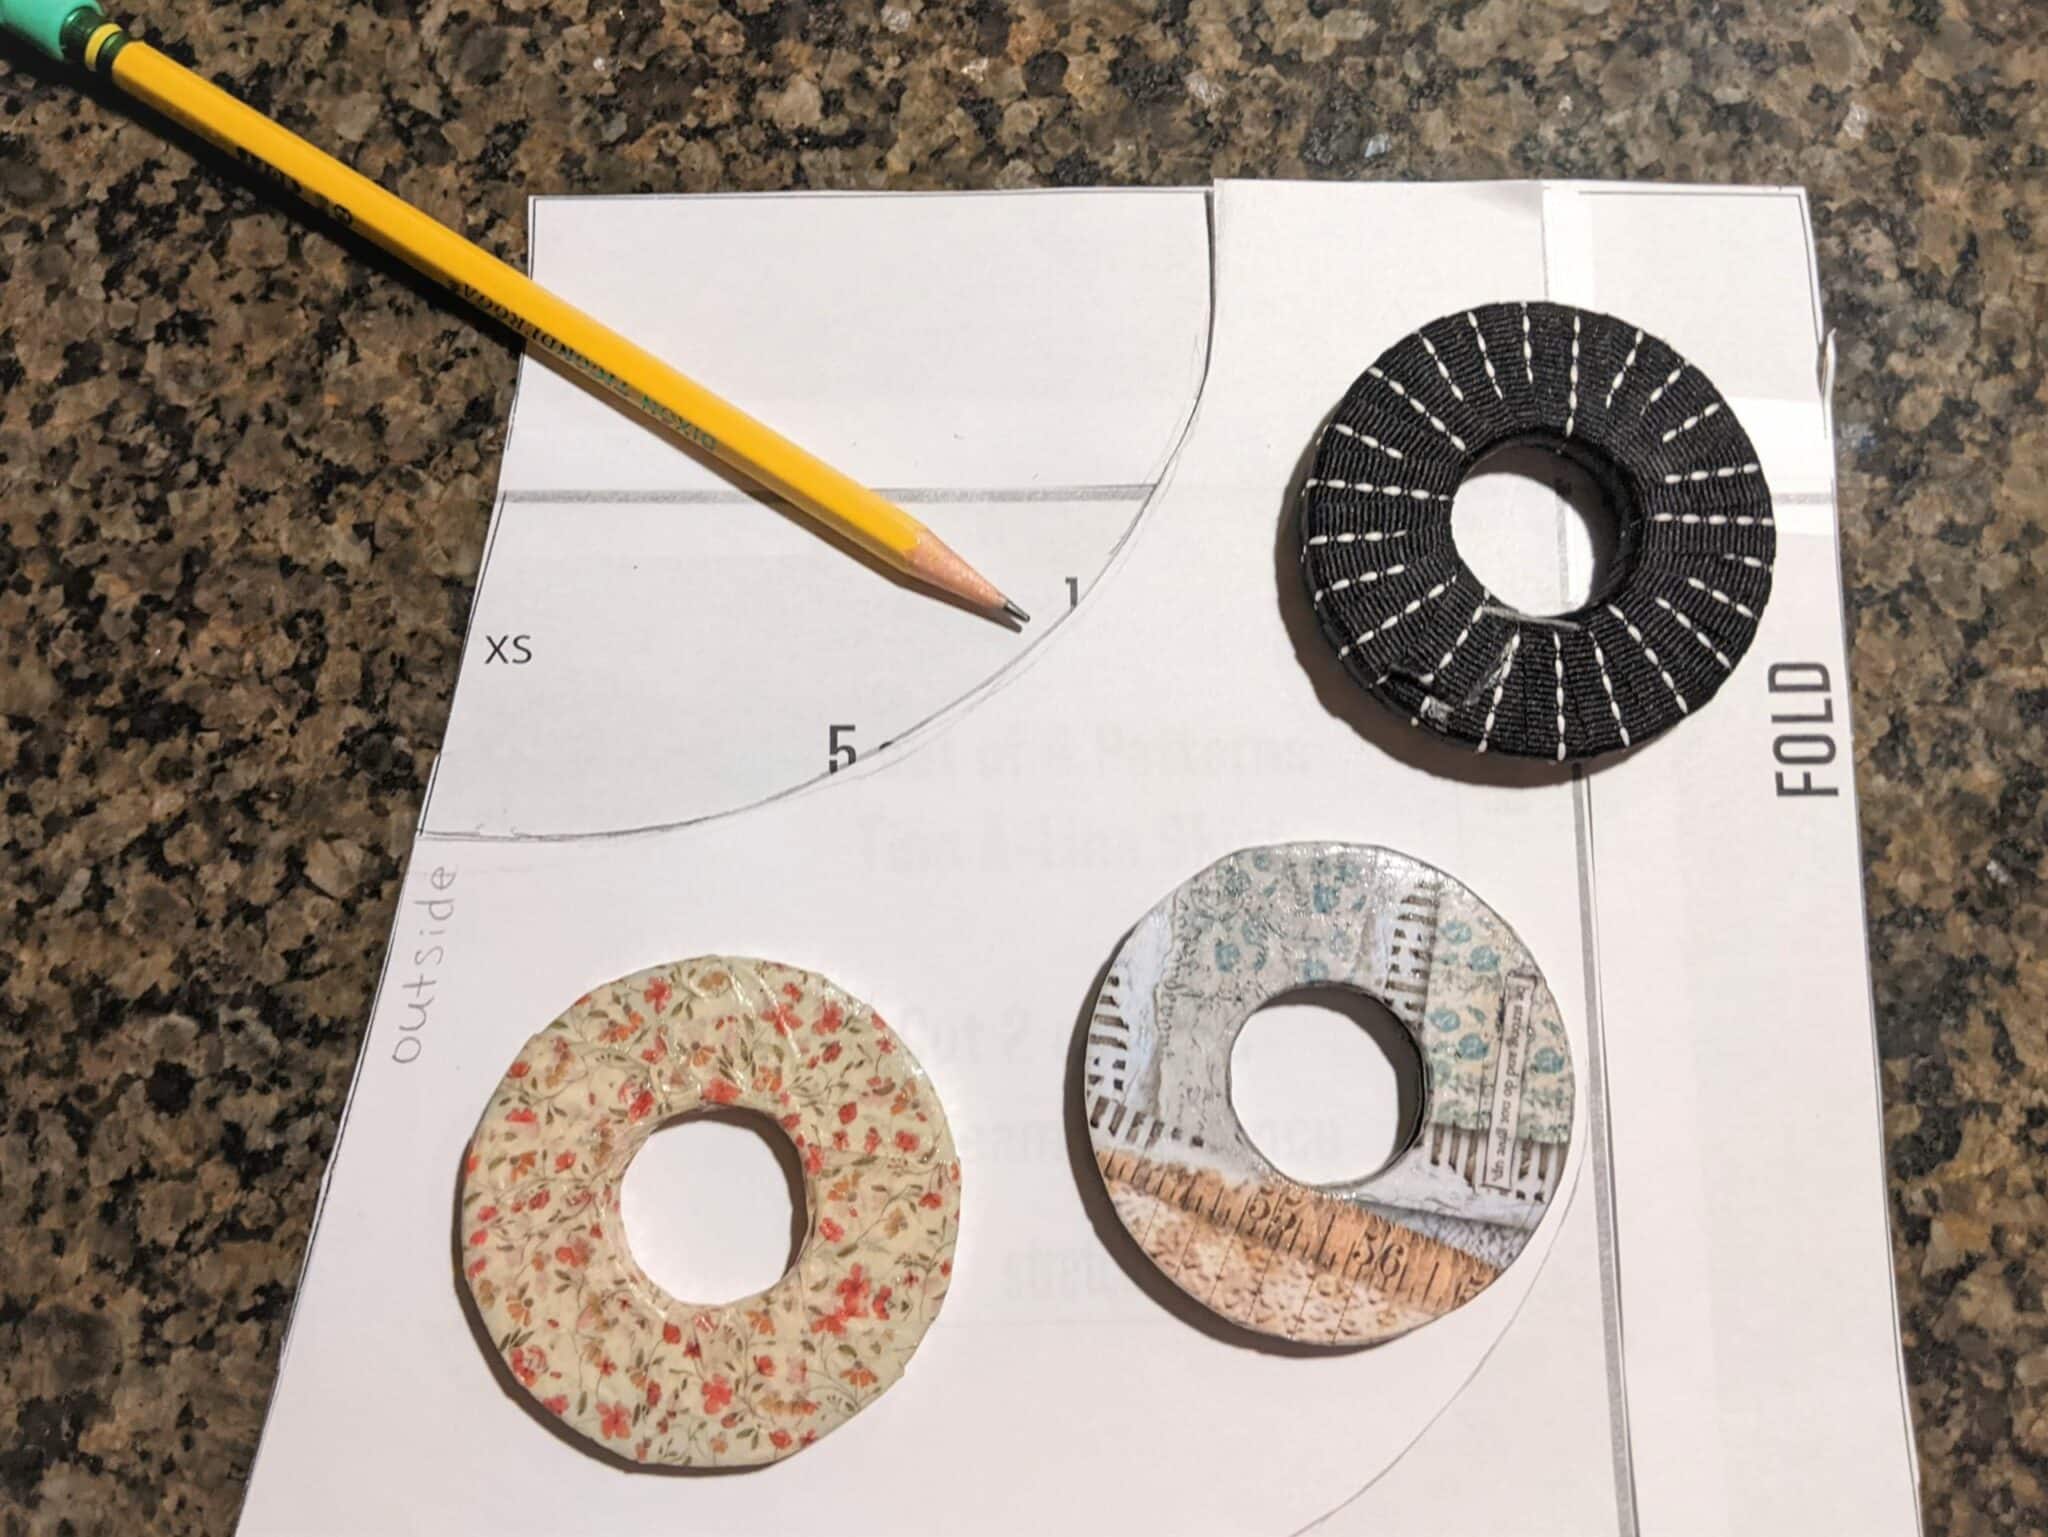
- Measure approximately halfway down the outer edge of the pocket and mark that point on your pocket piece.
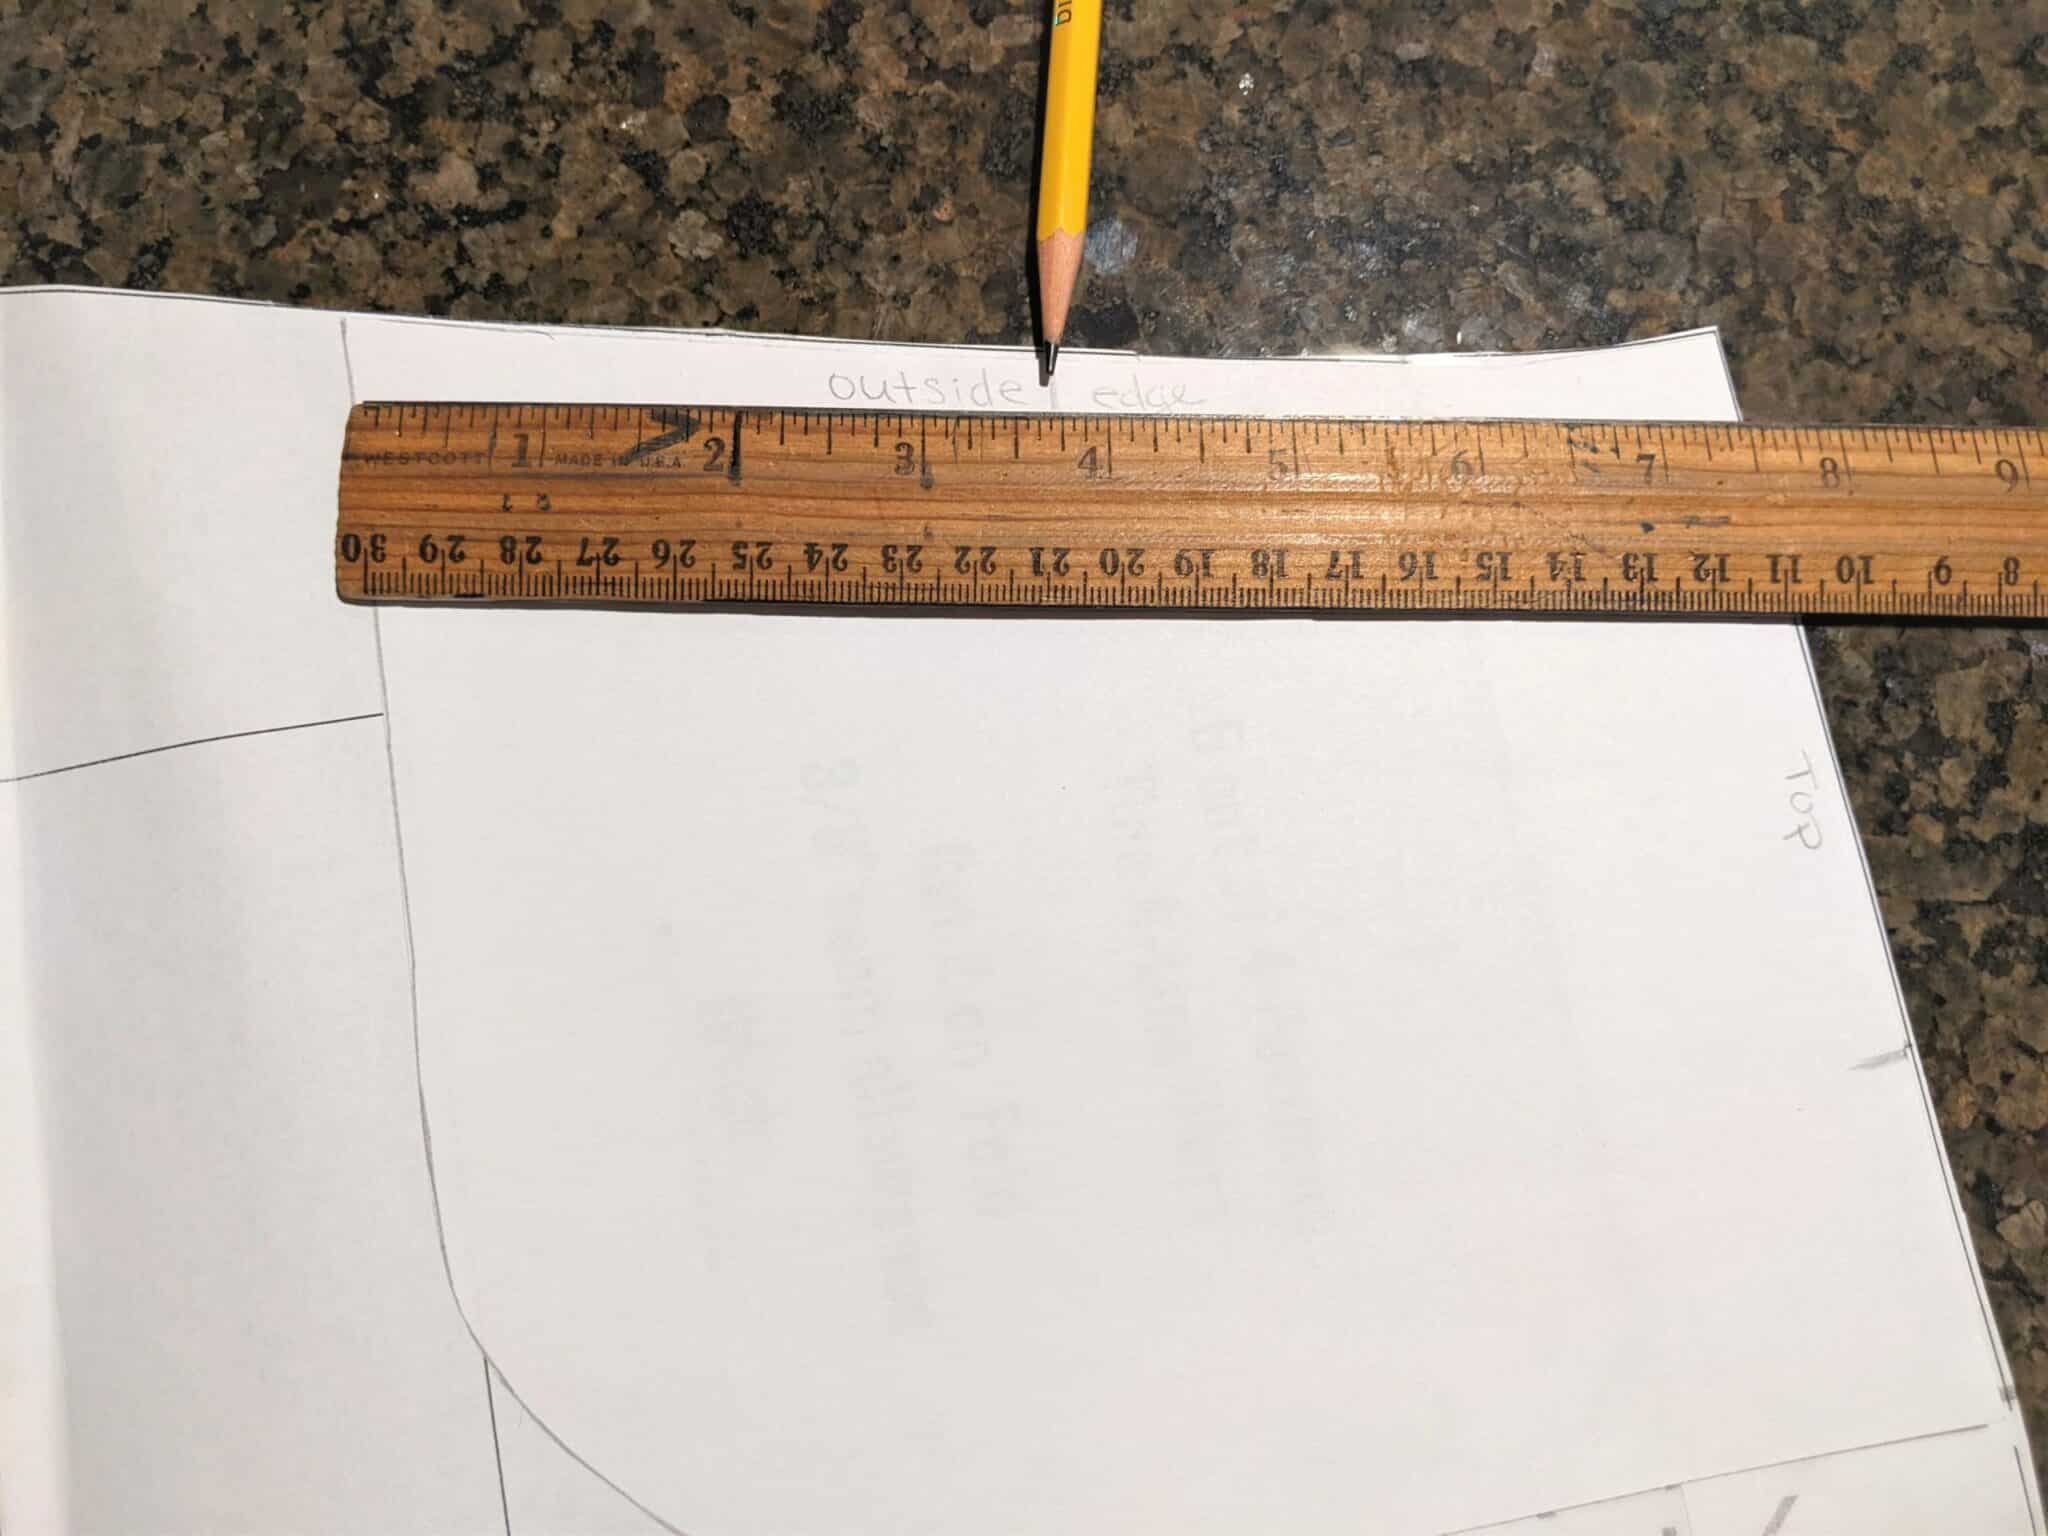
- Draw a curved line to connect the two points. The area above the curved line will be the size of the pocket opening.
- Make any adjustments to the size of the opening if needed, then cut off the upper portion of the piece.
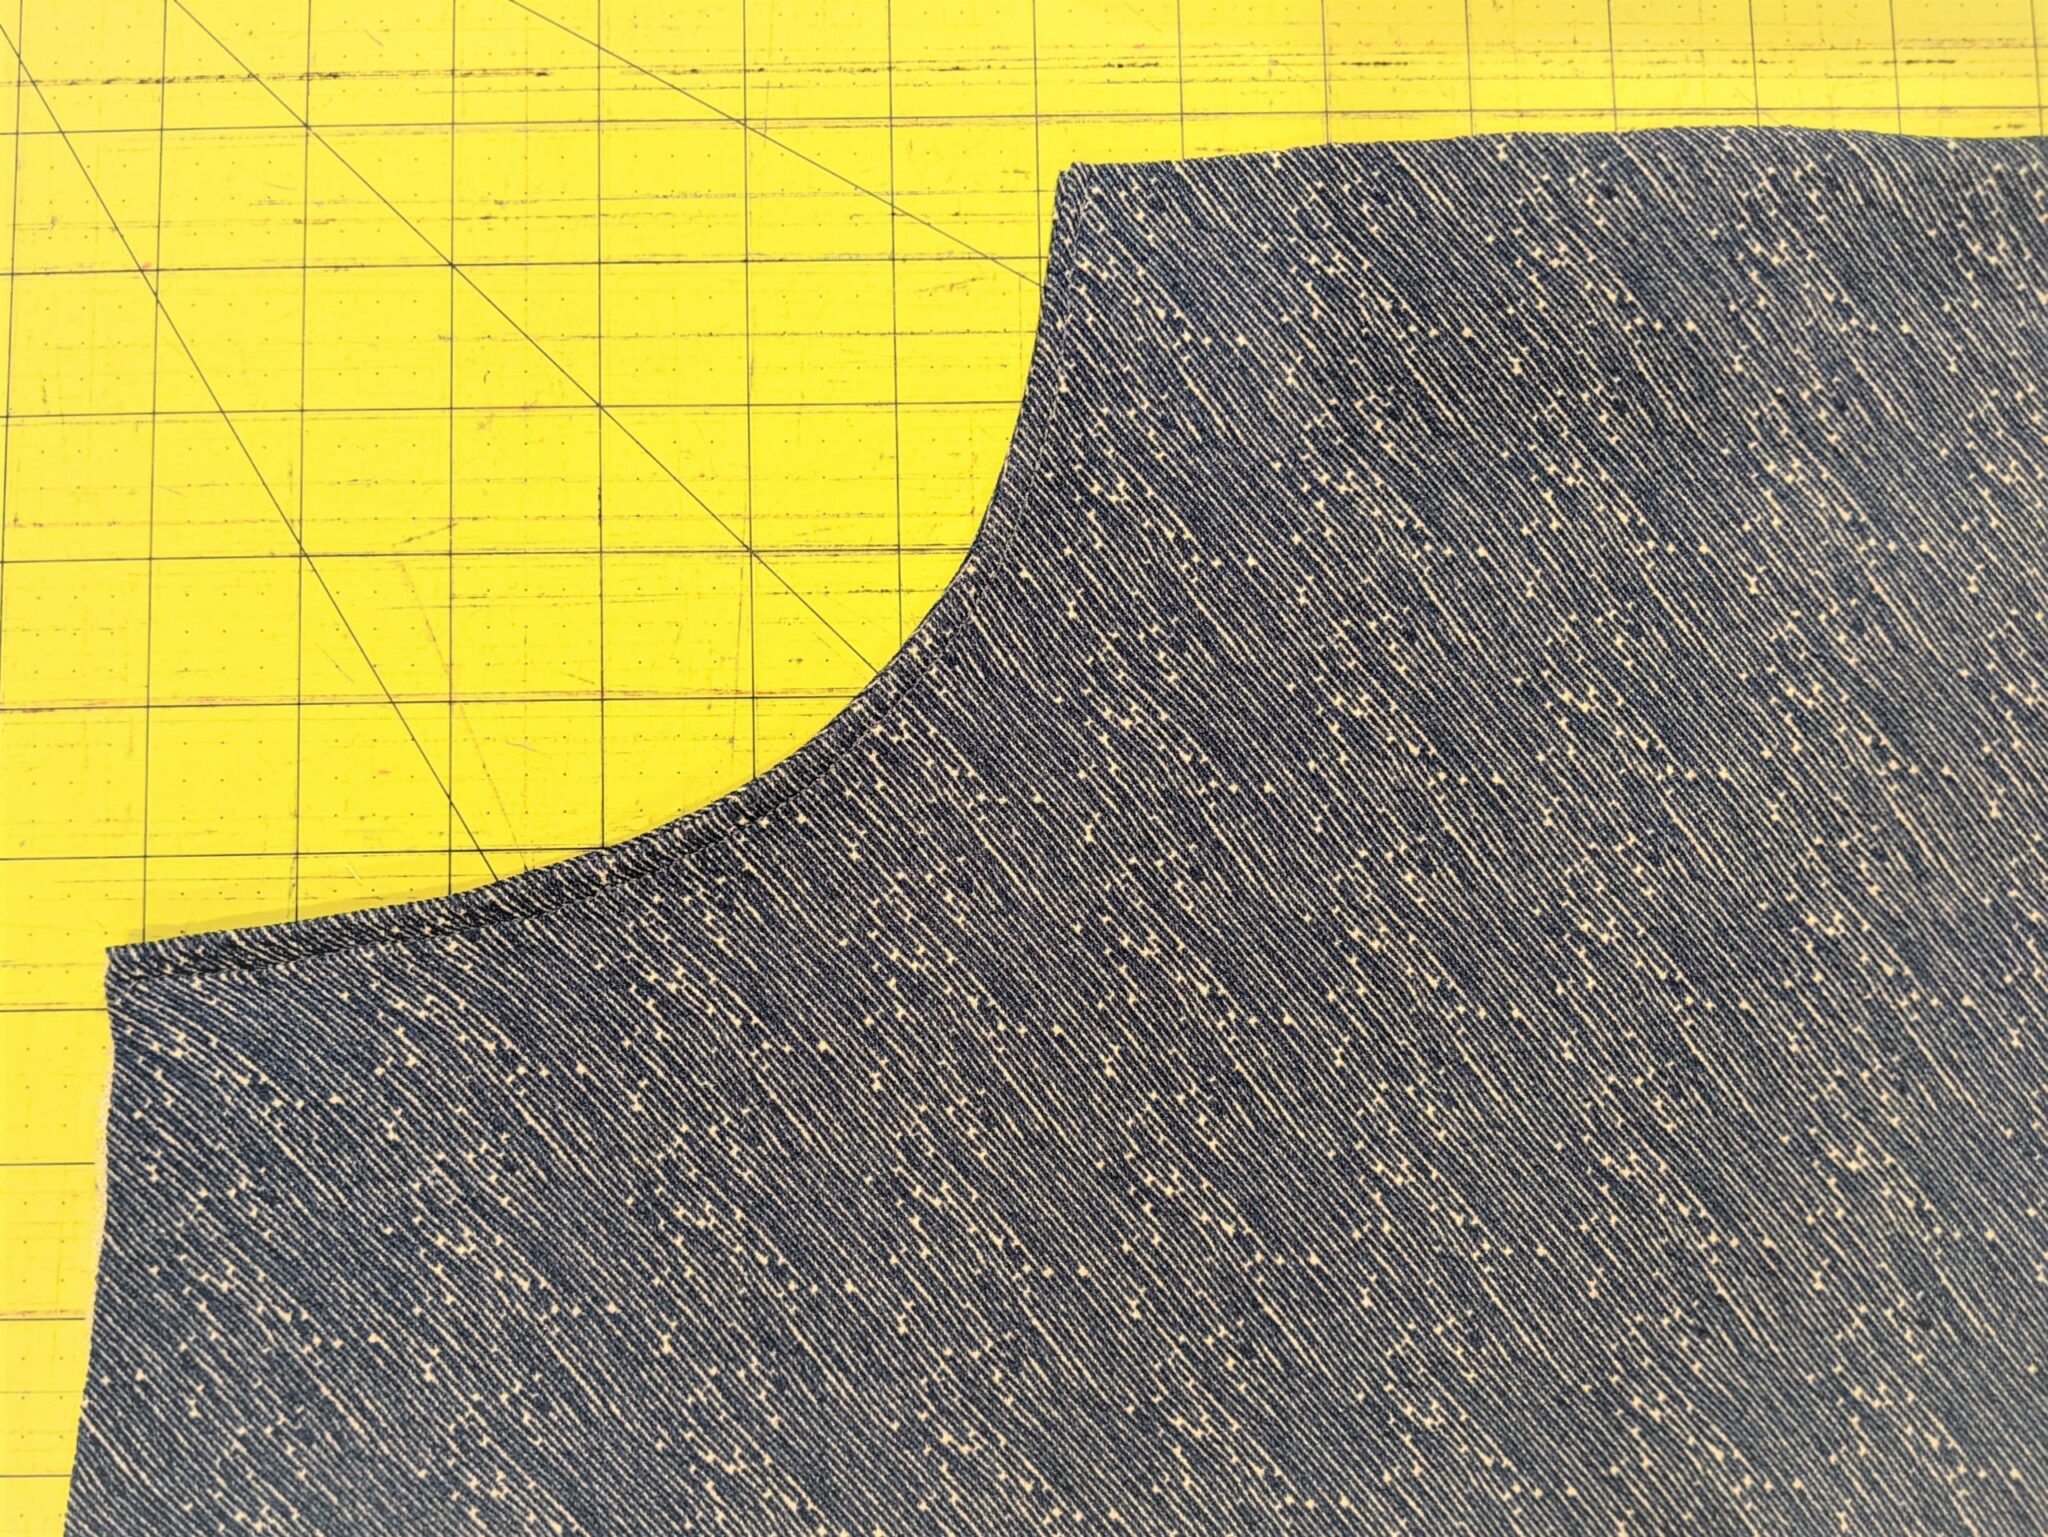
Skirt Adjustment:
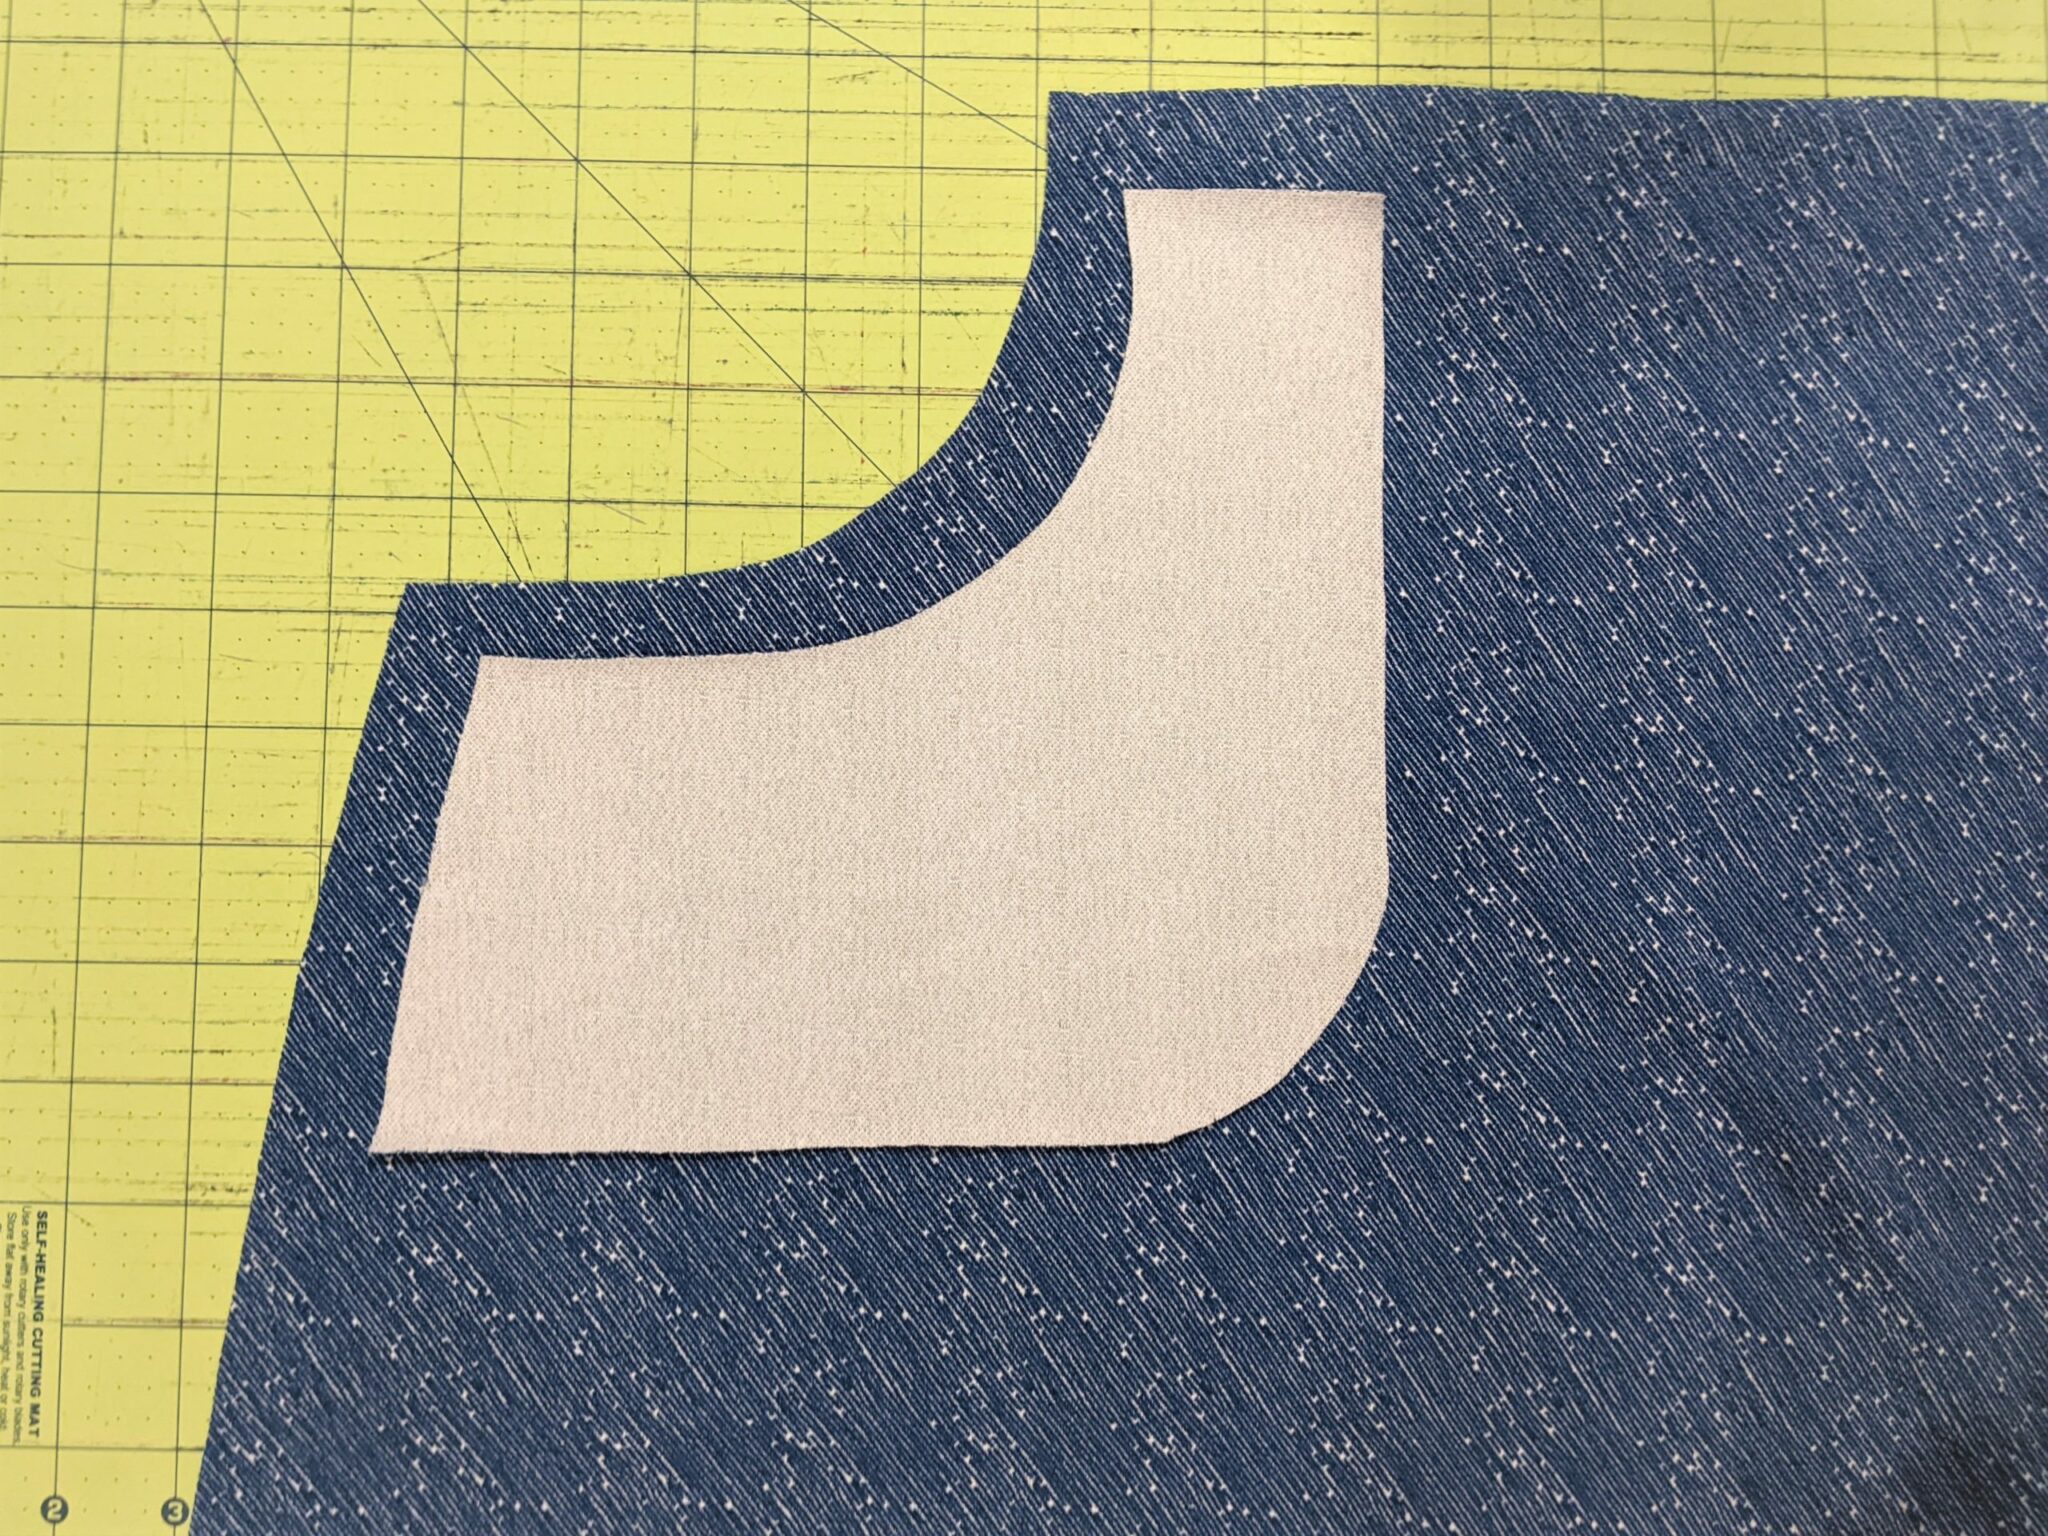
- Set the outer pocket piece ontop of the skirt and line up the outer and top edges.
- Trace the cut out curve of the pocket onto the skirt.
- Cut off the upper portion along the curve. Save the piece you cut off for cutting out the back of the skirt.
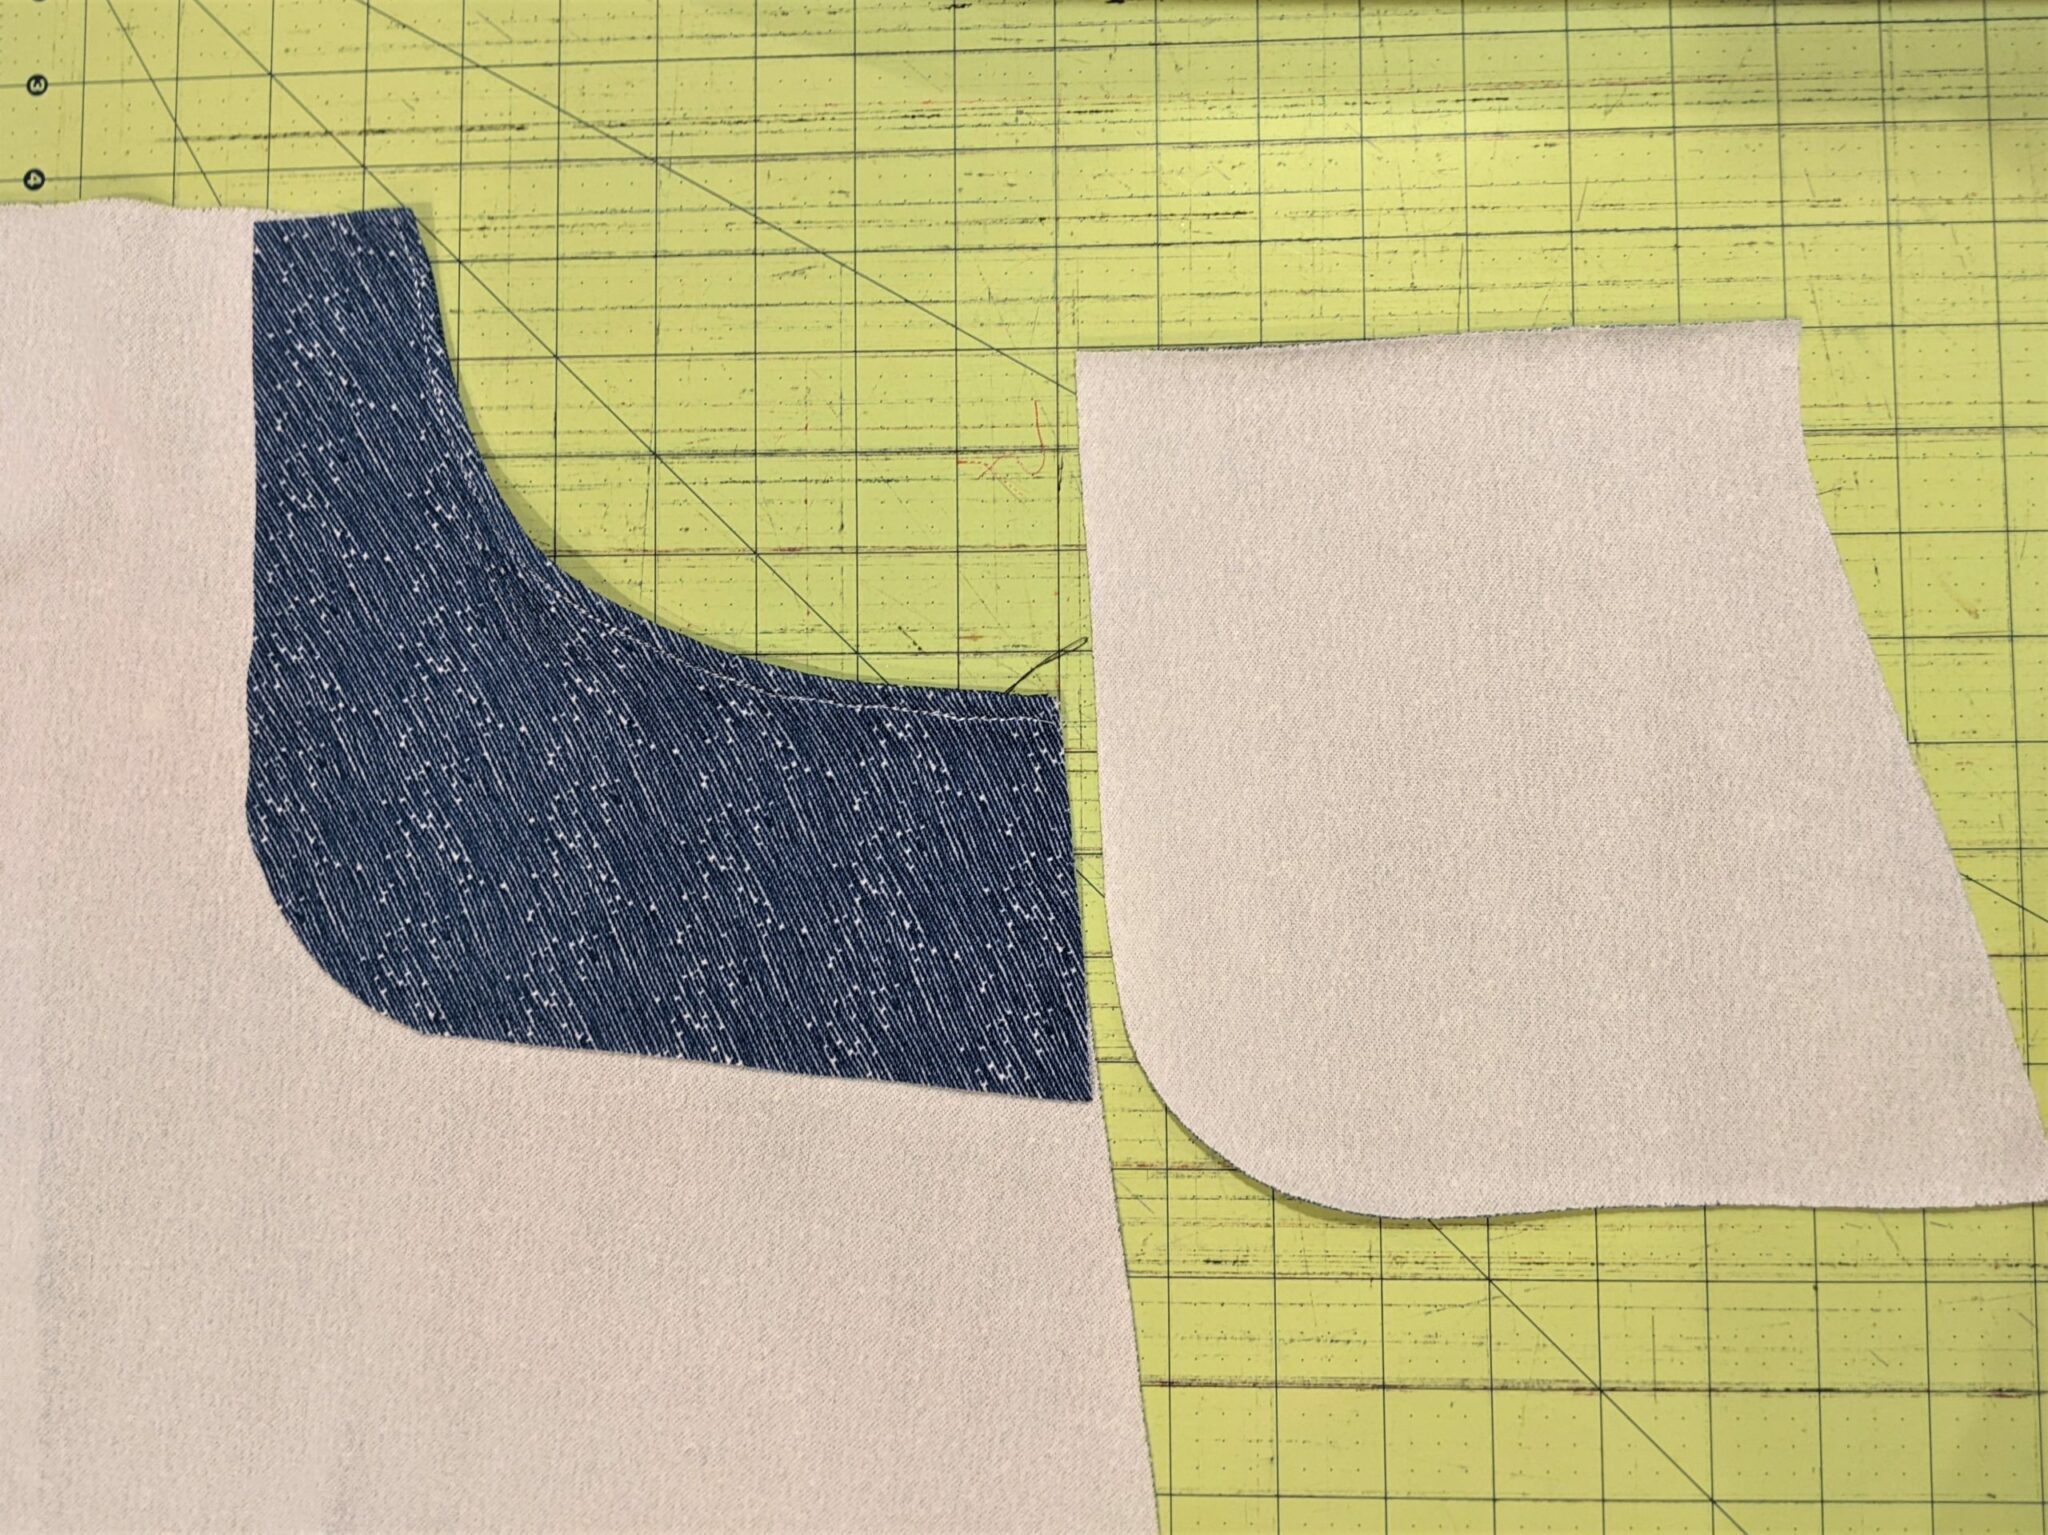
Cut Your Pieces
- Pockets:
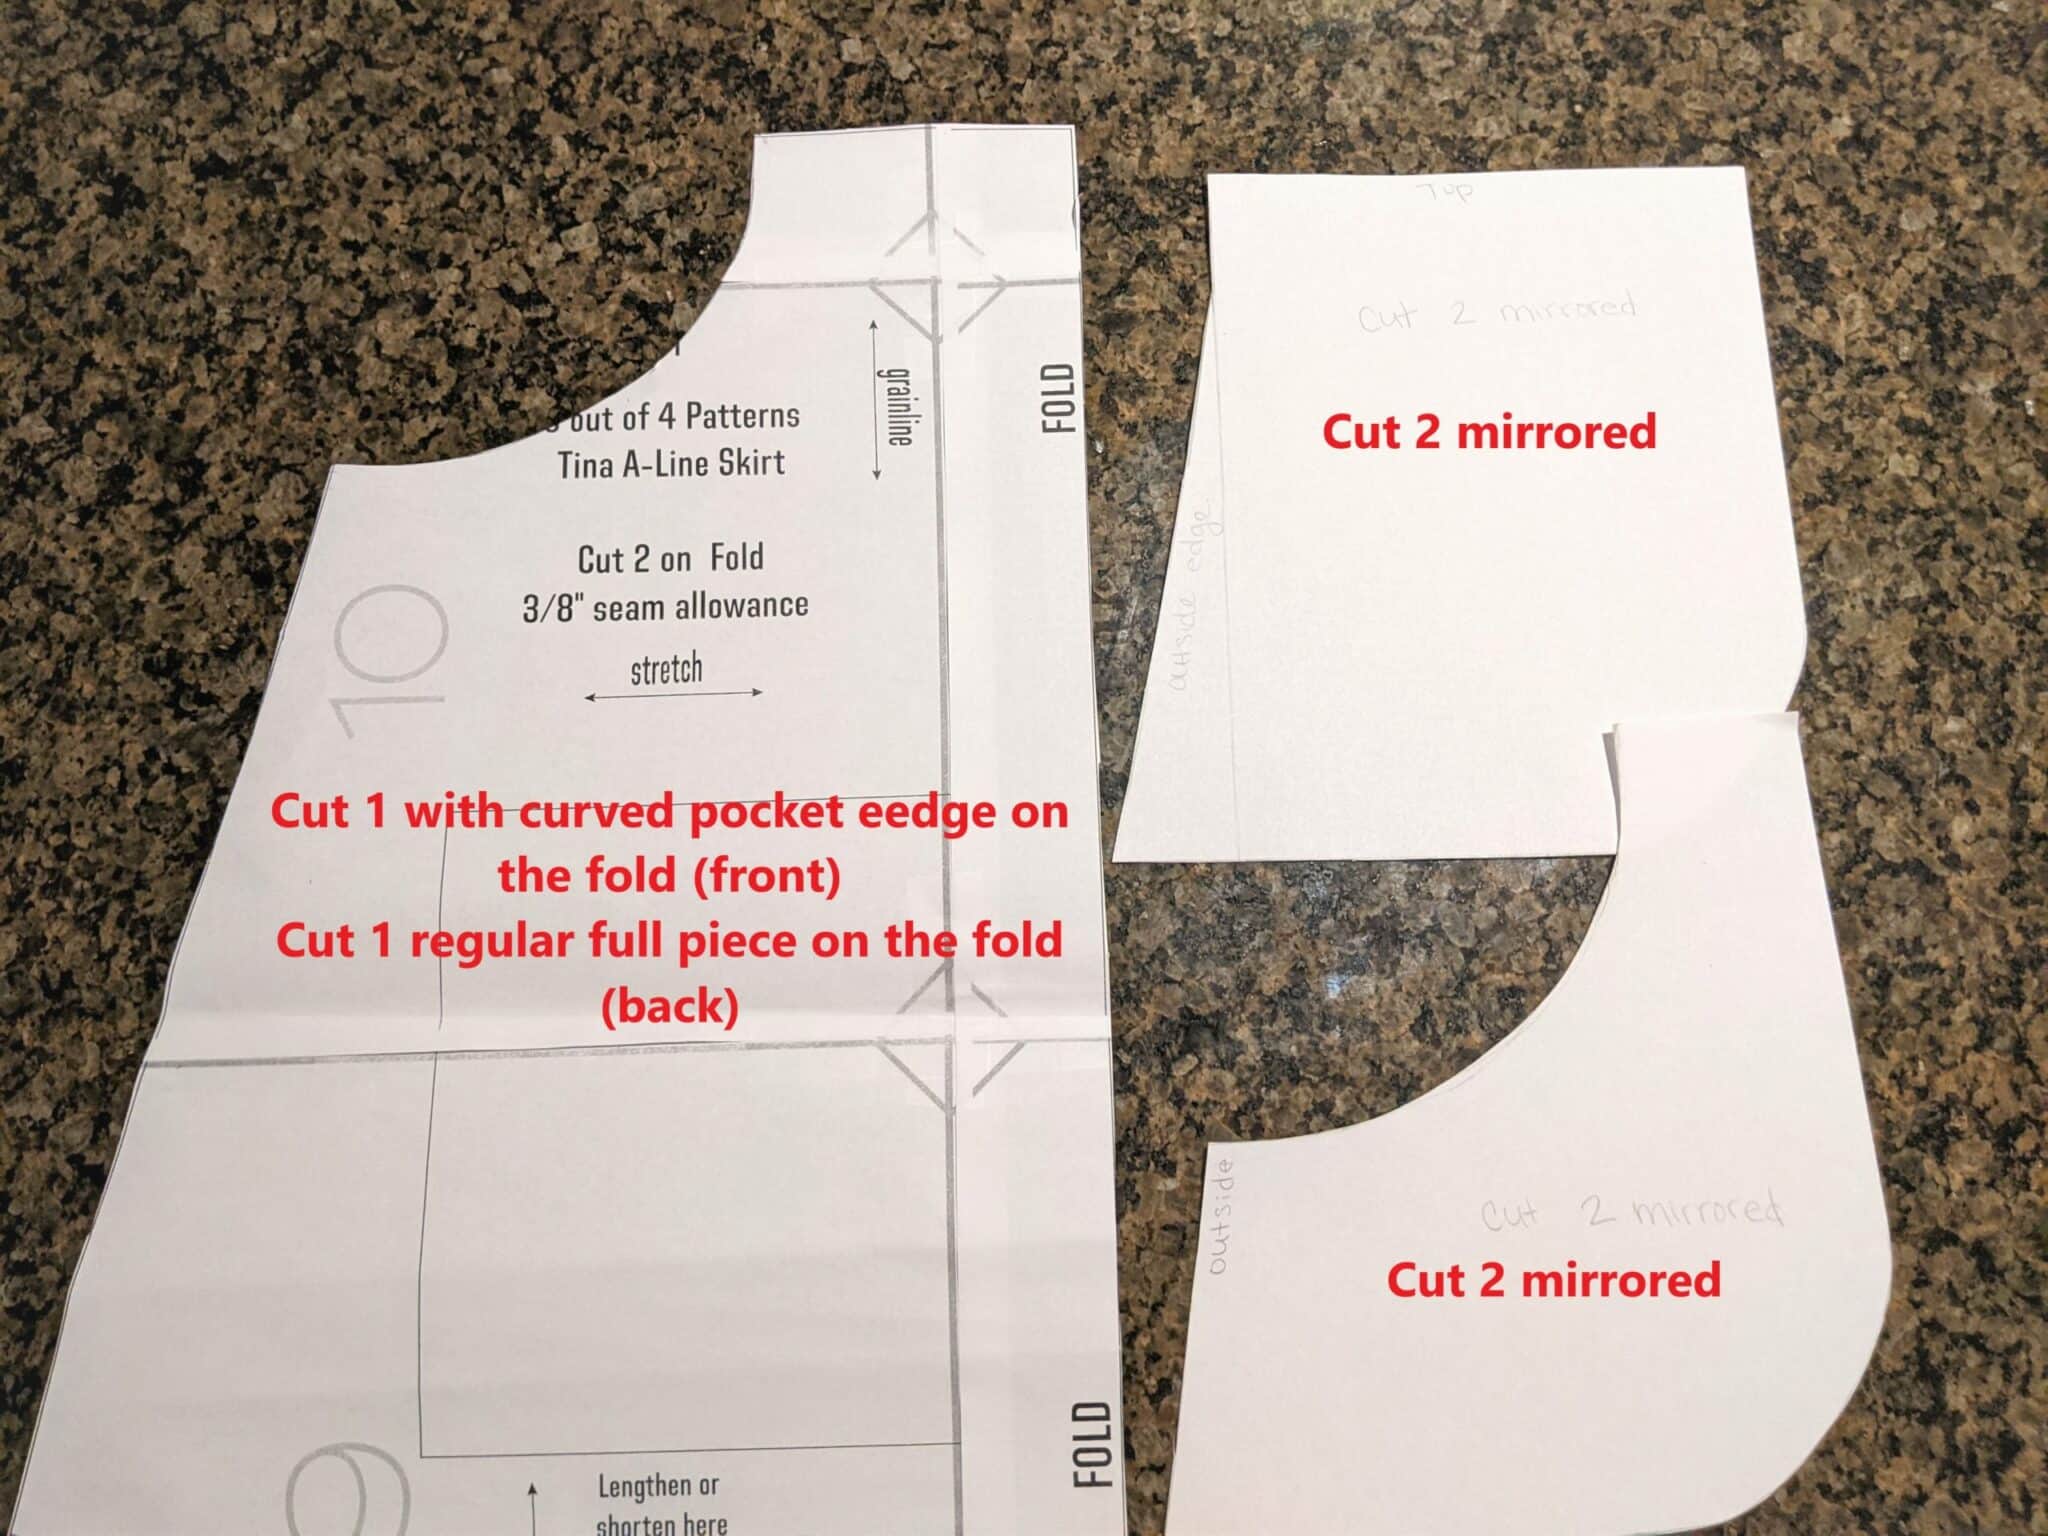
- Inner (larger) piece: cut 2 mirrored
- Outer (smaller) piece: cut 2 mirrored
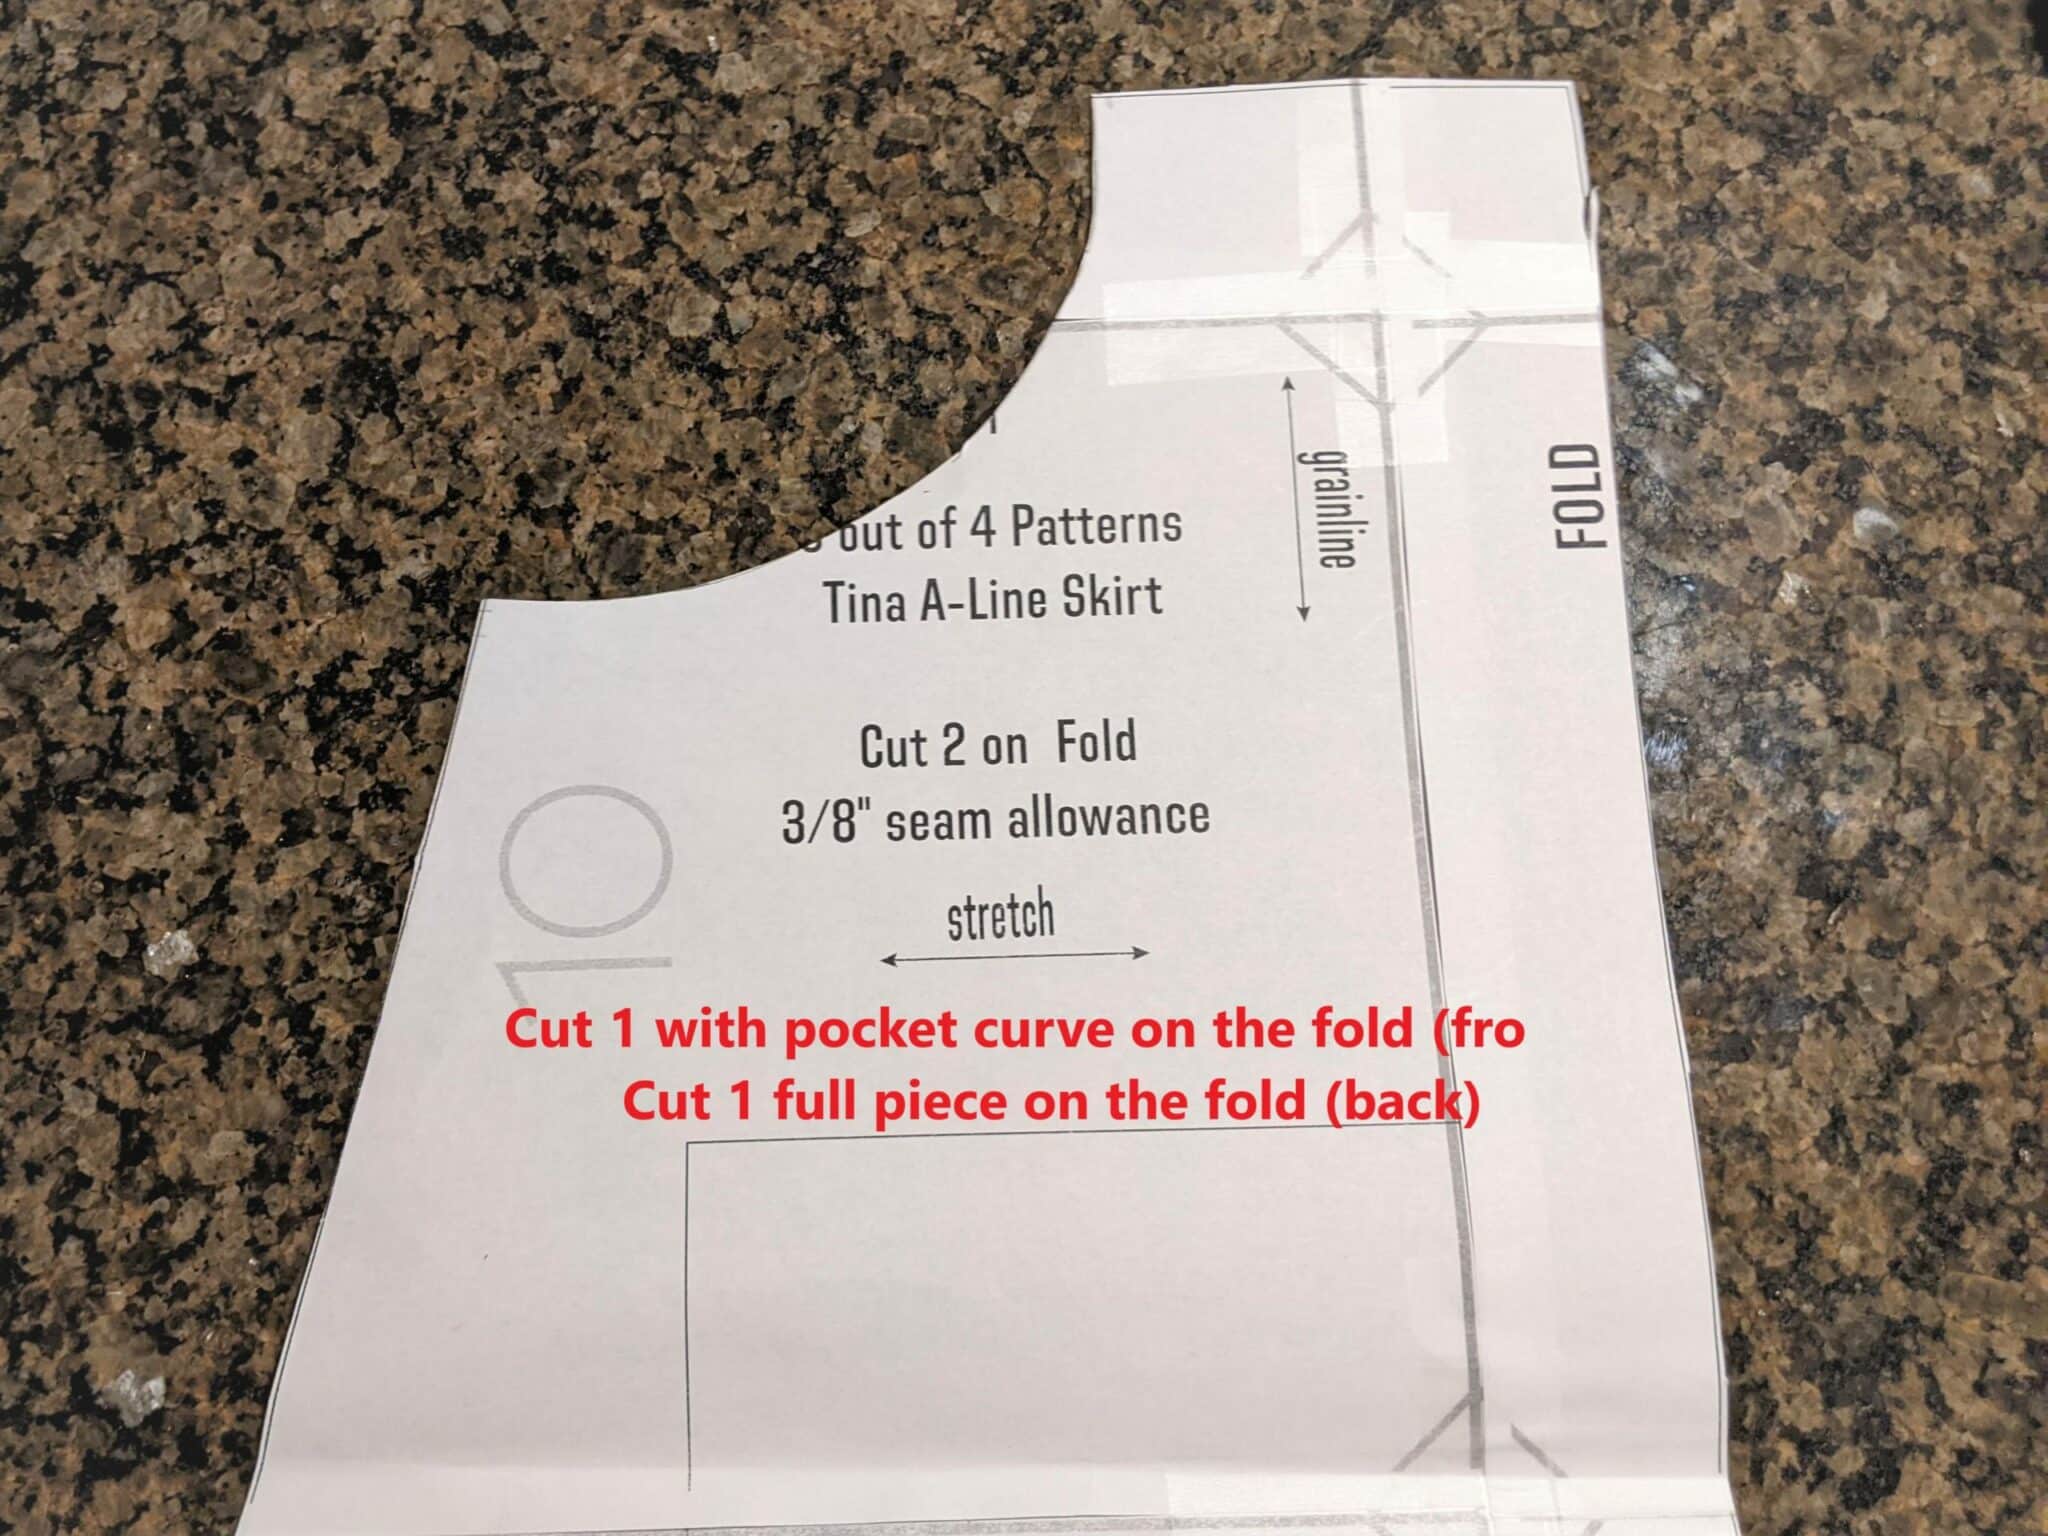
- Front skirt: cut 1 with the pocket cutout on the fold
- Back skirt: cut 1 regular skirt on the fold
- Cut any other chosen options as outlined in your tutorial
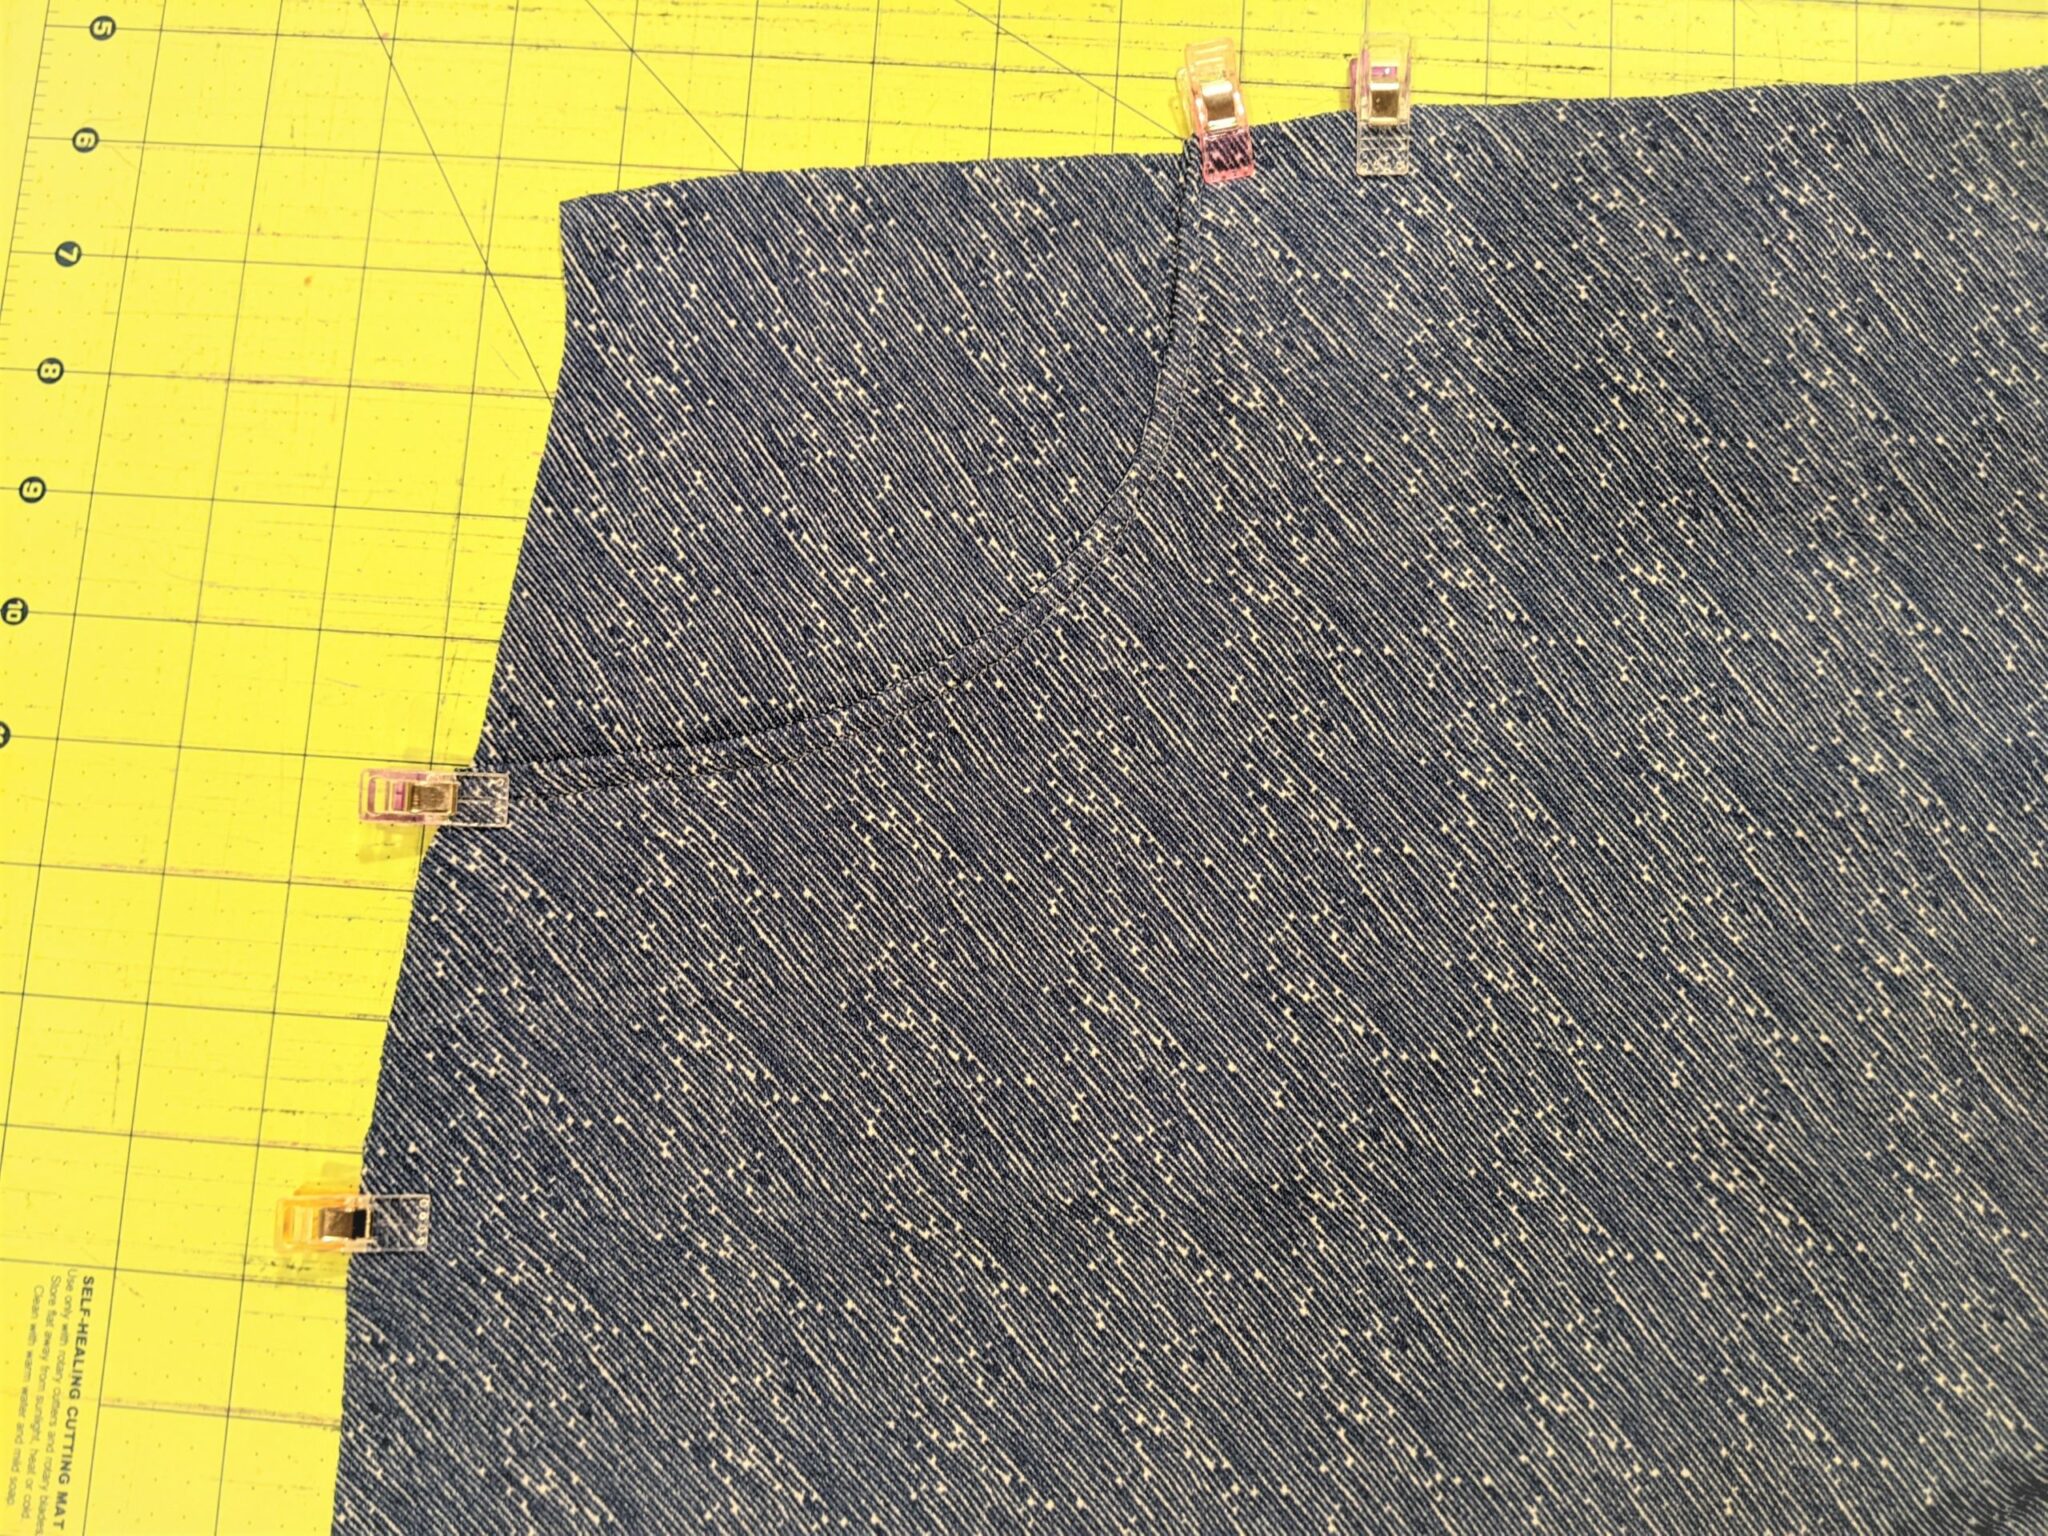
Sew on the Pockets
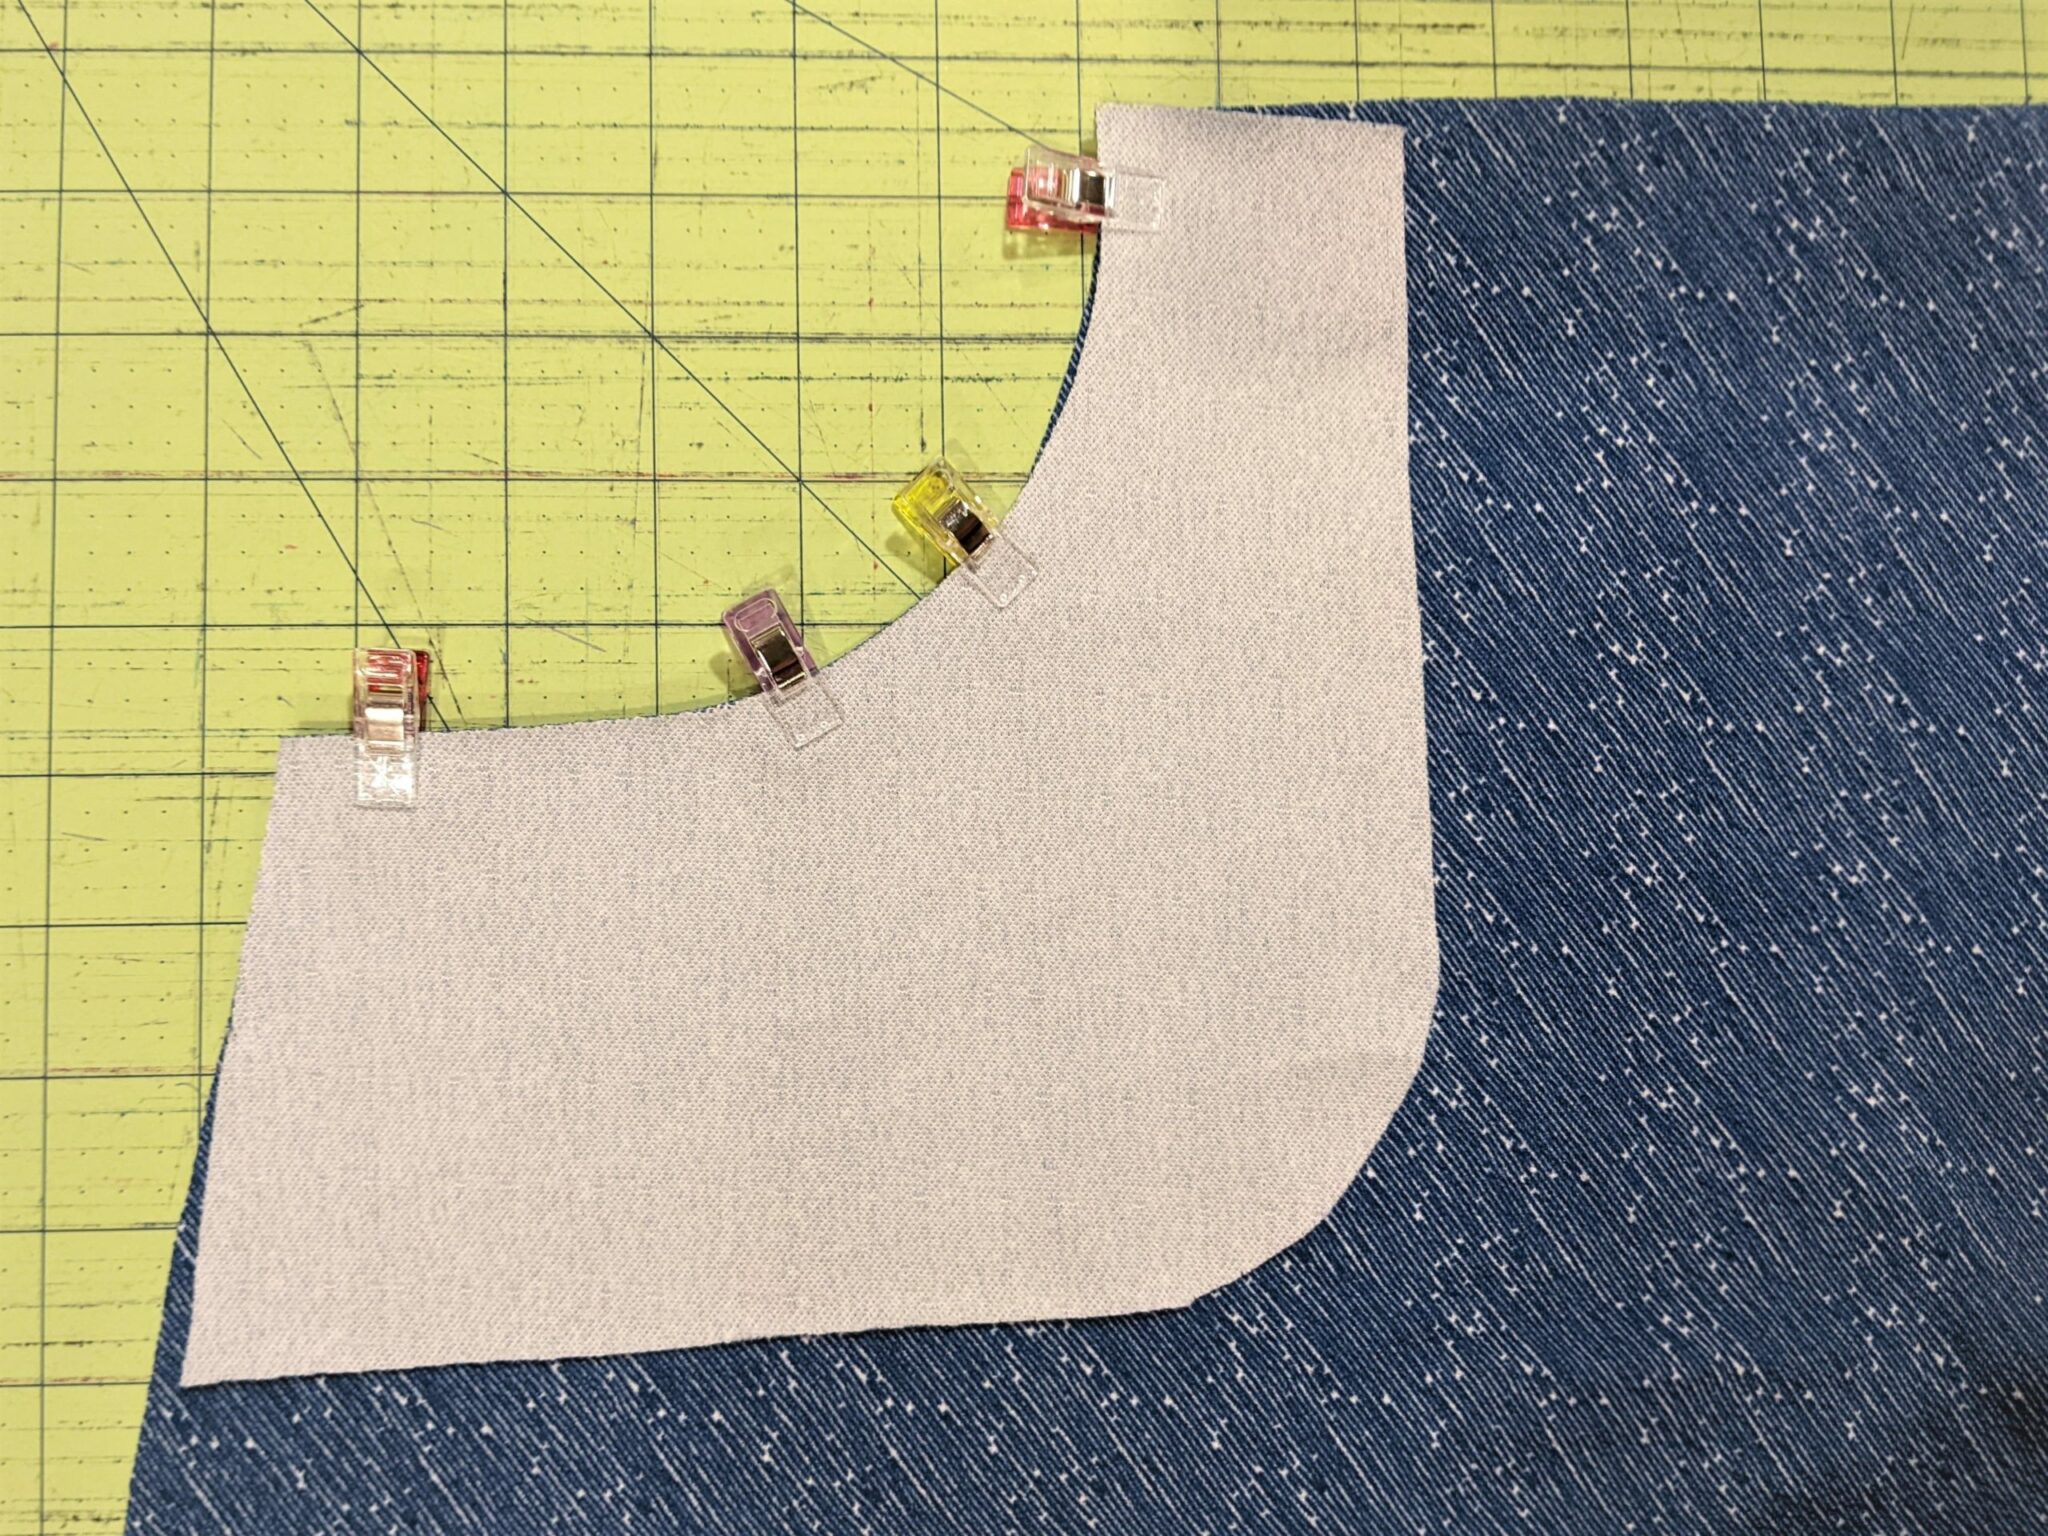
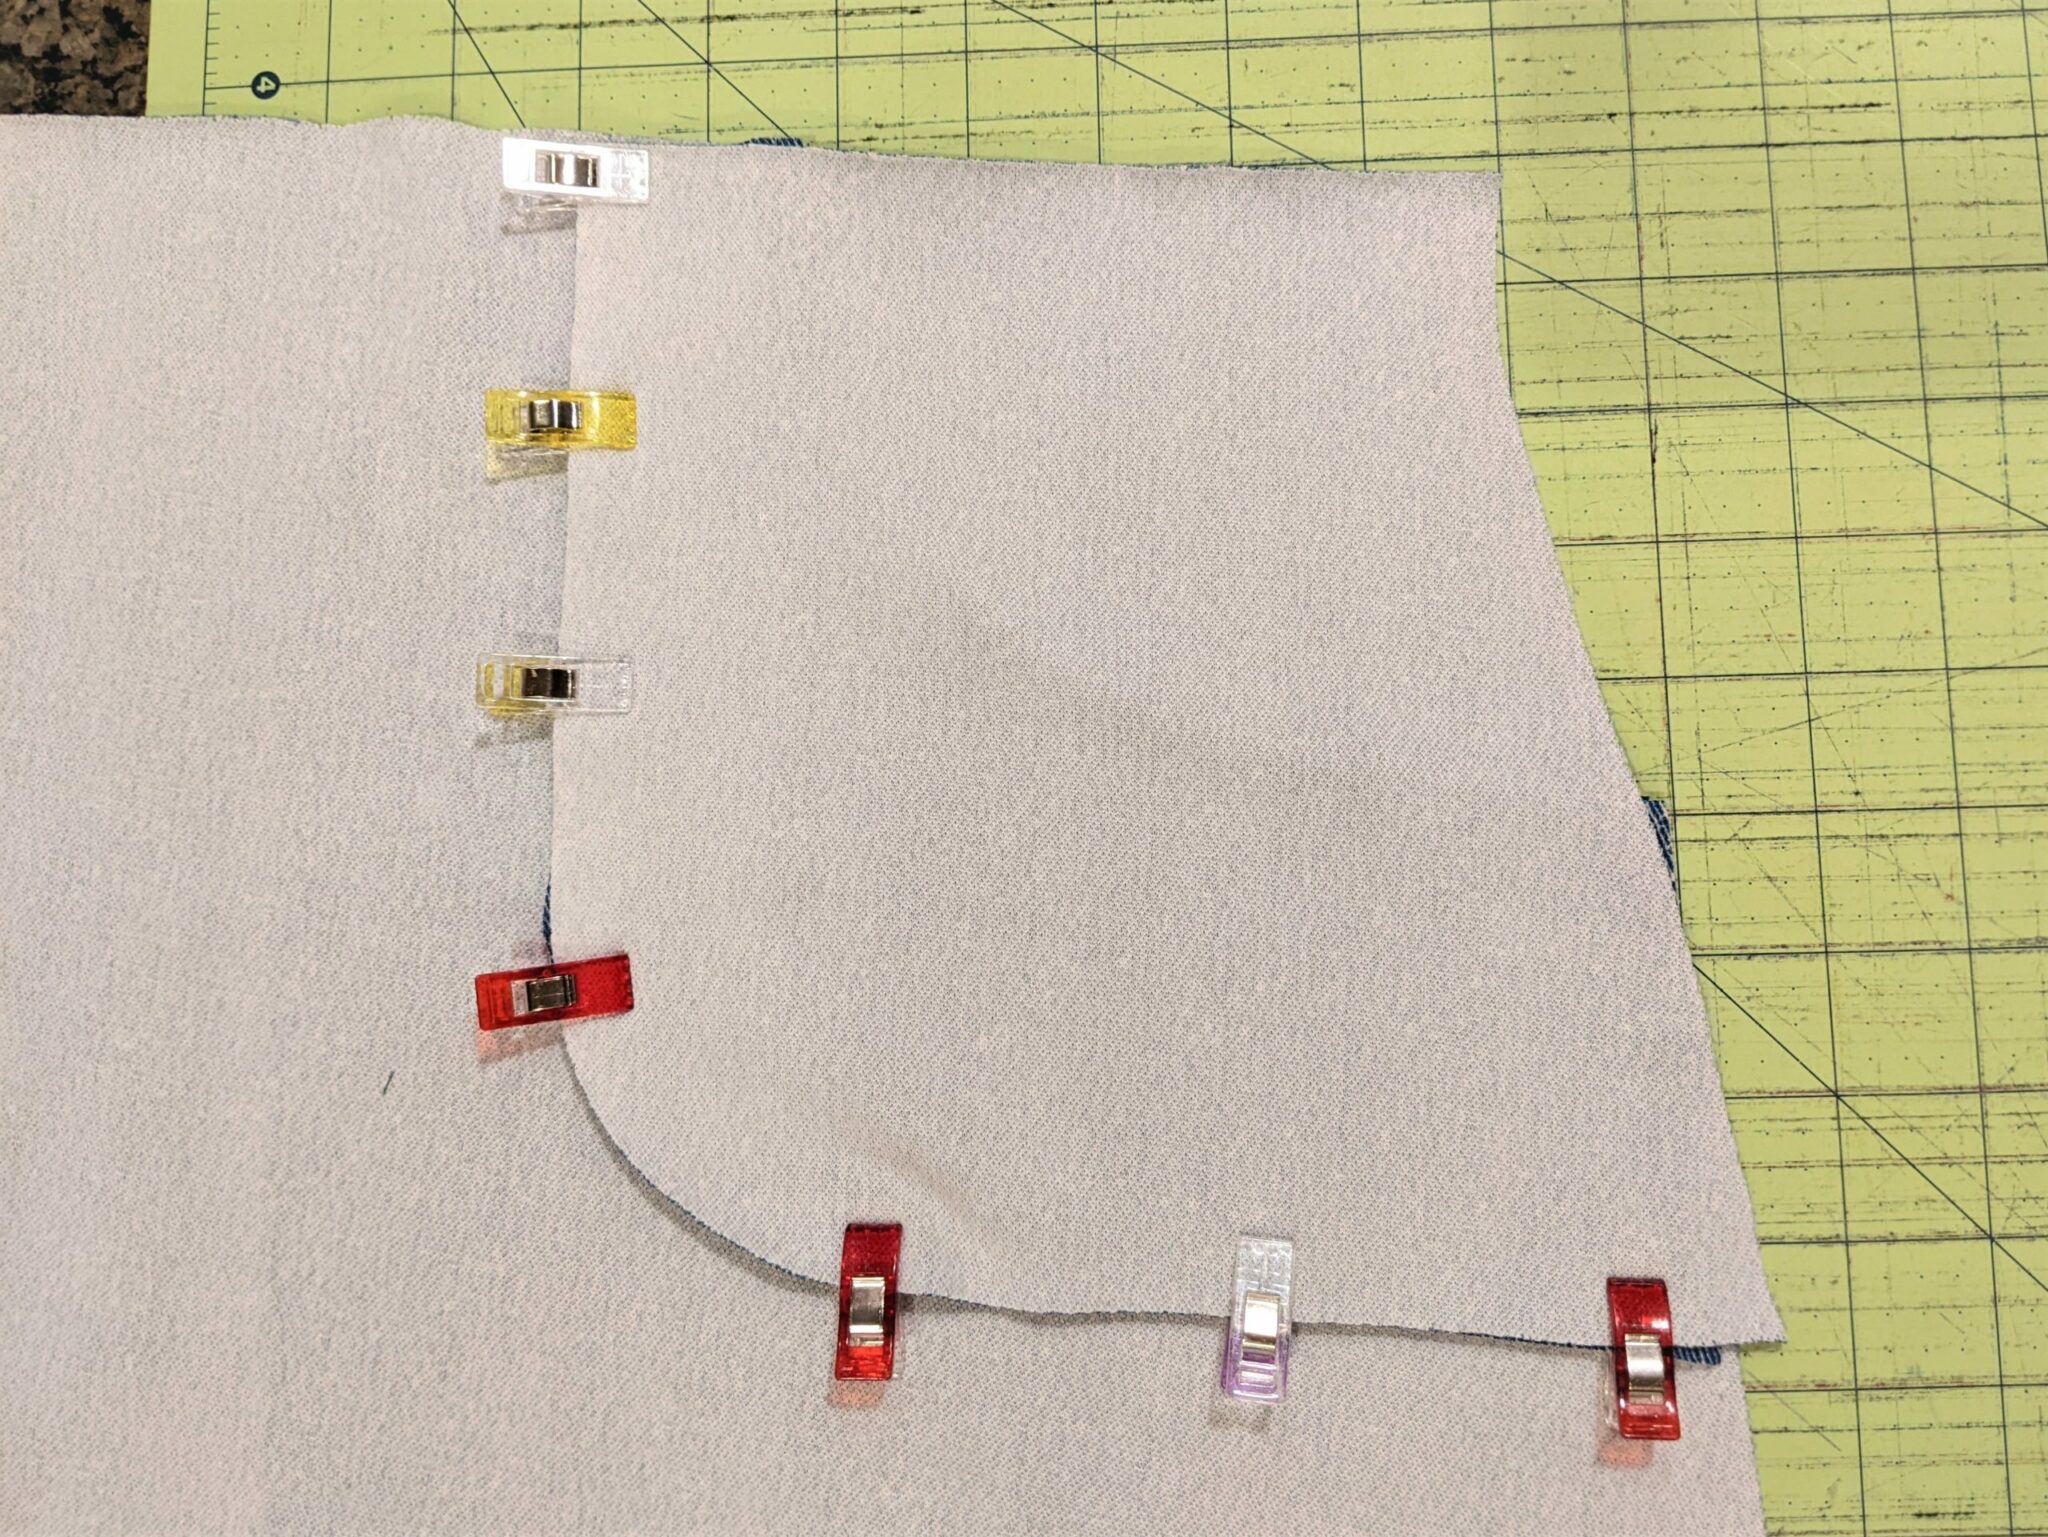
- Take one of the outer pocket pieces and match it up with the correct side of the skirt along the curve with right sides together making sure your top and outer edges are in their correct places.
- Pin along the curved edge and sew with a stretch stitch or serger.
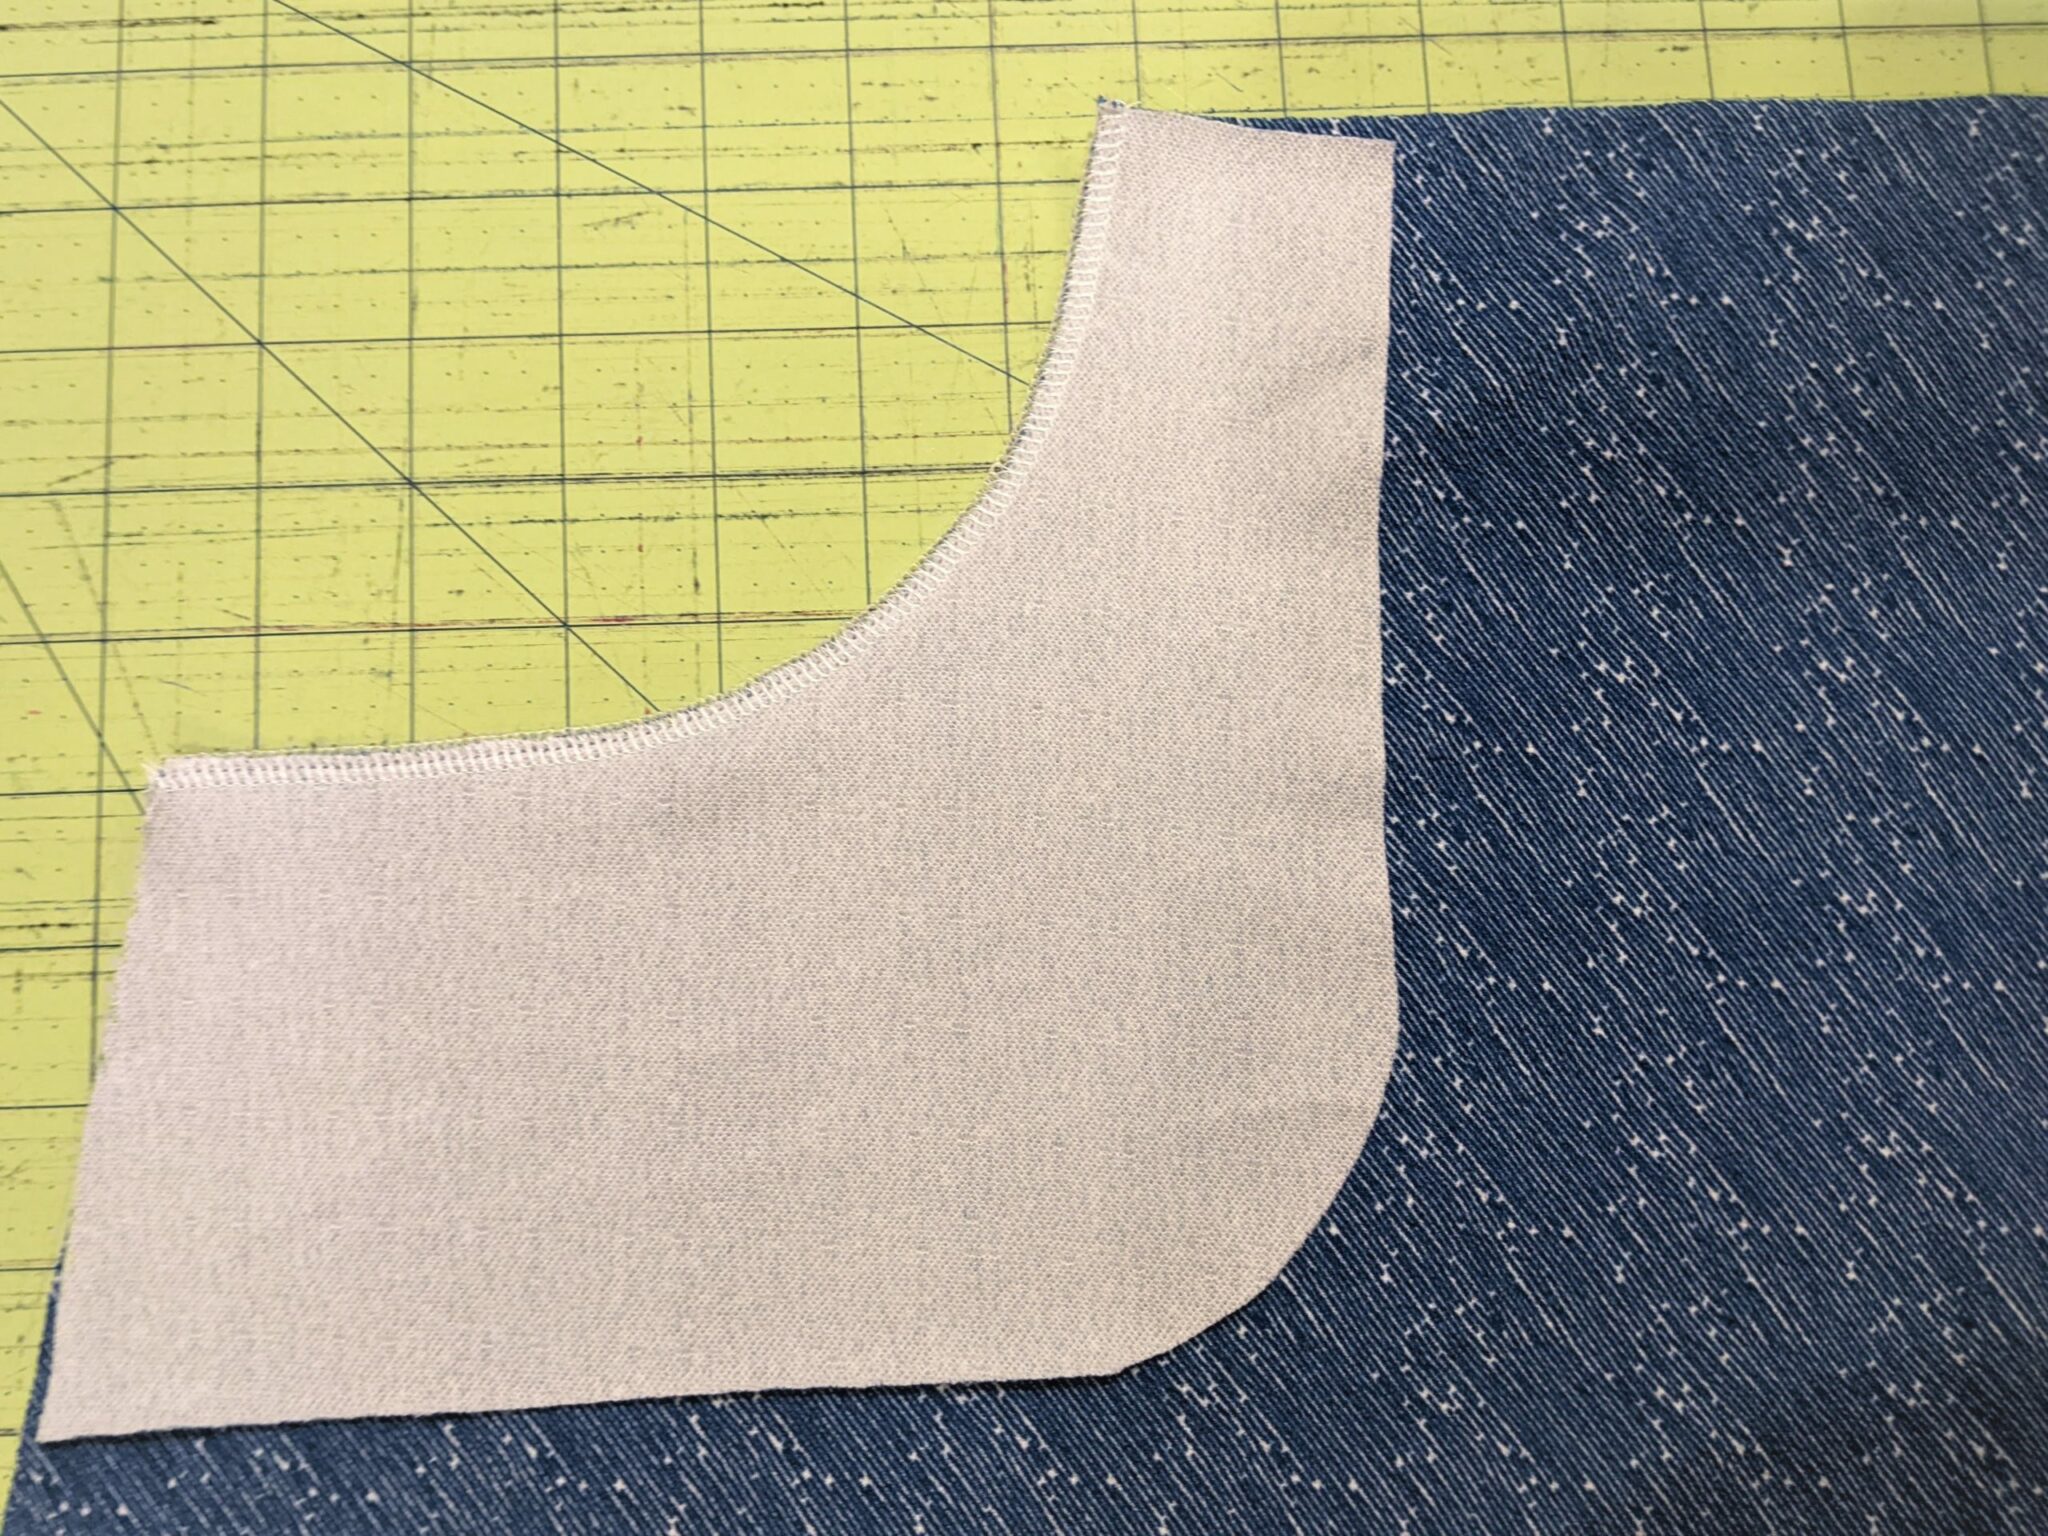
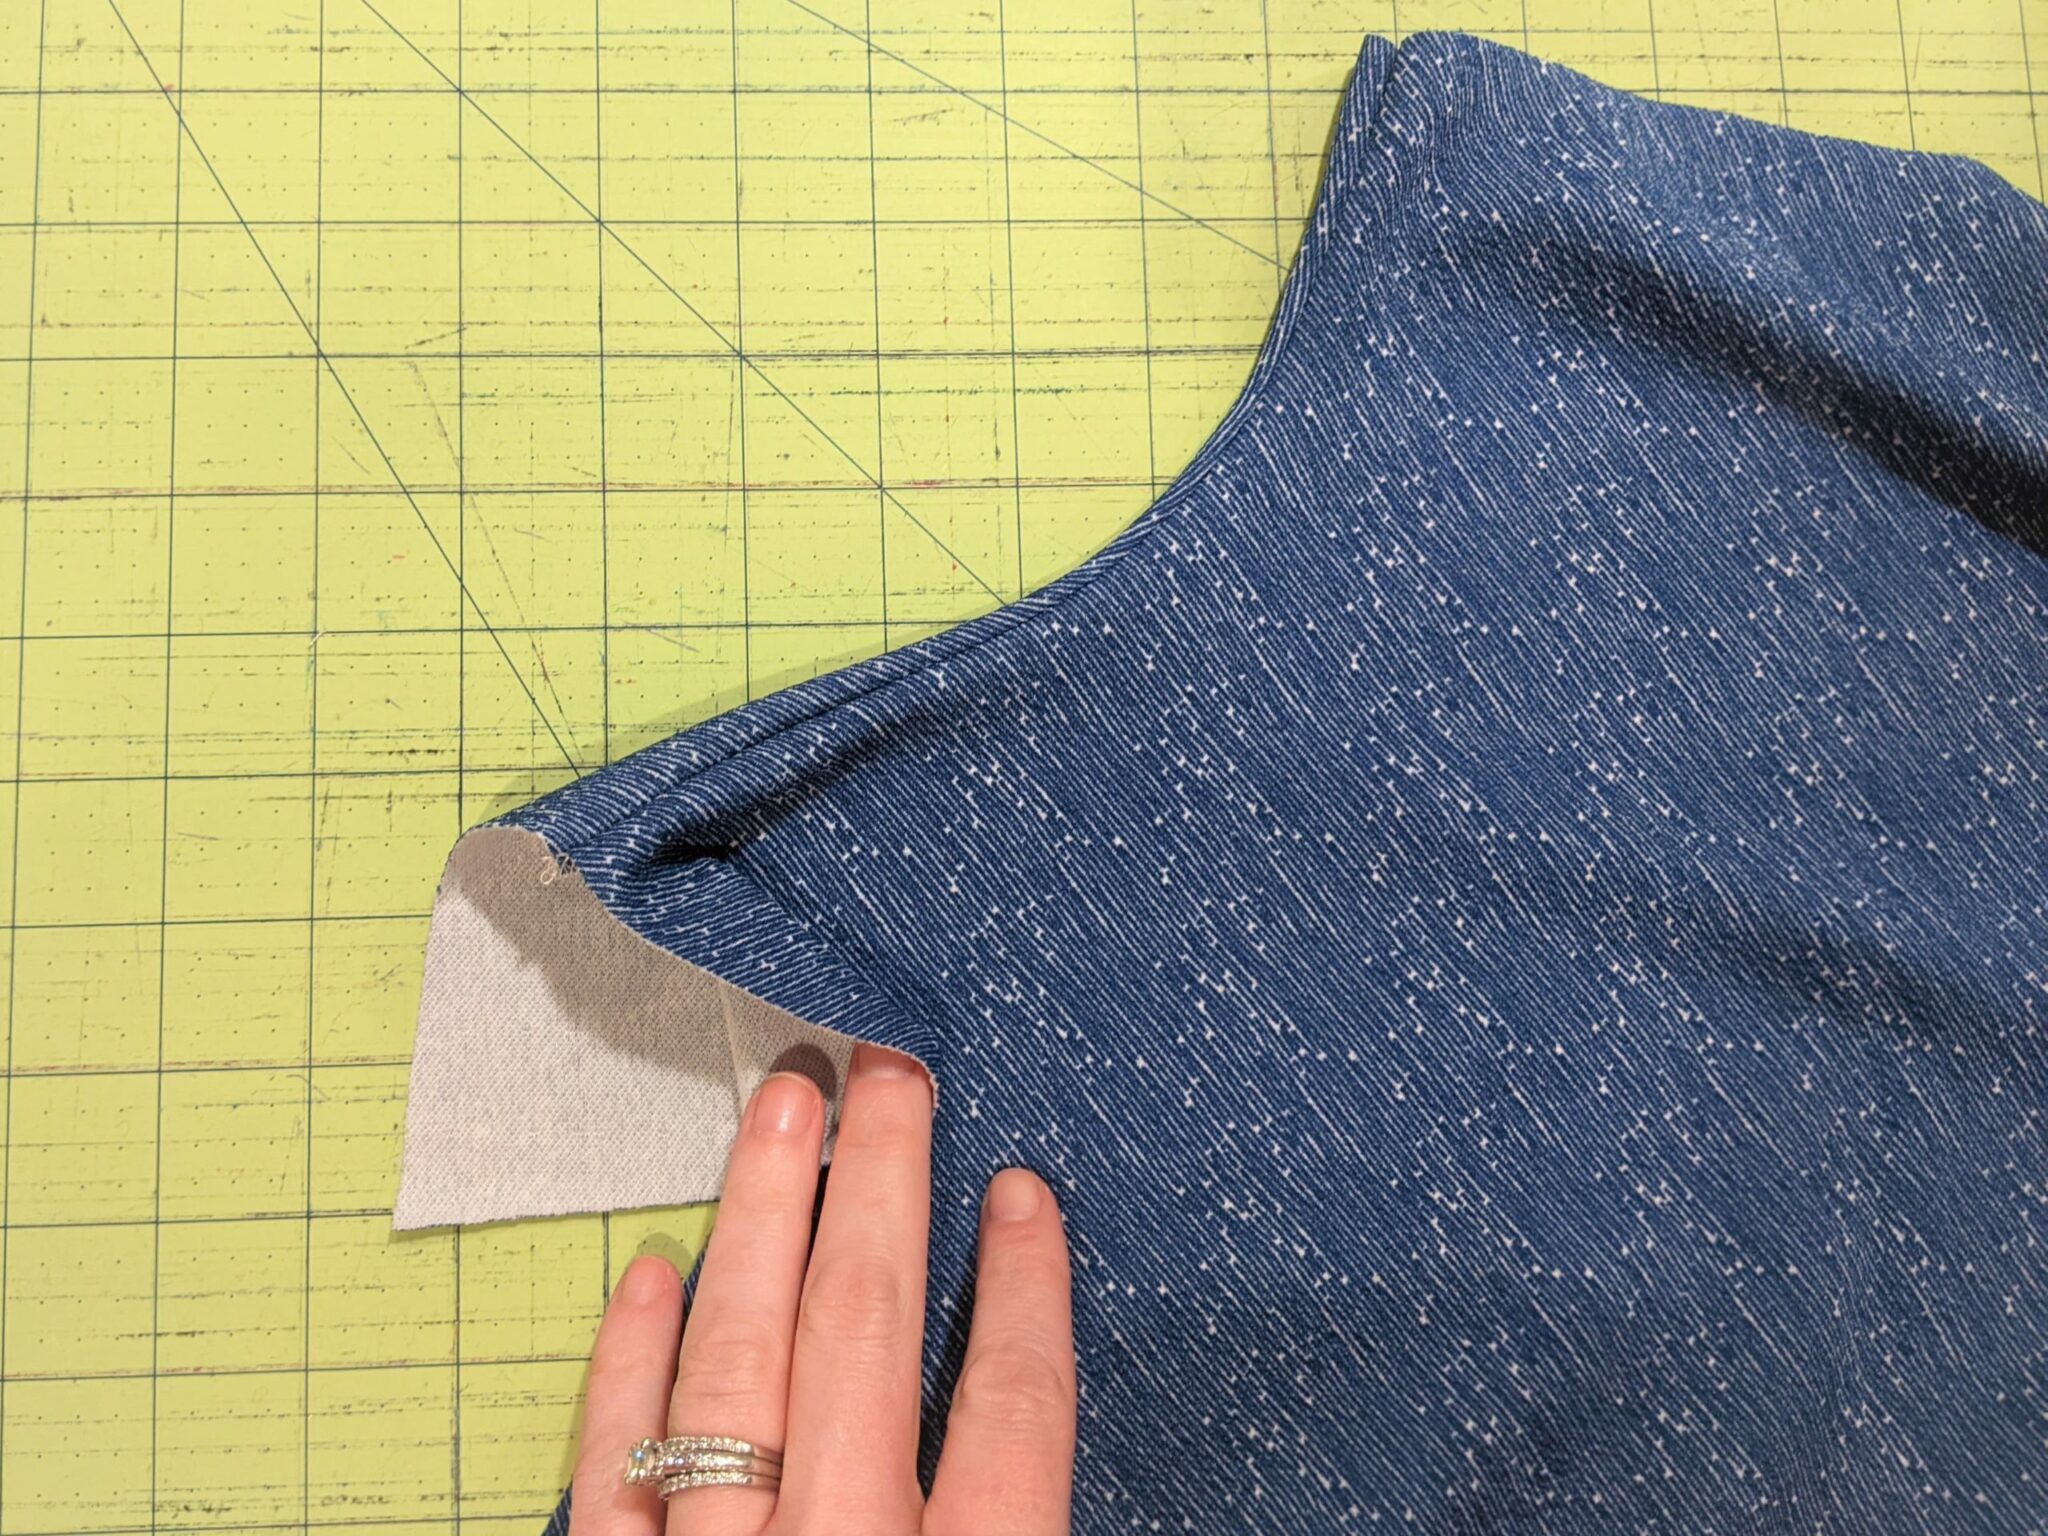
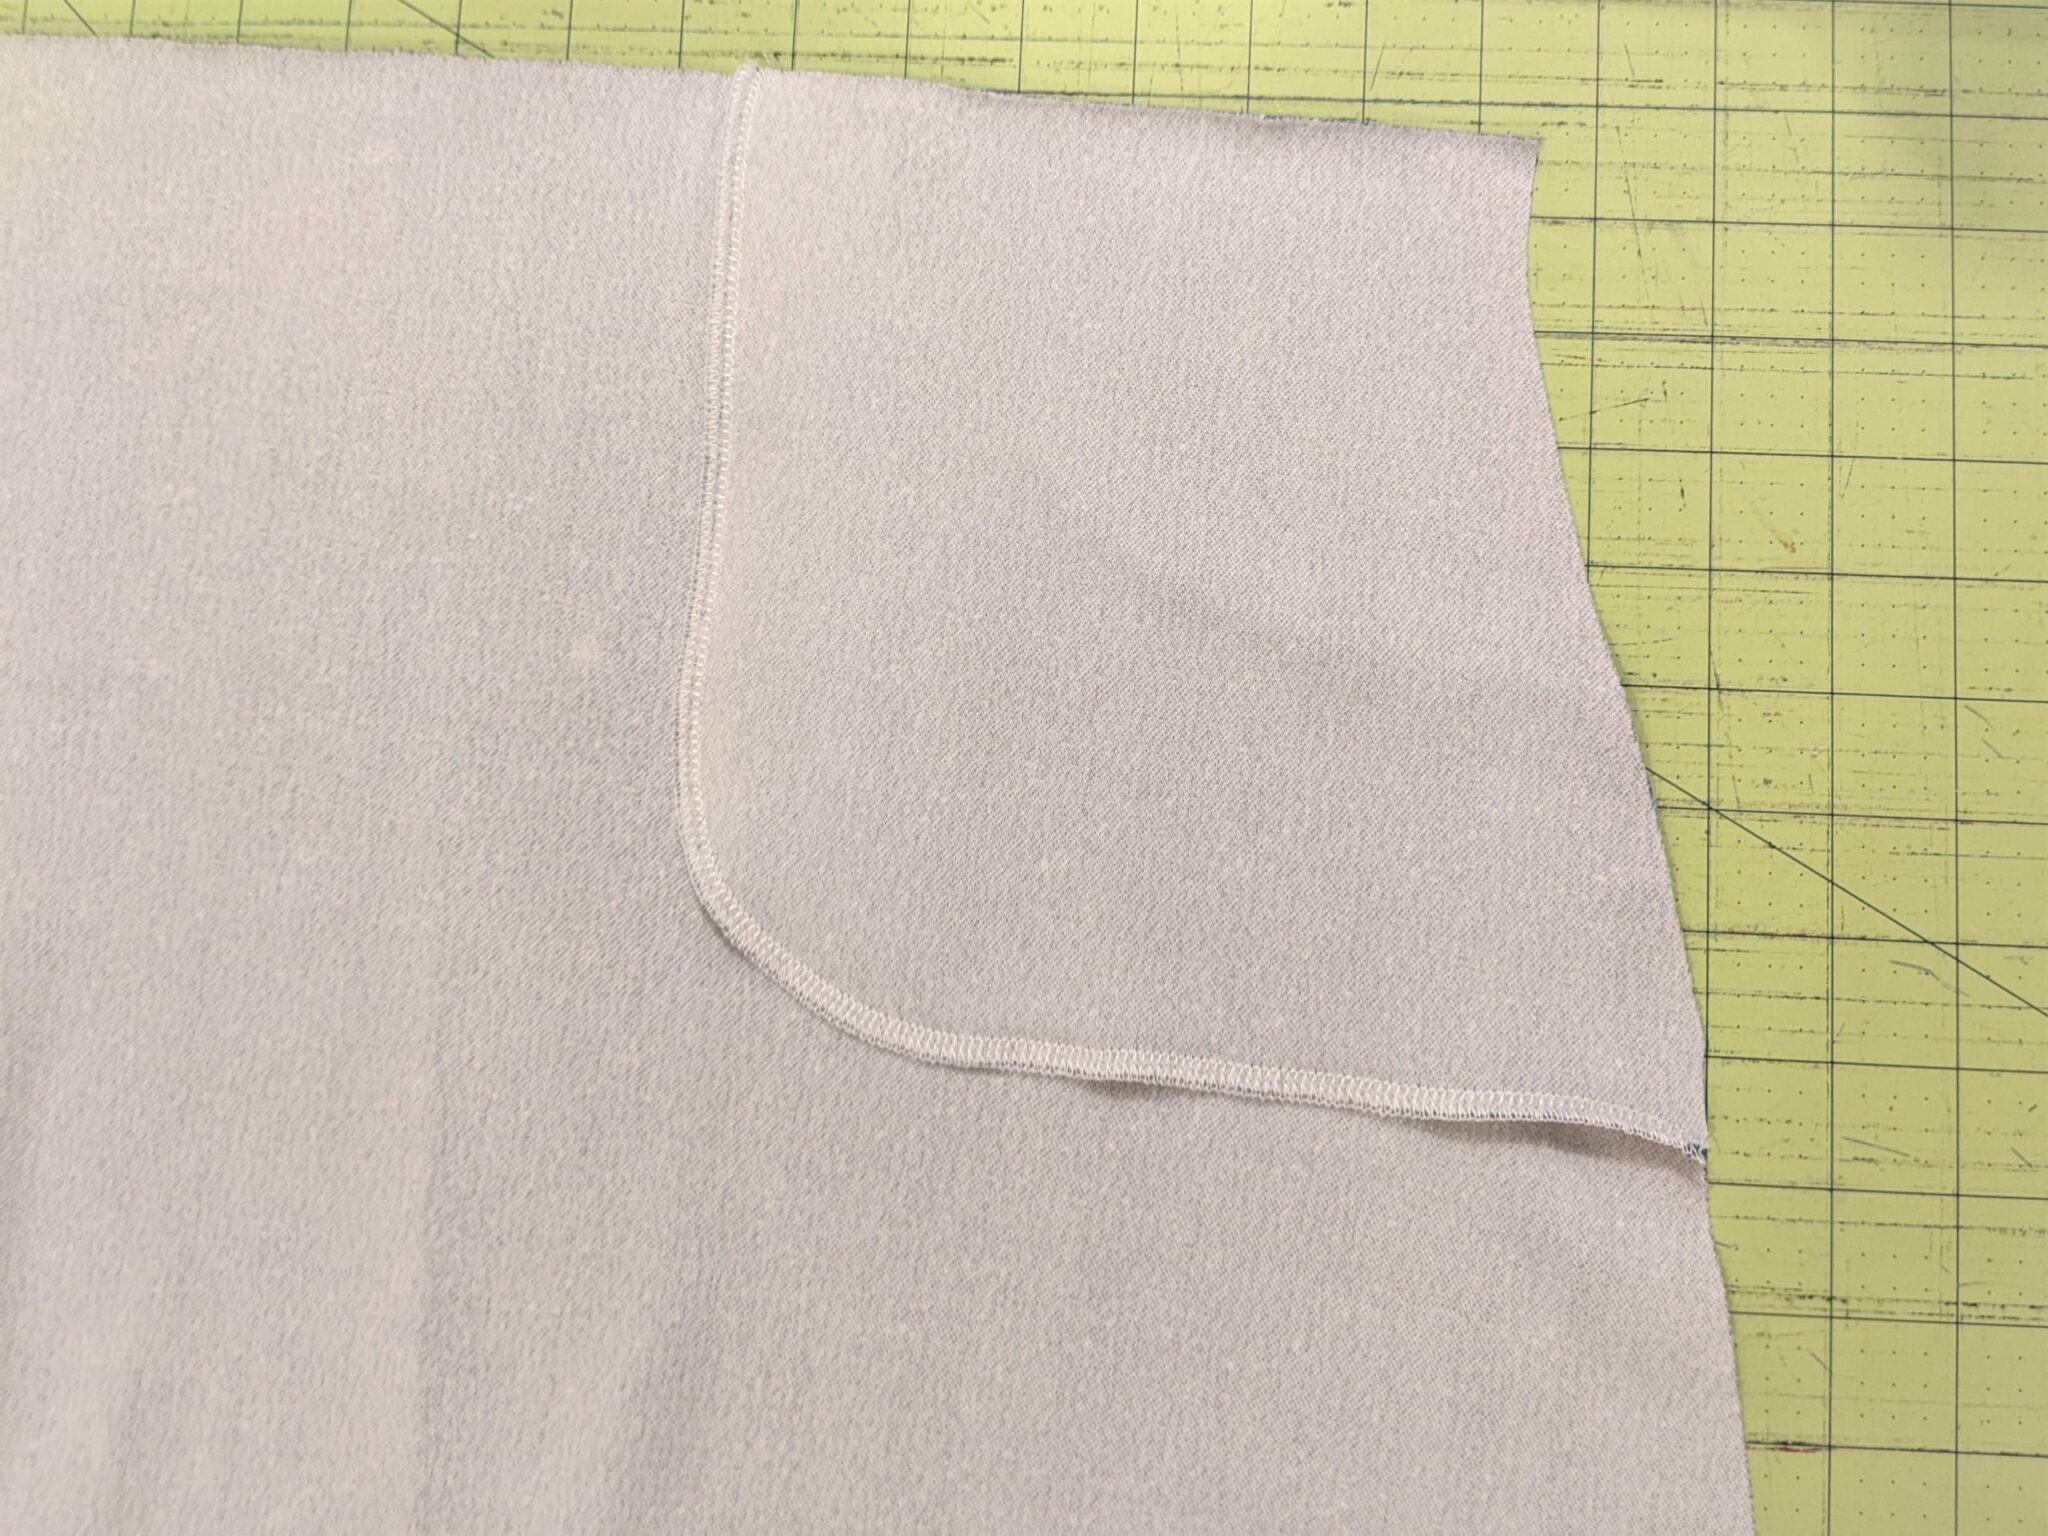
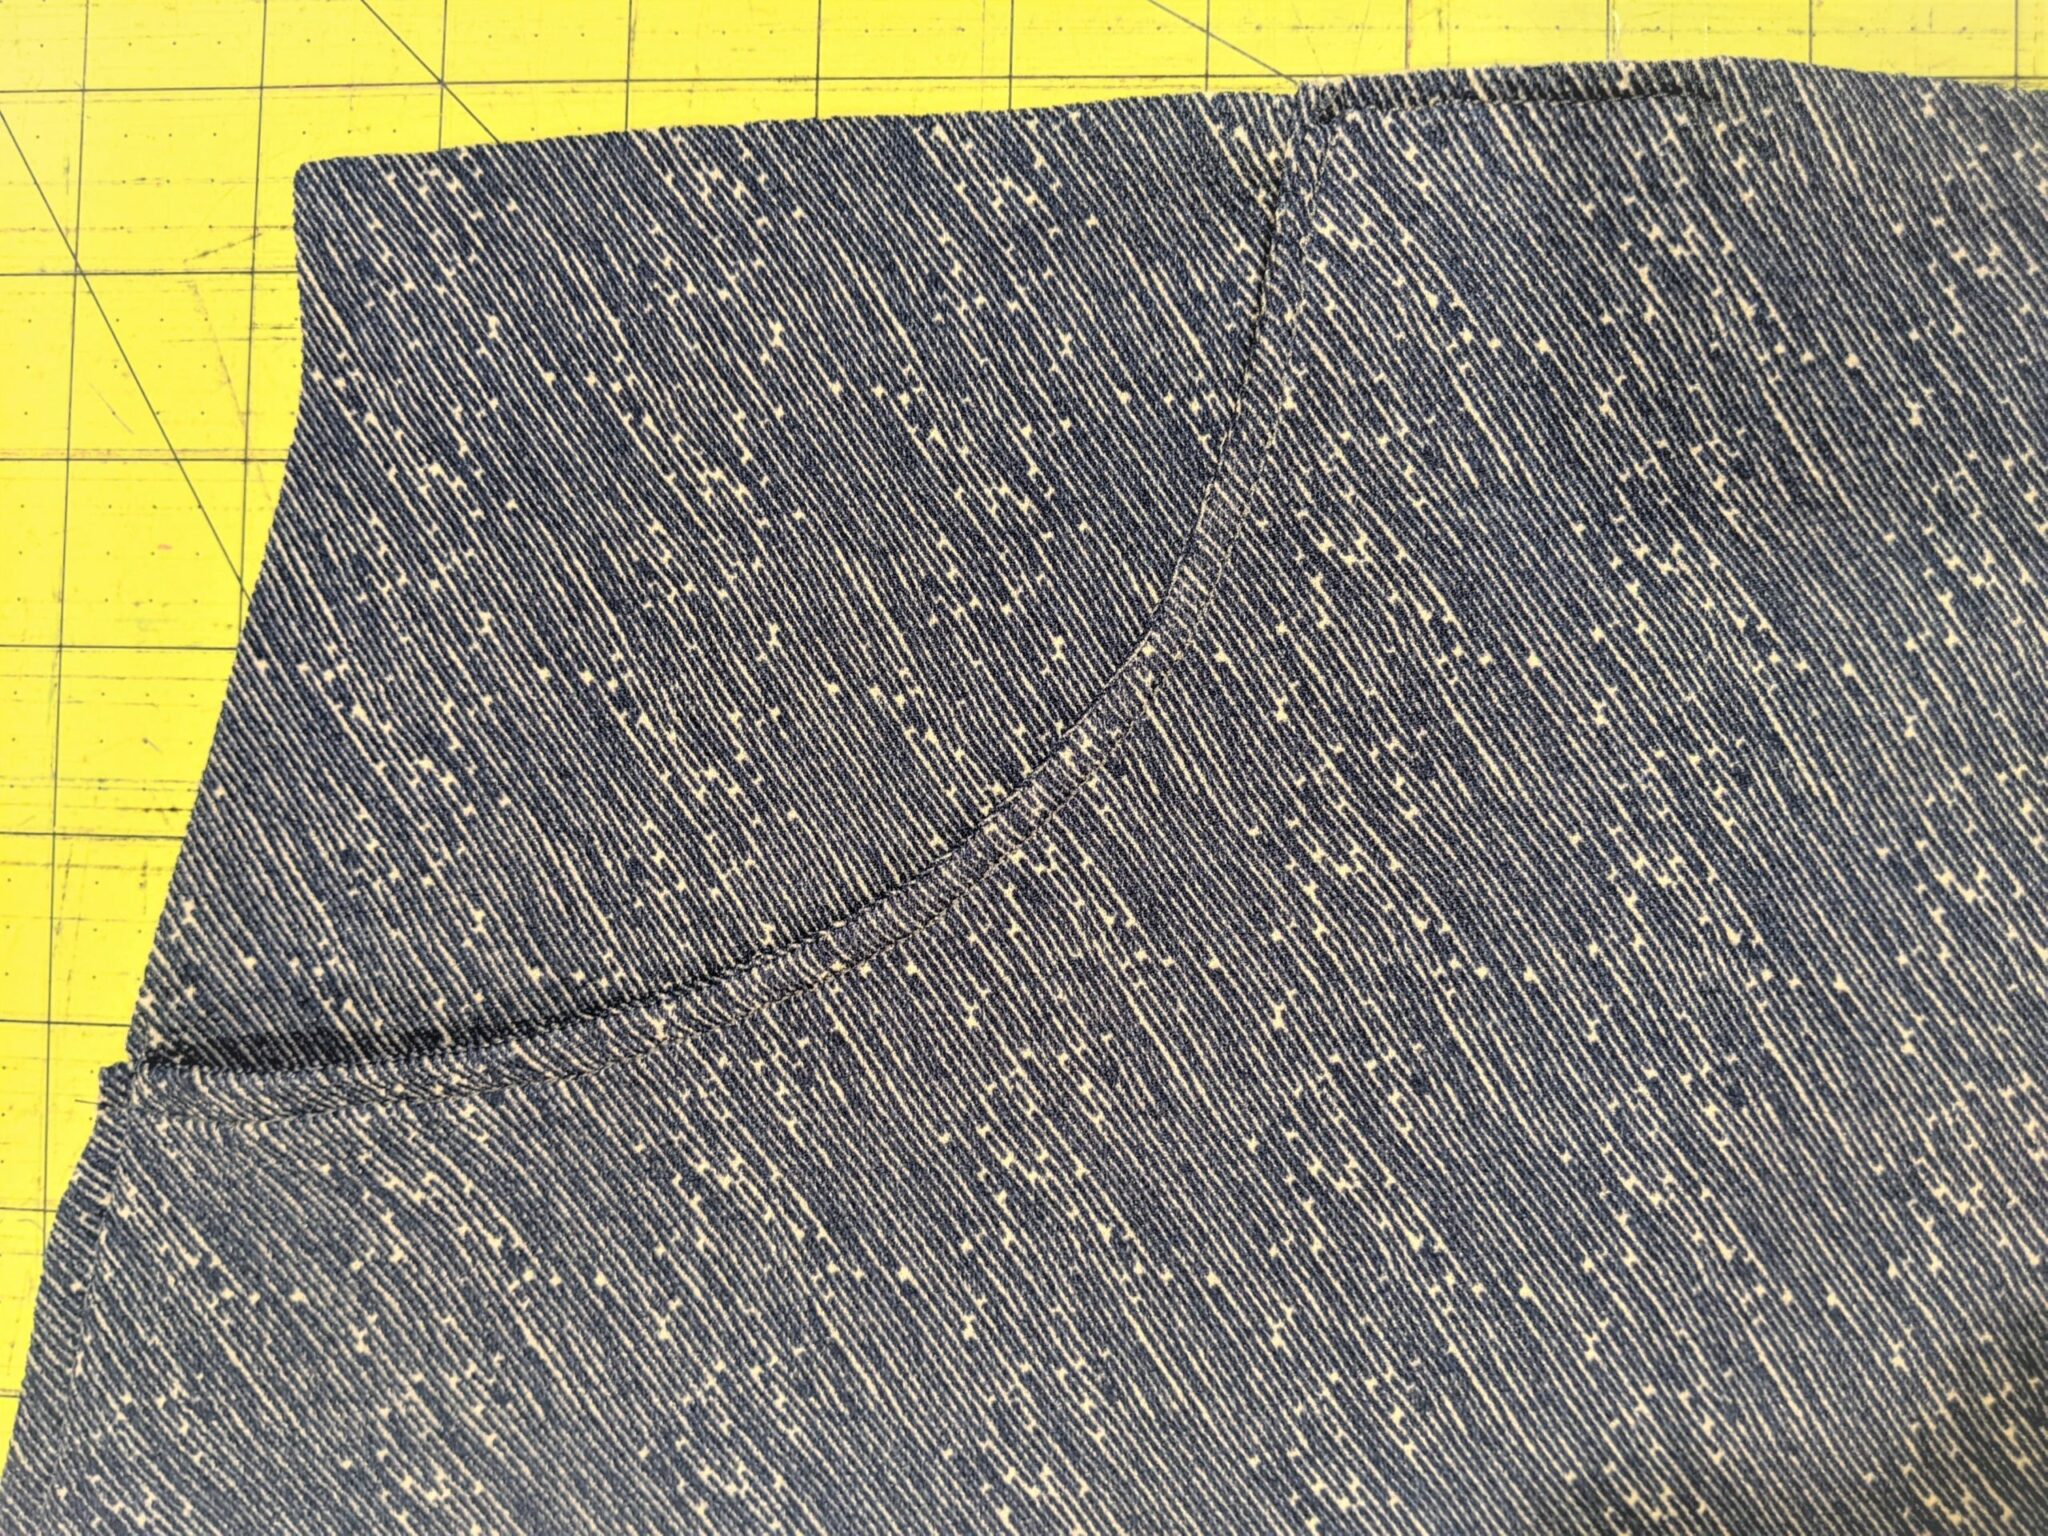
- Flip the outer pocket piece to the back so the wrong sides of the skirt and pocket are together.
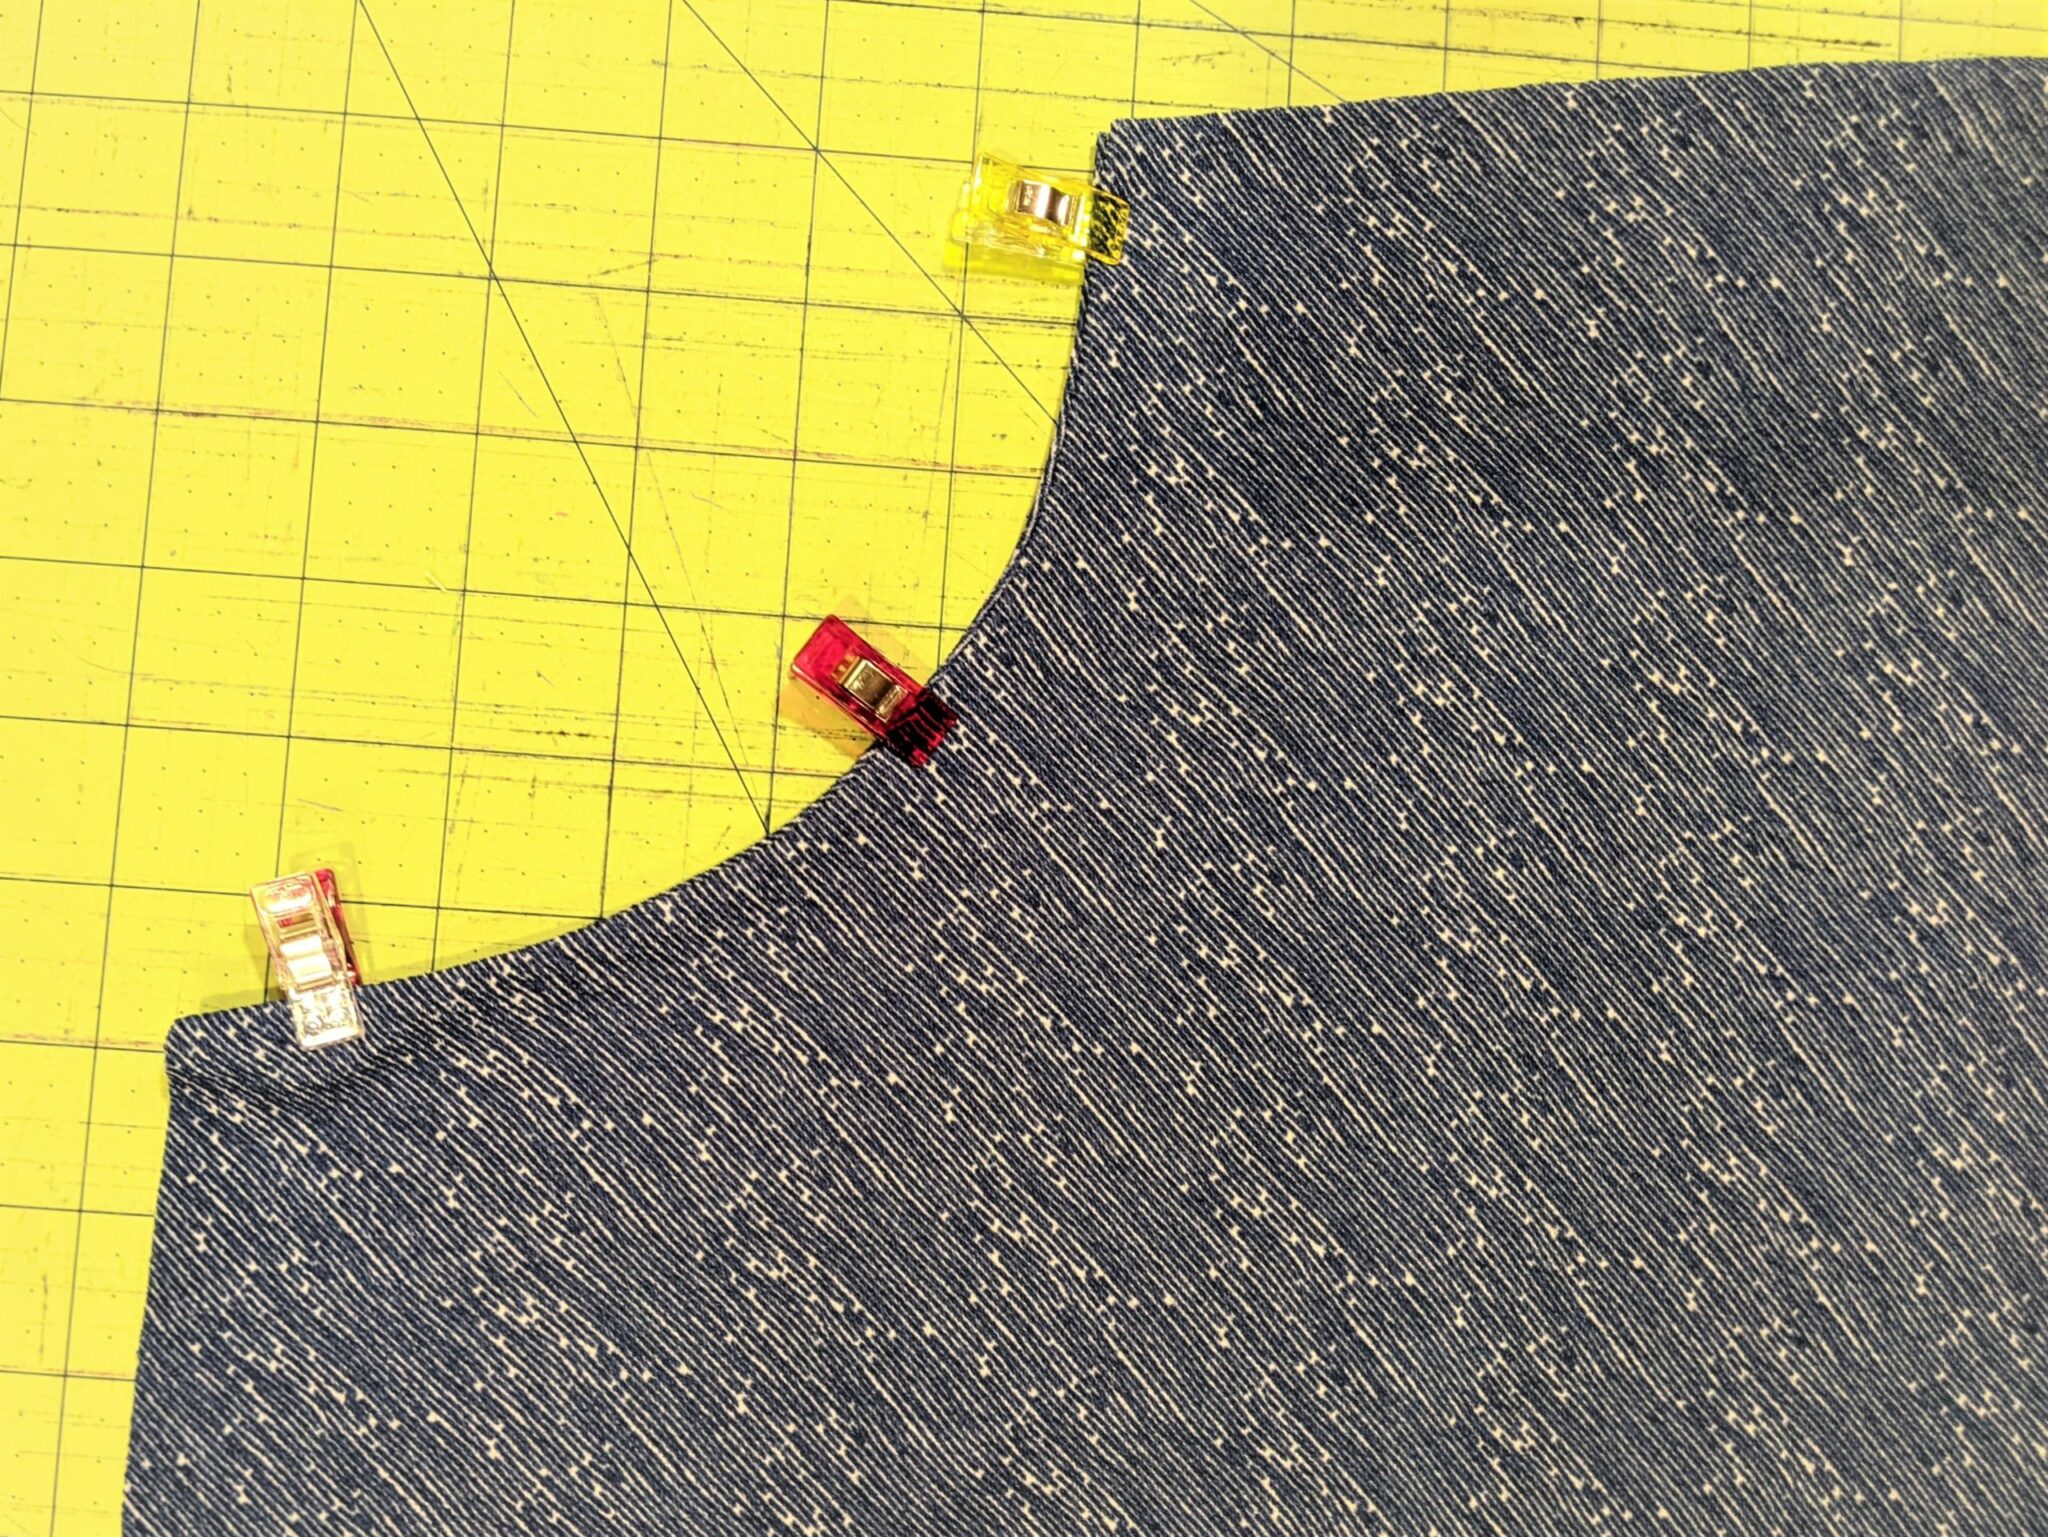
- Press the seam allowance well then topstitch along the curve.
- Repeat on the opposite side.
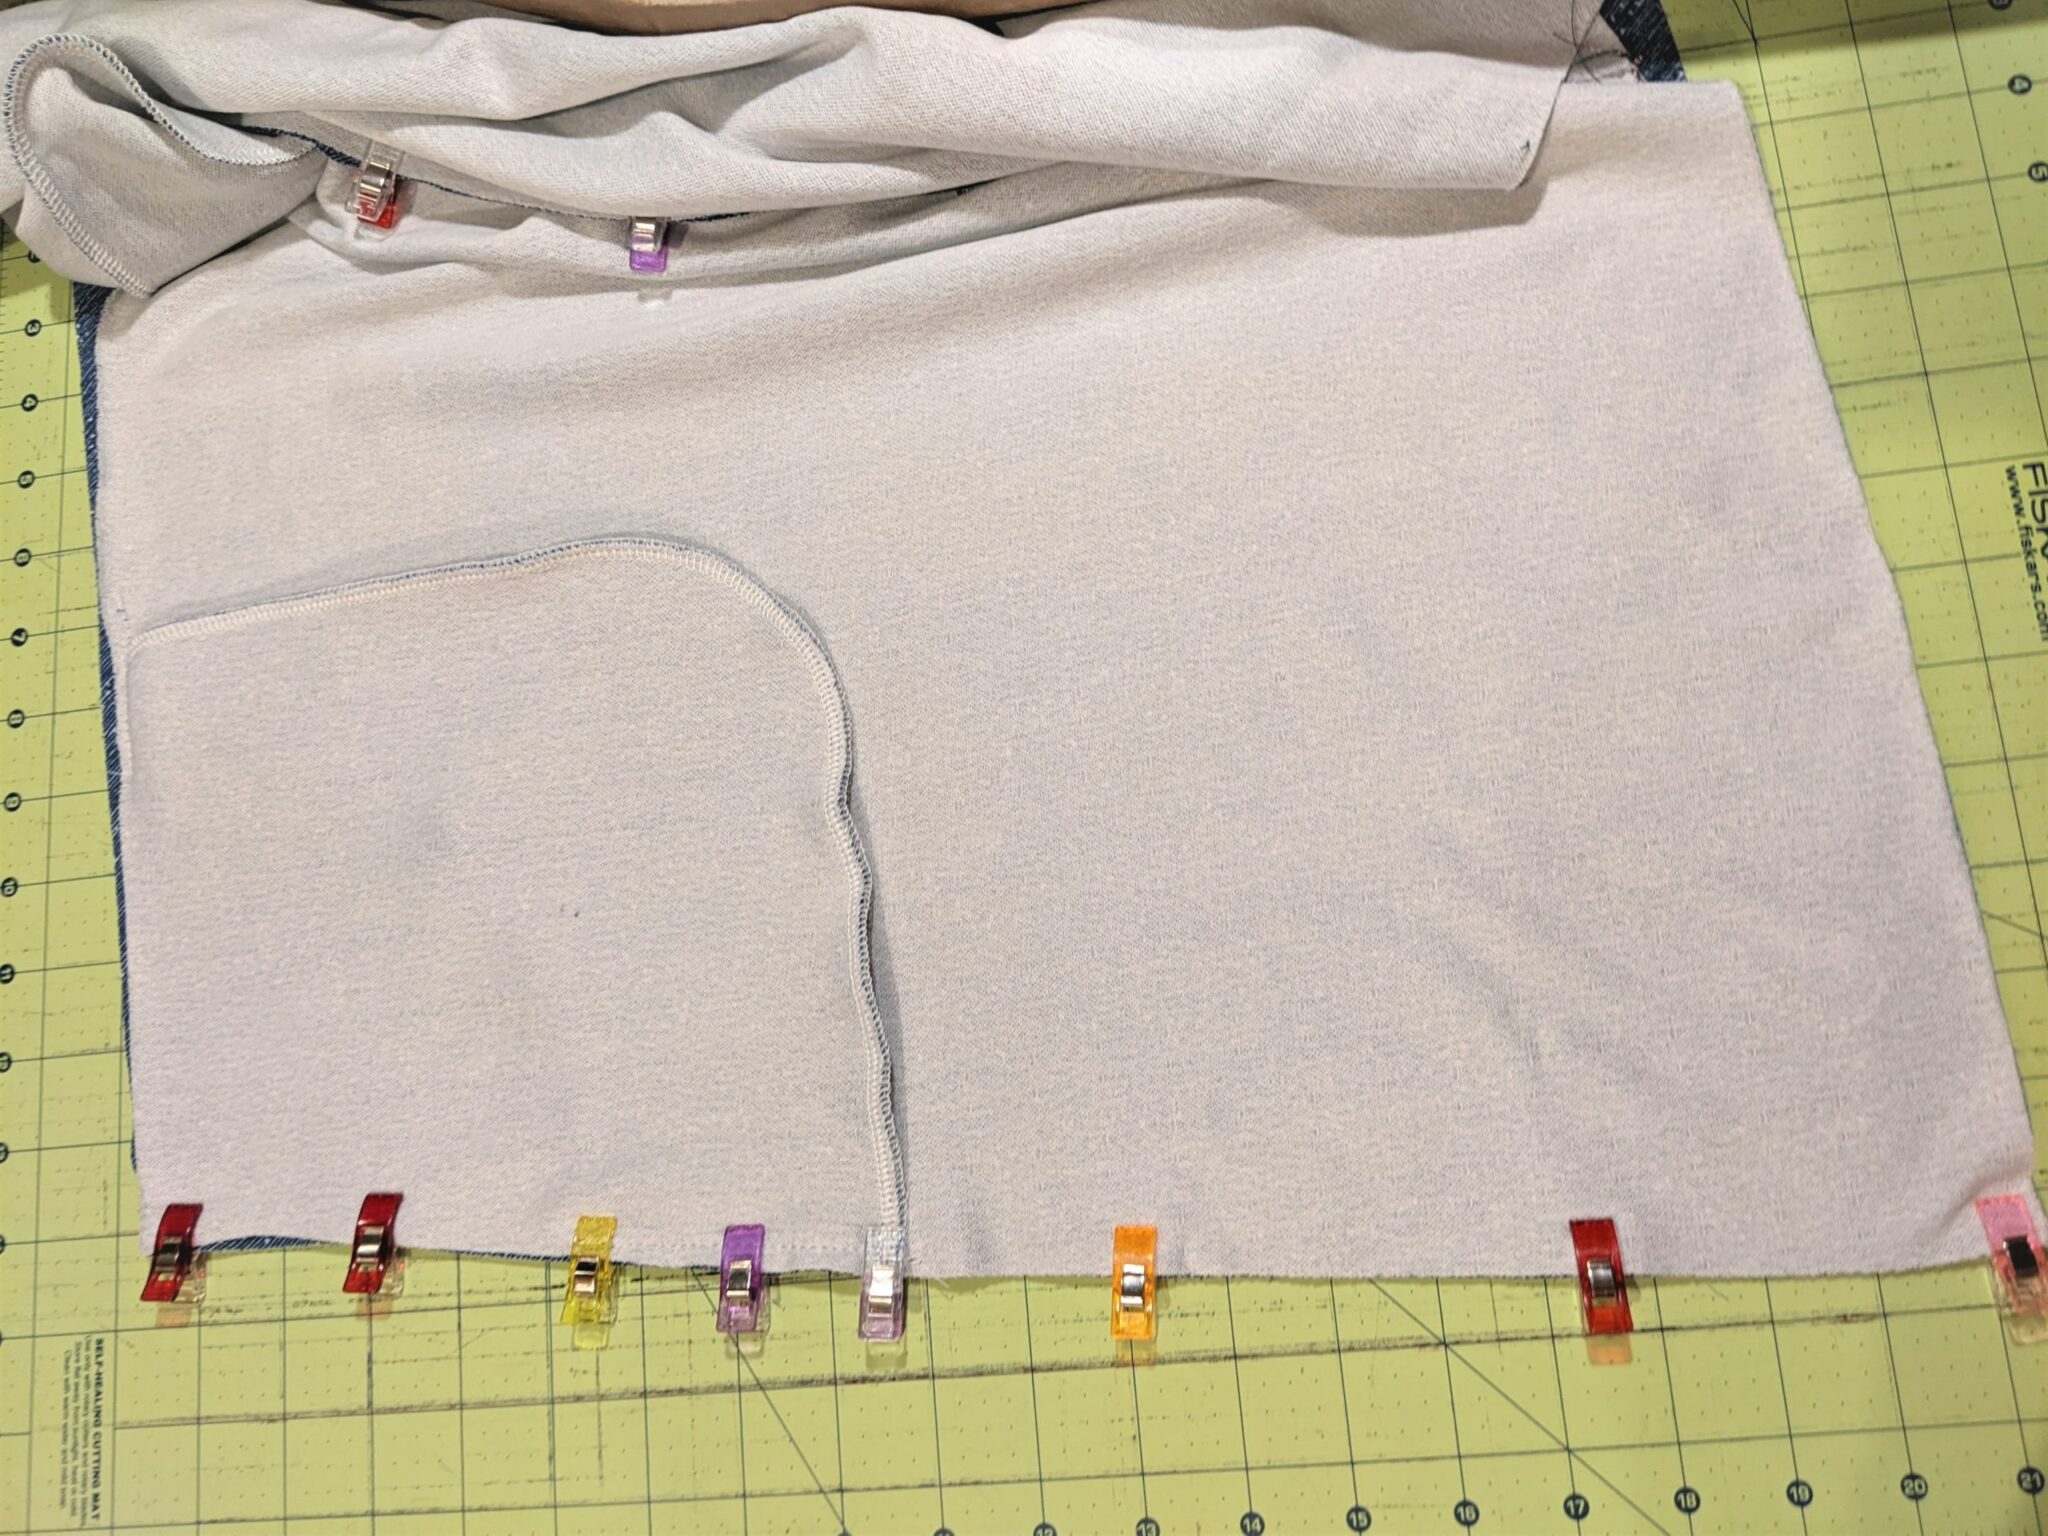
- Turn the skirt front over with the wrong side facing up.
- Take the inner pocket piece and set it right side down on top of the outer pocket.
- Line up the inner and bottom edges of the two pocket pieces and pin.
- Sew together using a stretch stitch or serger.
- Repeat on the opposite side.
- Turn the skirt front over again so the right side is up.
- Pin the top and outer edges of the pocket to the skirt and baste them together.
- Repeat on the opposite side.
Finishing up
- Pin the front and back skirt pieces right sides together along the outside edges then sew with a stretch stitch or serger making sure the pockets stay in place as you go.
- Continue following the tutorial to finish the remainder of your skirt.
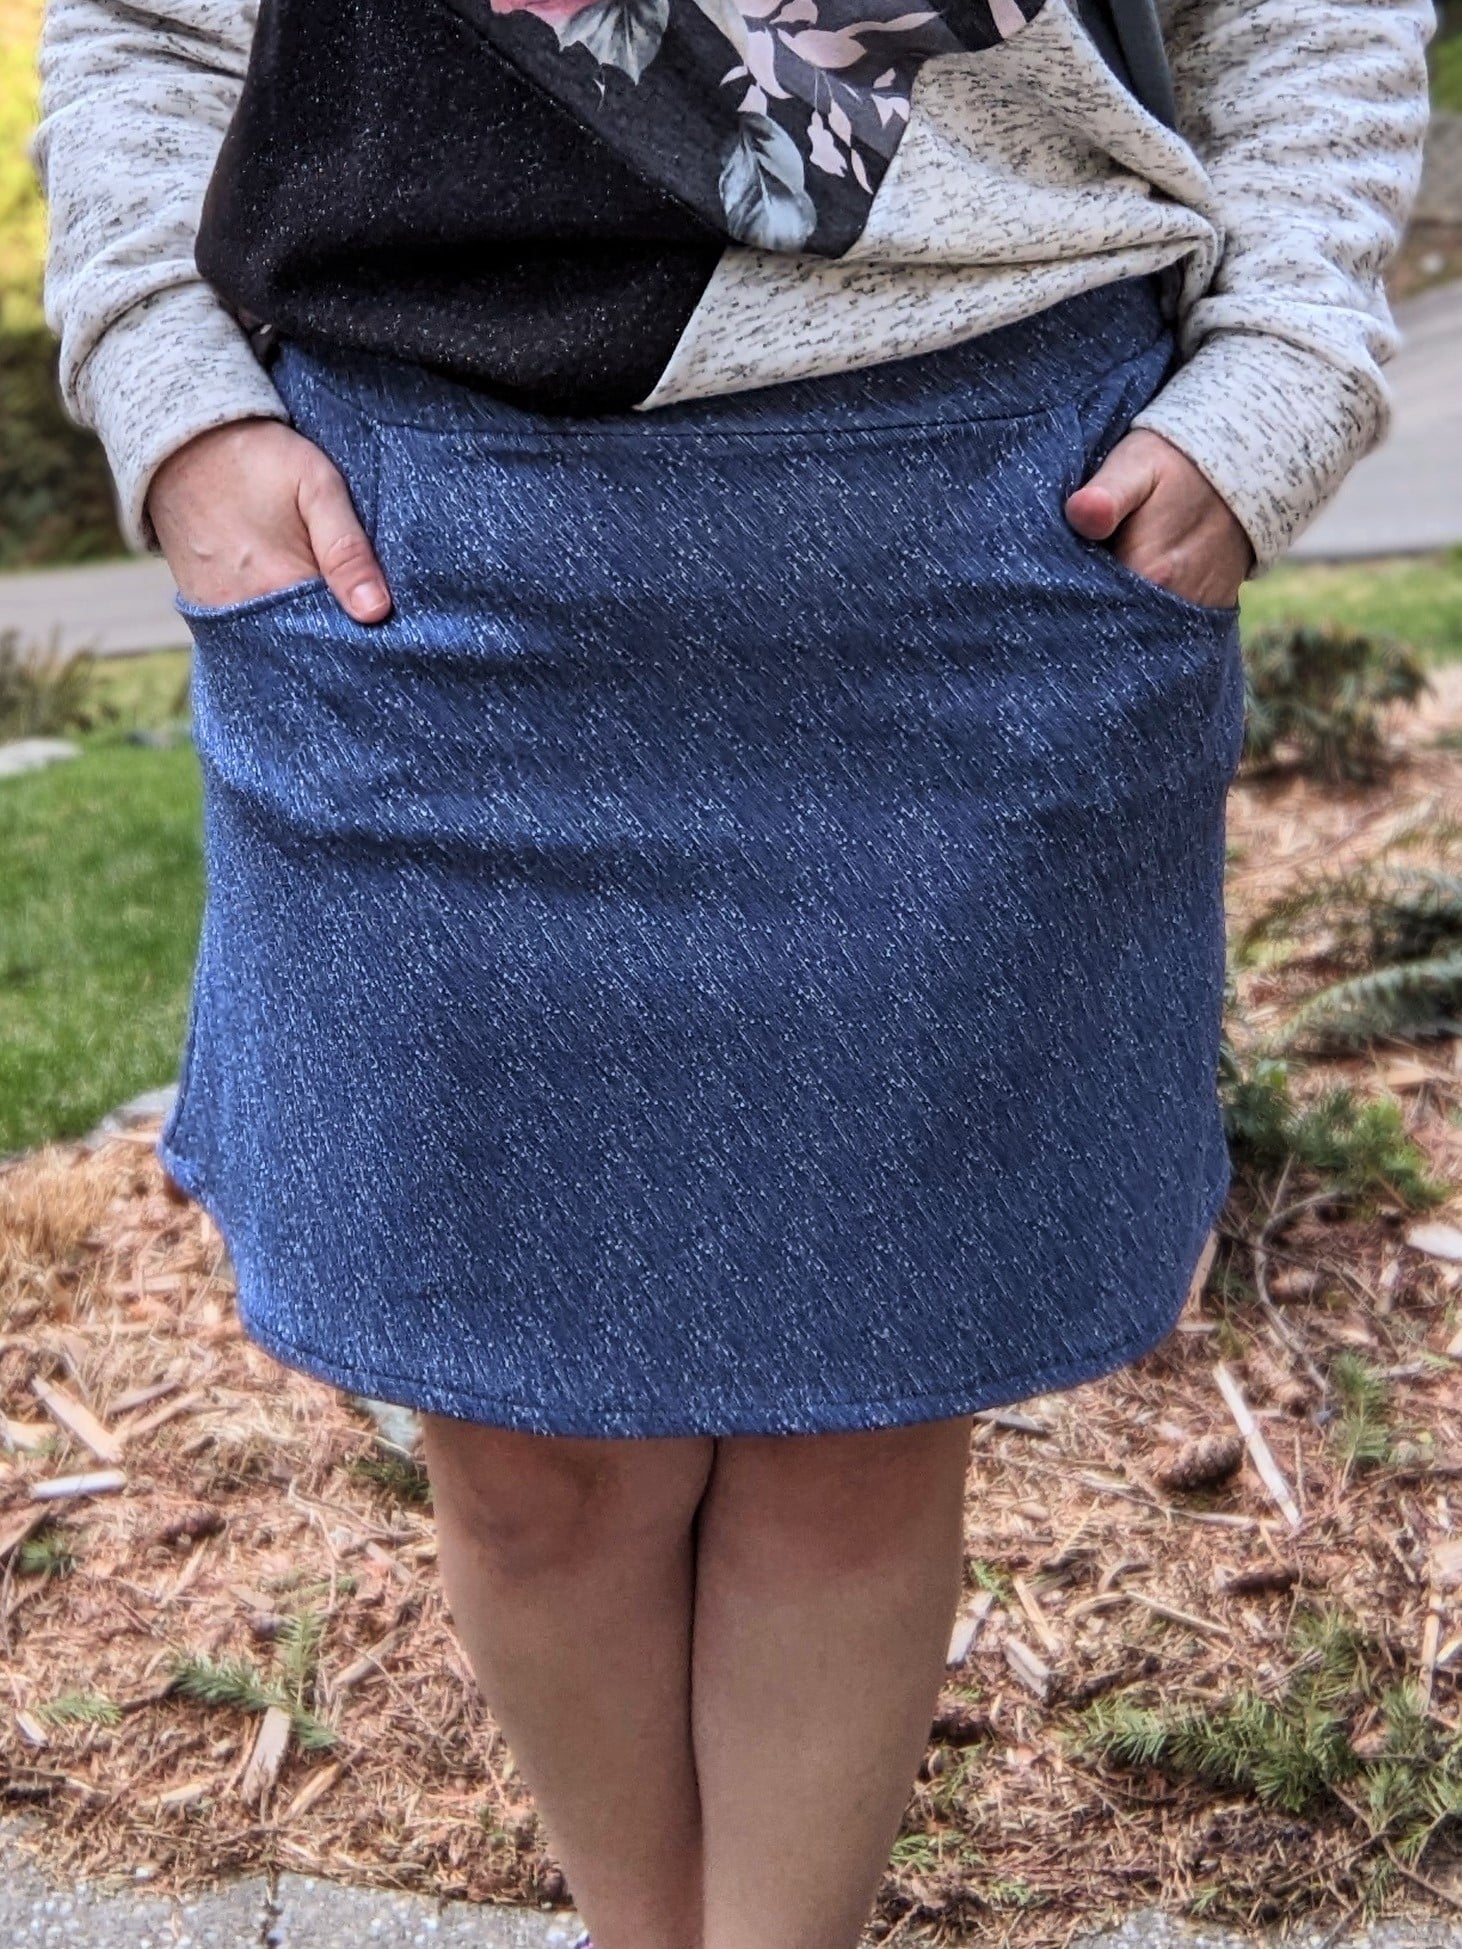
Enjoy those roomy pockets!
Want more FUN DIY Freebies? Check out the FREEBIE TUTORIALS and the FREEBIE PATTERNS!
As always, we’re here to help if you need it! Join us HERE and on Facebook, Instagram, Twitter, Youtube, and Pinterest. We’re everywhere you are.
Leave a Reply