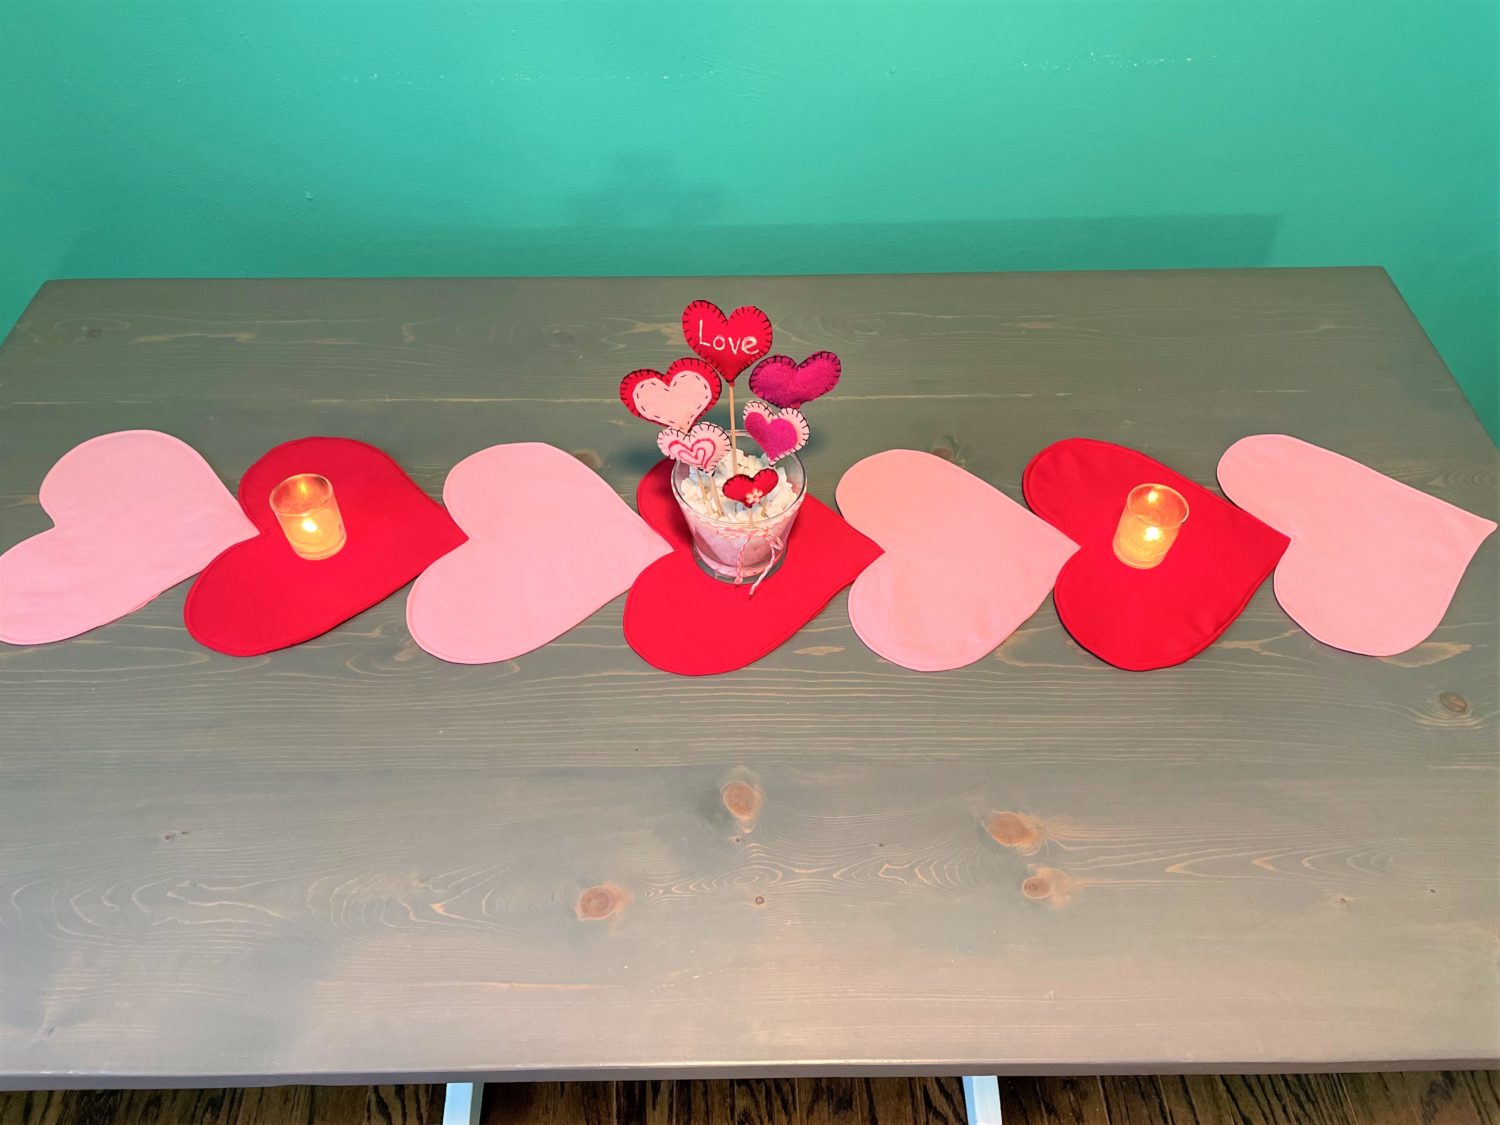
The Valentines day table runner is a fun and easy project to help you decorate your table. Last week, I made a centerpiece, and this table runner goes great with that centerpiece. Missed that post? See it here! You won’t need a whole lot of materials and you can personalize it any way that you want. You can use bigger hearts or smaller hearts, choose one color or several colors, its all up to you! Ready to make a Valentines day table runner? Let’s go!
Materials
- Fabric in your desired color(s), the amount will depend on how many hearts you want to use. I was able to get 3 hearts out of about 2/3 of a yard.
- Interfacing or fusible fleece (I used fusible fleece)
- Heart shaped pattern. If you want the same size hearts as me, here is a pattern that I used!
Time to start your Valentines day table runner!
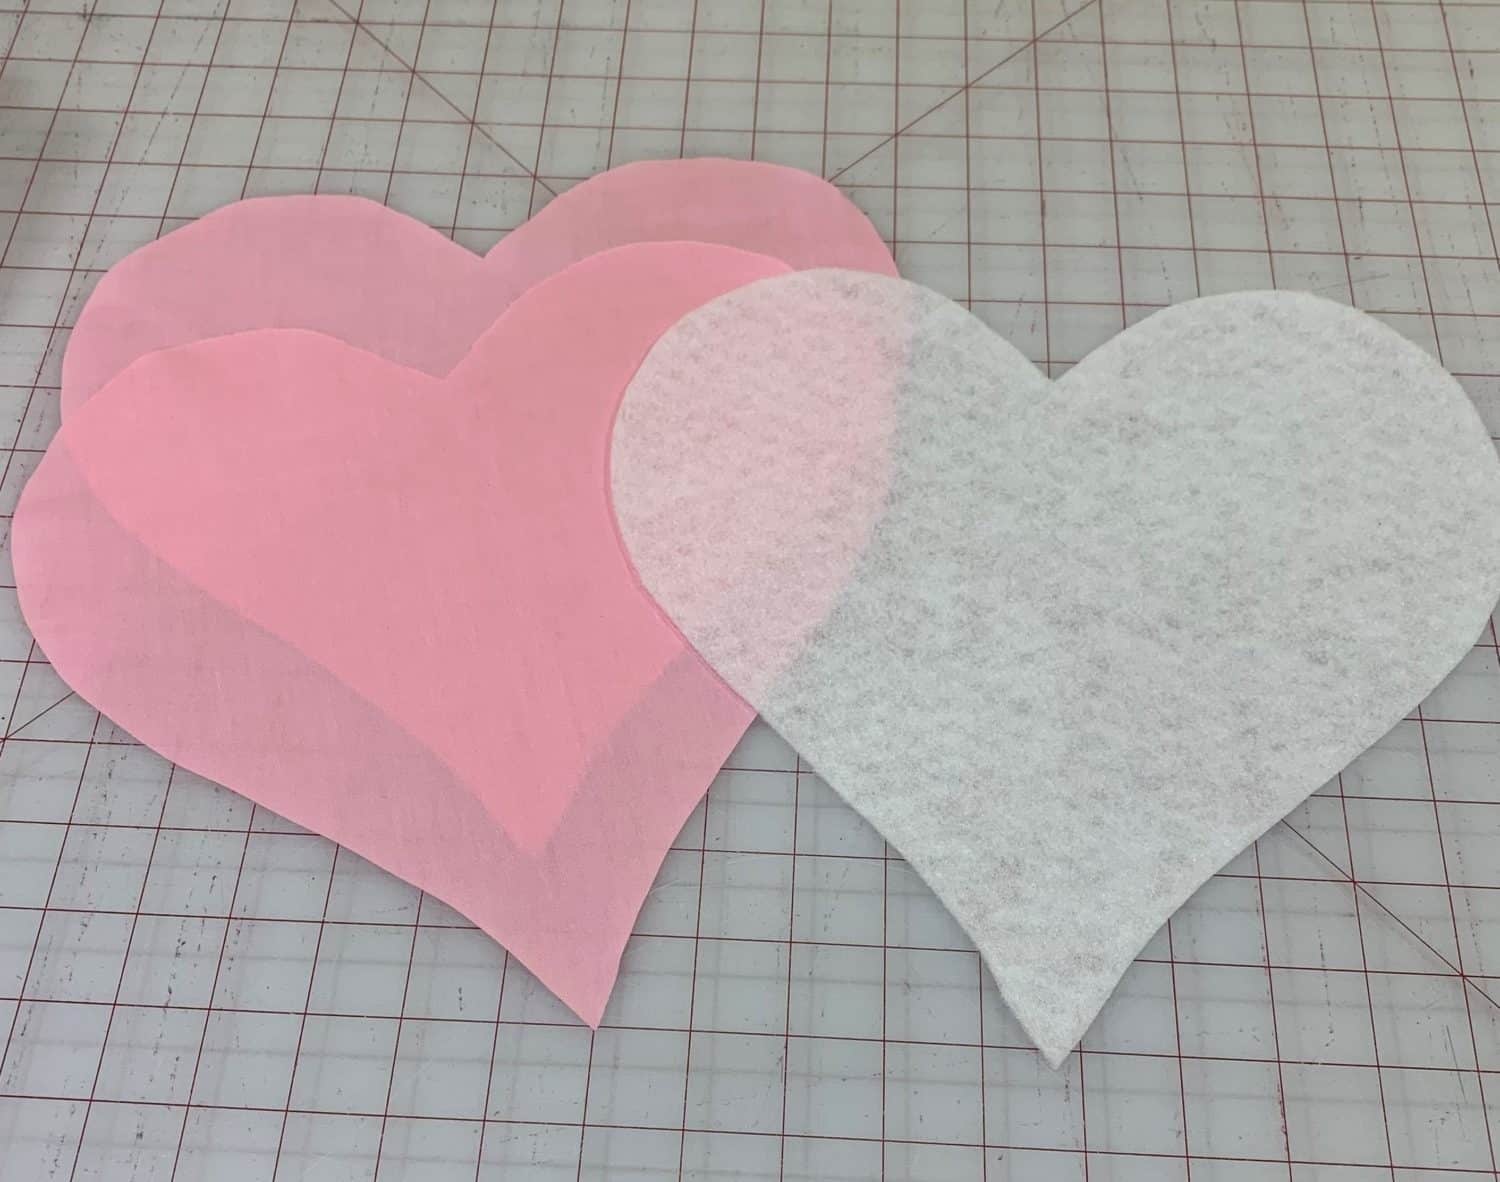
- First, use your heart pattern to cut your fabric
- Cut two hearts from your main fabric and 1 heart from your interfacing
Attach interfacing
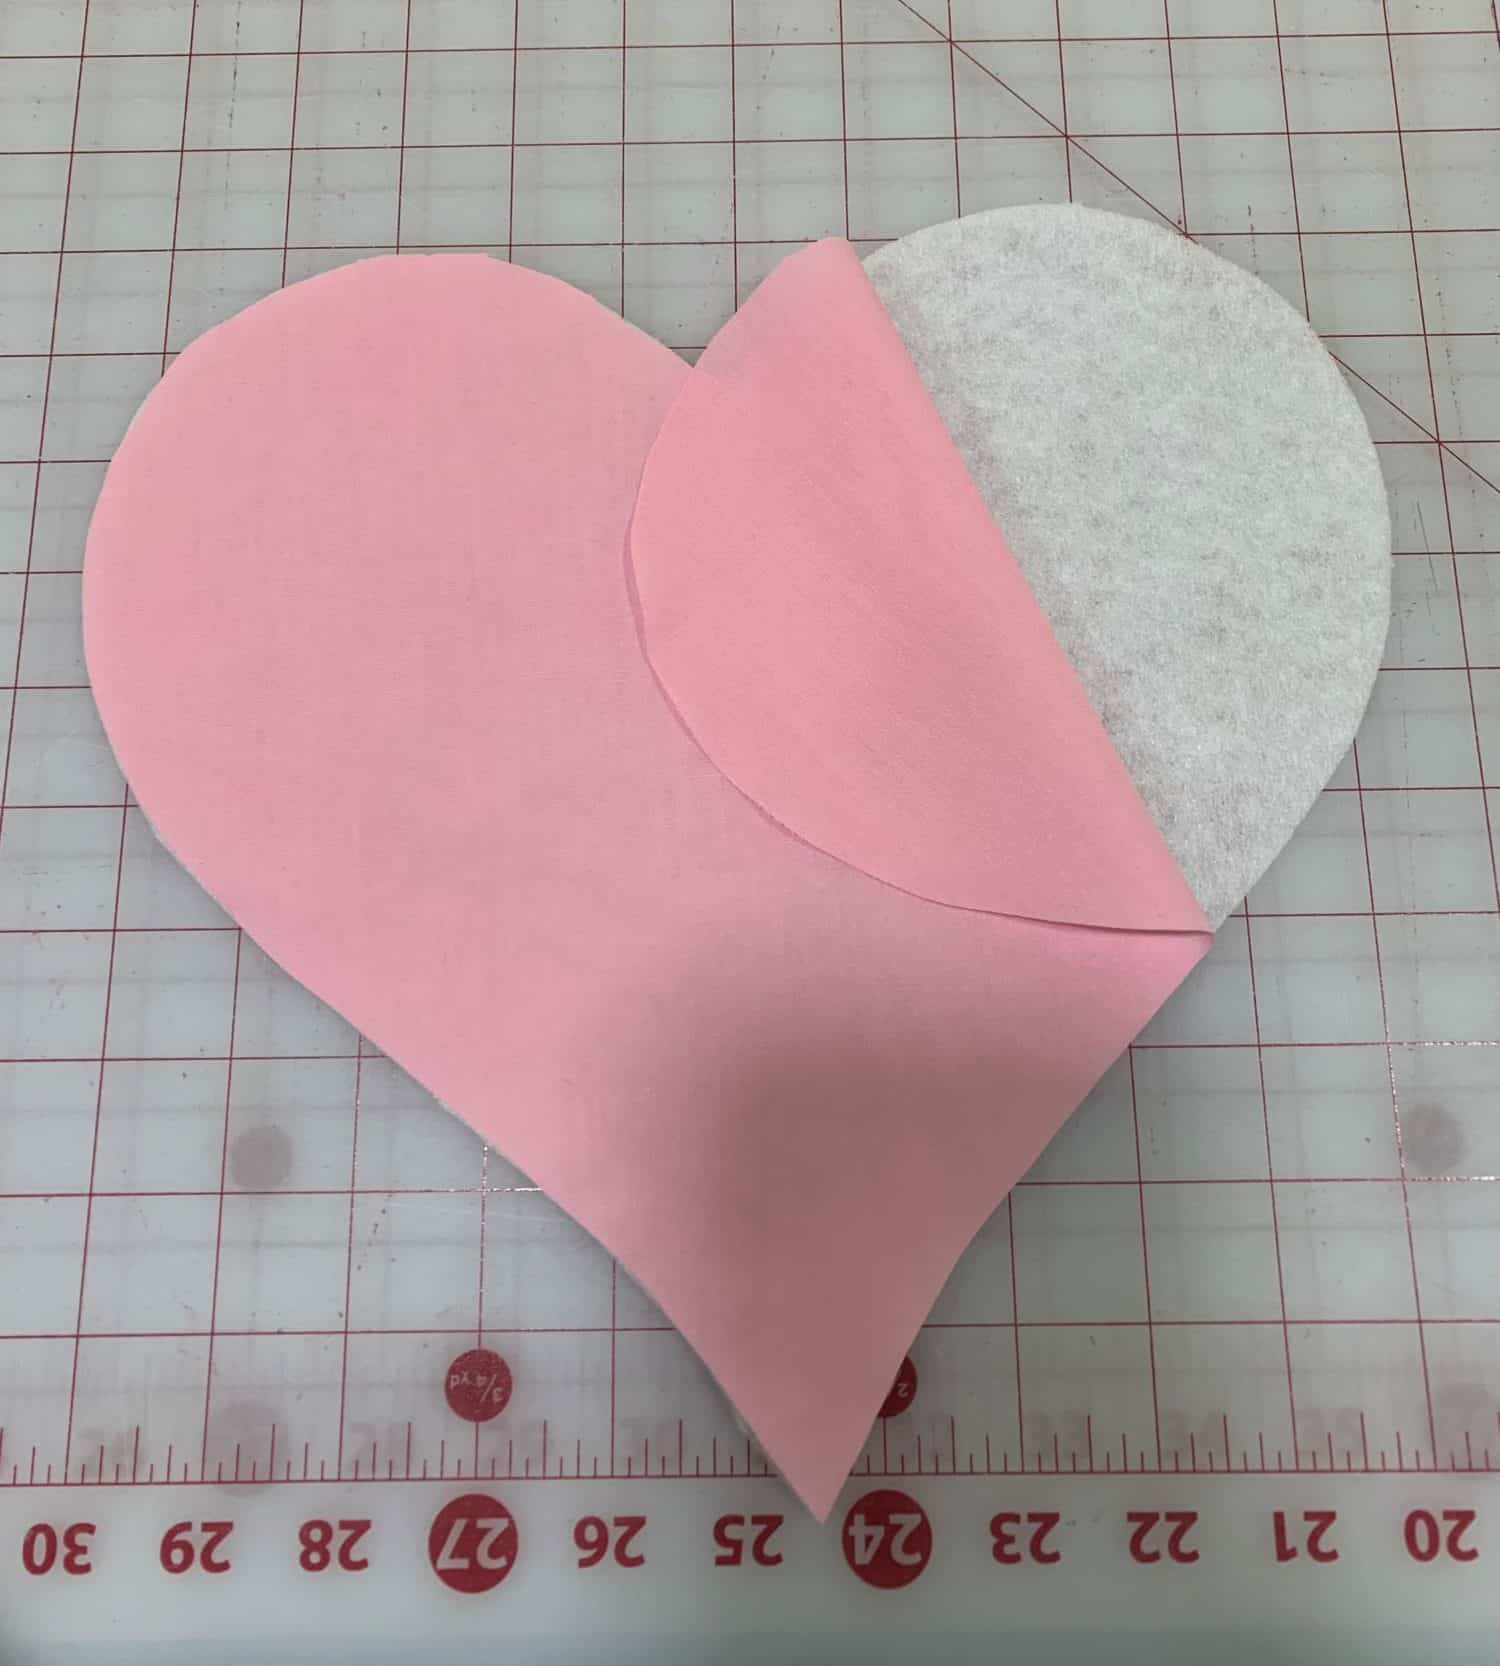
- Iron your interfacing onto the wrong side of 1 of your main fabric pieces
- Lay your interfacing with the fusible side up. Then put your fabric on top with the wrong side down. This will put the interfacing on the wrong side of your main fabric
- Follow the directions of your particular interfacing to ensure you iron it on properly
Assemble hearts
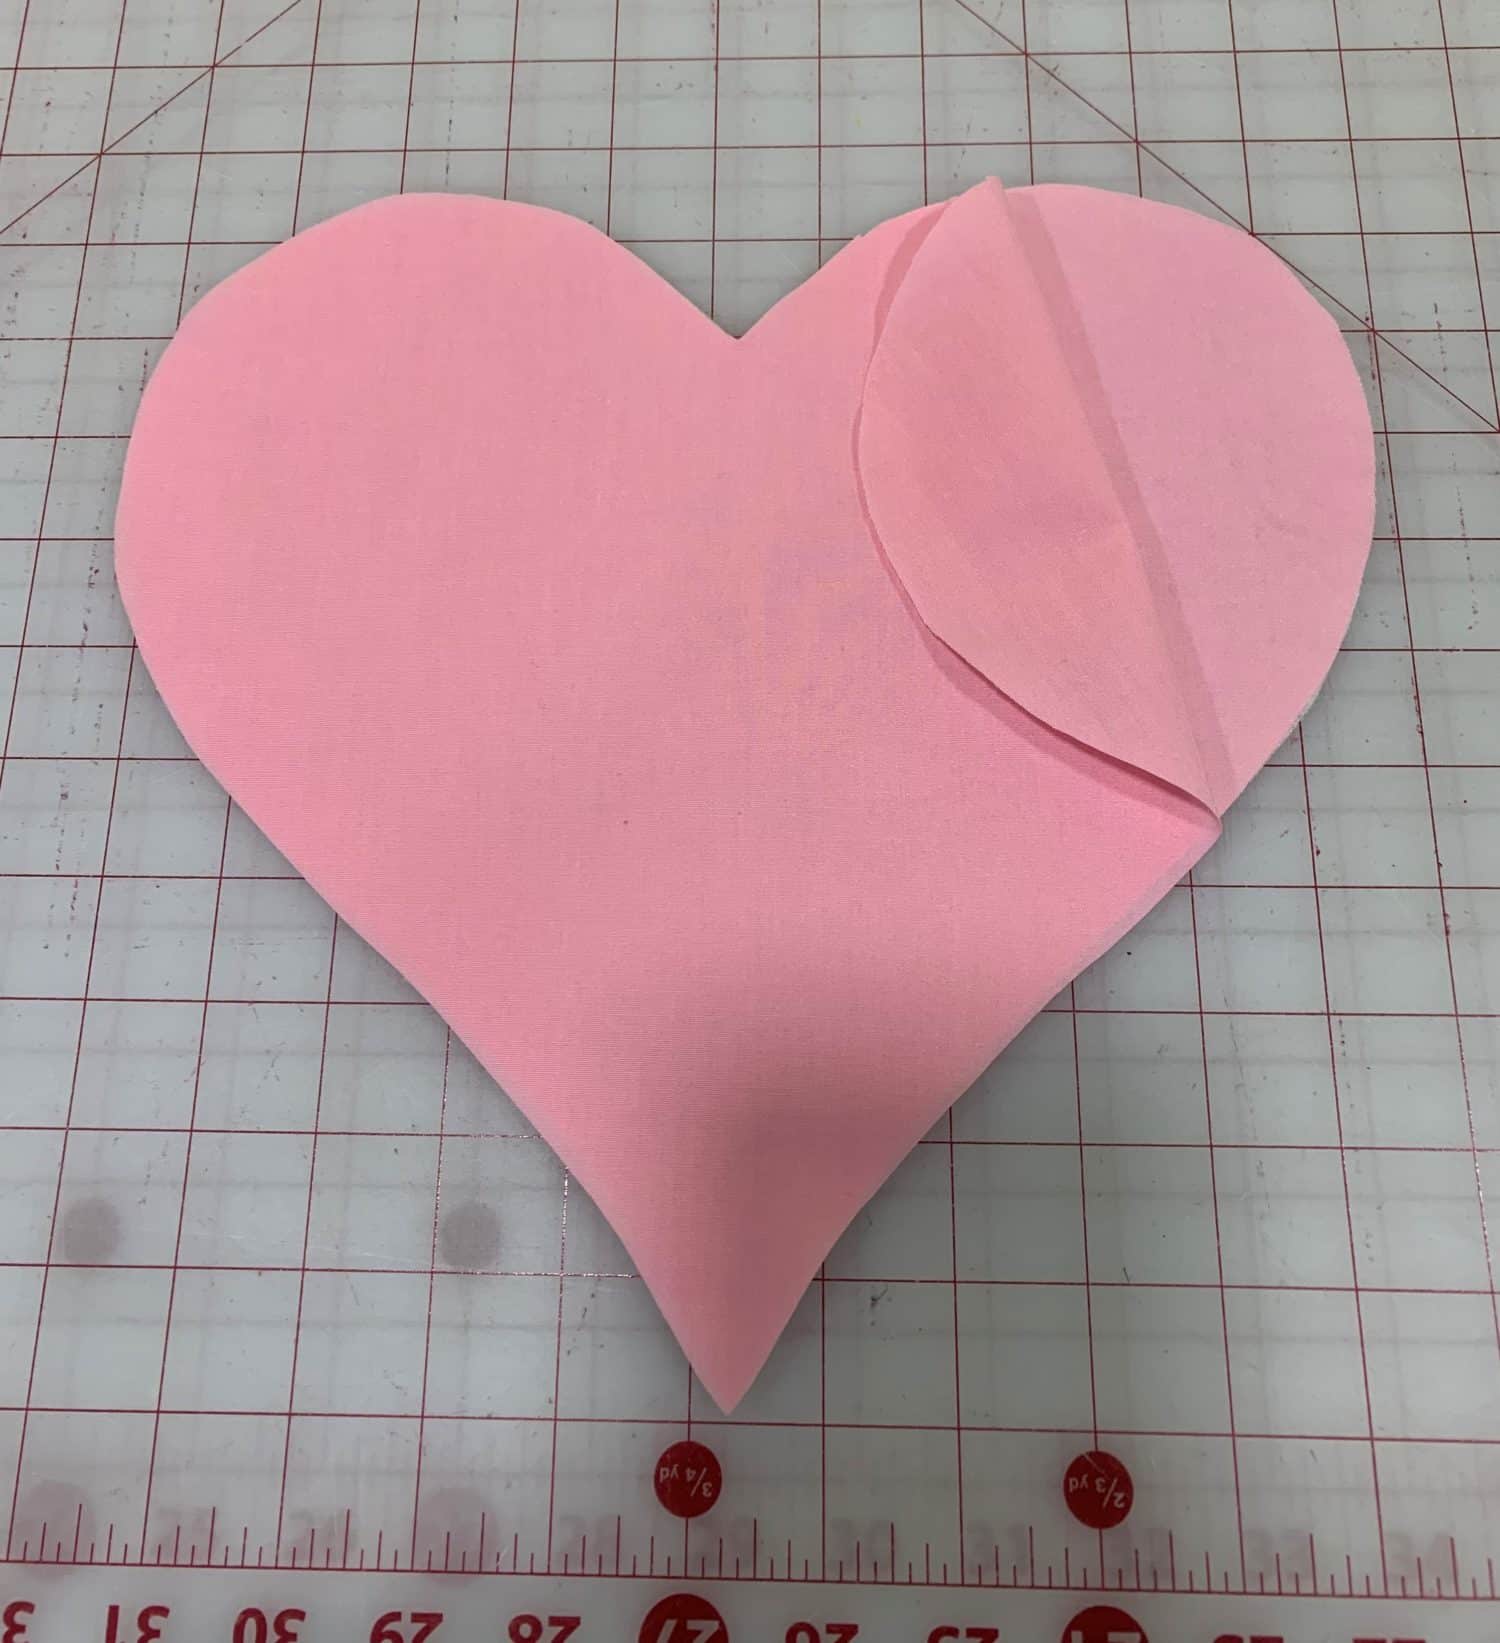
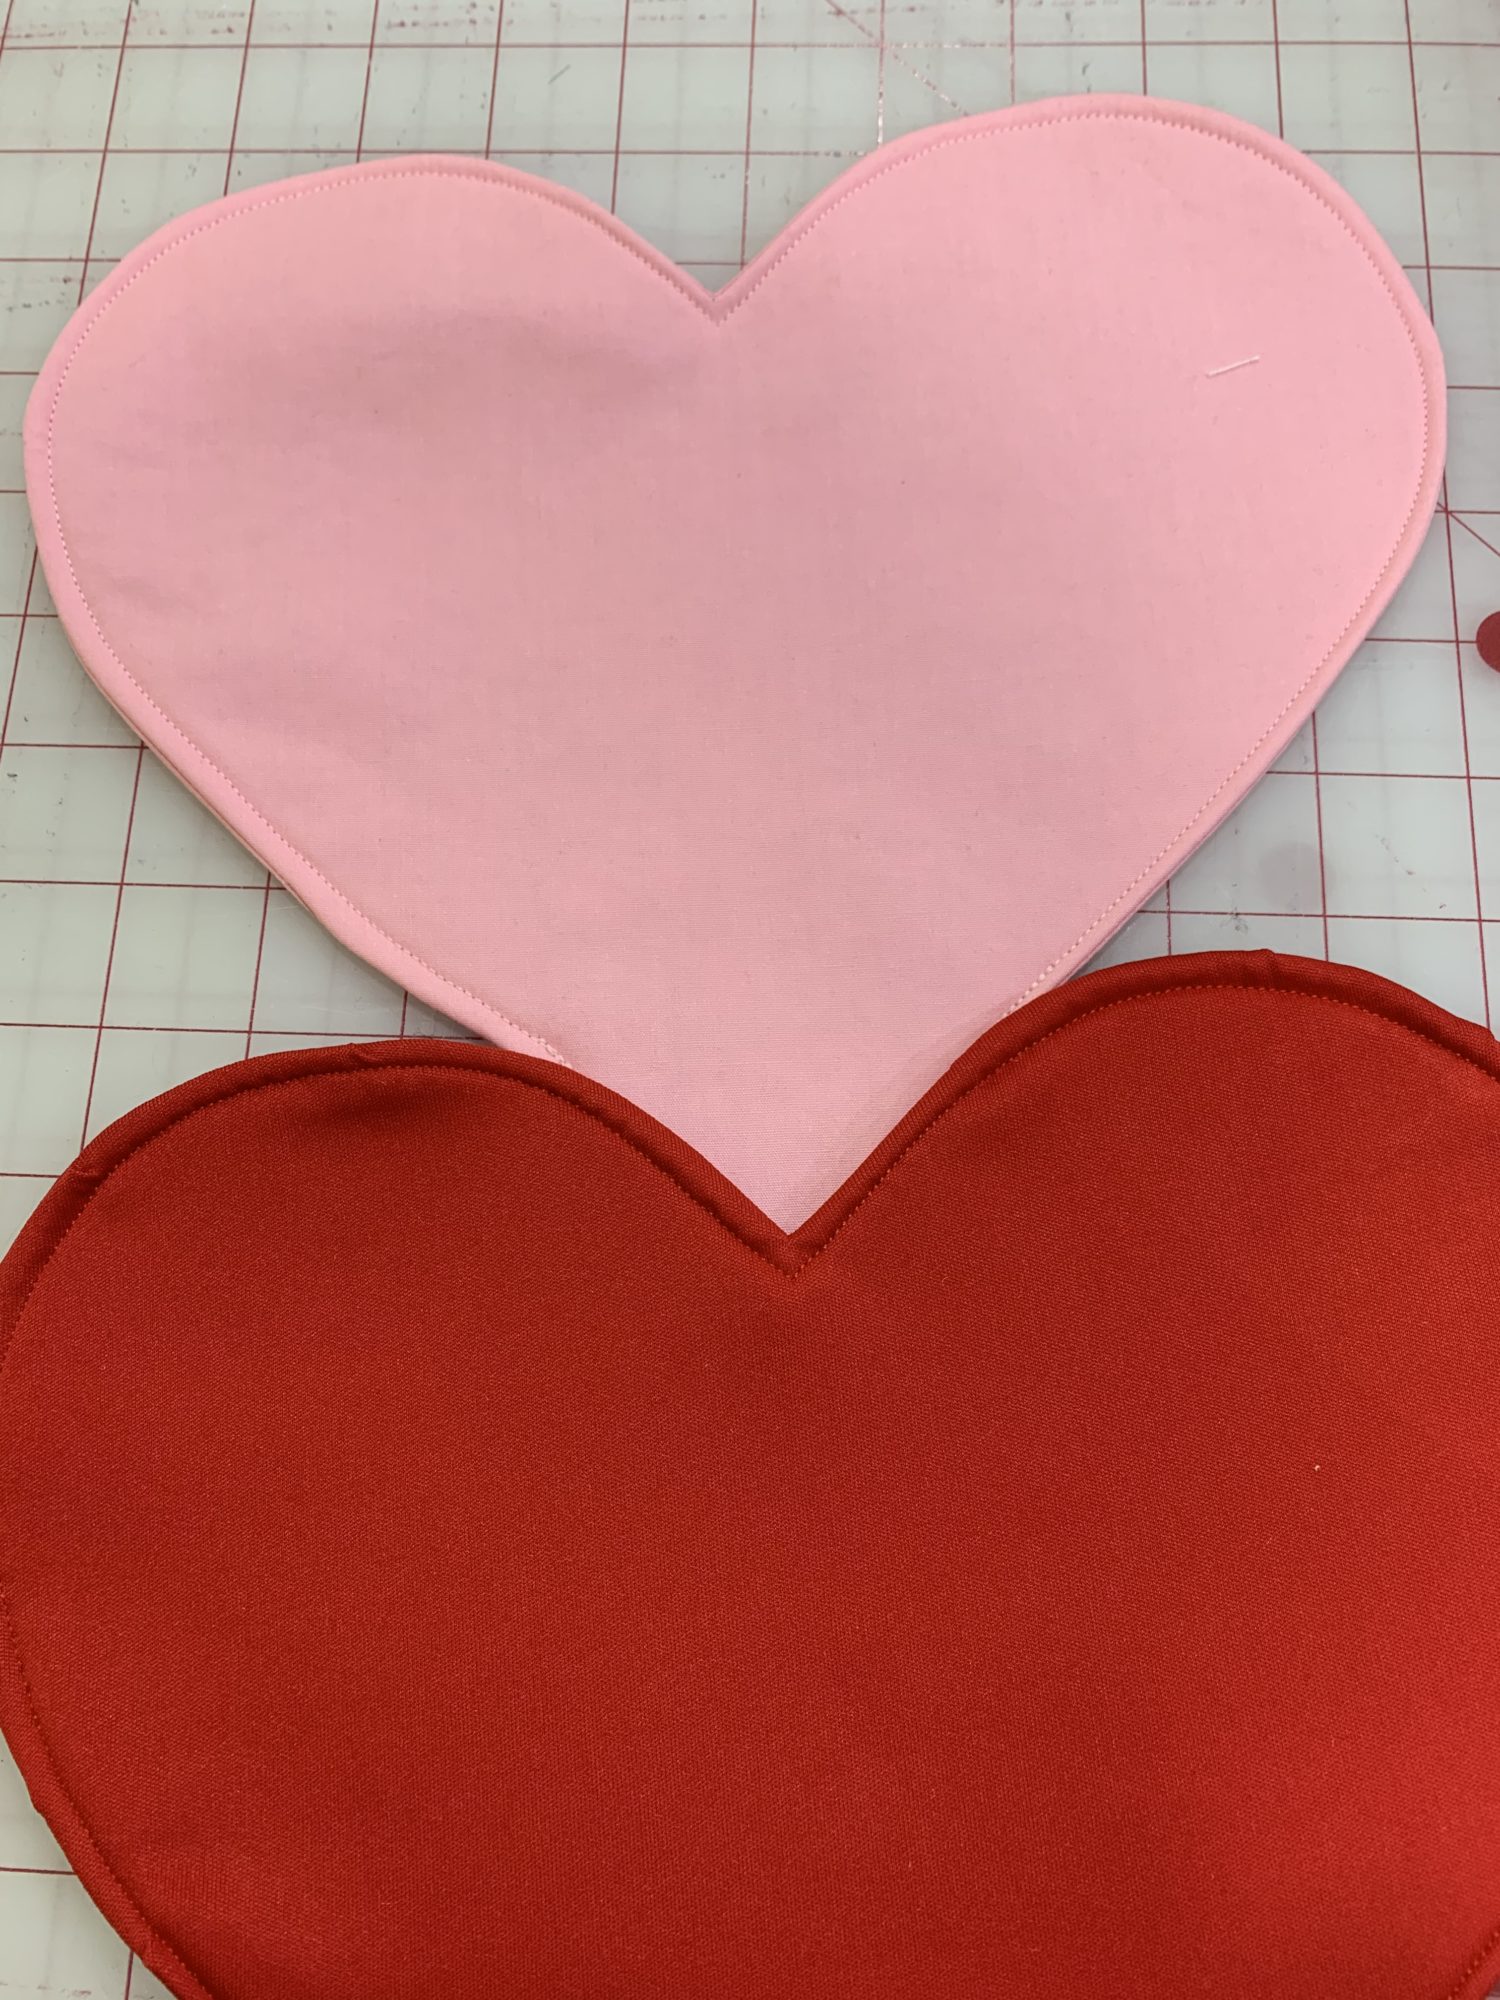
- When your interfacing is fused to the fabric, put the main fabric hearts right sides together
- Pin or clip around the entire heart
- Sew around the heart, leave a 2 inch gap unsewn so that you can turn your heart right side out!
Main pieces right sides together 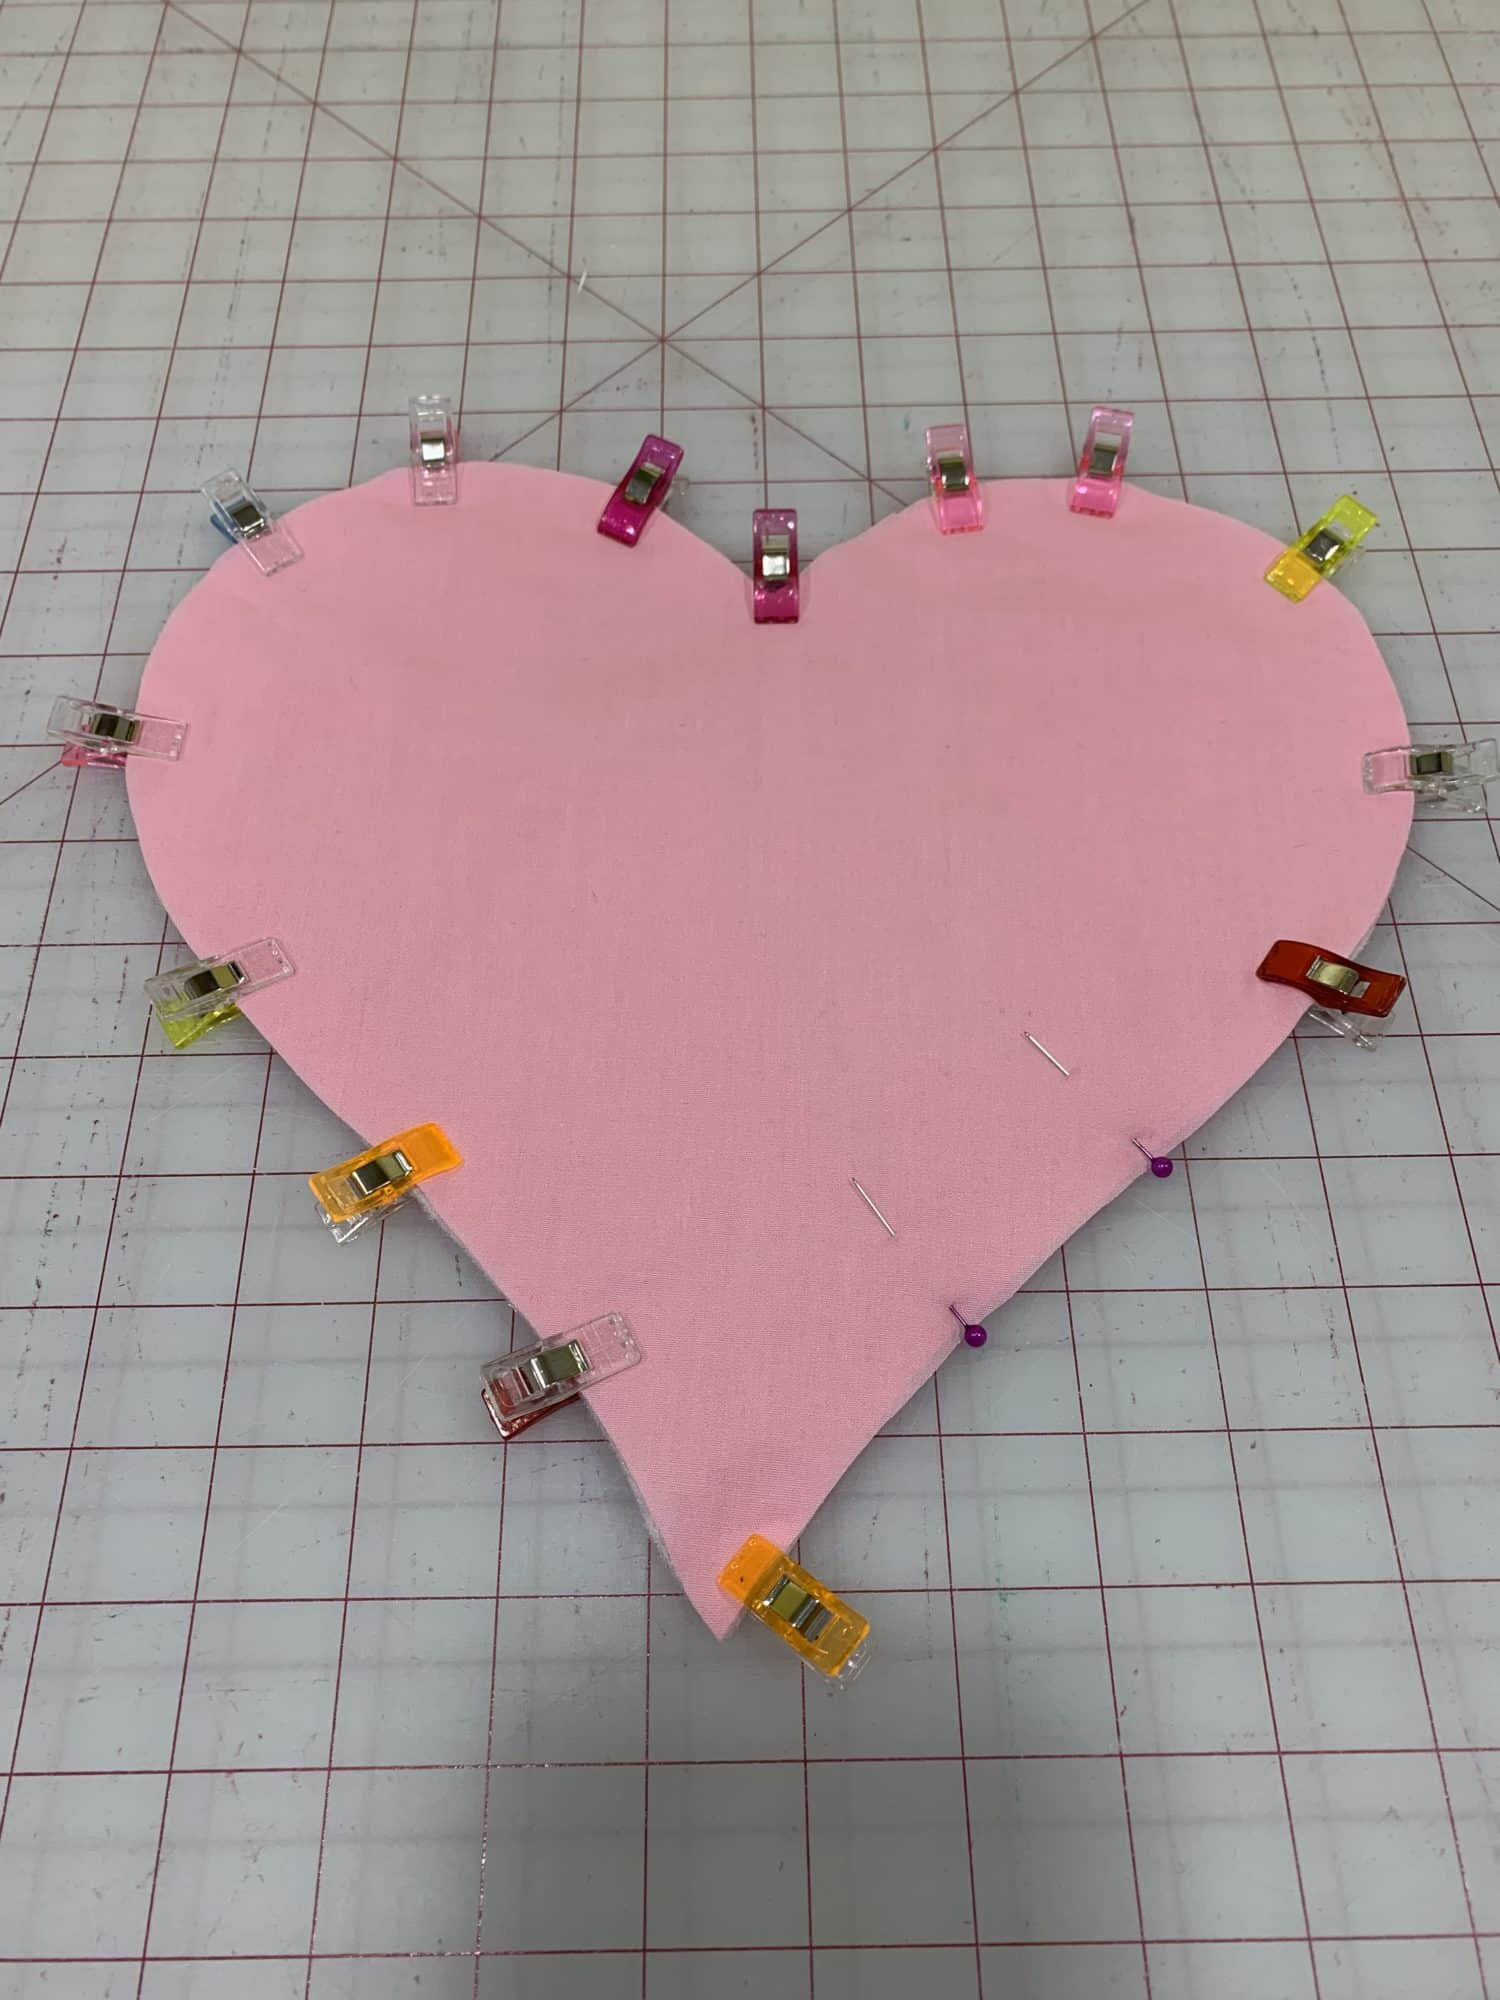
- Once sewn, cut off the point at the bottom of the heart. Cut close the stitches, but not through the stitches!
- Cut a slit right at the V at the top of the heart, again, close but not through the stitches!
- Clip the curves so the heart lays nice and flat when turned right sides out.

Cut off point 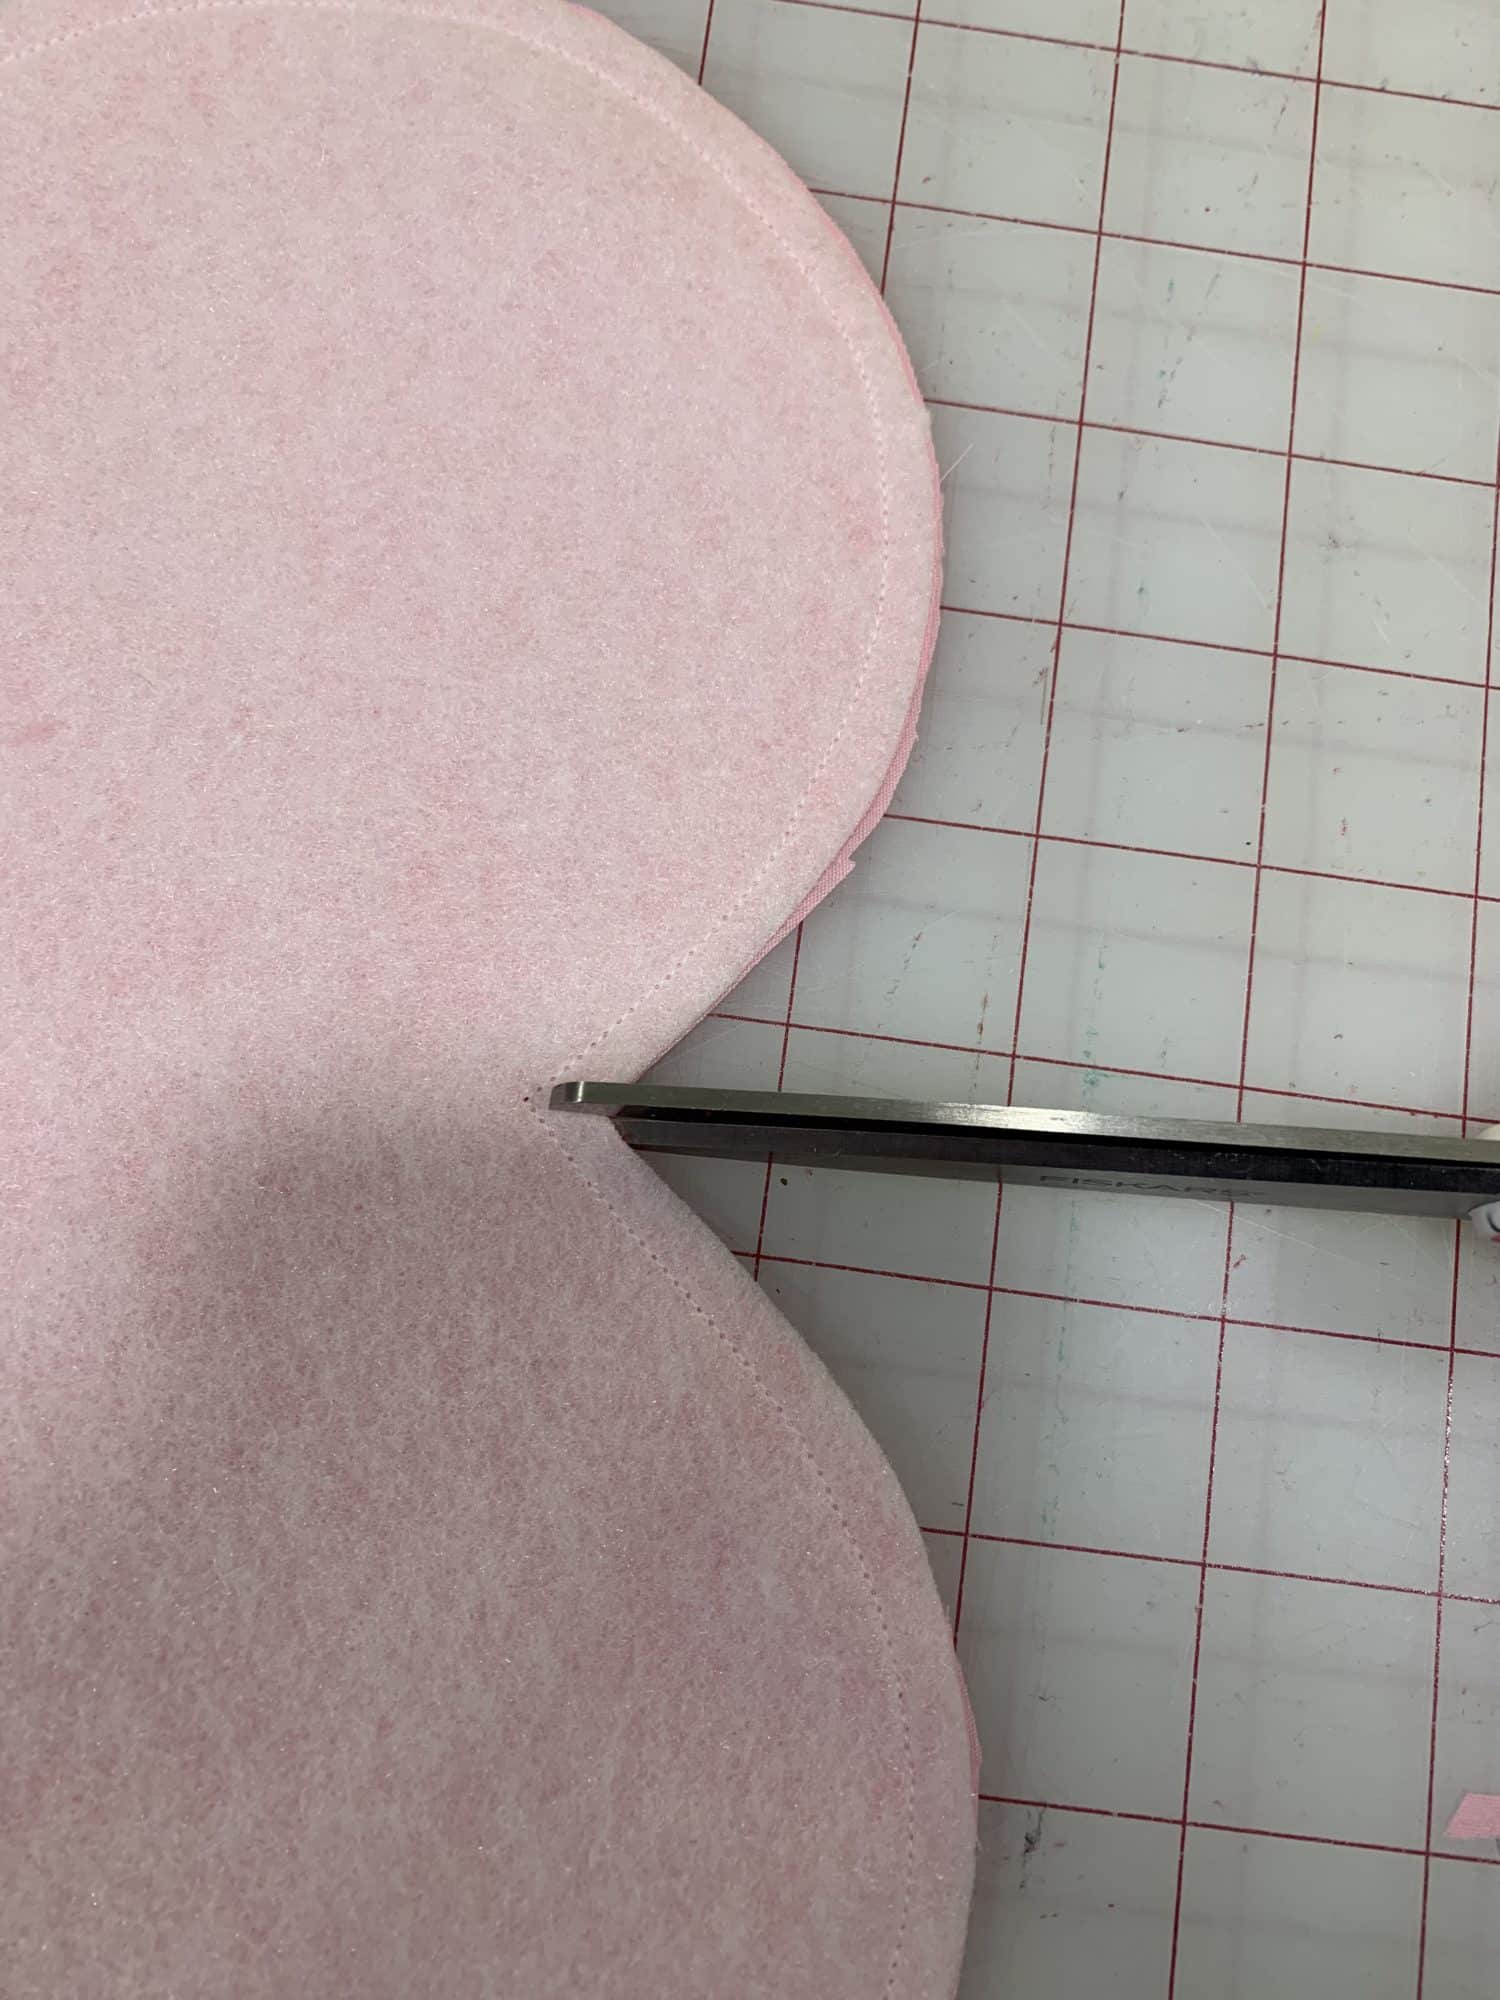
Cut slit into V at top of heart 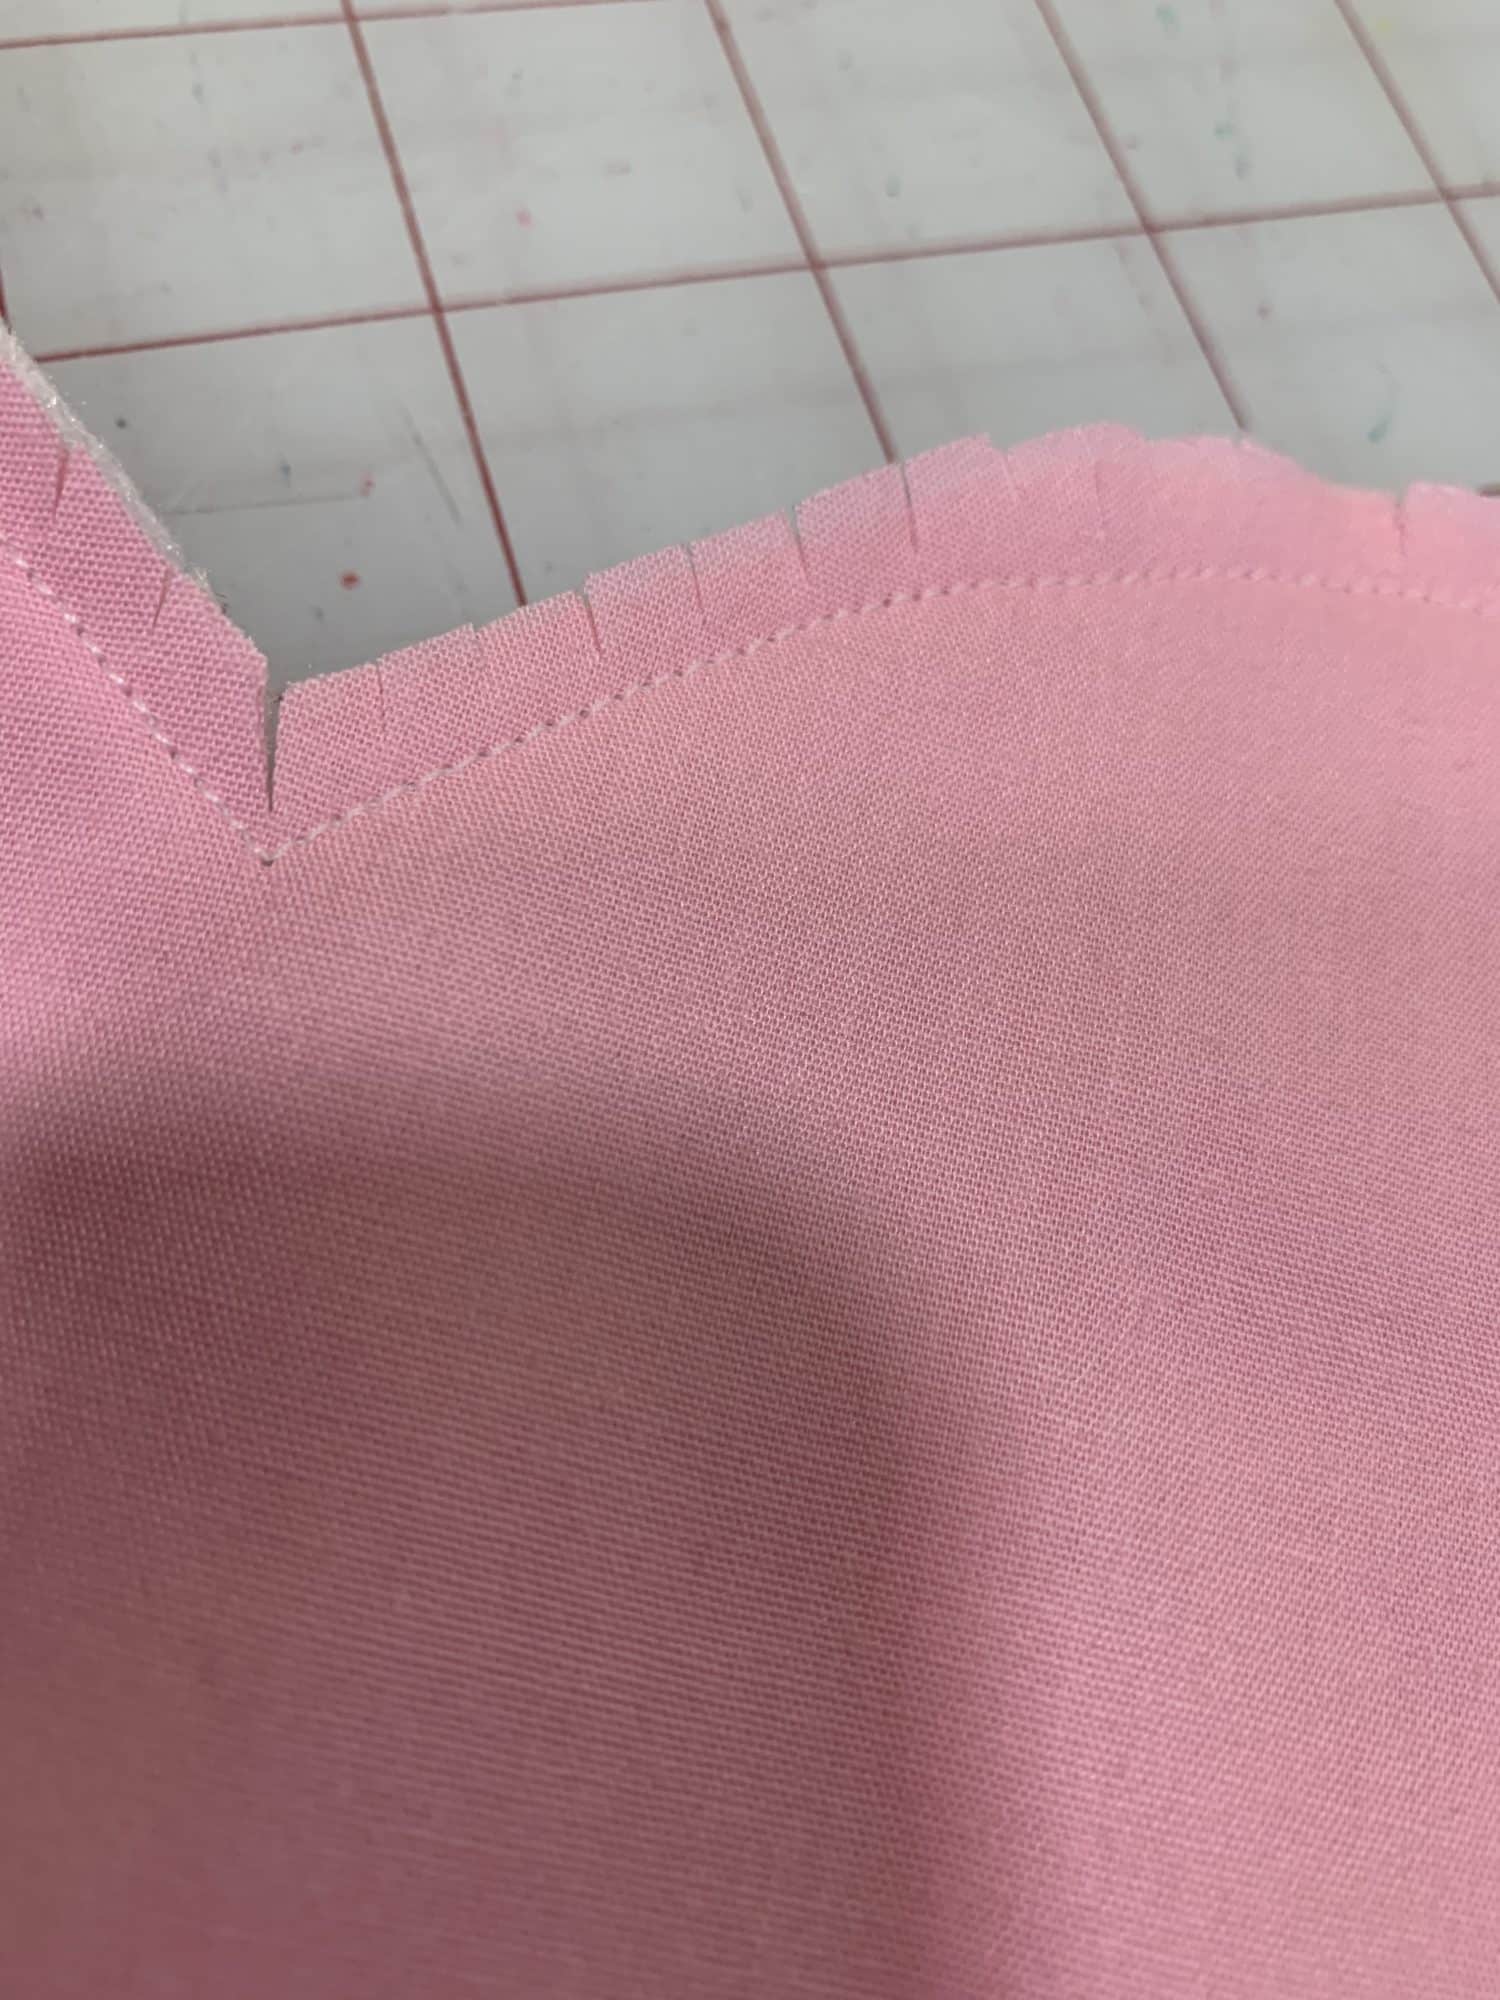
Clip your curves
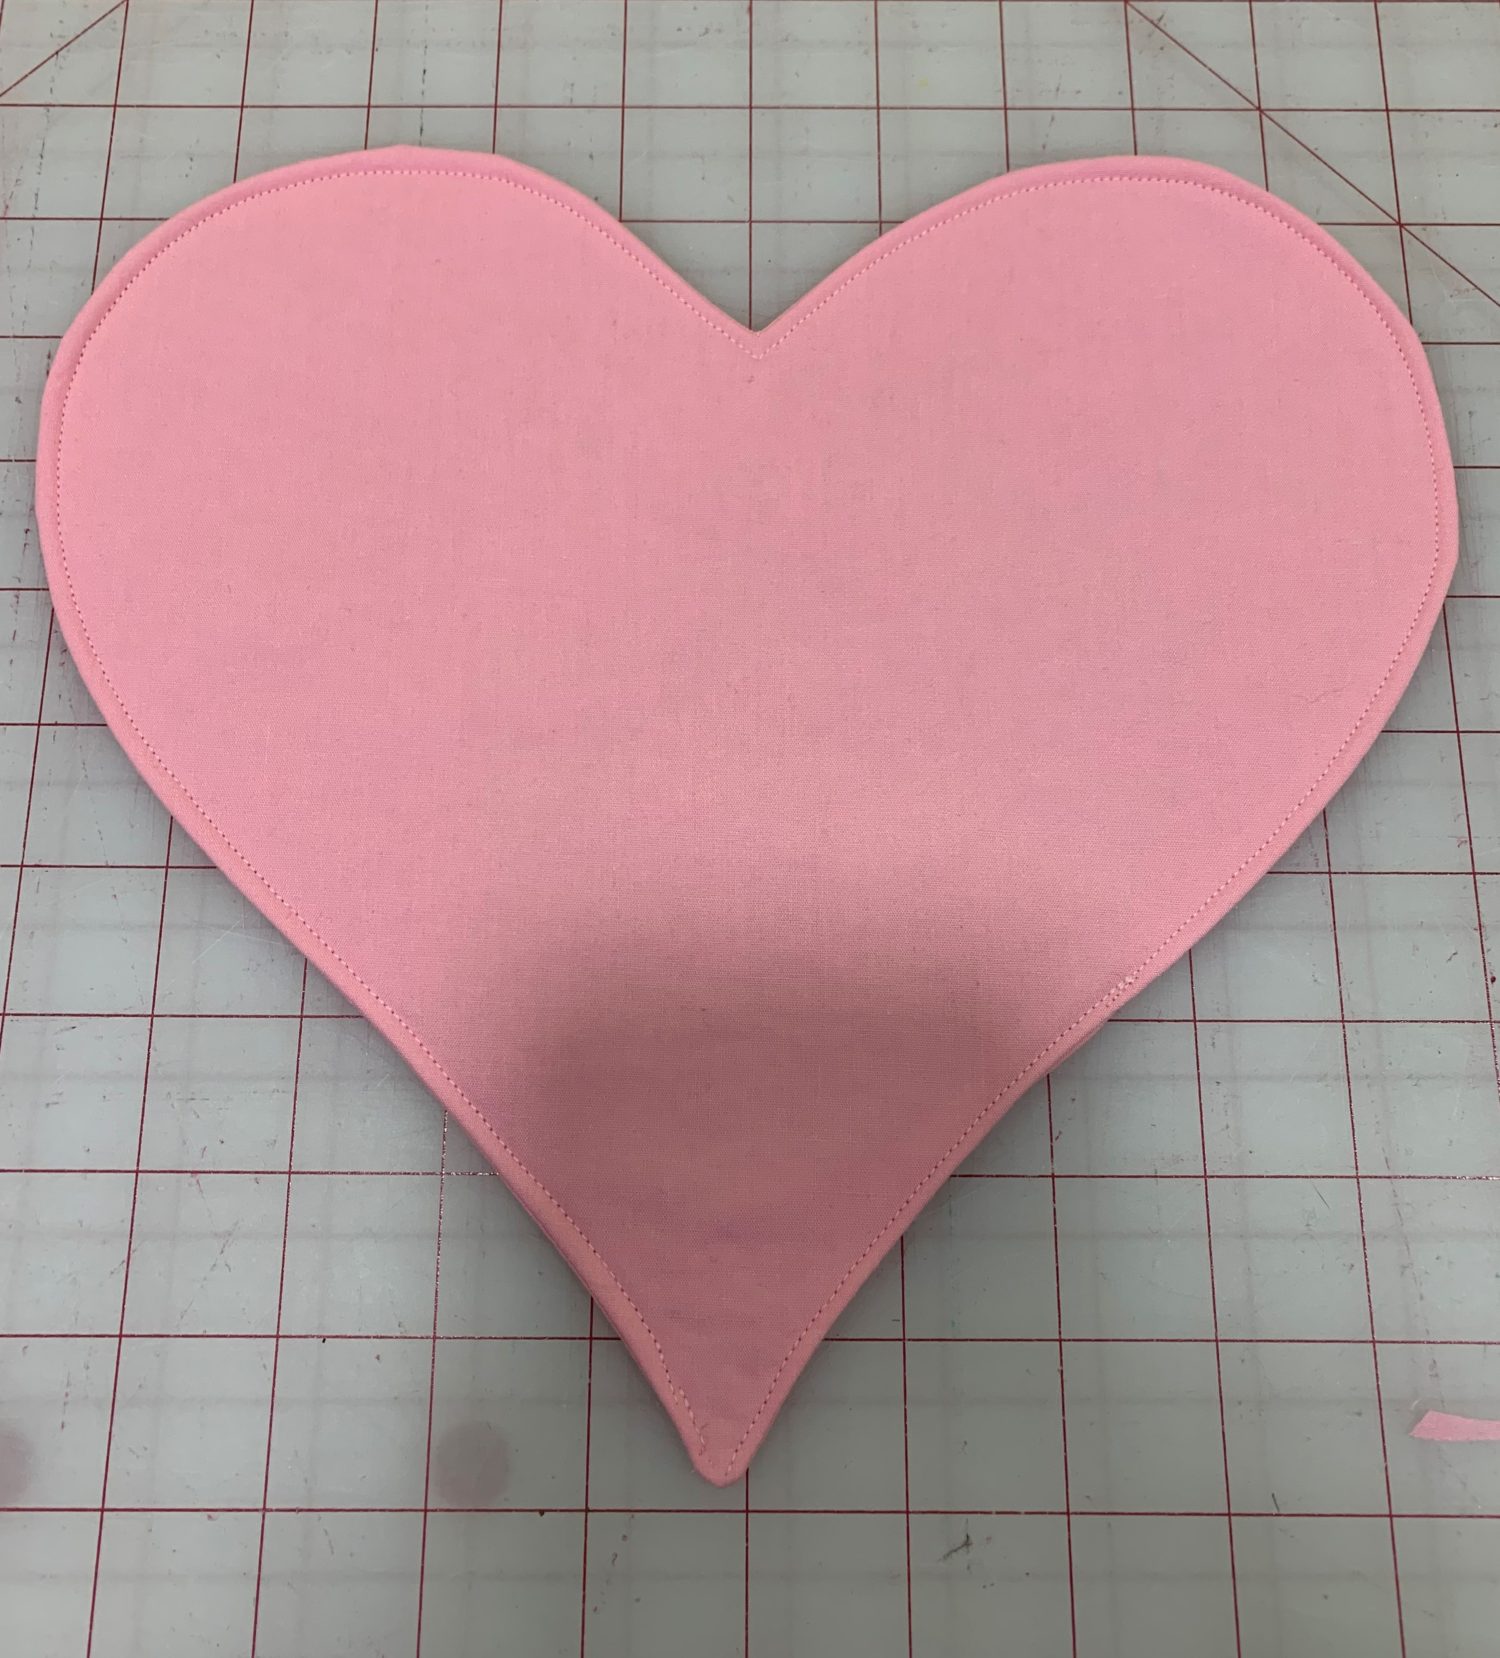
- Turn your heart right sides out
- Give it a good press
- Top stitch, making sure to close the gap that you left open
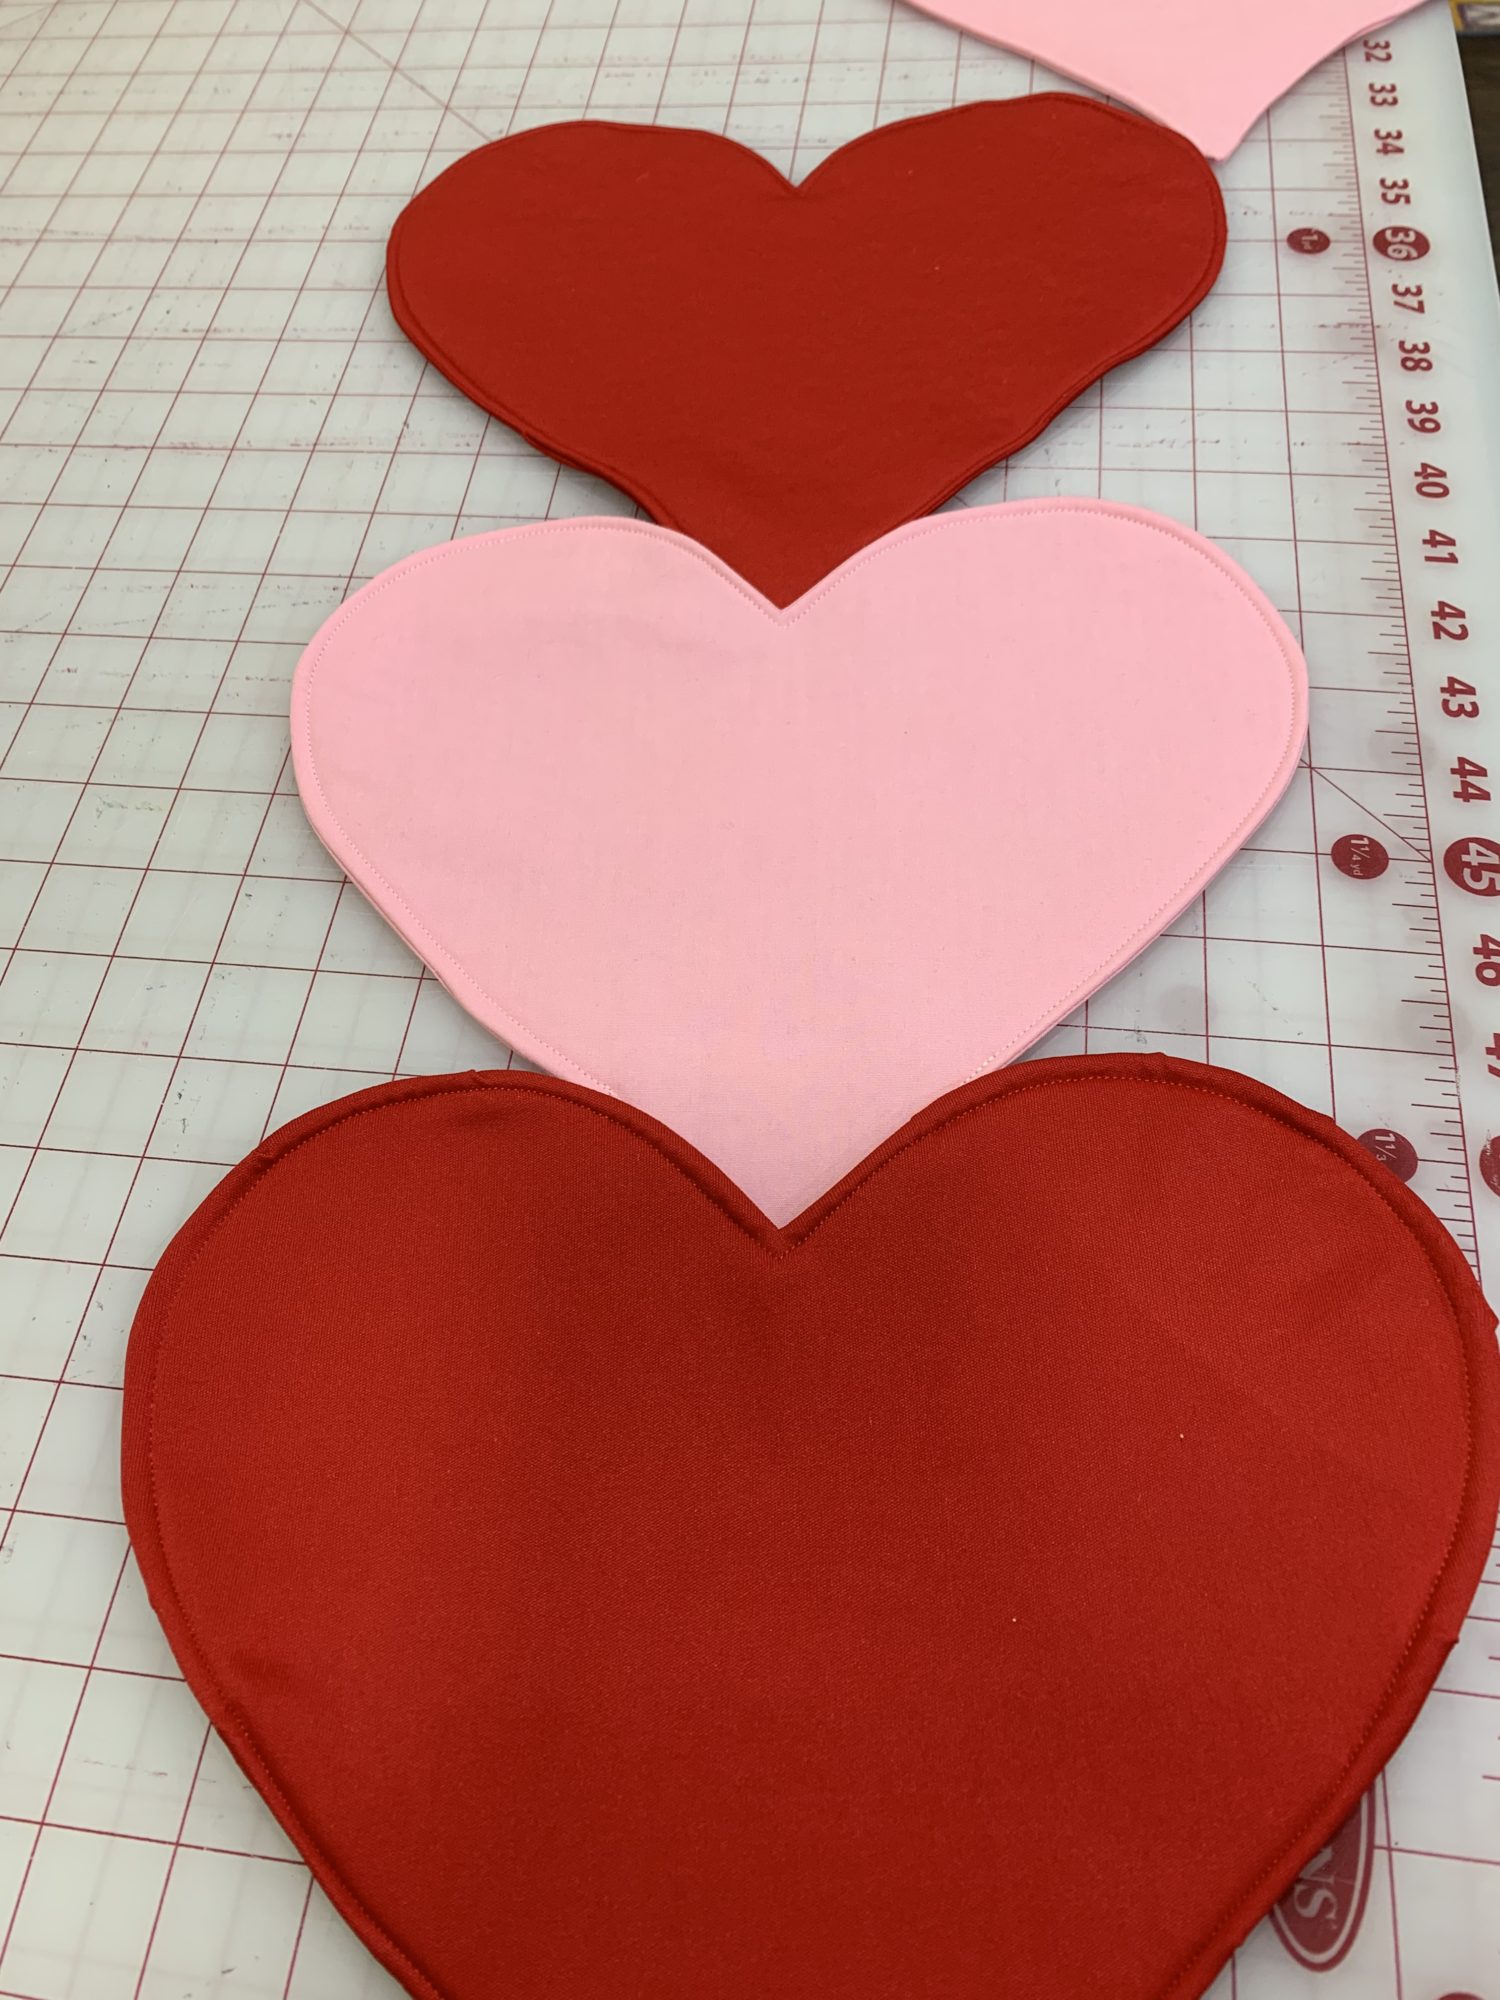
Decide how many hearts you want
- Decide how long you want your runner to be, this will determine how many hearts you will need to sew
- I used 7 hearts. My table is about 59 inches long and 7 hearts left me with just a little bit of space on the ends of the table.
- Continue making hearts until you have however many you need.
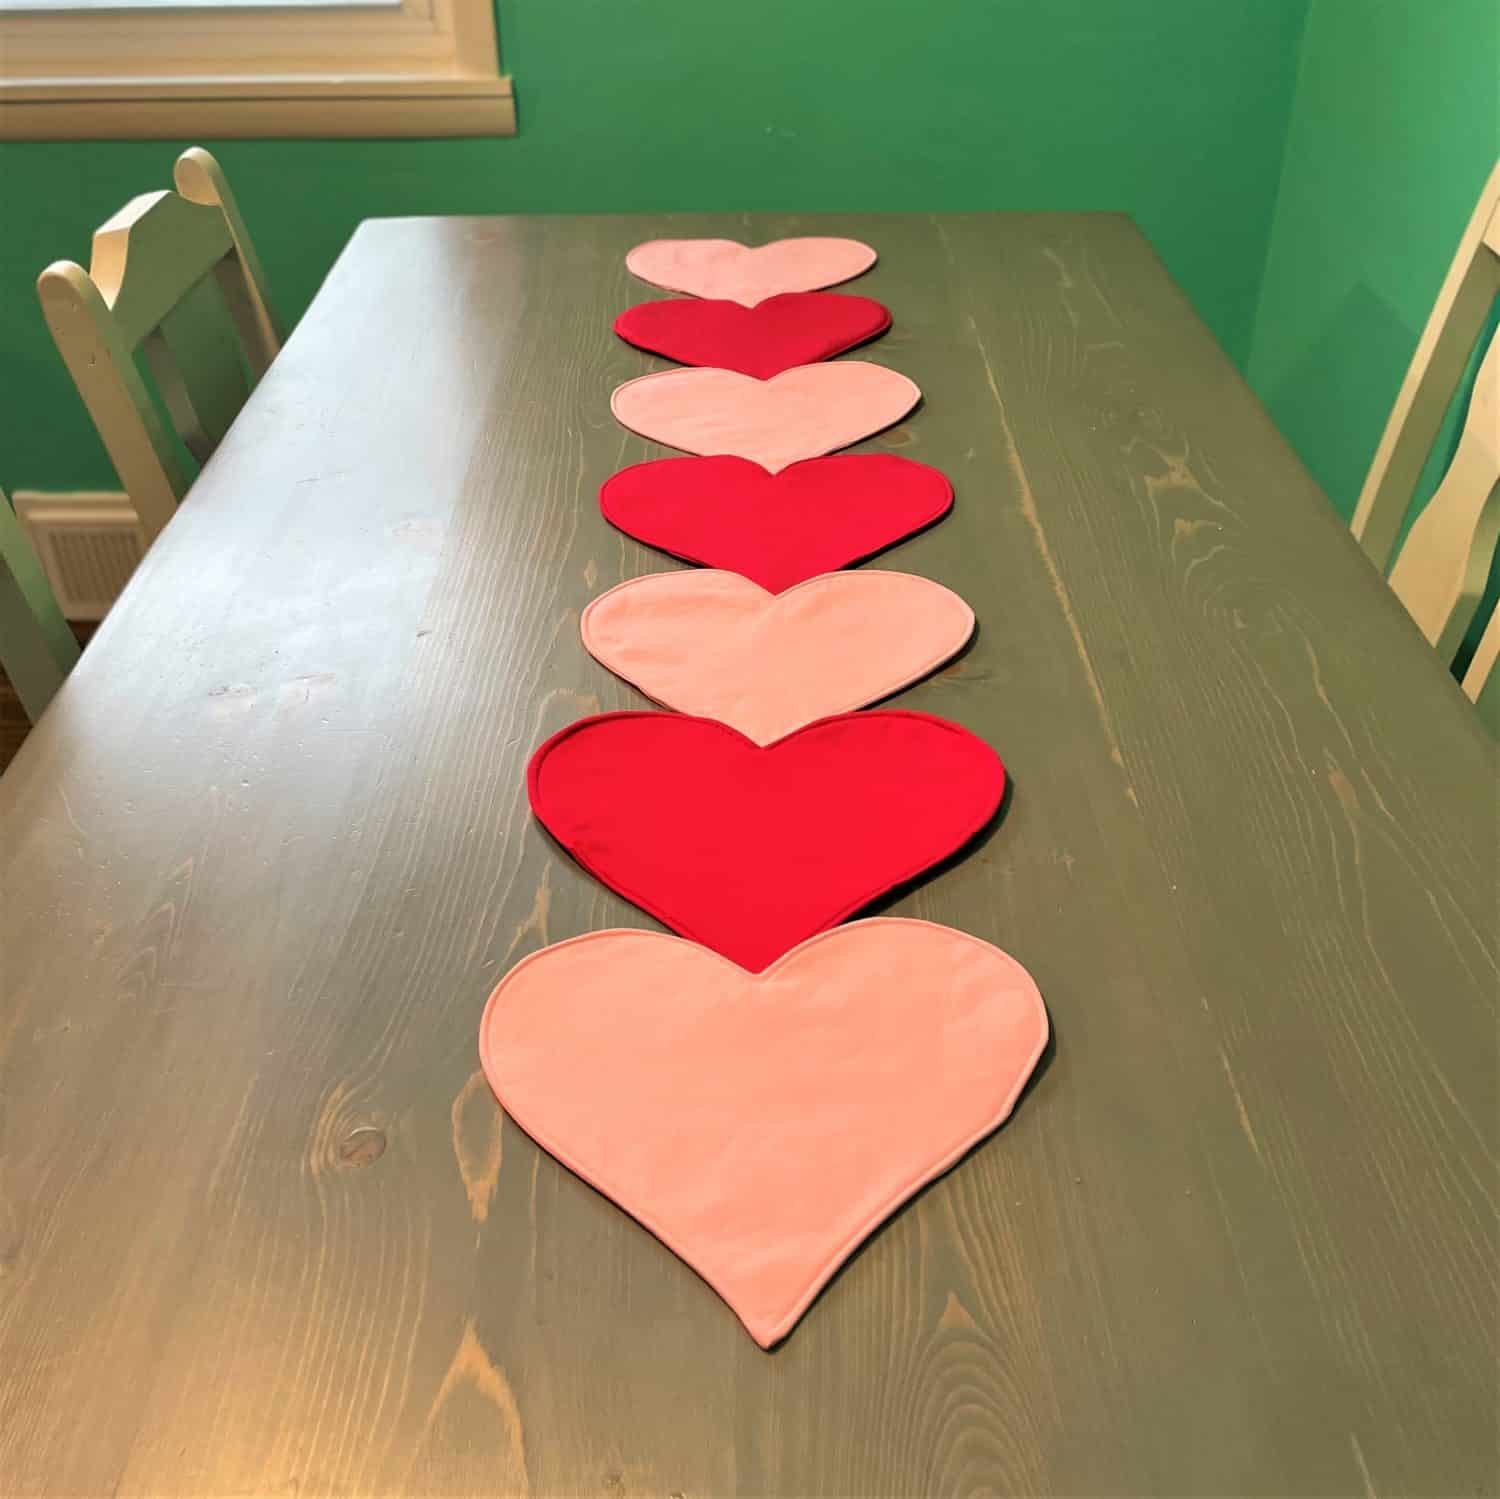
Assemble table runner
- Lay one heart on top of another heart, just barely covering the bottom point of the other heart
- I decided to hand sew mine so that I could better hide the stitches, but you can use your machine and stitch along where you topstitched
- Sew the top of one heart to the bottom of the other
- I used a little bit of hot glue to hold the heart where I wanted it while I was sewing it. This kept it from moving and shifting while I hand stitched it. This is optional.
- Continue sewing the hearts together until you use all of your hearts
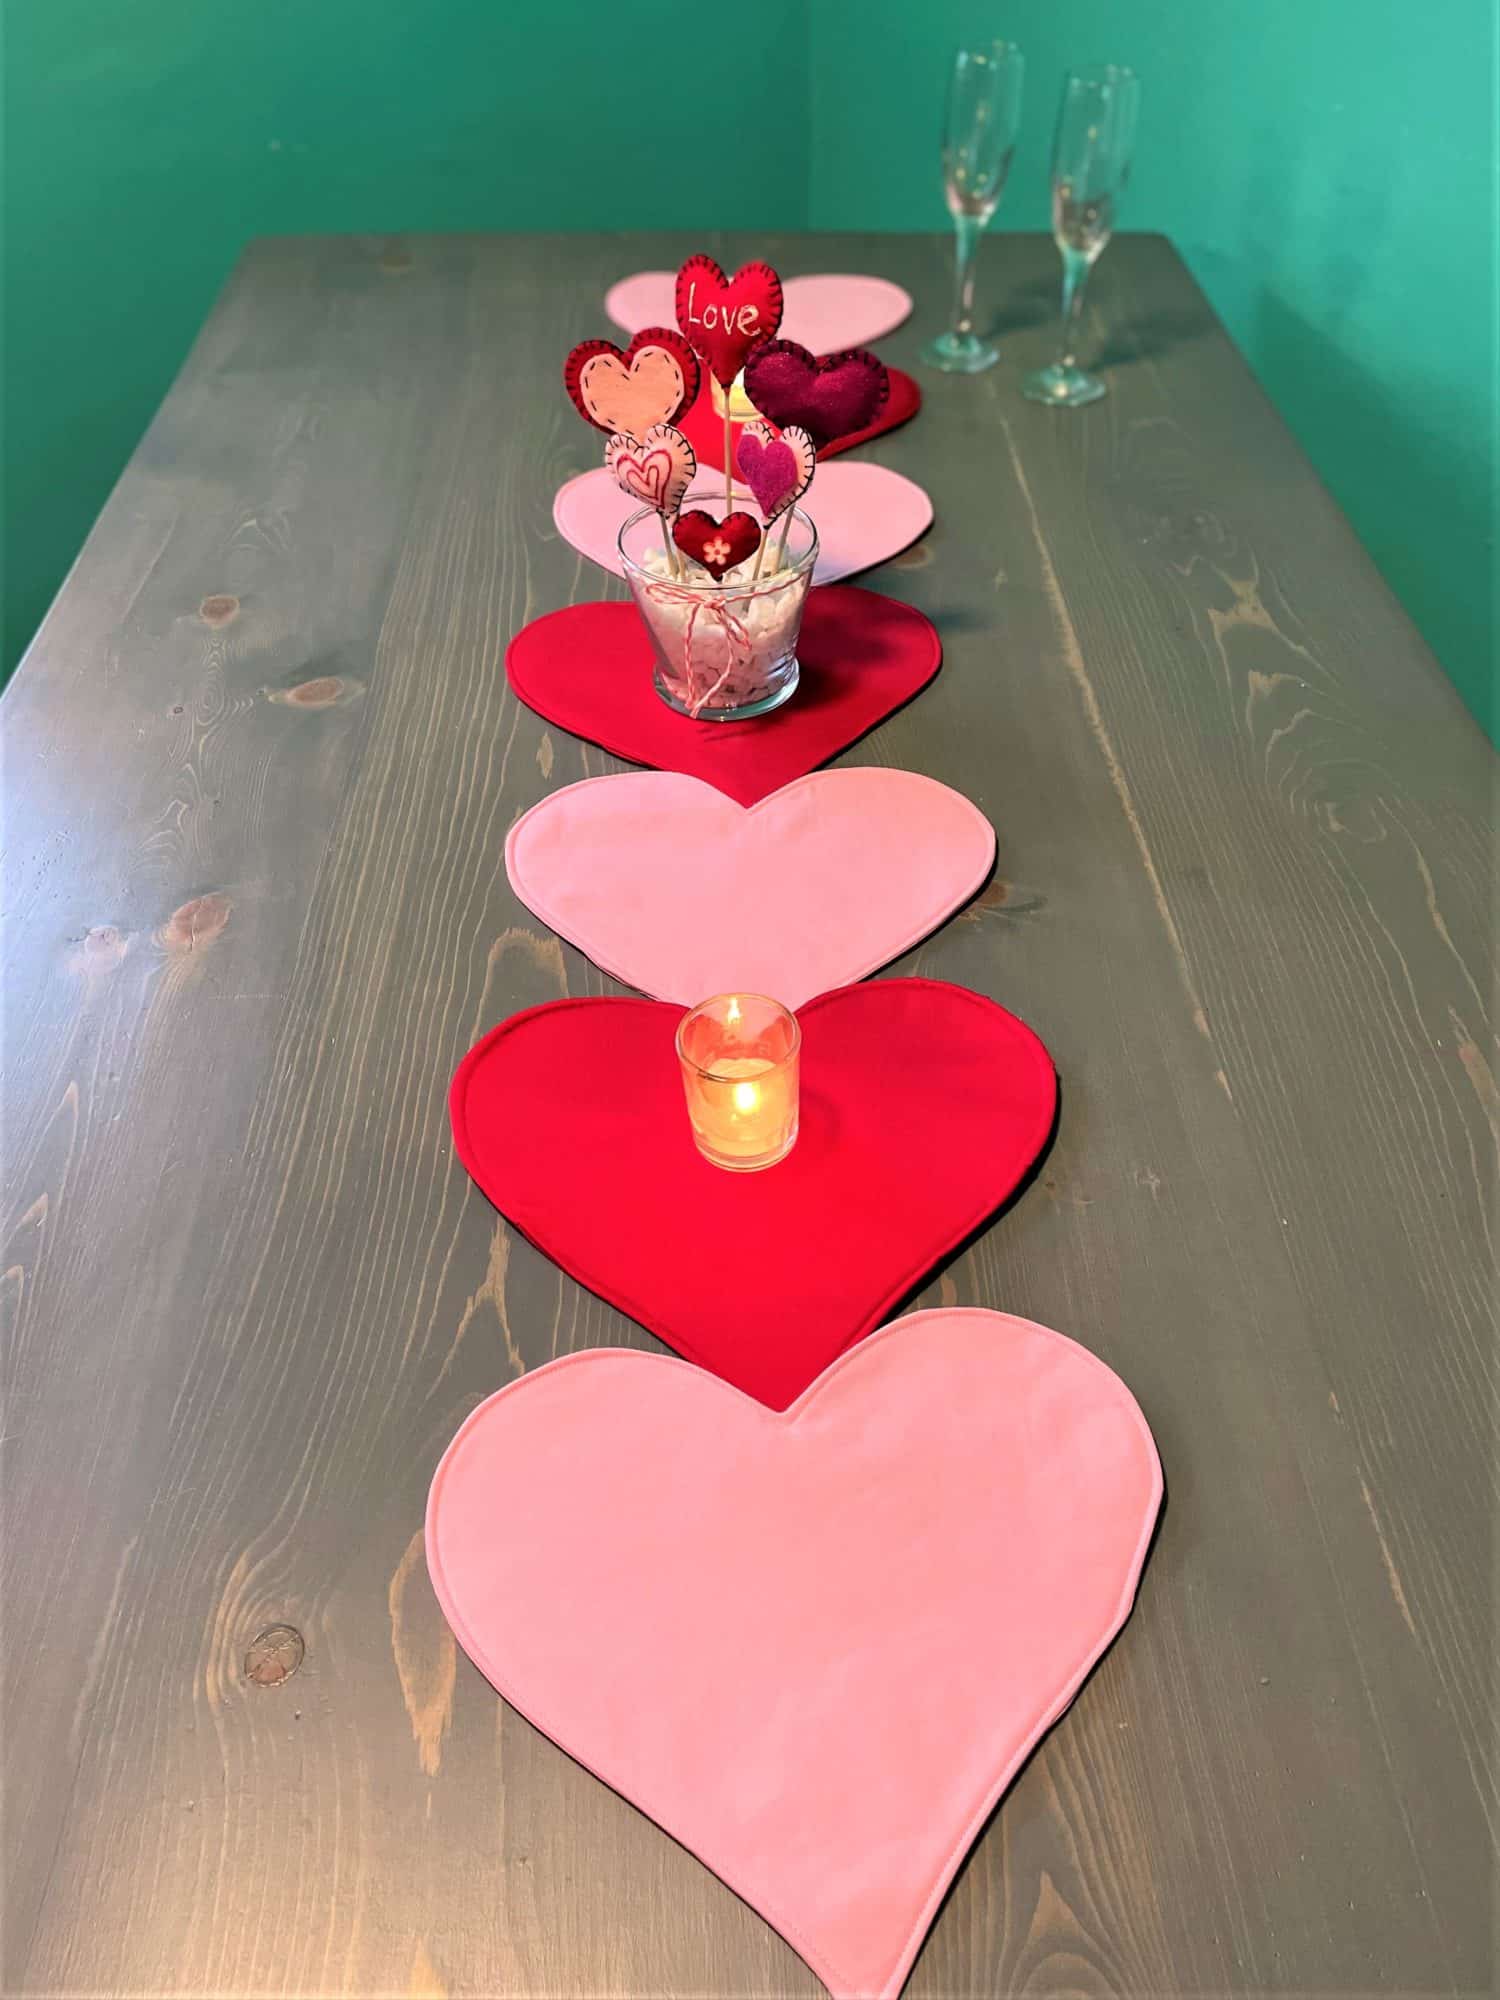
Ta da! Your Valentines day table runner is complete!
- There you go, you’re all done! Now put it on your table and enjoy your new table runner!
Want more FUN DIY Freebies? Check out the FREEBIE TUTORIALS and the FREEBIE PATTERNS!
As always, we’re here to help if you need it! Join us HERE and on Facebook, Instagram, Twitter, Youtube, and Pinterest. We’re everywhere you are.
I am trying to put together your Sherry pattern. I watched the videos more than once but still when I put the pattern pieces together, the pattern cutting lines are not lining up so the pattern seems to make no sense. I watched Laura O’Neal put together part of the Jessie pattern and her went together showing pattern cutting lines matching up. I am very confused. Can you help?
Please email [email protected] and we’ll help you!
I finally realized that the pattern should be together the opposite way from what I was doing. I was laying the pages right to left when they should go left to right. I forgot that Laura was facing me and so was opposite me. Lately I have been a little distracted. I think it will be ok now.