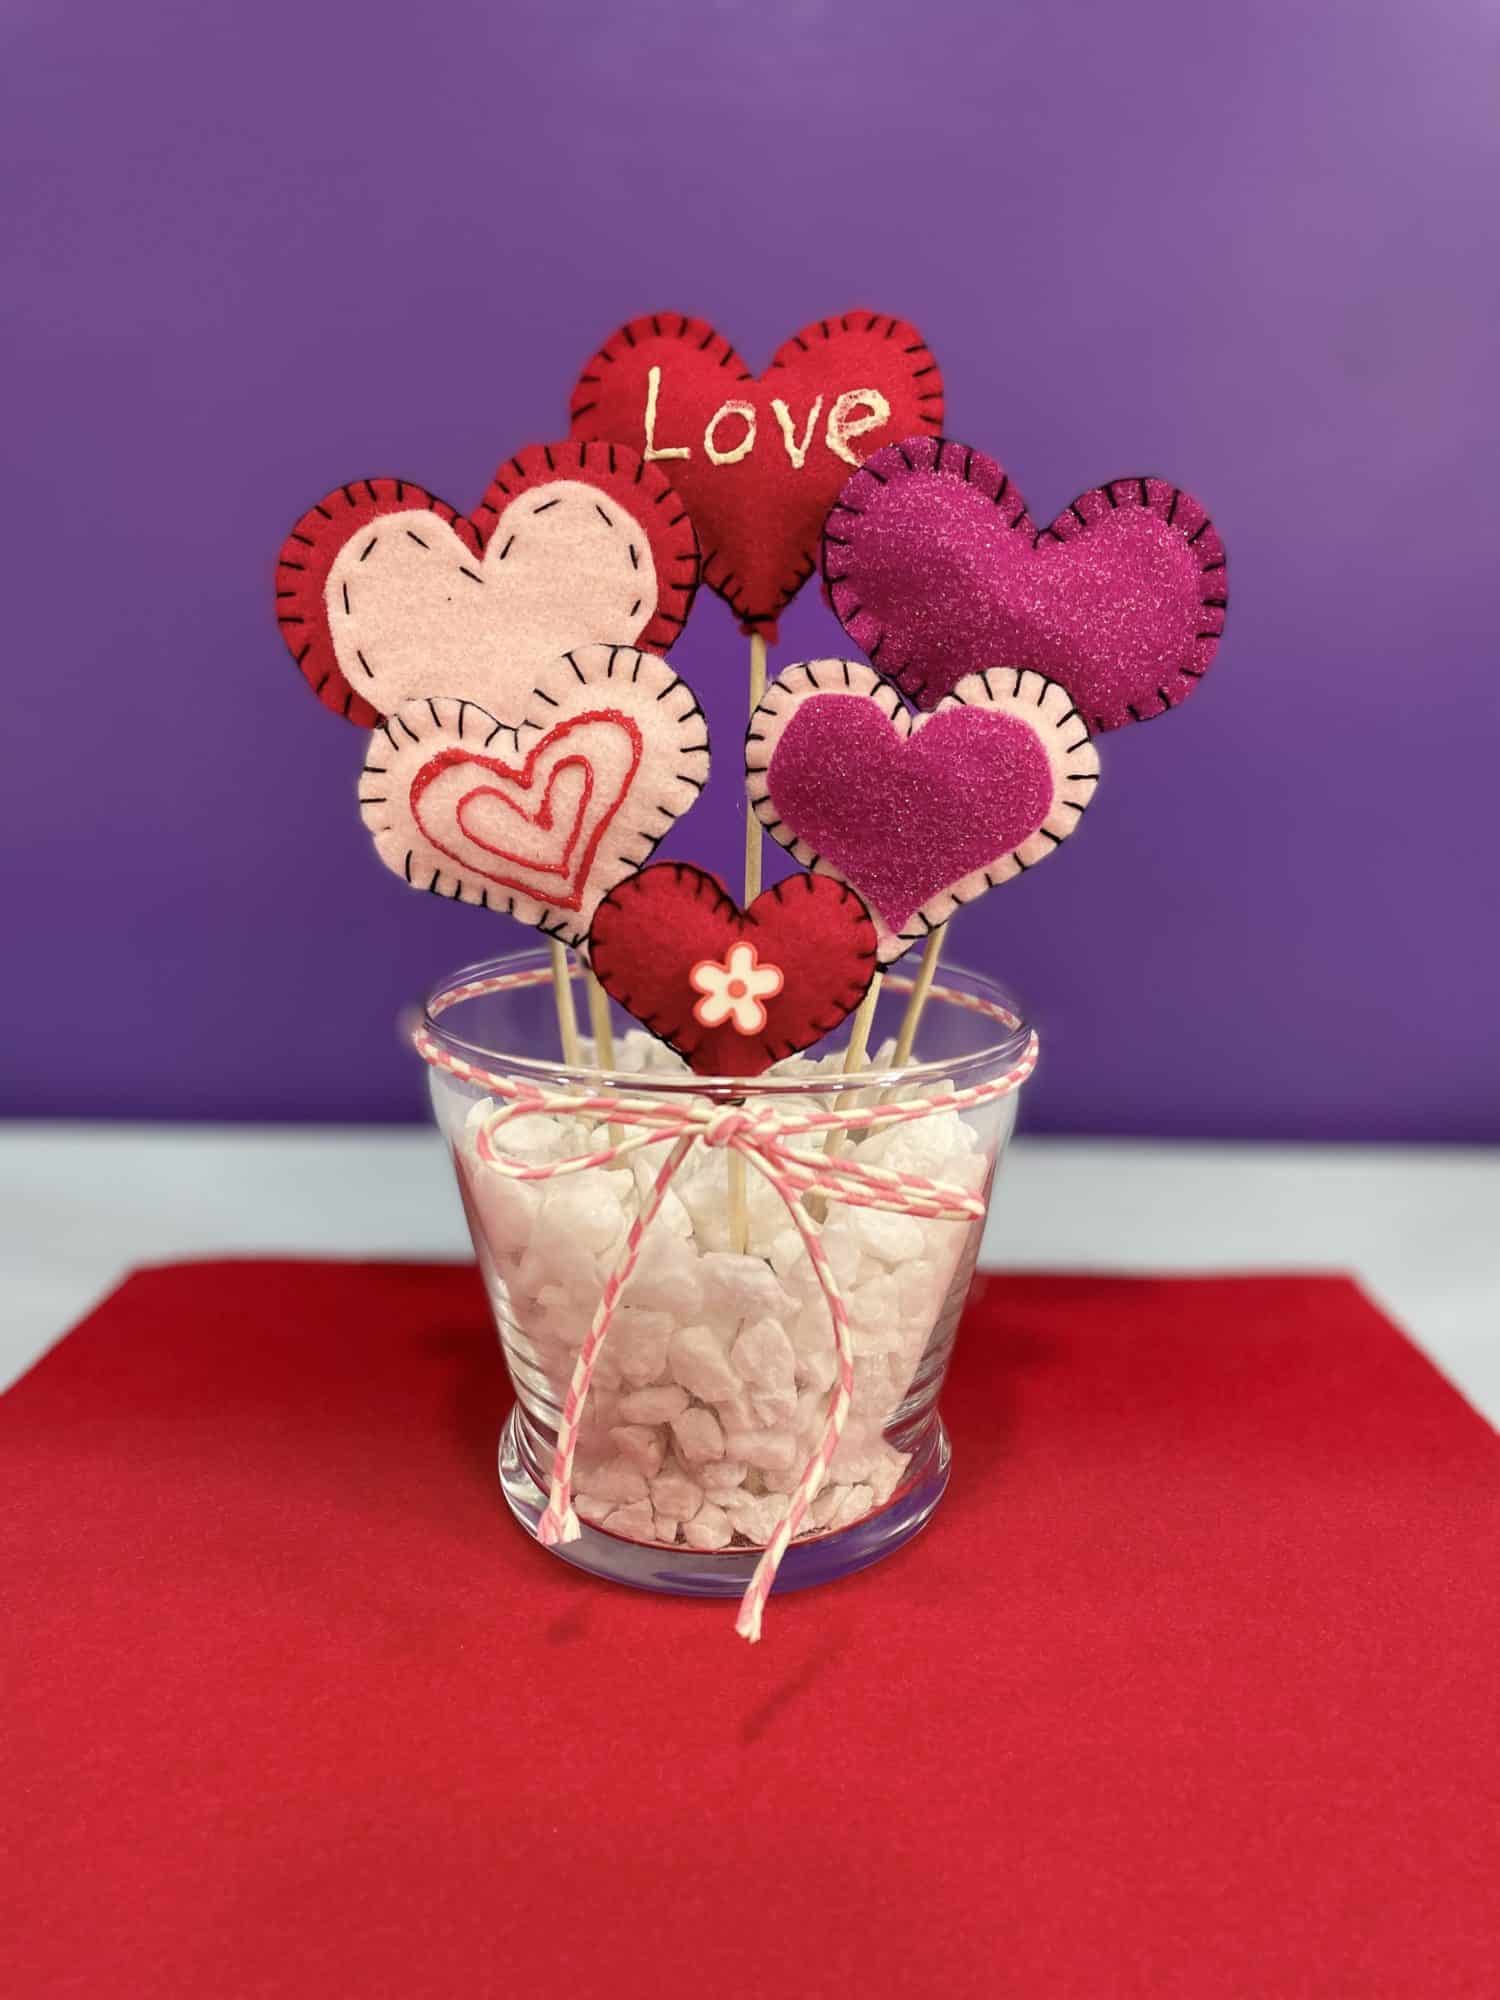
Valentine’s day is right around the corner. I typically don’t decorate for Valentine’s day, but this year, I was inspired to make a fun Valentine’s day centerpiece craft. It’s easy to make, but really brings a festive touch to our table. I didn’t need many materials for this project and you can use your imagination and get creative to make it your own! Let’s get started!
Materials
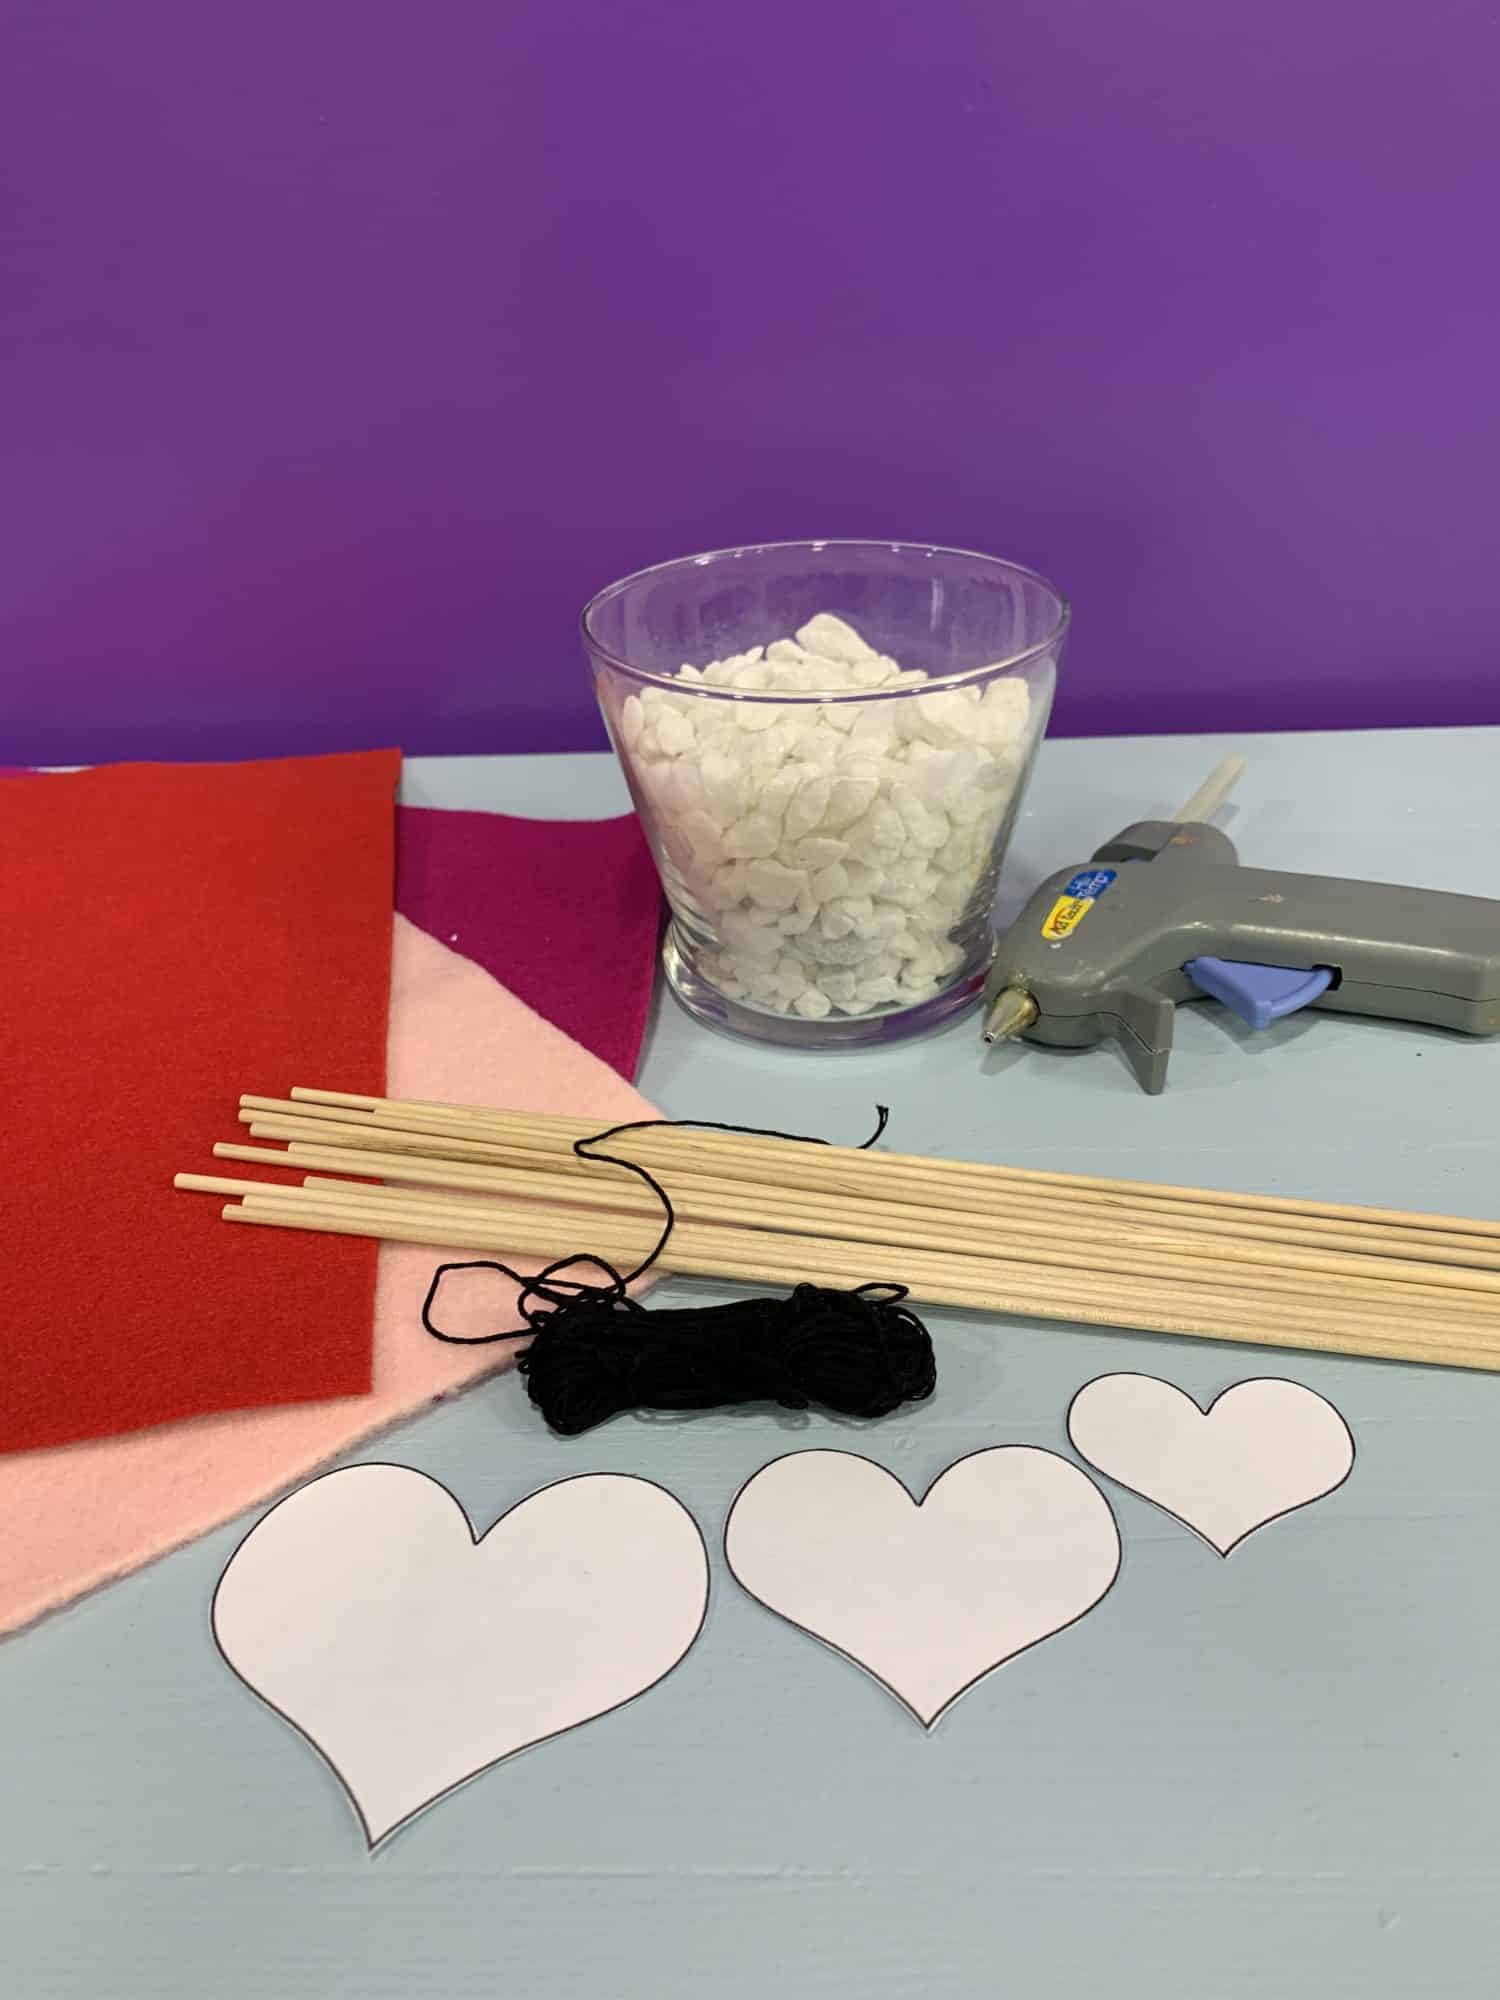
To make your own Valentine’s day centerpiece craft, you will need the following:
- Felt fabric in your choice of colors
- It doesn’t take much felt, so you’ll need one sheet of felt per color
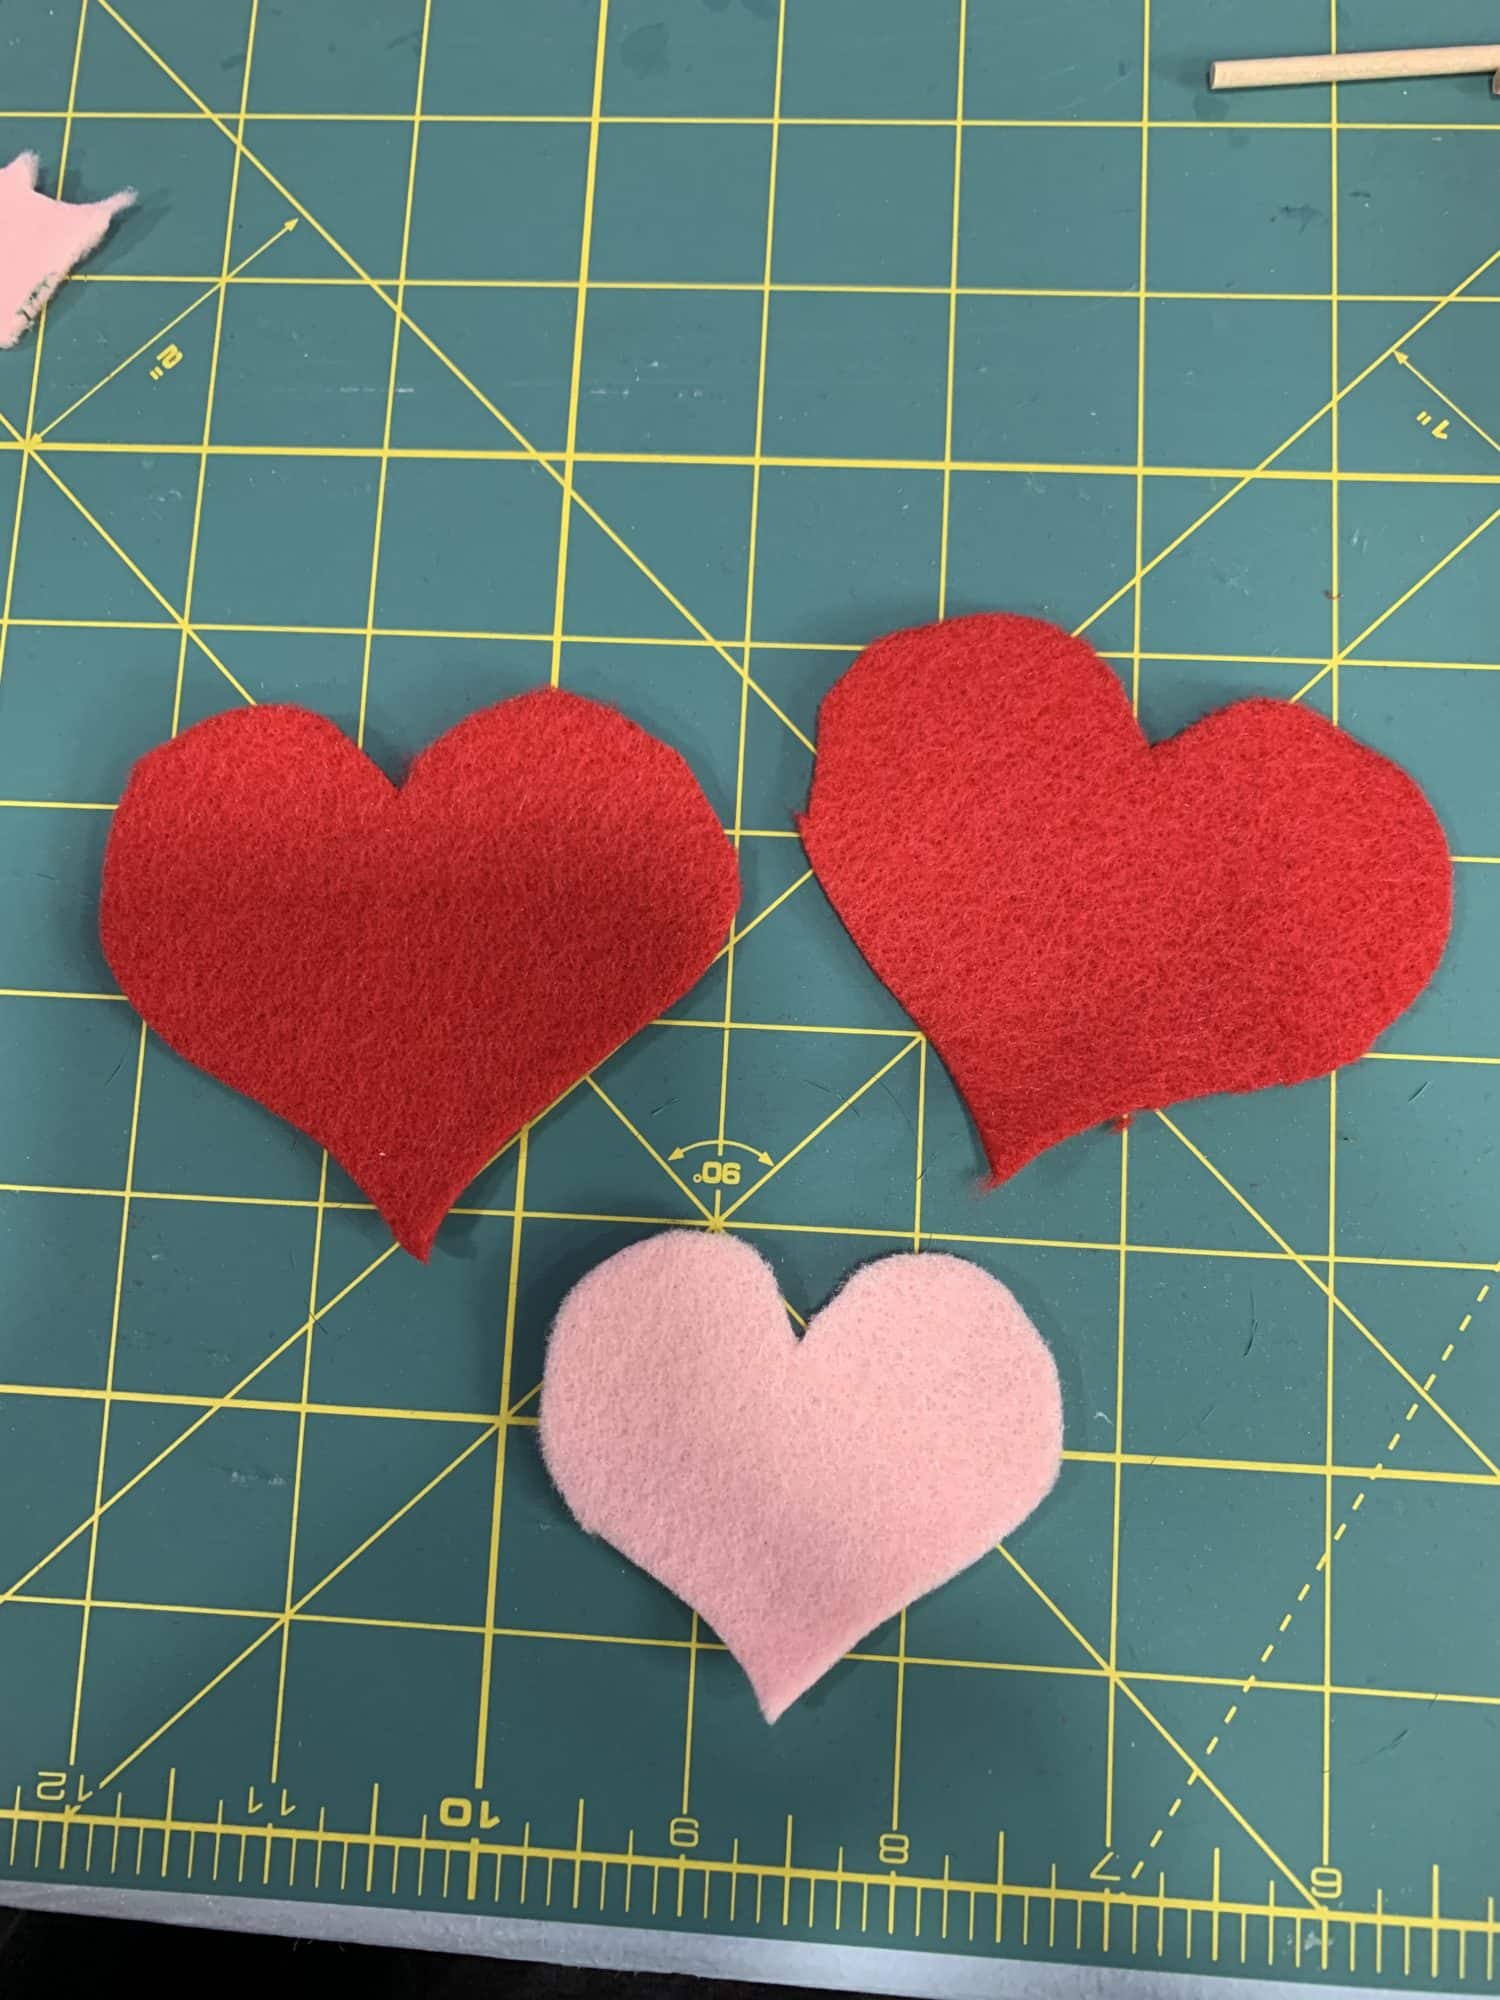
- Heart pattern in your desired size
- I used 3 inch, 2 inch, and 1 inch sized hearts
- My computer has a stock image of a heart outline, so I used that for my pattern
- Dow rods, lollipop sticks, or other object to use as “stems” for your hearts
- A vase or bowl
- Rocks or marbles to fill vase
- Hot glue gun and glue sticks
- Fabric paint, buttons, or other embellishments if you choose to add them
- Small amount of stuffing or fabric scraps
- Embroidery floss and needle
Time to start the hearts for your Valentine’s day centerpiece craft!
- First, use your pattern and cut out your heart shapes
- You’ll need two heart pieces for each heart that you make
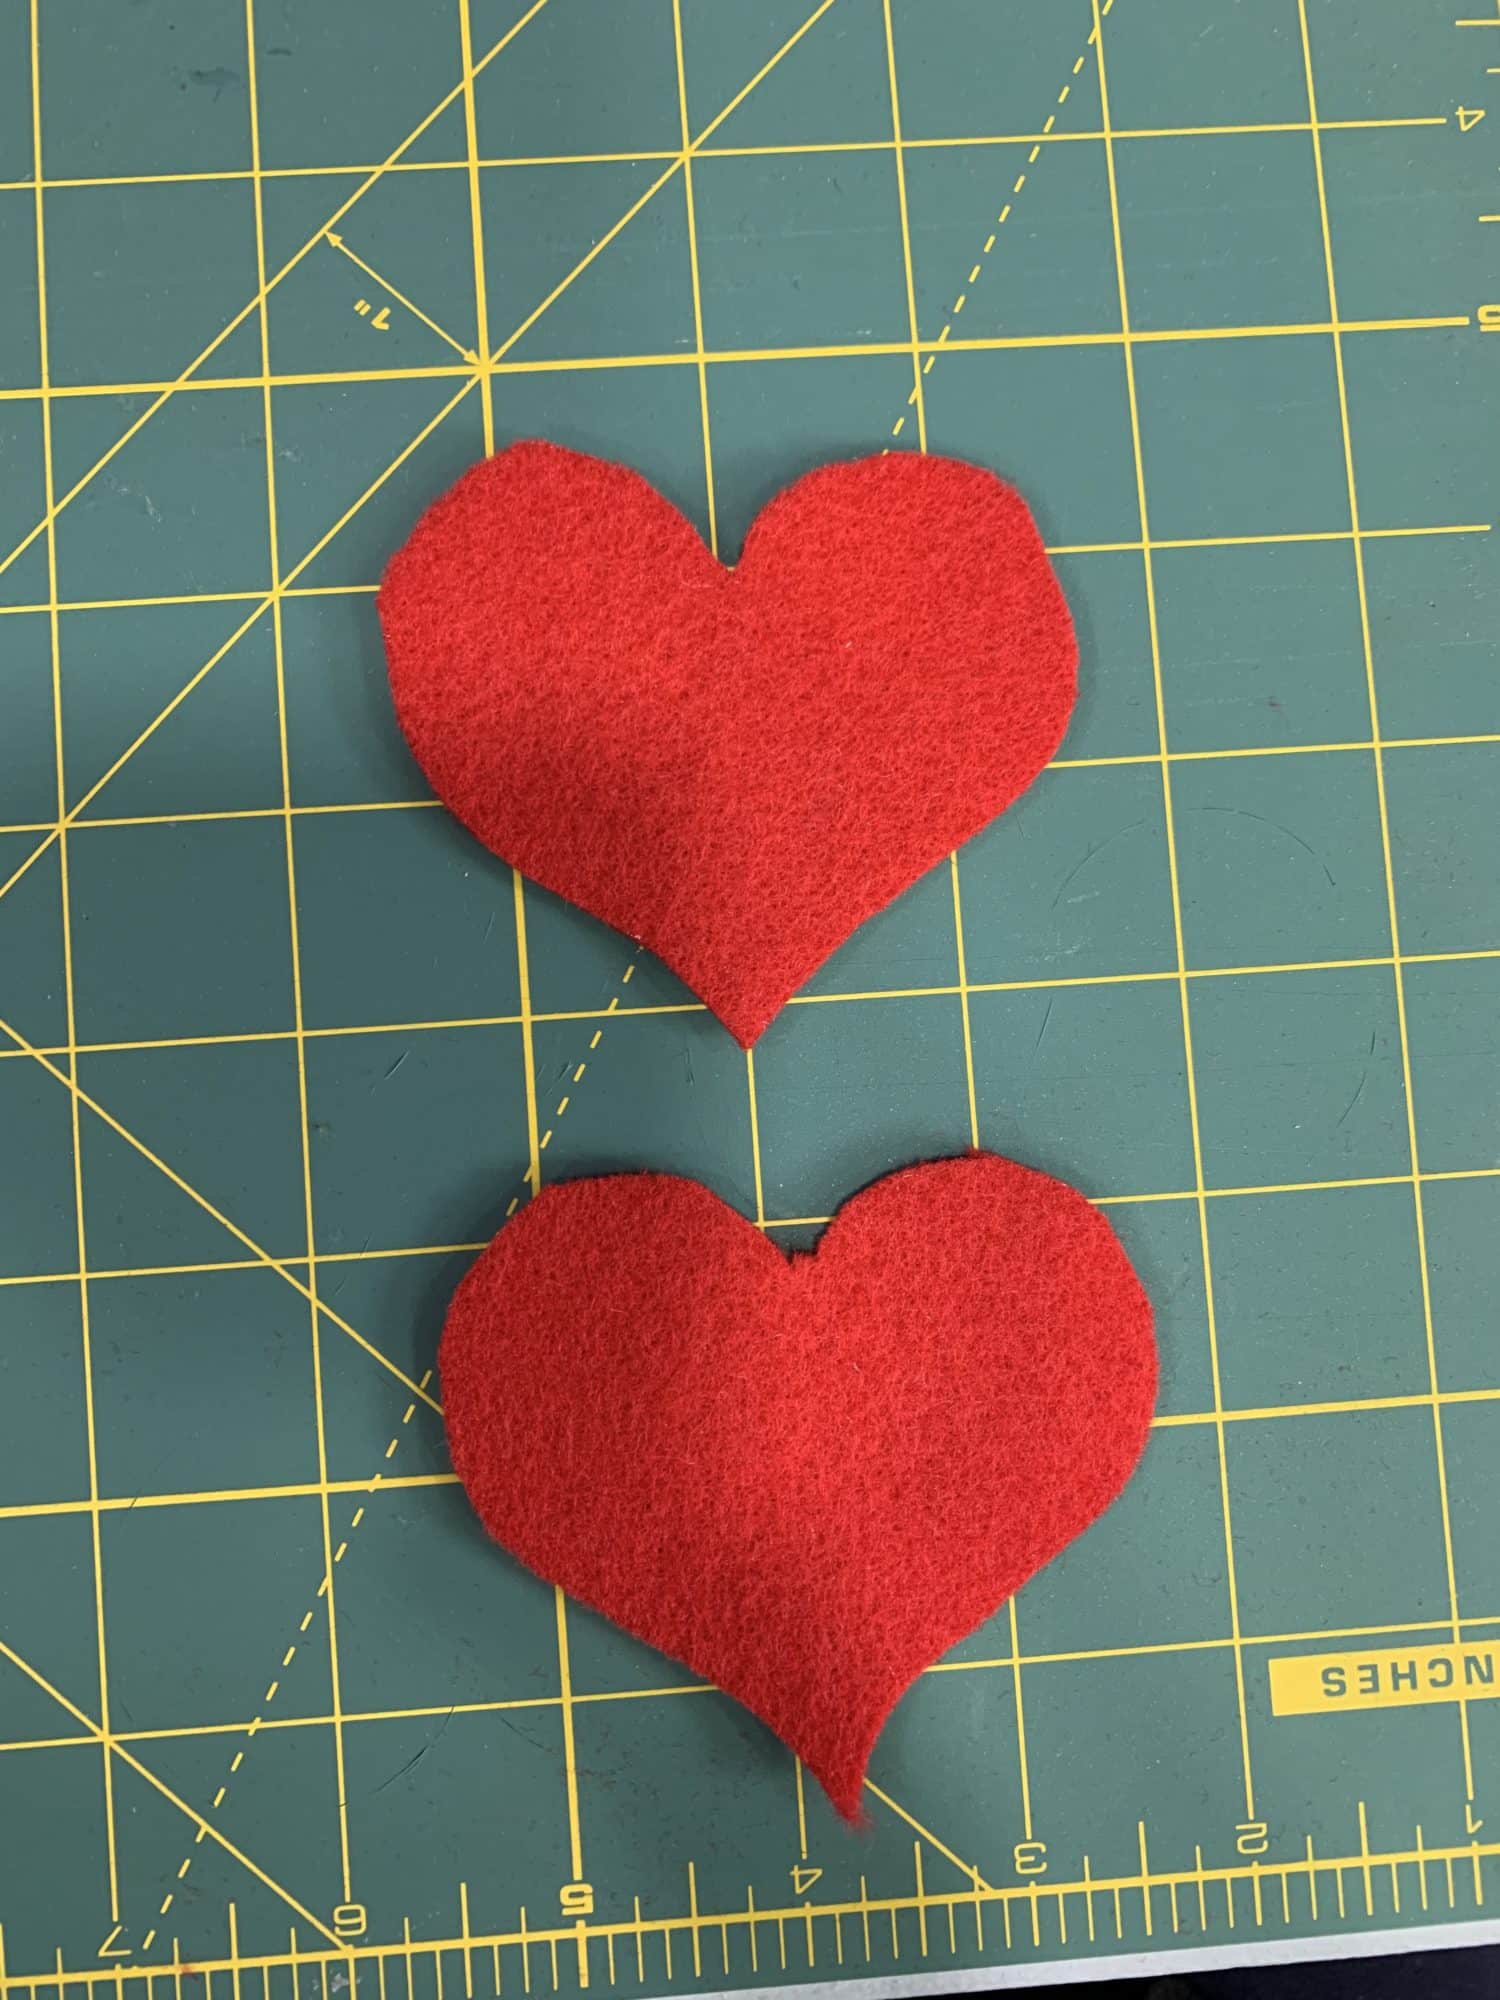
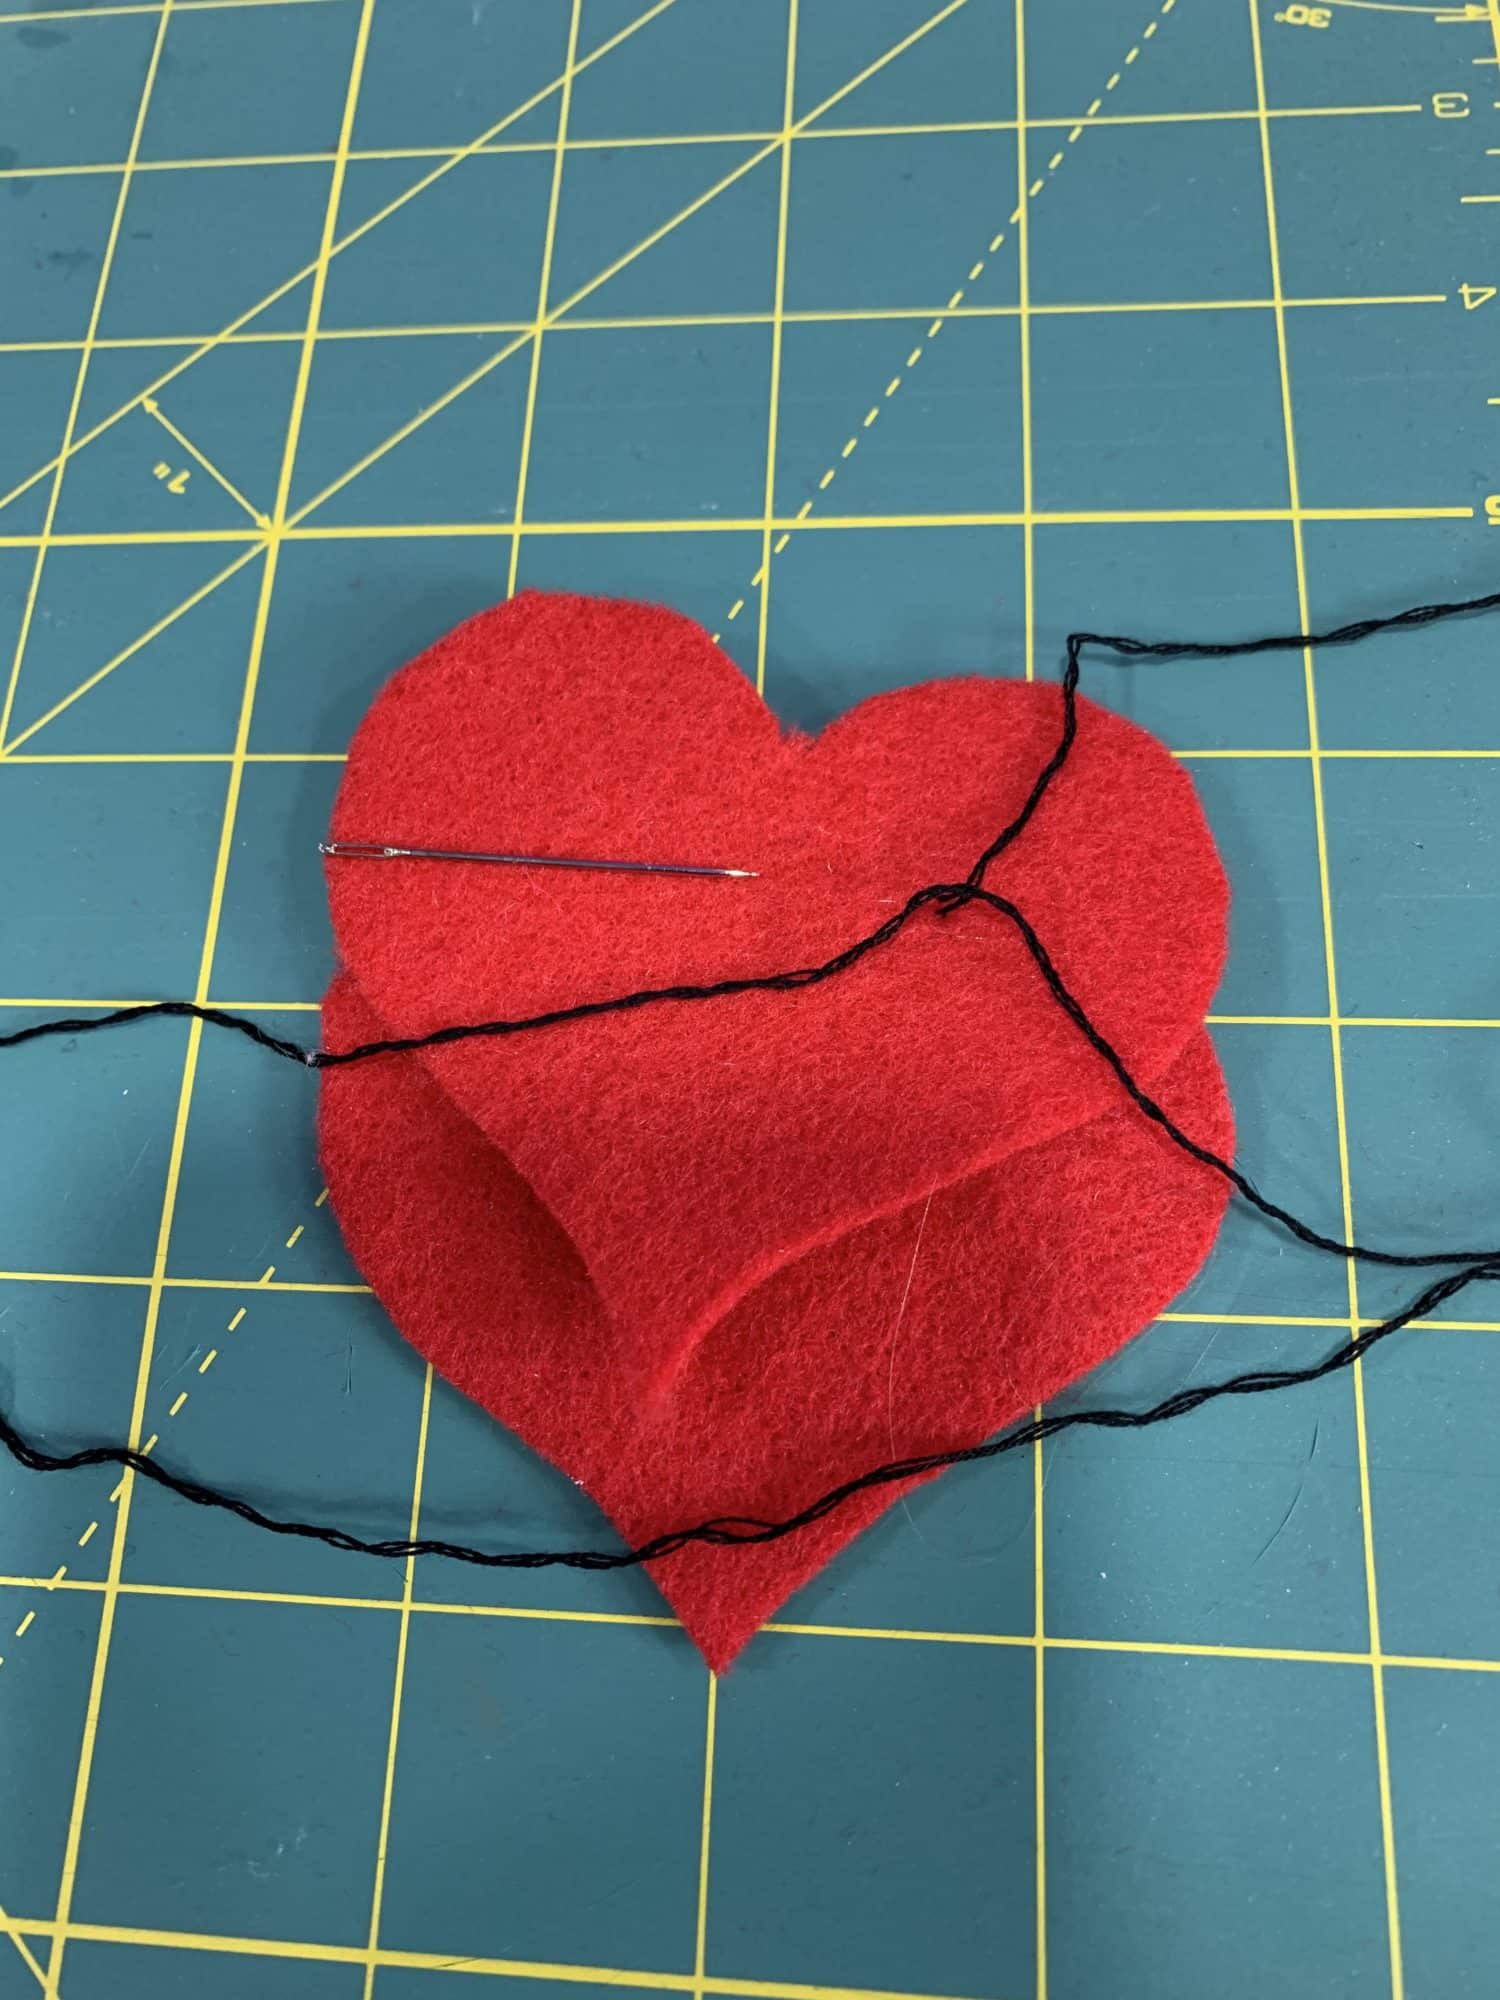
- Put your two pieces wrong sides together
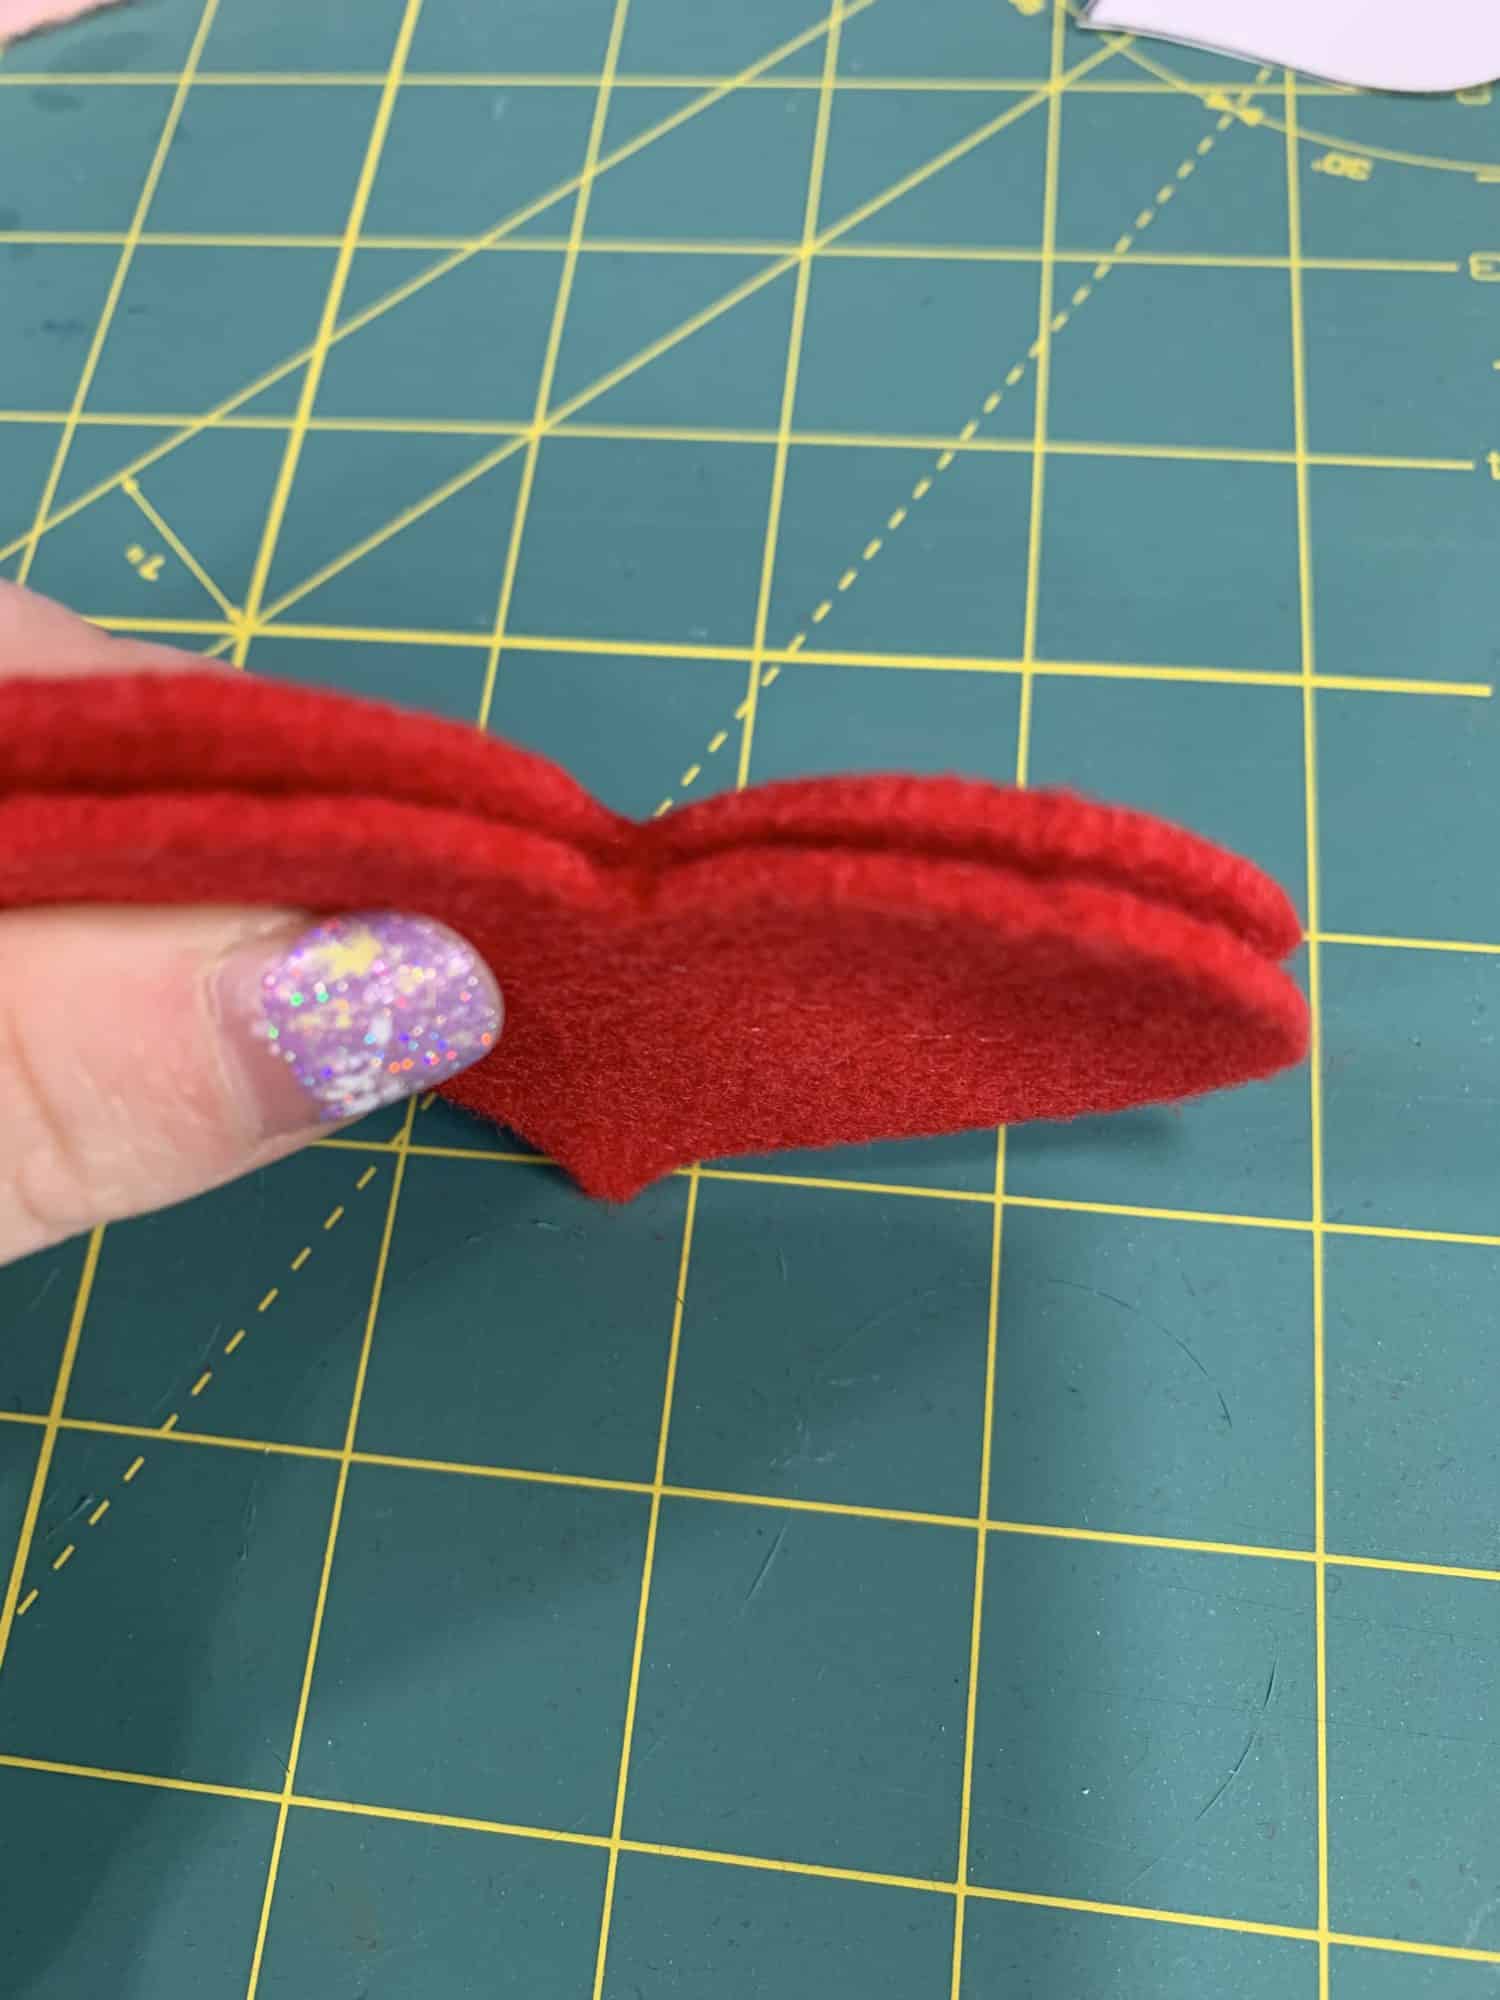
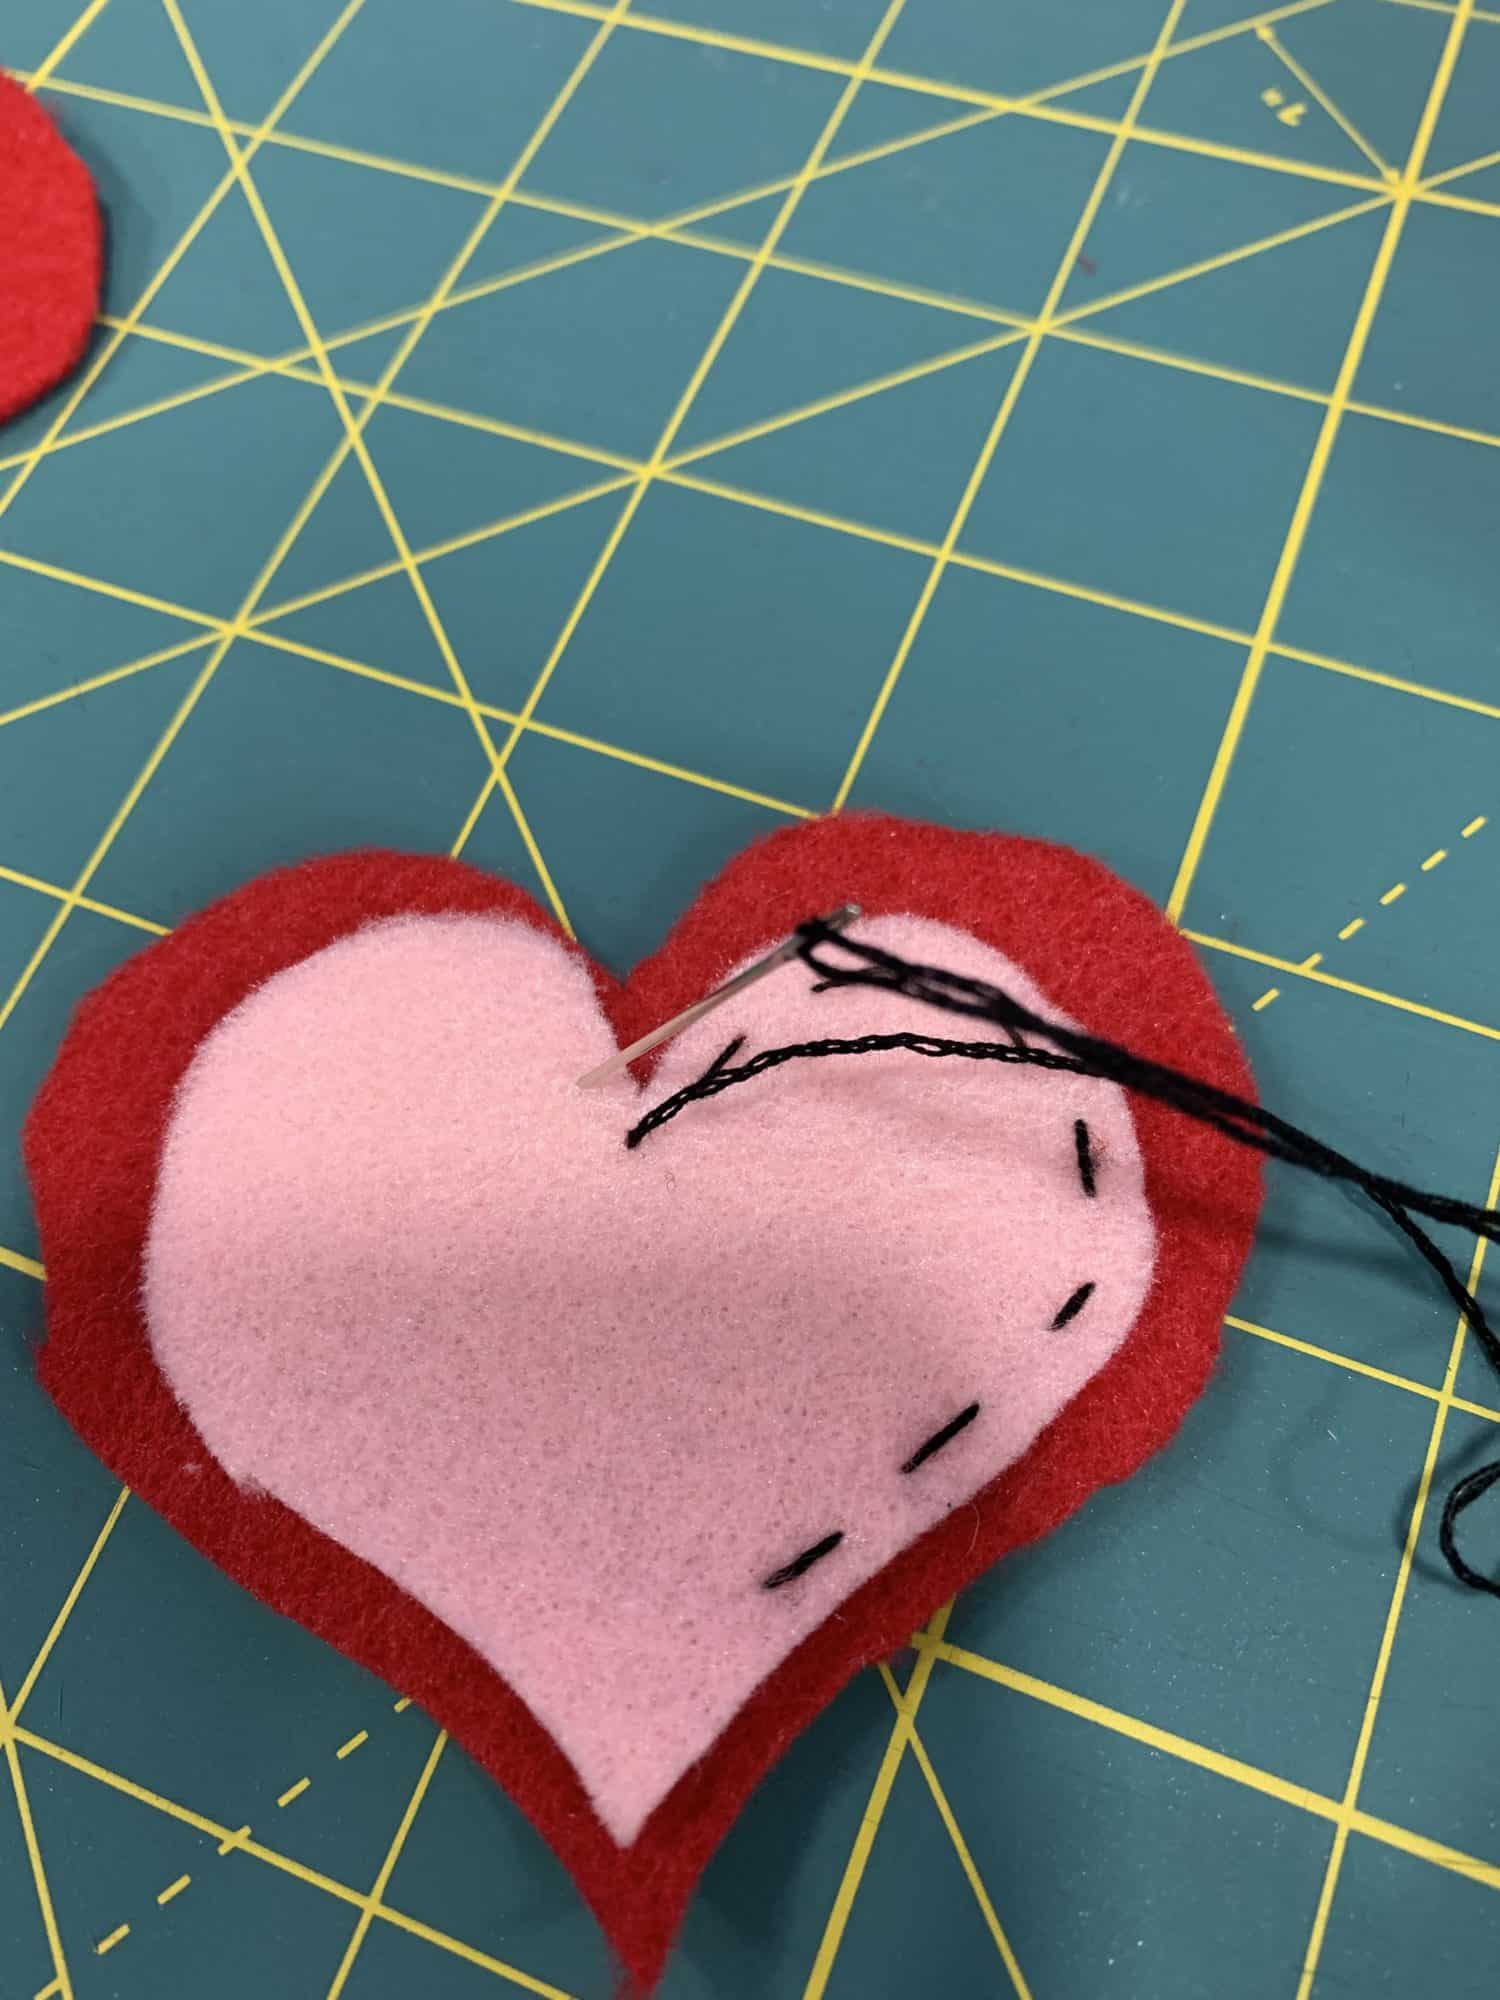
- You’re going to hand stitch around the outside of the heart pieces
- You will stop an inch or so from the end so that you can stuff the heart and add the “stem”
How to hand sew around the edge
- Take your embroidery floss and cut about 1.5 yards
- Each large heart takes about 1.5 yards of floss, the smaller hearts use a bit less than that
- My floss has 6 strands and I split that up so that I was sewing with 3 strands. You can use however many strands you want.
- Tie a knot at the end of the embroidery floss
- Place your needle through the back of the top heart piece and pull all the way through
- This will make it so your knot is hidden on the inside of the heart
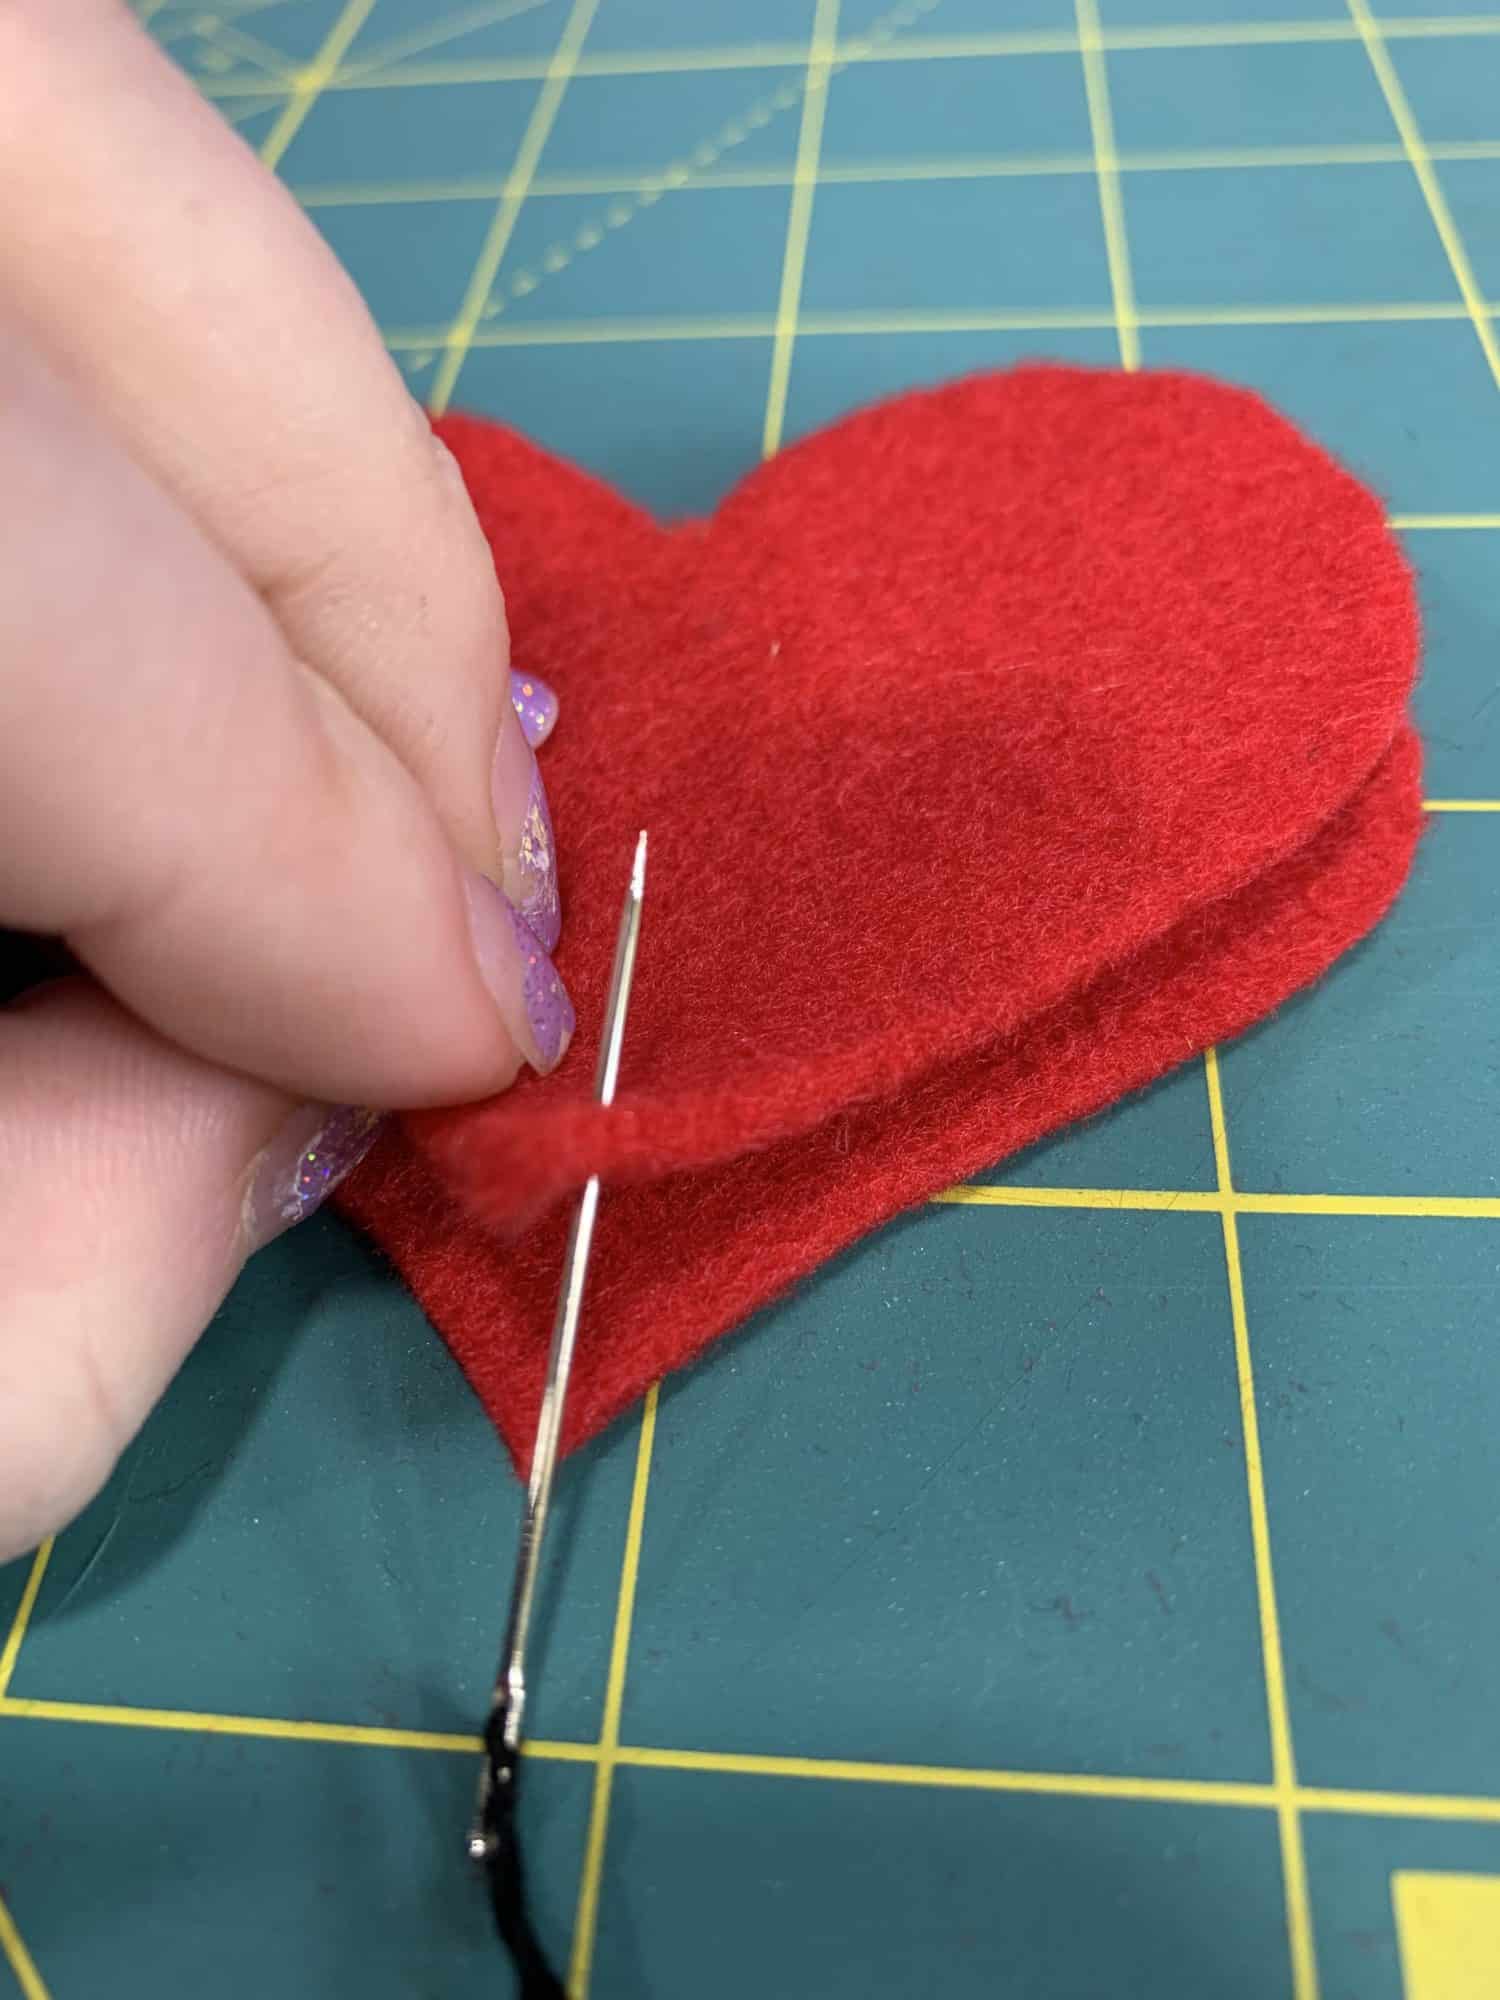
- I used a blanket stitch to sew around the edge. You can use any stitch that you prefer
- If using the same stitch as me, you will put your needle down through the top of your heart pieces and then pass the needle through the loop that the thread makes
- When you pull it tight, it will have the stitches on the front and also leave some thread along the edge
Needle goes down from the top 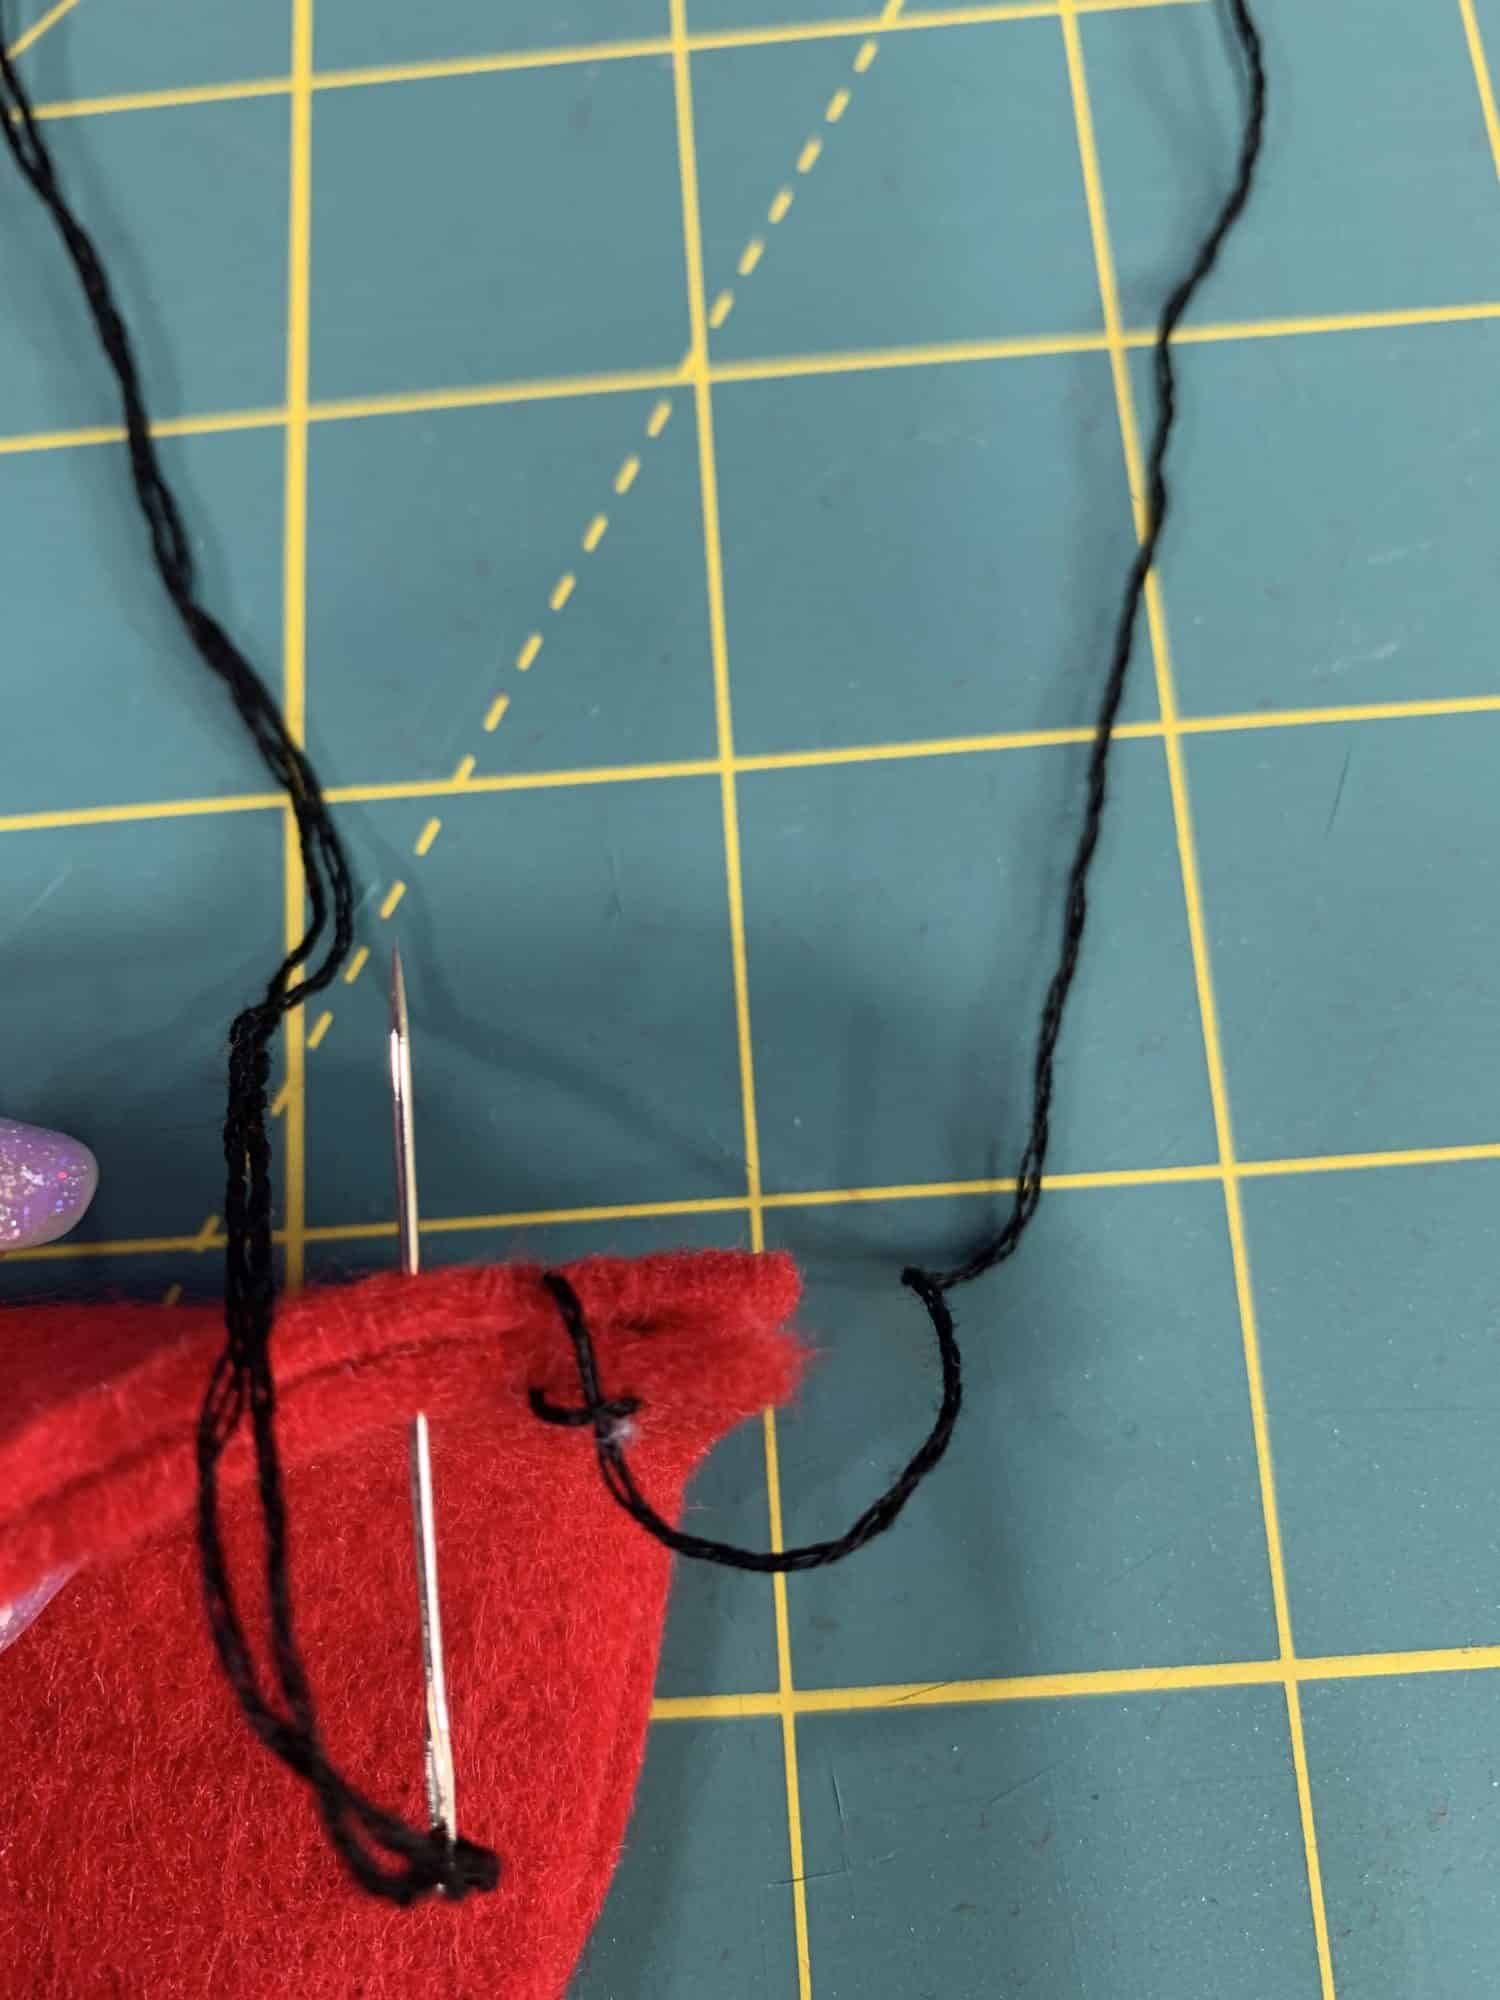
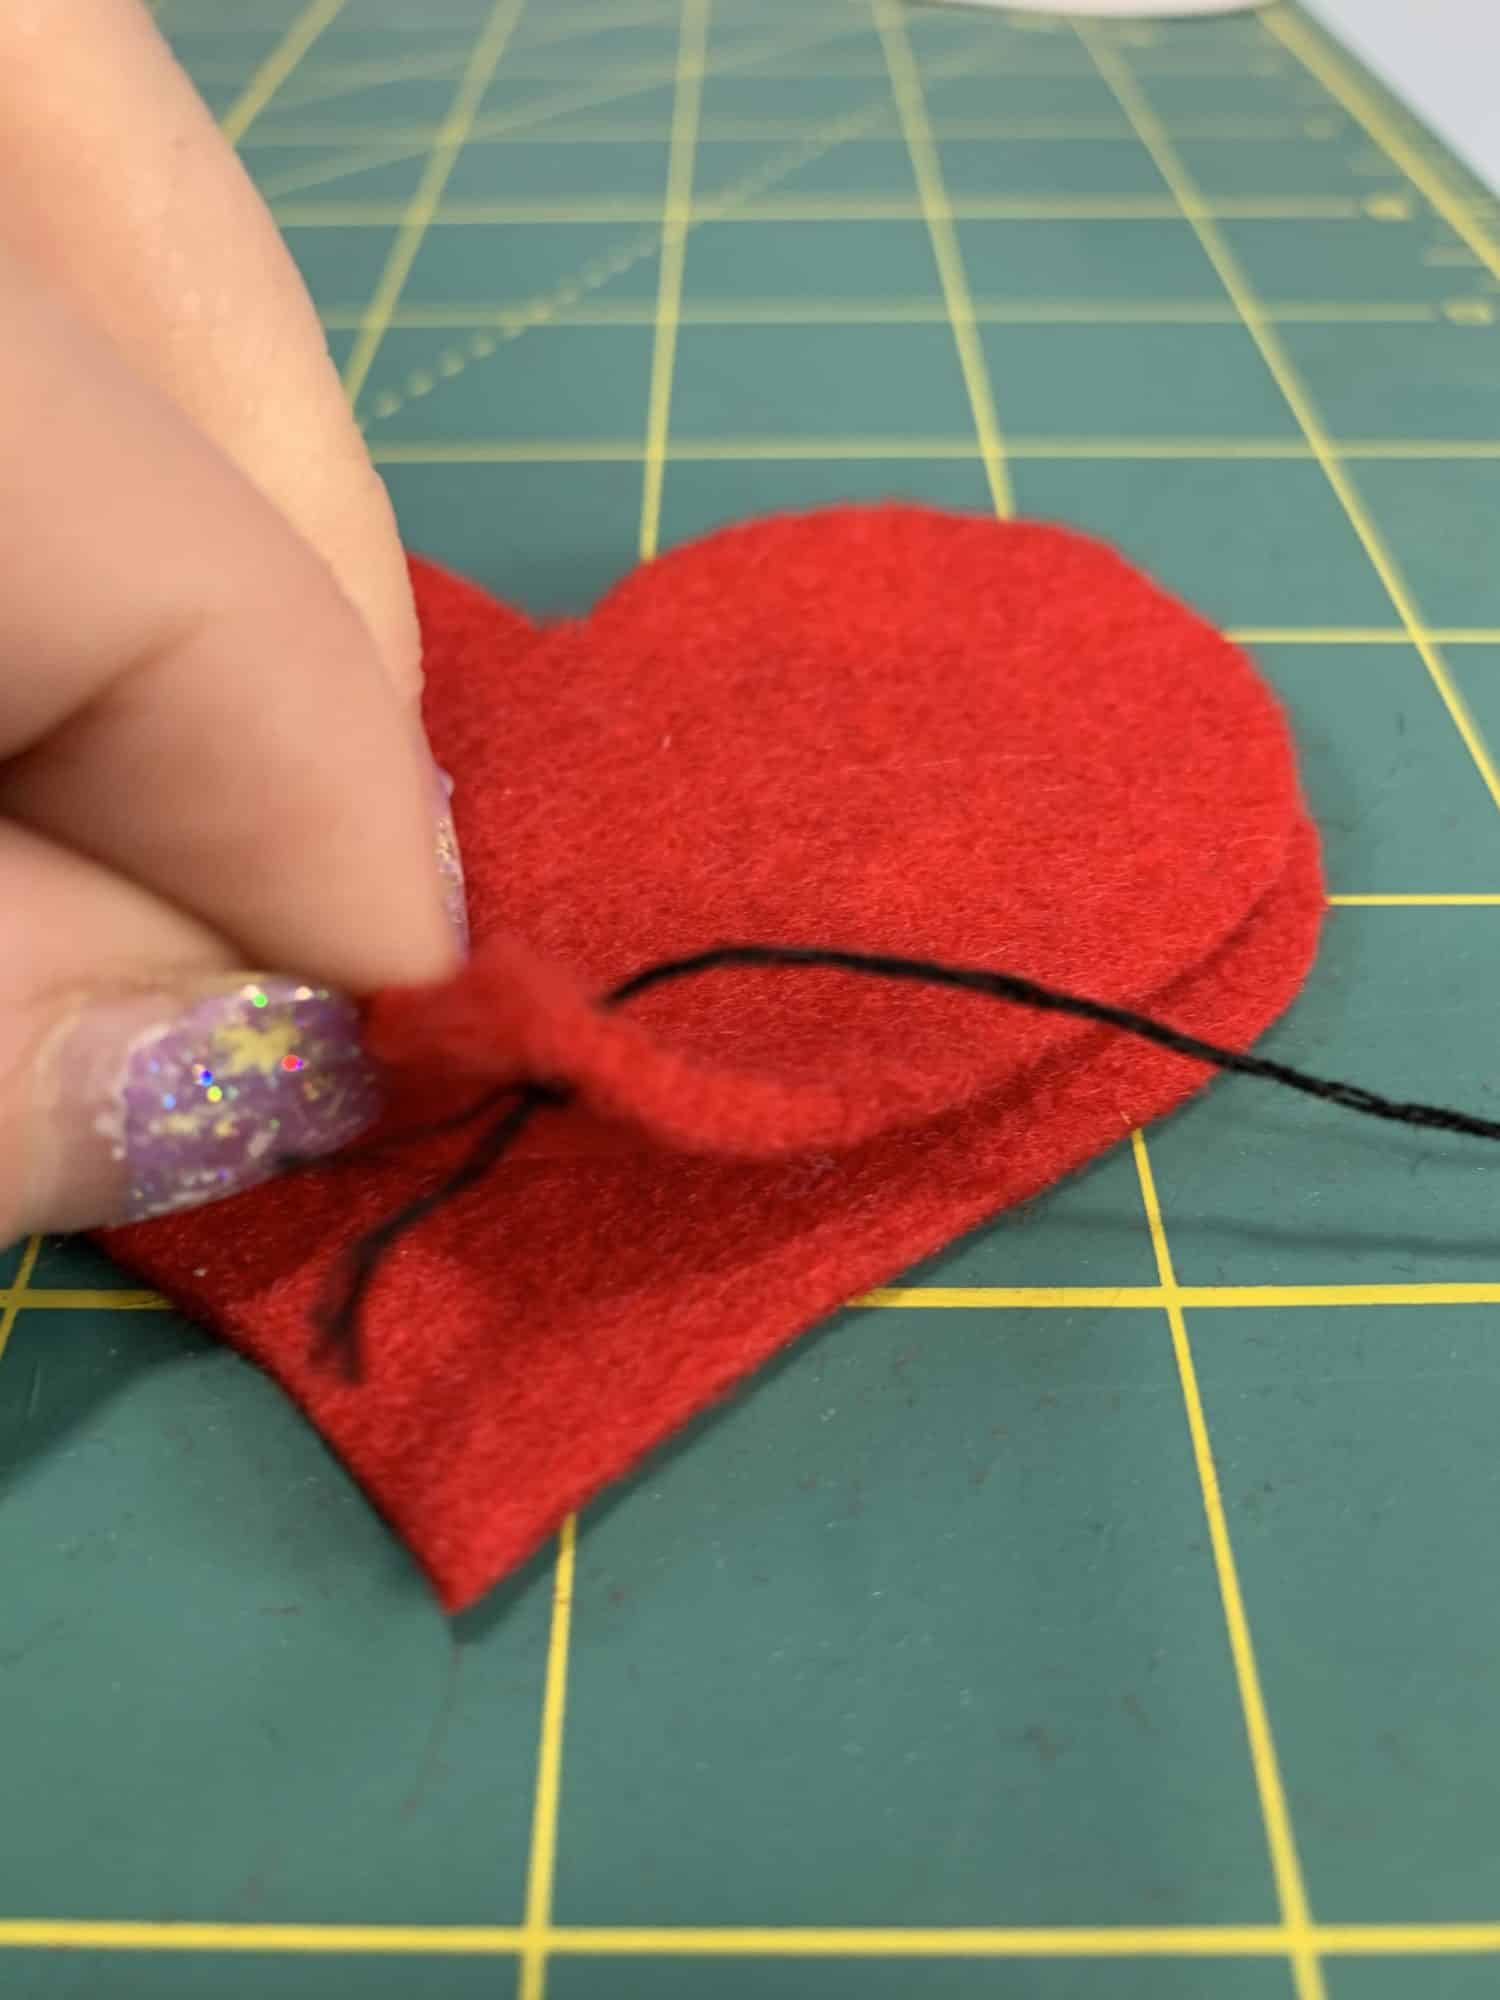
You want the needle in between the two threads 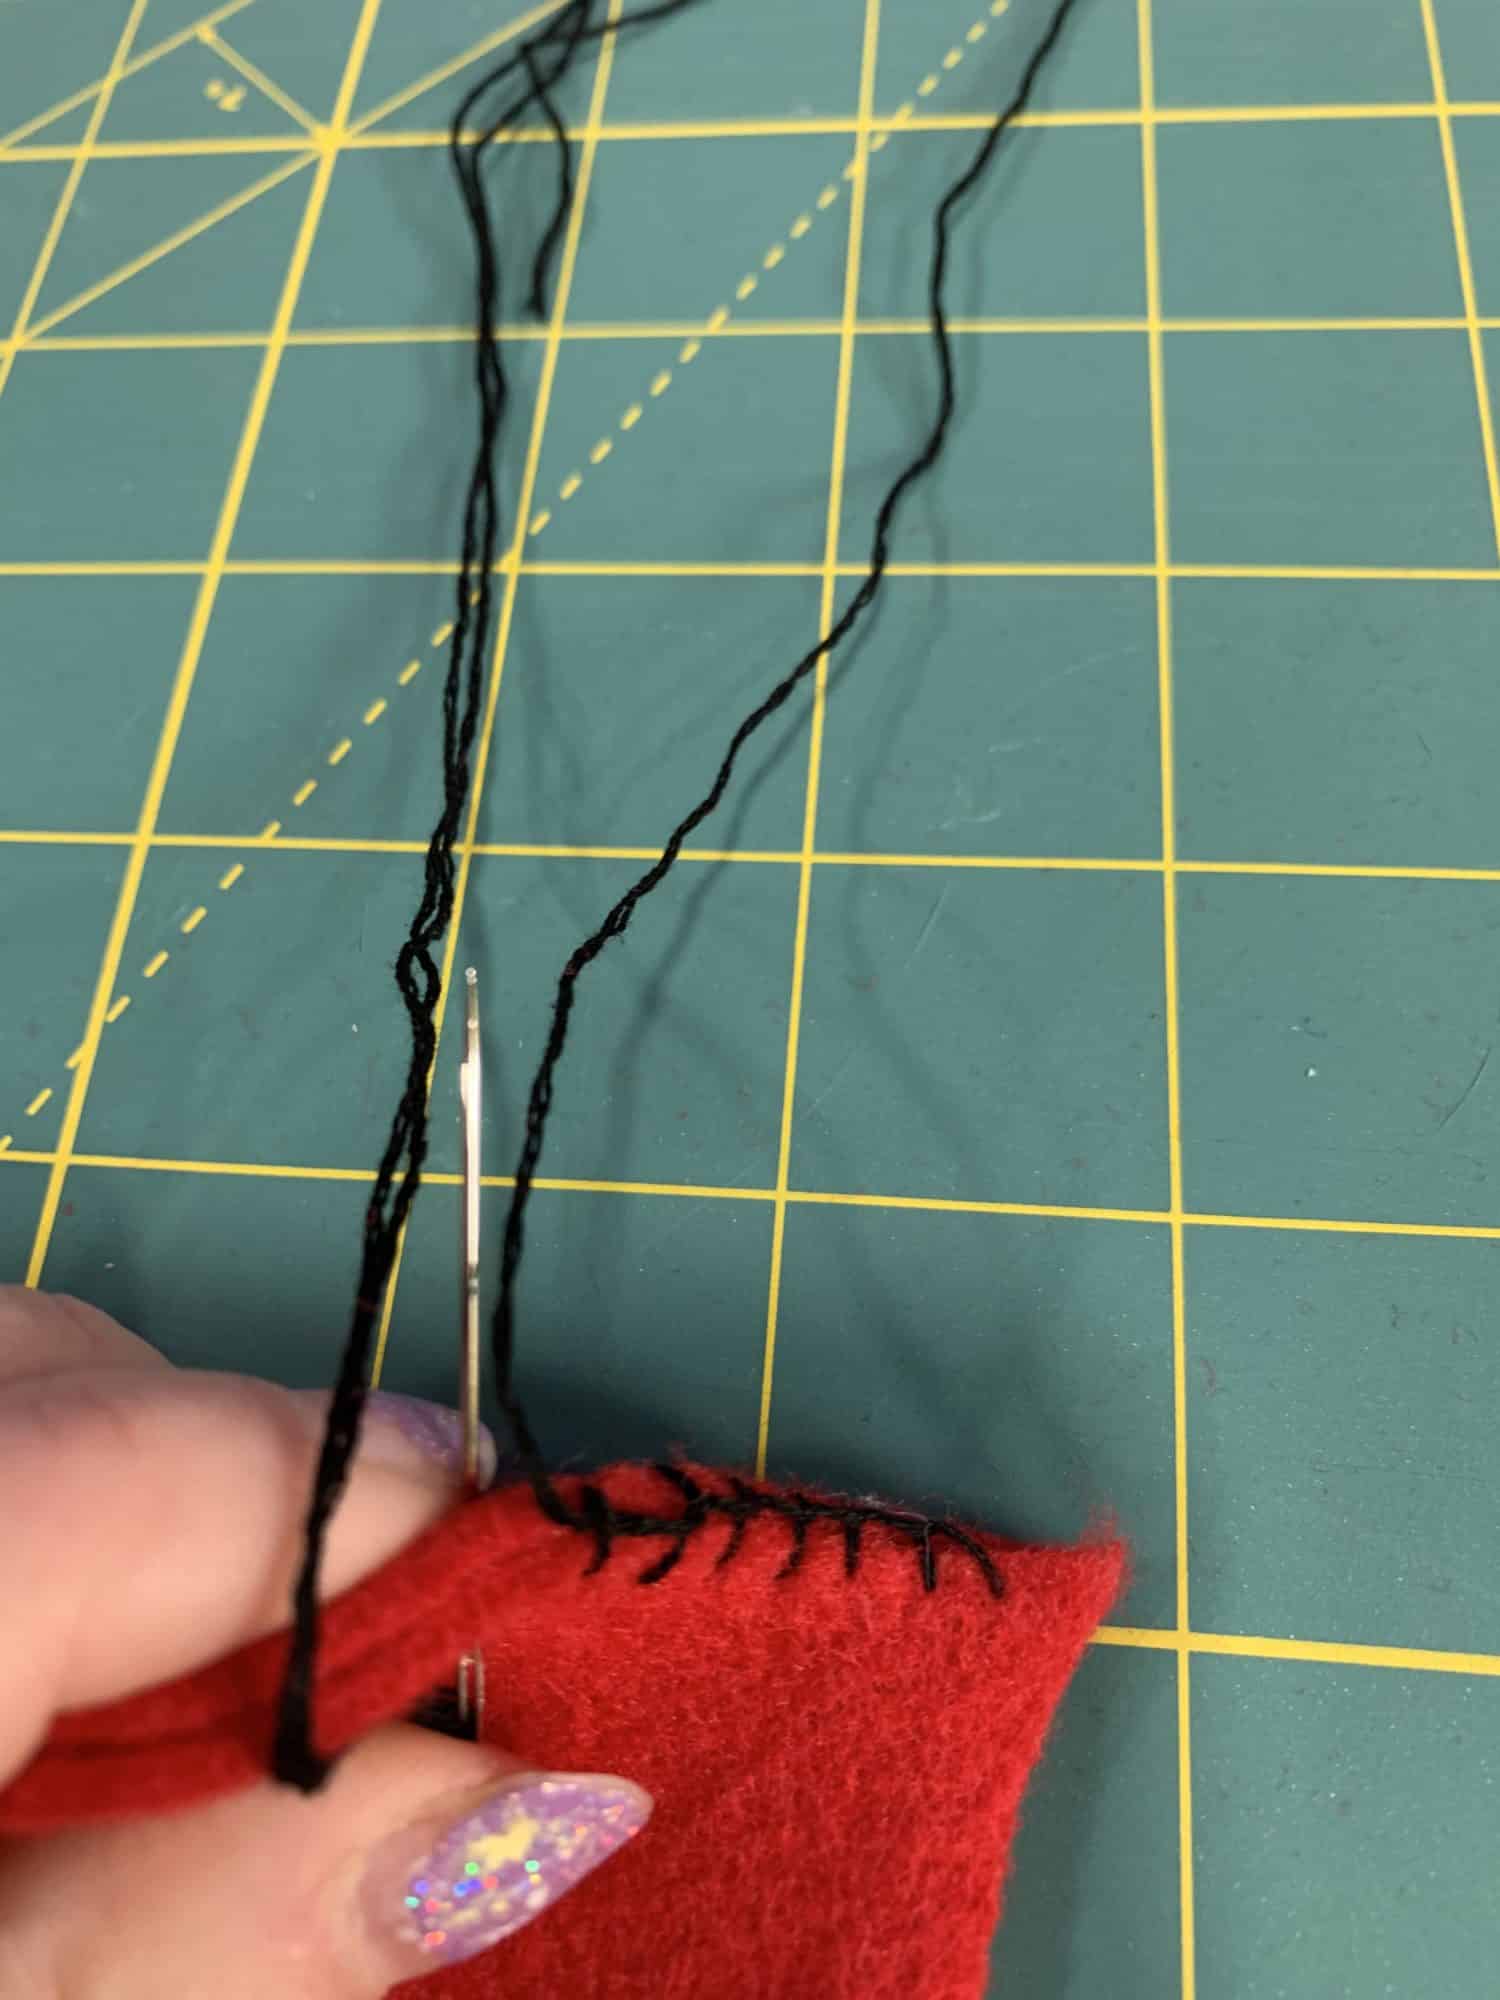
As you pull, the thread stays in the loop and completes the stitch
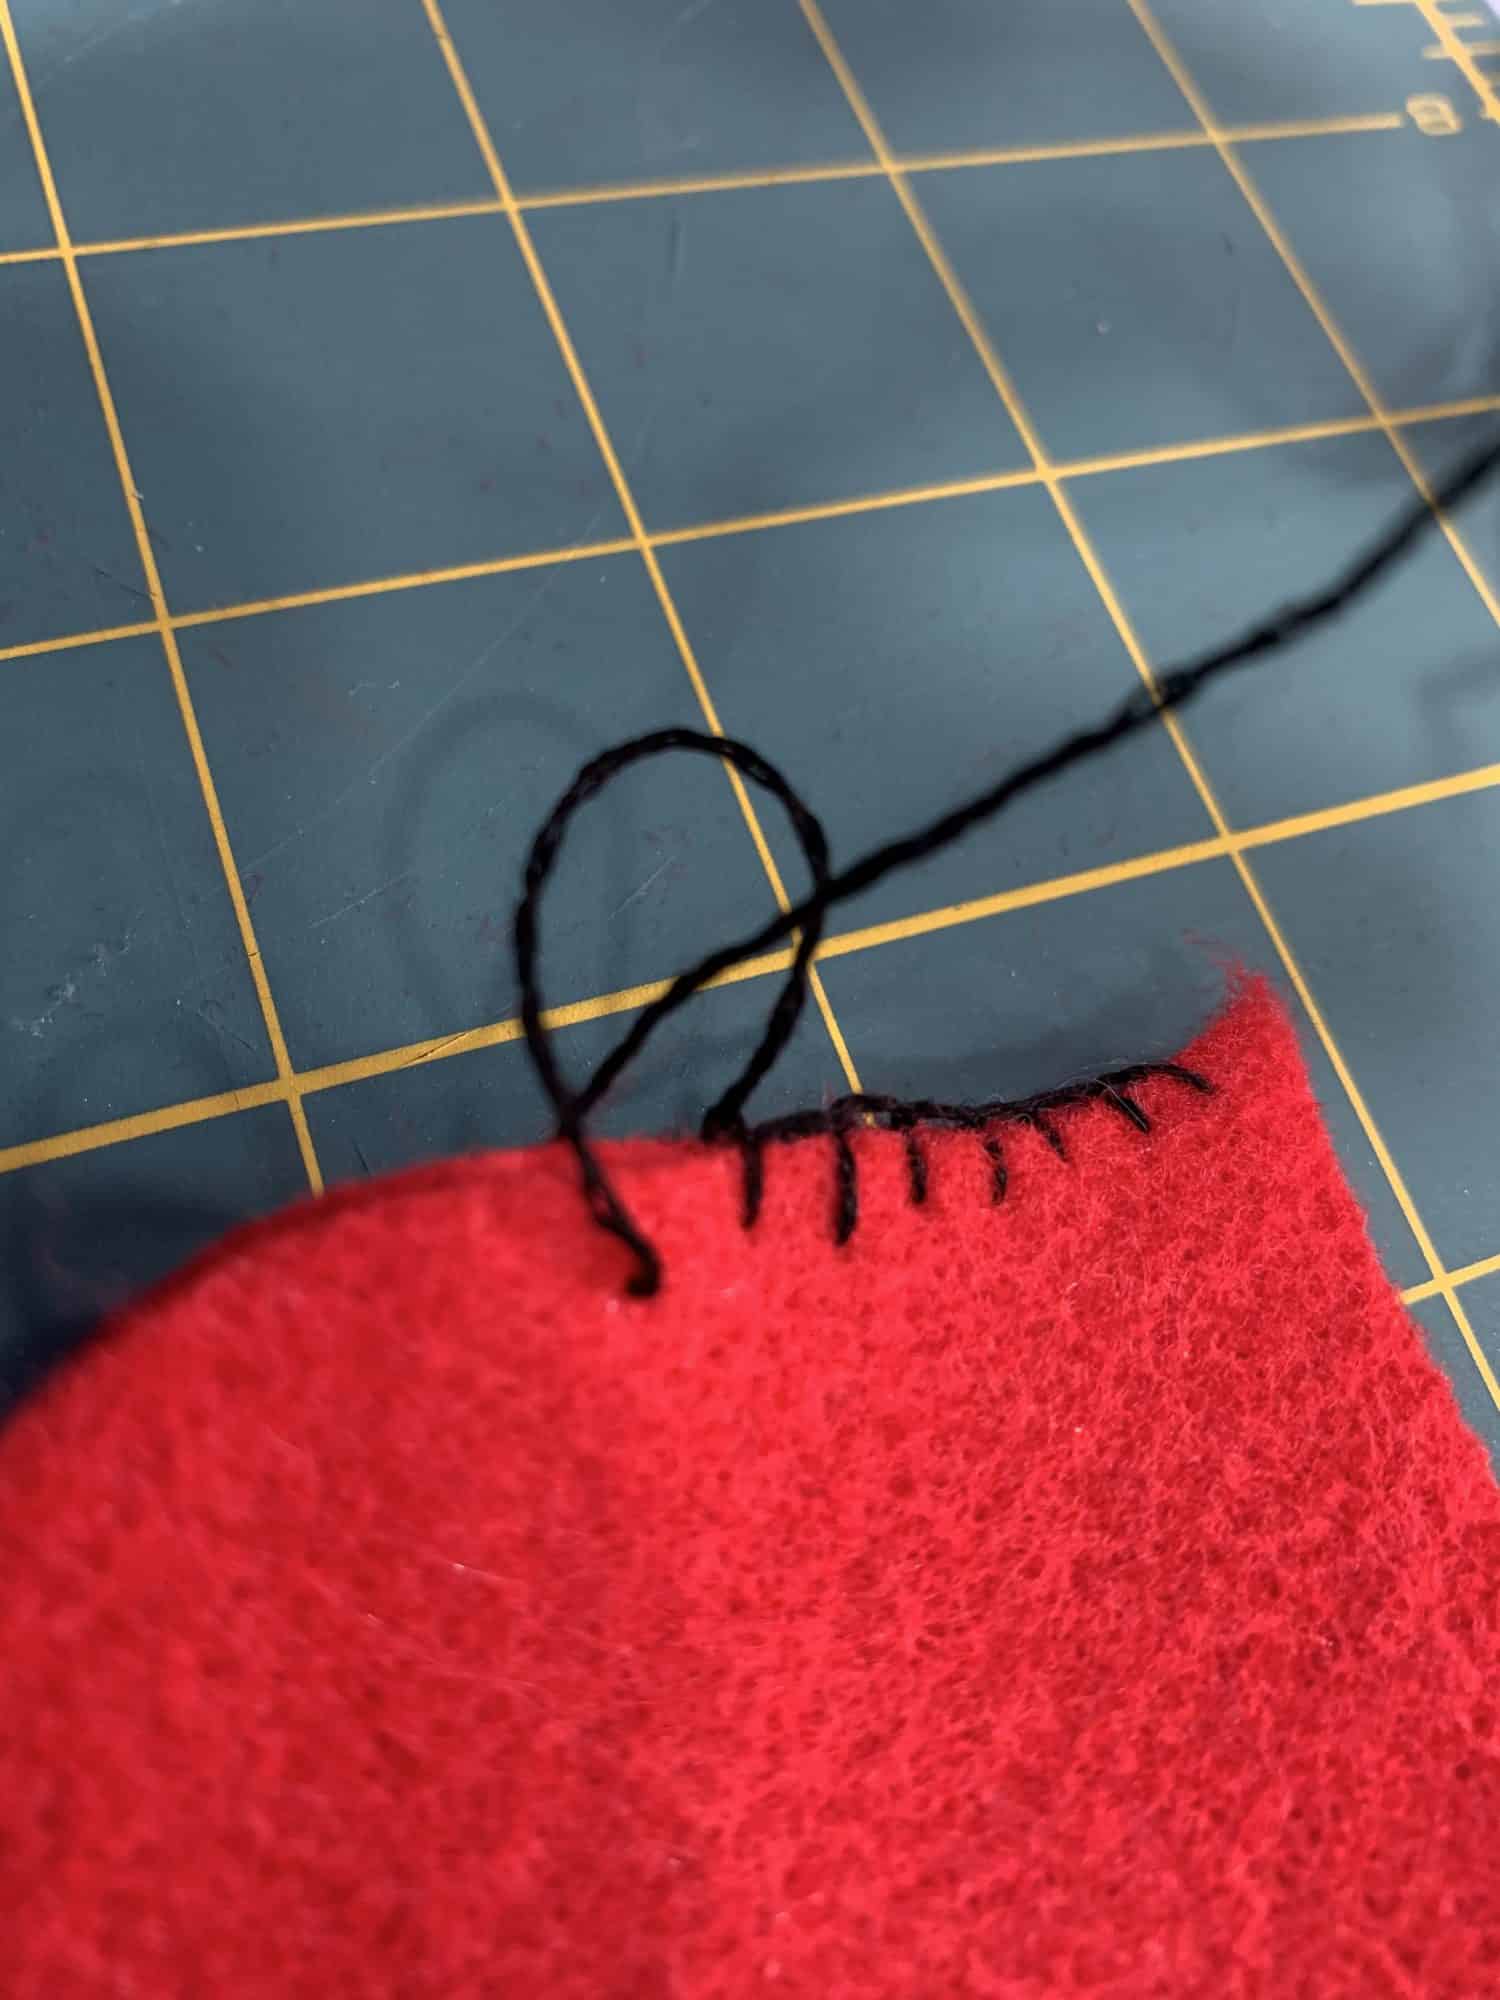
- Pull your thread after each stitch and try to ensure that the edge stays straight and stitches are snug
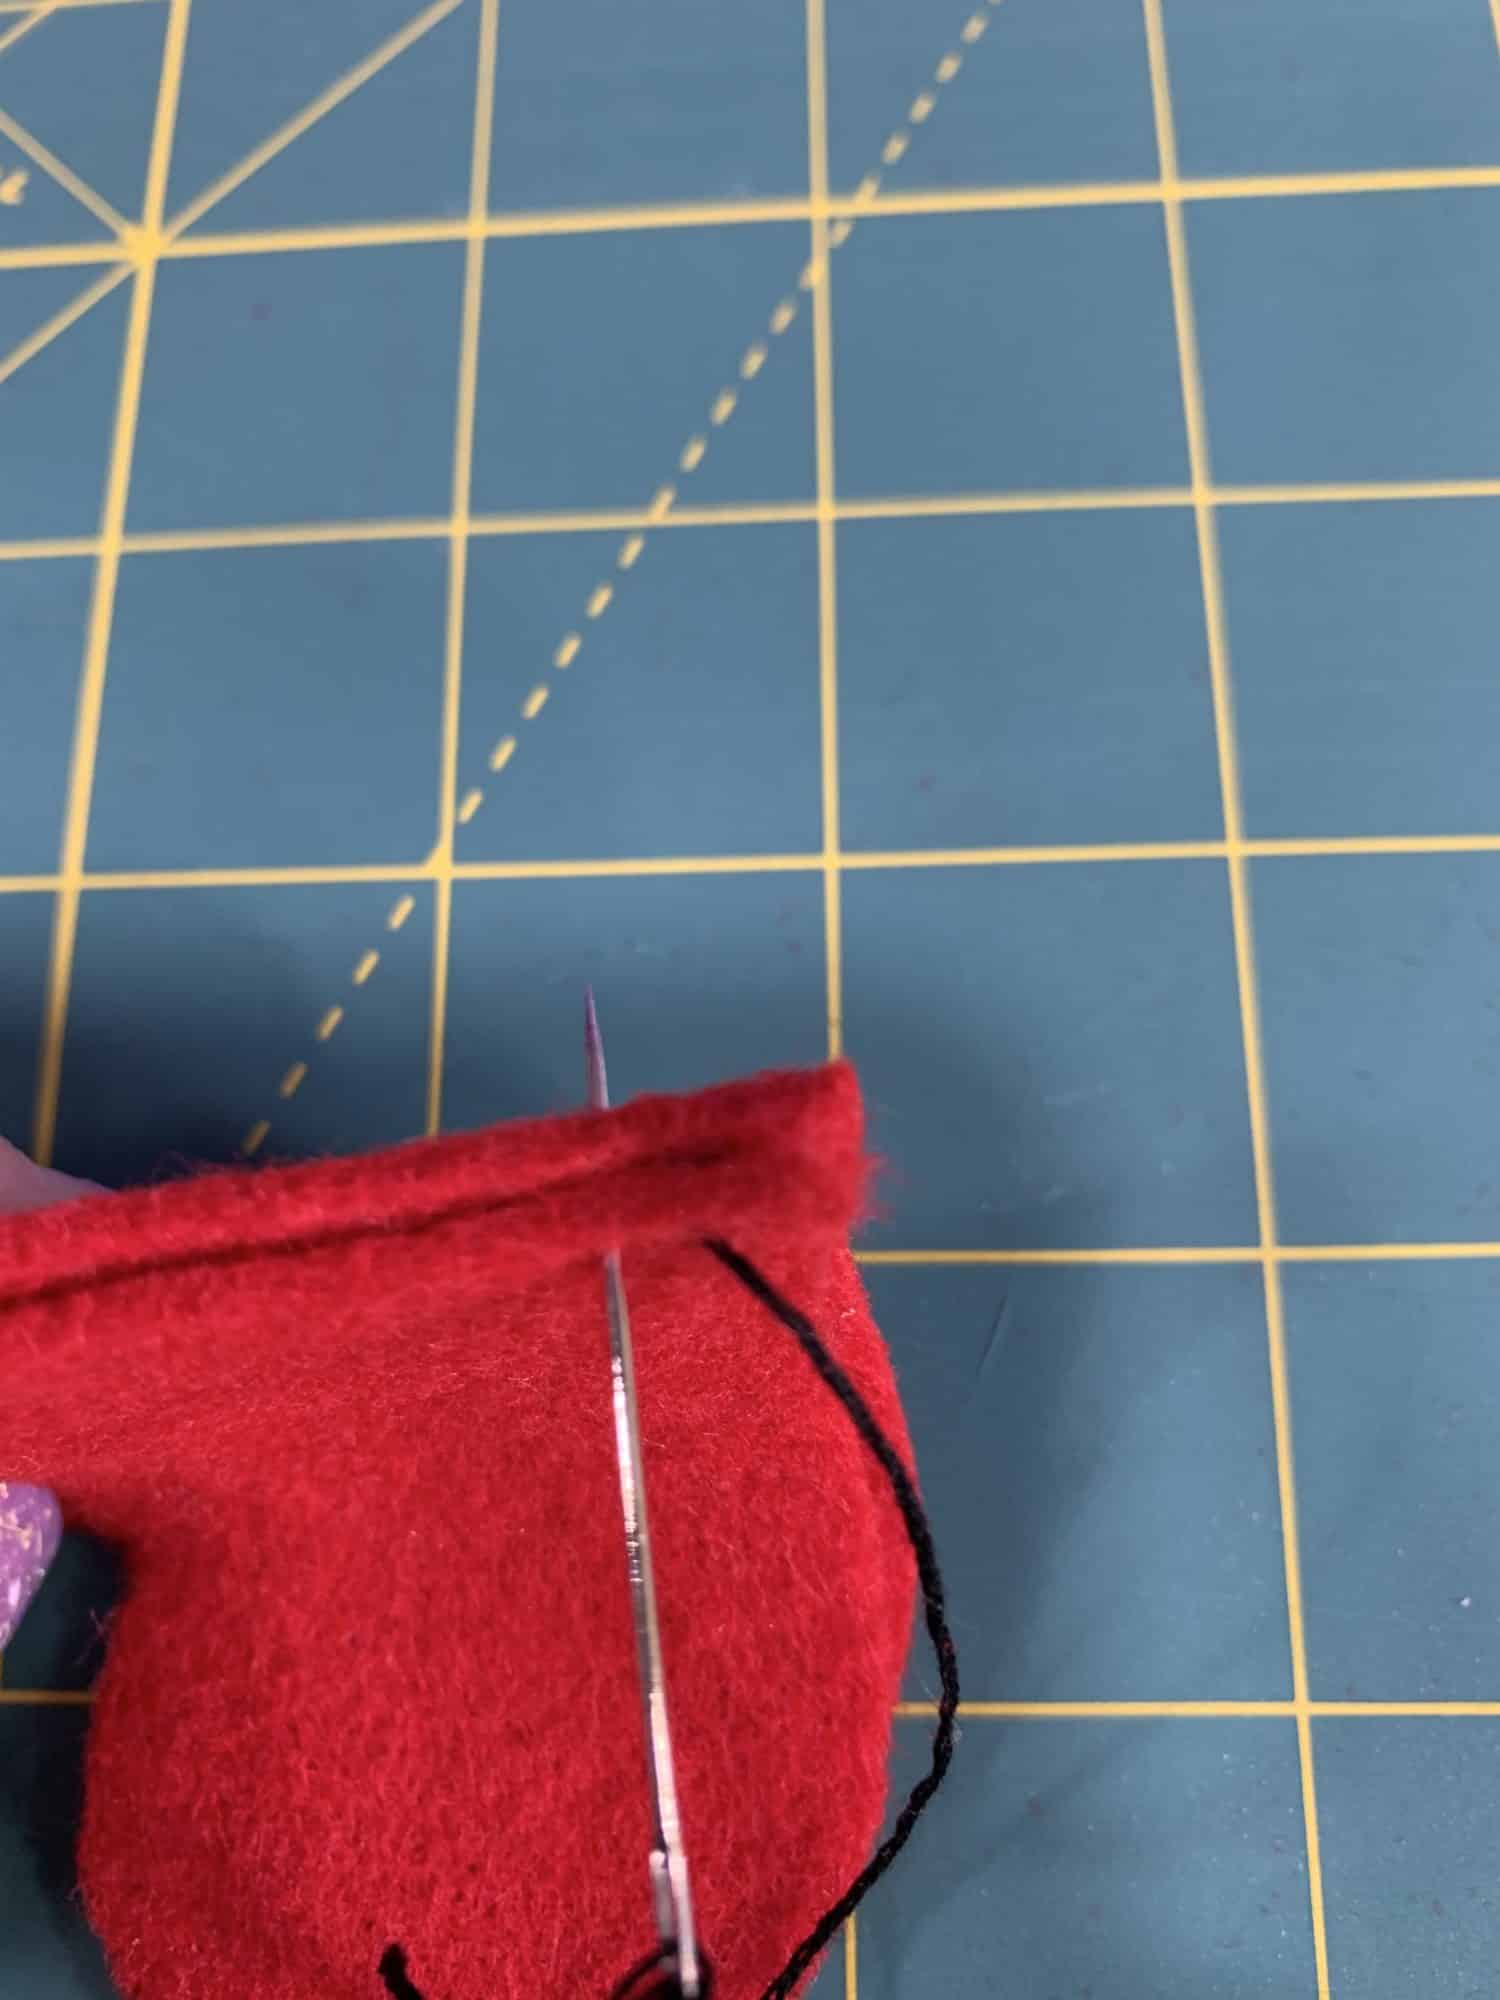
- Continue this stitch all the way around the heart, try to keep your stitches even
- Then stop about inch from the end so that you can stuff the heart and add the stick
Don’t stress over the stitches being perfect!
Don’t expect perfection! Hand stitching can take patient and practice. Even on this project, I can tell which hearts I did in the beginning and which ones were toward the end! You are not a machine, so your stitches will not be perfect each time. That’s ok! Just take your time and do your best 🙂
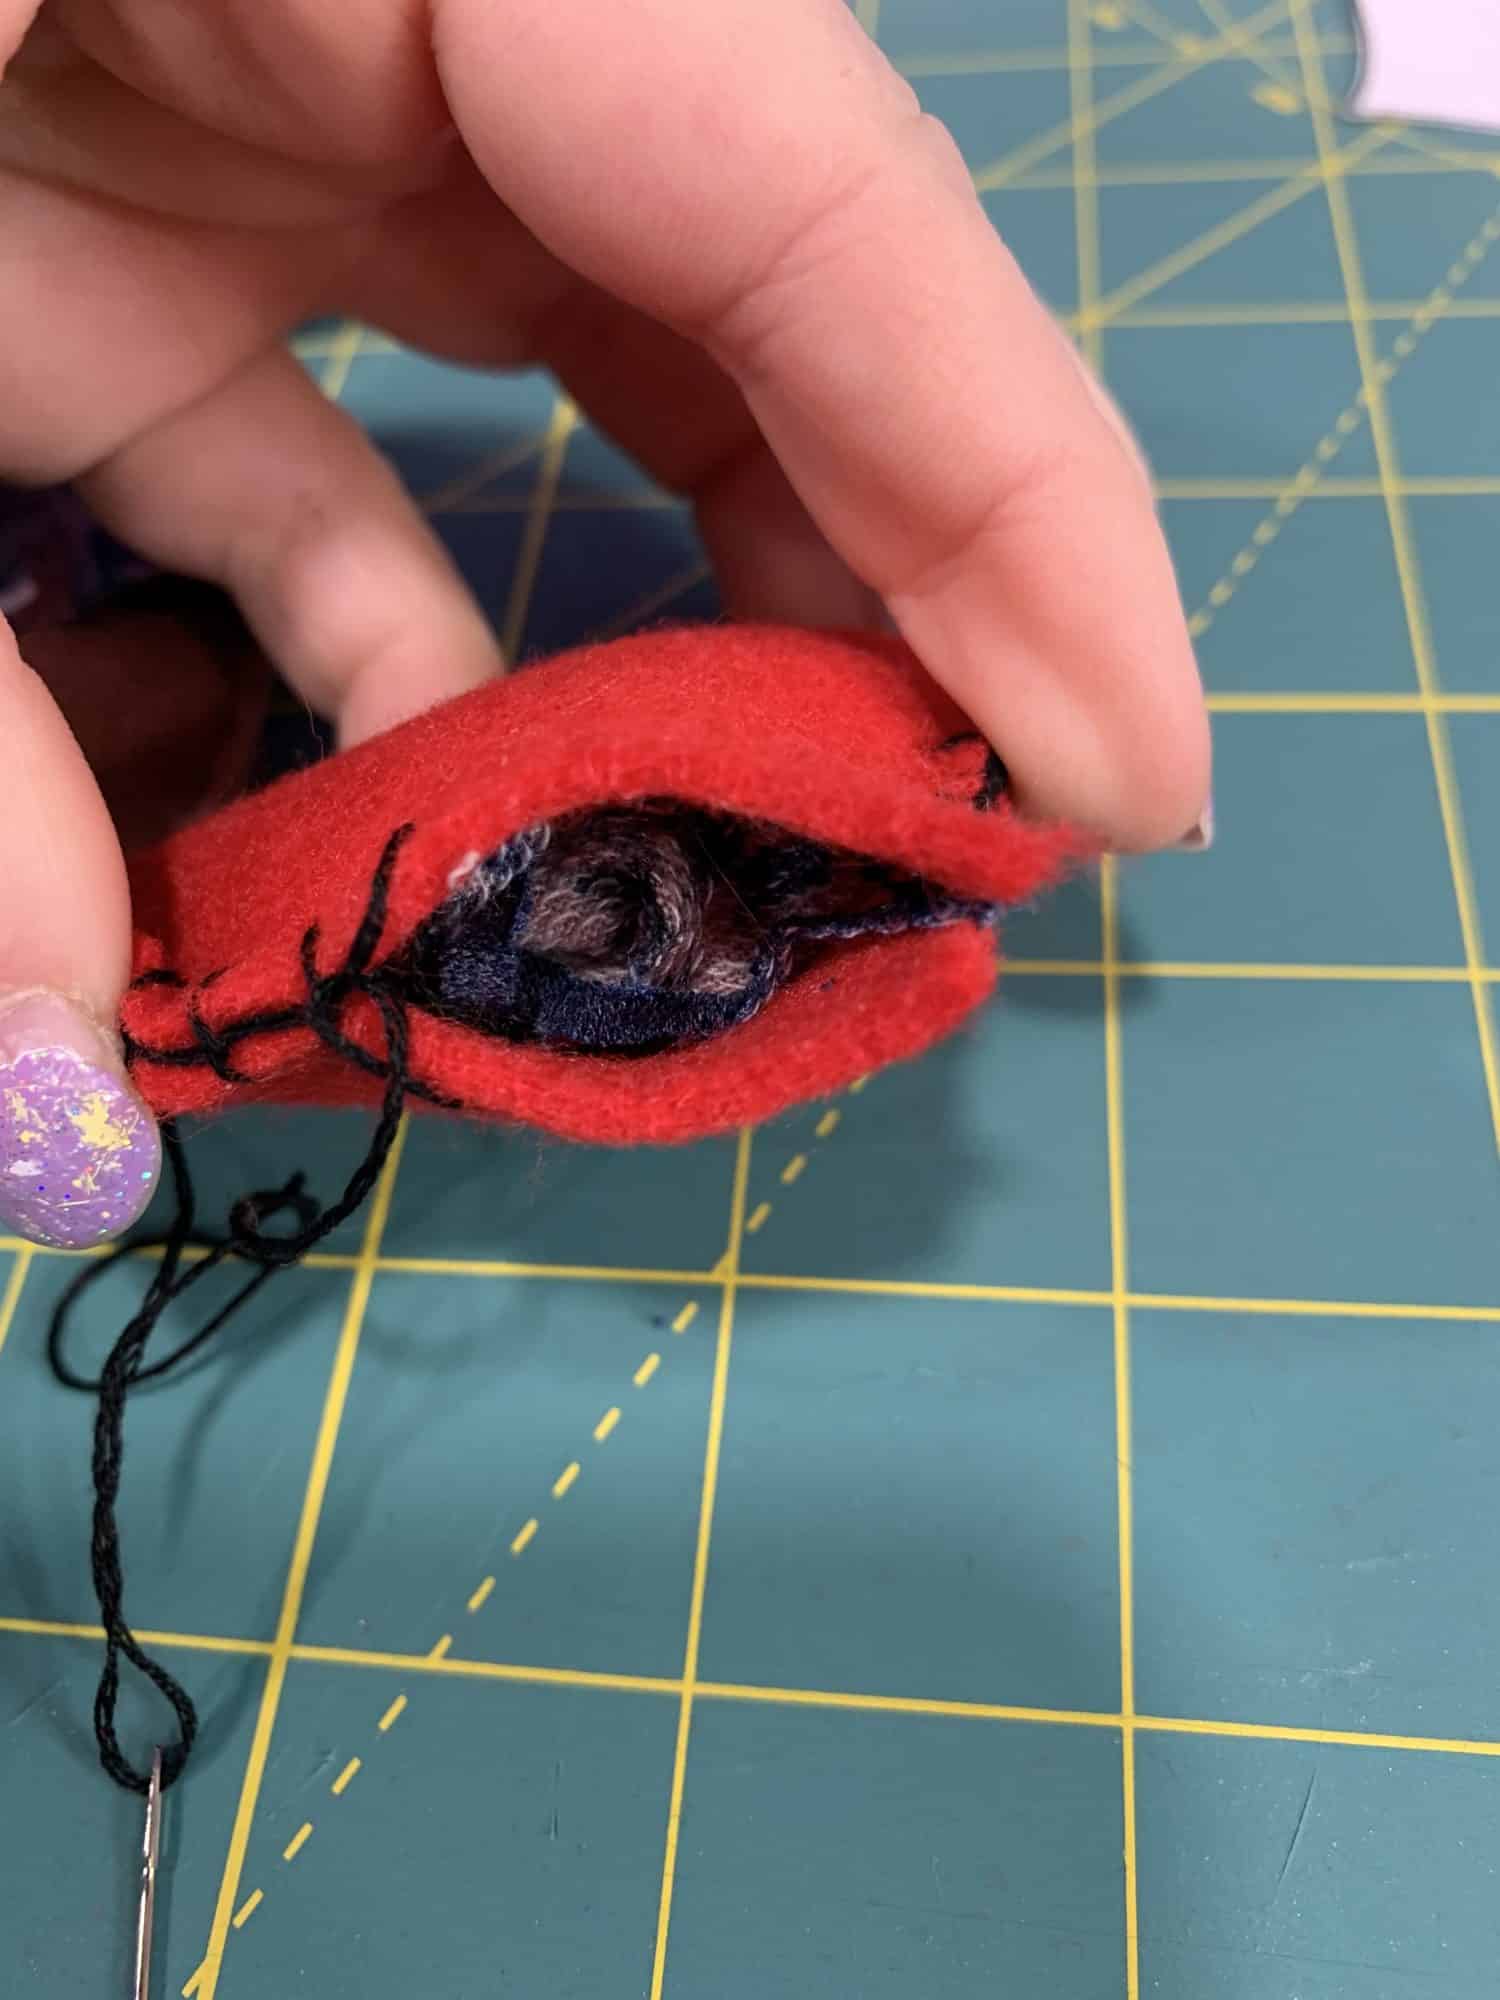
- When you get about an inch from the end, stop stitching, but leave your needle and thread in the heart
- Stuff a tiny amount of stuffing into the heart
- I used fabric scraps for this!
- You don’t need much, just enough to give the heart some dimension
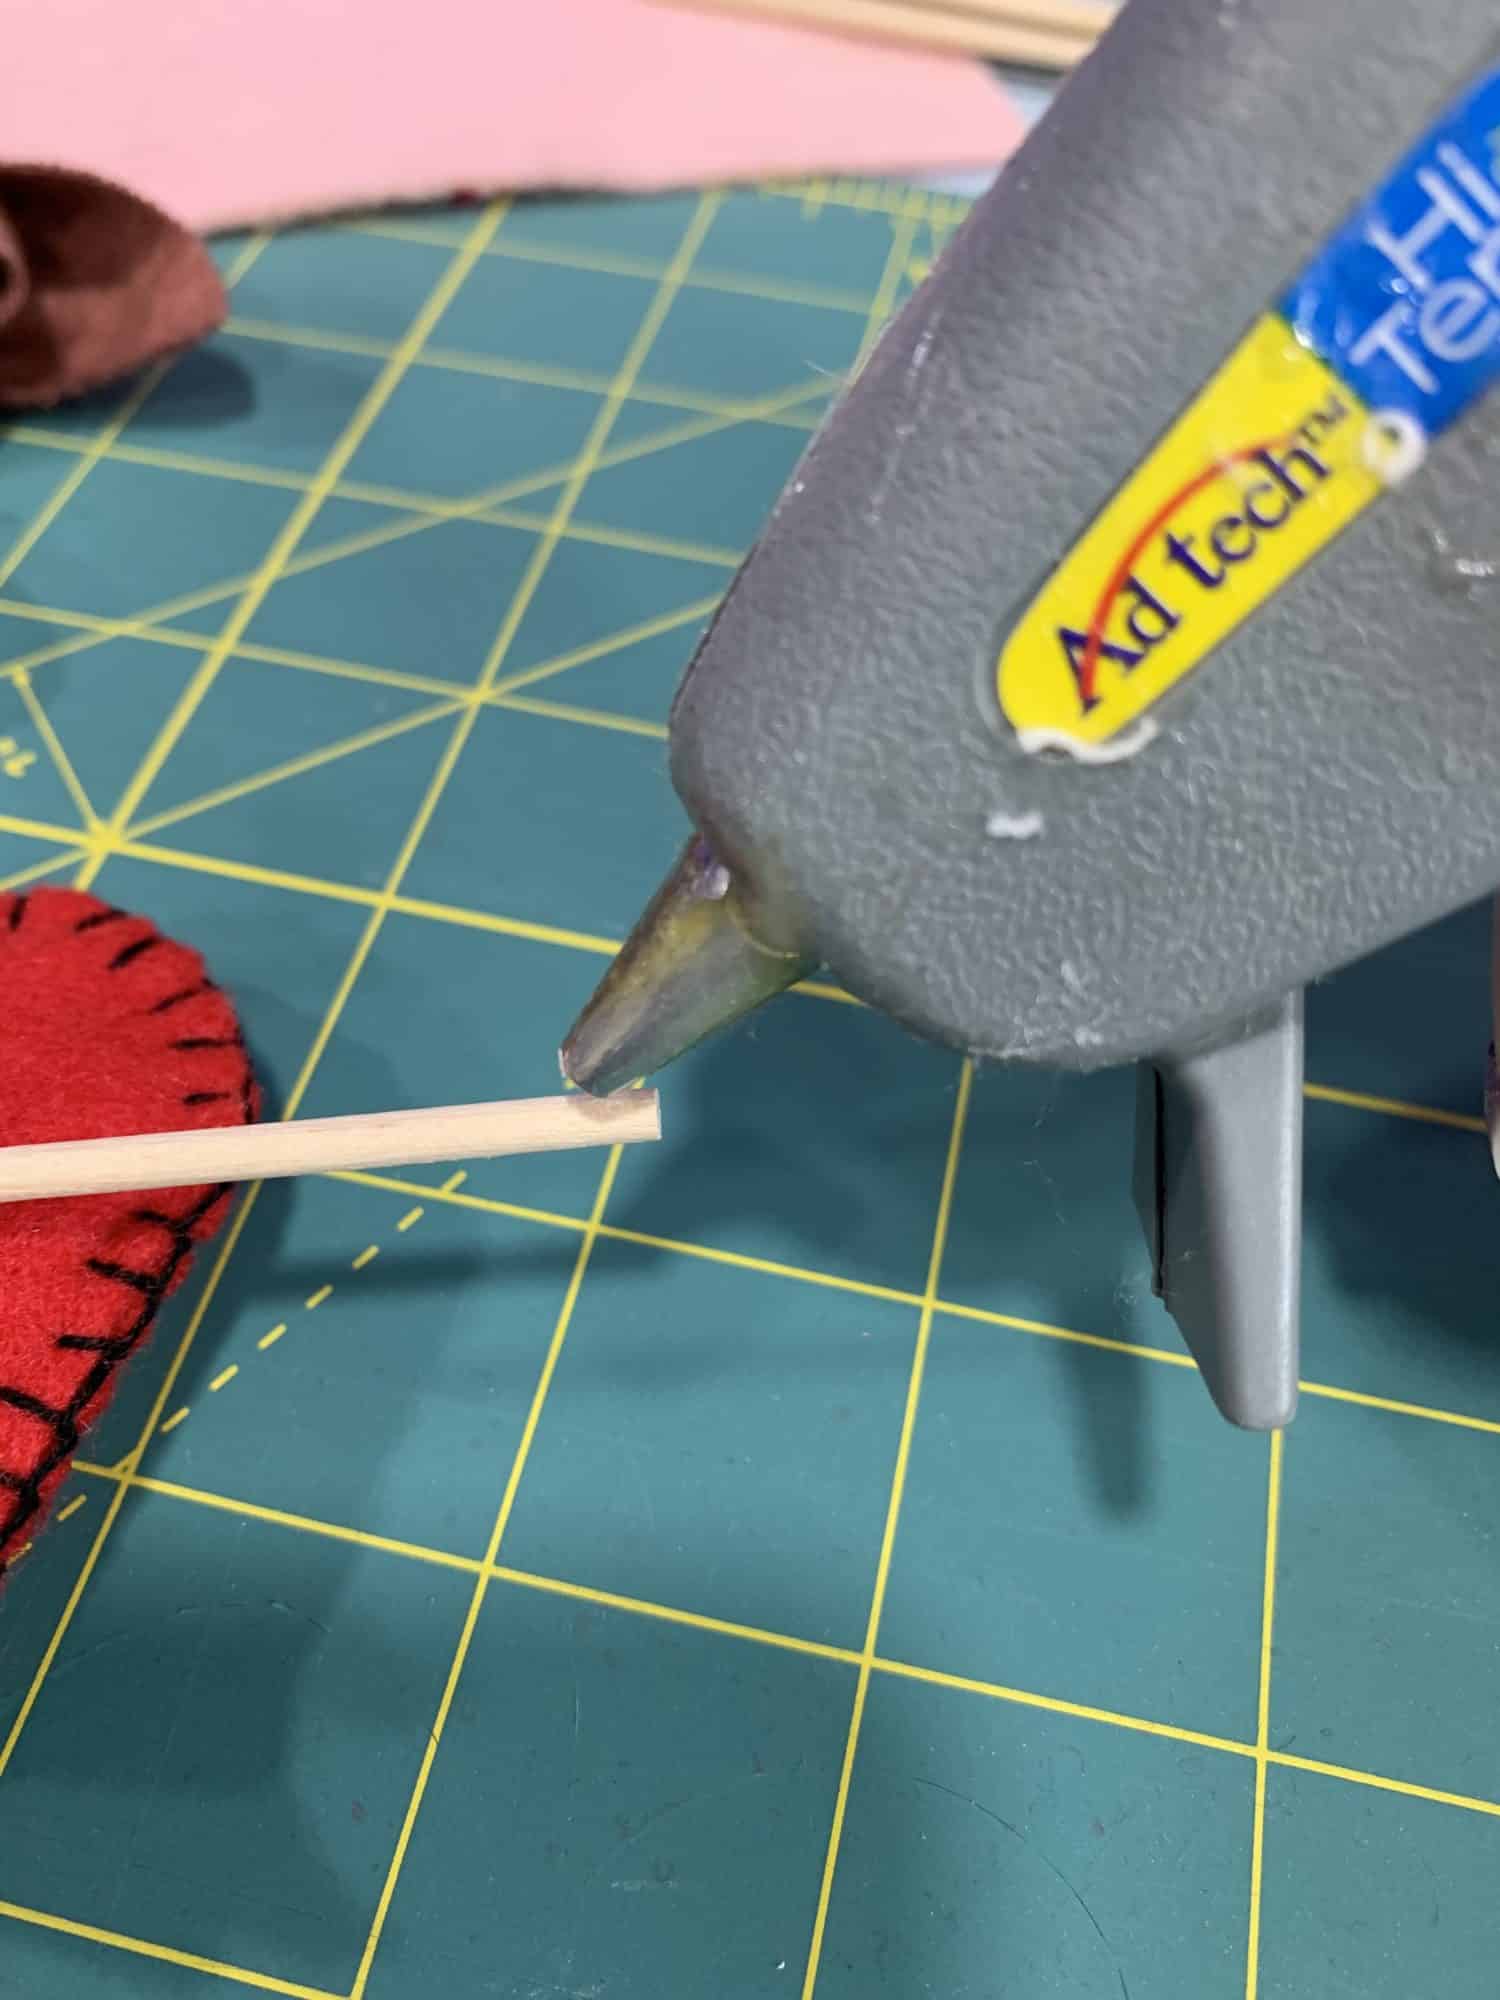
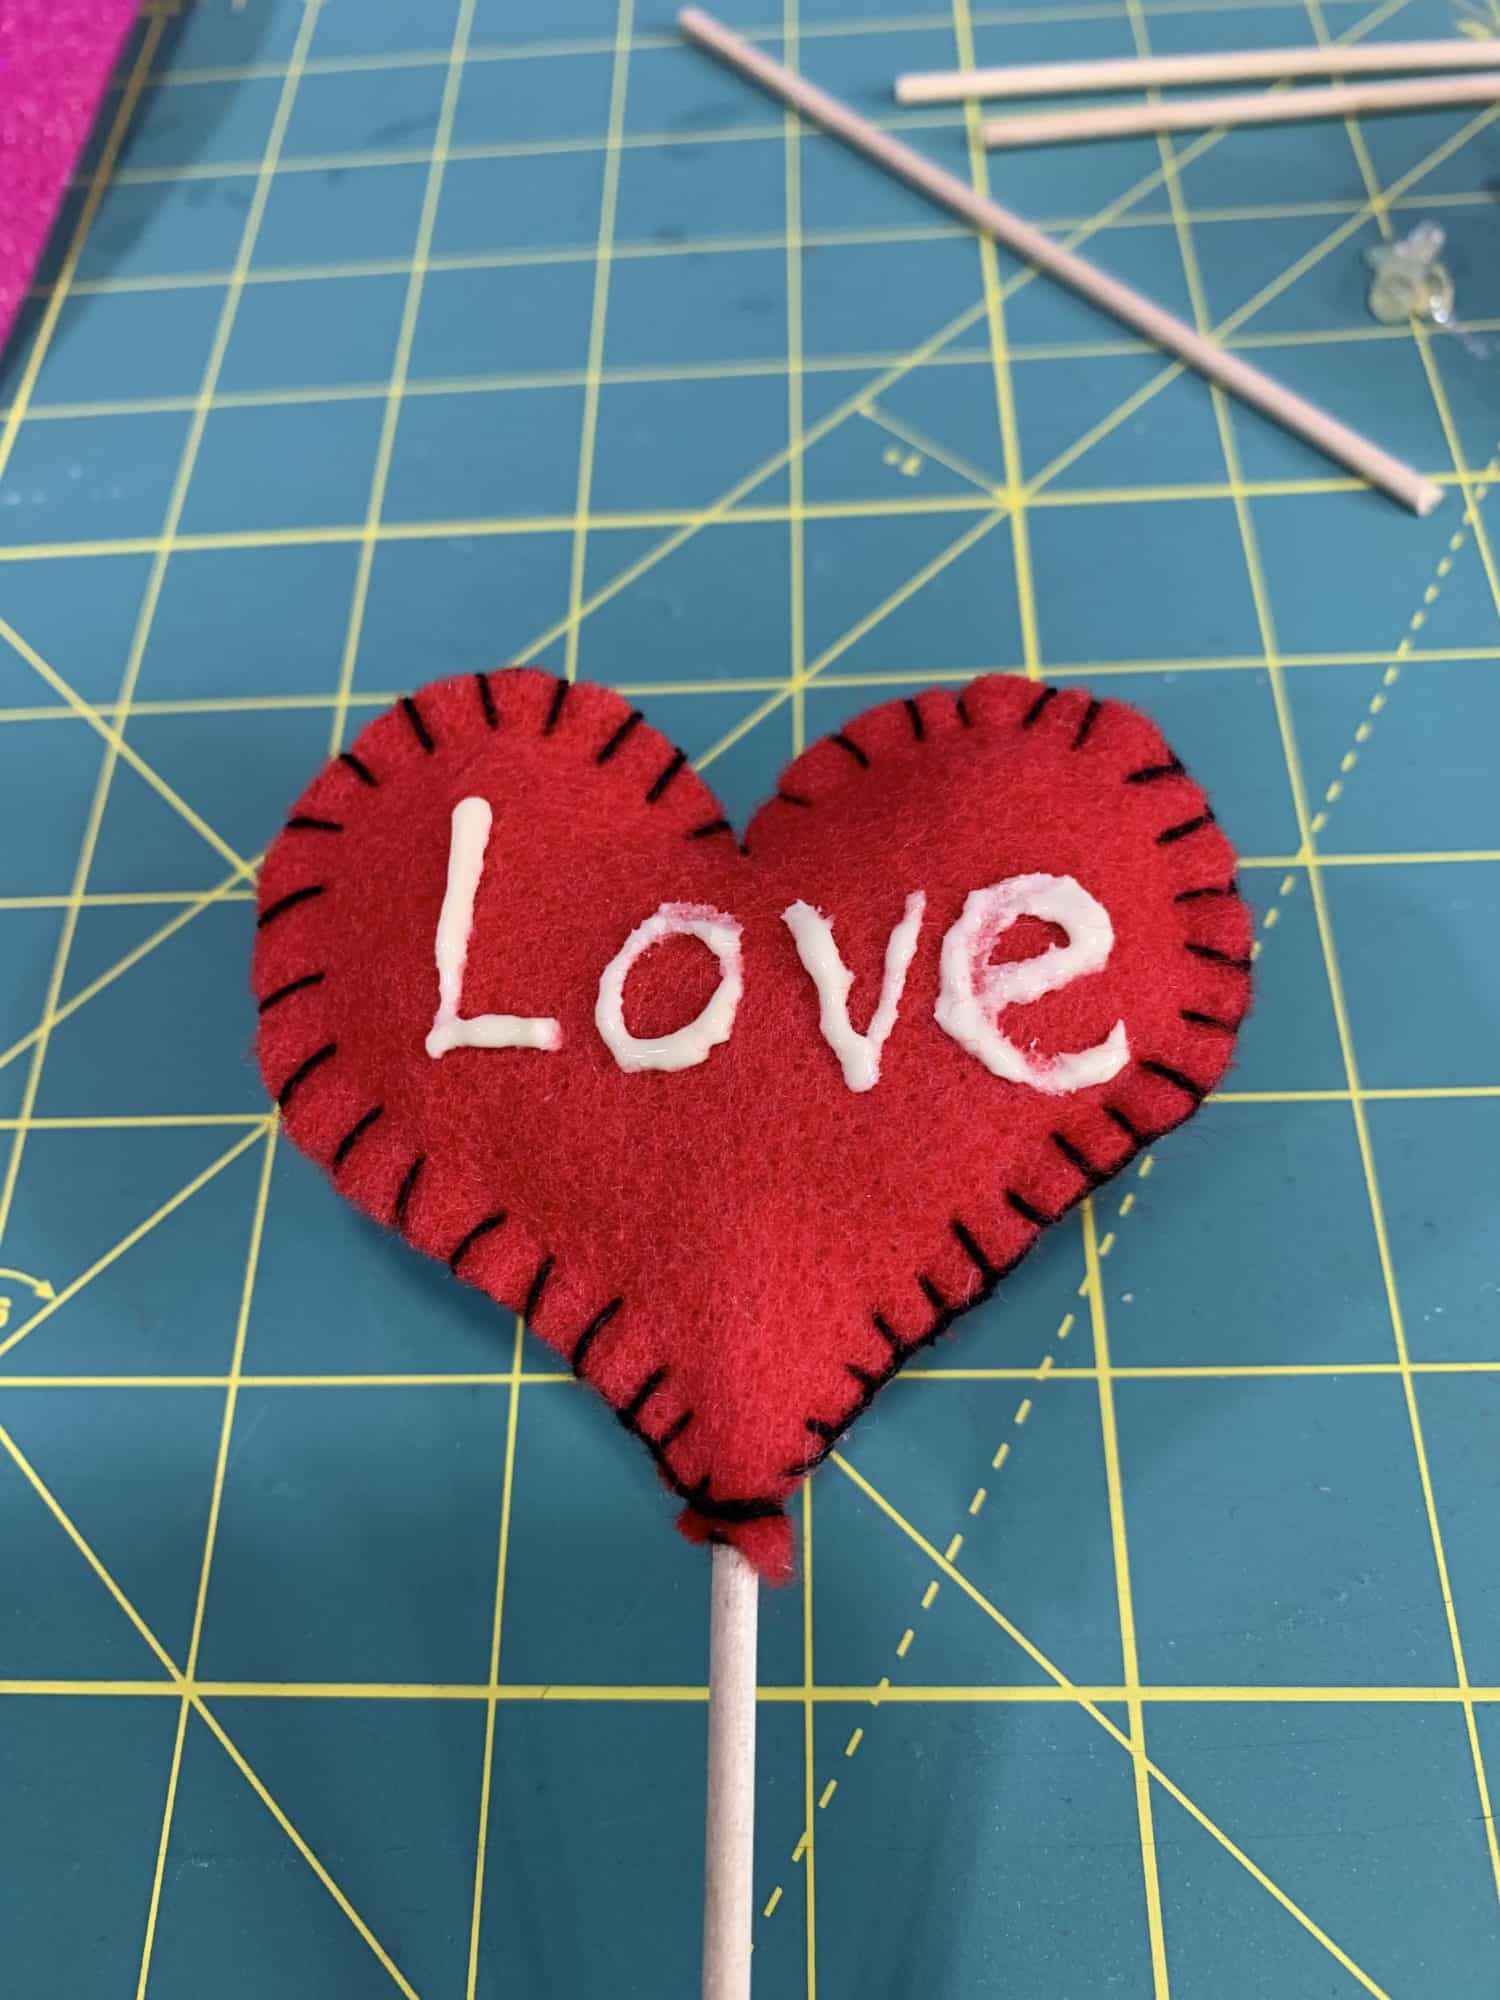
- Add some hot glue to one end of your stick
- Put the stick (the end with the glue) through the bottom of the heart and glue it inside
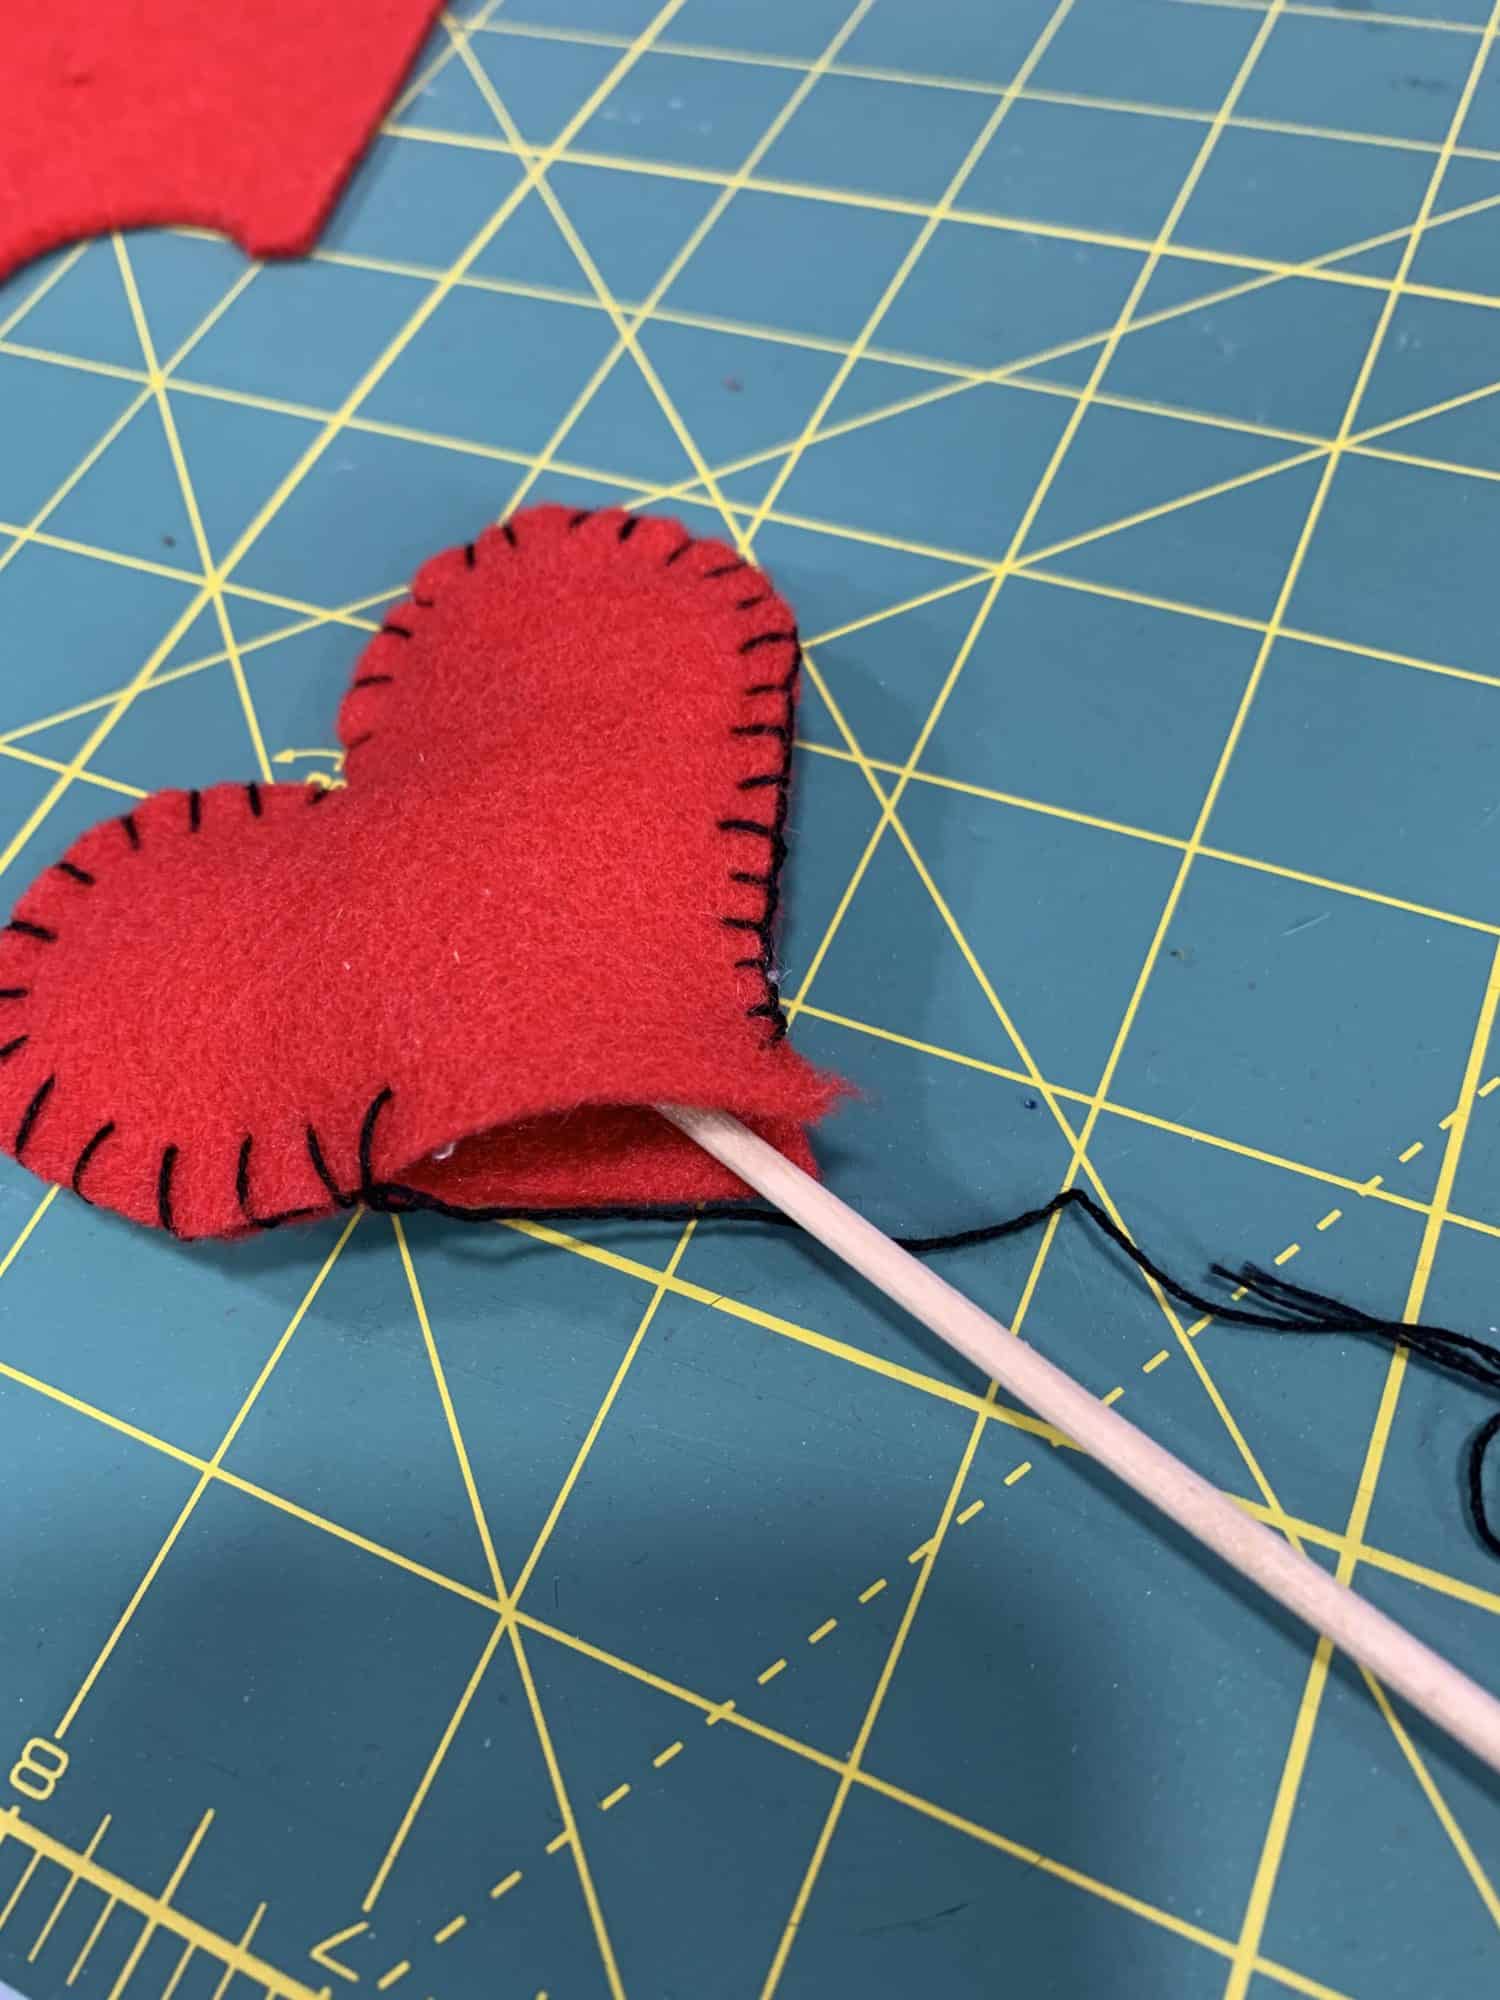
- When the stick is in place, continue hand stitching around the rest of the heart
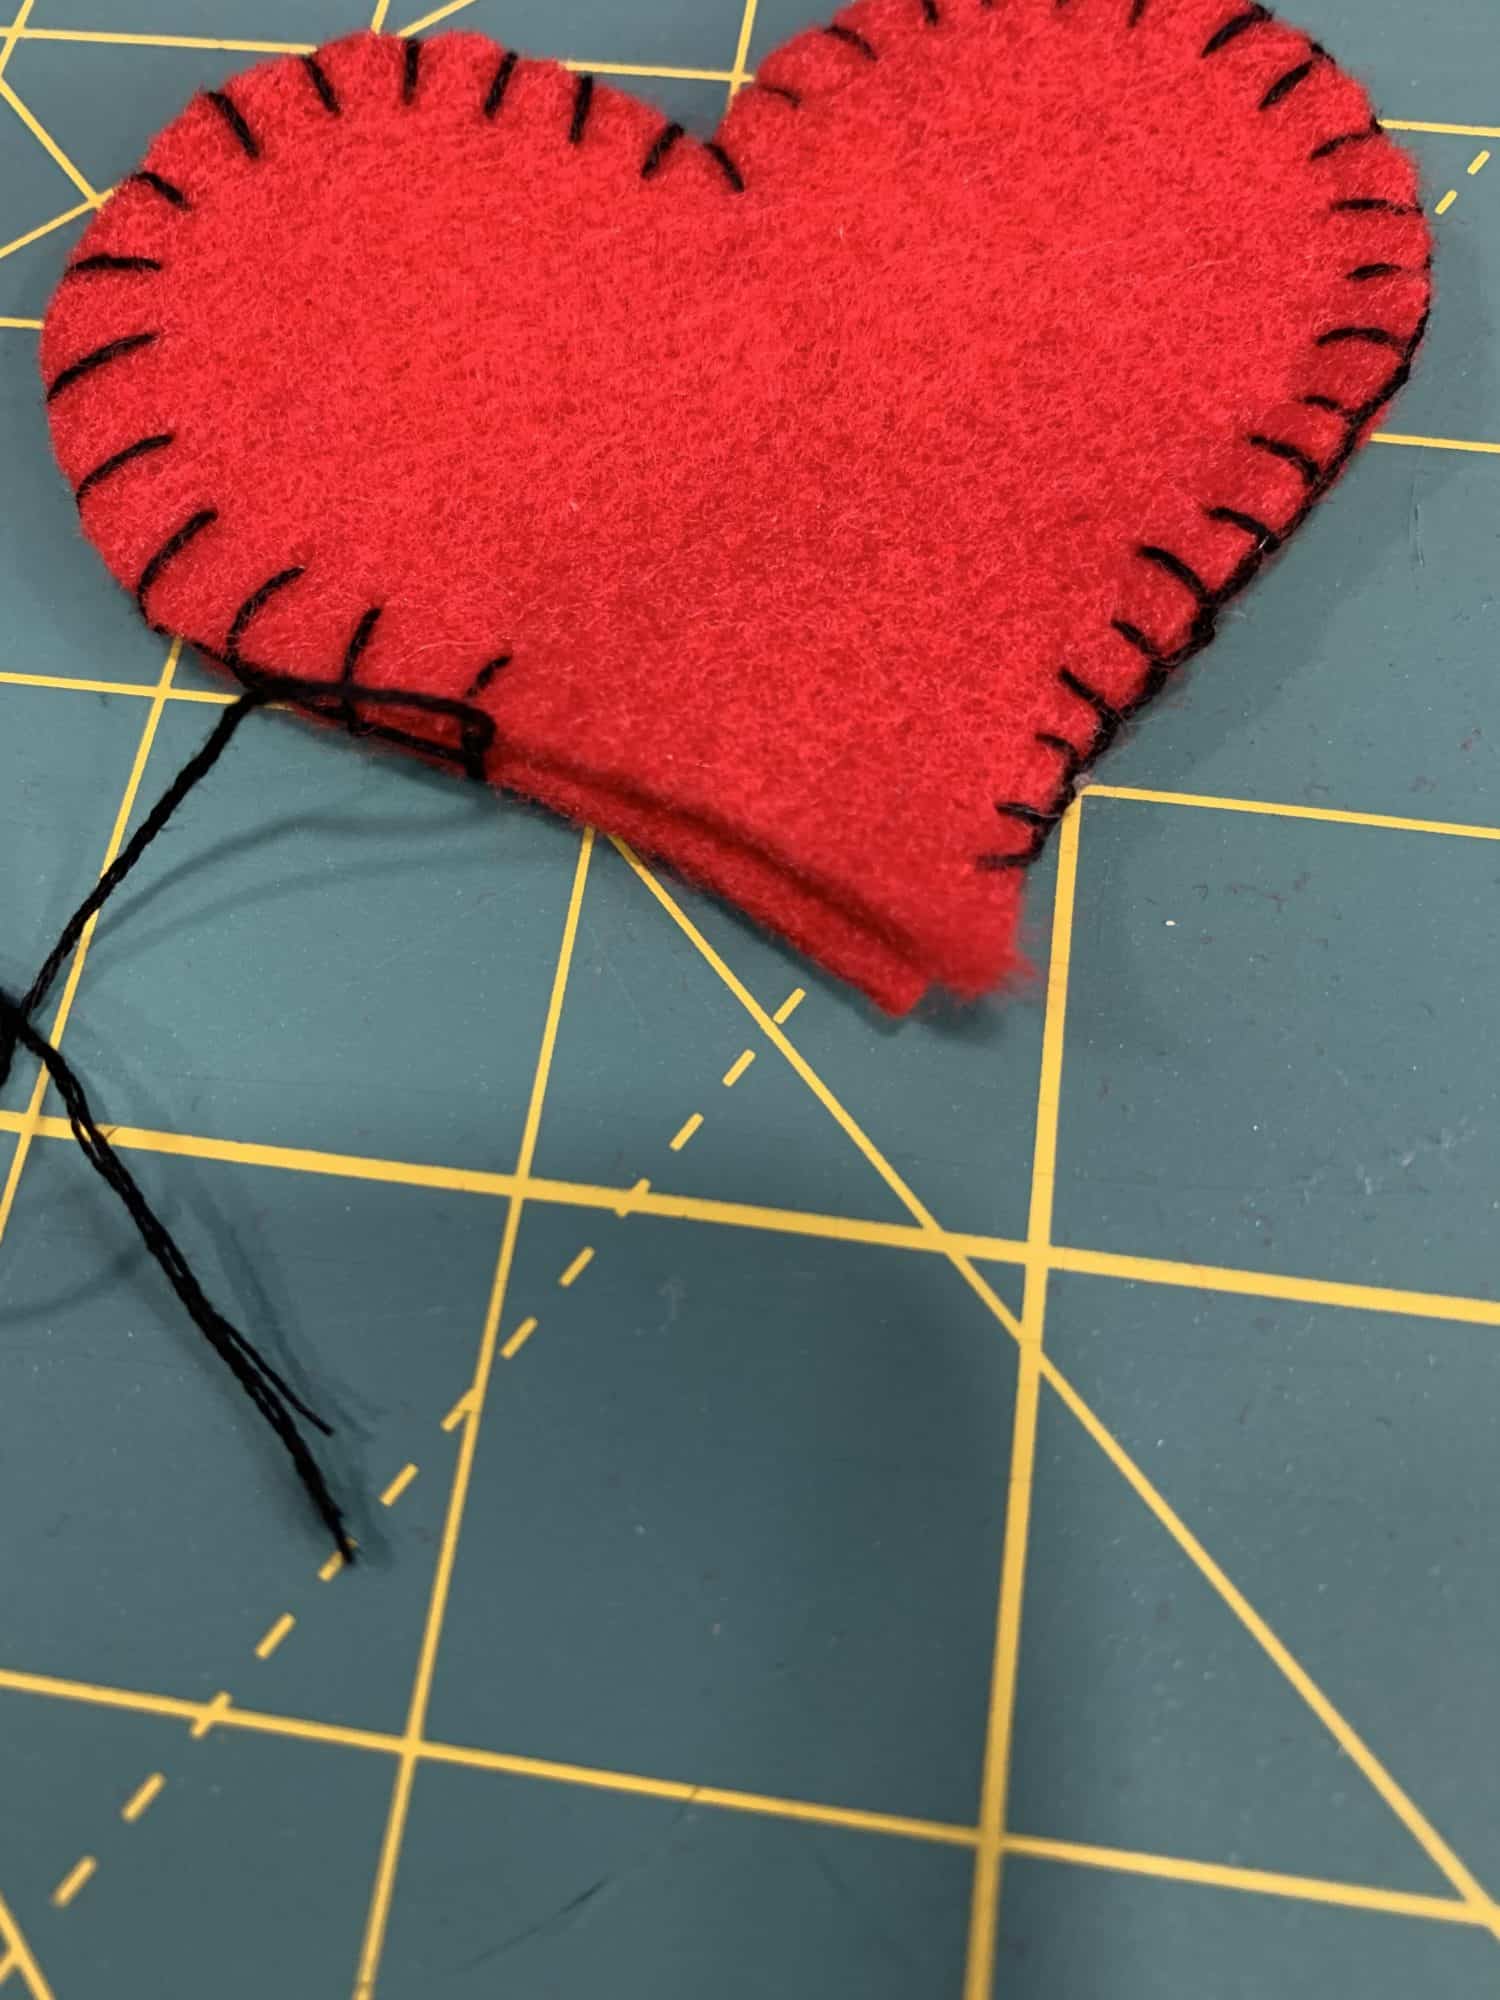
- At the end, wrap your thread around the stick a couple of times
- On the back of the heart, make one small stitch and tie your string in a knot to secure it
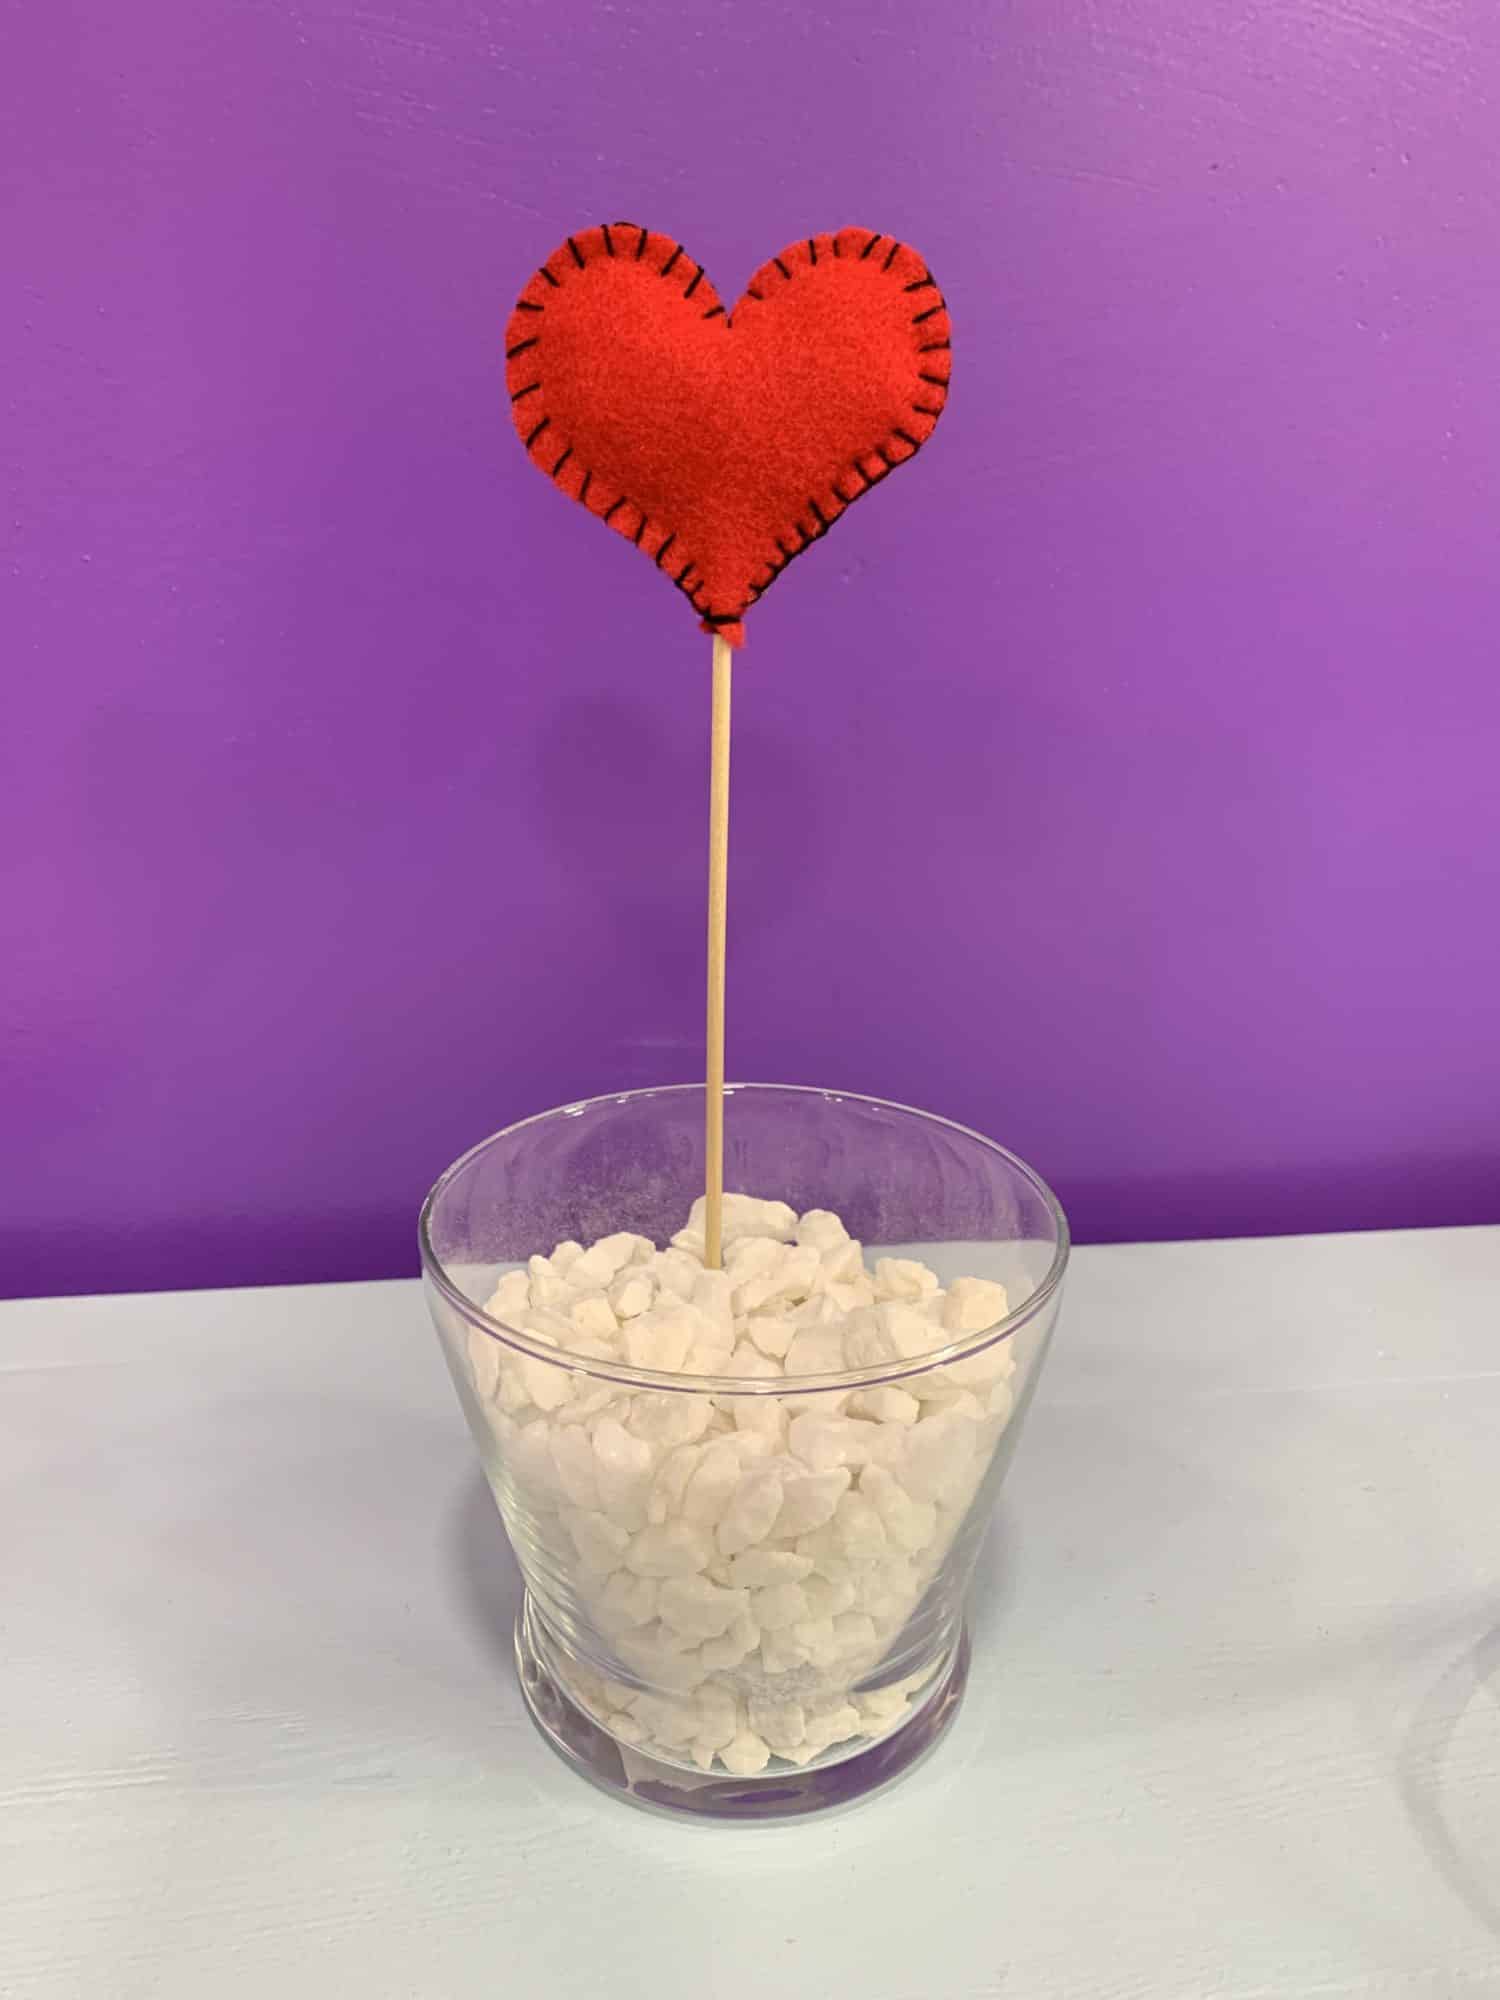
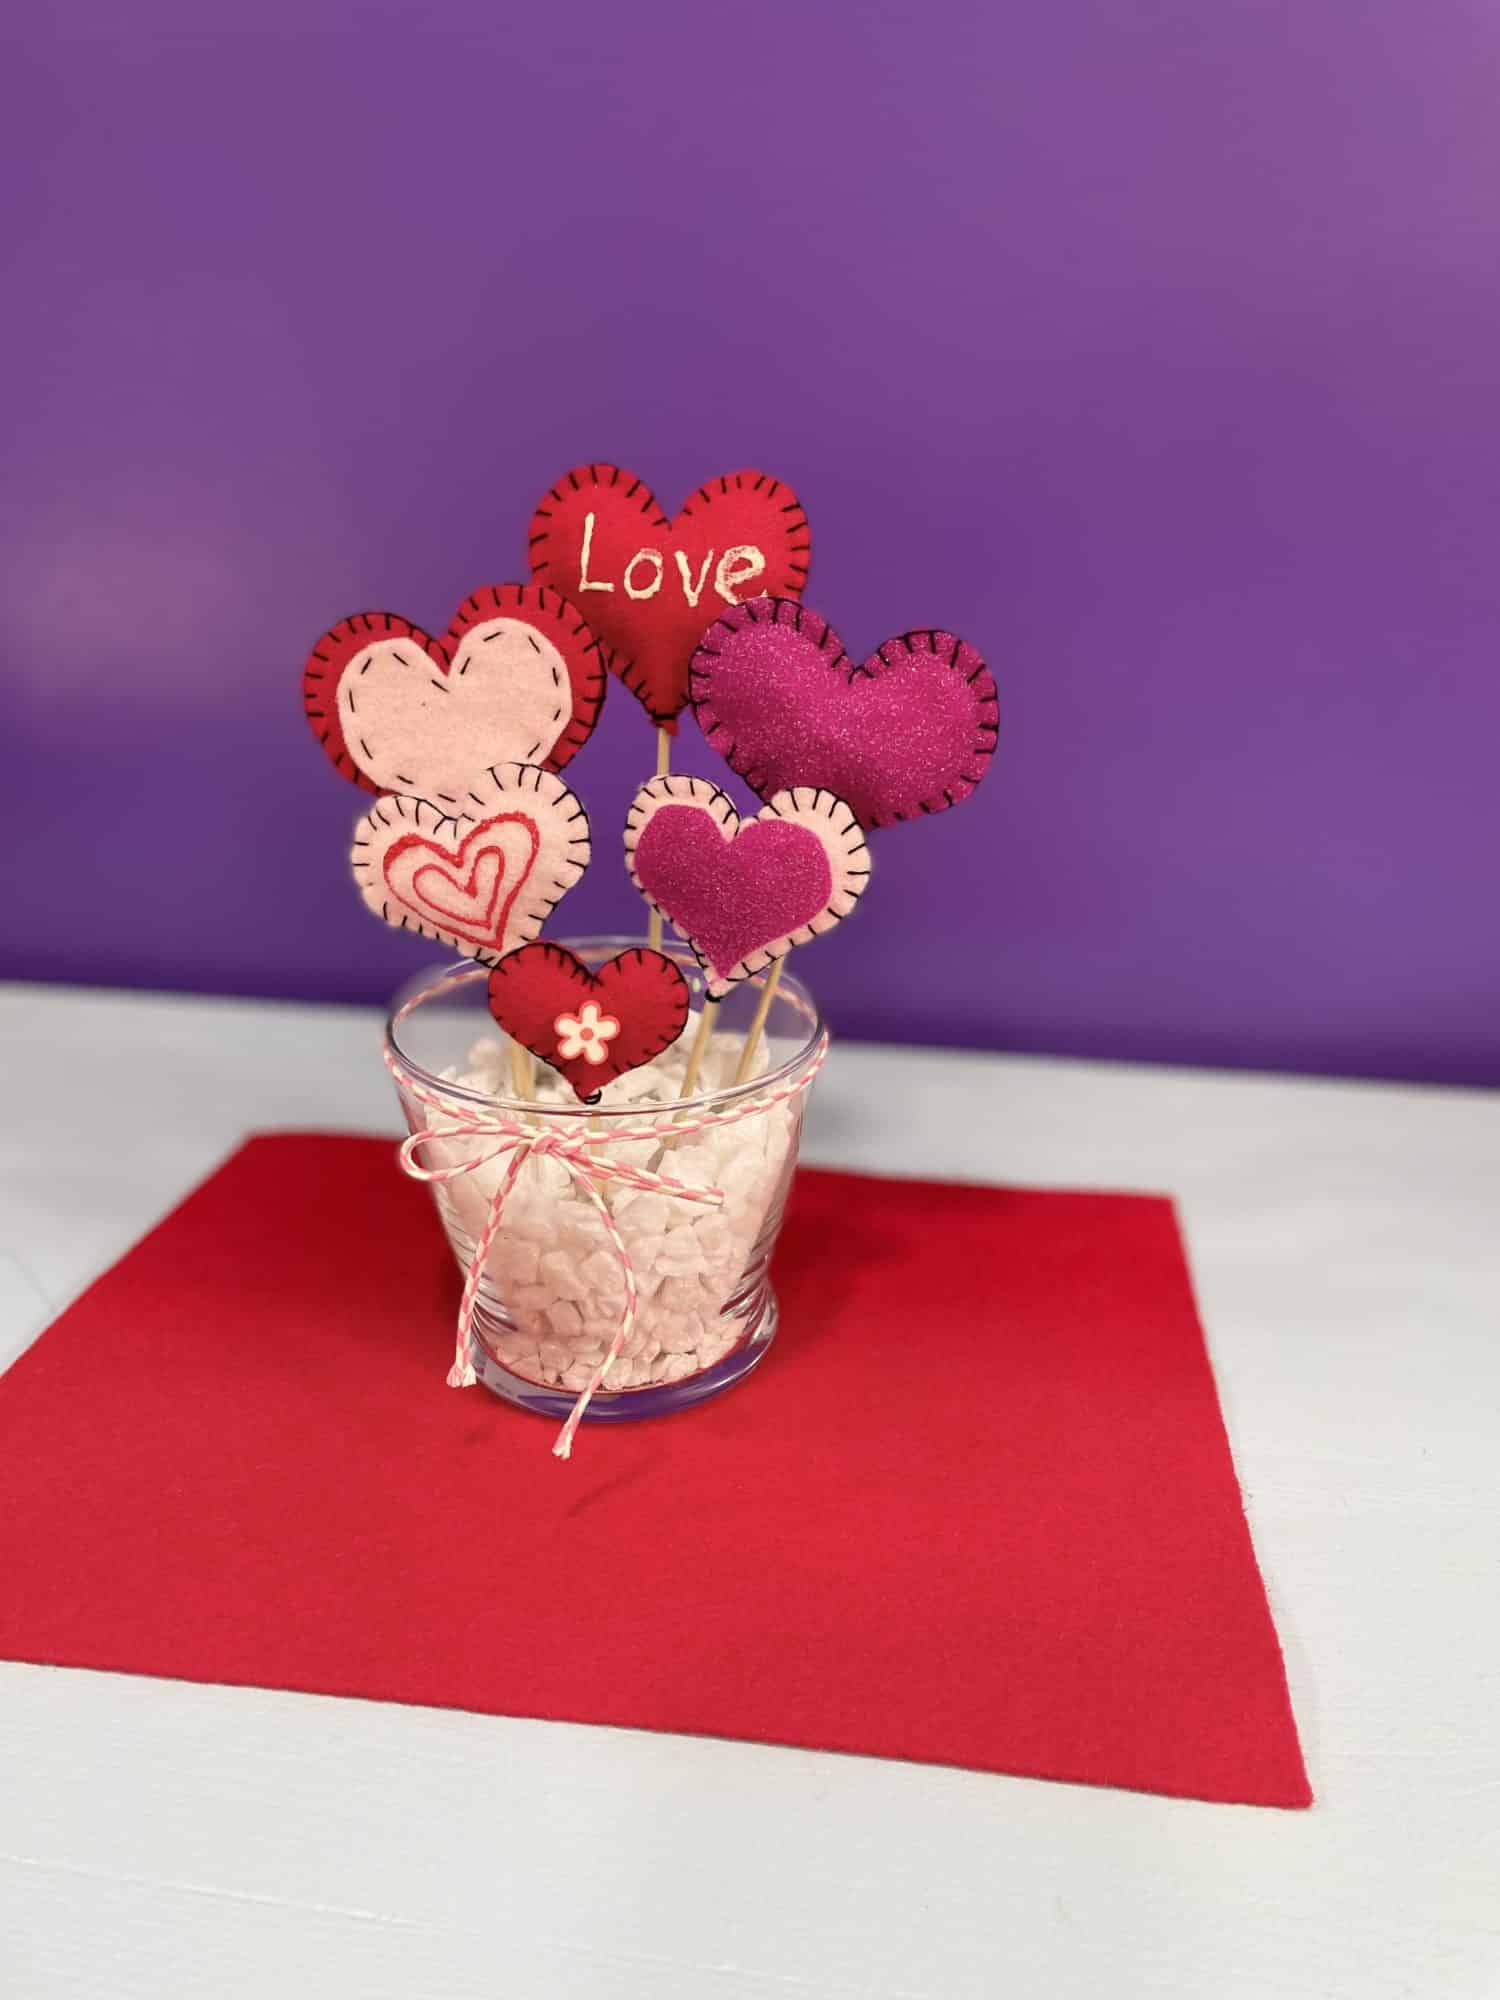
Now, you can begin assembling your Valentine’s day centerpiece!
- I trimmed my stem to my desired length and put my heart inside the vase with the rocks
- Next, continue the above process to make more hearts until you have as many as you’d like for your centerpiece
Different ways to decorate hearts
- I used fabric paint, smaller heart pieces, and a button to embellish and decorate my hearts
- You can cut your two heart pieces and then cut 1 additional heart in a smaller size to place on top of the heart
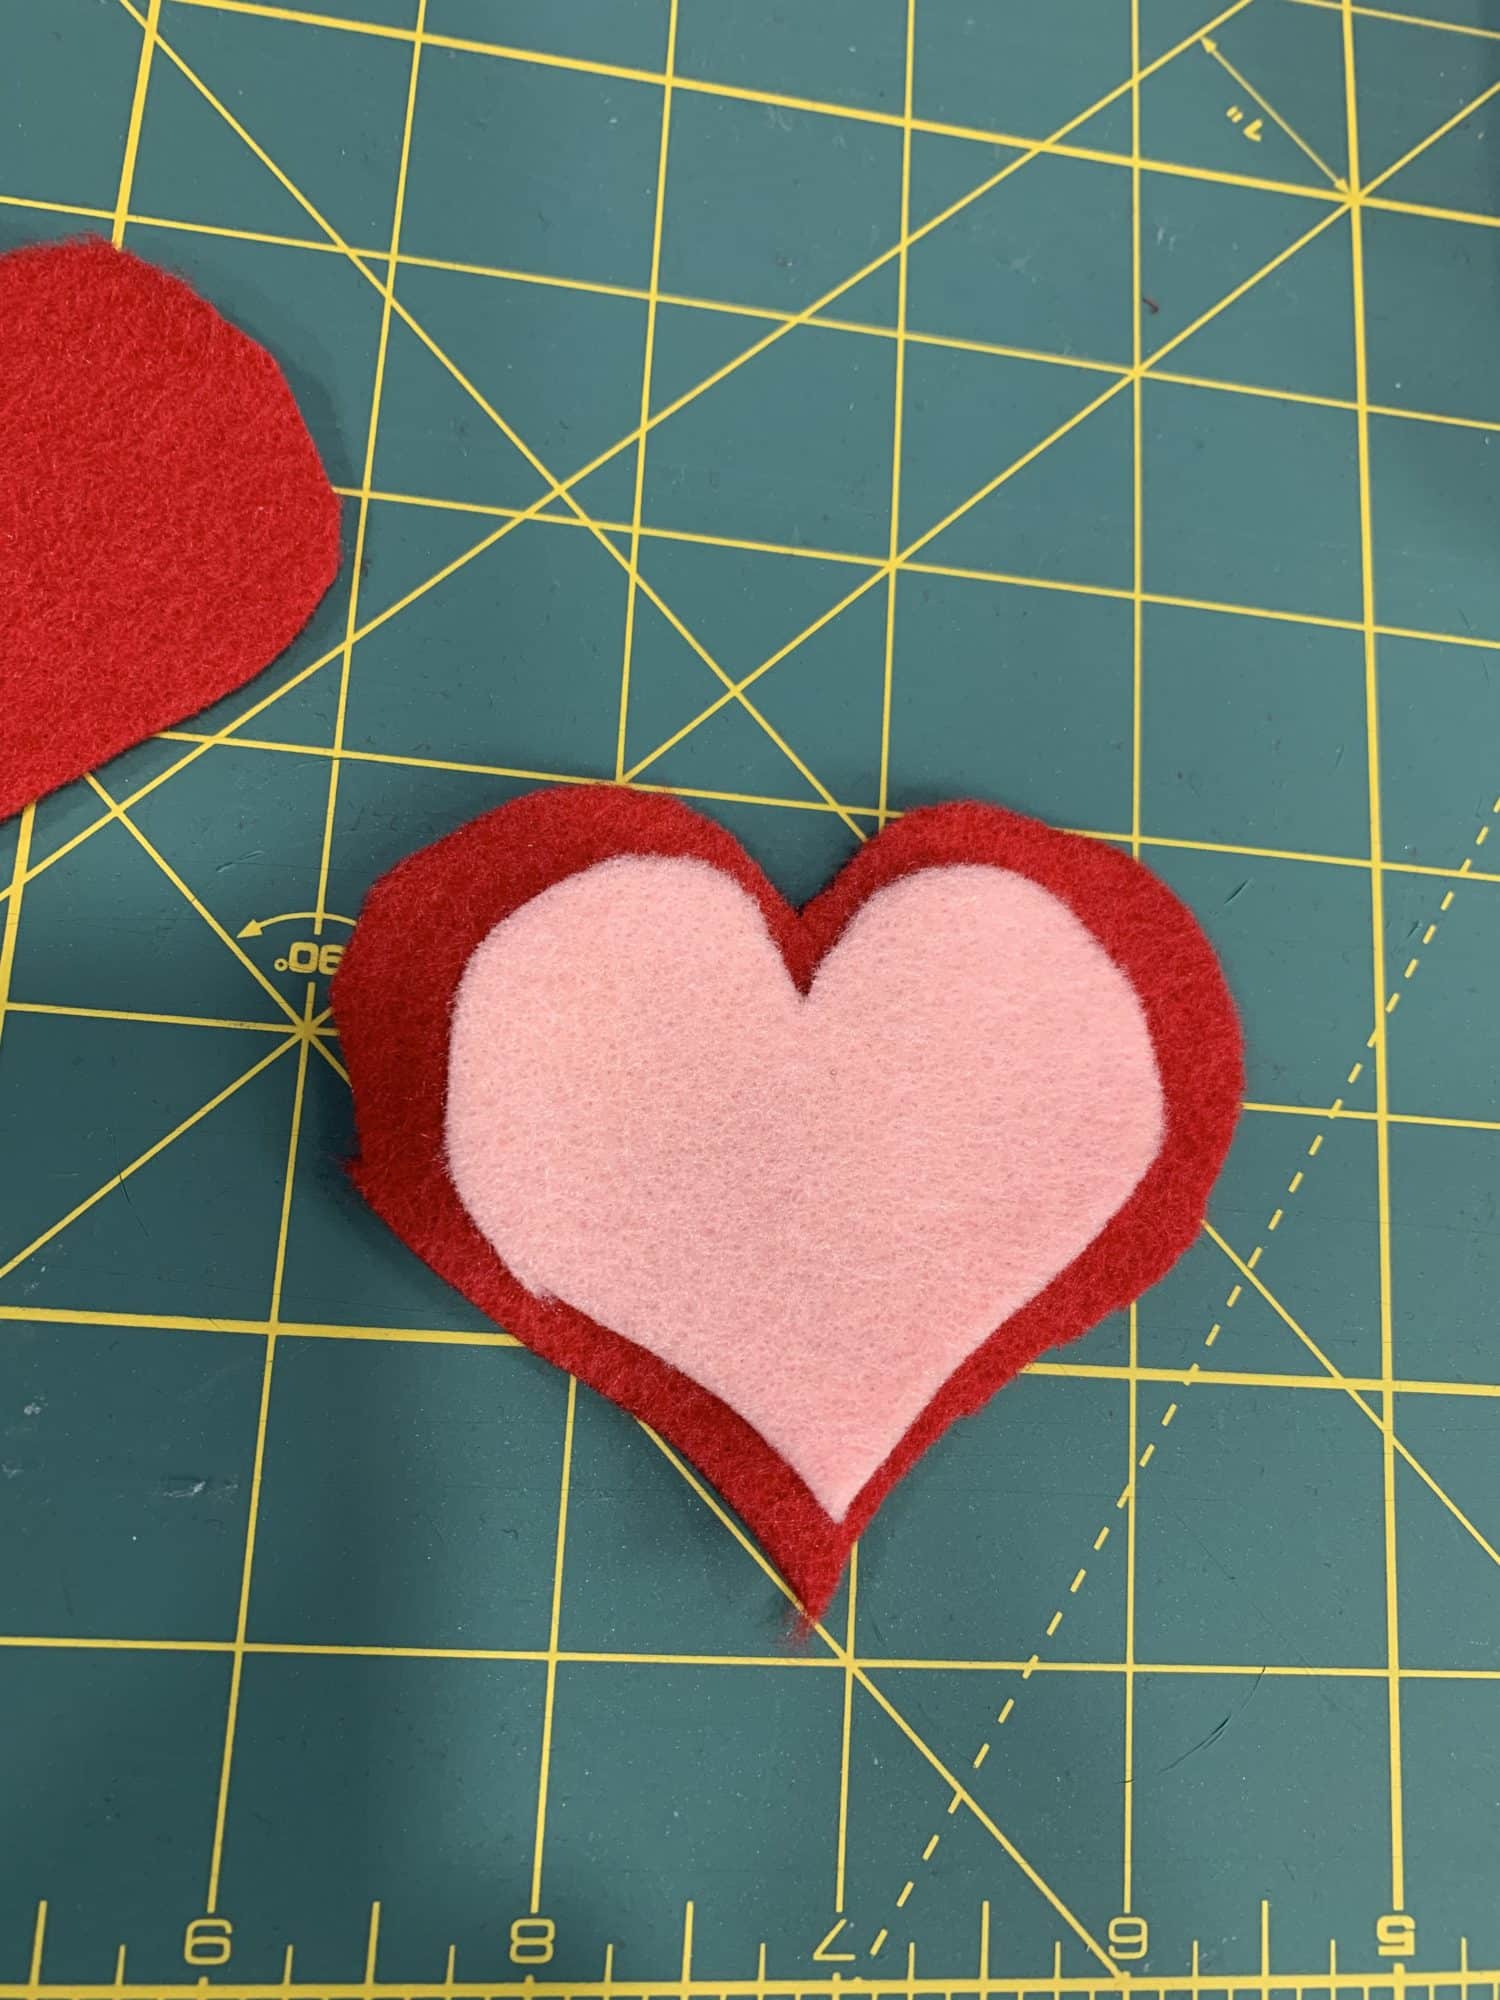
- Hand stitch around the edge of the small heart to secure it in place
- You could also hot glue it in place if you prefer, I did both ways
- I also used some fabric paint to paint the word “love” on one of my hearts
Get creative!
- Take this opportunity to be creative and decorate your hearts however you’d like! This is the best part of hand made crafts and what makes them unique! I can’t wait to see what you create!
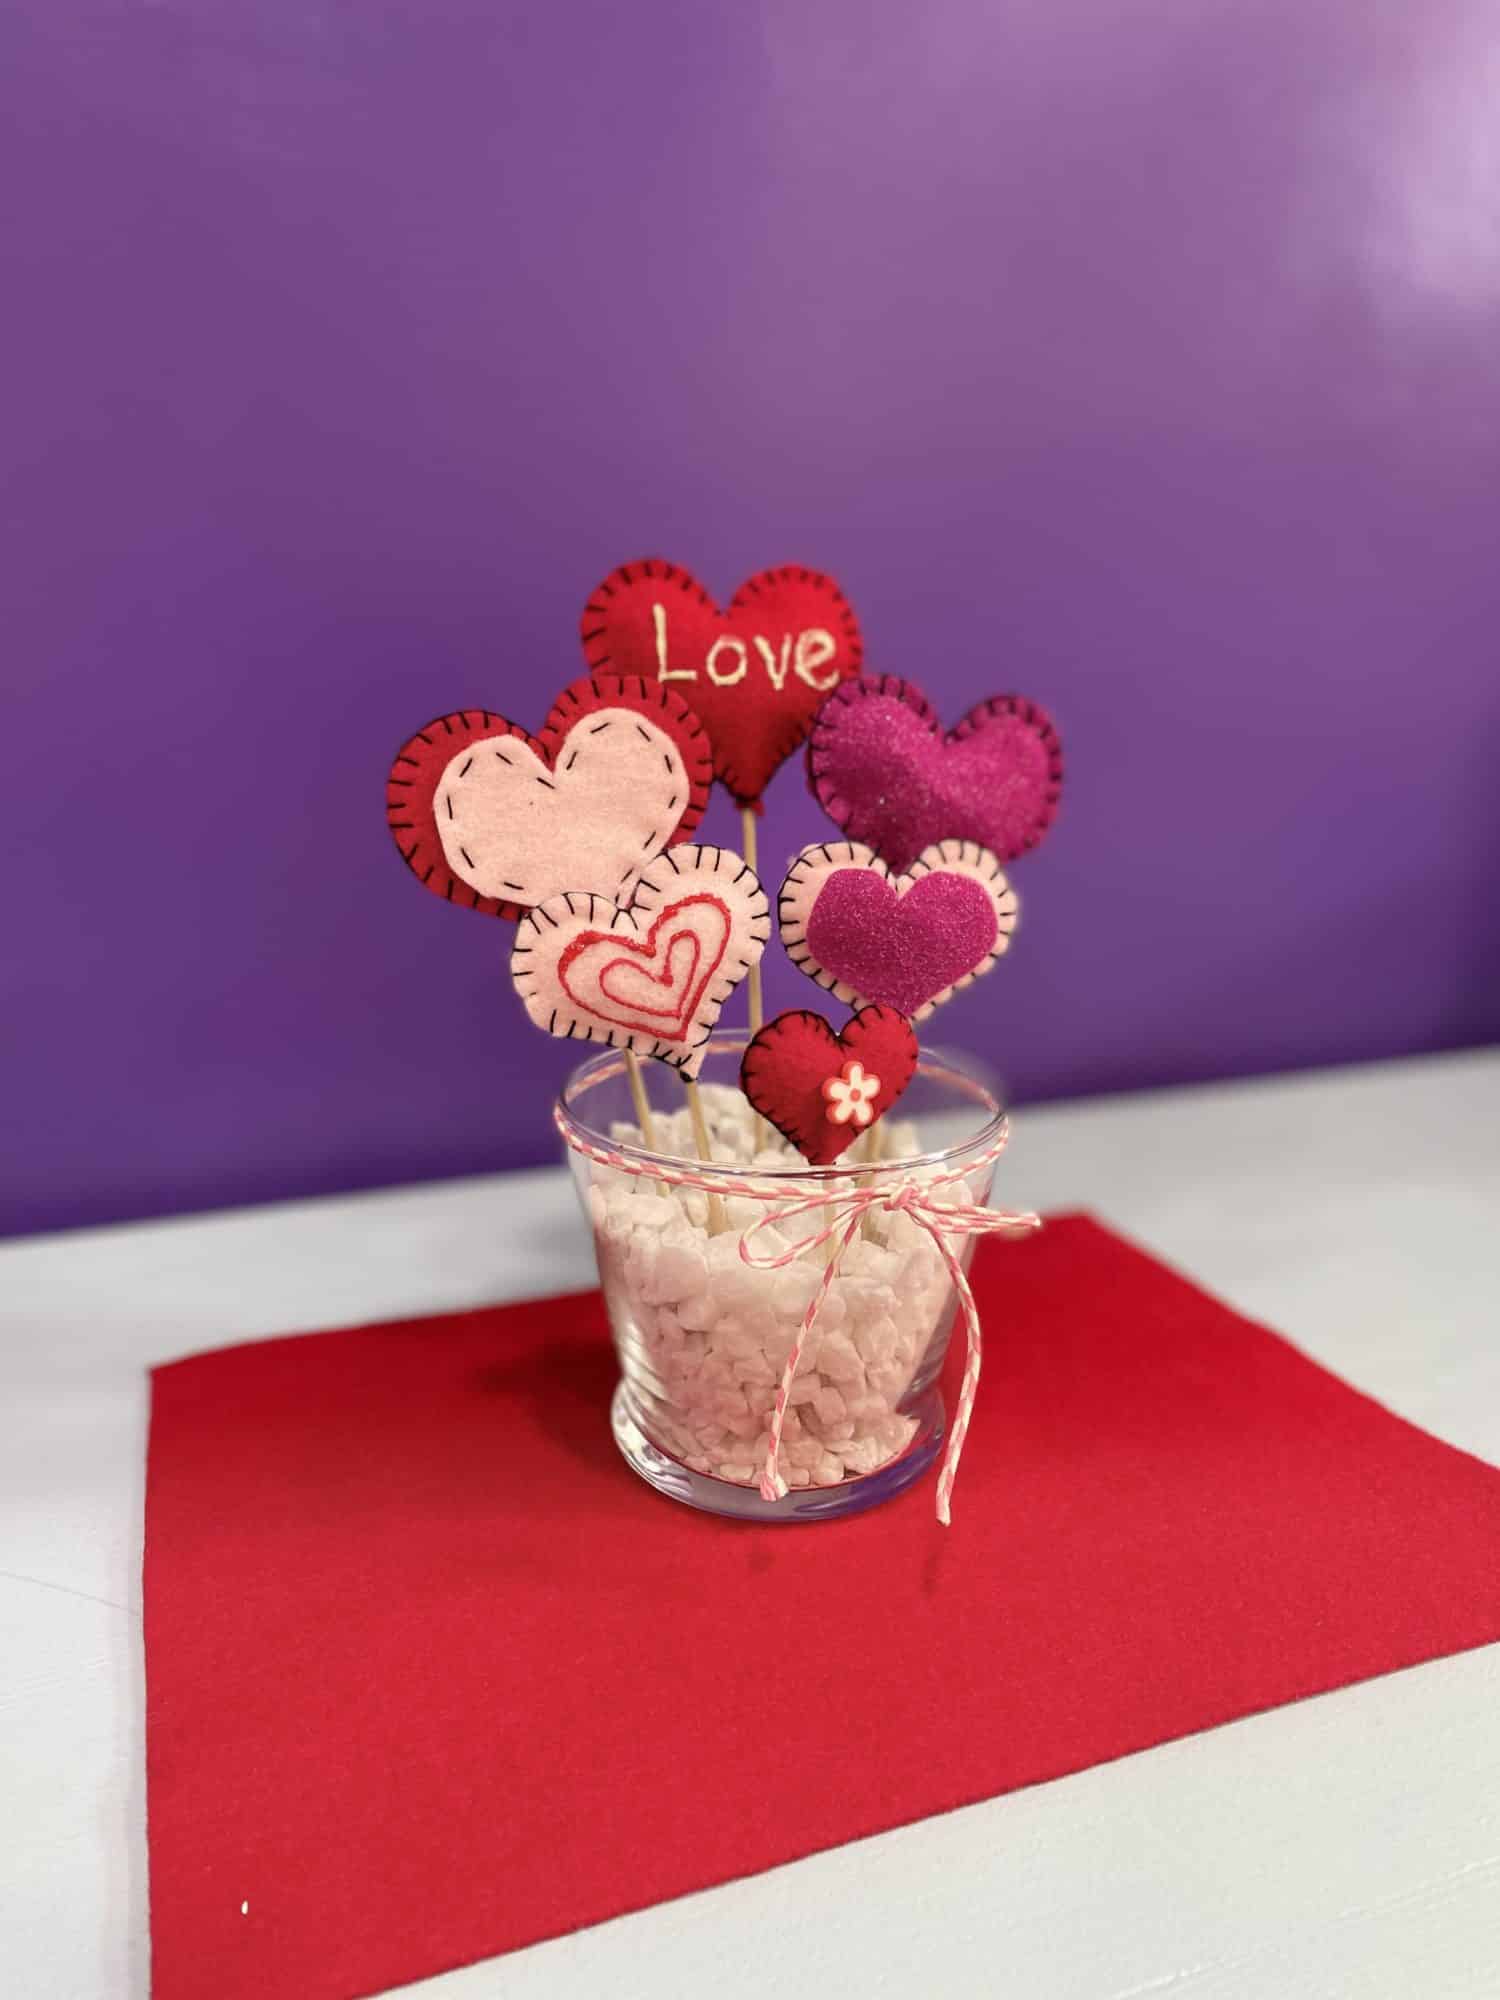
- Once your hearts are decorated and you have enough, start arranging them in the vase
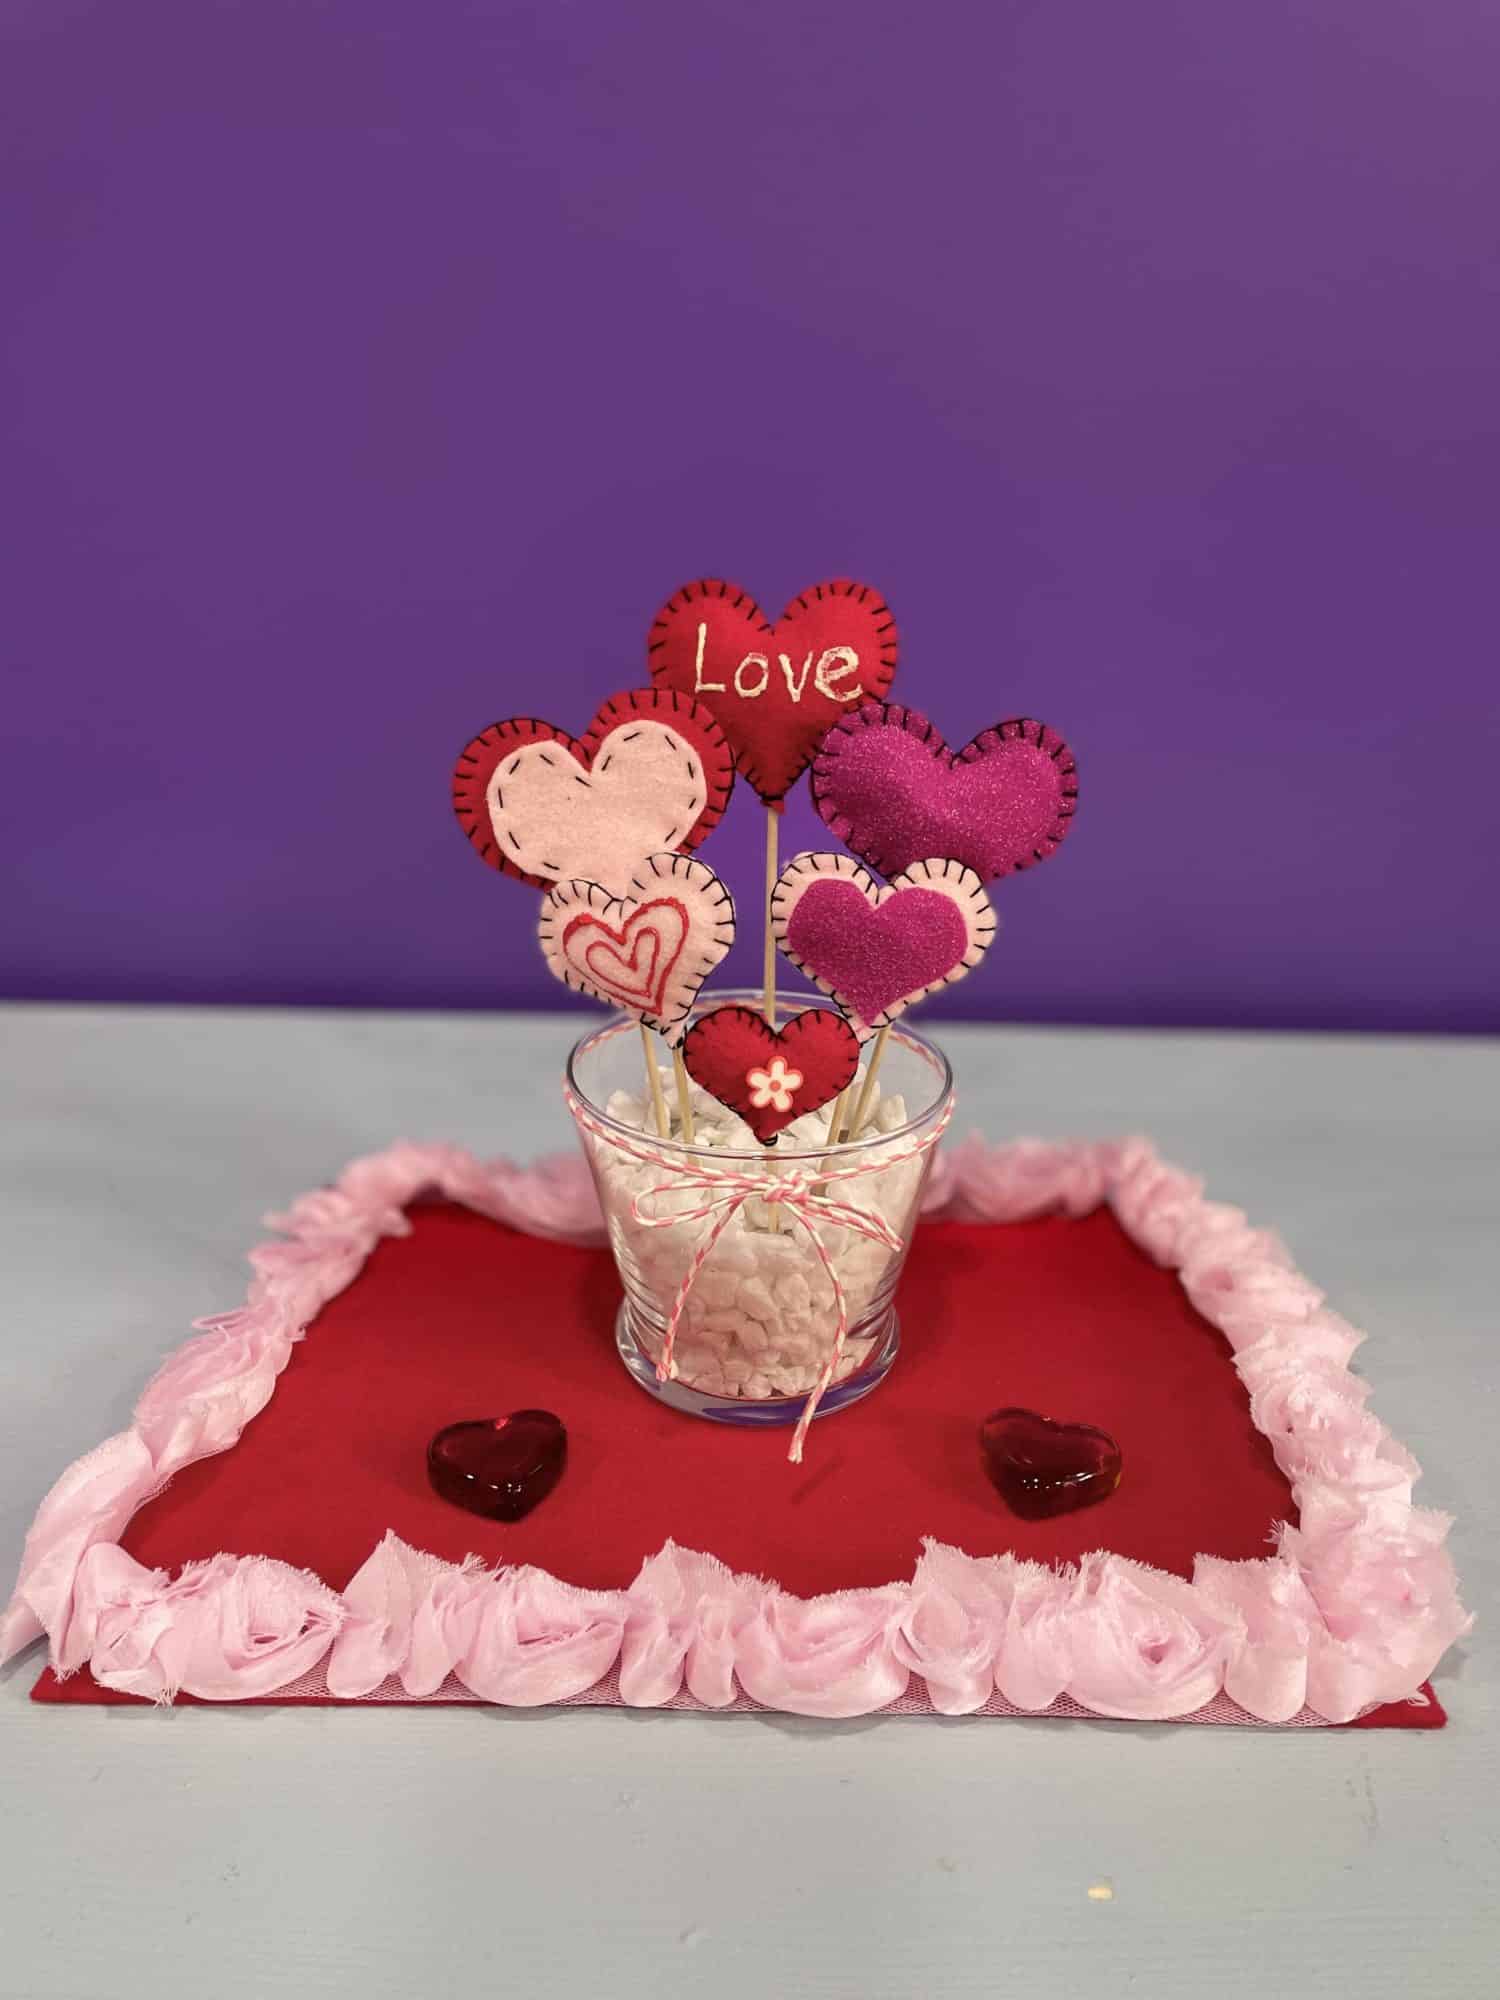
- I tied a ribbon around my vase to finish it off
You did it! You now have a fun, festive Valentine’s day centerpiece for your table!
Want more FUN DIY Freebies? Check out the FREEBIE TUTORIALS and the FREEBIE PATTERNS!
As always, we’re here to help if you need it! Join us HERE and on Facebook, Instagram, Twitter, Youtube, and Pinterest. We’re everywhere you are.
Leave a Reply