Guest Blog Post from: Kim Gordon
Jessica recently painted a cute Gnome Love painting, and I turned it into a cut file. I’ll show you exactly what I did so that you can do it too!

To see Jessica’s original painting visit the 5oo4 Red Bubble page. “Gnome Love” Art Board Print by 5outof4Patterns | Redbubble
The cut file loses the details of the painting. However, with a Cricut or Silhouette you can embellish just about anything. What will you make?
If you’re using a Cricut download this SVG file:
If you’re using a Silhouette download the following three PNG files:
For our friends using a Cricut: GNOME LOVE SVG FILE USING CRICUT DESIGN SPACE
STEP 1. Load the file into Design Space
- Create a new project
- Upload → Upload Image
- Browse select Gnome_Love_Final.svg
- At this point Cricut shows a preview of the image. Note that on my screen the hat is missing. Don’t worry about it.
- Save

Step 2. Preparing the file in Cricut Design Space
- Select the thumbnail image
- Insert Images ( bottom right corner)
Once the image is on your canvas you should be able to see the layers.
Cricut will separate the file into the following five layers.


Step 3. Resize the Design
You might notice the yellow triangle on two of the layers. This is because the image is too large to fit on a cutting mat.
- Select the whole image and change the width and height to fit the space where you would like to put this Gnome Love.
- Make sure the little lock above and between the W and H boxes is closed. This way when you change one number the other will automatically change and keep the image proportions the same.

Step 4. Make it
At this point you could click on Make It and Cricut will prompt you to put in a new mat for each of these layers.
What will you cut?
- Heat Transfer Vinyl – turn on mirror
- Adhesive Vinyl – do not turn on mirror (unless it will be adhered to something clear and viewed through the side it is not attached to)
- Paper – do not mirror
- Fabric – do not mirror
- Infusible ink sheets or markers – mirror
Would you like the heart and hat to be cut on the same mat as the red love?
On the design canvas go to Color Sync.
Drag the hat and heart to the same layer as the red love and they will be cut on the same mat. This will result in the cutting mat looking something like this:


Frustrated that the heart and hat aren’t in the correct place?
Select the red love, heart, and hat in layers.
Weld and now they will show up on the cut mat like this:


For our friends that have a Silhouette: GNOME LOVE PNG Files using Silhouette Studio
First, you will need to download the three PNG files at the top of this post.
Opening a file in Silhouette. File → Open and select the files from wherever you saved them.
This will open three different tabs.
- I suggest that you cut and paste the tan and pink layers onto the red layer.
- Select them all together to resize.
- You will likely need to copy them back onto their own tabs.
- I don’t have a Silhouette machine. This means I can’t test how the cutting process works.

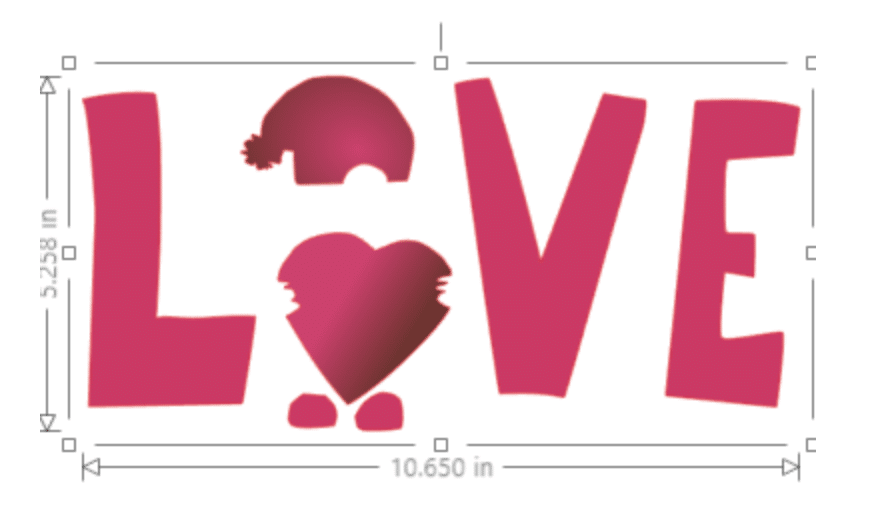
If you would like to cut the hat and heart out of a different material than the rest of the red layer, simply click on the image and the measurement lines will appear (this was after I resized).
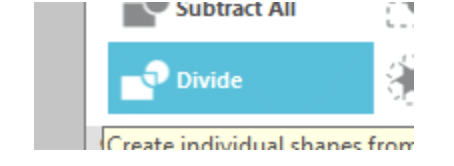
Click on the Divide icon.
The layer should separate into pieces like this.
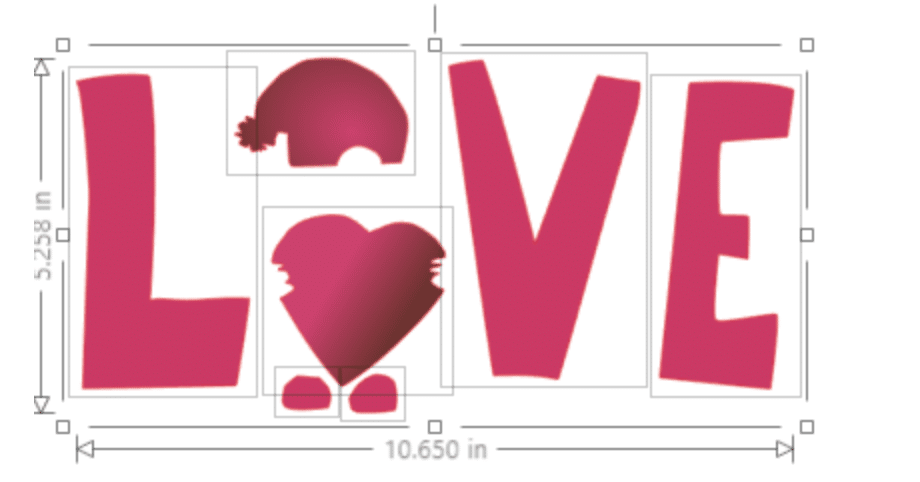
Now you will be able to select each piece. This will allow you to move the hat and heart to a different tab if you would like to cut them out of a different material.
Now that You have the Gnome Love file loaded into your computer software, what will you make?
Fabric on a bag?
This is the DIY bag from Laura. You can find her blog post here: DIY Tote Bag & Basket with Bonus Bunny Ears – 5 out of 4 Patterns
Fabric Materials:
- Three fabrics
- Heat n Bond Ultra
- Cricut Machine
Notes:
Remove paper backing from the fabric and place on mat fabric side up. Make sure to use a new or dedicated fabric blade.

Blades
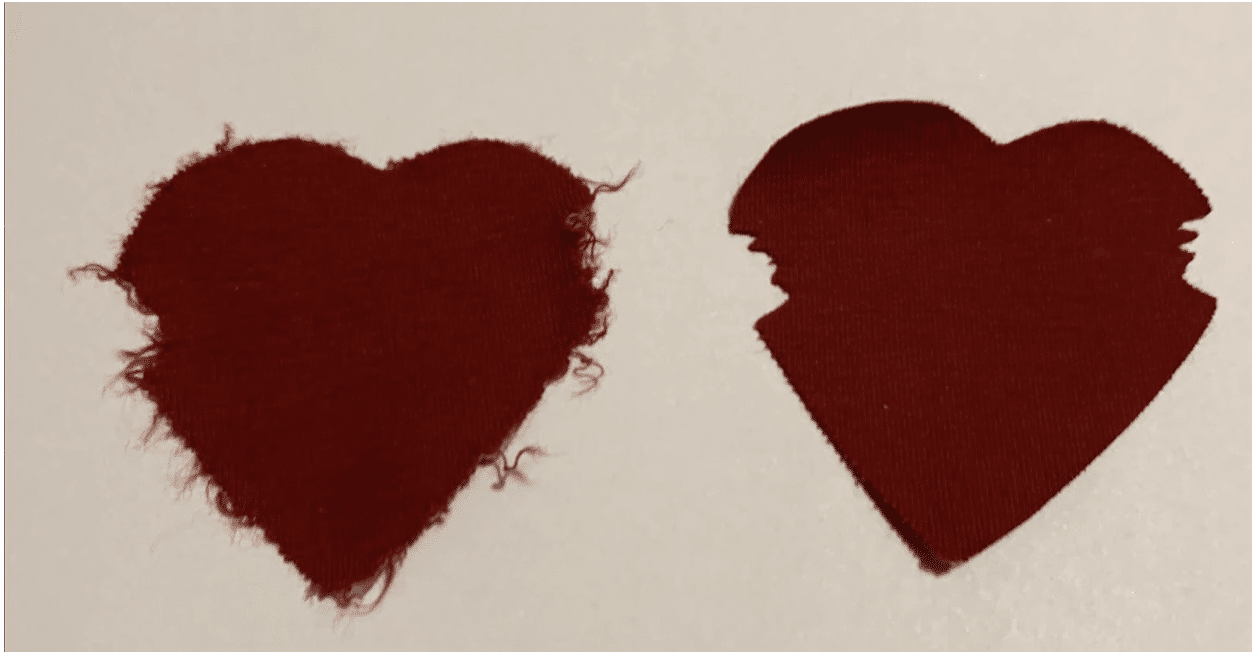
We all know any time we cut fabric it helps to use scissors or a rotary cutter that hasn’t been used on paper. Here is an example of cutting out the heart with an old dull blade that had been used to cut paper and vinyl, vs a new blade.
Infusible ink markers on fabric
Materials:
- Infusible Ink Markers Medium size 1.0, colors Tawny and Neon Pink
- Fabric with a high polyester content
- Heat Press that can reach 385 degrees
- Butcher paper
- Cardstock 80 lb or more butcher paper
- Heat resistant mat
- Cricut Machine
- Laser copy paper (designed to handle a high level of heat and will reduce bleeding in your design)
Notes:
Change from cut to draw in Cricut by selecting Draw from the Linetype dropdown menu. Make sure to pick a color, I used Tawny and Neon Pink Marker 1.0. Filled in the hat and a couple of other little spots by hand after the machine had finished drawing.
Mirror before drawing.

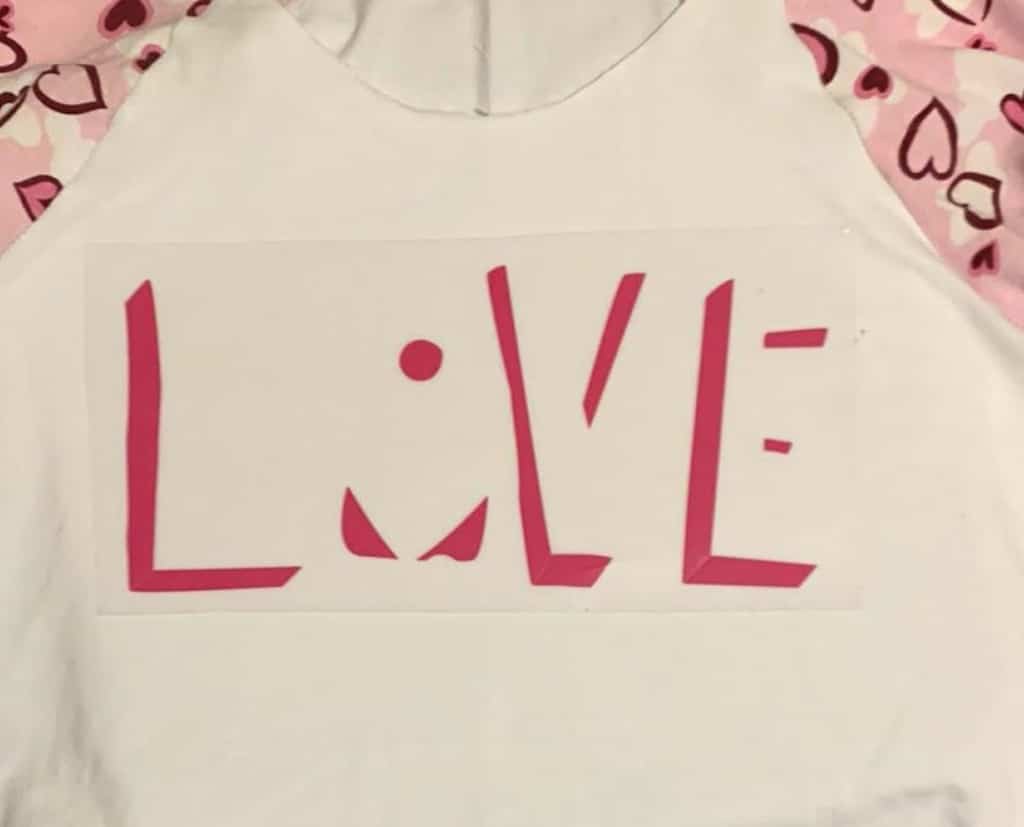
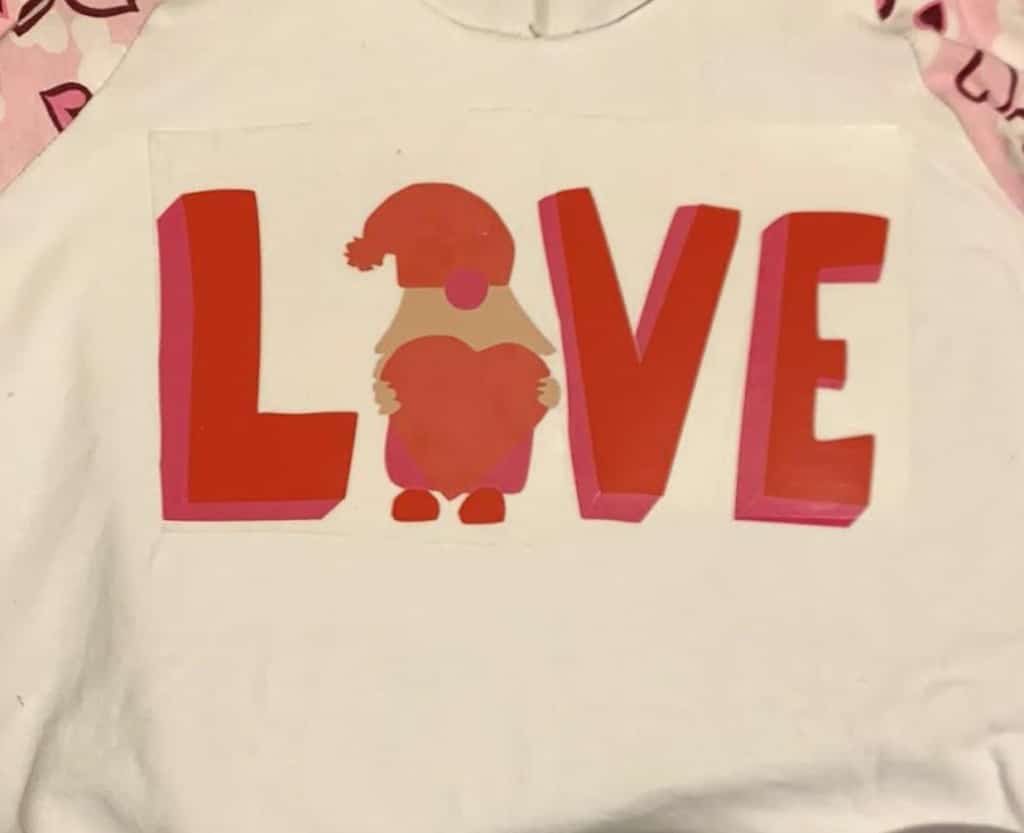
Gnome Love Heat Transfer Vinyl on a Nancy Raglan Shirt
Materials:
- Three colors of heat transfer vinyl
- Cricut Machine
- Heat Press or Iron
- Butcher paper
Note:
I placed the pink layer first because it has pieces that extend to the far right and left of the design.
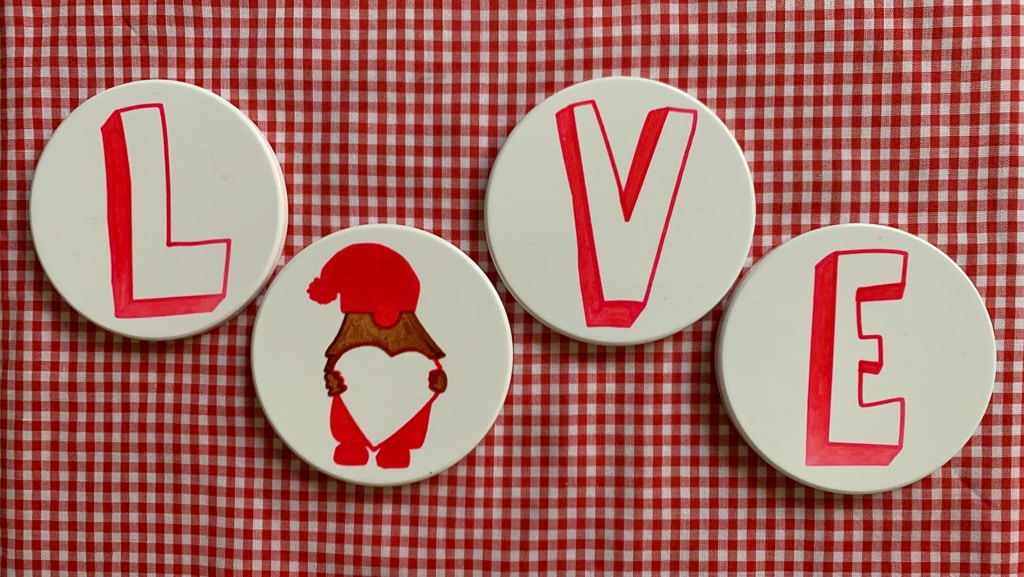
Gnome Love Ceramic Coasters
Materials:
- Cricut ceramic coasters
- Infusible Ink Markers Medium size 1.0,
colors Tawny and Neon Pink
- Heat resistant tape
- Cricut Machine
- Heat Press that can reach 400 degrees
- Butcher paper
- Cardstock 80 lb or more butcher paper
- Heat resistant mat
- Laser copy paper (designed to handle a high level of heat and will reduce bleeding in your design)
What will you make with your Gnome Love painting?
There are so many options of things to make with a cut file. My hope is that I have given you a little bit of confidence and some inspiration.
If you make anything with these files please share them to the 5 out of 4 Patterns Facebook group. I would love to see all the creative ideas you come up with.
Leave a Reply