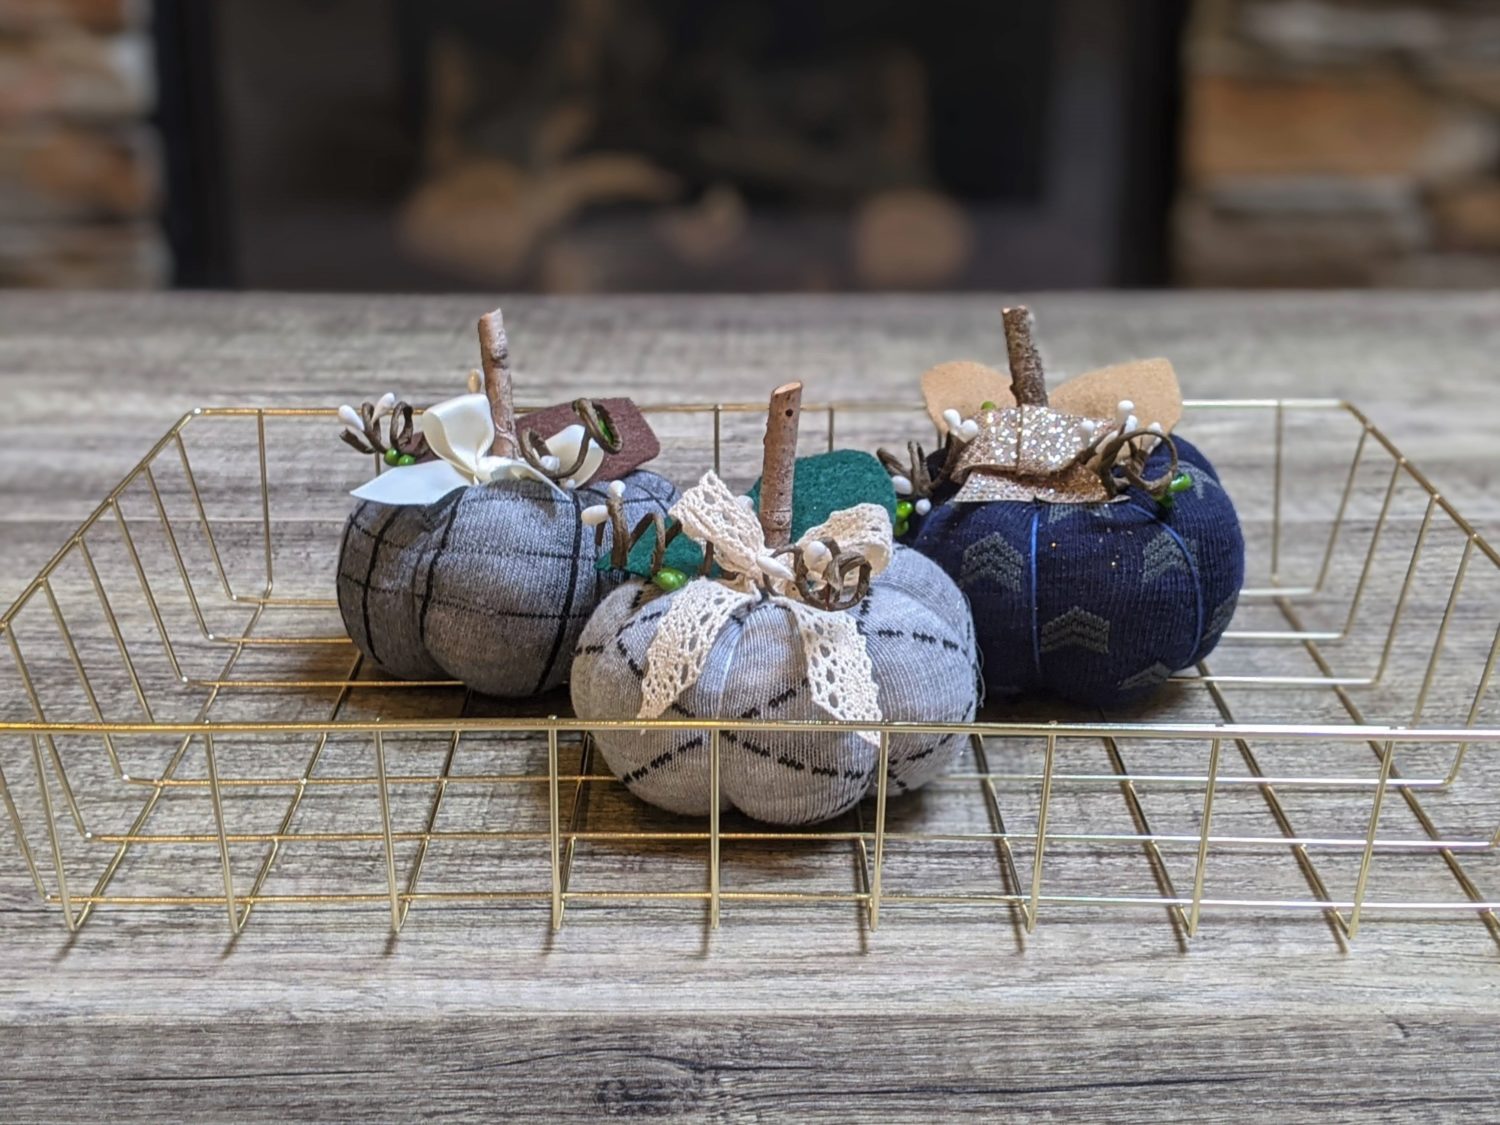
I know it’s only mid-September, but it already feels like fall here and I’m so ready for it! My family tells me I have a pumpkin problem, but I see absolutely no problem with it. I grabbed some socks from the dollar store and turned them into some cute little pumpkins to join the rest of my pumpkin family. If your house is anything like mine, you probably have an assortment of socks that lost their other half to the dryer, or behind a bed somewhere. This is a great use to give those abandoned socks a new purpose!
Supplies:
- Sock
- Dry rice or beans
- Fiber fill or other type of stuffing material
- Needle and thread, embroidery floss, or yarn
- Felt scraps
- Small stick
- Hot glue gun
- Ribbon, twine, lace, or any other embelishments you want to add
Let’s Get to it!
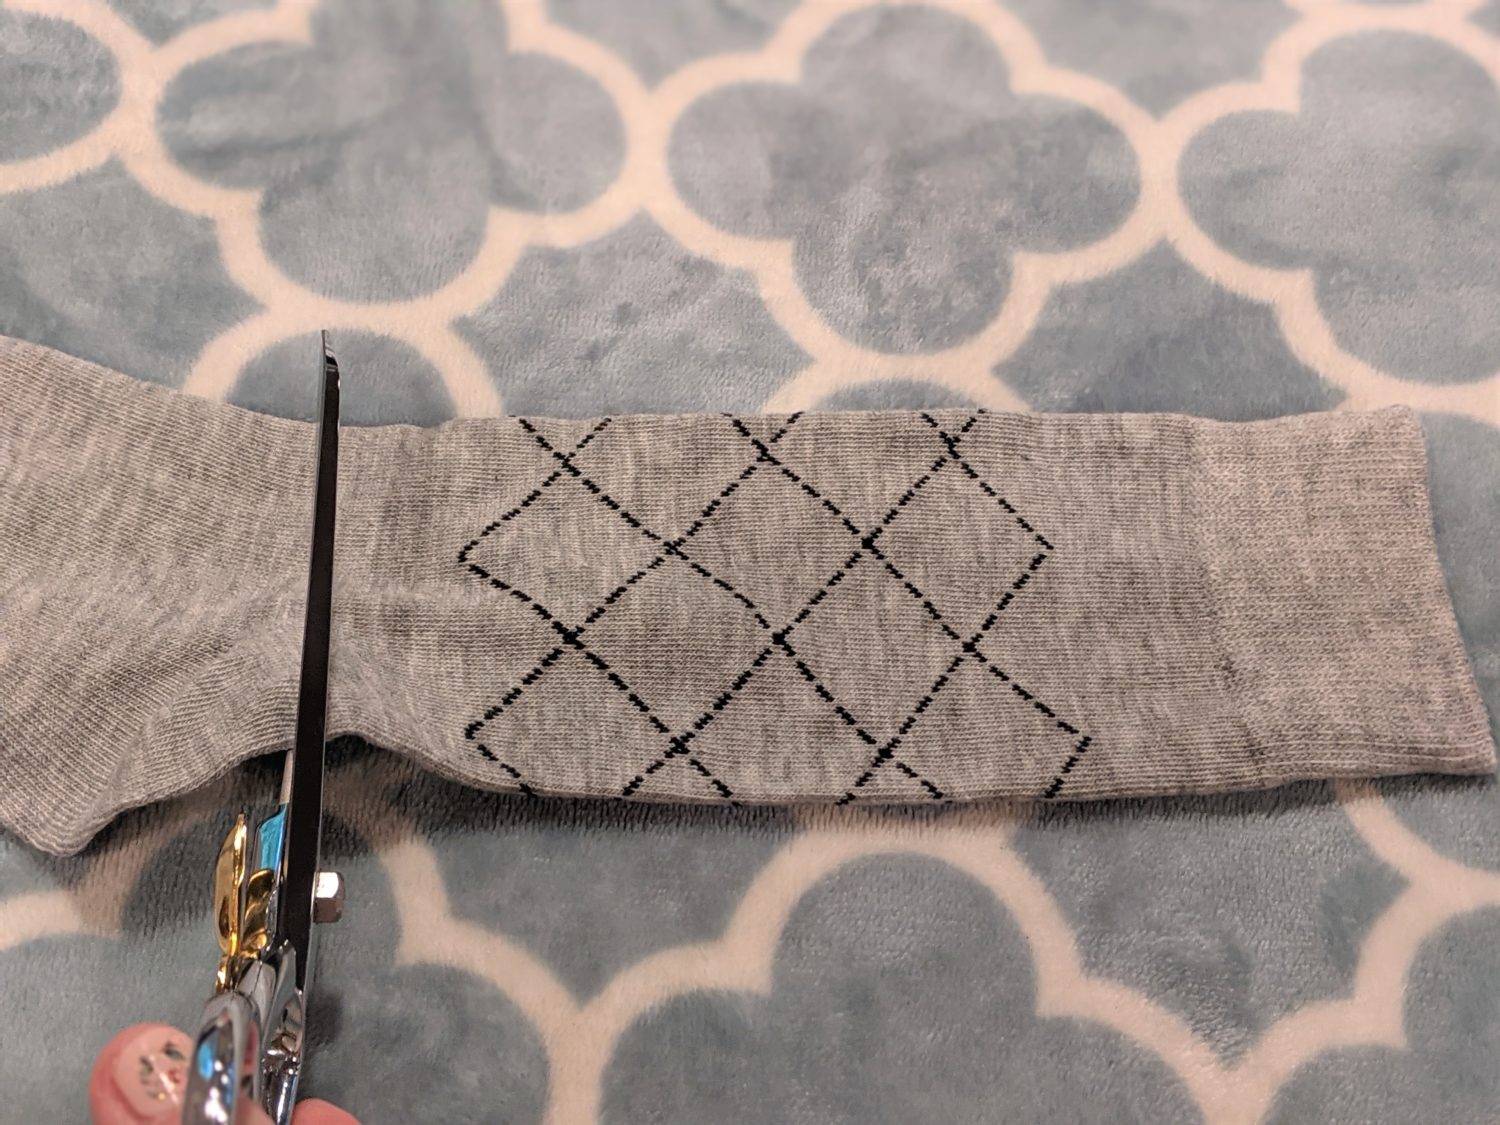
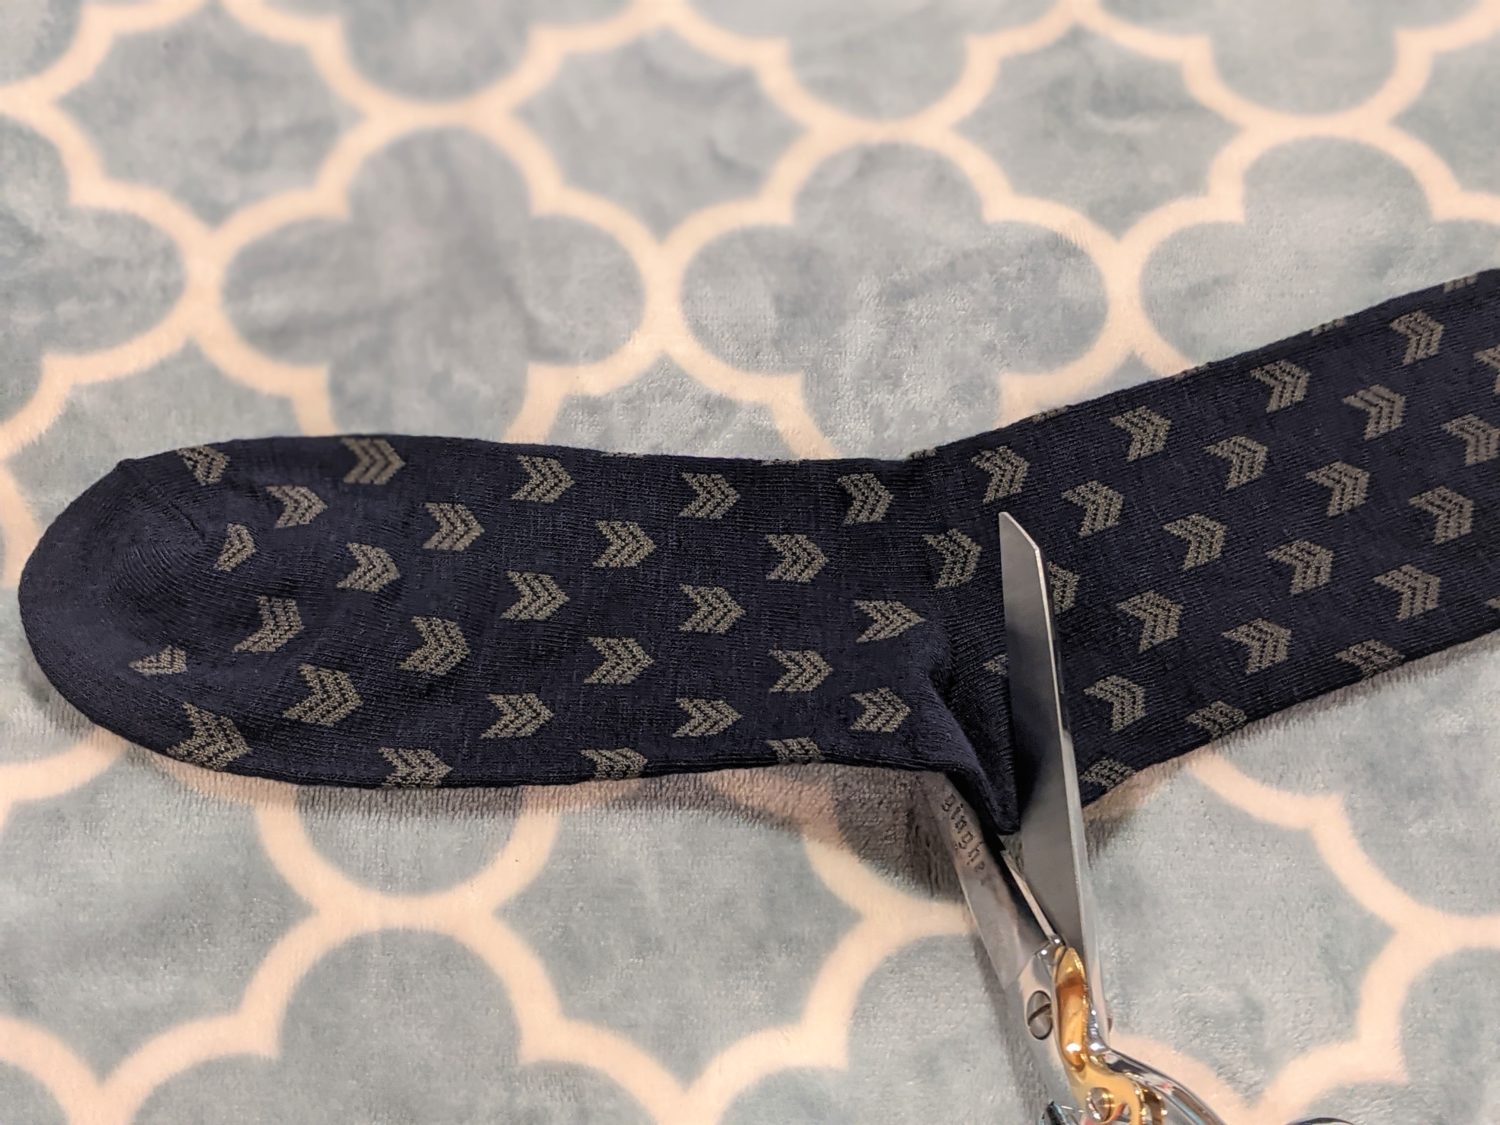
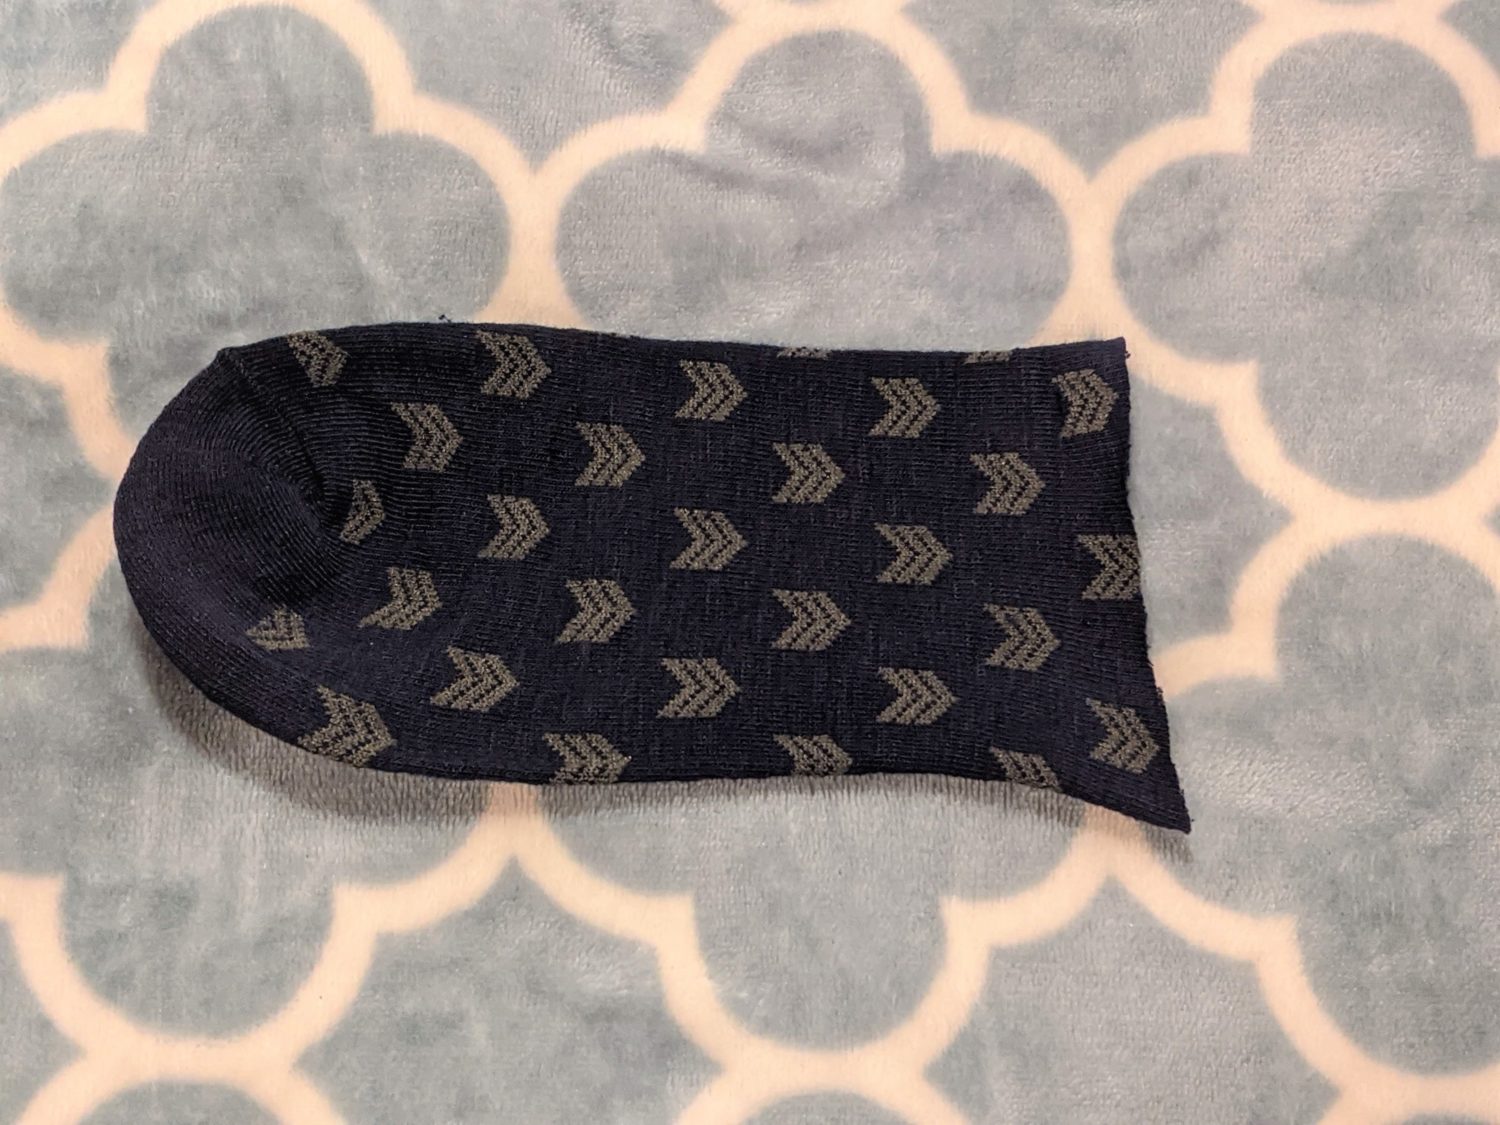
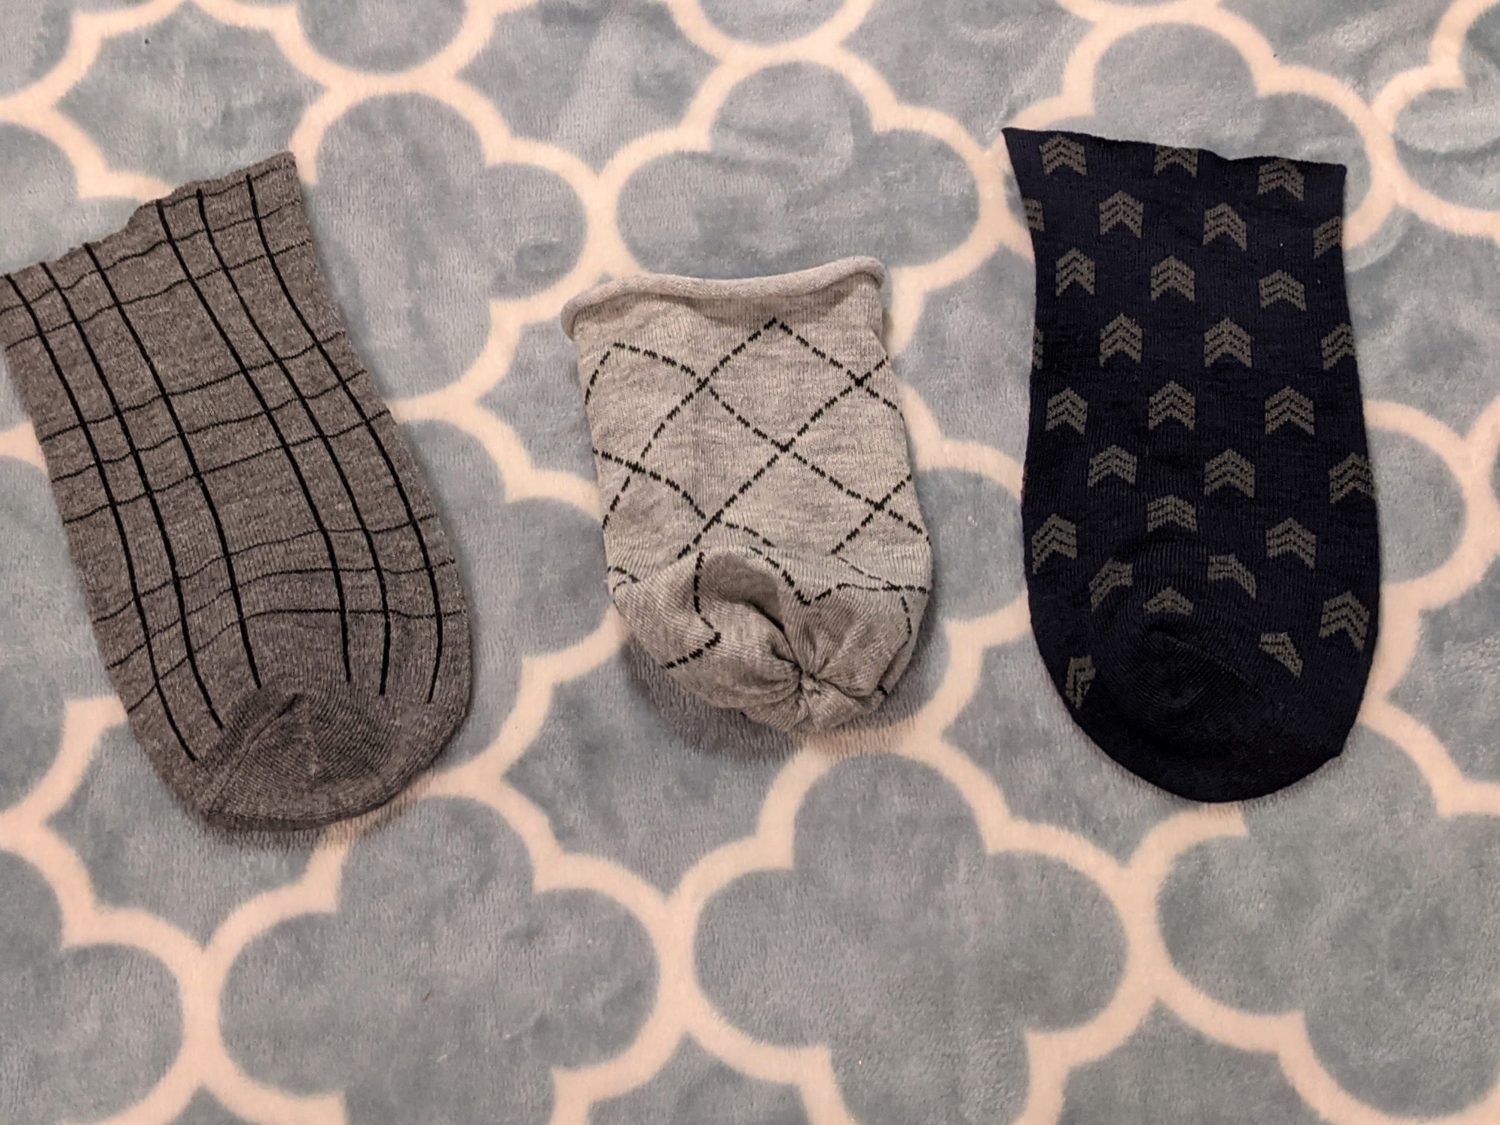
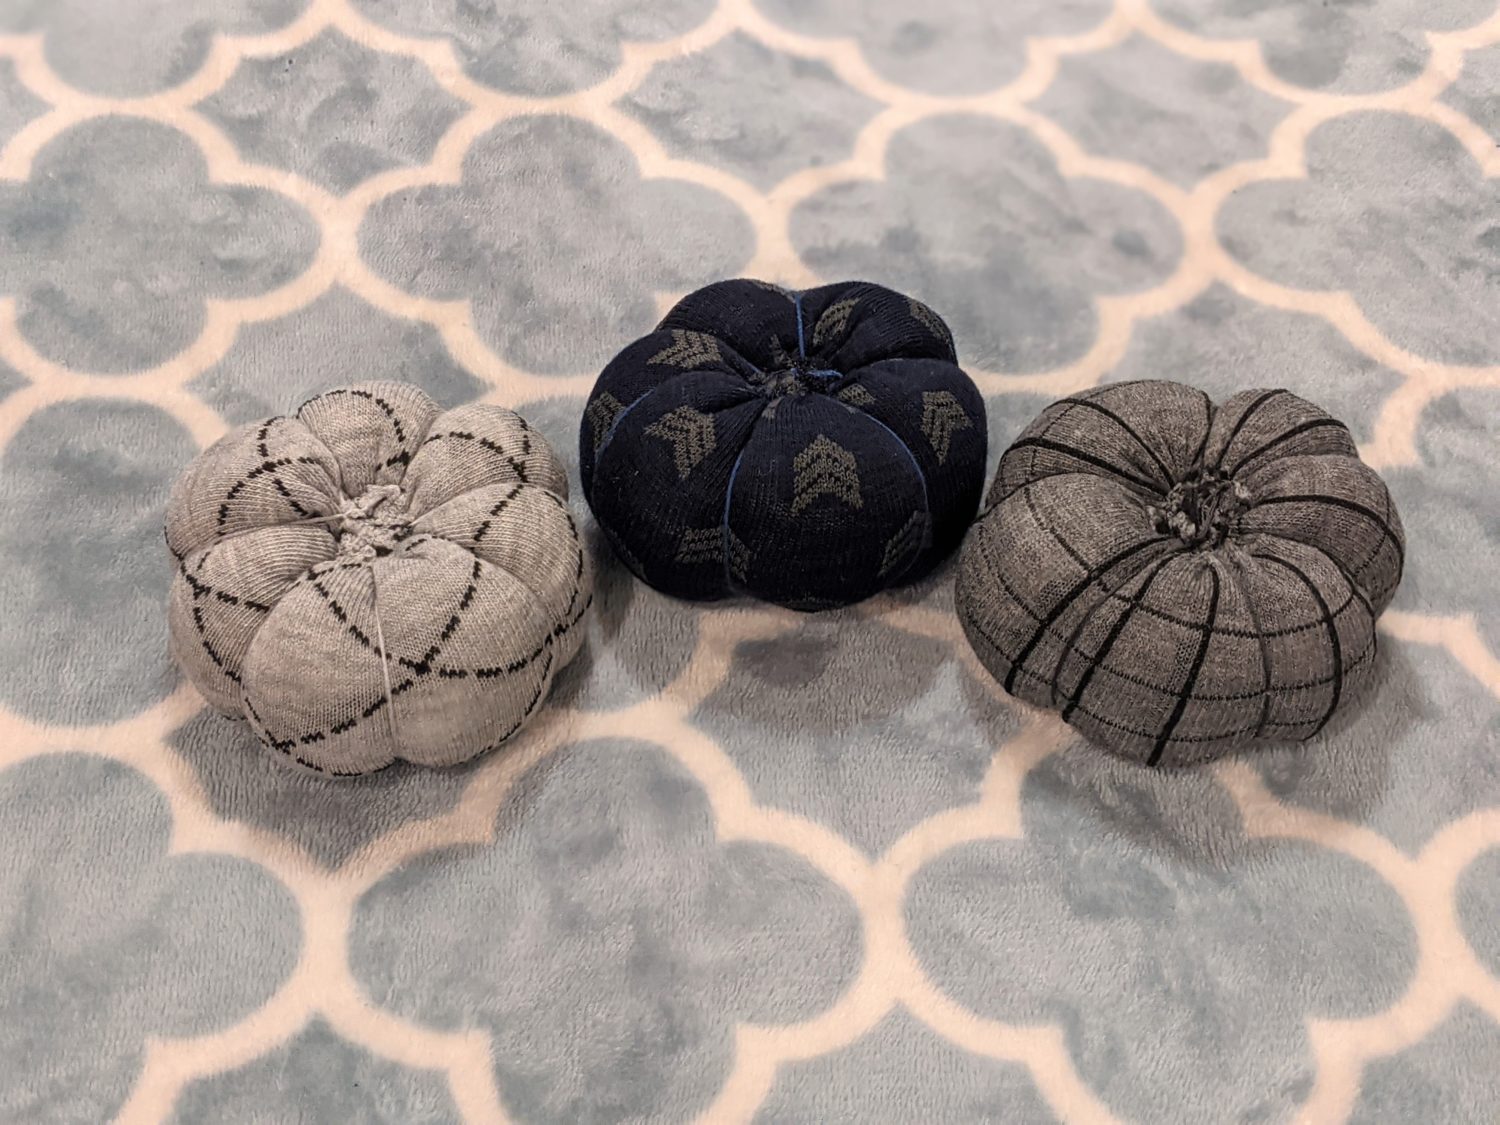
- Cut your sock. Either cut just below the heel and use the bottom section (the toe) or cut above the heel. For some of mine, the pattern was around the ankle section so I used that part.
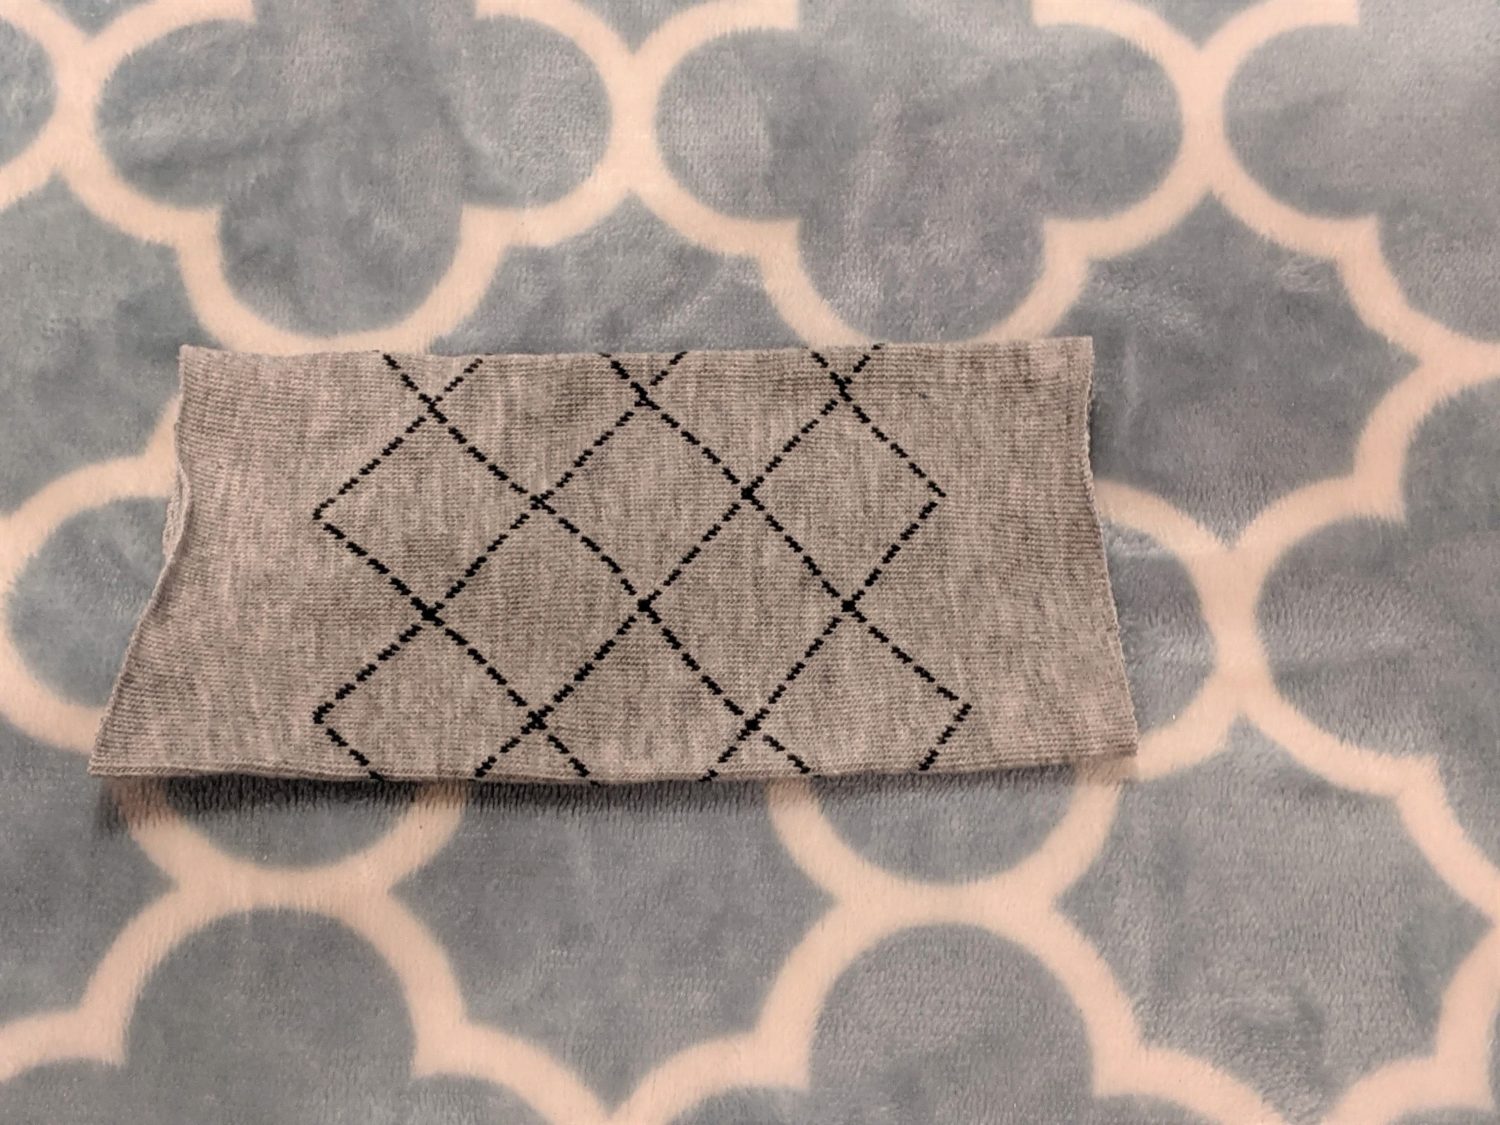
- If you use the upper section of the sock, you will need to close one end of the sock.
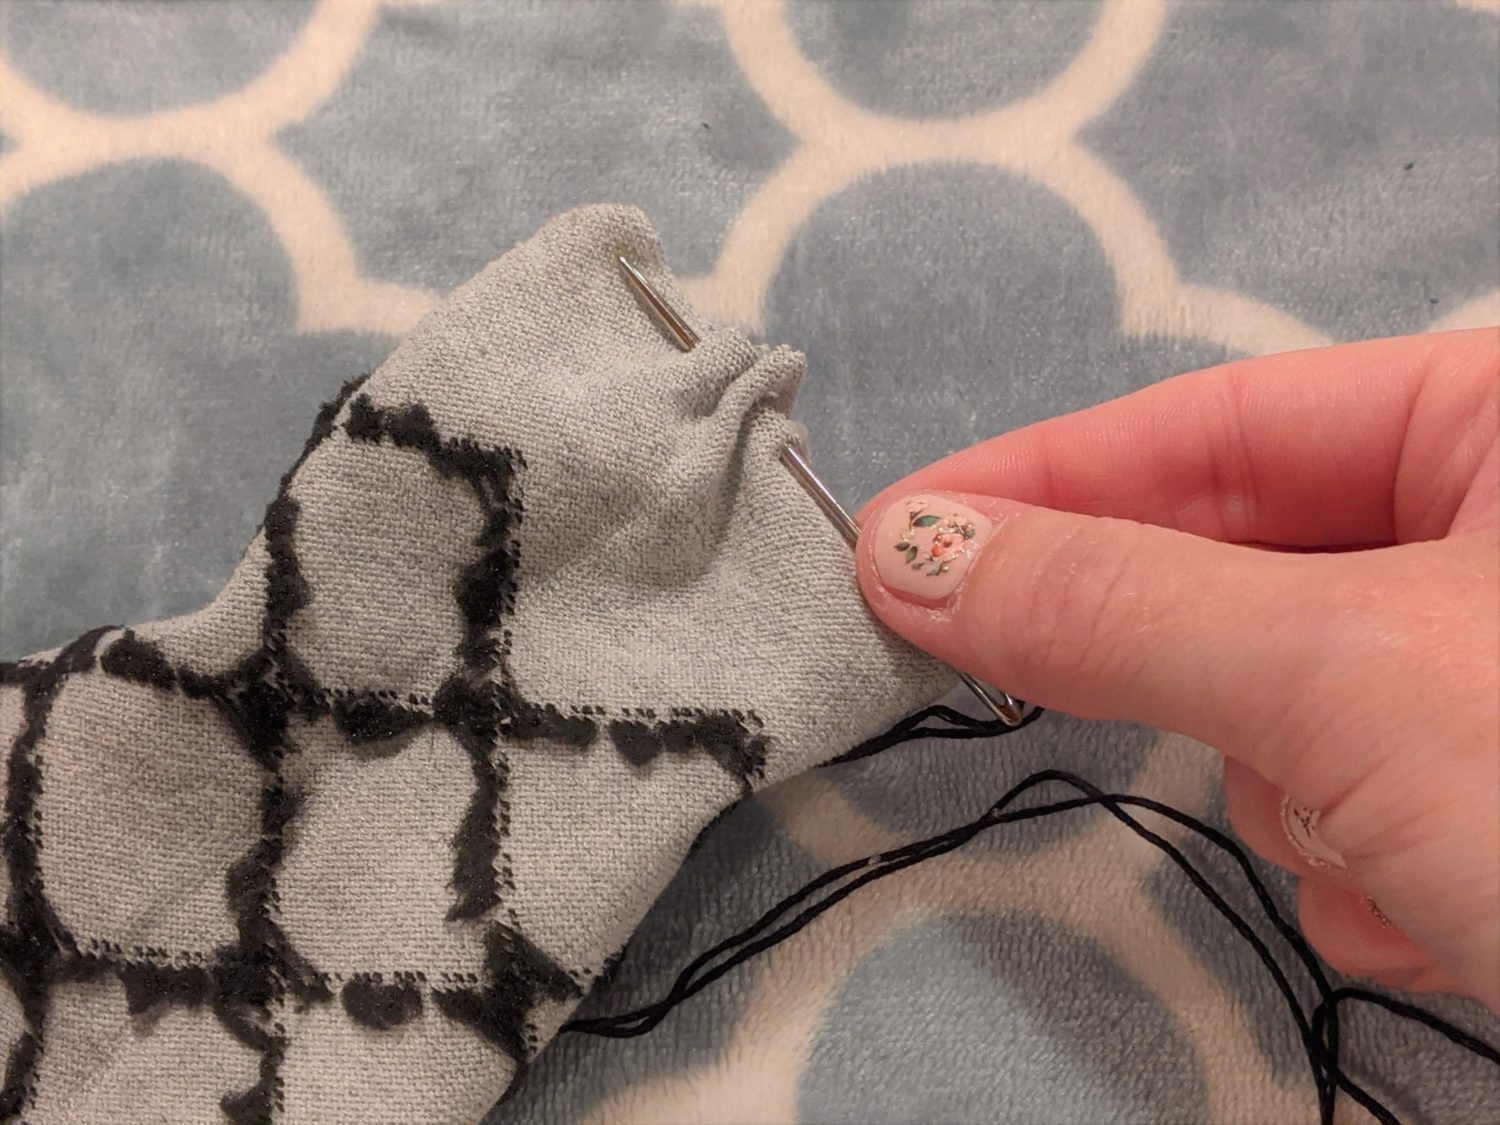
- Turn the sock inside out.
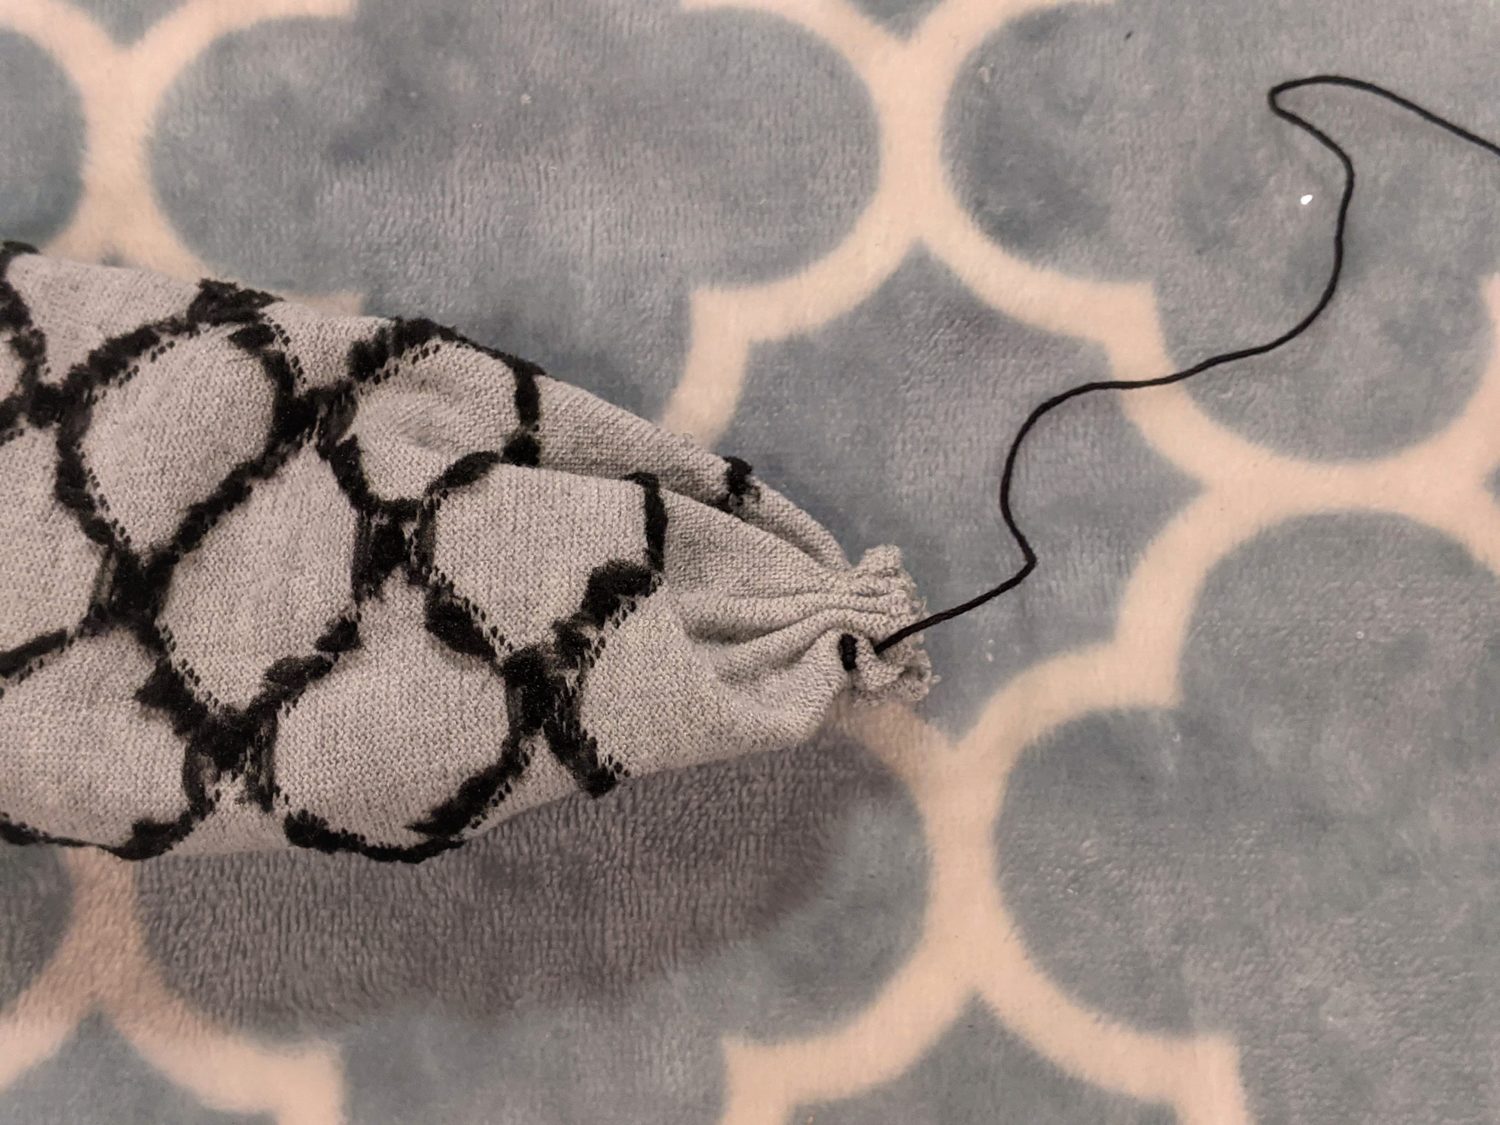
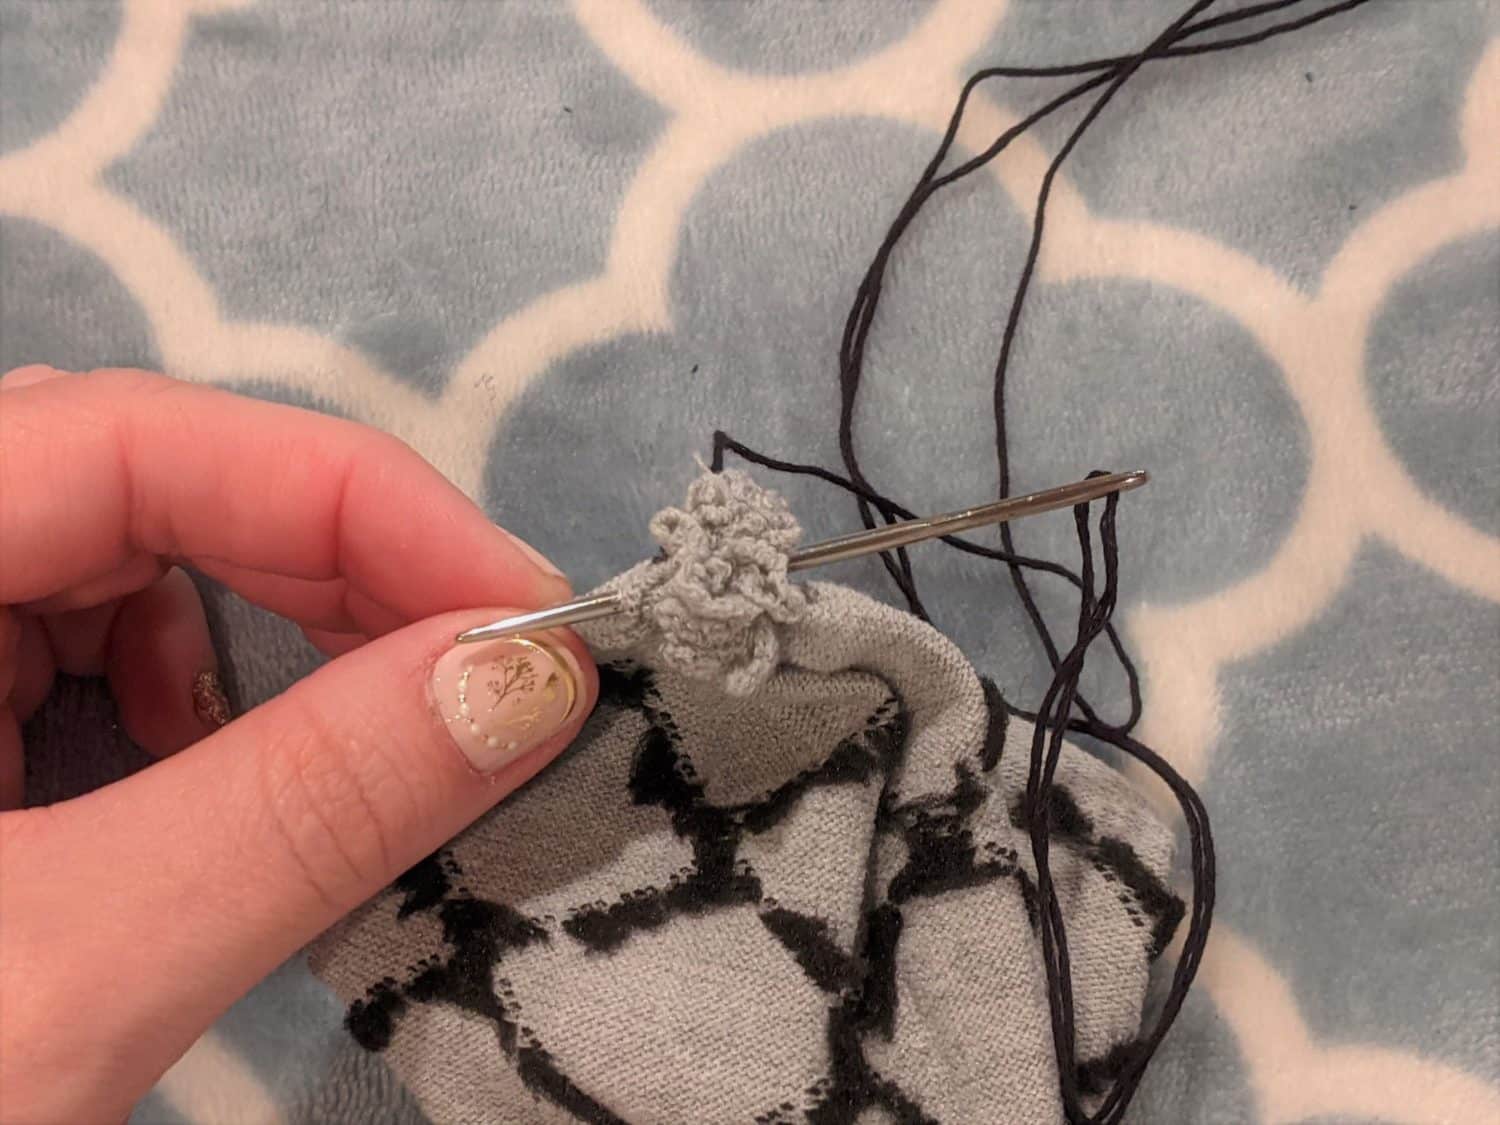
- Weave your needle and thread in and out along one edge then pull the thread to gather the end.
- Sew the end together until it is secure.
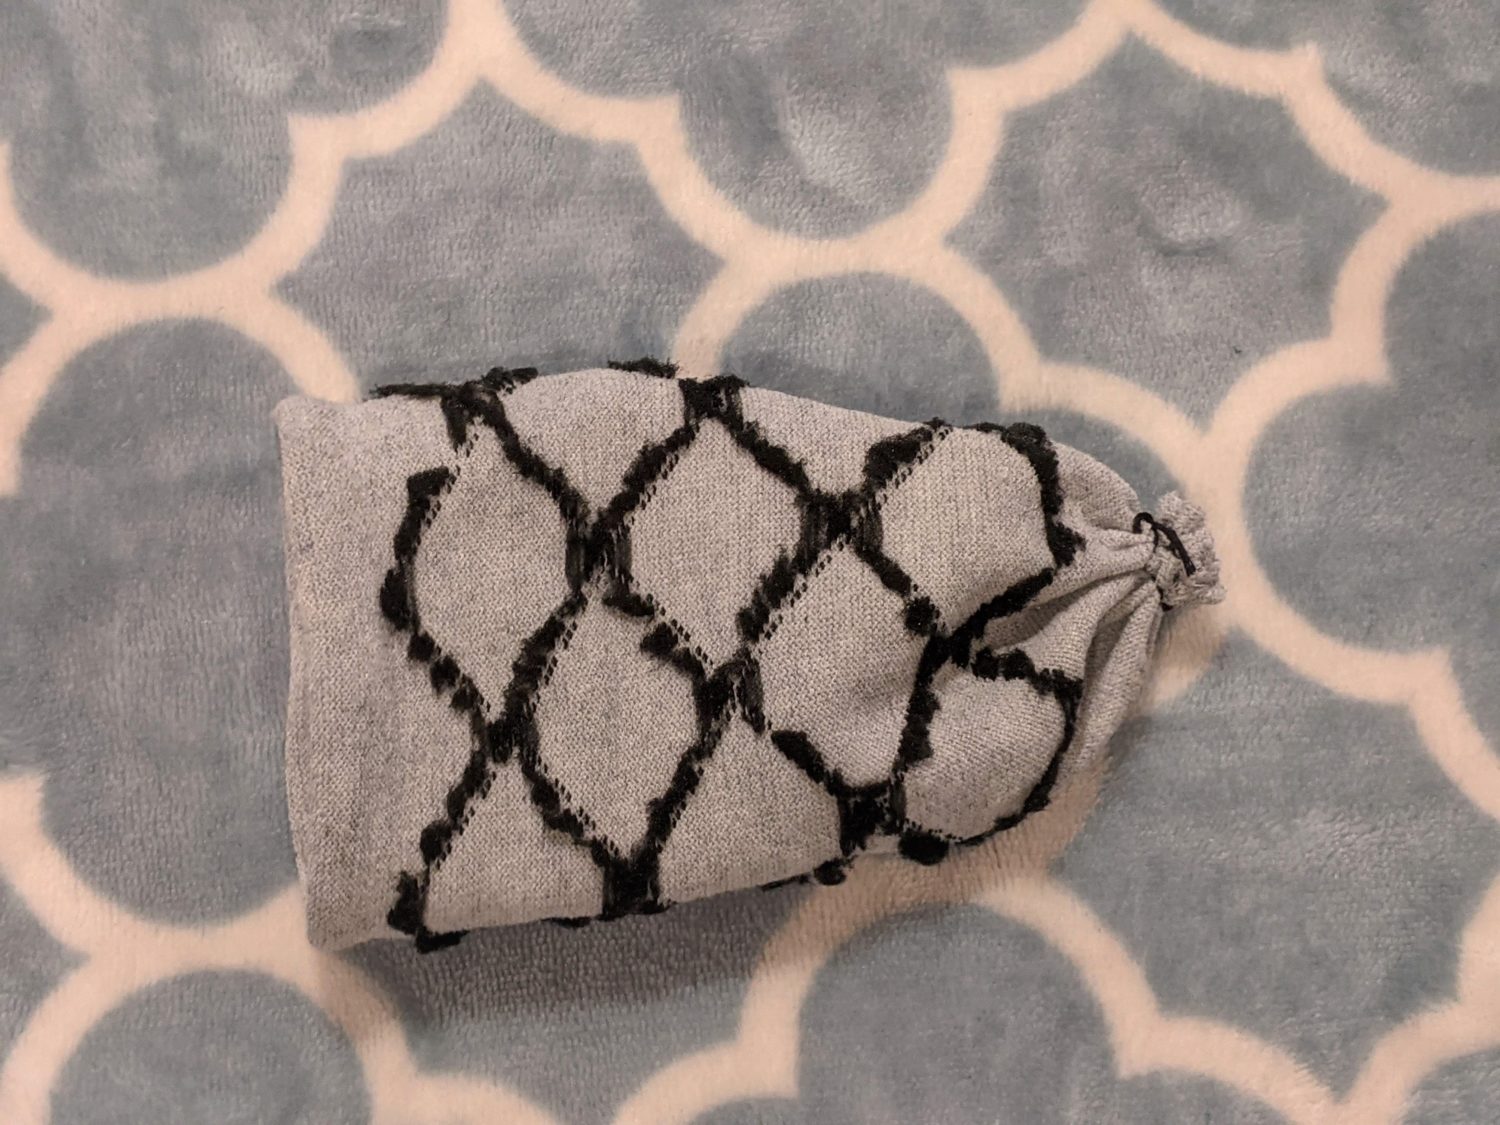
- Turn your sock right side out.
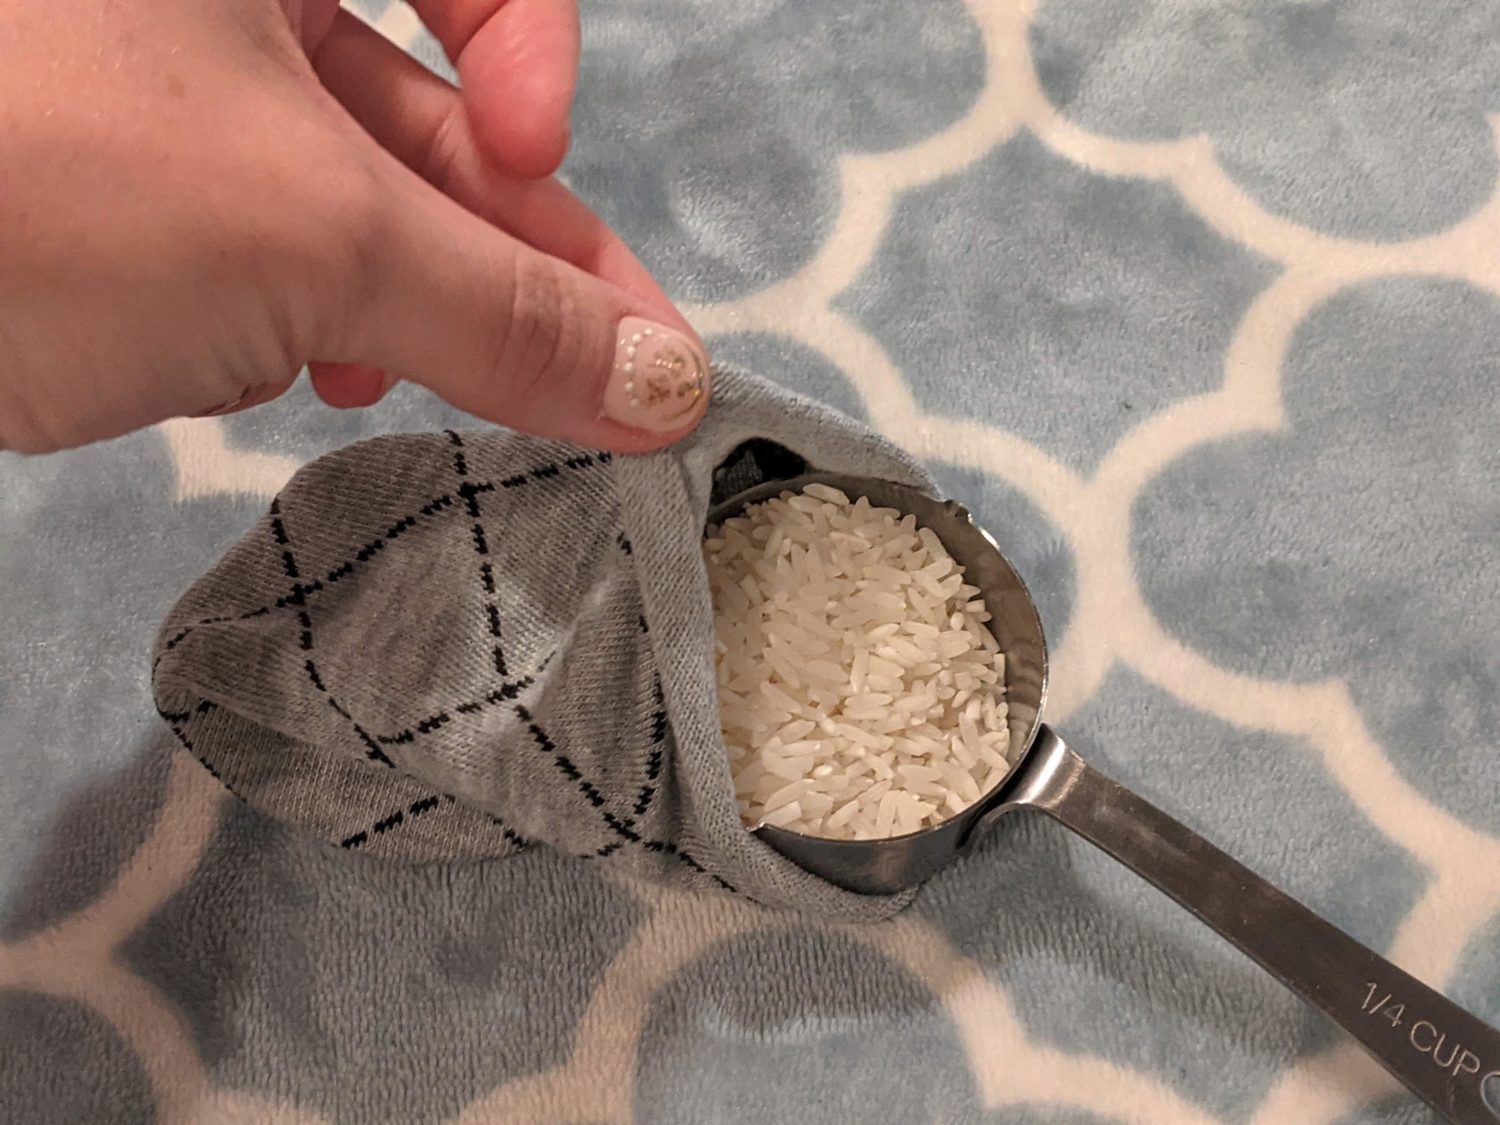
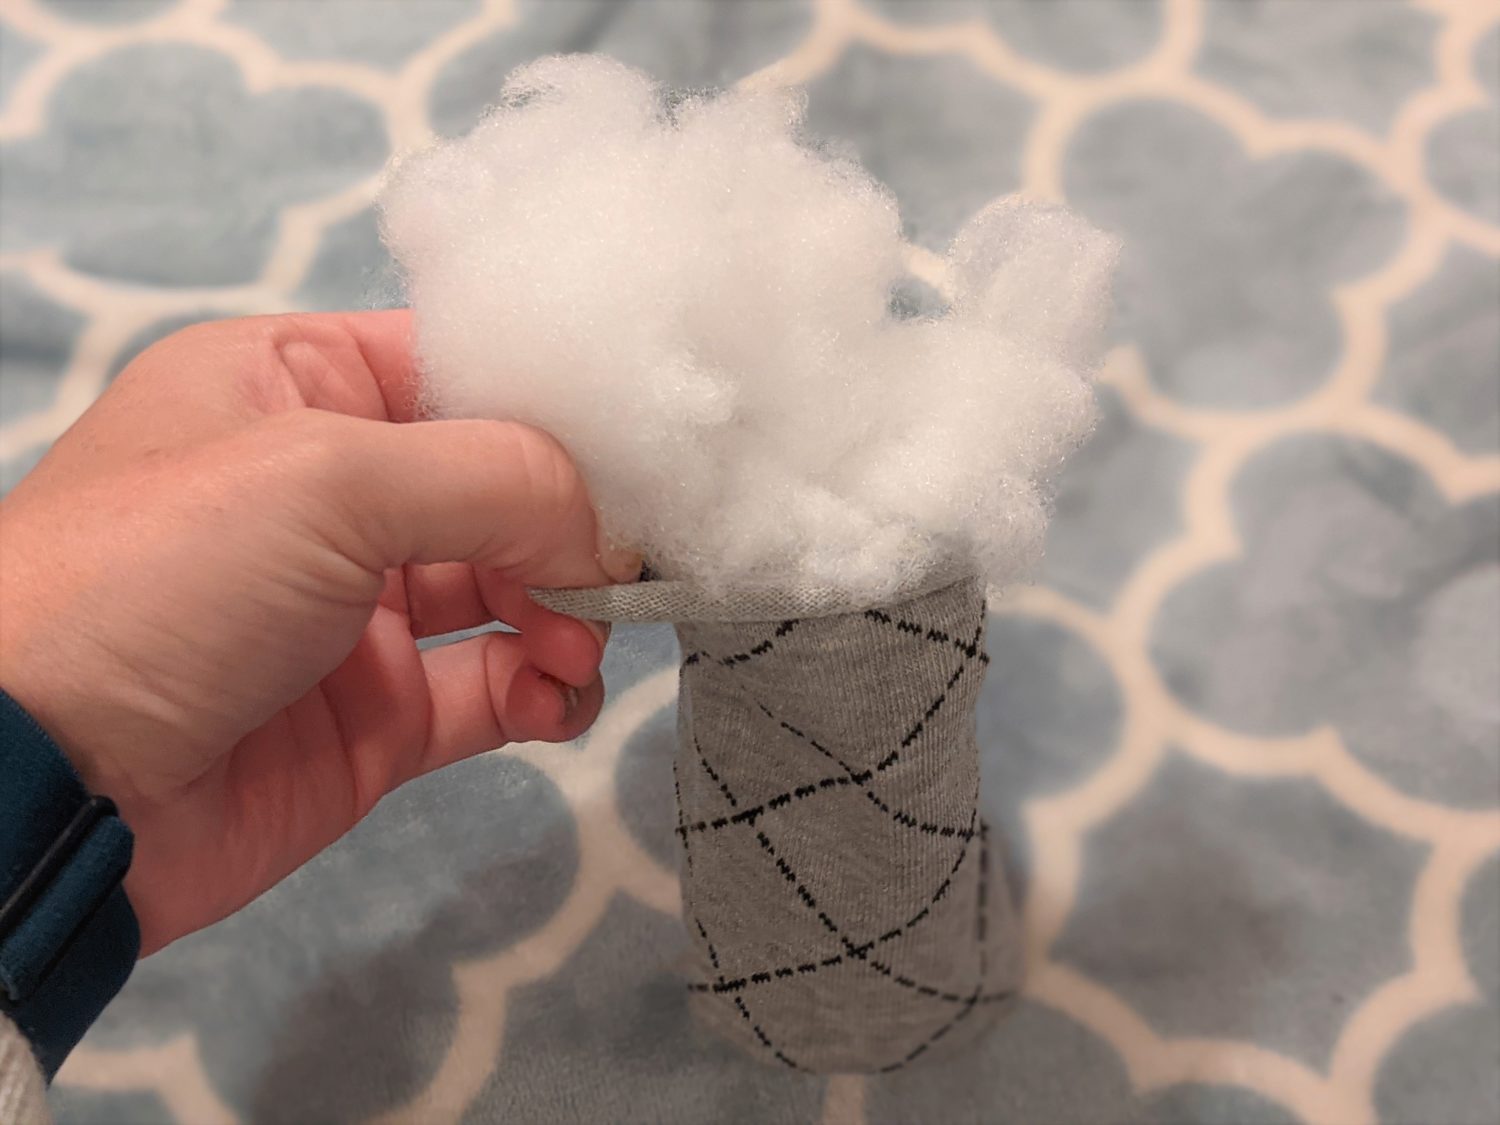
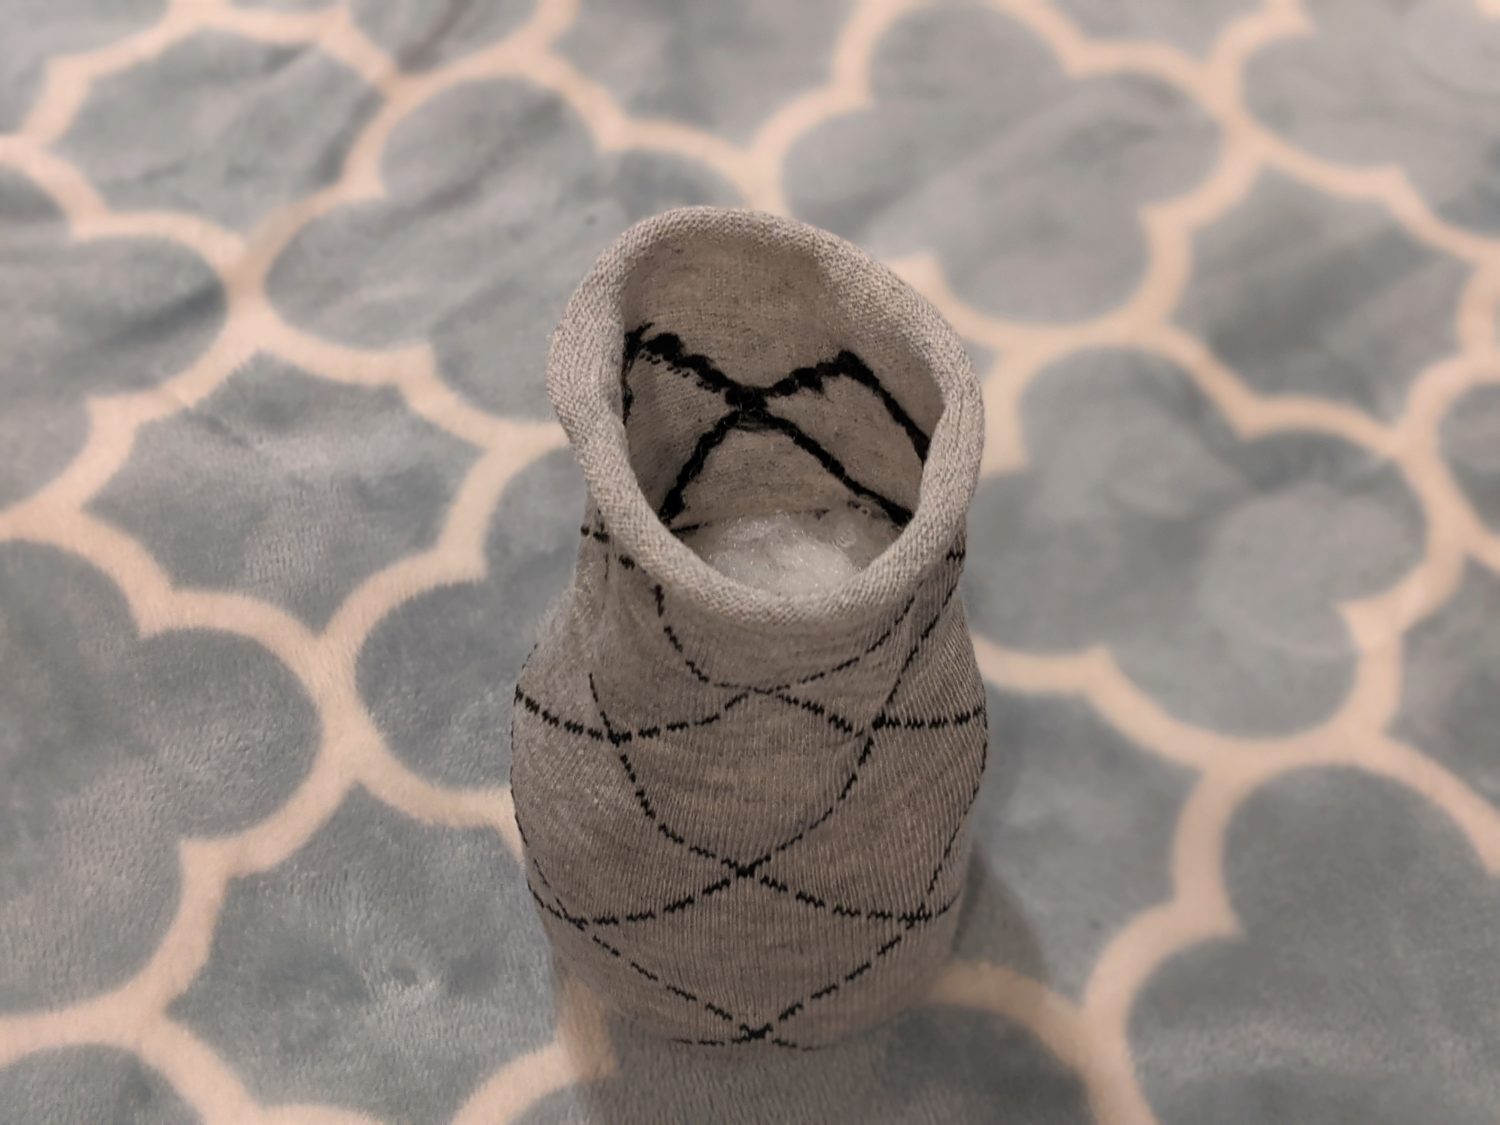
- Put a small amount of rice or dried beans in the bottom to give it some stability.
- Fill the rest with stuffing to your liking.
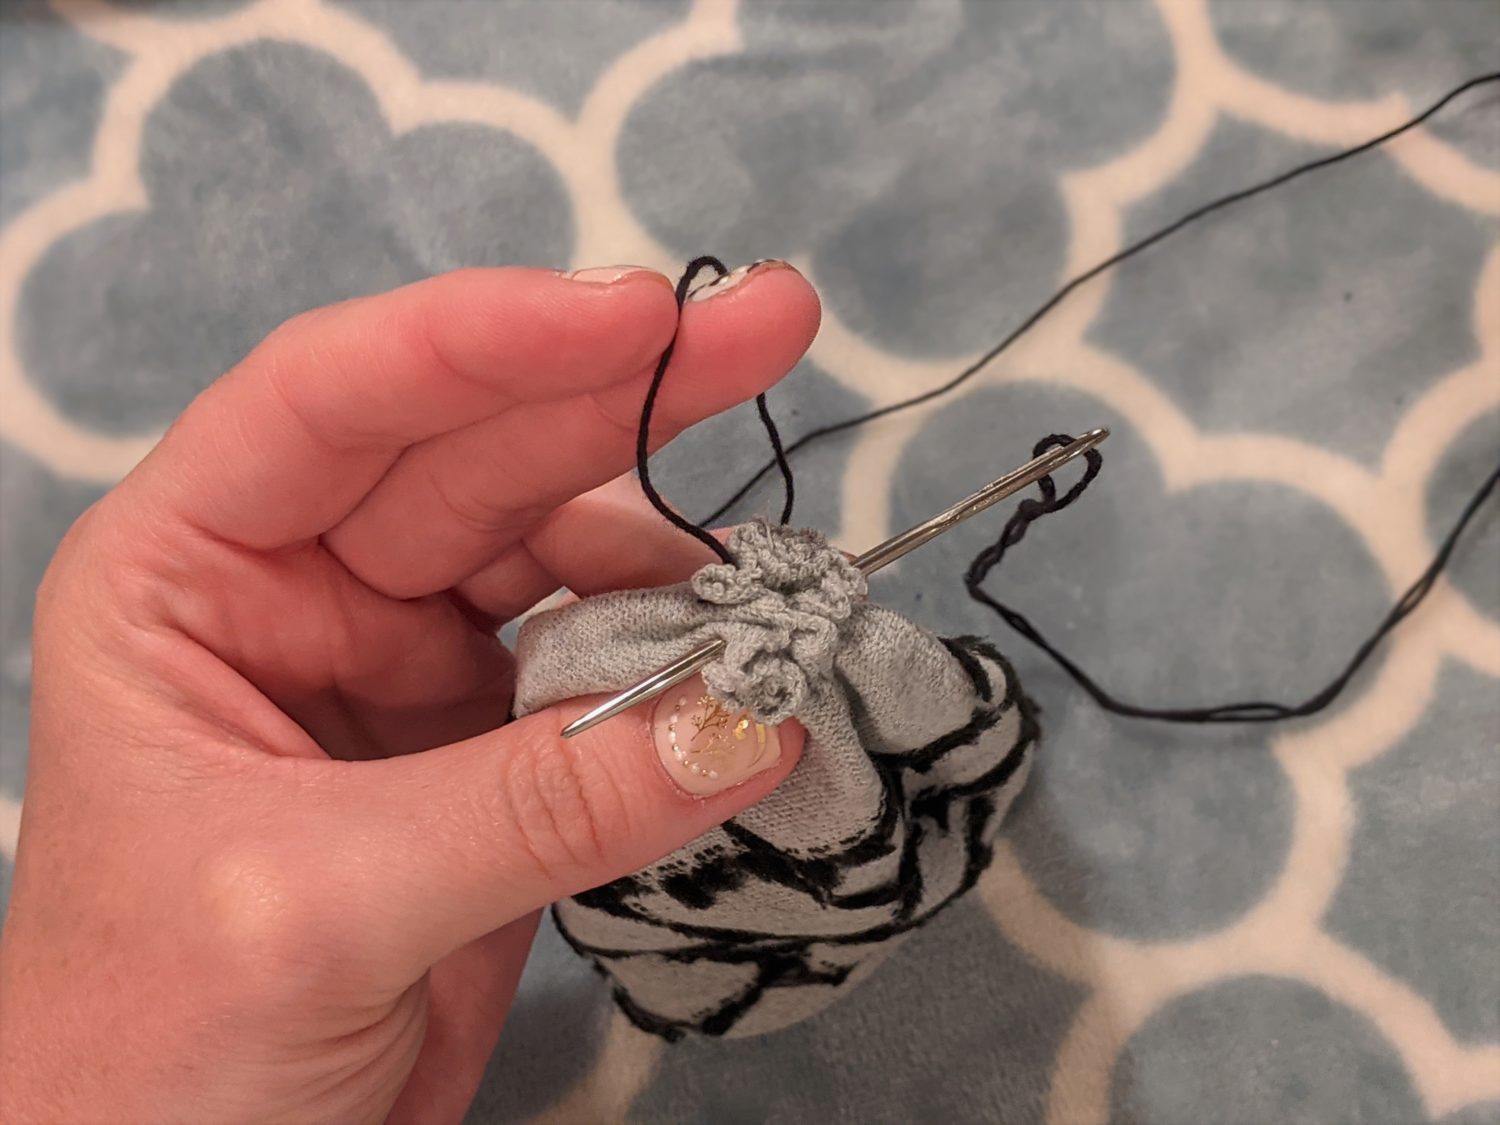
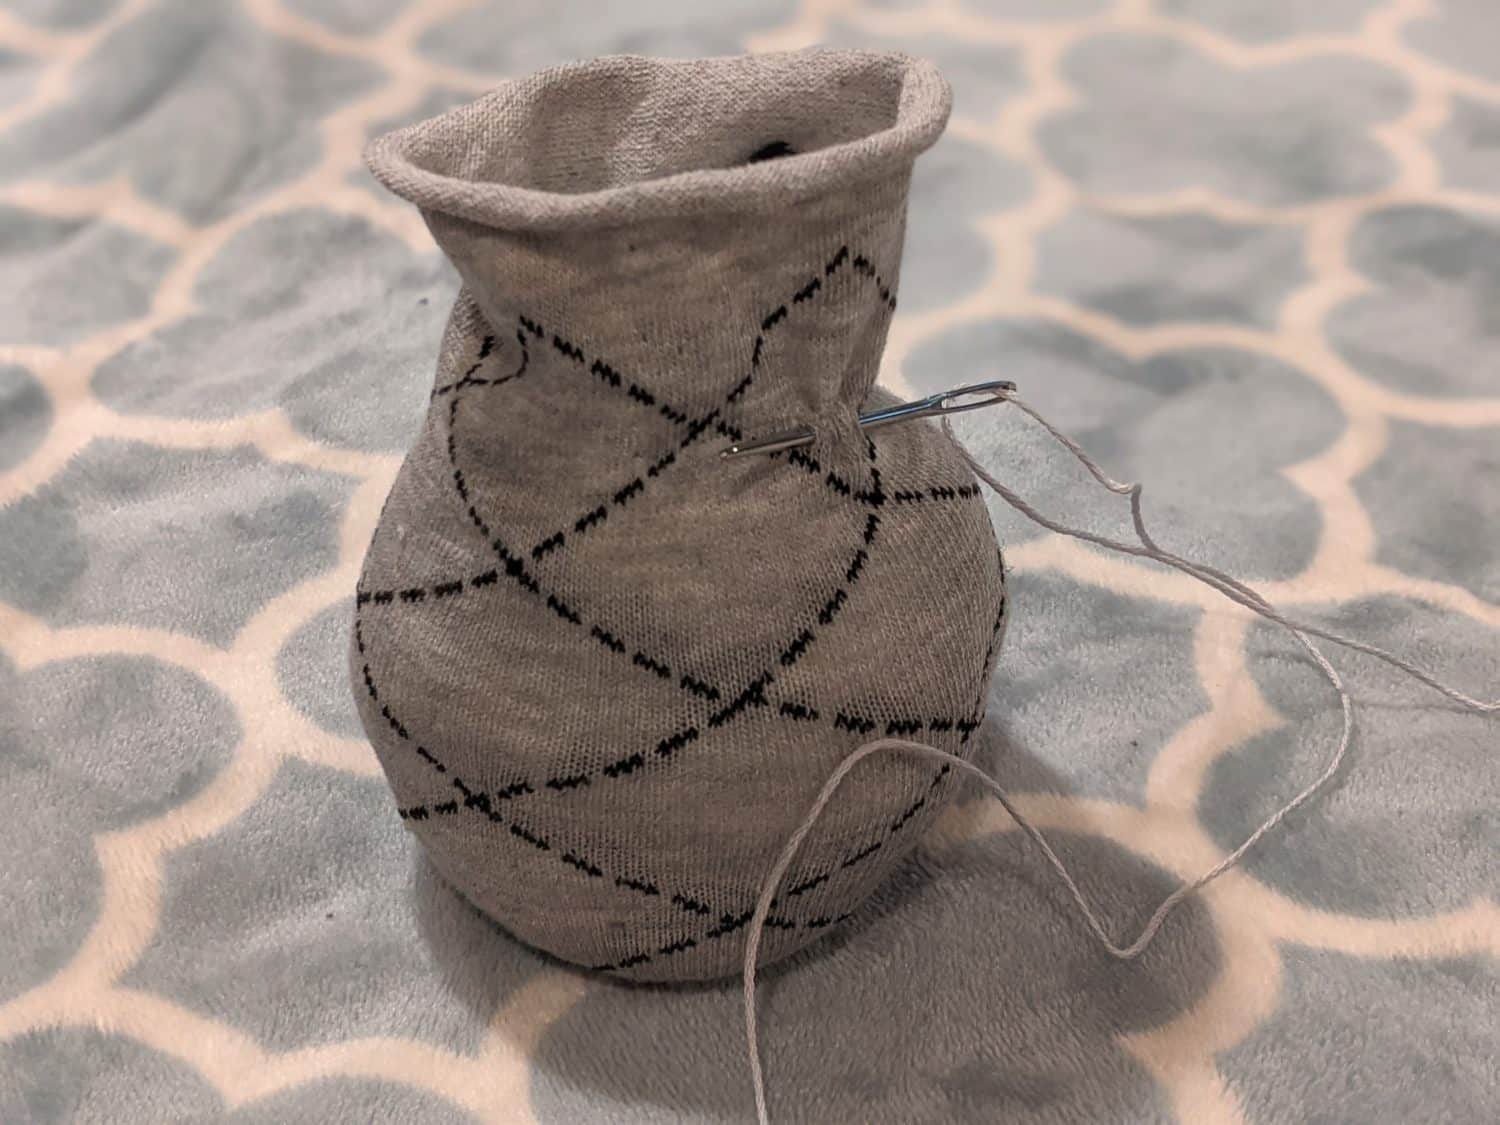
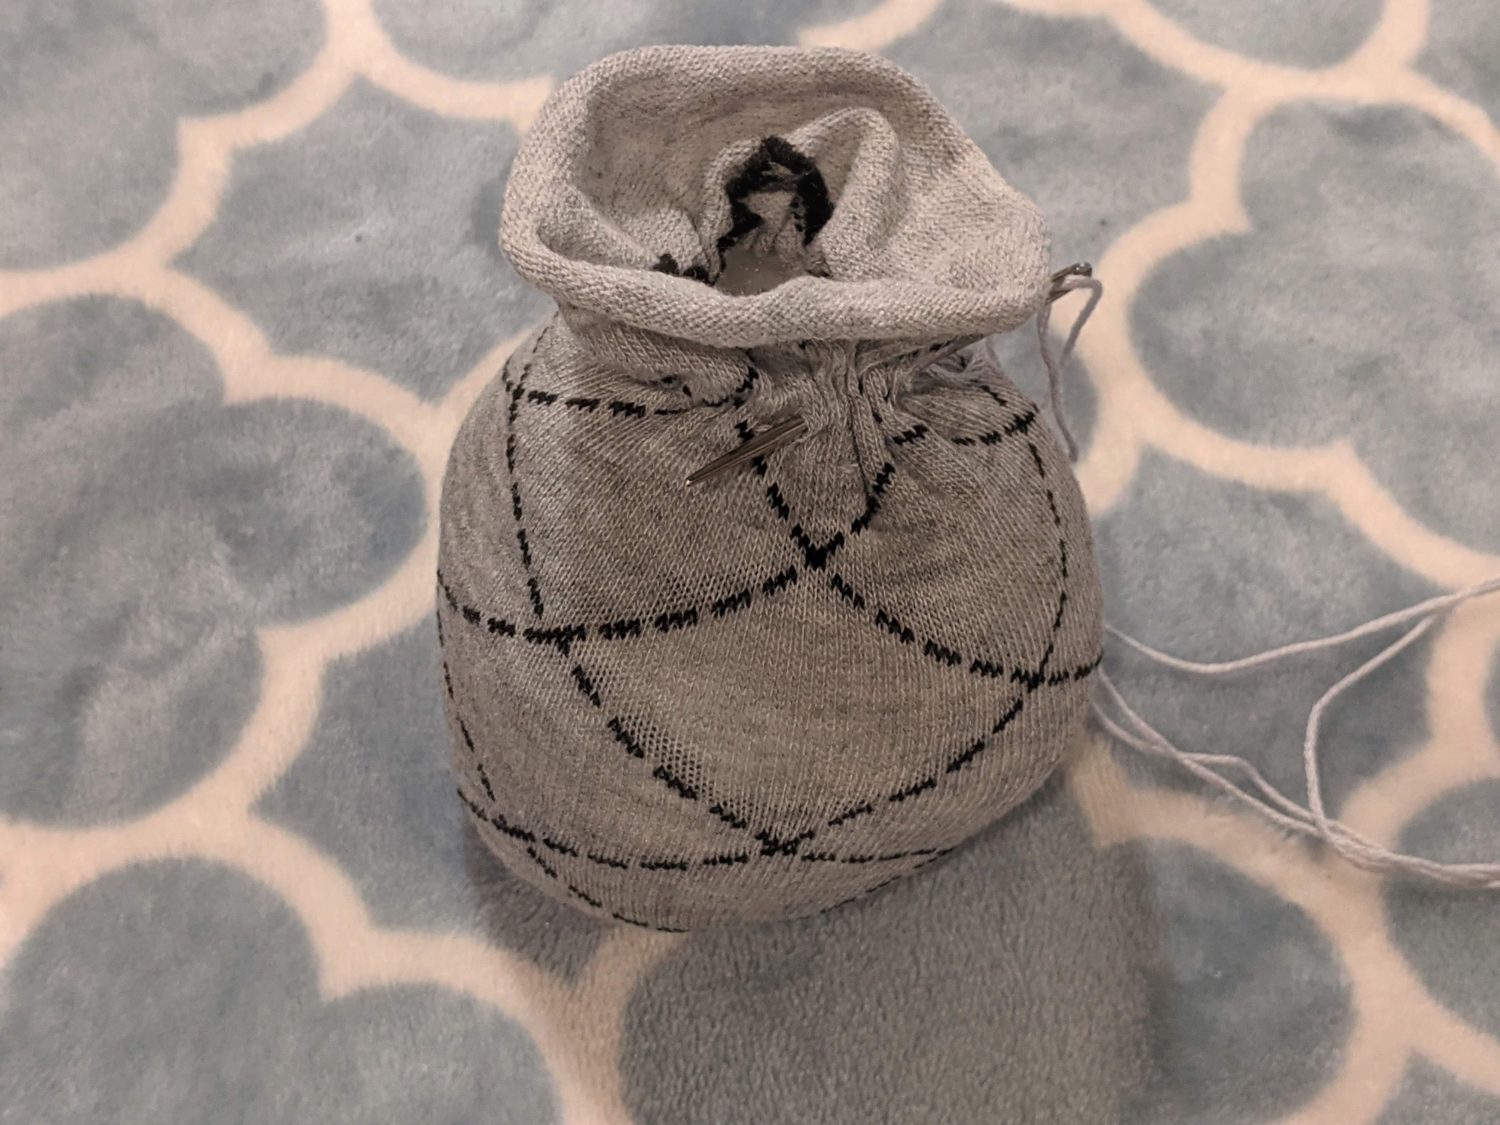
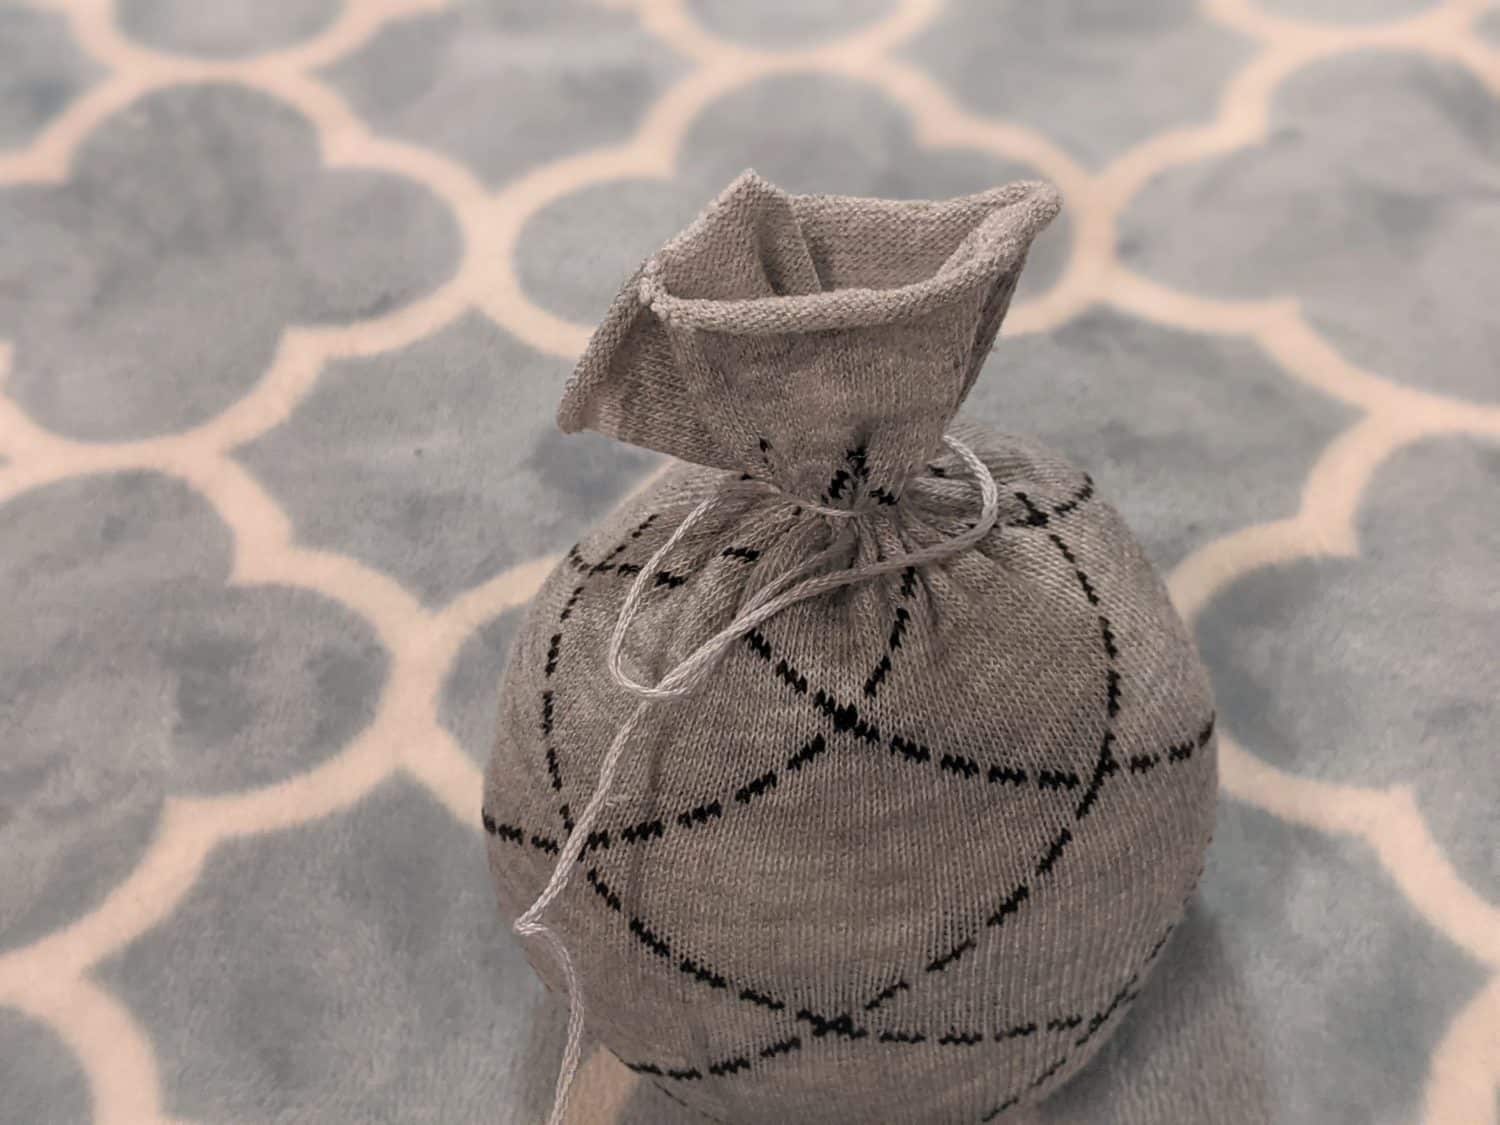
- Weave your needle and thread all the way around the top opening just above the stuffing, then pull the thread to gather and close the top.
- Sew back and forth the secure the top closed.
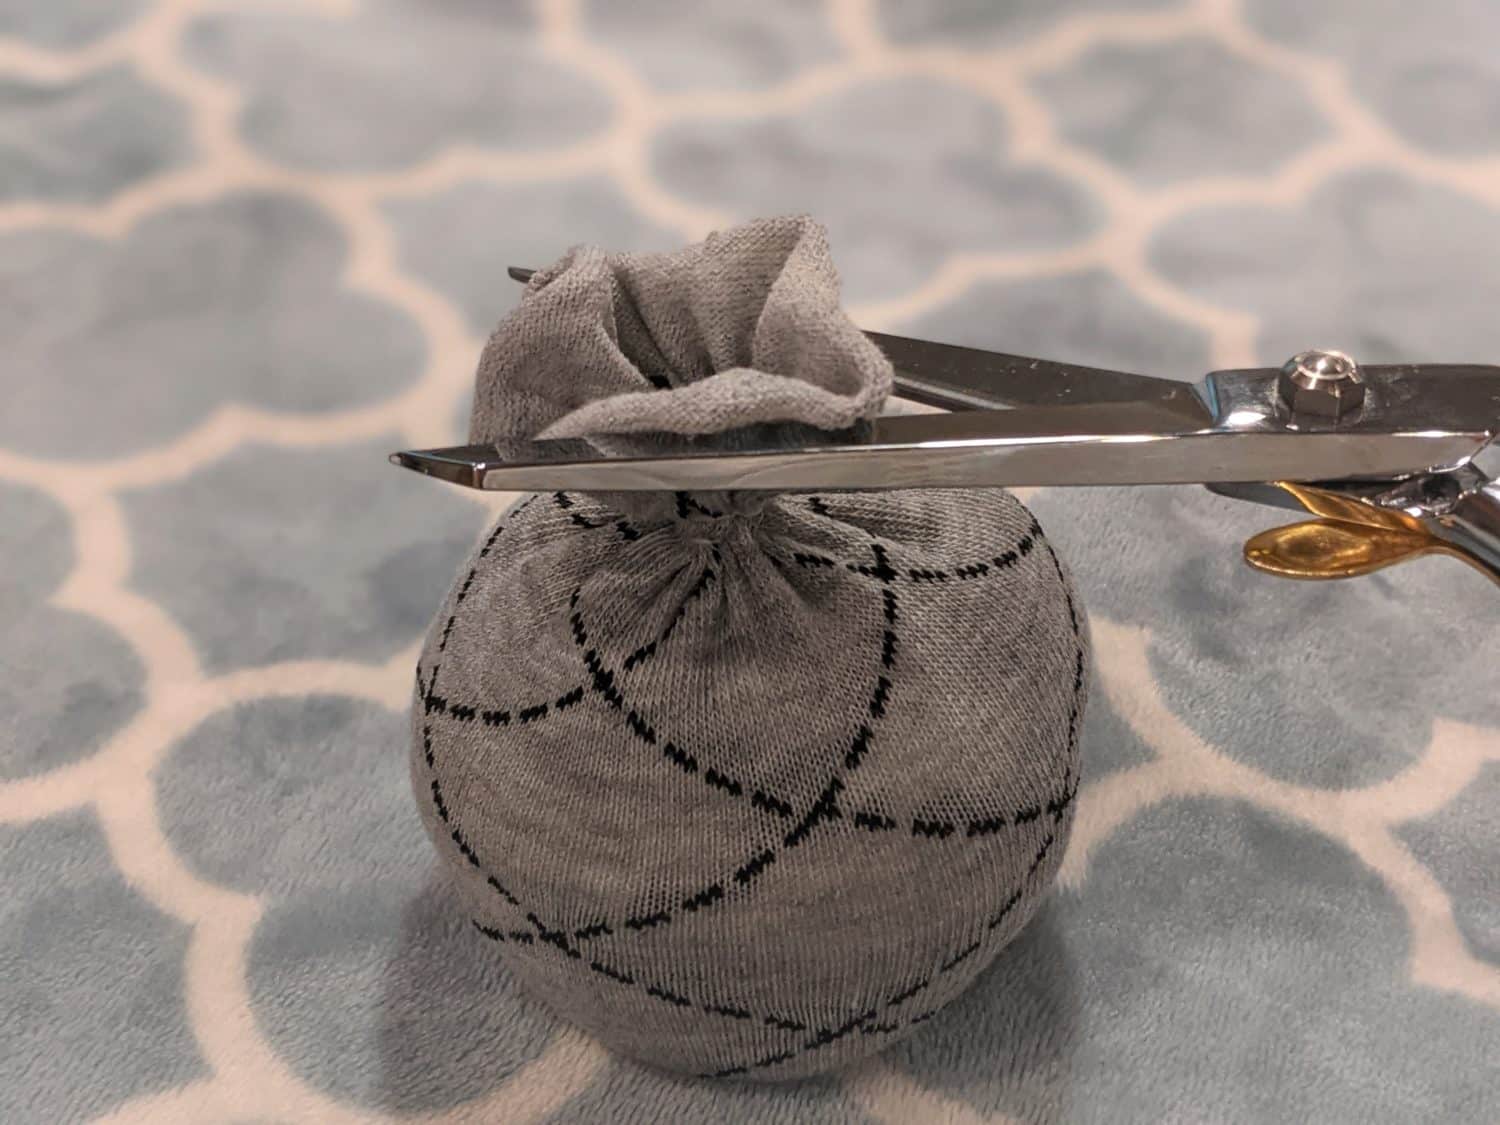
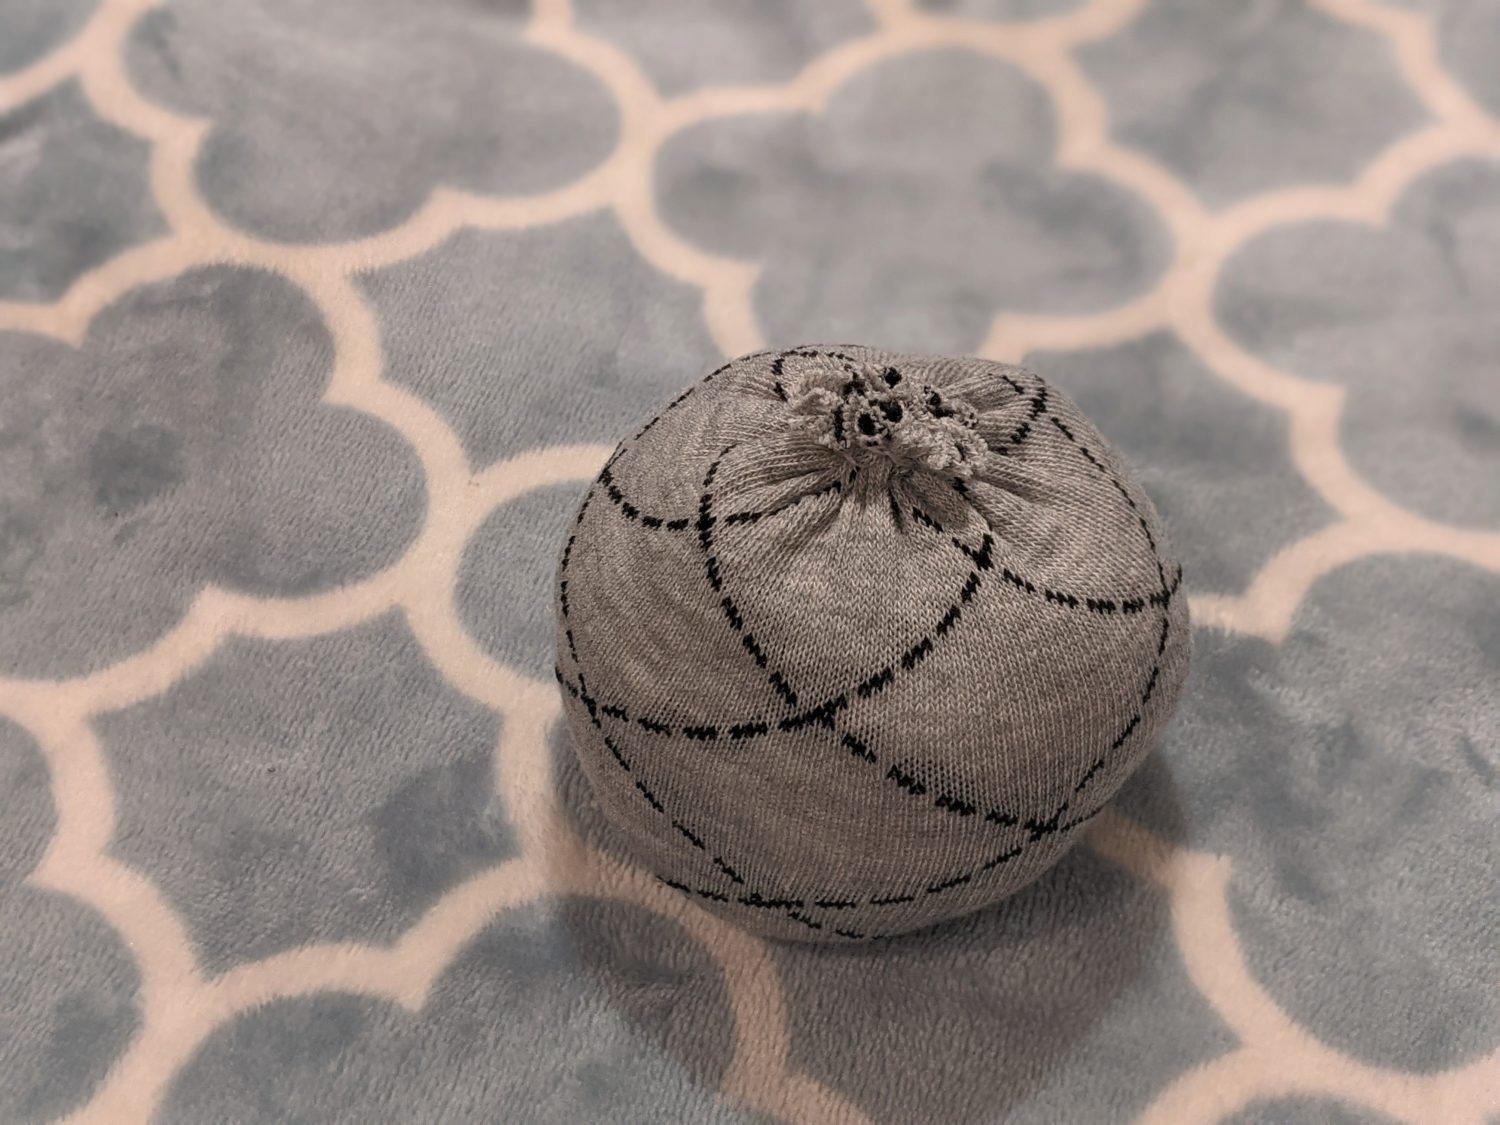
- Cut off the excess fabric above the stitching.
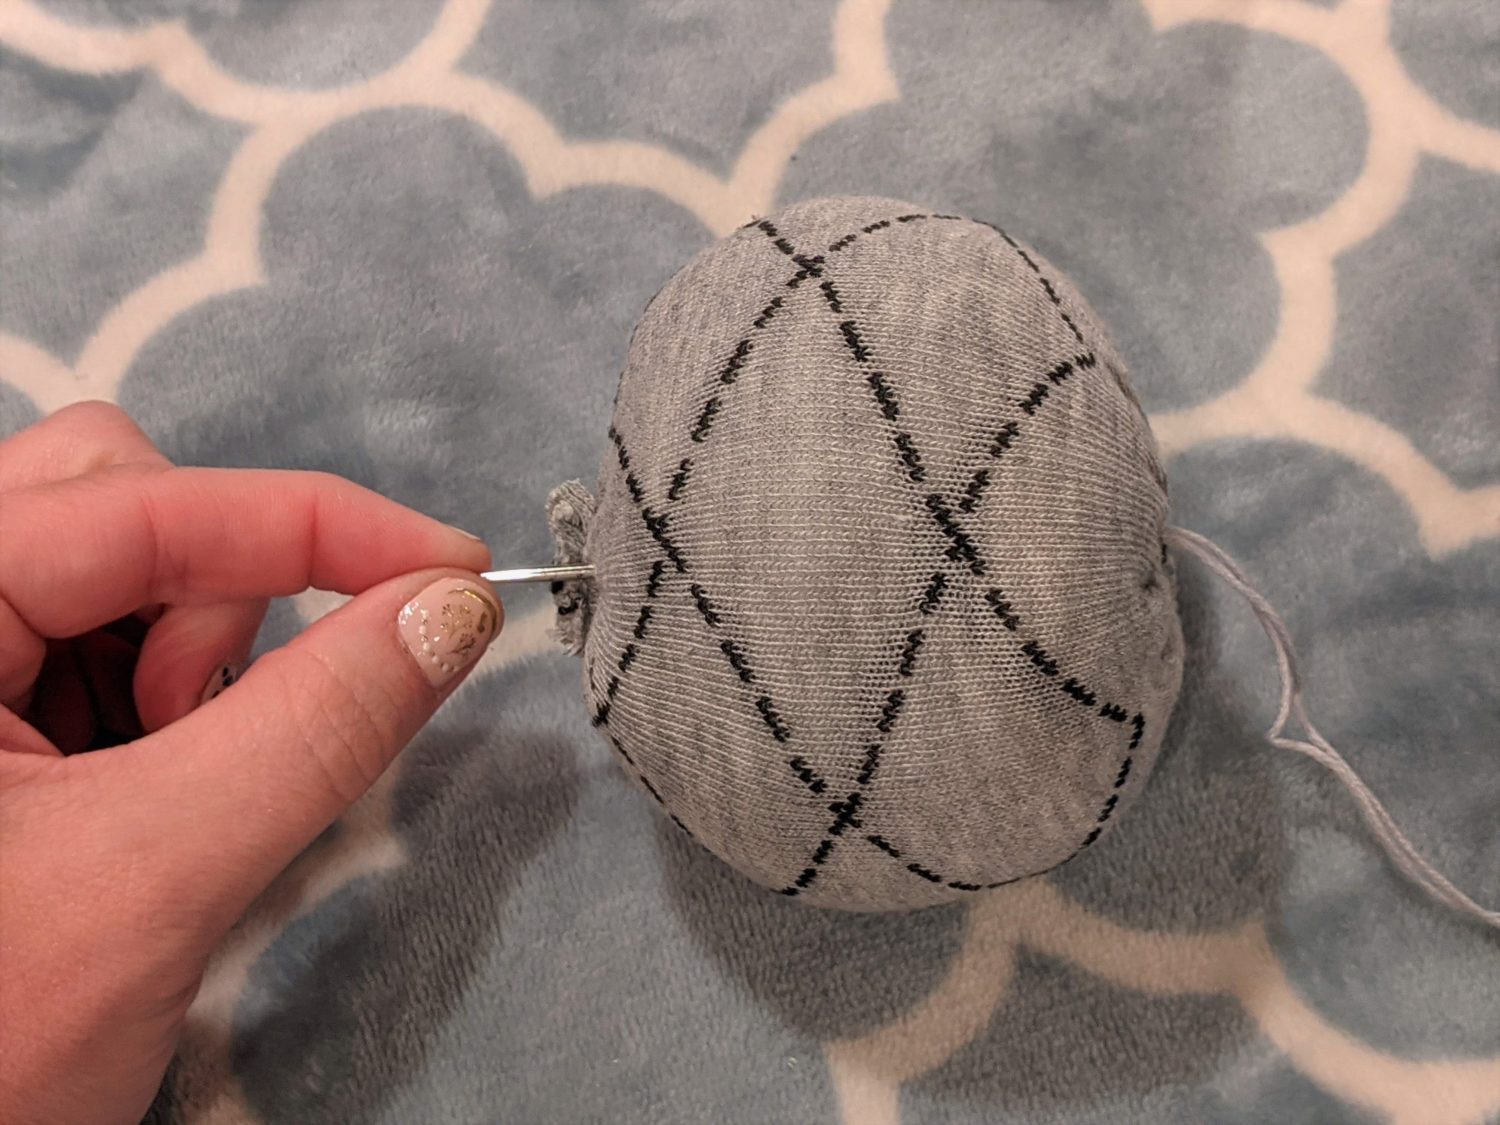
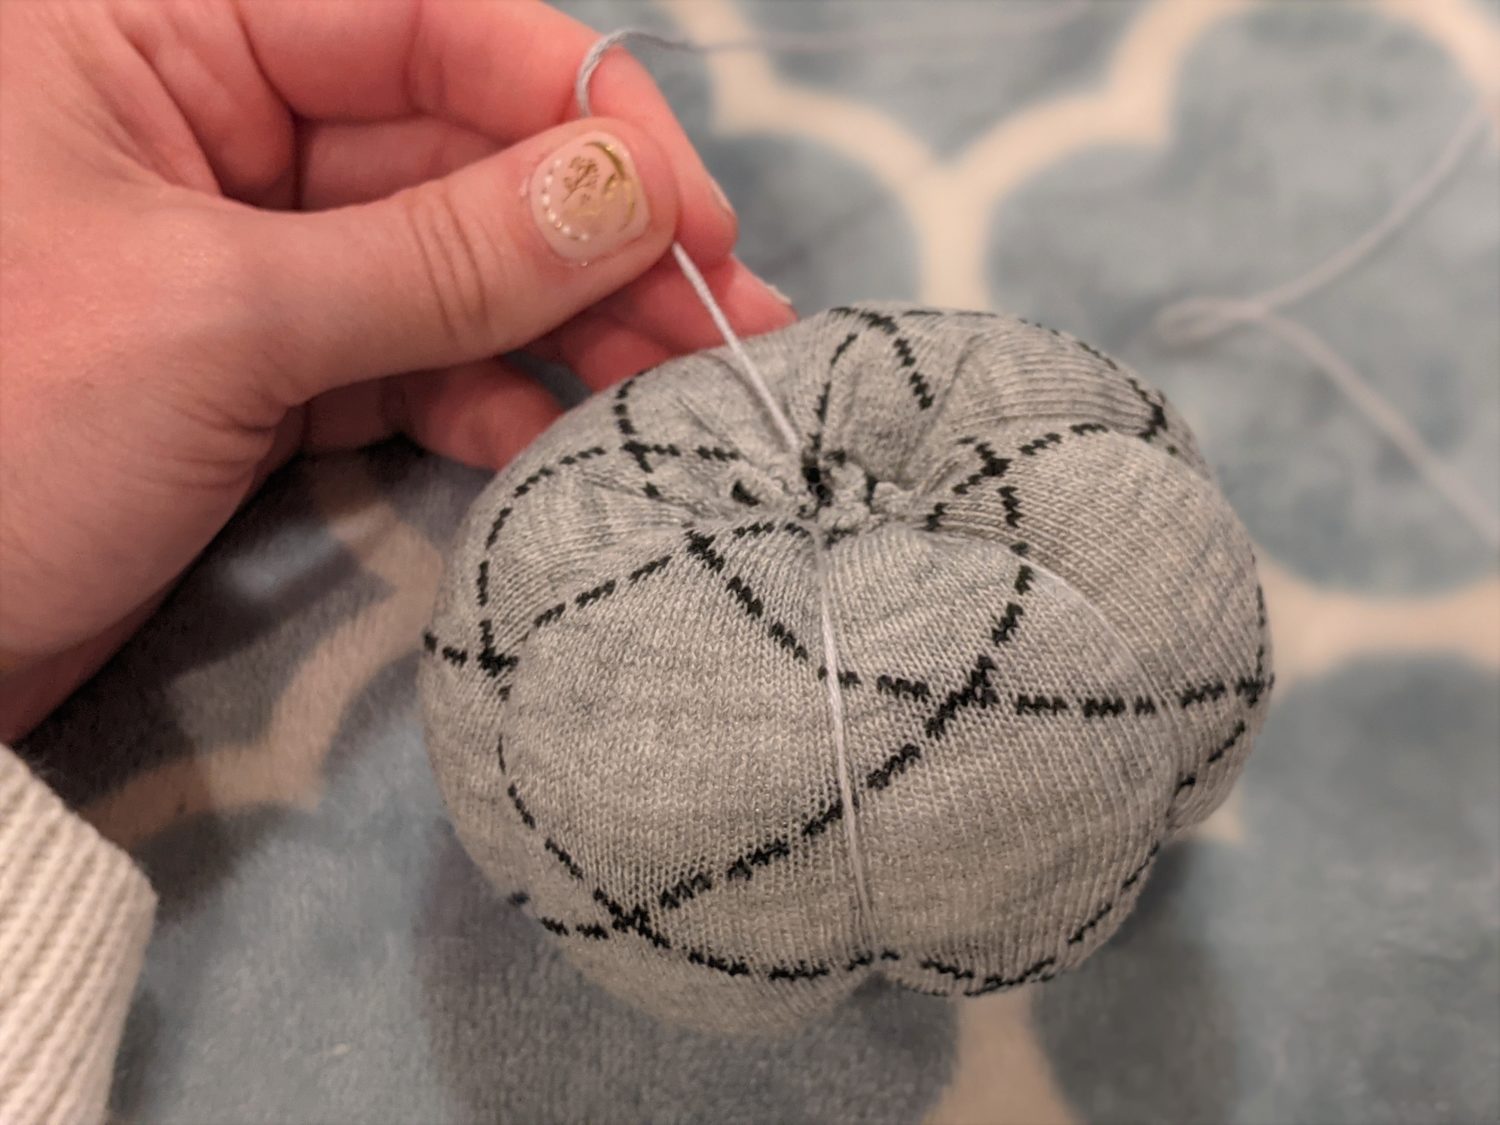
- nsert your needle and thread into the center of the bottom and push it up through the center top.
- Loop the thread around and insert it back up through the bottom and pull it tightly to create a ridge.
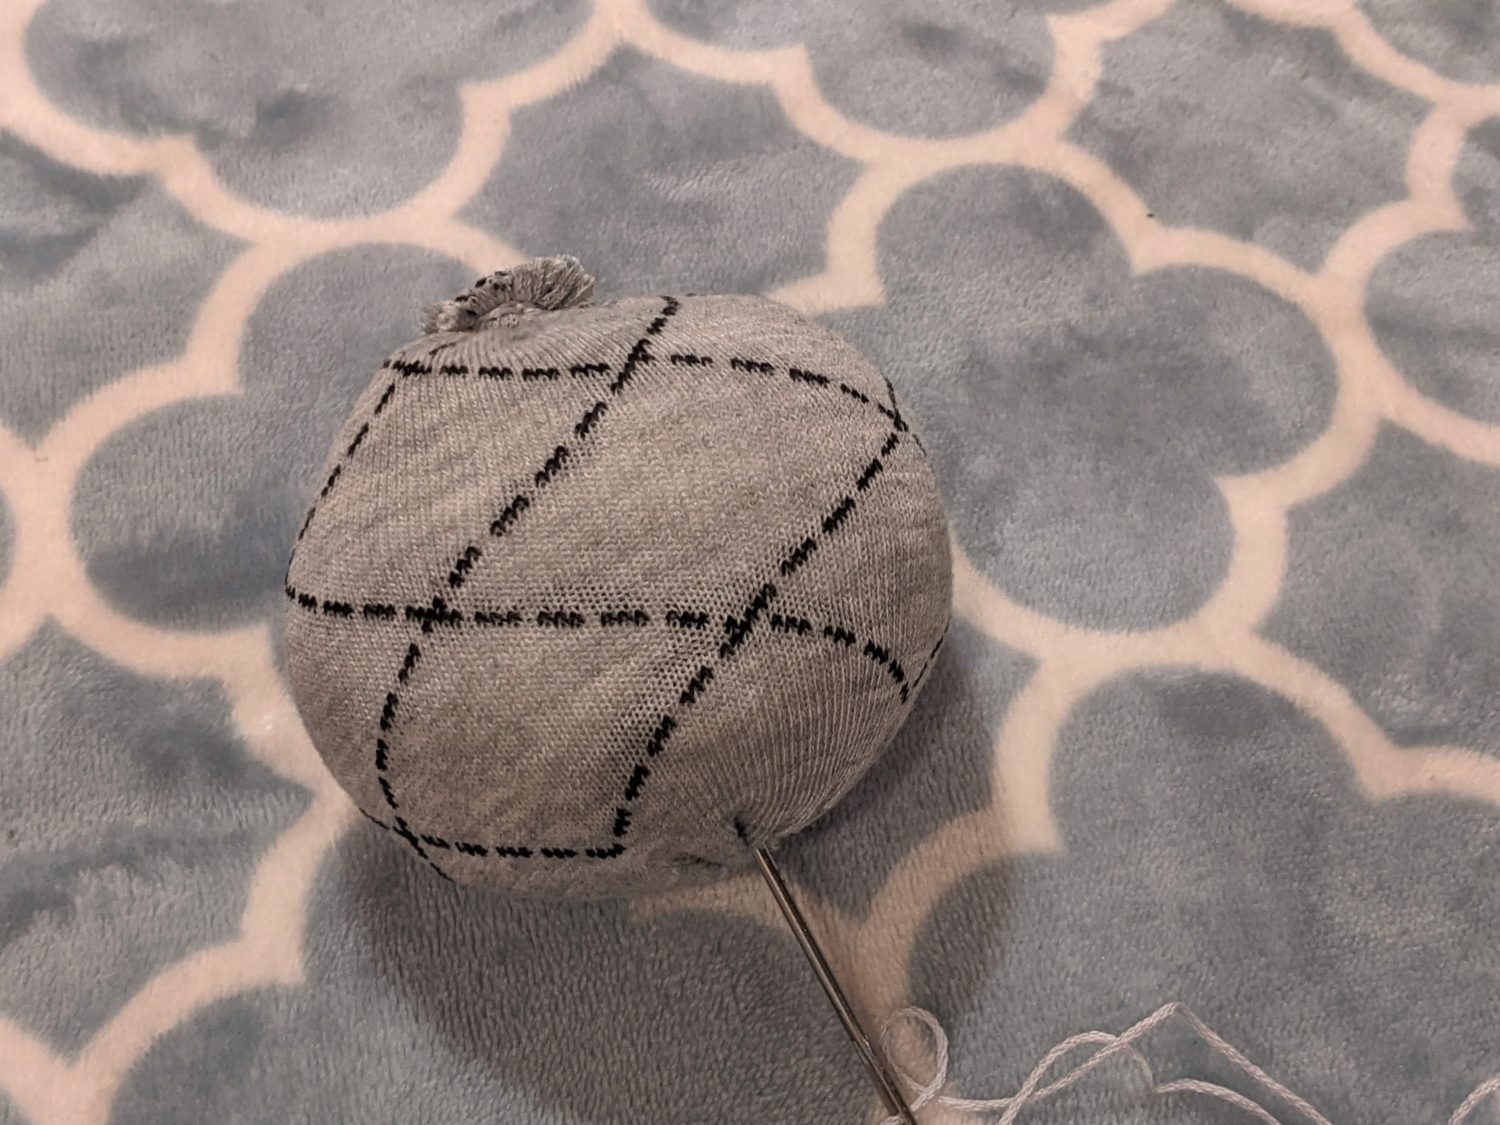
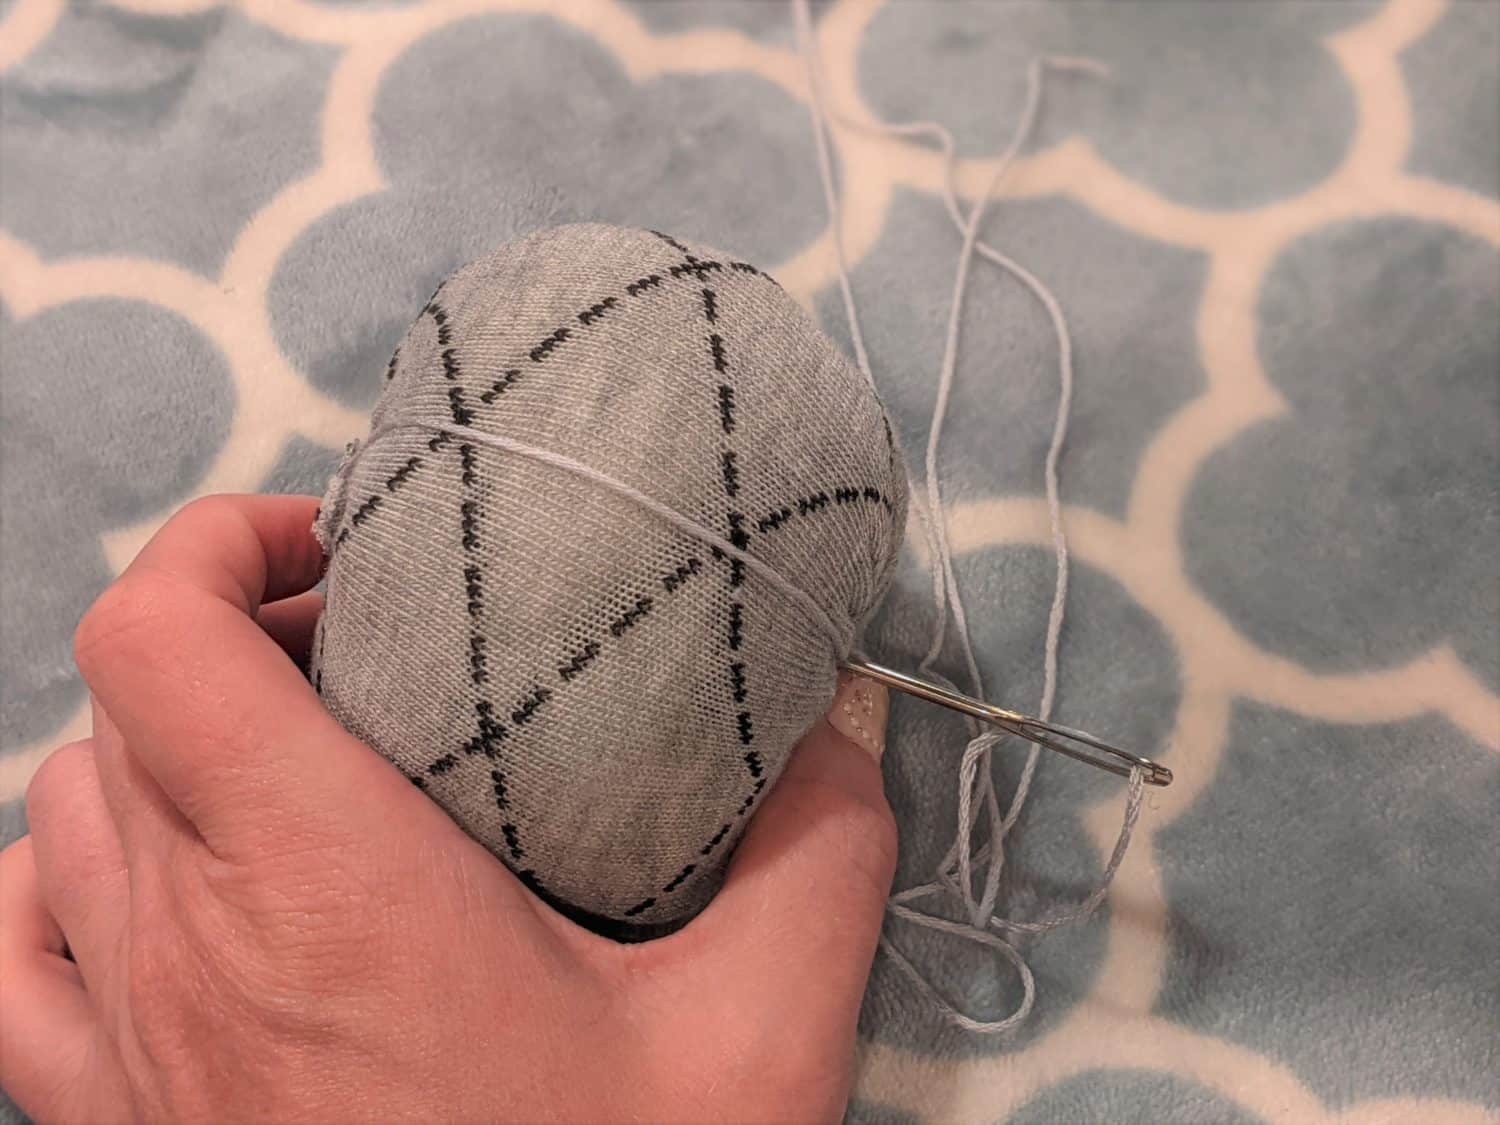
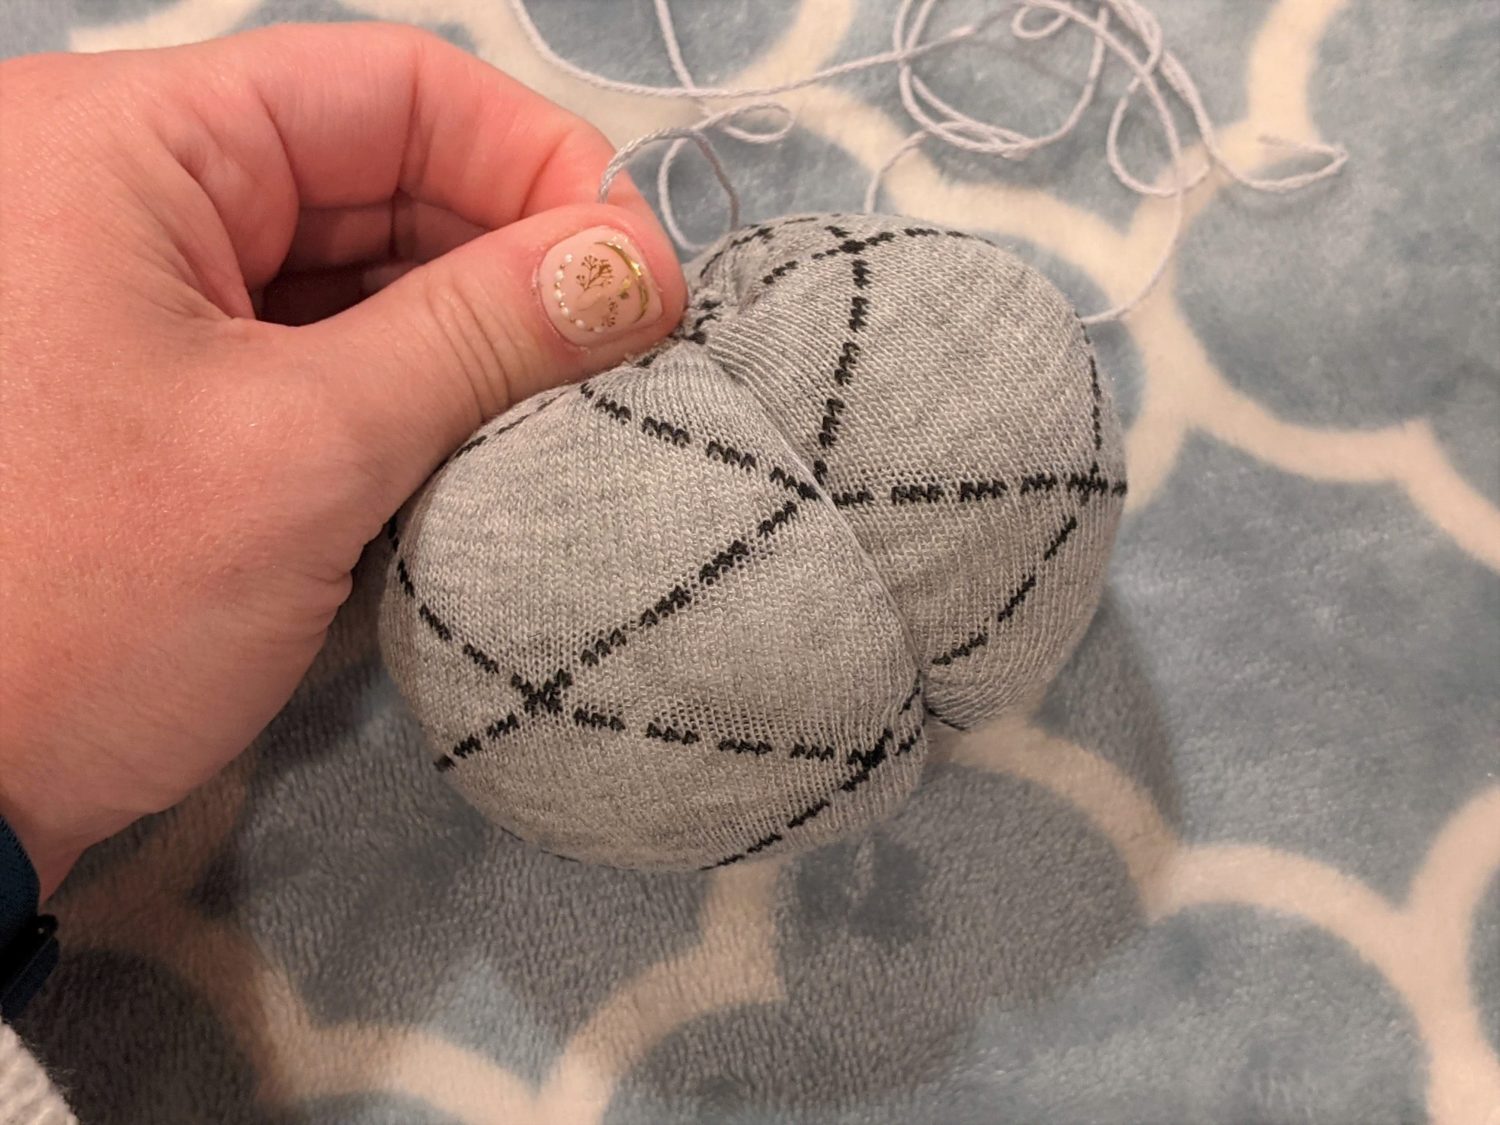
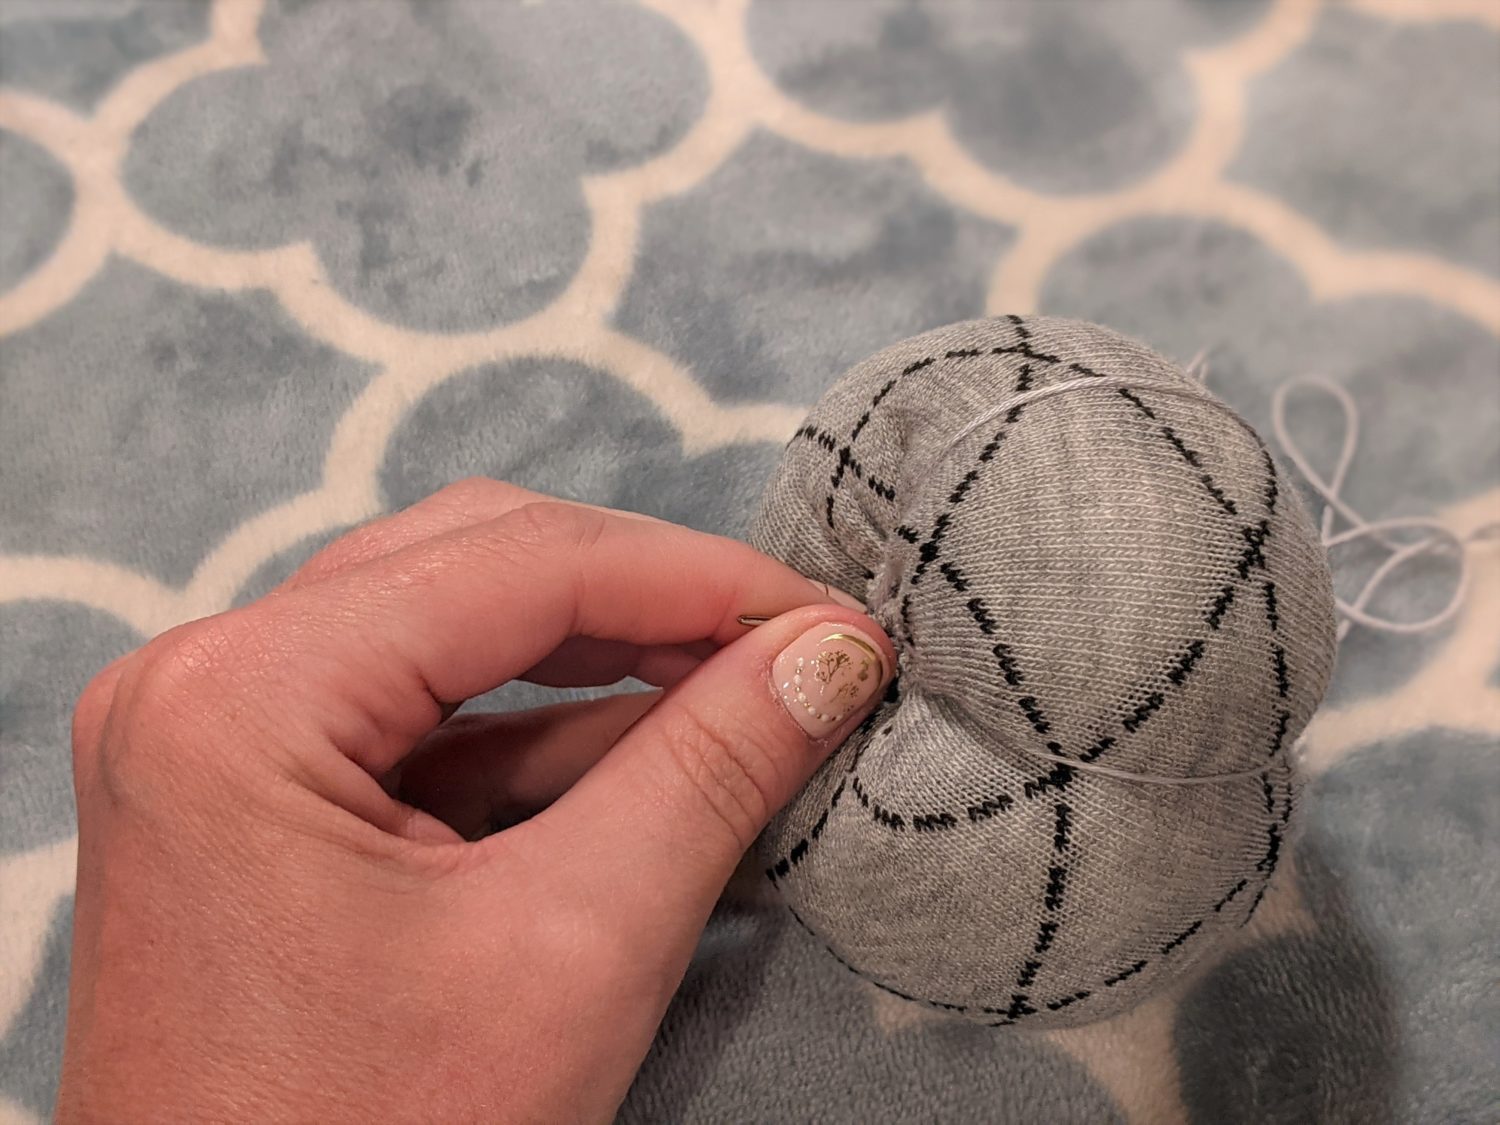
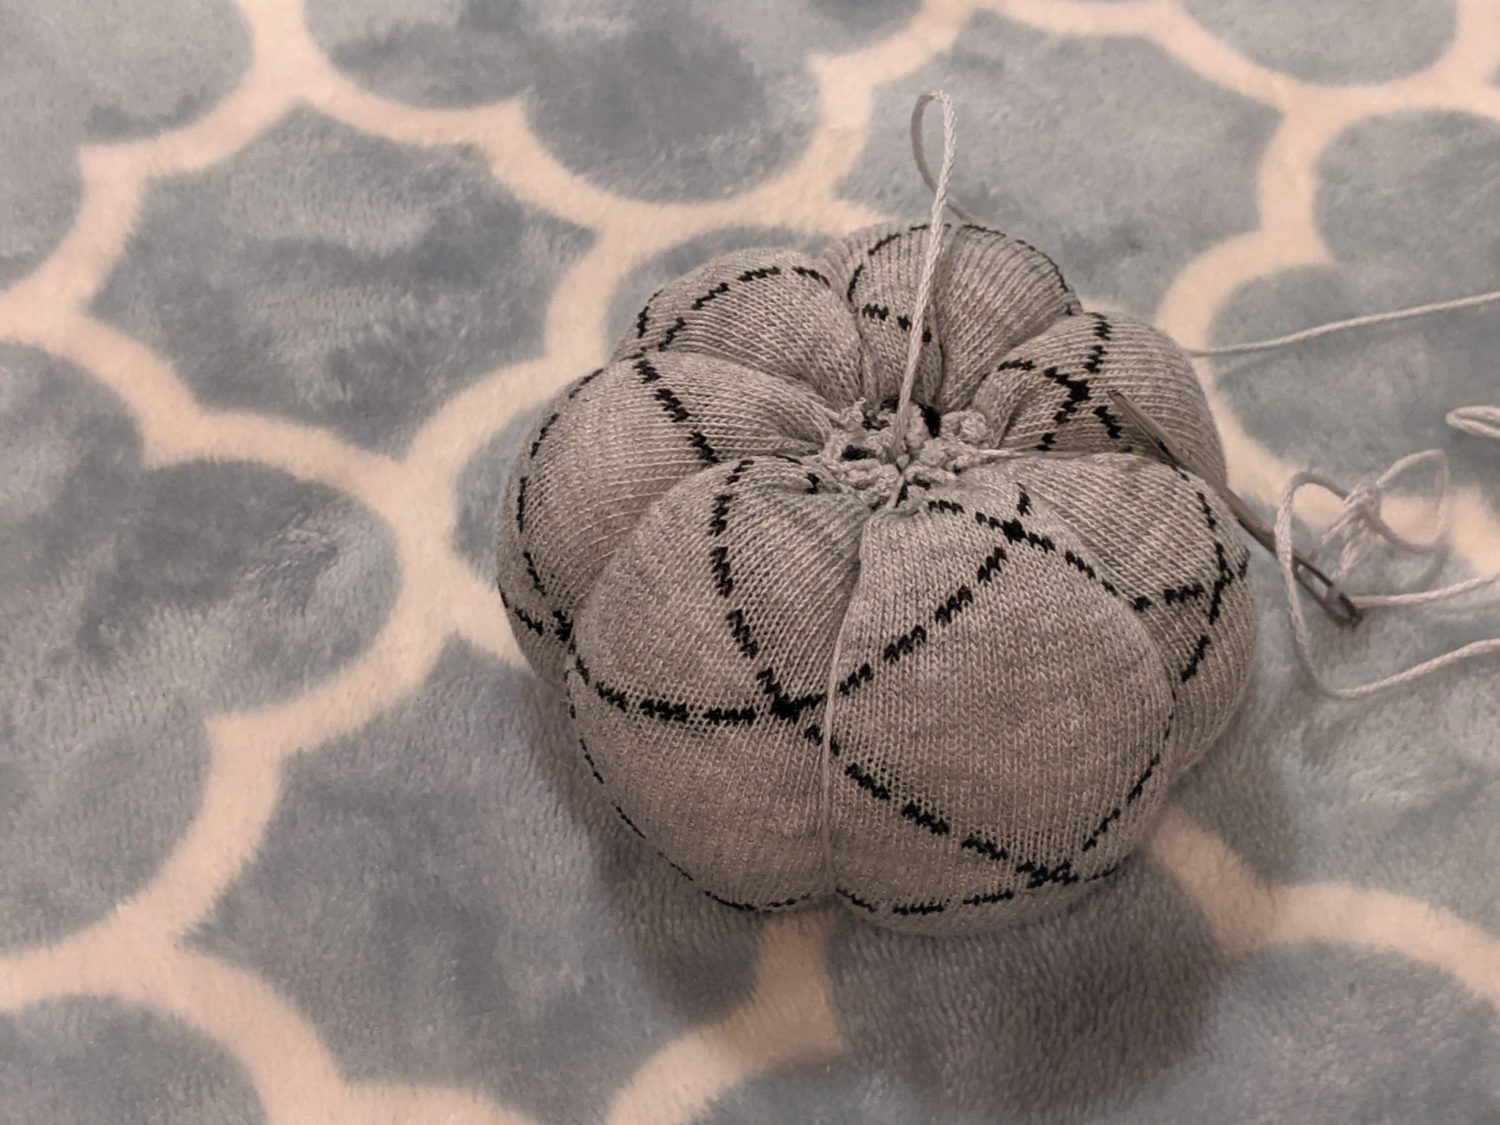
- Continue wrapping the thread around in even incriments to create the rest of the ridges.
- Once you are done with the ridges, knot and tie off the thread
Time to Make it Fancy
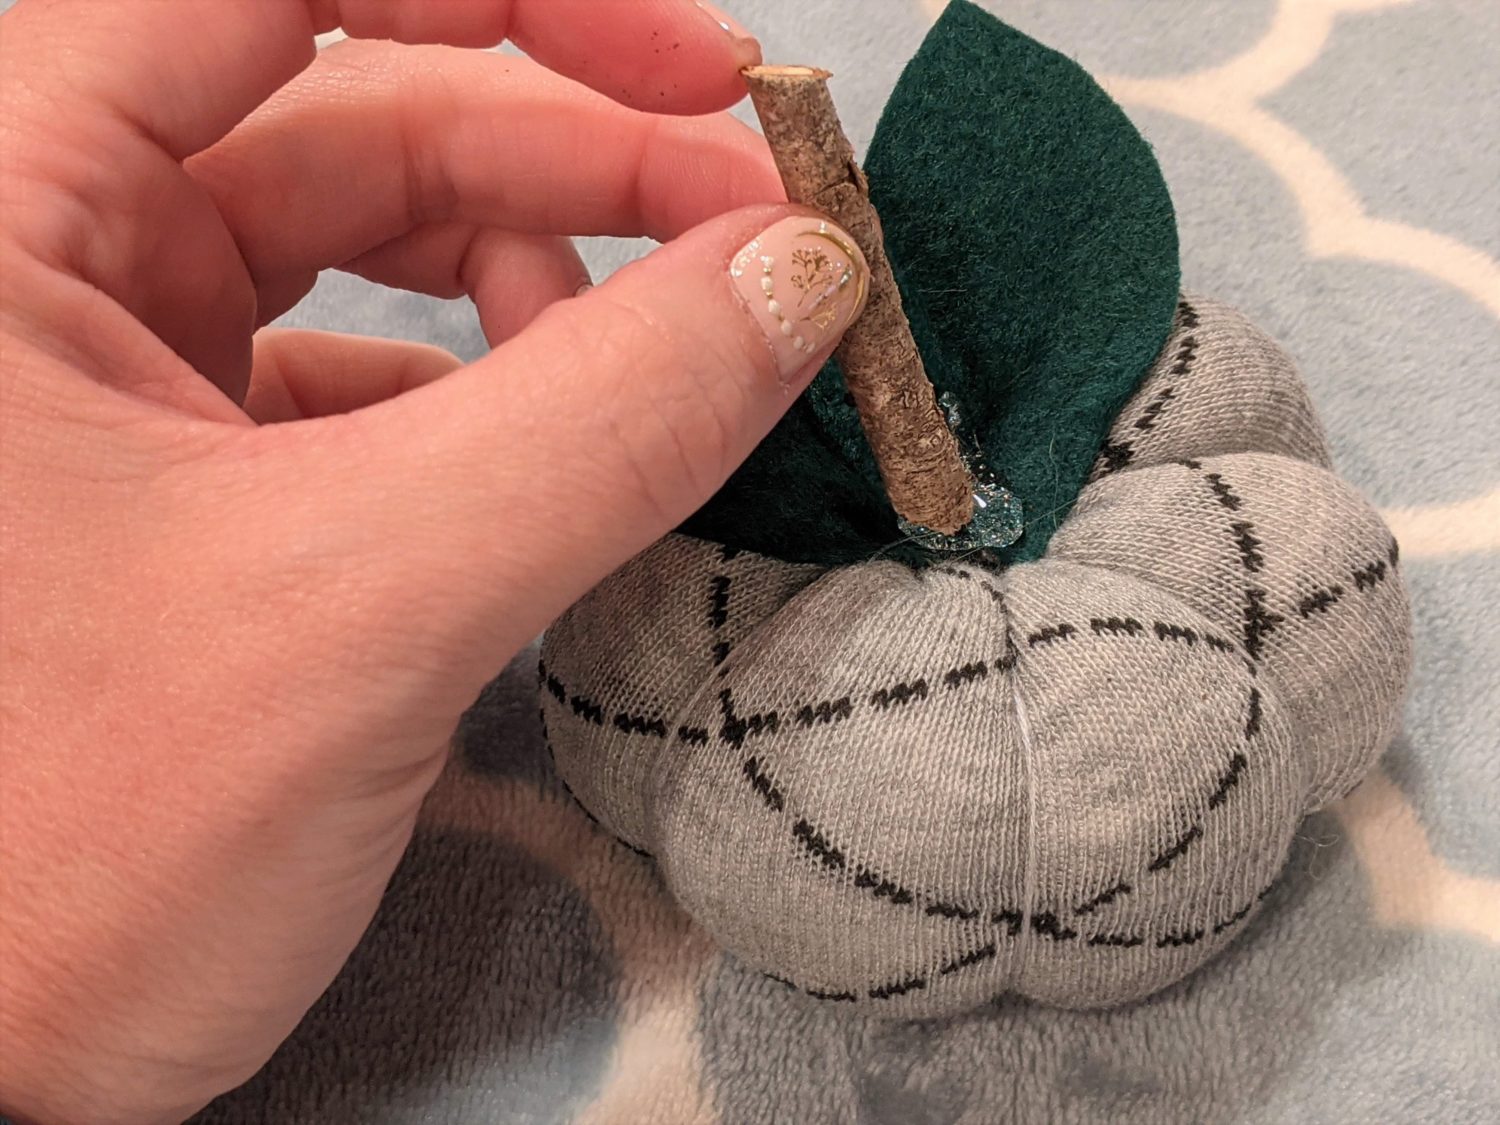
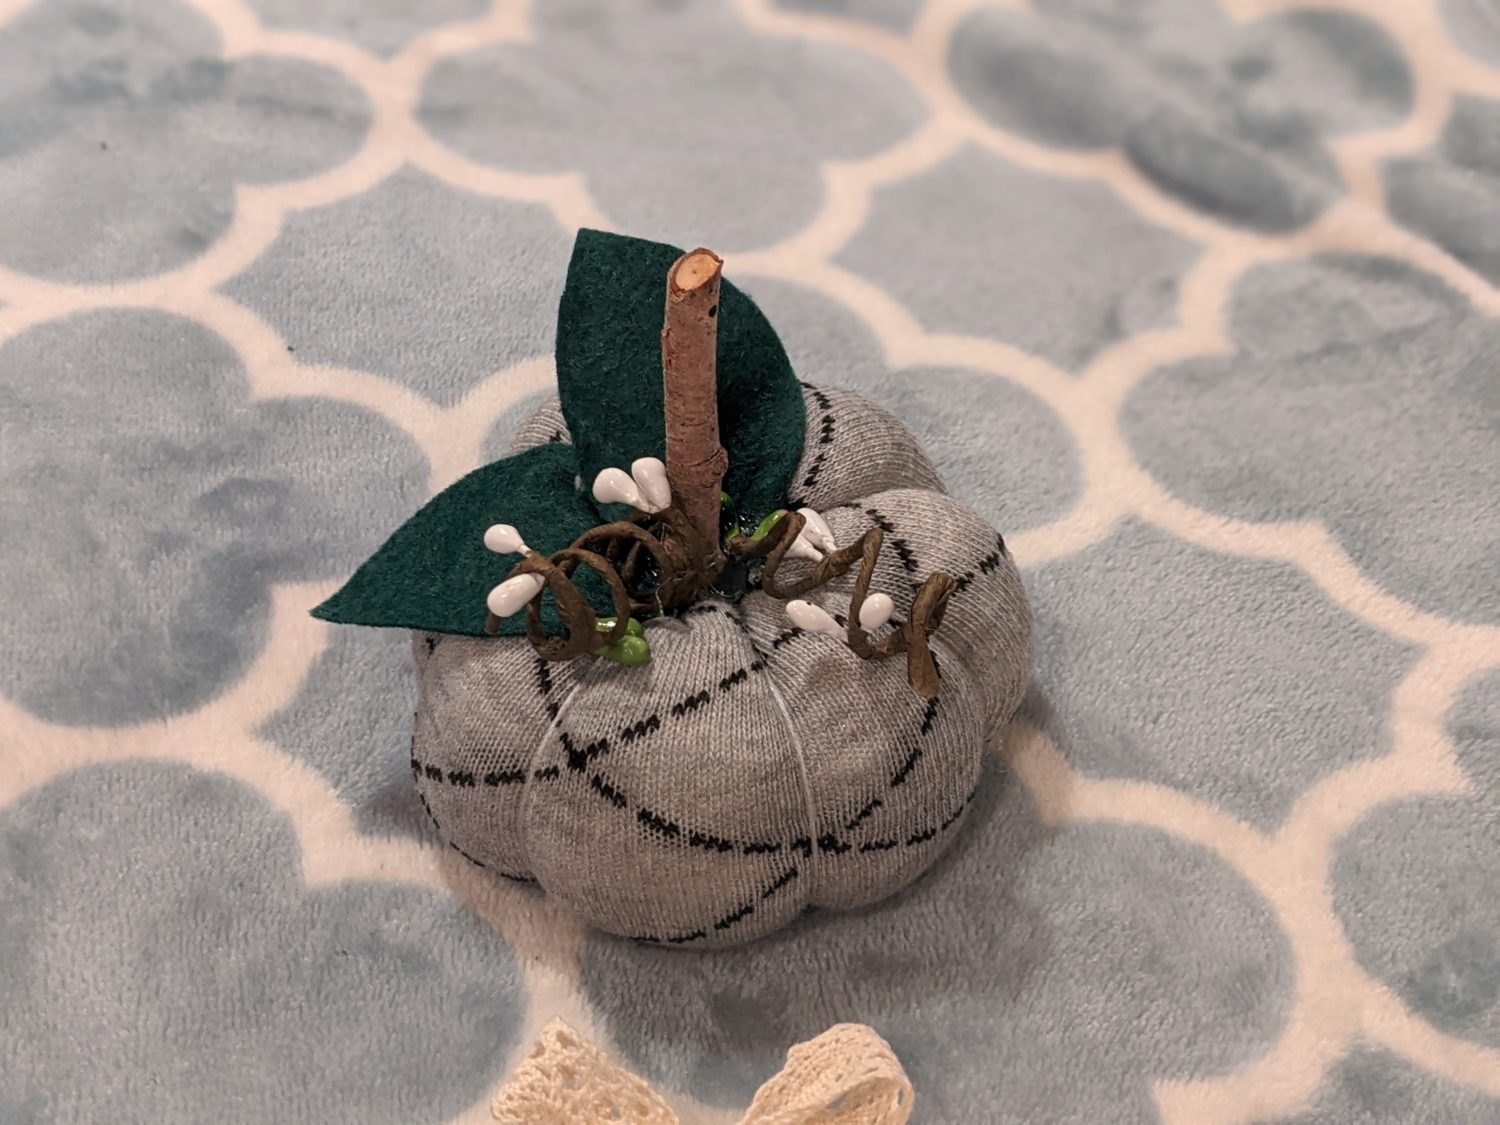
- Cut out leaves from your felt, then hot glue them to the top of your pumpkin.
- Hot glue the stem to the center.
- Grab any other embelishments you want to add, and your hot glue gun, and get crafty.
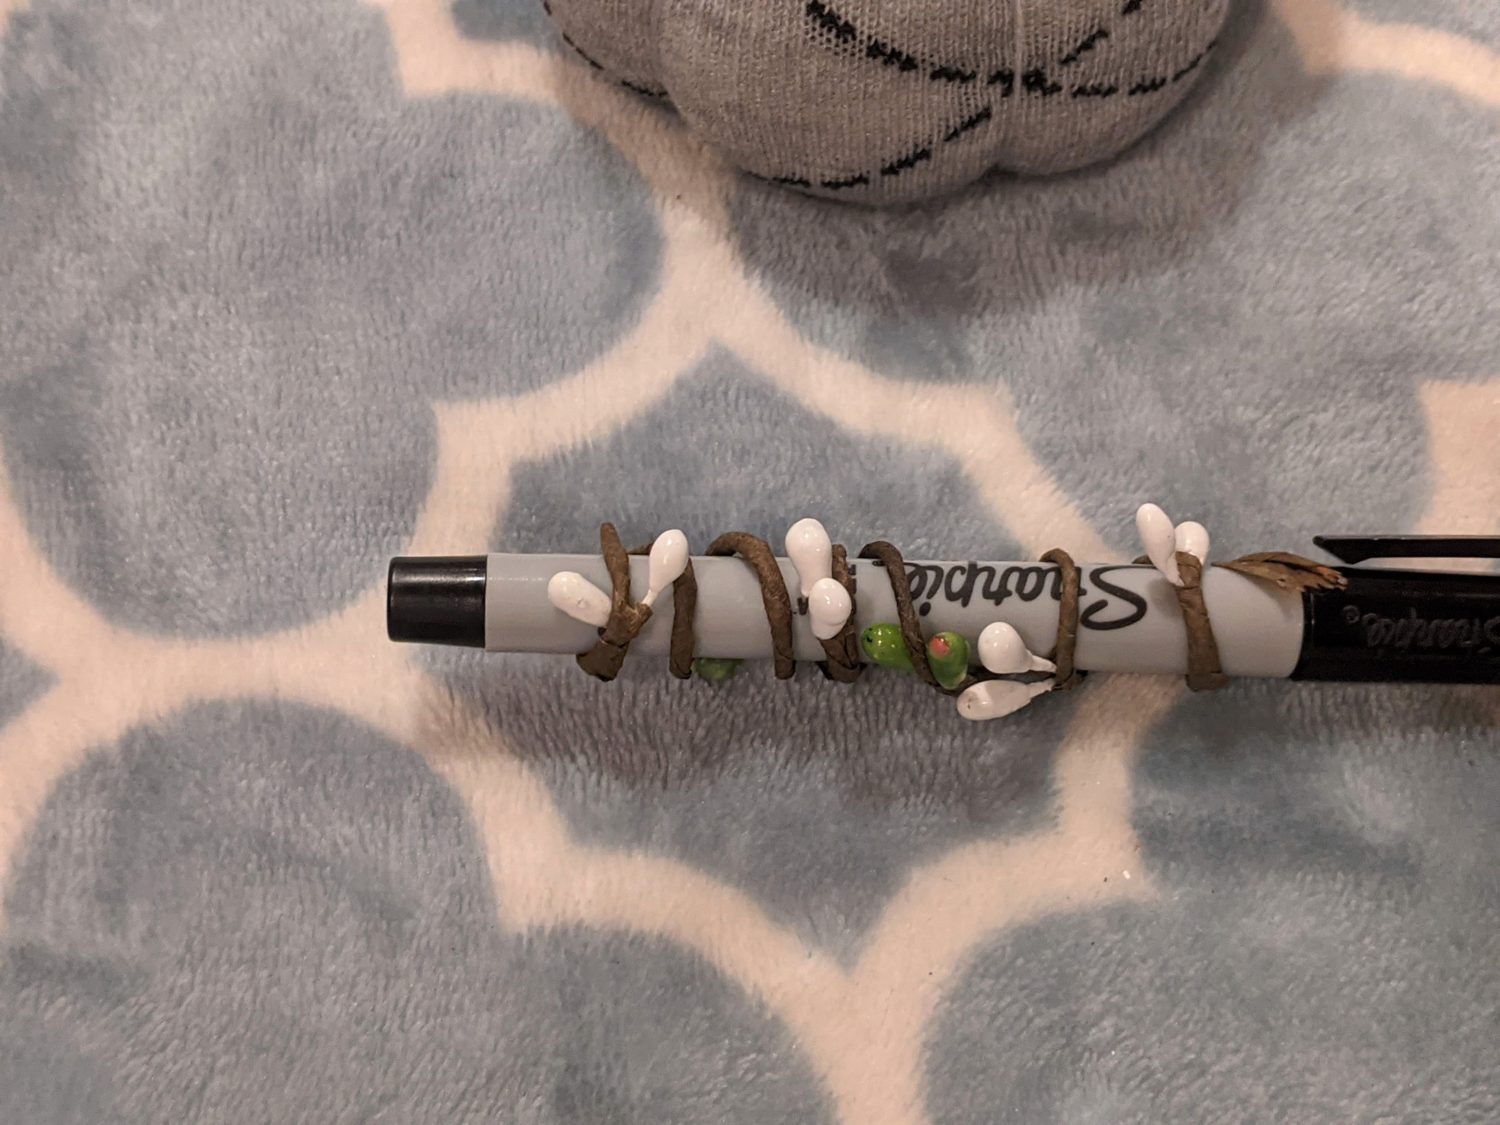
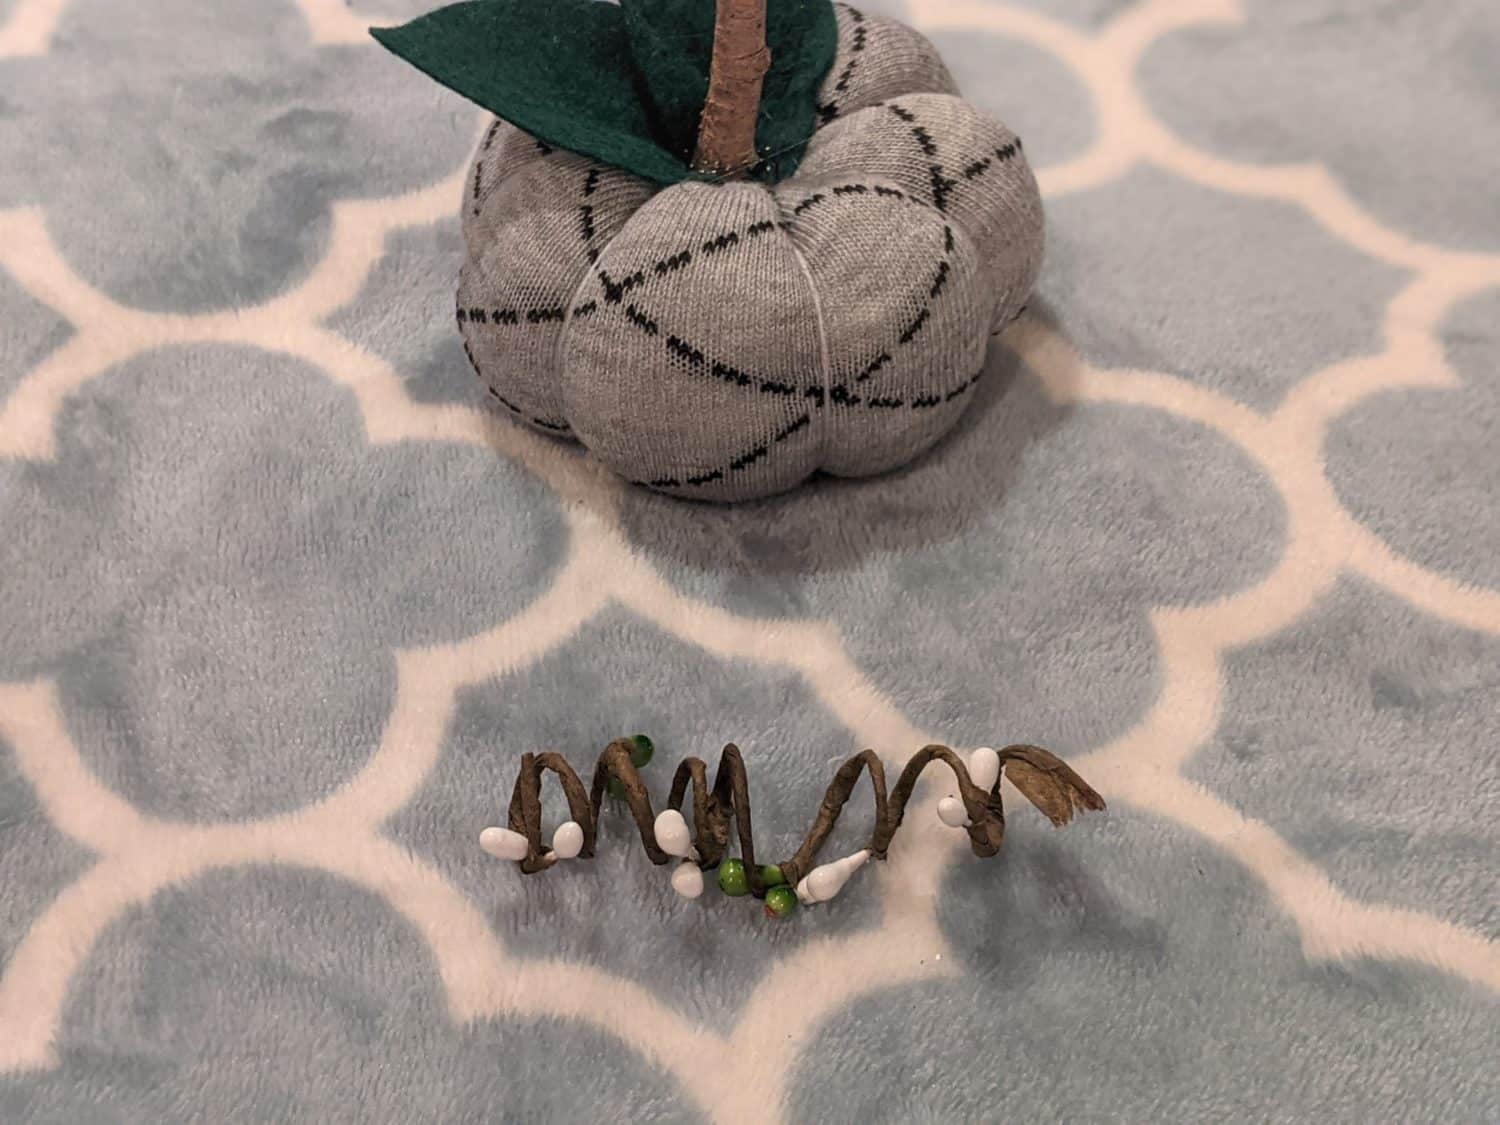
- I used some floral/twine I found in the floral section at the dollar store and wrapped it around a pen to make it spiral, then made some bows from my ribbon stash and glued those around the stem.

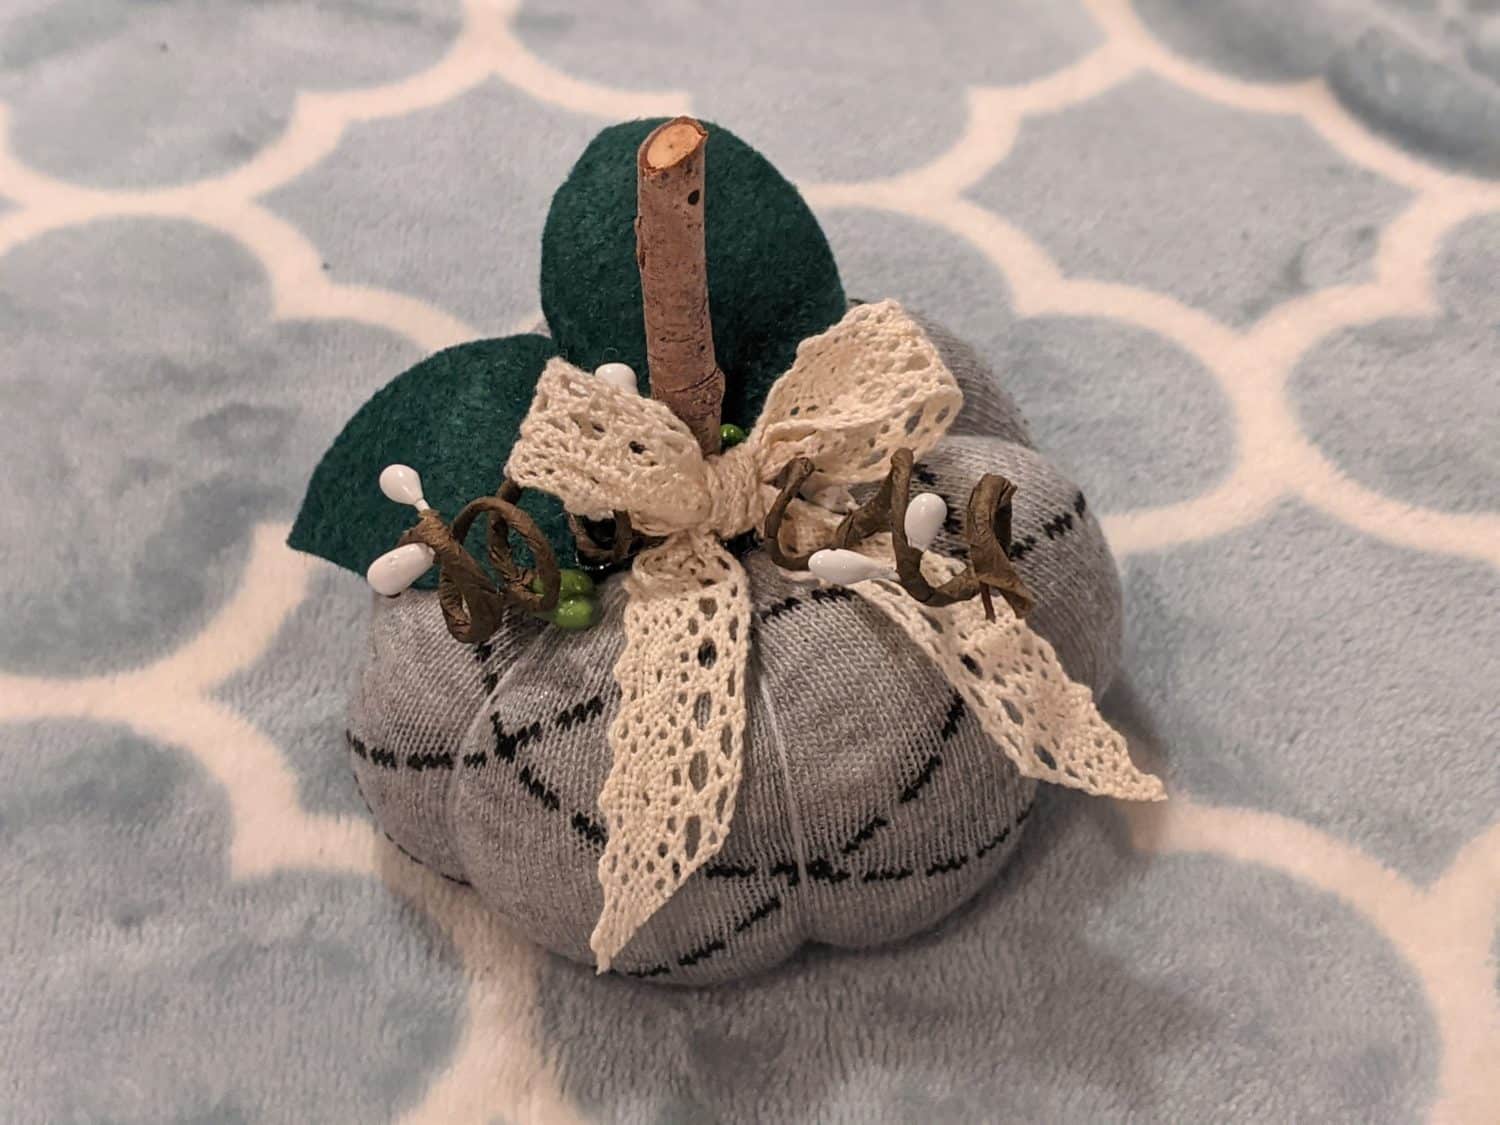
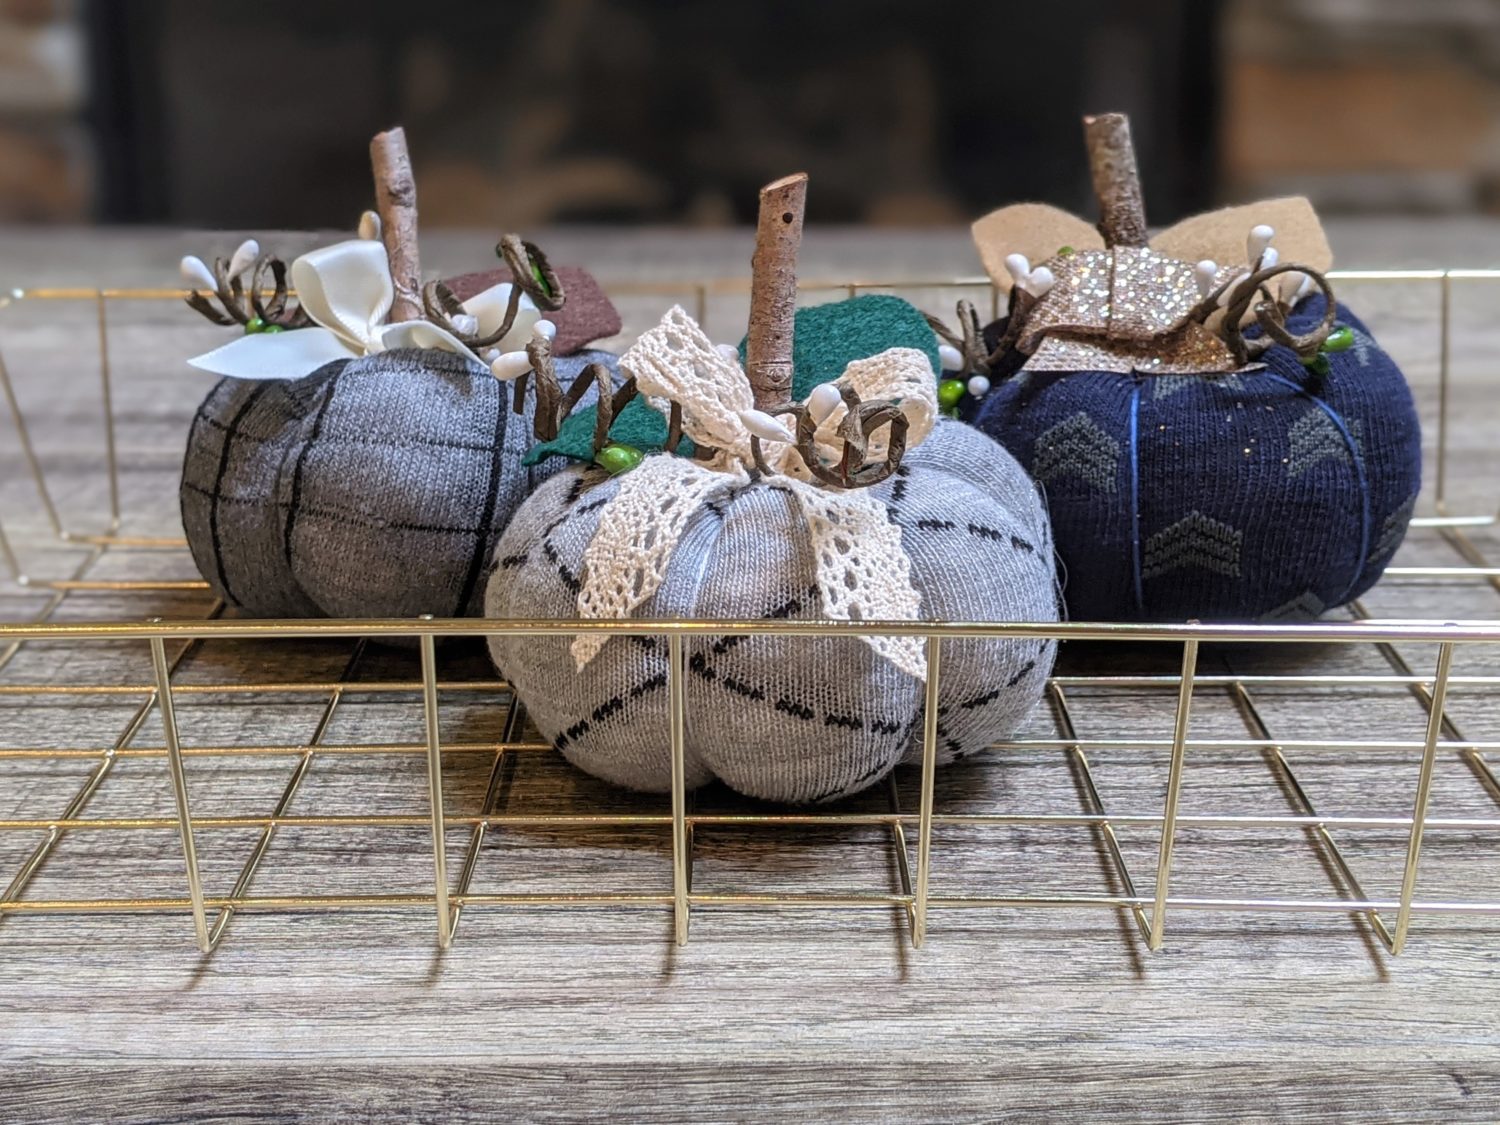
You are ready for some fall decorating!
Want more FUN DIY Freebies? Check out the FREEBIE TUTORIALS and the FREEBIE PATTERNS!
As always, we’re here to help if you need it! Join us HERE and on Facebook, Instagram, Twitter, Youtube, and Pinterest. We’re everywhere you are.
Leave a Reply