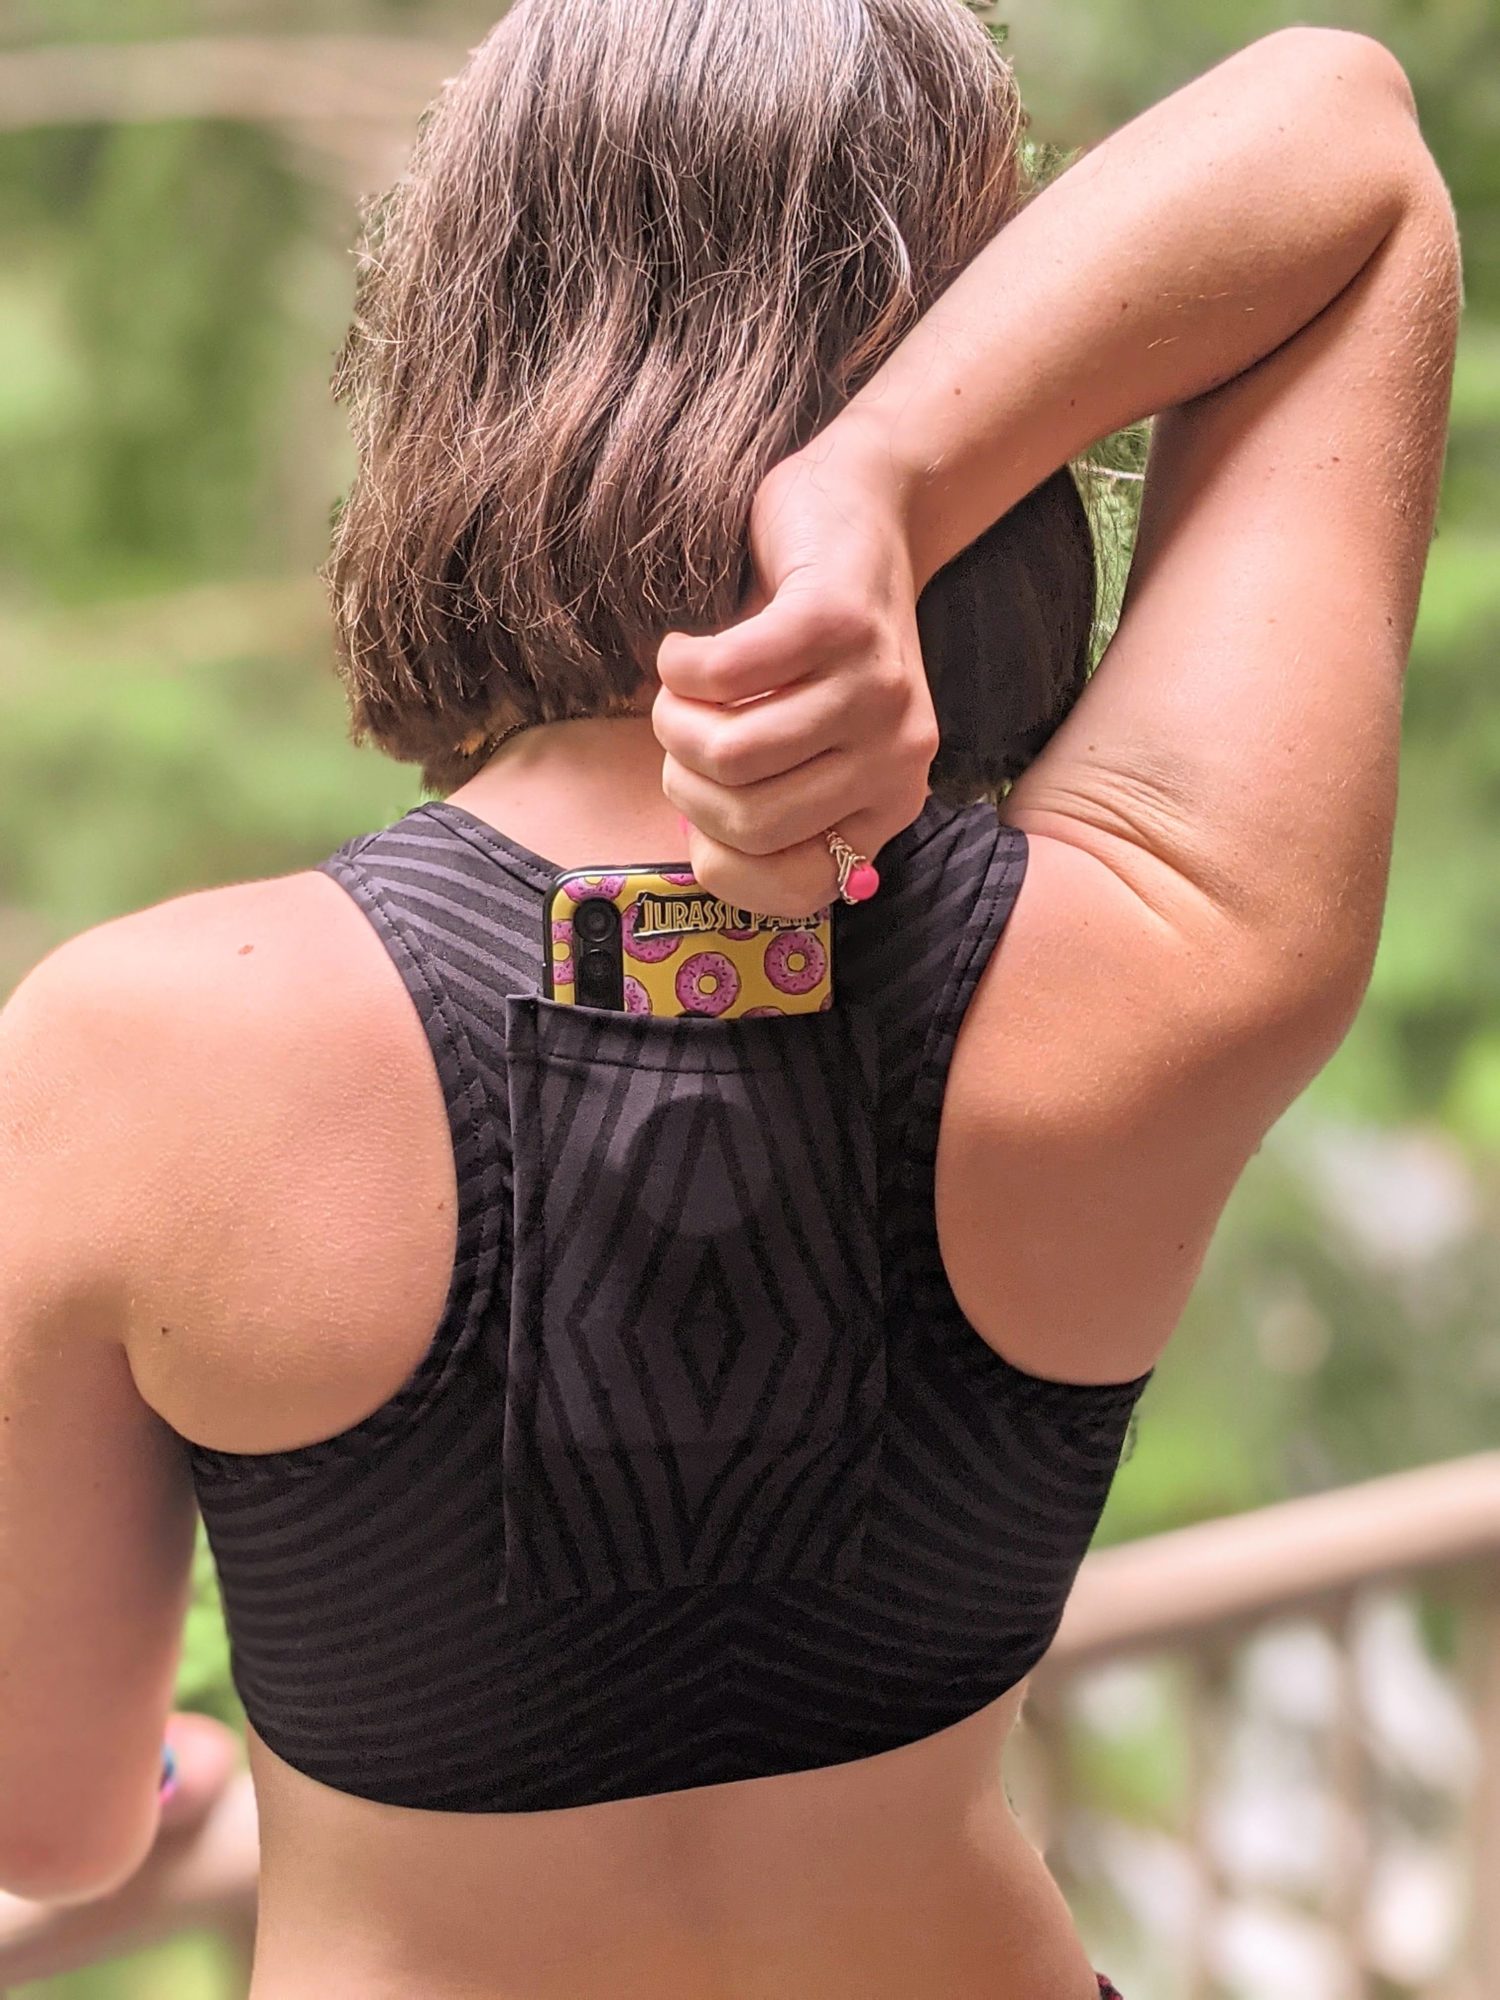
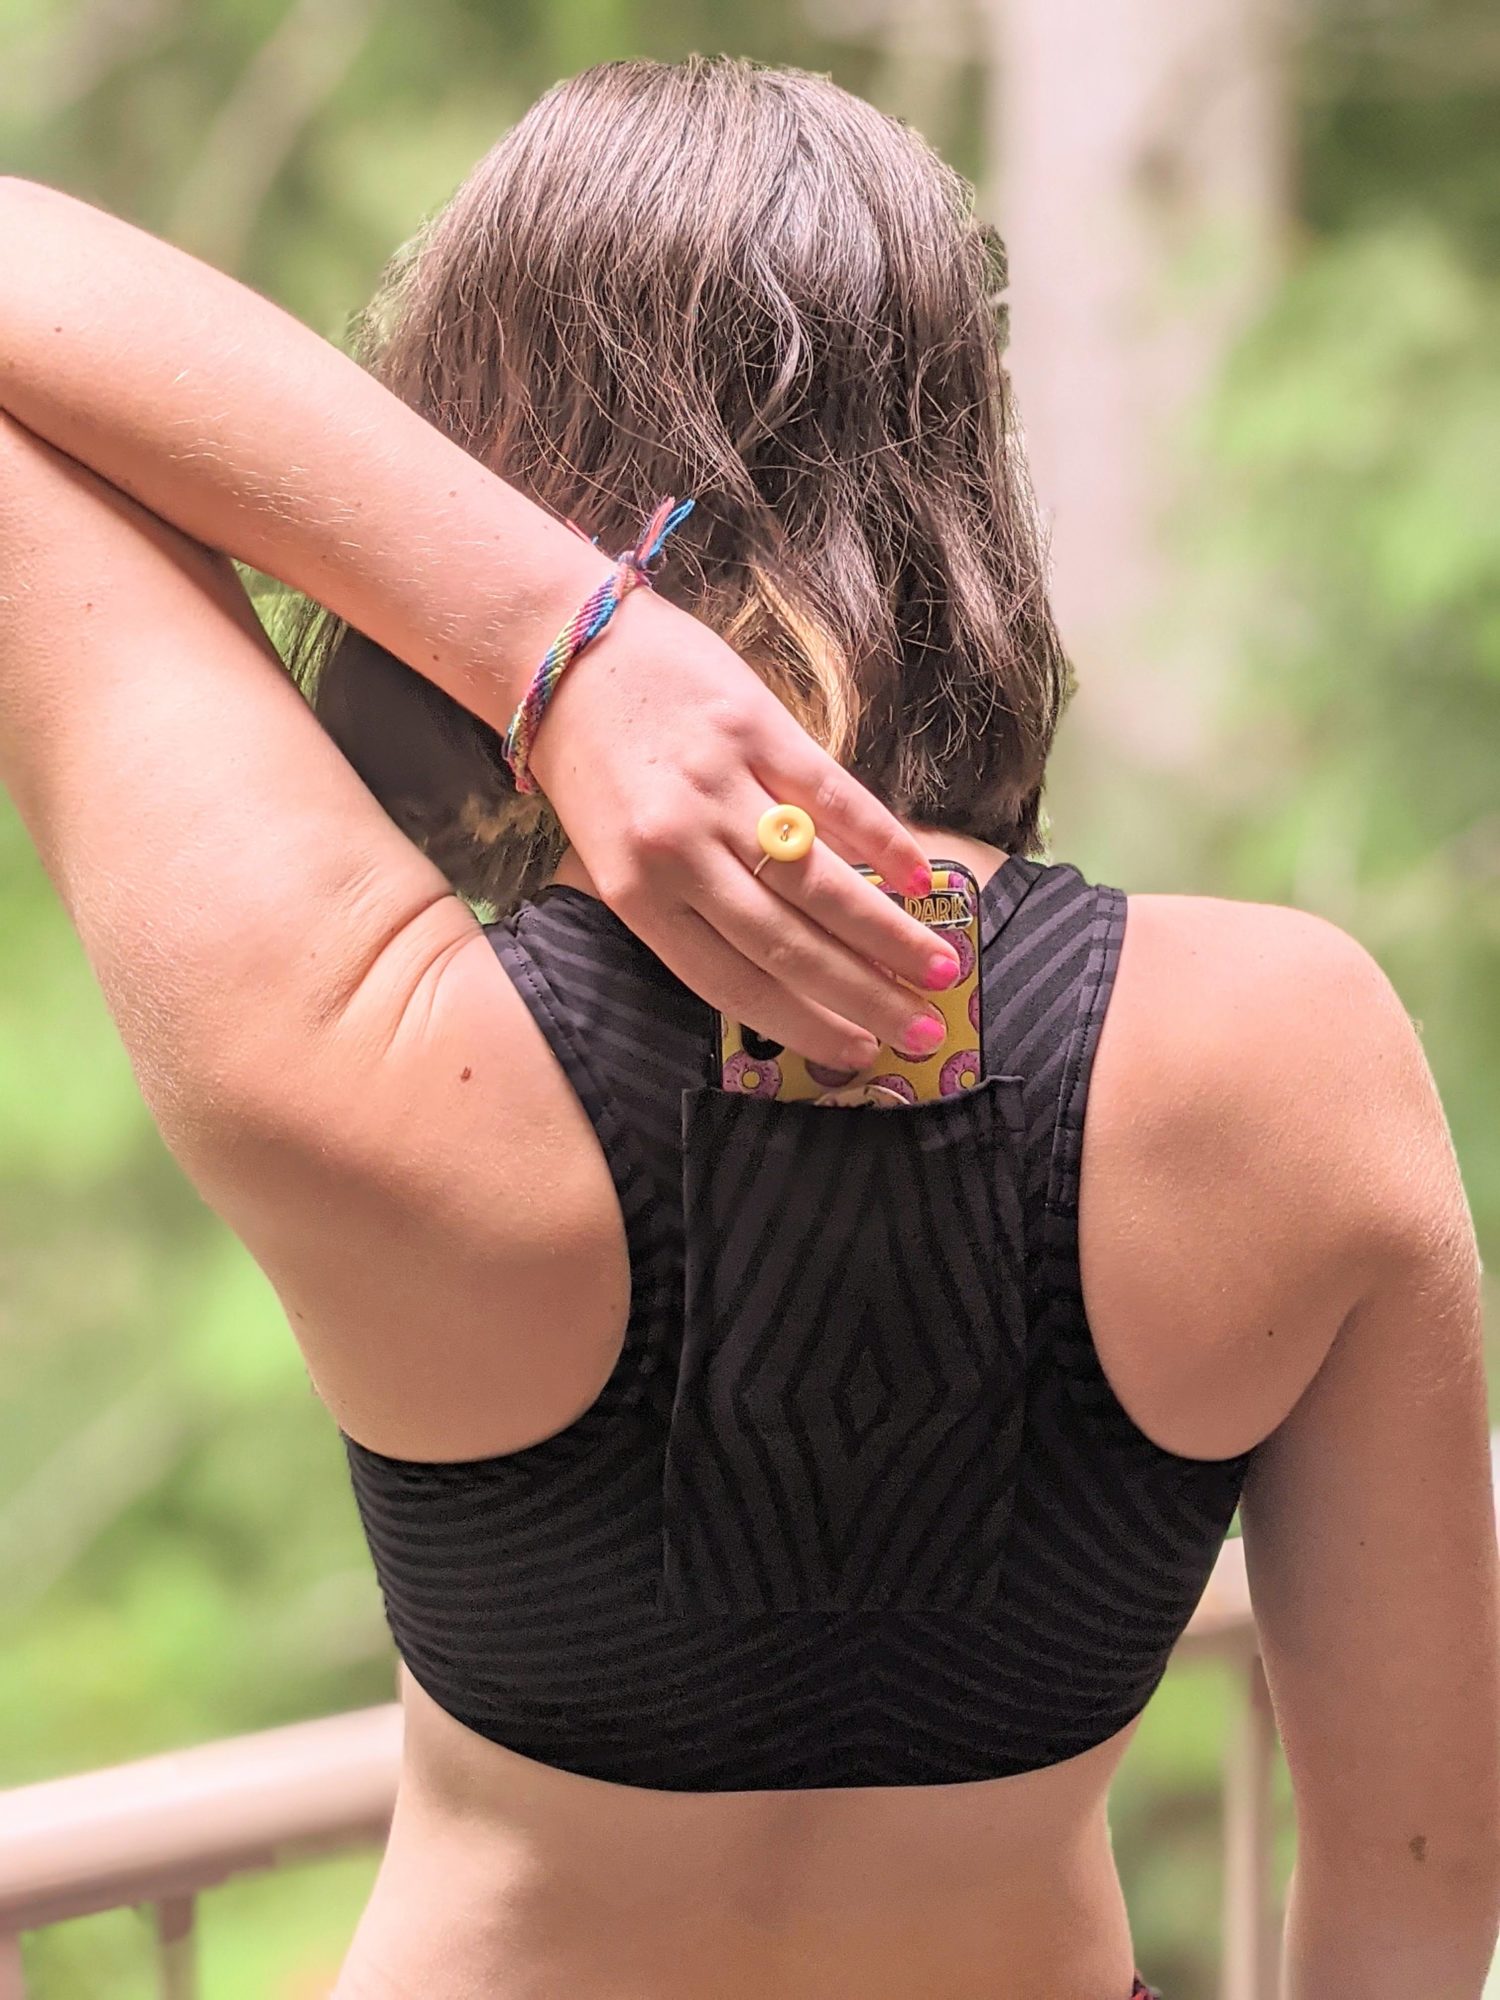
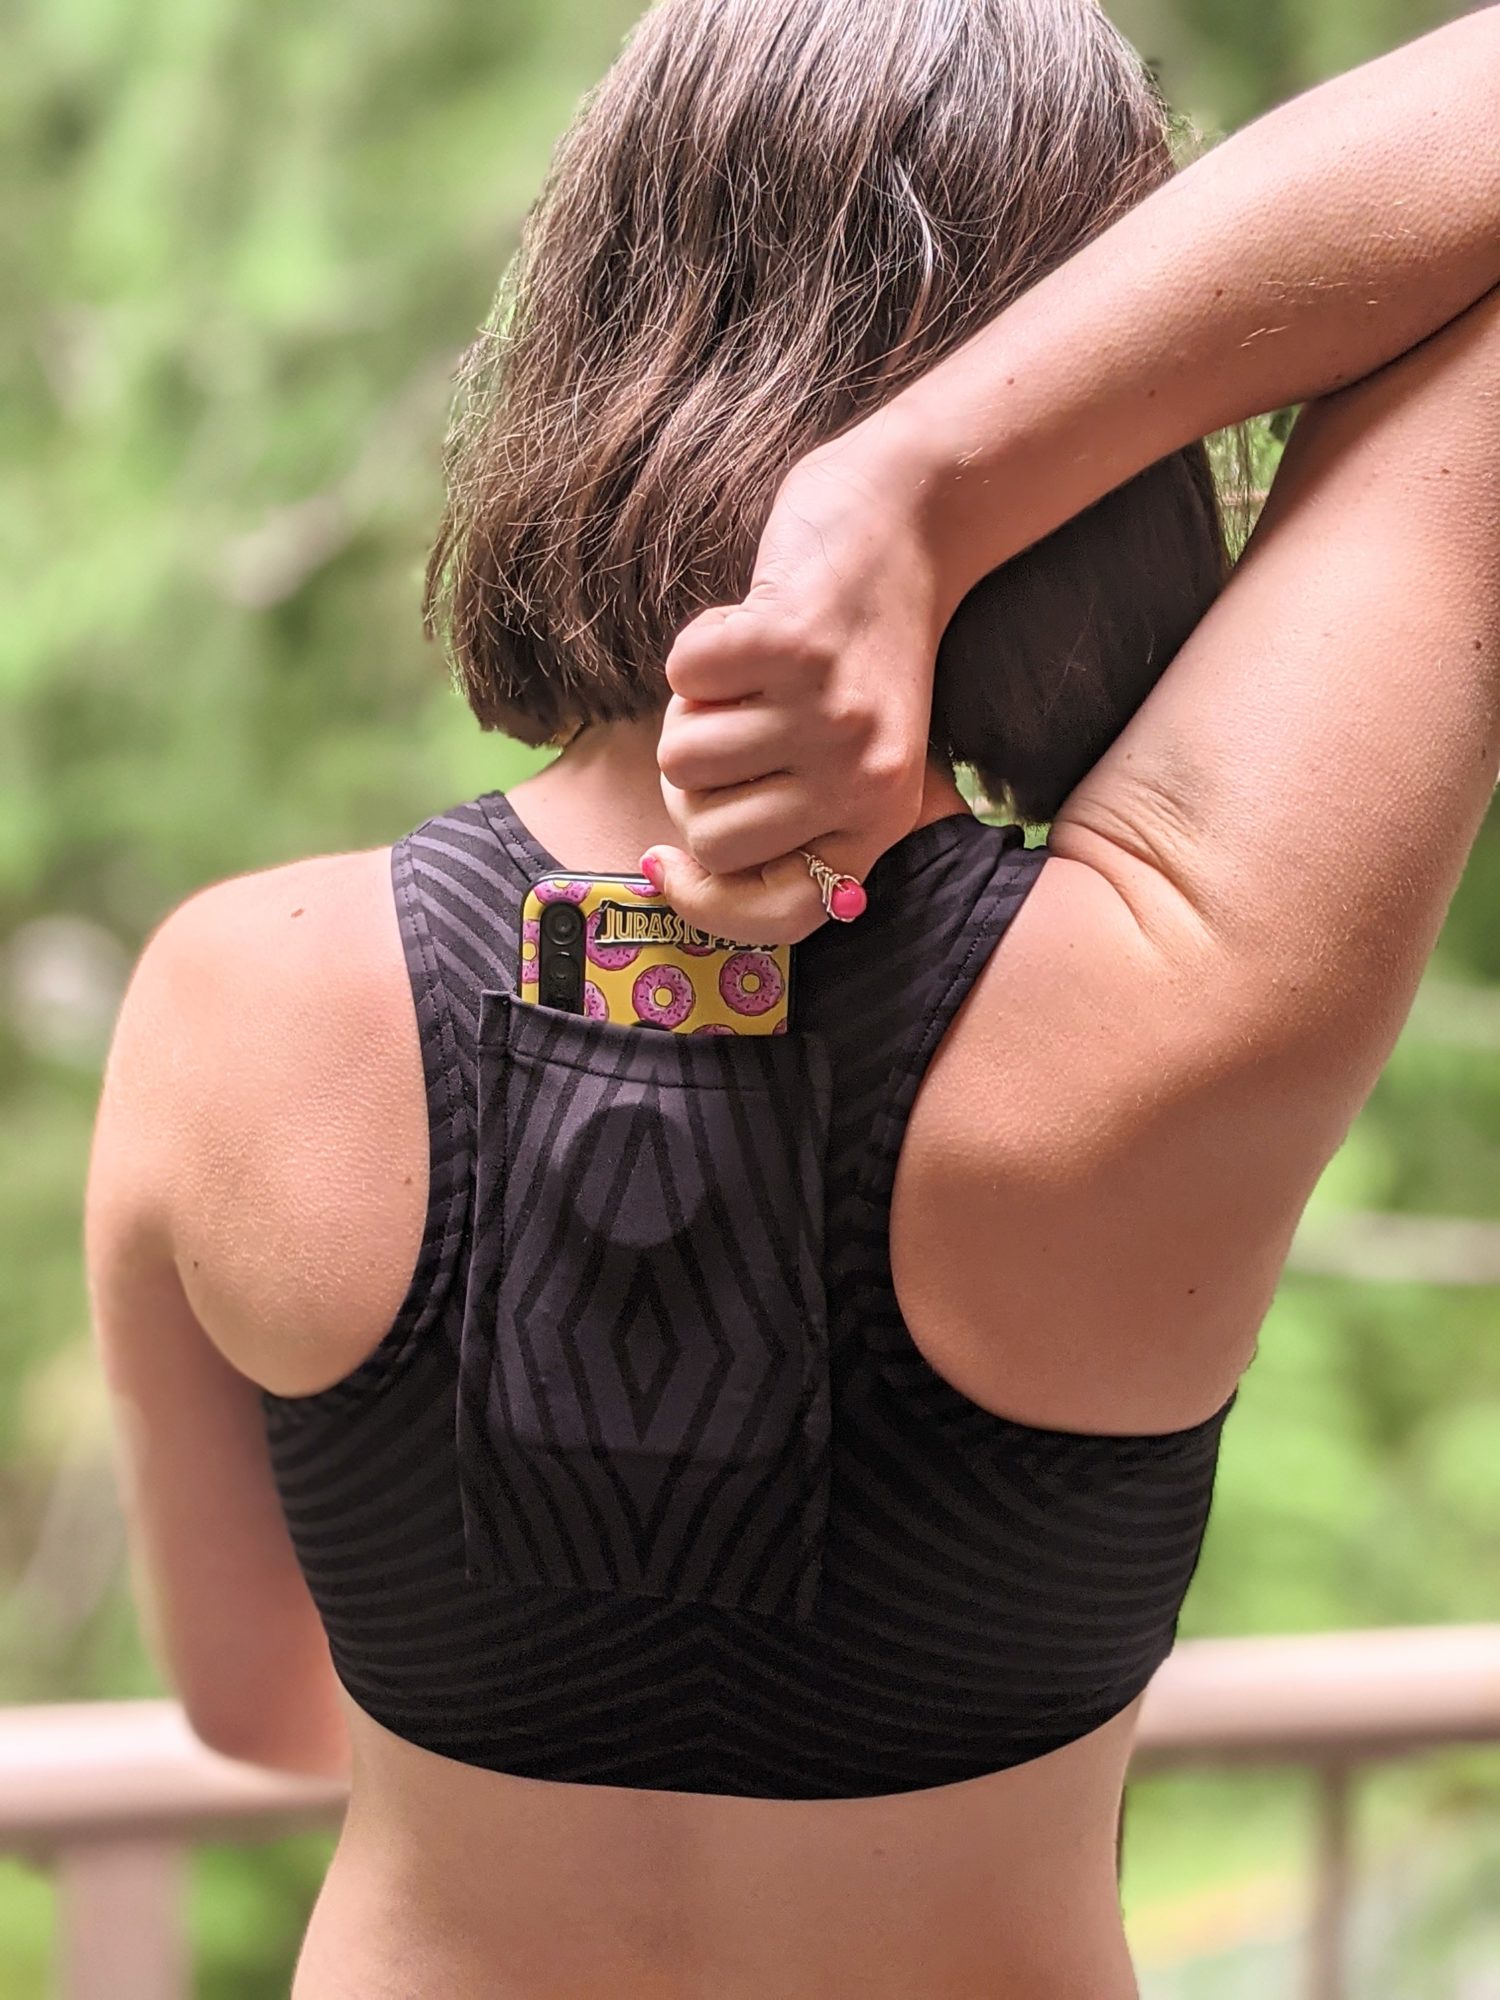
Do you ever go out on a walk or run and have nowhere to keep your phone? My daughter is constantly complaining about the lack of pockets in her pants and jackets when she goes out on a walk and has to just hold her phone. I used the Resolution Bra and added a pocket to the back to help her out with this annoying dilemma.
Pattern
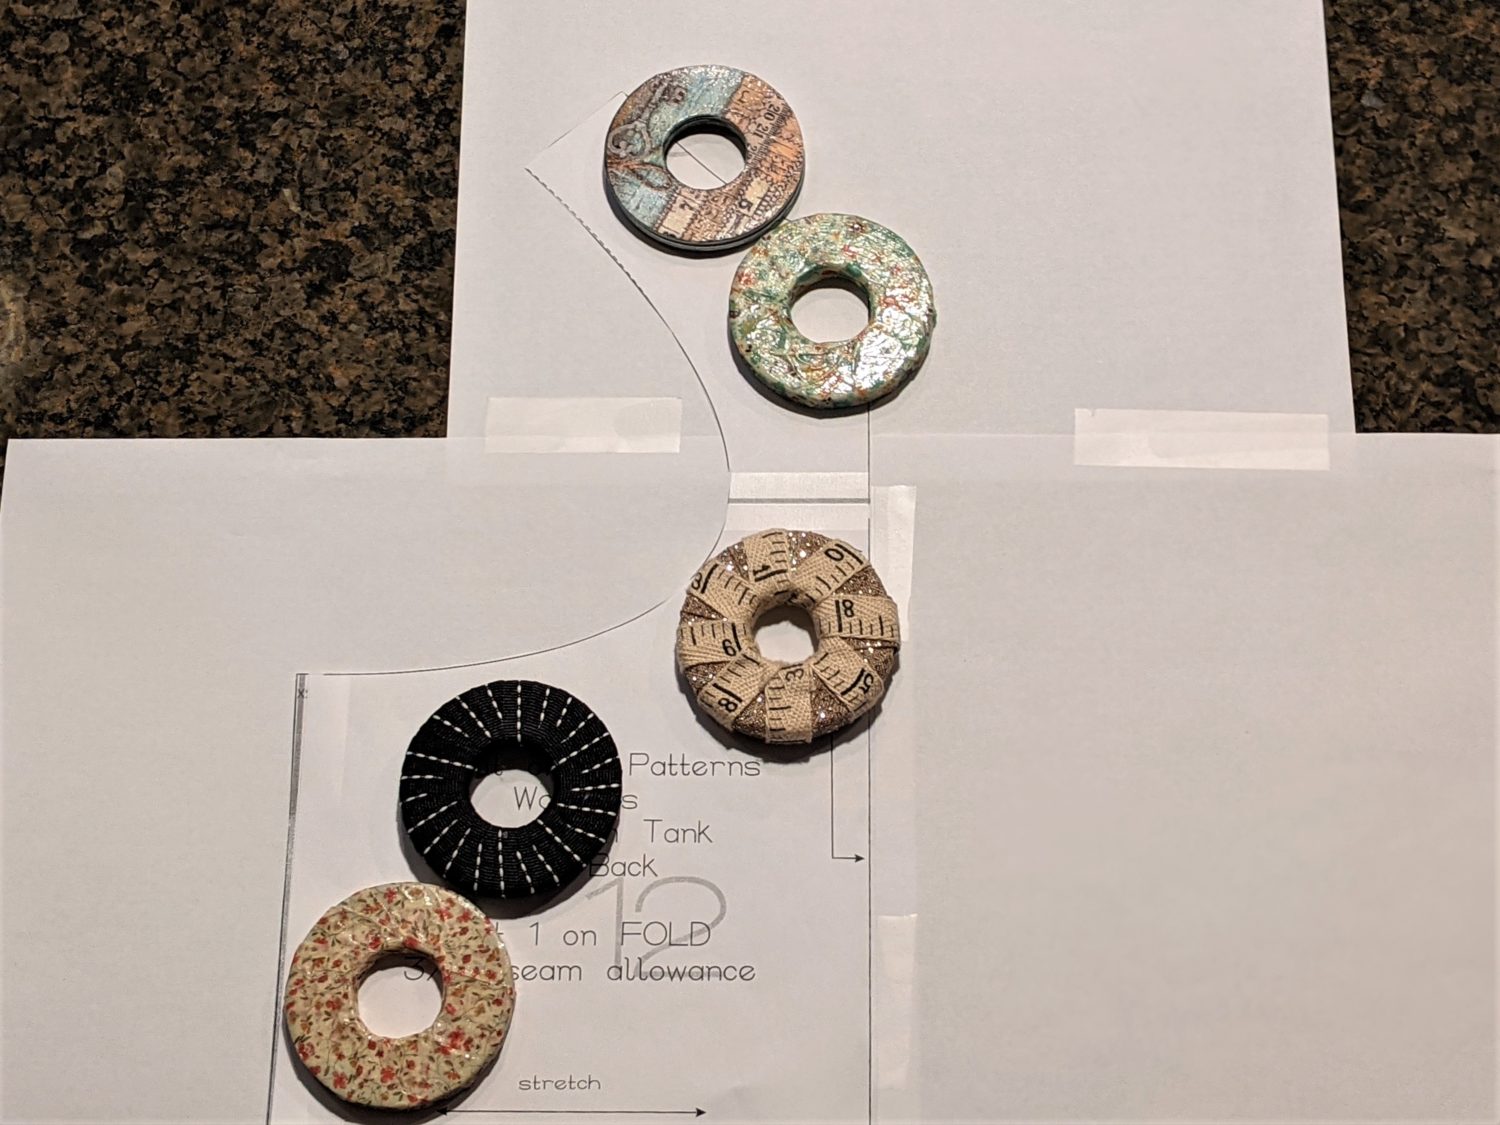
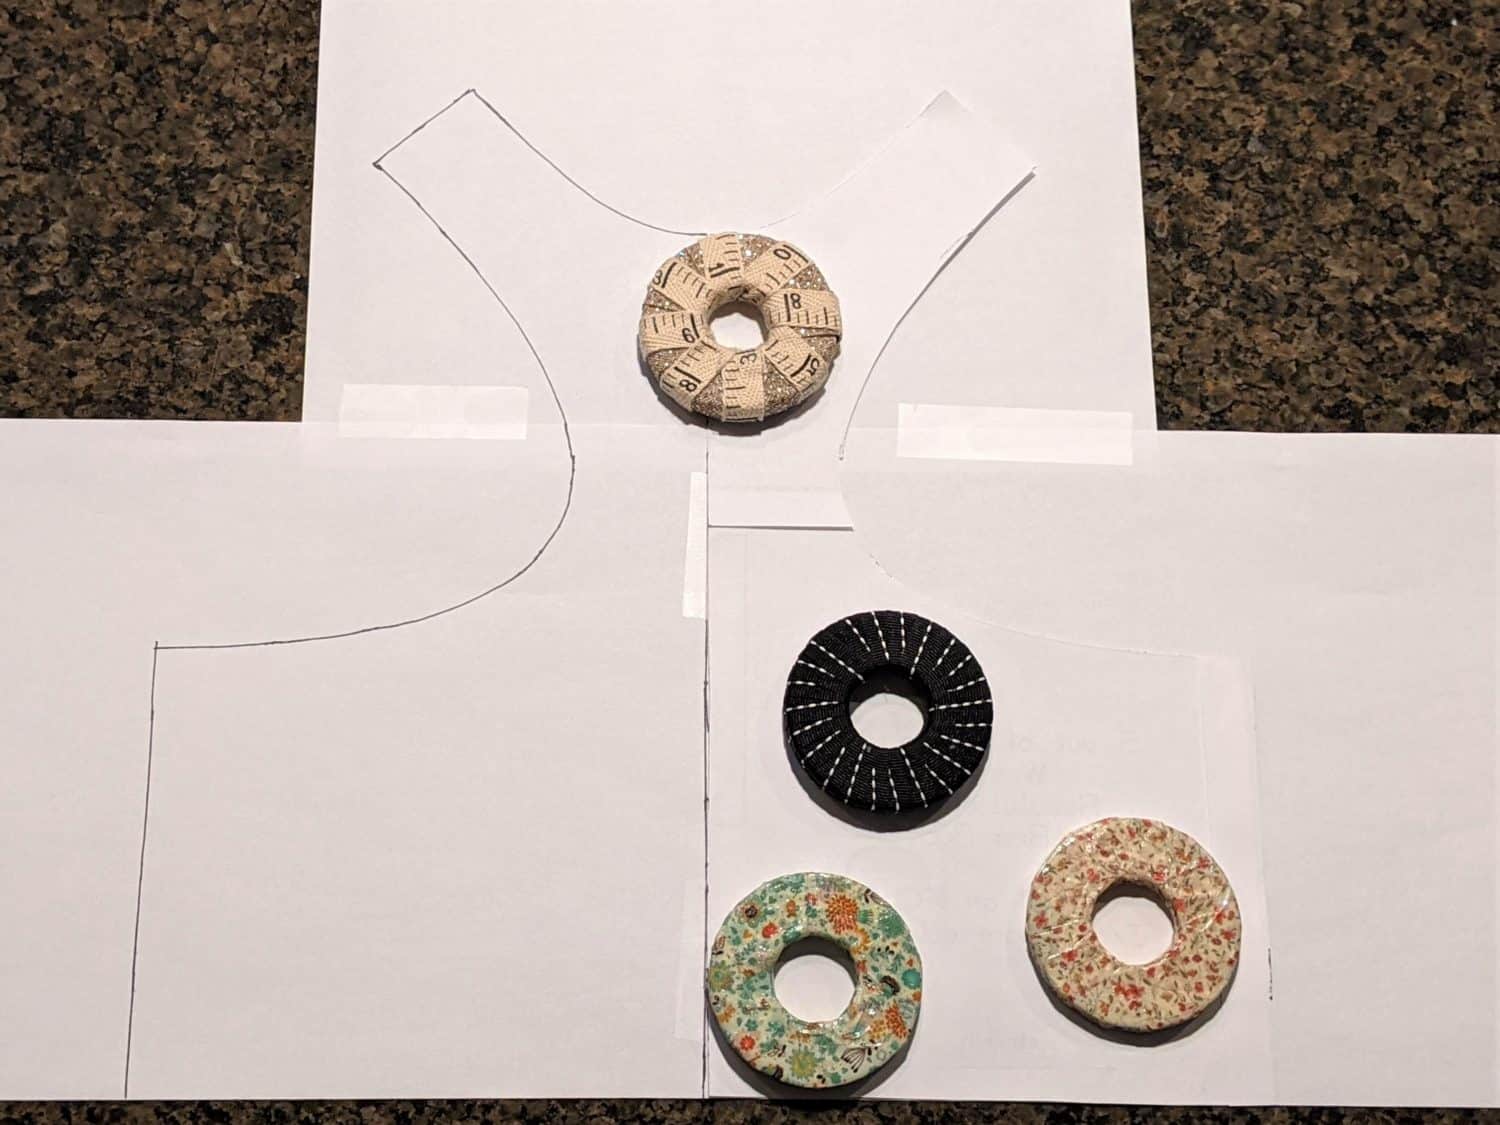
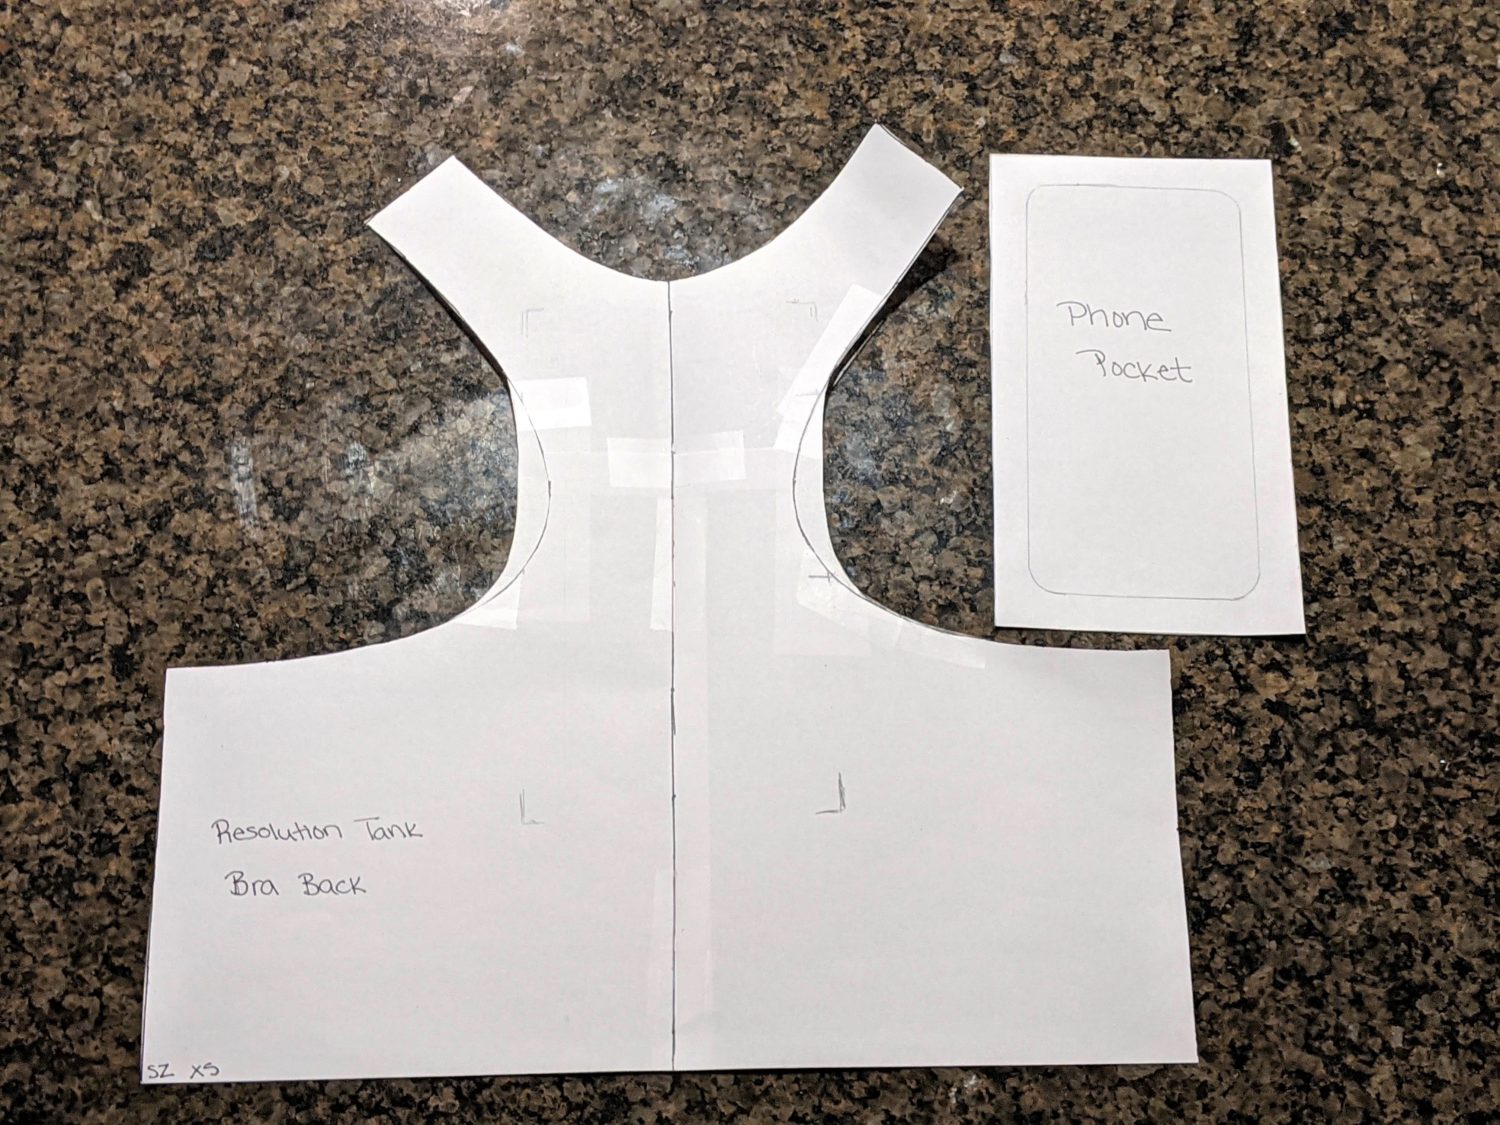
To start, print and assemble the bra portion of the Resolution Bra and Tank.
- Tape blank paper together or use tracing paper large enough to fit a full back bodice of the bra.
- Lay your bra back pattern piece ontop of your paper and trace around it.
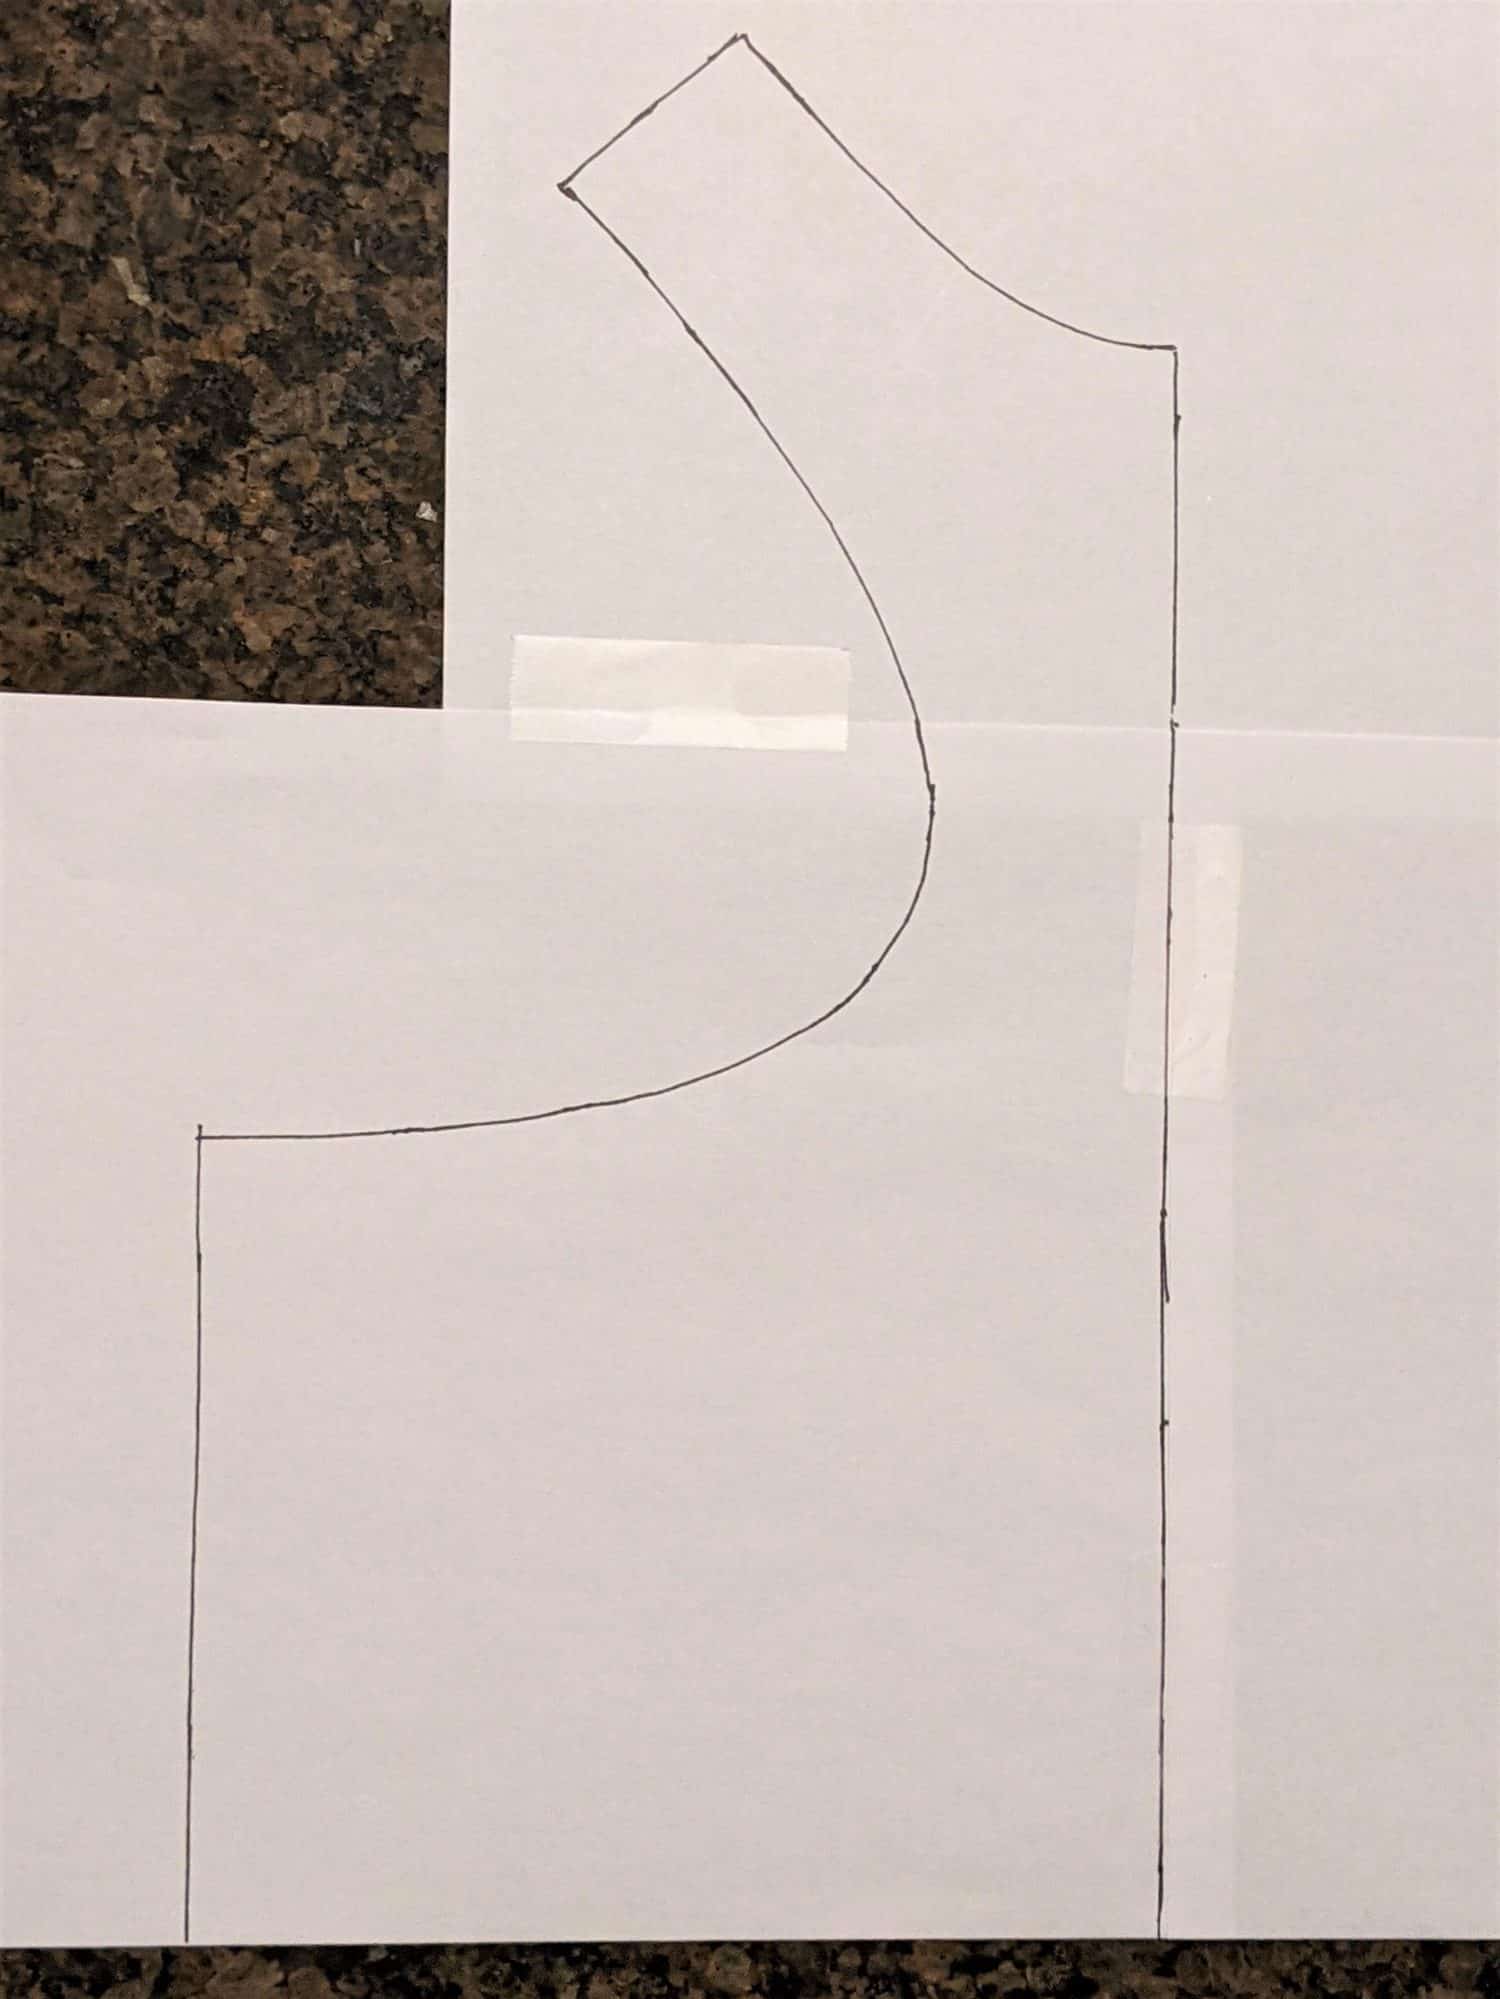
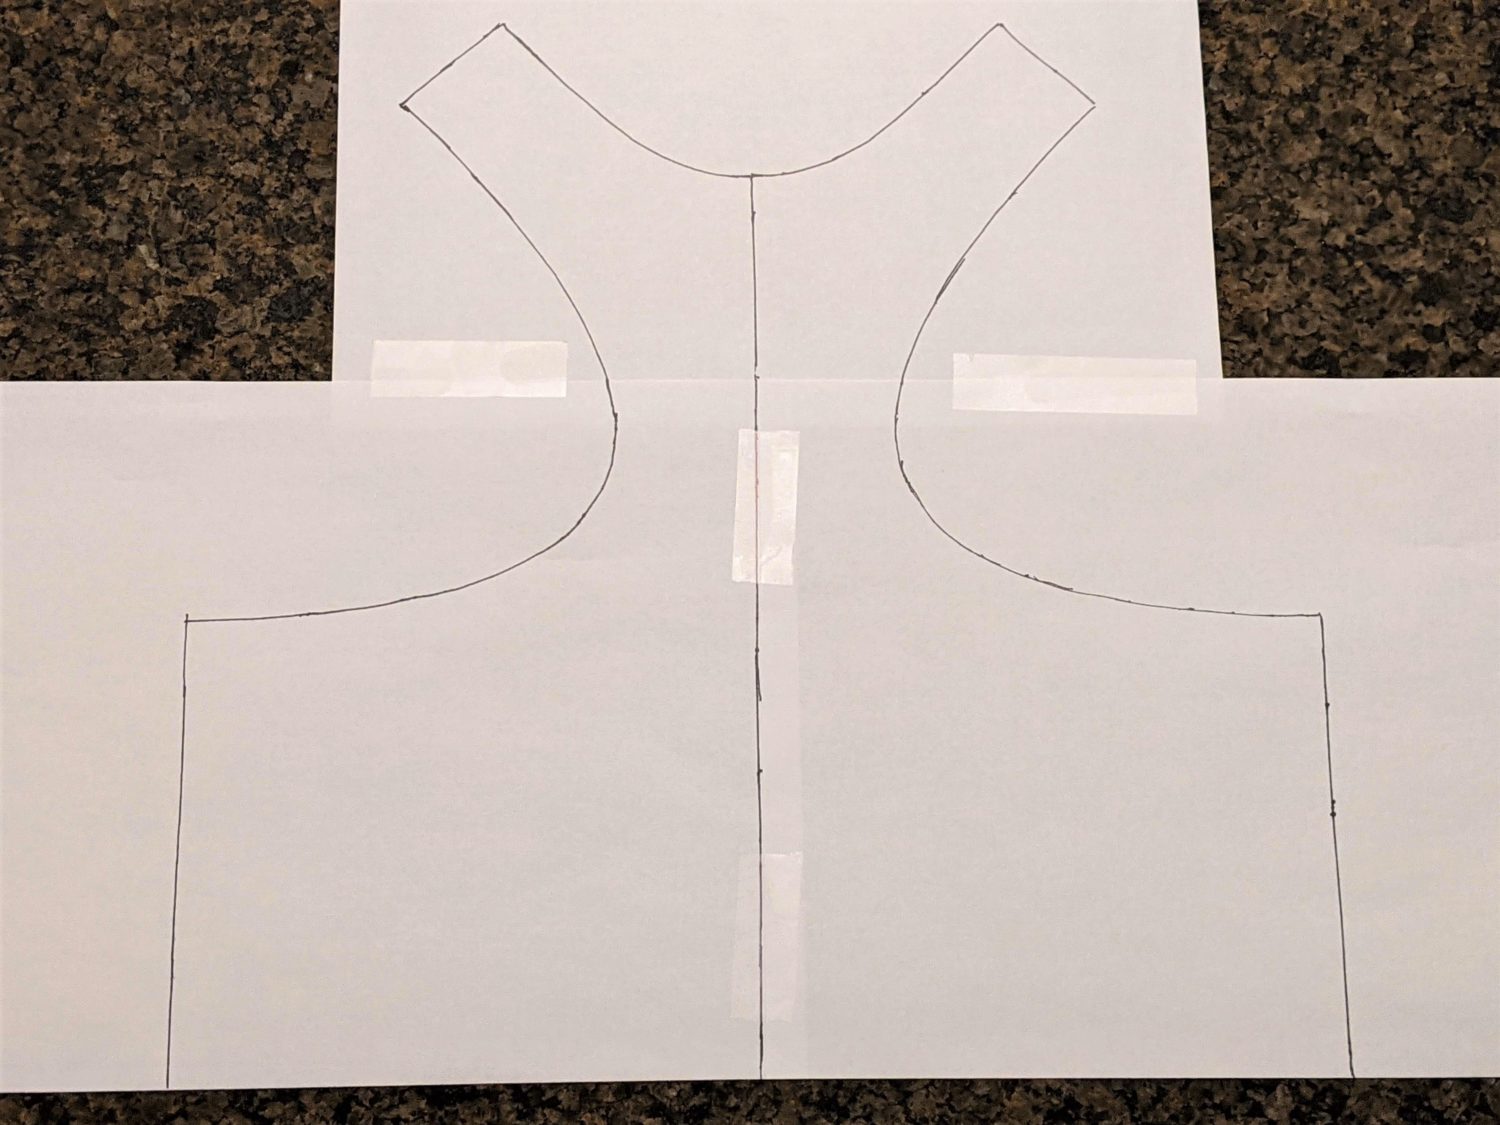
- Flip the pattern piece over, lining it up with the fold edge line and trace the other side to create a full back bodice piece.
- Cut out your back bodice.
Pocket Template
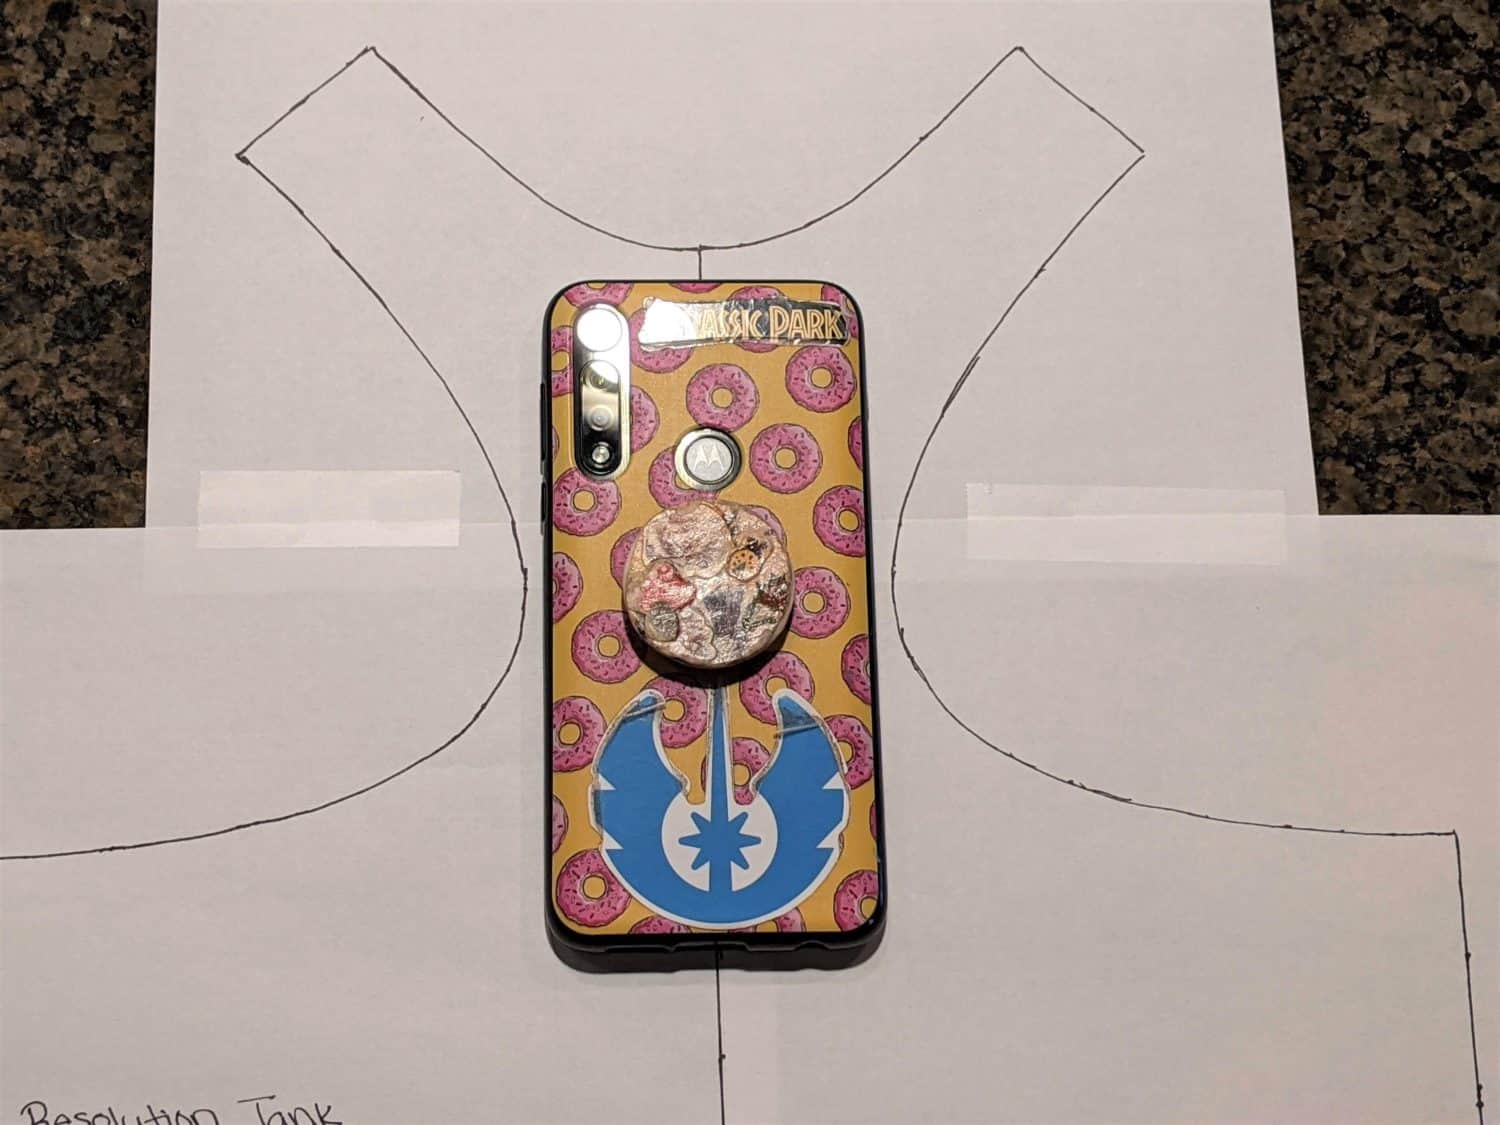
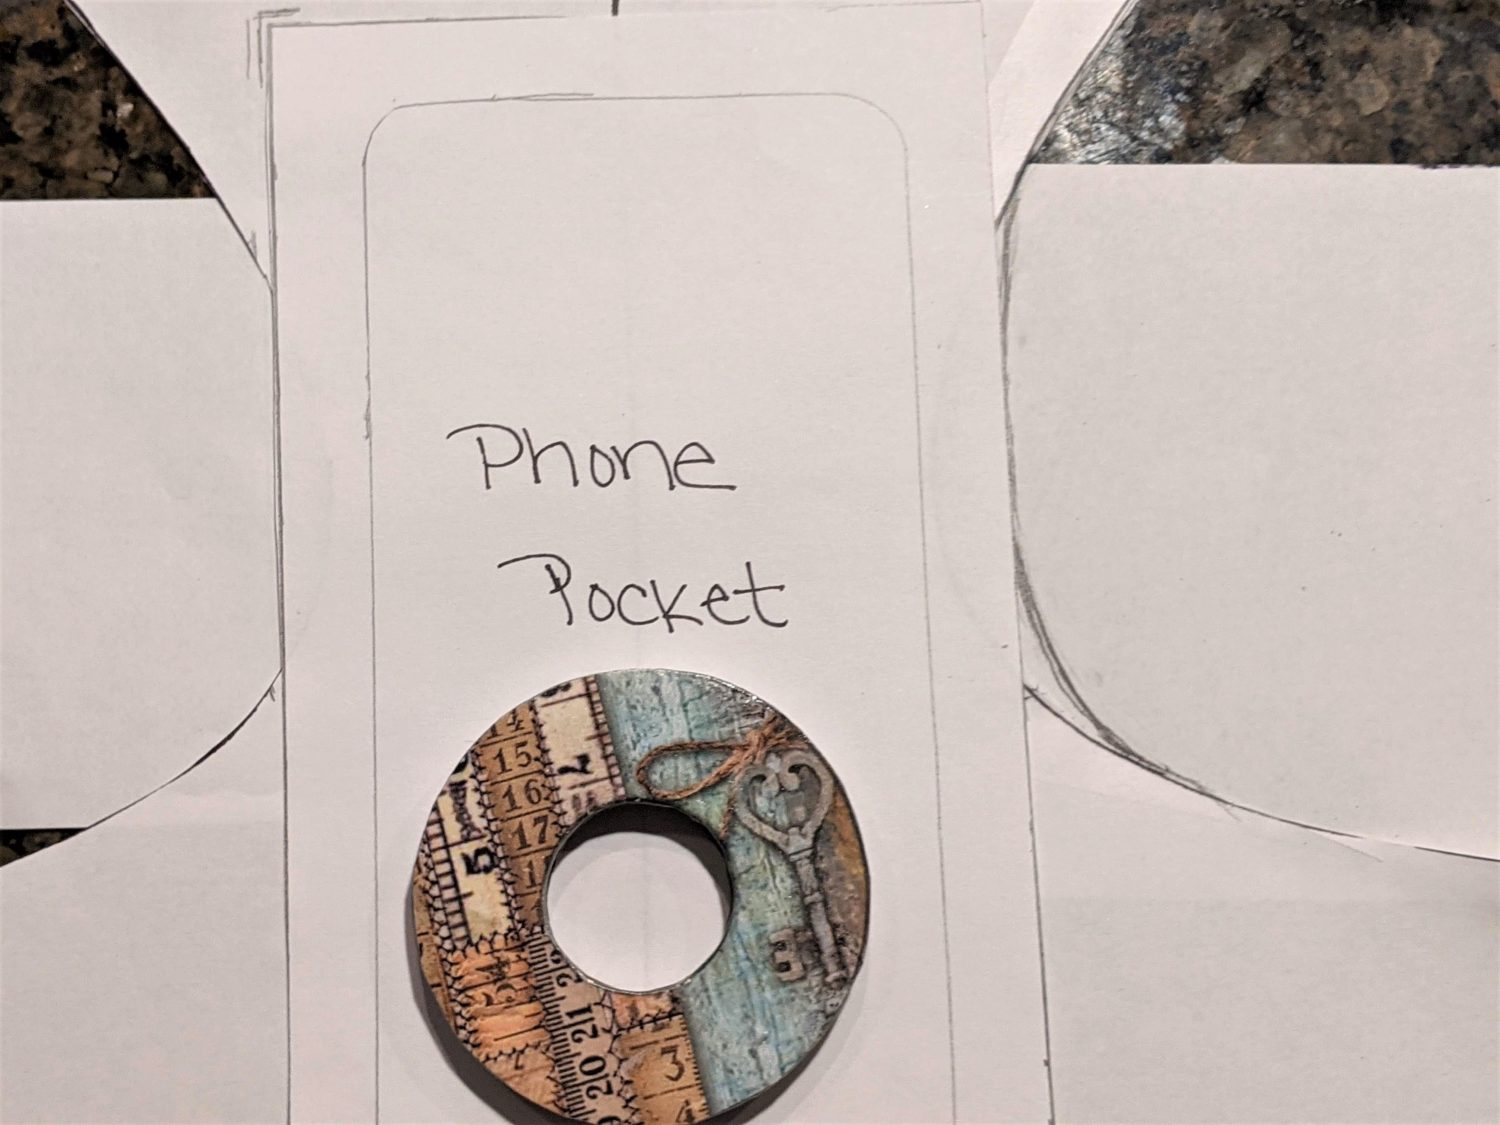
- Set your phone on your pattern piece to determine the placement for your pocket. Mark the corners on the pattern.
- If your phone is close to the edges like my daughter’s, you will need to widen the back. If you have at least 3/4″ on either side of your phone, you can skip over the next steps of widening the back.
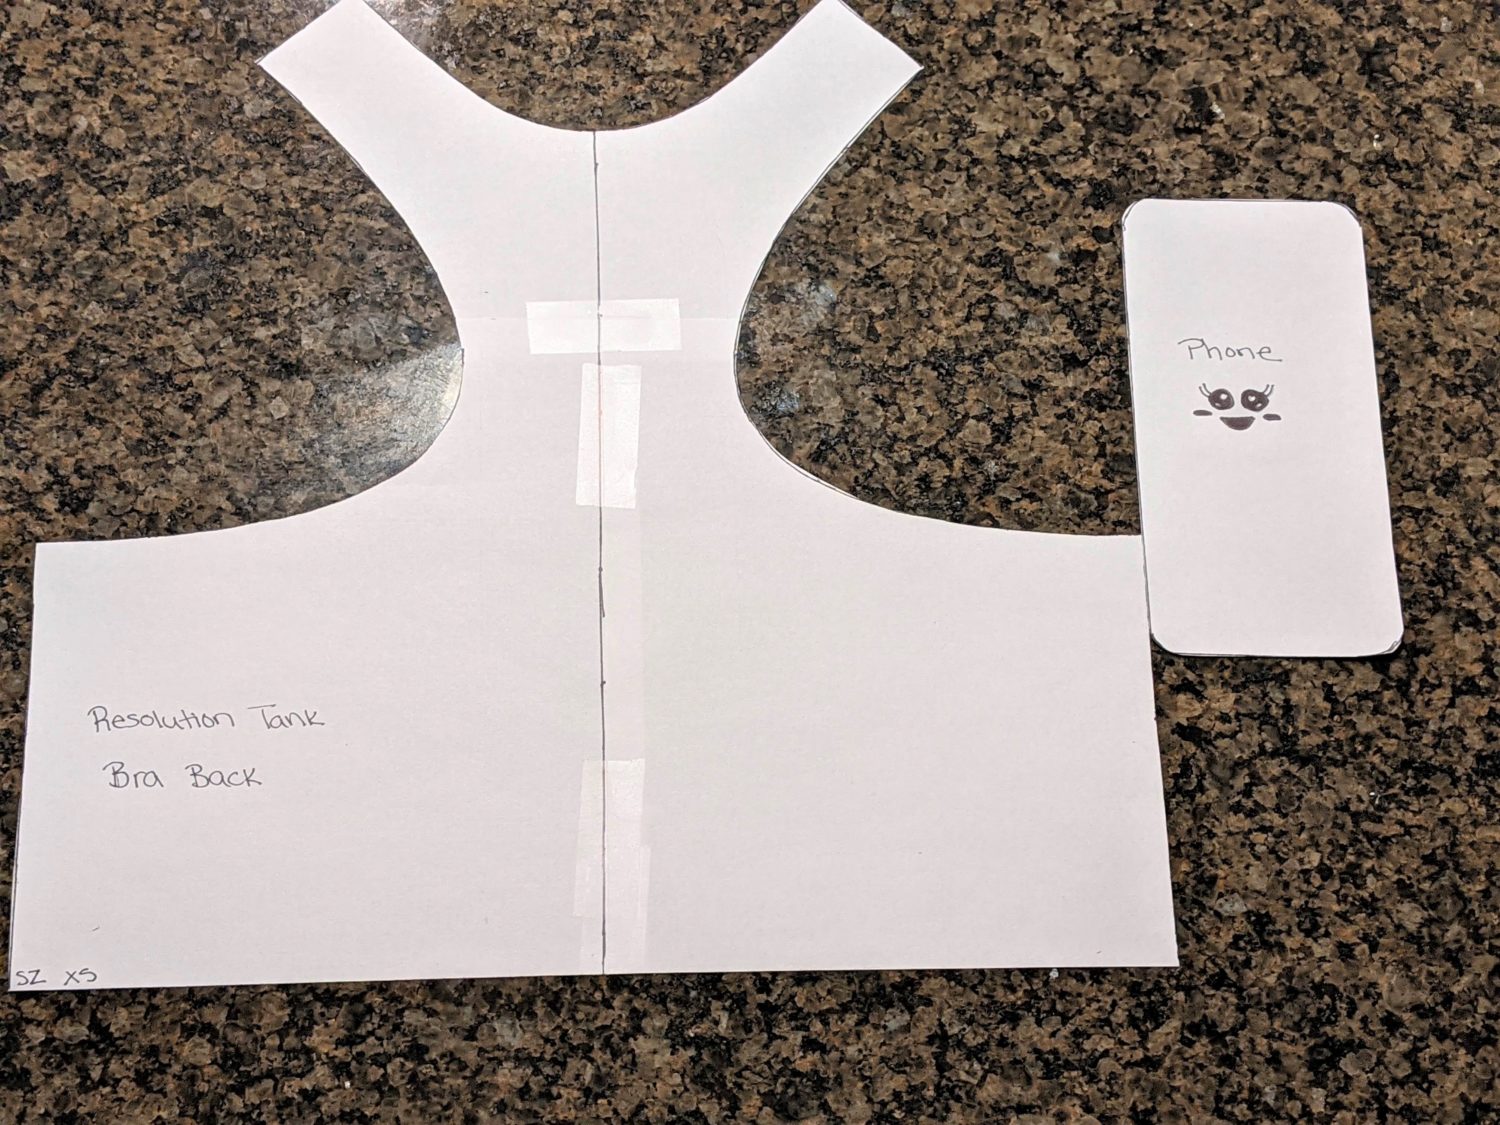
- Use your phone to make a template for the pocket. Add 3/4″ around all sides of the phone. (My daughter took her phone back so I made a paper one.)
- Set your template where you marked the placement on your pattern piece.
- Draw lines where the phone extends beyond the bodice.
- Tape a piece of paper along the edge, then mark 3/4″ away from the pattern edge.

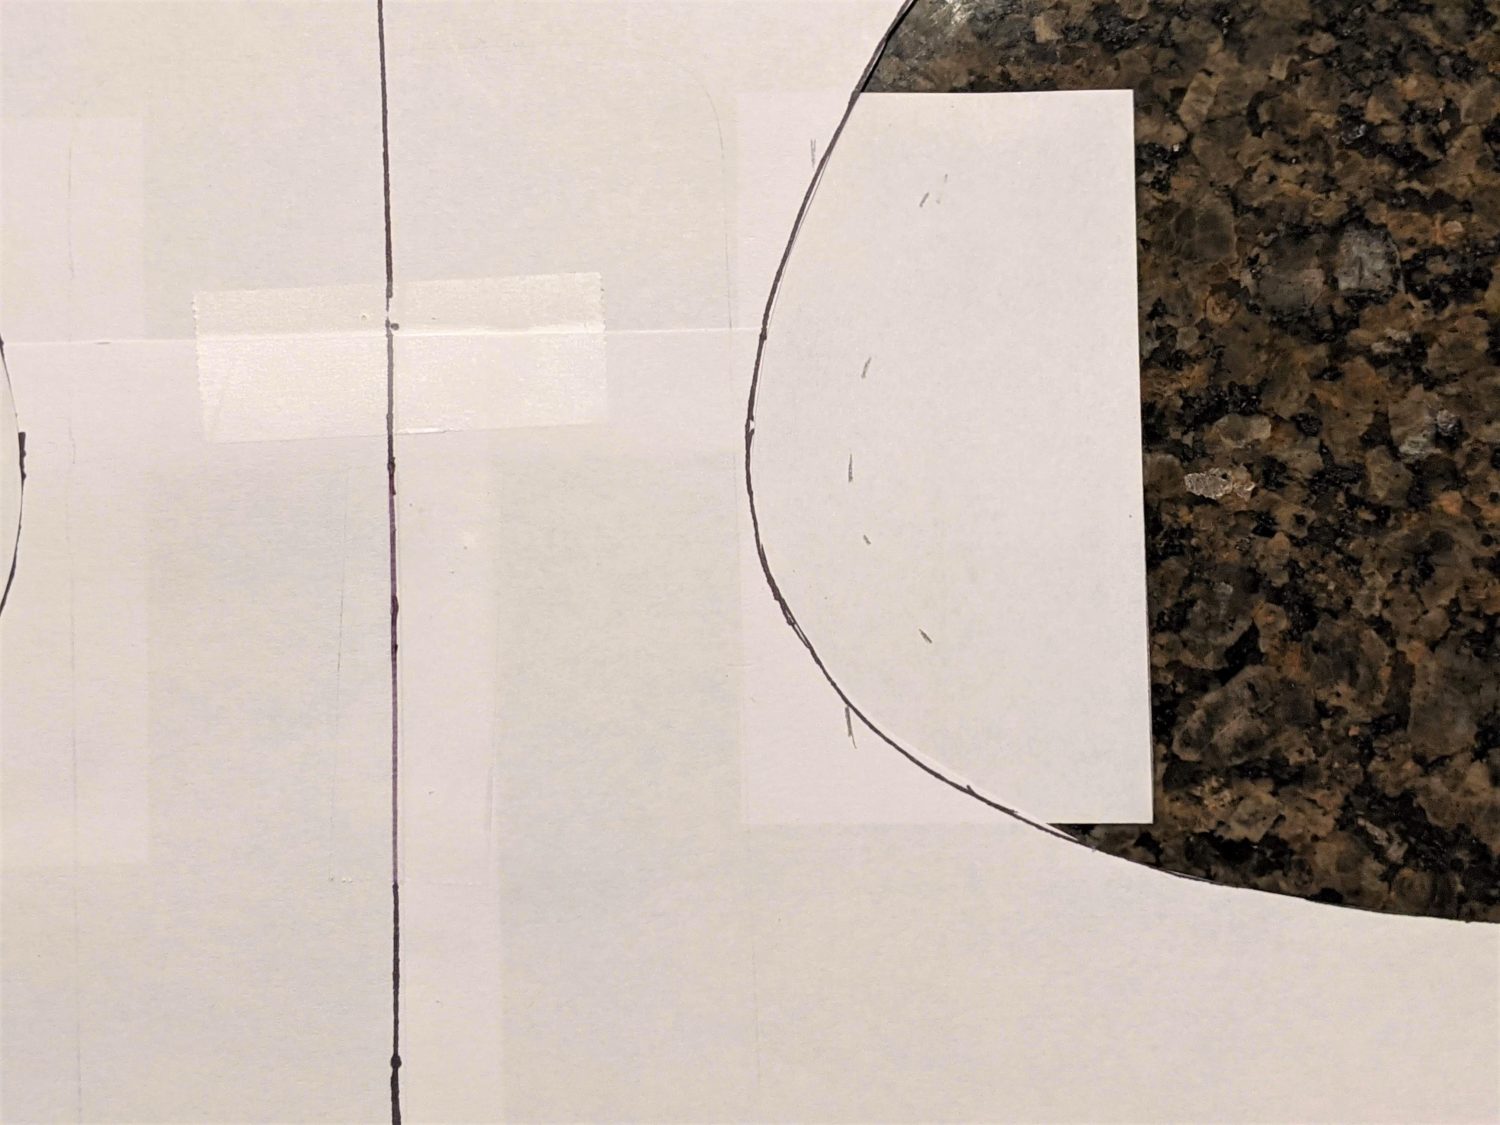
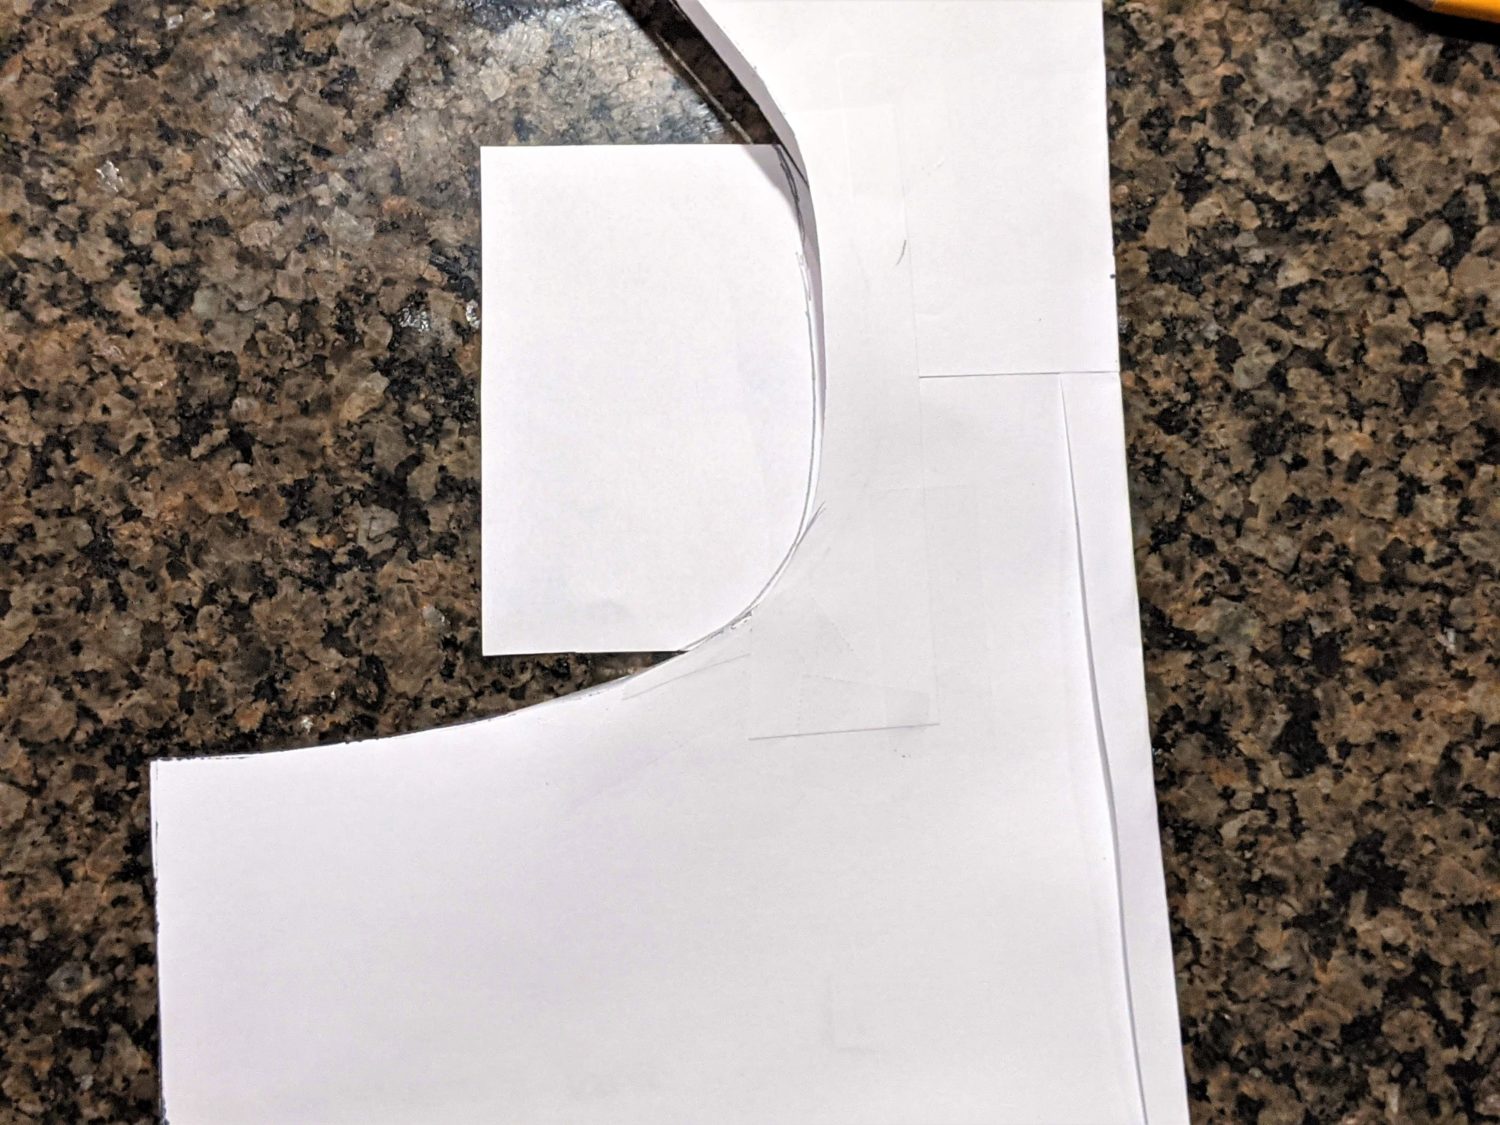
- Set your pocket template on top of the pattern, then trace along your 3/4″ marks making adjustments as needed to bring the curve back to meet the pattern edge smoothly.
- Cut off excess paper.
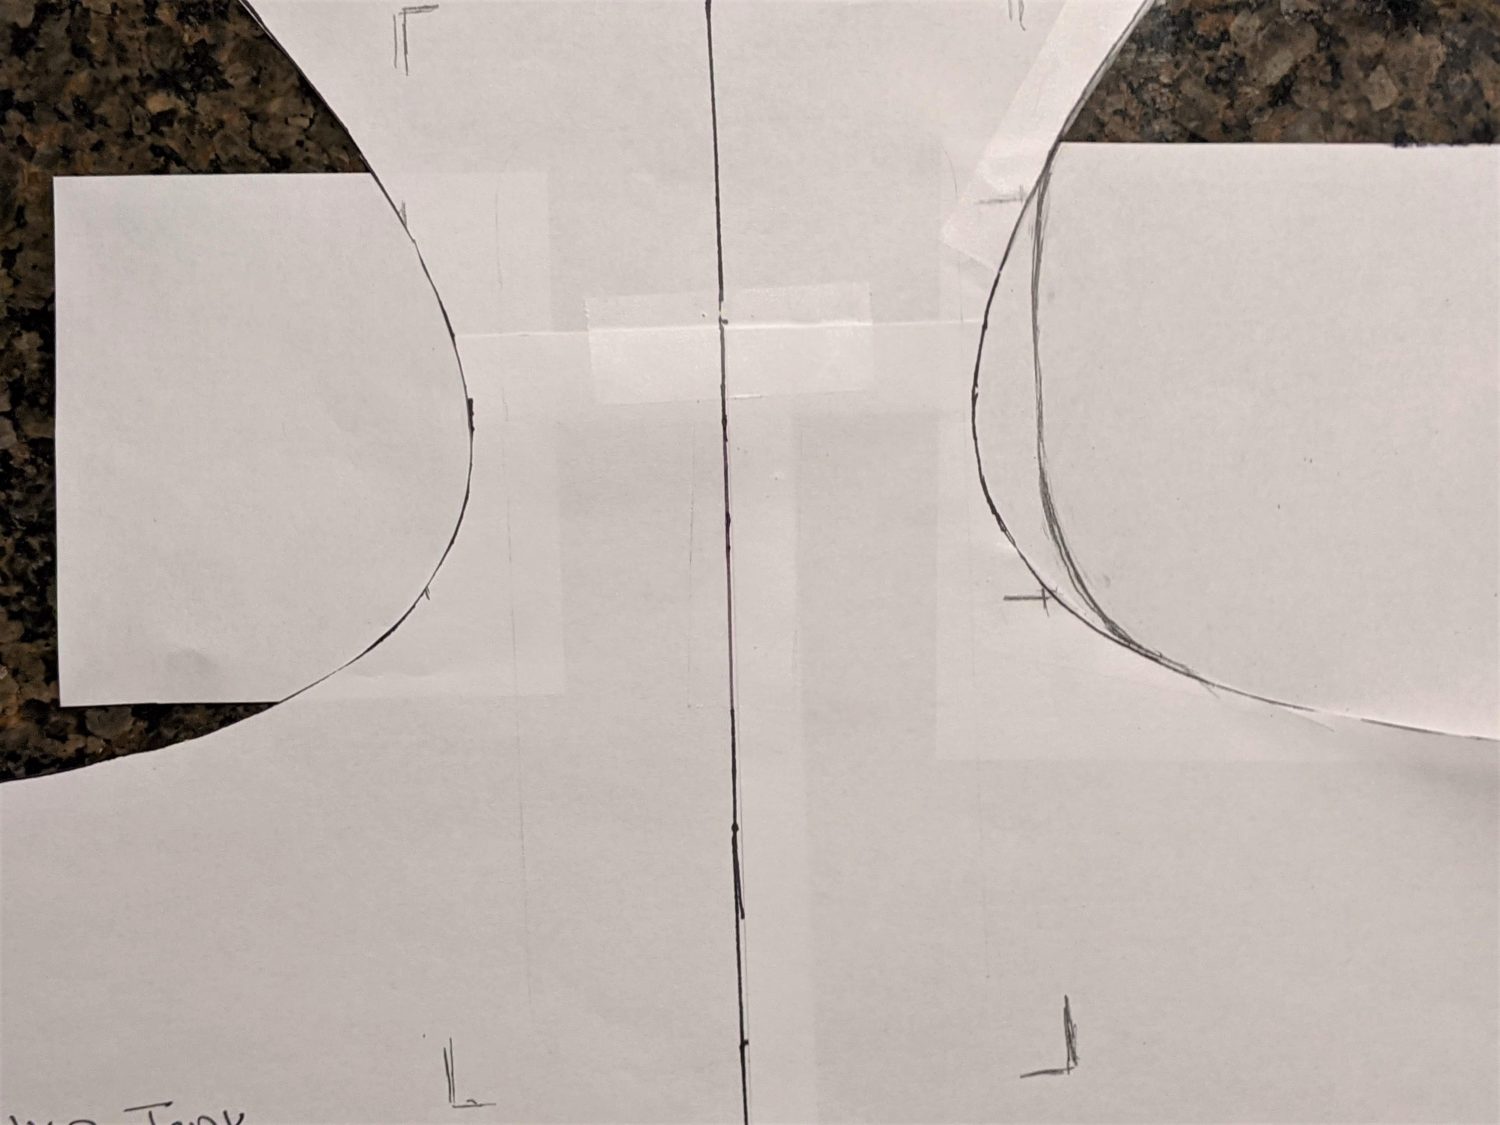
- Tape paper along the opposite side, then fold the bodice in half.
- Trace the new curve line onto the opposite side to match. (You can also just use half of the pattern piece and cut on the fold if you’d rather.)

Cut Your Pieces:
- 1 front bodice on the fold
- 1 full back bodice
- Any additional front or back bodice pieces if adding lining and/or powermesh
- 1 pocket
- Neck binding
- 2 arm binding pieces – these may need to be slightly adjusted to match the adjusted back bodice
Let’s Sew!
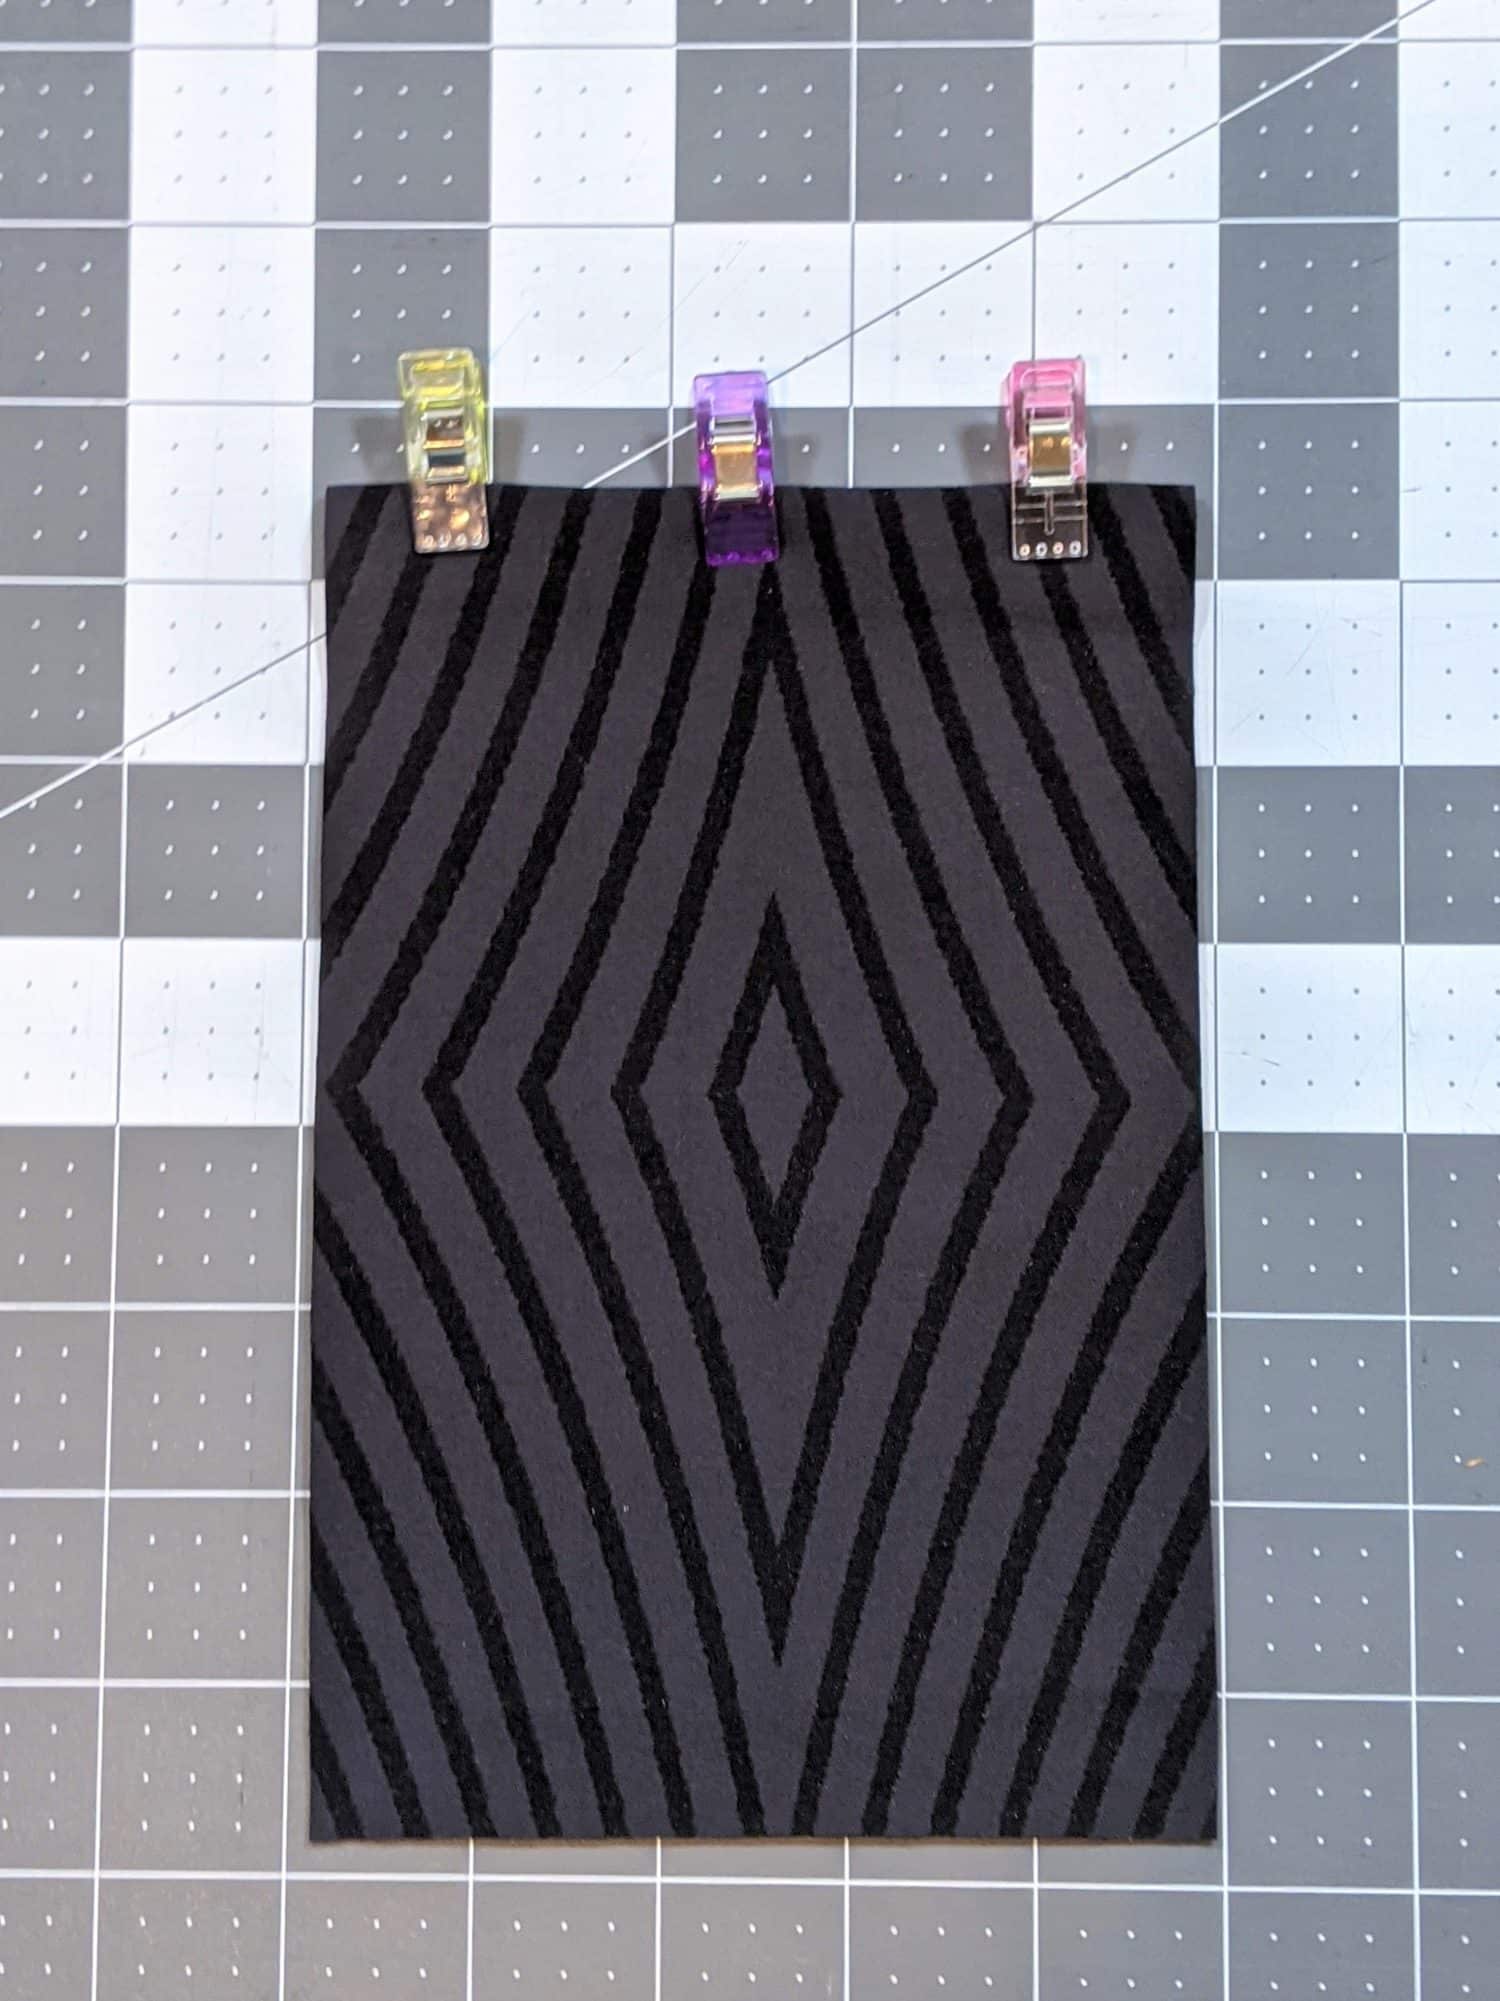
- Take your pocket piece and press the top and bottom edges up towards the back 1/2″
- Sew the top edge down using a stretch stitch and 3/8″ seam allowance.
- Fold the side edges to the back 1/2″ and hold in place with wash away wonder tape. (or pins)
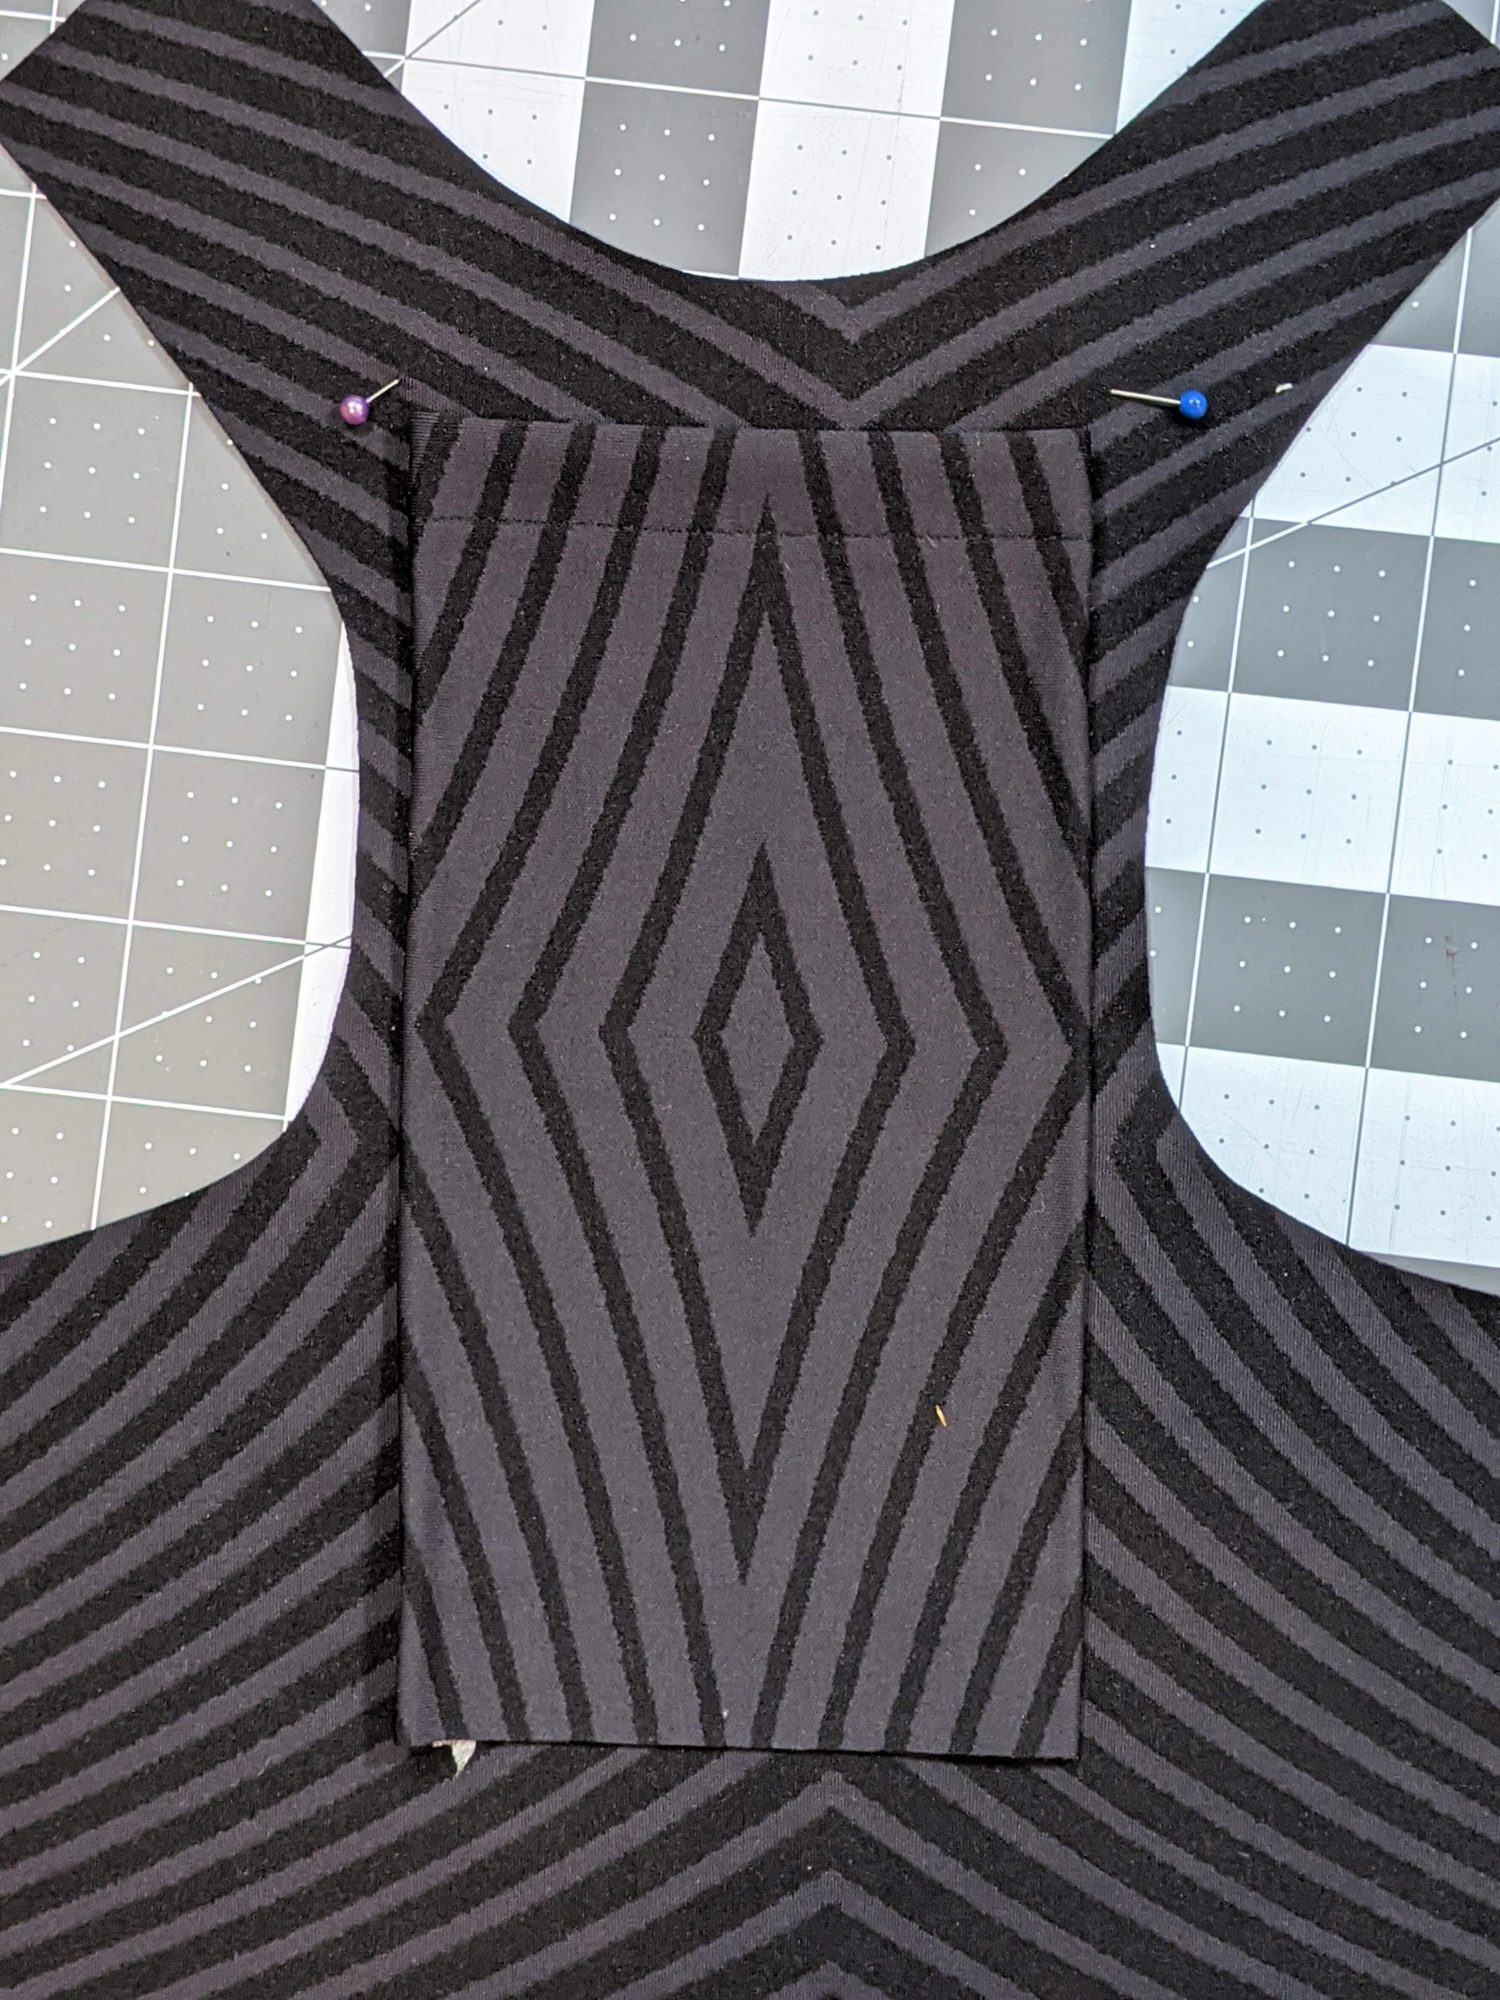
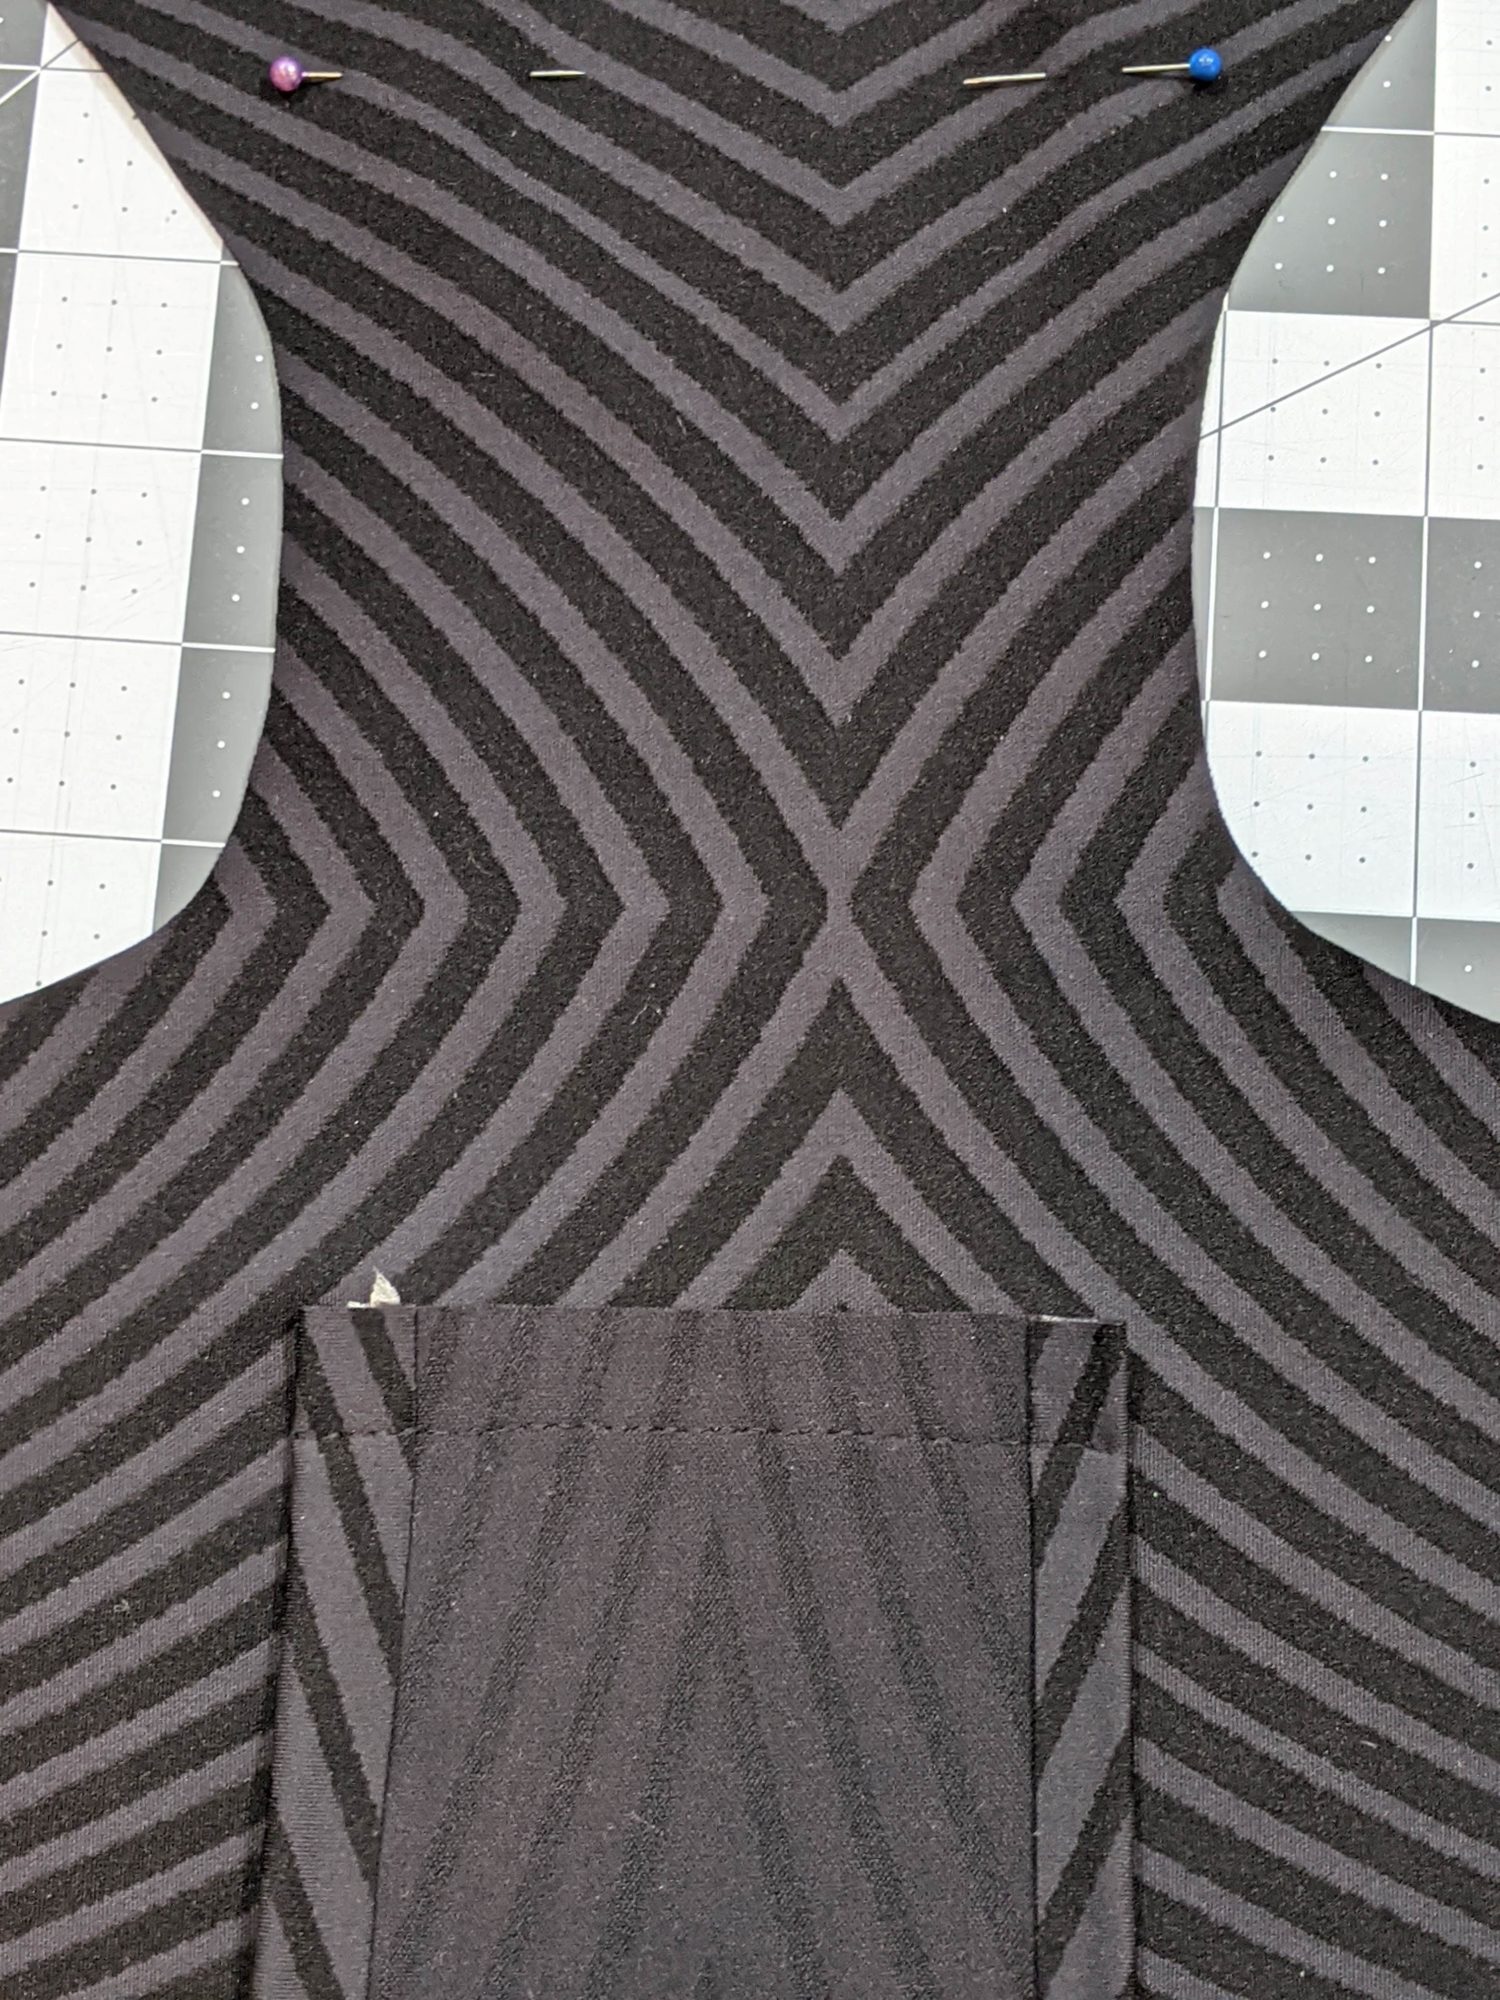
- Line your pocket up with the markings you made on your pattern piece making sure it is centered.
- You should have 1/2″ of the bodice on either side of the pocket so there is room to attach the binding.
- Pin the pocket on to keep it from shifting.
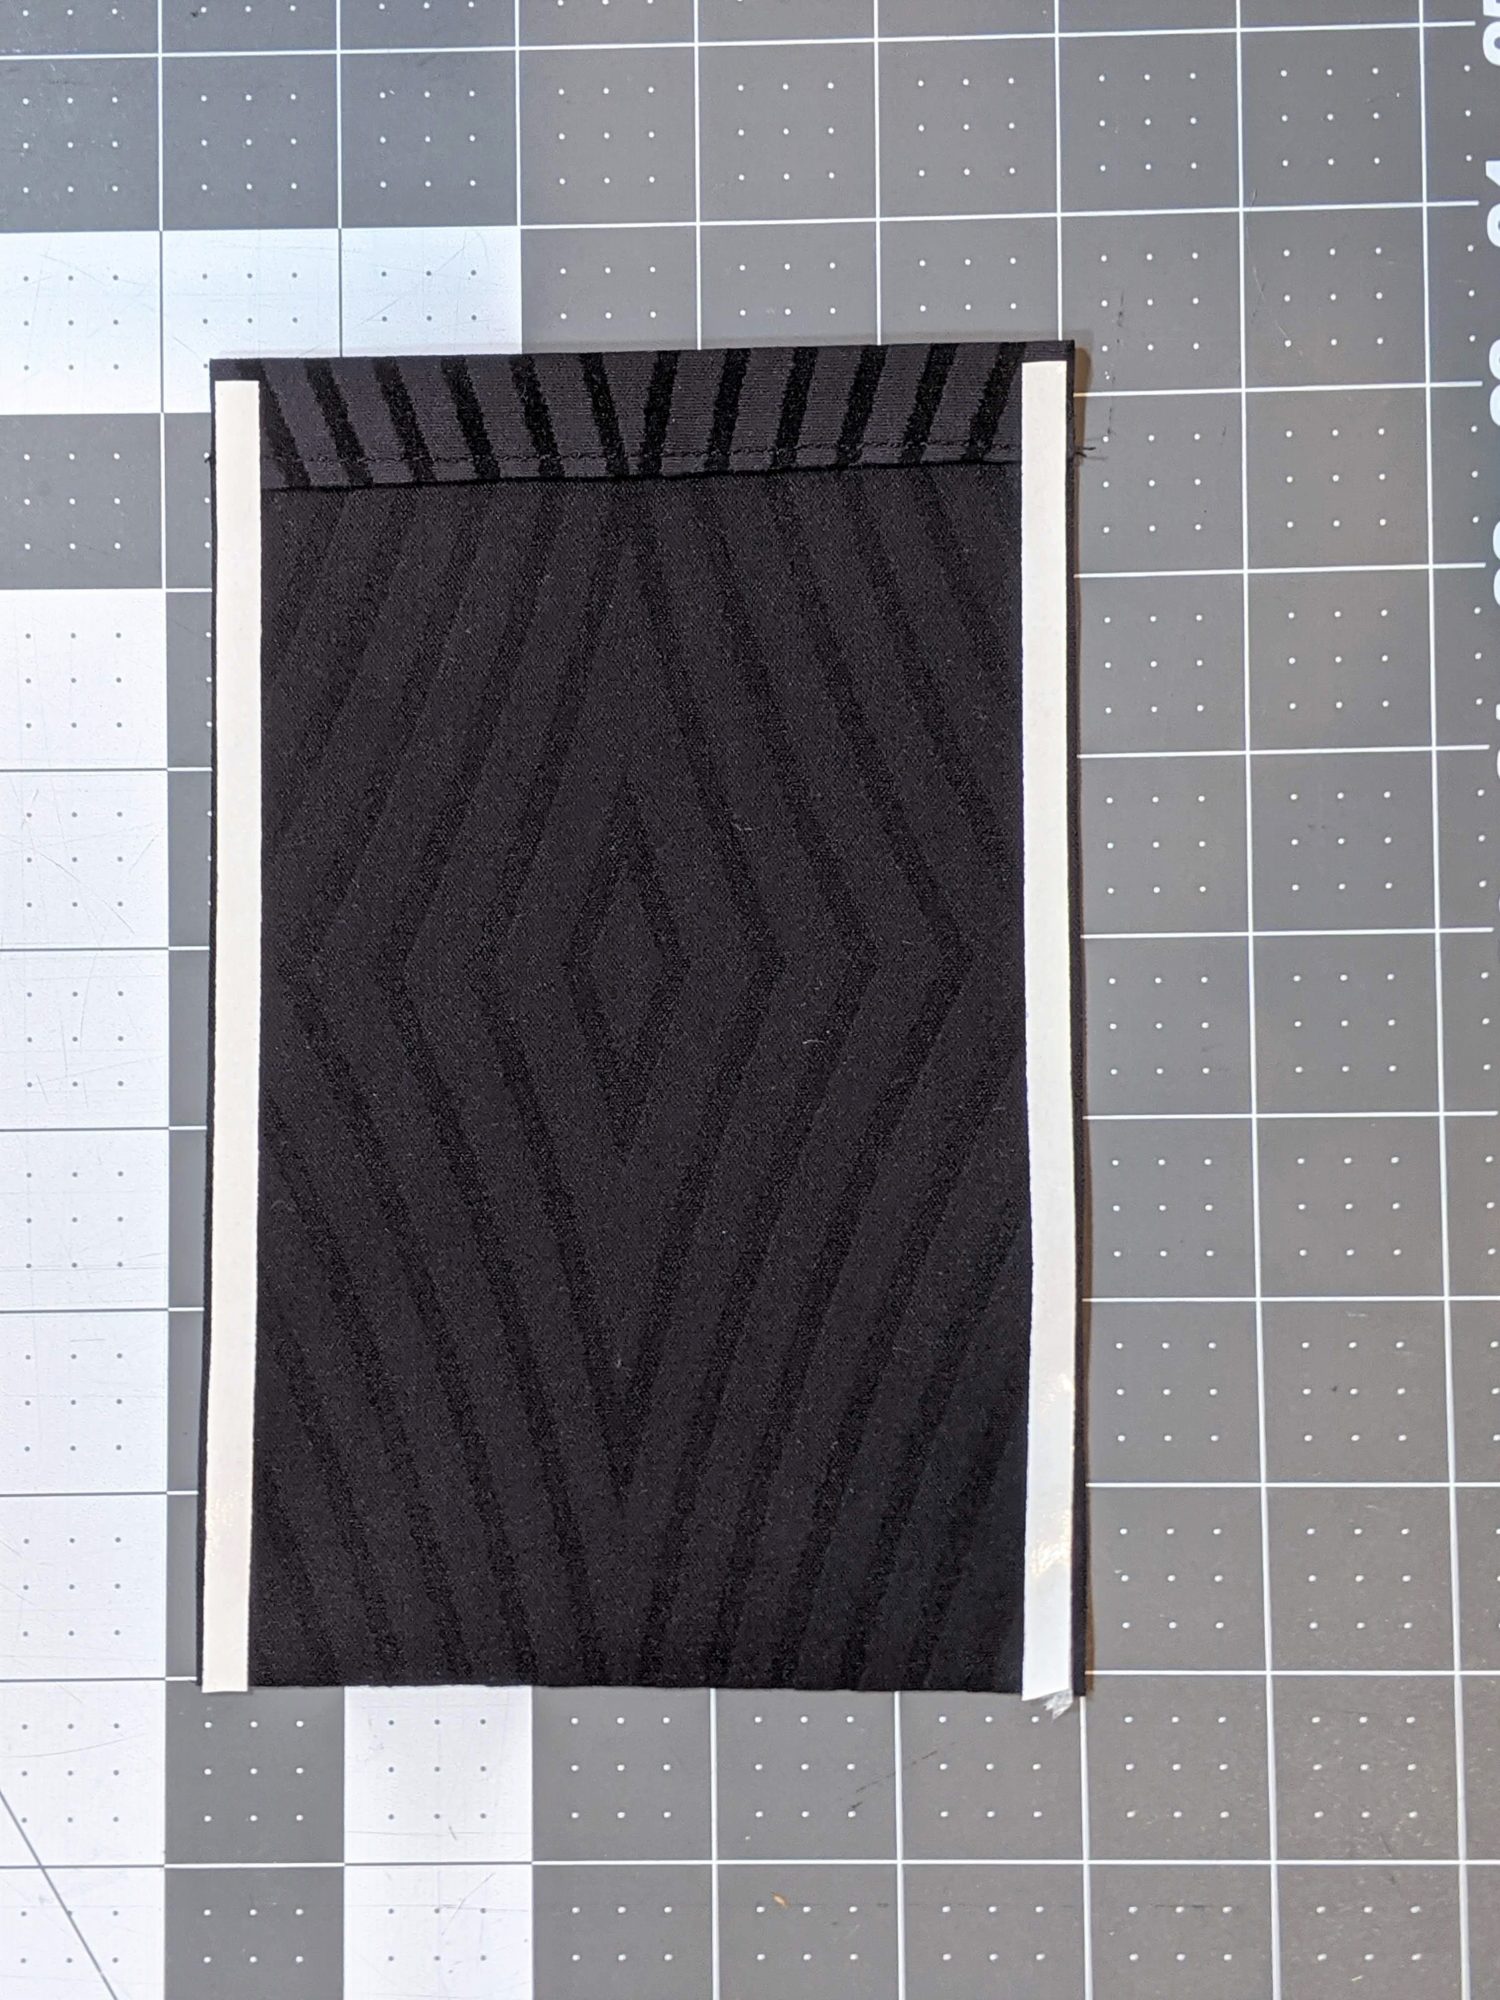
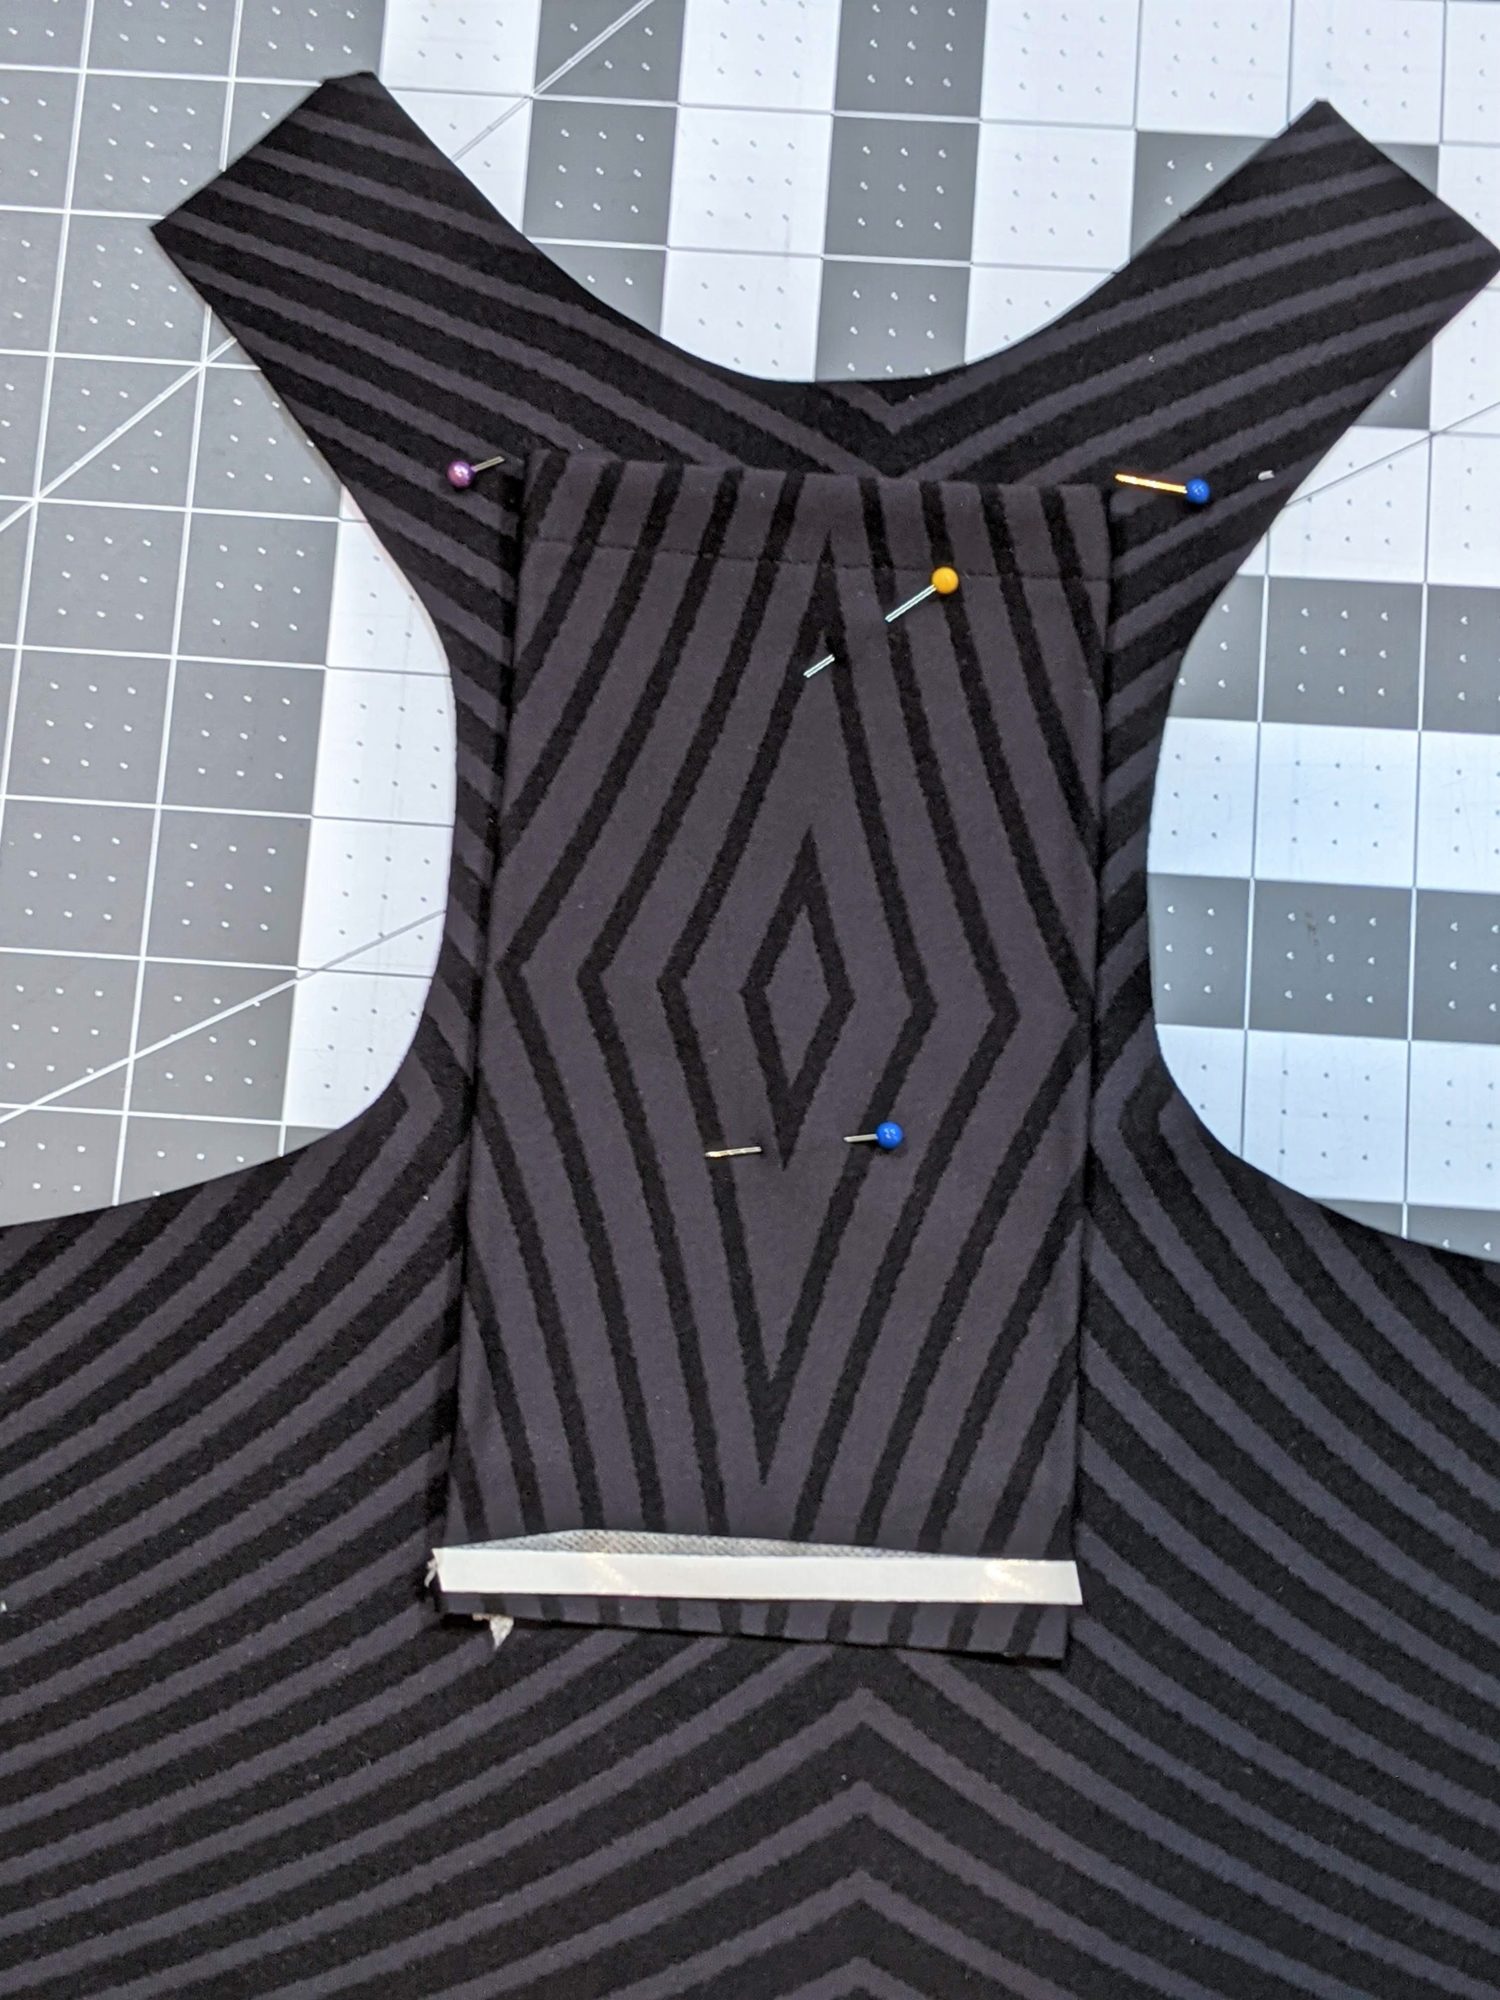
- Place wash away wonder tape along the right side of the bottom edge of the pocket.
- Turn the bottom edge of the pocket under 1/2″ and use your fingers to press the tape securely to the bodice.
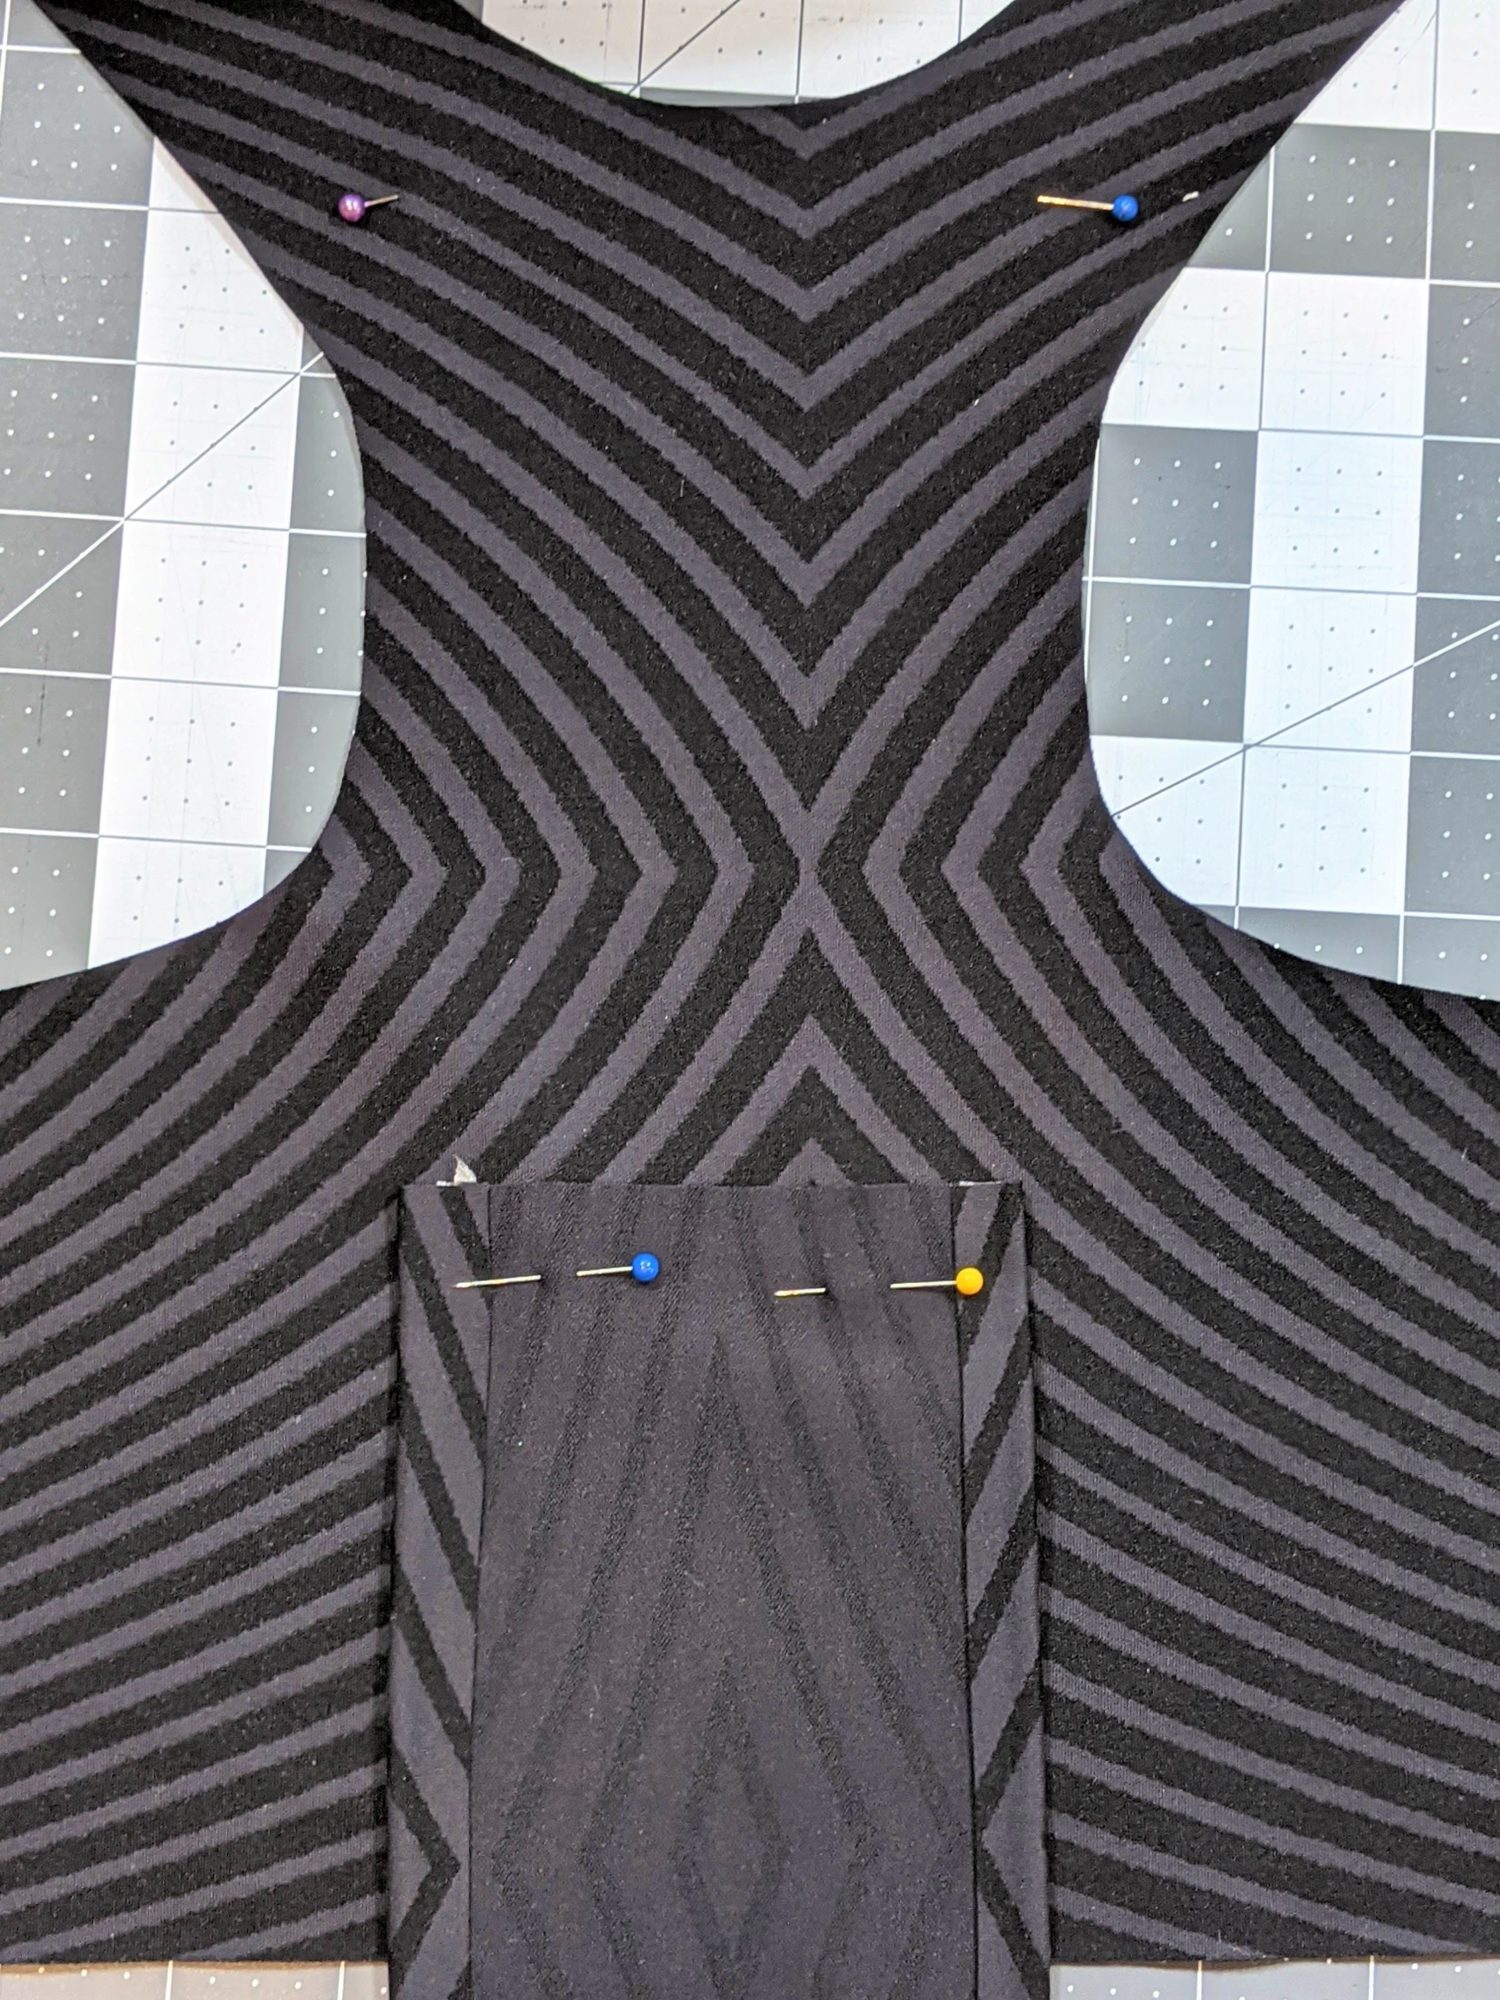
- Remove the pins from the pocket and flip the pocket down so you can see the wrong side of it.
- Sew the pocket edge along the crease where you pressed it up 1/2″ using a stretch stitch.
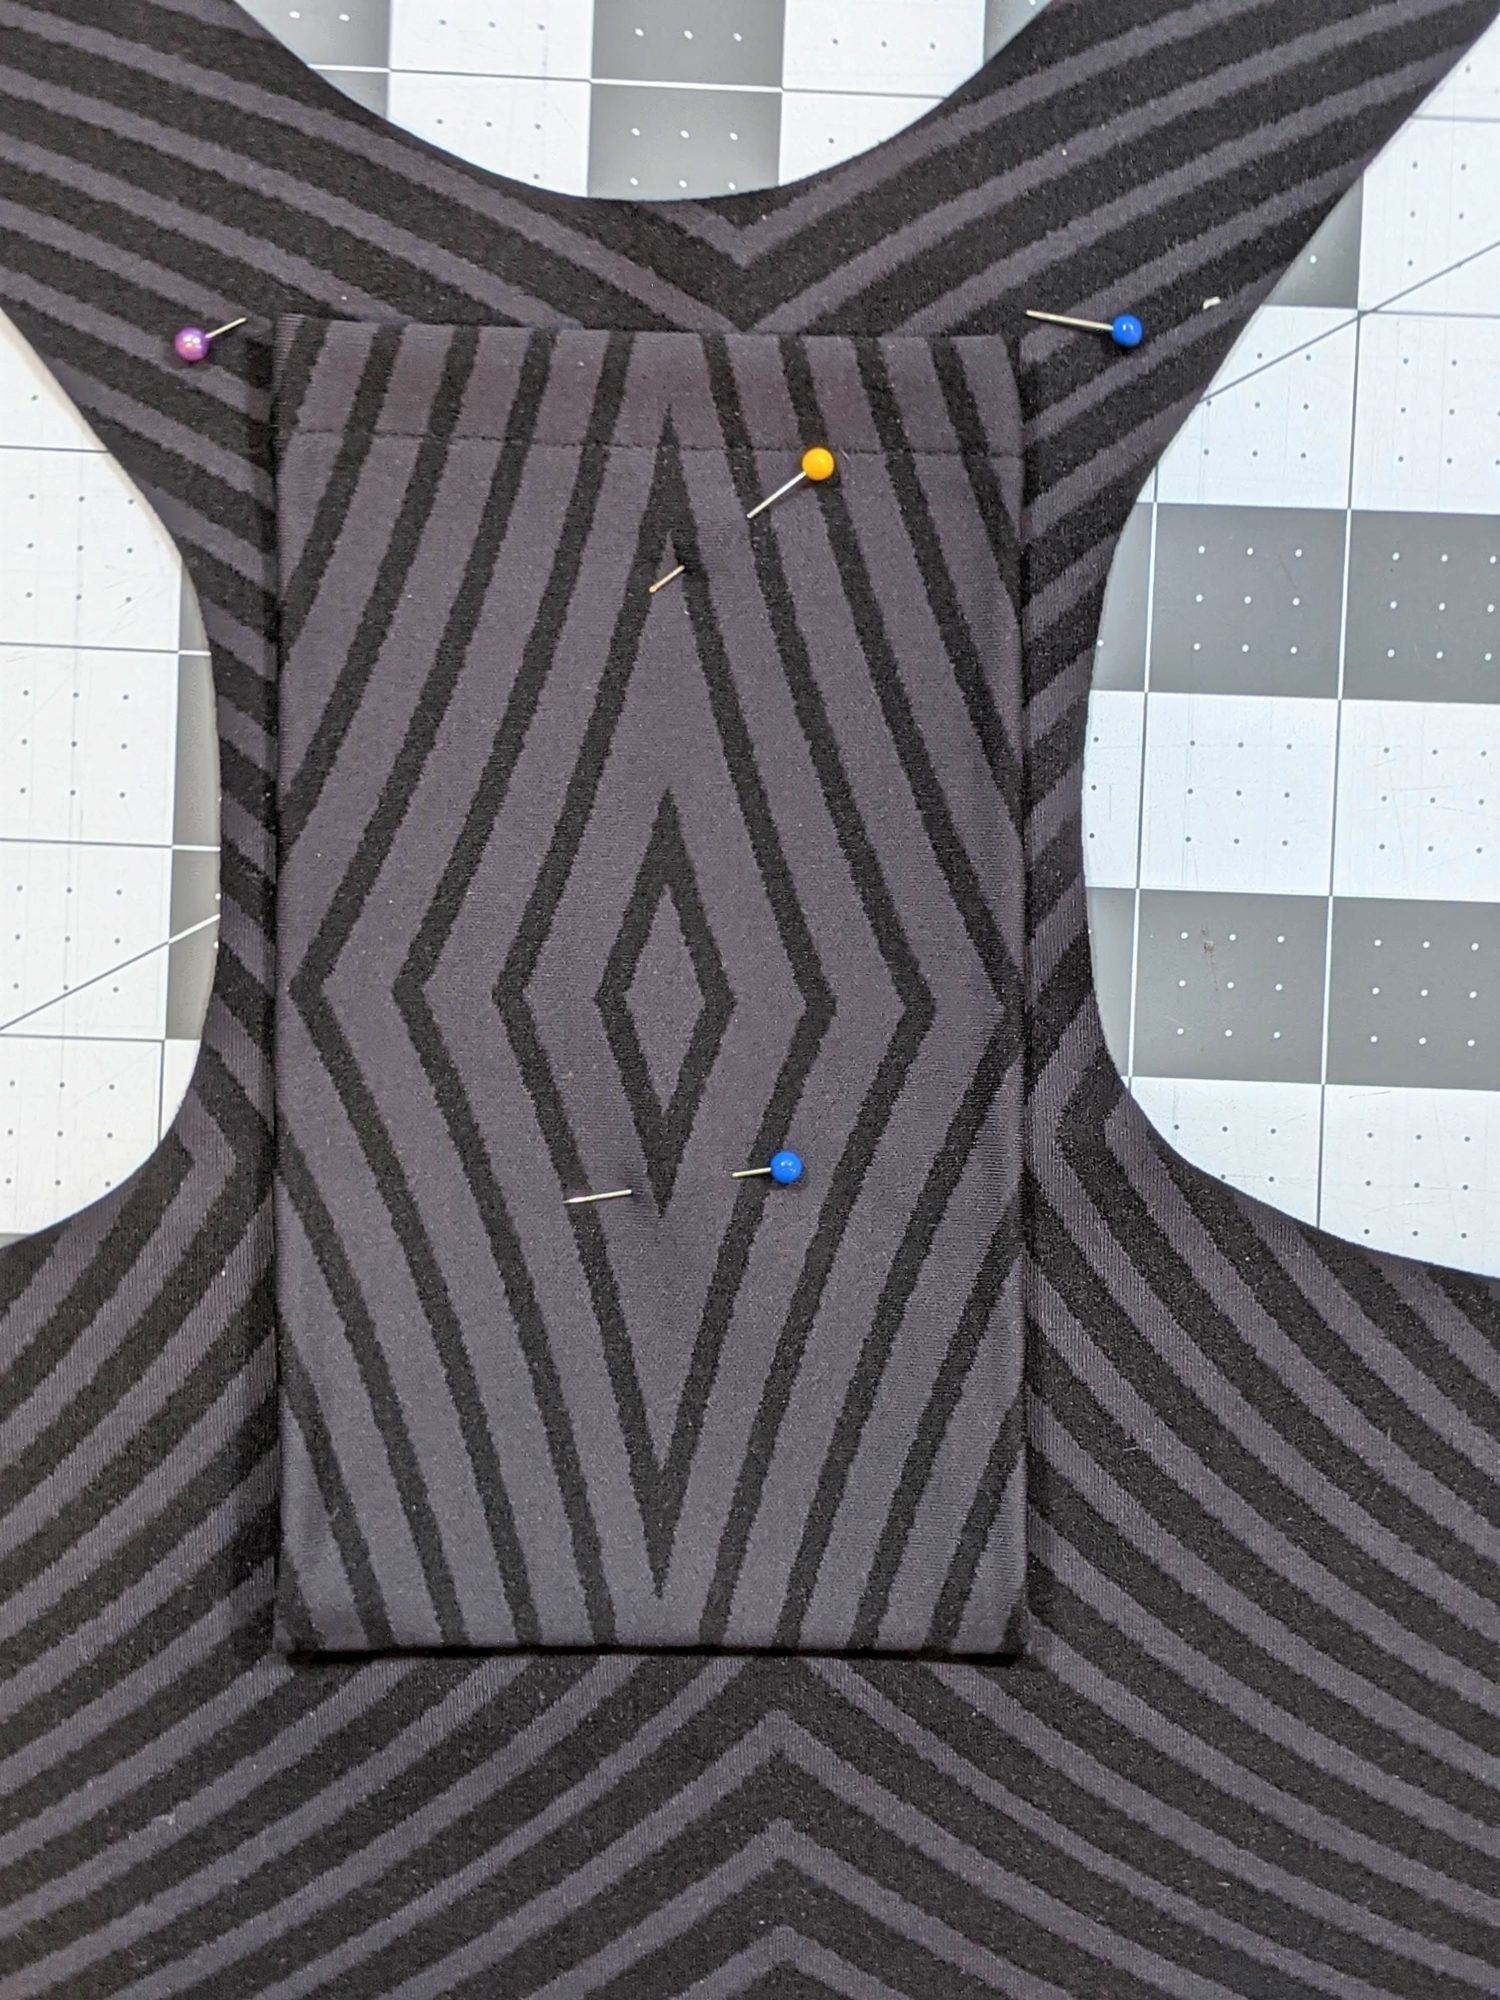
- Stick wash away wonder tape to the back side of the outer edges of the pocket.
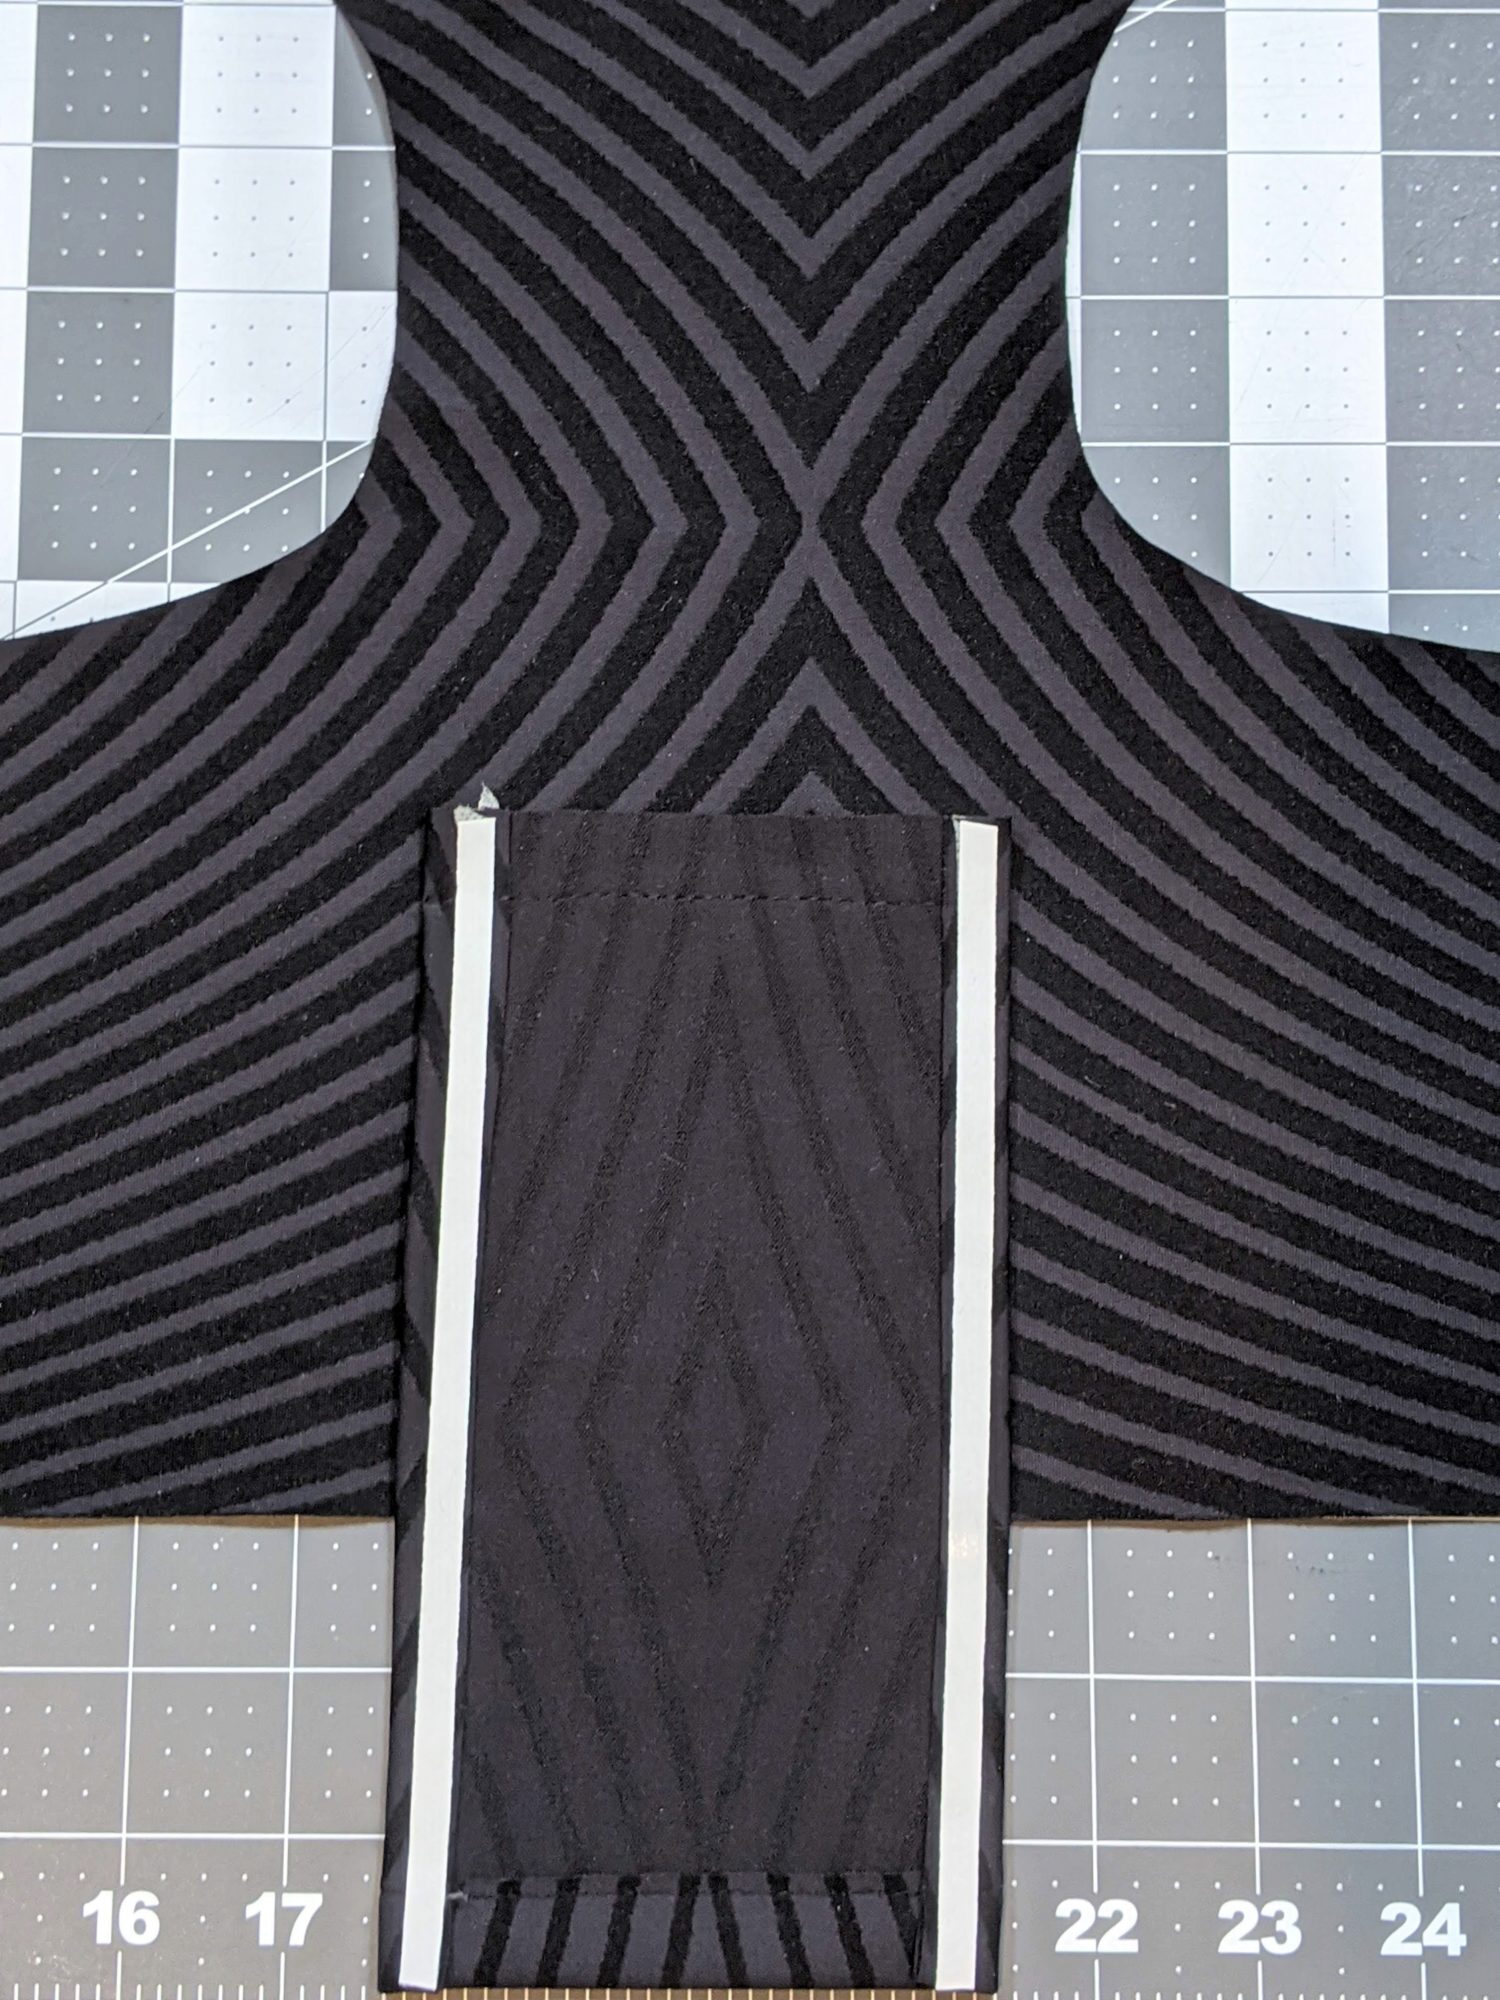
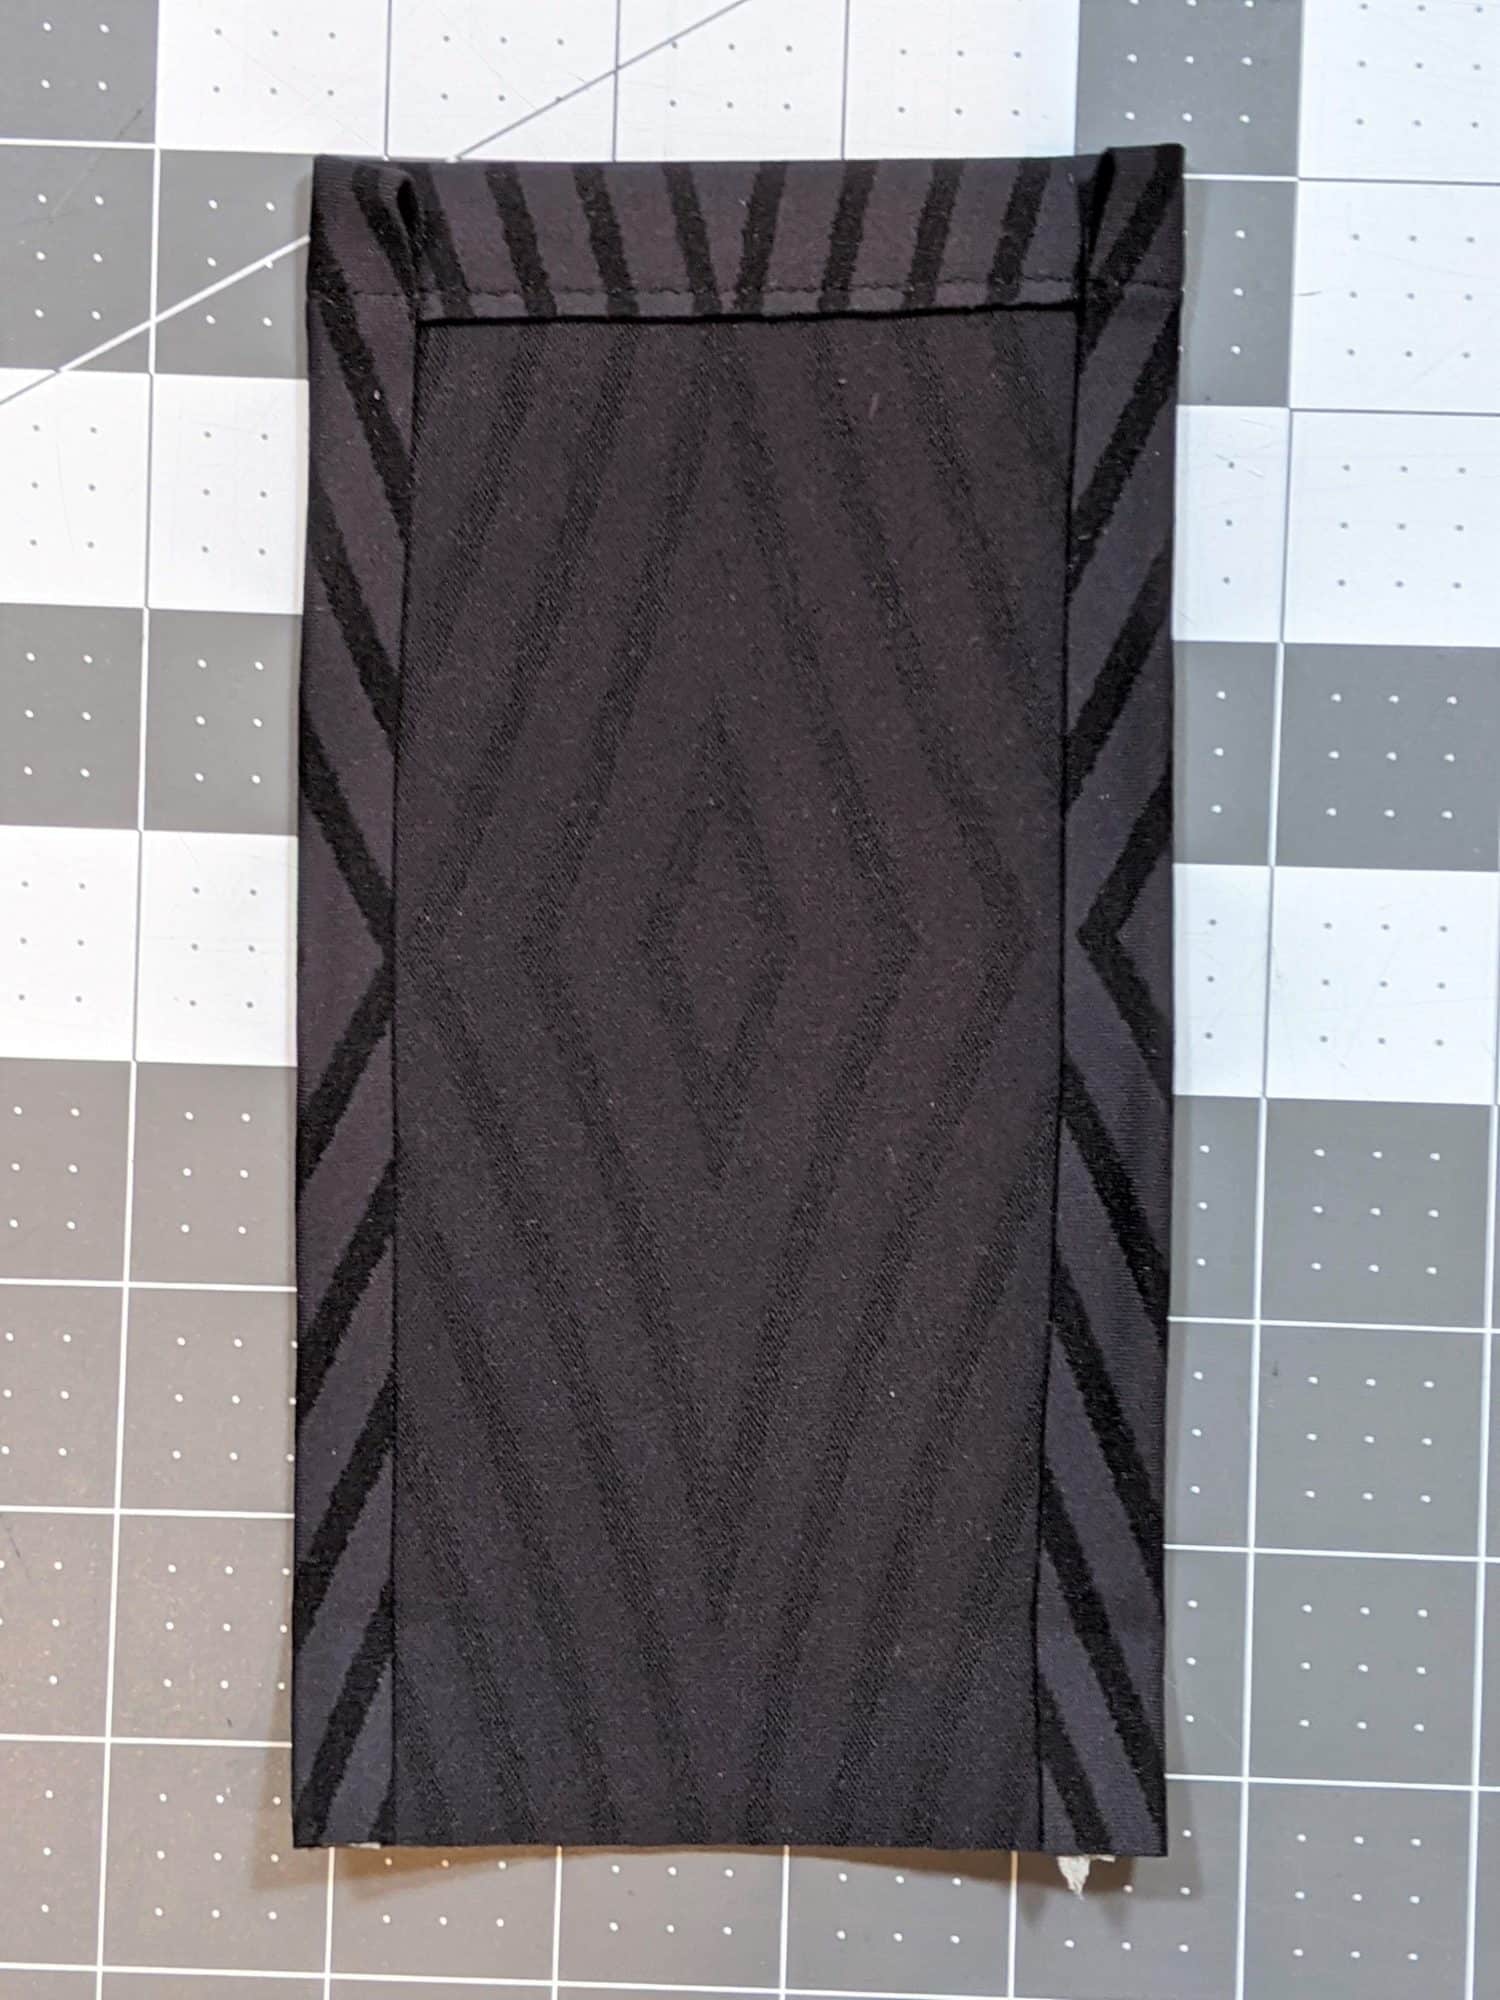
- Flip the pocket back up and press the taped edges to hold them to the bodice.
- Sew along both vertical sides with a 3/8″ seam allowance.

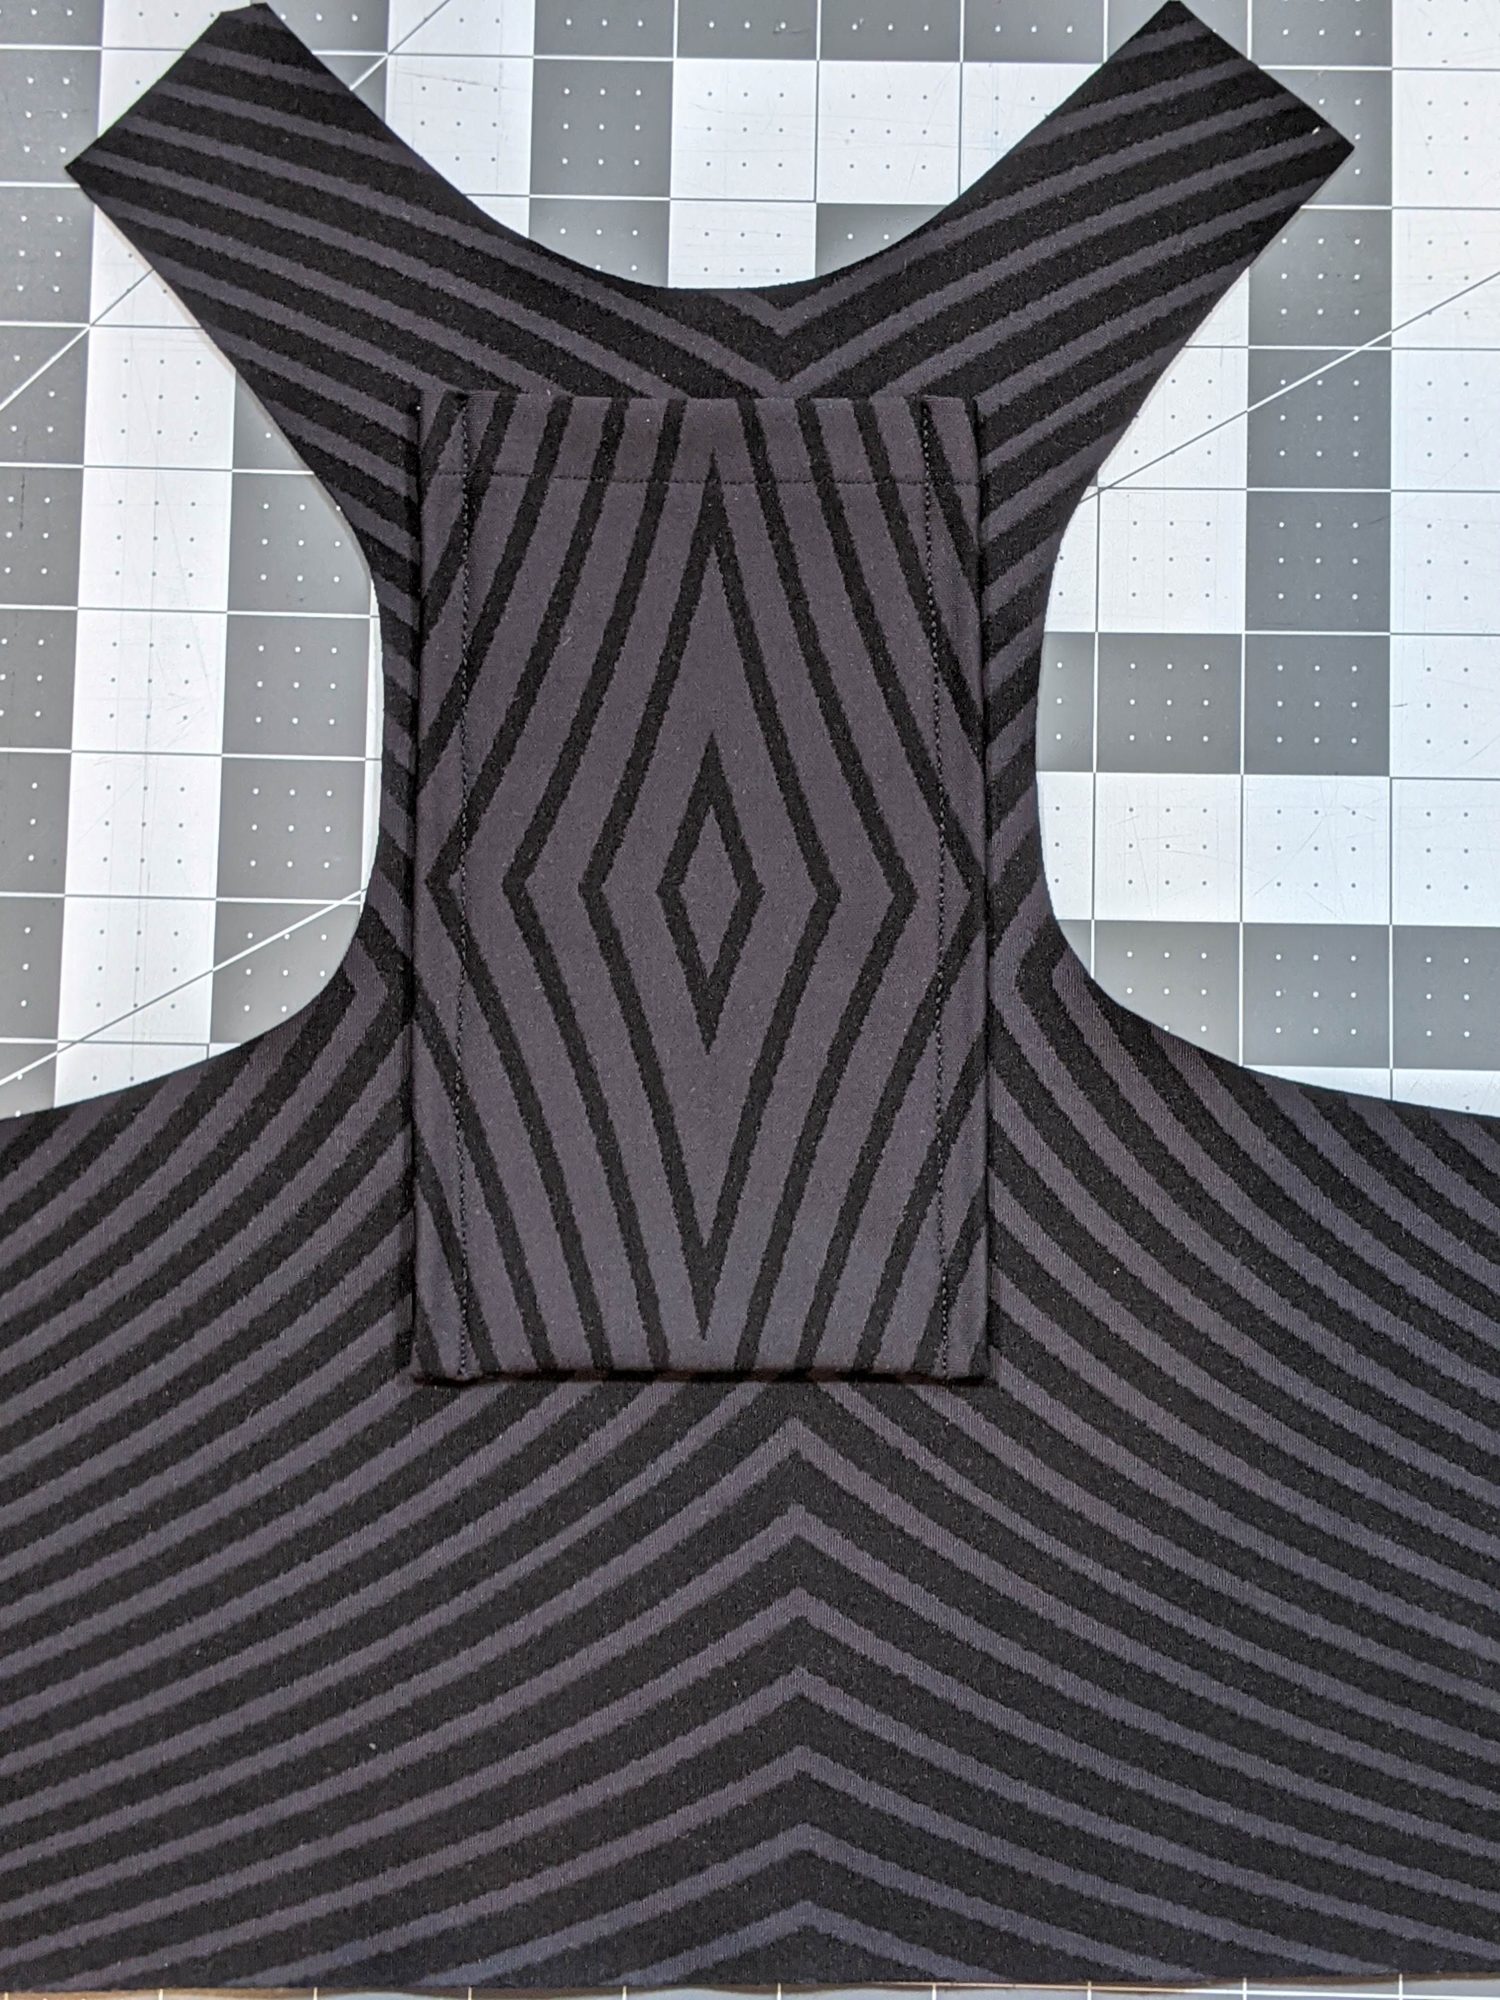
Finishing up
Follow the remaining steps in the tutorial to finish your bra. I highly recommend using your regular sewing machine when attaching the binding just in case you sew over an edge of the pocket. If all looks good, you can serge over it if desired.
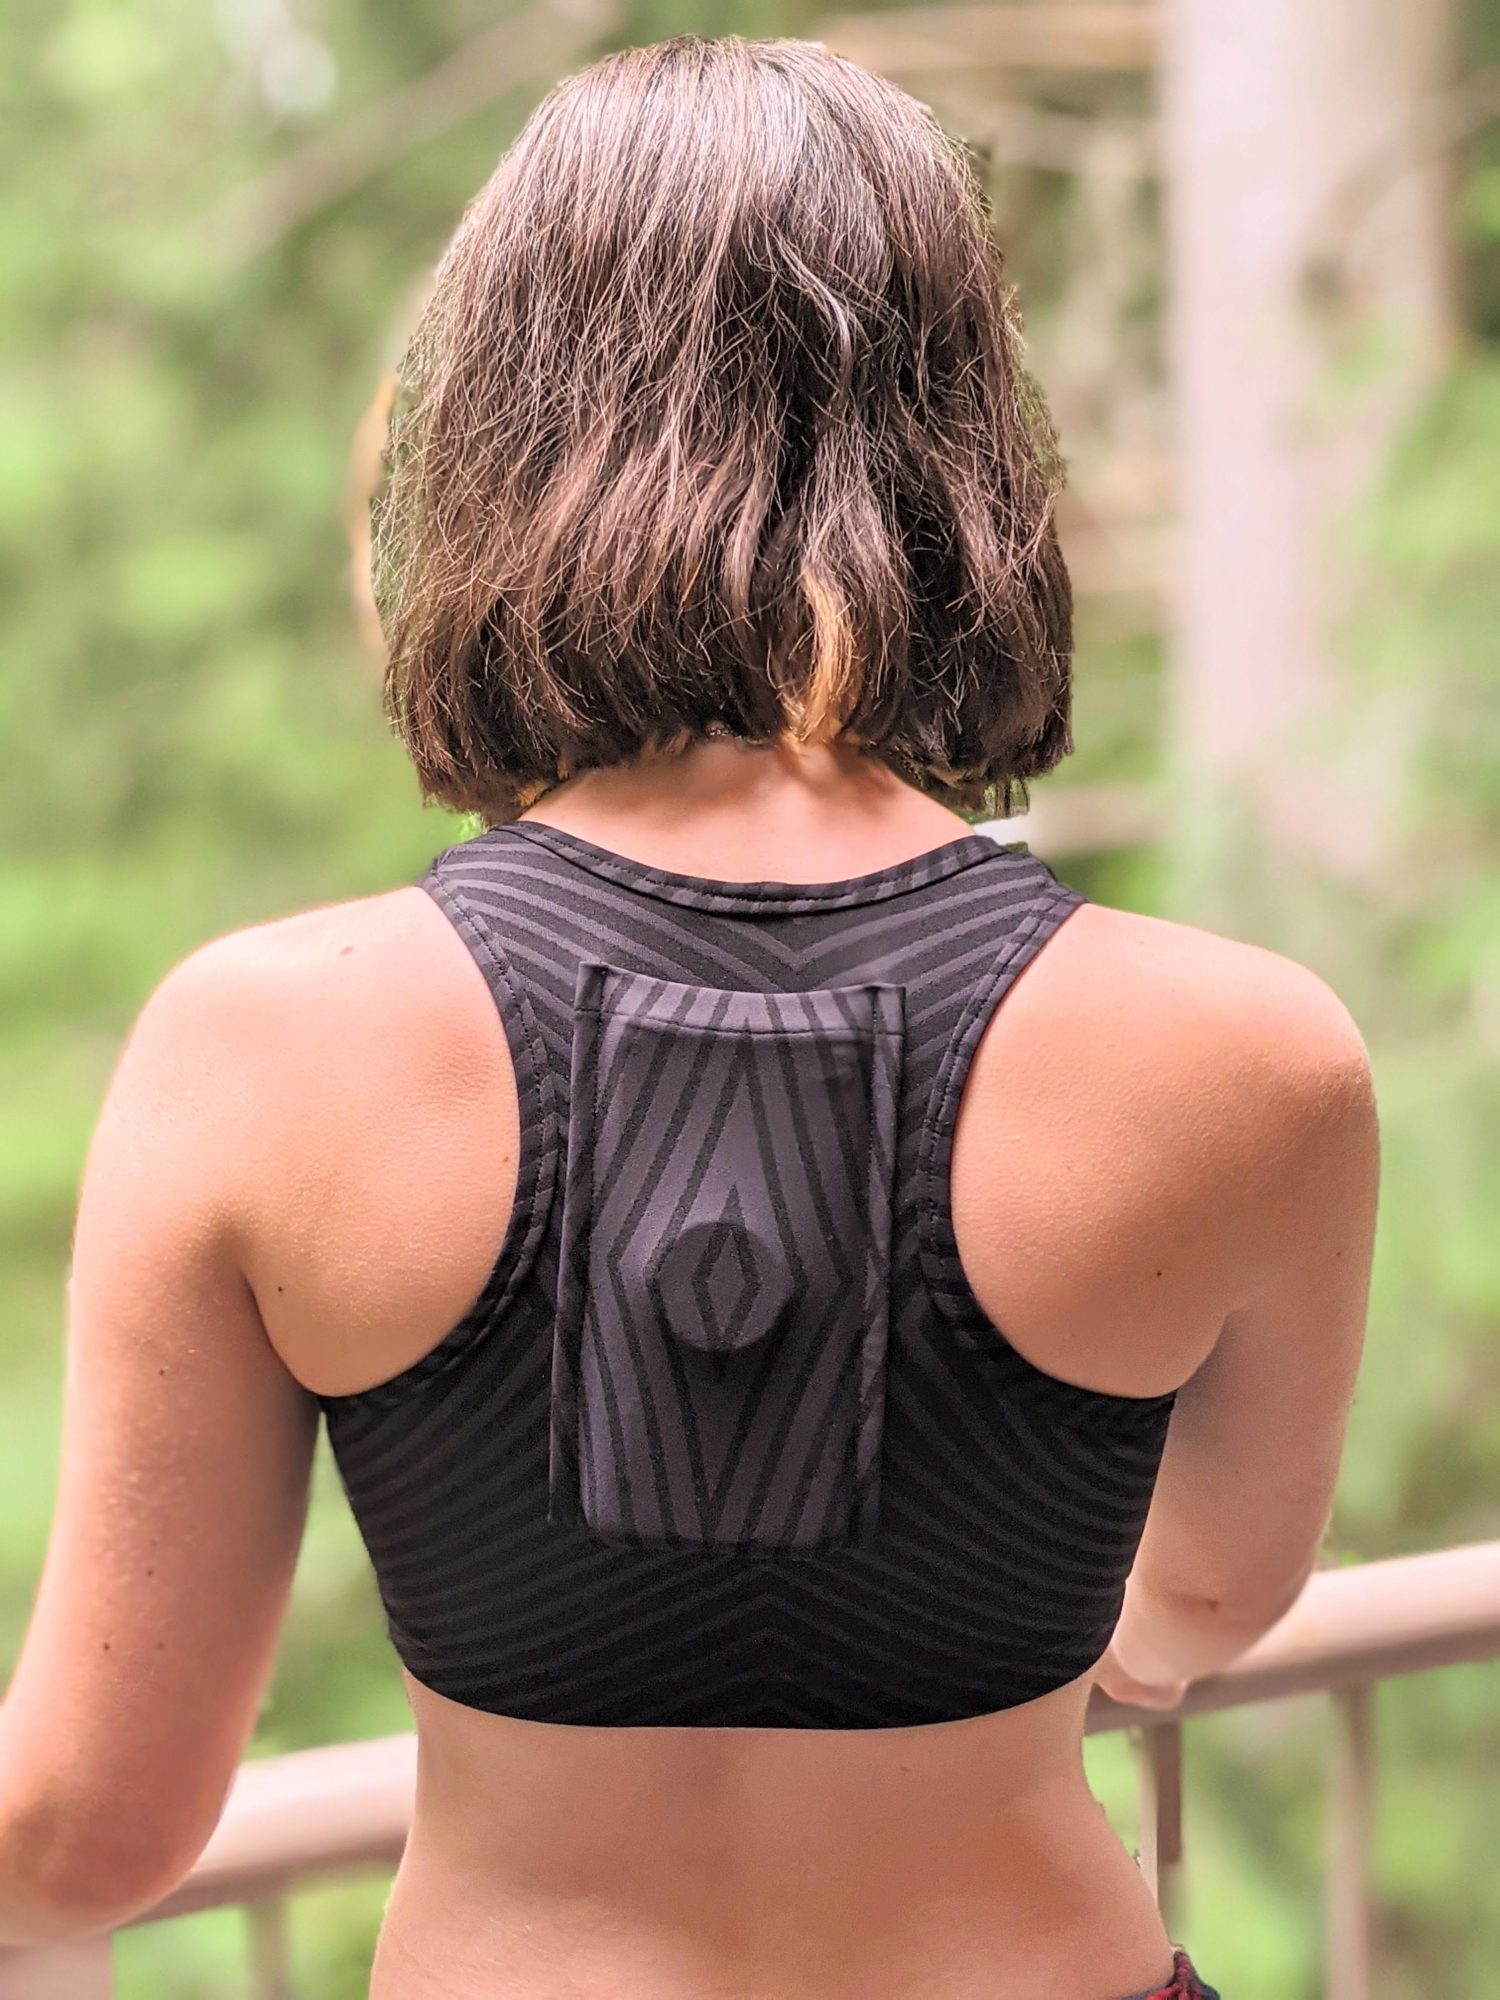
You’re ready to hit the road and conveniently carry your phone with you!
Want more FUN DIY Freebies? Check out the FREEBIE TUTORIALS and the FREEBIE PATTERNS!
As always, we’re here to help if you need it! Join us HERE and on Facebook, Instagram, Twitter, Youtube, and Pinterest. We’re everywhere you are.
Leave a Reply