I love everything about Sleepy Jean Onesie Pajama pattern, including the fact that it has an inseam zipper option. However, I know that it can be a challenge to find a zipper that’s correct length or even the right color. That’s not a problem anymore! Let’s skip the zip and add a snap placket to make those late night or early morning changes easier for everybody.

Let’s jump right in and do this snap hack together!
- Cut the pattern as per instructions. We will be cutting the snap plackets from quilting cotton. After you have installed the zipper in the front and sewn and topstitched the center back seam, you are ready to create a placket for snaps.
- Cut a 2.25 inch wide strip the width of the fabric, which fits nicely on the 2T. If you are making a larger size, you will need two strips.
- Cut a 1 inch wide strip of non-fusible/fusible interfacing.
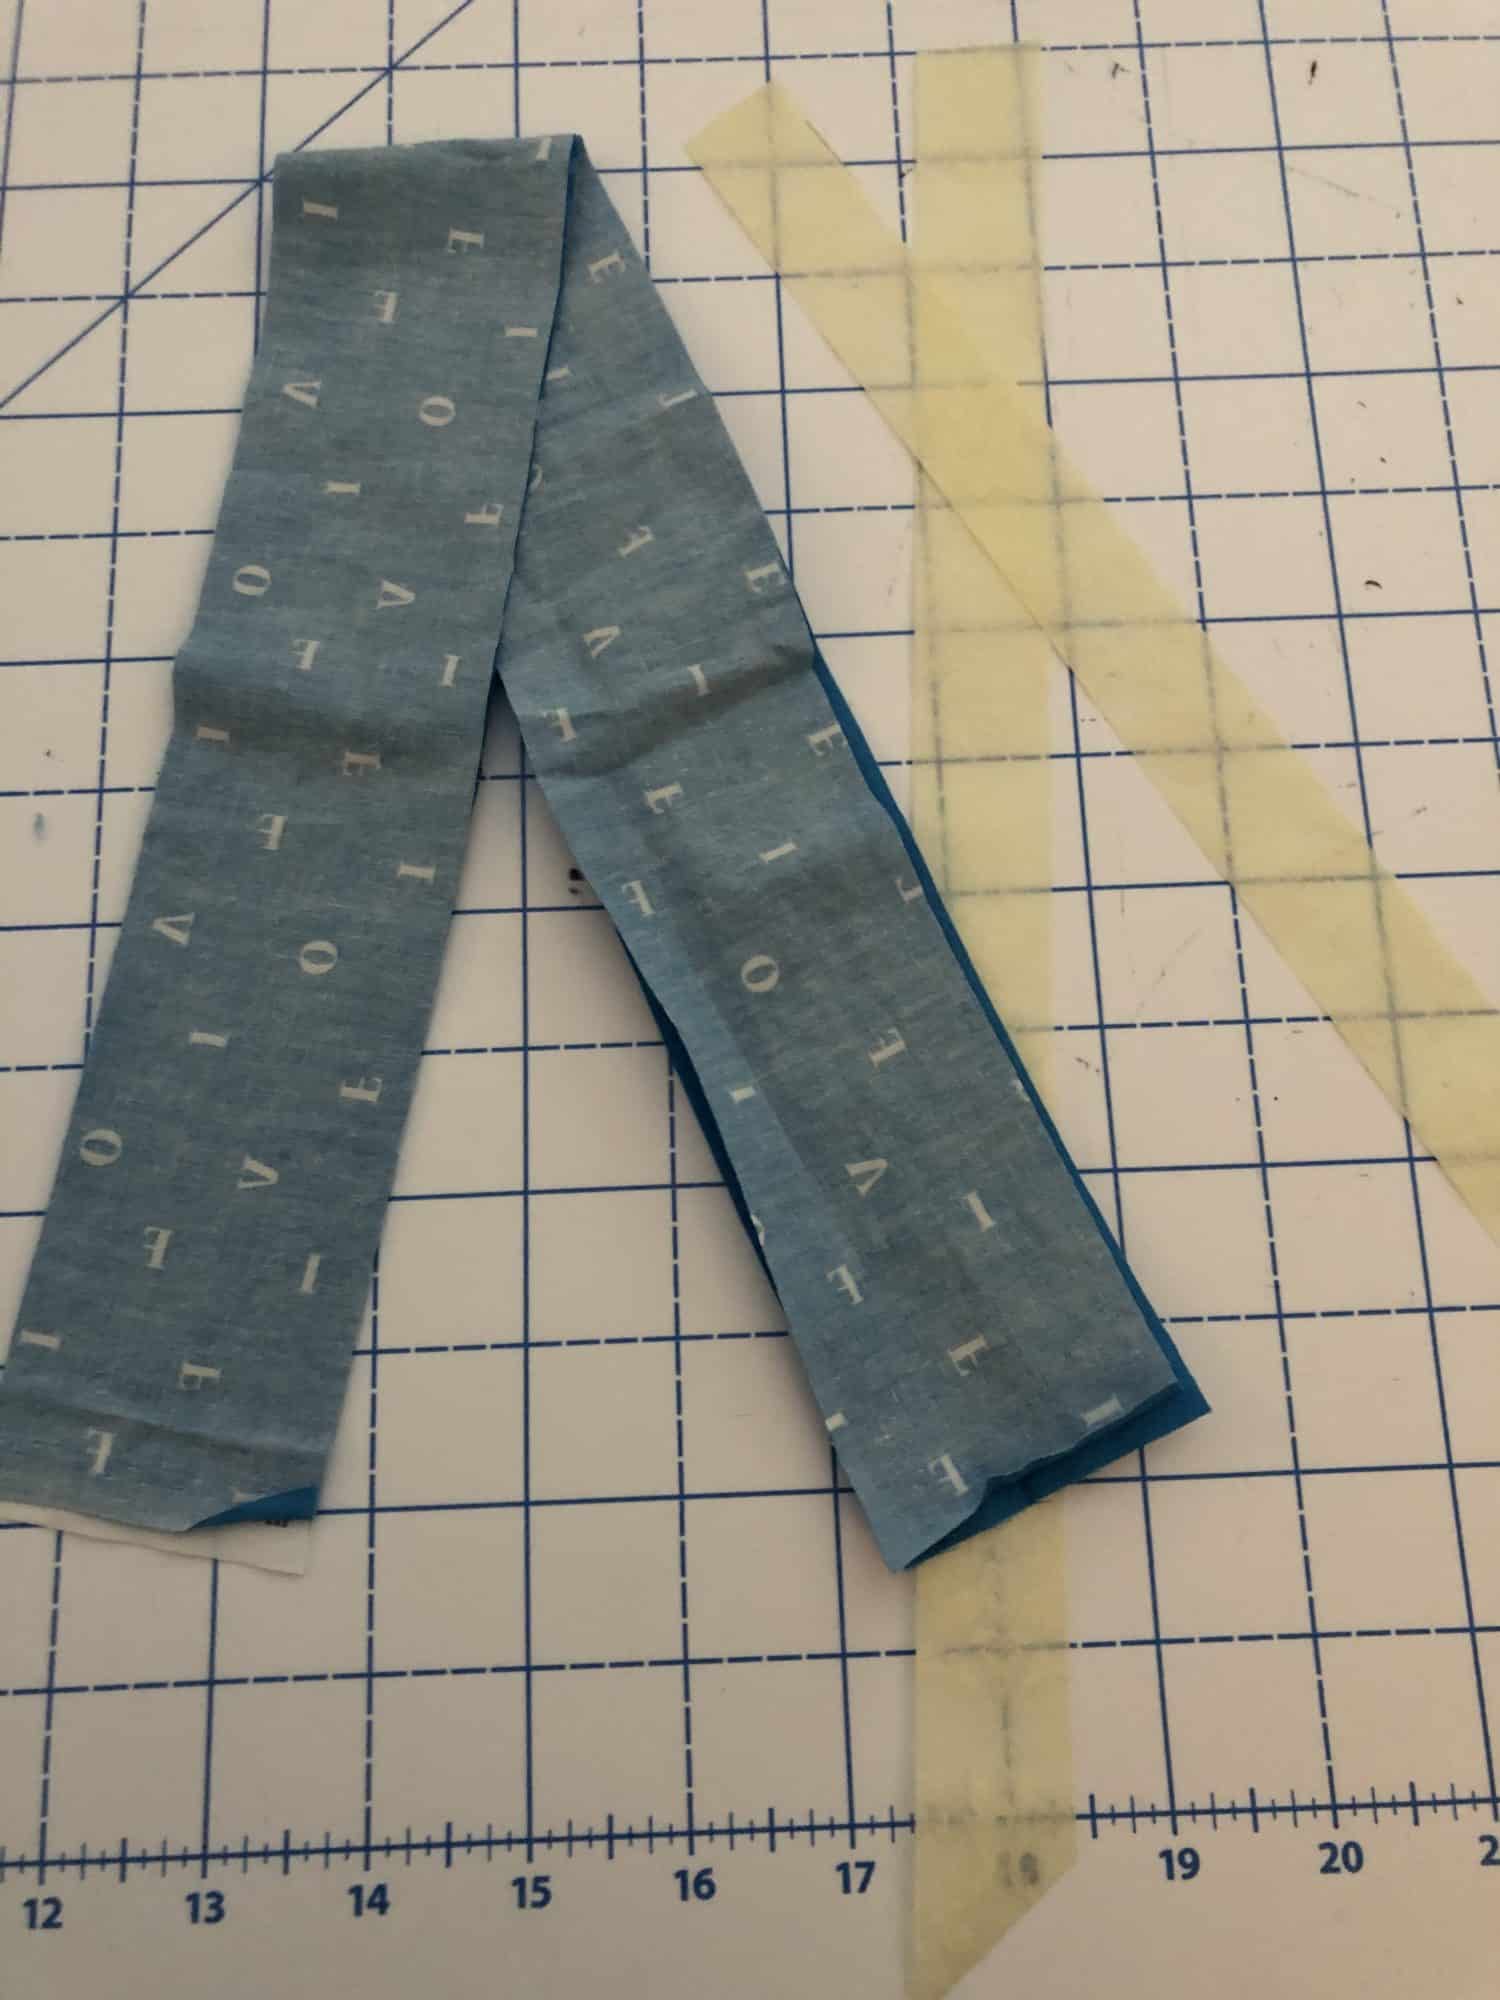
- Fold the fabric in half hot dog style and, for best results, press.
- Slip the interfacing inside the placket and press again if you are using fusible.
- I sew upstairs, and my ironing set up is down stairs, so I do a lot of basting. Baste the raw edges of the long strip with a long stitch so that the interfacing is fully enclosed. This is a coded Bernina #20, also known as an open toe embroidery foot. If I move my needle all the way to the right, I can make a scant 1/4 inch seam.
If you press well, you can skip the above step.

- I was lucky (or maybe I pushed my luck) because the one strip I cut was long enough for a placket for both the front and back inseams of my pants. A better practice would be to measure the front and back inseams and cut two strips the same length. In the photo below, I have sewn the placket to the back of the inseam from ankle to ankle. Since the cotton strip is super stable and fleece can be a little wobbly, pin or clip in 3-4 places. Sew with the fleece against the feed dogs. Repeat this procedure on the front inseam.

- Next, flip the placket out of the way and topstitch (from ankle to ankle) on the body of the fleece. This secures the seam allowance of the placket/fleece to the fleece body and makes for a smoother inside.

- Below is the front inseam. On the left is the placket sewn on. On the right is the placket sewn on and under stitched. Take note! The stitching is on the placket and not the fleece. It goes through the placket and the seam allowance and will create a clean edge when the placket is rolled to the backside of the fabric. The front placket is then folded towards the fleece and topstitched.

This is what the front leg will look like after the front placket has been folded towards the back and topstitched on both the front edge and (from the inside) the edge of the placket.

- Line up the front and back legs. The snaps will go through only the placket on the back, the placket, and the fleece on the front so that what would have been the seam lines meet. Mark your snap positions on each. Insert them per manufacturer’s instructions. I use regular size 20 Kam snaps.
- Start with one about an inch and a half from center. Add another three inches over and the next six inches from that. Three on each side. You will want to adjust your snap quantity and spacing according to the inseam length. Be sure to leave room at the ankle edge to add the cuff, hem or add the feet. I used non slip fabric from Seattle fabrics on these.

- Foot attached per pattern instructions is pictured below.

- Changed and ready to be snapped!

I hope you enjoyed reading this tutorial. Would love to see your creations! Be sure to share and happy sewing!
As always, we’re here to help if you need it! Join us HERE and on Facebook, Instagram, Twitter, Youtube, and Pinterest. We’re everywhere you are.
Leave a Reply