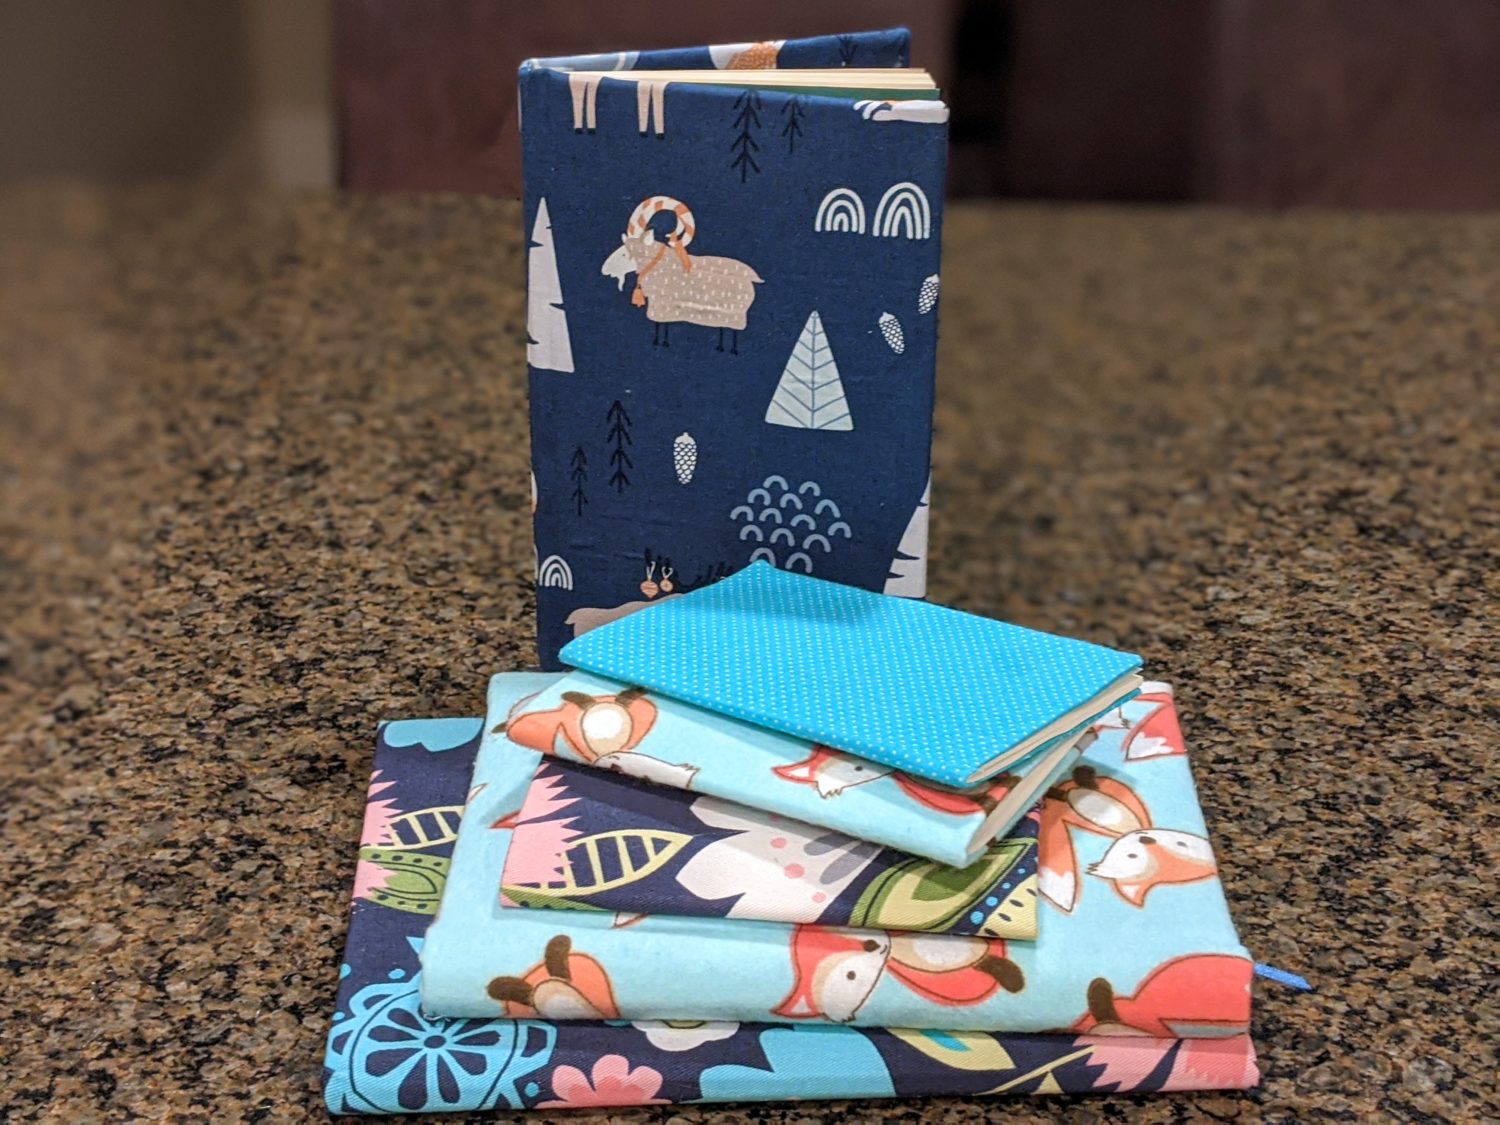
We have so many notebooks lying around our house, I wanted to spruce some of them up a little bit by covering them with cute fabrics! This is so quick and easy, and makes a great gift!
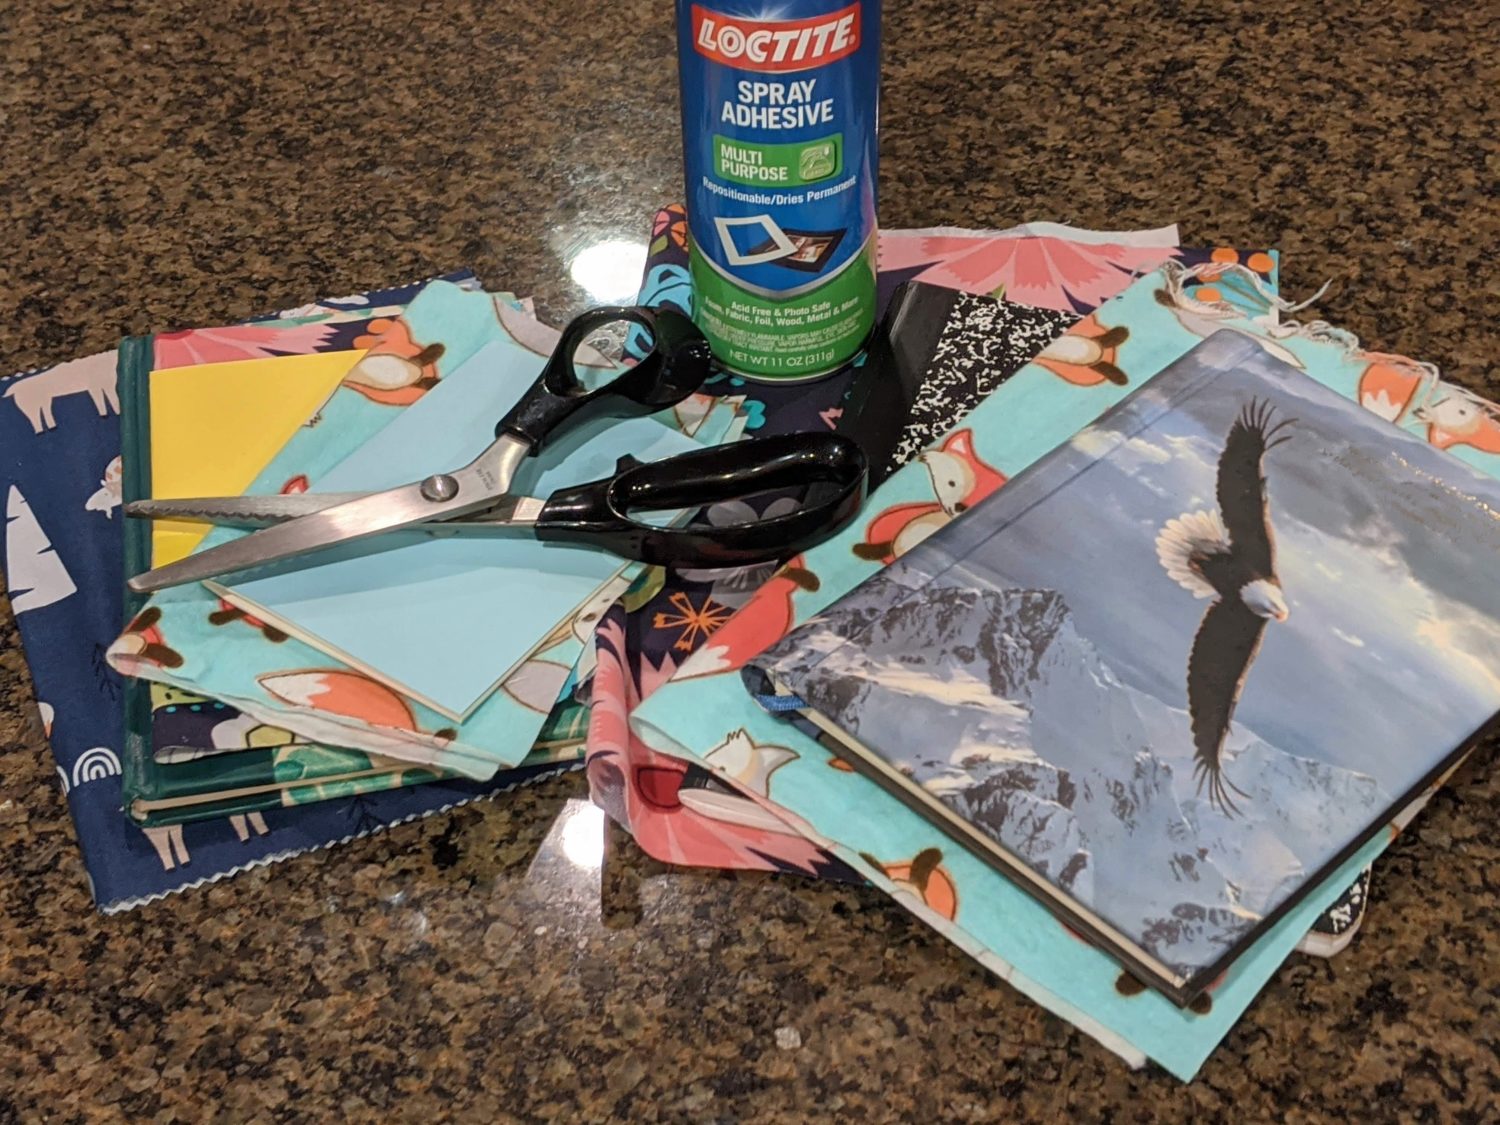
Gather your supplies:
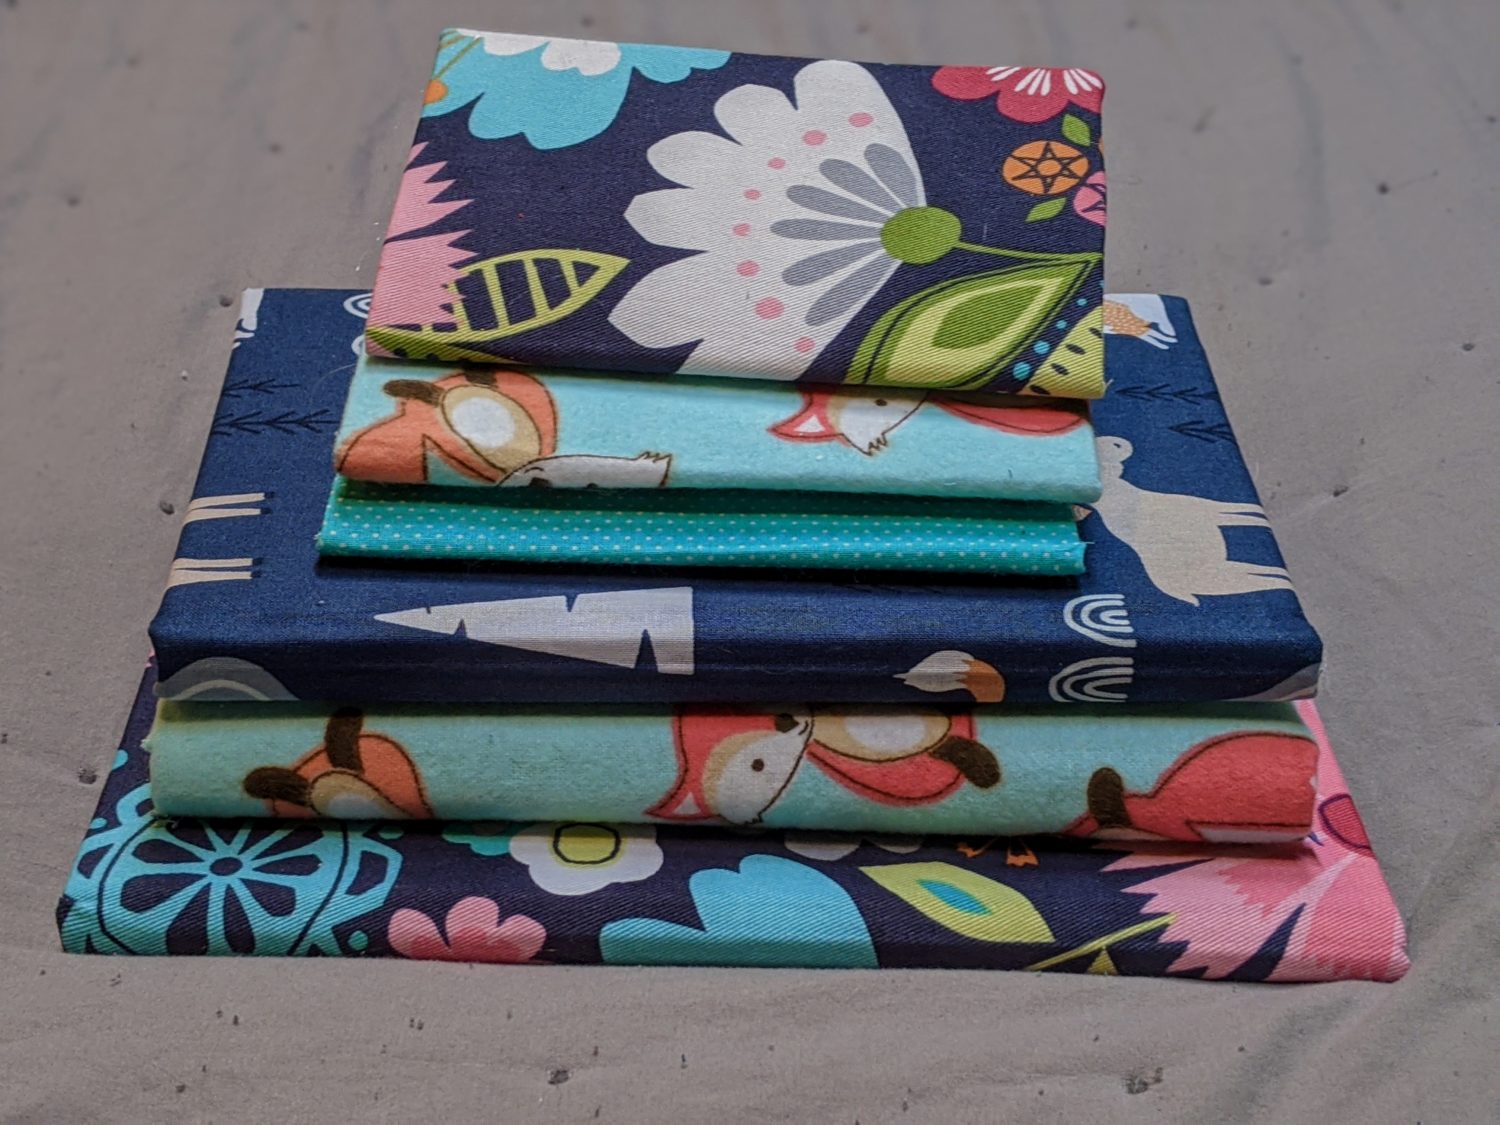
- You will need a NOTEBOOK of some kind. I used a variety and all of them worked out. I have a bunch of barely used composition notebooks, some old journals, and some little notebooks leftover from party favors.
- Next, you will need to gather your FABRIC. I used both quilter’s cotton and flannel for these and both were great!
- Spray adhesive. Mine is multi-purpose, but there is also some specifically for fabric.
- Scissor and optional pinking shears
- Hot glue gun
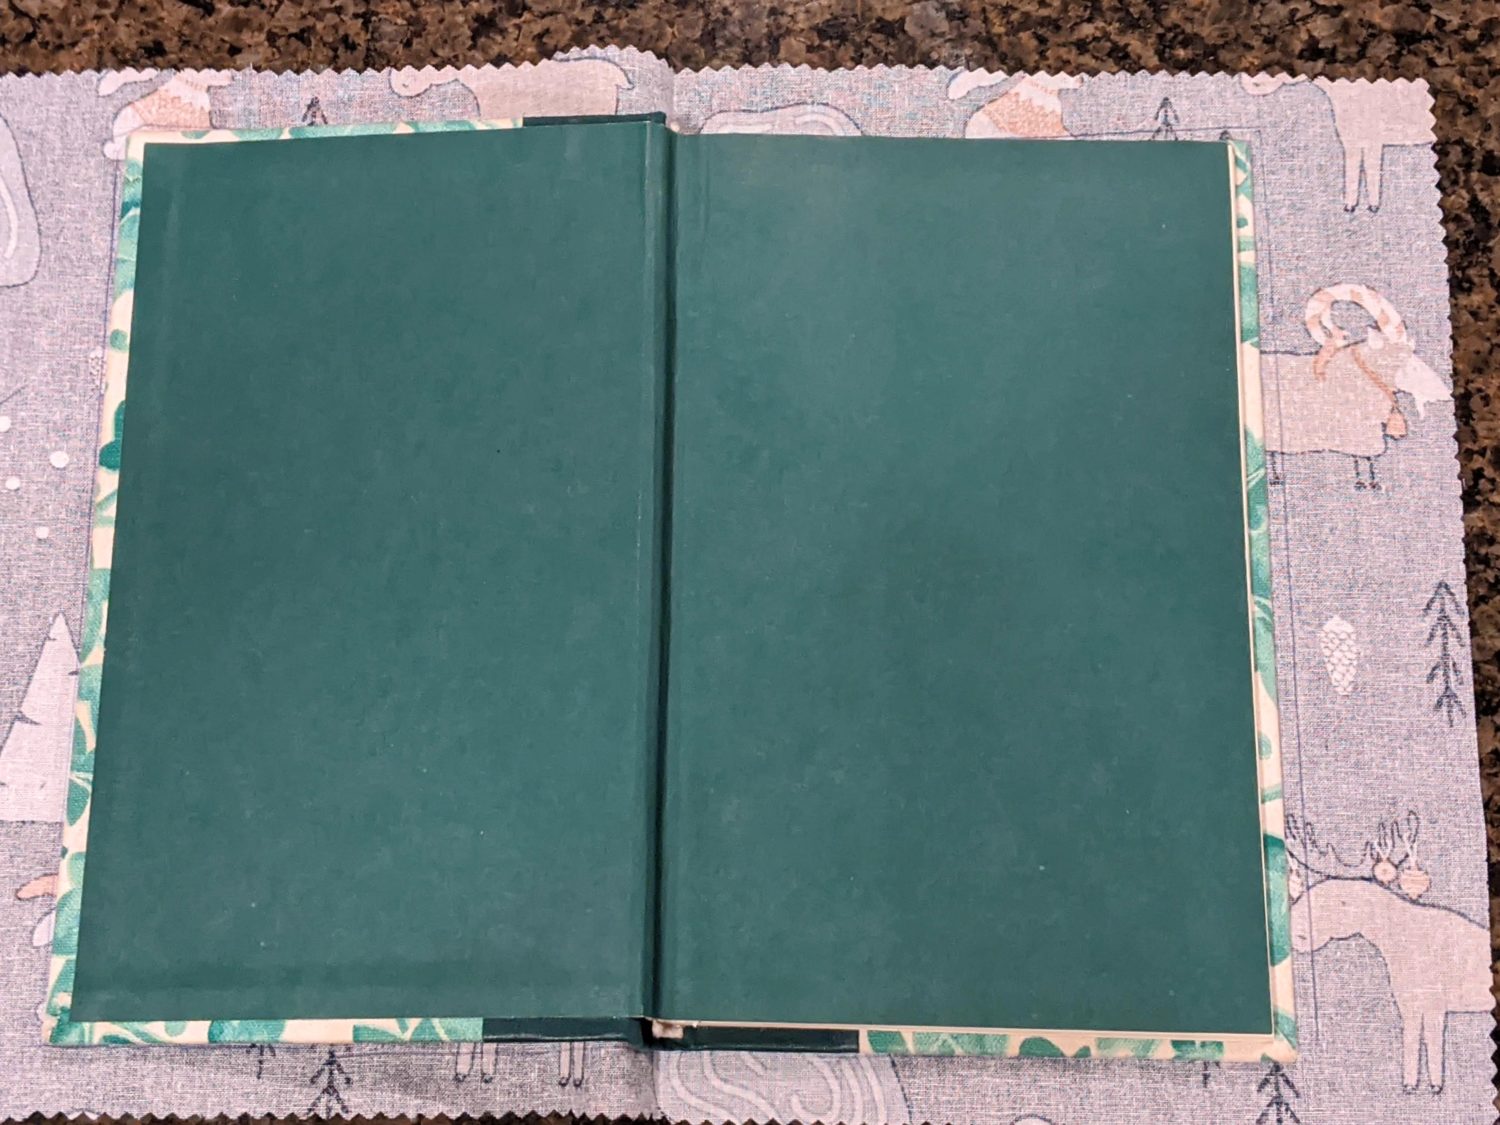
Preparing the fabric
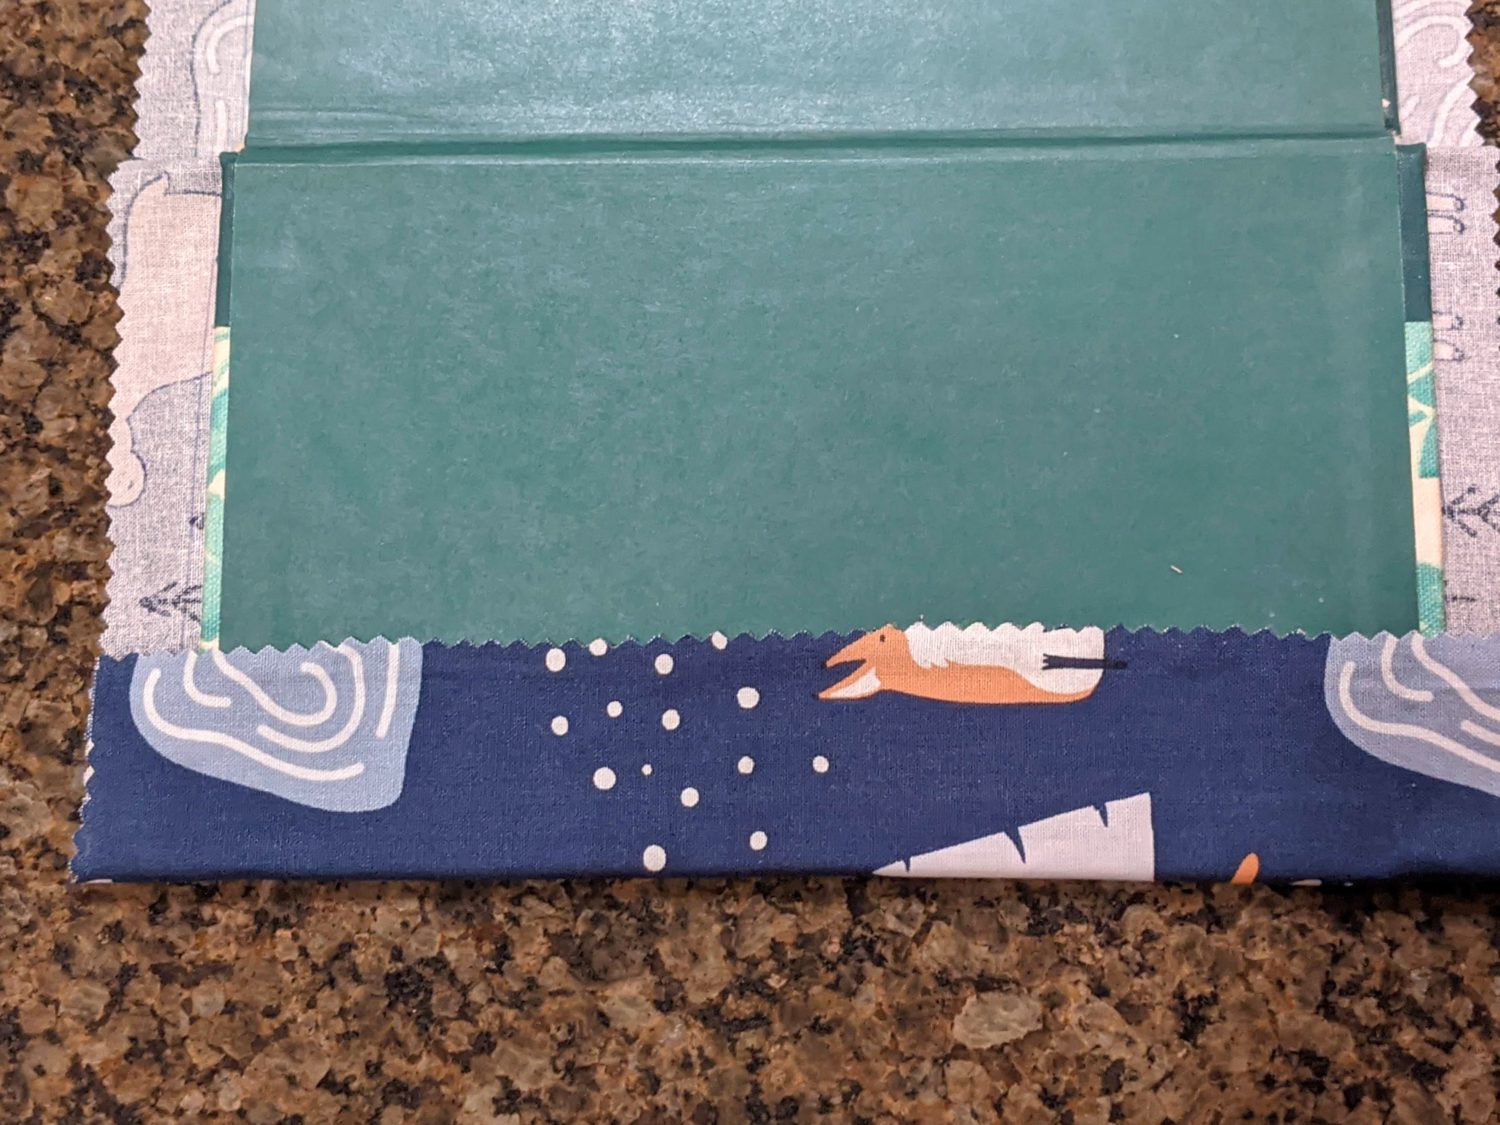
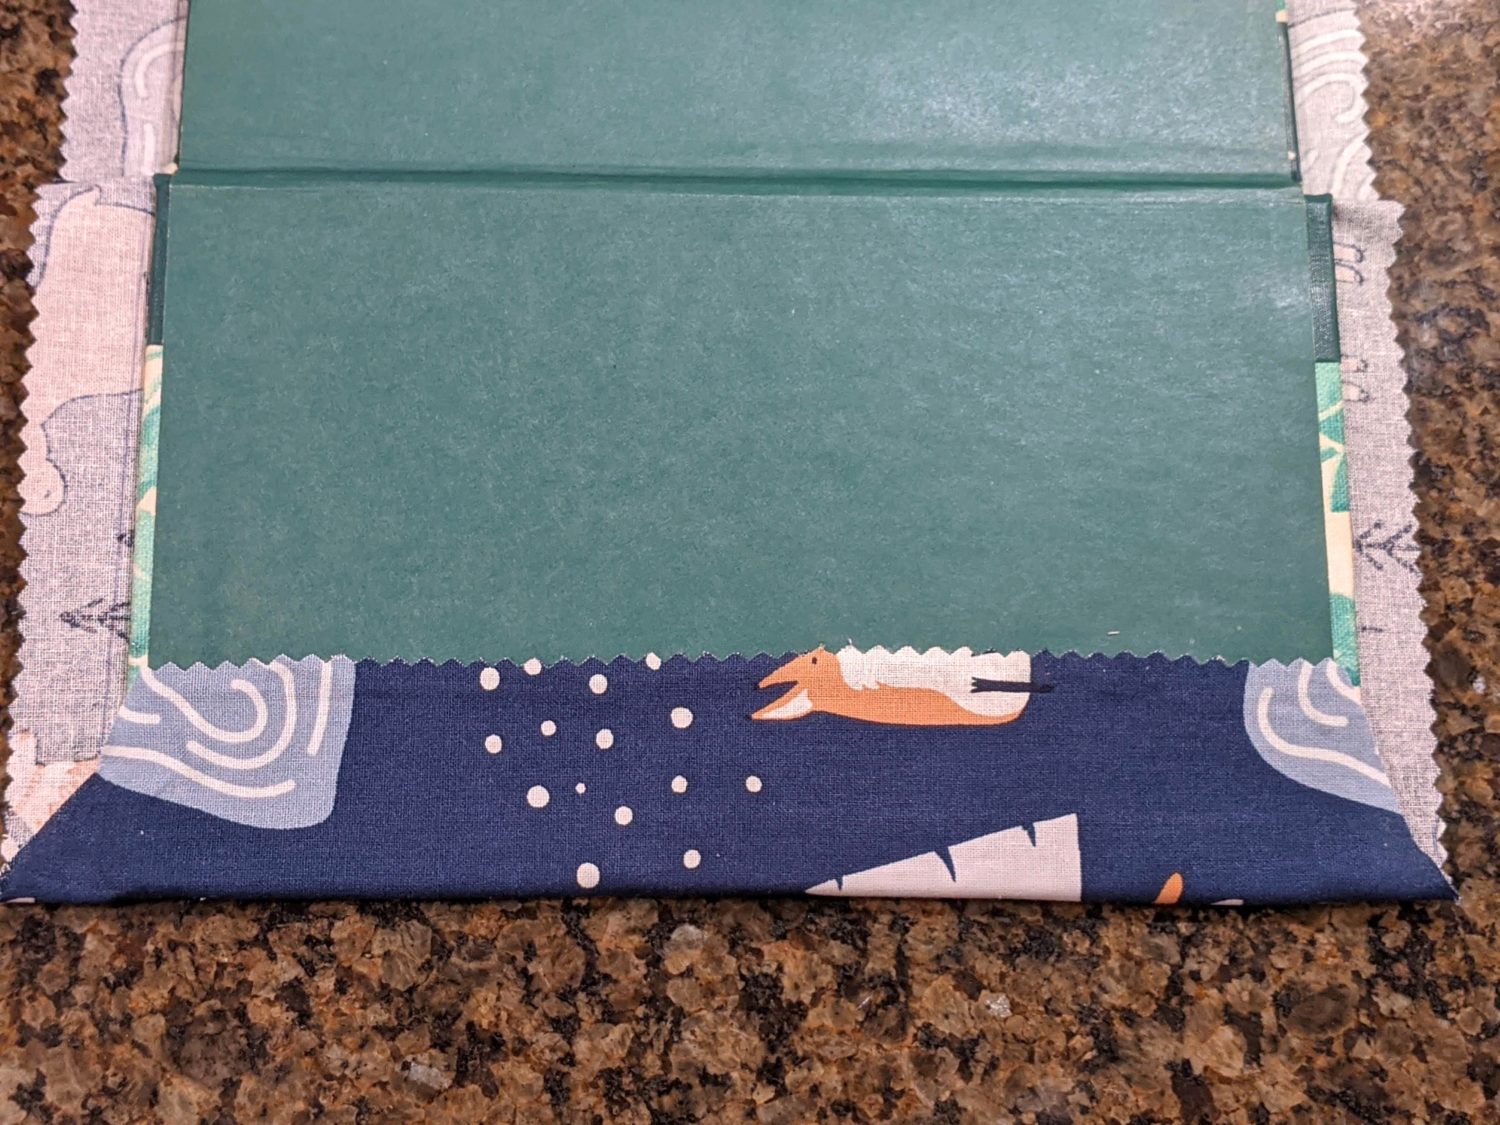
- Lay your fabric out with the wrong side up and open your notebook out on top of it
- Cut around the book leaving a 1″-2″ border of fabric. If you have a wider spine, you will want it to be a little wider, a narrower spine you will need a narrower border. I would suggest cutting one side, folding it into the front cover of the notebook, closing the notebook and folding the other side of the fabric into the back cover to decide exactly how wide you should cut it.
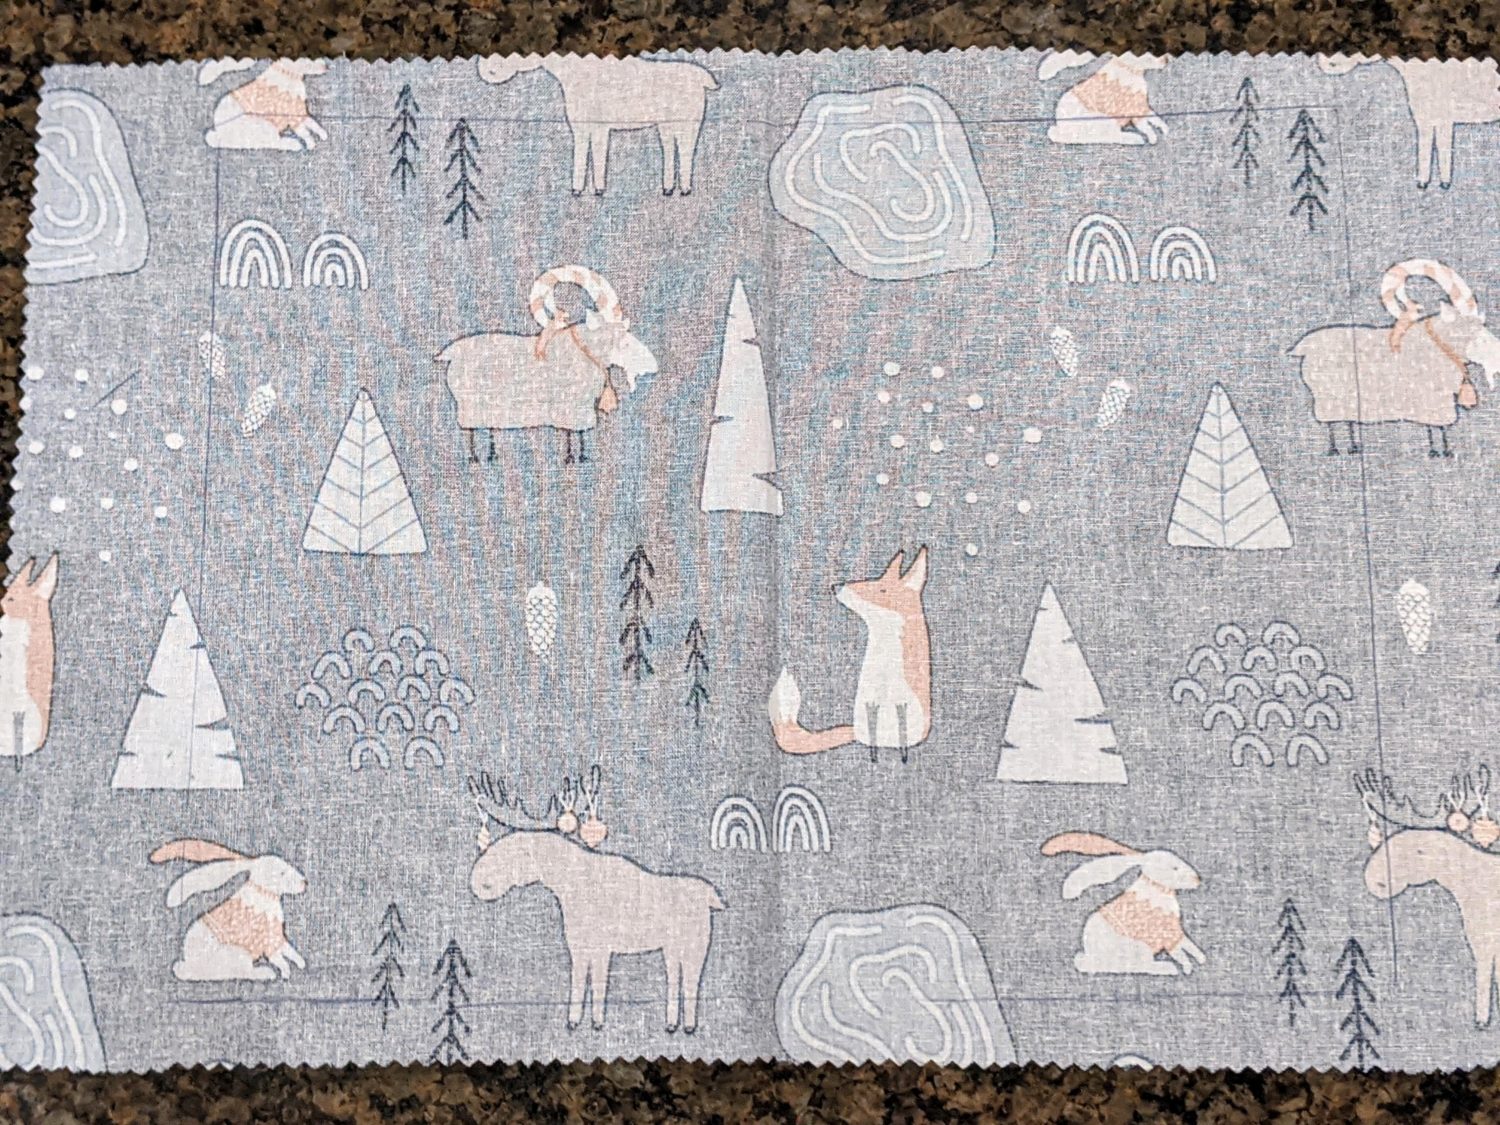
- Optional: You can cut around the fabric with pinking shears to prevent fraying
- Draw around the outside of where you want to place your notebook to help you place it correctly the first time.
Covering the notebook
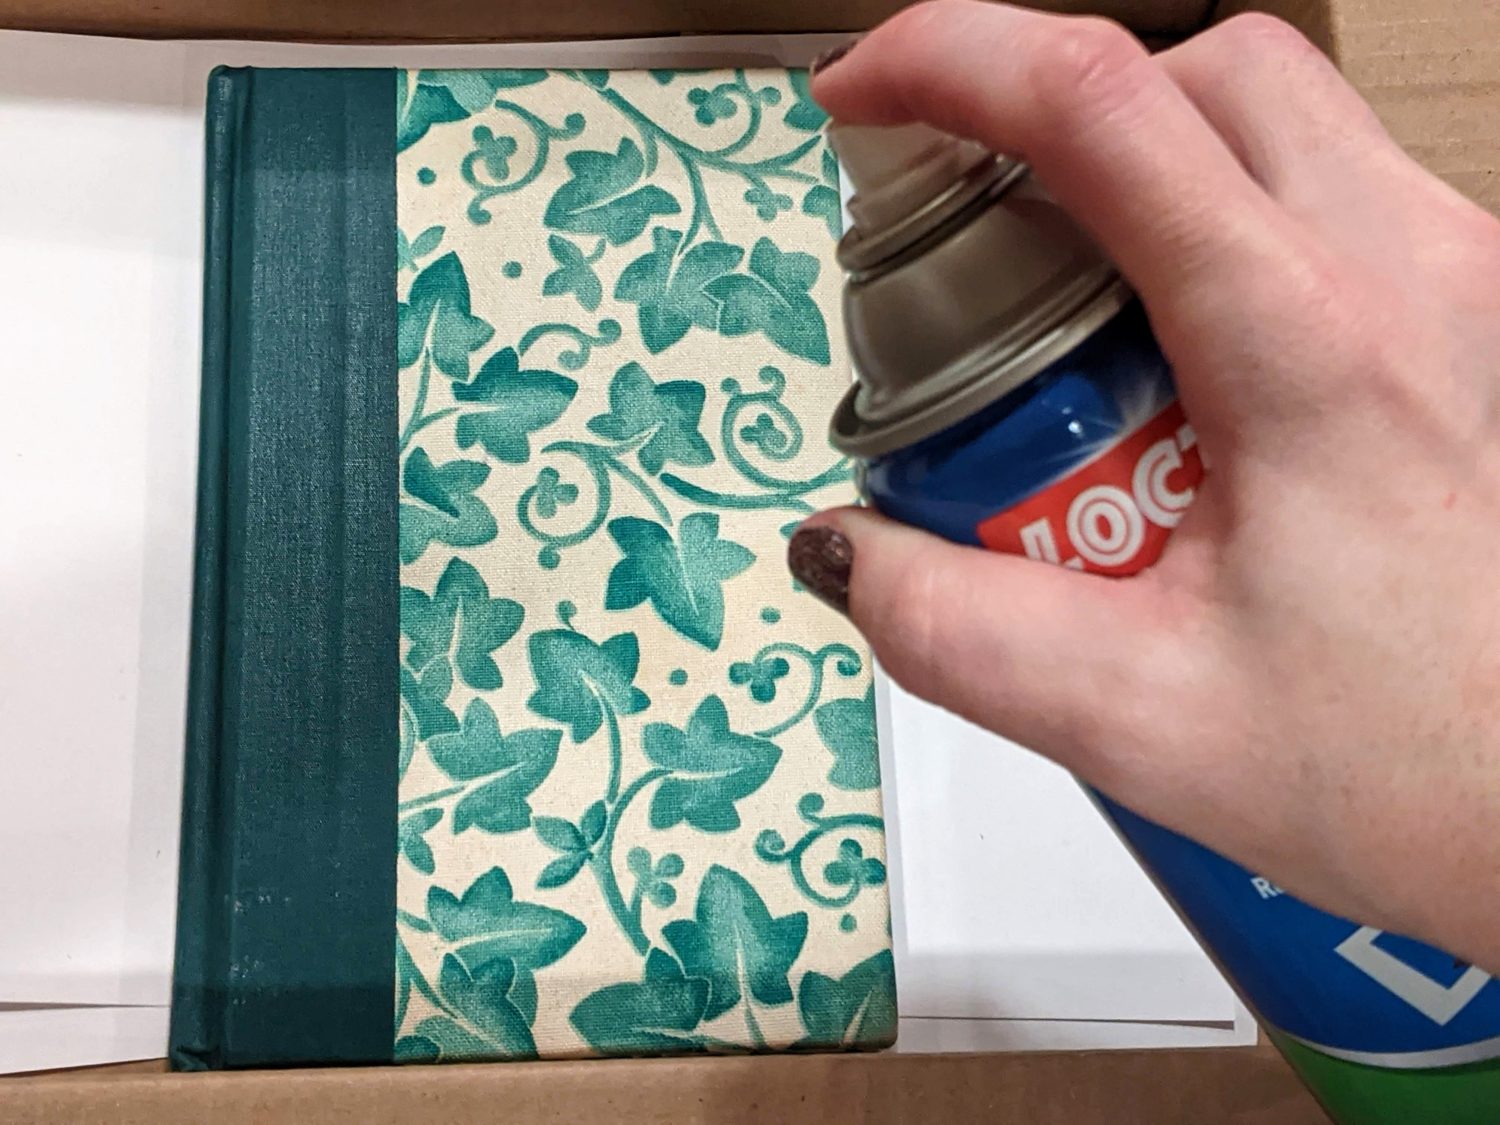
- Lay the book on cardboard, drop cloth, etc. to contain overspray (I set mine inside a box)
- Spray your adhesive on one cover of your notebook
- With your fabric wrong side up, line up your fabric and press it down (I would recommend setting it on cardboard in case any adhesive seeps through.)

- Turn the notebook over and smooth out any wrinkles or bubbles
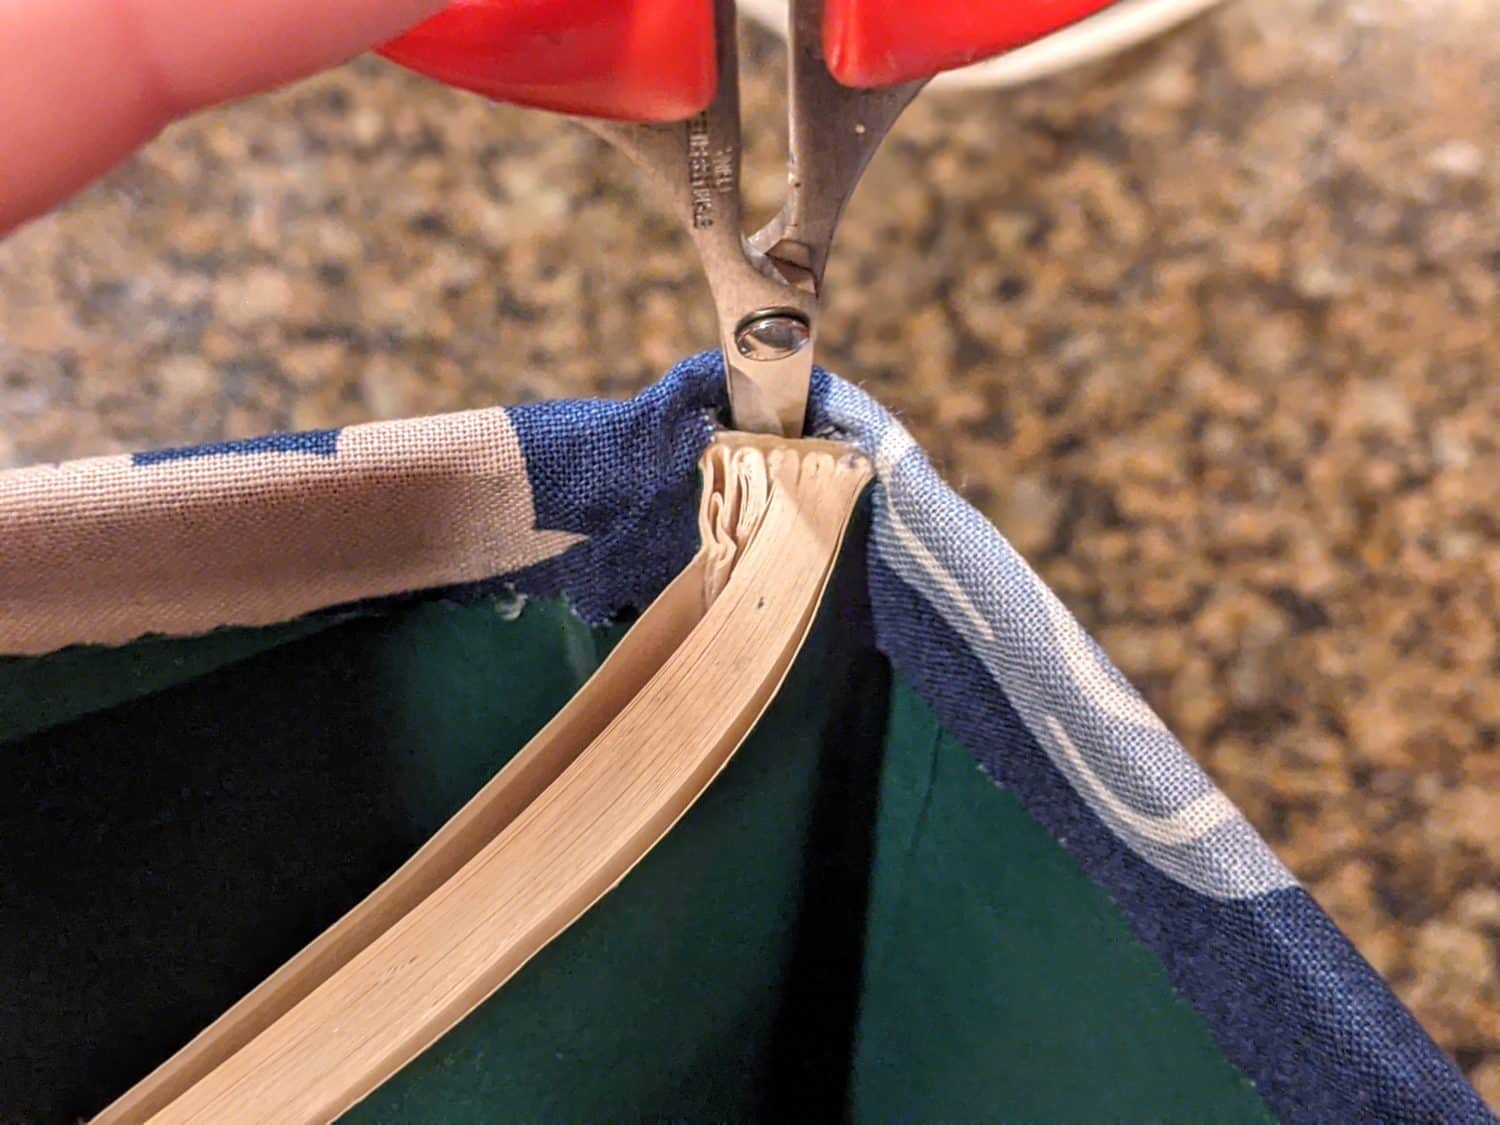
- Snip your fabric on either side of the spine
- Spray the spine and the other cover with your adhesive, press it down and smooth it out
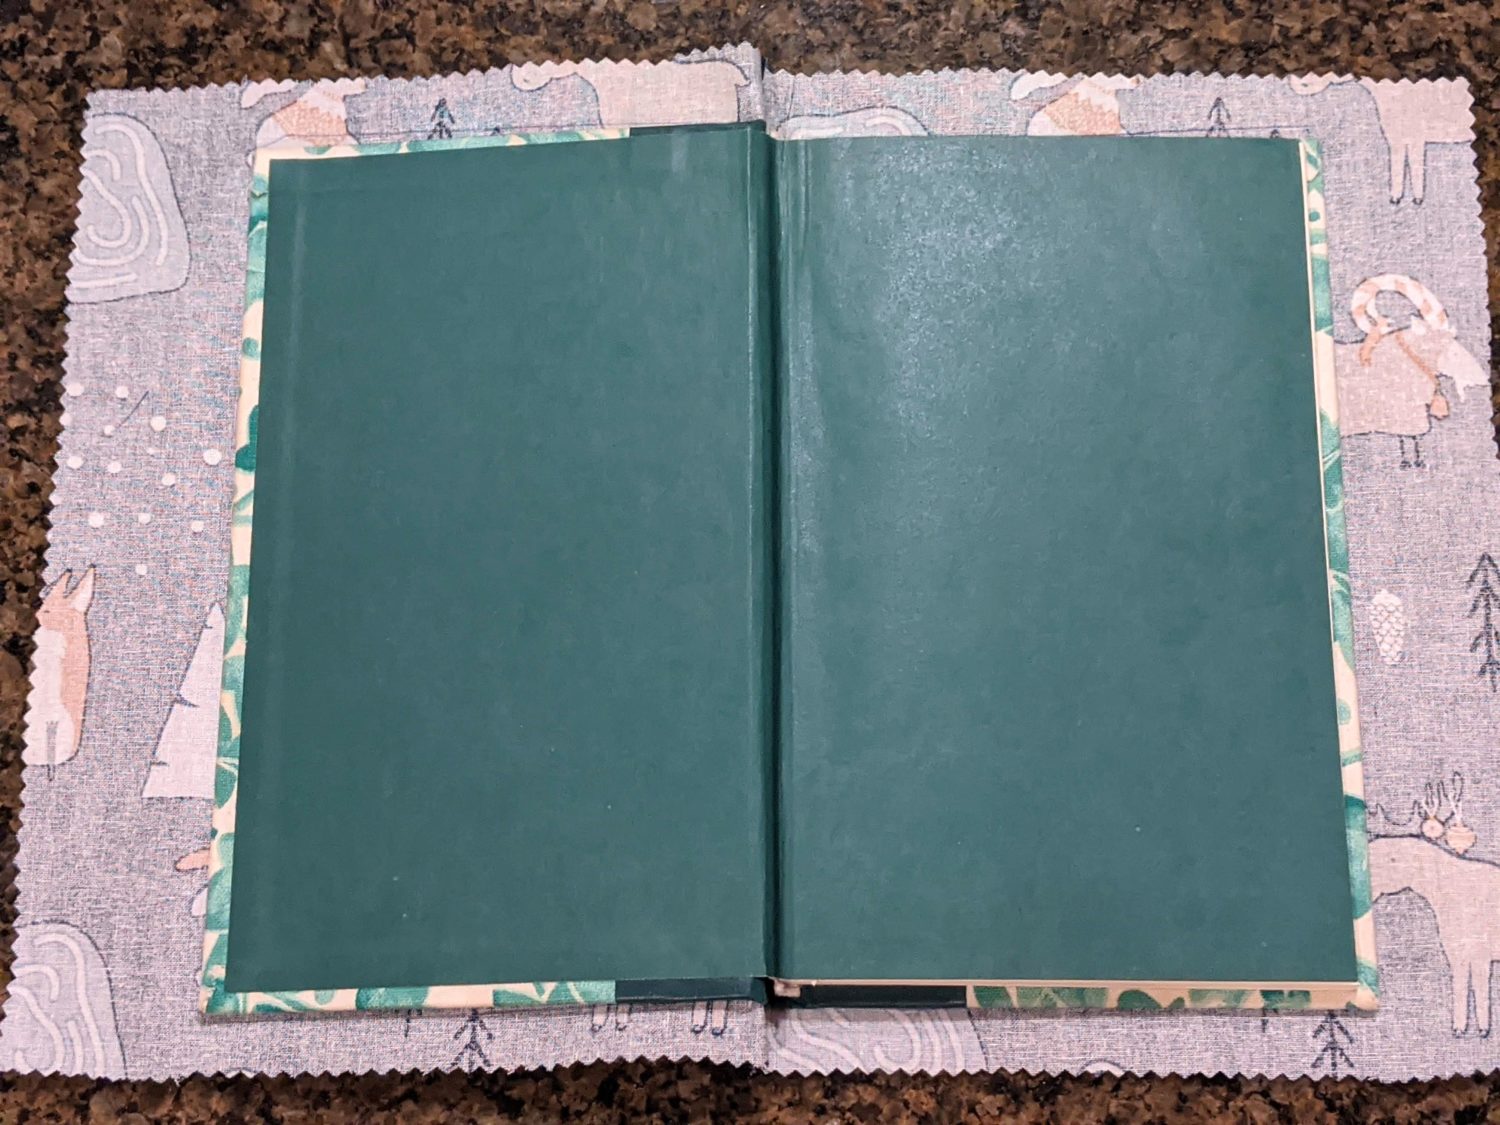
Wrap it like a present
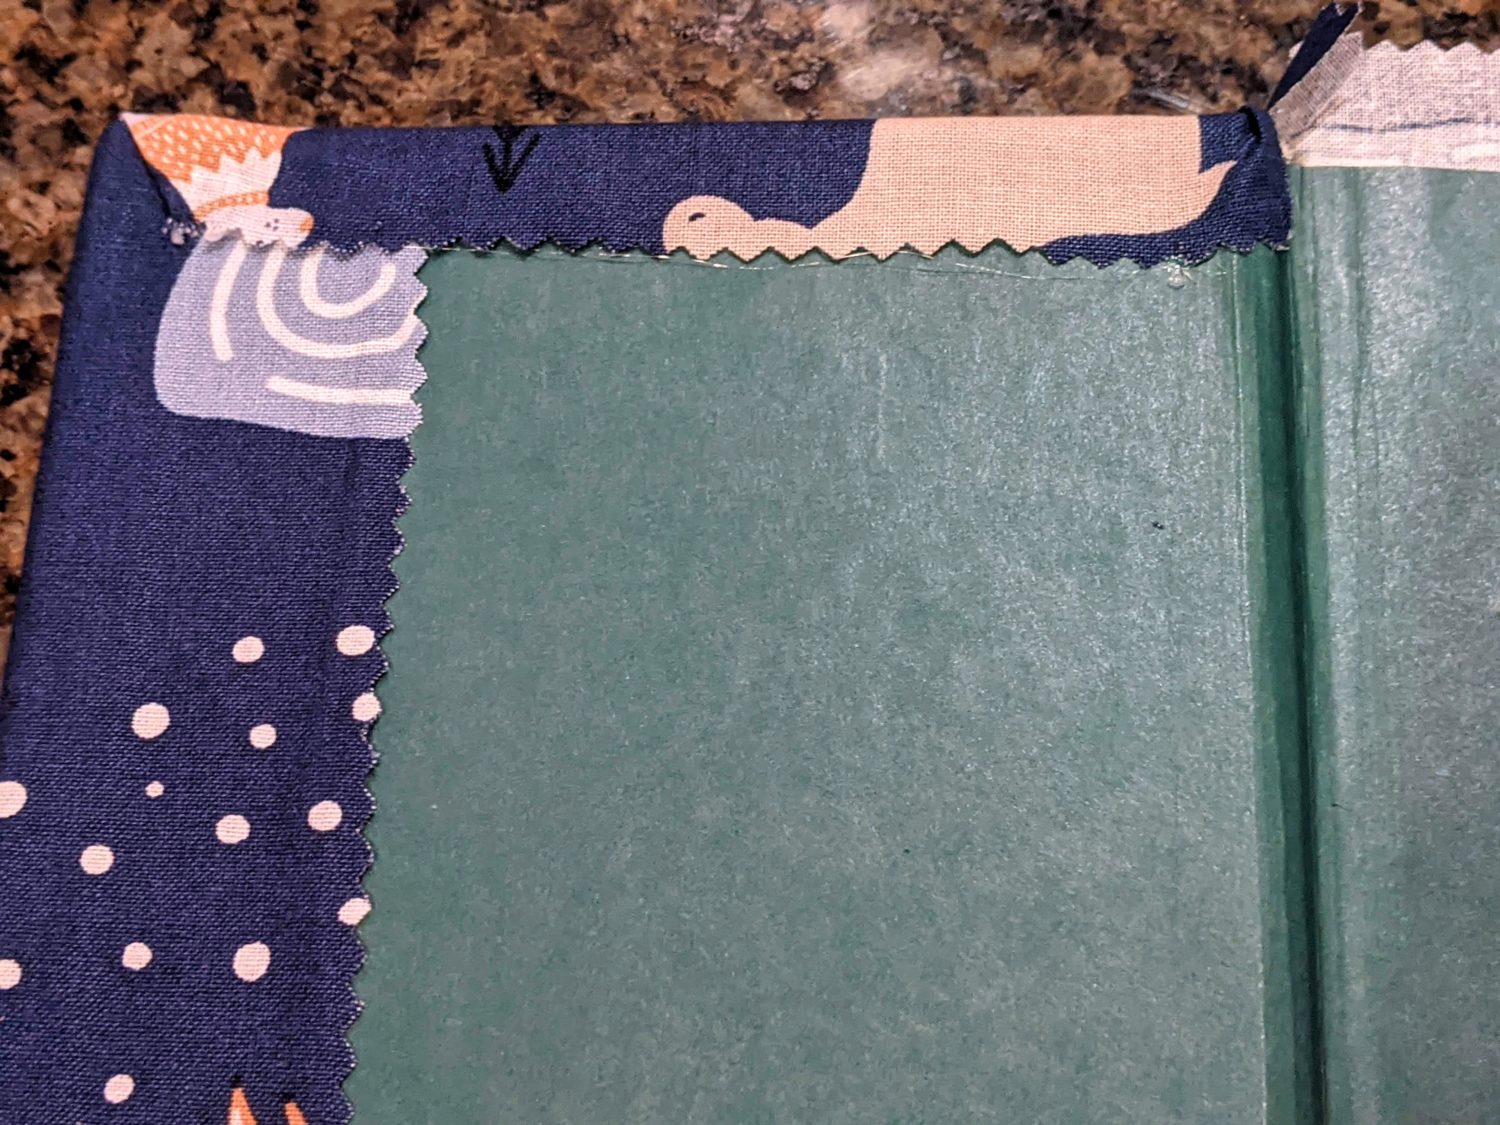
Now it’s time to make those edges look pretty so you will need to channel your gift wrapping skills!
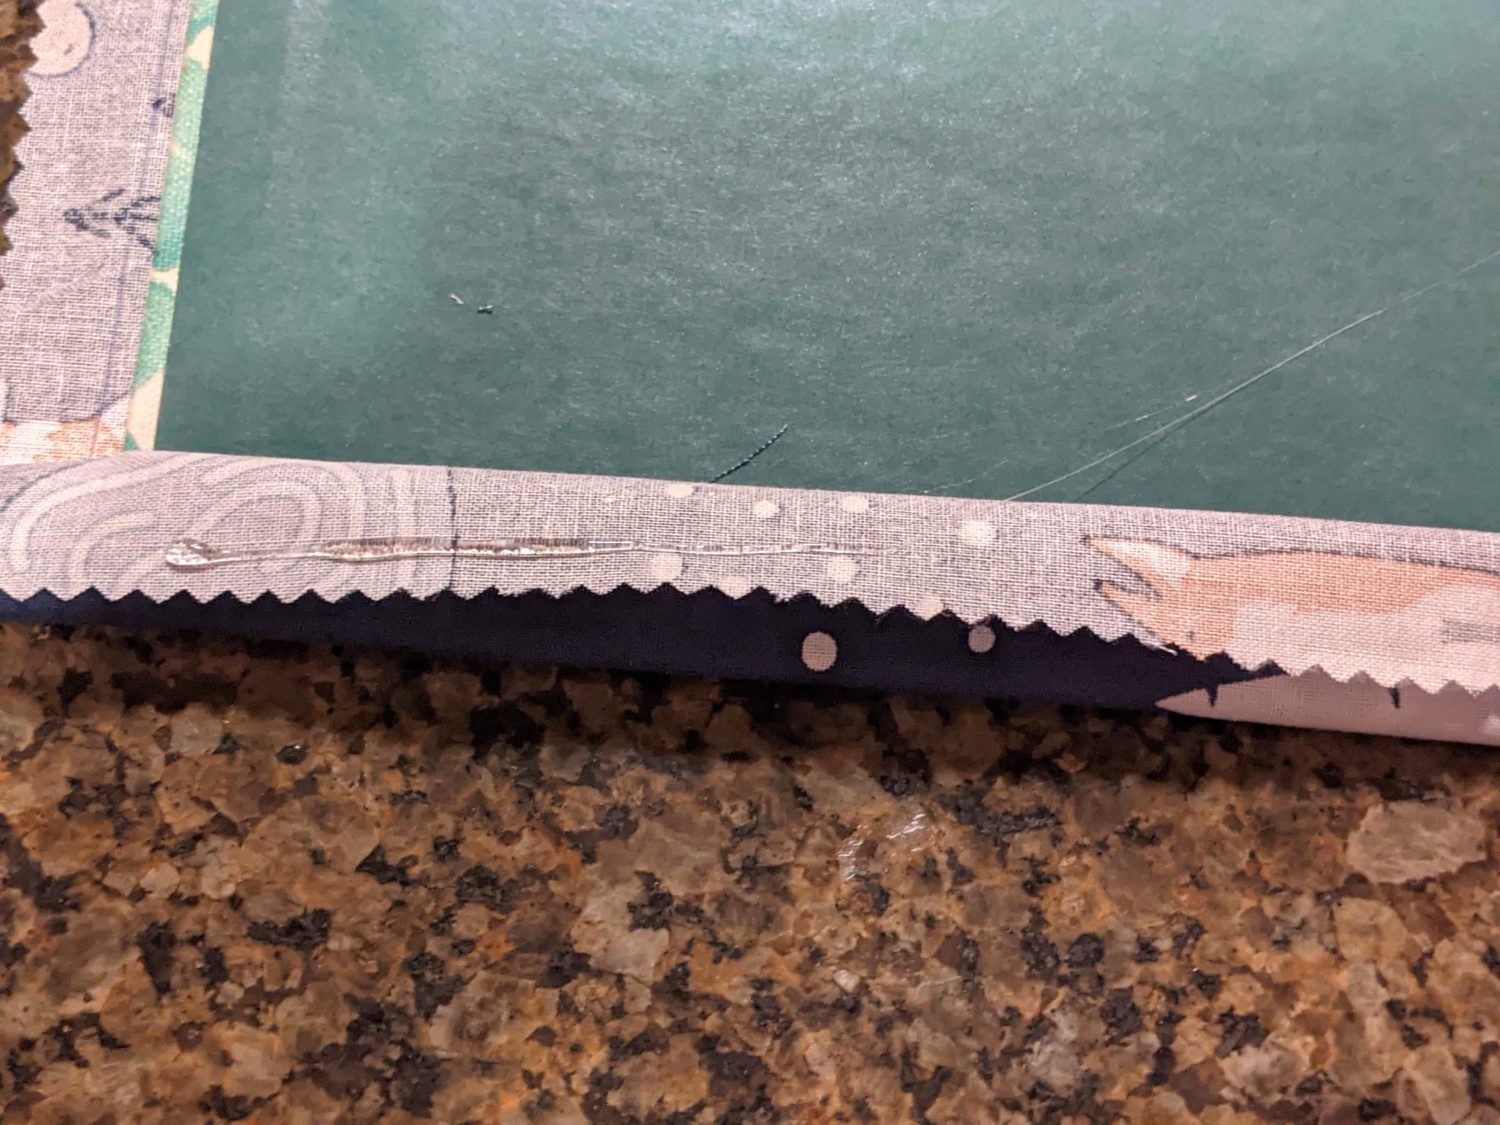
- On one vertical edge, run a line of hot glue all the way down and press it onto the notebook
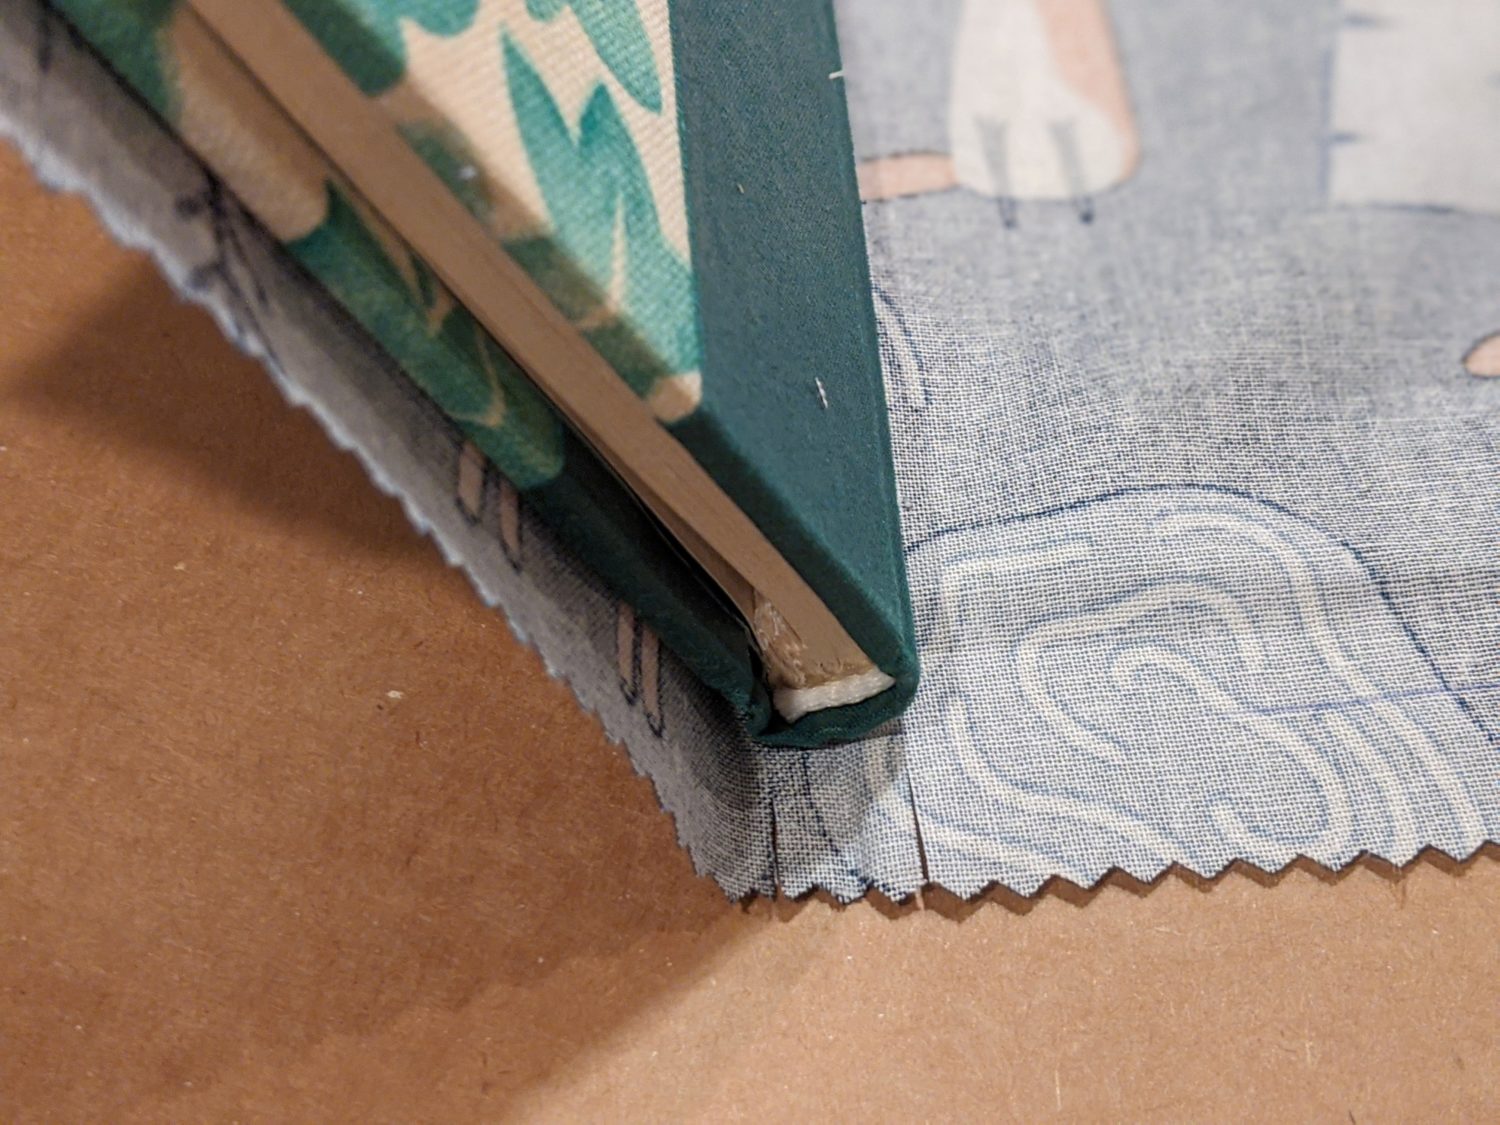
- Trim the top and bottom corners and fold the horizontal sides in like you are wrapping a present
- Hot glue the top and bottom fabric edges to the inside of your notebook
- Repeat on the other cover
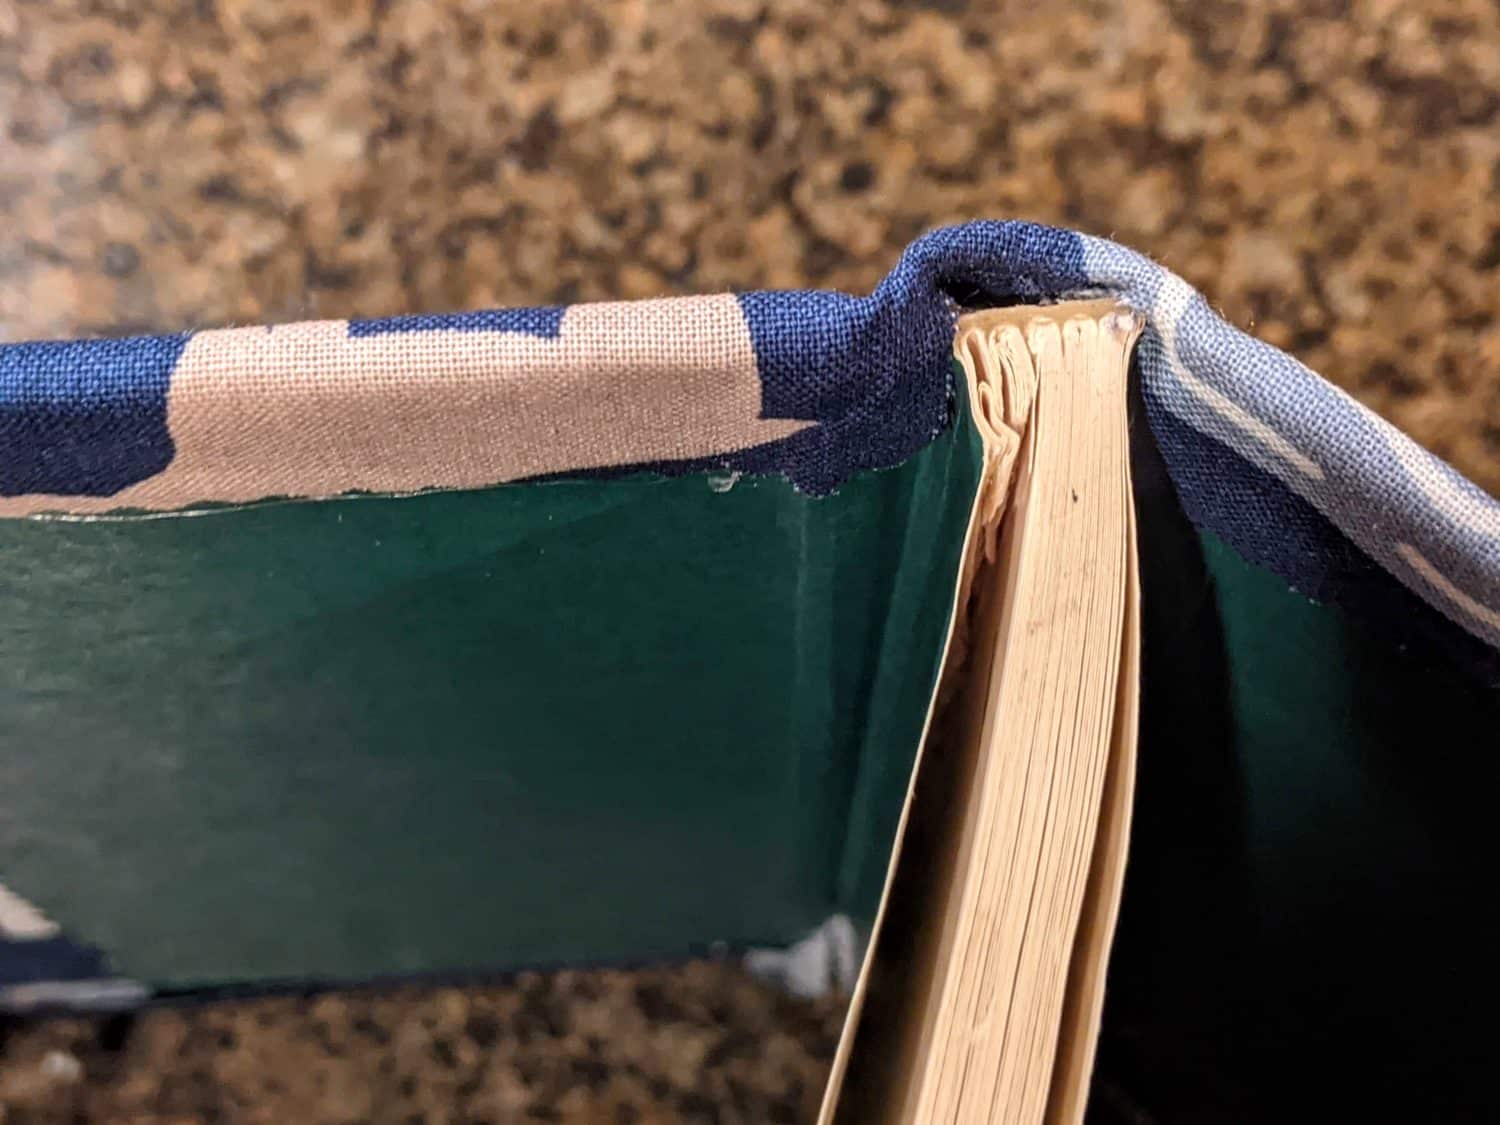
Finish up the spine
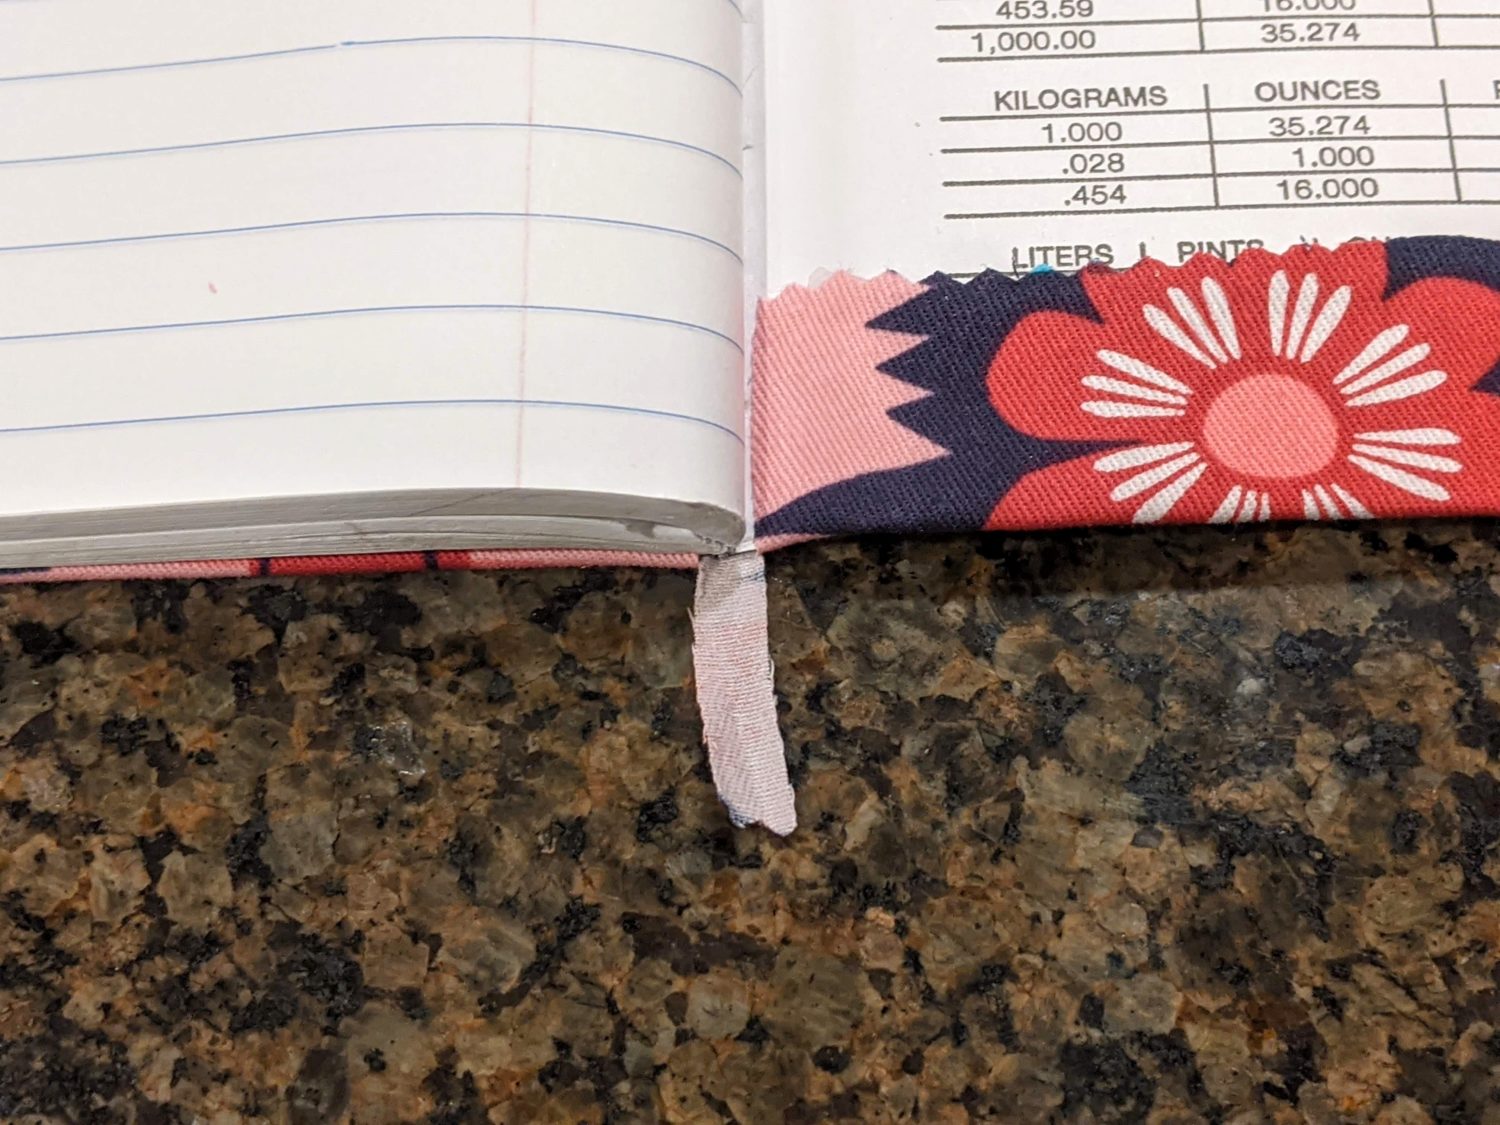
Depending on the spine of your notebook, there are 2 ways to finish this
- For a wider spine, using a knife, scissors, or something else that will fit into the spine, tuck the small section you snipped into it. You can add a dab of glue if needed.
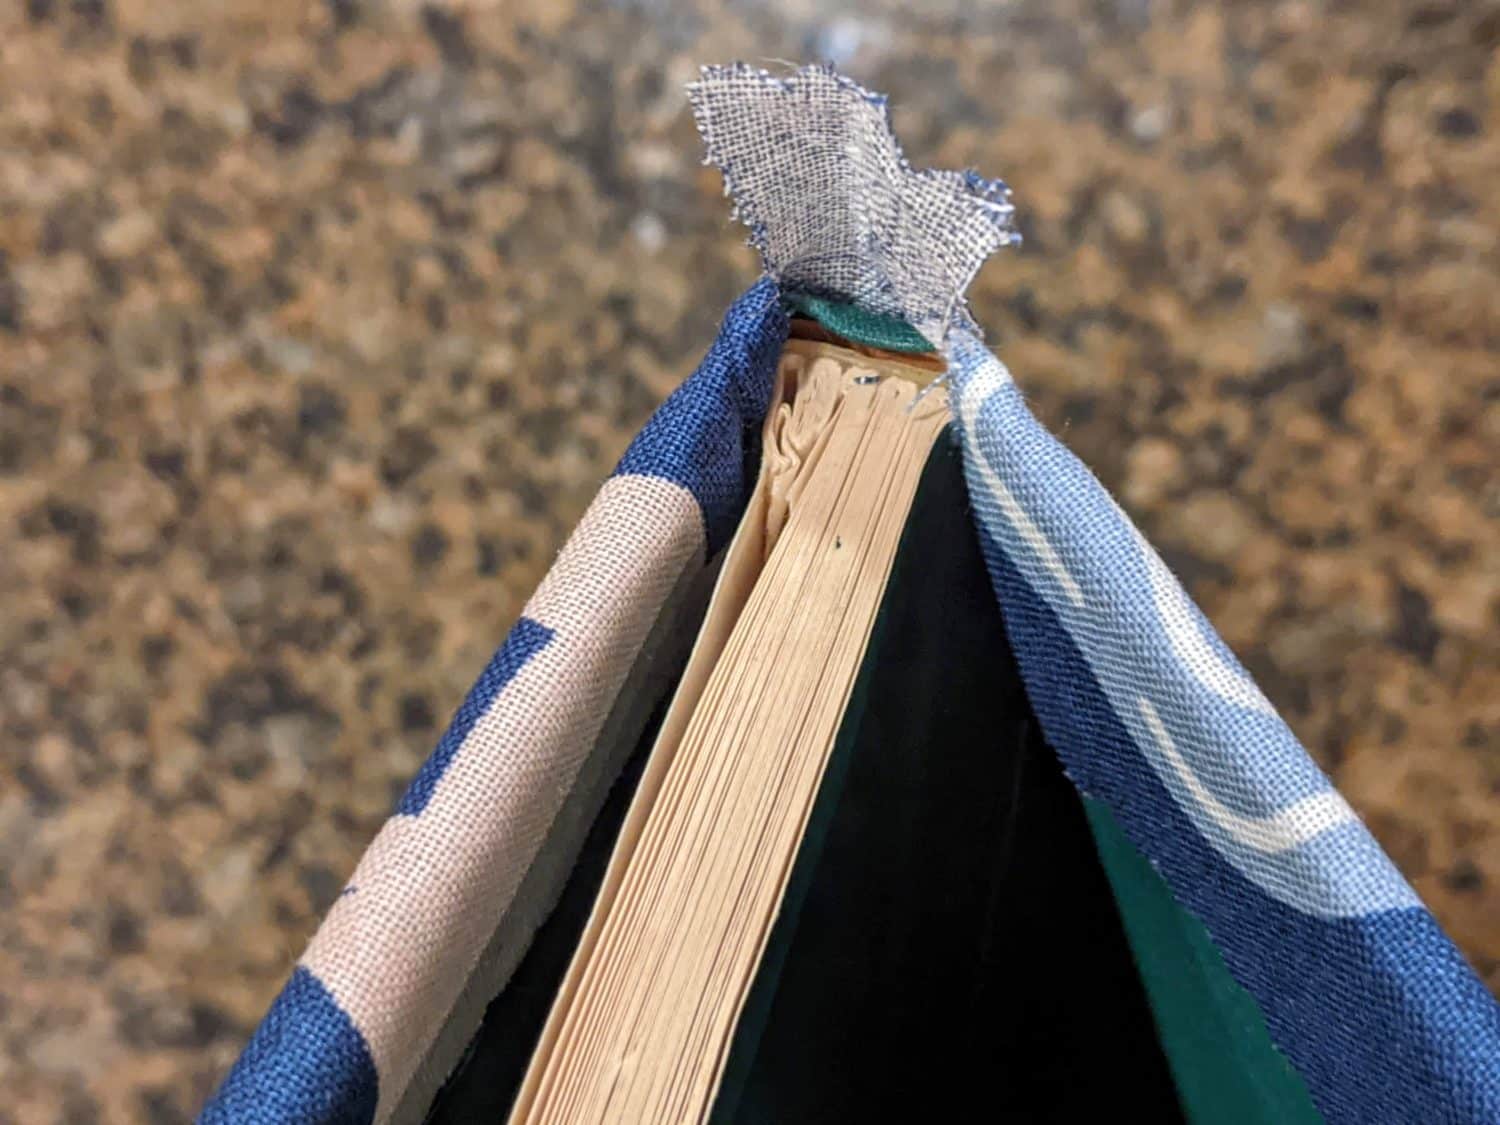
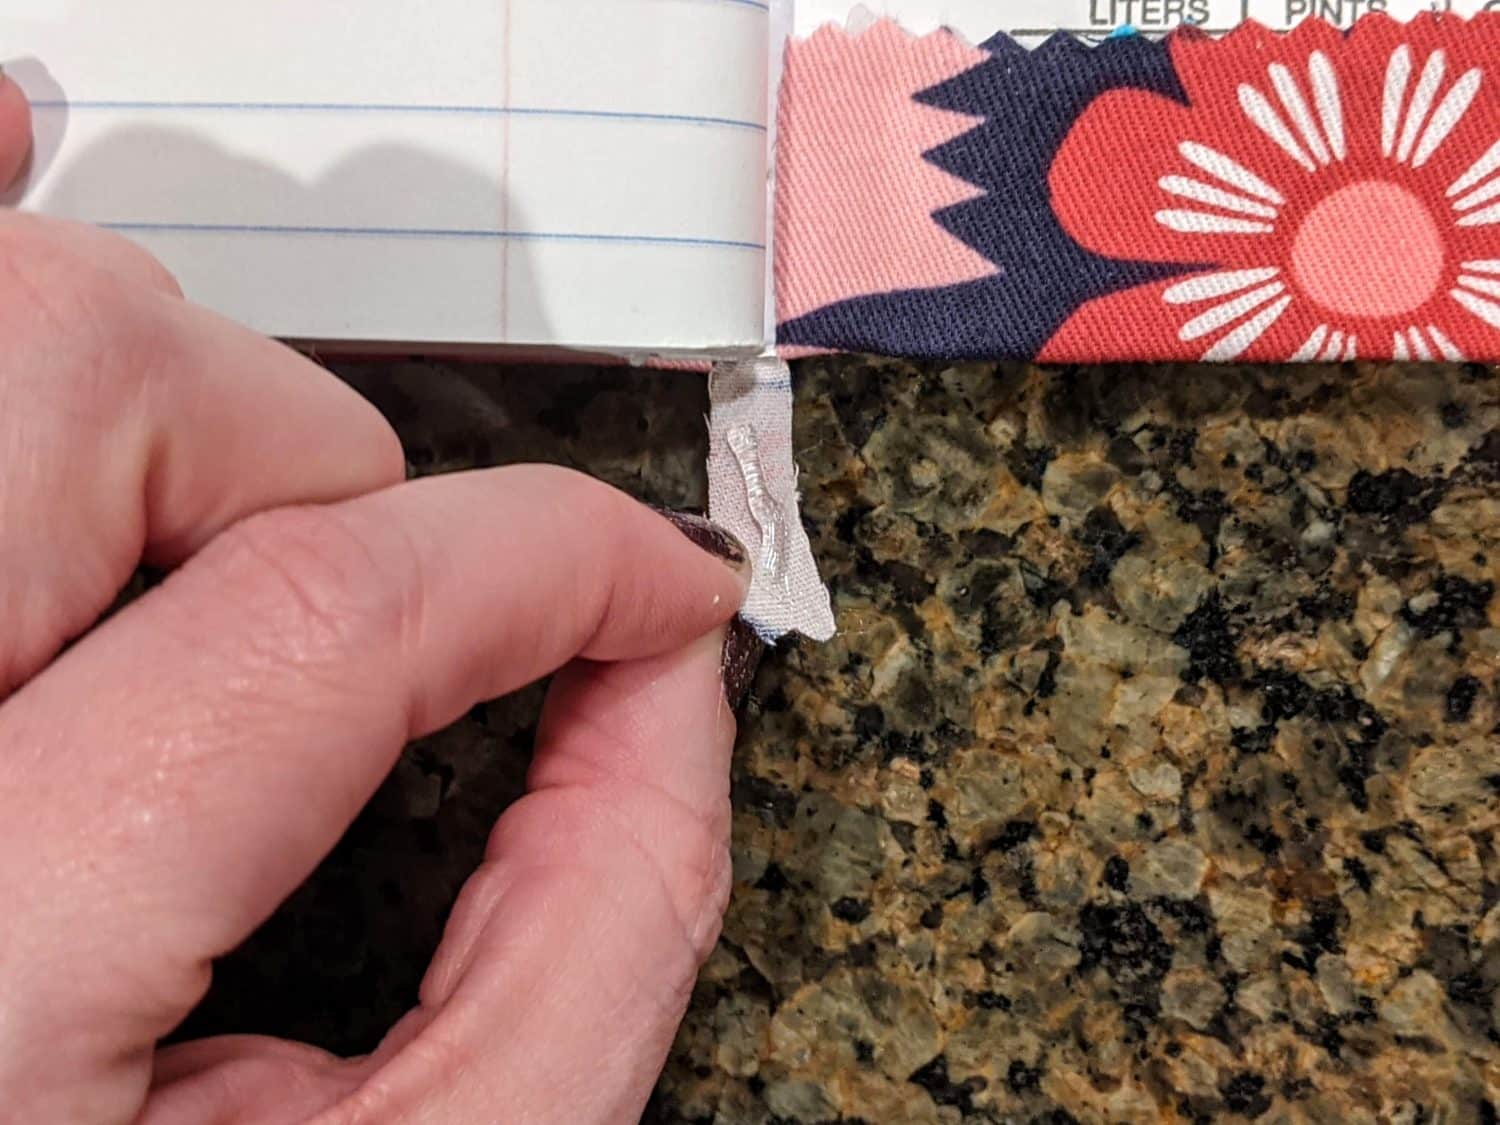
- For a narrow spine, put a dot of hot glue onto the small snipped piece and tuck it along the inner seam of one side.

Easy peasy! You’re already done!

As always, we’re here to help if you need it! Join us HERE and on Facebook, Instagram, Twitter, Youtube, and Pinterest. We’re everywhere you are.
I love this! Thank you.
Very cool! This is a fun project with kids!