
I wore my Cassidy dress the other day and I wanted to accessorize it with a belt, but I don’t have any cute belts! Can you tell that I accessorize a lot?! Ha! Then I realized, that I could make a custom, adorable fabric accessory belt! It’s super quick and easy and I really love the look of it! I think that the alternating stripes turned out really cute! It was fun to add a bright pink button, too! Plus, I’d never be able to buy a belt that matches my dress so perfectly!! This project takes only a little fabric and can be used with any outfit that you want to add a fun touch to! If you need a pattern for a great dress for this belt, I suggest the Cassidy! It’s a fantastic pattern! Do you want a fabric accessory belt? Let’s make one!
Materials
- Fabric
- Interfacing
- Button
- Basic sewing supplies
Determine the size of your fabric accessory belt
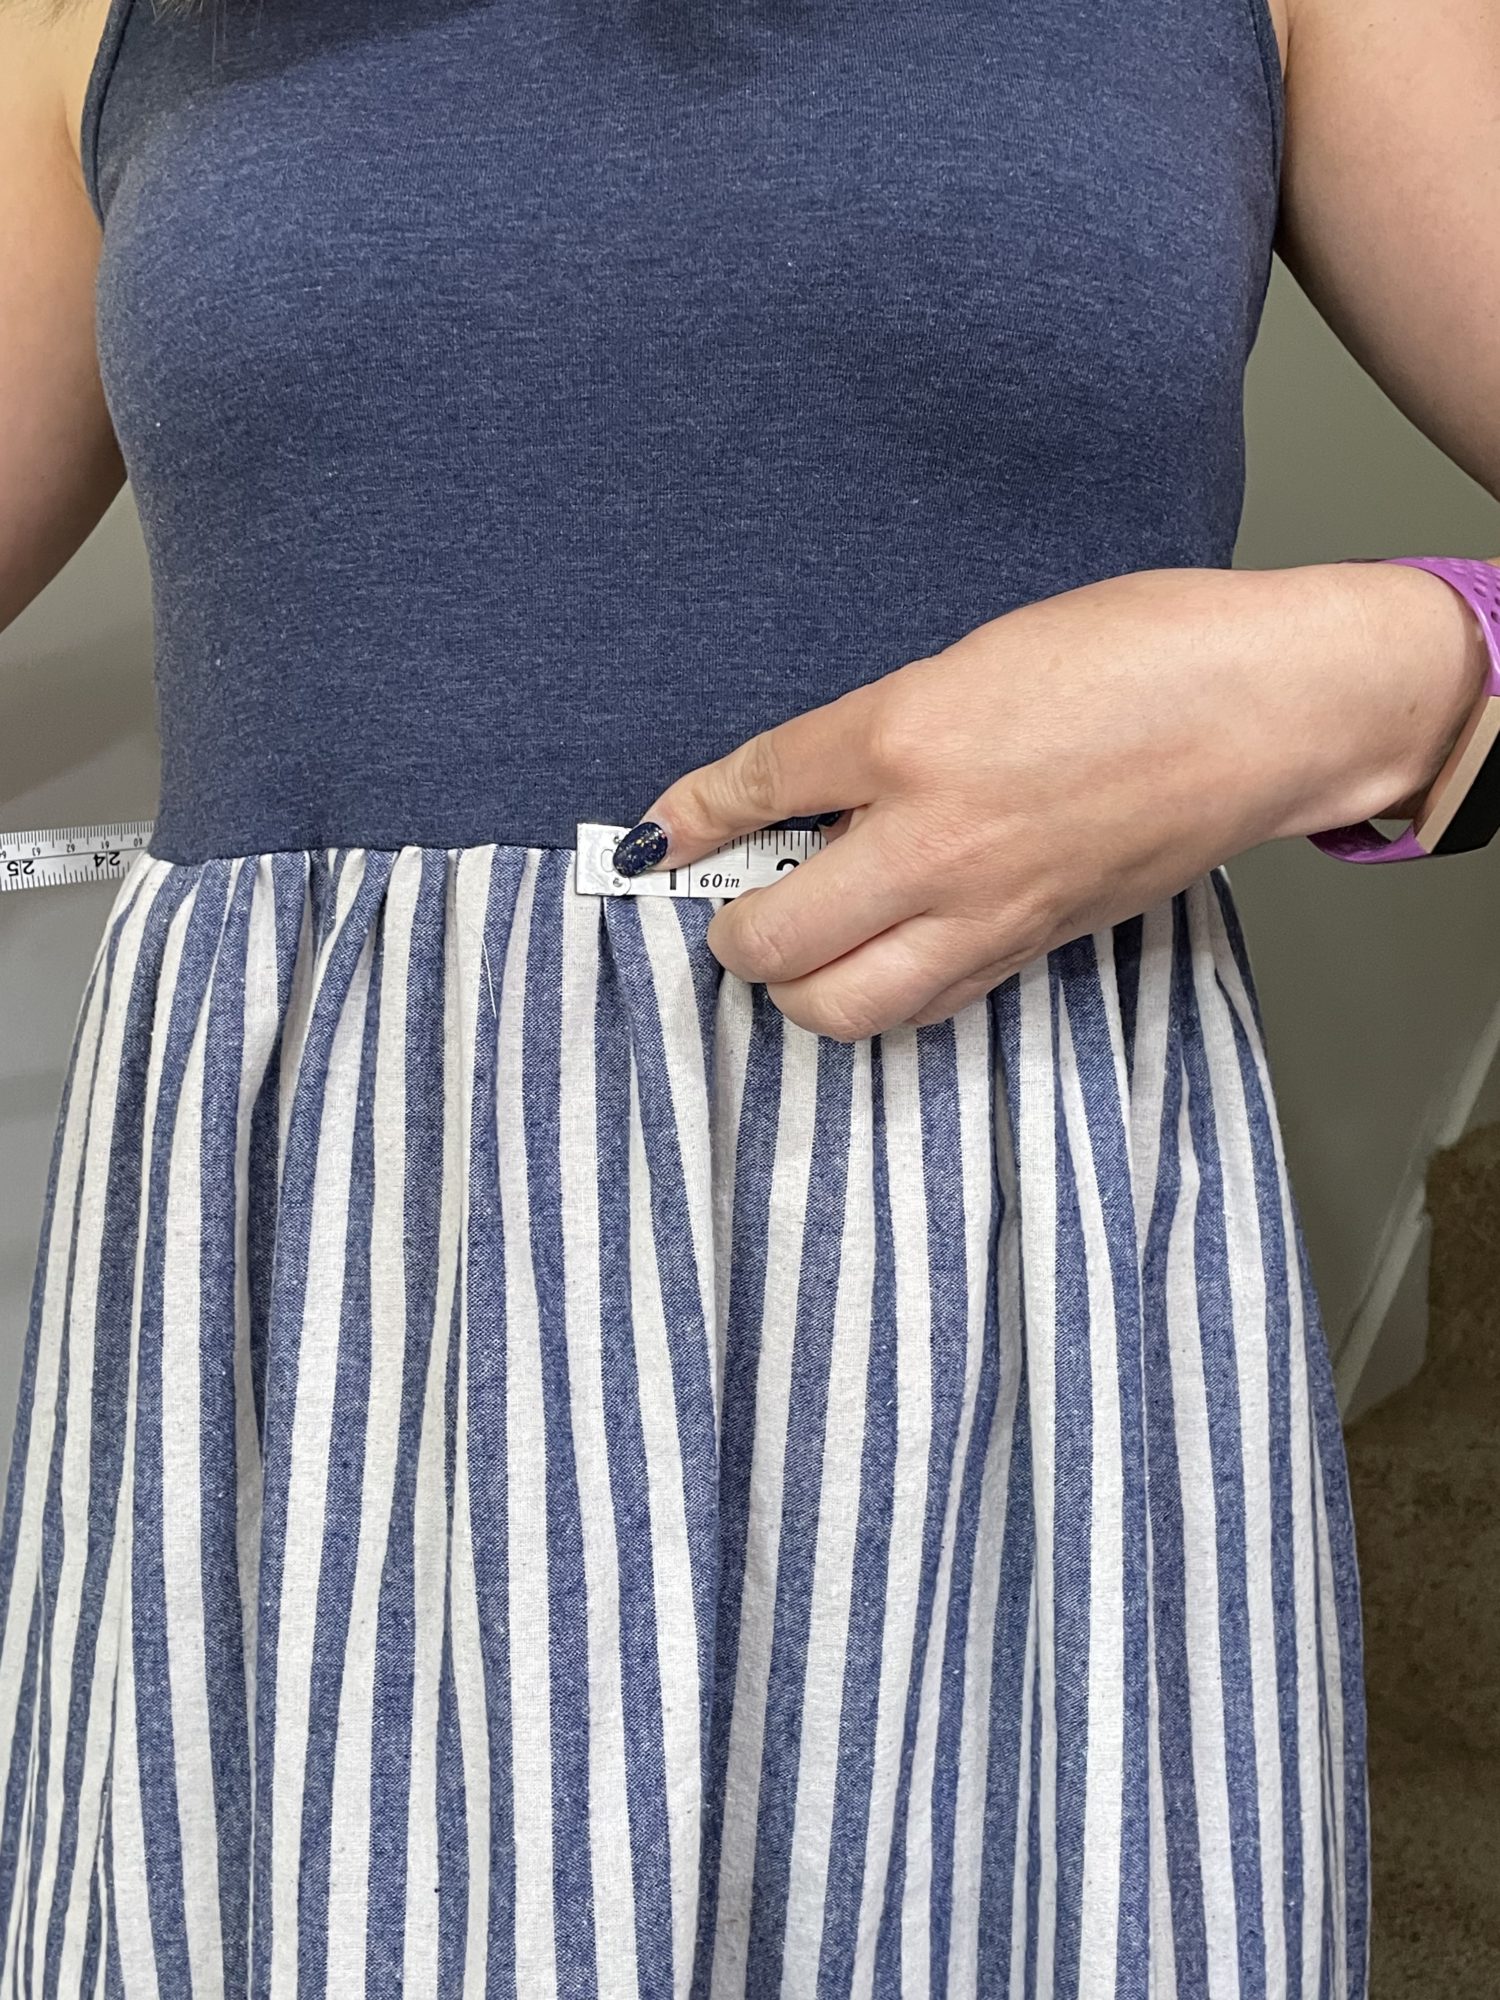
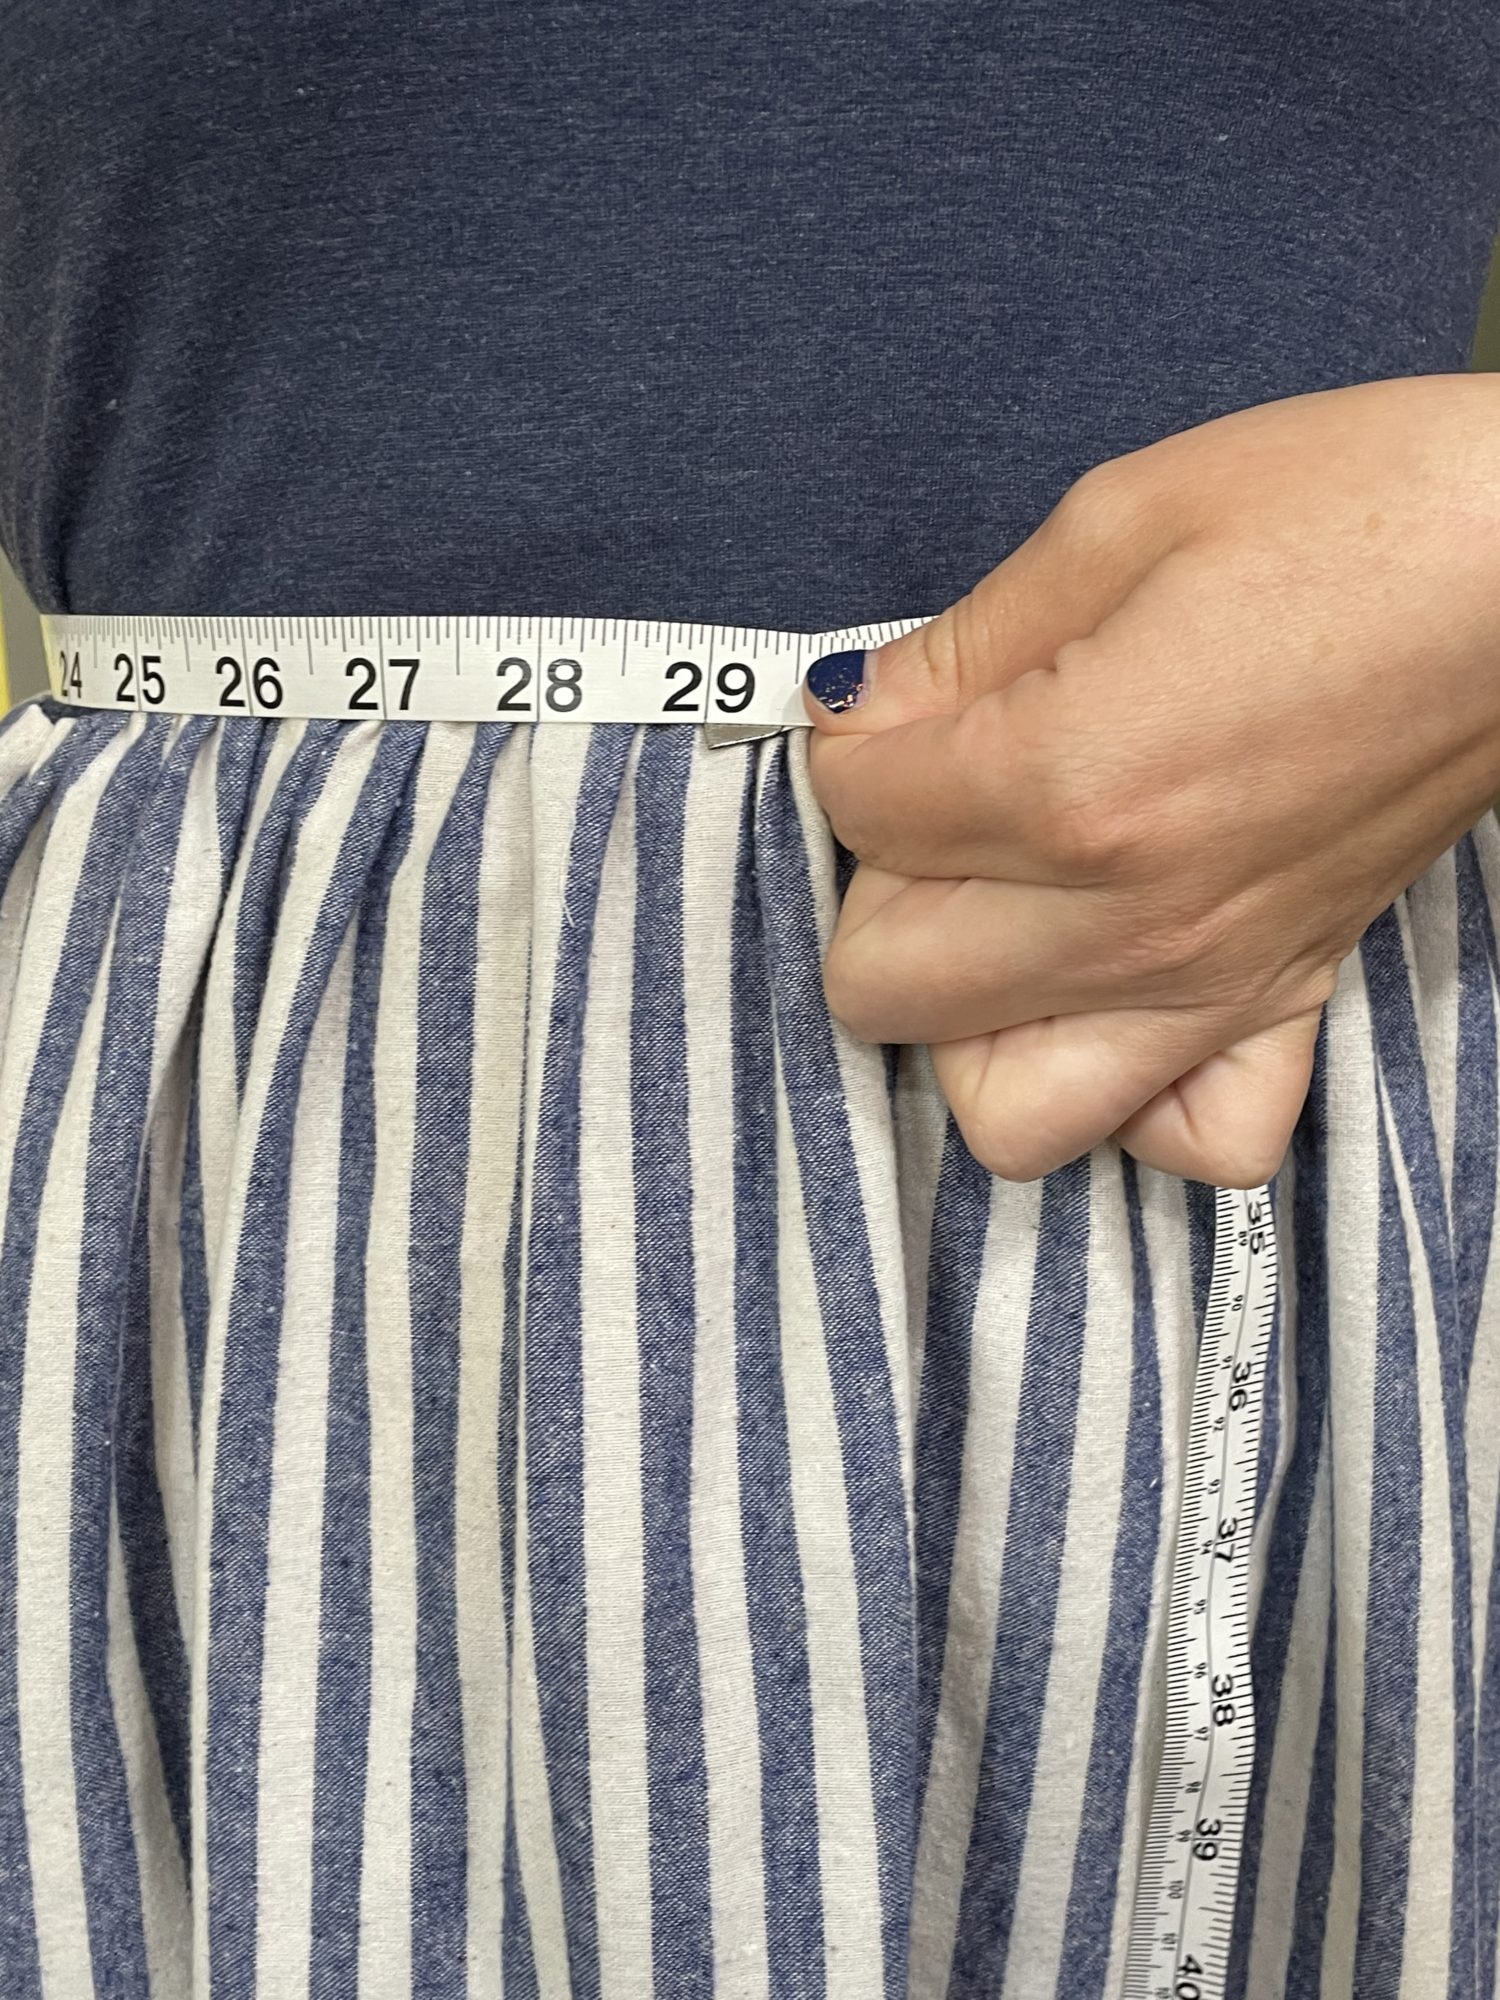
- Measure around your waist where you want to wear your belt. I measured right where the bodice meets the skirt on my Cassidy dress. The measuring tape should be snug, but not uncomfortable. Write down this measurement.
- I wanted my belt ends to overlap by about 6 inches to allow room for buttonholes.
- Then, I needed an extra 1 inch for seam allowances.
- My final fabric width is 36 inches (waist measurement + seam allowance + overlap)
- Now, determine how tall you’d like your fabric accessory belt. I wanted mine to be about 2.5 inches tall.
- You will double this measurement and add seam allowance.
- My fabric length is 6 inches.
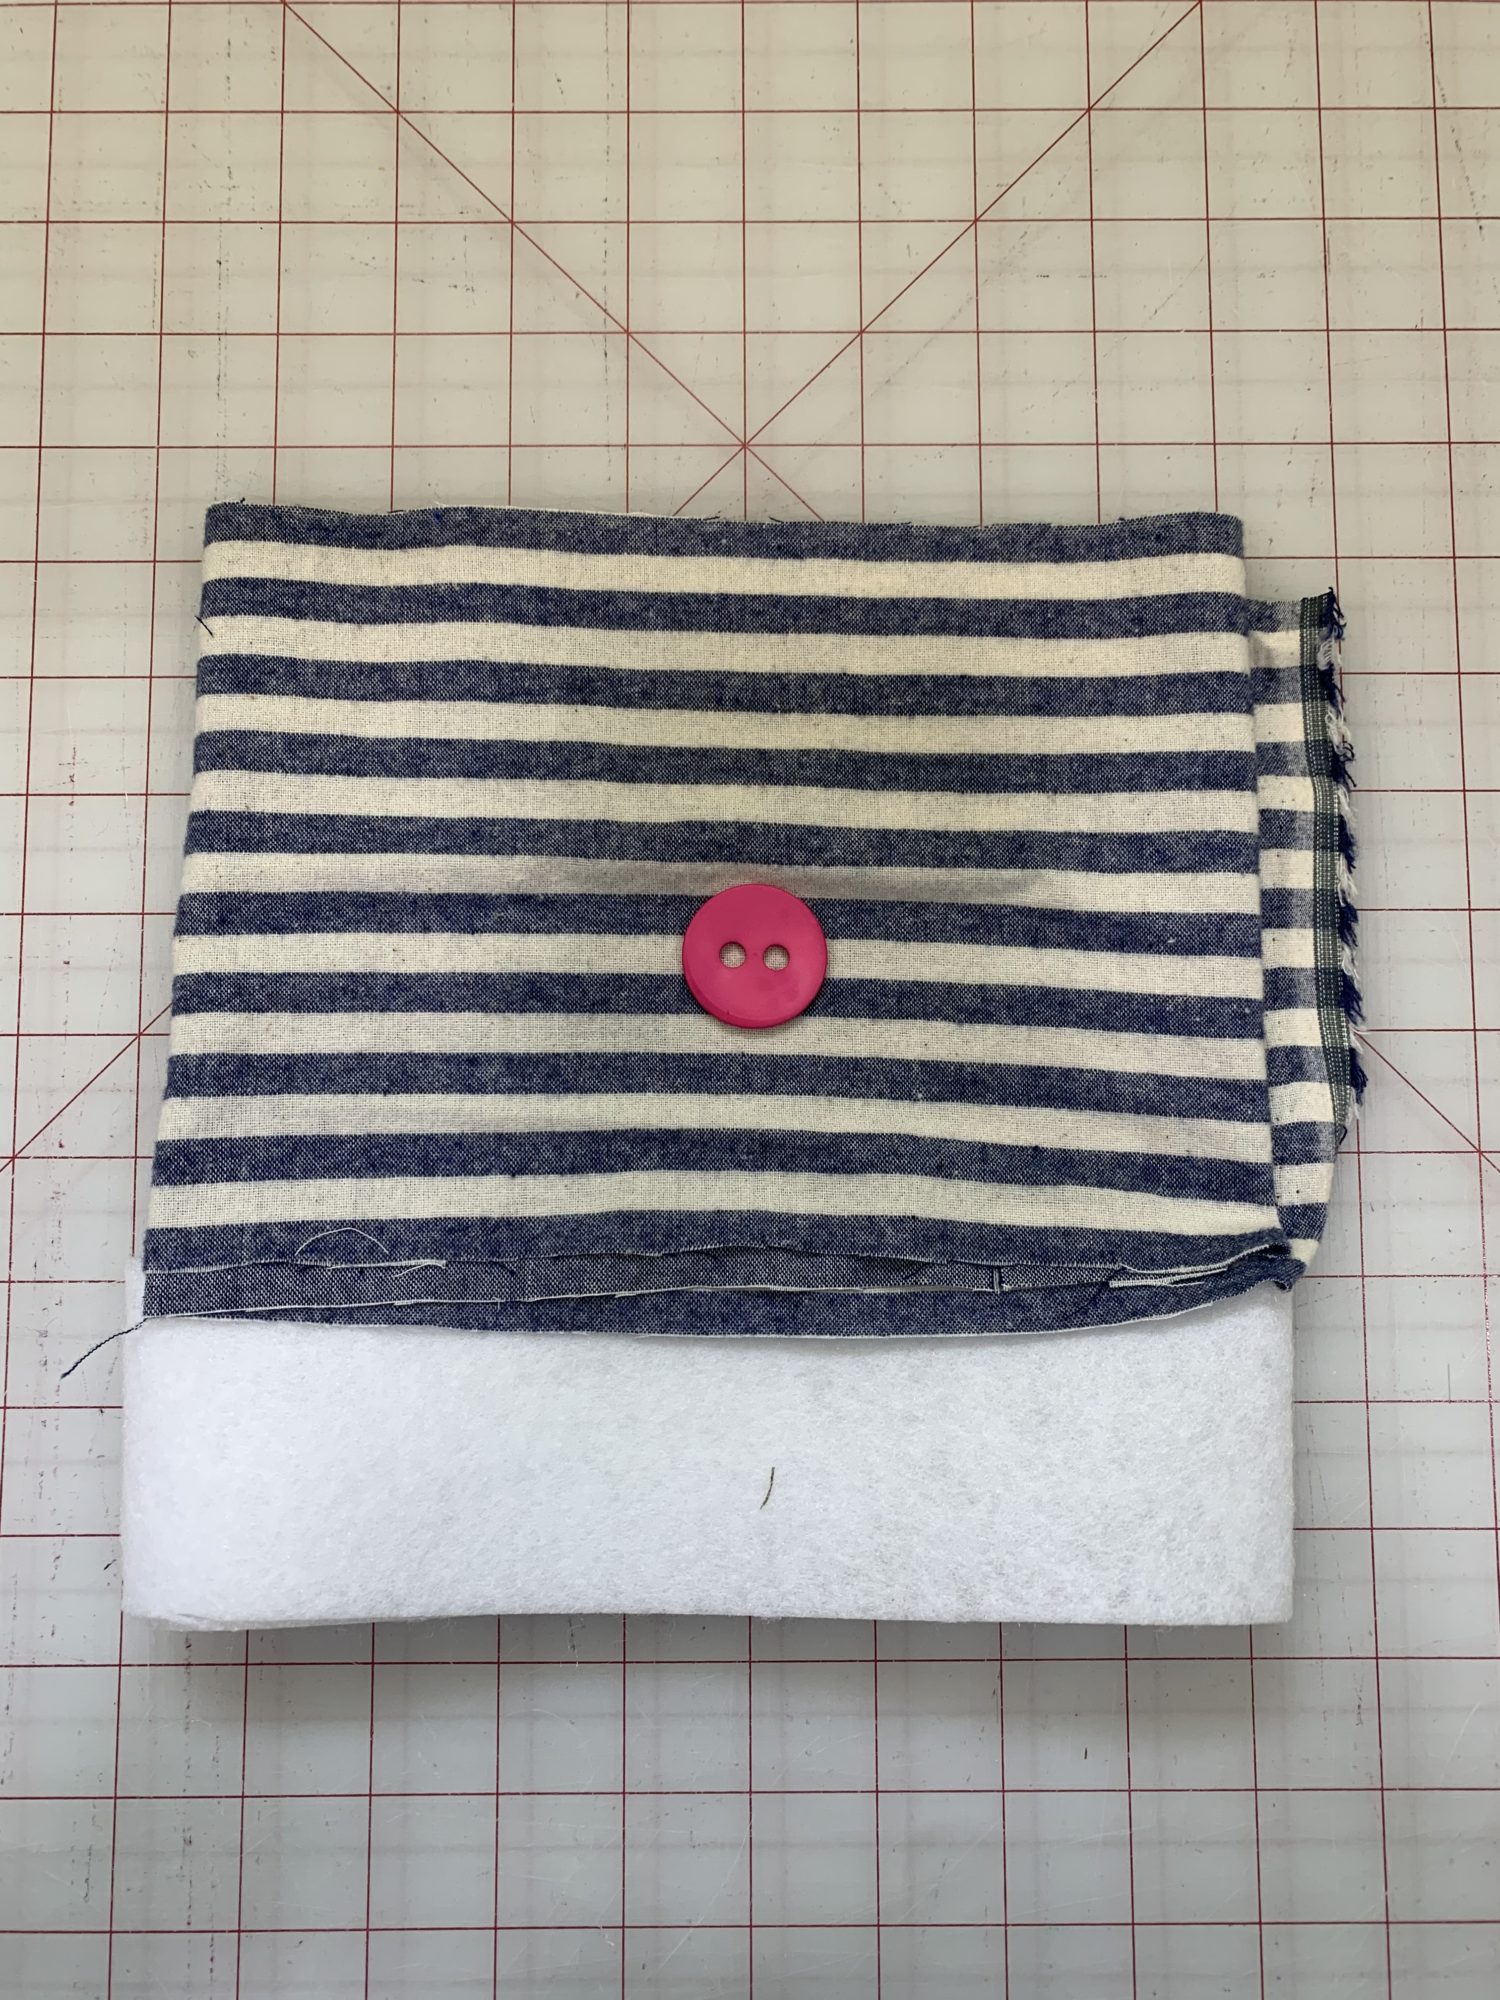
Now, cut your fabric and interfacing
- Cut 1 rectangle of fabric (mine is 36 inches by 6 inches)
- Cut 1 rectangle of interfacing. I only used interfacing on half of my belt. I used fusible fleece and it was pretty thick so I didn’t think that it needed to be folded over like the fabric will be because I didn’t want it to be too bulky. If you have a thin interfacing, cut 1 rectangle to the dimensions of your fabric. If you only want half the amount of interfacing like I did, cut 1 rectangle to the desired final height of your belt (mine was 2.5 inches) by the entire width of fabric. It’s all personal preference, so totally up to you!
- My interfacing was 36 inches by 2.5 inches.
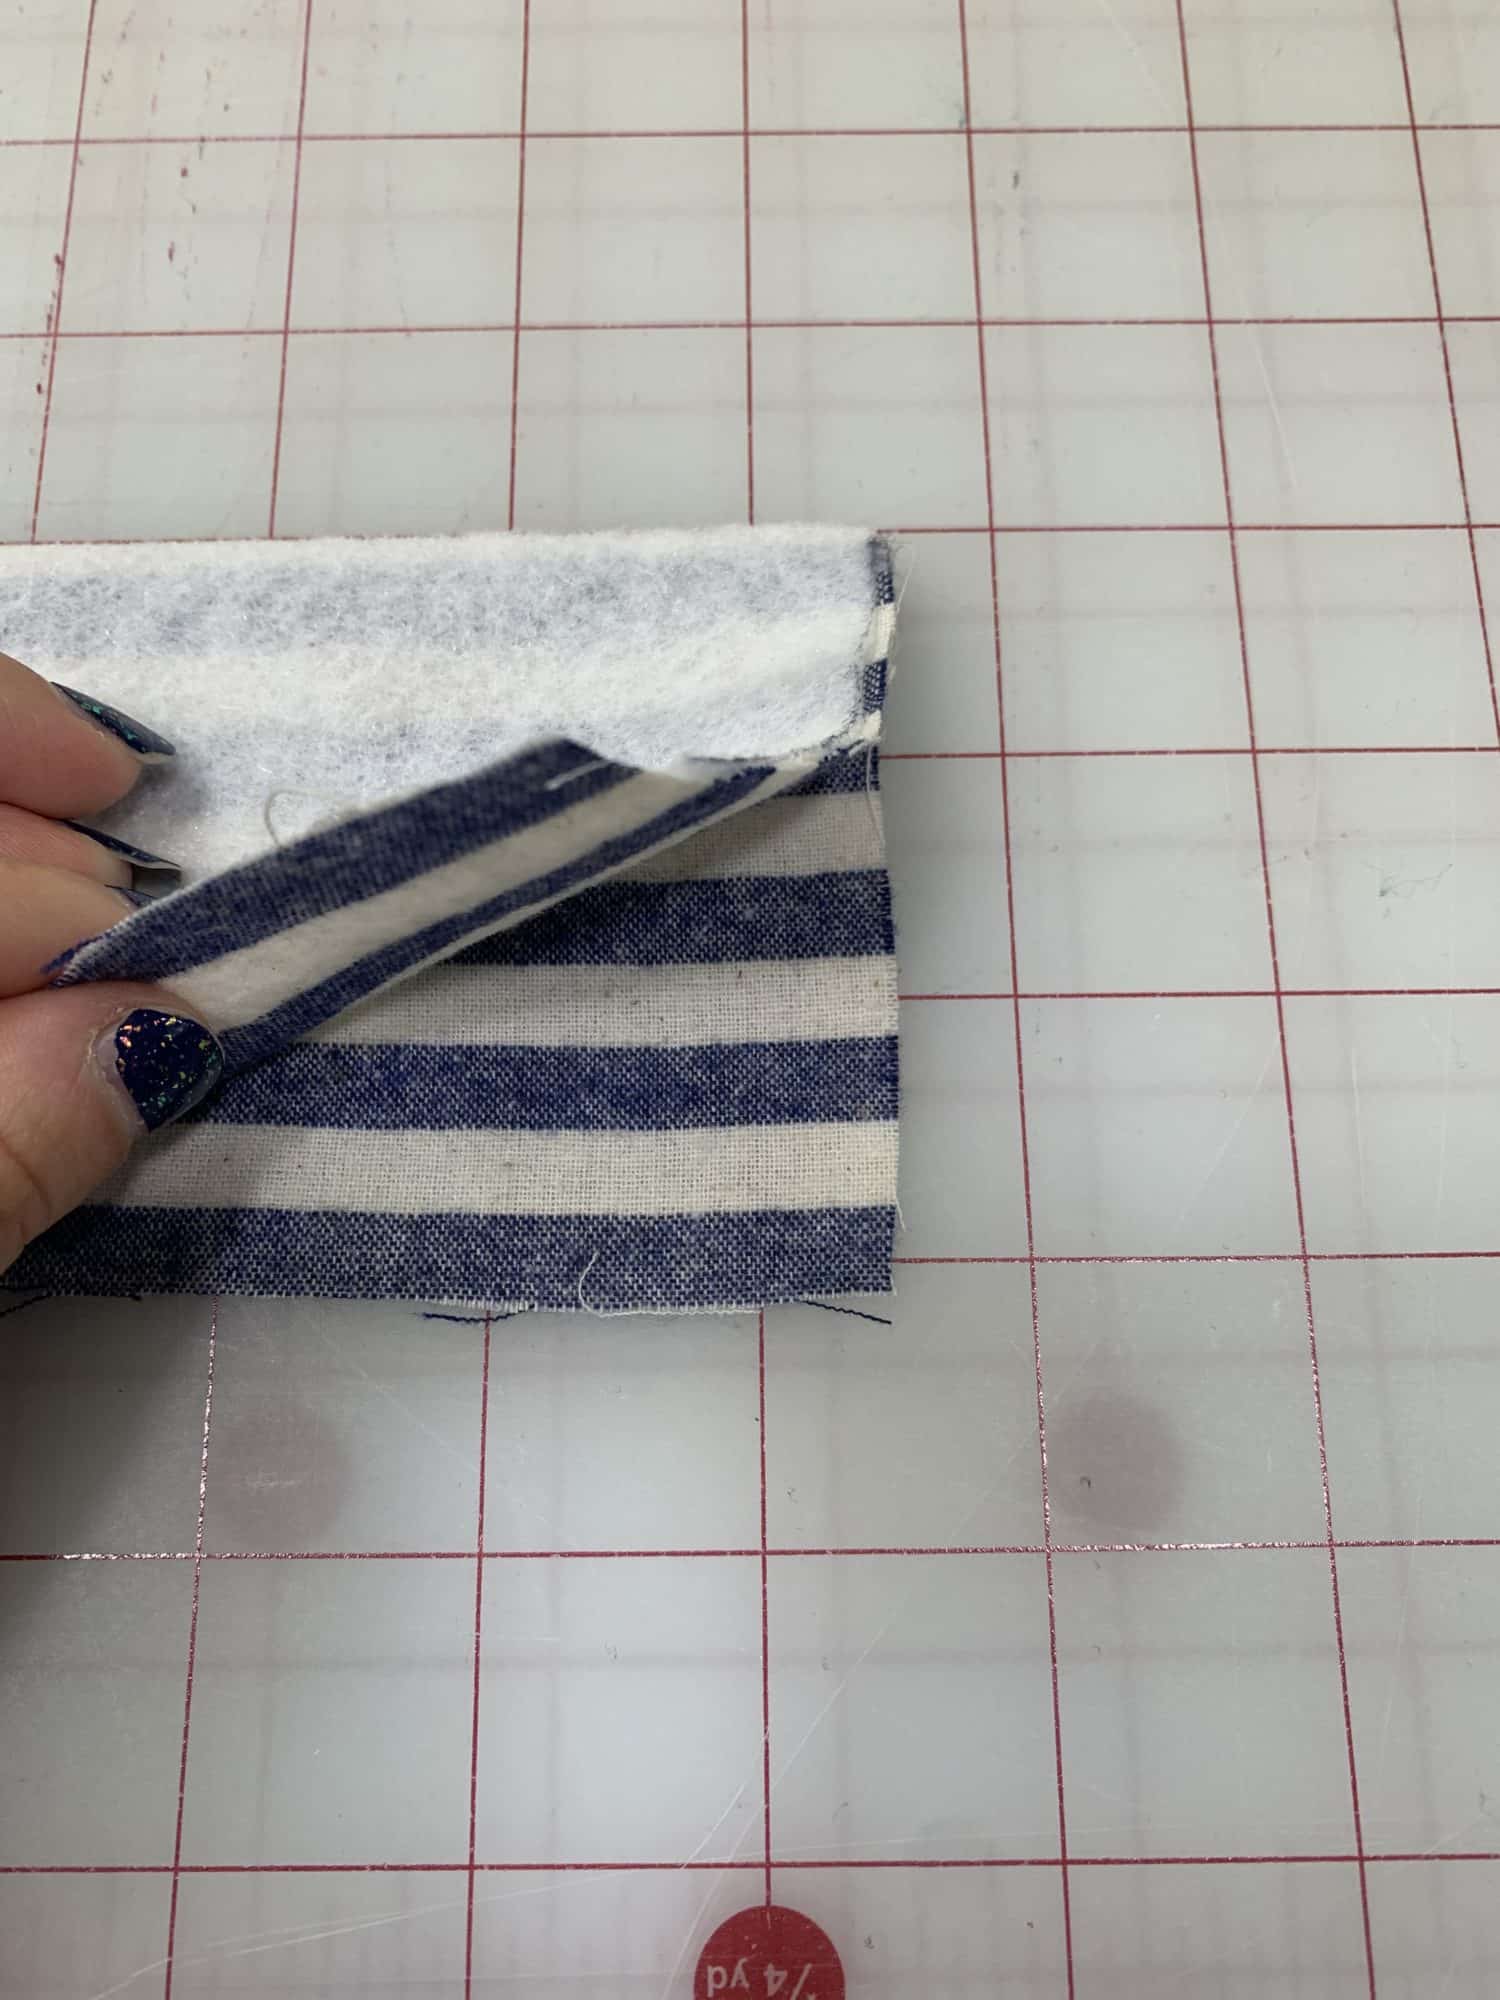
Apply interfacing to the fabric
- You will follow the directions of your particular interfacing to apply it to the fabric. If you cut a rectangle the same size as your fabric, apply the interfacing to the wrong side of the fabric.
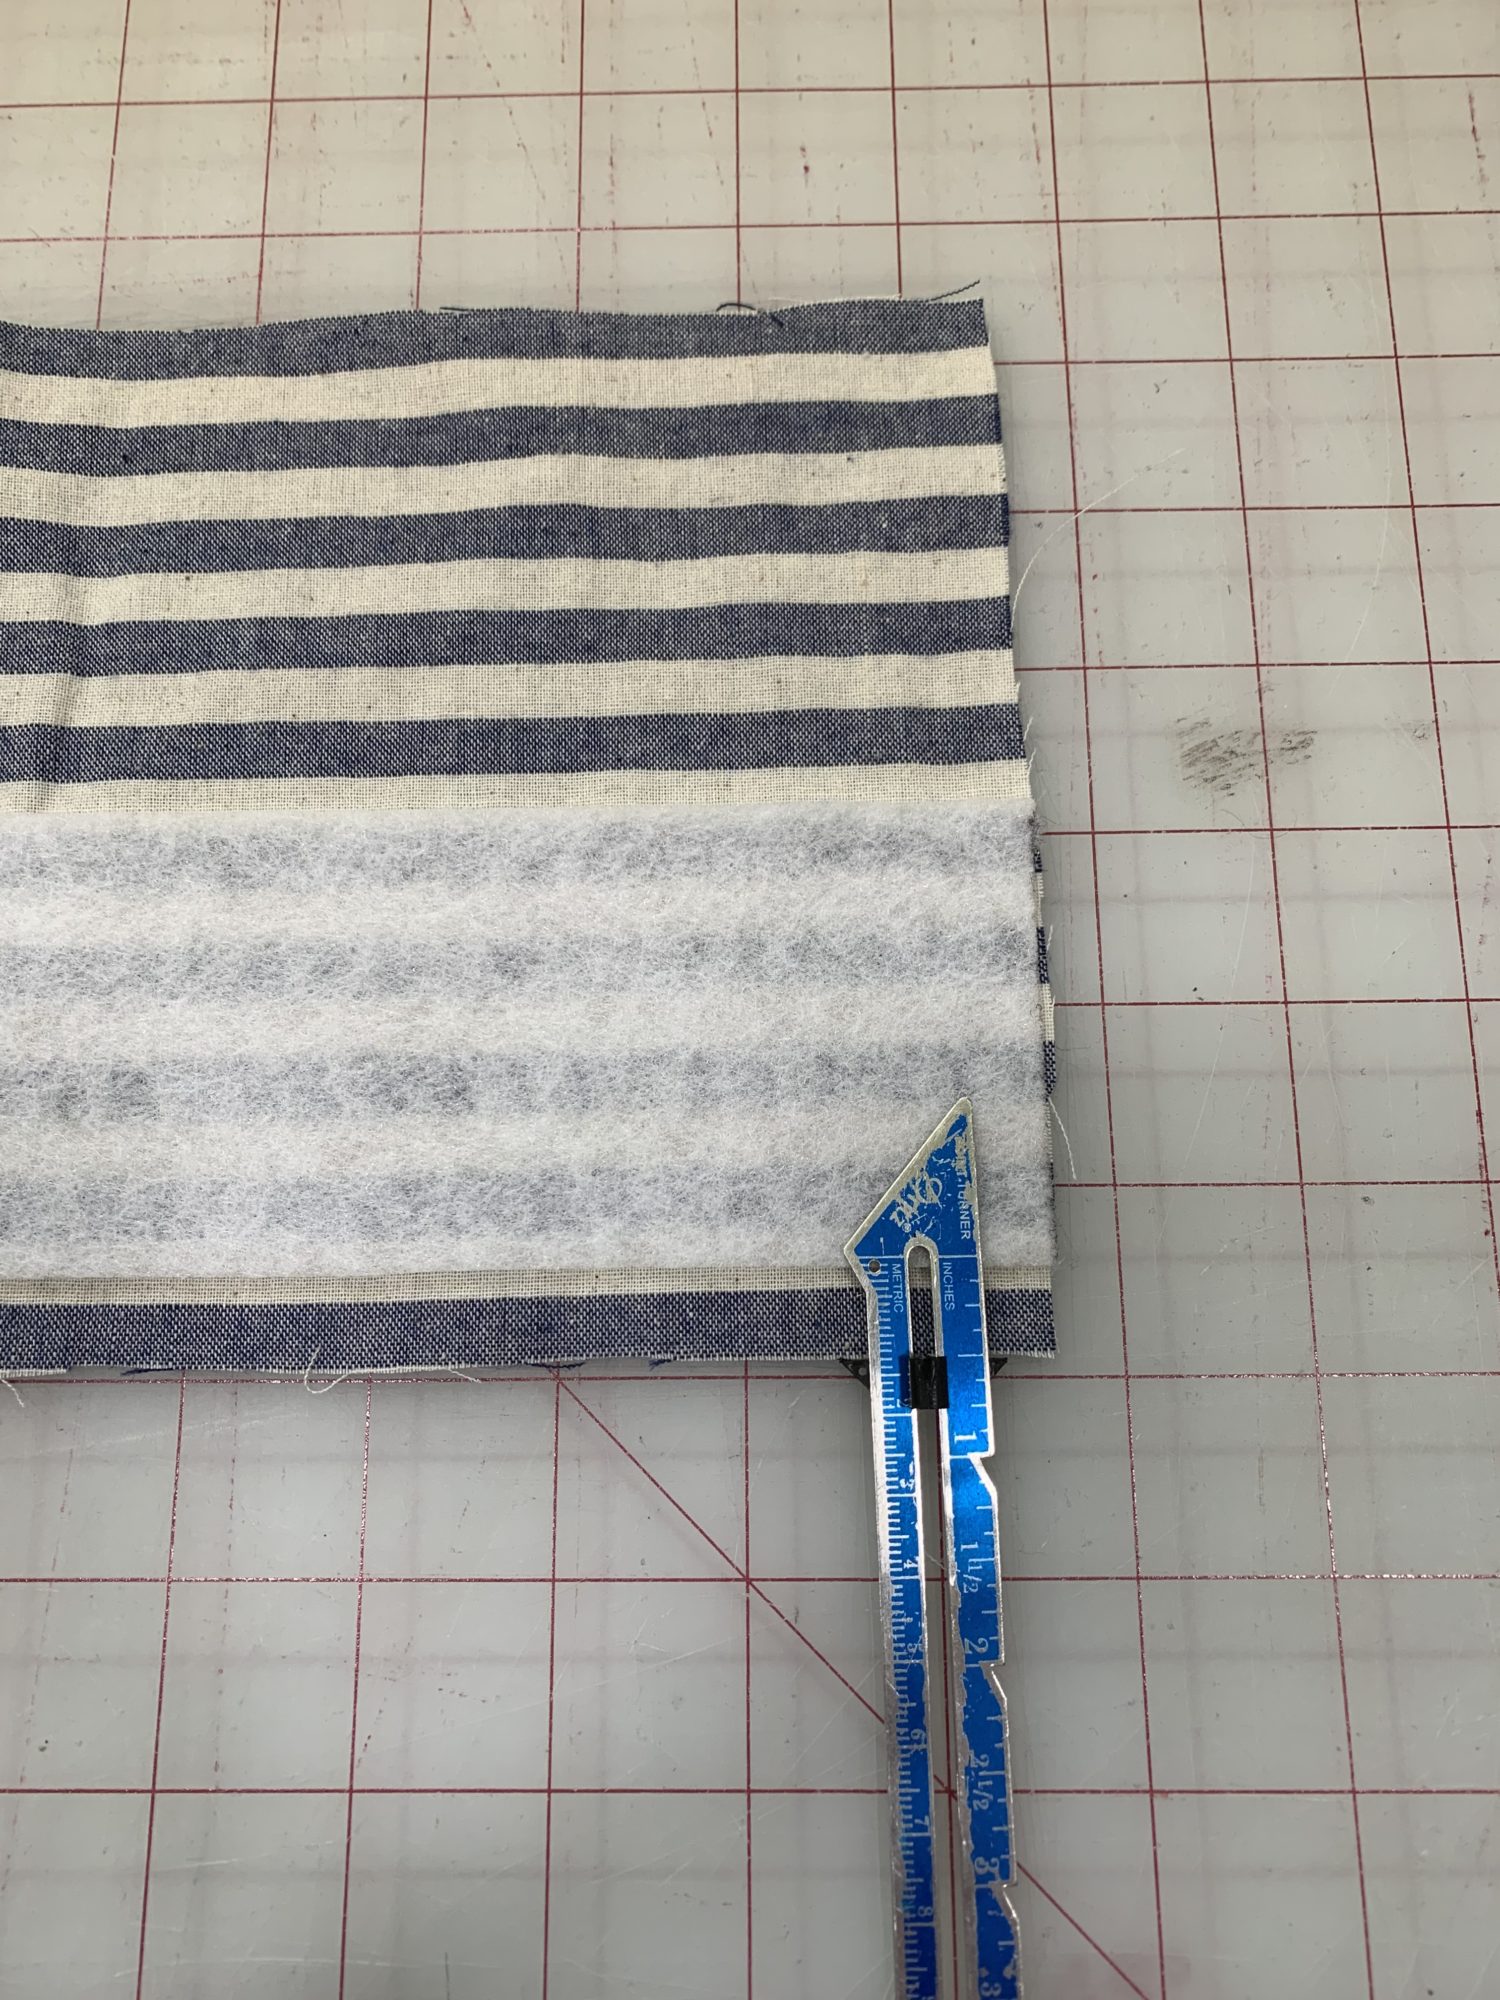
- If you cut the interfacing like I did (to the desired final height of the belt), apply the interfacing on the wrong side of the fabric 1/2 inch from the edge. This just keeps it out of the seam allowance to help the belt lay flat and reduce bulk.
Time to sew your fabric accessory belt!
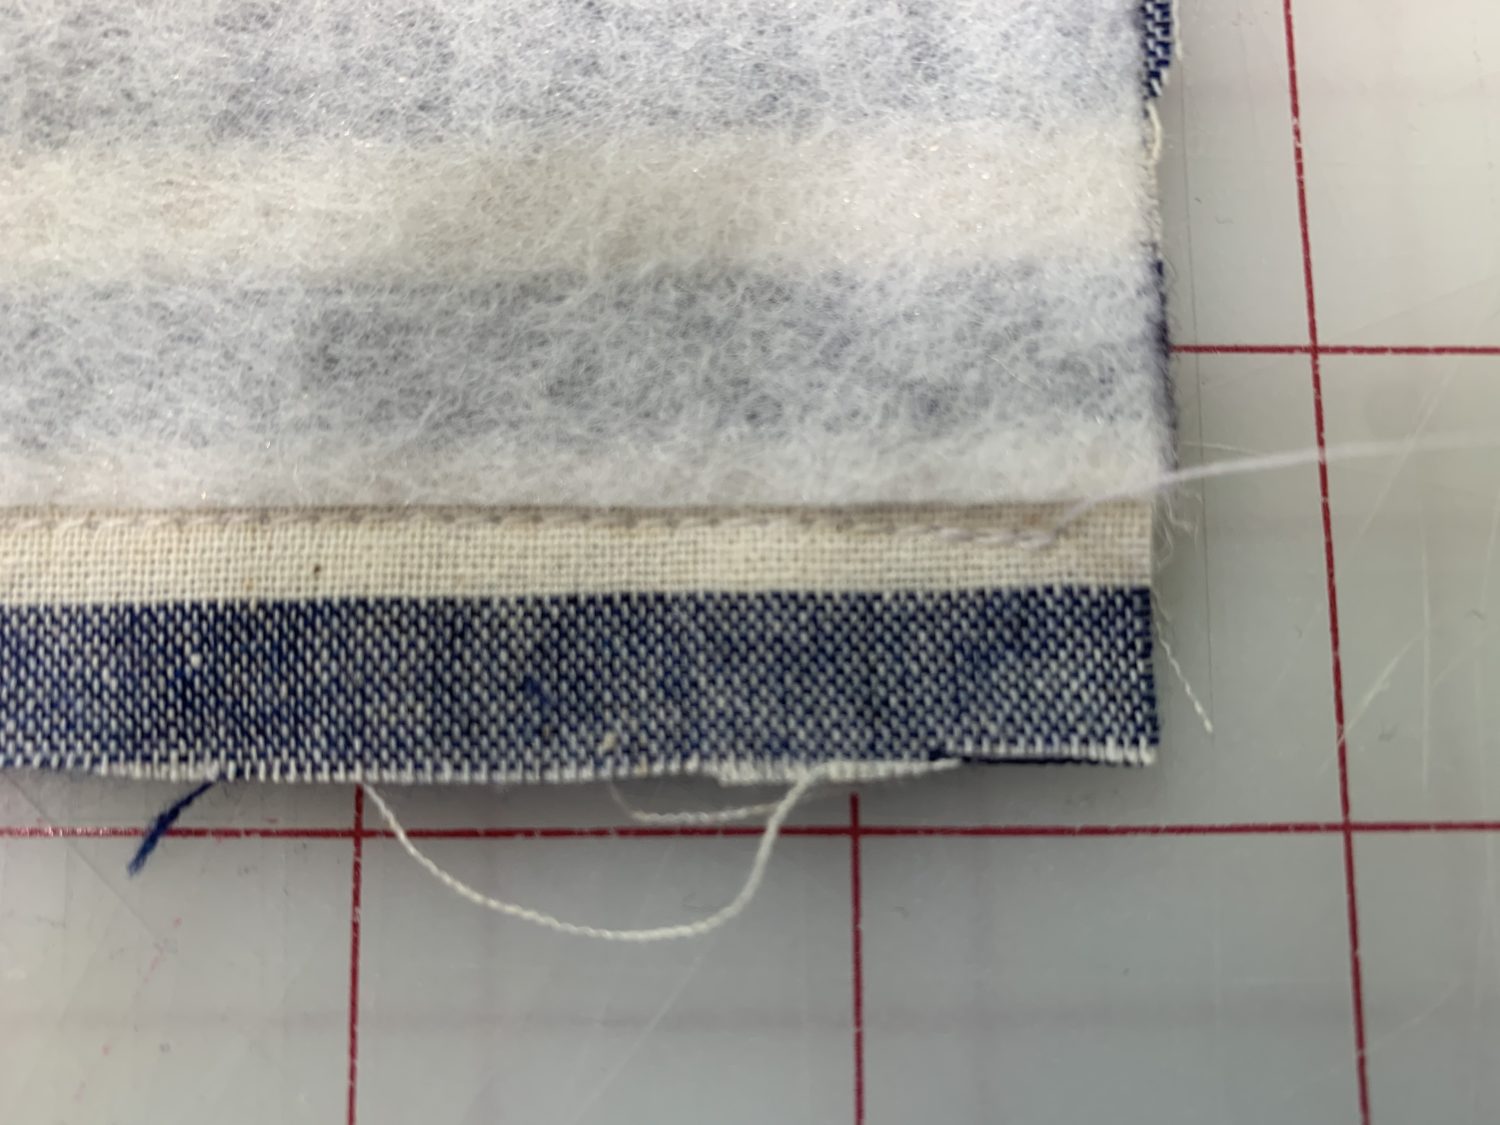
- Once the interfacing is applied, fold the belt in half long ways and with right sides together.
- Clip or pin the edges.
- Sew along the long edge, right alongside that interfacing.

- Trim your seam allowance close to the stitches, but be careful not to cut into the stitches!
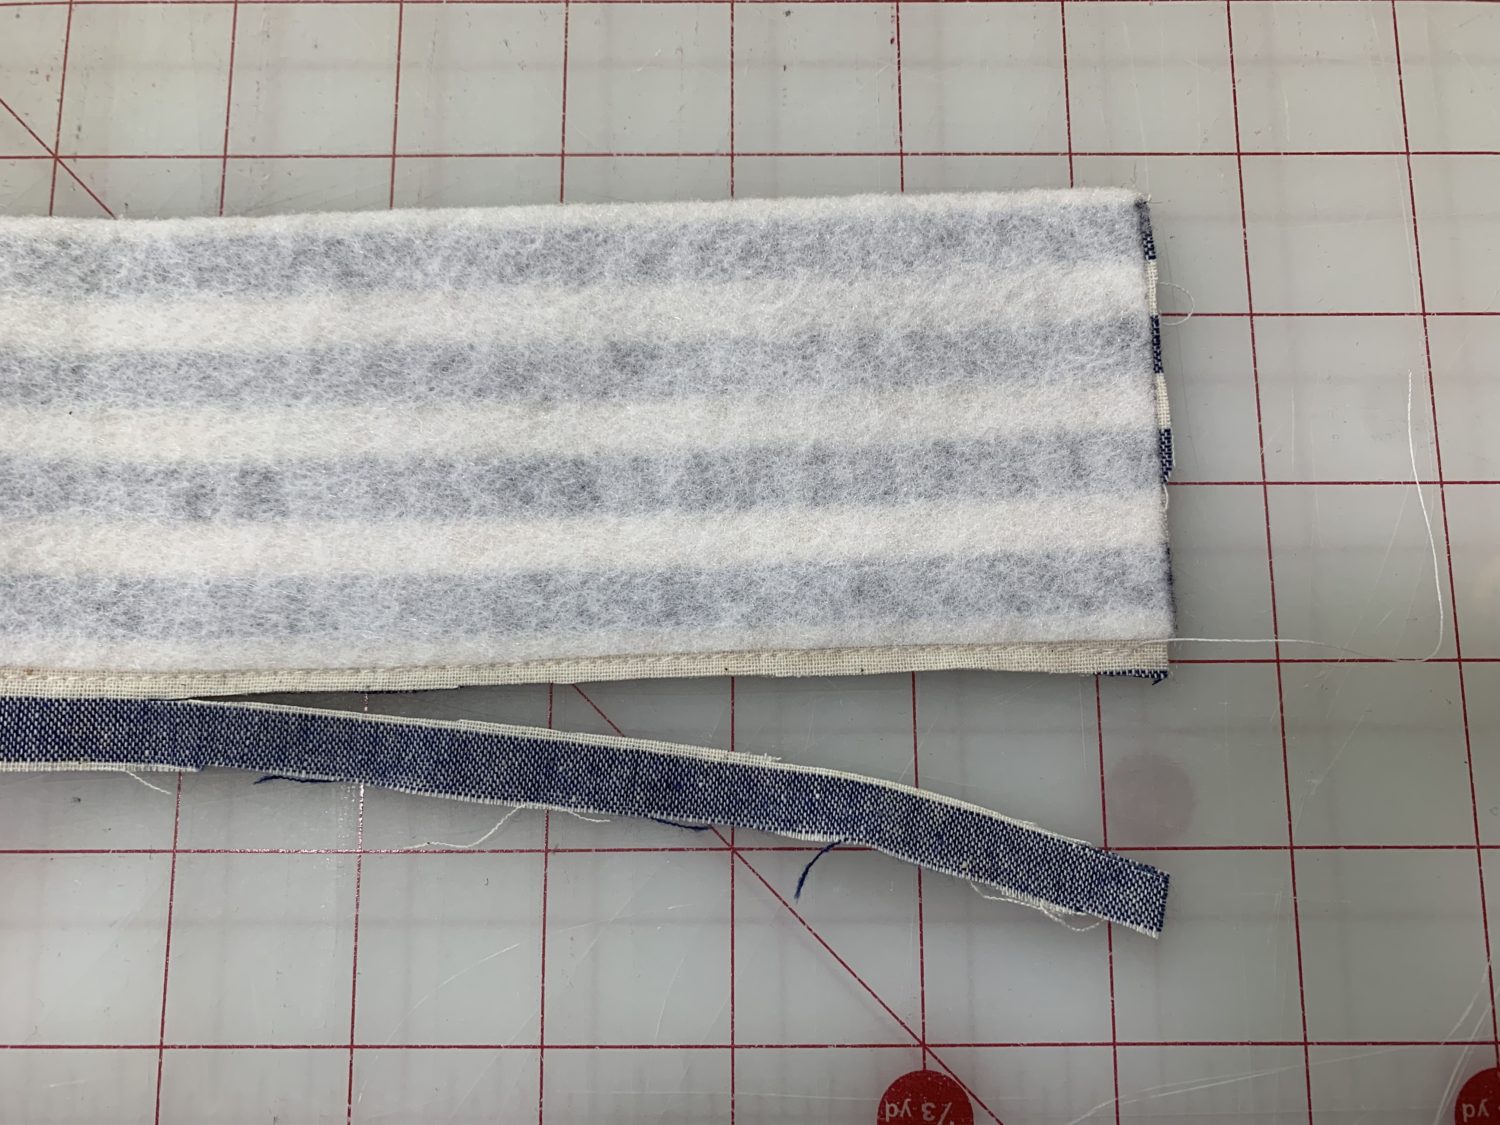
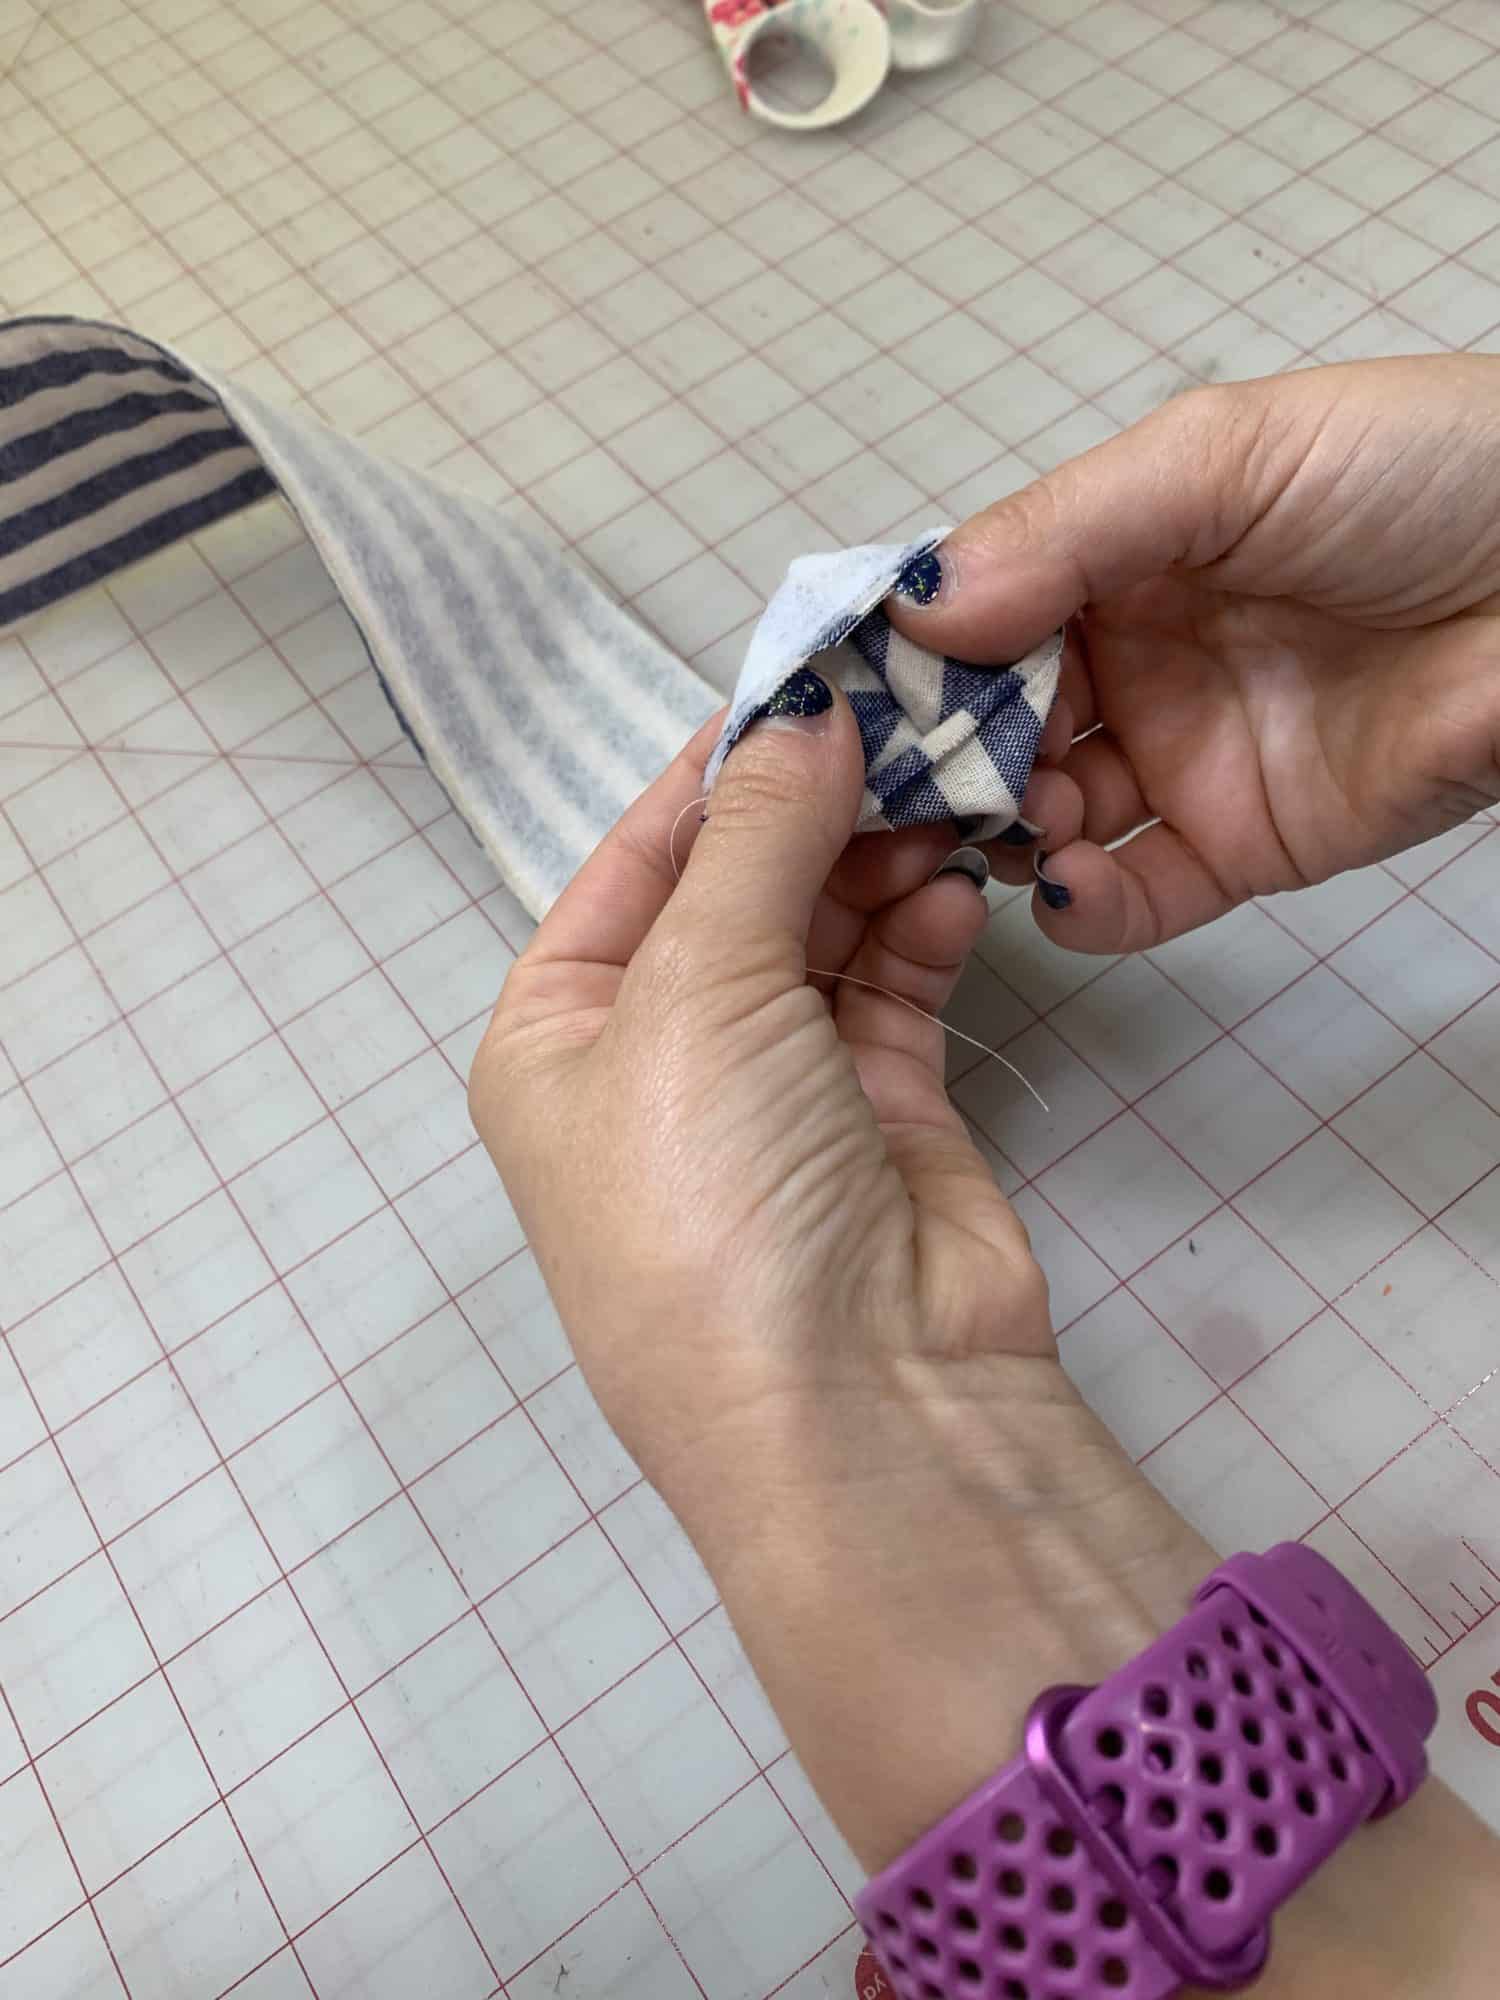
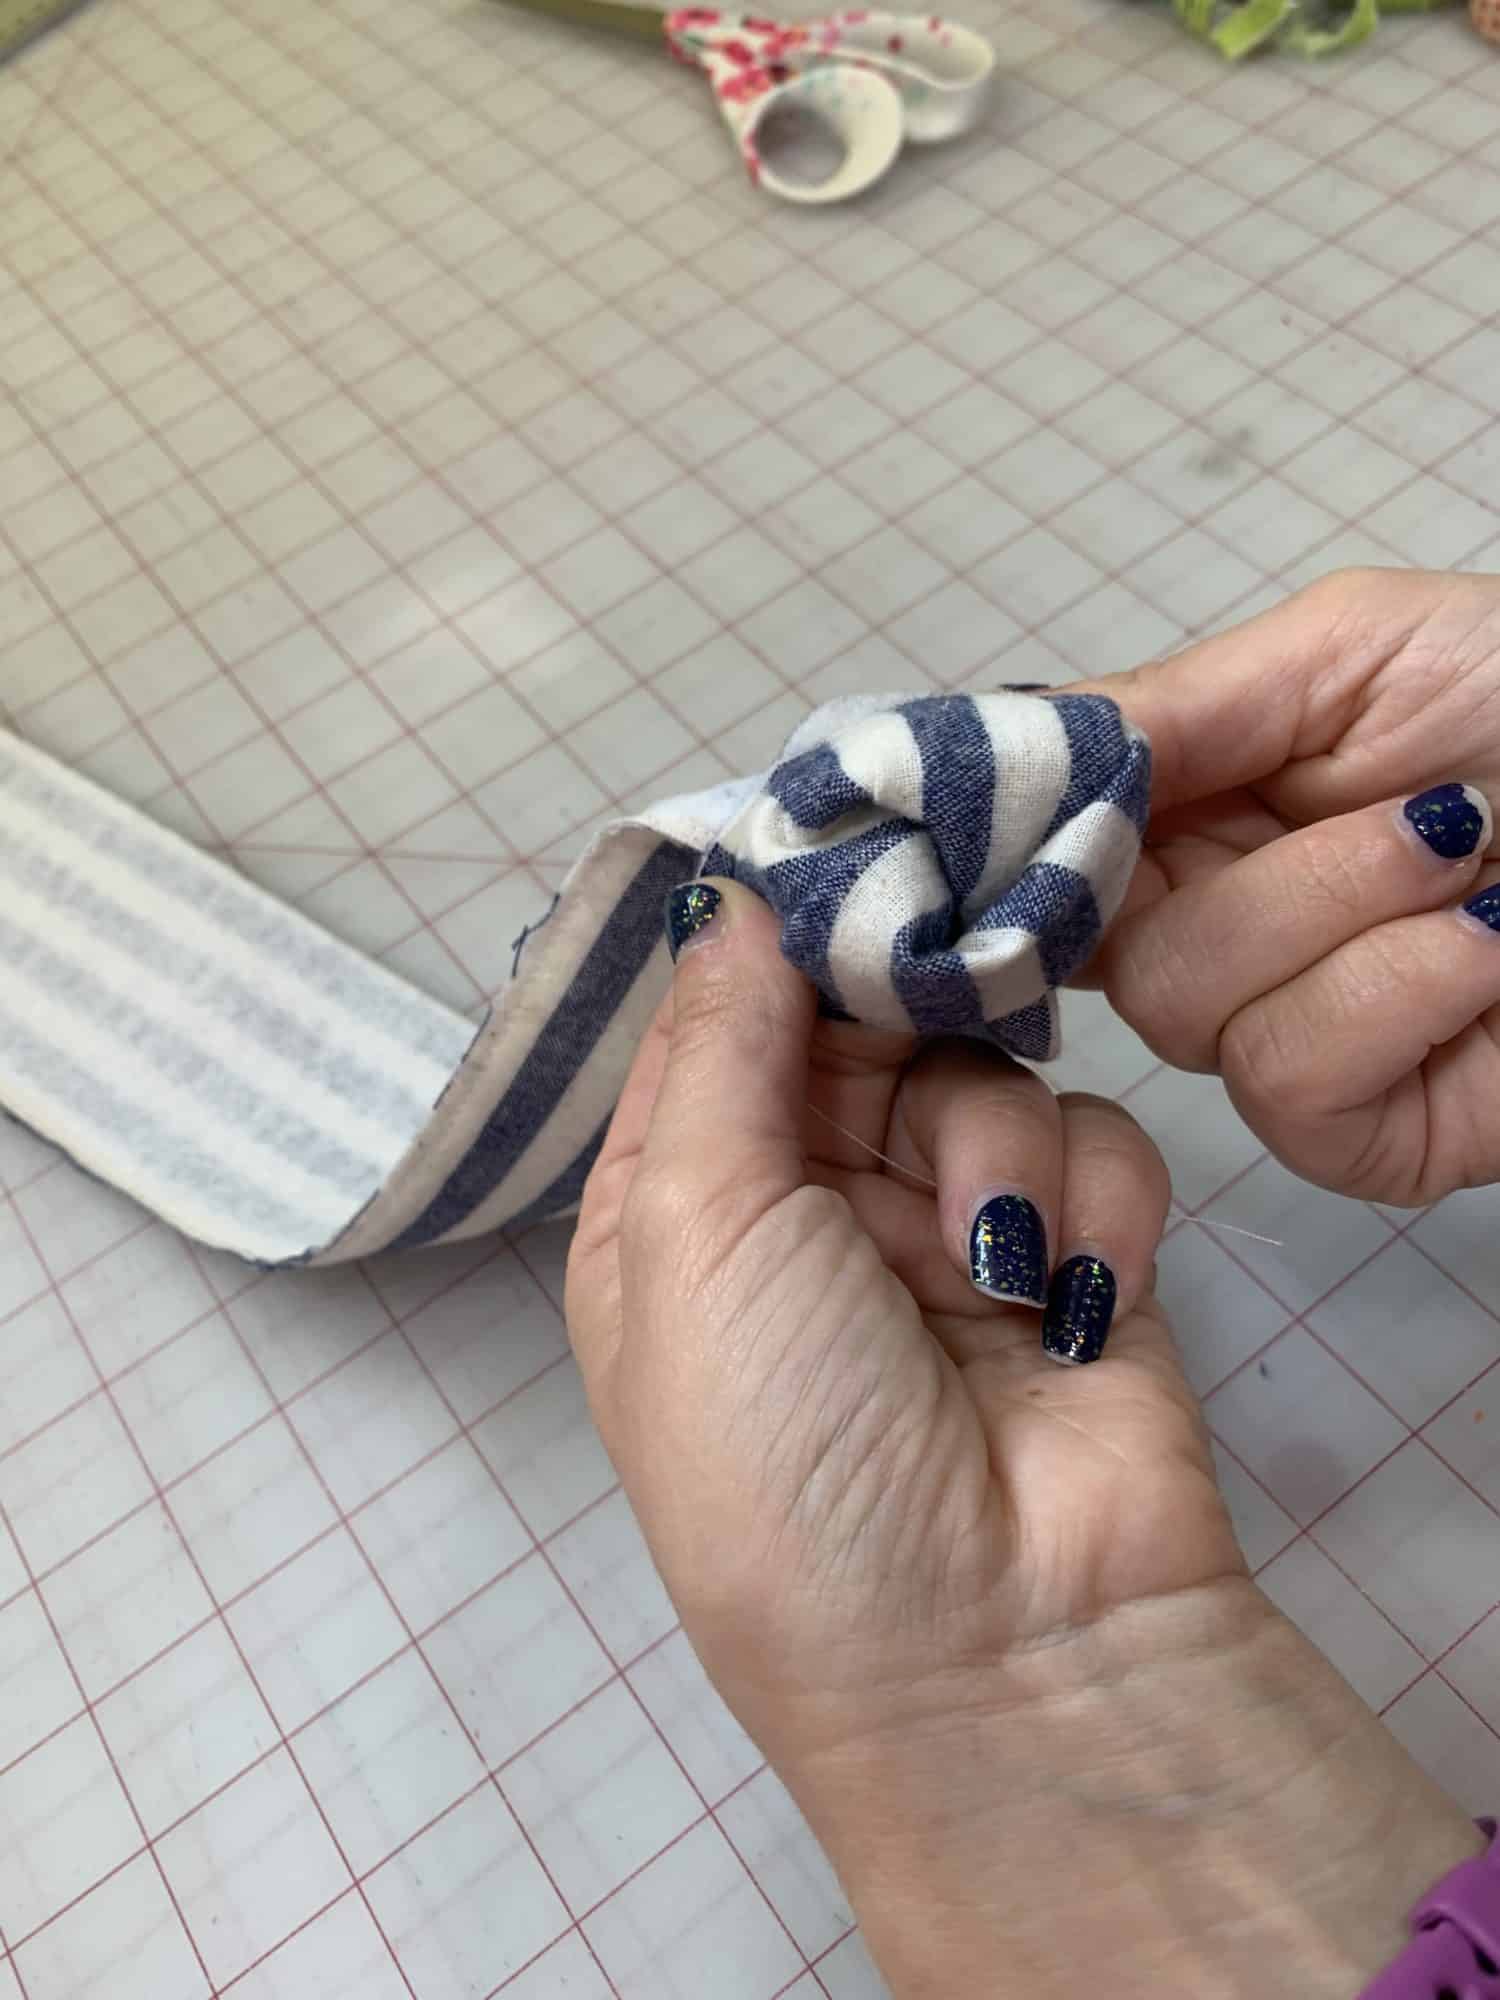
- Turn your fabric accessory belt right side out.
- Use a tube turner or pencil to help push it through.
- Once it is right side out, press well so that the belt lays flat.

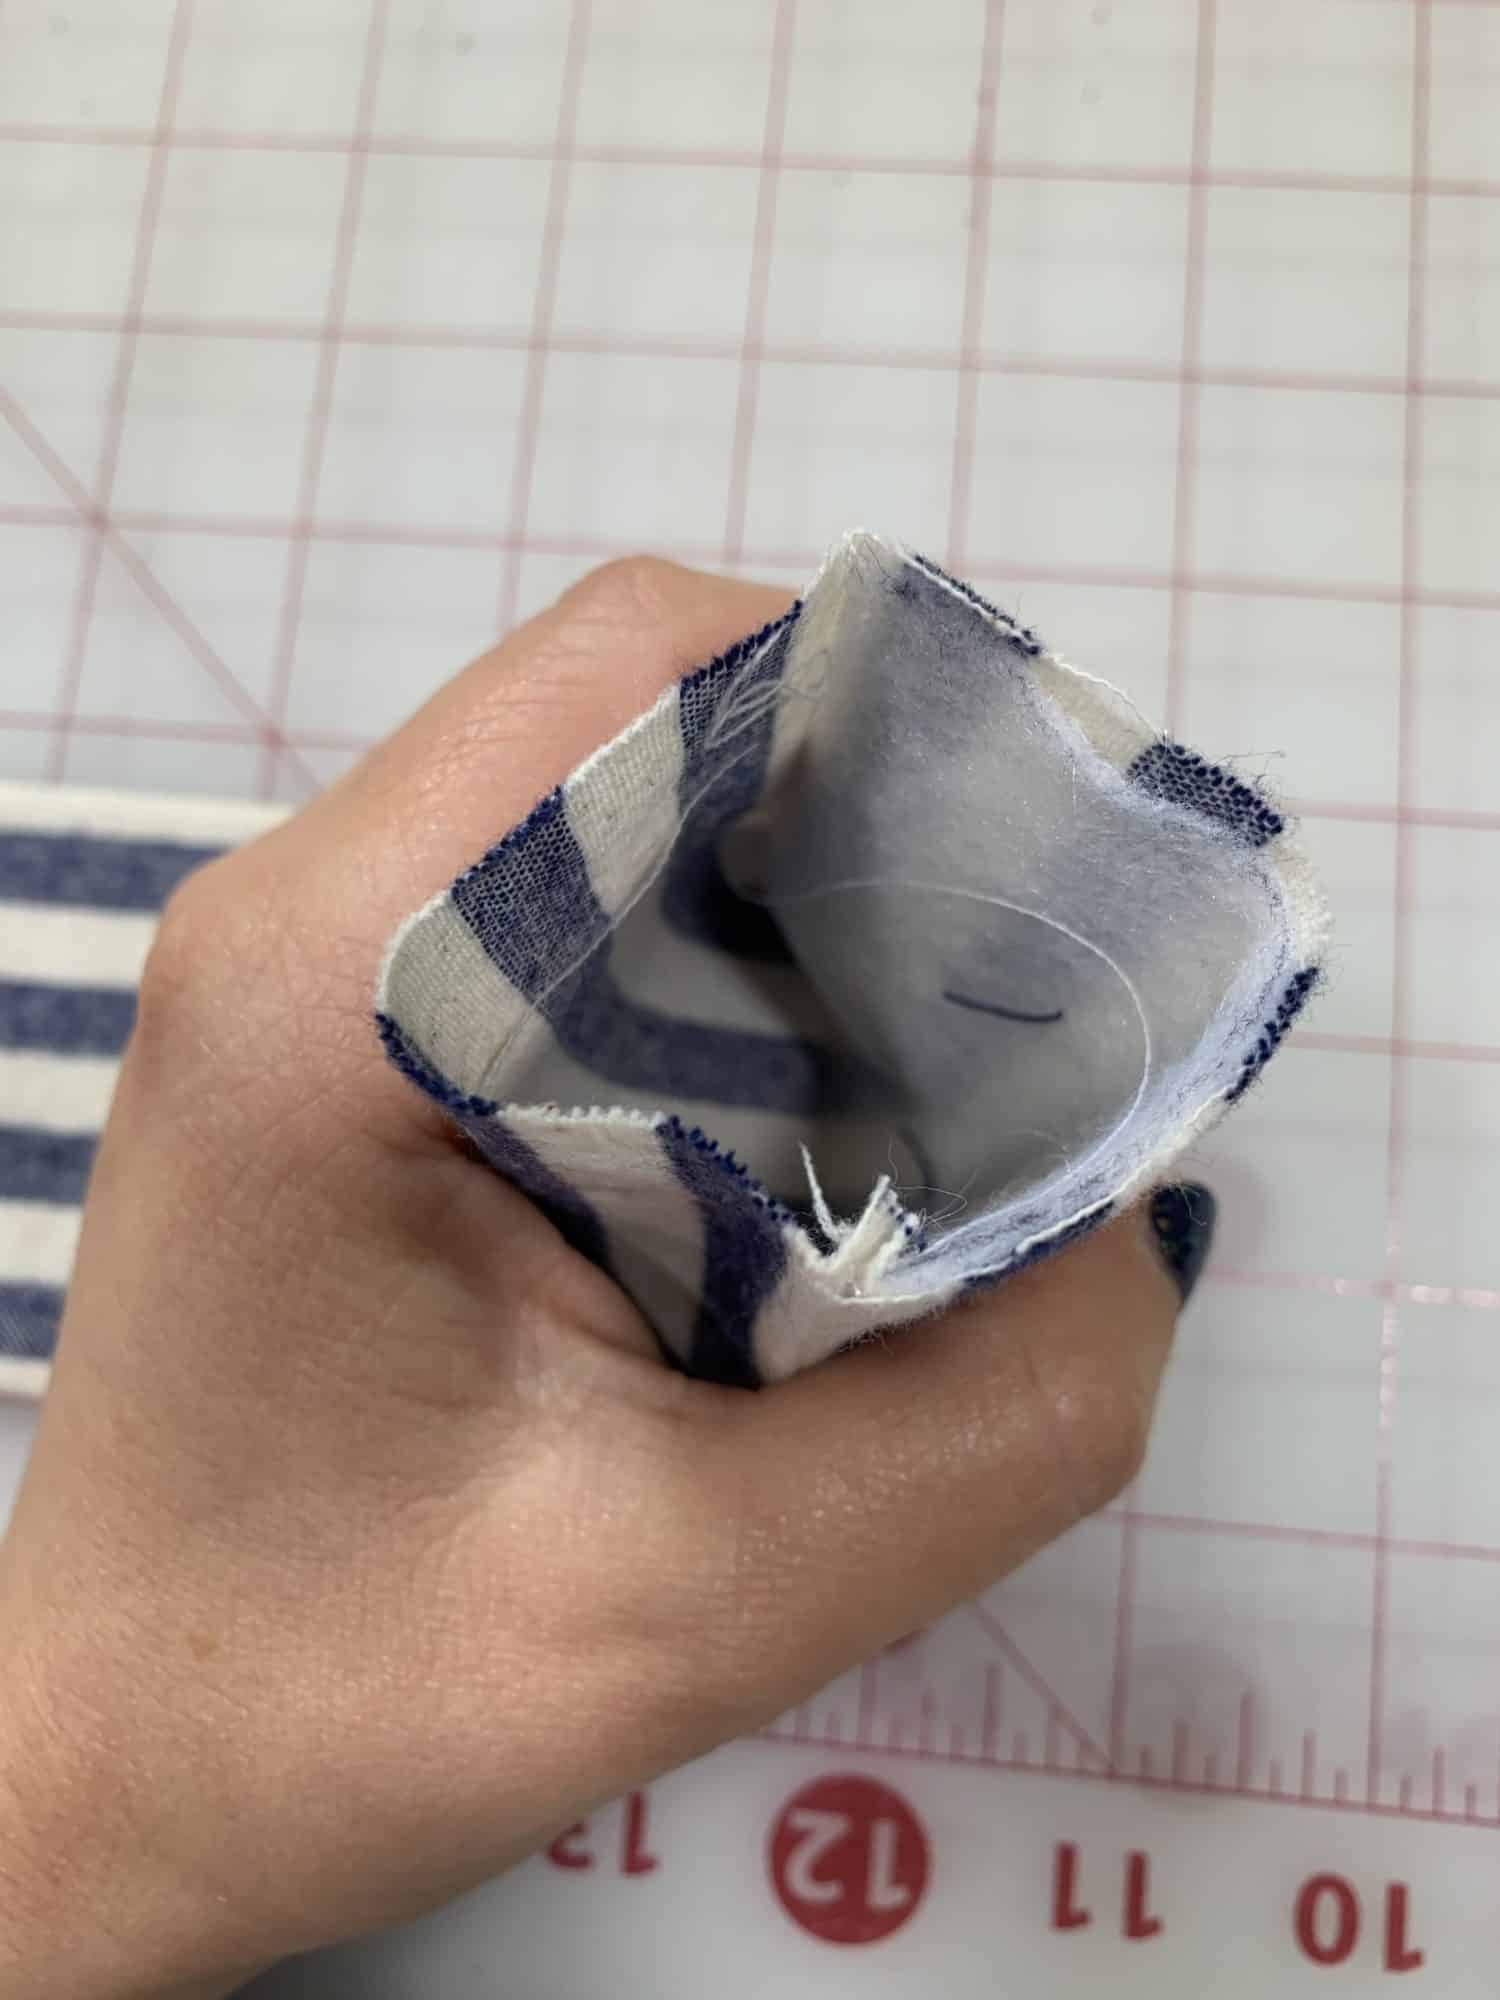
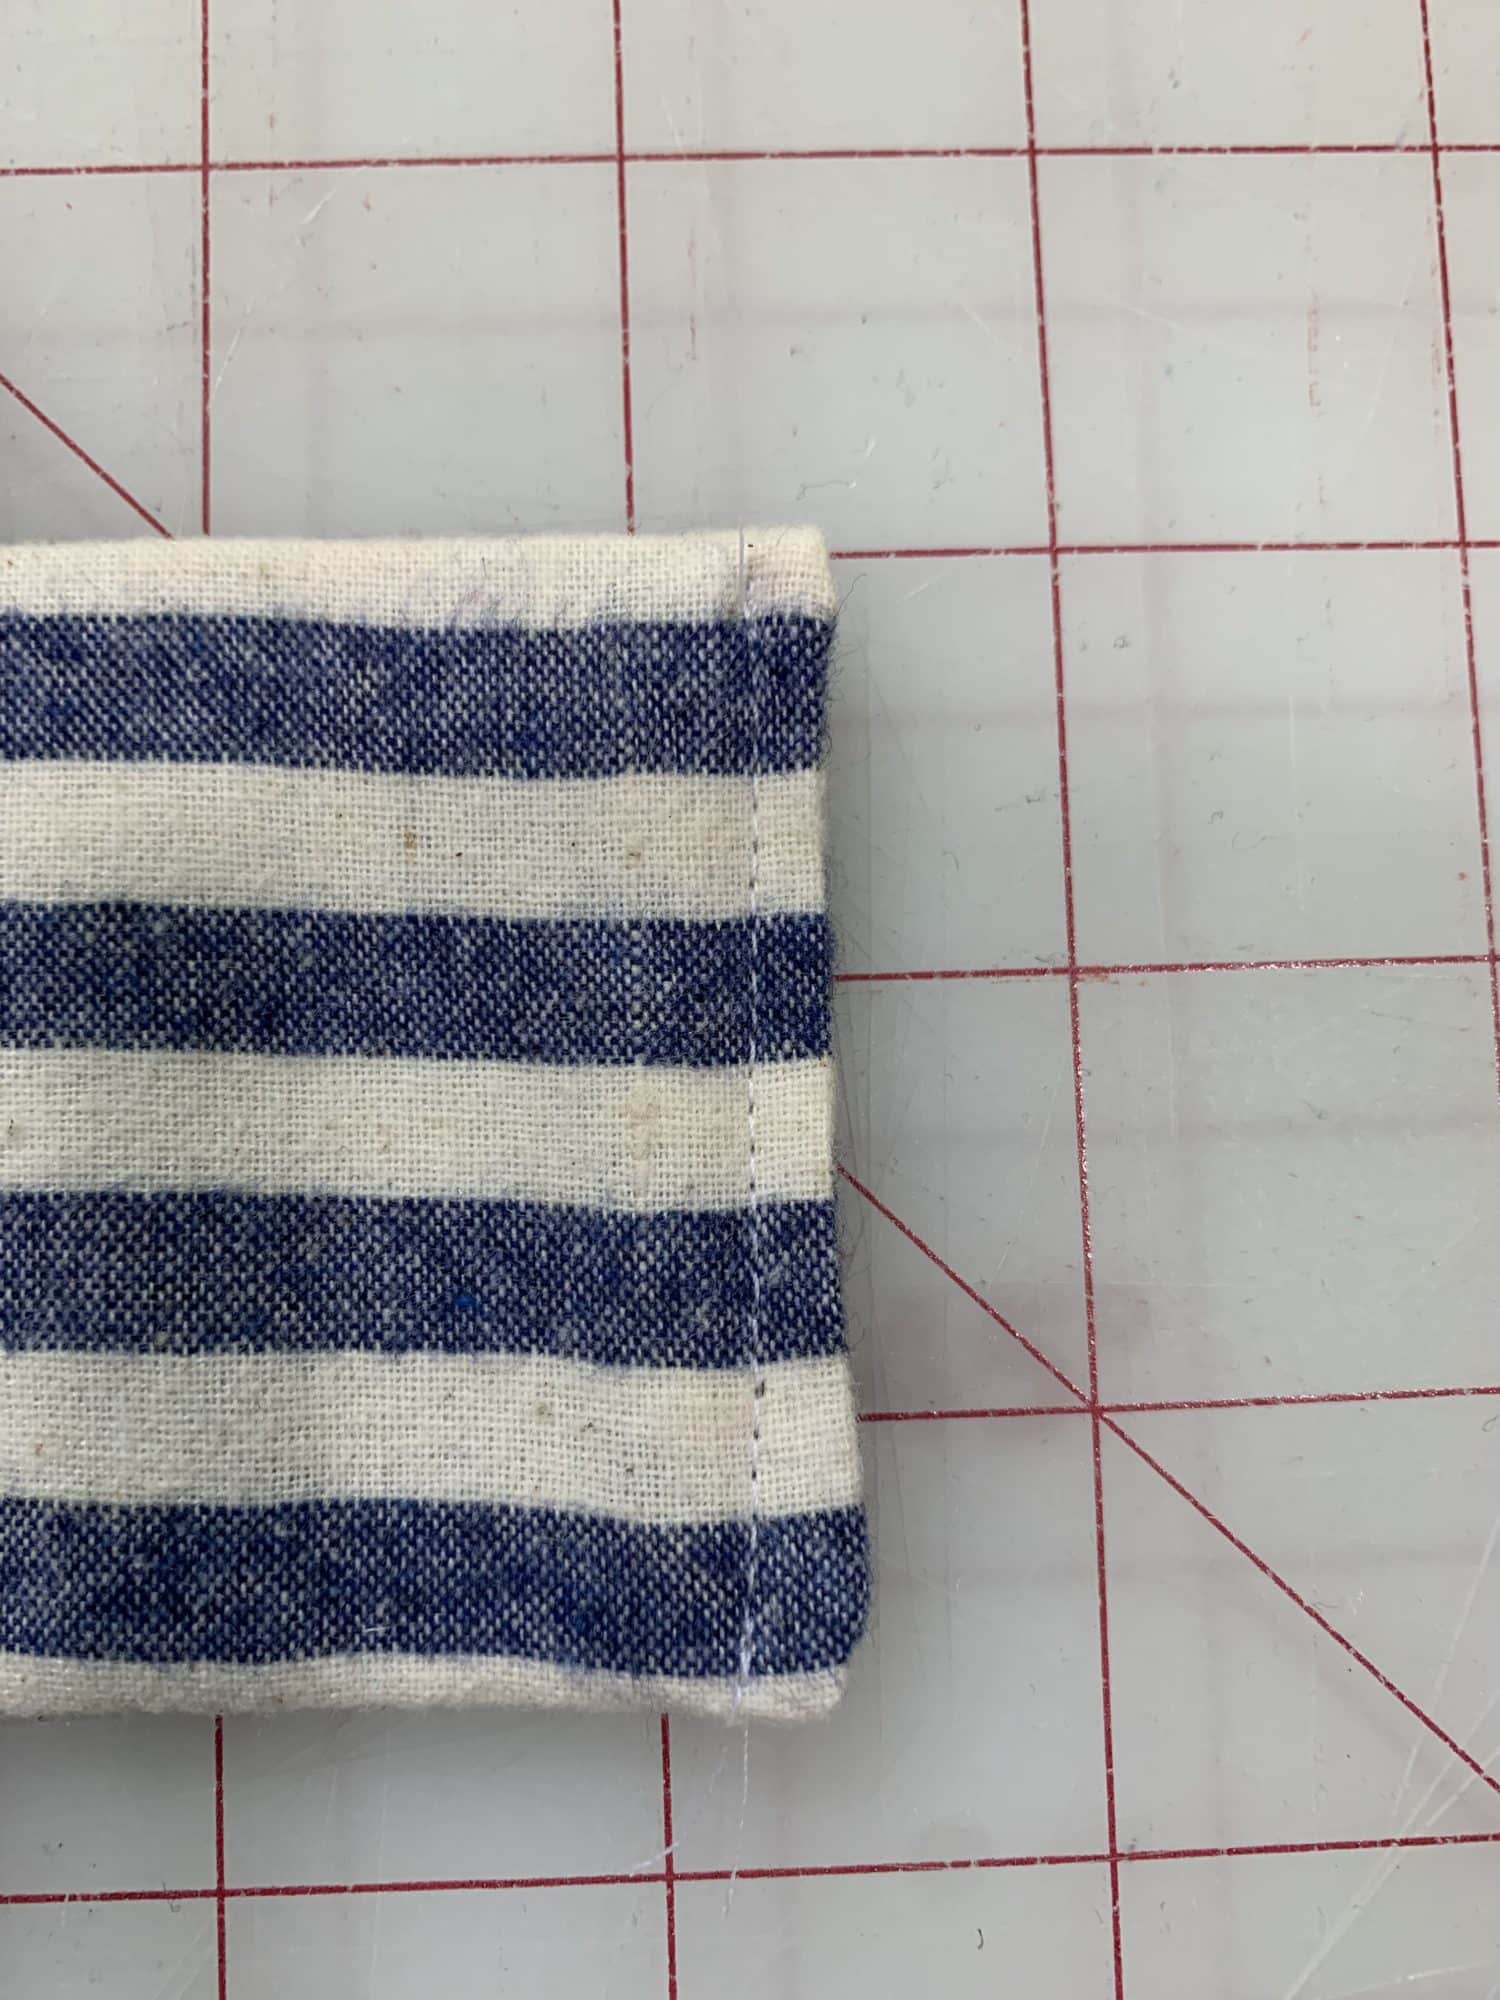
- Now, you are going to hem the short edges.
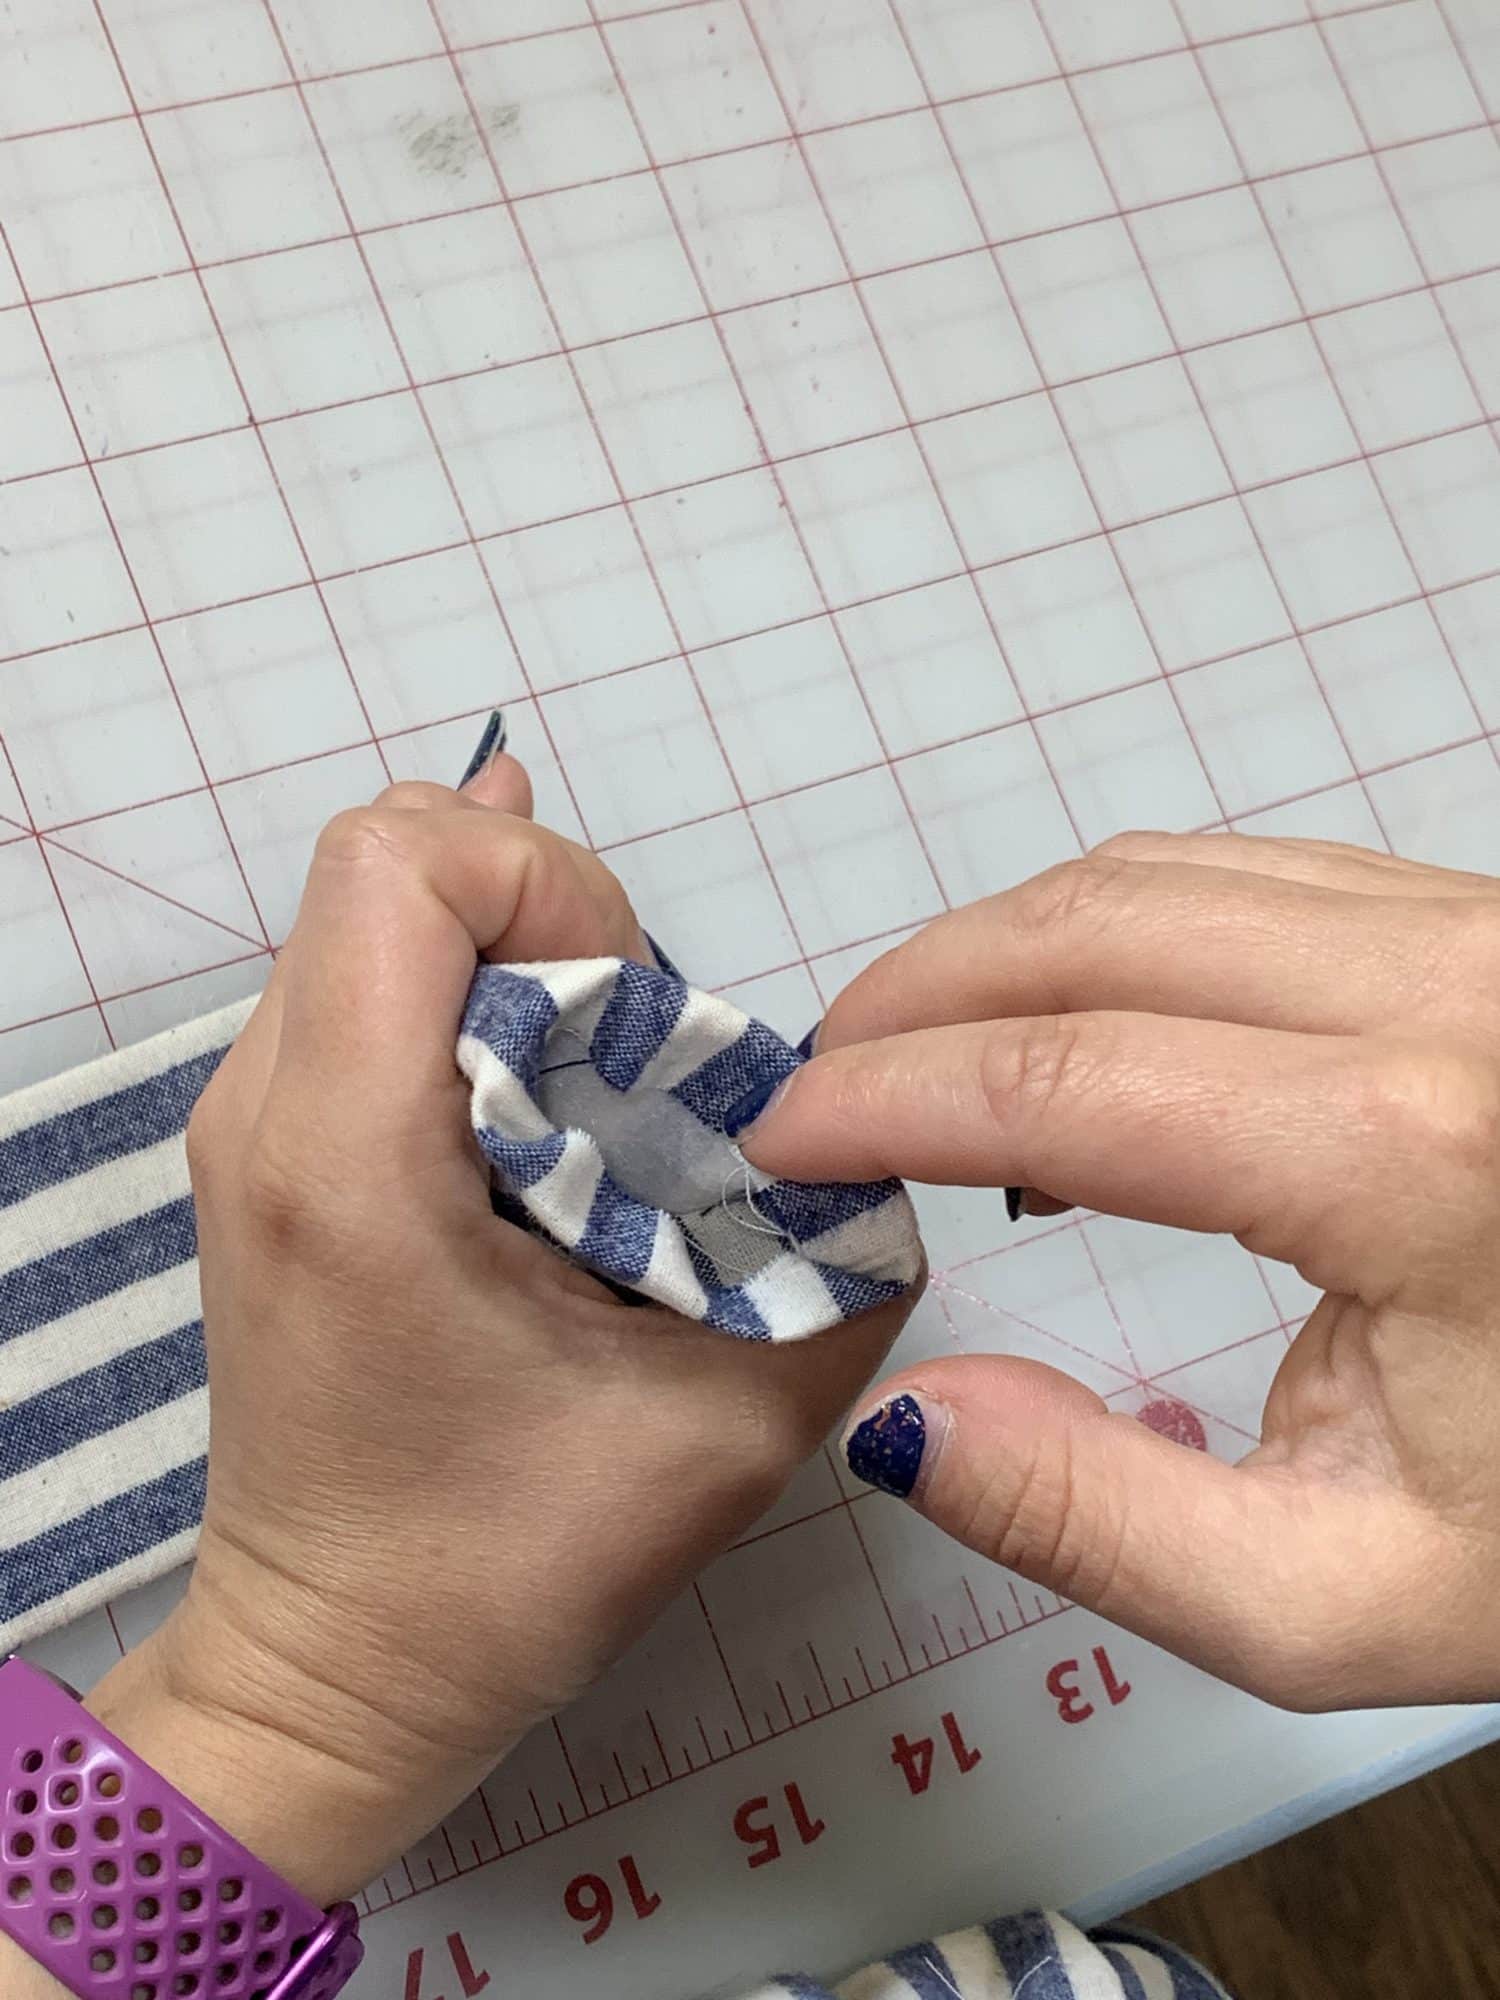
- Turn the fabric edge into the tube by about 1/2 an inch.
- Press well.
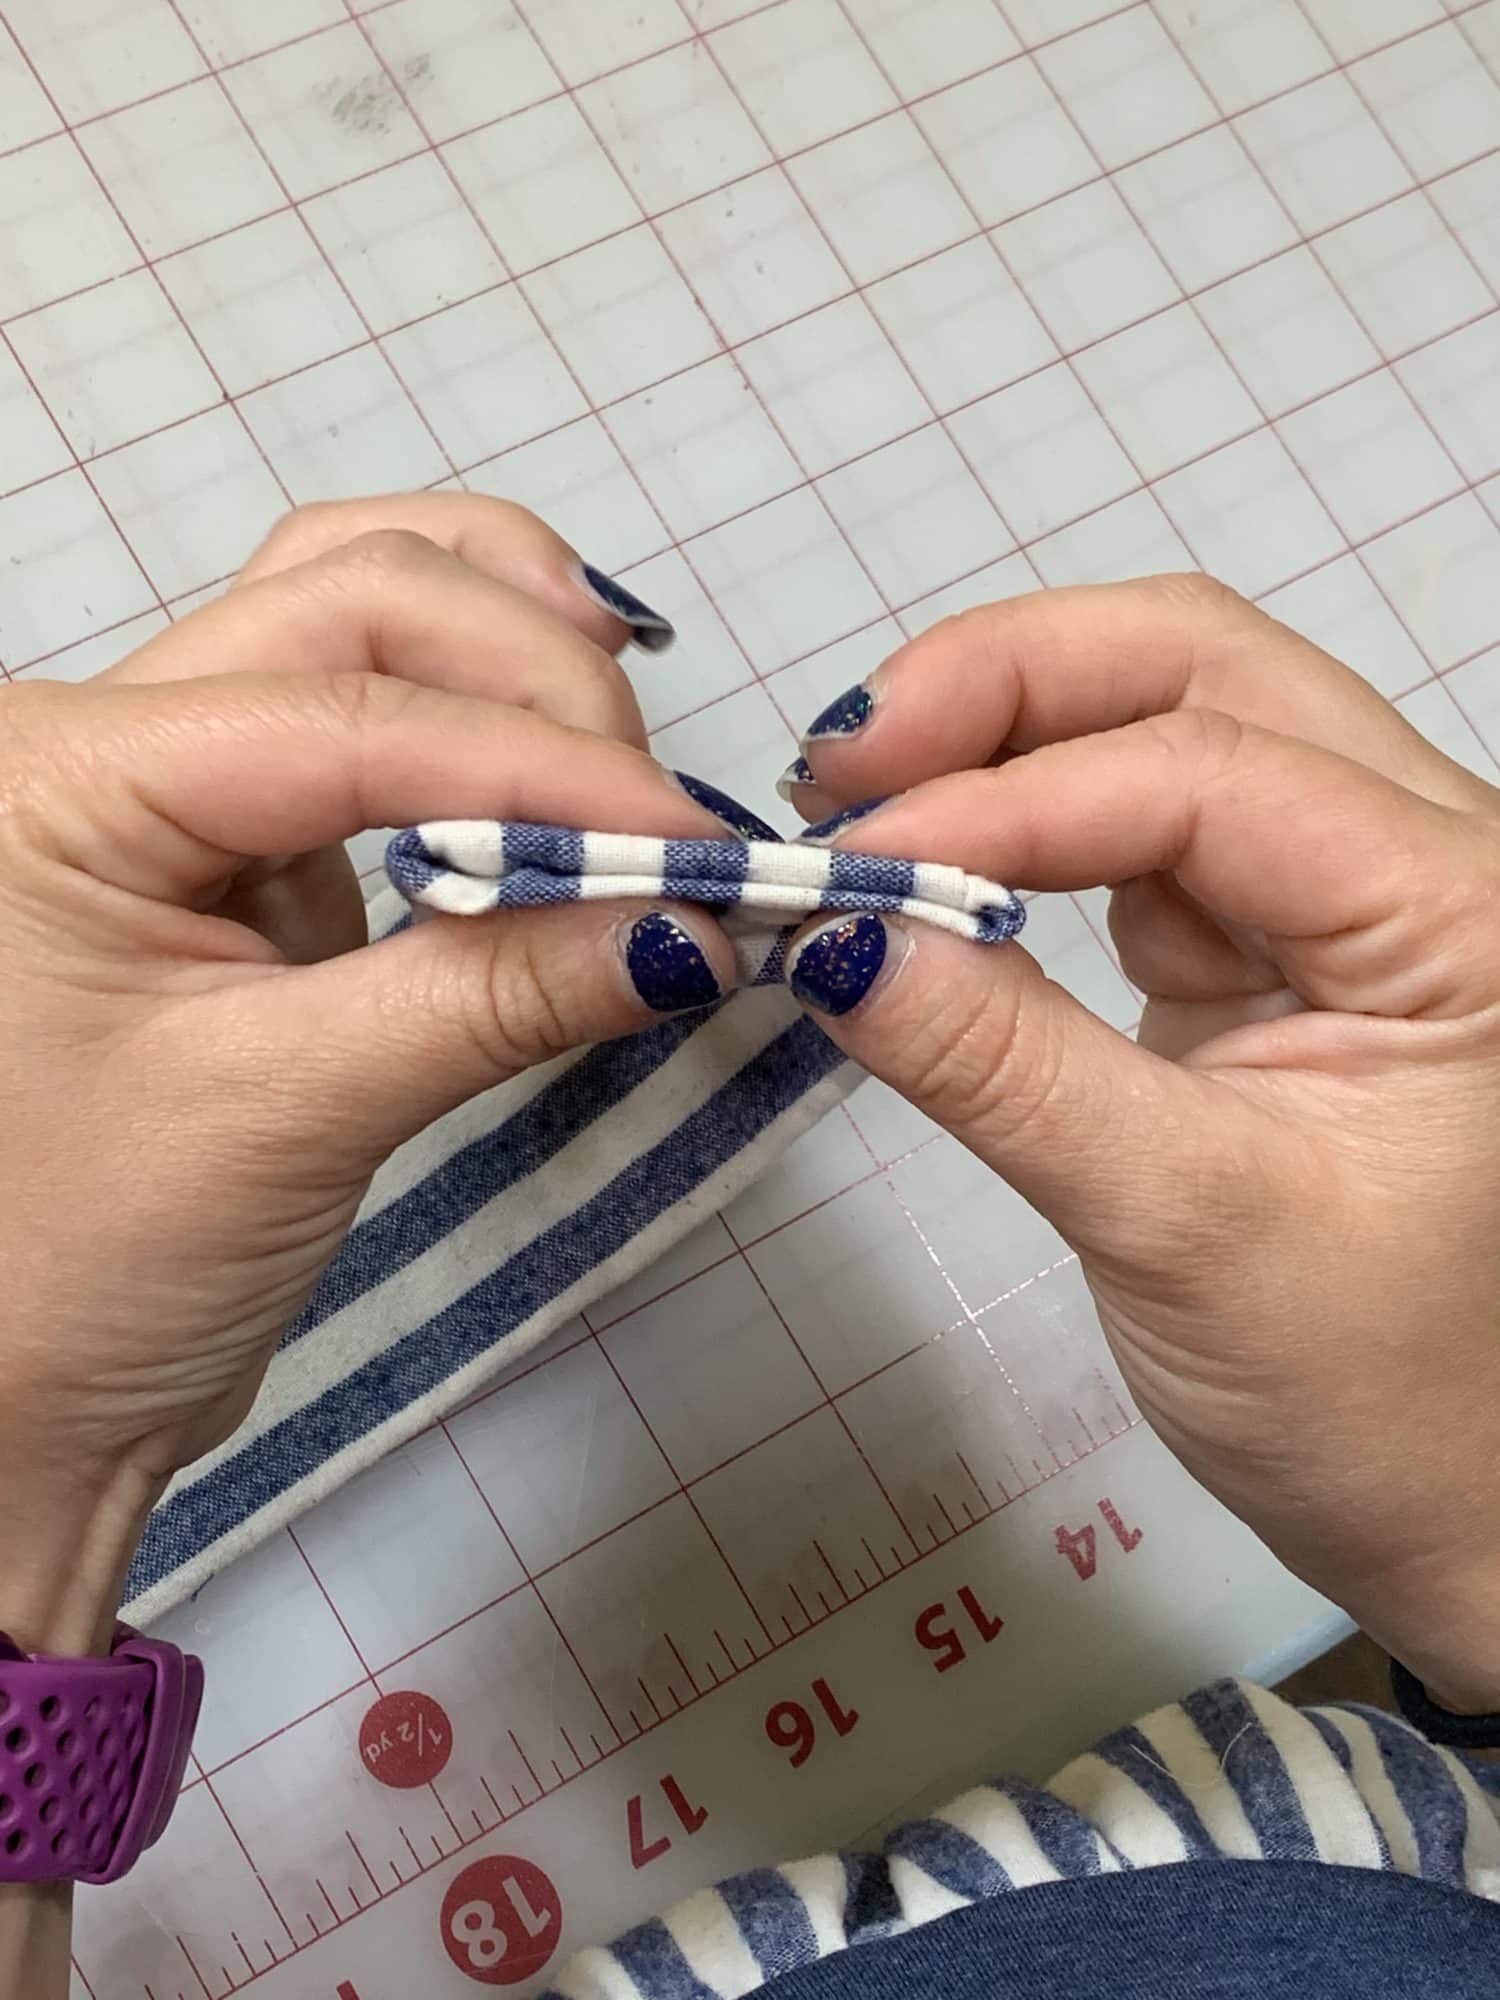
- Topstitch along the edge of the hem.
- Repeat on the other short edge.
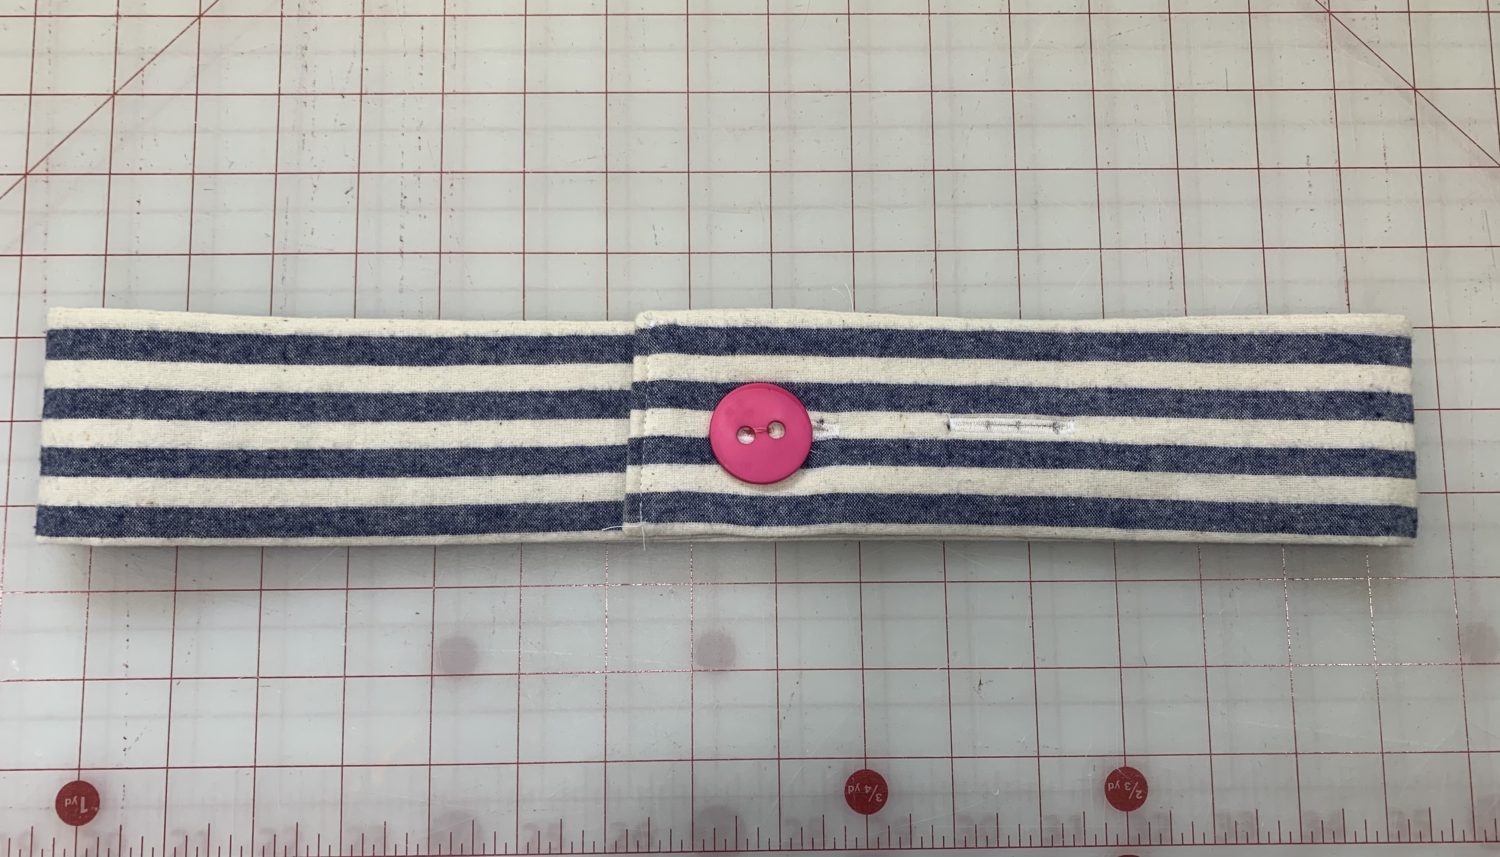
Time for Buttonholes!
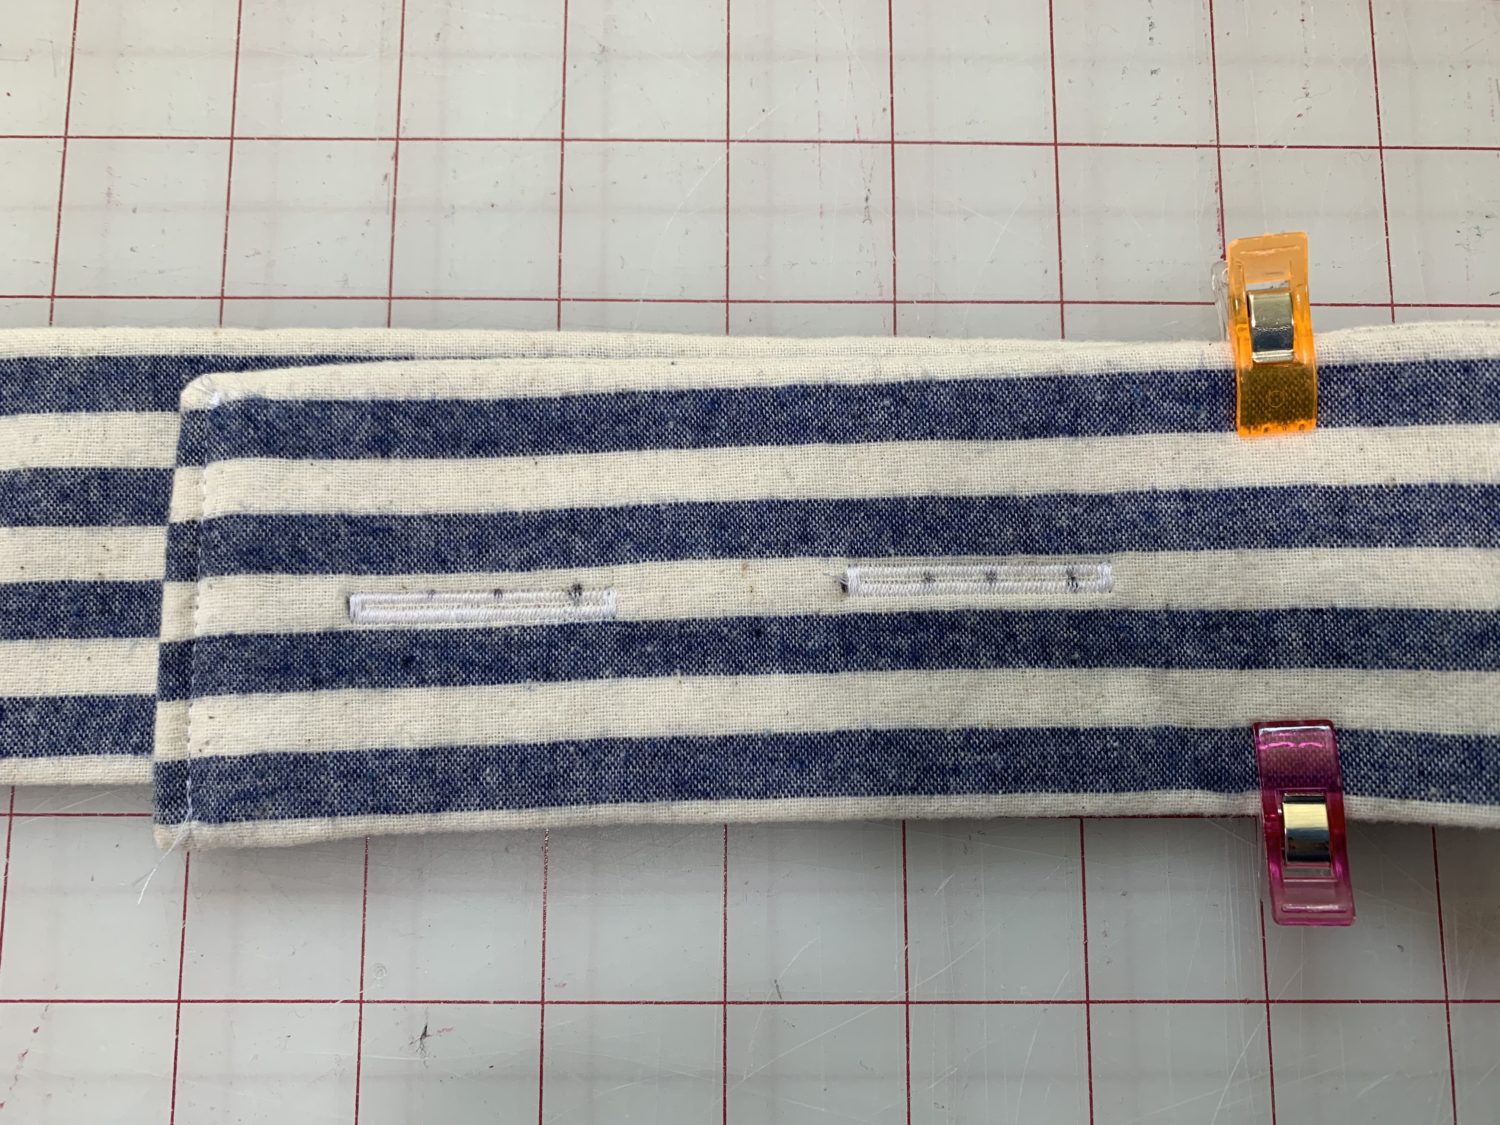
- Now, you are going to figure out where you want your buttonholes. The buttonholes will go on the overlap of fabric. Use whatever measurement you chose in the beginning. I had 6 inches of overlap. So, I put clips at 6 inches from one end so I knew where to mark my buttonholes.
- I chose to do 2 buttonholes so that I had the option to make the belt looser or tighter. You can do as many or as little buttonholes as you’d like.
- My first buttonhole is 1 inch from the edge of the belt.
- There is a 1.5 inch space between my buttonholes. That is what I did, you can space them however you’d like.
- After you mark your buttonholes, use your sewing machine and buttonhole foot to make your buttonholes.
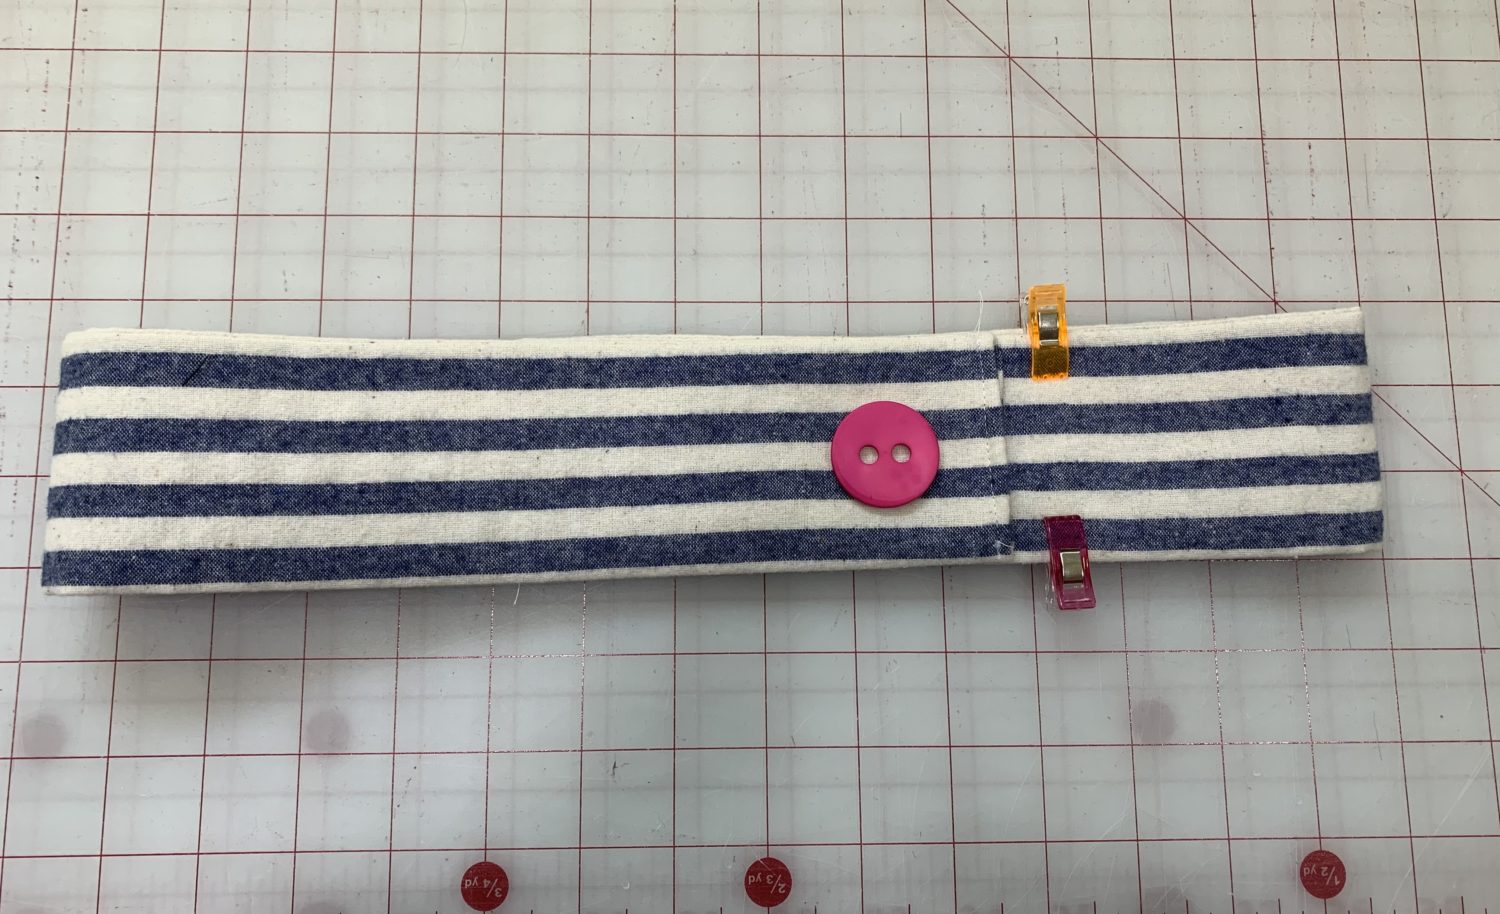
Last step! Add your button!
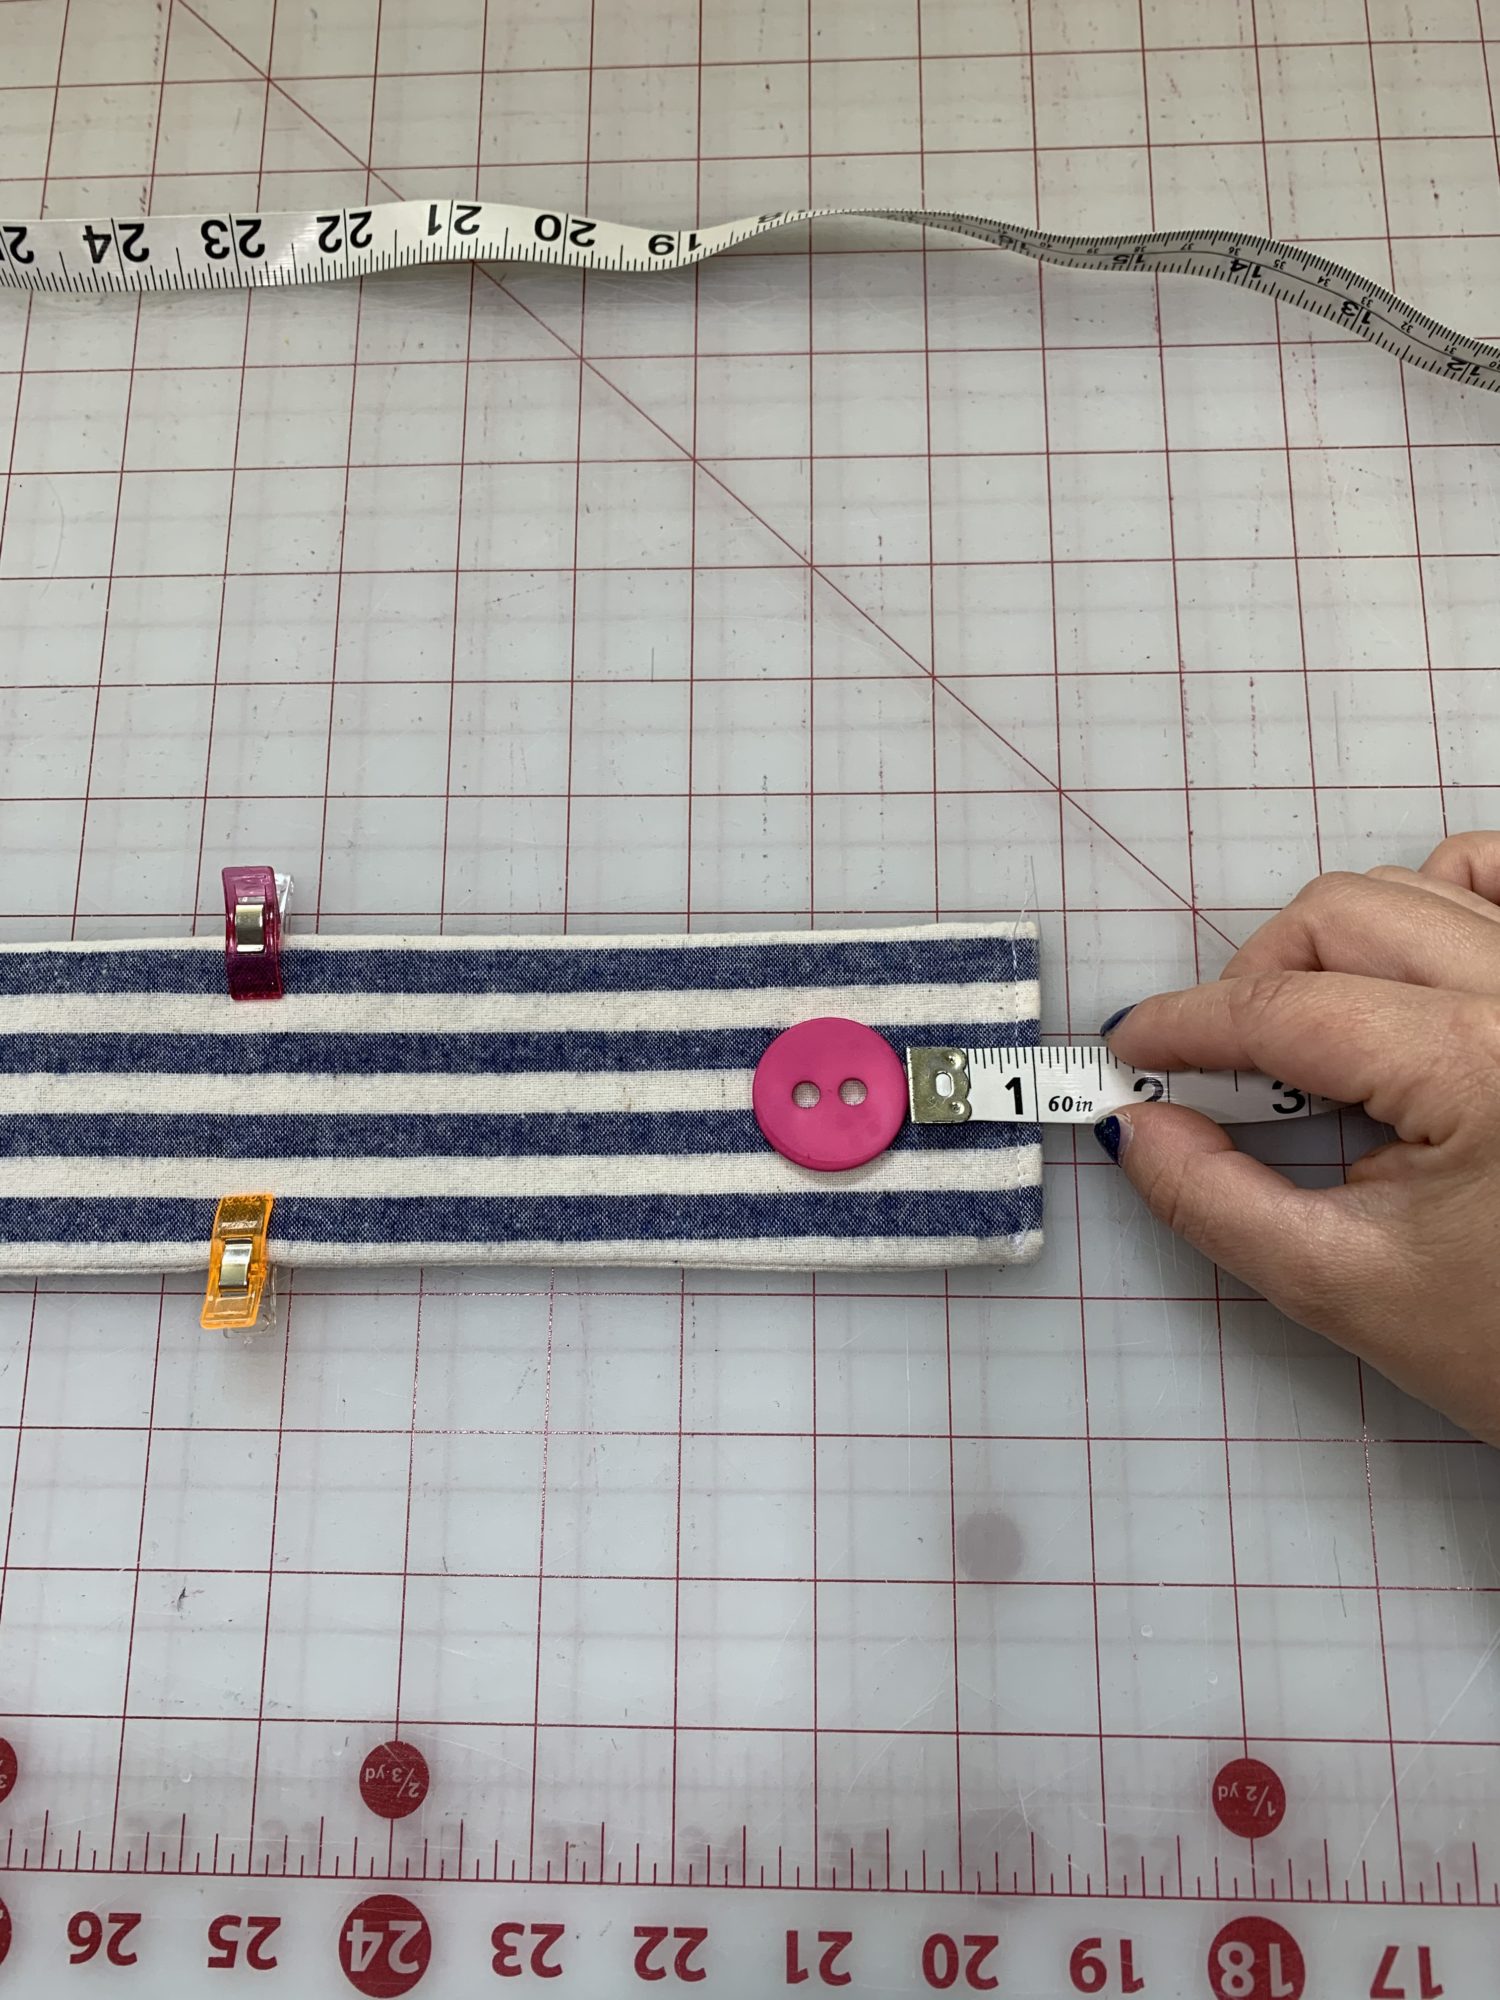
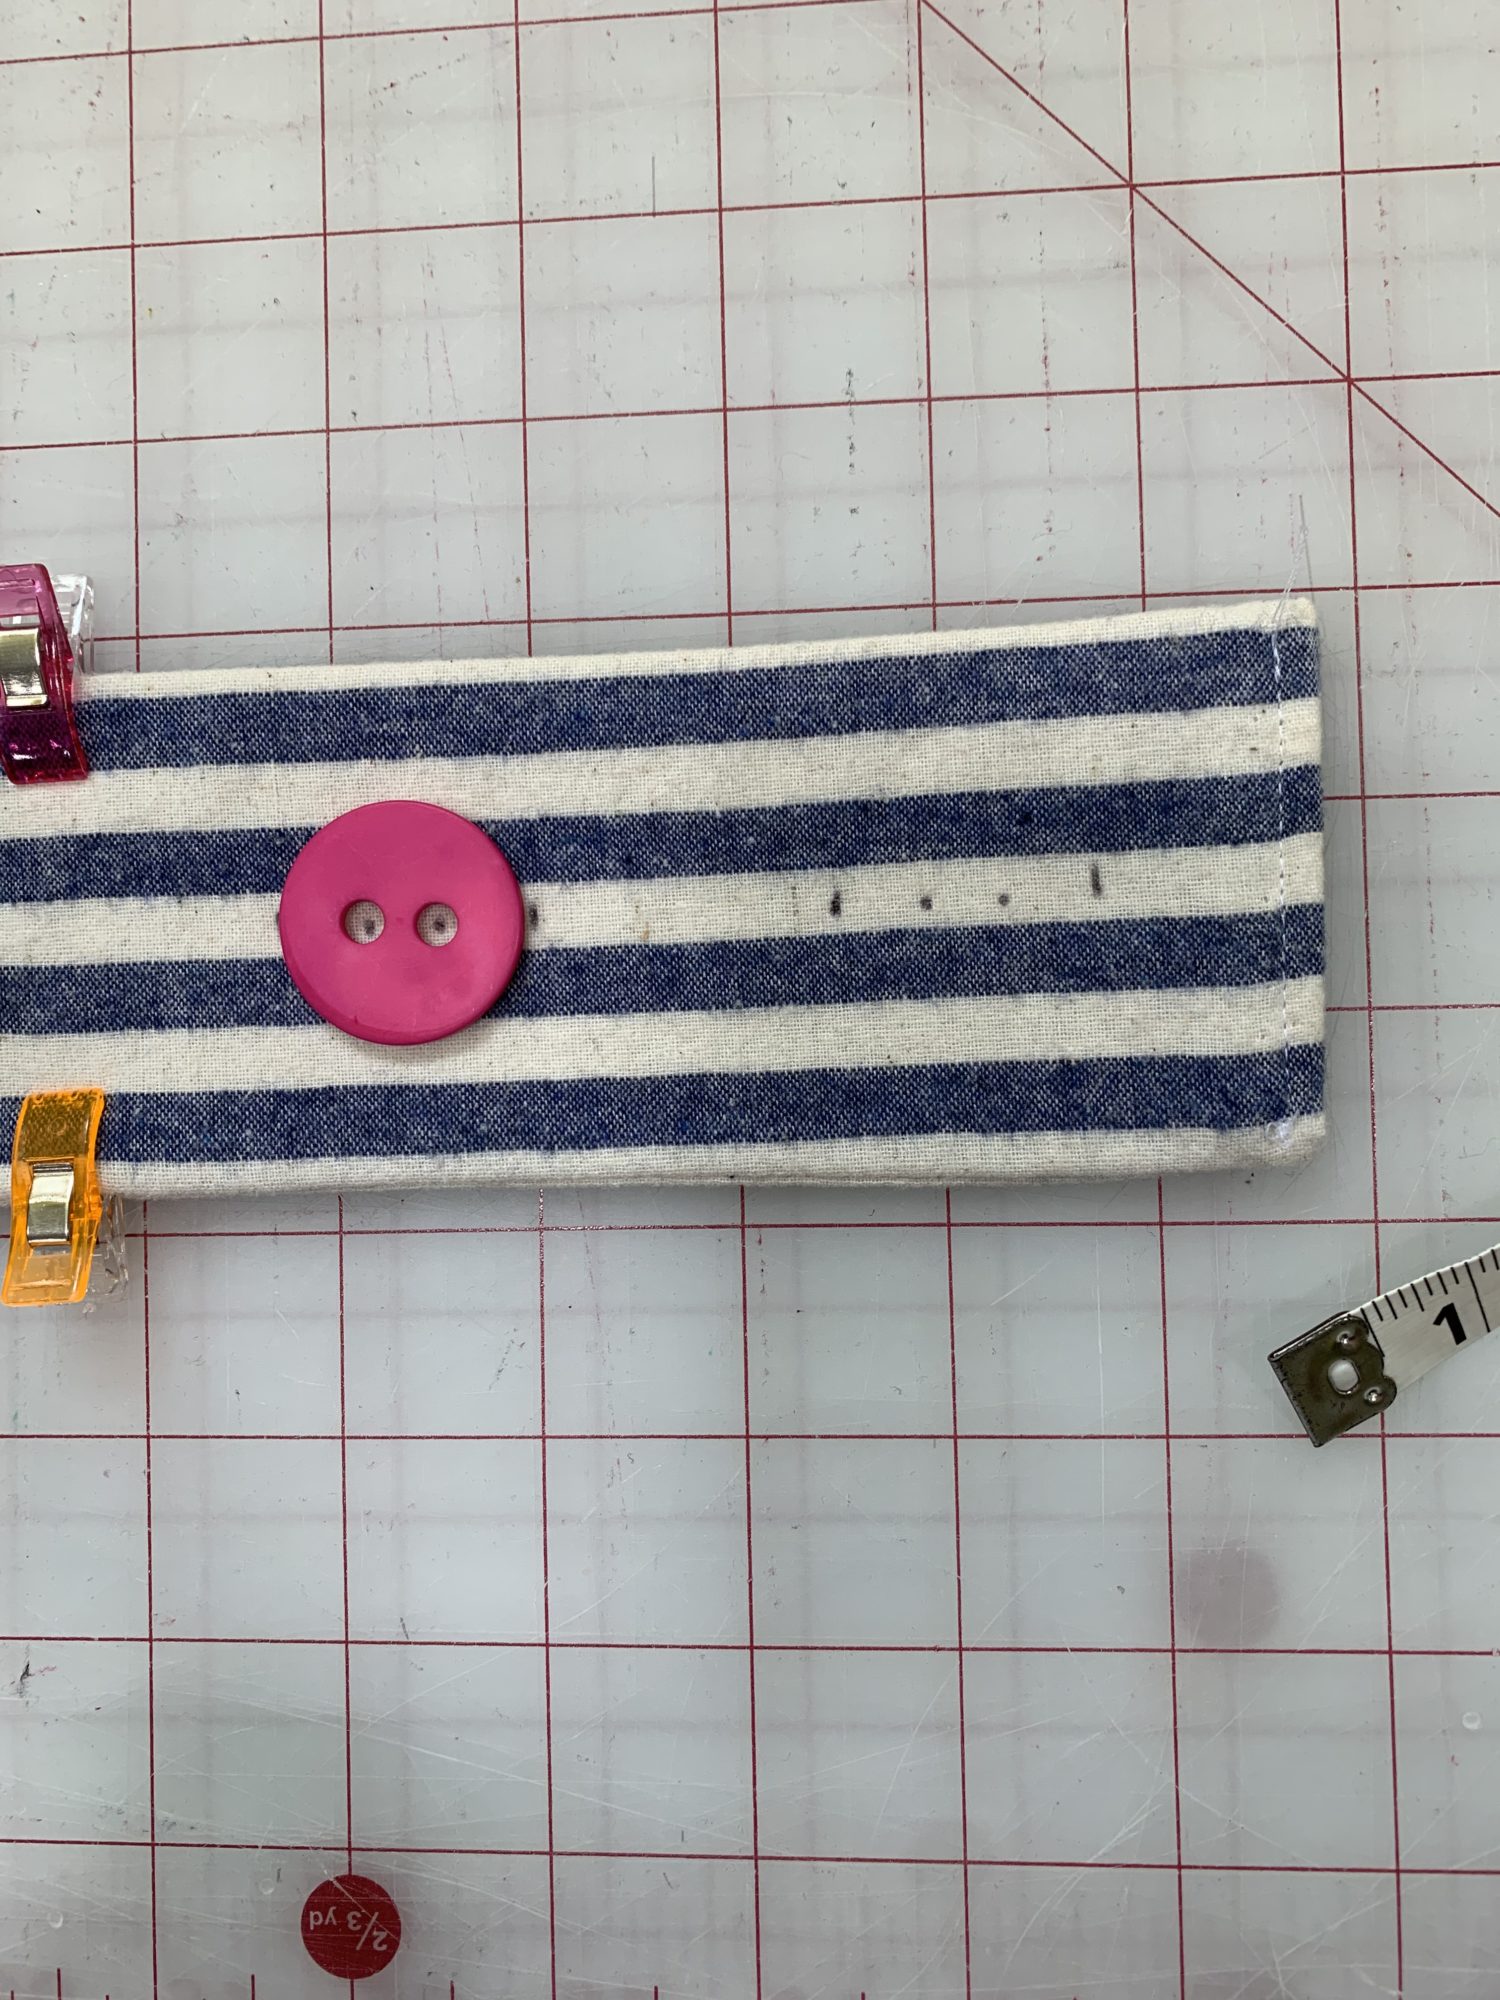
- The button will go on the right side of the belt on the end opposite of the buttonholes.
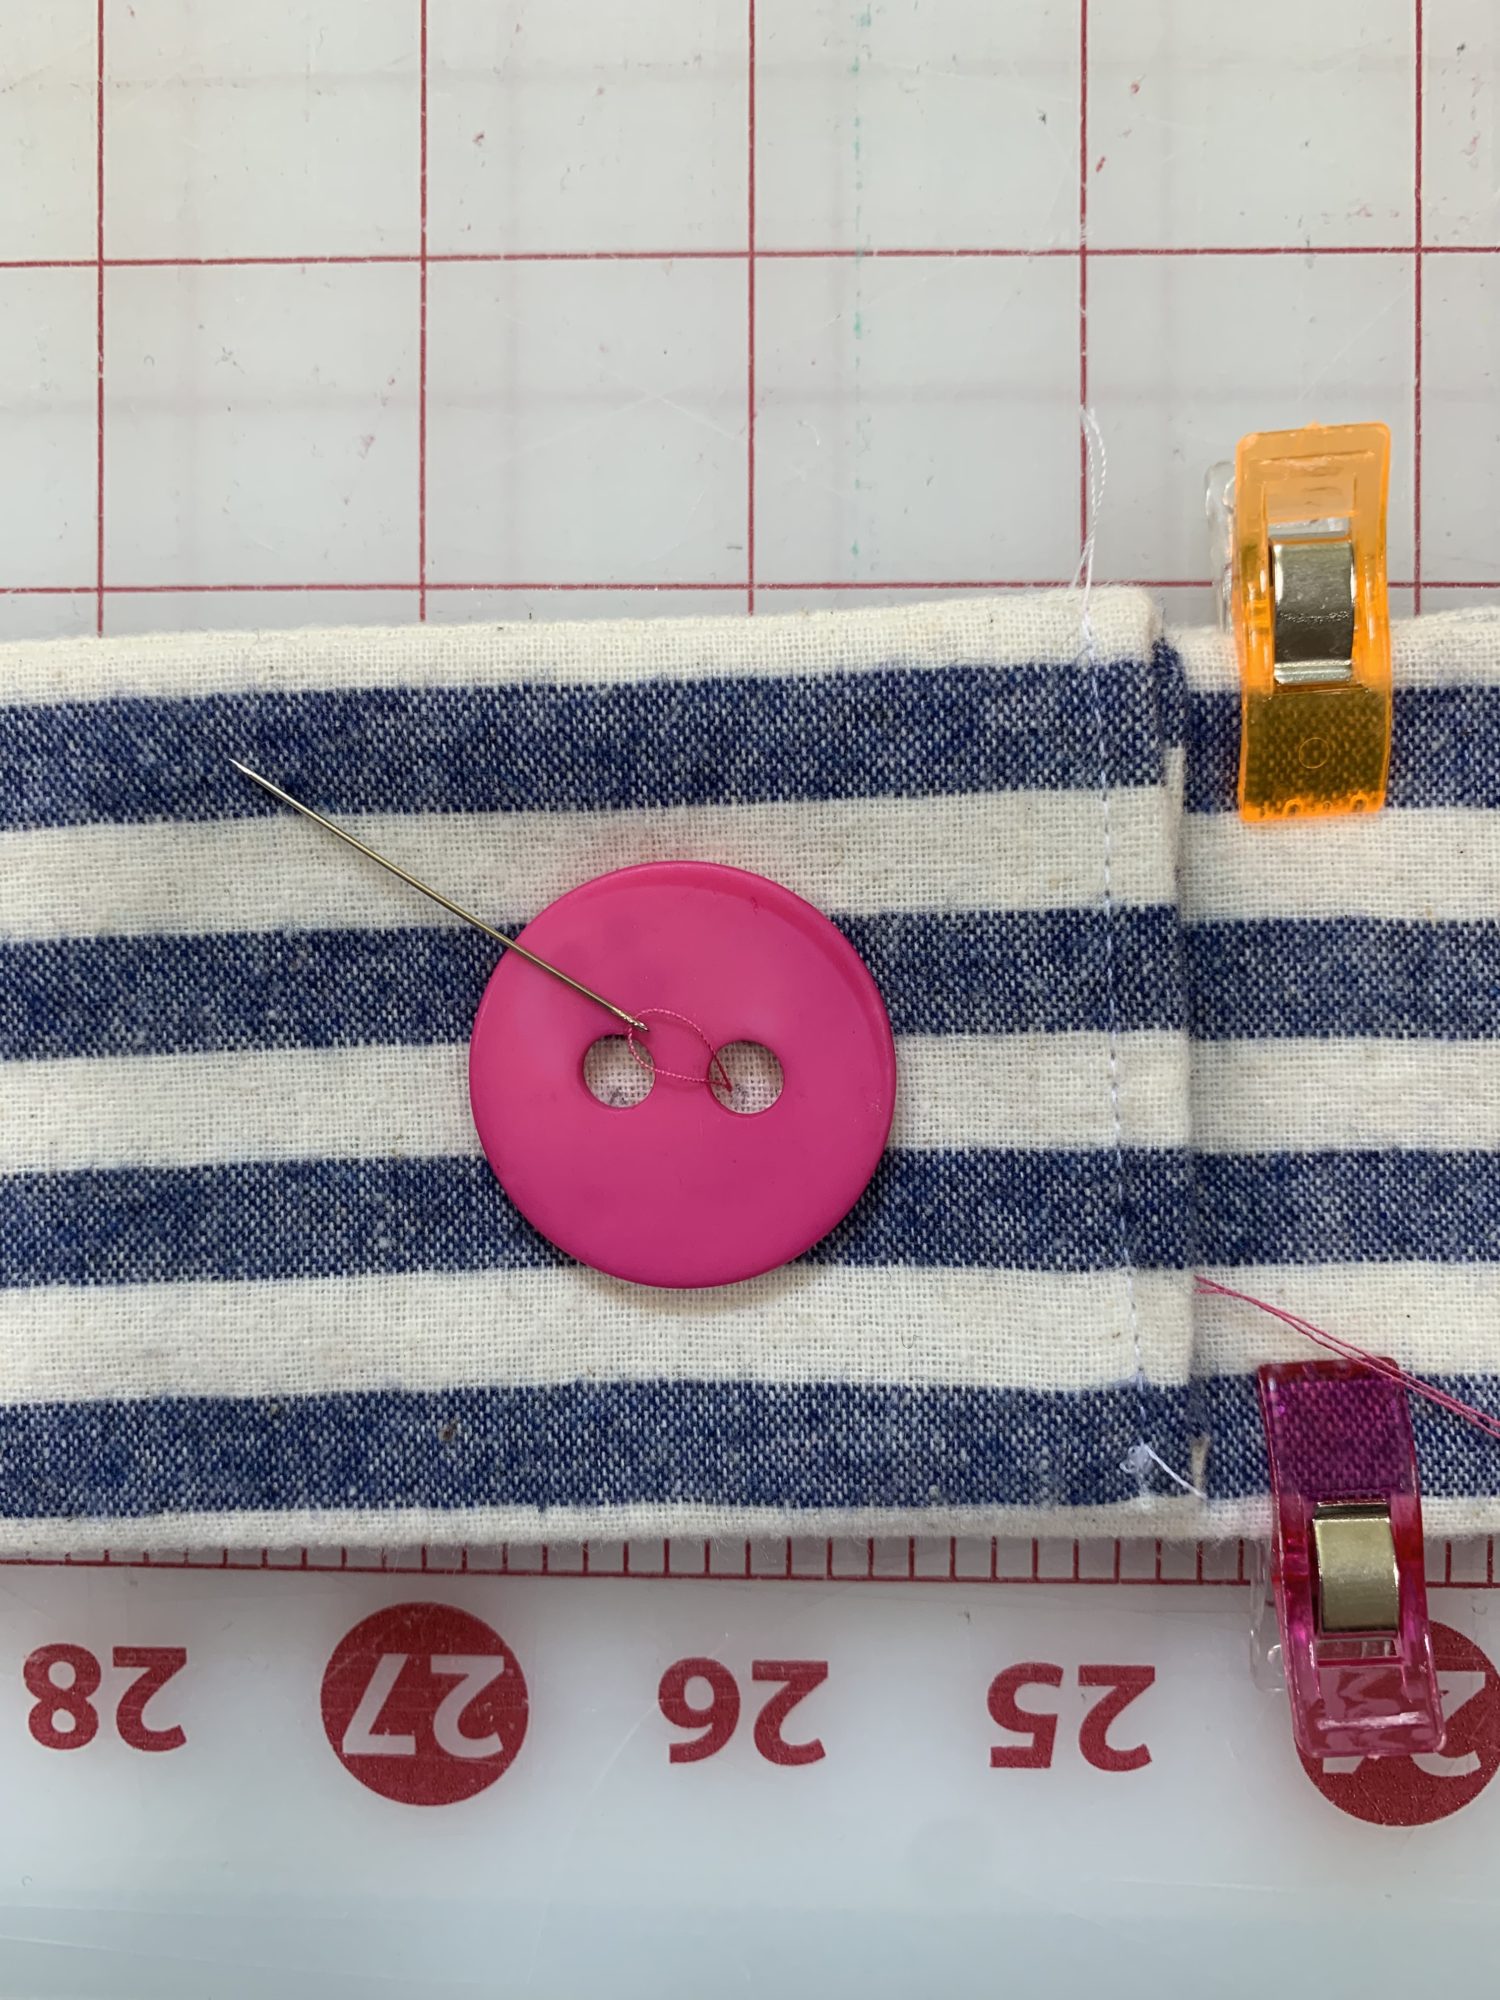
- I sewed my button in the center of my belt, about 1 inch from the end of the fabric.
- Use a needle and thread, or your sewing machine if it has the capability to sew buttons, and sew the button to the belt.
You did it! You made a fabric accessory belt!
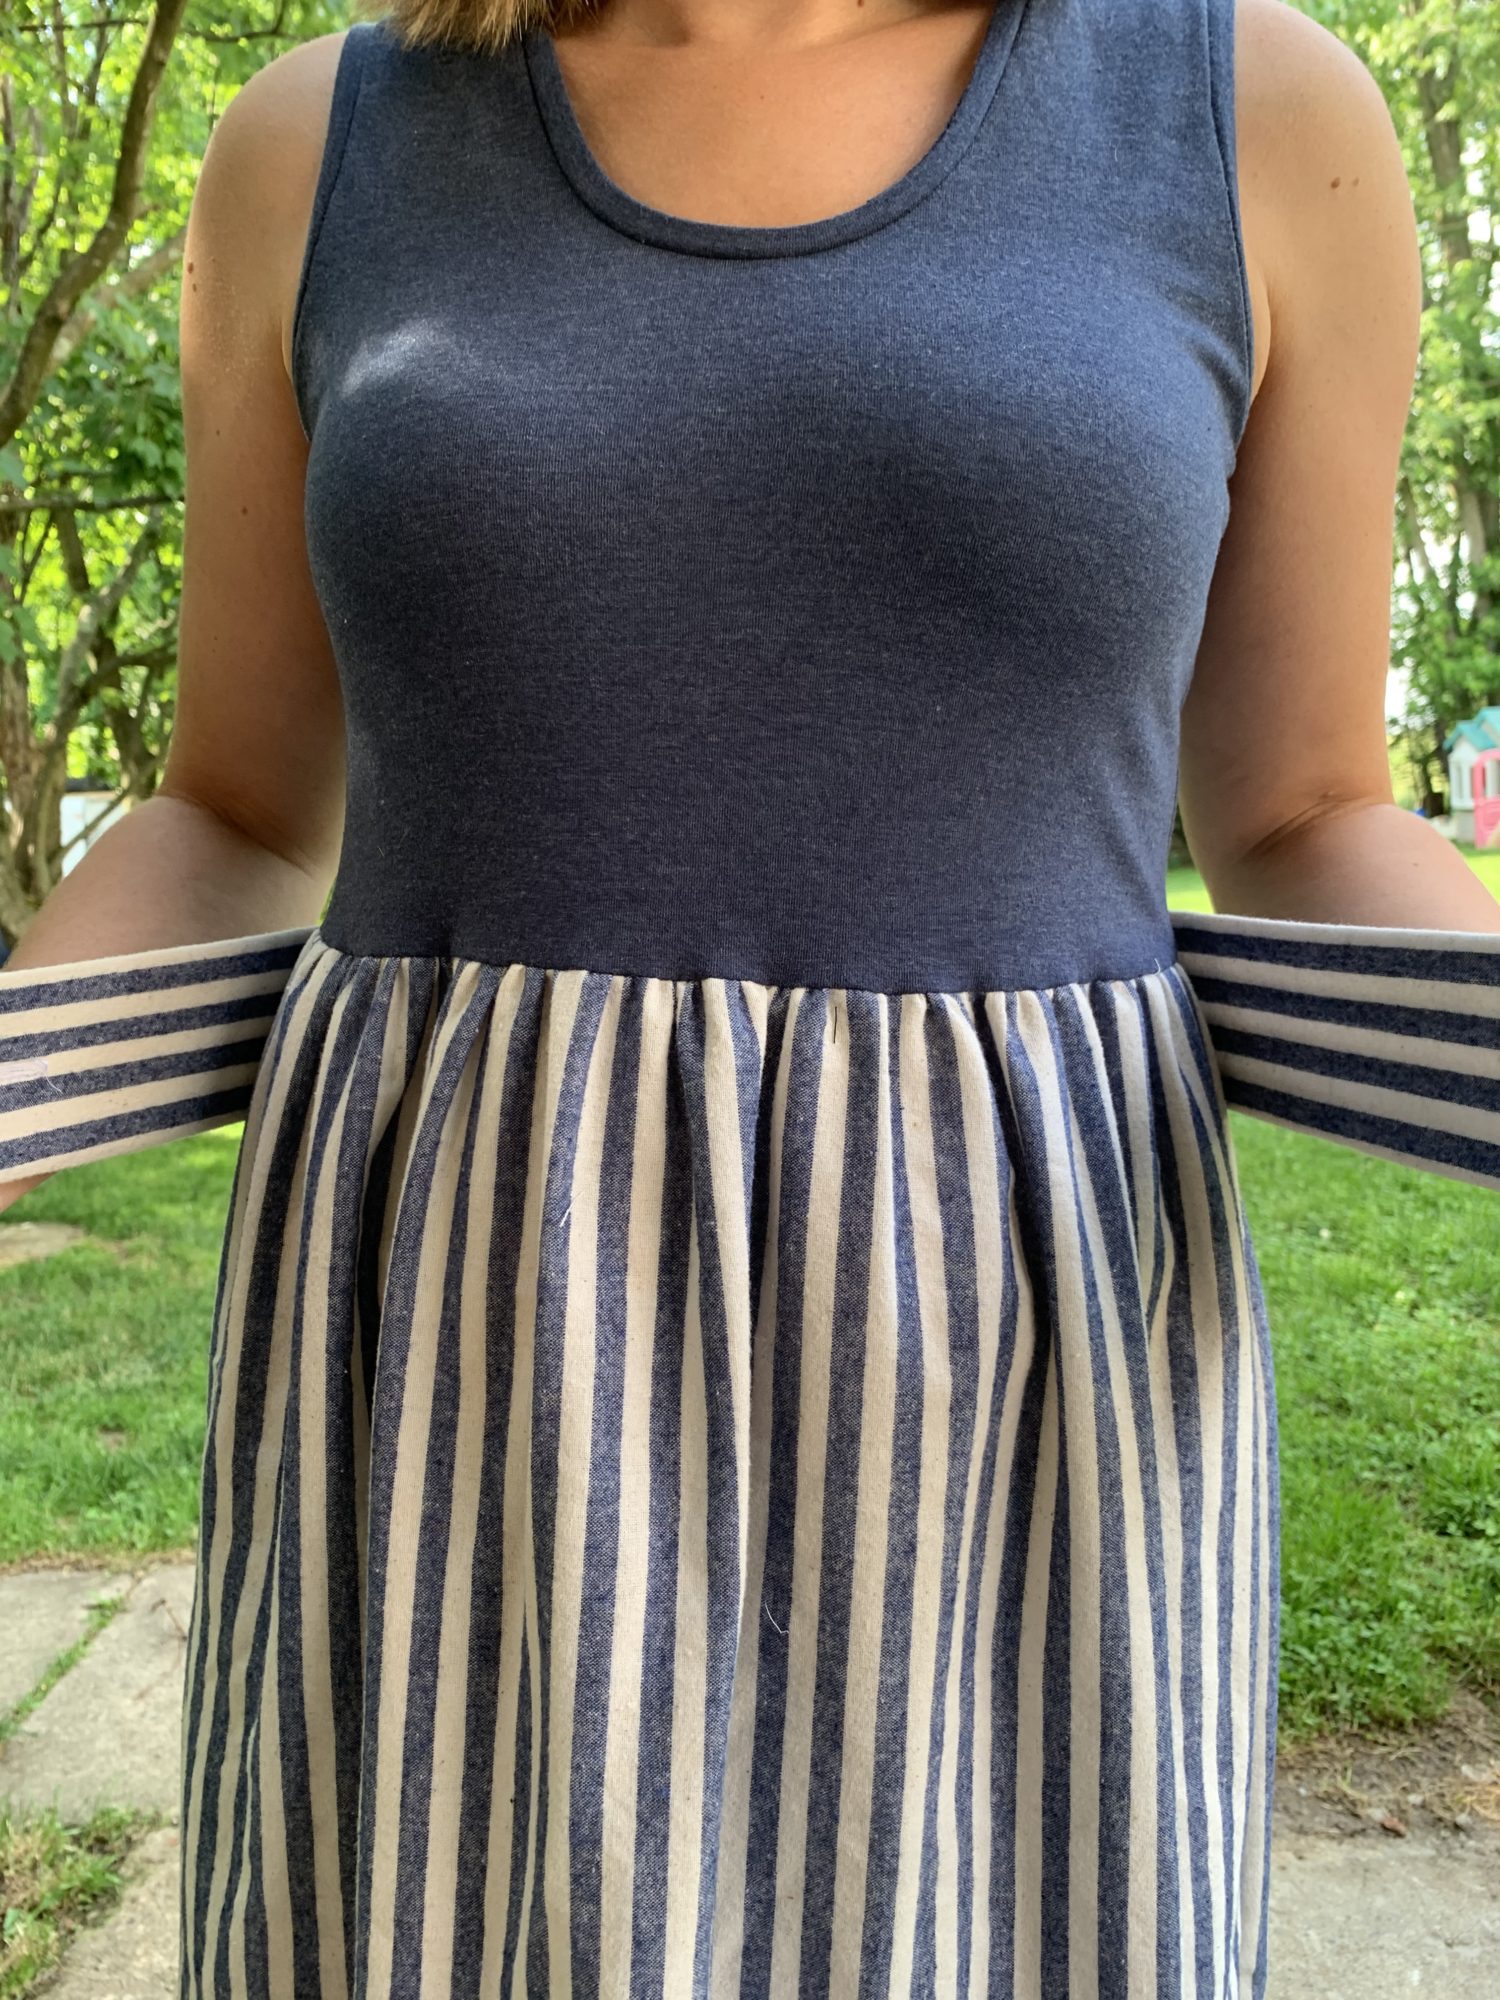
Here is my Cassidy dress without the belt 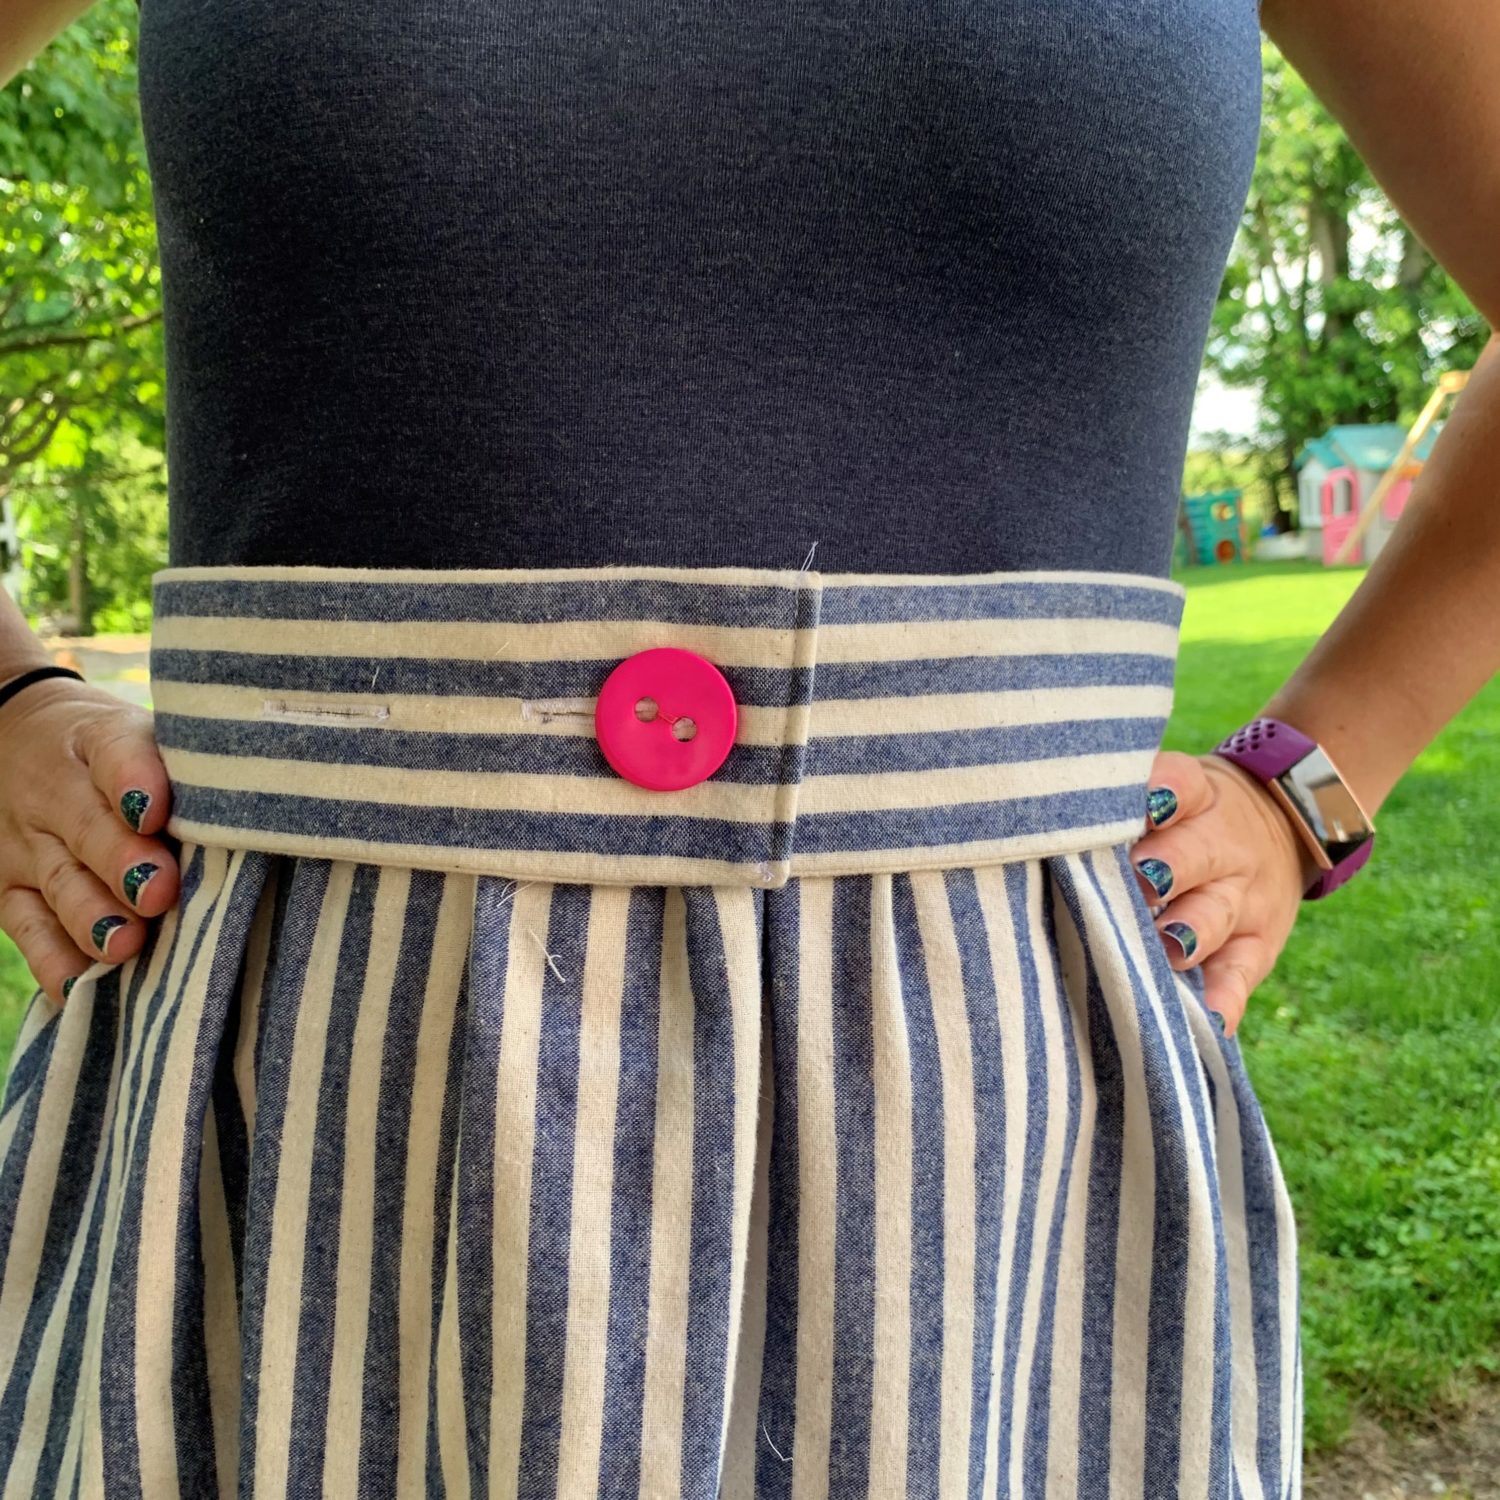
And with my new belt!

Want more FUN DIY Freebies? Check out the FREEBIE TUTORIALS and the FREEBIE PATTERNS!
As always, we’re here to help if you need it! Join us HERE and on Facebook, Instagram, Twitter, Youtube, and Pinterest. We’re everywhere you are.
Leave a Reply