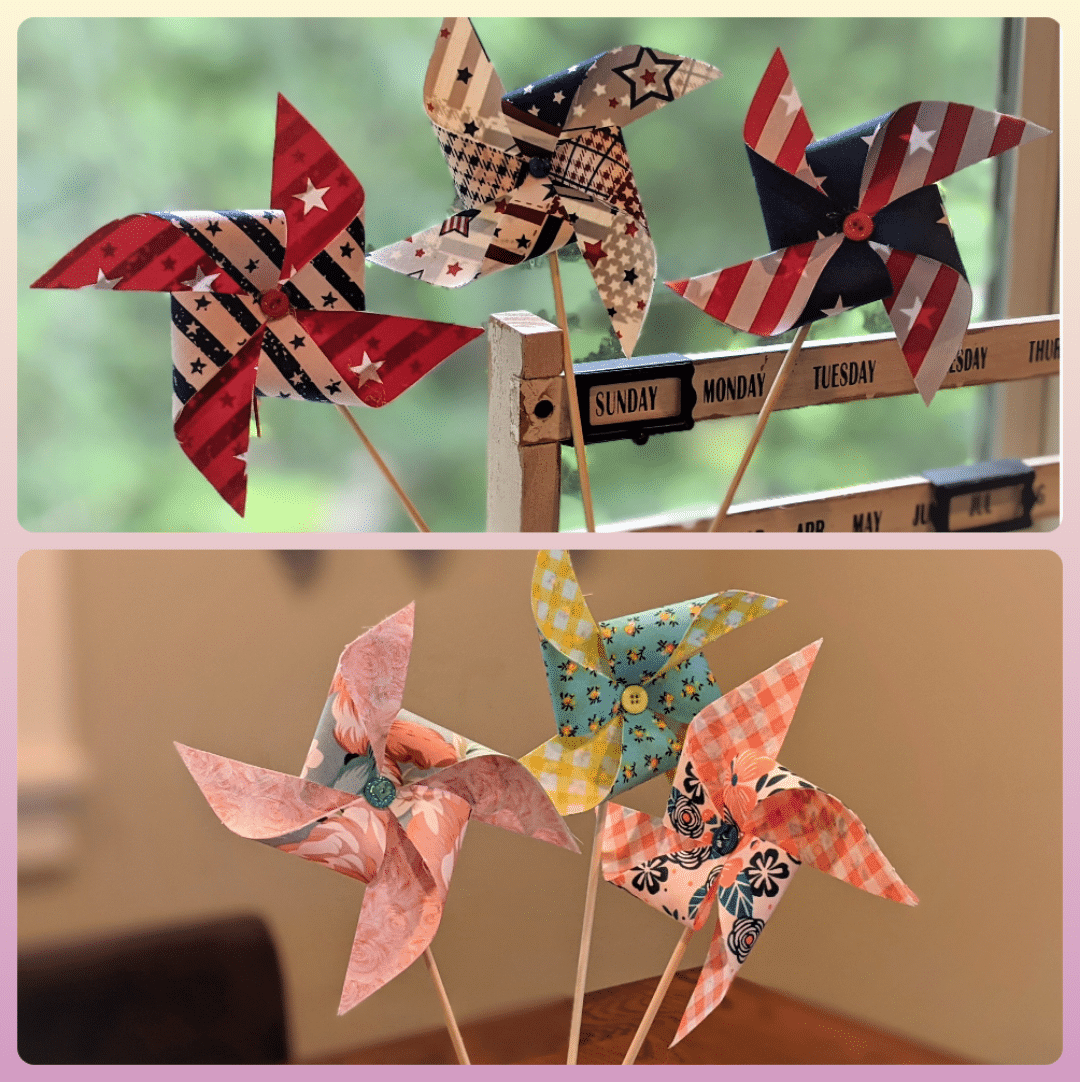
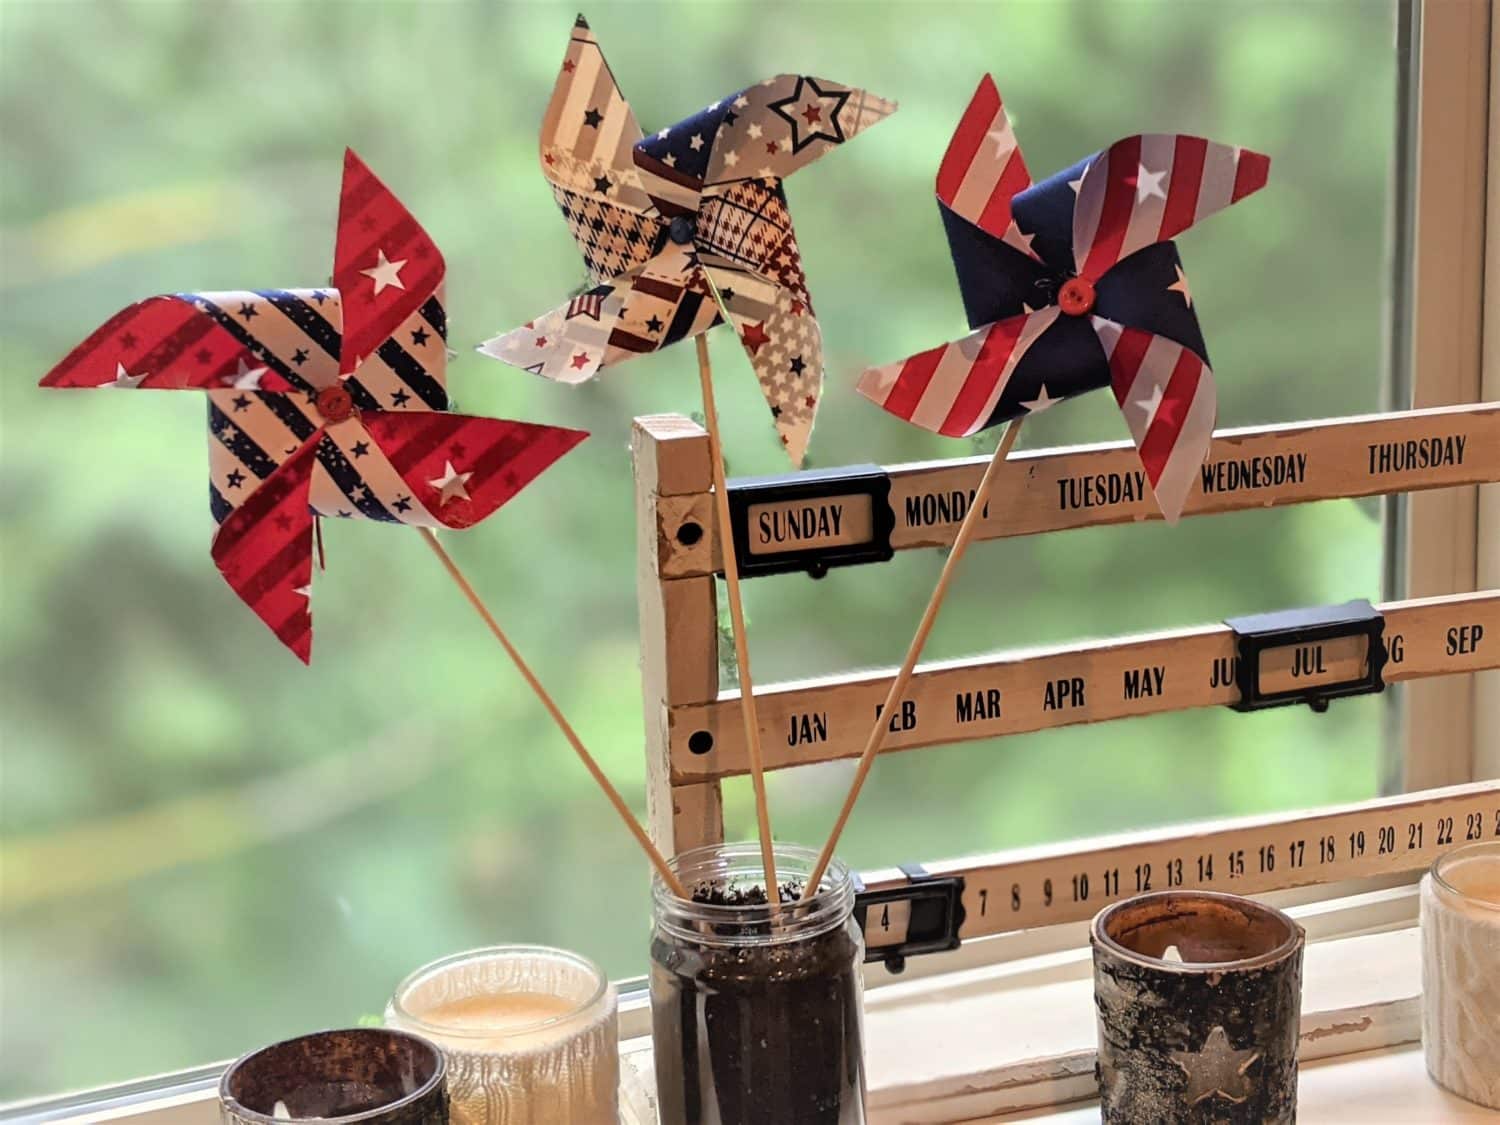
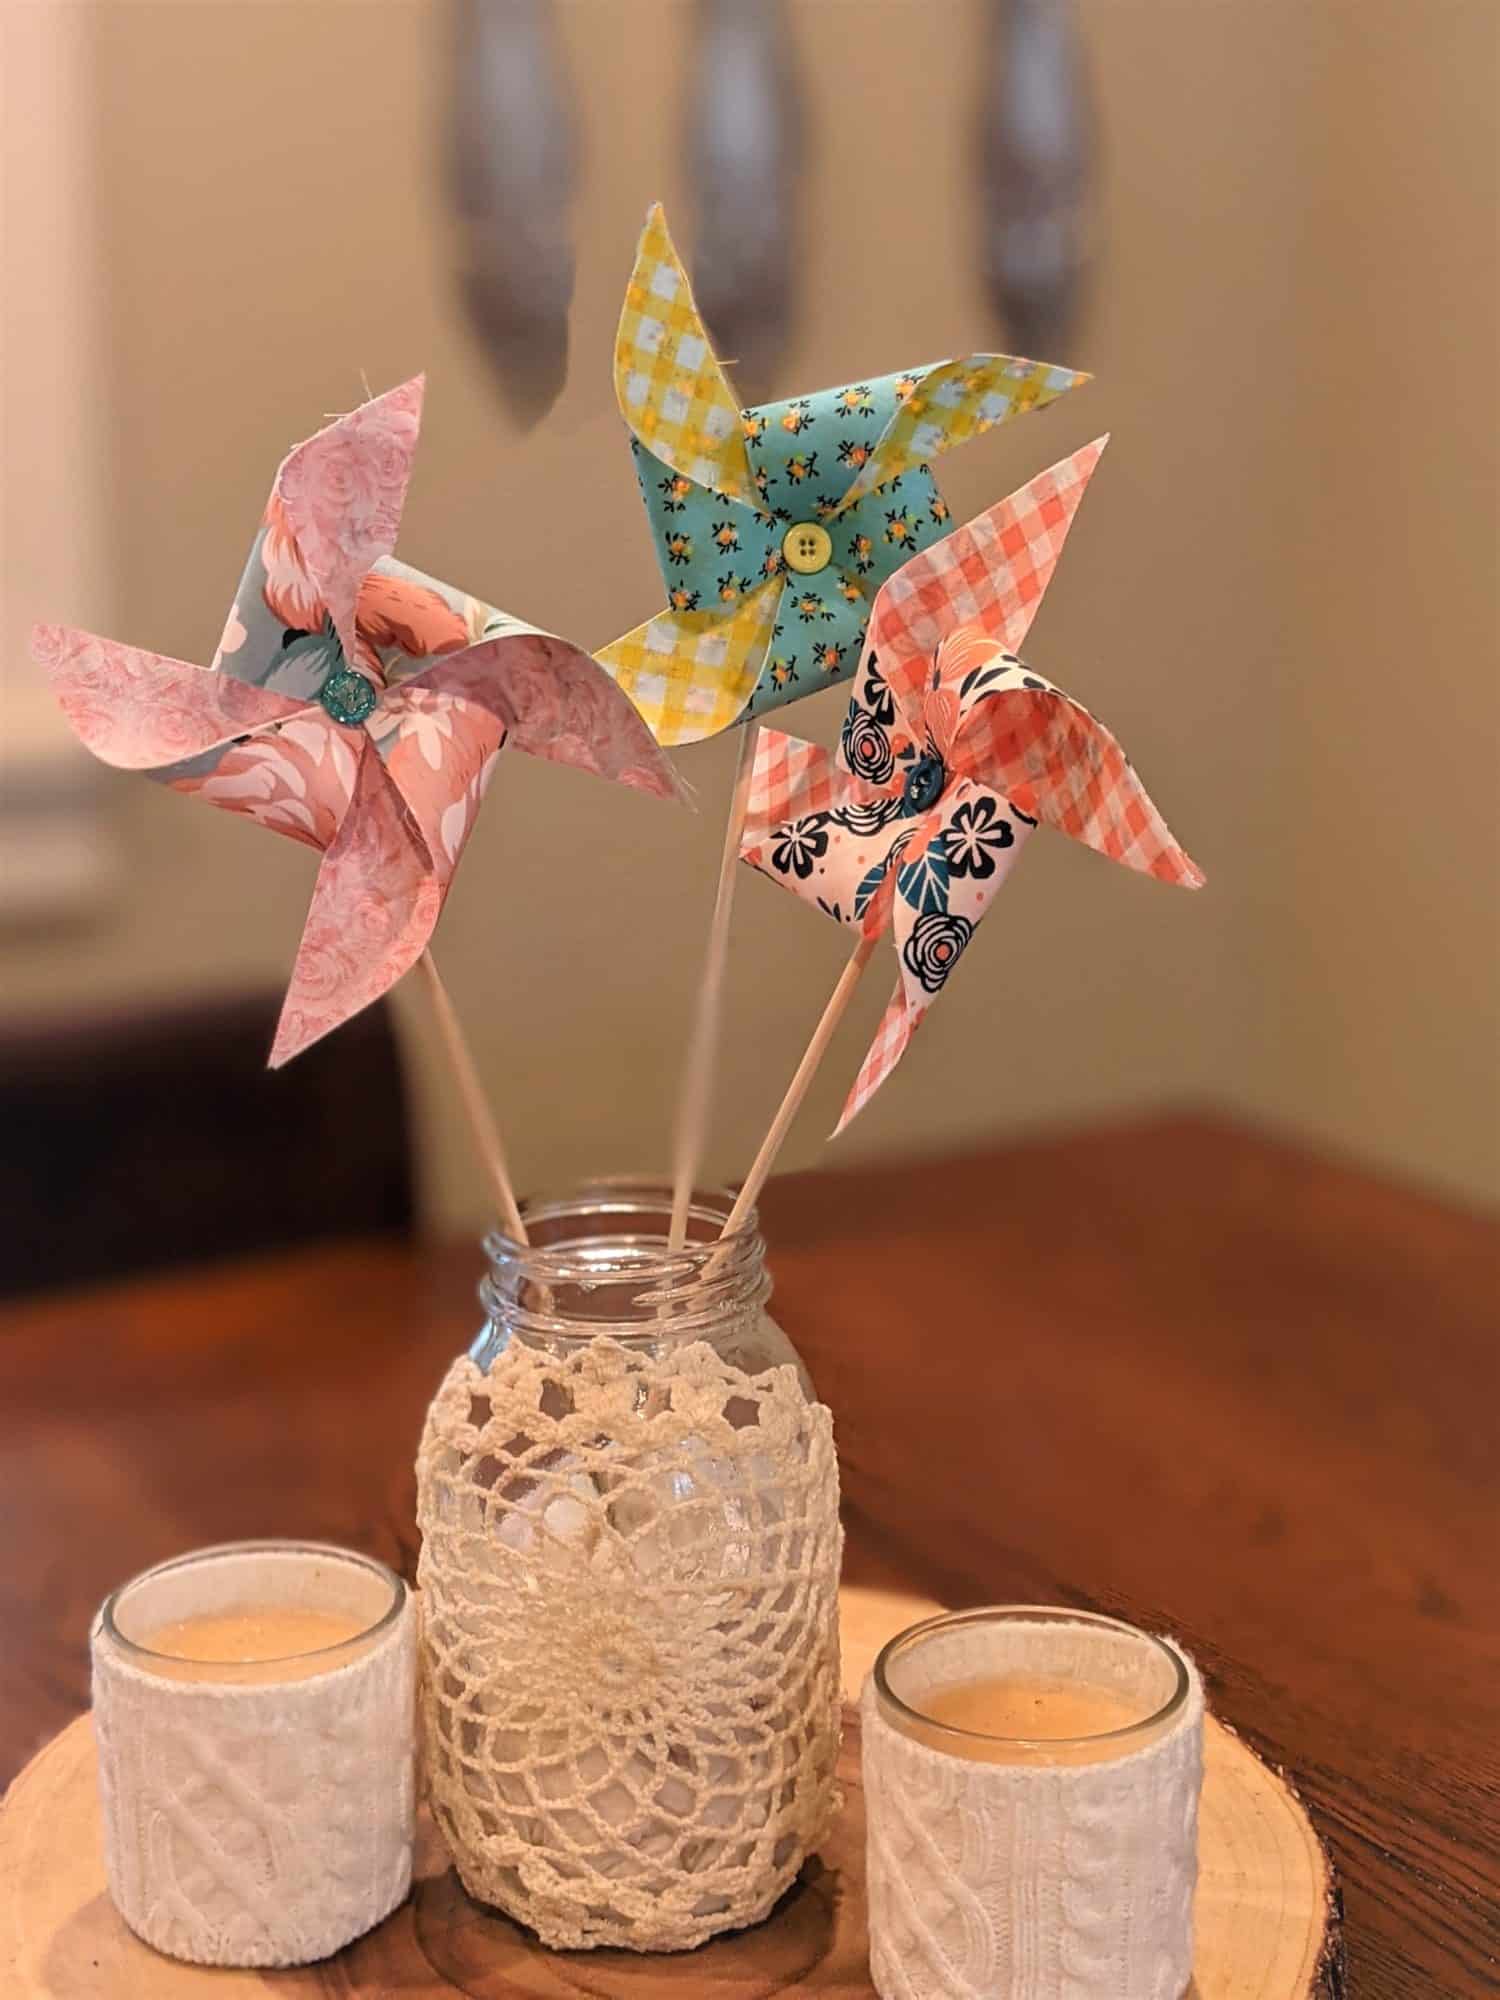
I really couldn’t decide if I wanted to make some summery floral pinwheels or some patriotic ones, so I decided to go with both! These fabric pinwheels are quick, easy, cute, and a great scrap buster. These are giving me all the summertime vibes.
Supplies:
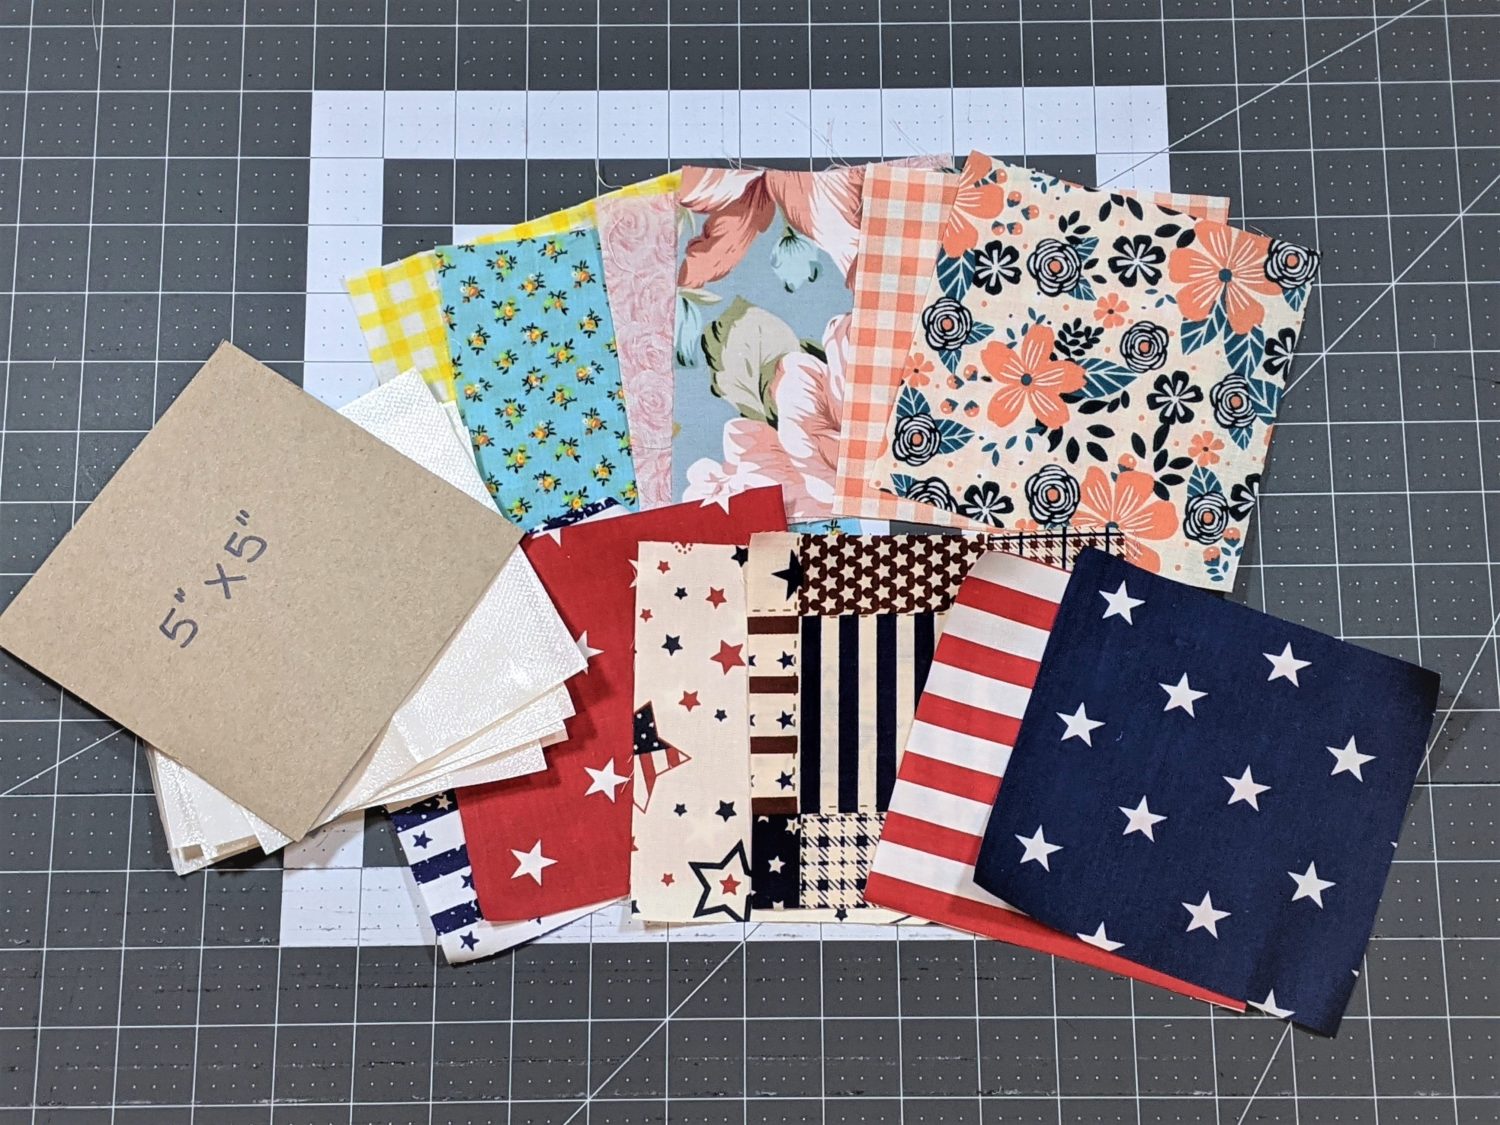
- Woven fabrics in 2 coordinating patterns or colors
- Heat ‘n bond ultra
- Scissors
- Hot glue
- Decorative buttons/gems
- Wooden dowel or sticks (I used kabob skewers)
Let’s Jump Right In!
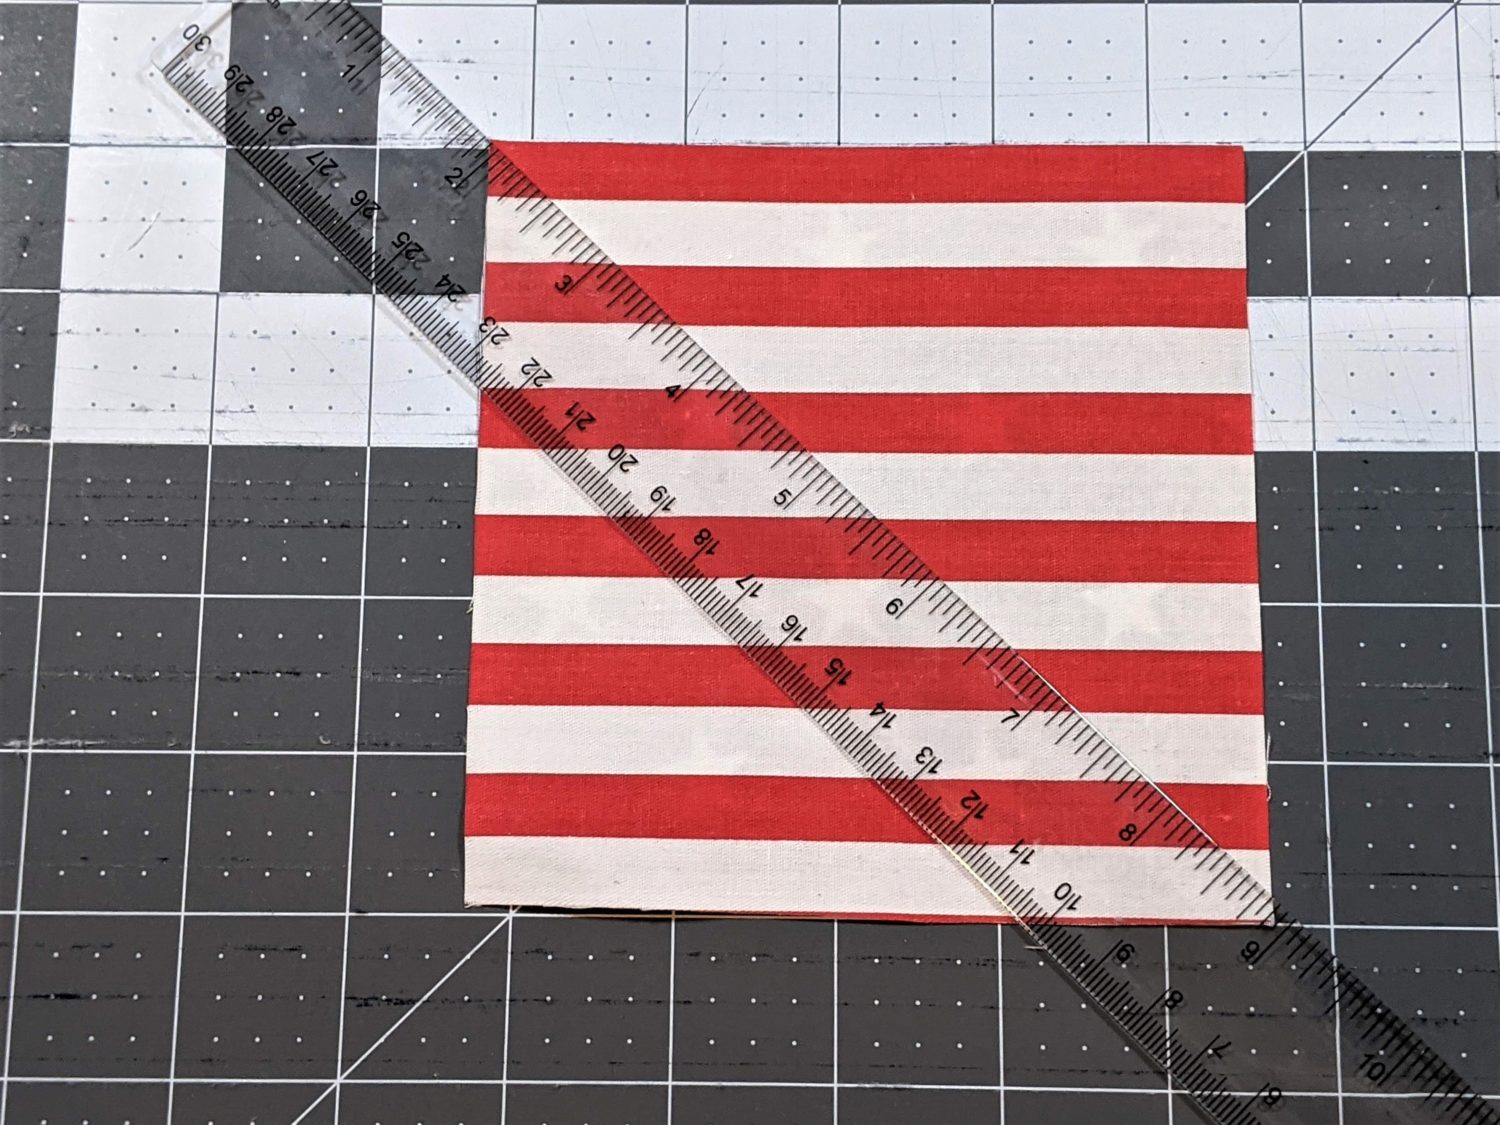
First, you will need to decide on the size you want your pinwheel to be. Mine are made from 5″ X 5″ squares.
- Cut out one square from each of your fabrics to your chosen size.
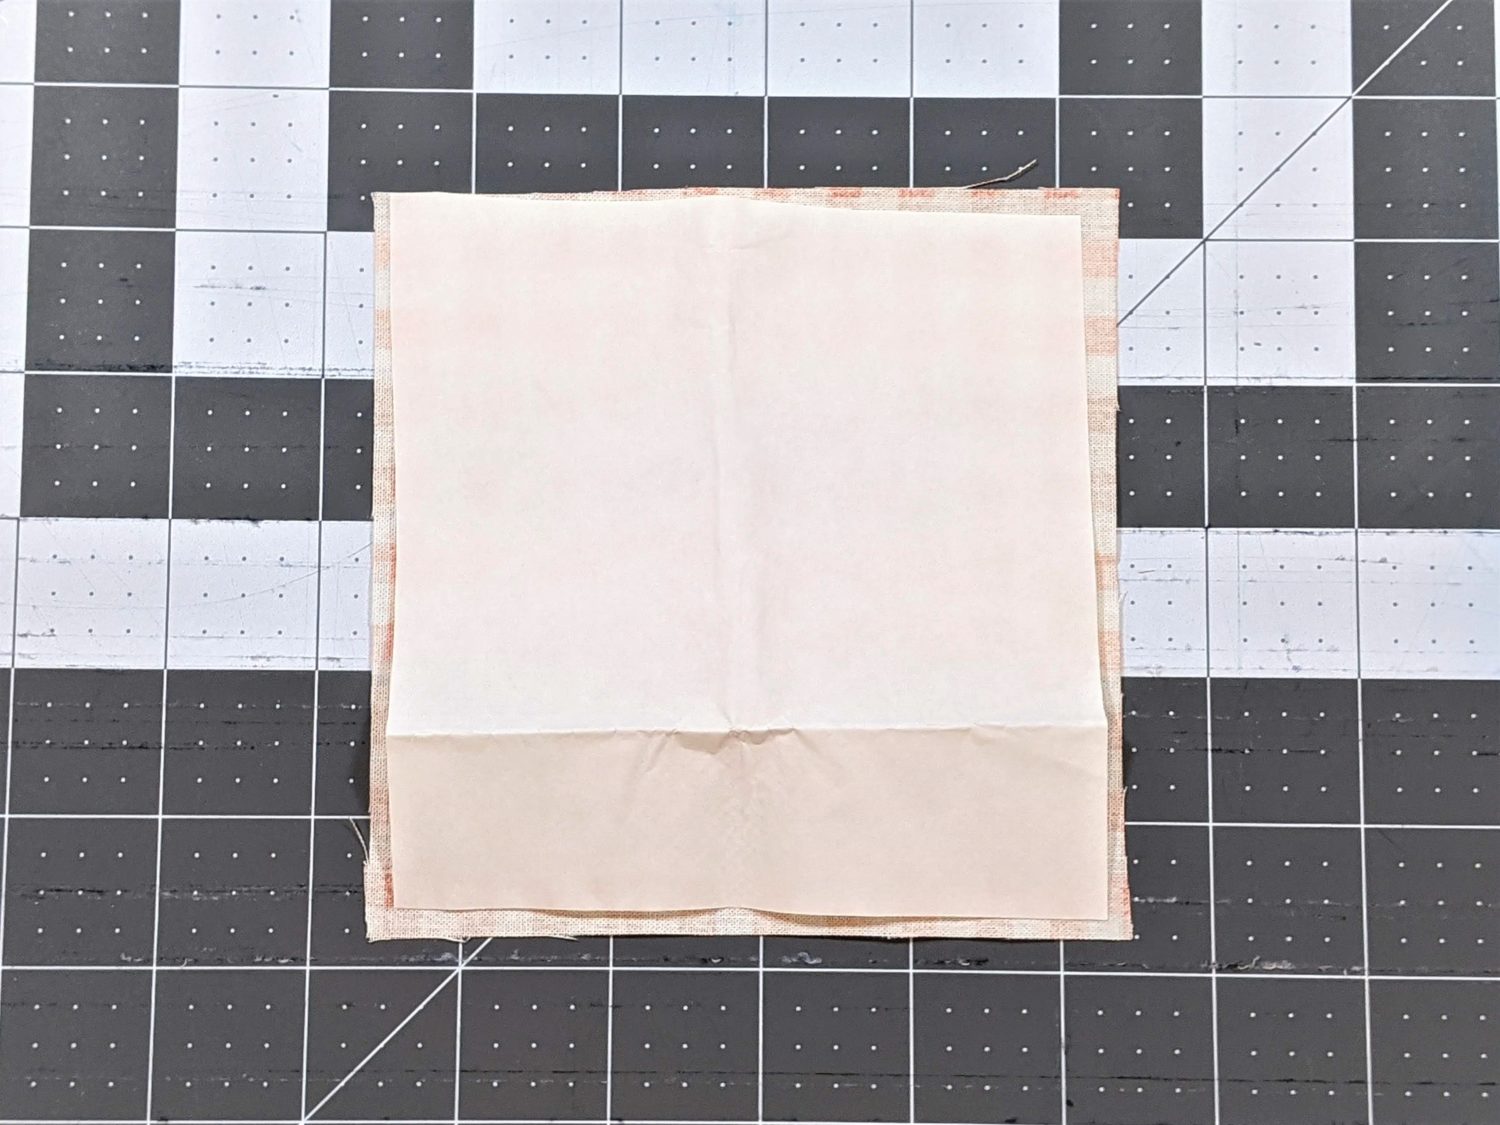
- Cut 1 square of heat ‘n bond ultra to the same size as your fabric.
- Iron the heat ‘n bond to the backside of one of the squares with the paper side up.
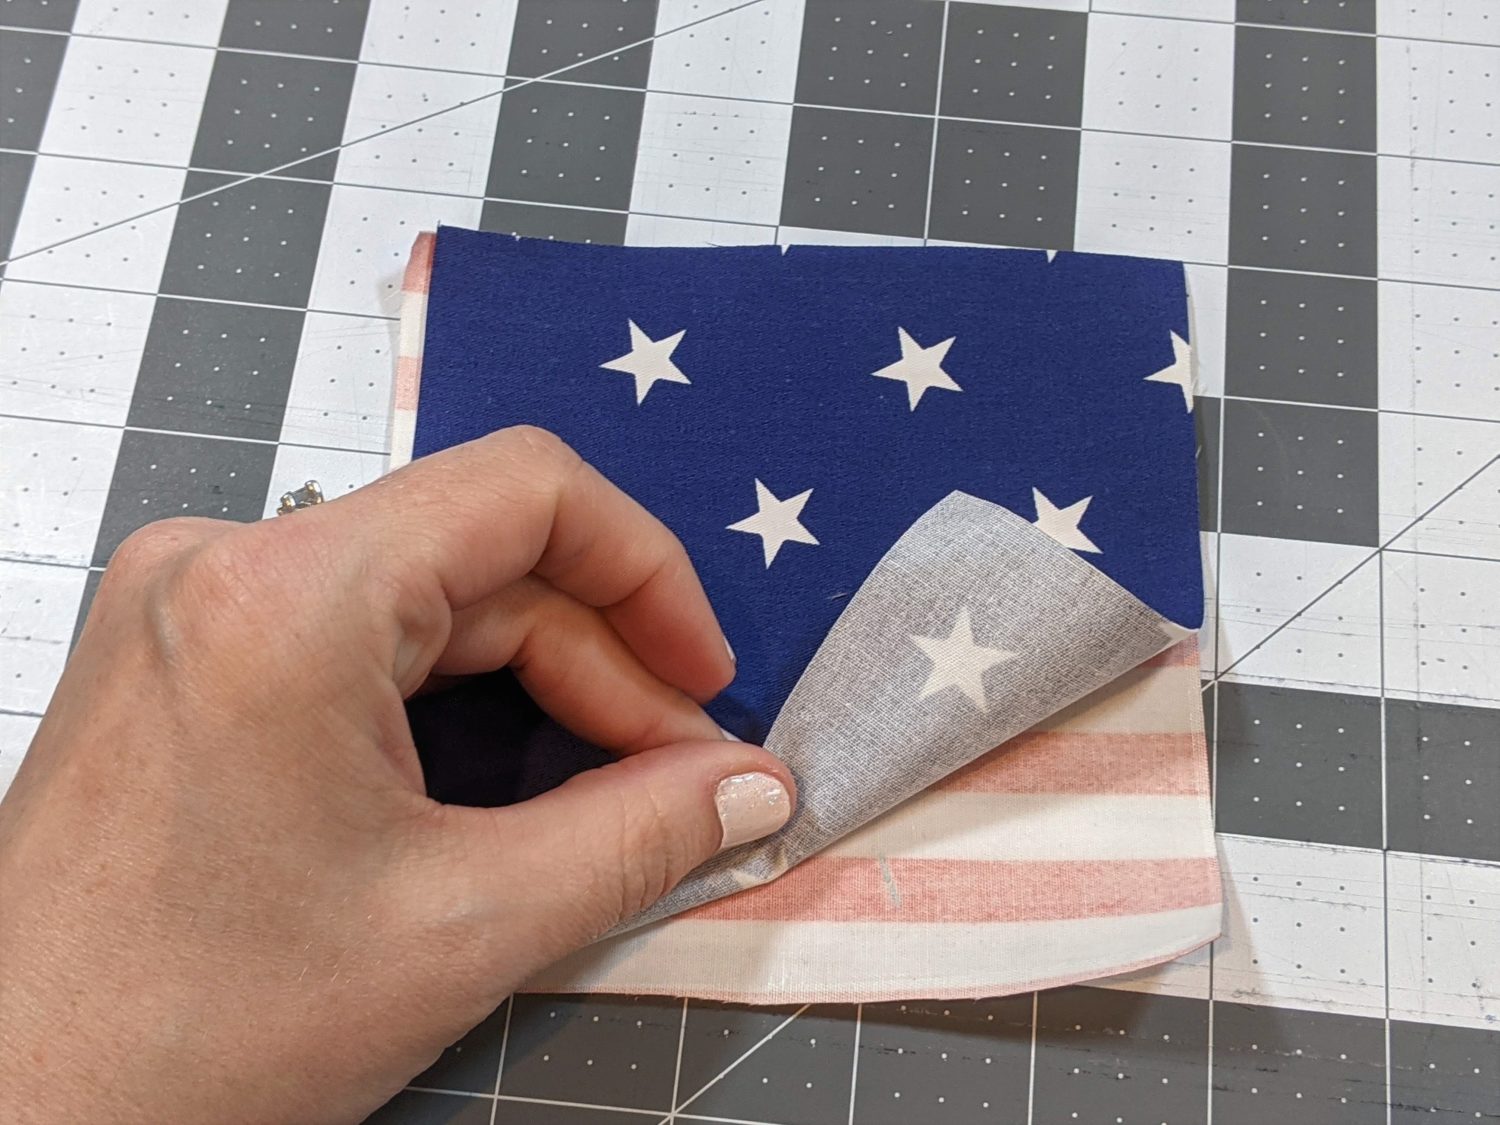
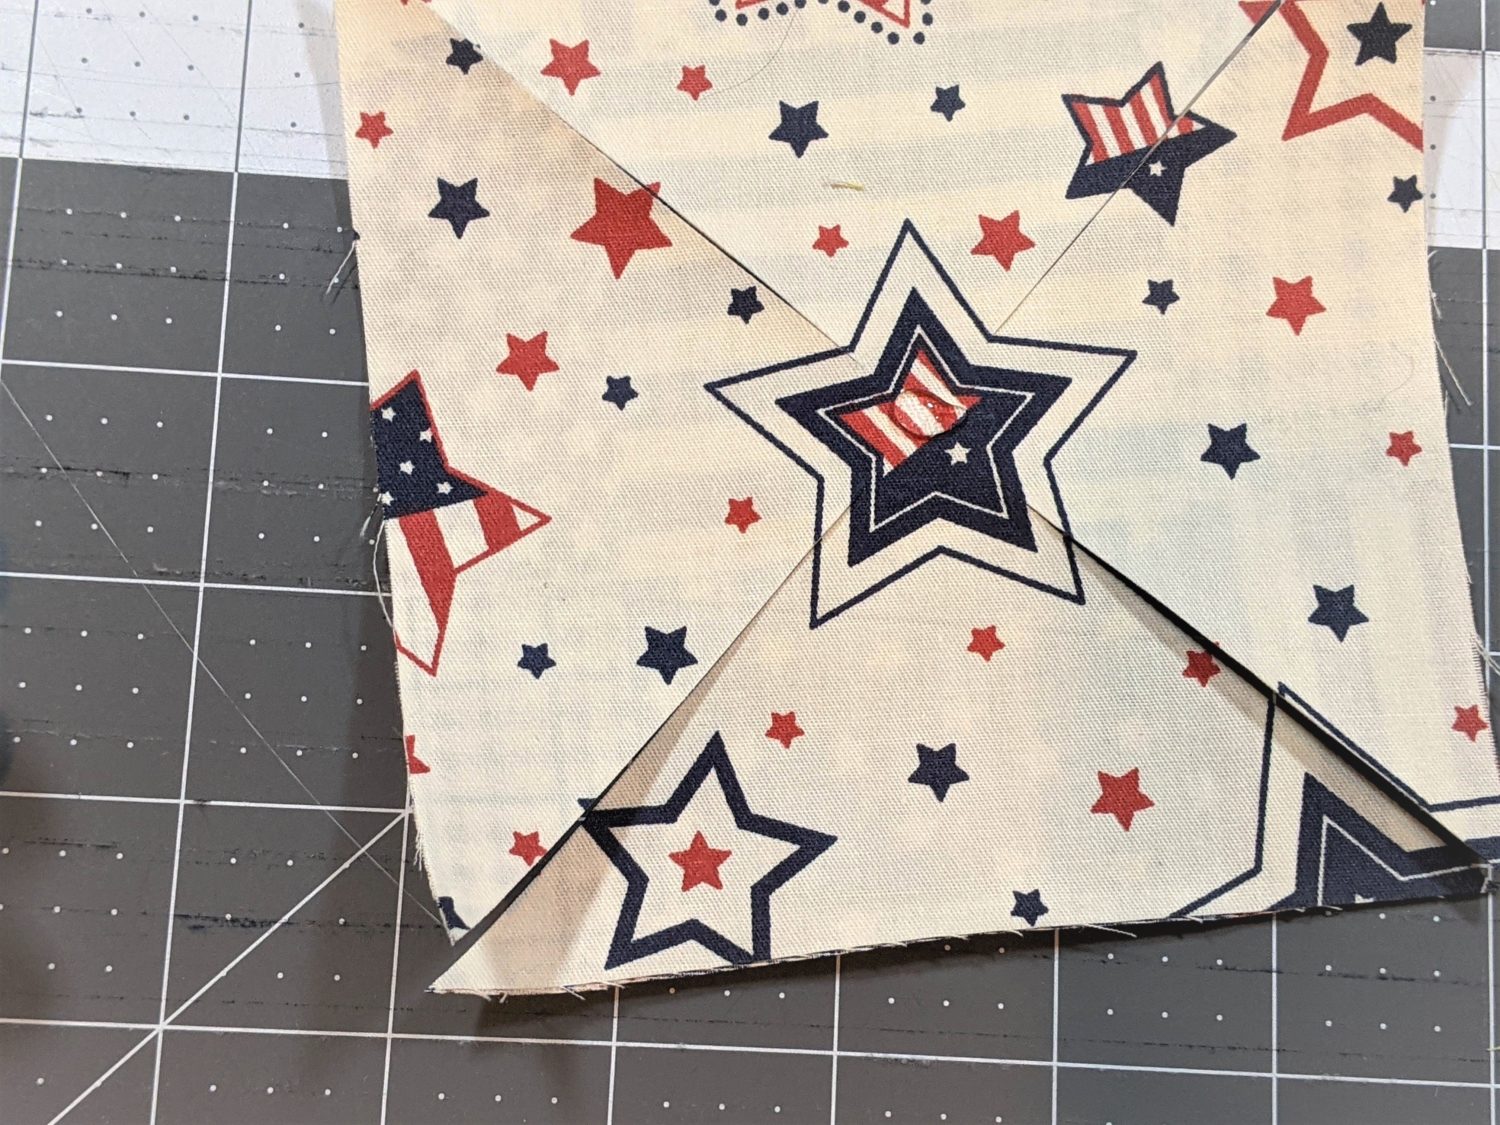
- Remove the paper backing and place the other square on top.
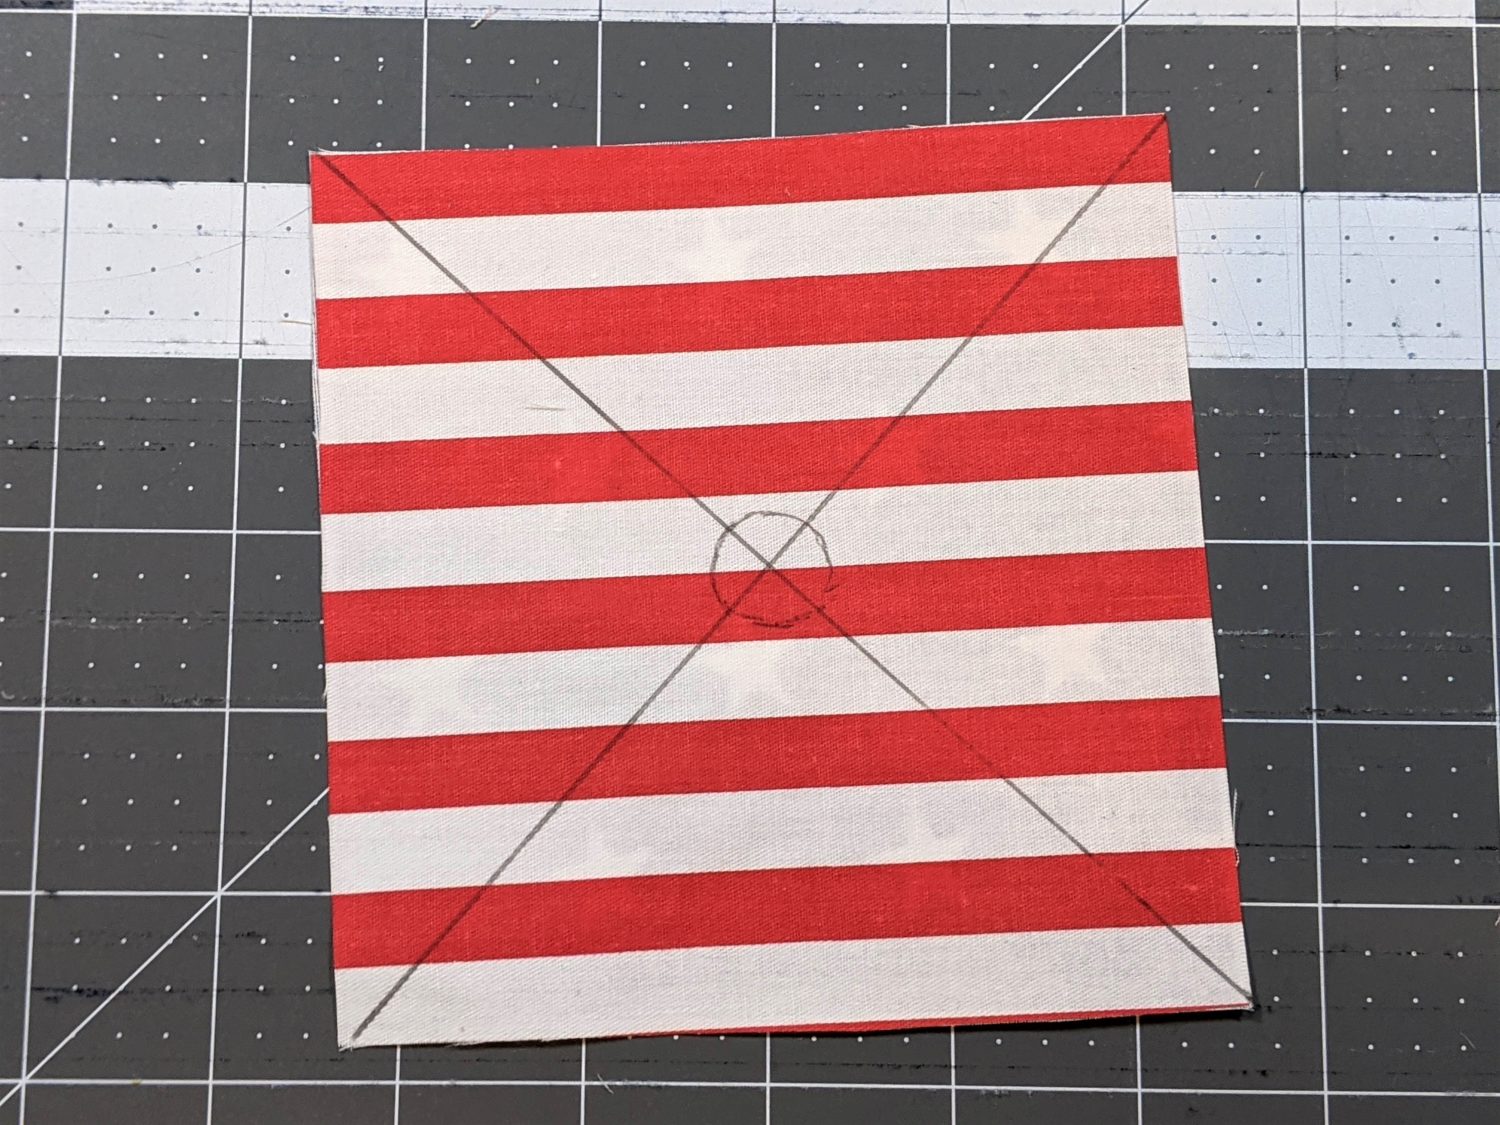
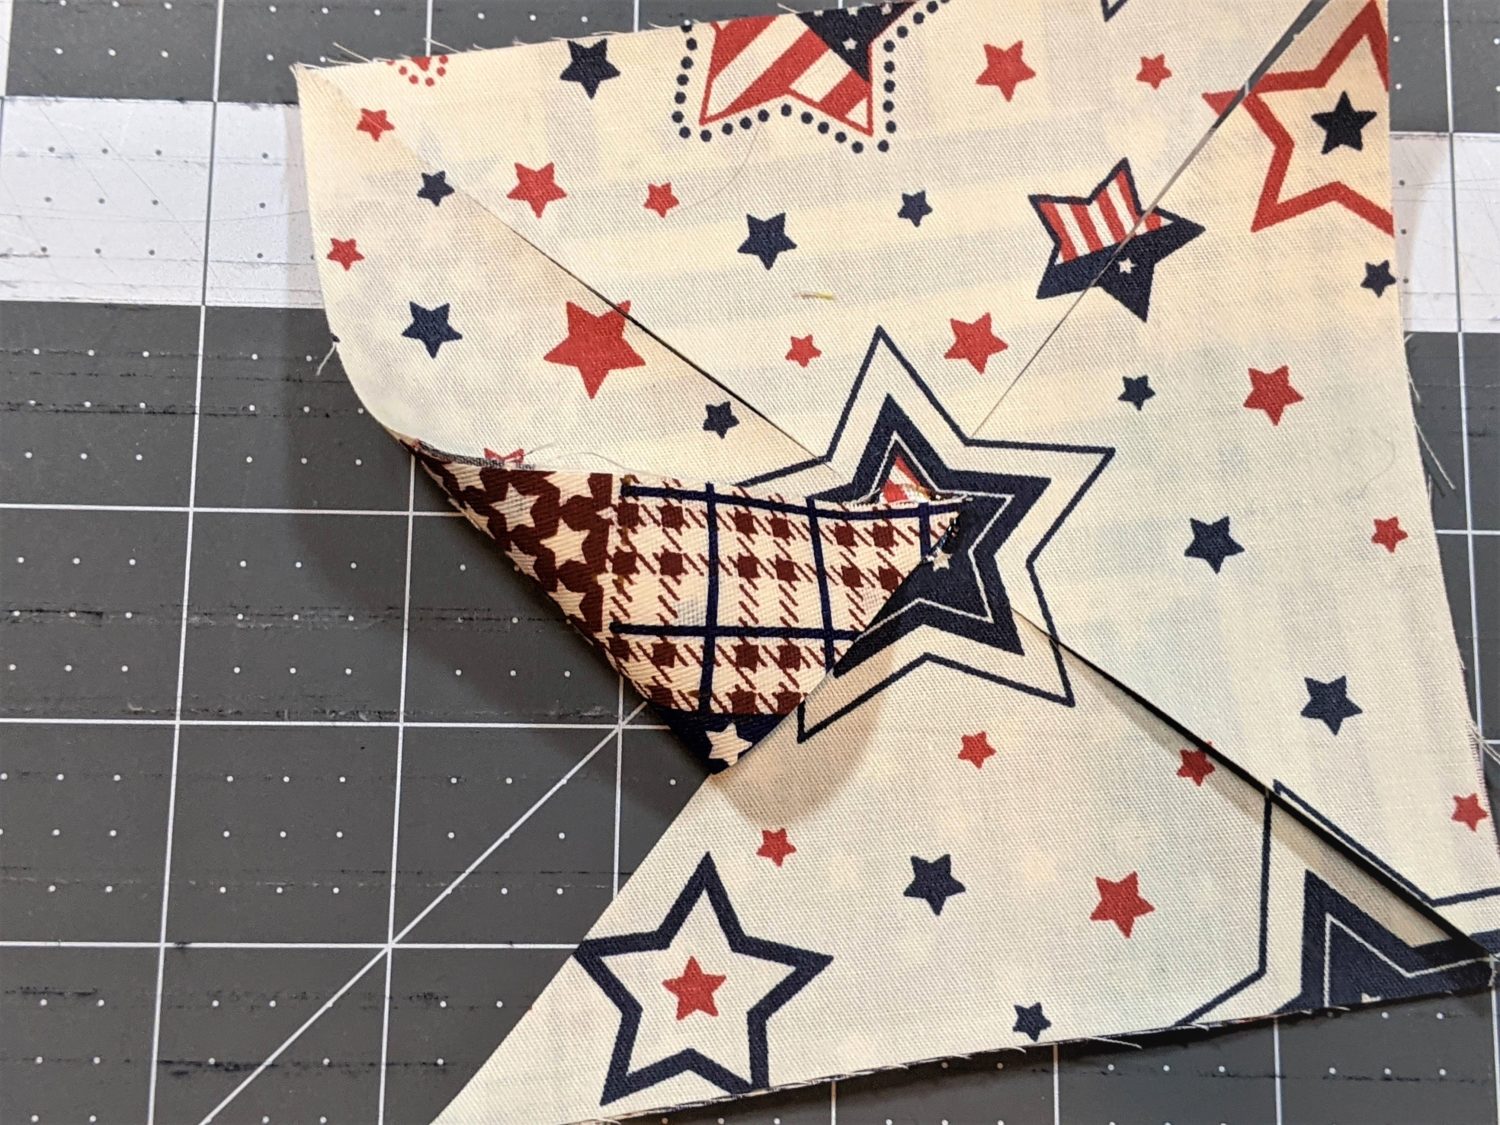
- Use a heat or air soluble pen and draw an “X” from corner to corner.
- Draw a small circle in the middle as a cutting guide.
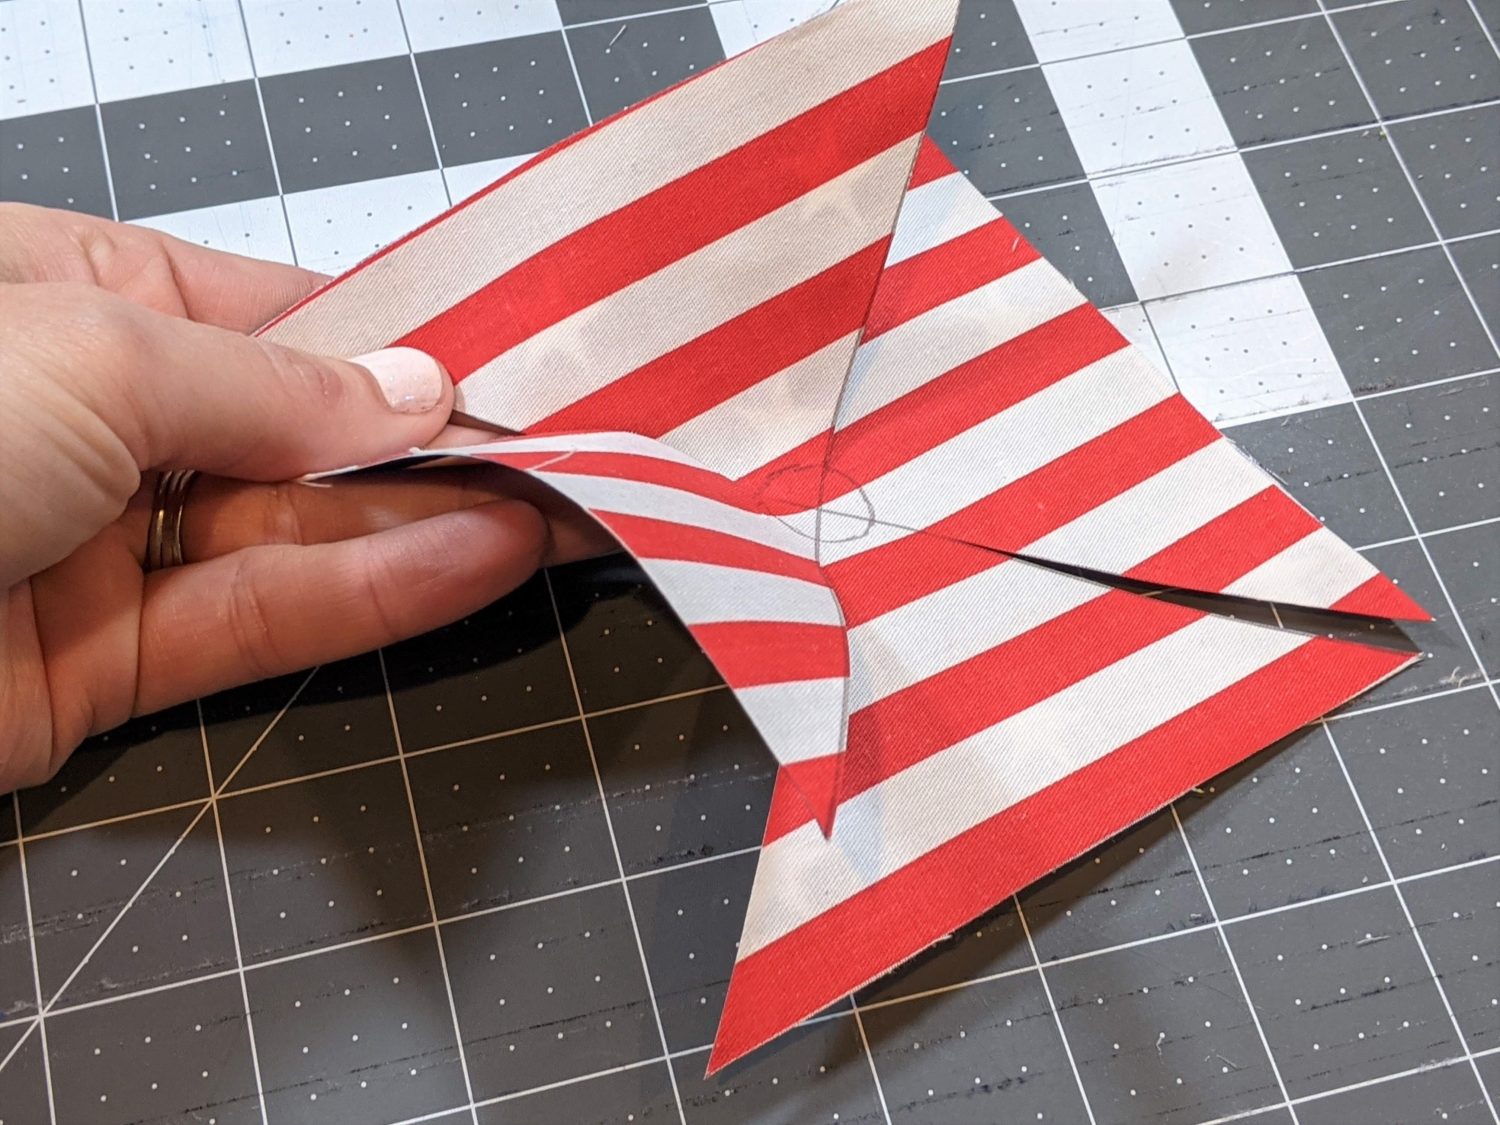
- Cut along the “X” up to the edge of your circle making sure not to cut the center of the pinwheel.
- If using a heat soluble pen, iron to remove the ink.
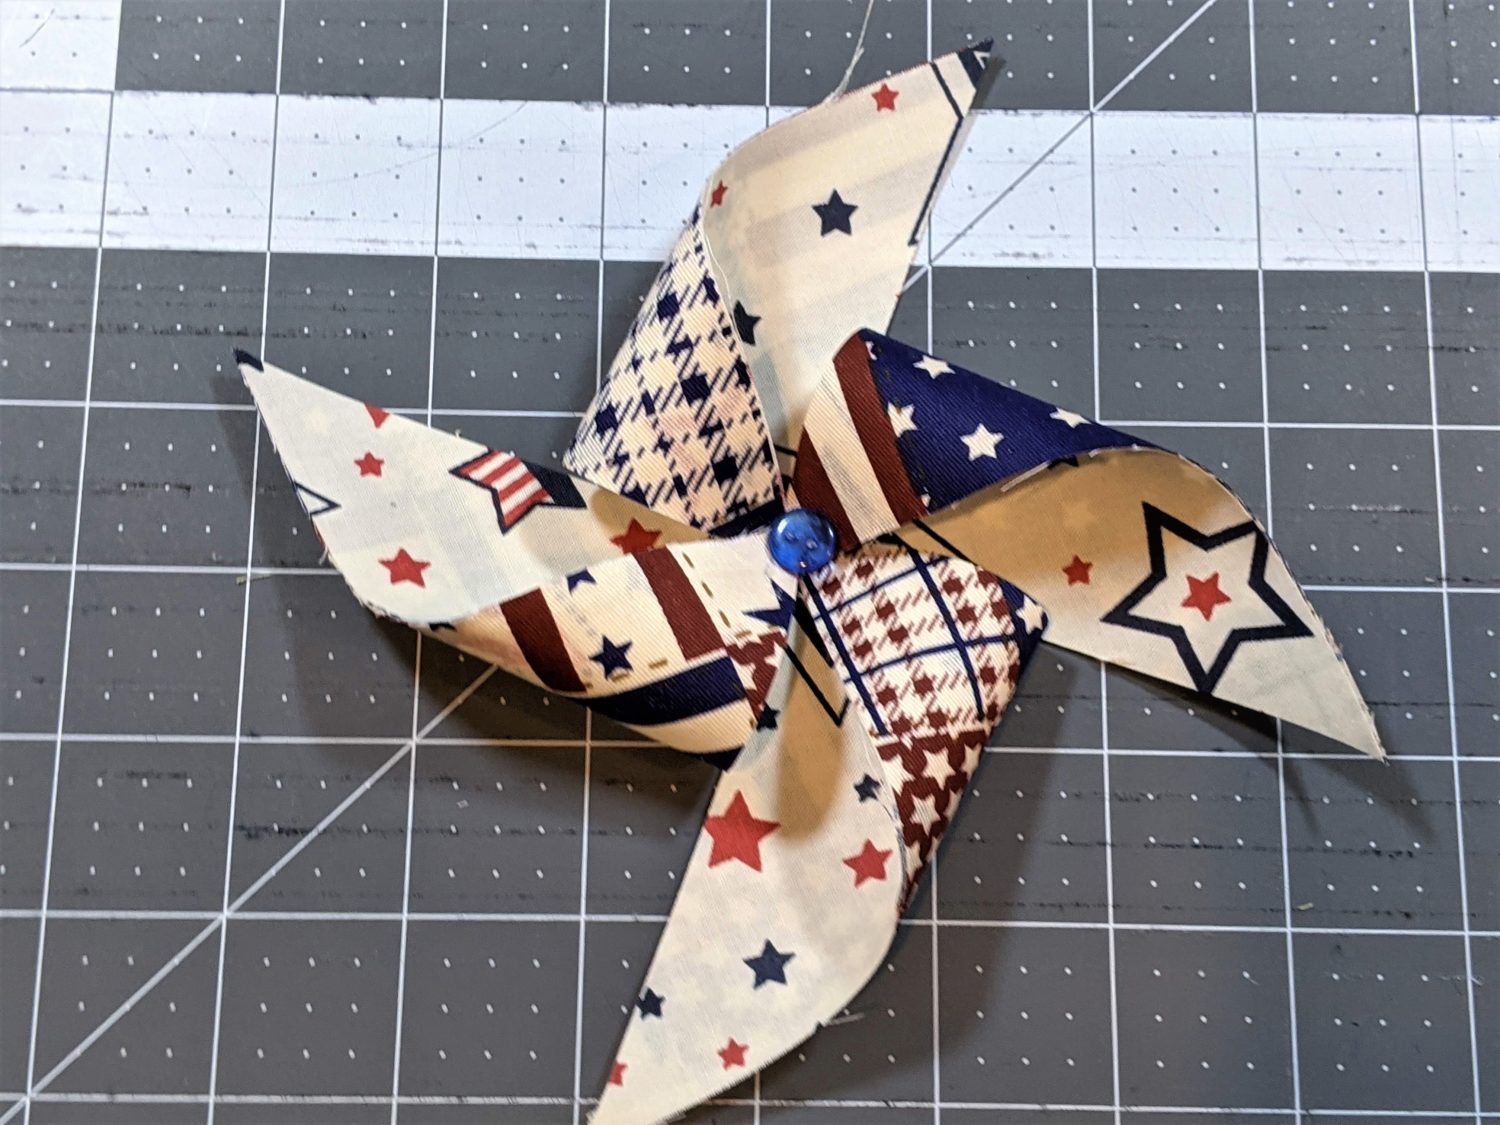
Heat up that Hot Glue Gun!
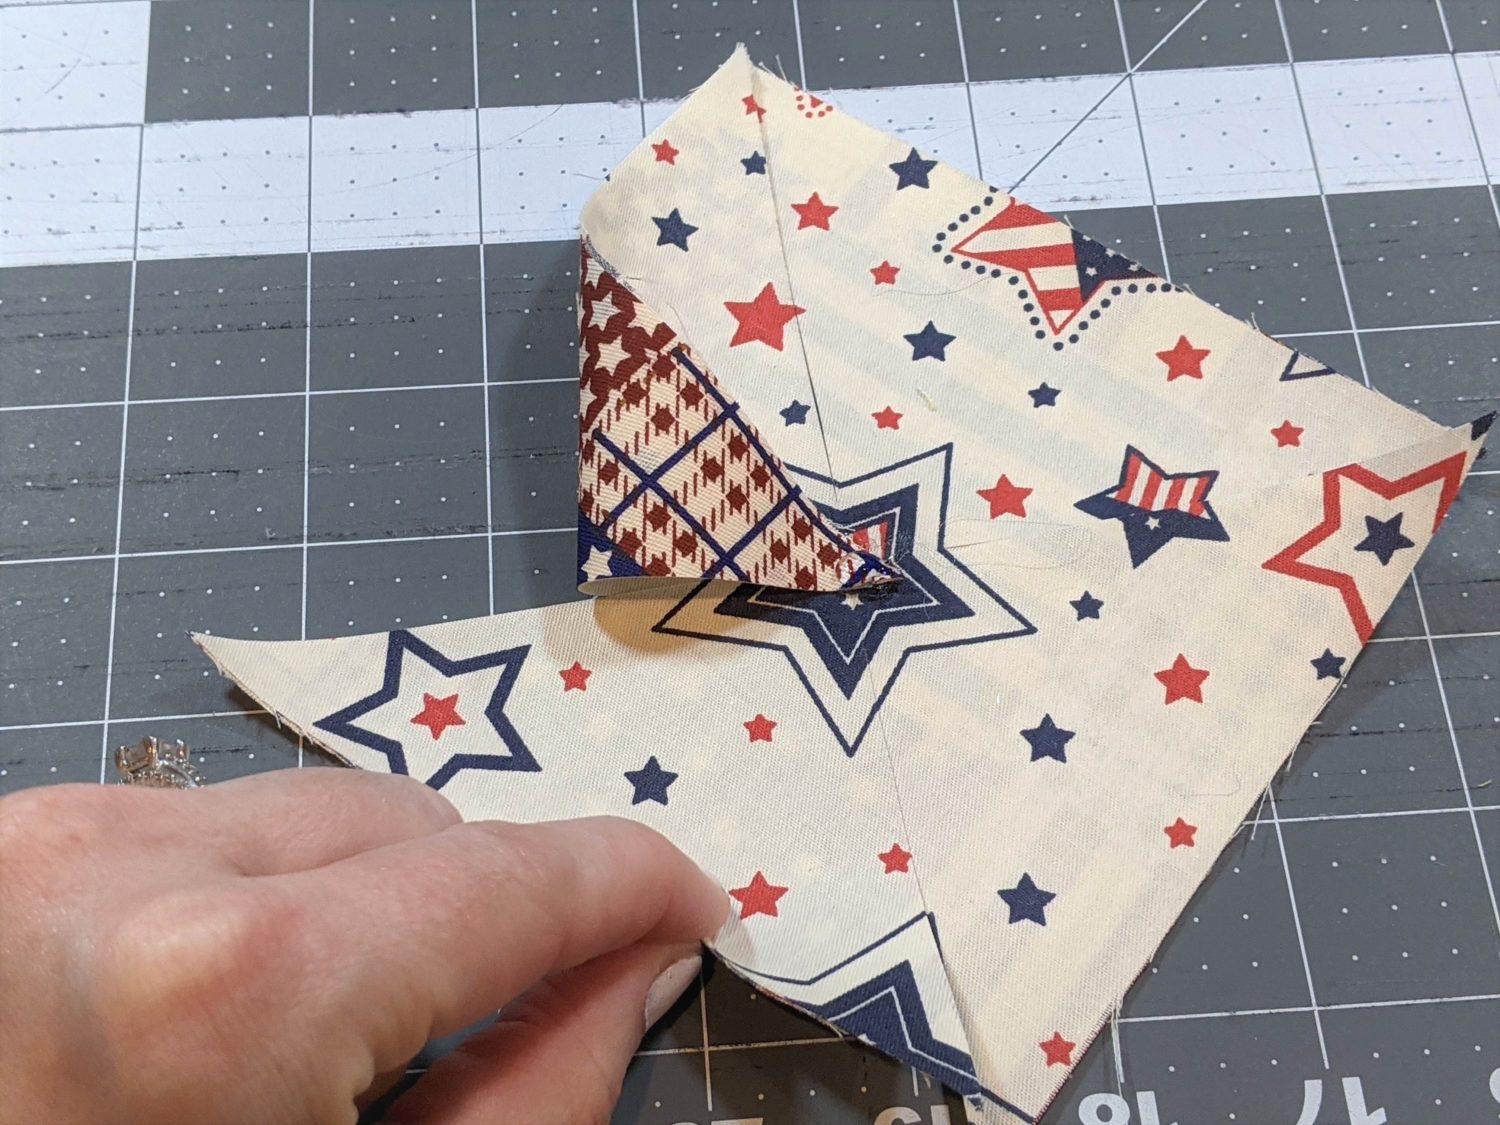
- Put a dot of glue in the center of the pinwheel square.
- Fold one point of a section towards the center and press it into the glue. Hold it in place until the glue dries.
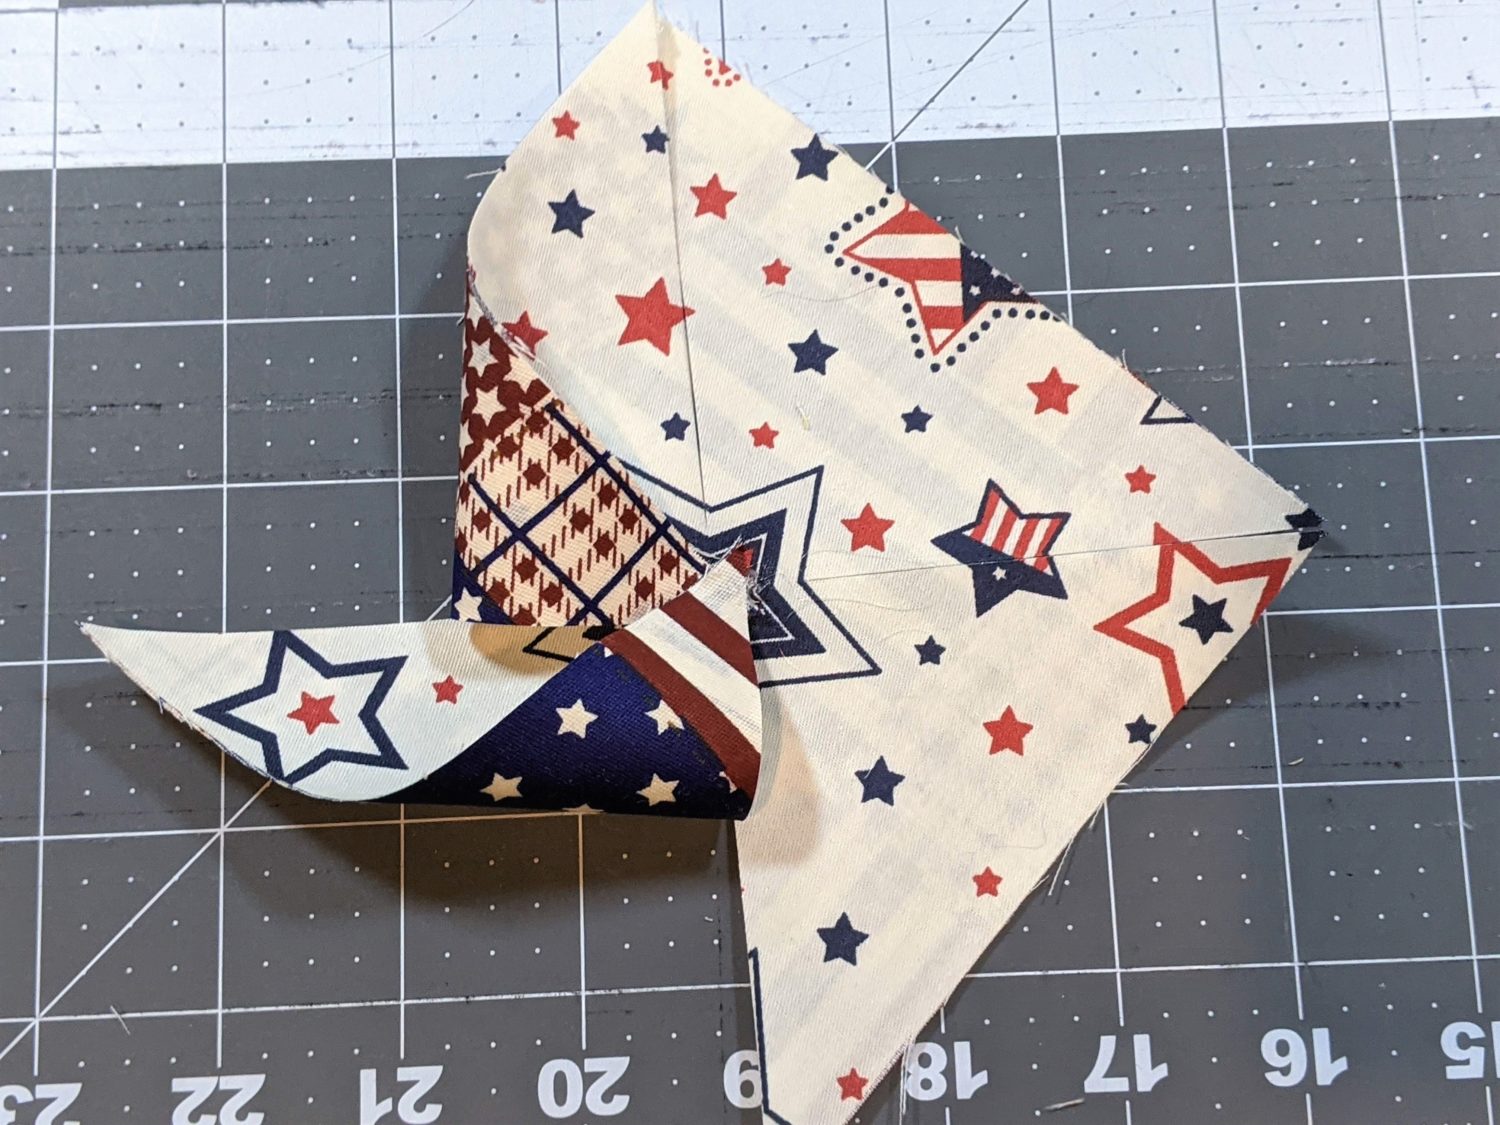
- Take the next section and fold the same side corner towards the center and hot glue in place.
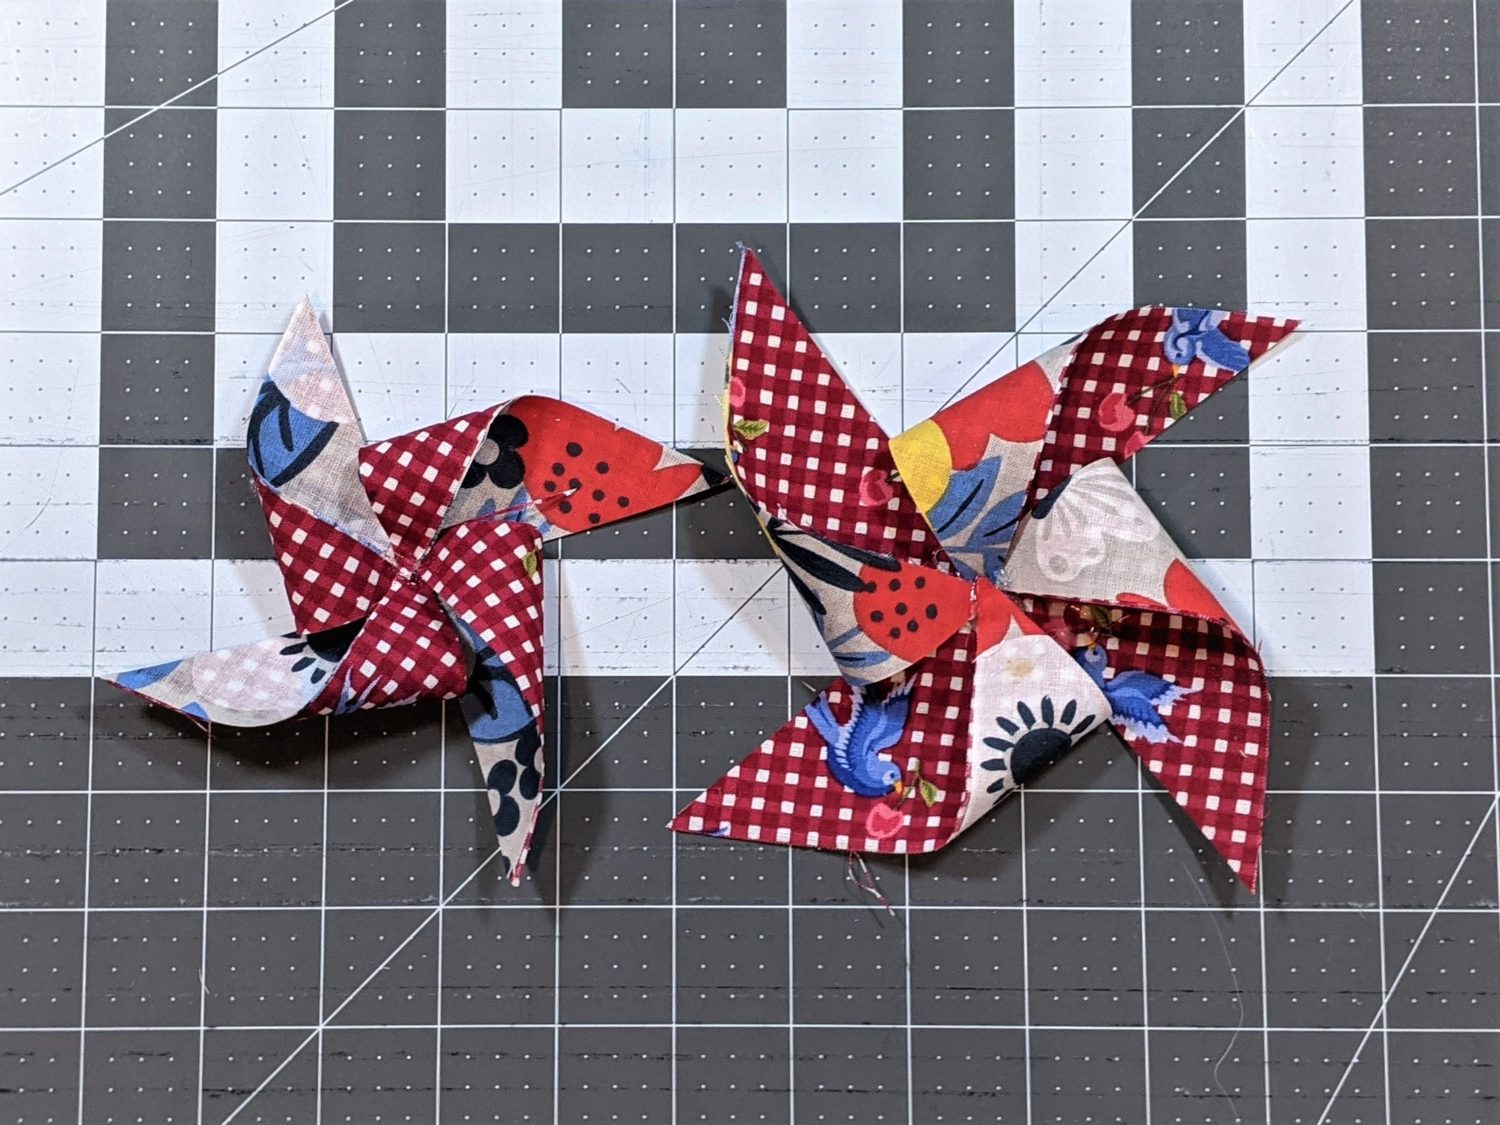
- Continue around using the same method for each section until all 4 sections have a point folded in.


- Take your button or gem and hot glue it in the center of the pinwheel.
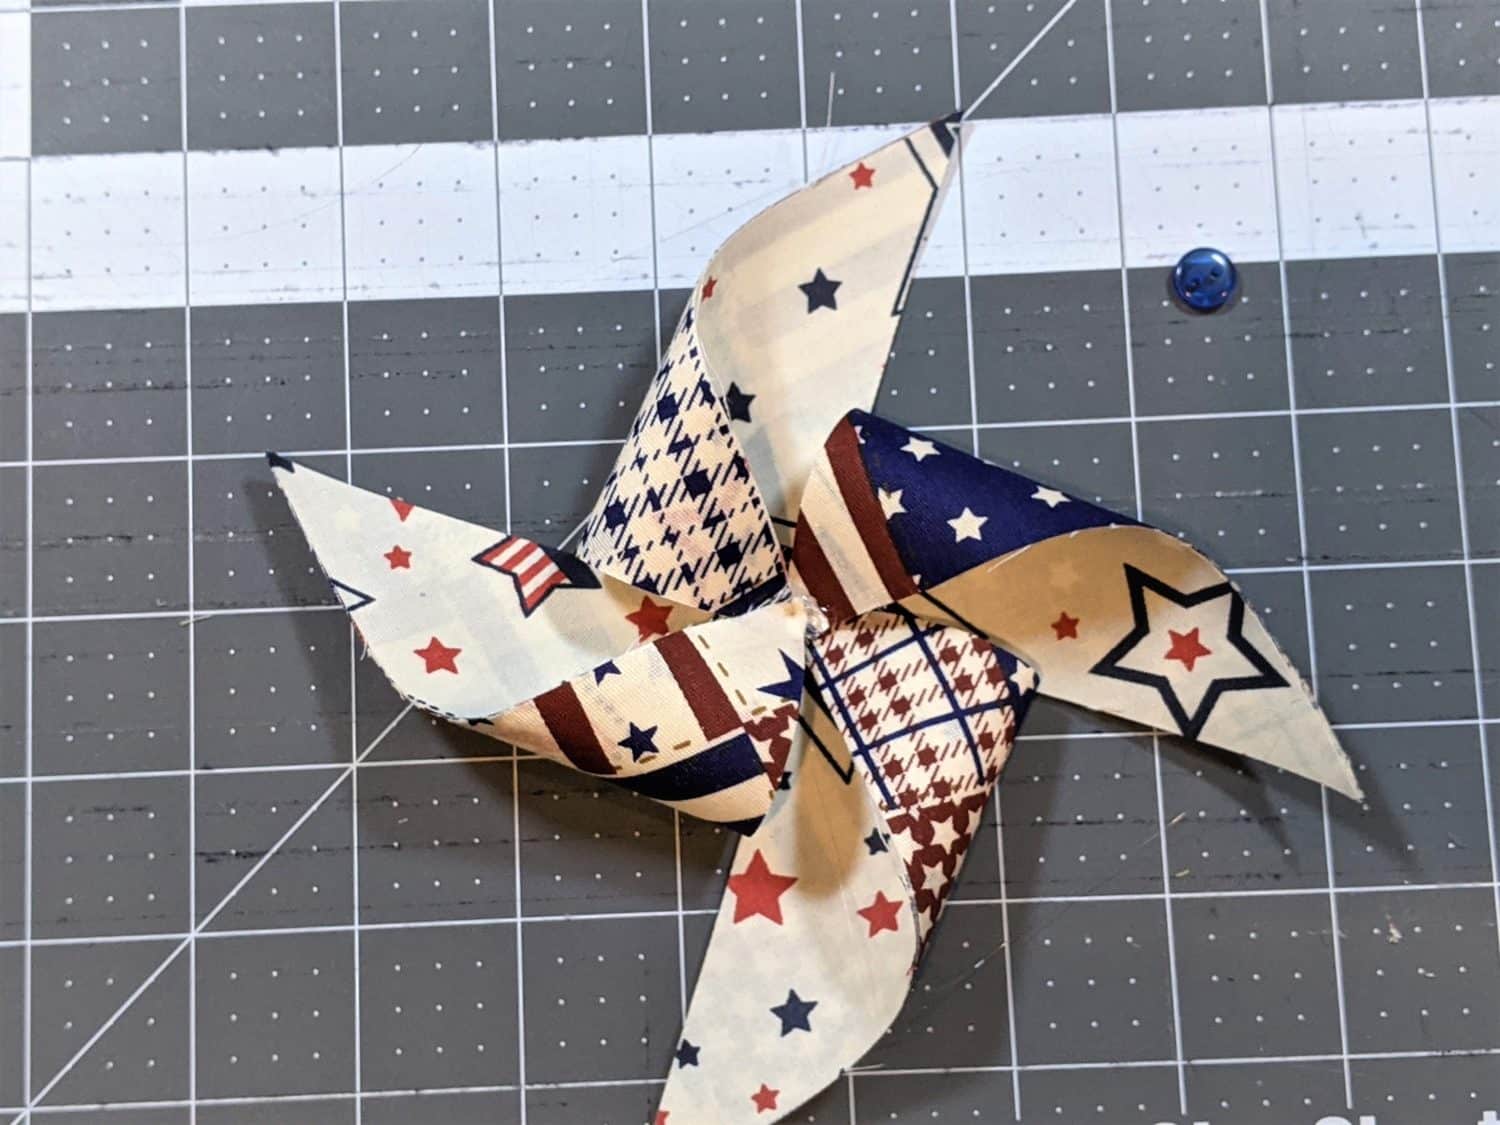
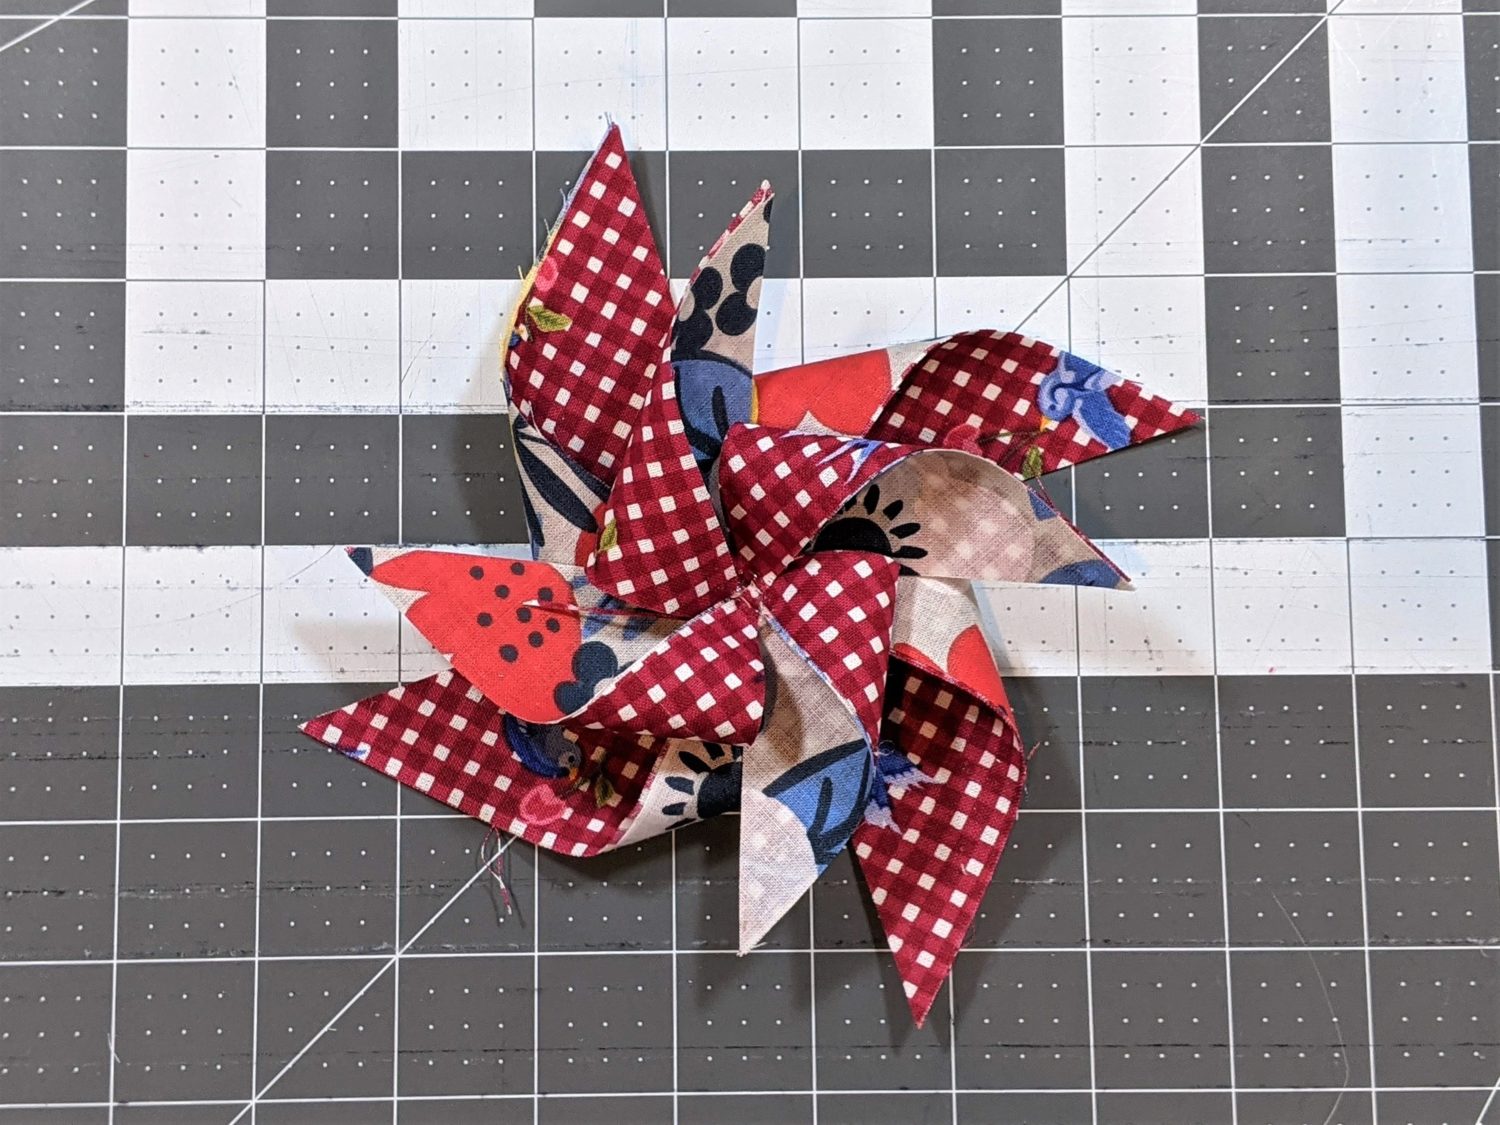
- Optional: make a second pinwheel 1” X 1” smaller, glue it on top of the larger one, then glue the button to the center.
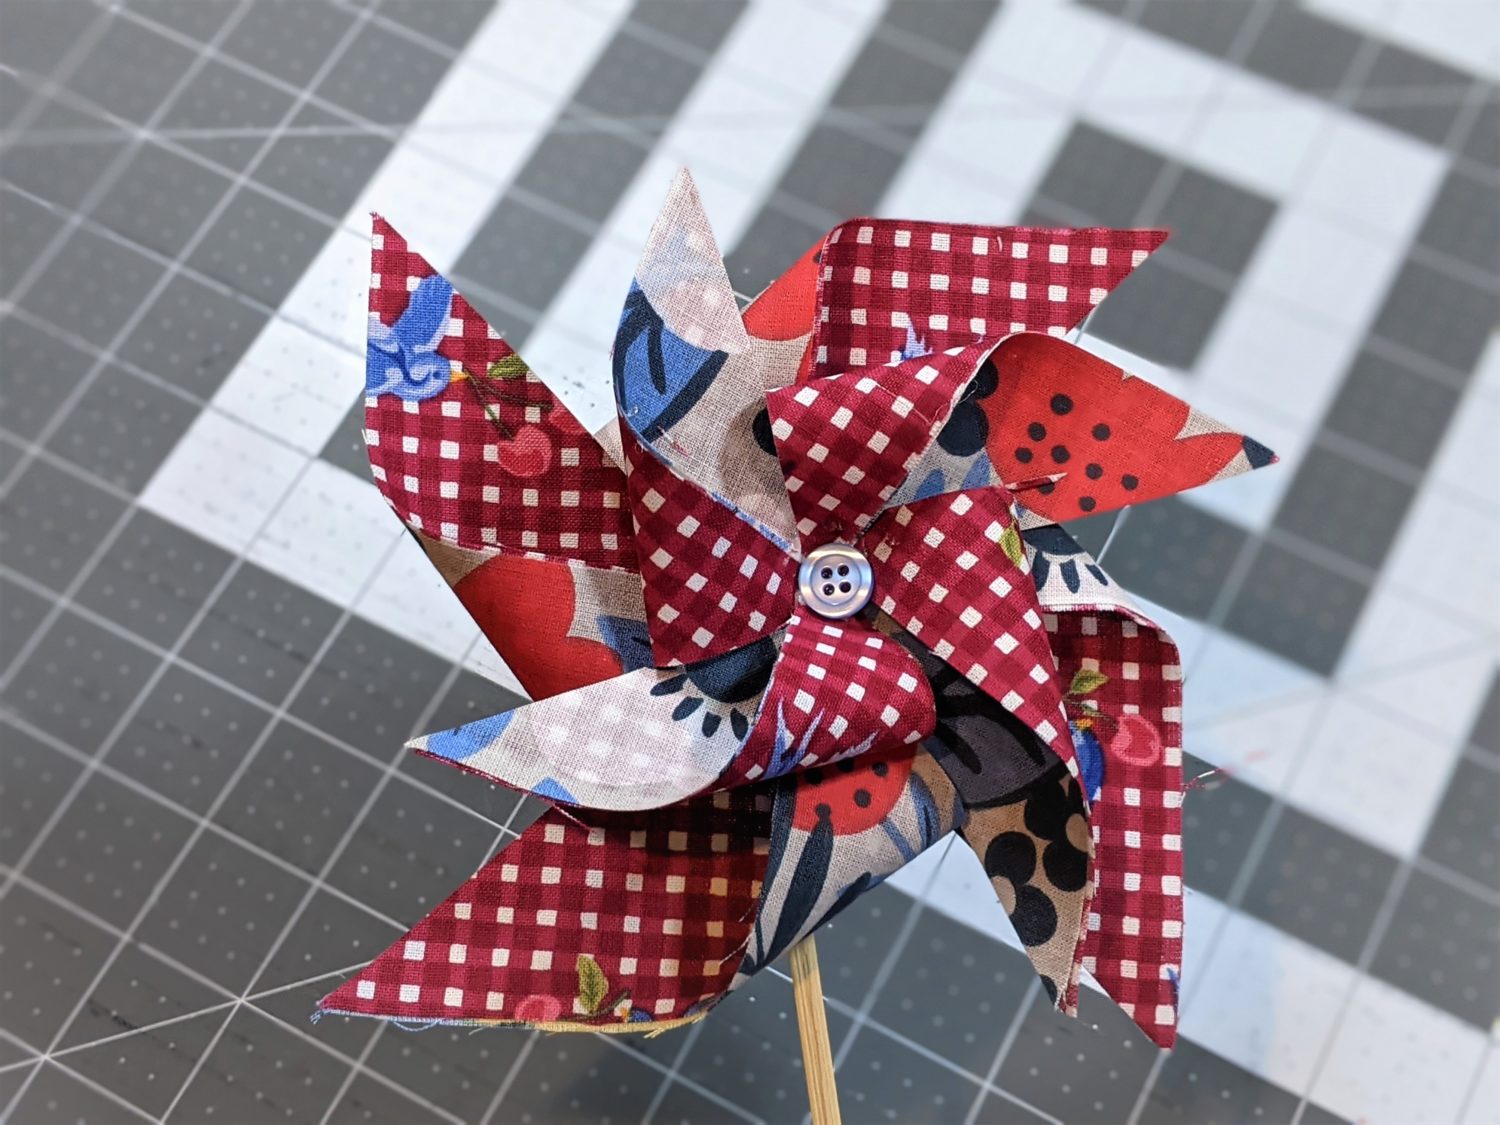
- Turn the pinwheel over and glue the stick to the back.
You are now ready for summer!
Want more FUN DIY Freebies? Check out the FREEBIE TUTORIALS and the FREEBIE PATTERNS!
As always, we’re here to help if you need it! Join us HERE and on Facebook, Instagram, Twitter, Youtube, and Pinterest. We’re everywhere you are.
Leave a Reply