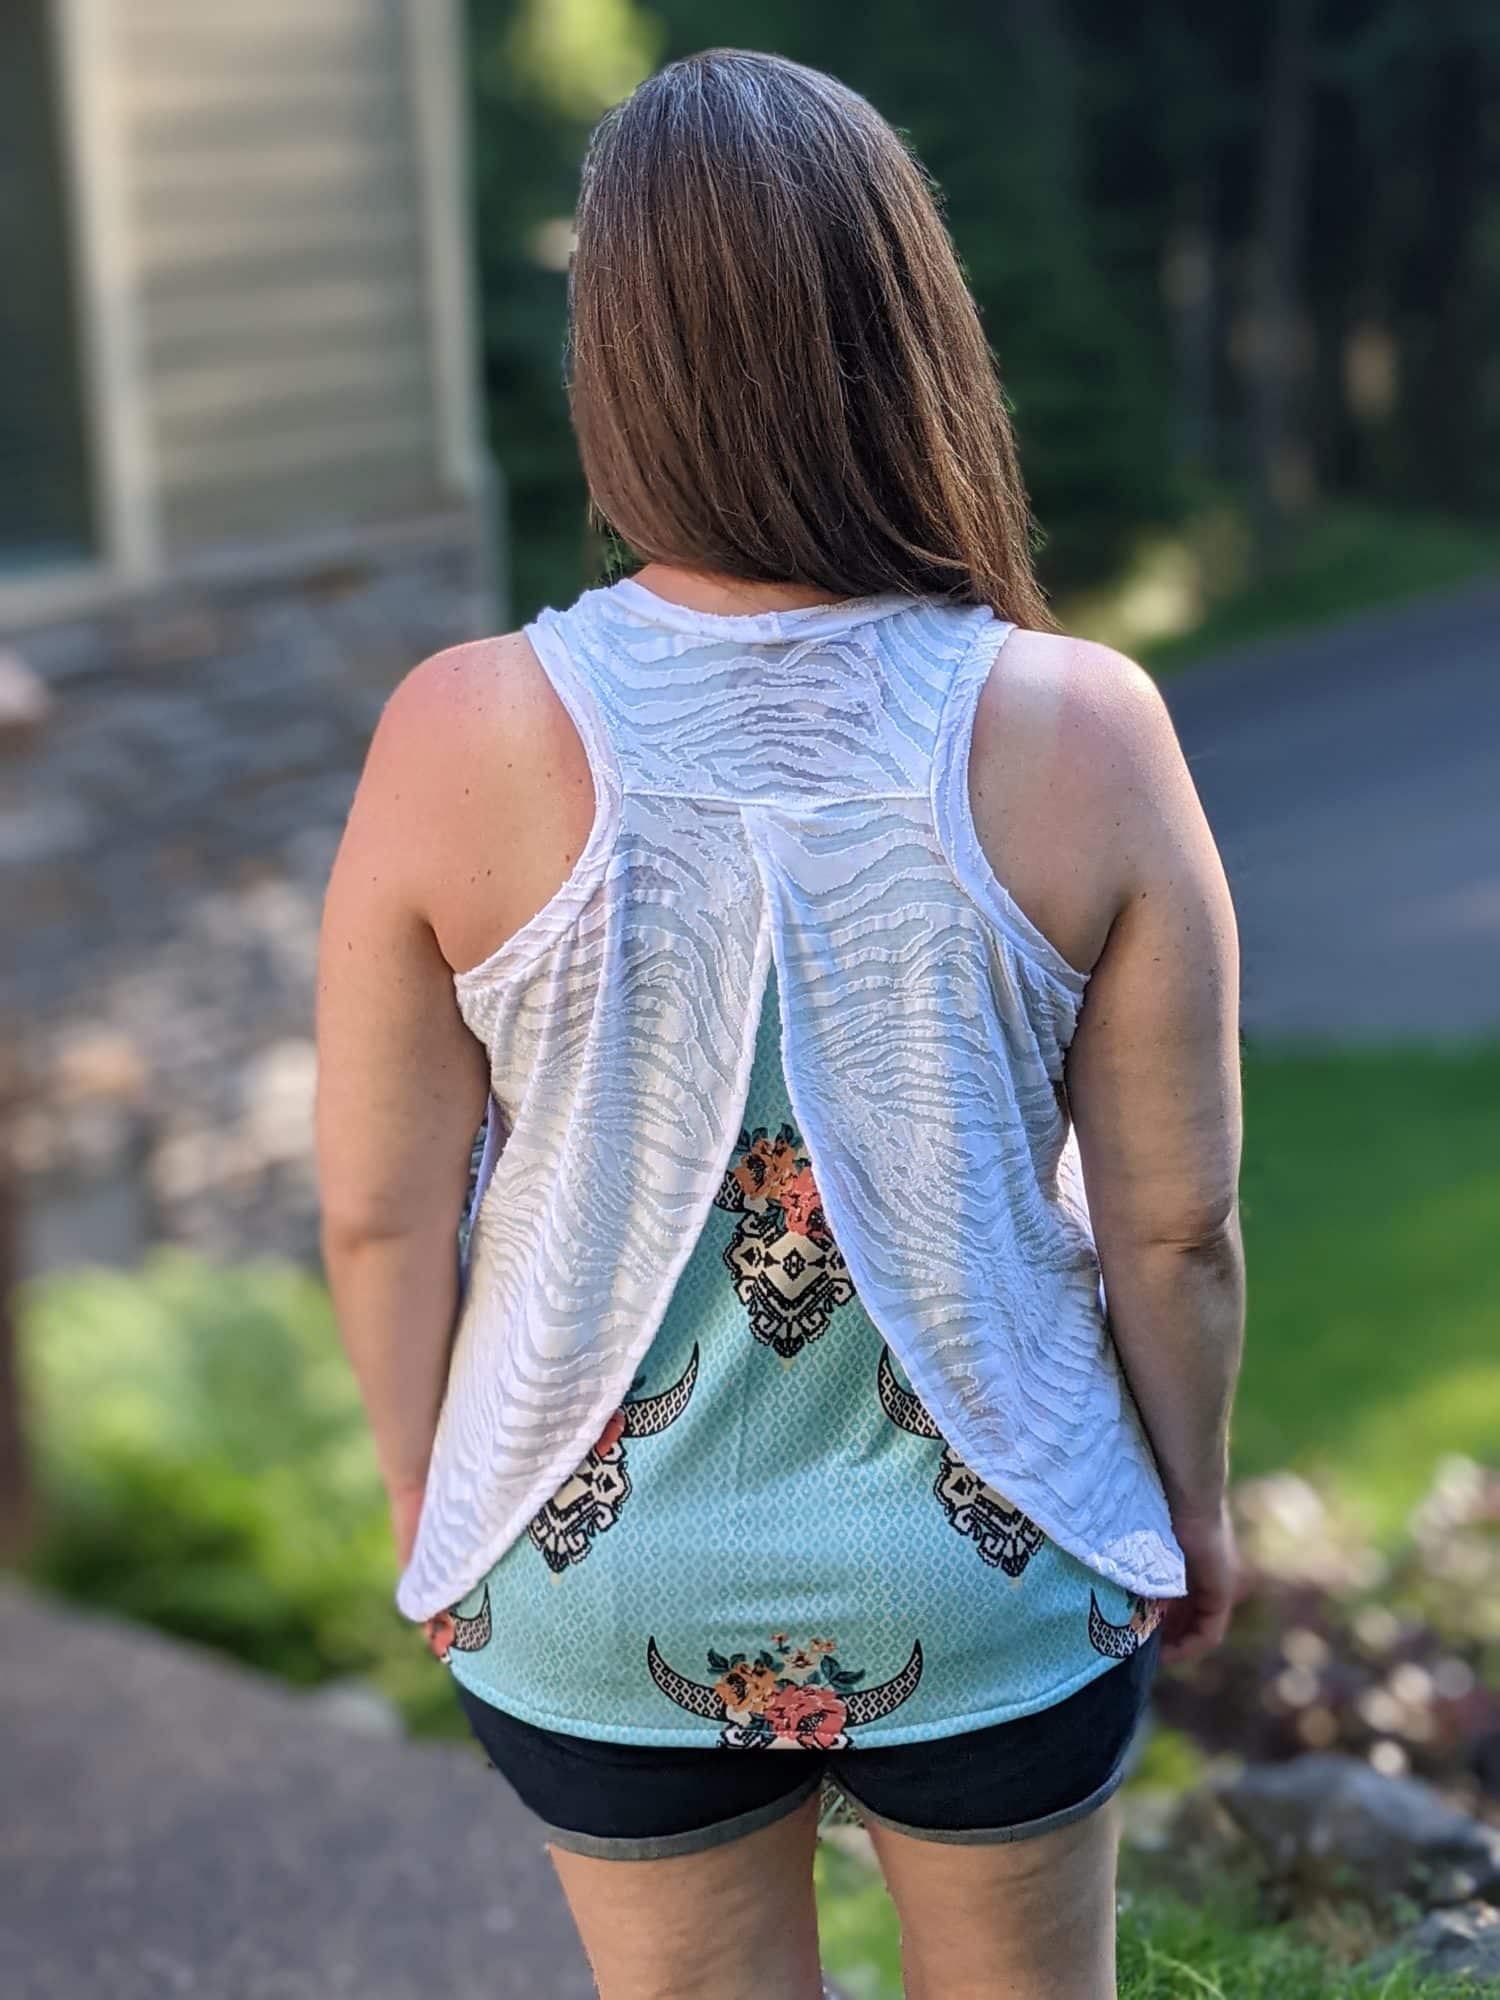
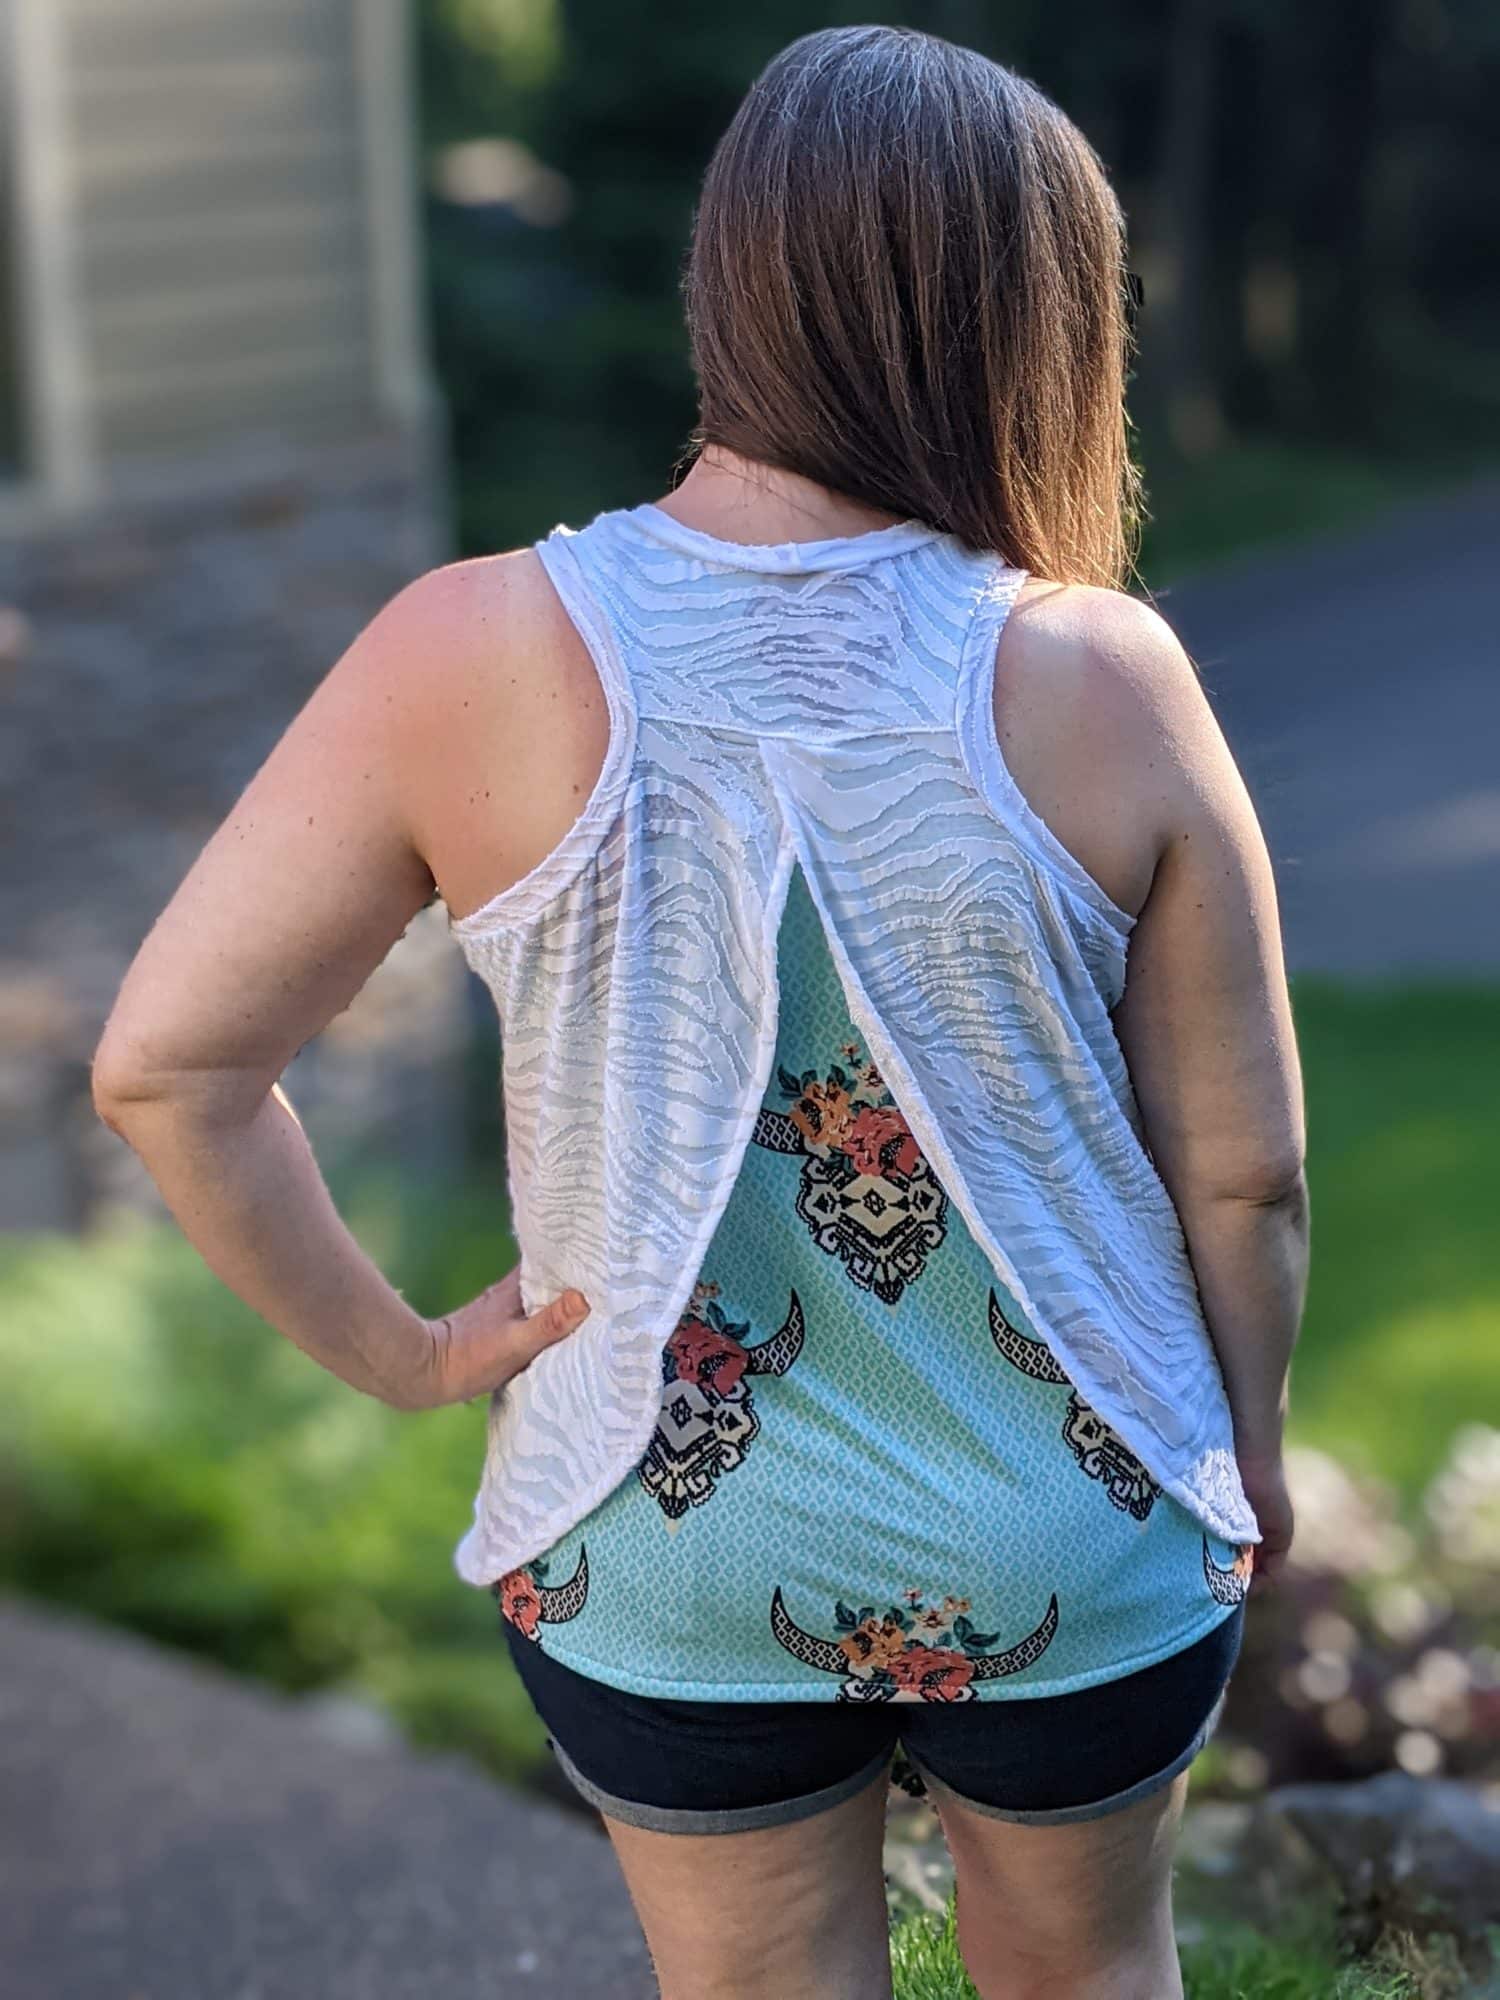
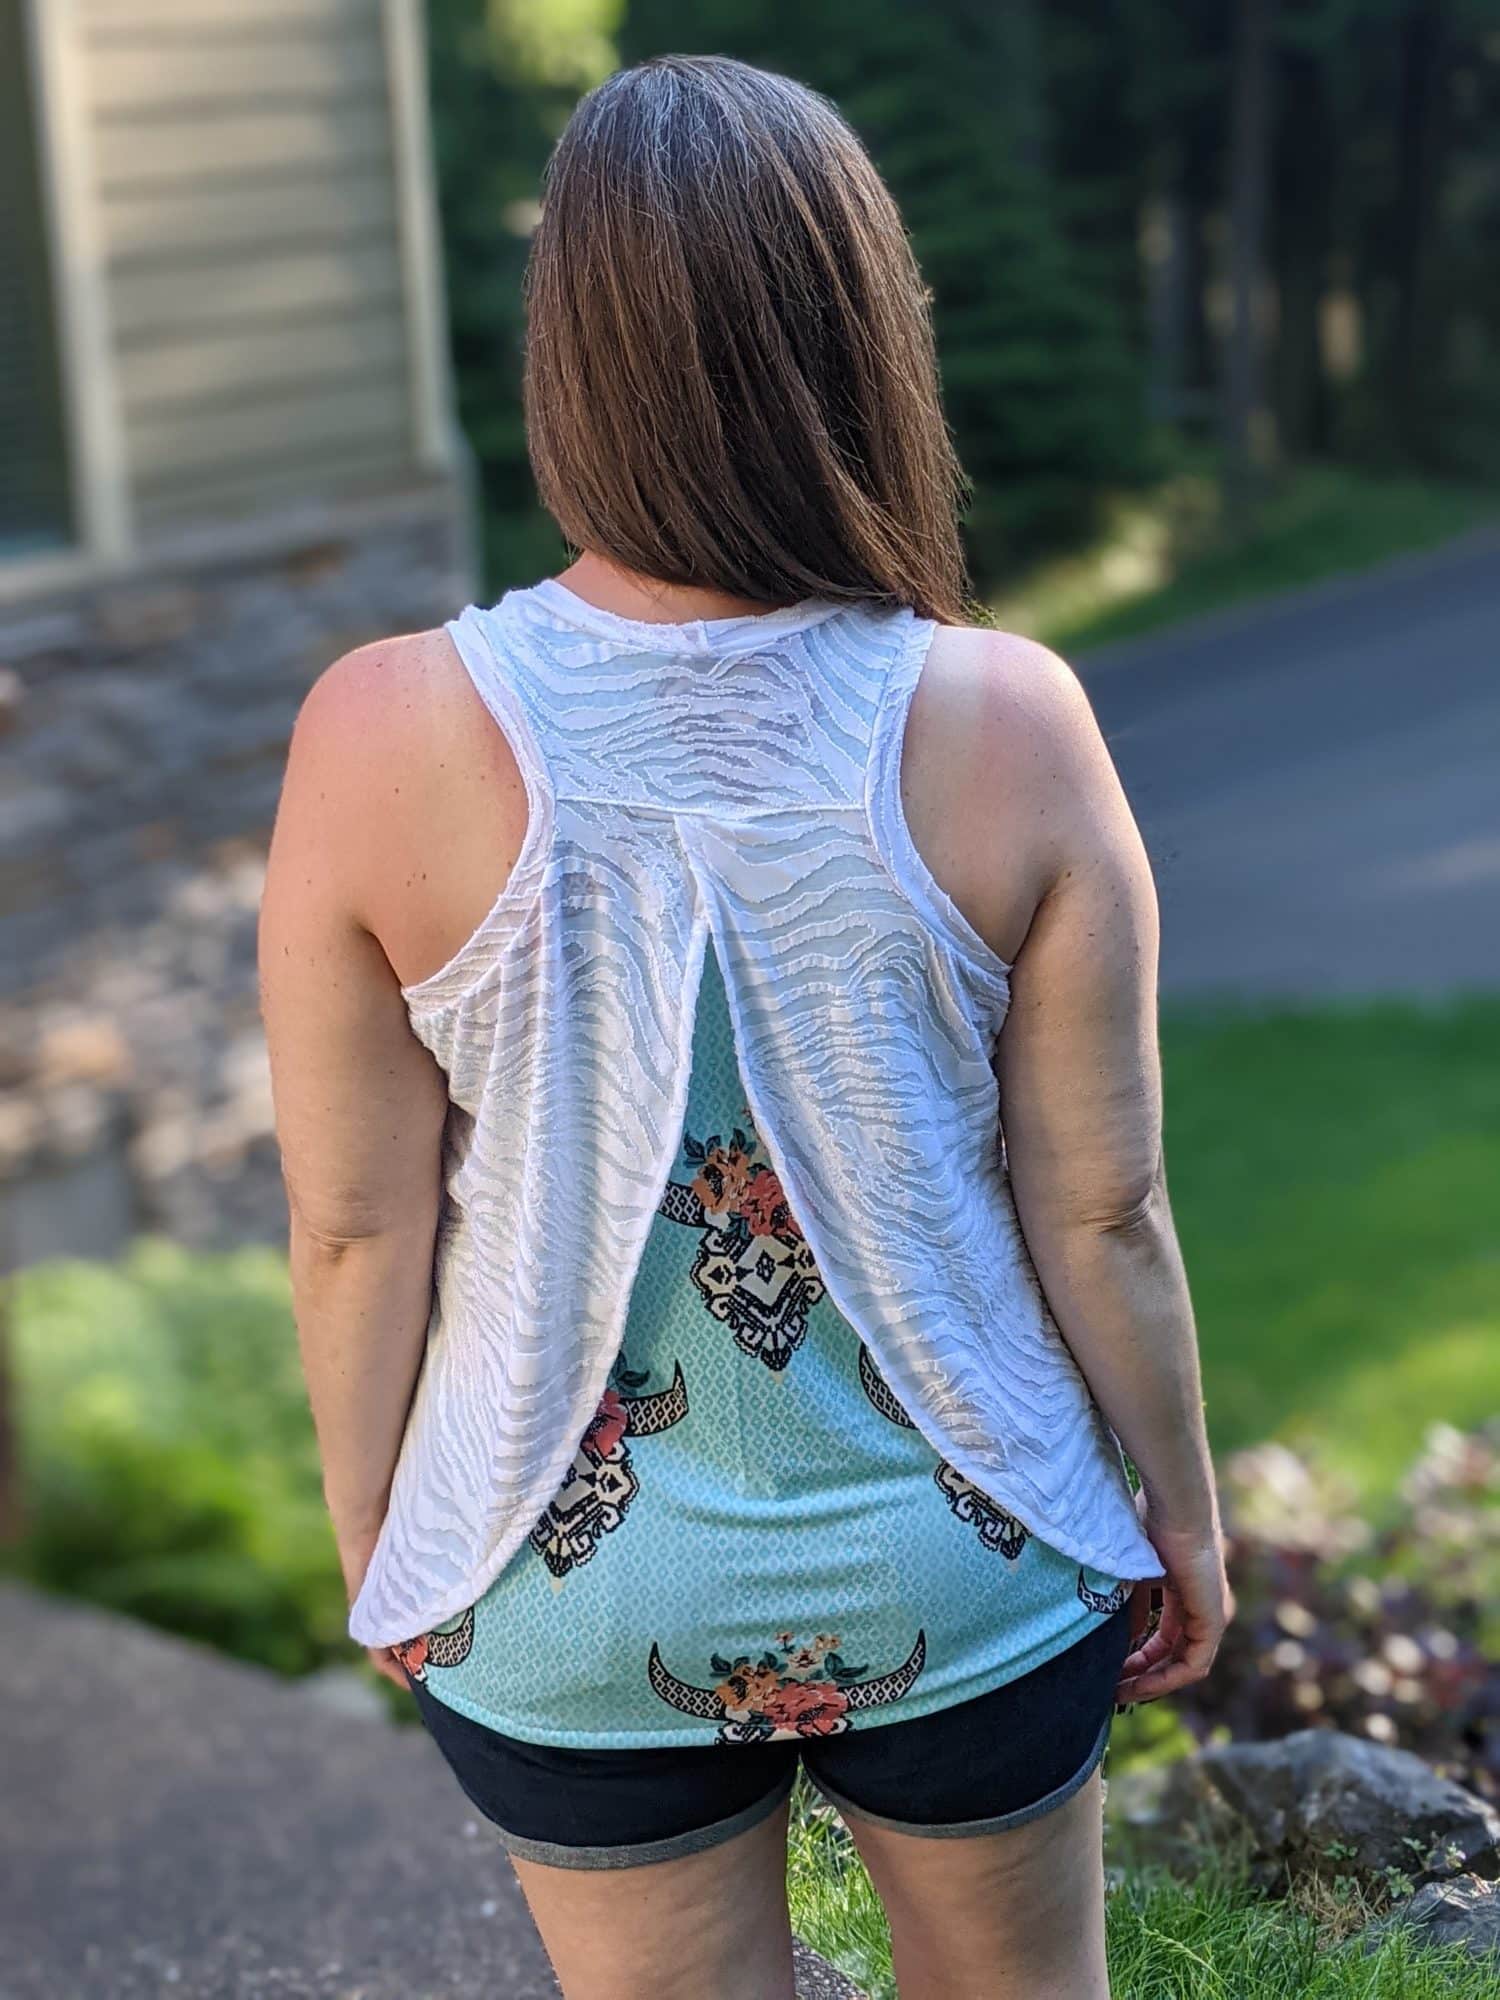
We have finally reached tank top weather here in the Pacific Northwest! I have been wanting to make a top like this for a while now and was inspired by the Taylor Racerback Tank to create this open-back tank overlay. It turned out just how I was hoping it would so I’m showing you how to recreate this using either the Adult Taylor Racerback Tank or the Kid’s Taylor Racerback Tank.
Printing your Pattern Pieces
You will need to print all of the pieces needed for the tank top length:
- One front bodice (regular or FBA)
- One regular back bodice
- One gathered back bodice
- Back yoke
- Neckband and armbands
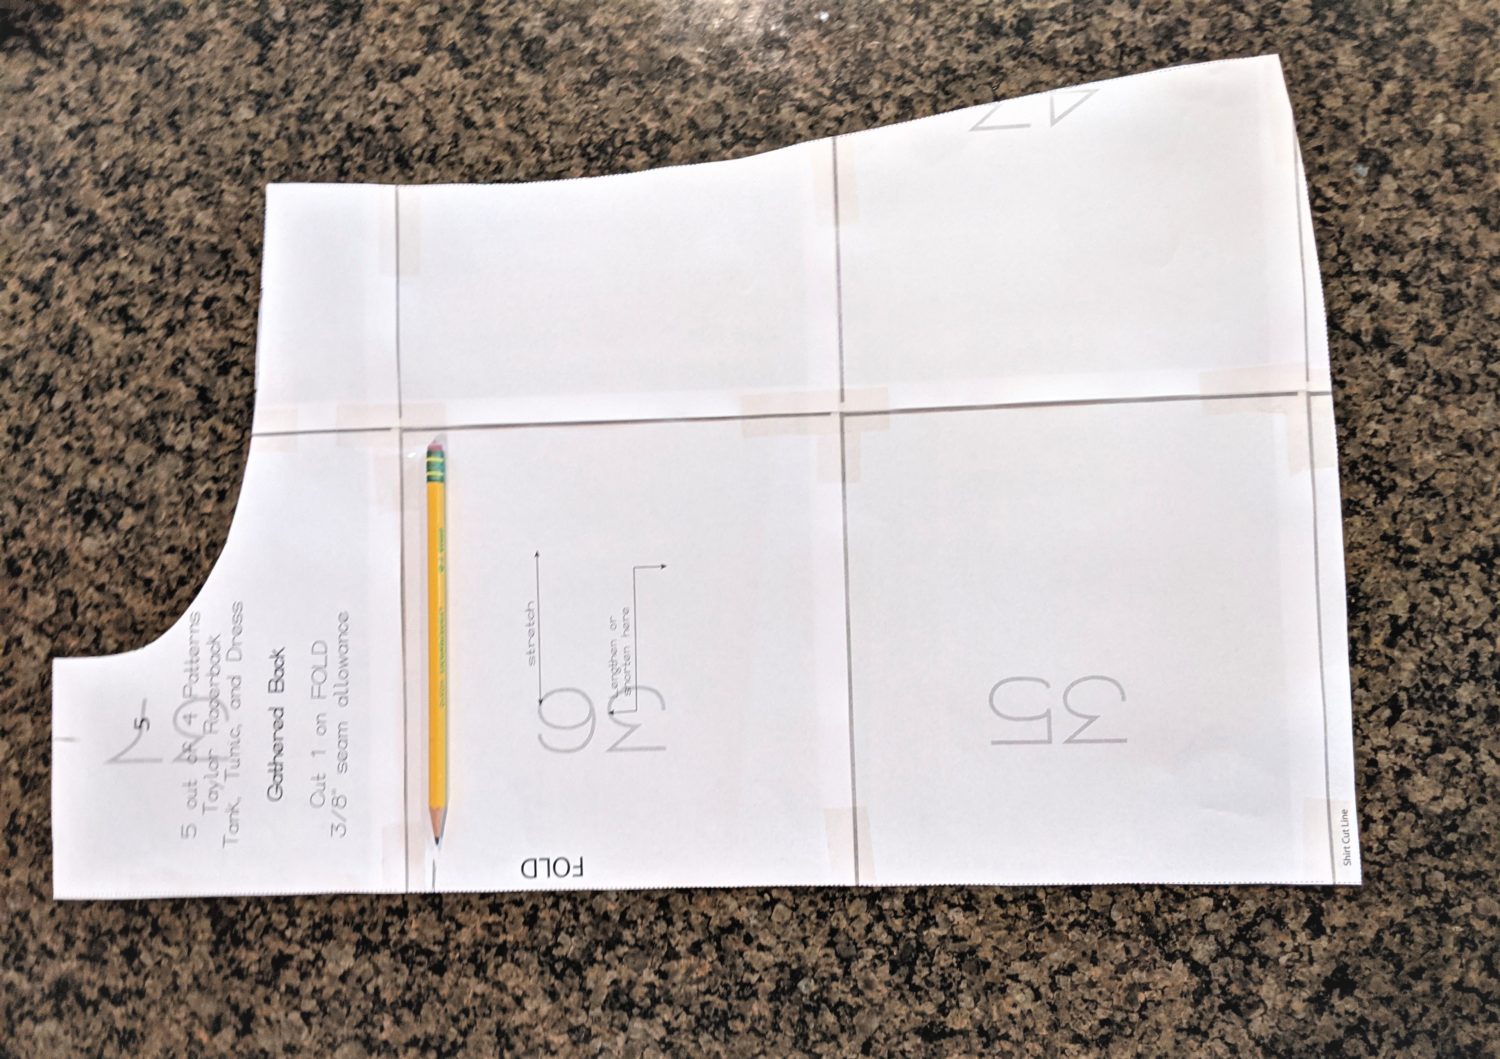
Adjusting the Gathered Back Piece
Top/Yoke Section
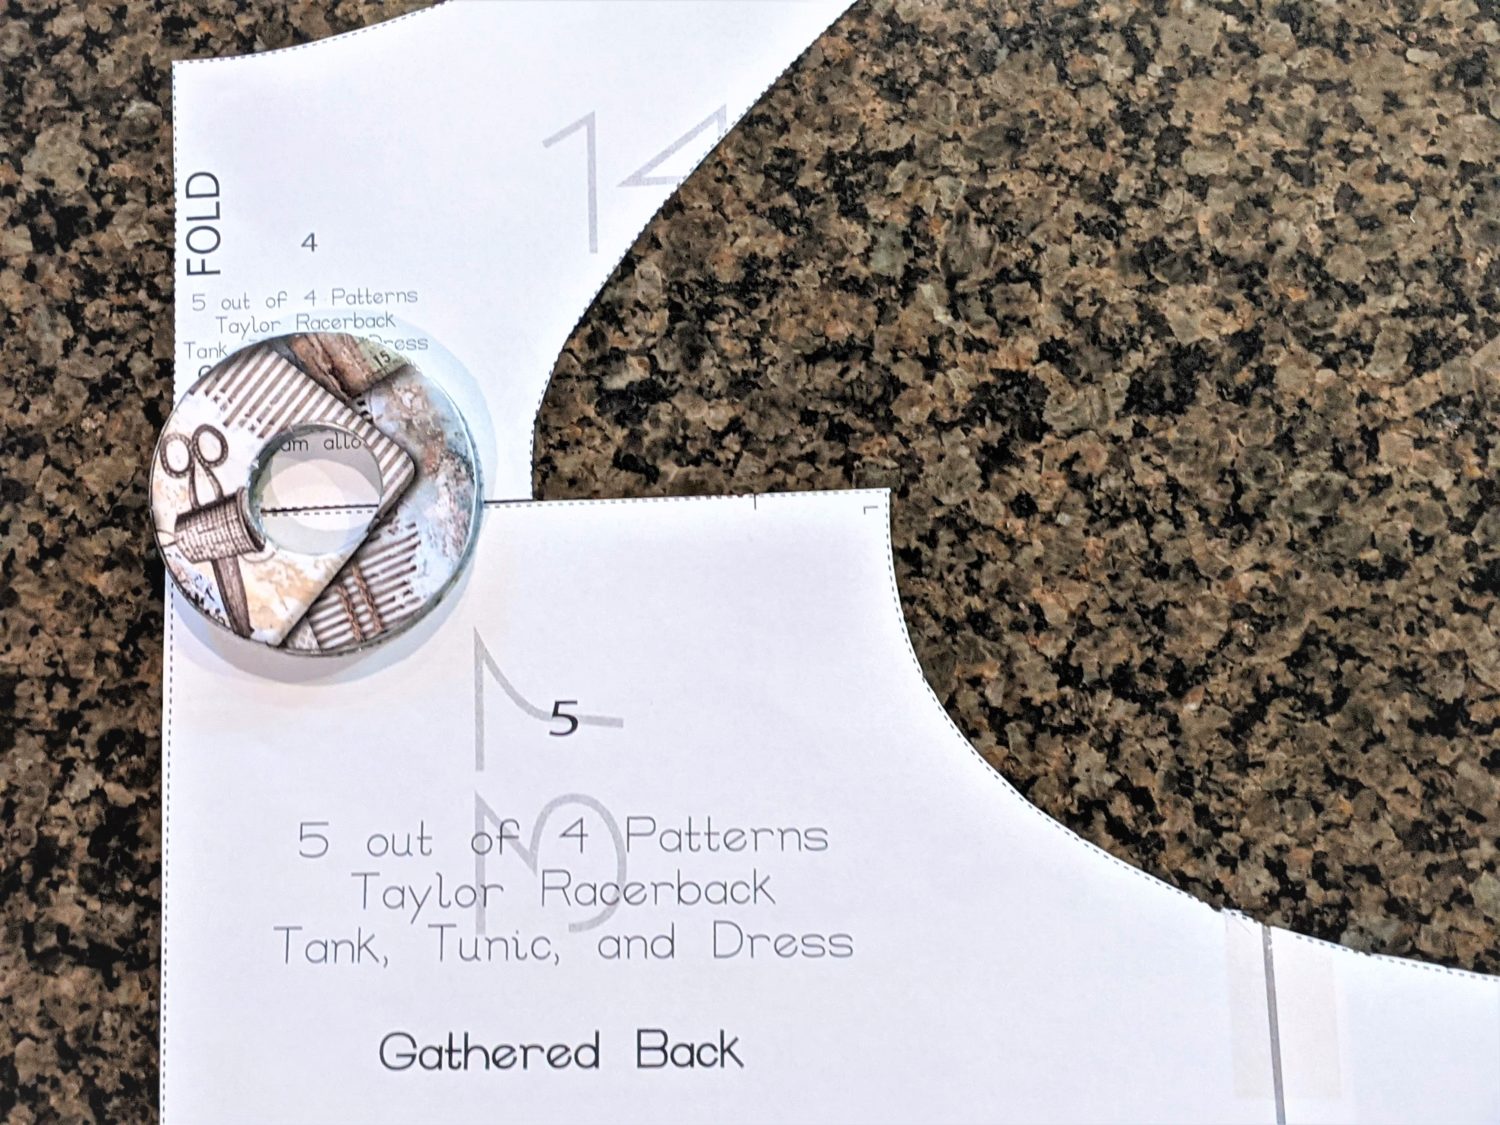
- Take the gathered back bodice and yoke and lay the yoke piece along the top edge of the bodice.
- Mark on the bodice piece at the edge of the yoke.
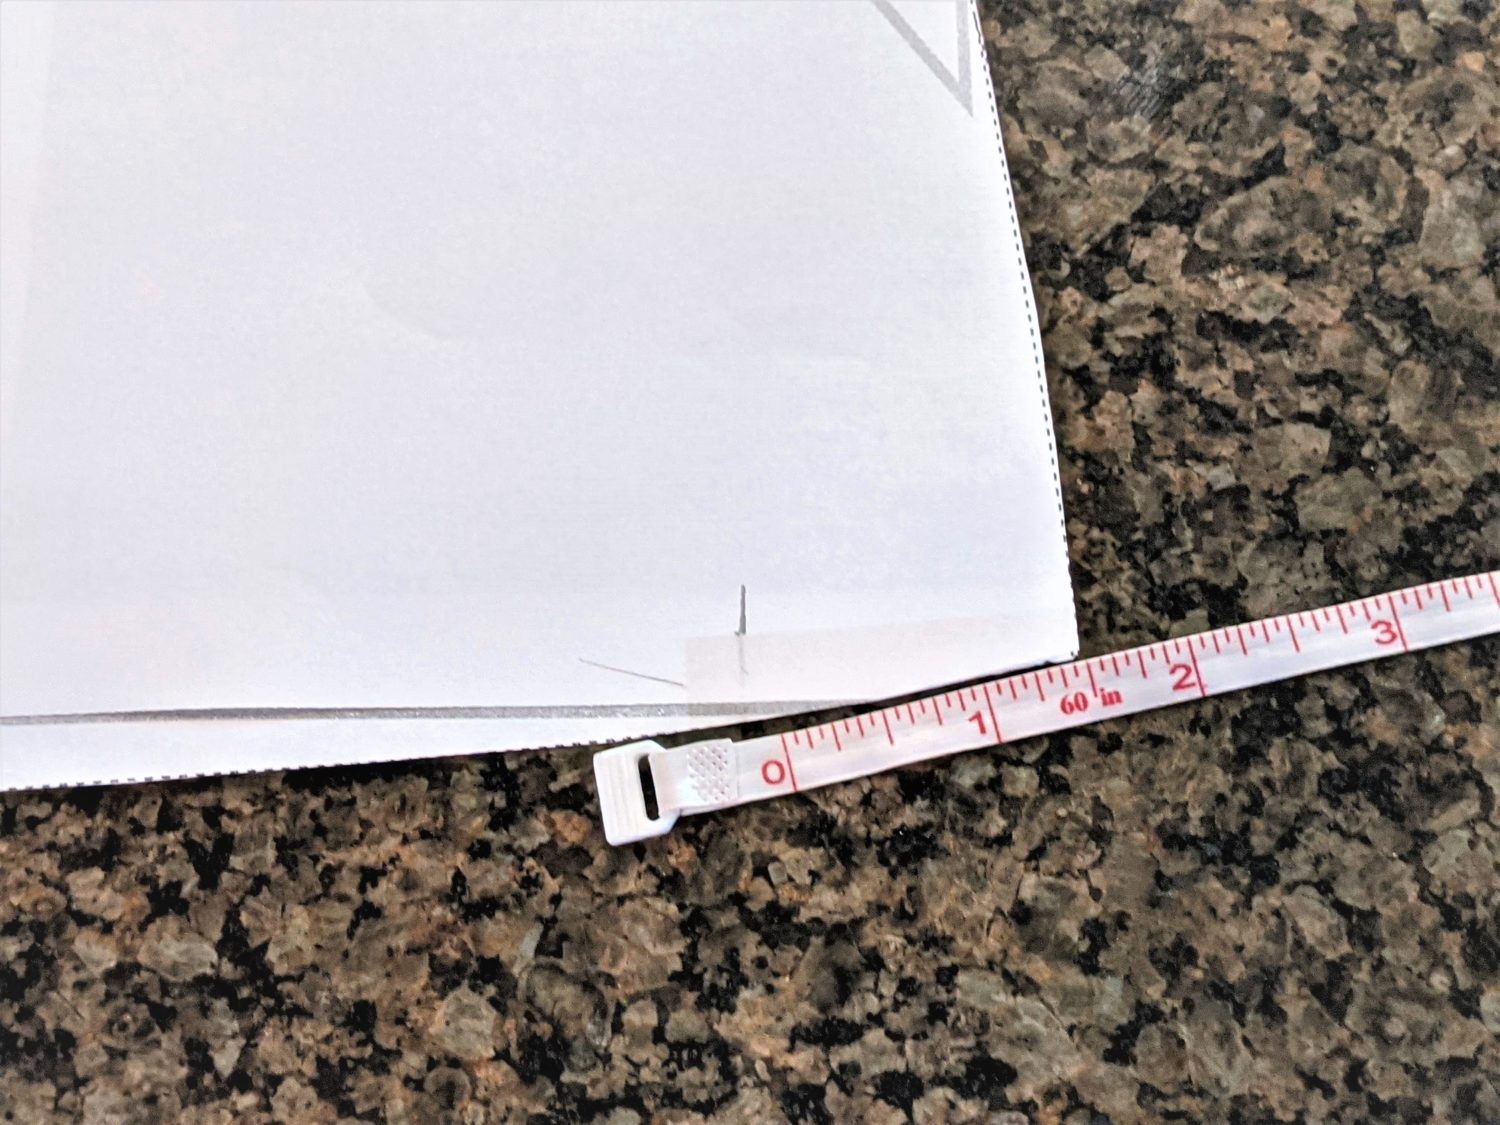
- Measure 1.5” over to the right from the yoke edge marking and draw a line.
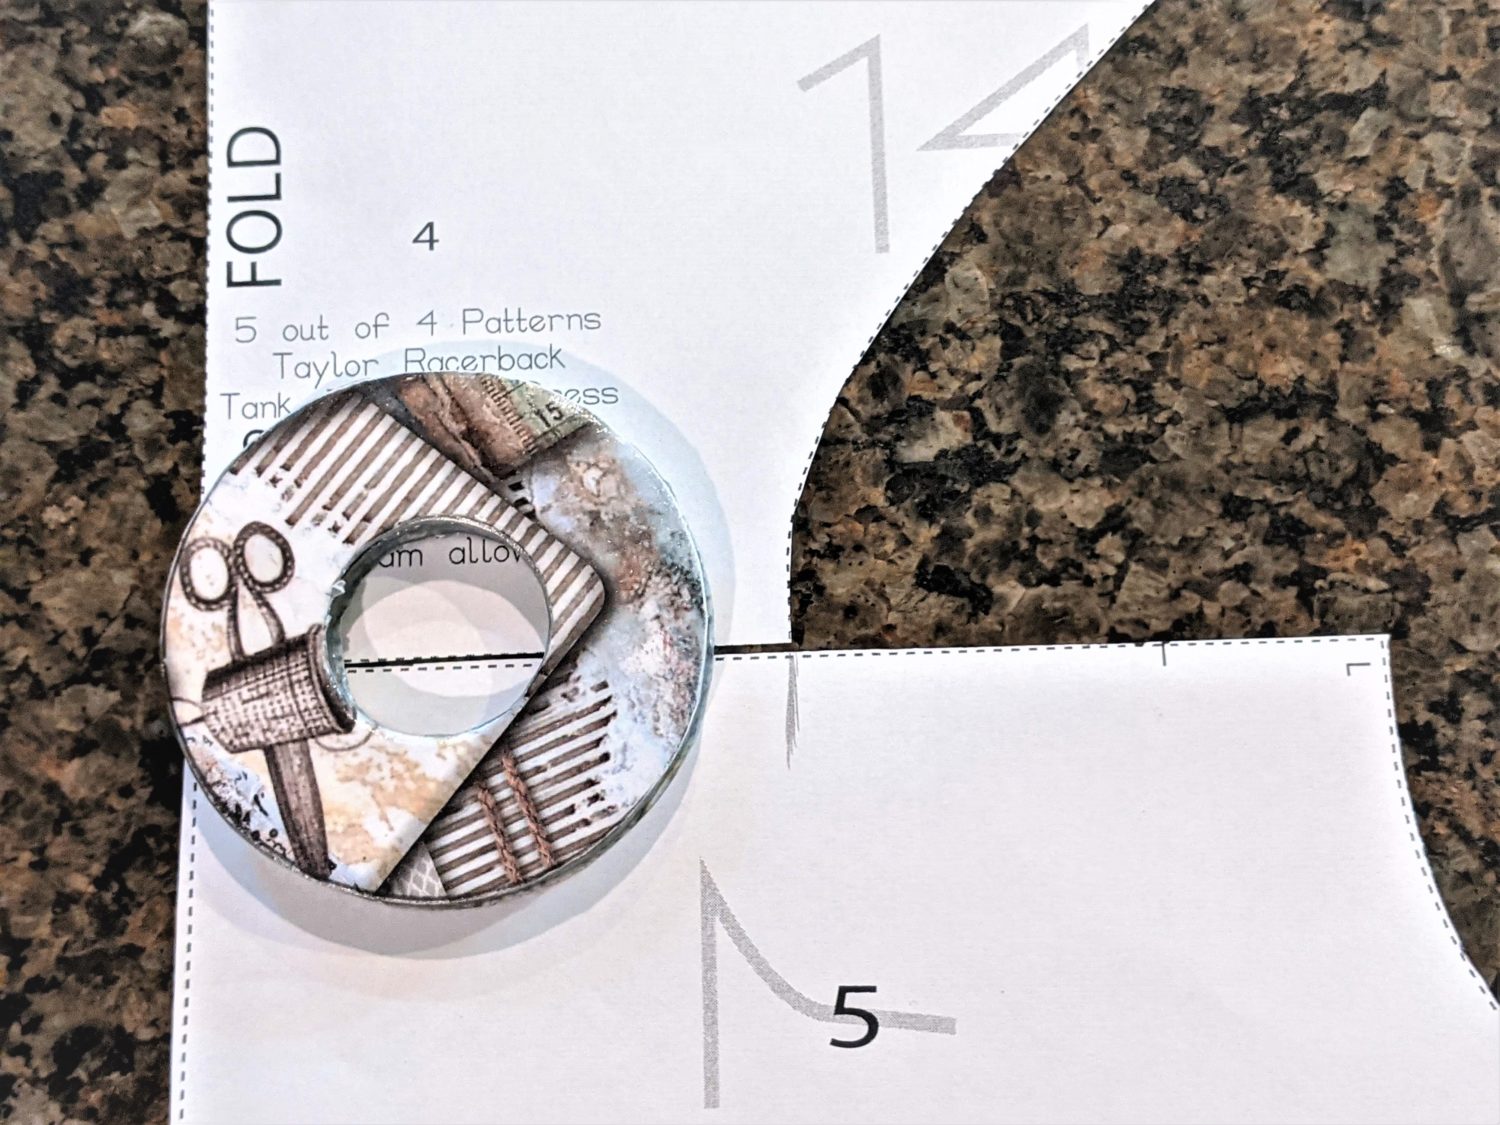
- Line up the top of the regular bodice with the yoke piece. (The yoke will hang over the regular back bodice about ½” due to the seam allowance for the yoke and gathered back pieces.)
- Lay the regular back bodice and yoke on top of the gathered back.
- Line up the outer edge of the regular bodice with the outer marking on the gathered bodice, and the outer corner of the regular bodice armscye along the top of the gathered bodice armscye.
- Trace the regular armscye curve onto the gathered bodice.
- There should be 1.5” of the gathered bodice extending past the regular bodice.
- Cut off the portion above the traced area.
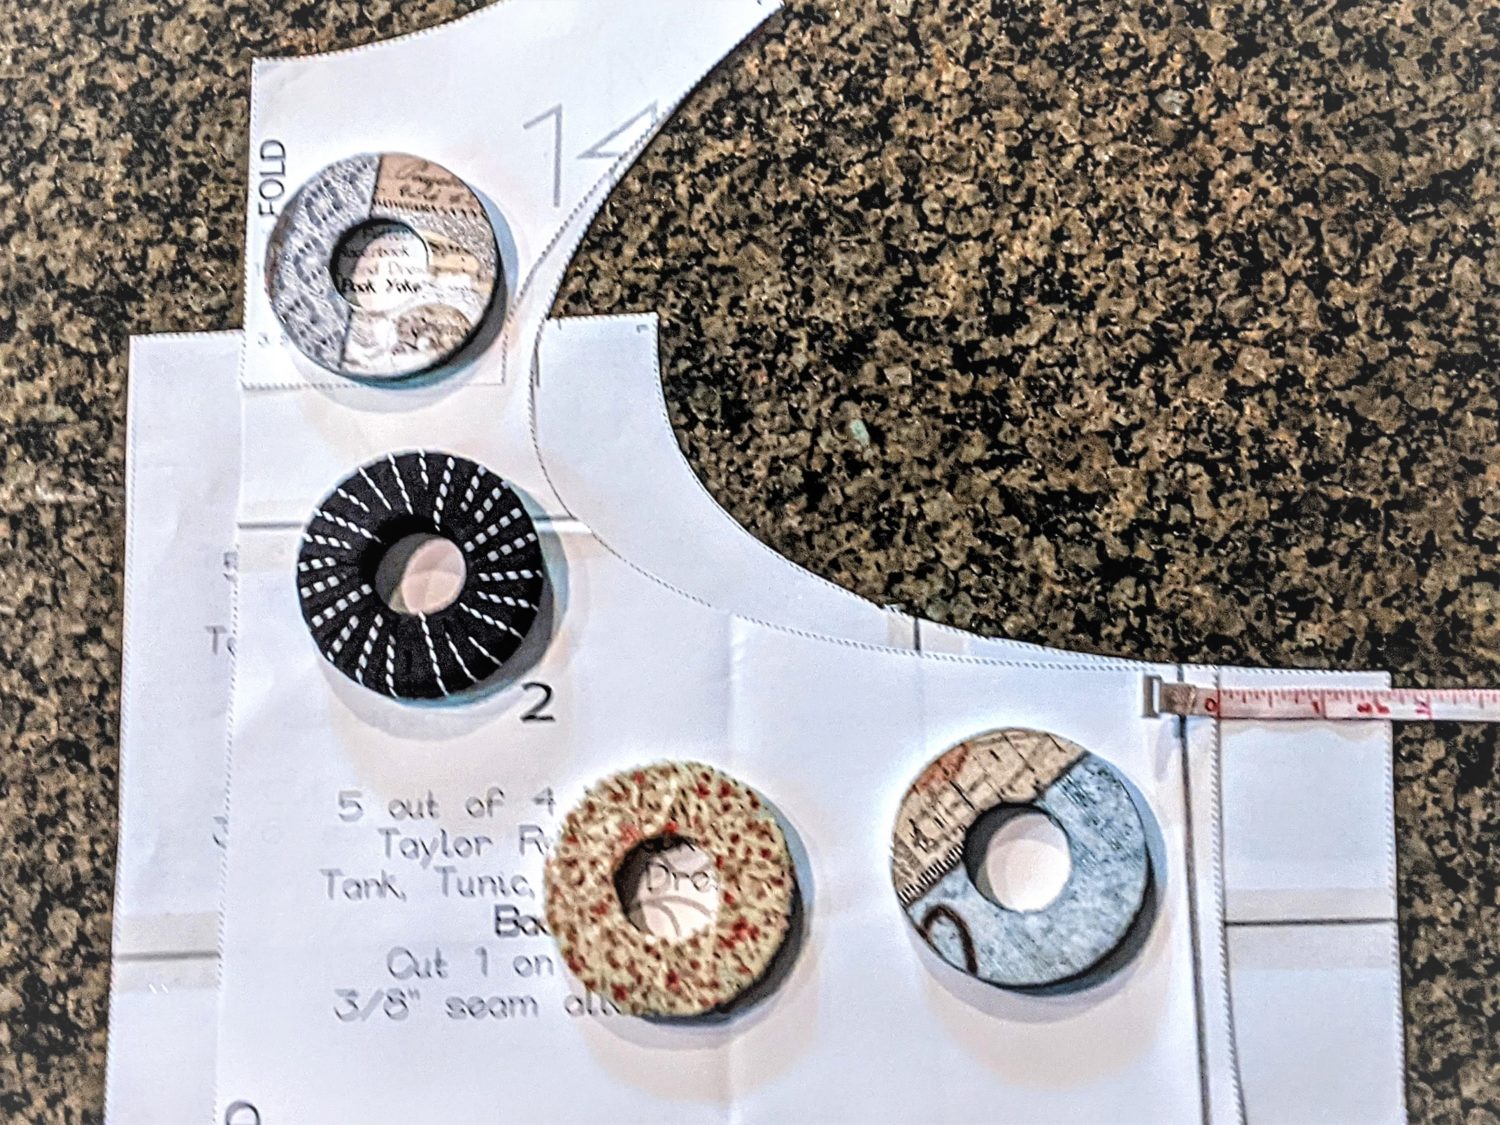
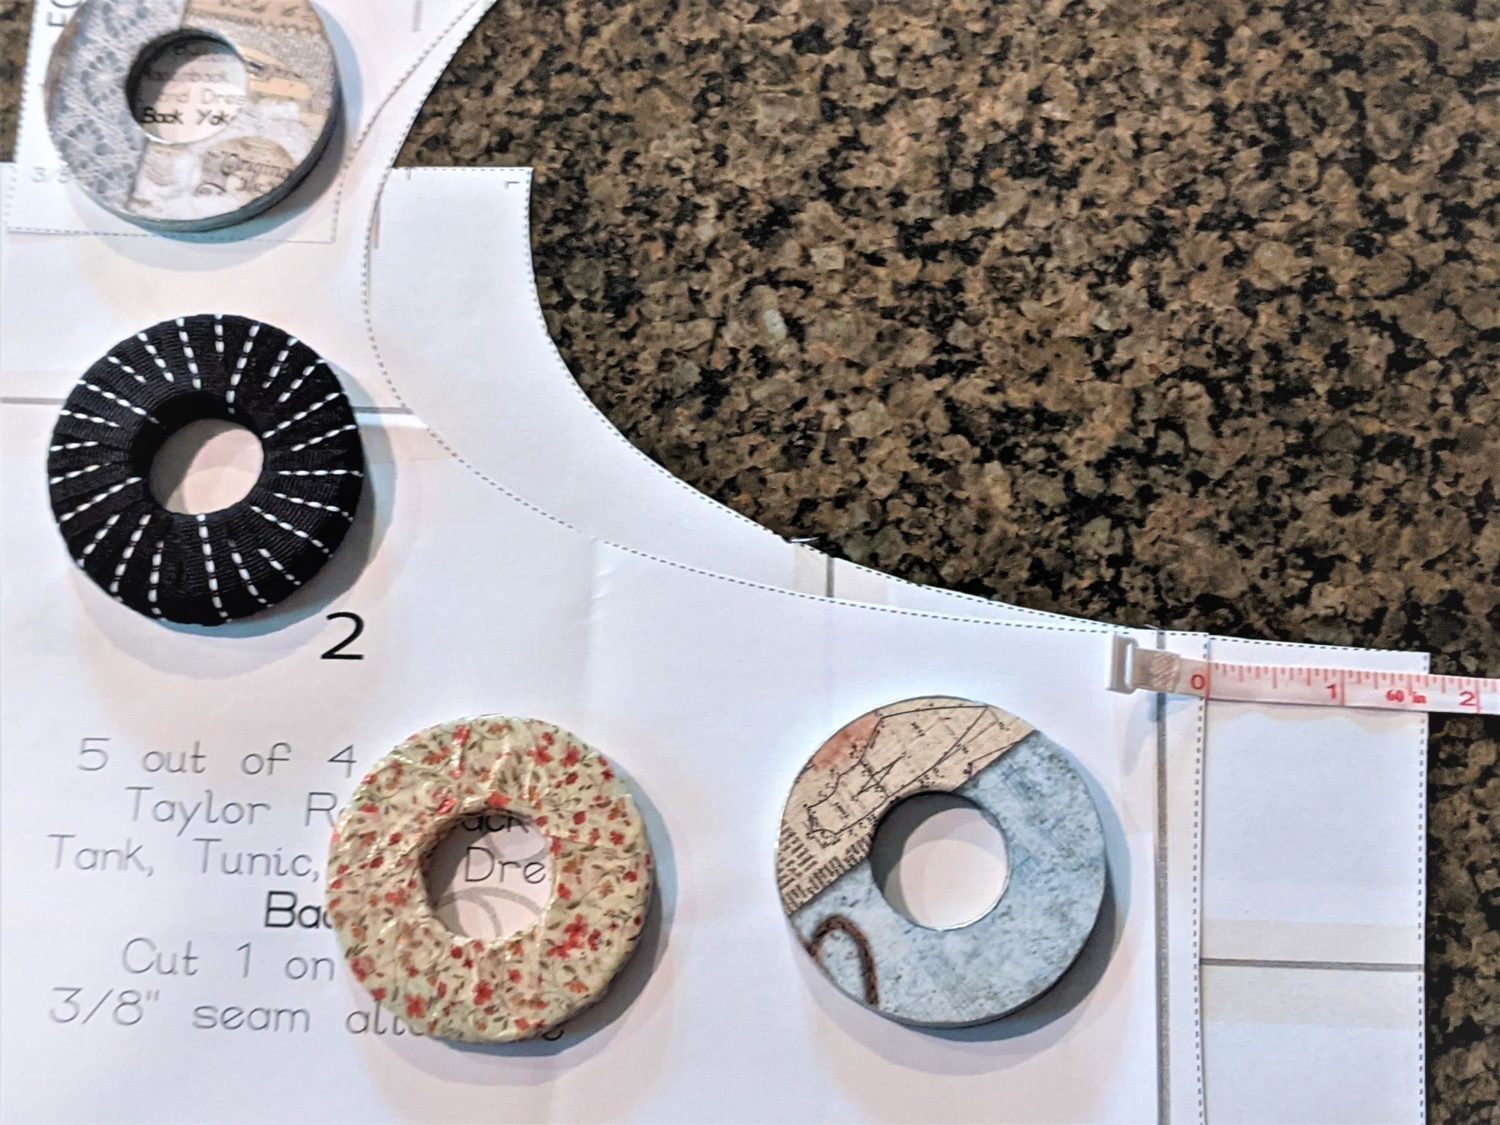
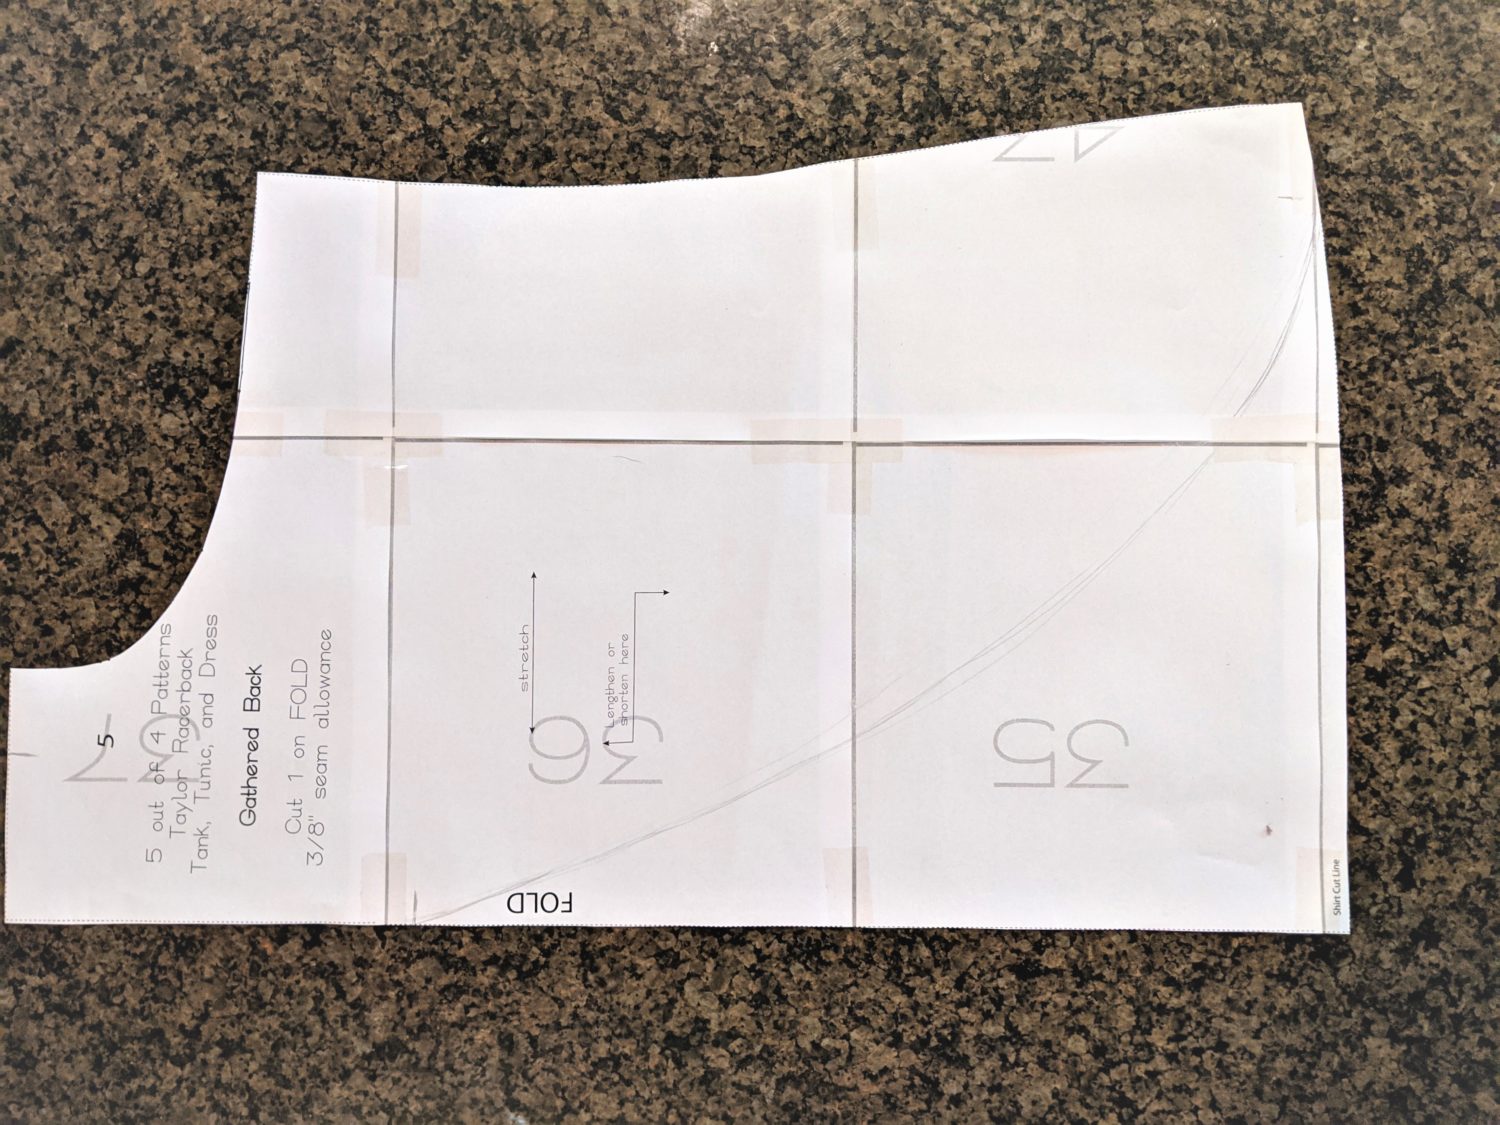
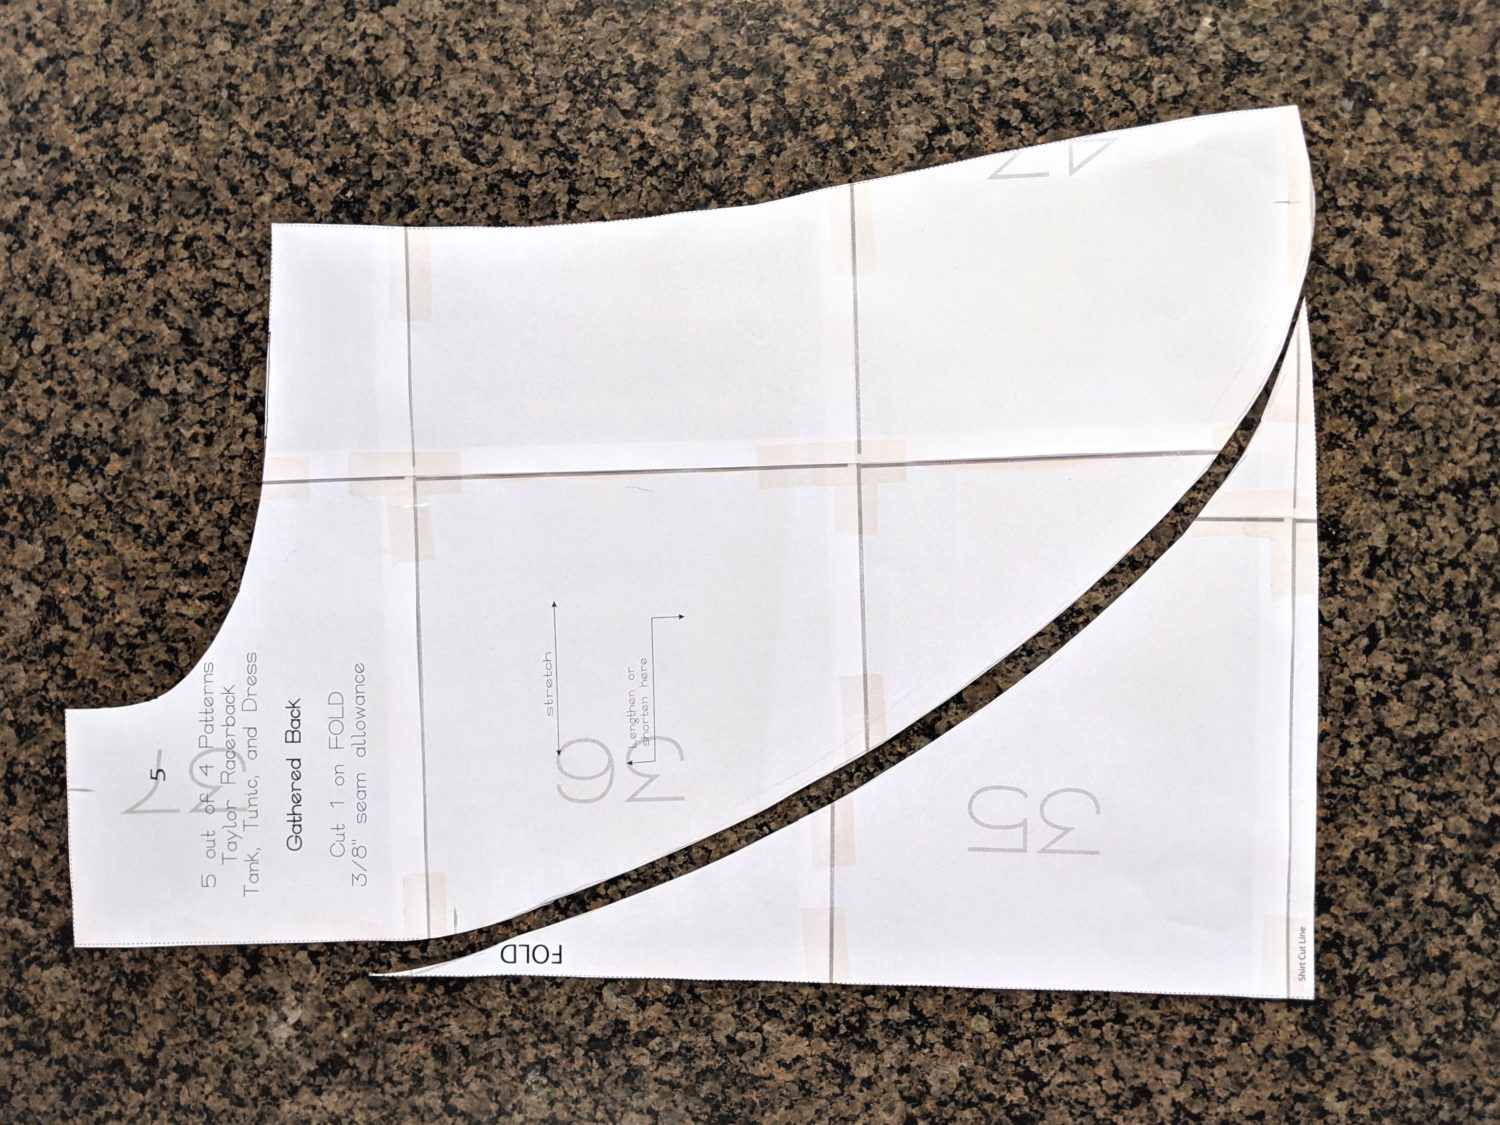
Curve the Back Opening
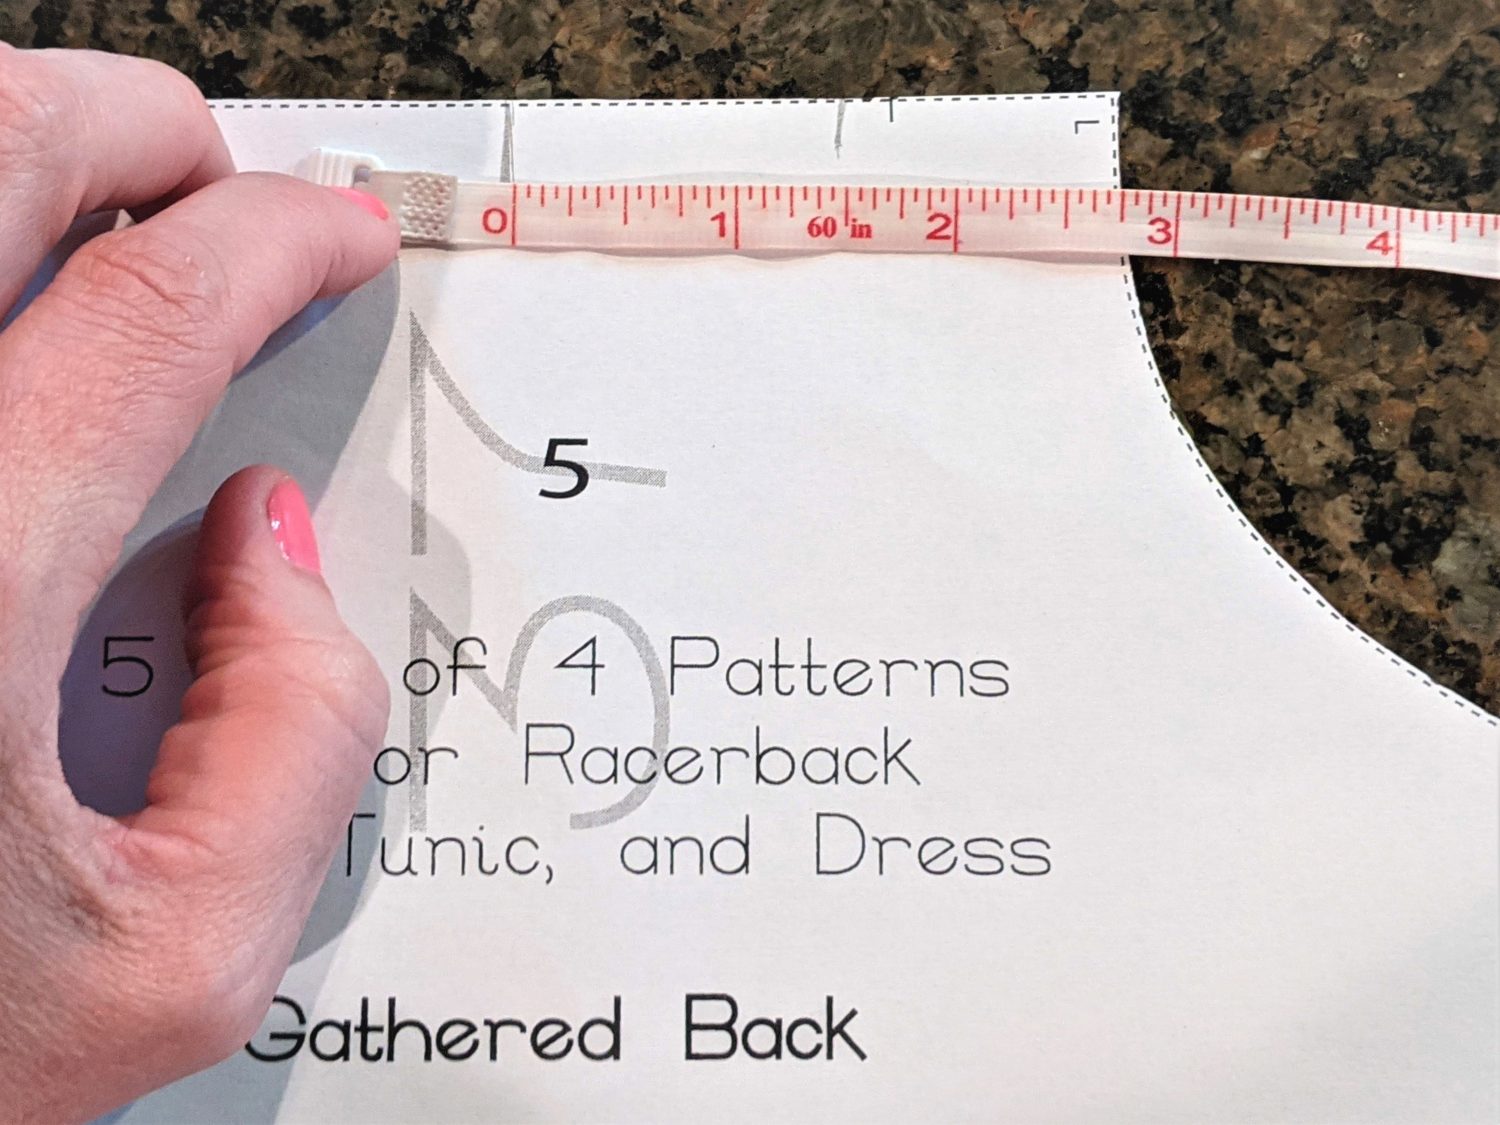
- Along the fold side of the bodice, measure about one-third of the way down from the top edge. This does not need to be an exact one-third measurement, just approximate. Draw a line to mark it.
- At the bottom out edge, measure in 1.5″ and mark it.
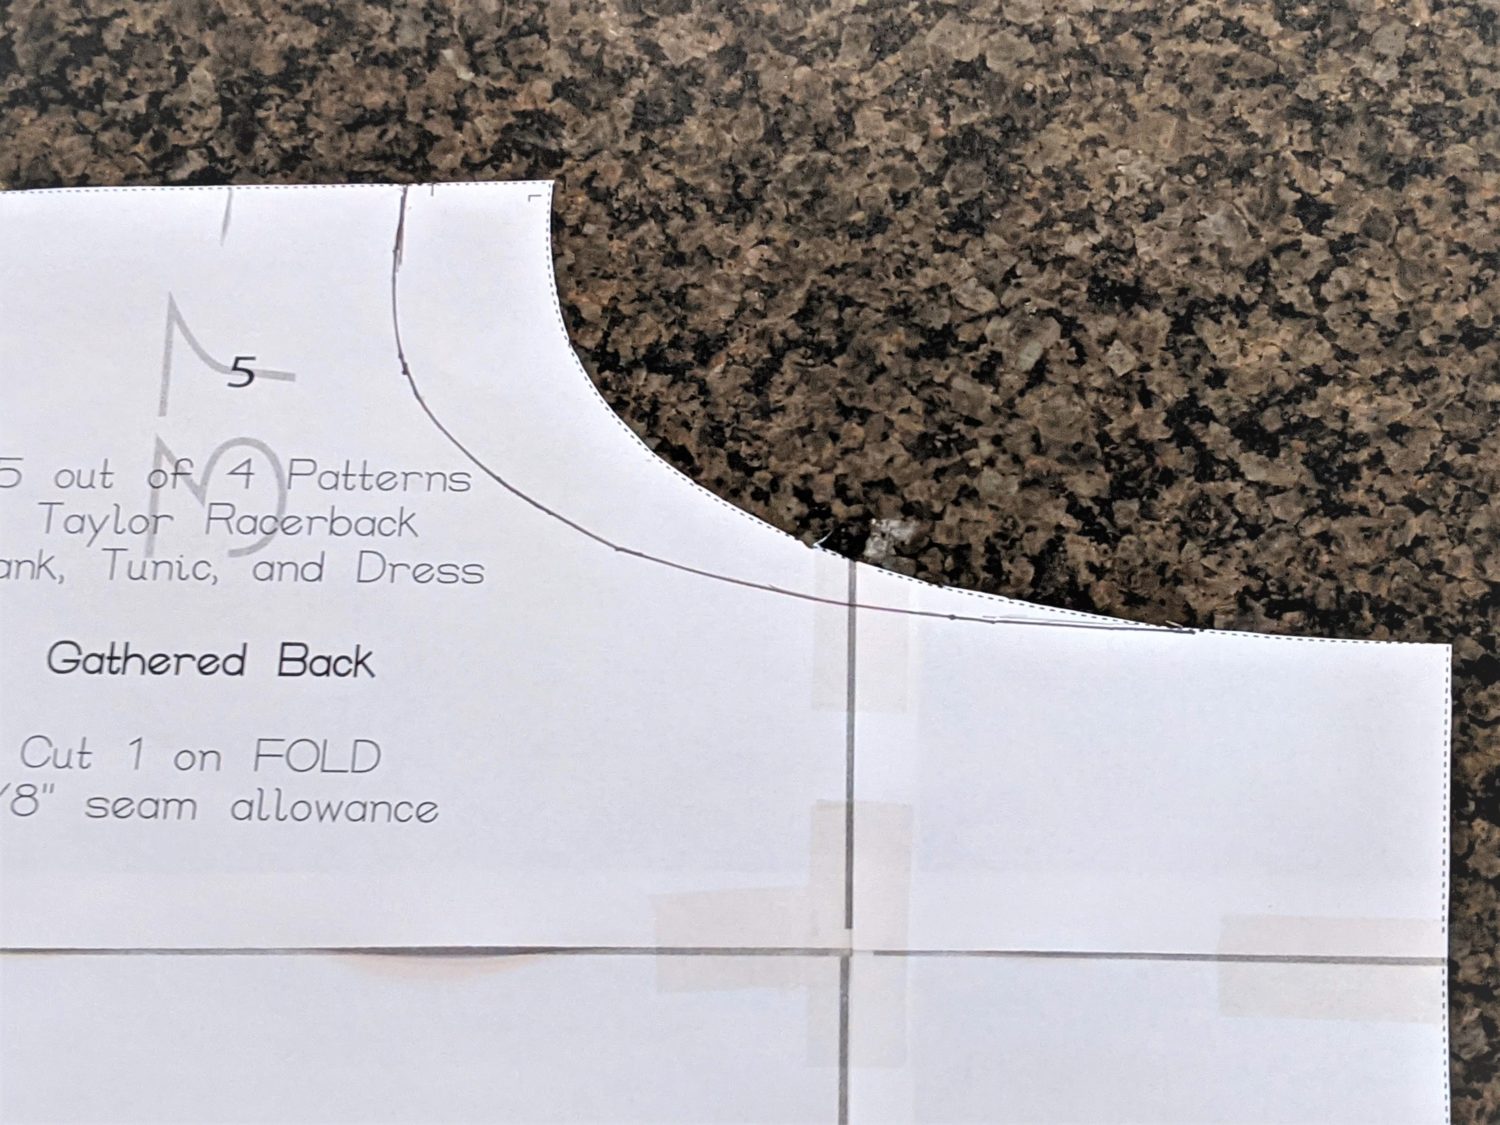
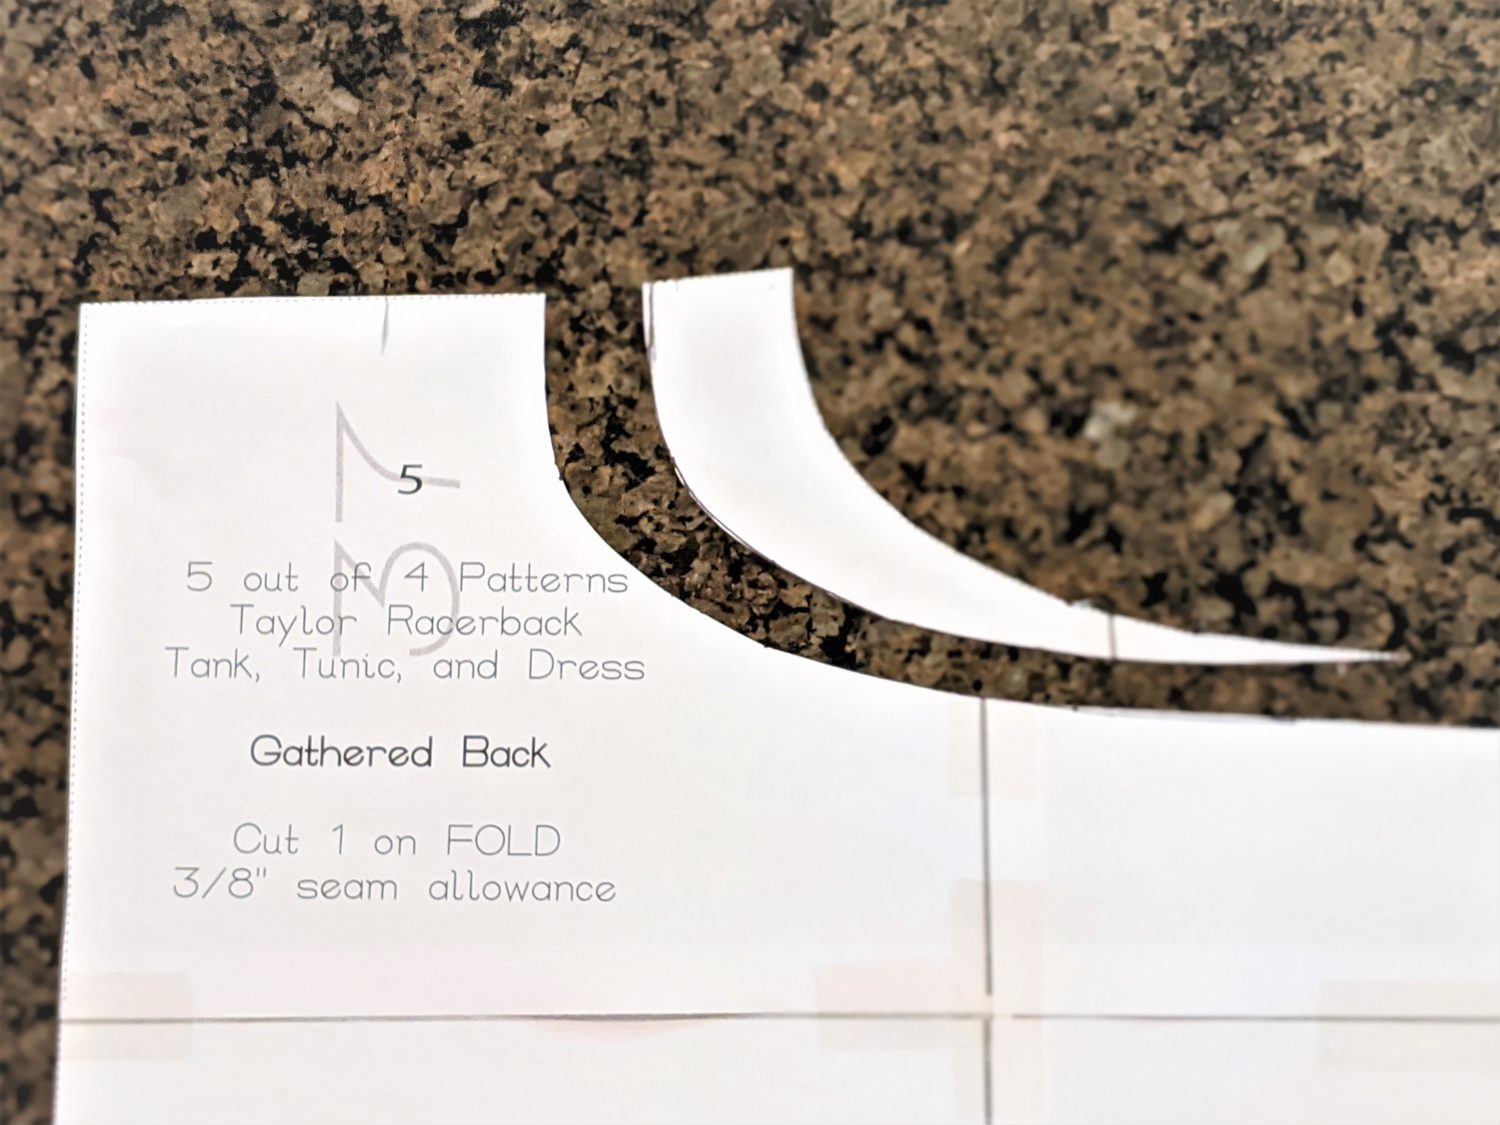
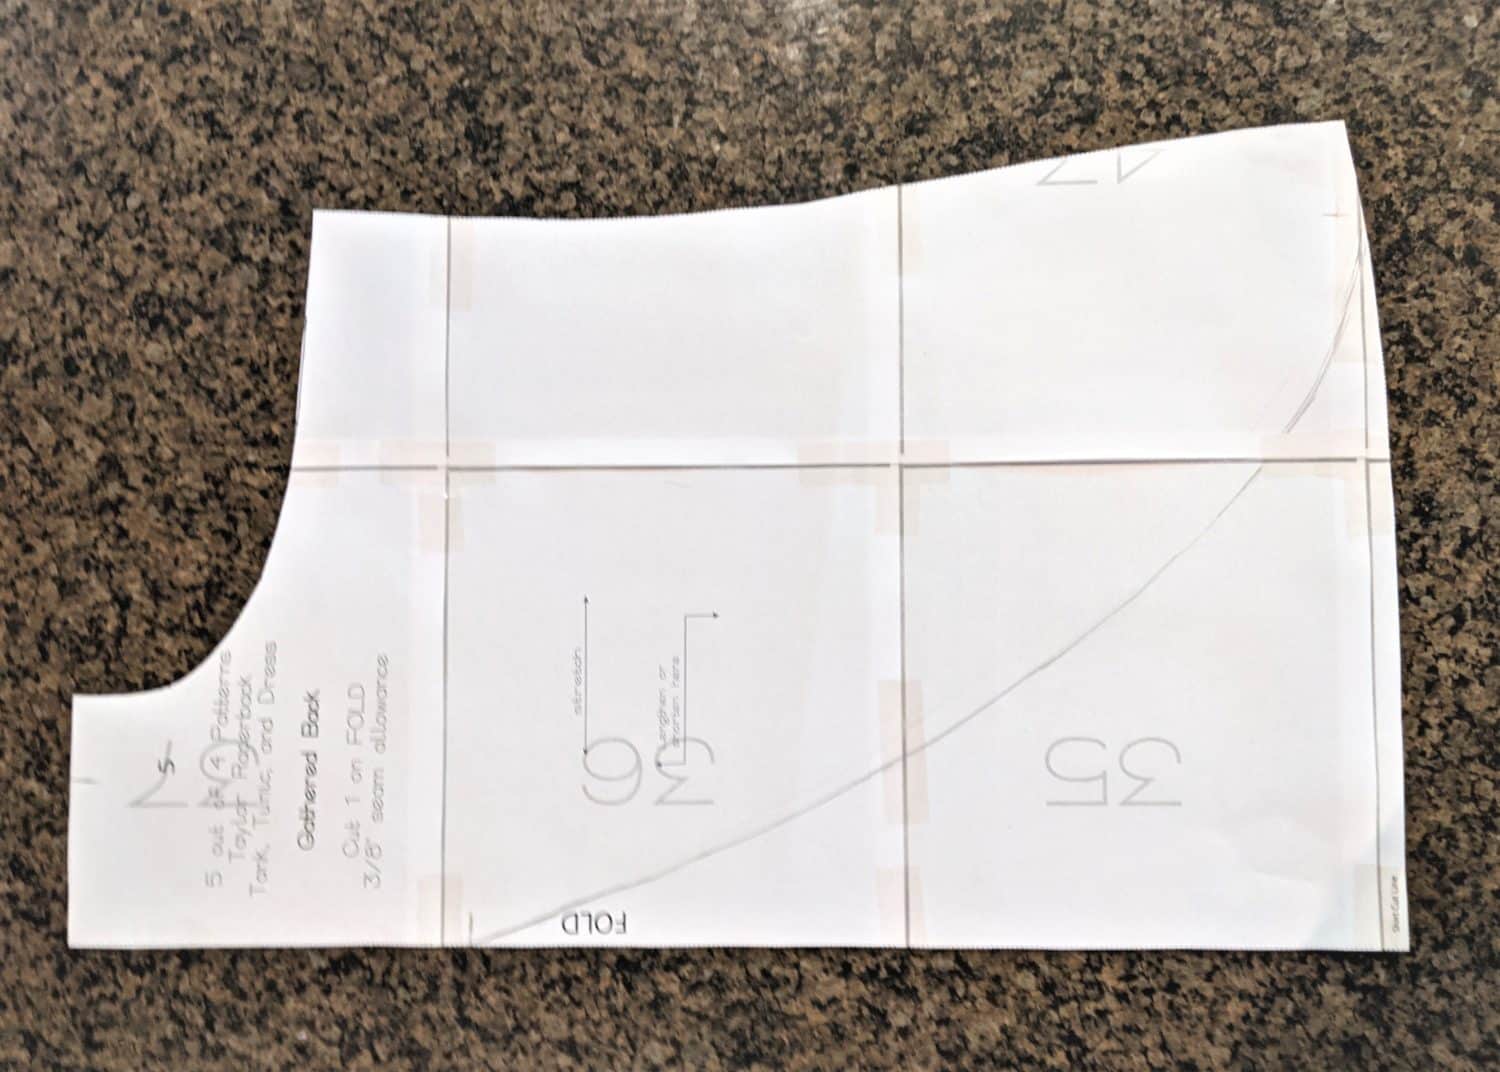
- Sketch a curved line starting 1.5” over from the bottom edge, all the way up to the one-third marking on your pattern.
- Once you are satisfied with the placement of the curve, cut off the inner “fold” side of the piece and trim off any sharp edges to make it a smooth curve.
Cut Your Pieces
- Main Fabric: Cut 1 front bodice and 1 regular back bodice
- Overlay Fabric: Cut 1 front bodice, 1 yoke, and 2 mirrored curved back pieces
- Bands: Cut 1 neckband and 2 armbands from either fabric
Let’s Get Sewing!
Main Bodice:
- Sew your font and back main pieces right sides together at the shoulders and sides following the instructions in the tutorial.
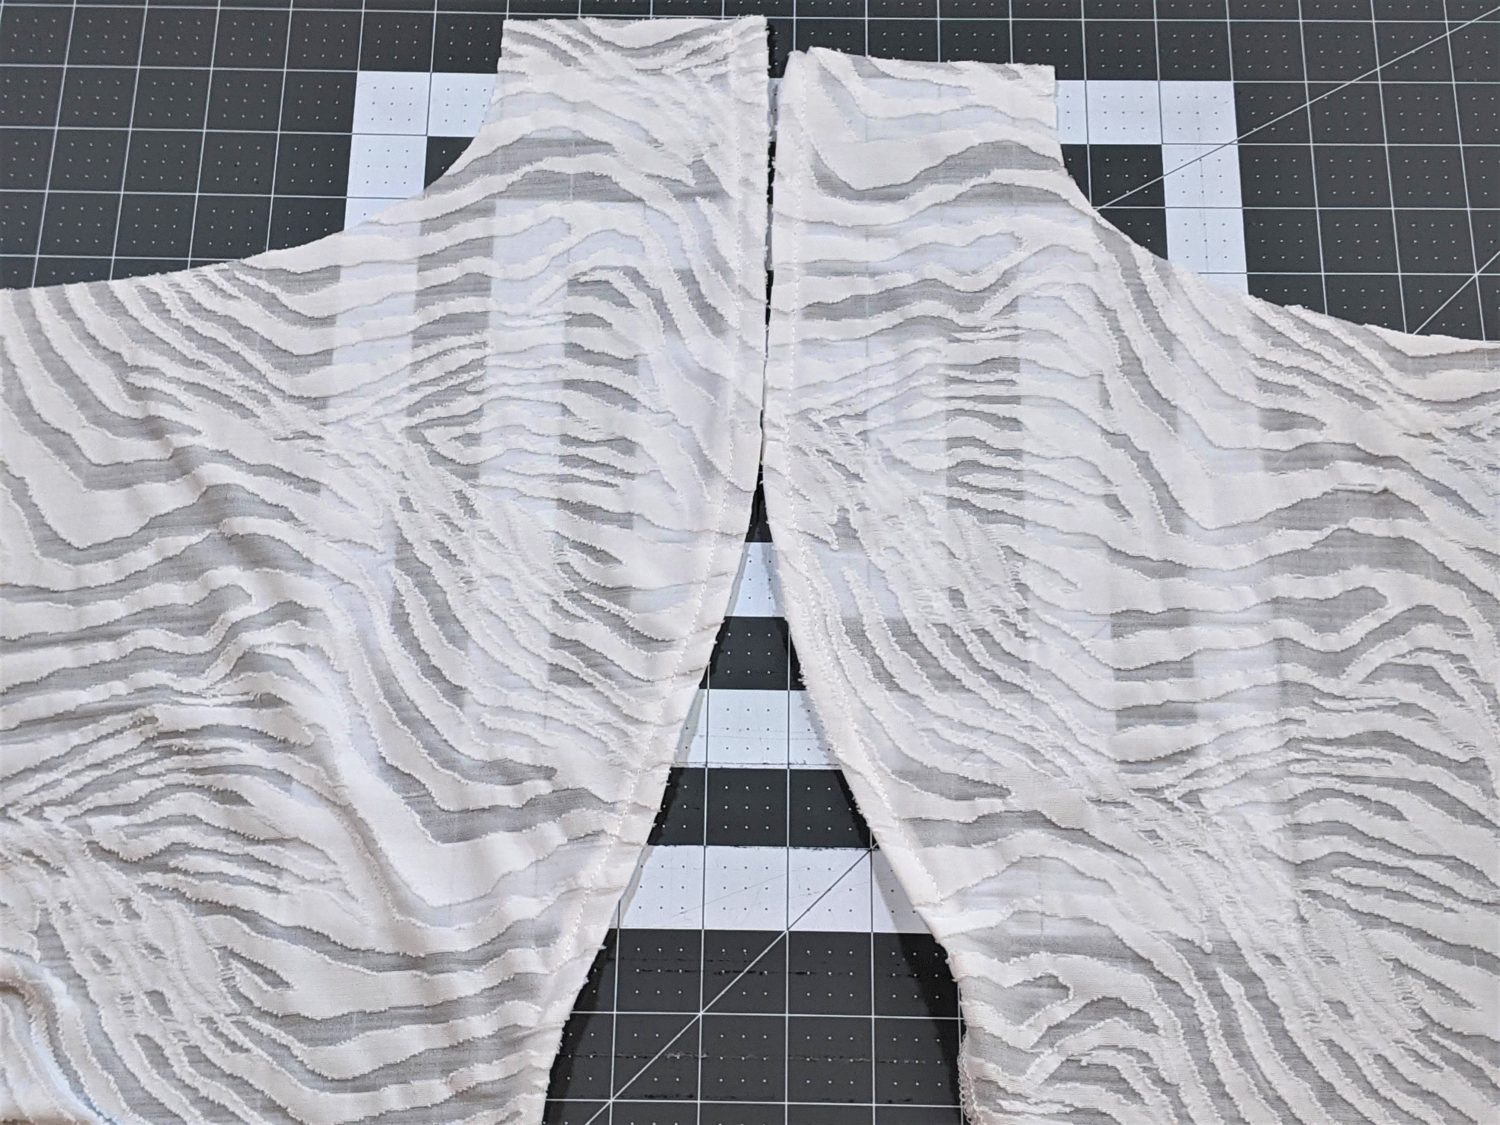
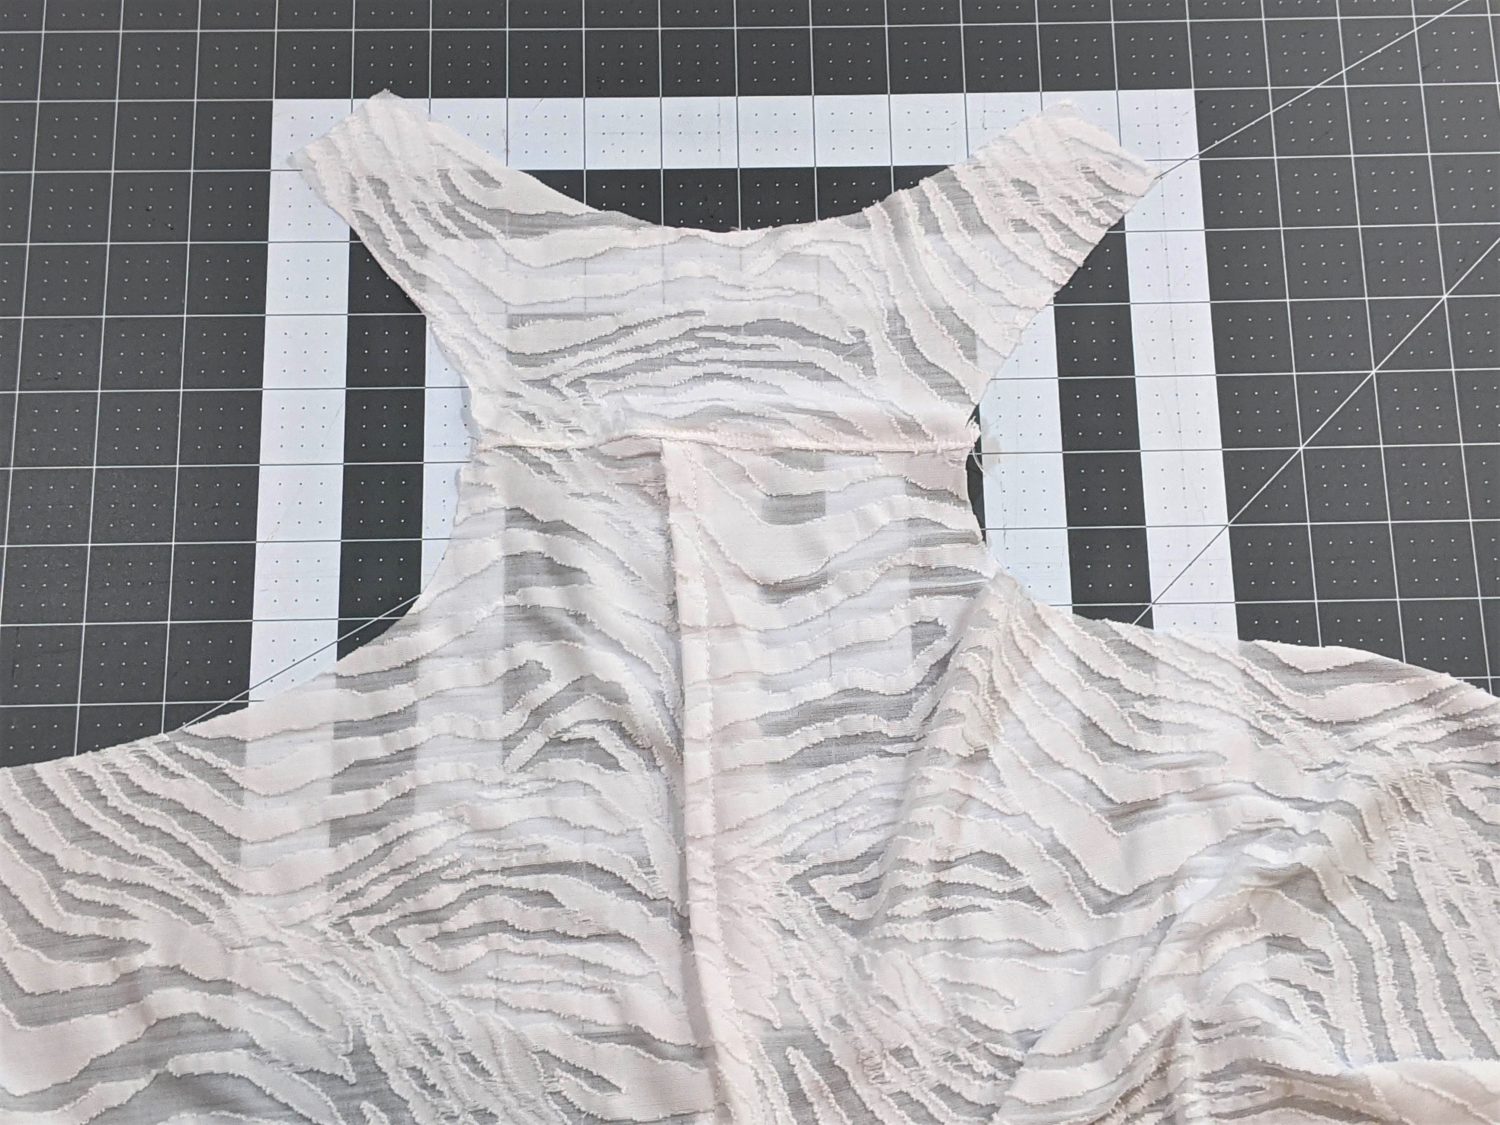
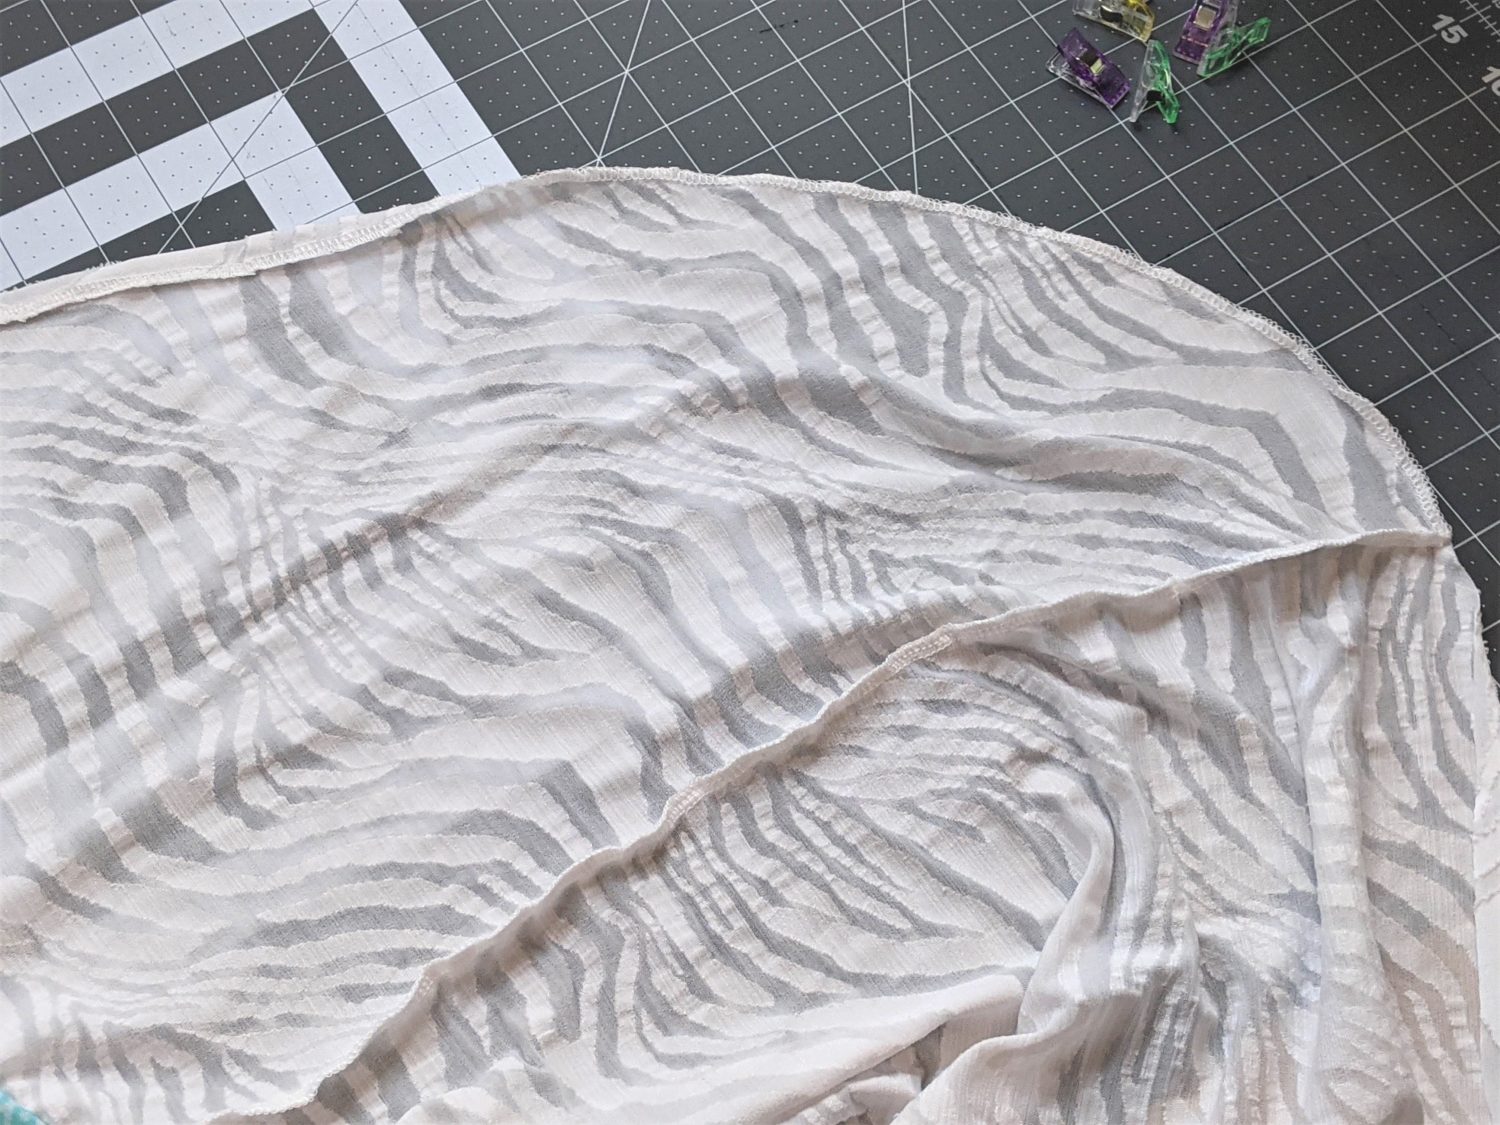
Back Overlay:
- Hem the top half of the curved edge of each of the back pieces, you will come back to hem the lower half later.
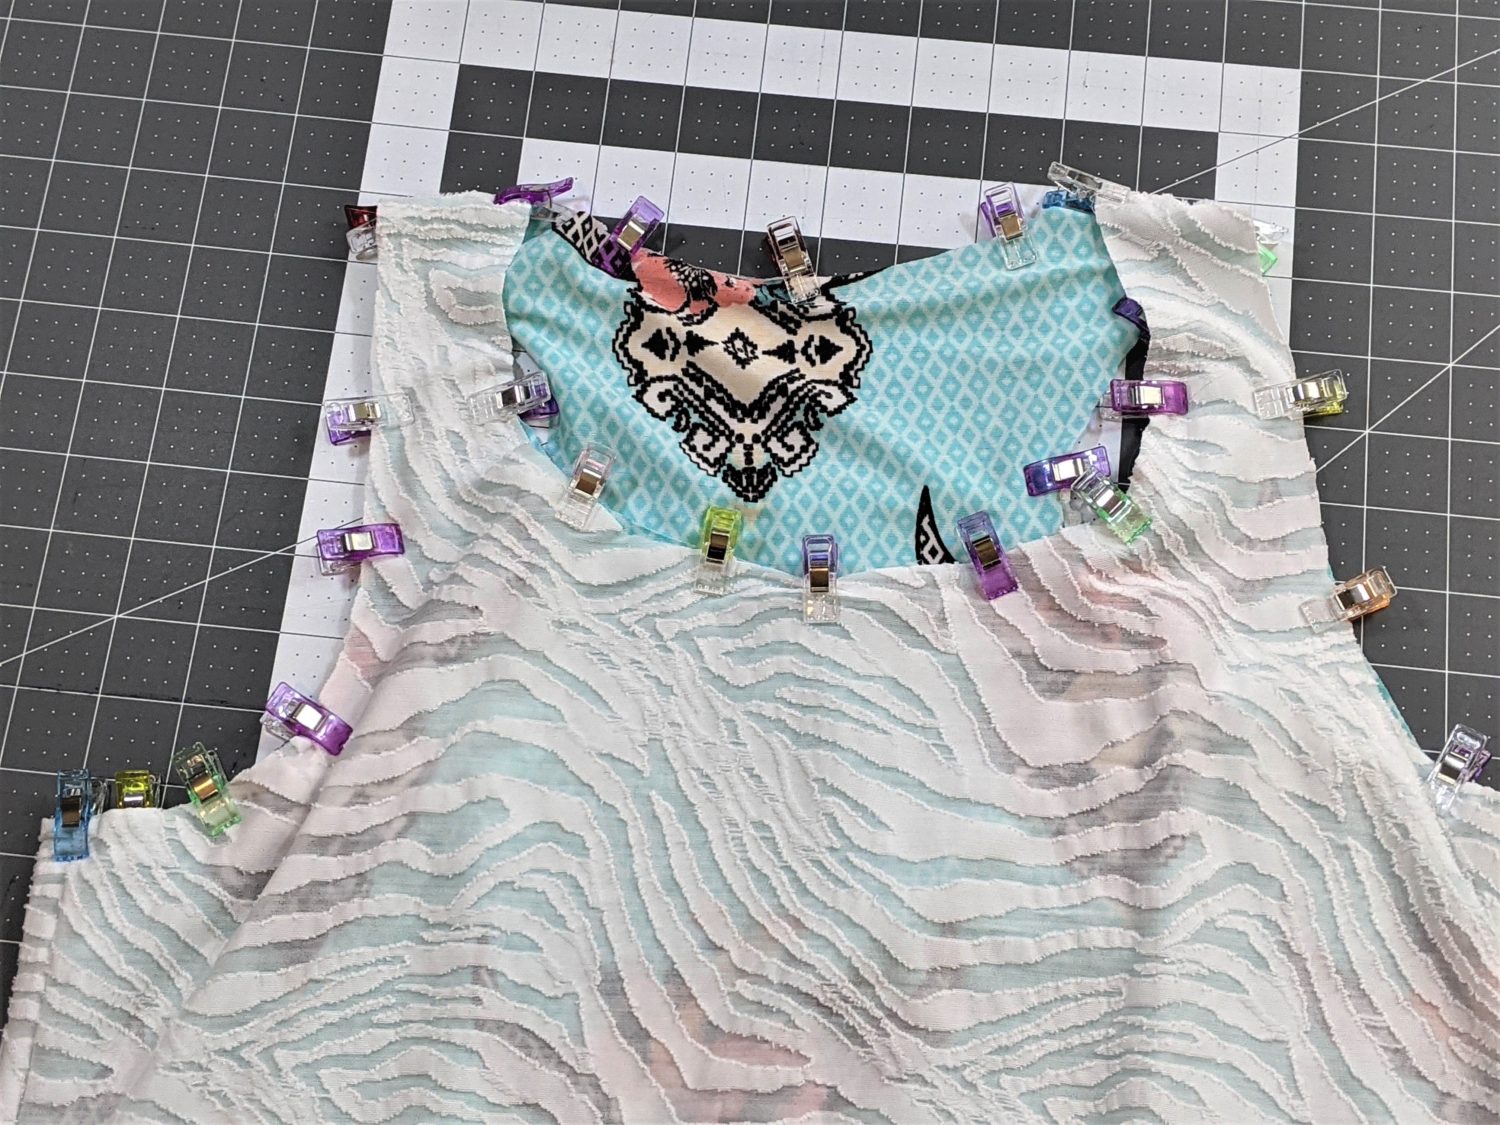
- Set both back pieces right side up with the curved edges facing inward towards each other.
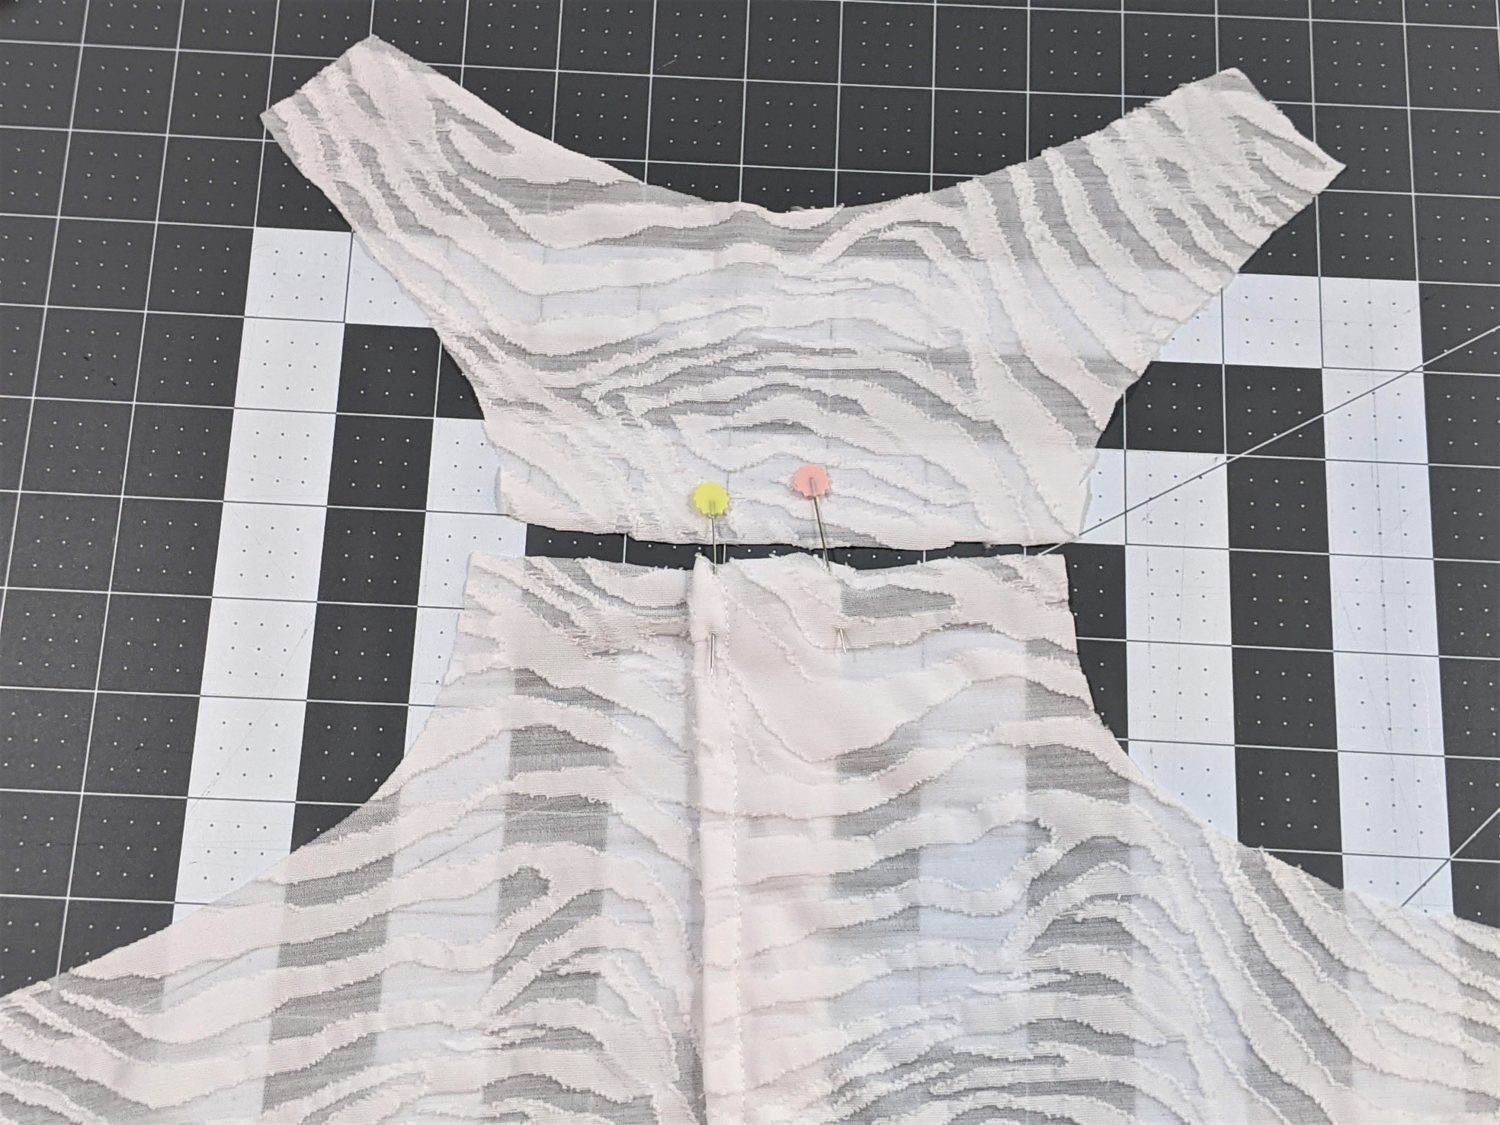
- Overlap the inner (hemmed) edge 1” and pin it together.

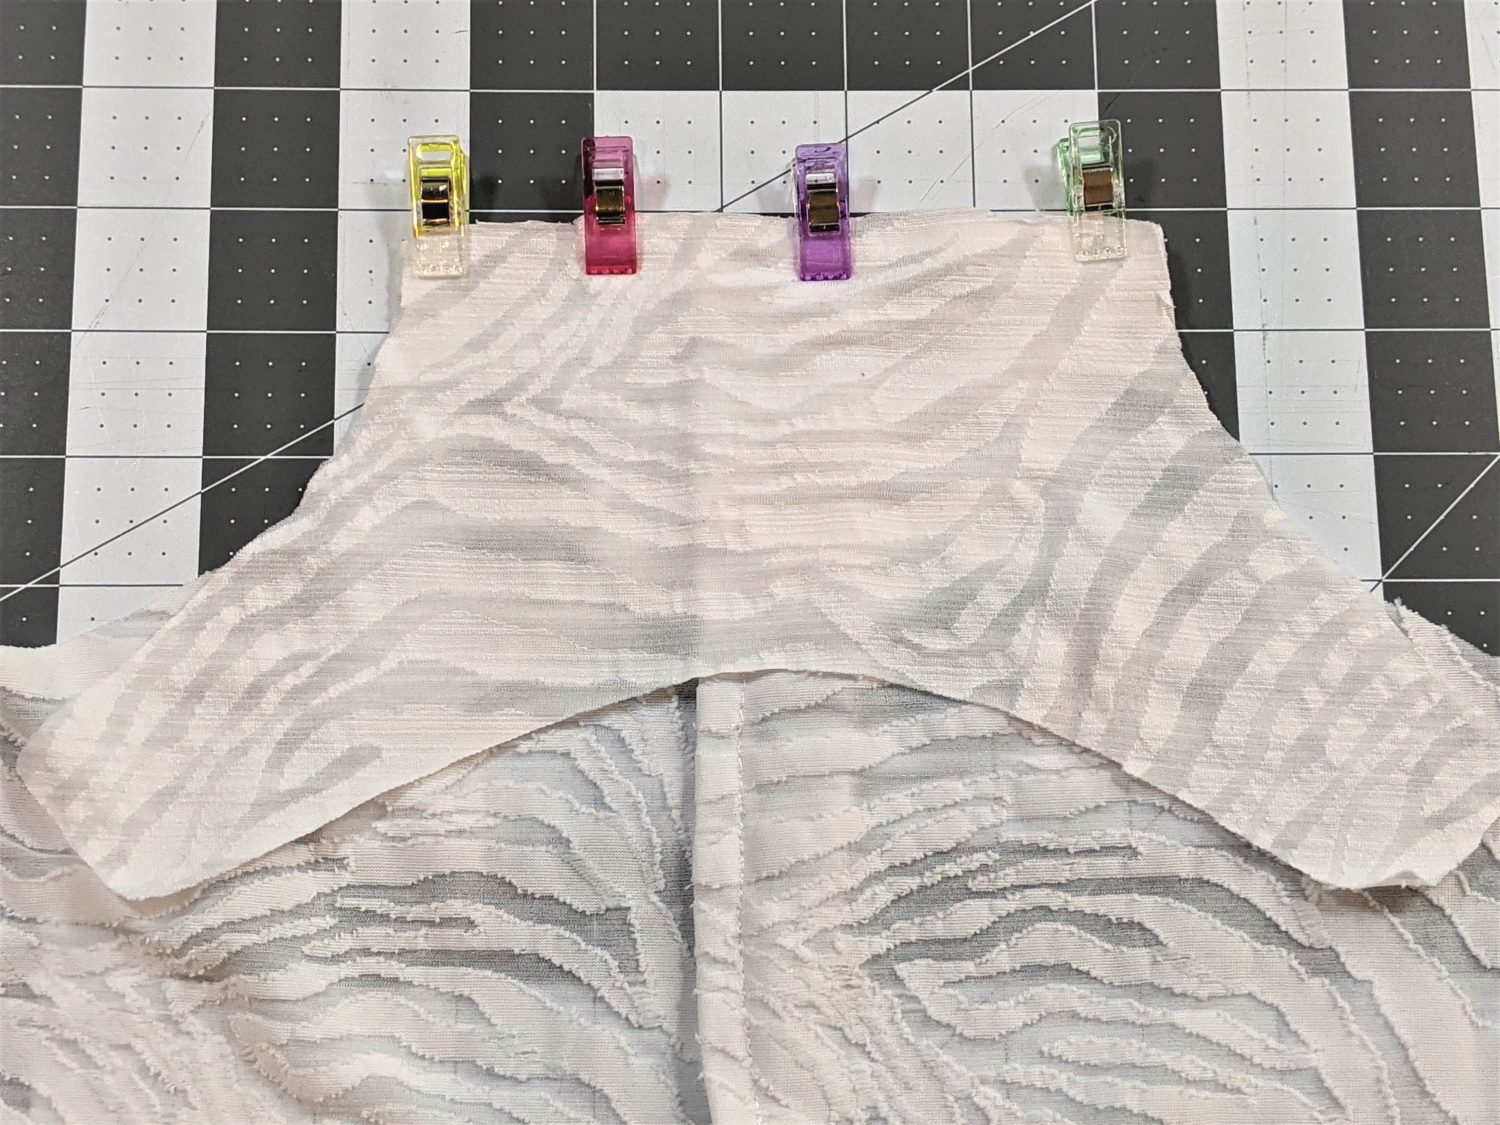
- Line up the bottom edge of the yoke along the top of the overlapped pieces. Adjust the amount of overlap if needed for the top edge to be the same length as the yoke edge.
- Baste the overlapped pieces together.
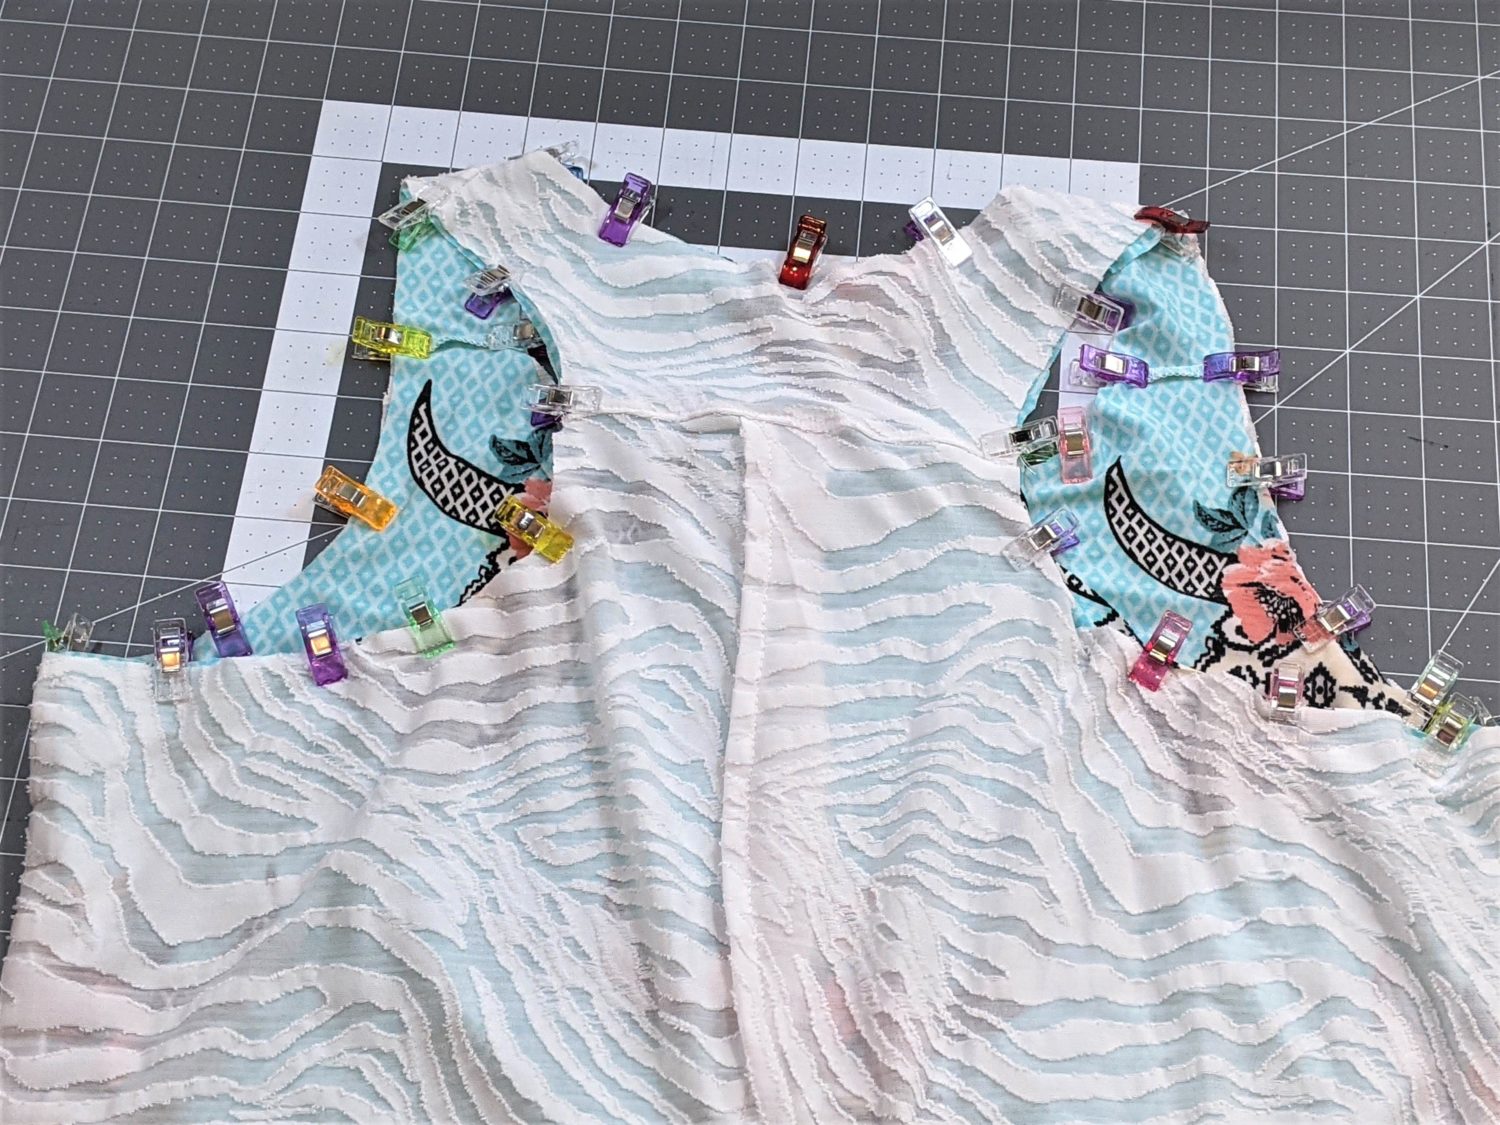
- Lay the back bodice and yoke right sides together with the raw edges meeting and the yoke facing downward following the tutorial to attach them together.
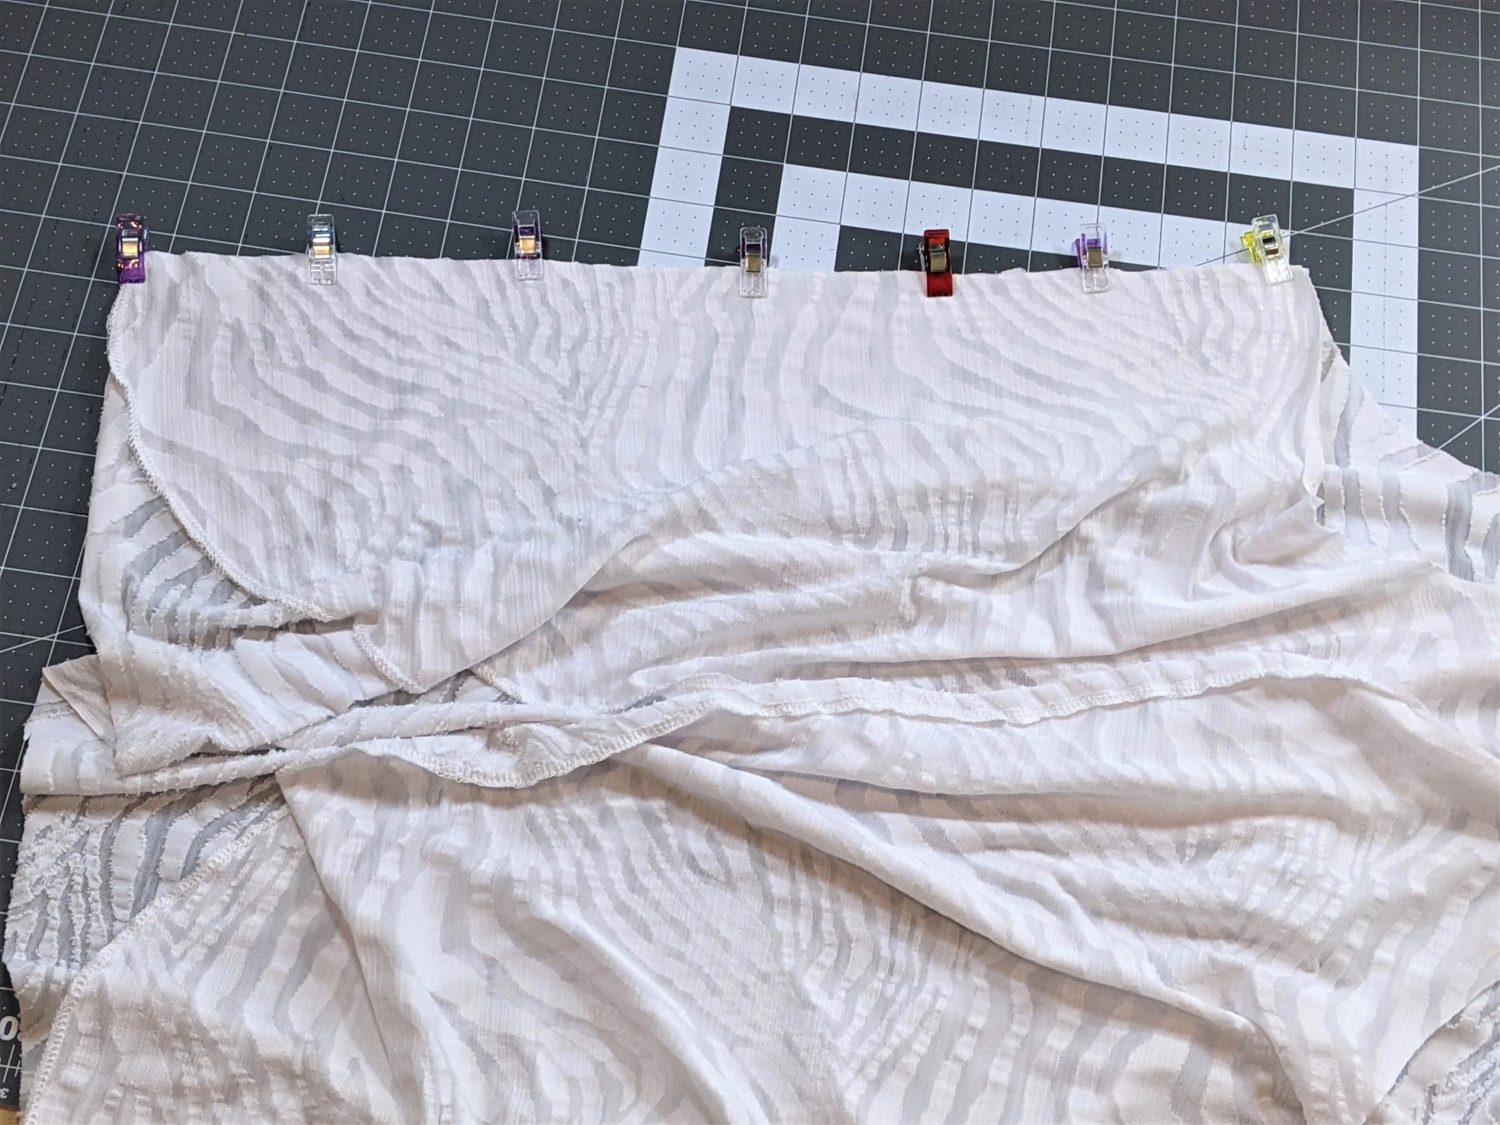
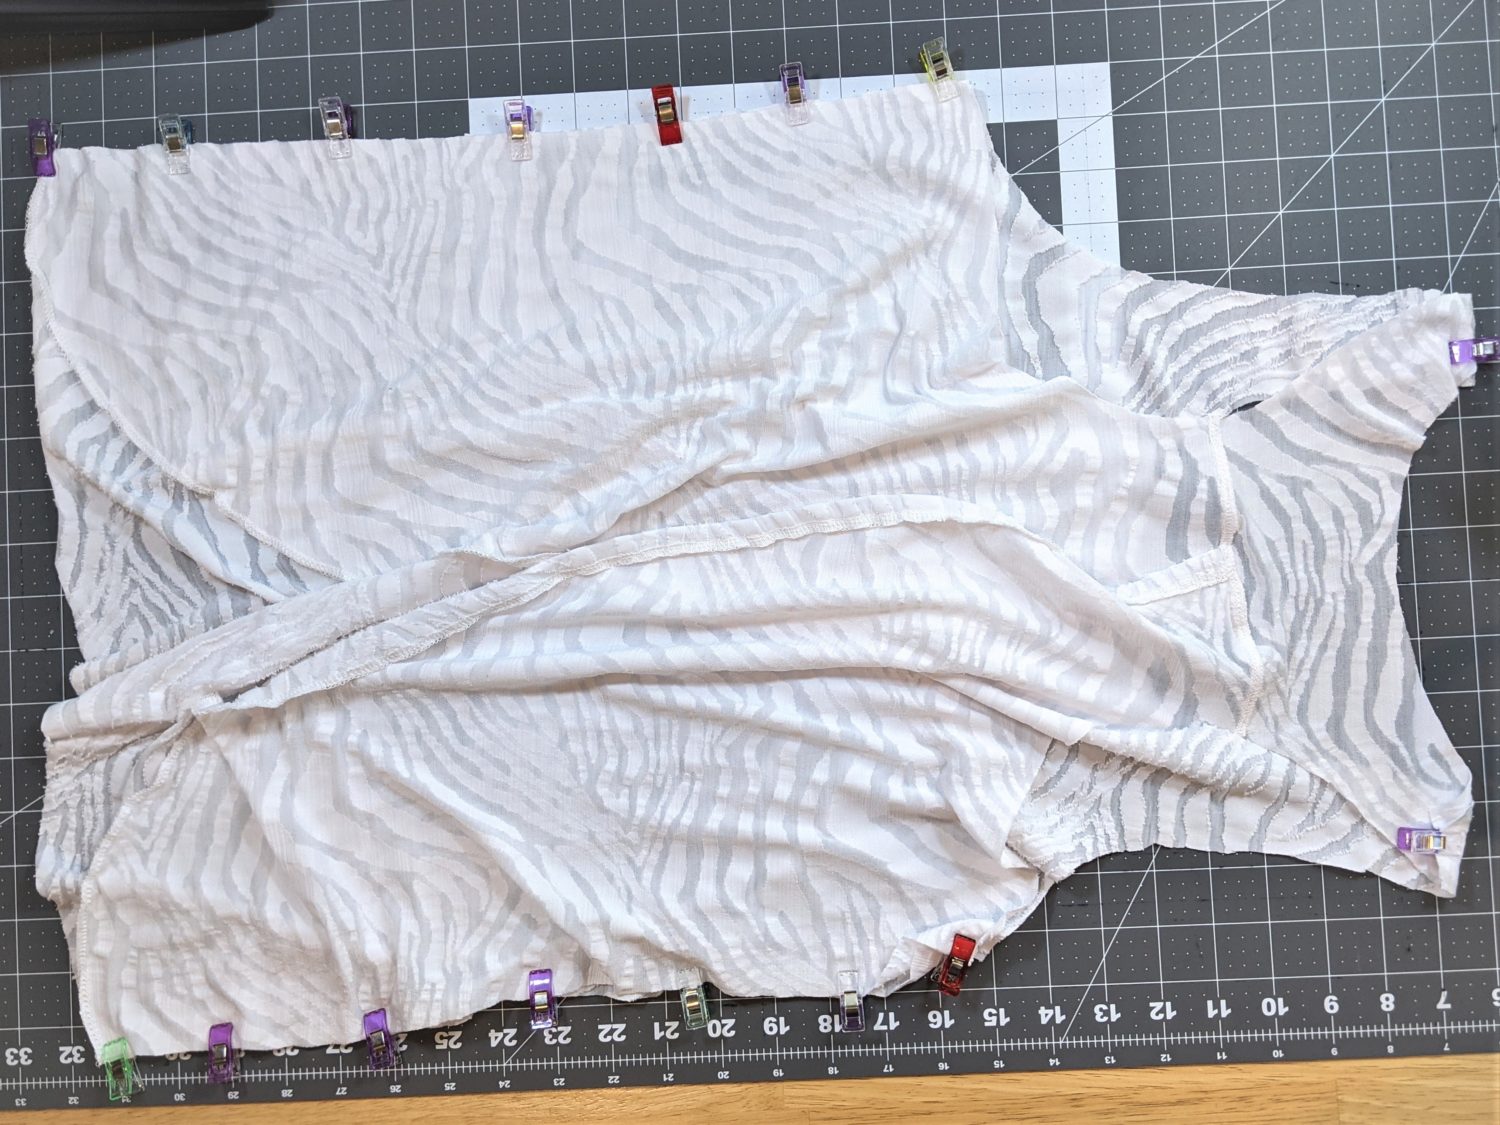
Overlay Bodice:
- Treating your back bodice as one piece, line up the shoulders and sides with the front bodice overlay right sides together.
- Pin at the shoulders and along both sides, sew together with a stretch stitch or serger.
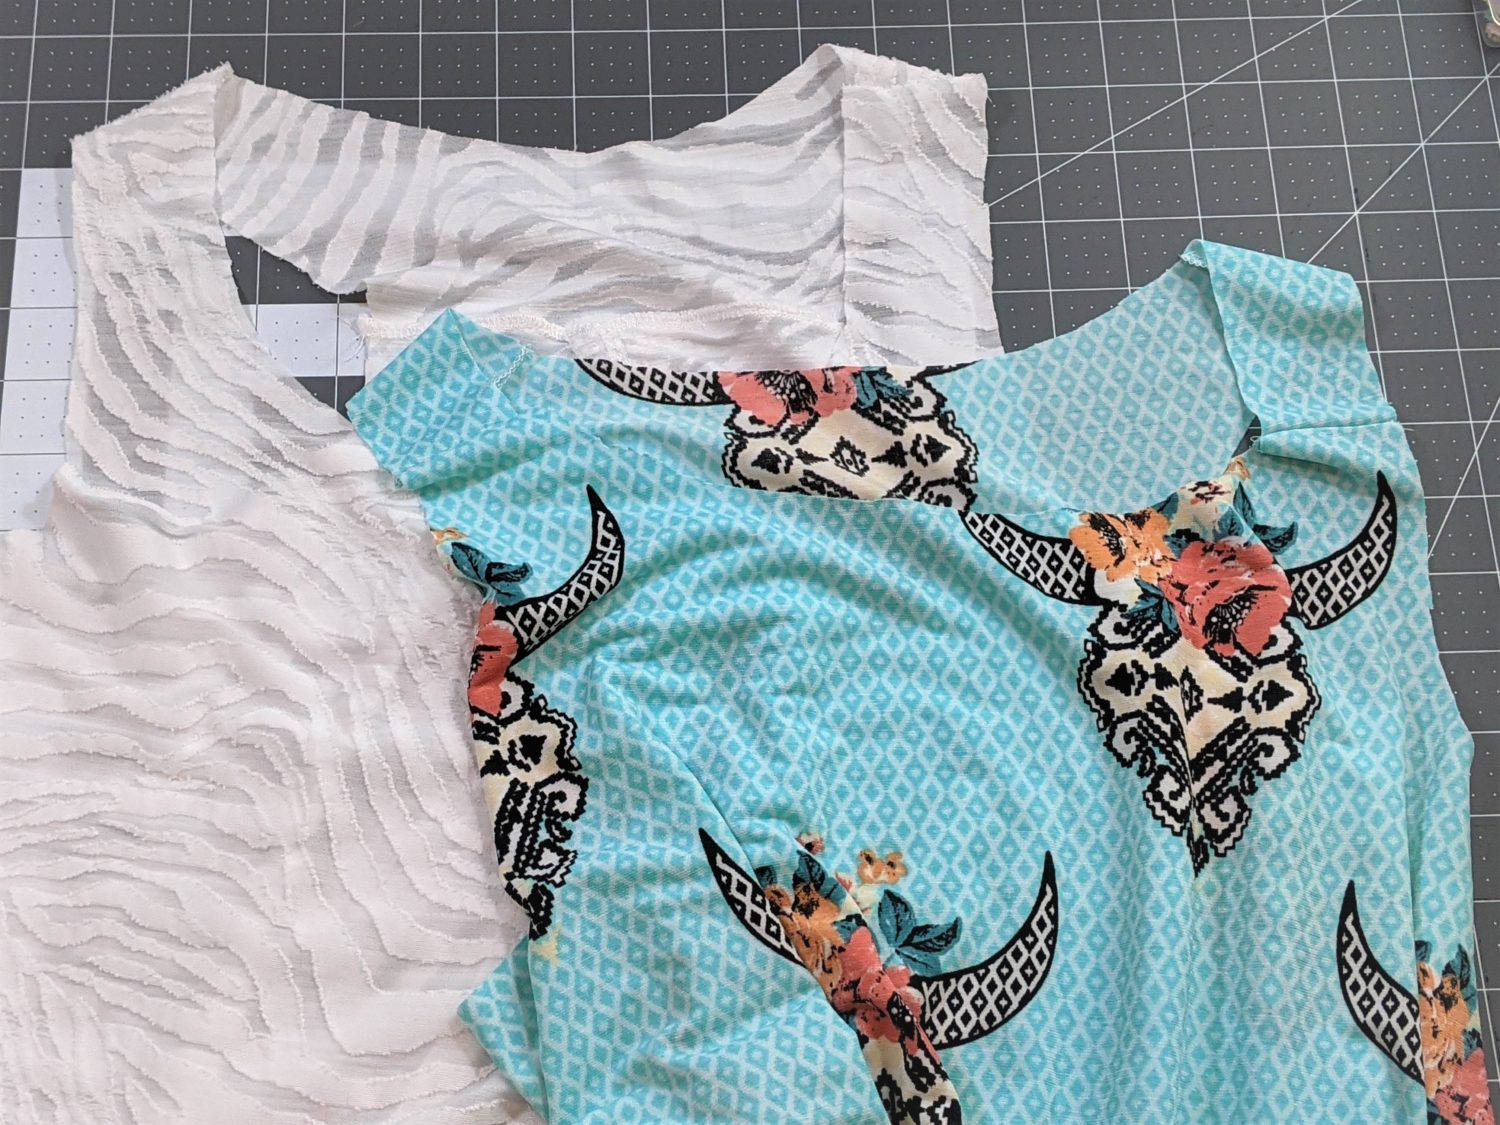
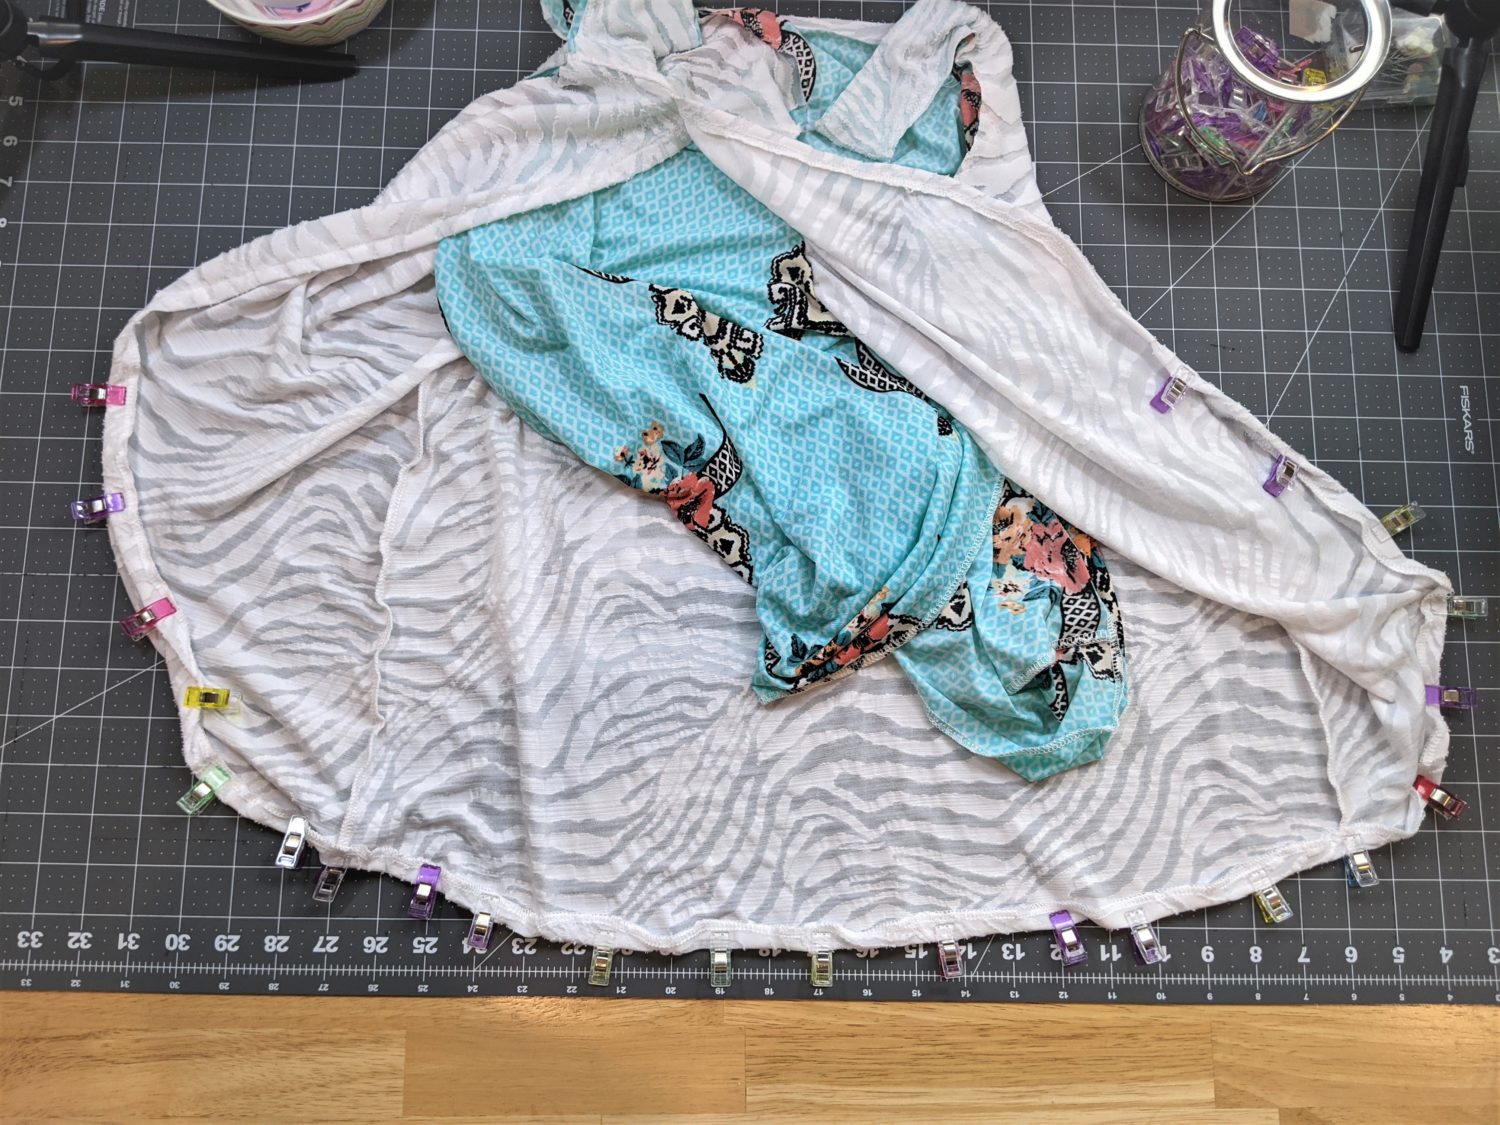
Putting the Layers Together
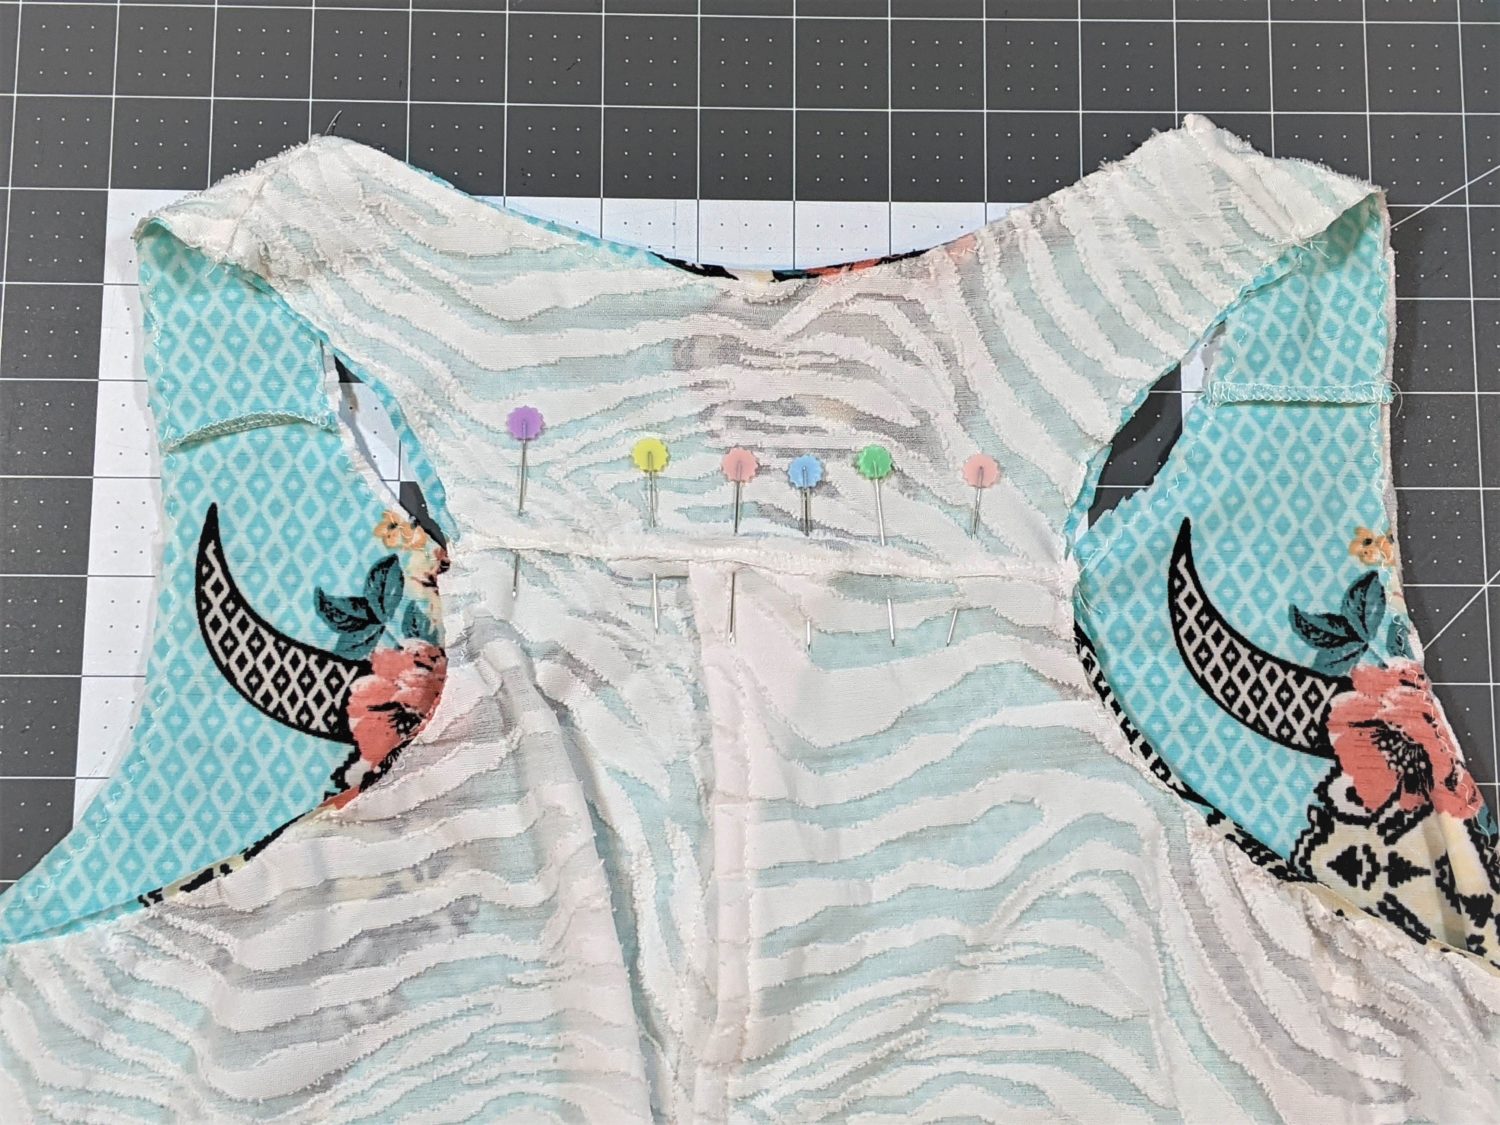
- Slide the main bodice inside the overlay bodice with both layers right sides out.
- Pin the two bodice layers together around the neckline and arm openings.
- Baste the pinned areas together using a long, narrow zigzag stitch.
- On the back yoke, pin the main and overlay layers together at the yoke’s seam allowance and topstitch. This just gives an extra anchor point to keep the overlay laying down a little more.
- Attach the neckband and armbands as instructed in the tutorial making sure the sew them to both main and overlay layers.
Finishing up
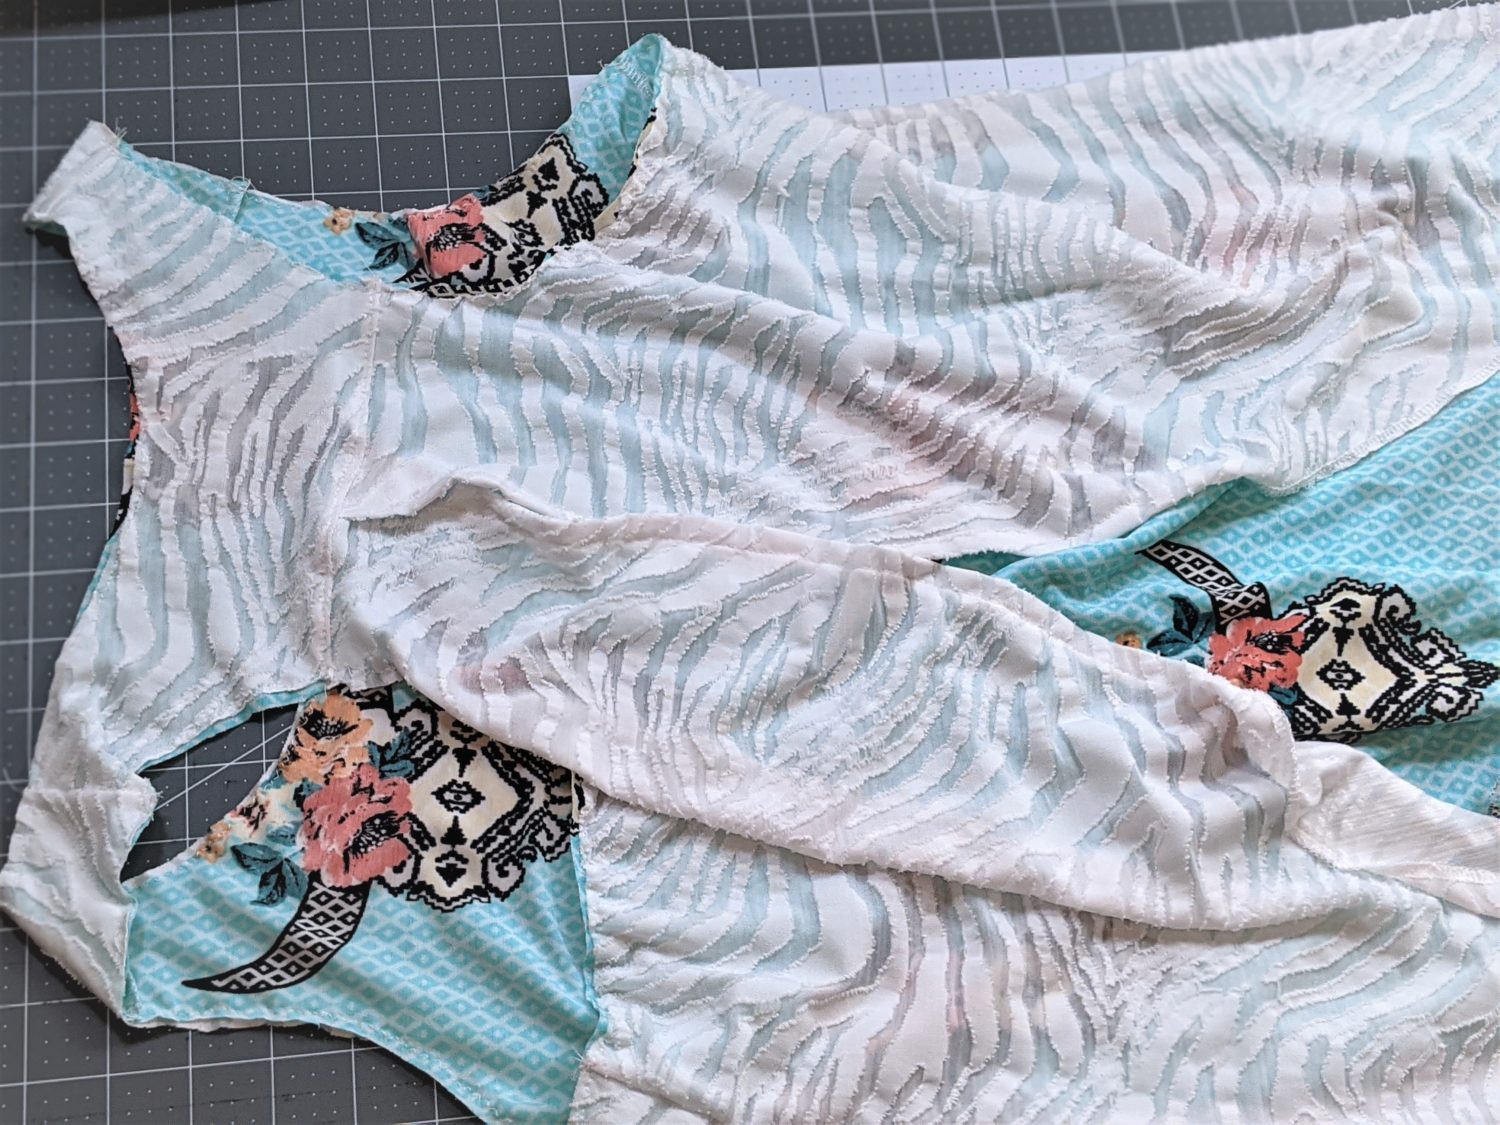
- Continue hemming the remainder of the overlay. Start at one side where you stopped the hem previously, continue down the curve, along the front edge, and back up the other curve until you reach the previous hem.
- Hem the bottom edge of the main layer.
Ta-da! You are ready for some summer weather!

Want more FUN DIY Freebies? Check out the FREEBIE TUTORIALS and the FREEBIE PATTERNS!
As always, we’re here to help if you need it! Join us HERE and on Facebook, Instagram, Twitter, Youtube, and Pinterest. We’re everywhere you are.
Leave a Reply