My dog is in desperate need of a new bed. That is only because he has chewed them all and has lost most of the stuffing in them, but that is besides the point! I decided to use an old throw blanket that I had to make him a new one. You know, one of those blankets that always go on clearance toward the end of the year that you buy because it is cheap and you might need it for something one day? I can’t be the only one with an abundance of blankets! I am excited to have a way to use them now! There is something so satisfying about upcycling 😊

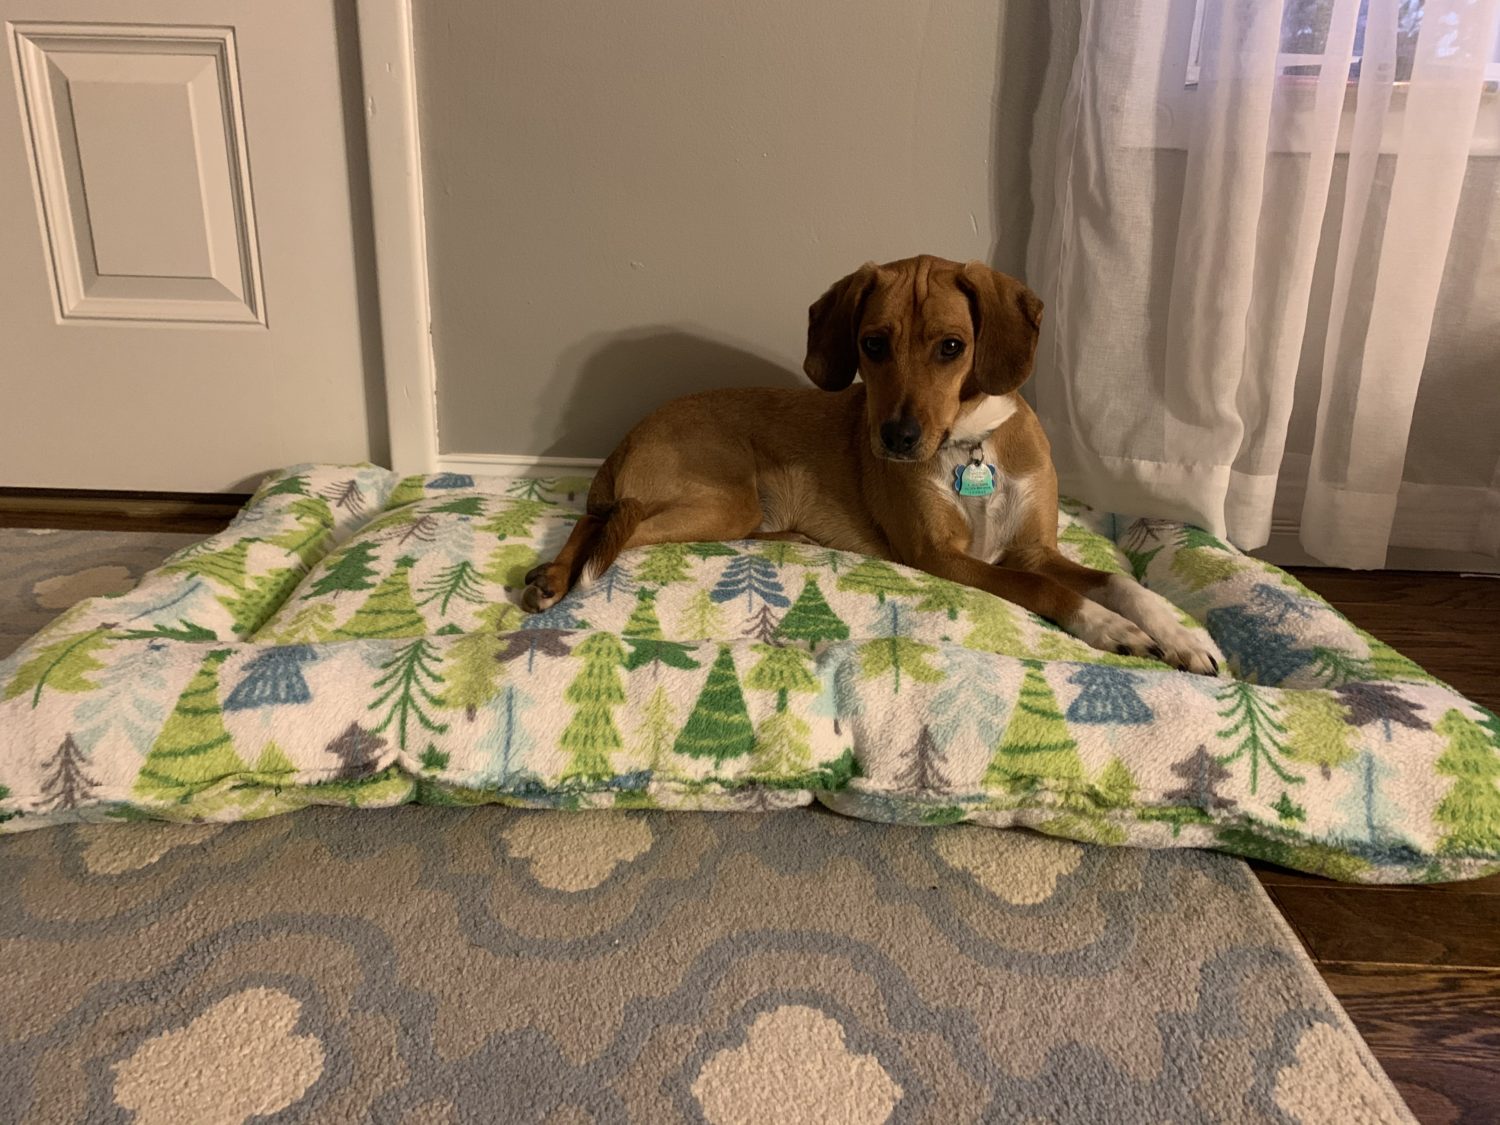
He doesn’t look spoiled at all, does he?! I used the whole blanket so this turned out to be the largest bed ever, but he loves it!! The blanket was 50in by 60in and it is one of those super plush fleece blankets that are so soft and cozy. He is definitely spoiled! Want to make your own? Grab a blanket or some fabric and let’s go!
Let’s get started!
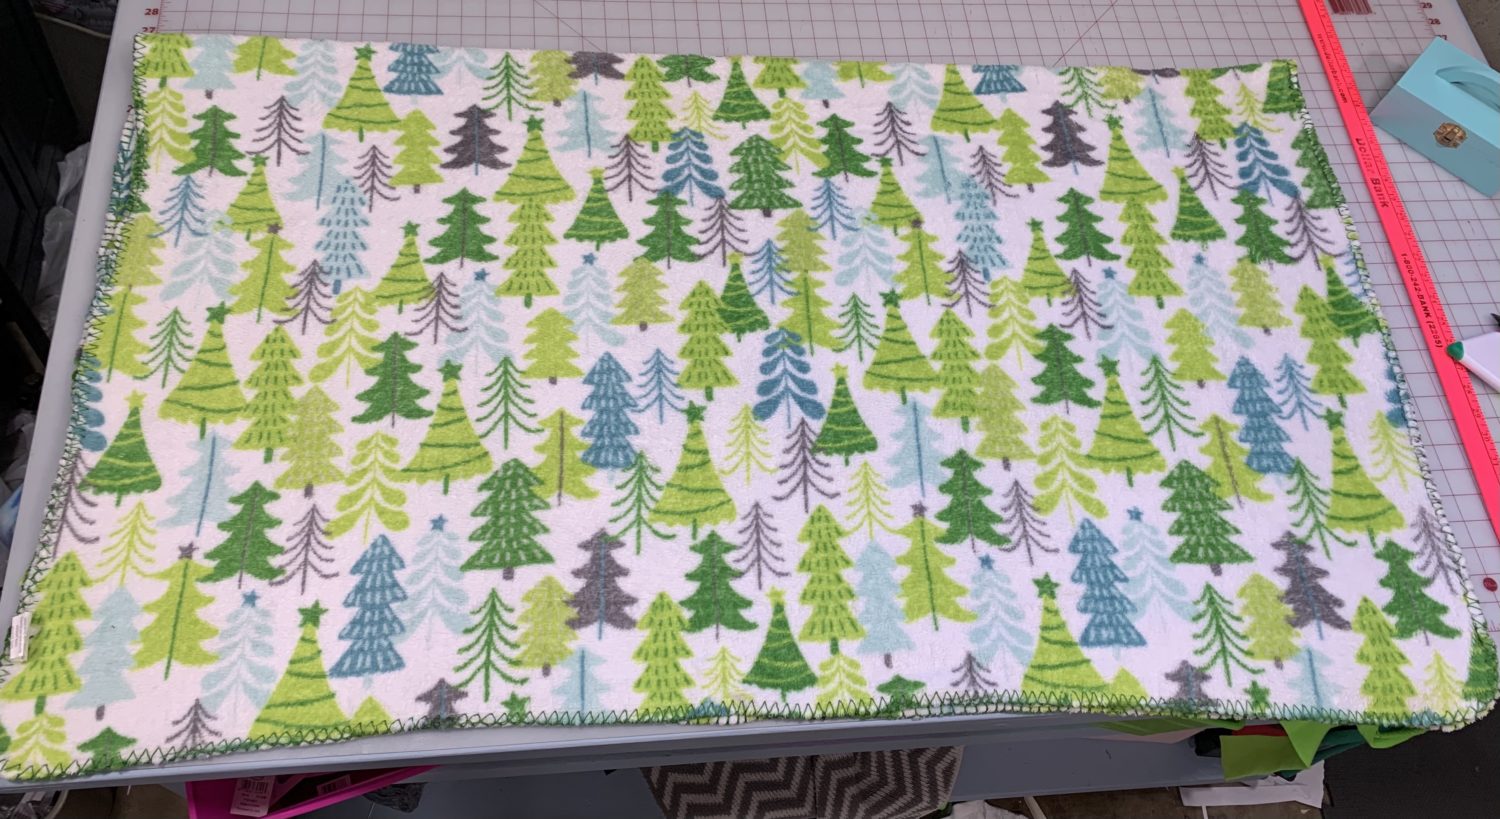
- Start by deciding how big you want your bed to be. I decided to go big and use the whole blanket, but you can cut your blanket smaller or even use a yard or two of fabric to make whatever size you want! If durability is more important to you, you may want to use a home décor or an outdoor fabric for your bed. I went for softness and chose the fluffy blanket. I took the blanket and just folded it in half instead of cutting two pieces. You could certainly cut two rectangles, squares, or whatever shape you want!
Sewing
- Once you have two pieces cut out, put them right sides together and sew all along the outside. Be sure to leave a gap unsewn that you will use to turn it right sides out after sewing. I left a pretty large gap because my bed is big and it would be too difficult to get the stuffing all the way around it without a large opening.
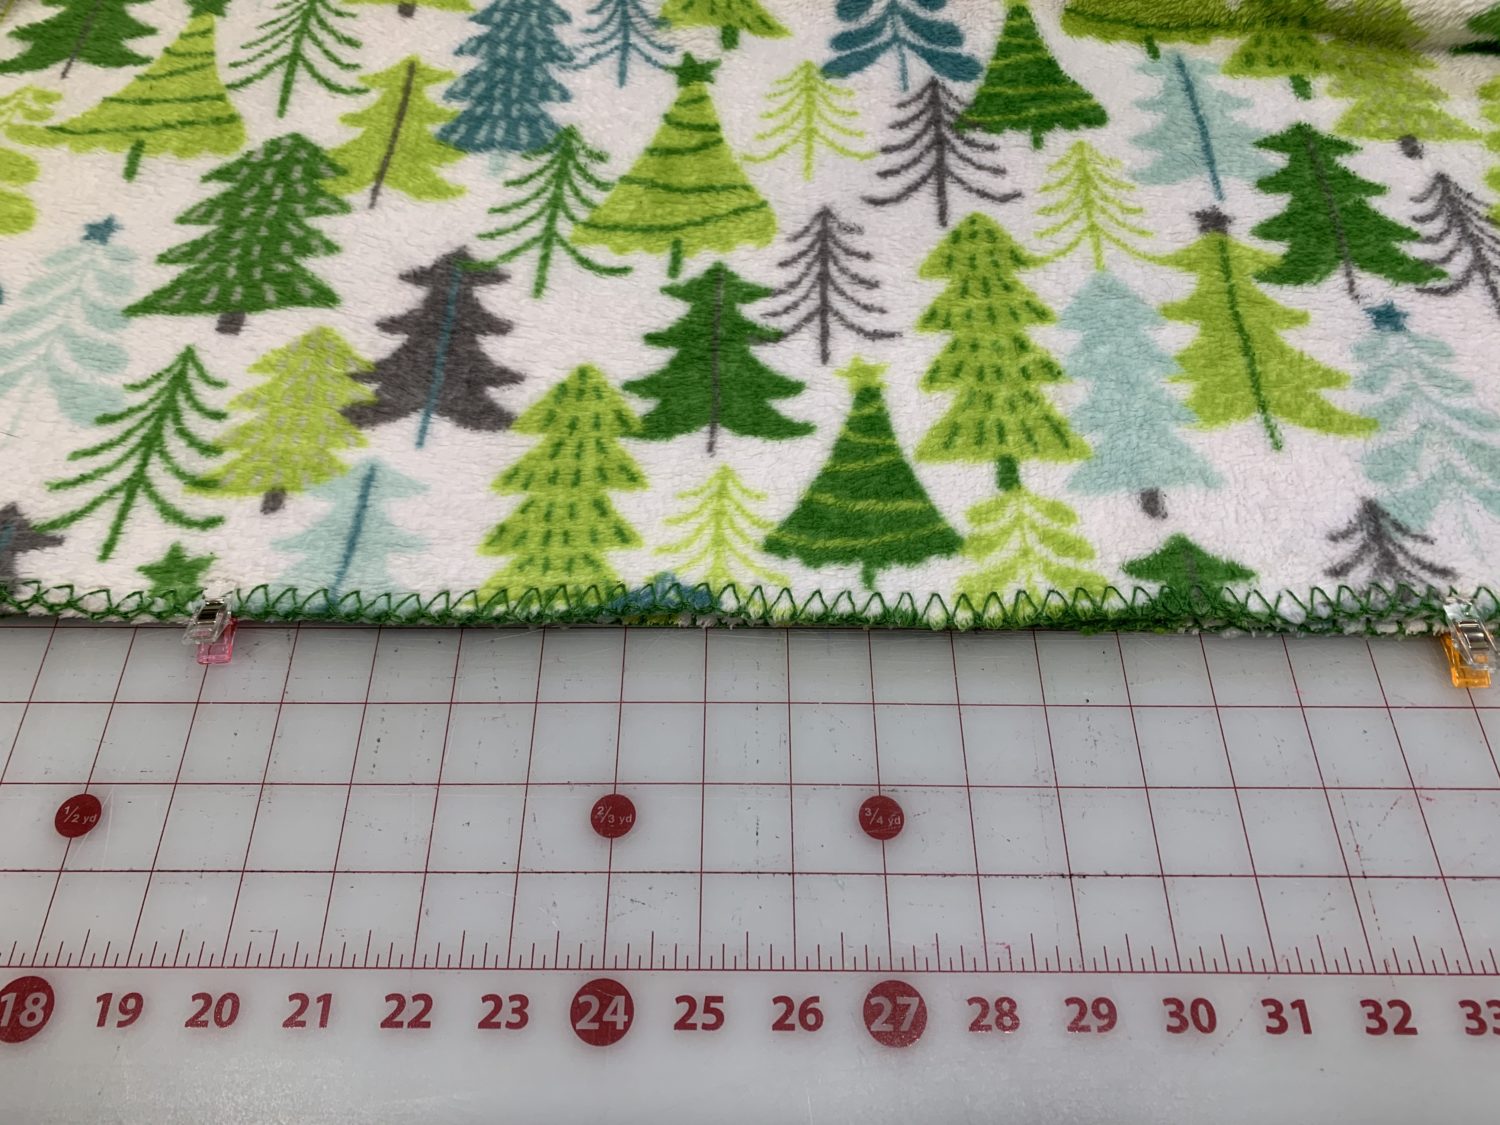
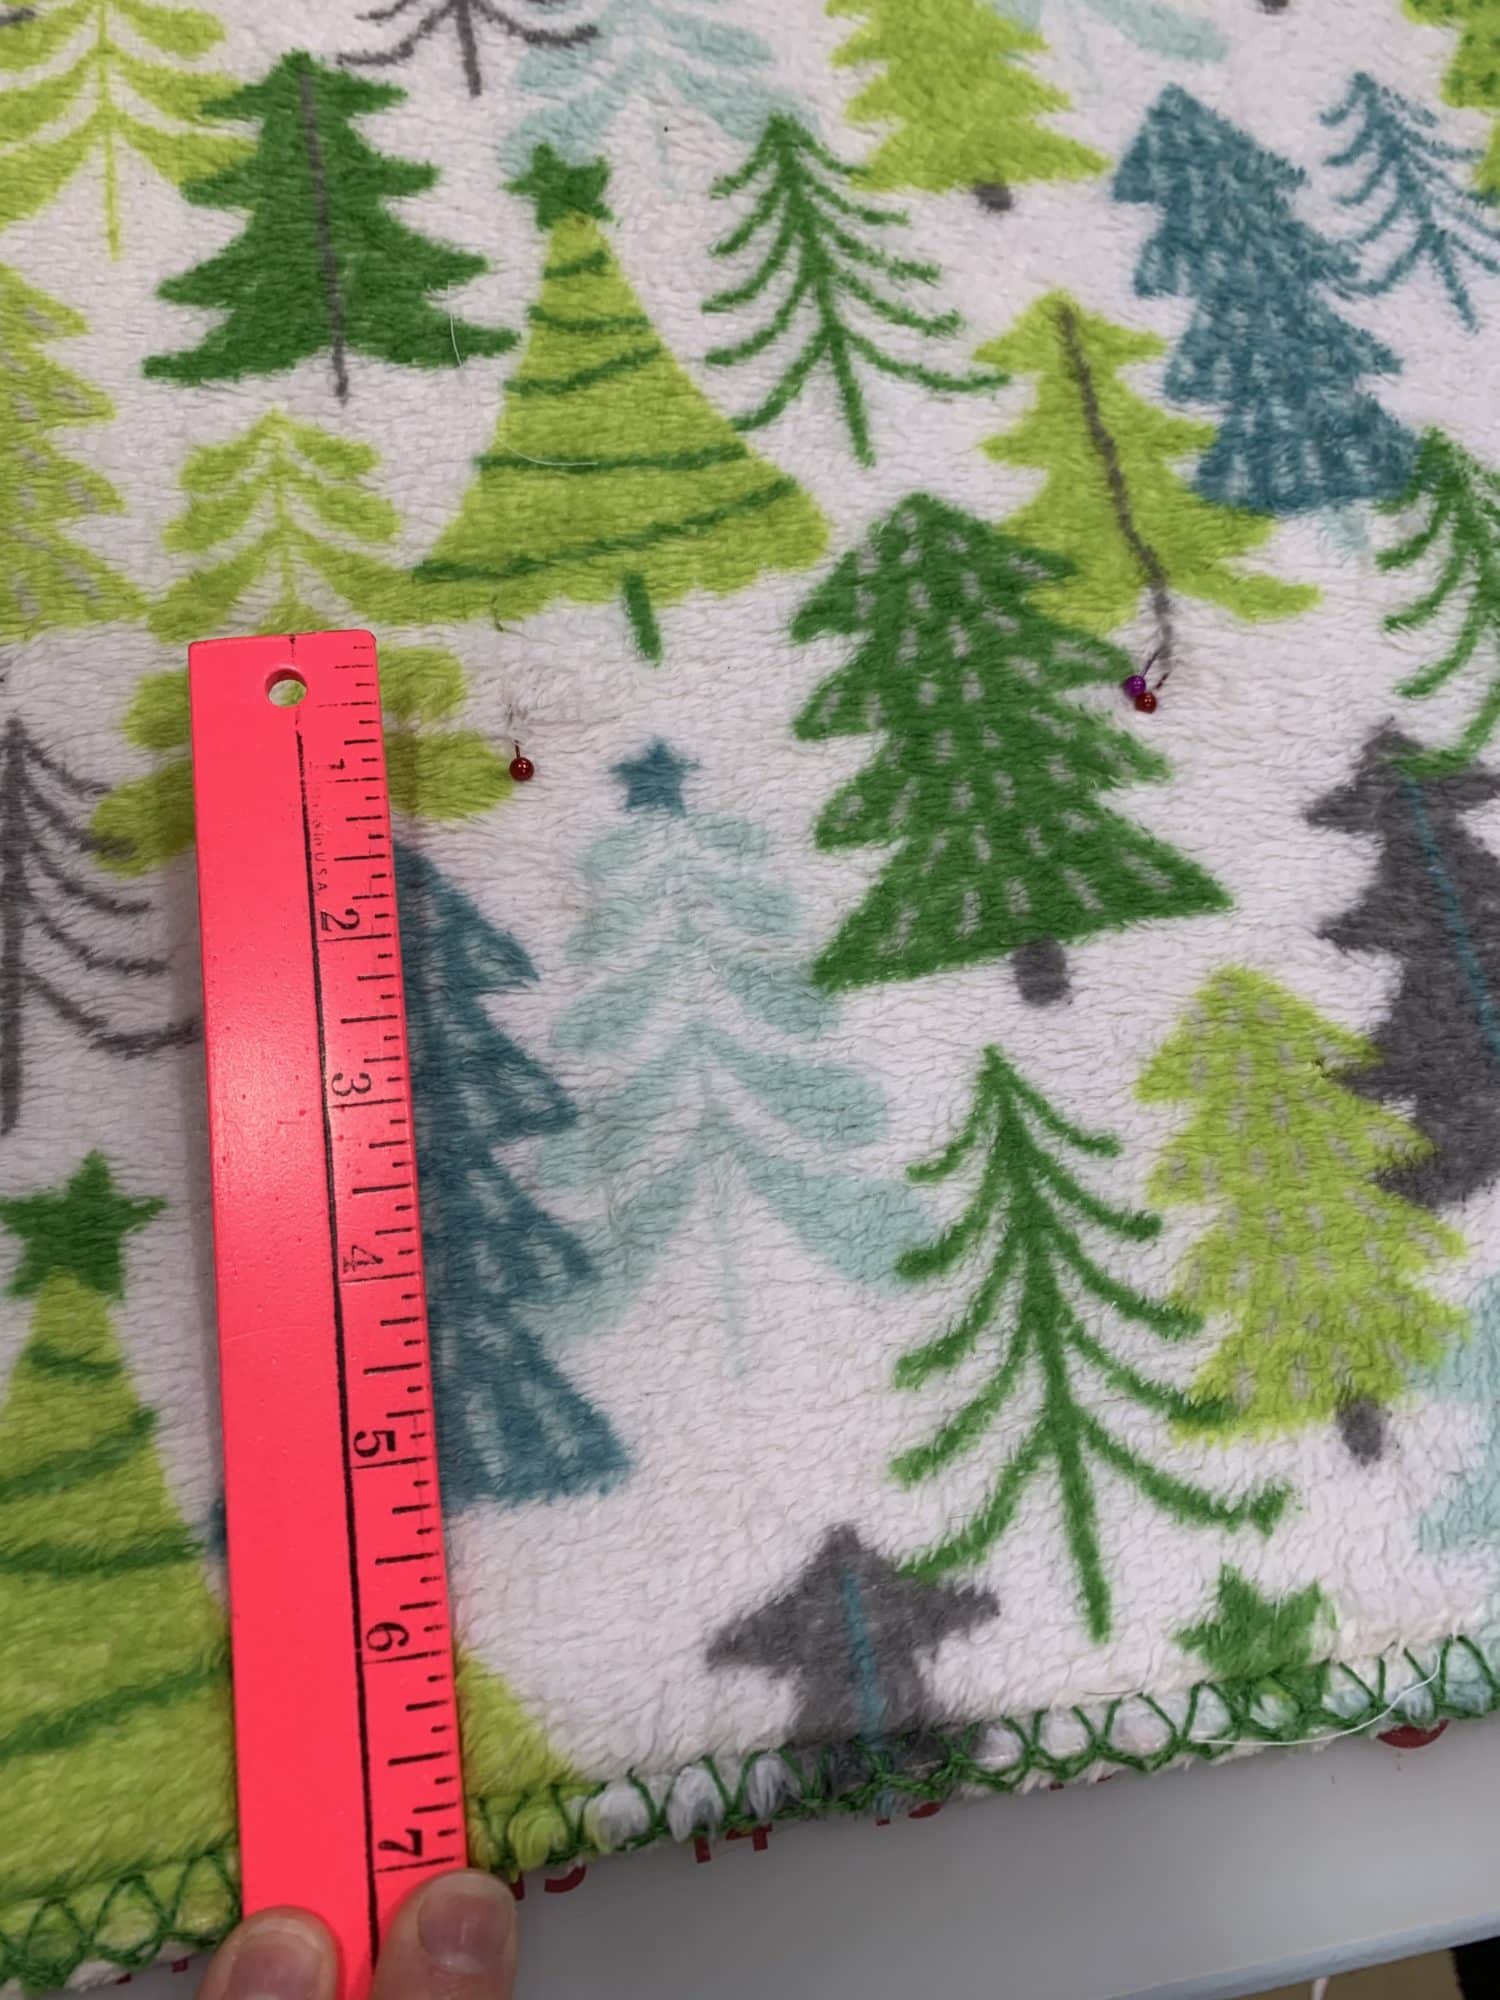
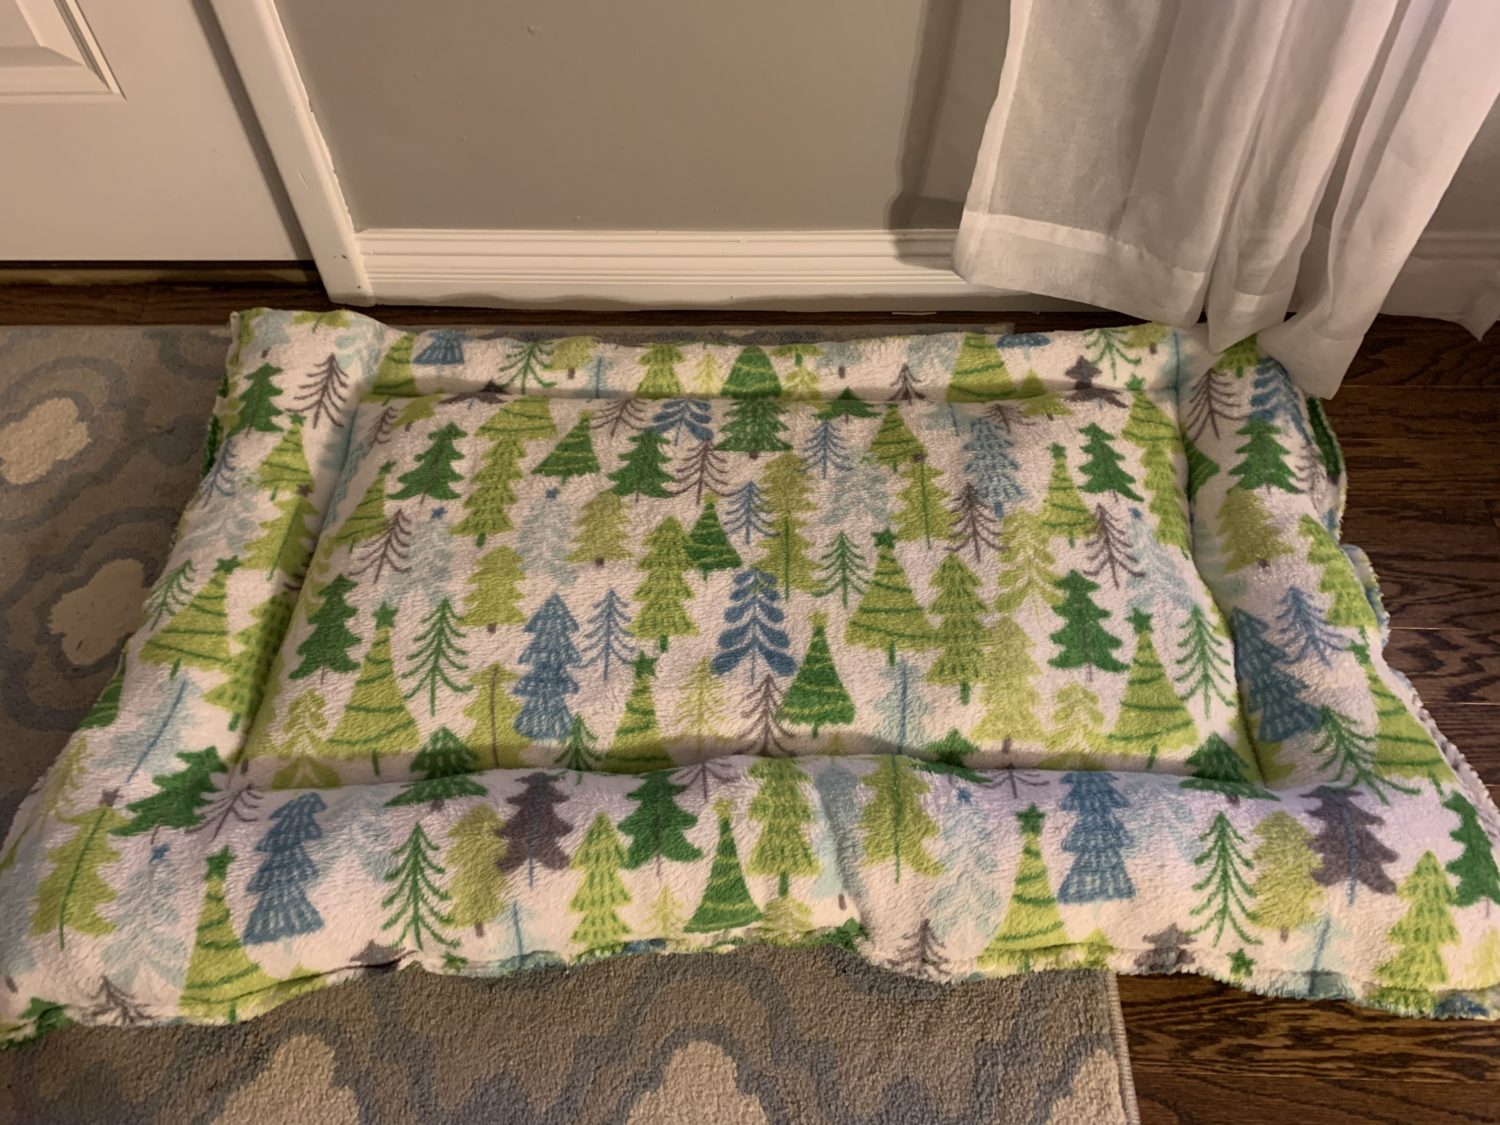
- Turn your bed right sides out. I like the look of a border around our pet beds so it doesn’t just look like a big pillow. So, I measured about 7 inches in toward the middle on each side. If you make a smaller bed, you’ll probably want your border to be smaller than 7 inches. I pinned and sewed all around this new, smaller rectangle. This is like making a large casing. I just think that it gives it more dimension and intrigue. You could certainly skip this part and move on to stuffing.
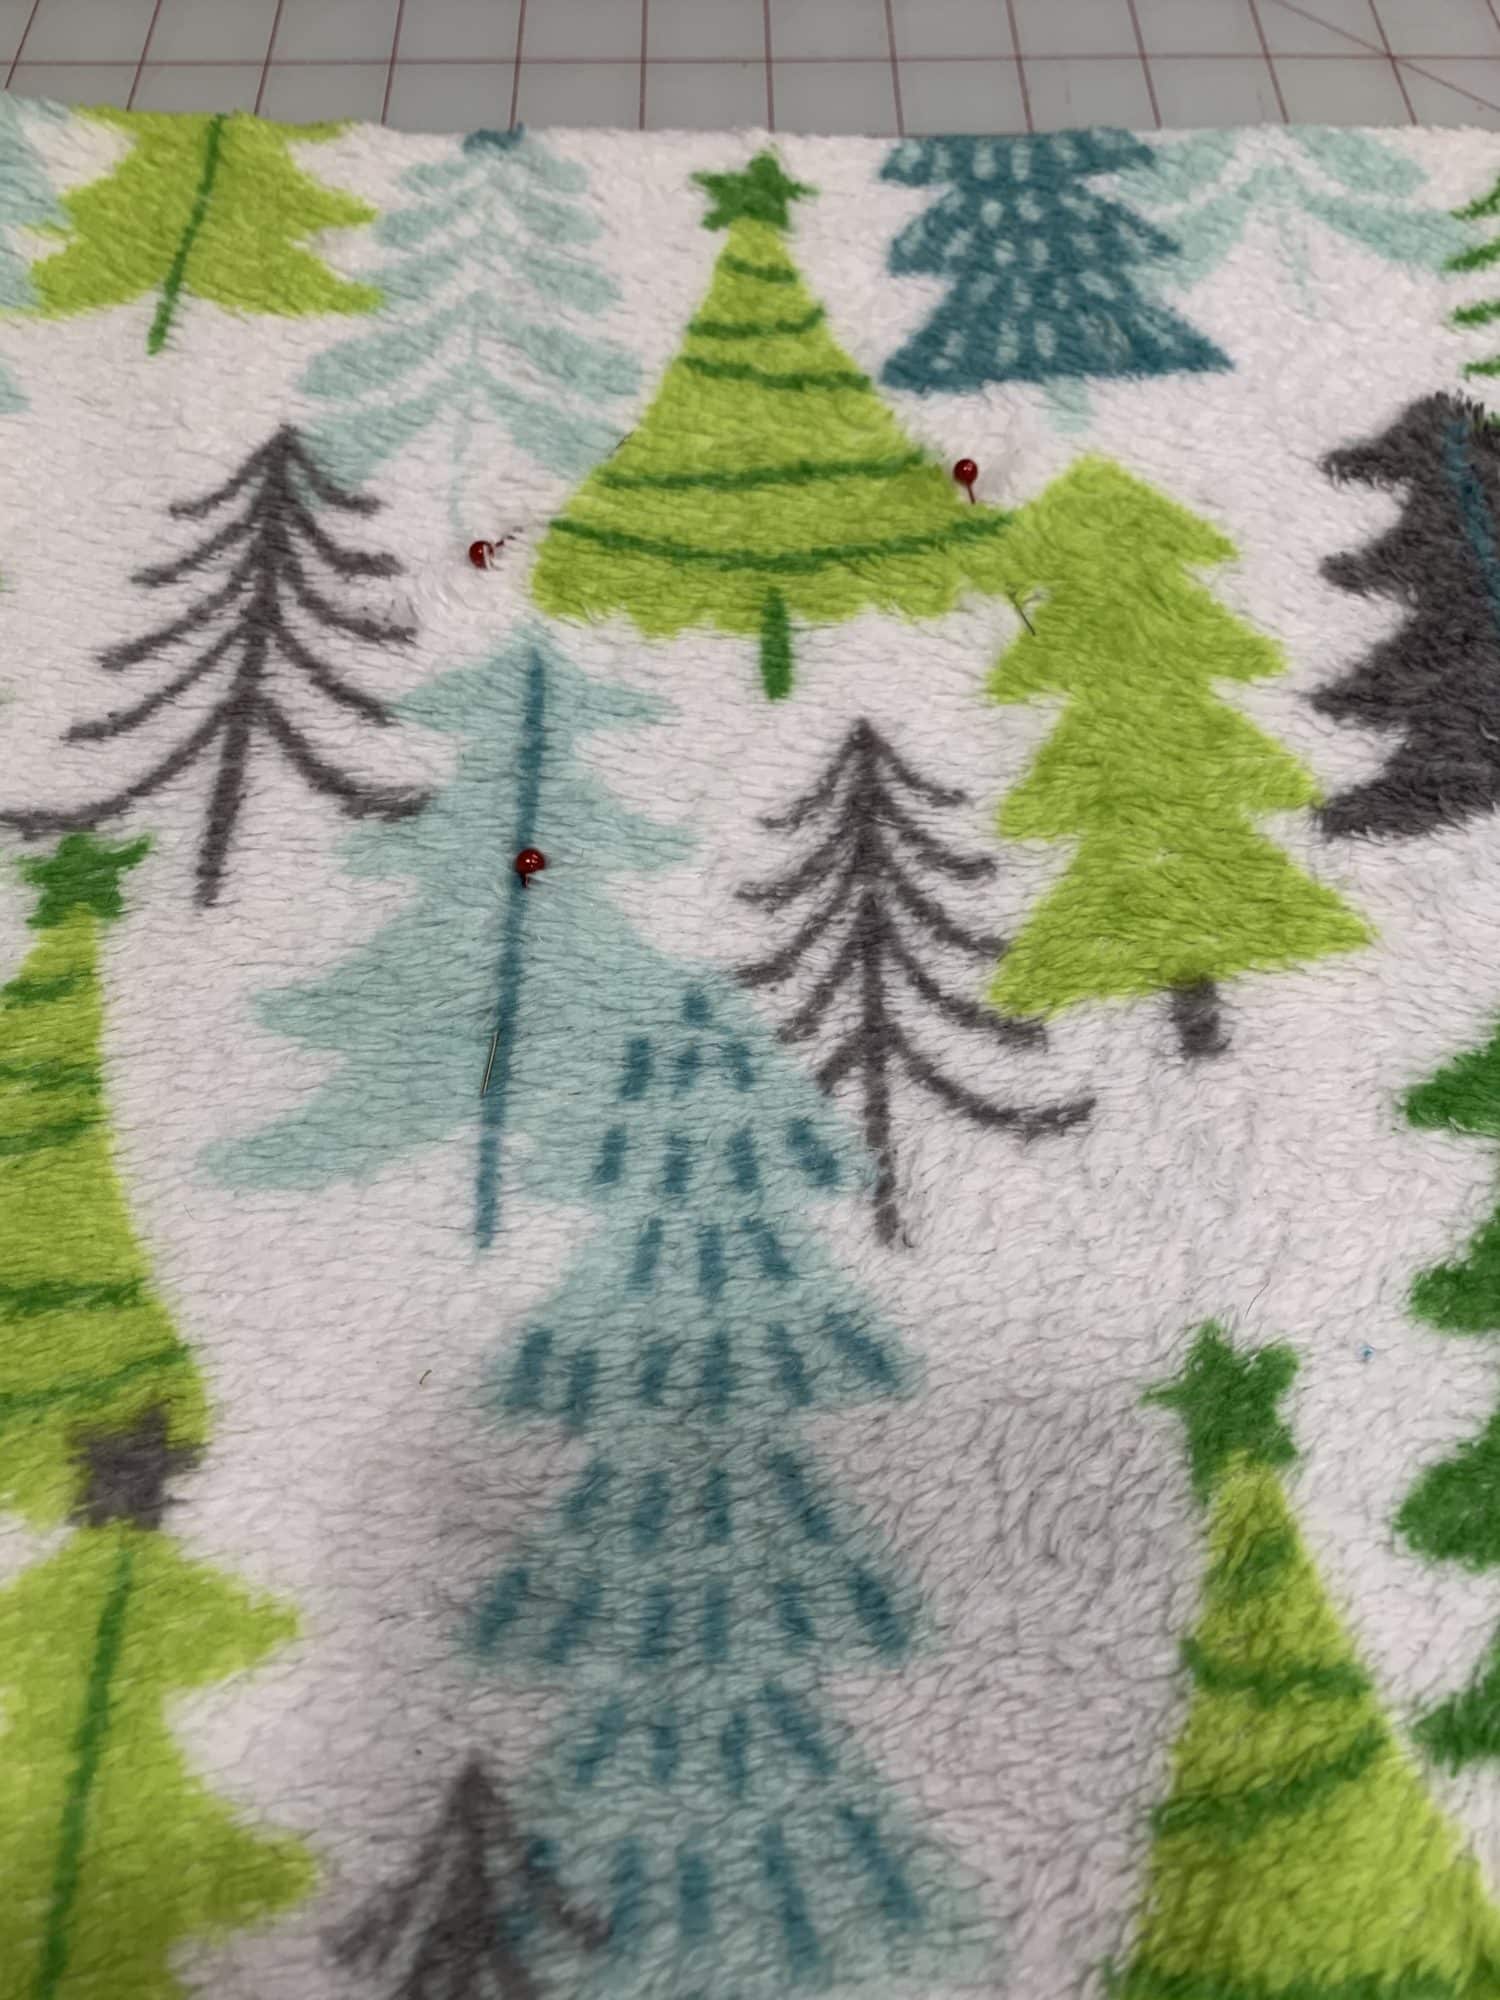
- Don’t forget to leave another opening so that you can stuff the main bed and the border! I marked my start/stop point with two pins, just so I didn’t forget to stop sewing. Not that I ever forget to leave an opening in a casing 😂
Stuffing
Stuffing can be expensive, so this is another place that I like to use what I have. I used a couple of his old beds that had a little bit of stuffing left and a couple of old pillows from around my house. You can use old clothes, fabric scraps, throw pillows, towels, etc. I lucked out because the width of this ended up being exactly the size of a bed pillow, so I just stuffed the whole pillow in there! There was some room on the ends (since this is a huge bed!), so I put his old beds into the rest of the space. I had already taken the stuffing out so they were just scraps of fleece now.
It can be a bit tedious to stuff around the borders, so grab a snack, put on a movie, and start stuffing! Or, make it a game and have your kids help! If they are anything like mine, stuffing pillows is so much fun! I forgot to take pictures of me actually stuffing, but you’ll just stuff all around the border and then the middle until you think it’s full. I tried to make my border stuffing really compact and firm so he can lay his head on it. Then, the middle part is a little more soft so that he sinks into it. That’s just personal preference.
Hand sewing
Once you like how full the bed is, it is time to hand sew the openings closed.
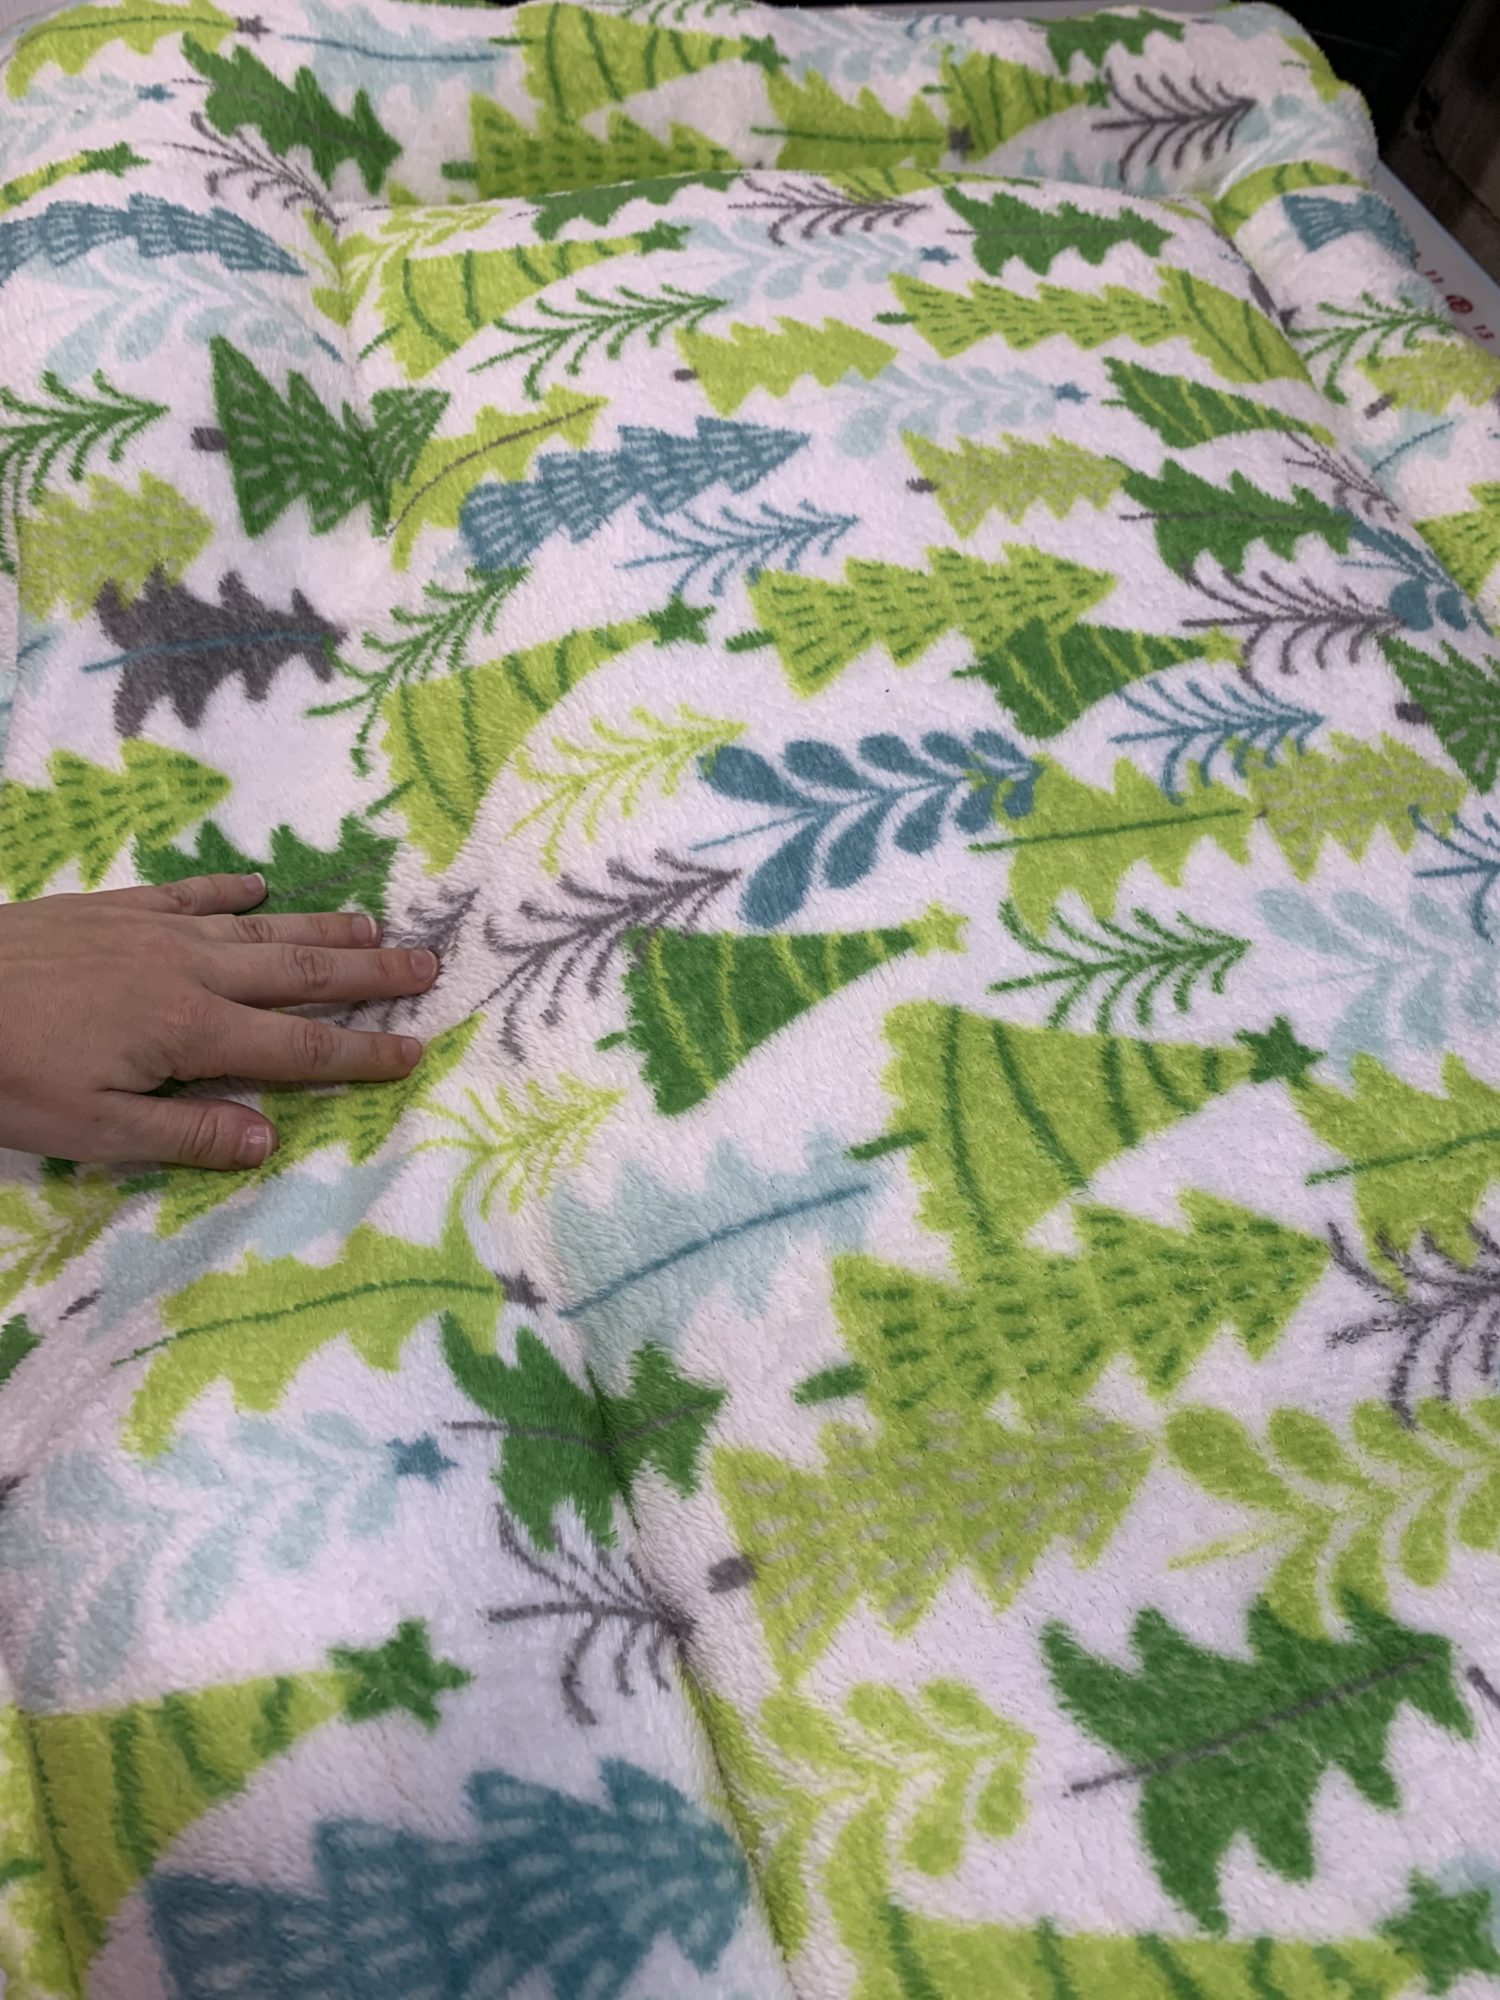
- You’ll need to sew the middle part closed first. It is really difficult to see my thread lines on this fluffy fabric, but my fingers are where the middle gets closed. You are just completing the rectangle shape in the middle.
- Then, sew the border edge closed. This is the only downfall of leaving such large gaps to fill the bed, it is a lot of hand sewing! I am, admittedly, a terrible hand sewer but, luckily, the fabric hides a lot of imperfections.
Ta Da!
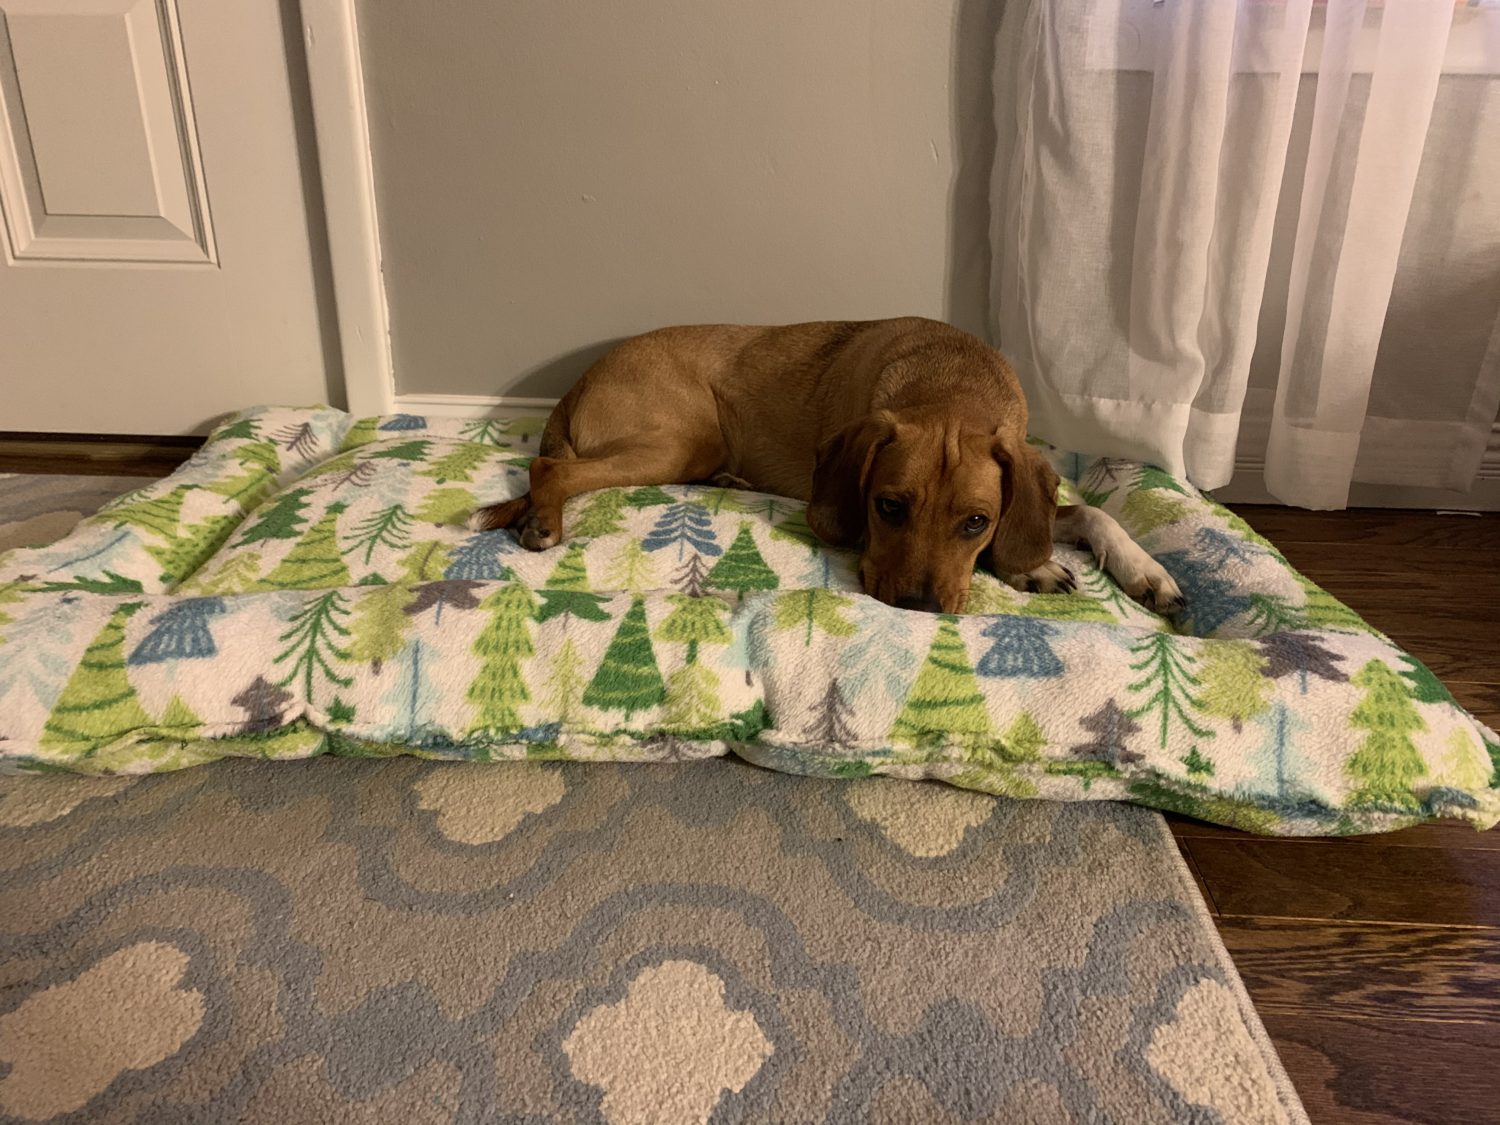
All done! I hope your pet likes their new bed as much as mine does!
Looking for more DIY tutorials? Check out the BLOG!
As always, we’re here to help if you need it! Join us HERE and on Facebook, Instagram, Twitter, Youtube, and Pinterest. We’re everywhere you are.
What a great upcycle idea! I can’t wait to make one for my friends new puppy.
Can’t wait to see it!
I love this. But it’s it hard to stuff the back side of the border? The border does make it look less like a pile. Great job & thank you for this wonderful pattern.
I didn’t have a problem stuffing it. The large opening helped and my borders were 7 inches so I could easily get my arm through. You could always leave an opening on both sides, too!
This is great. I do have several throws that I could do this with. Thank you!
Thank you for this idea! I’m predicting lots of fleece scraps from making a ton of noise is for Christmas. I think I’ll put a zipper in this pet bed, and keep stuffing as the scraps become available.