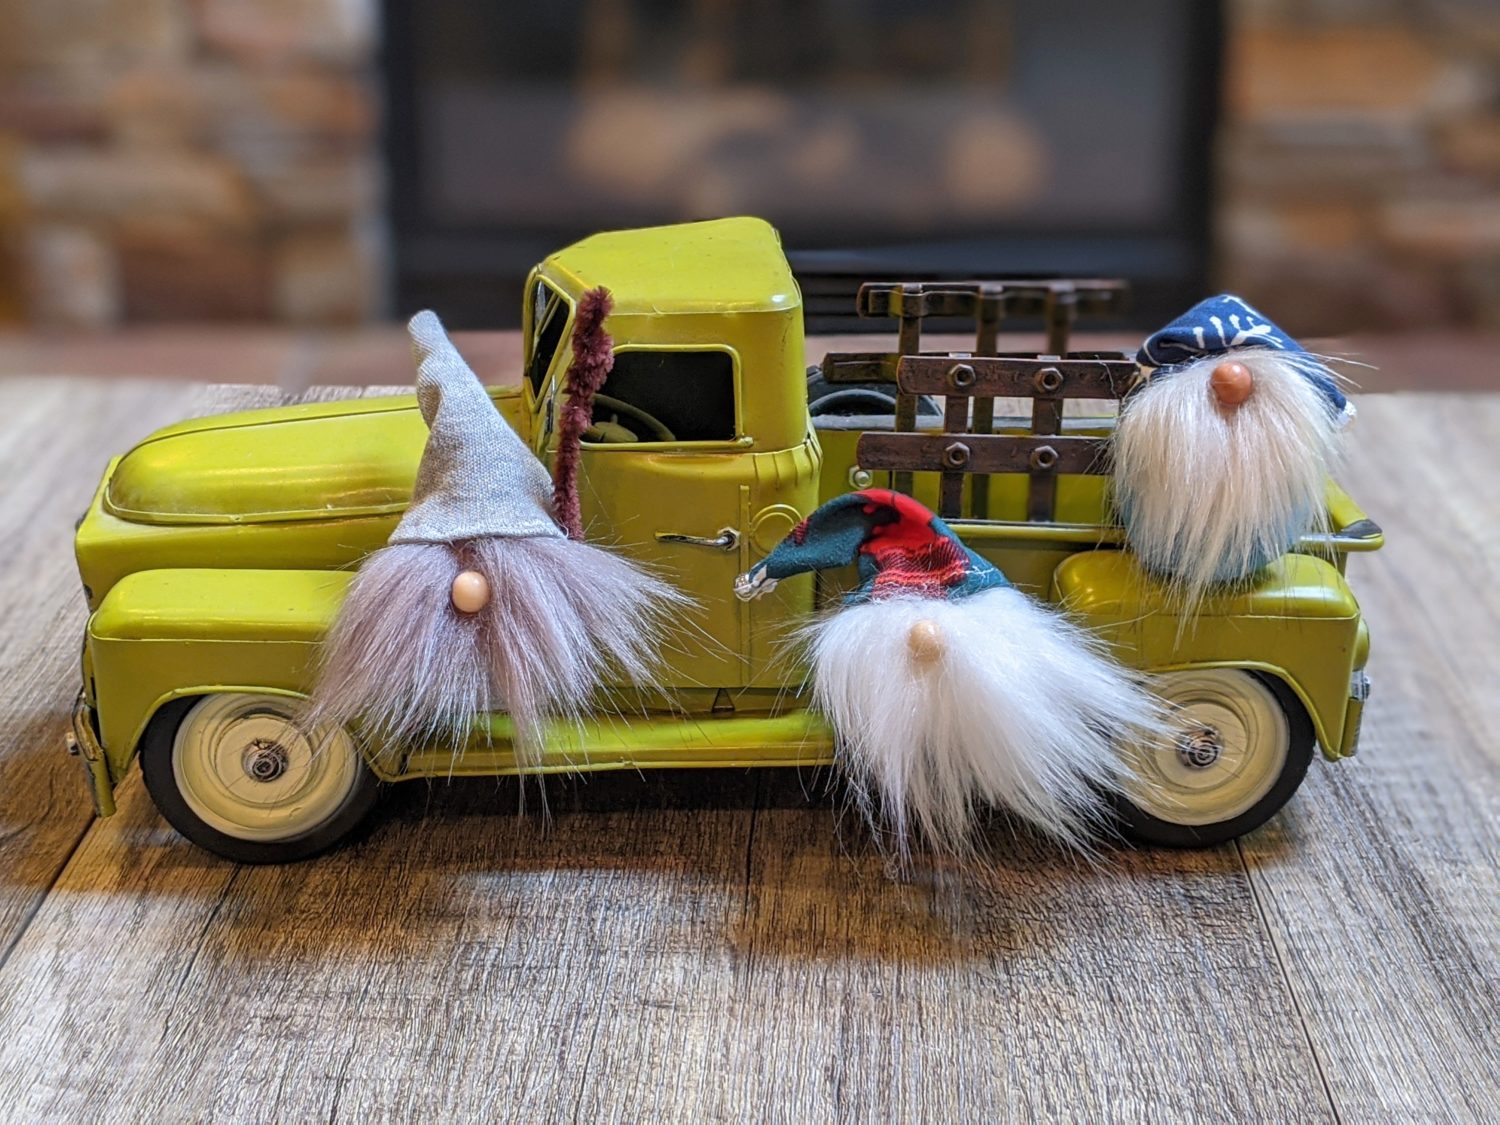
I don’t have a gnome obsession, I swear! Fortunately for me, my girl’s school mascot is the gnomes, so I always have an excuse to make them. I may or may not that I have gnomes for every holiday, but I came up with these cute tiny gnomes for a fun holiday decoration or gift and a great scrap buster! Follow along and I’ll walk you through how to make them.
Supplies:
- Any type of small fabric scraps
- Stuffing (or more fabric scraps)
- Craft fur
- Wood bead or clay for the nose
- Needle and thread or small rubberband
- Decorative bead or bell for the hat
- Hot glue gun
- Razor/Exacto knife
- Magnet
Building Your Gnome
Body:
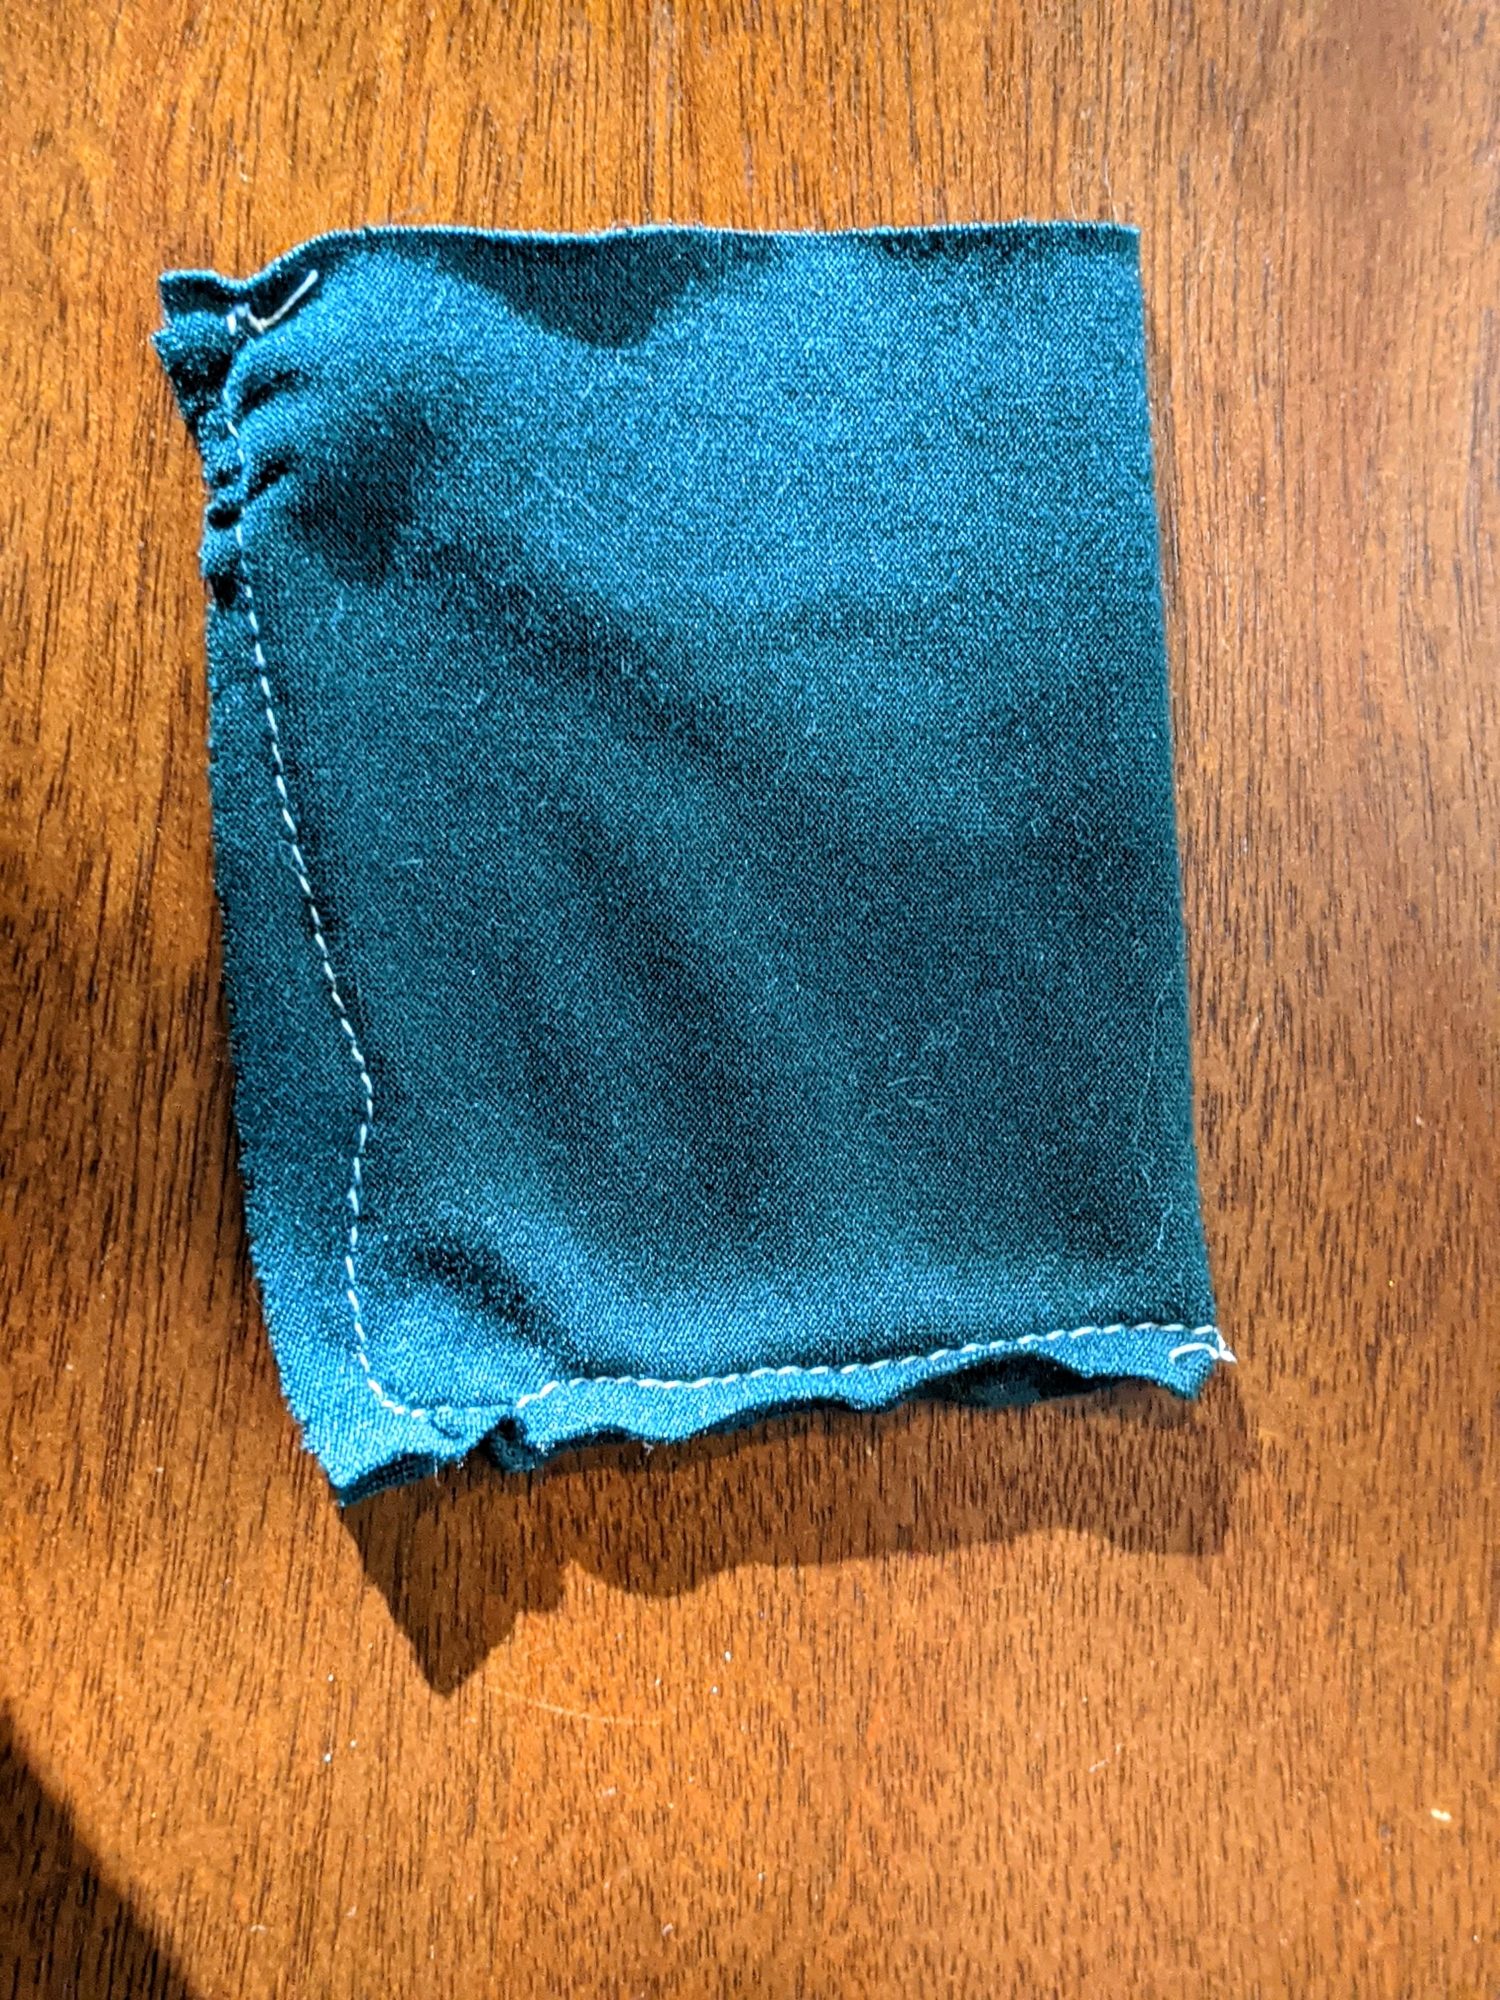
- Starting with your square body piece, fold it in half wrong sides together
- Sew along the bottom and long side

Body 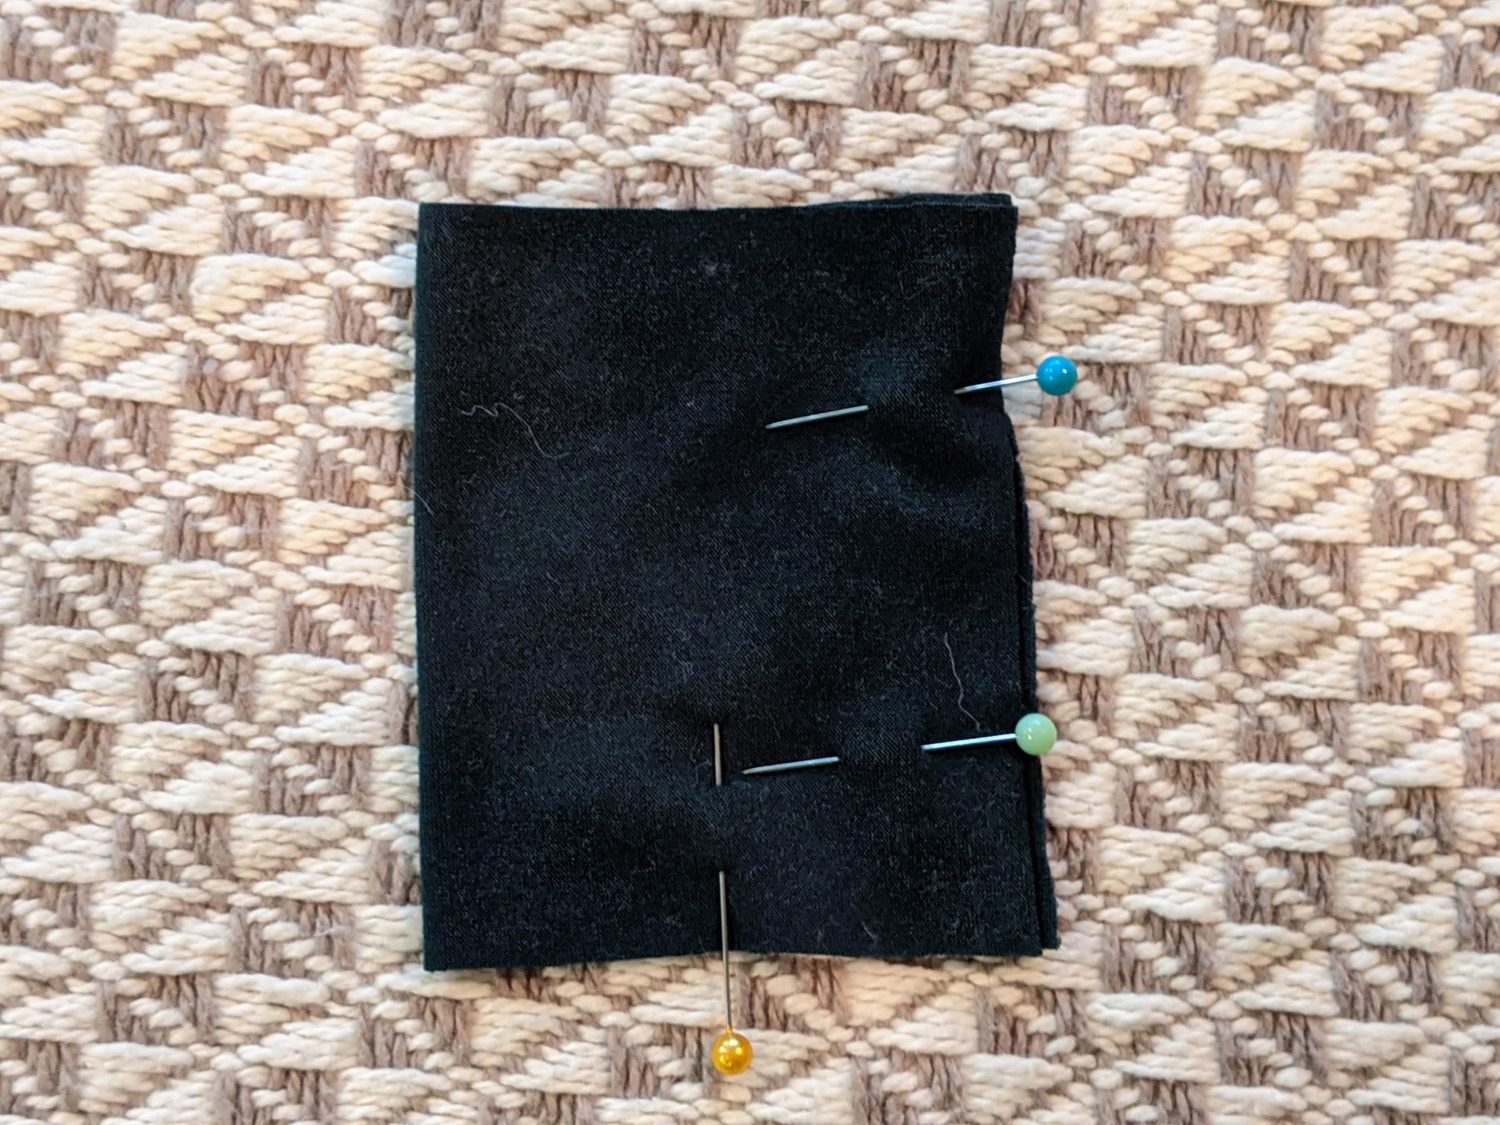
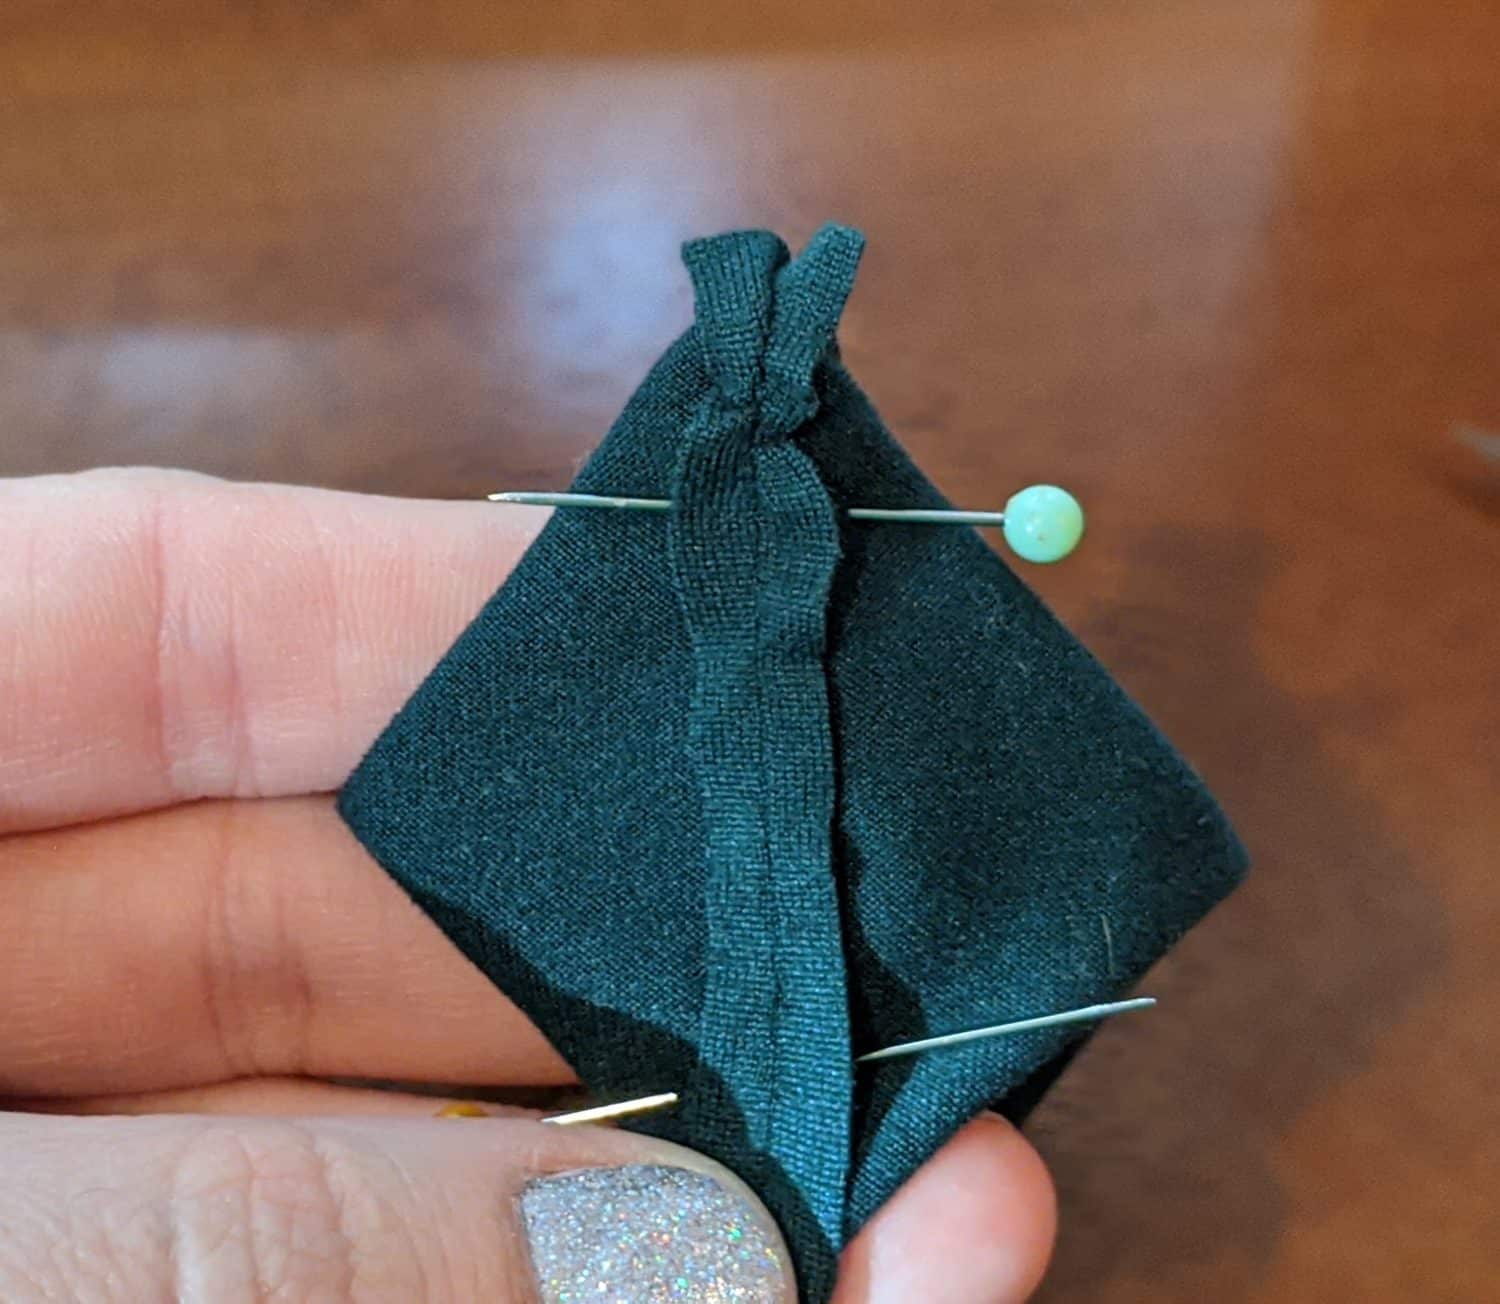
Optional: This step is to make the bottom of the gnome a flat surface. You don’t have to do this and can just leave it as-is if you choose.
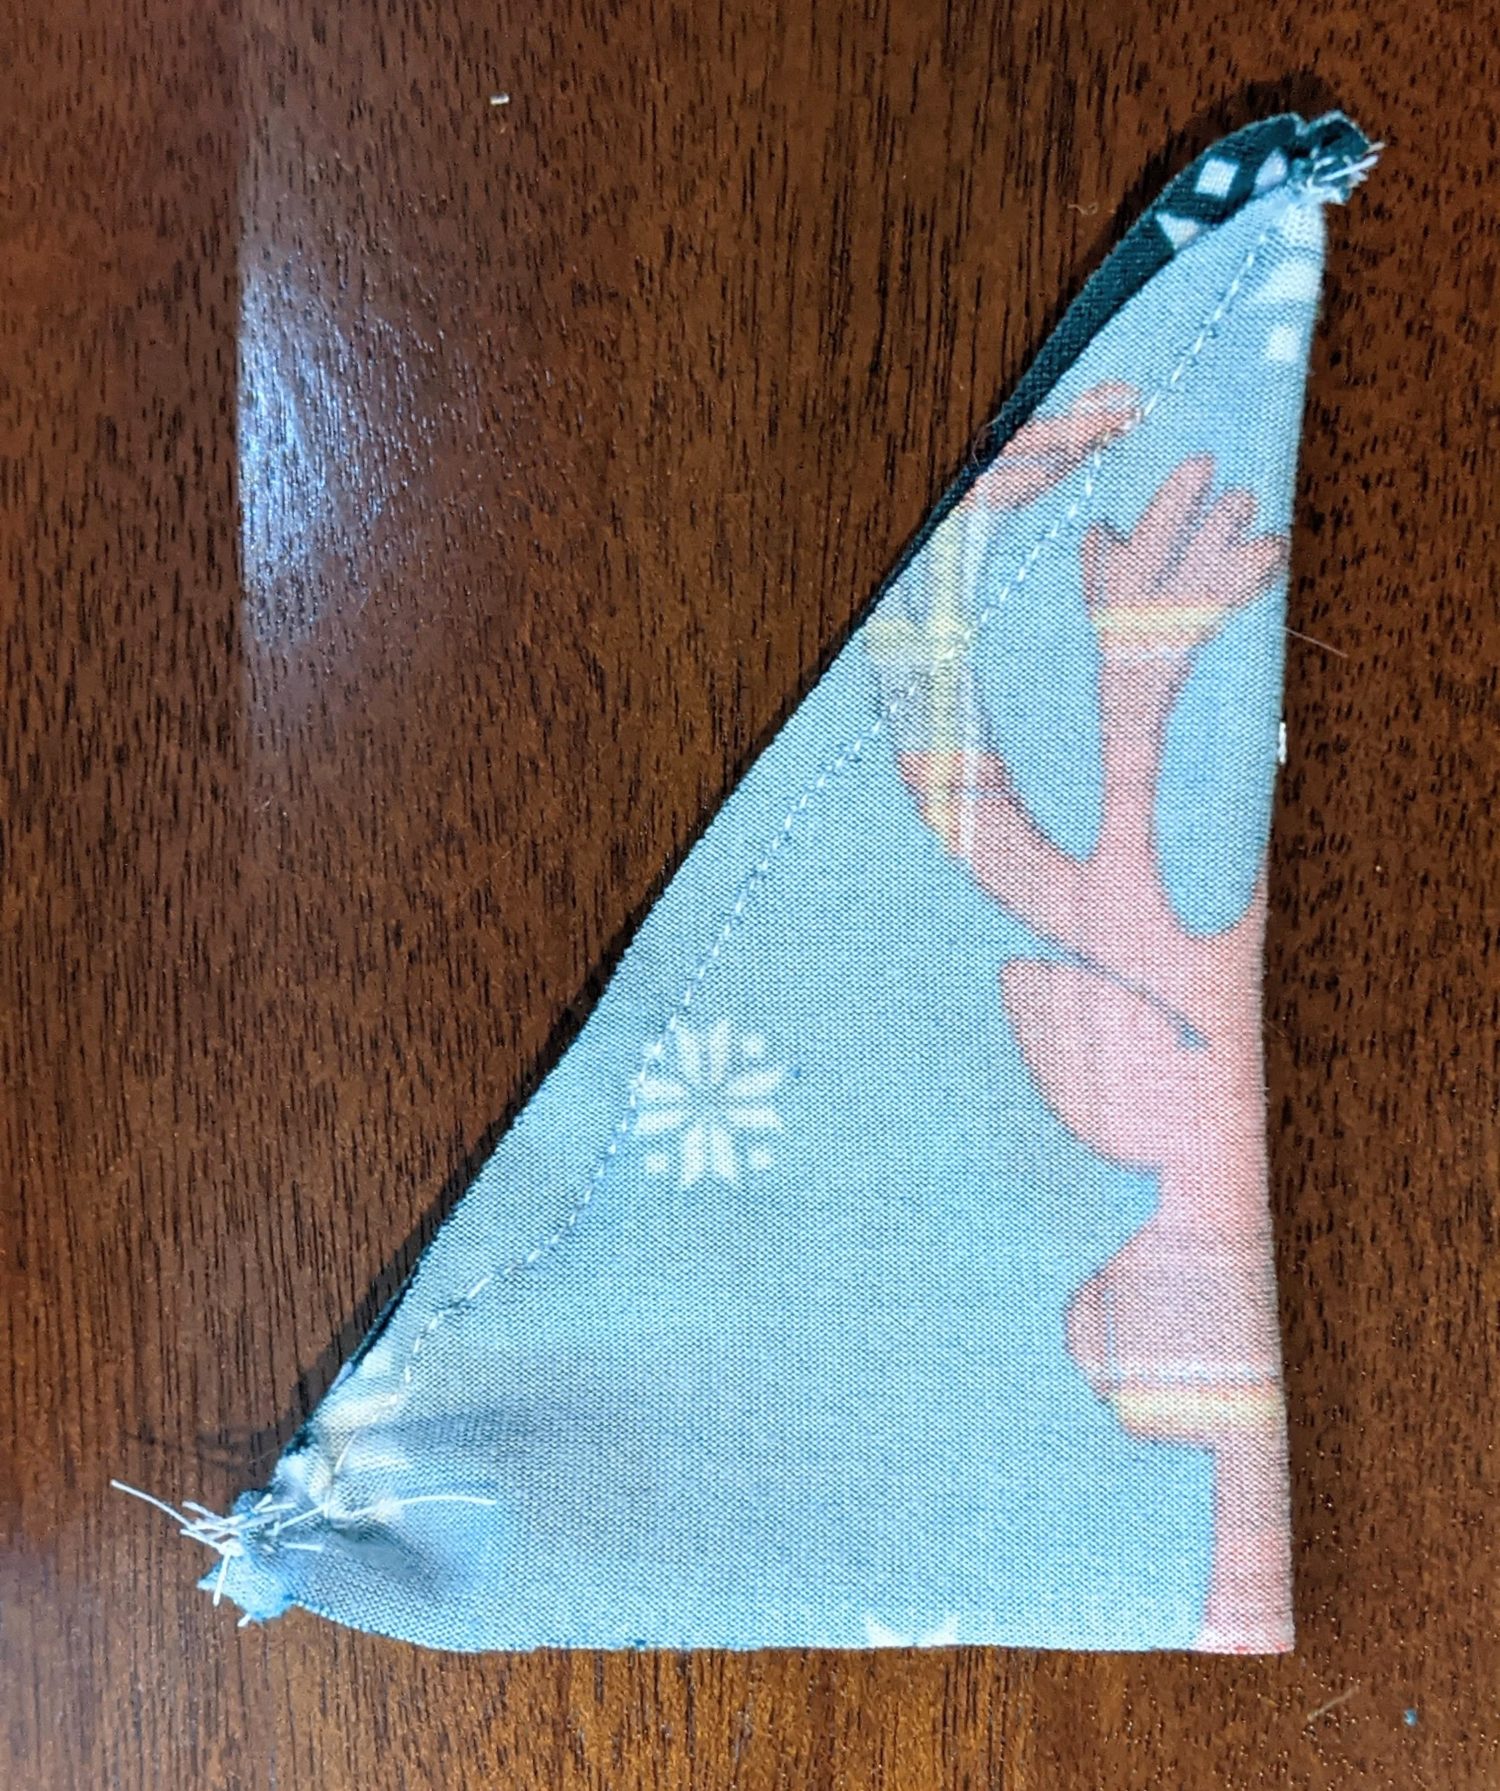
- Fold the bottom into a point on each side
- Sew across each side and trim off the excess fabric

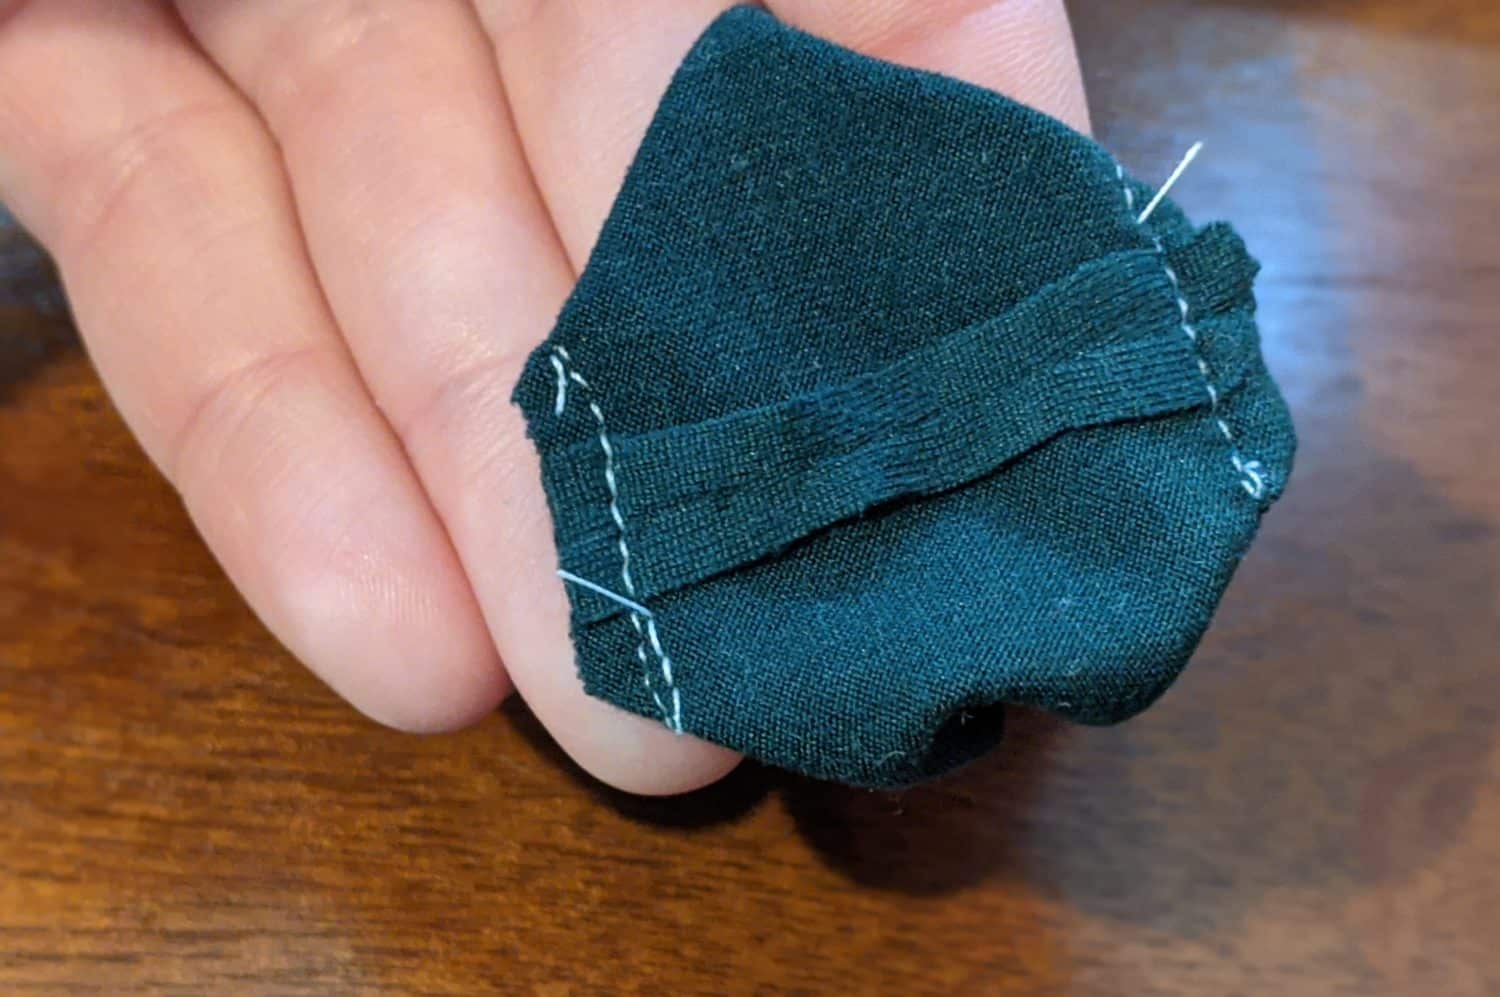
- Turn the body right side out
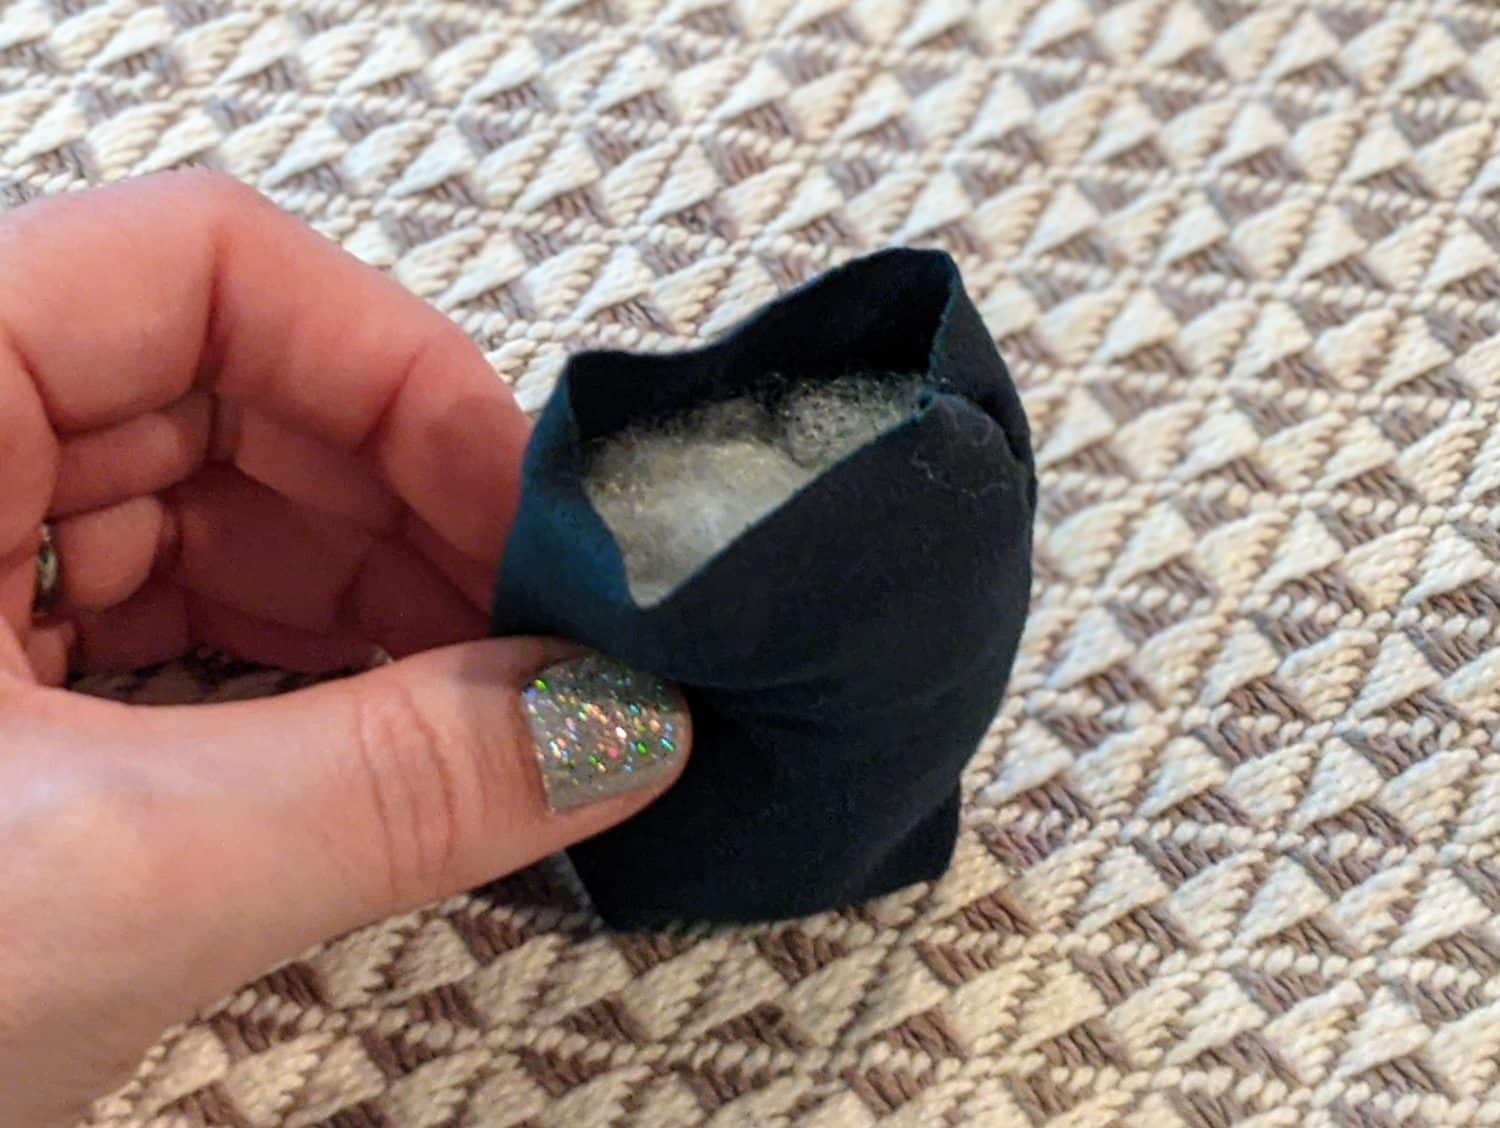
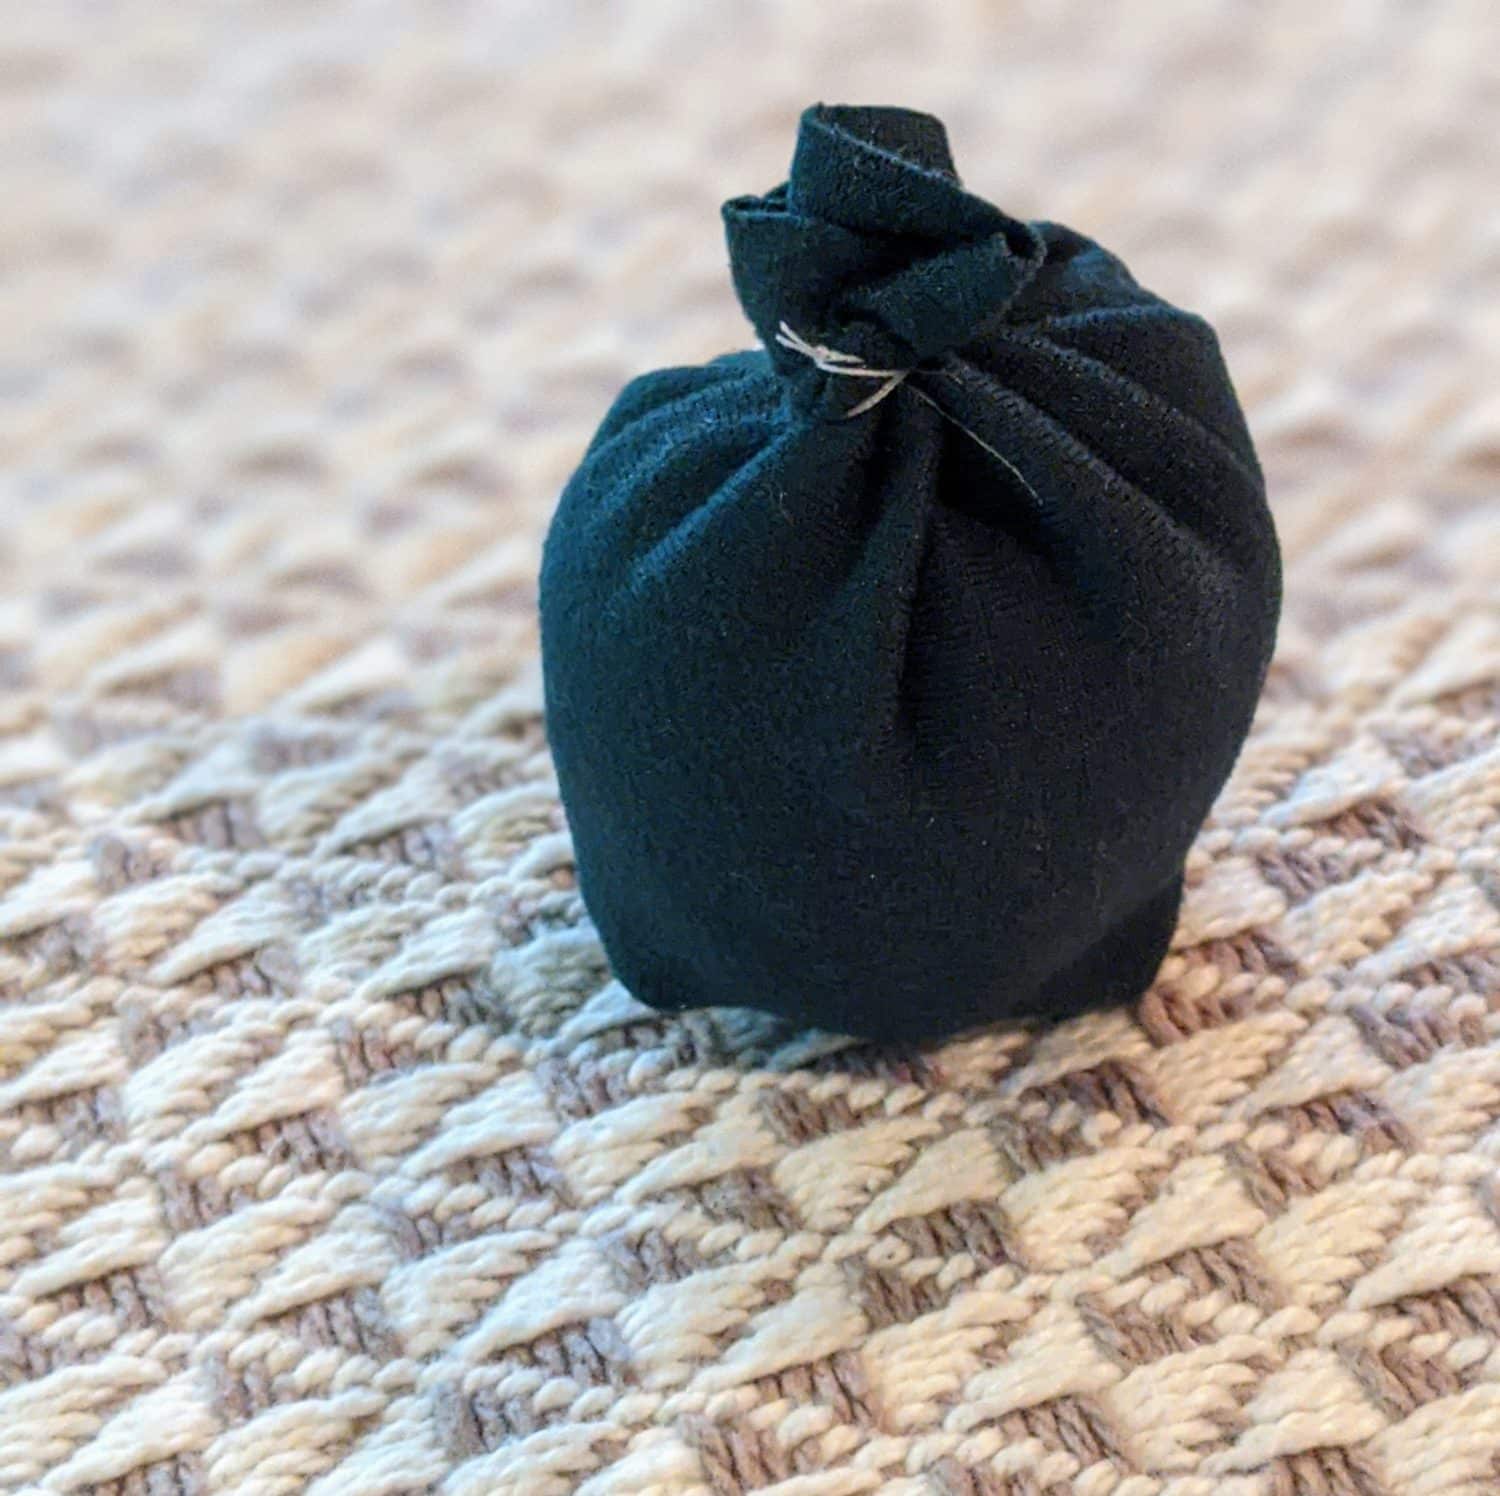
- Put in stuffing (Optional: If you want to make this just a mini gnome without a magnet, you can add a small amount of rice or dried beans to the bottom before stuffing to give the bottom a little weight and be able to stand up.)
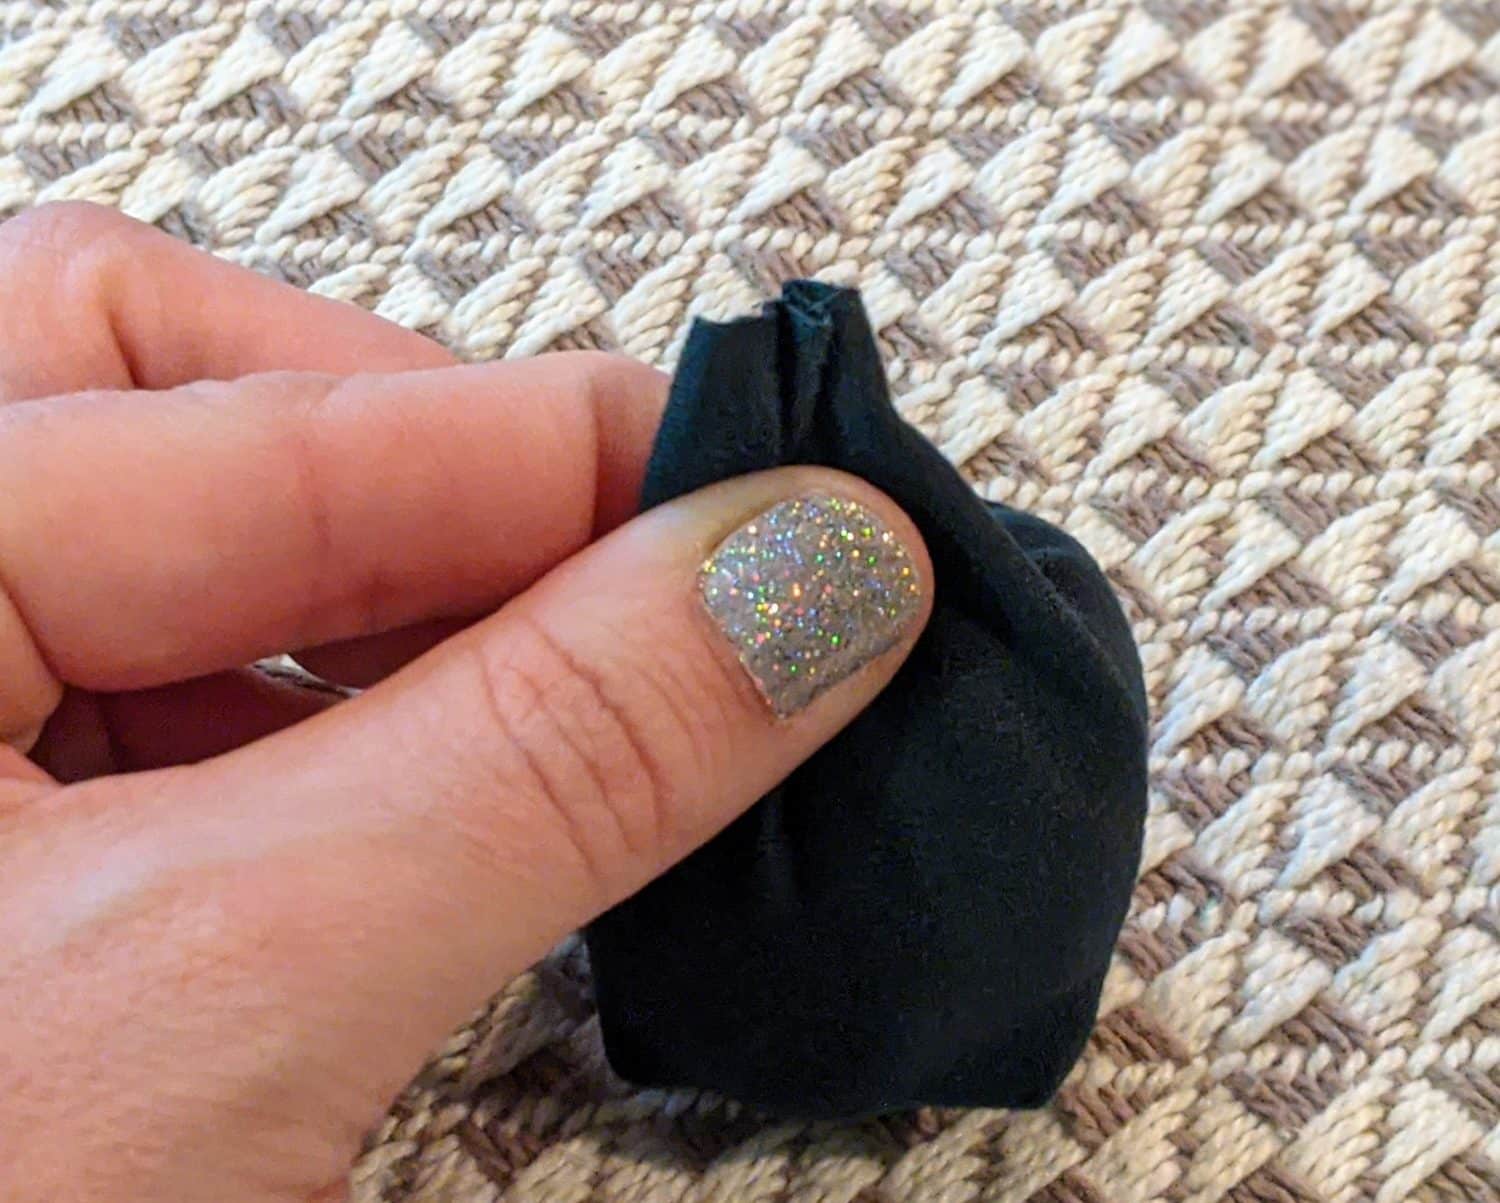
- Pinch the top together and sew with a needle and thread or secure with a small rubber band
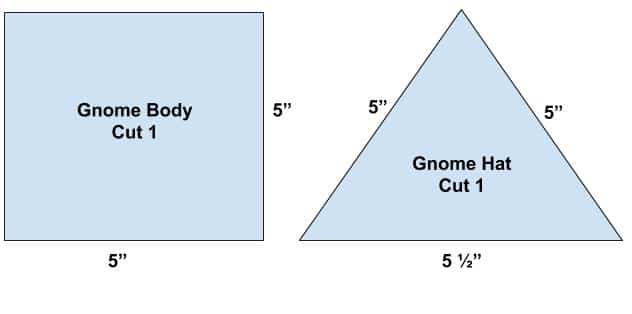
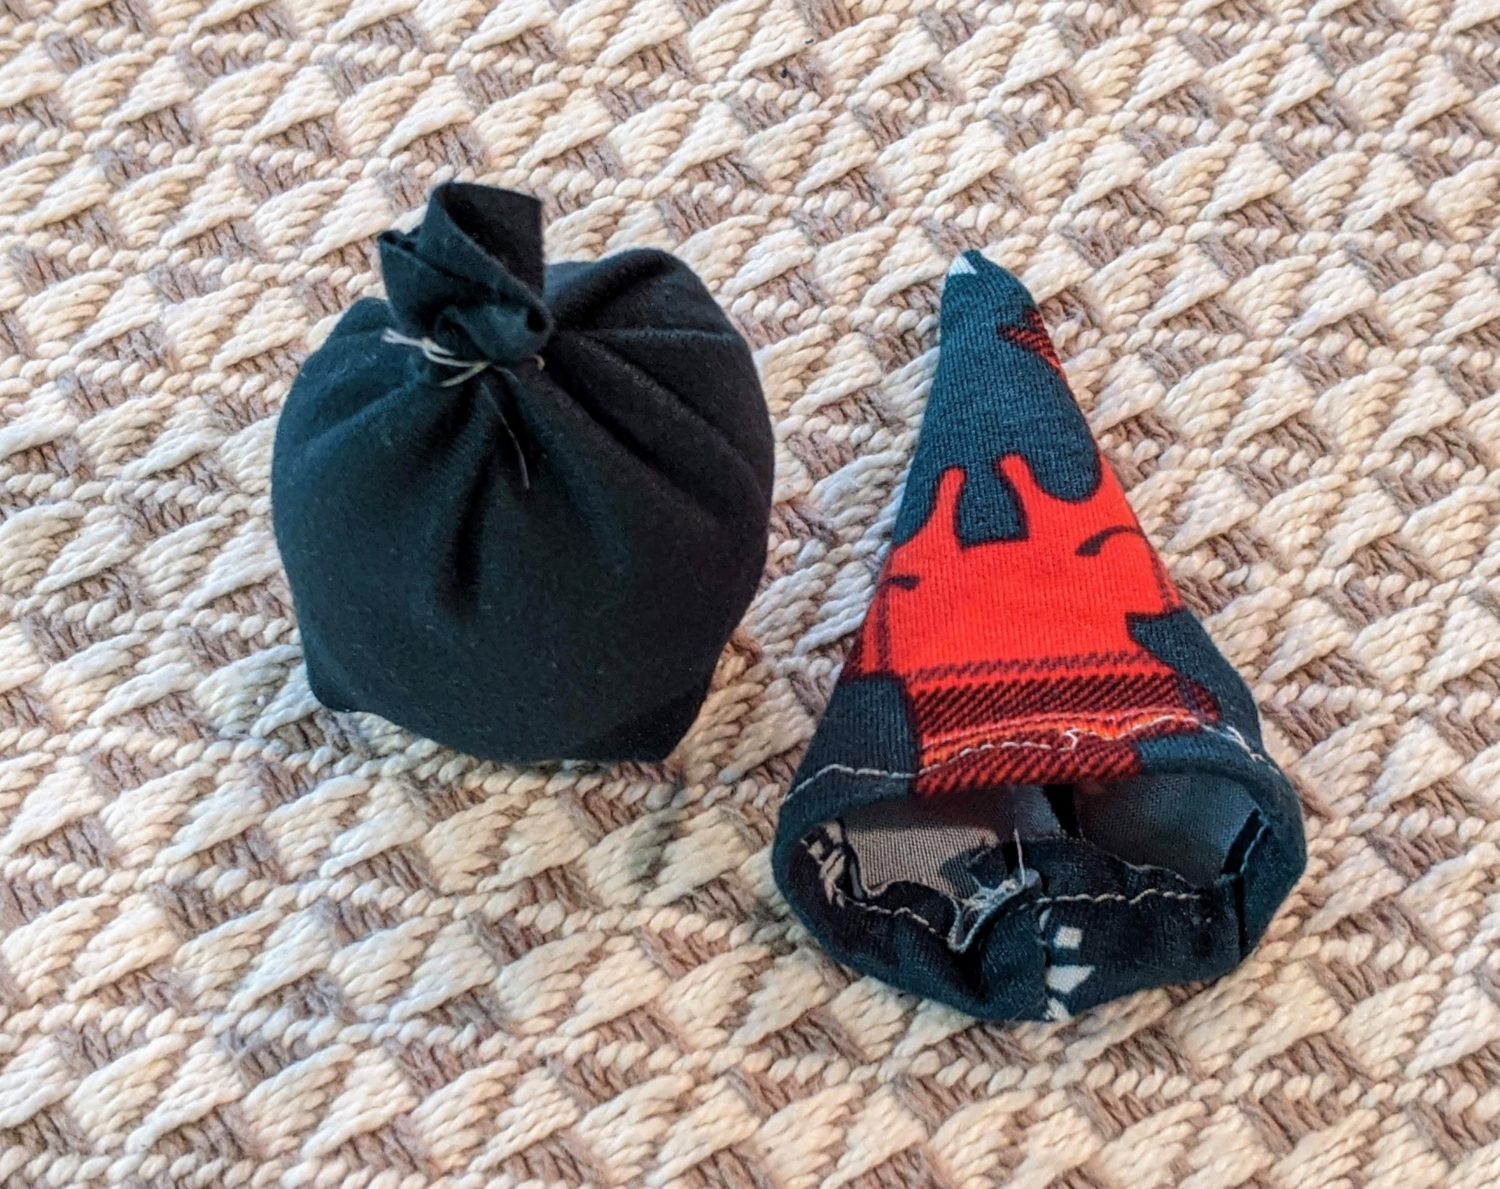
Hat:
- Grab your triangle hat piece and fold the 5 1/2″ side in half
- Sew down the diagonal side
- Optional: Hem the bottom of the hat
- Turn right side out
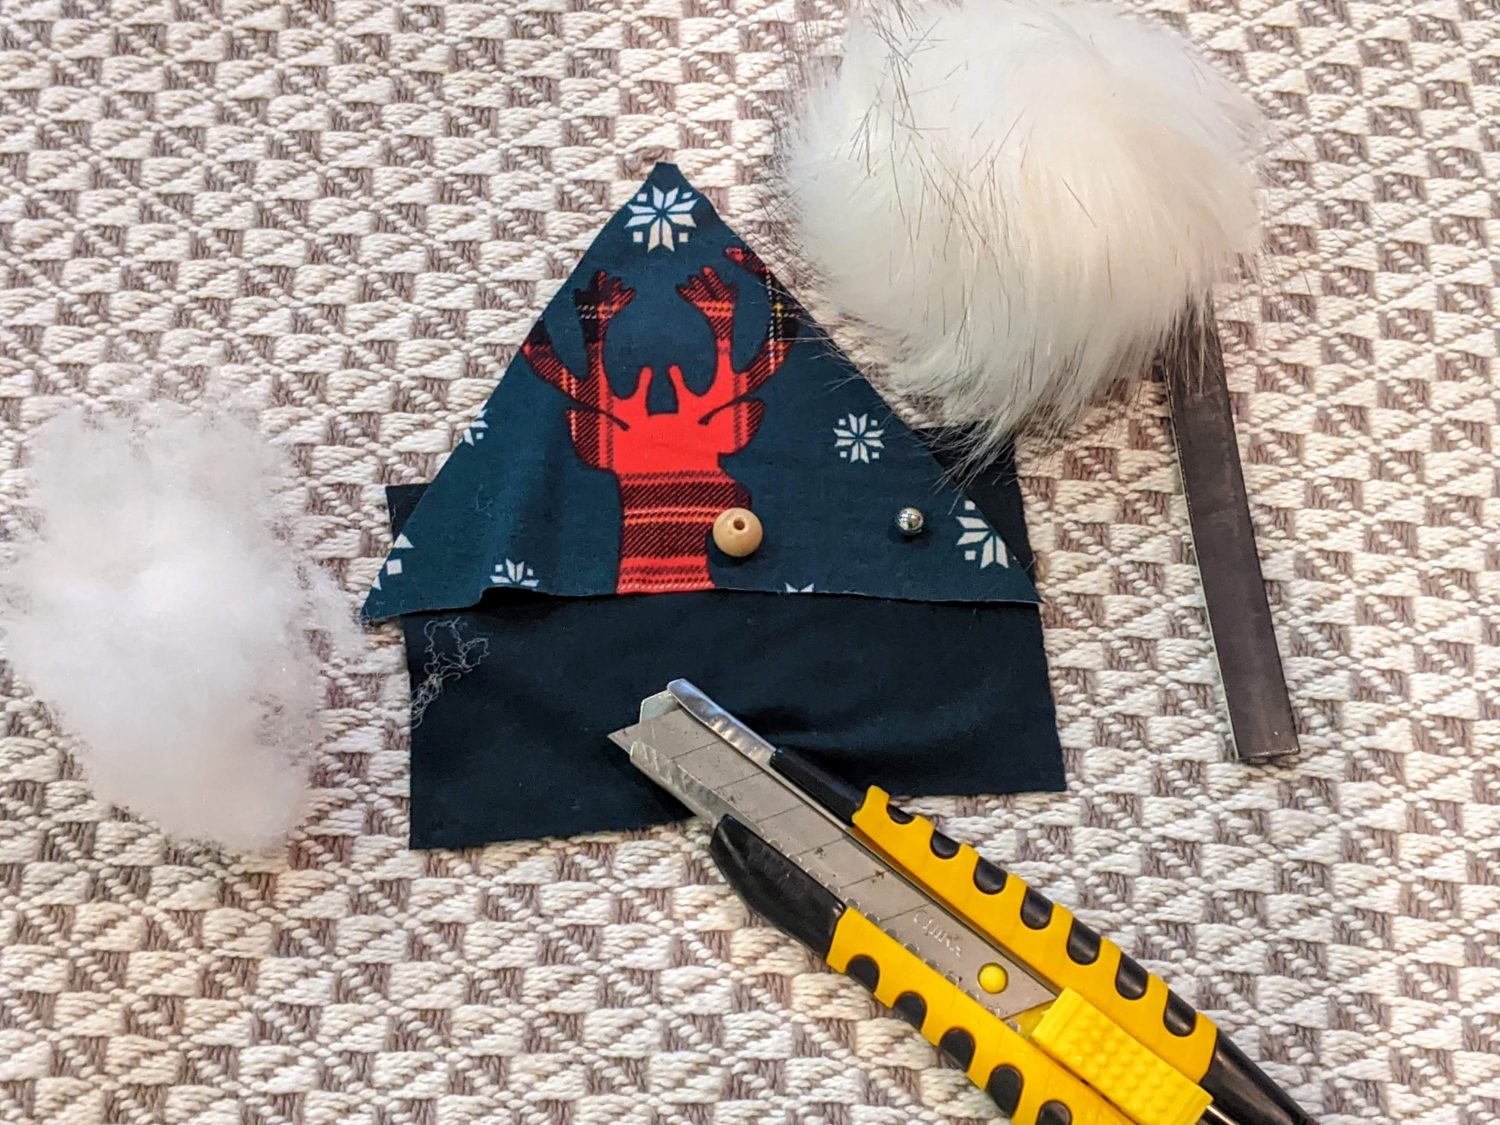
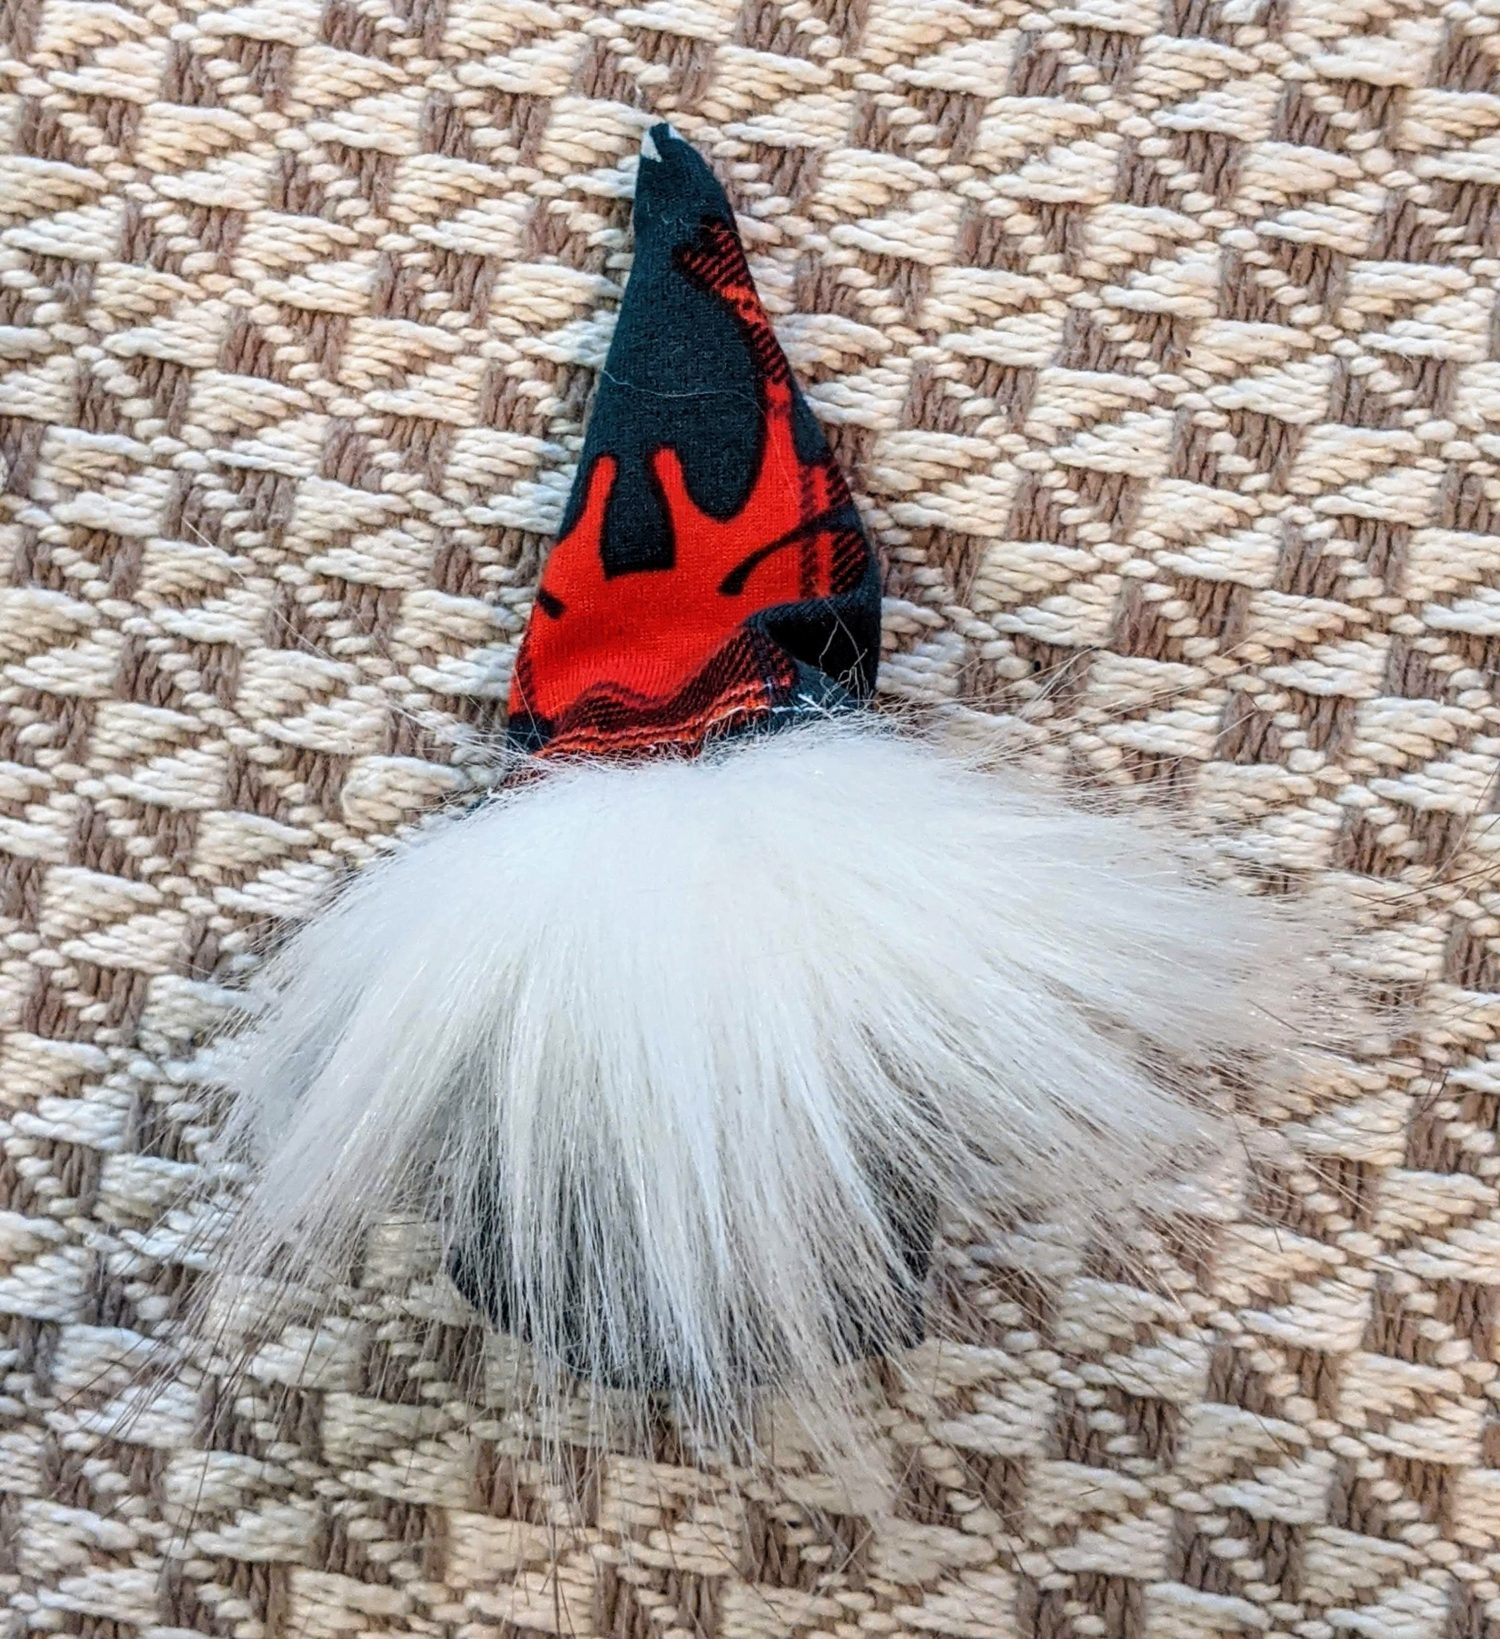
Time for a beard trim!
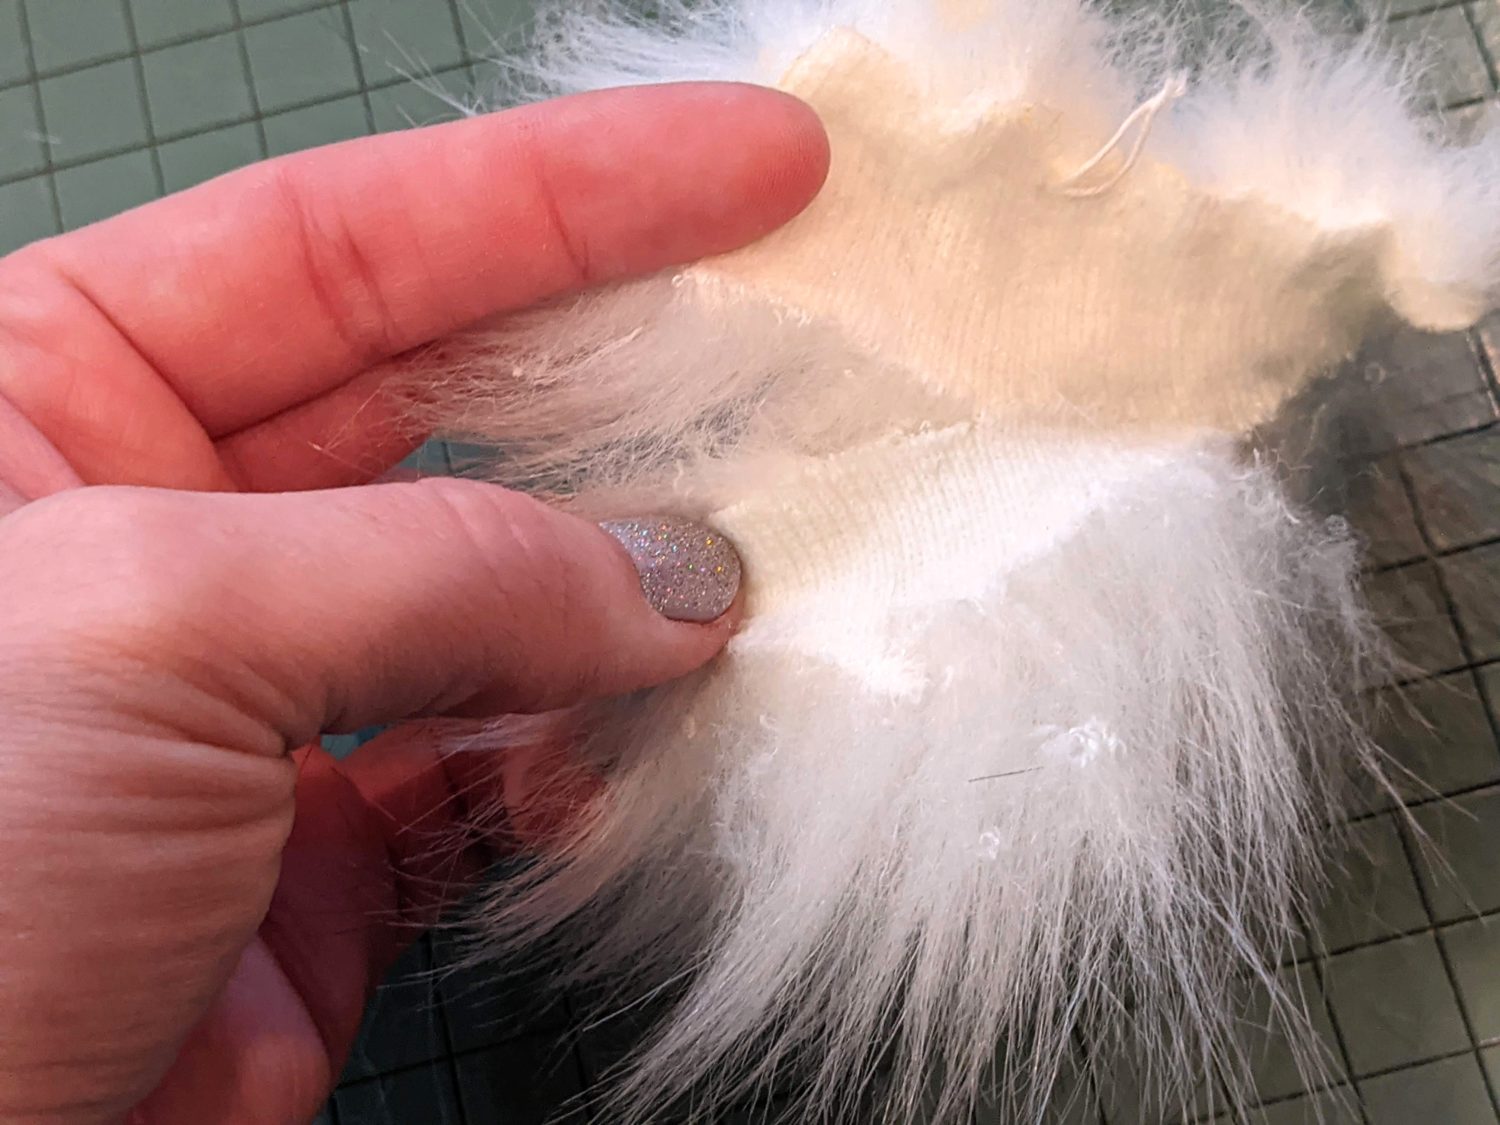
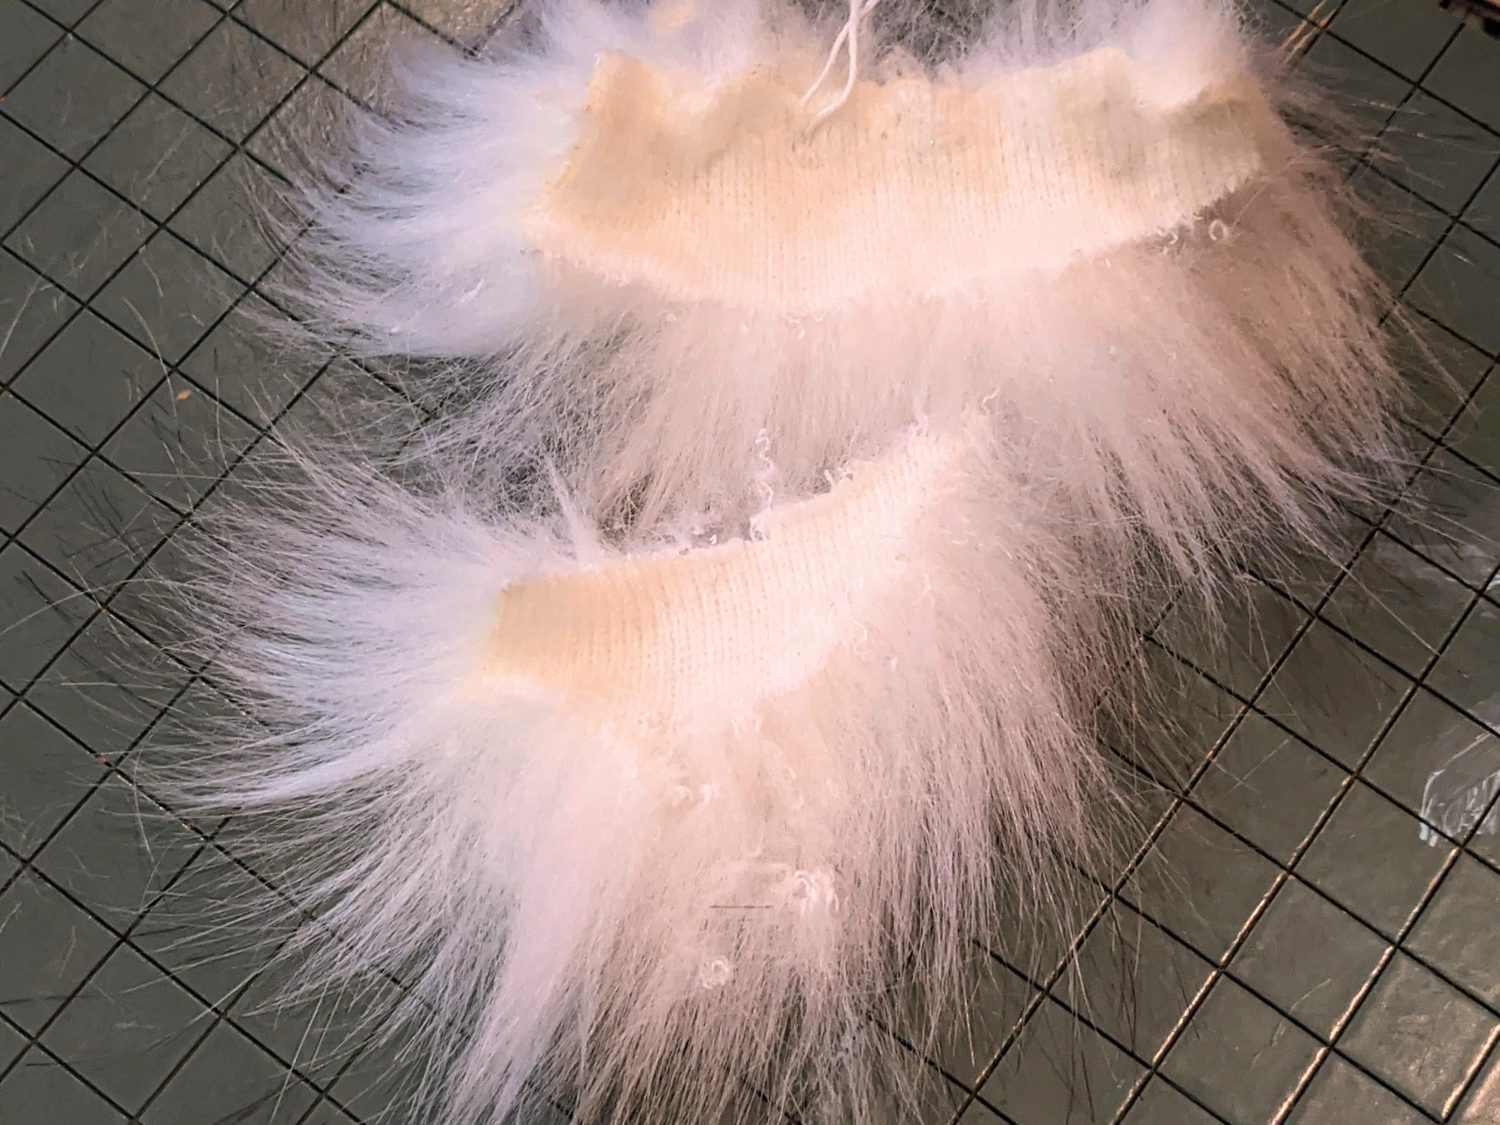
- Turn your craft fur over so the fabric backing is facing up
- You can draw out where you want to cut if you’d like, mine is a small triangle shape
- Using a razor or Exacto knife, cut in small strokes along the back, this will help keep the fur a beard texture. If you use scissors and just cut across, you will end up with a blunt cut beard.

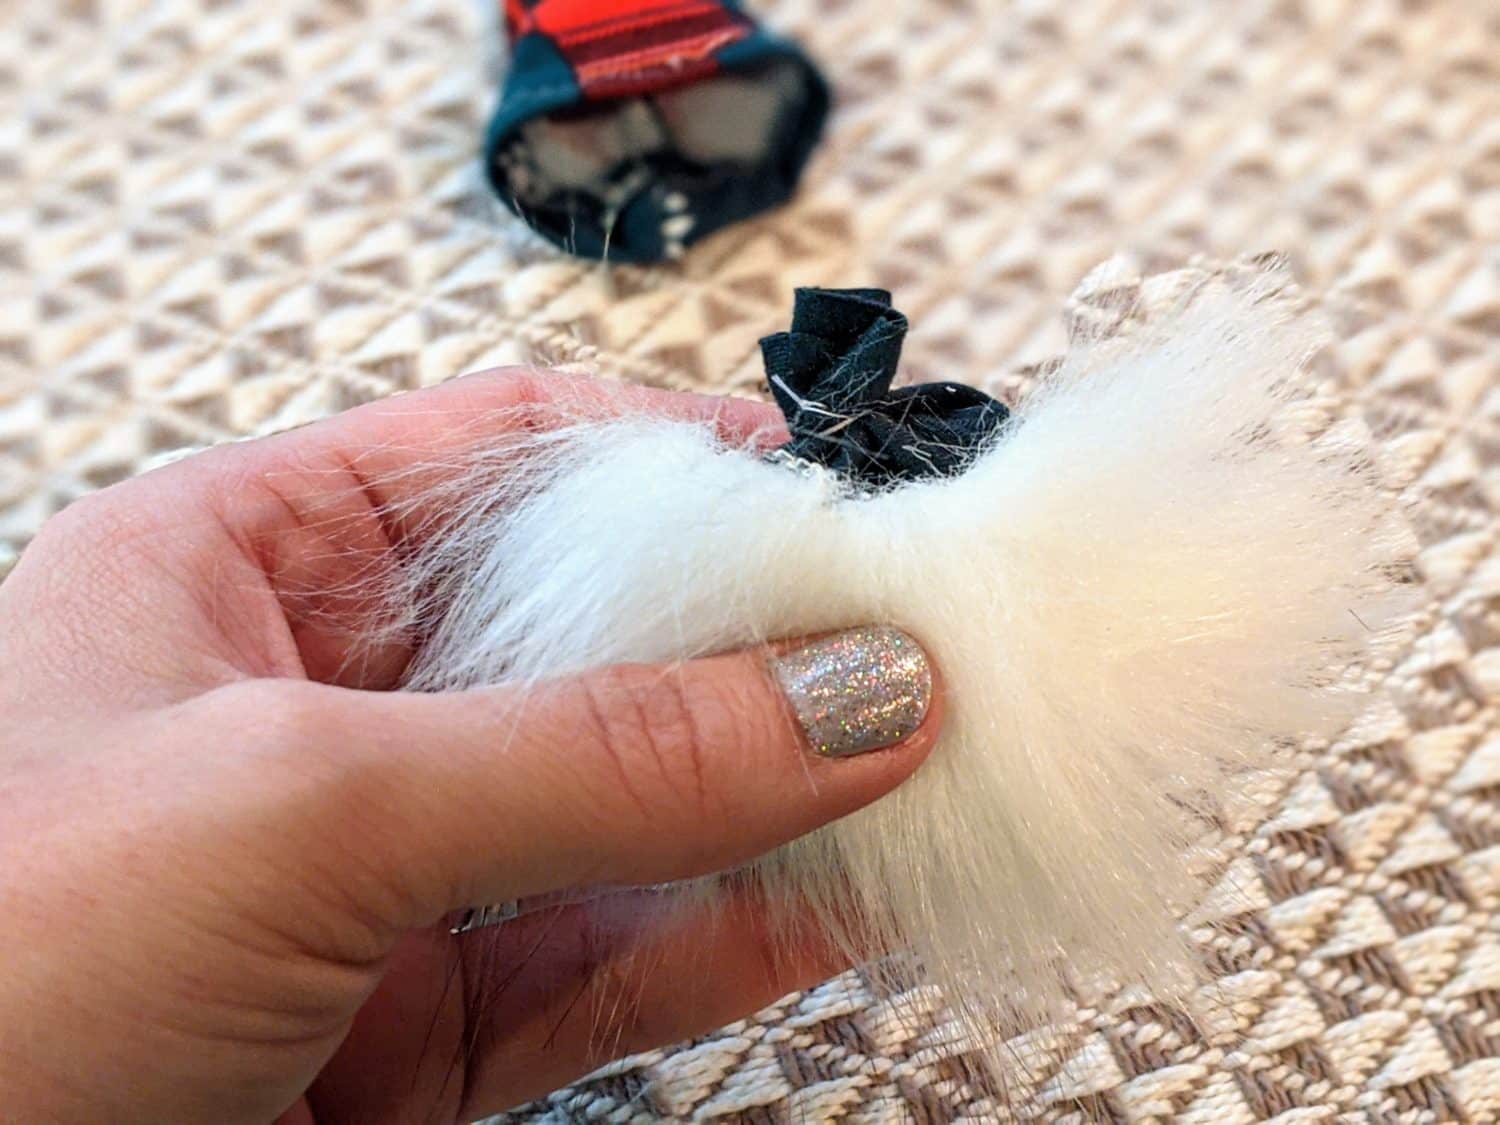
- Hold your beard onto the body to decide on their placement
- Using your hot glue gun, glue the top of the beard in place to the body
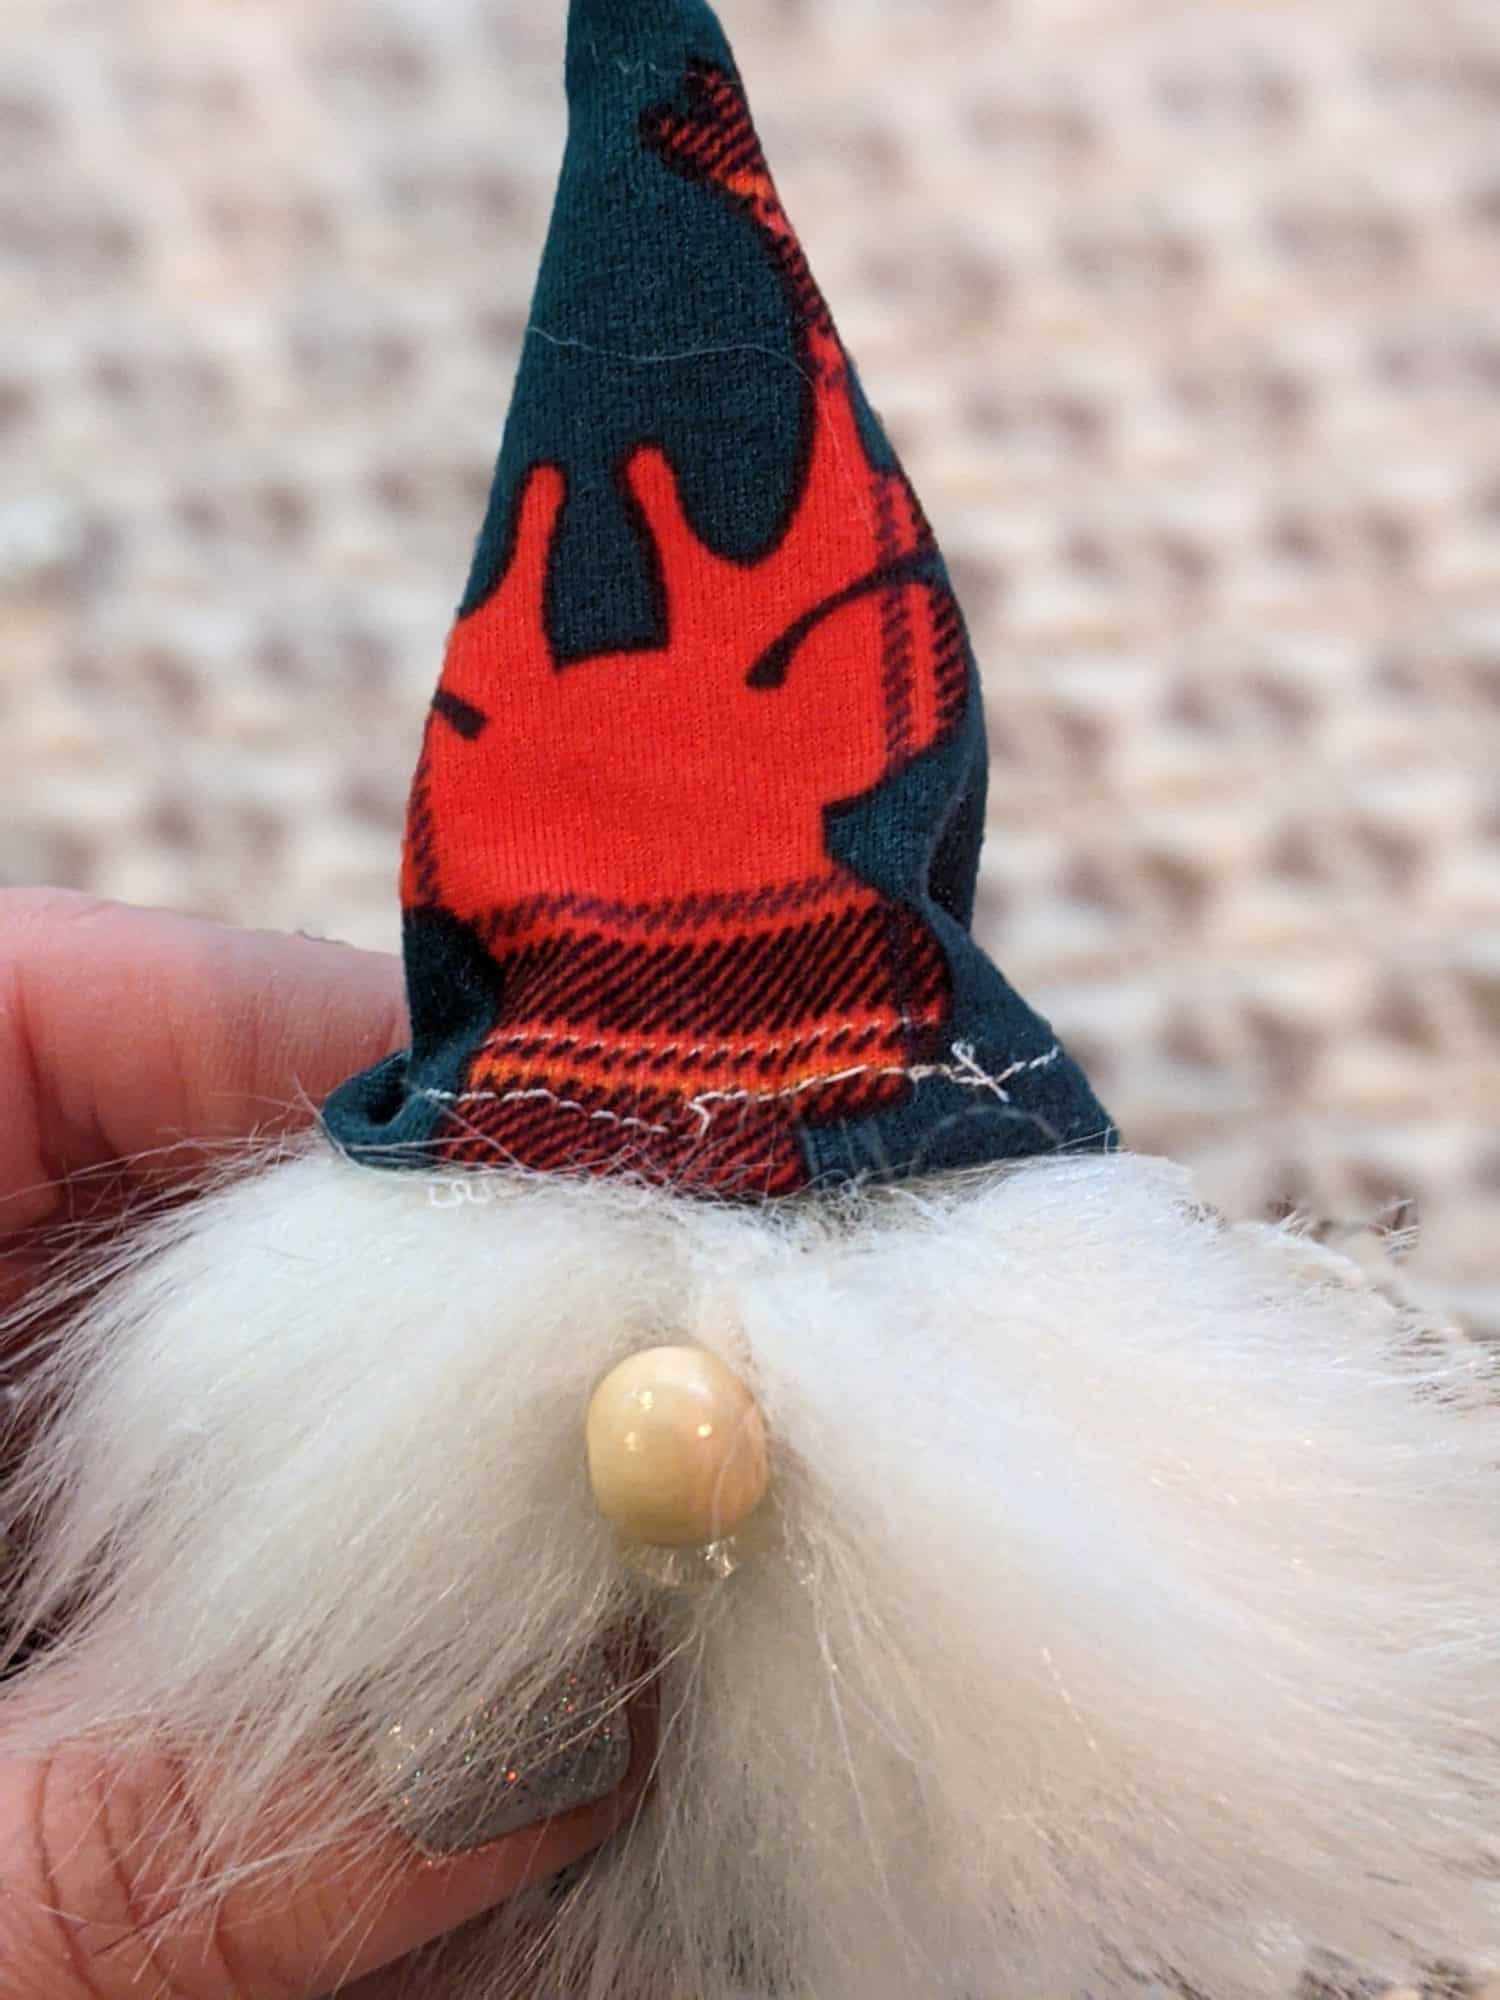
- Set the hat on top and put a small drop of glue on the front, back, and each side to hold it in place

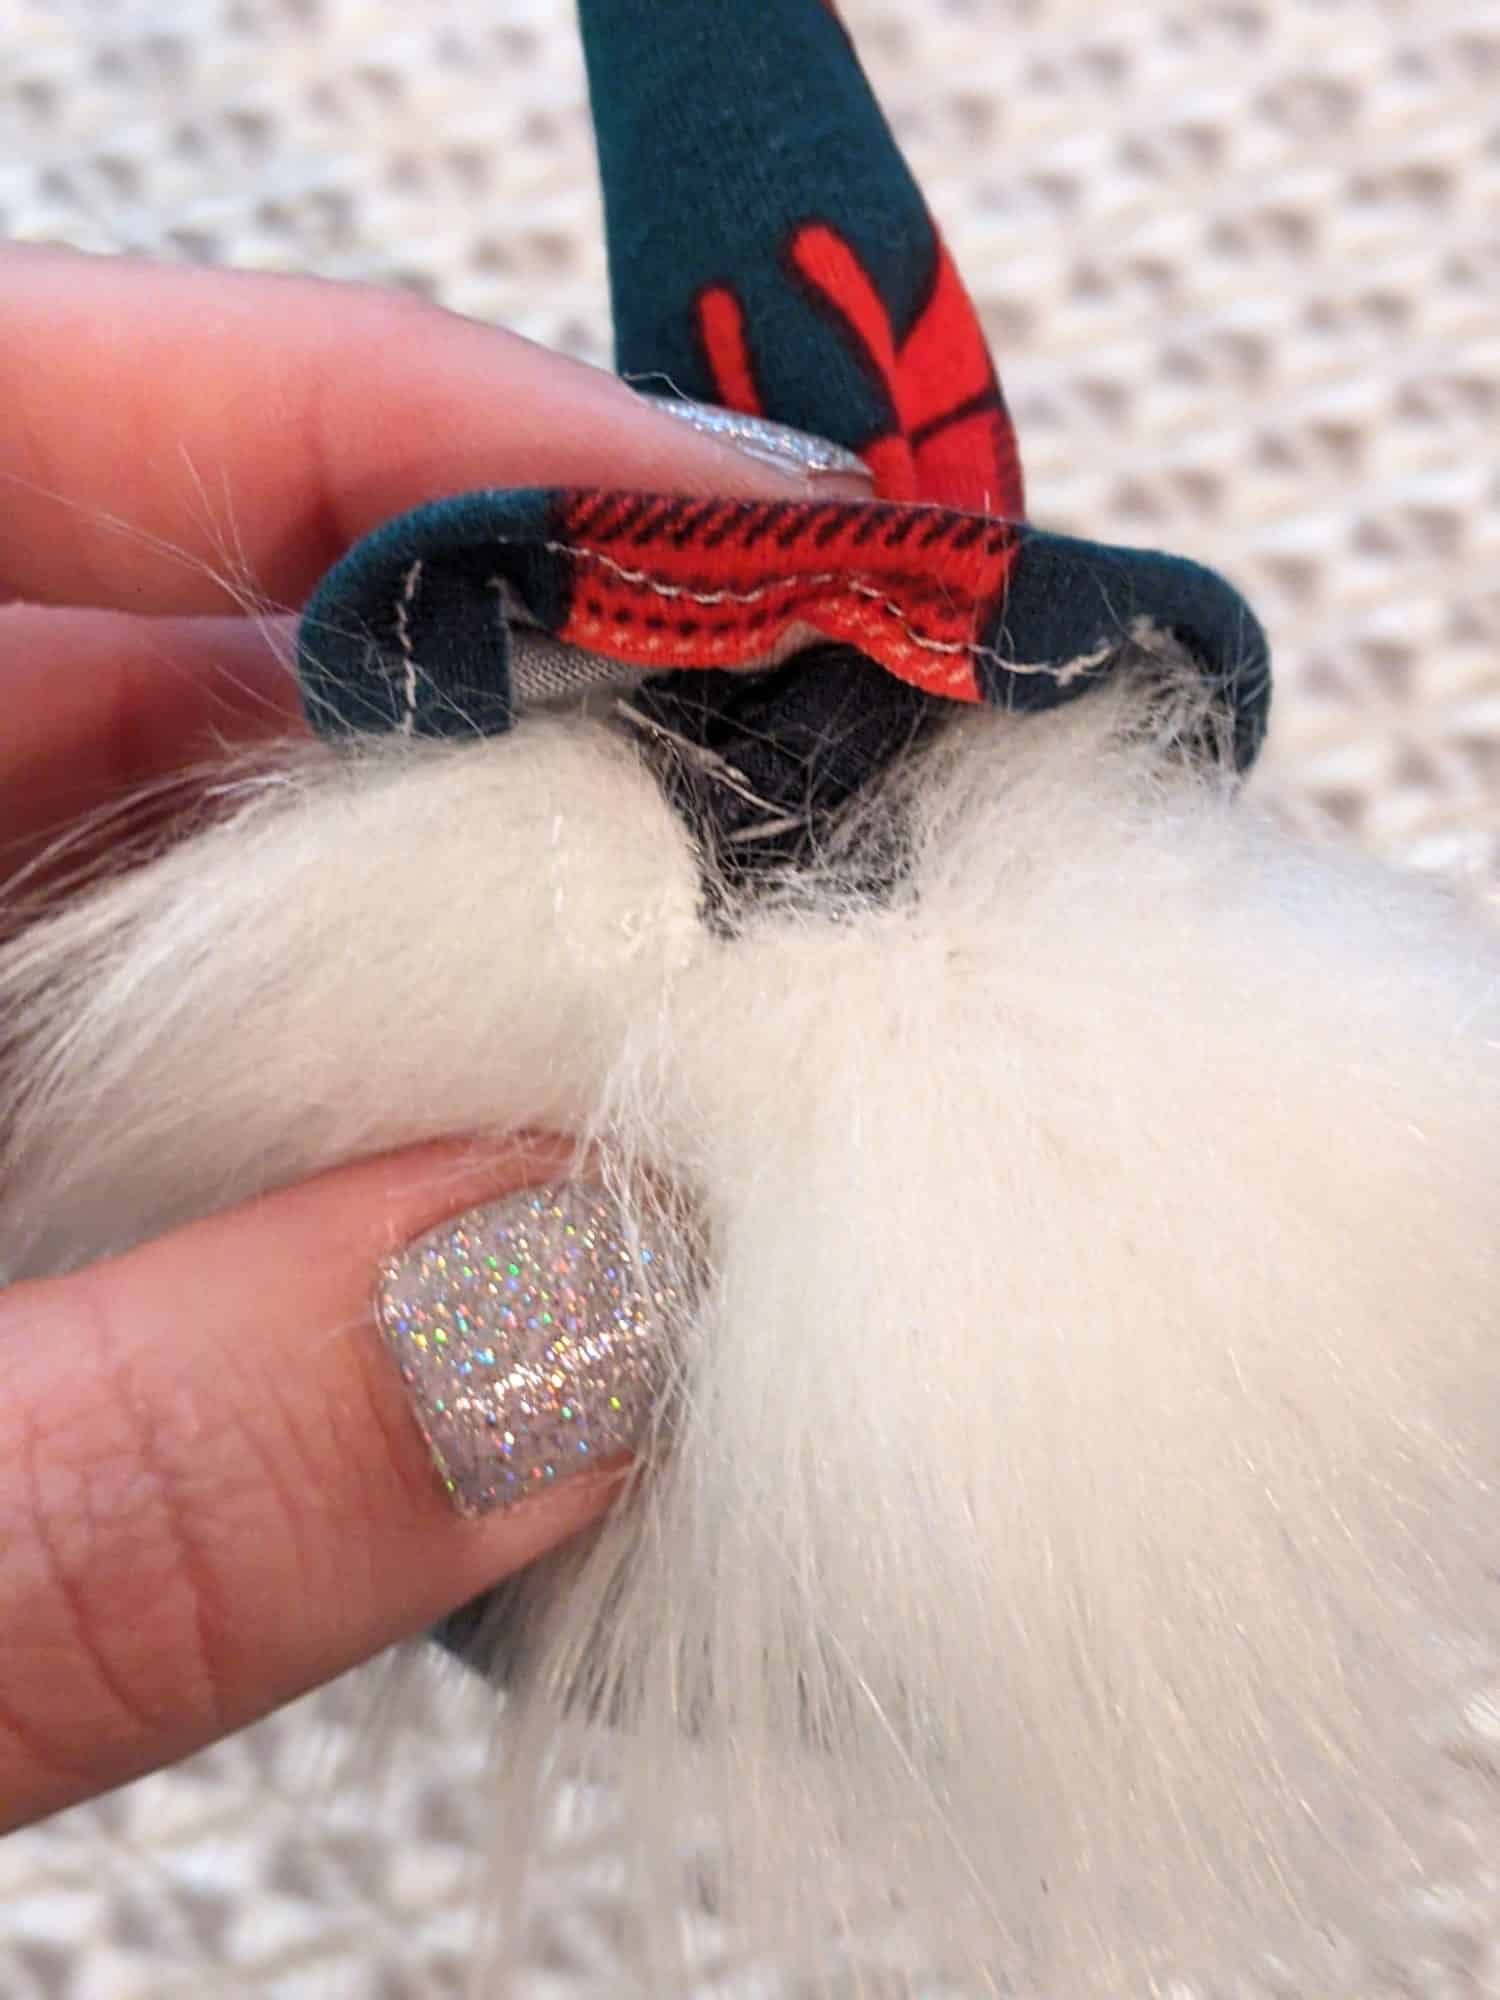

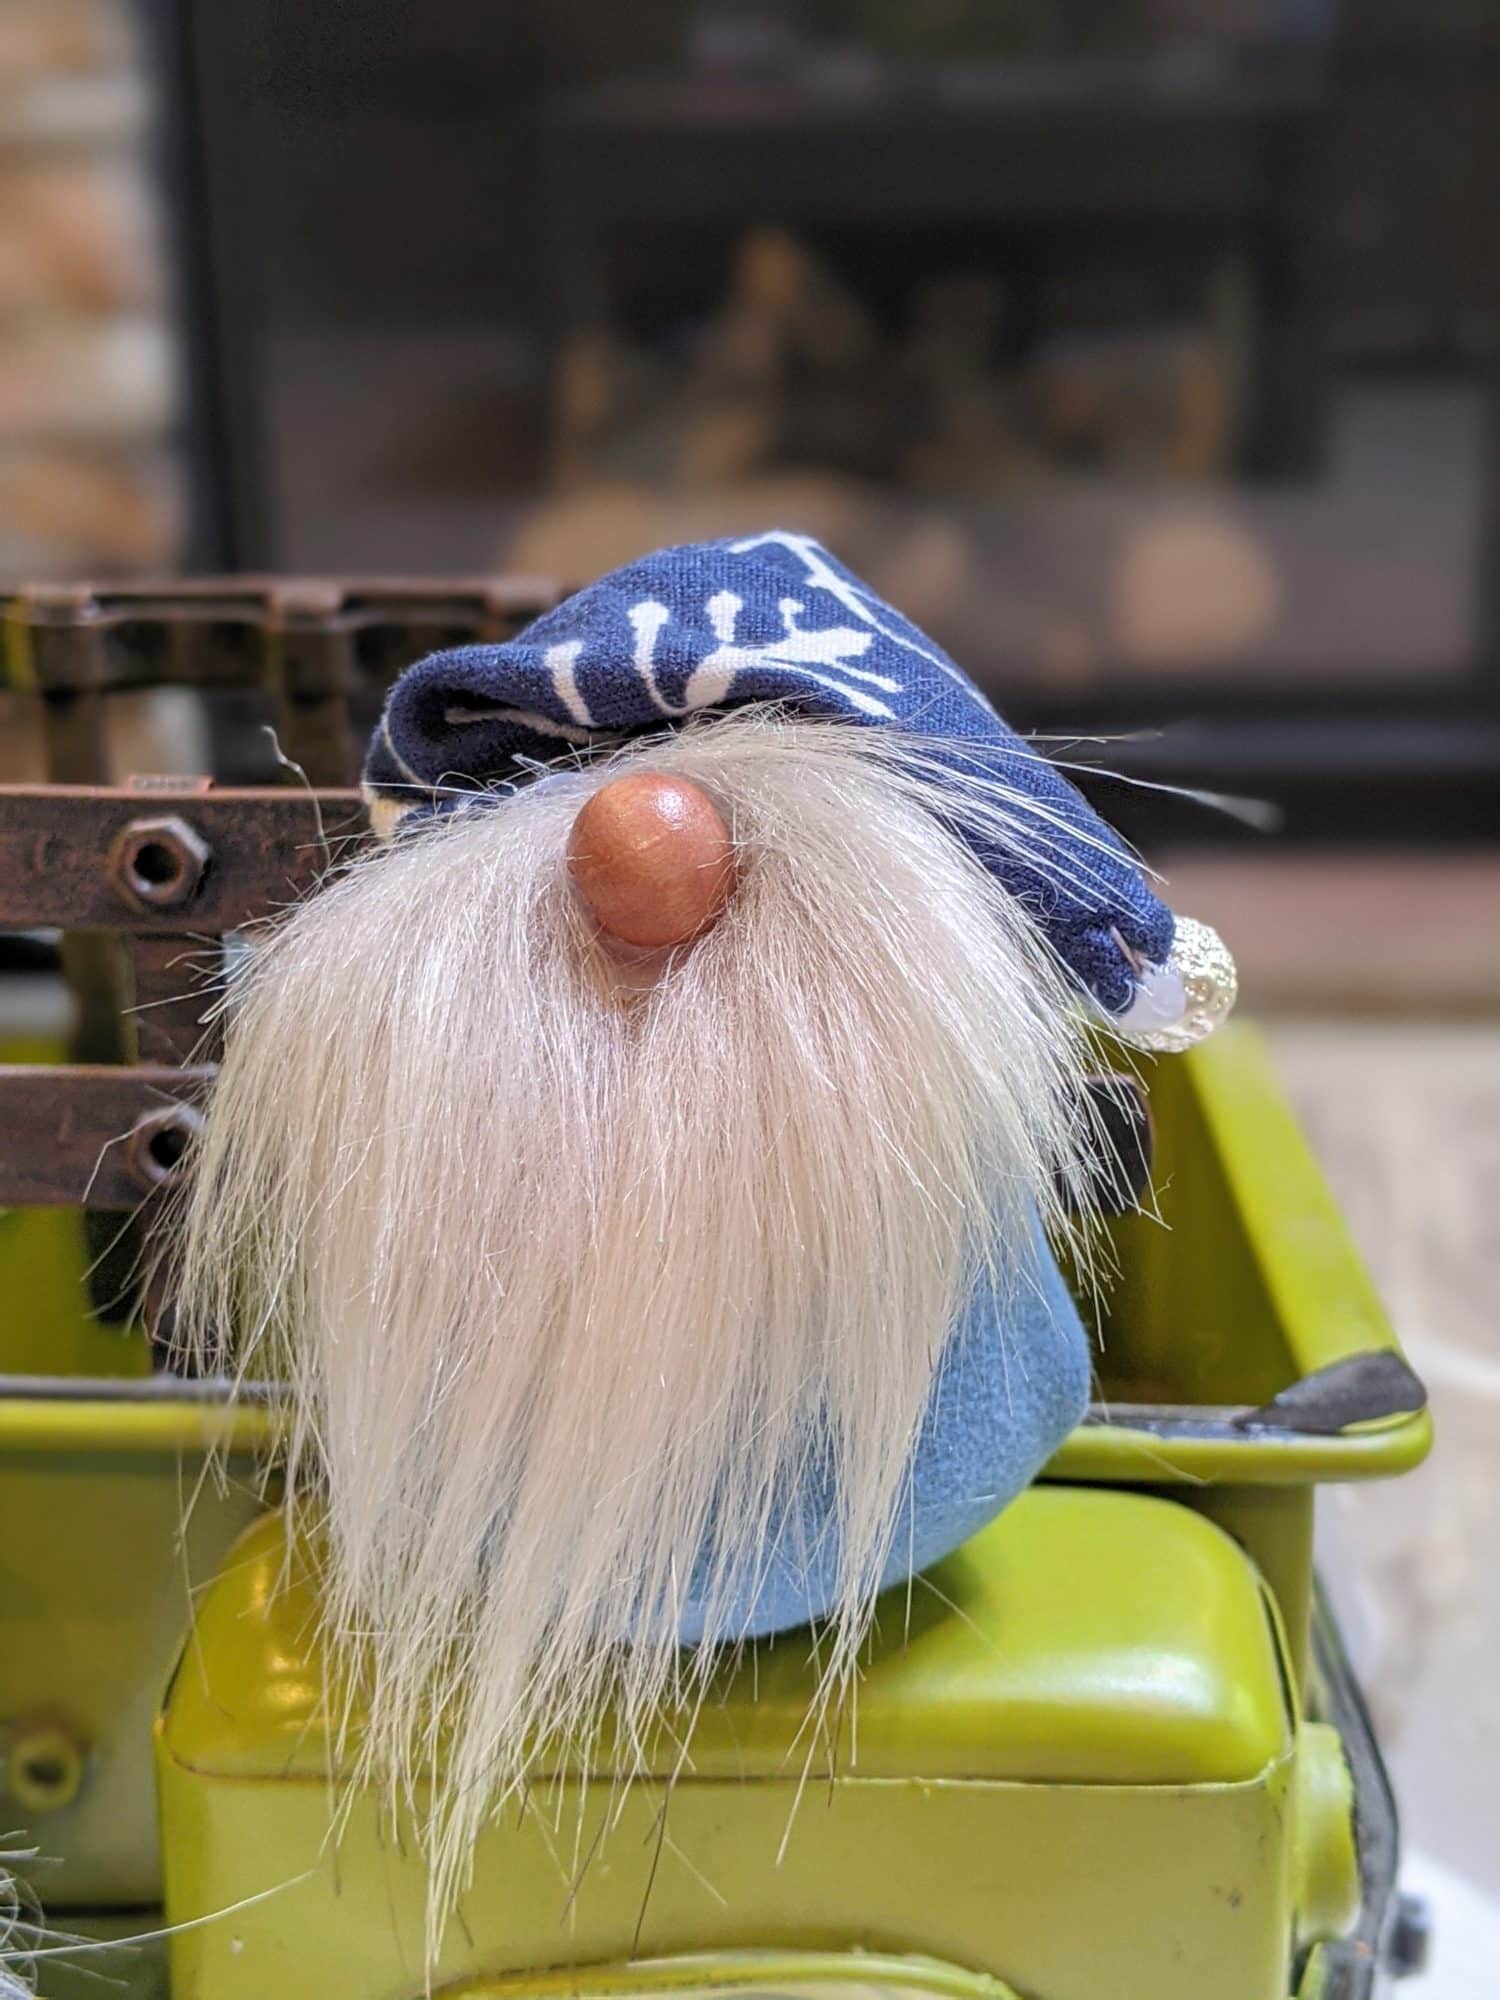
- Separate the beard a little bit in the middle and hot glue the wood or clay bead in place for the nose
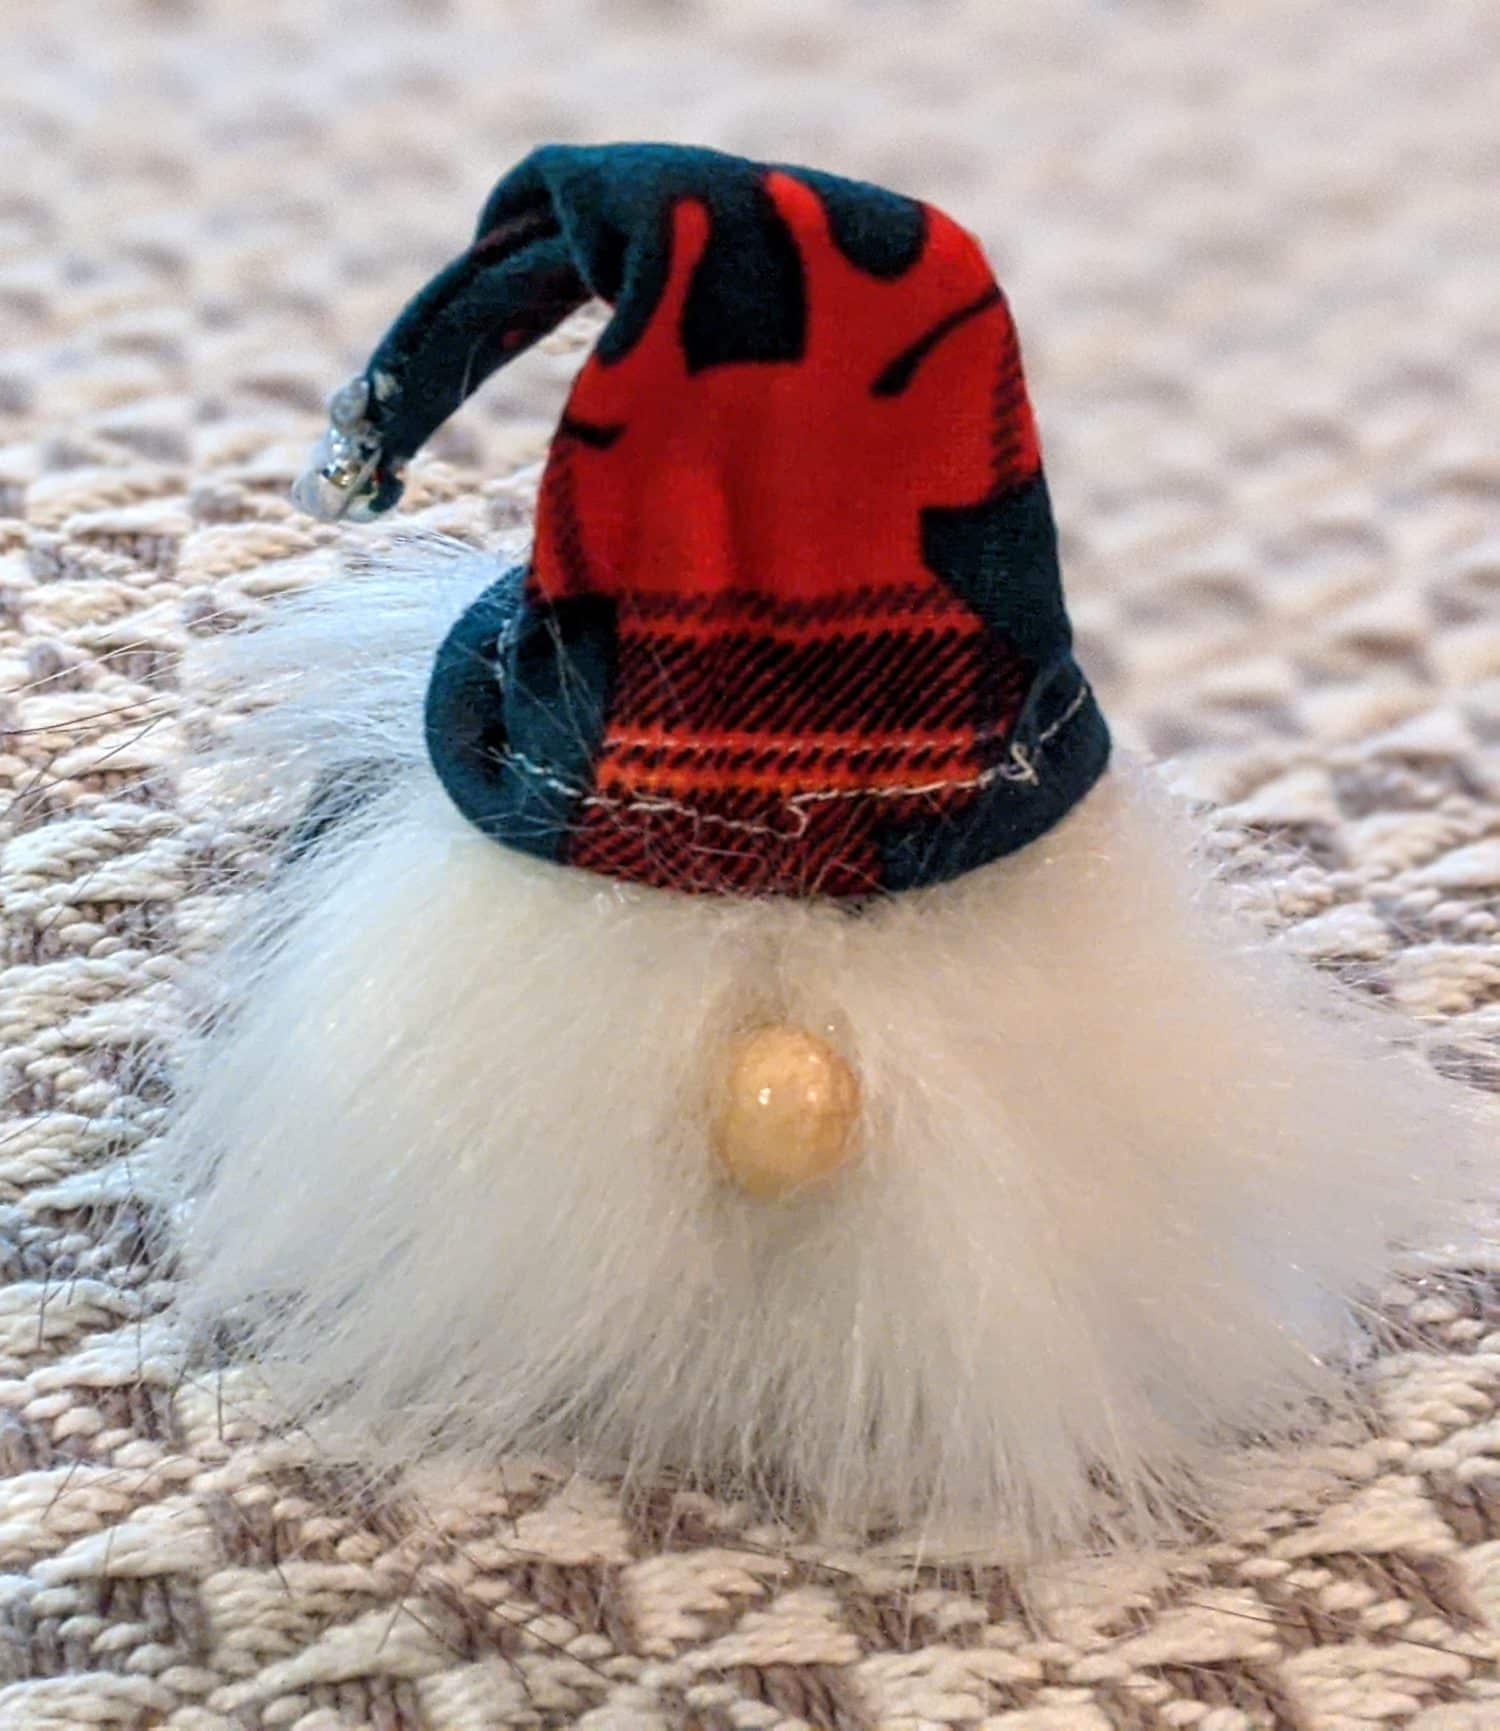
- Optional: Sew or glue a small bead or bell to the point of the hat
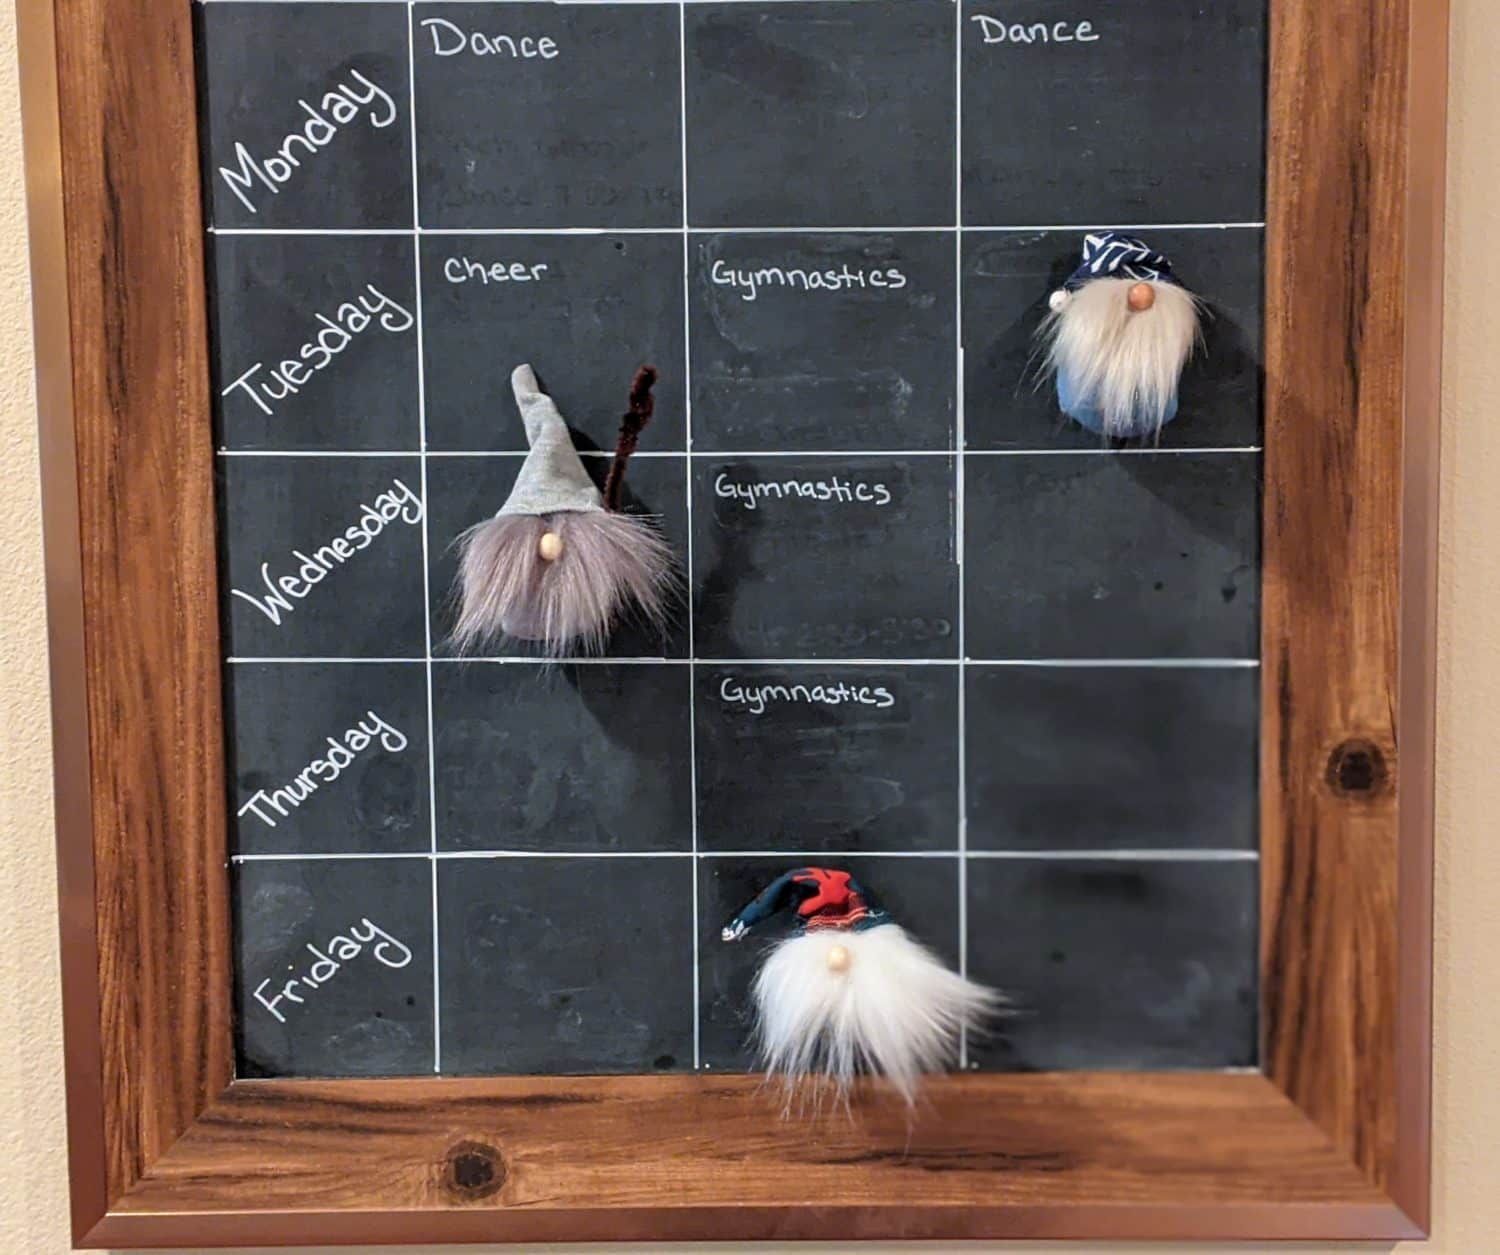
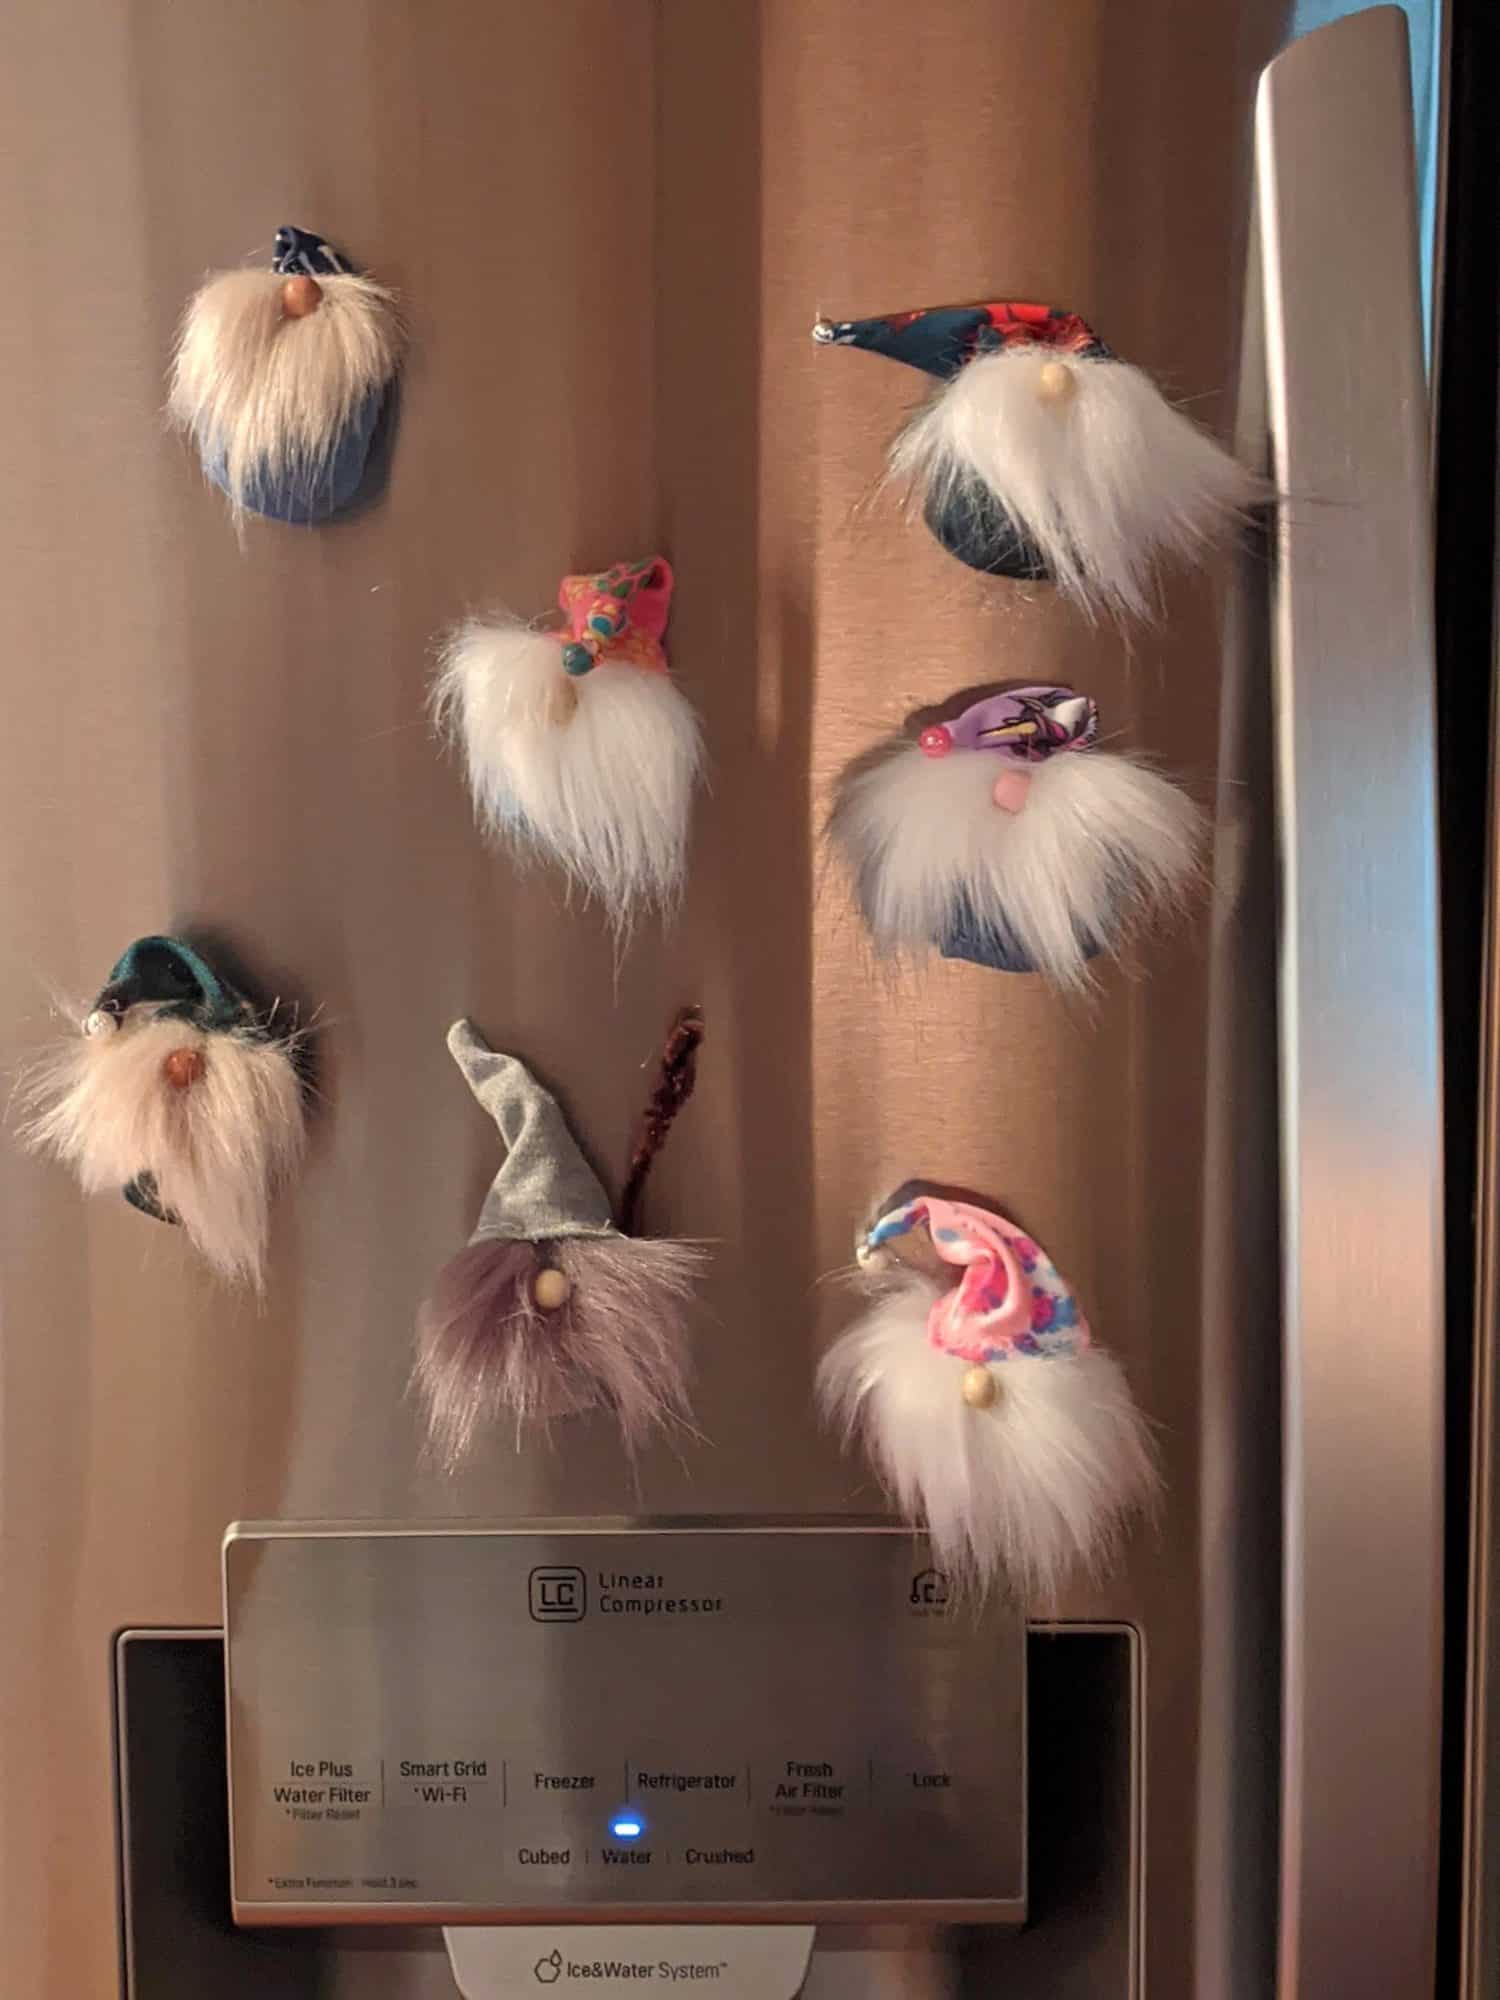
- Turn your gnome over and glue a magnet onto the back
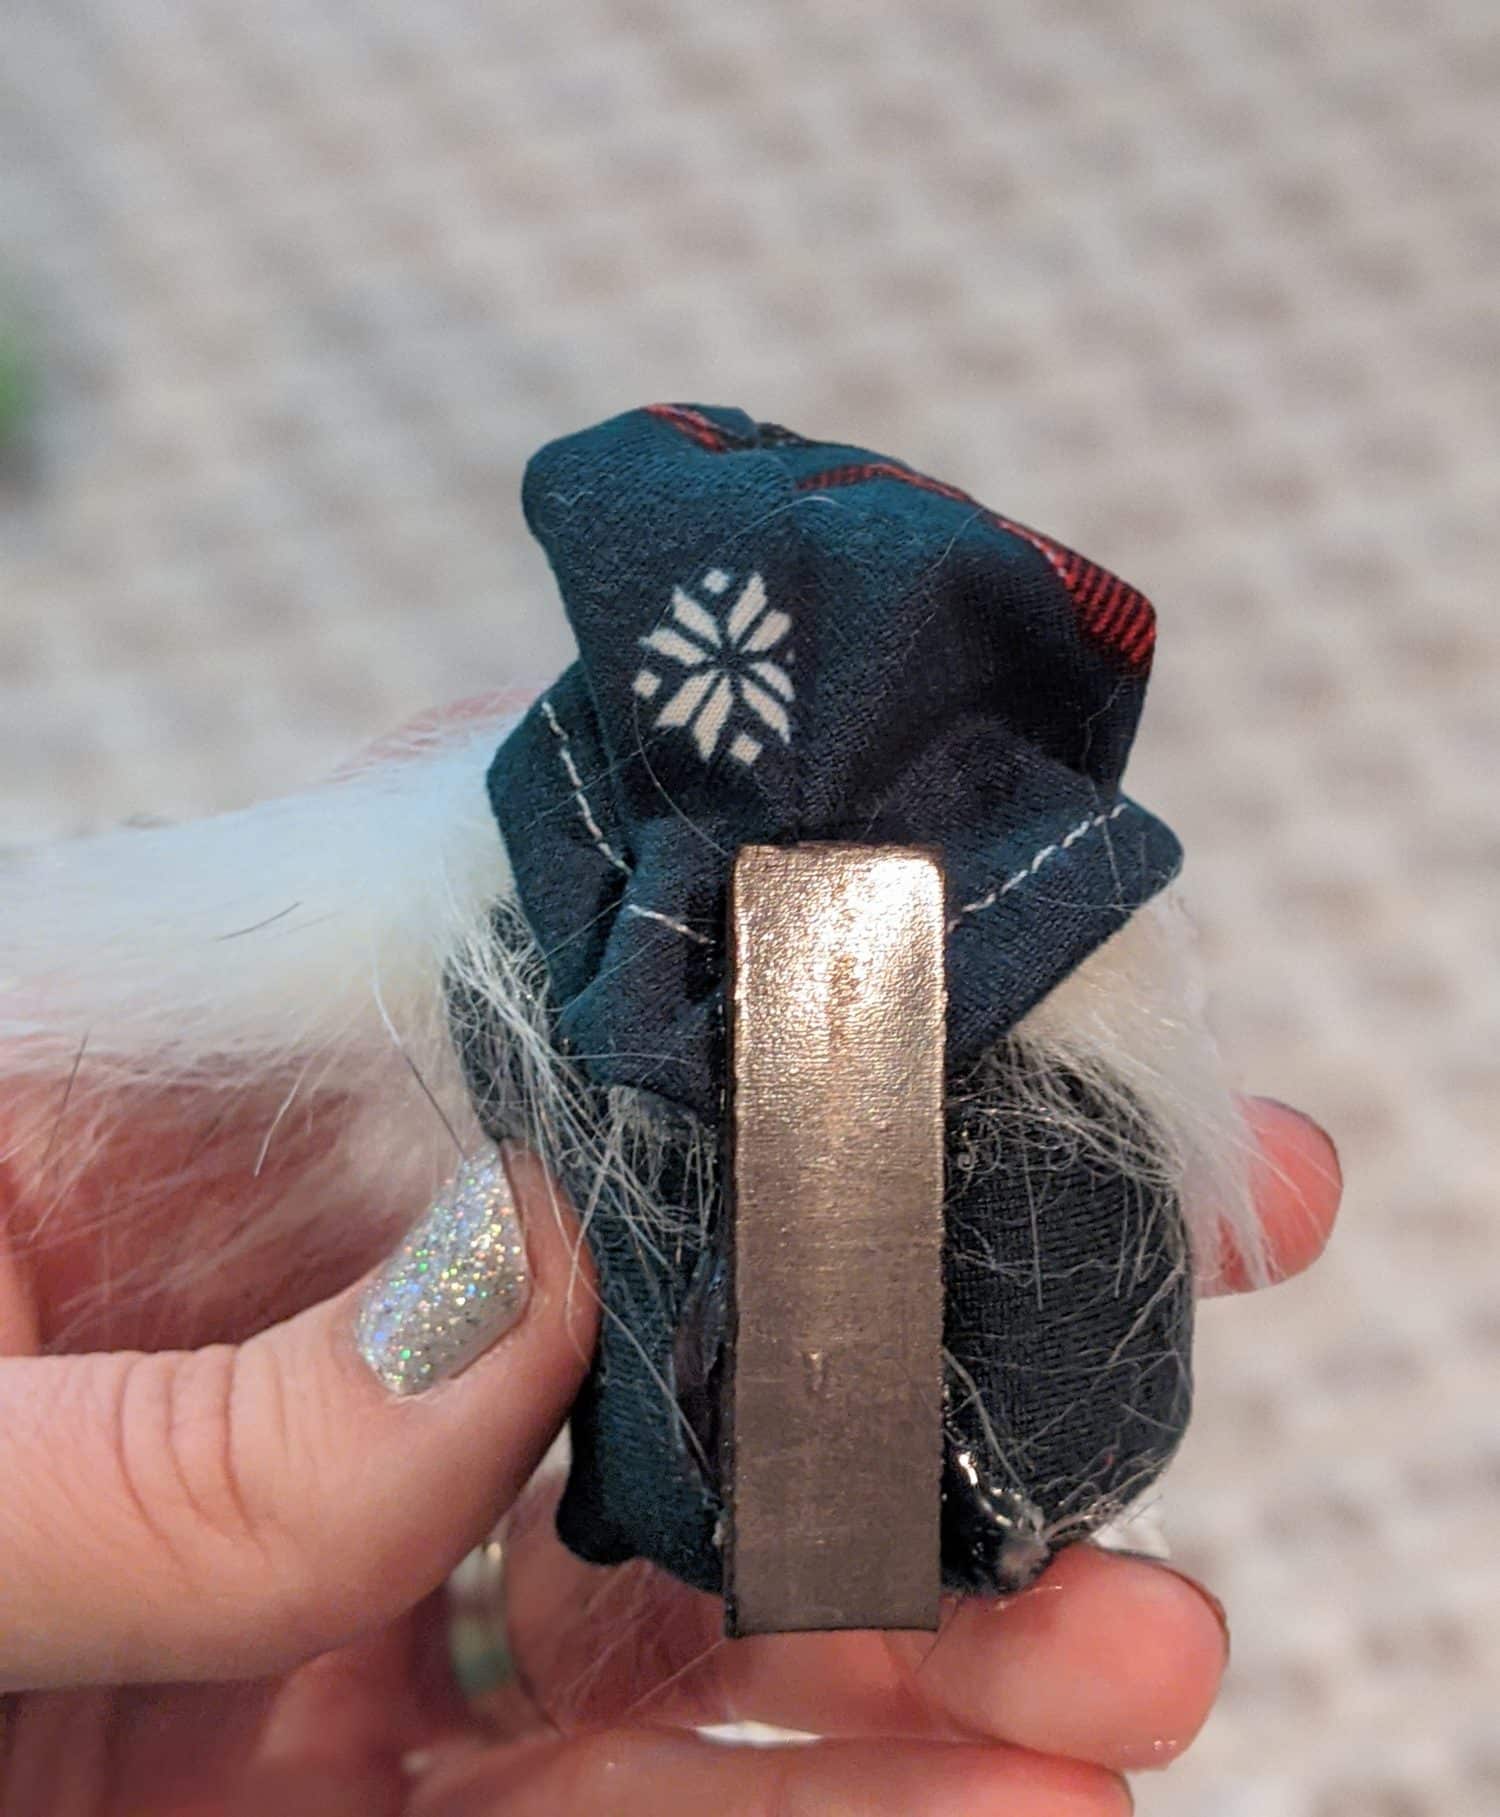
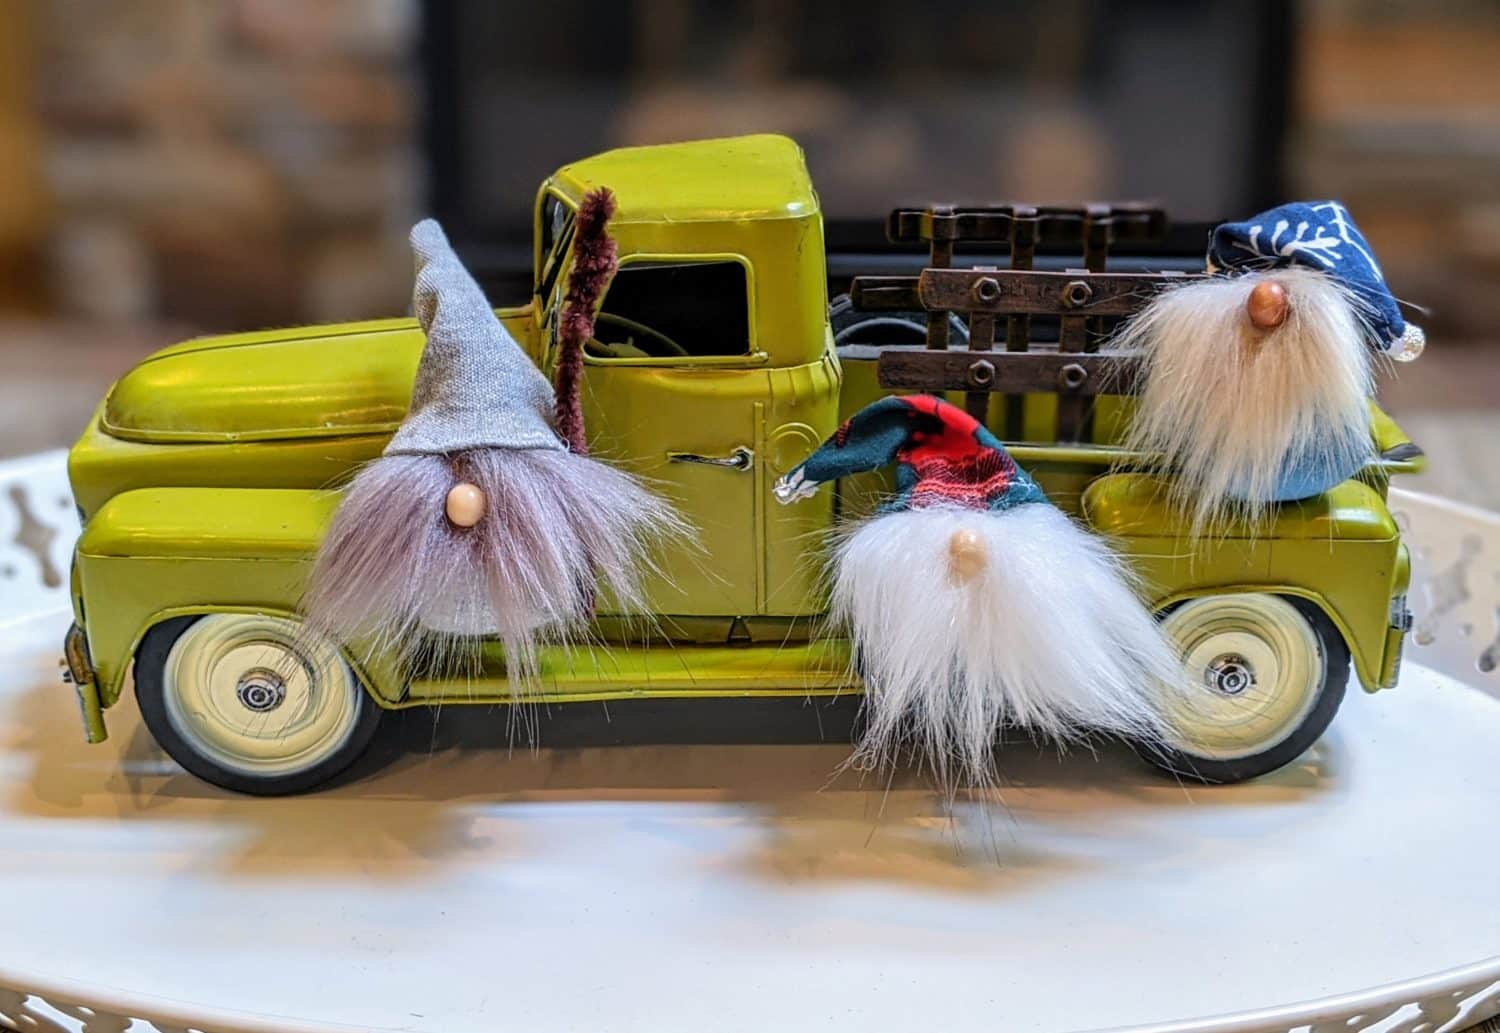
They’re just so cute! Go make a tiny gnome army!
As always, we’re here to help if you need it! Join us HERE and on Facebook, Instagram, Twitter, Youtube, and Pinterest. We’re everywhere you are.
What a great idea! I just started knitting a gnome, so now I can sew and knit a whole clan of gnomes! Thank you.
What a great idea! I just started knitting a gnome, so now I can sew and knit a whole clan of gnomes! Thank you.
Any chance of a pattern piece for the beard?
I was wondering if there were pattern pieces also?
Wow what a fantastic idea I know how about a gnome advent calendar with gifts in a pocket stitched in the back and a press stud on the hat with the number on the front
Like to learn how to make gnomes magnets