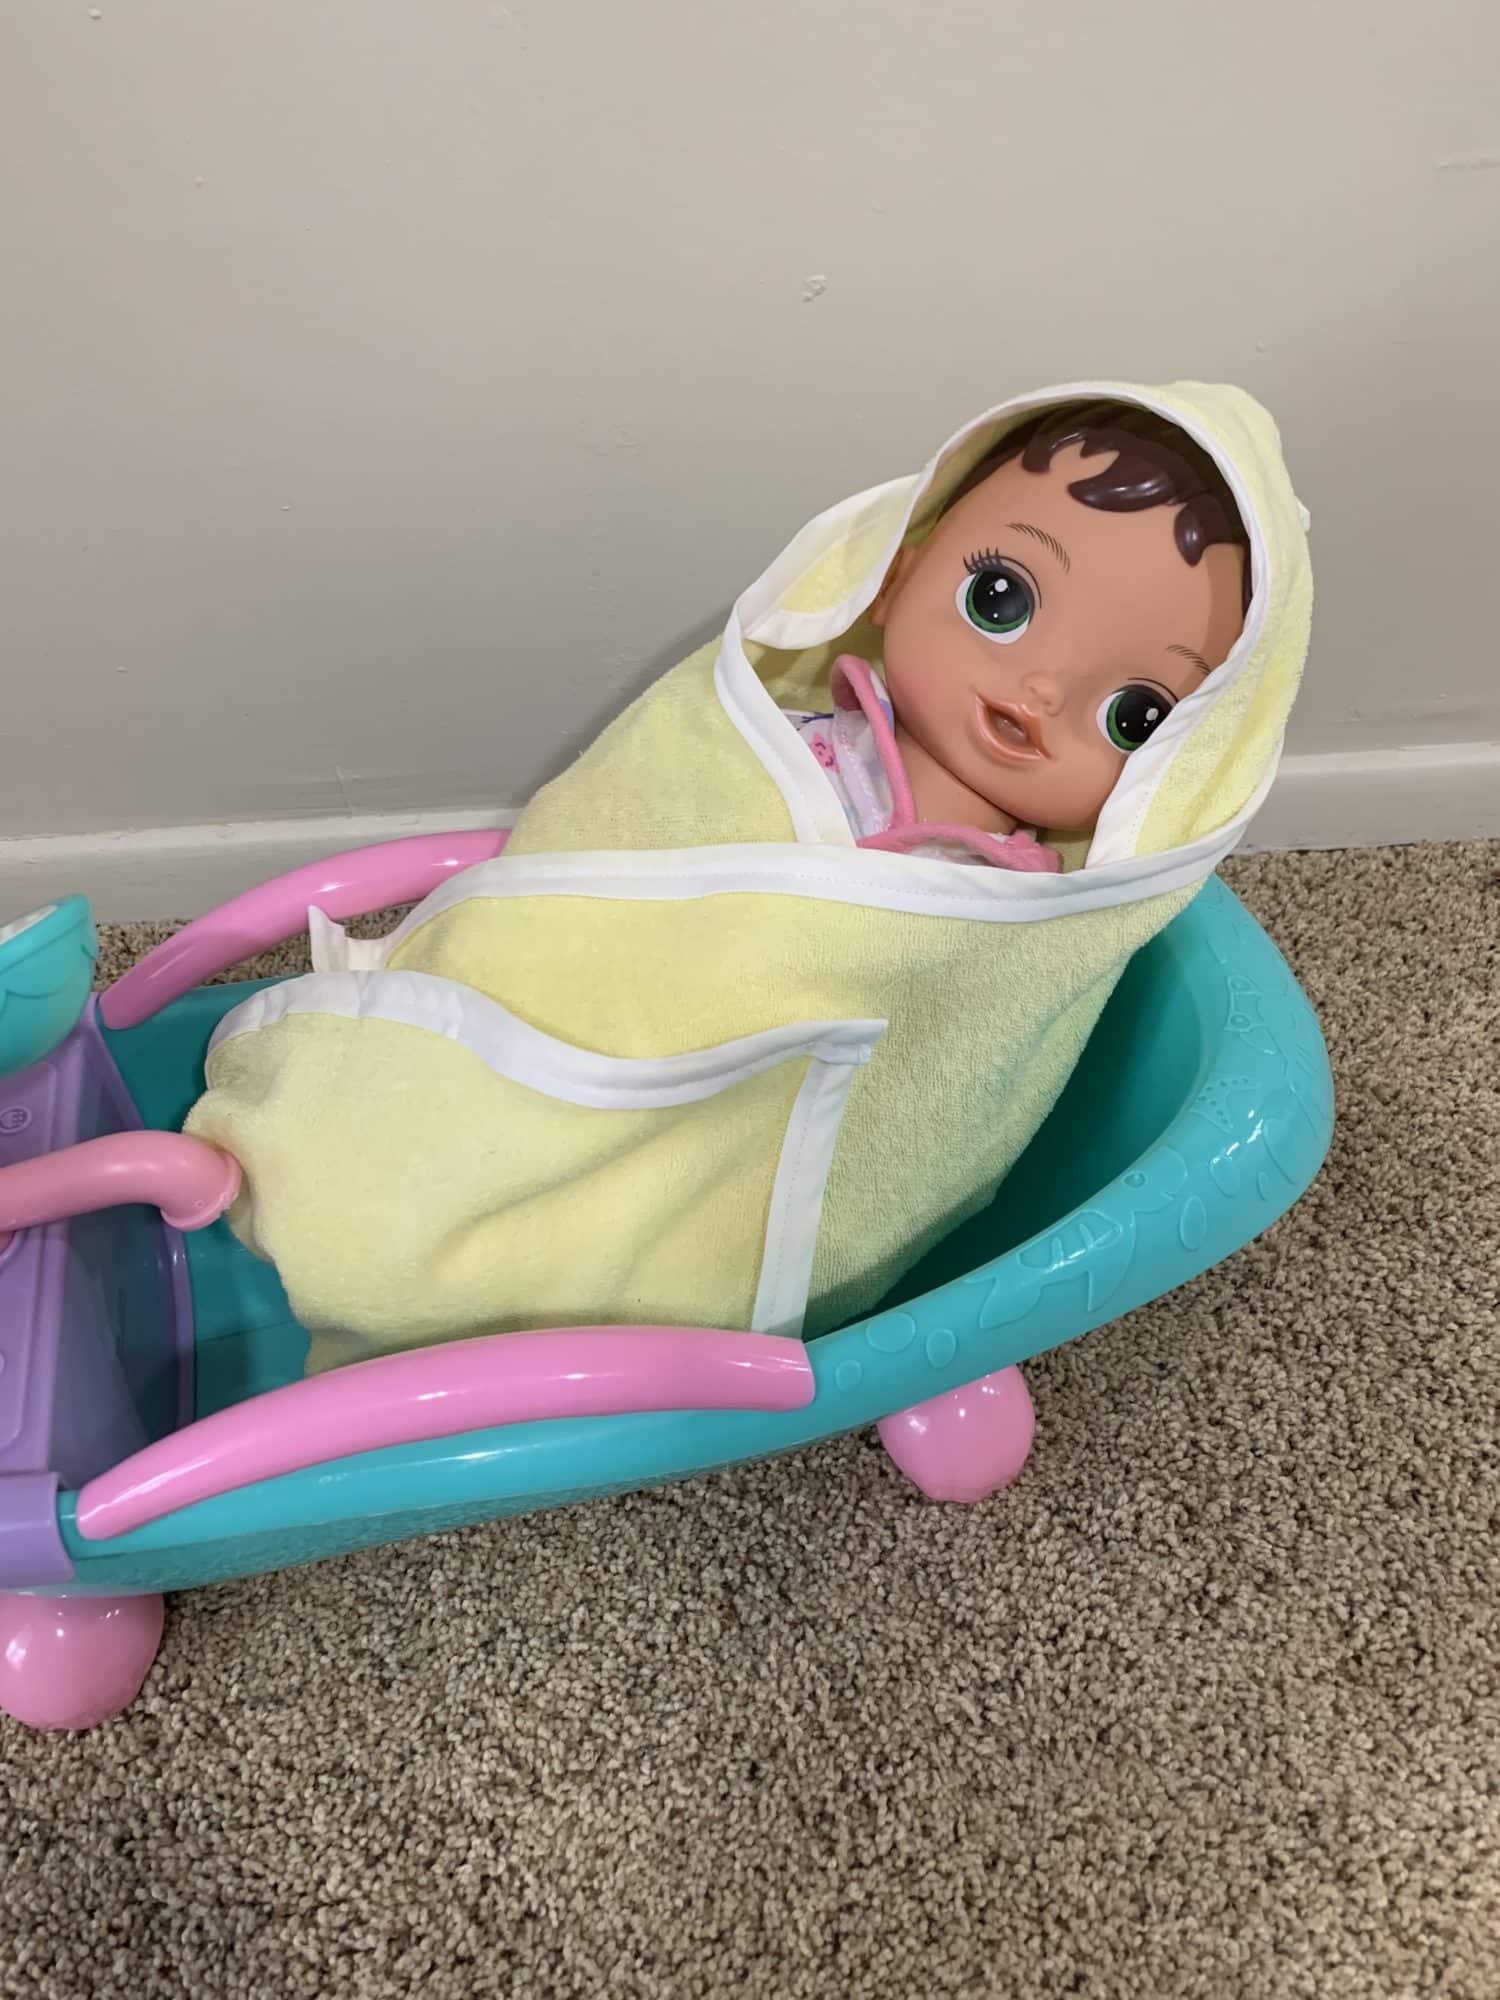
I never thought that I would be making something for a doll, then my kids got a doll bathtub for Christmas. Silly me said, “this baby needs a towel!” So, here we are! 🙂 Of course, I didn’t want to buy a doll towel and I didn’t want to dirty all of our towels for a doll, so I started experimenting with various ways to make a doll towel. This hooded doll towel is my favorite one. It is a pretty universal size so it should fit most baby dolls. At the end of this post, I have a photo examples of two different sized dolls wearing it. You can of course make it bigger or smaller if you prefer! That’s the beauty of DIY projects! Read on to learn how to make your very own hooded doll towel!
Materials
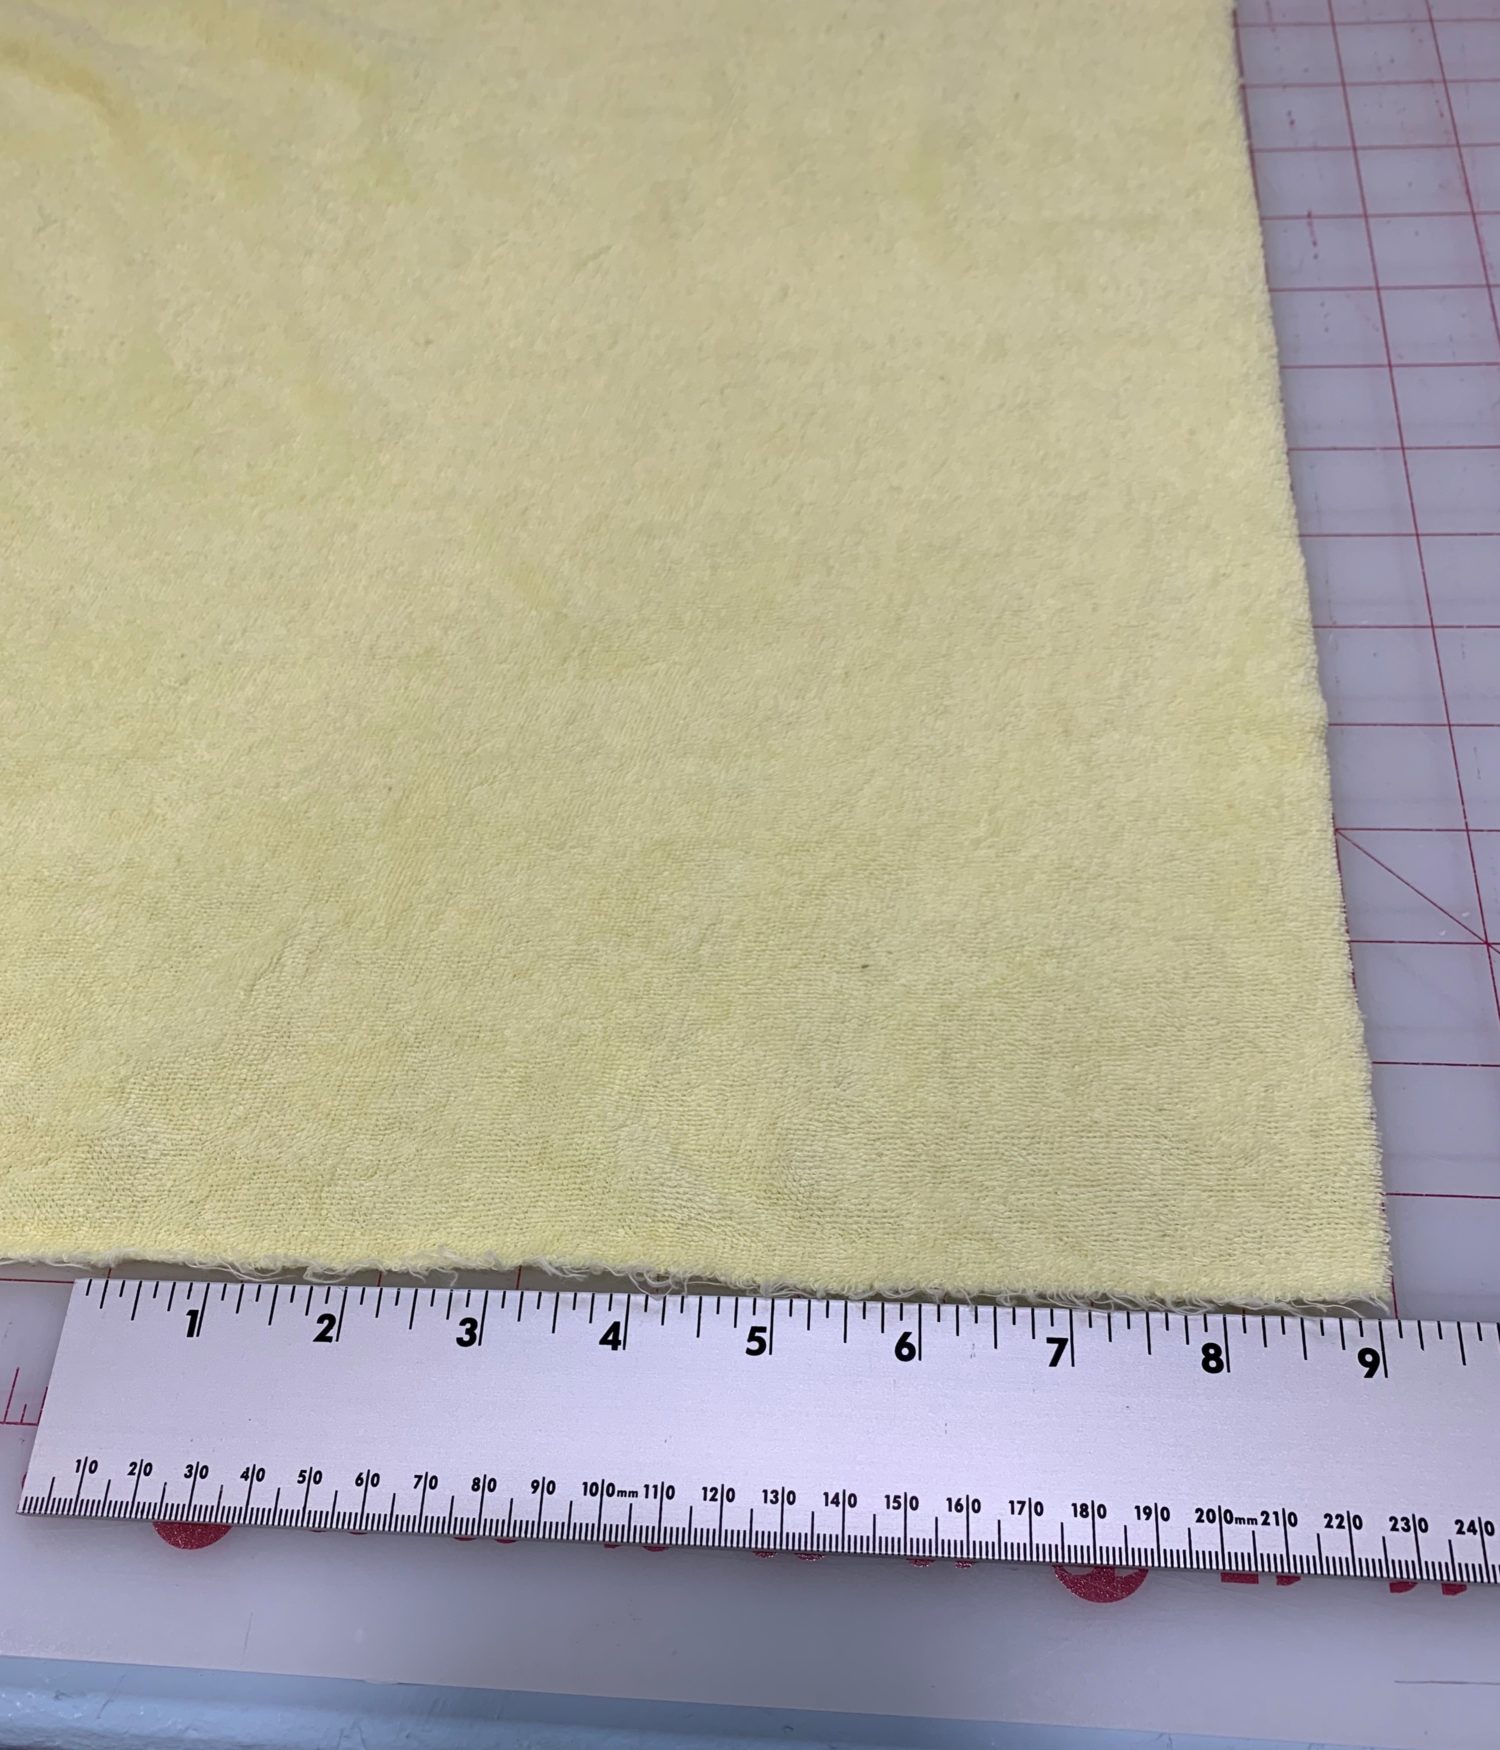
- 1/2 yard of fabric (half a yard works for the size I’m making. You’ll need more fabric if you make it bigger)
- I used terry cloth for my towel
- 3 yards of bias tape (again, you’ll need more if you increase the size of the towel)
- You can use store bought bias tape or make your own. Here is a fabulous Sewing School video that shows you how to make your own bias tape!

Cutting fabric
Now that we’ve got our materials, let’s prepare our fabric!
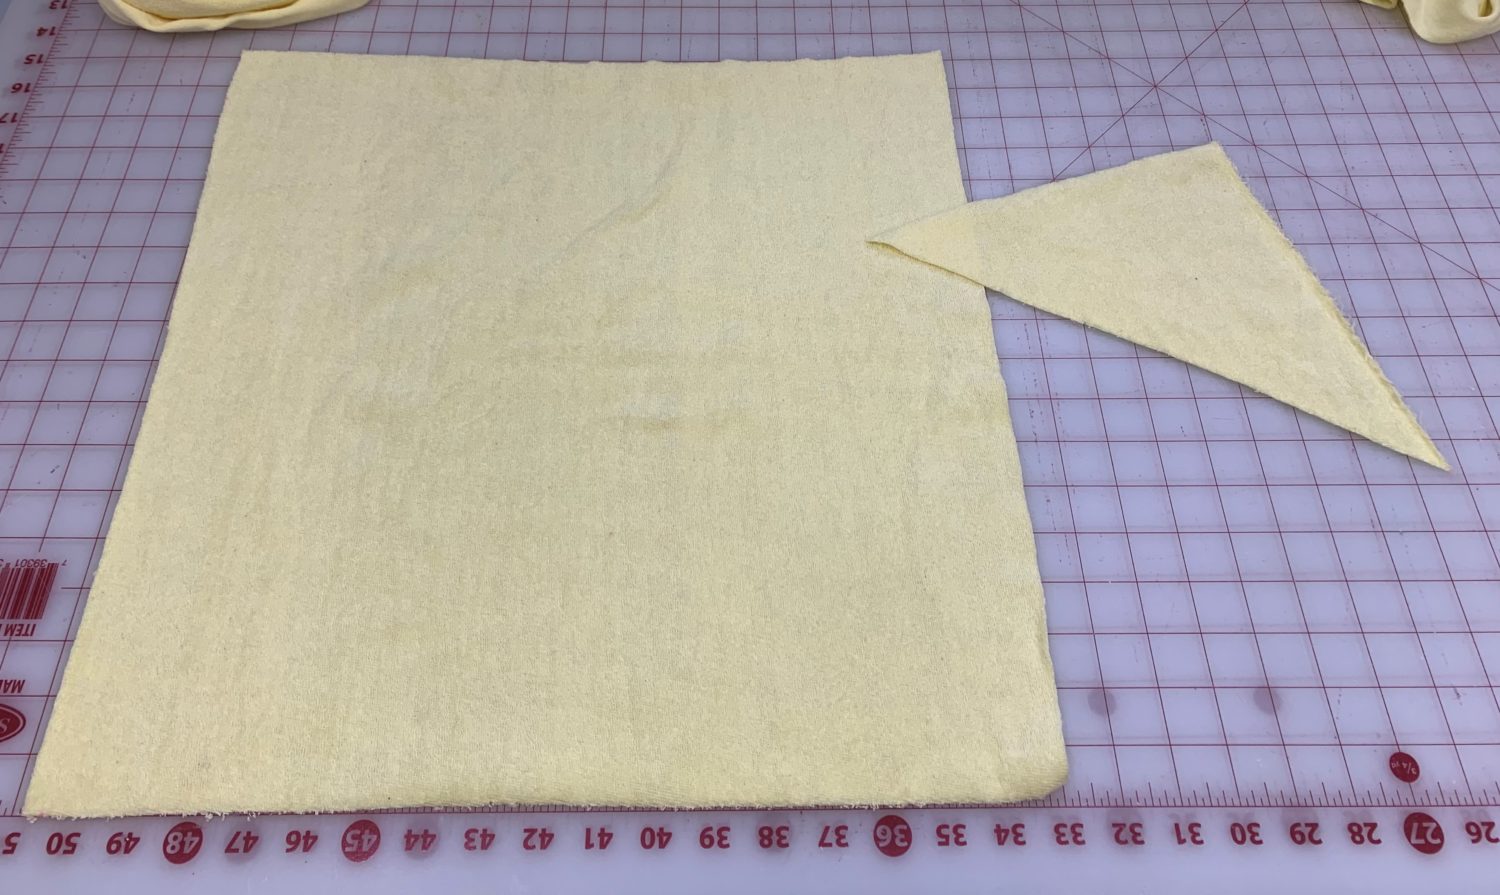
- Cut 1 square of fabric 18 inches by 18 inches
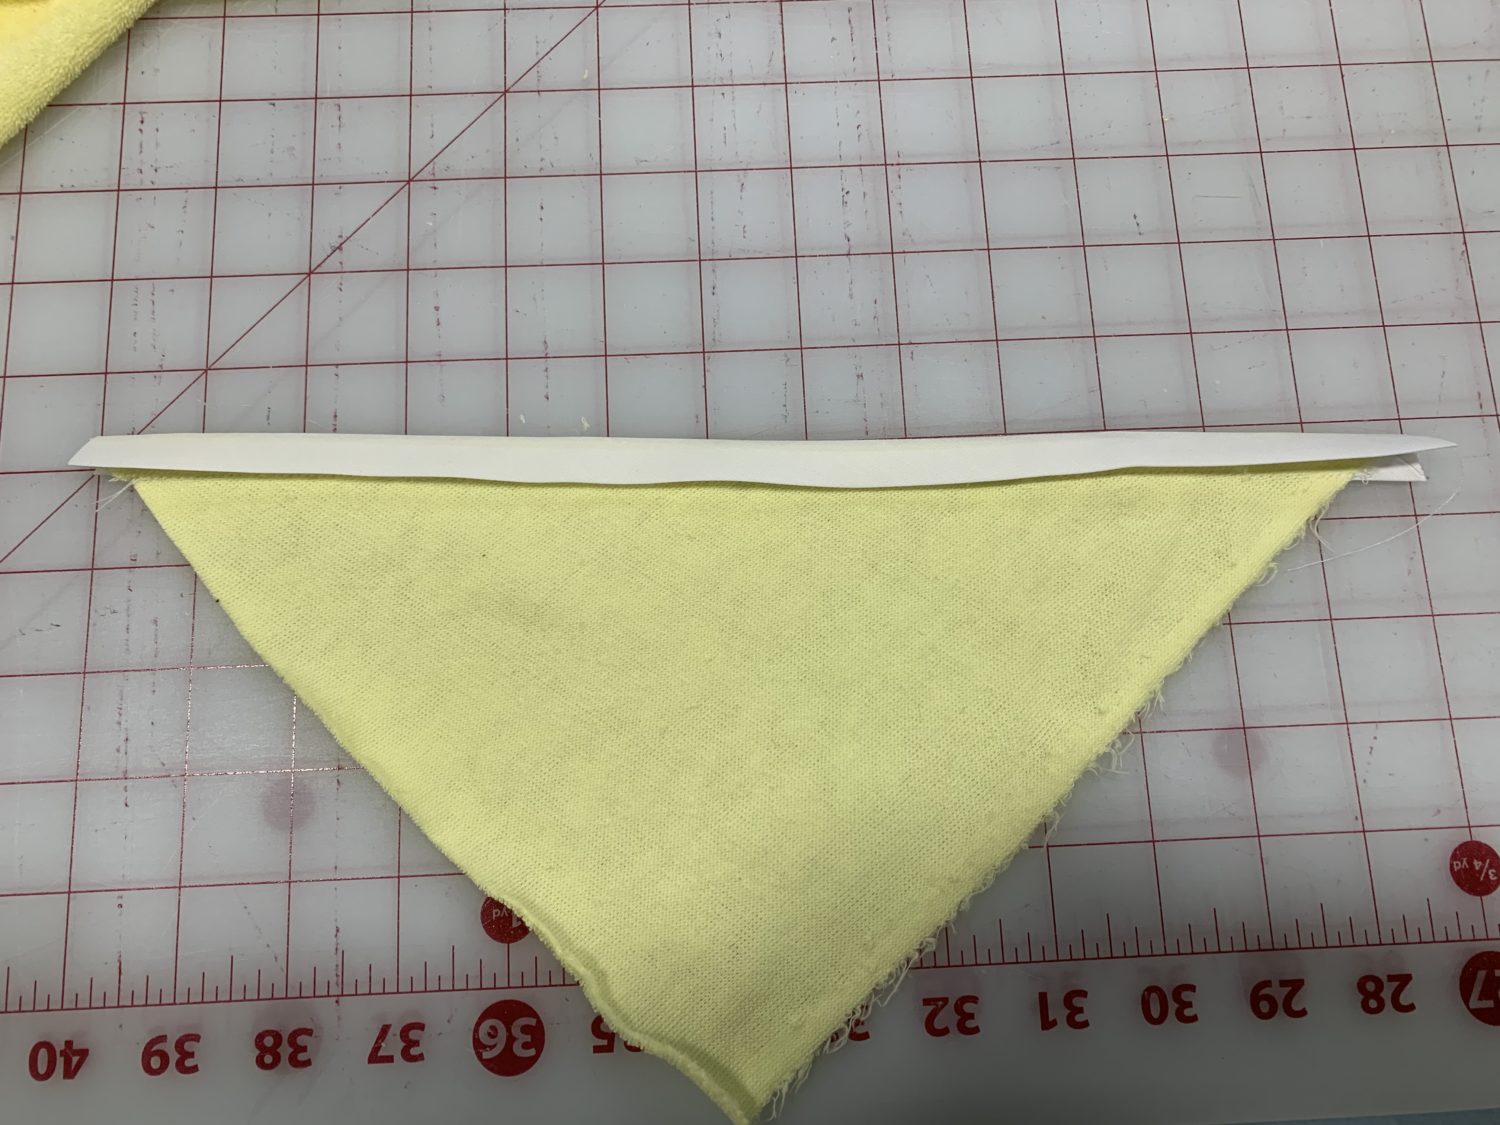
- Cut one triangle piece
- At a corner, measure down 9 inches on one side and 9 inches over on the other side
- You will cut on the diagonal matching up the two 9 inch marks to make your triangle
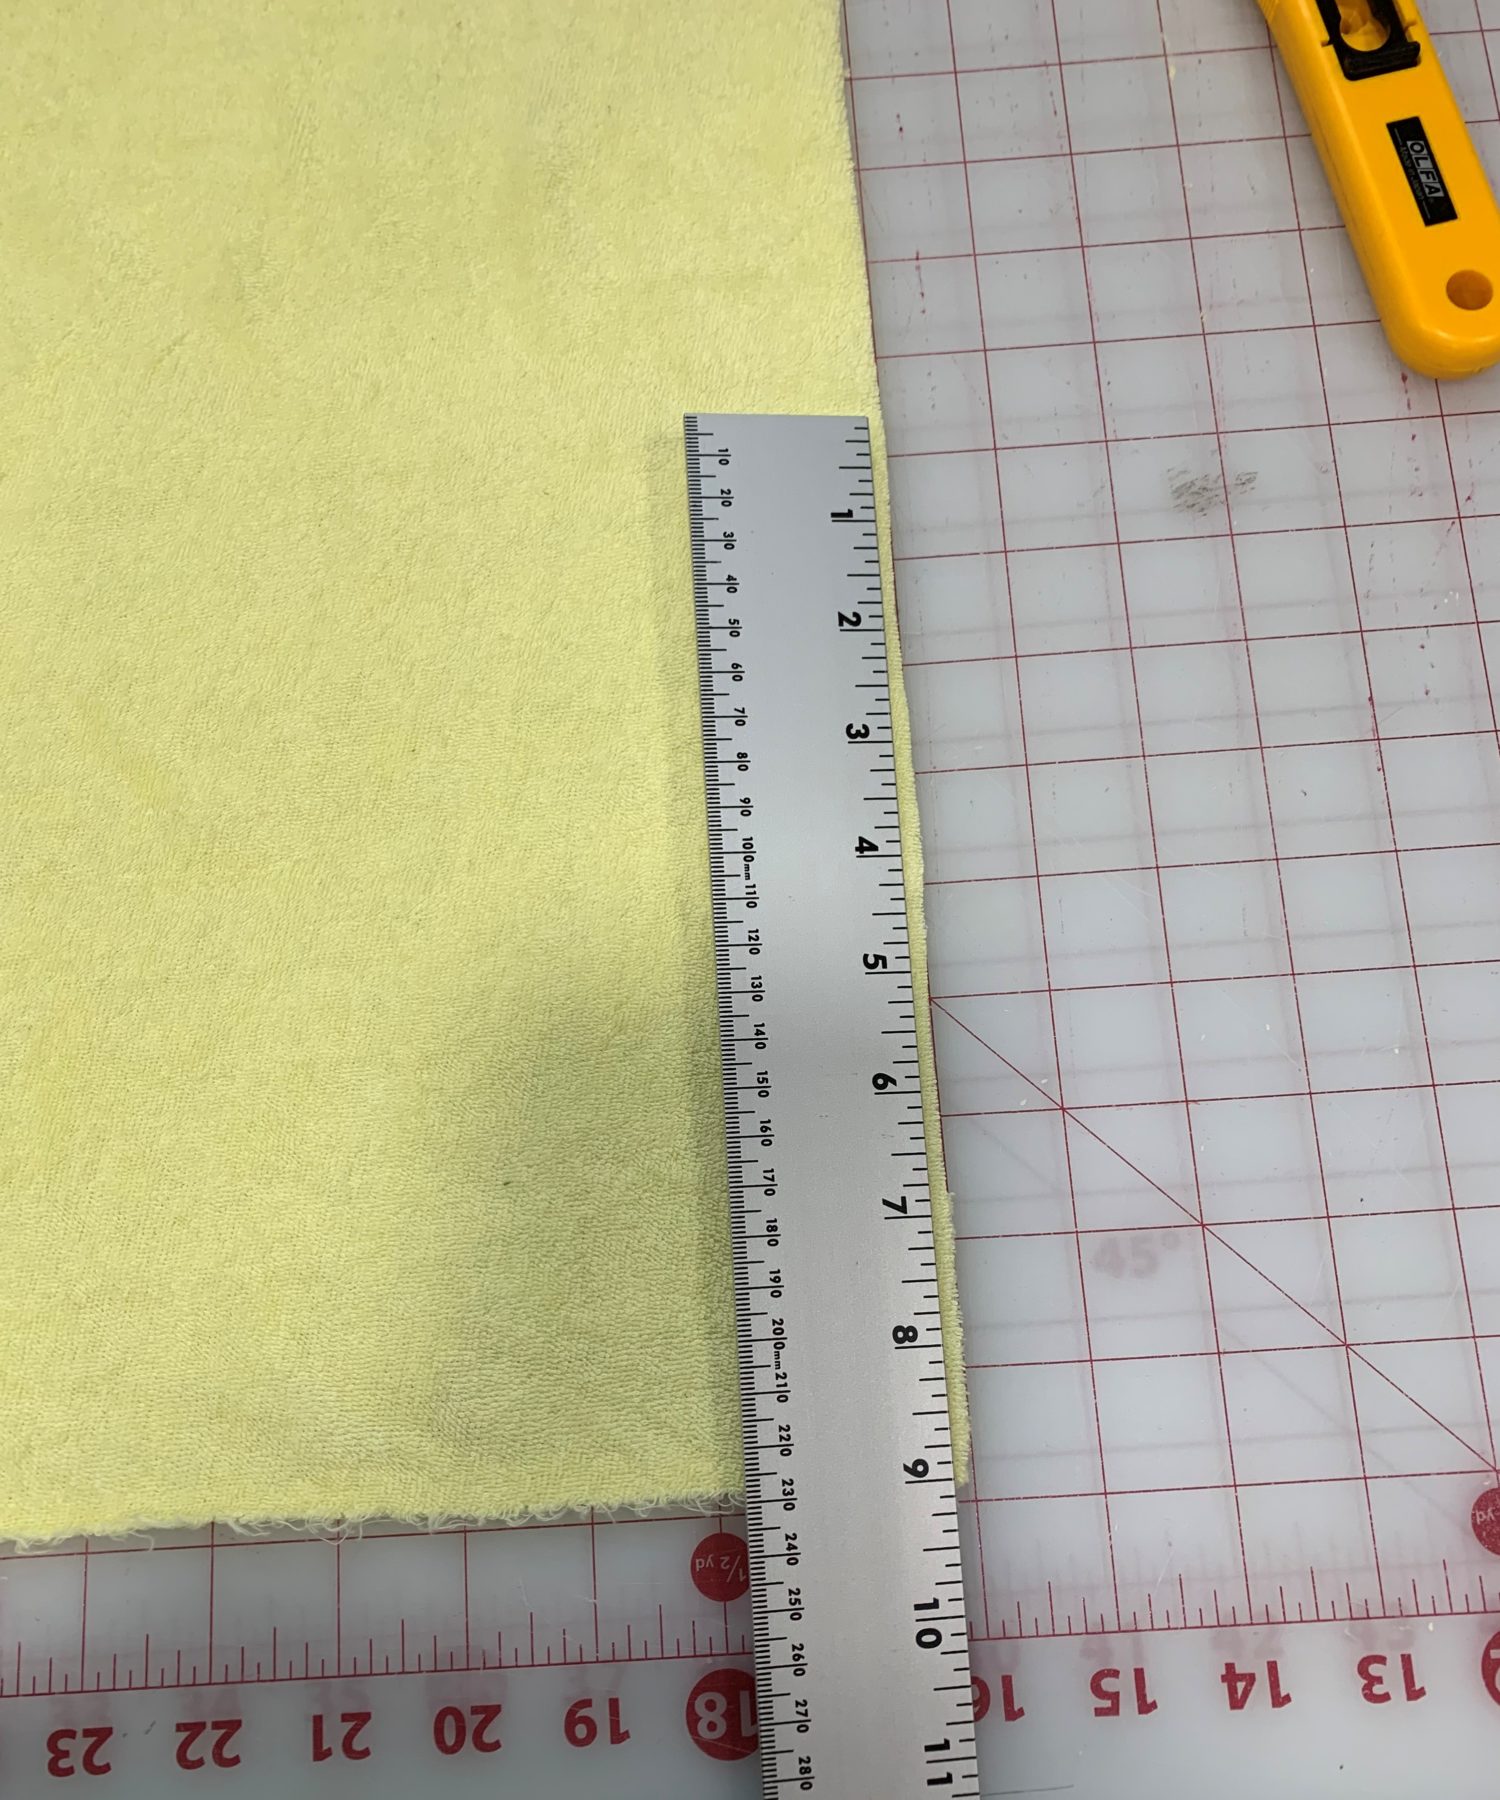
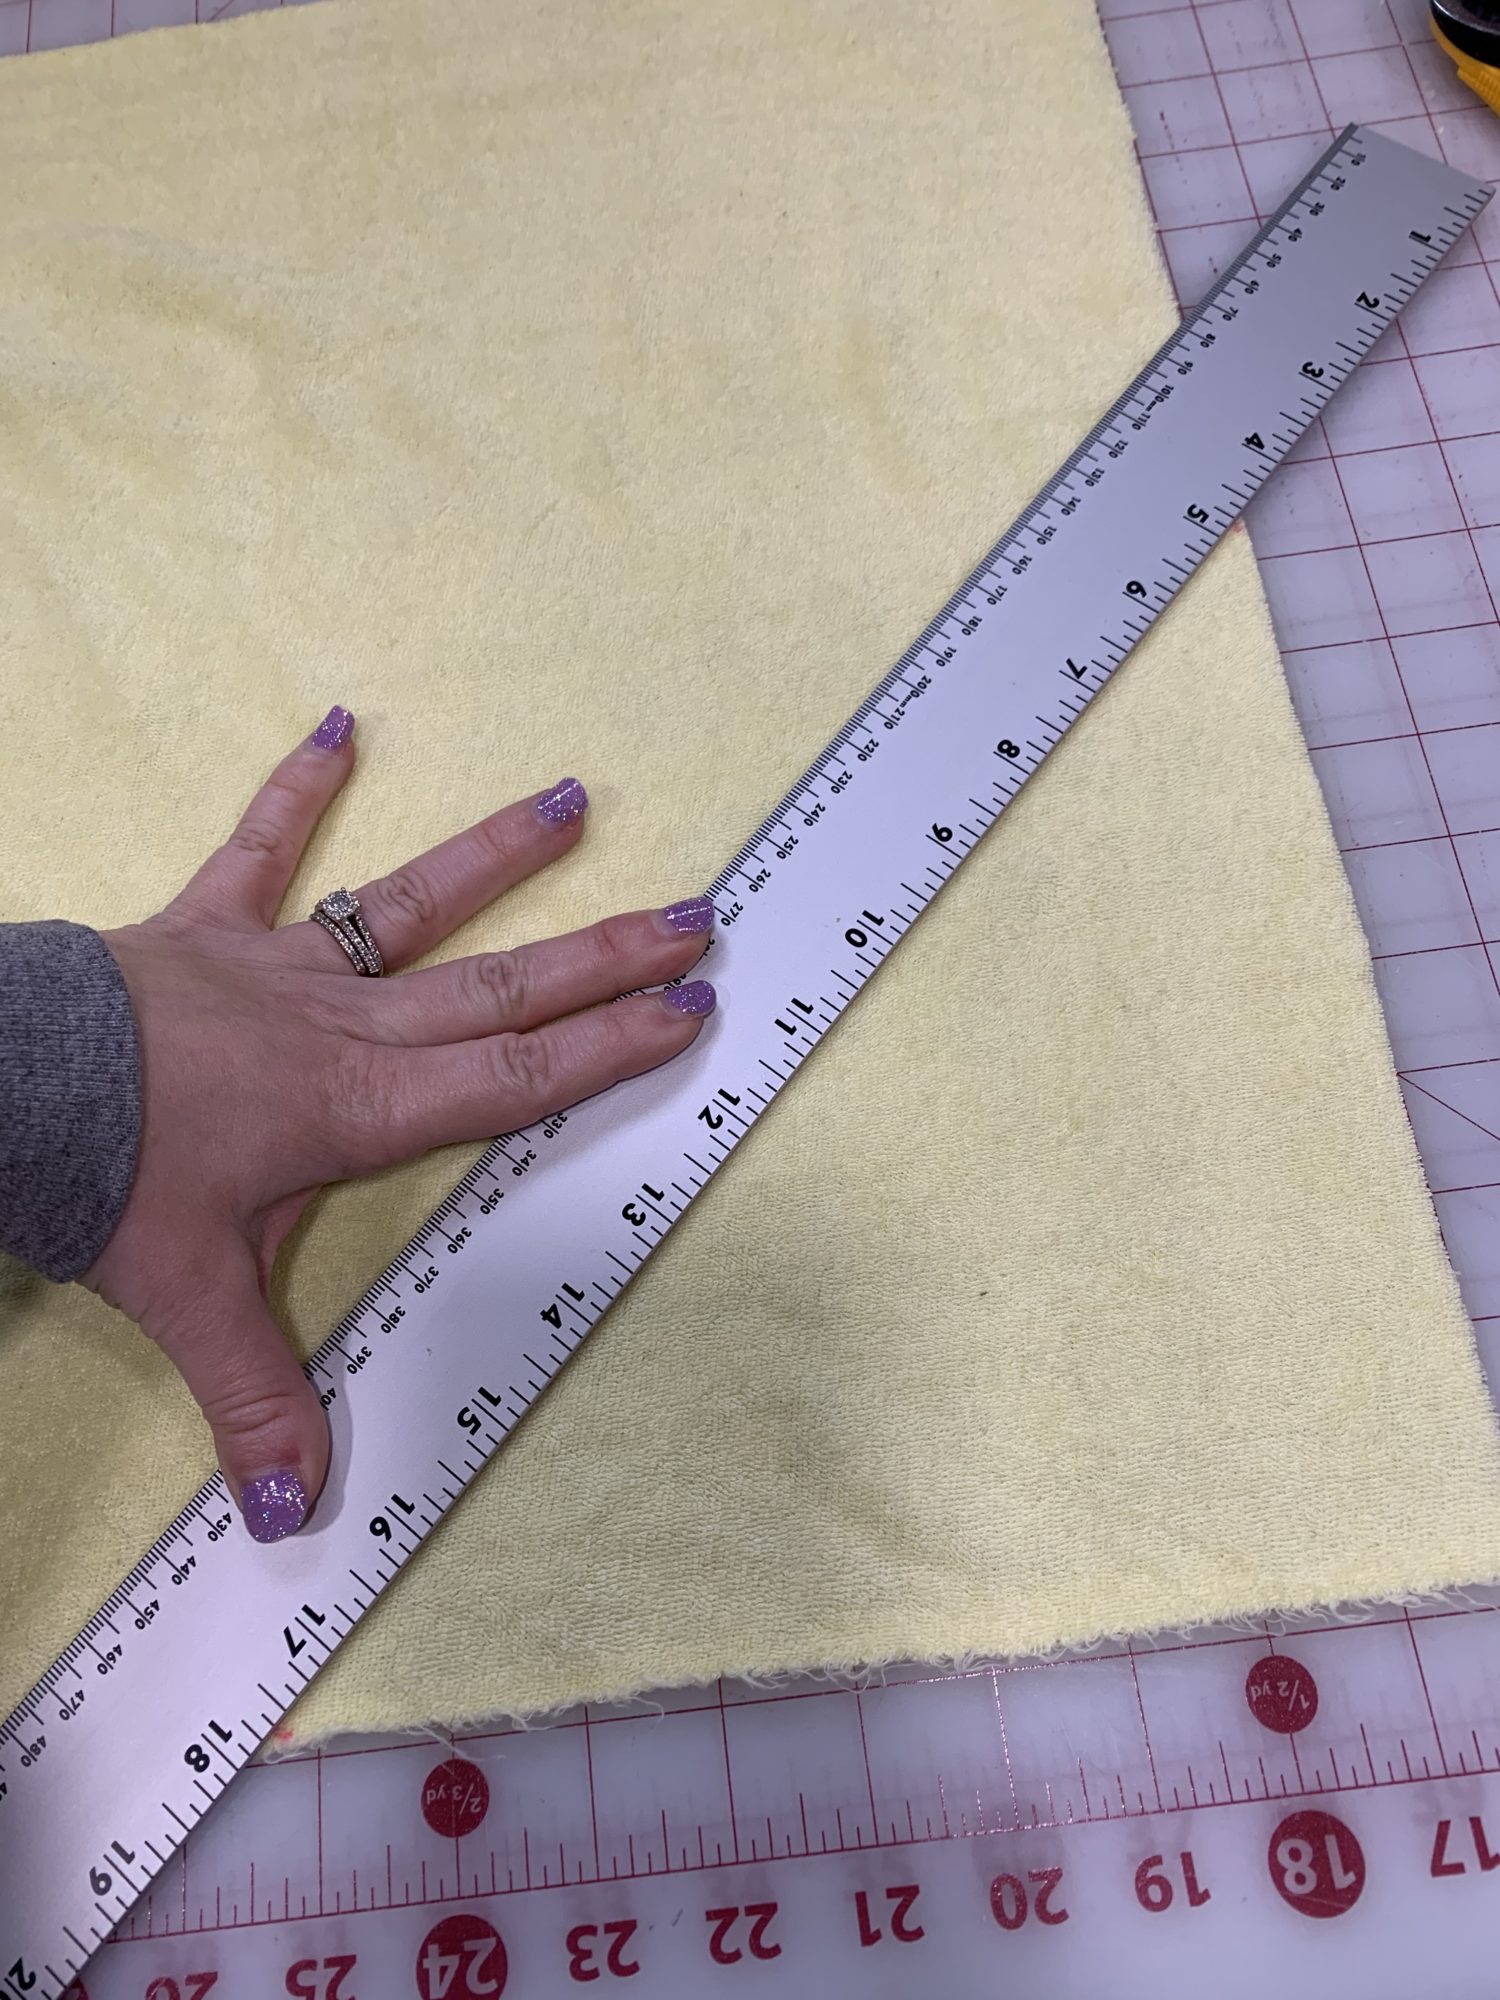
You should now have 1 square and 1 triangle cut out
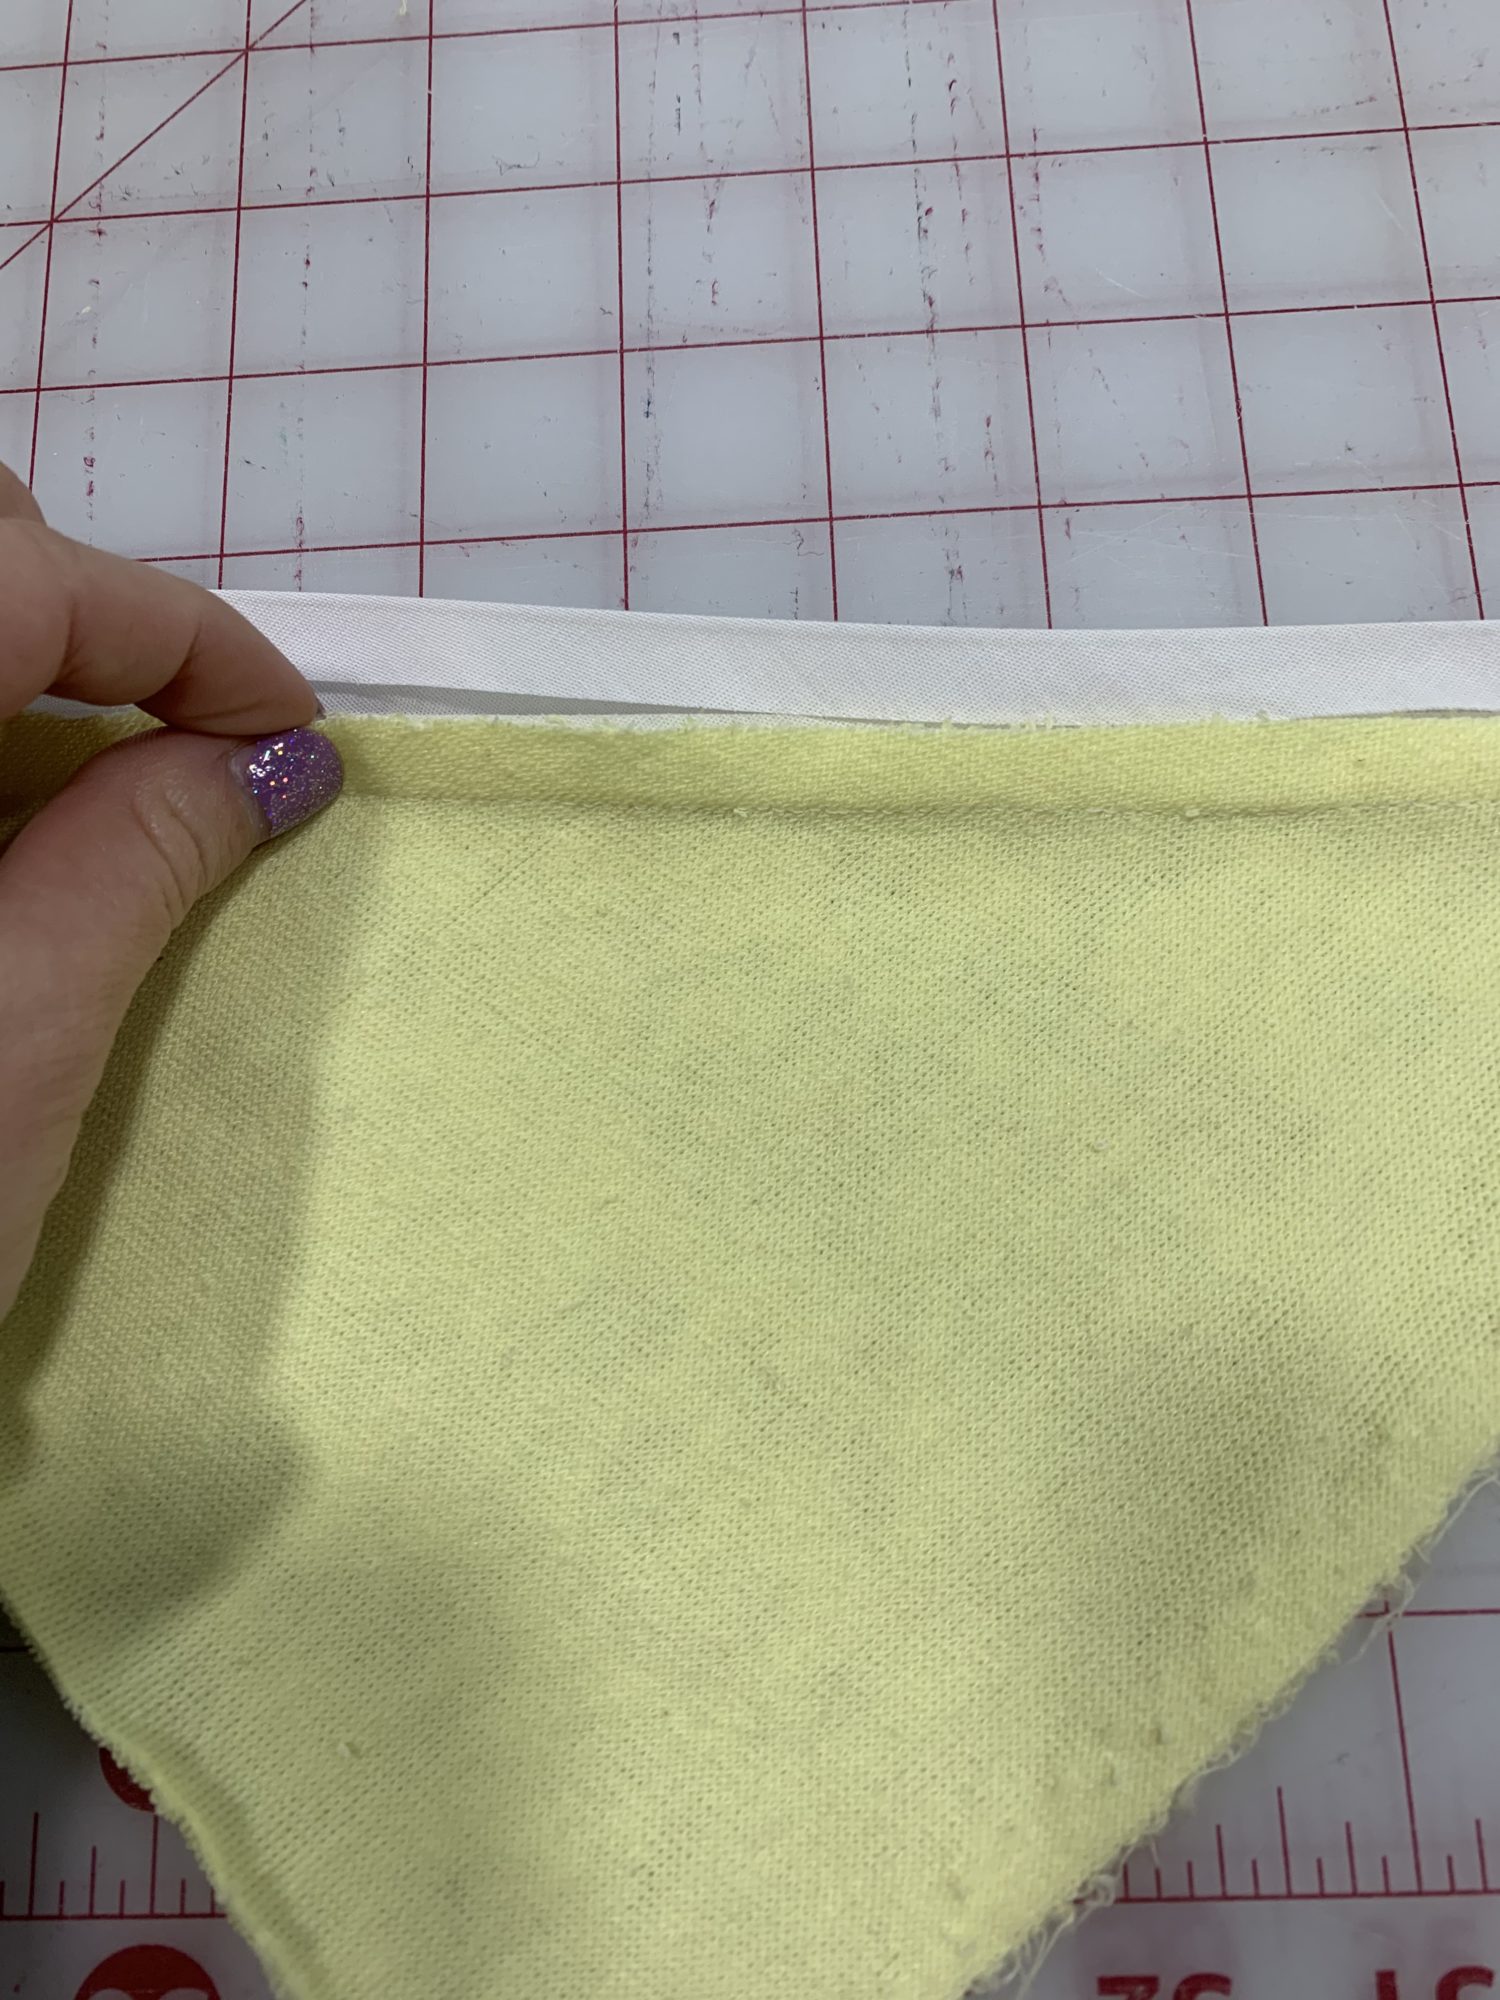
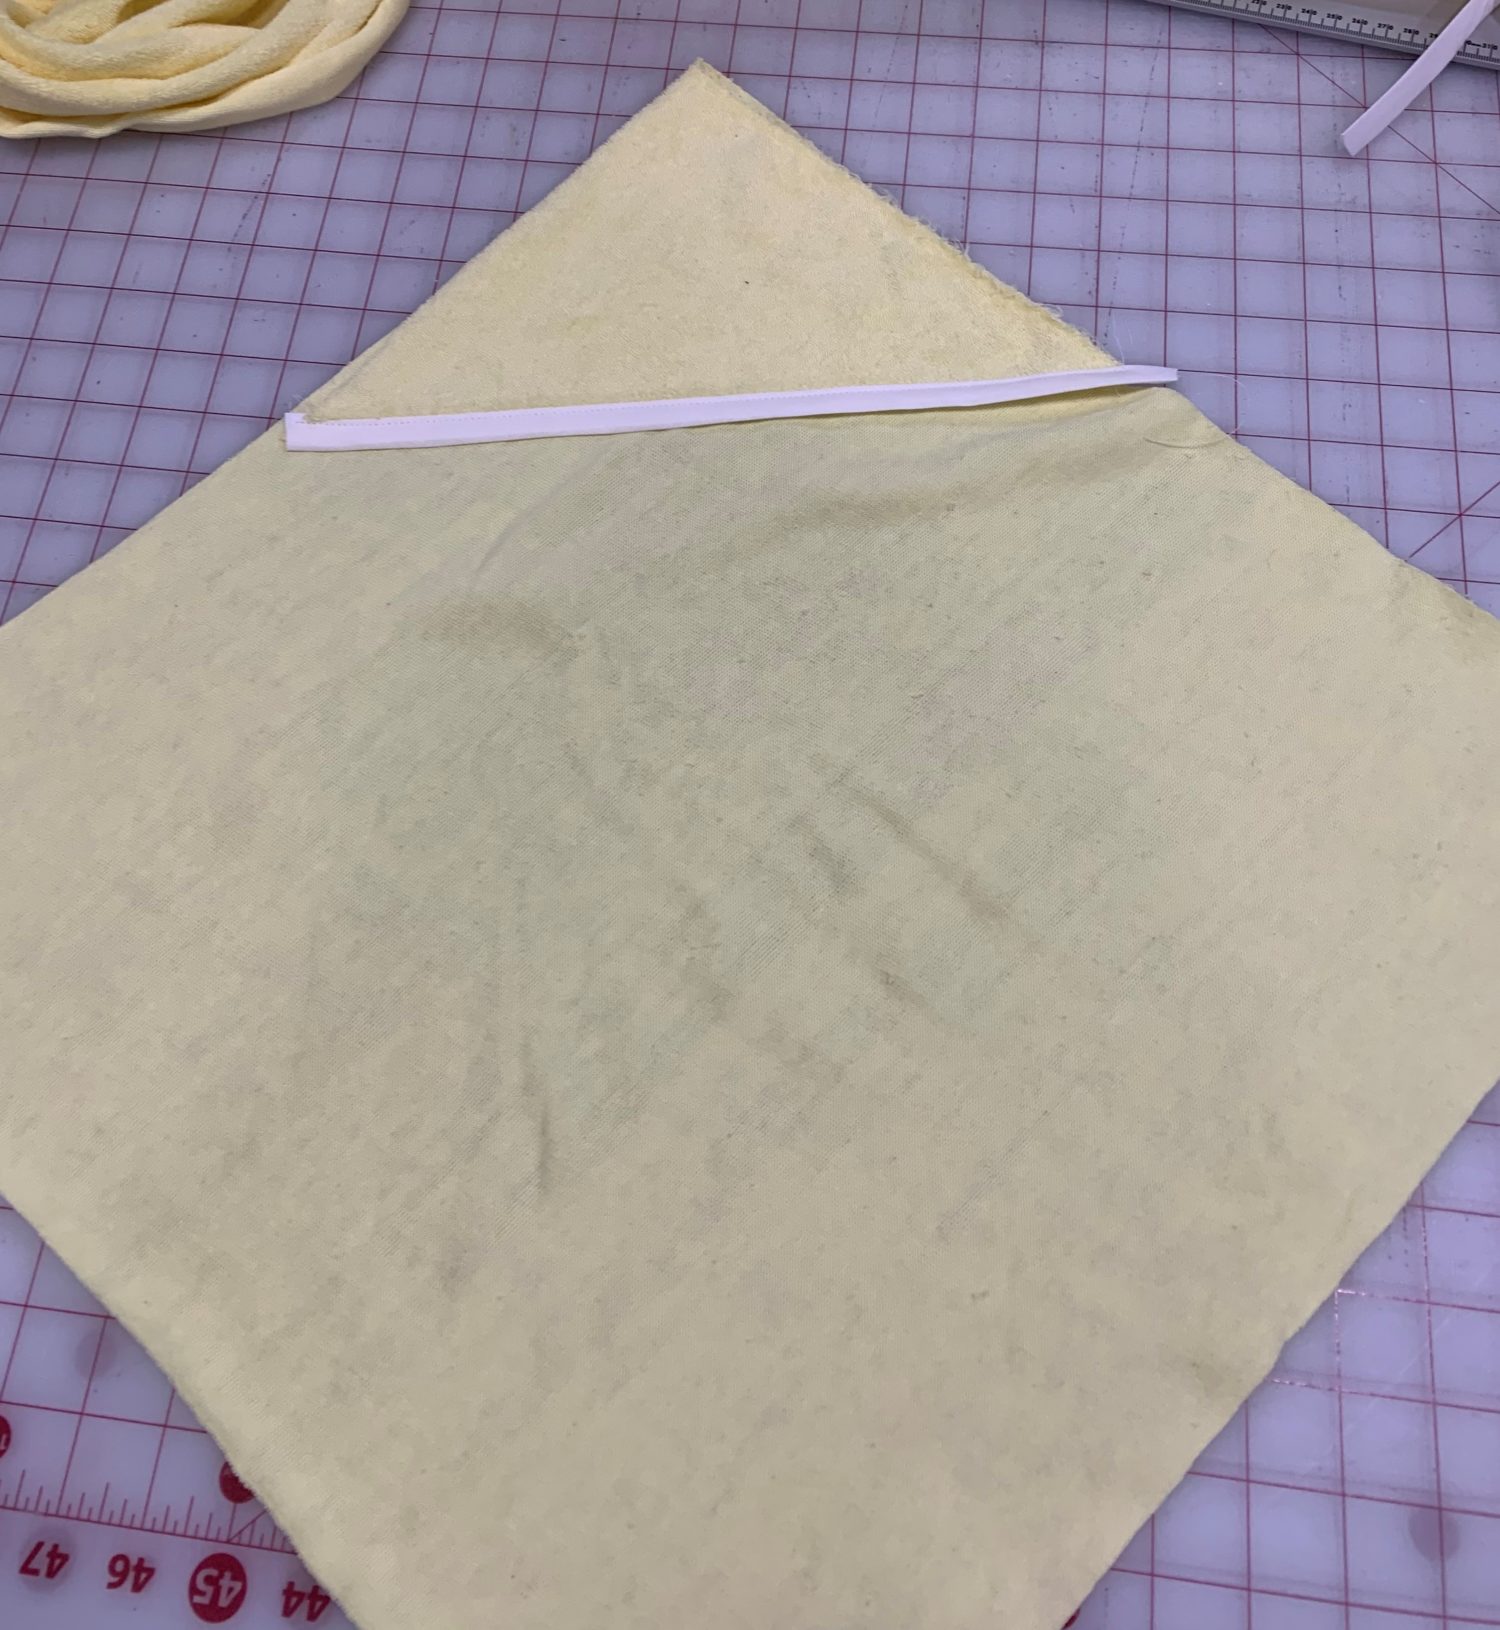
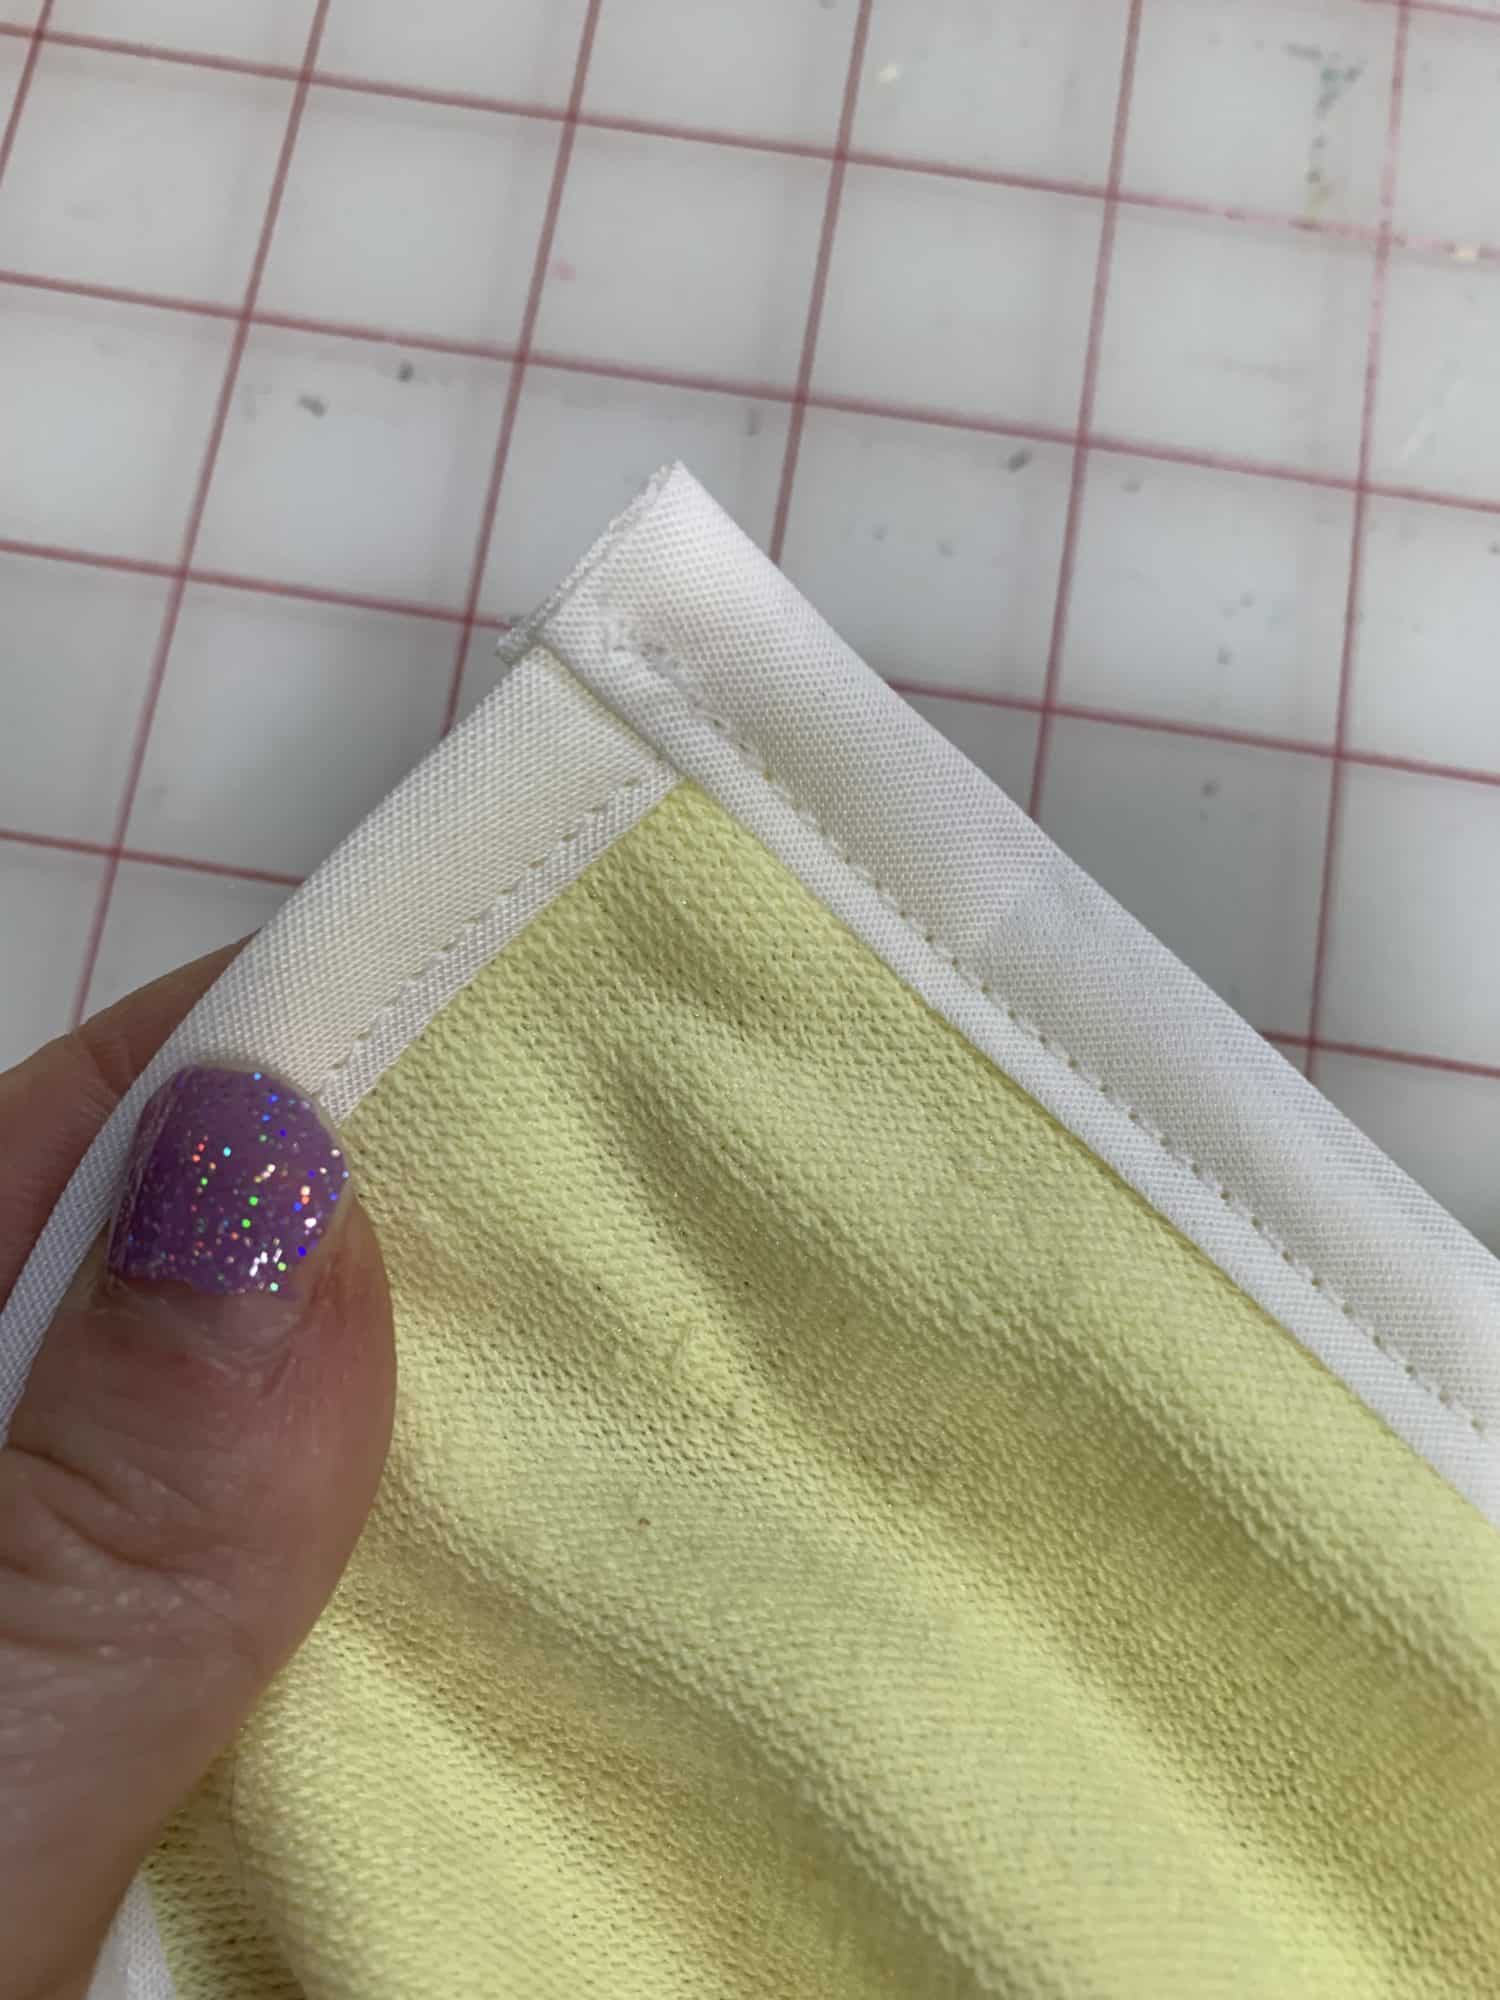
Bias tape application on the hood piece
- You are going to cover the long, diagonal side of your triangle piece with bias tape
- Unfold the bias tape so it is flat
- Line up the bias tape with the raw edge of your triangle piece
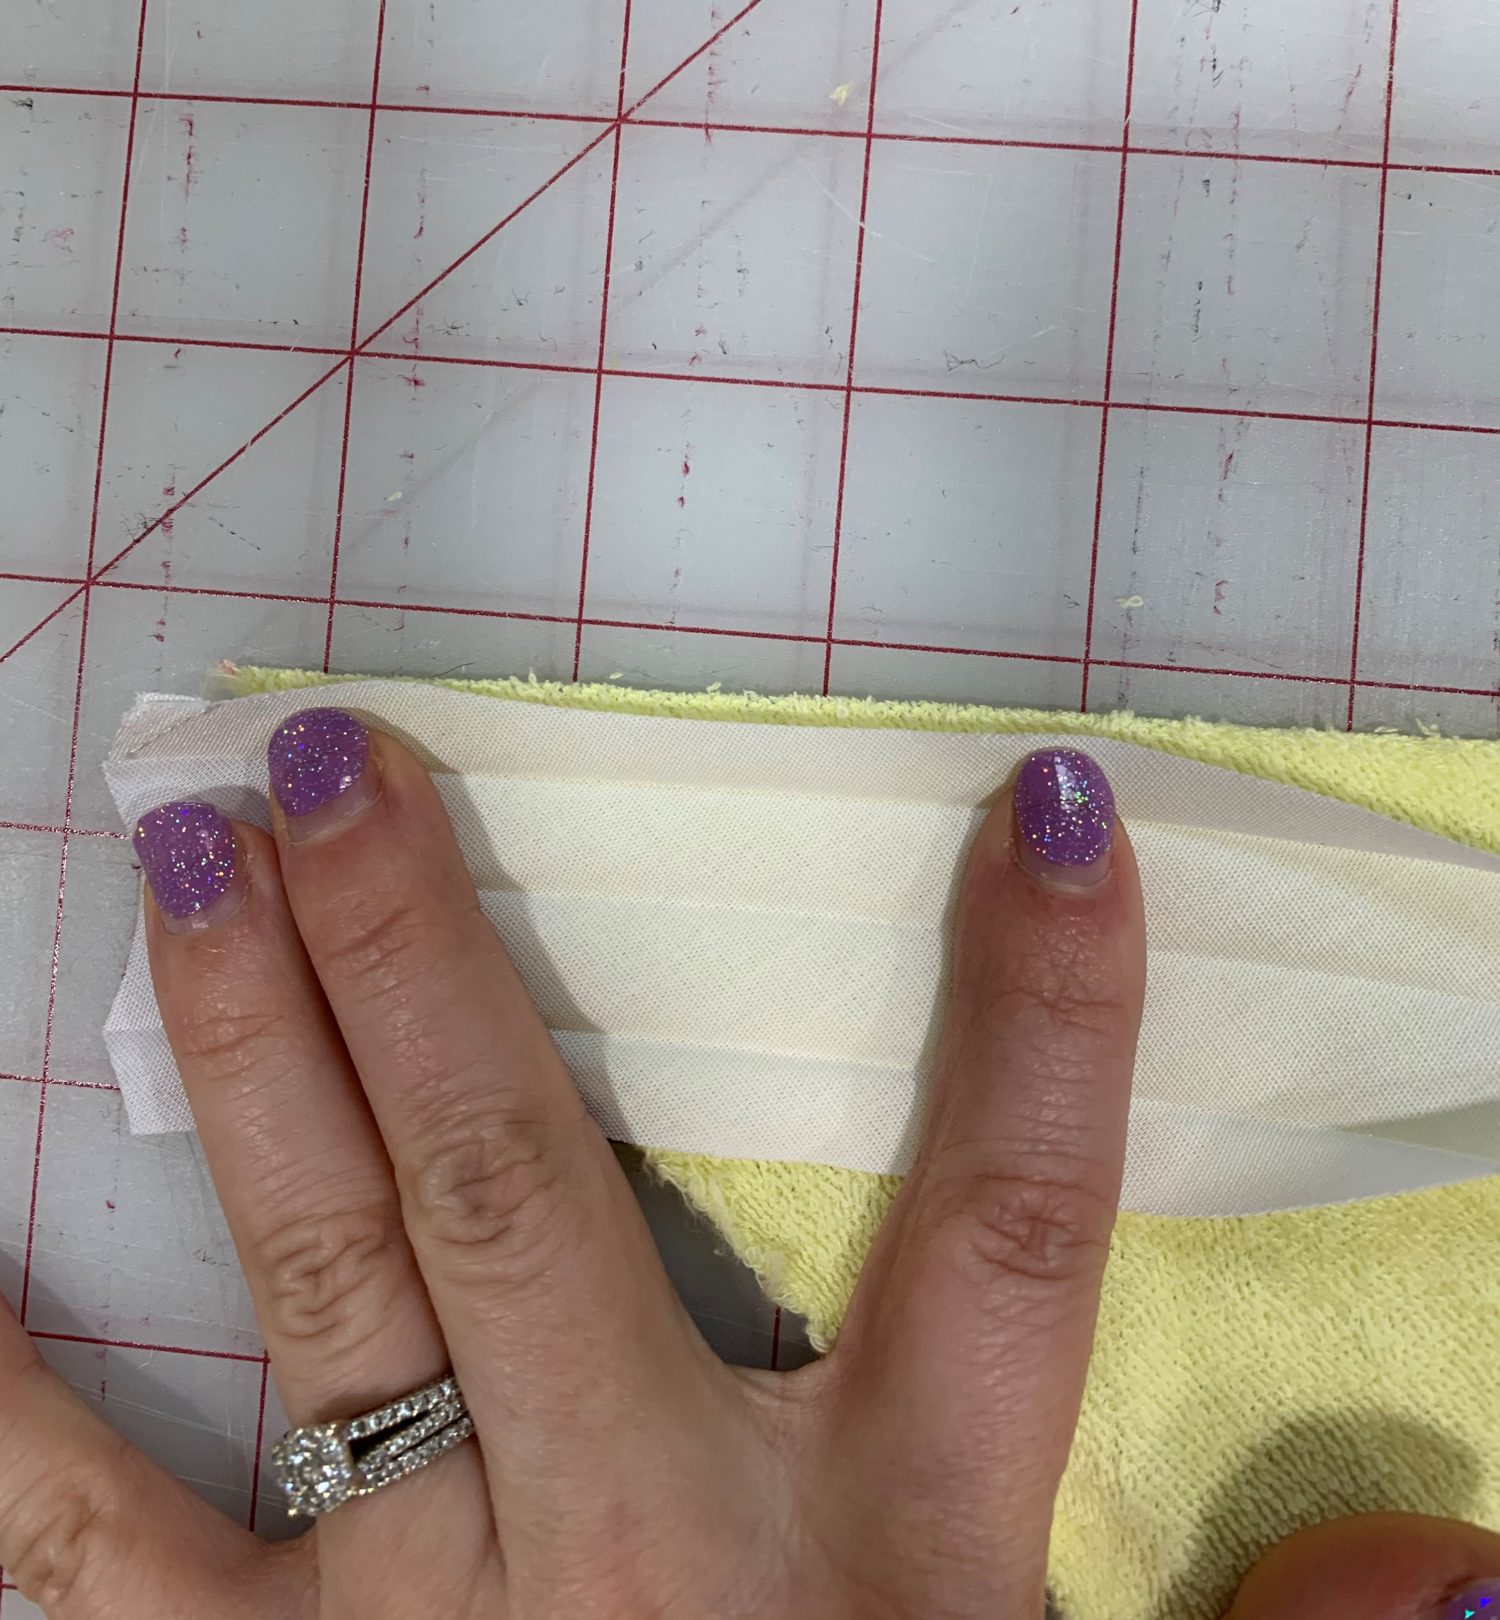
- Clip or pin the bias tape along the long edge of your triangle piece (right sides together)
- Stitch along the open fold closest to the edge of your fabric
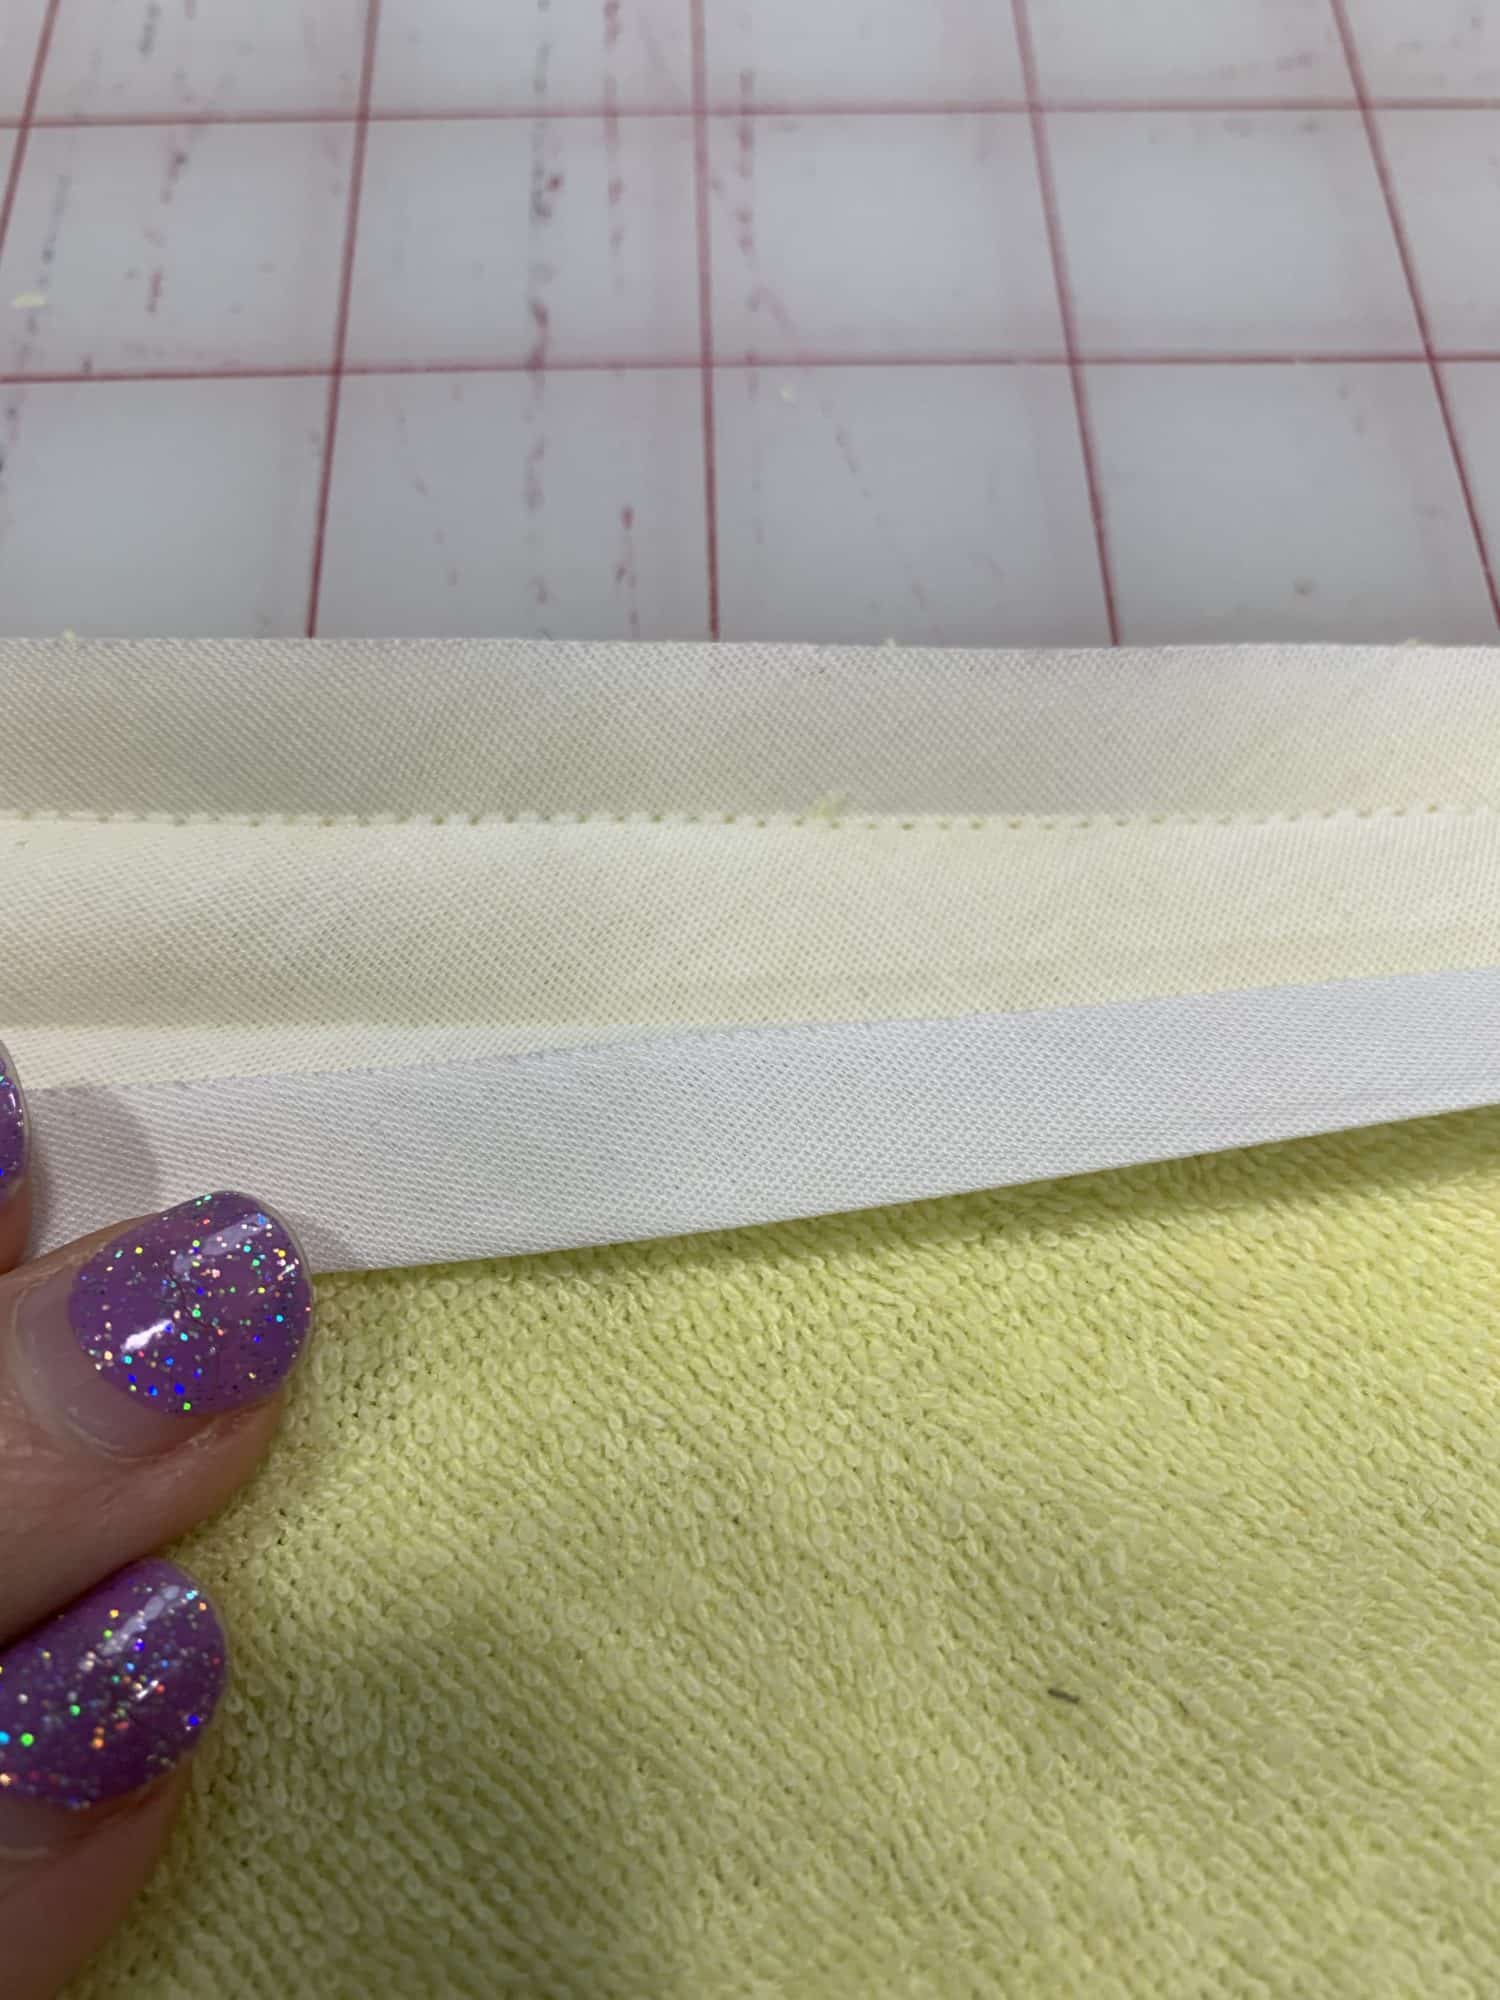
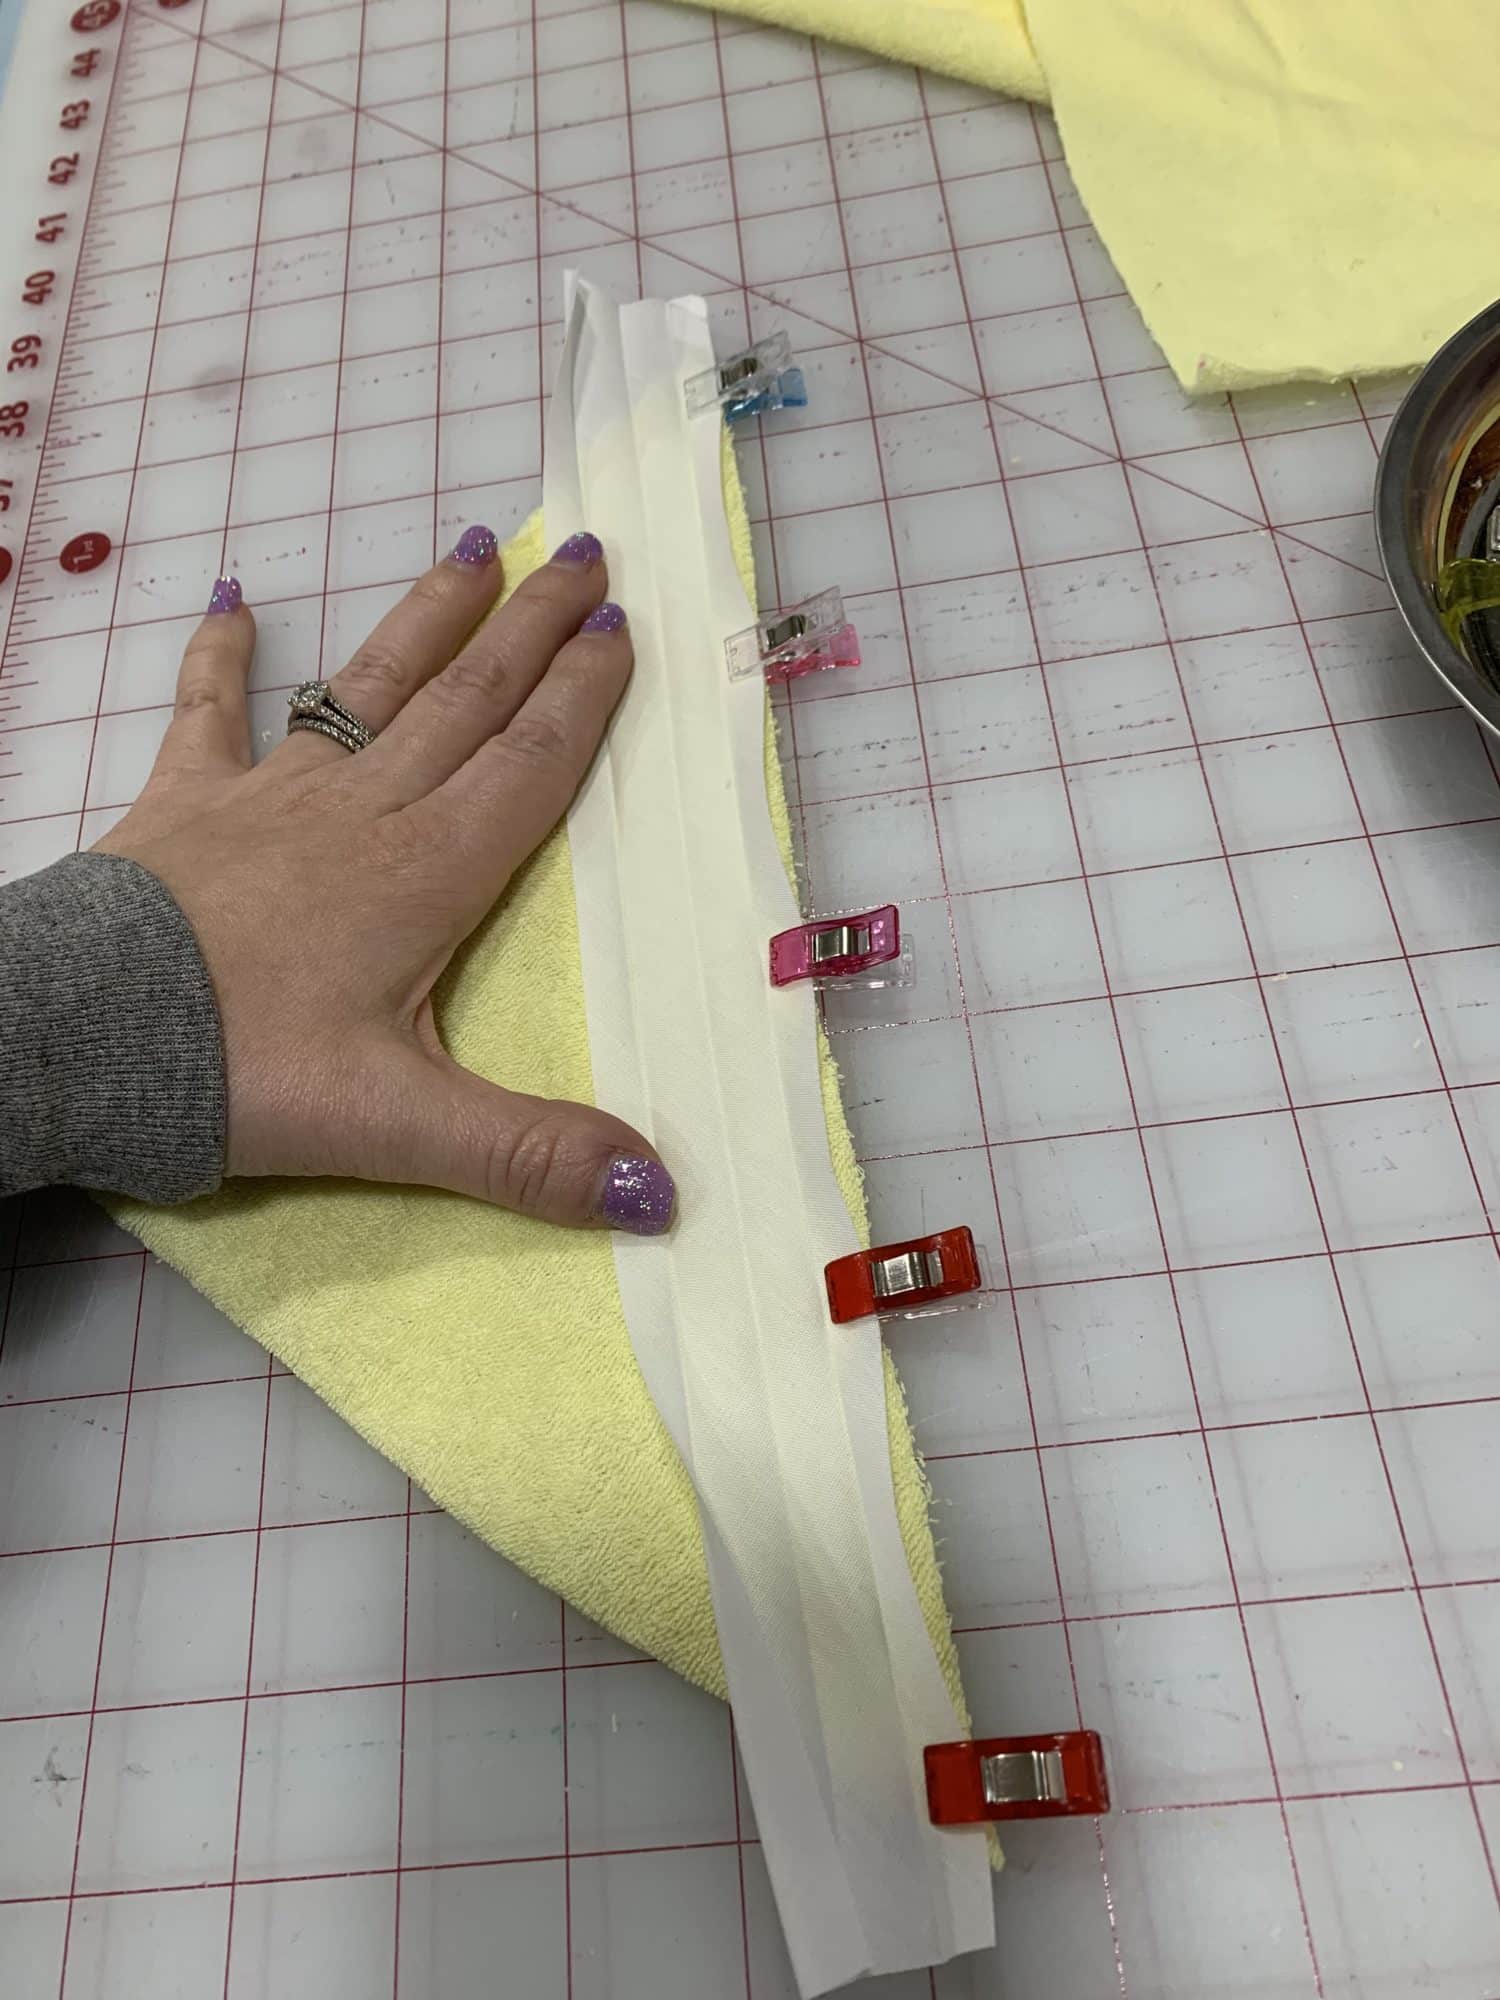
- Press your seam allowance up towards the bias binding
- Fold your bias binding down over the seam allowance
- Your binding will cover the seam allowance
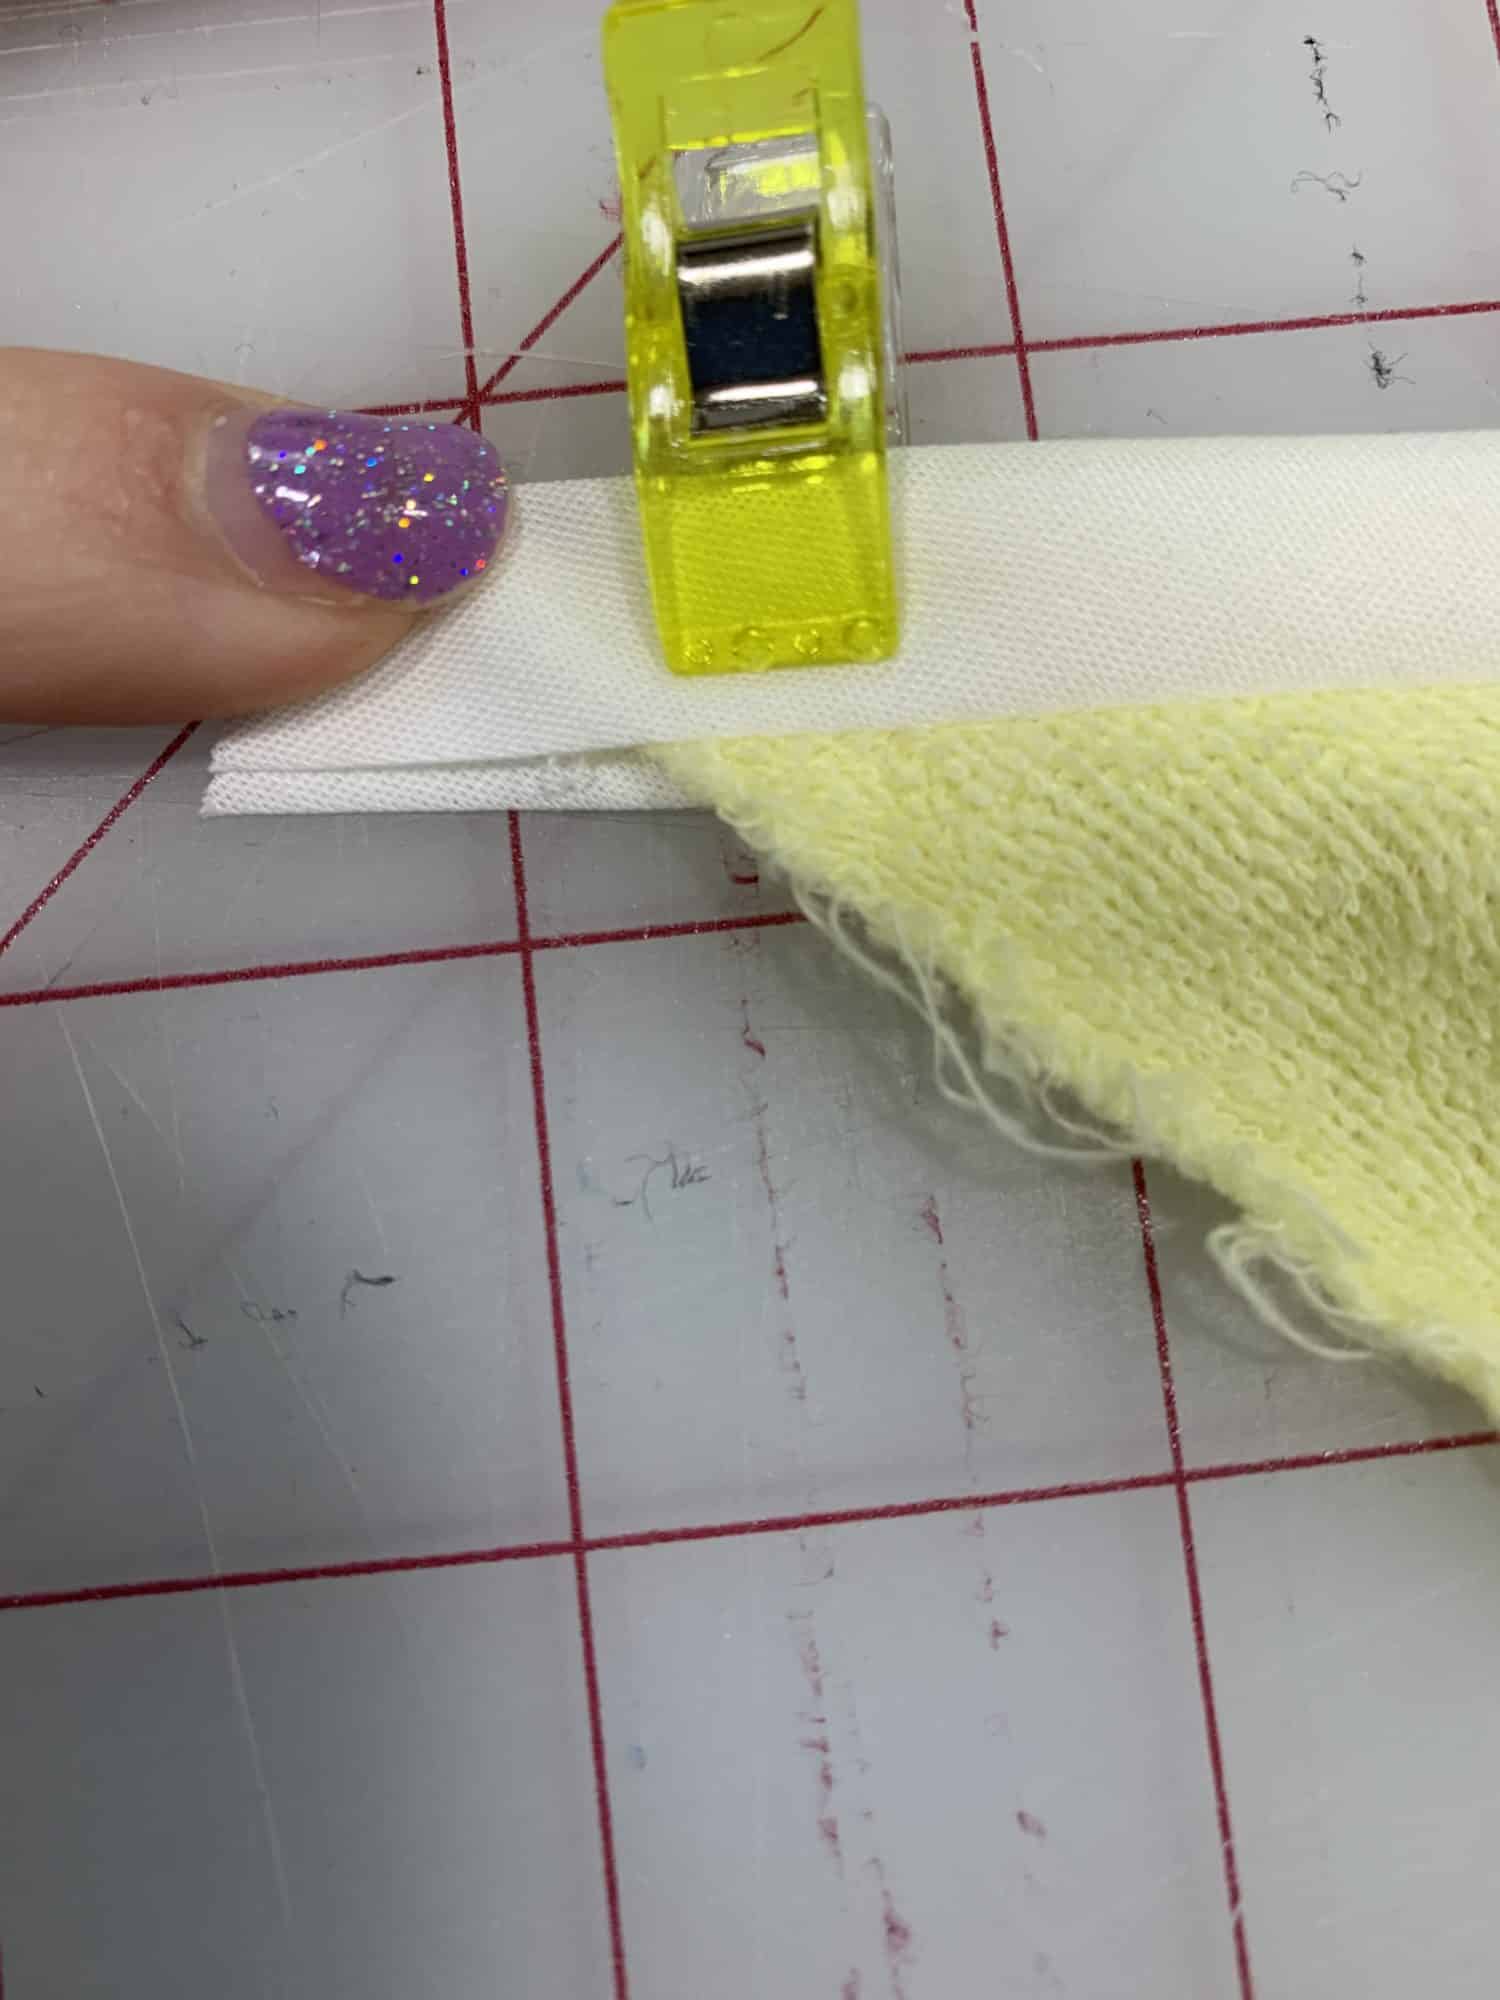
- If you use store bought bias tape, one side will be a bit longer than the other. Put this side down when you sew so that you will be sure to catch both sides of the bias binding when sewing.
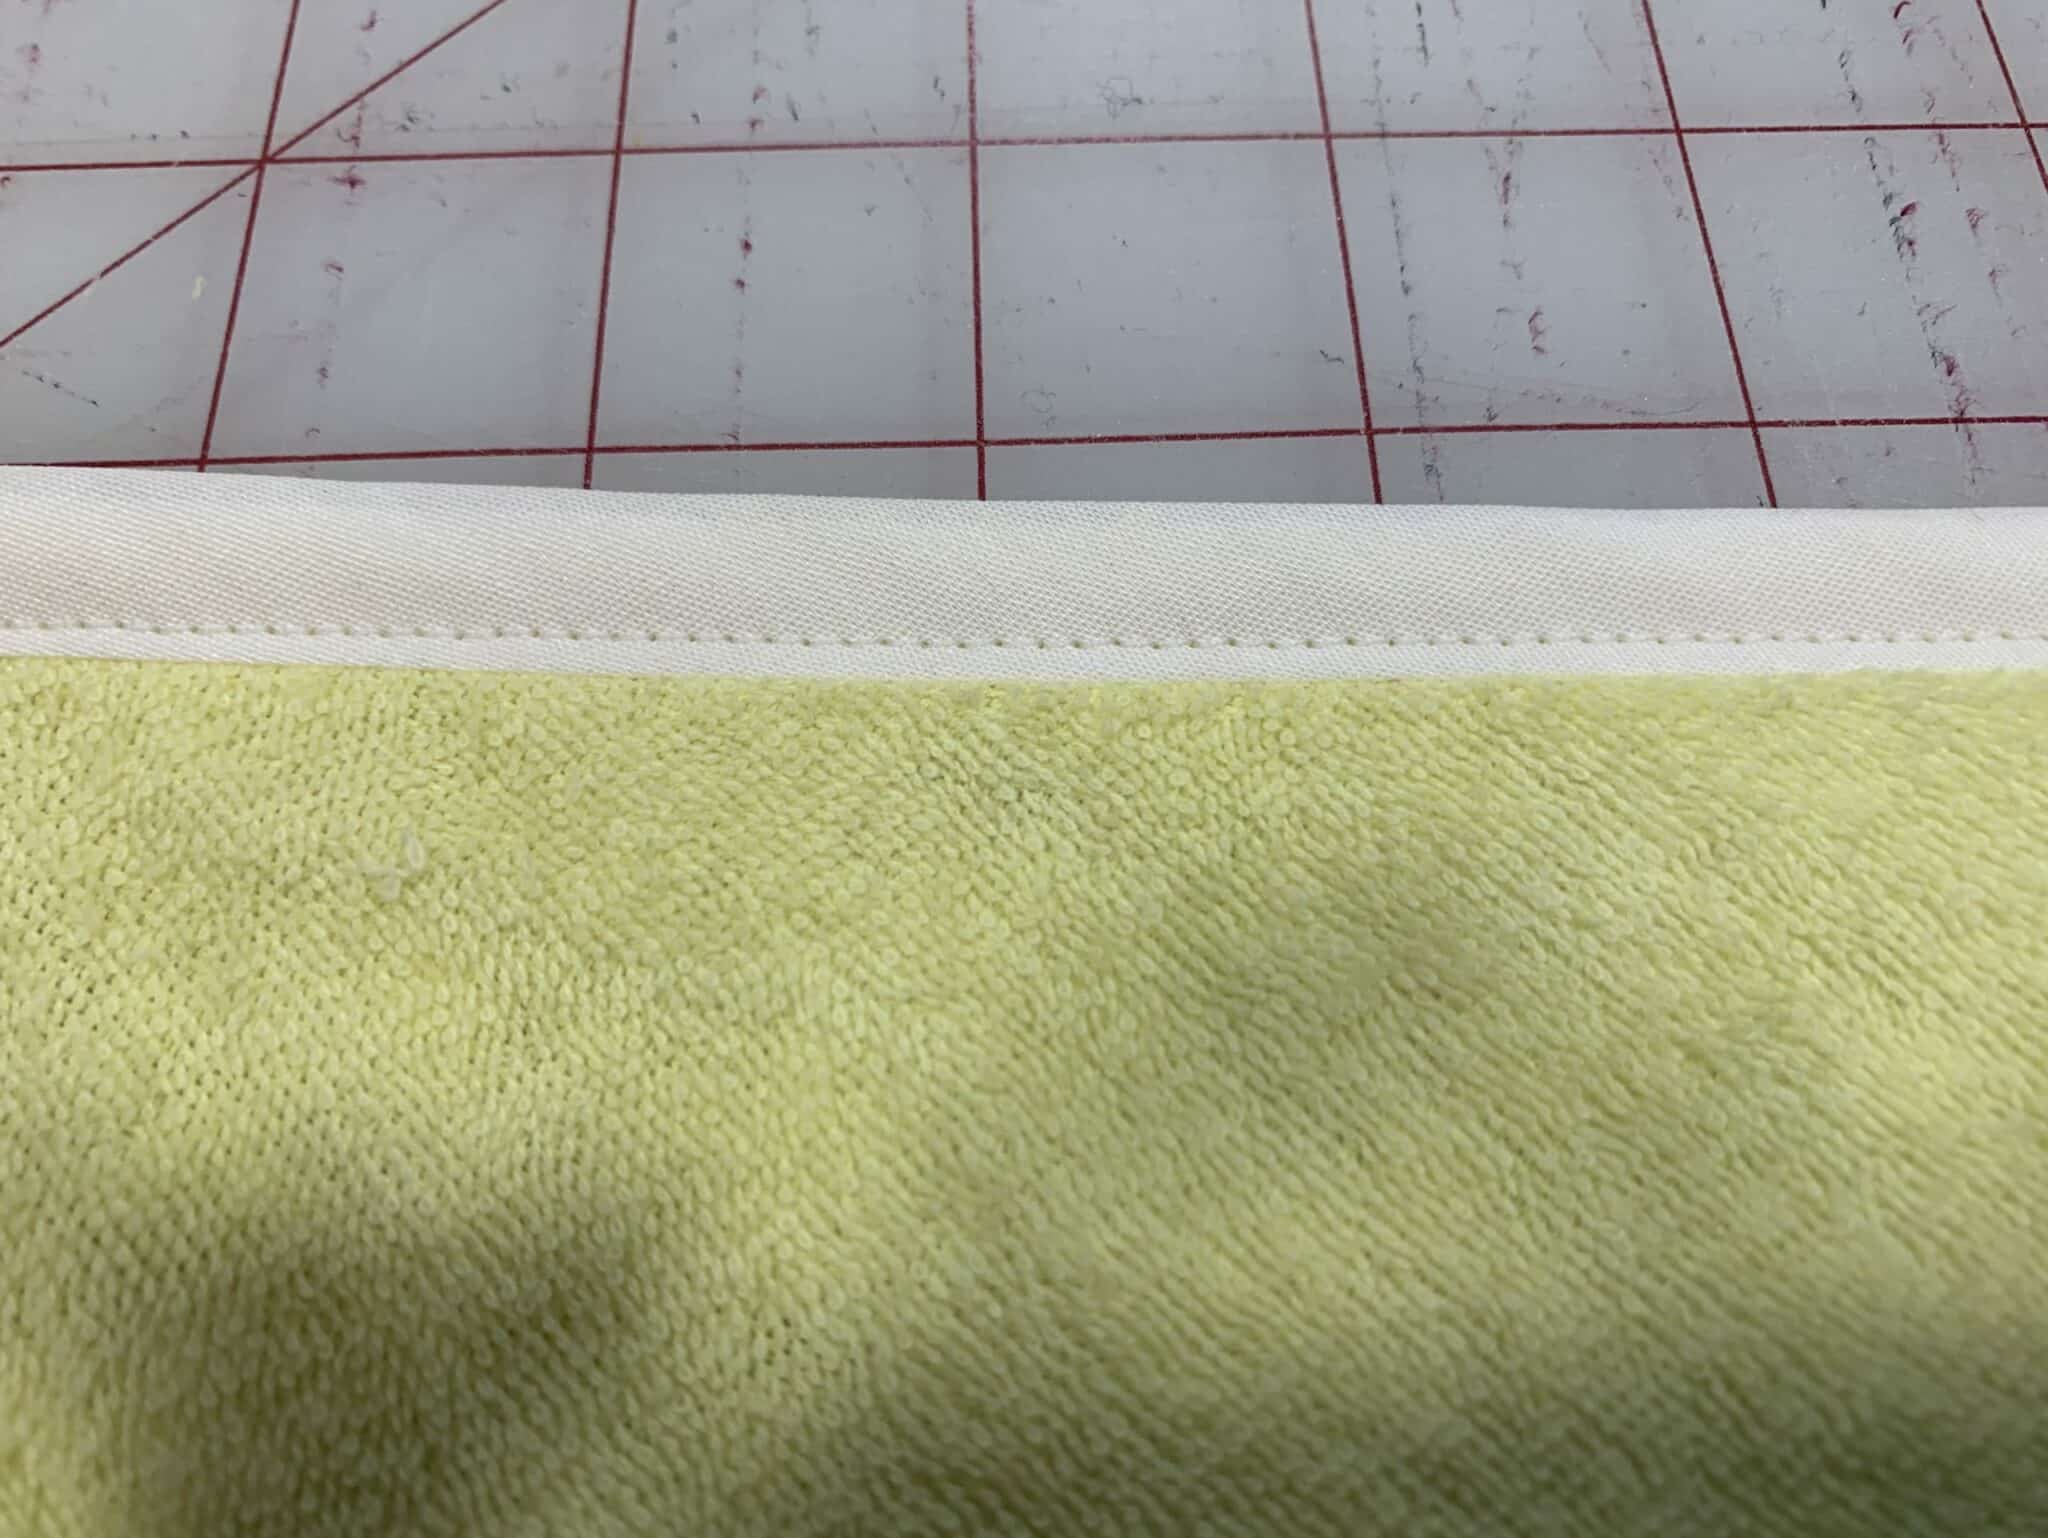
- Edge stitch along the binding. Cut off any excess
Need more help with binding? Here is a Sewing School video on double fold knit binding. It is a little different than premade bias tape, but the general process is the same.
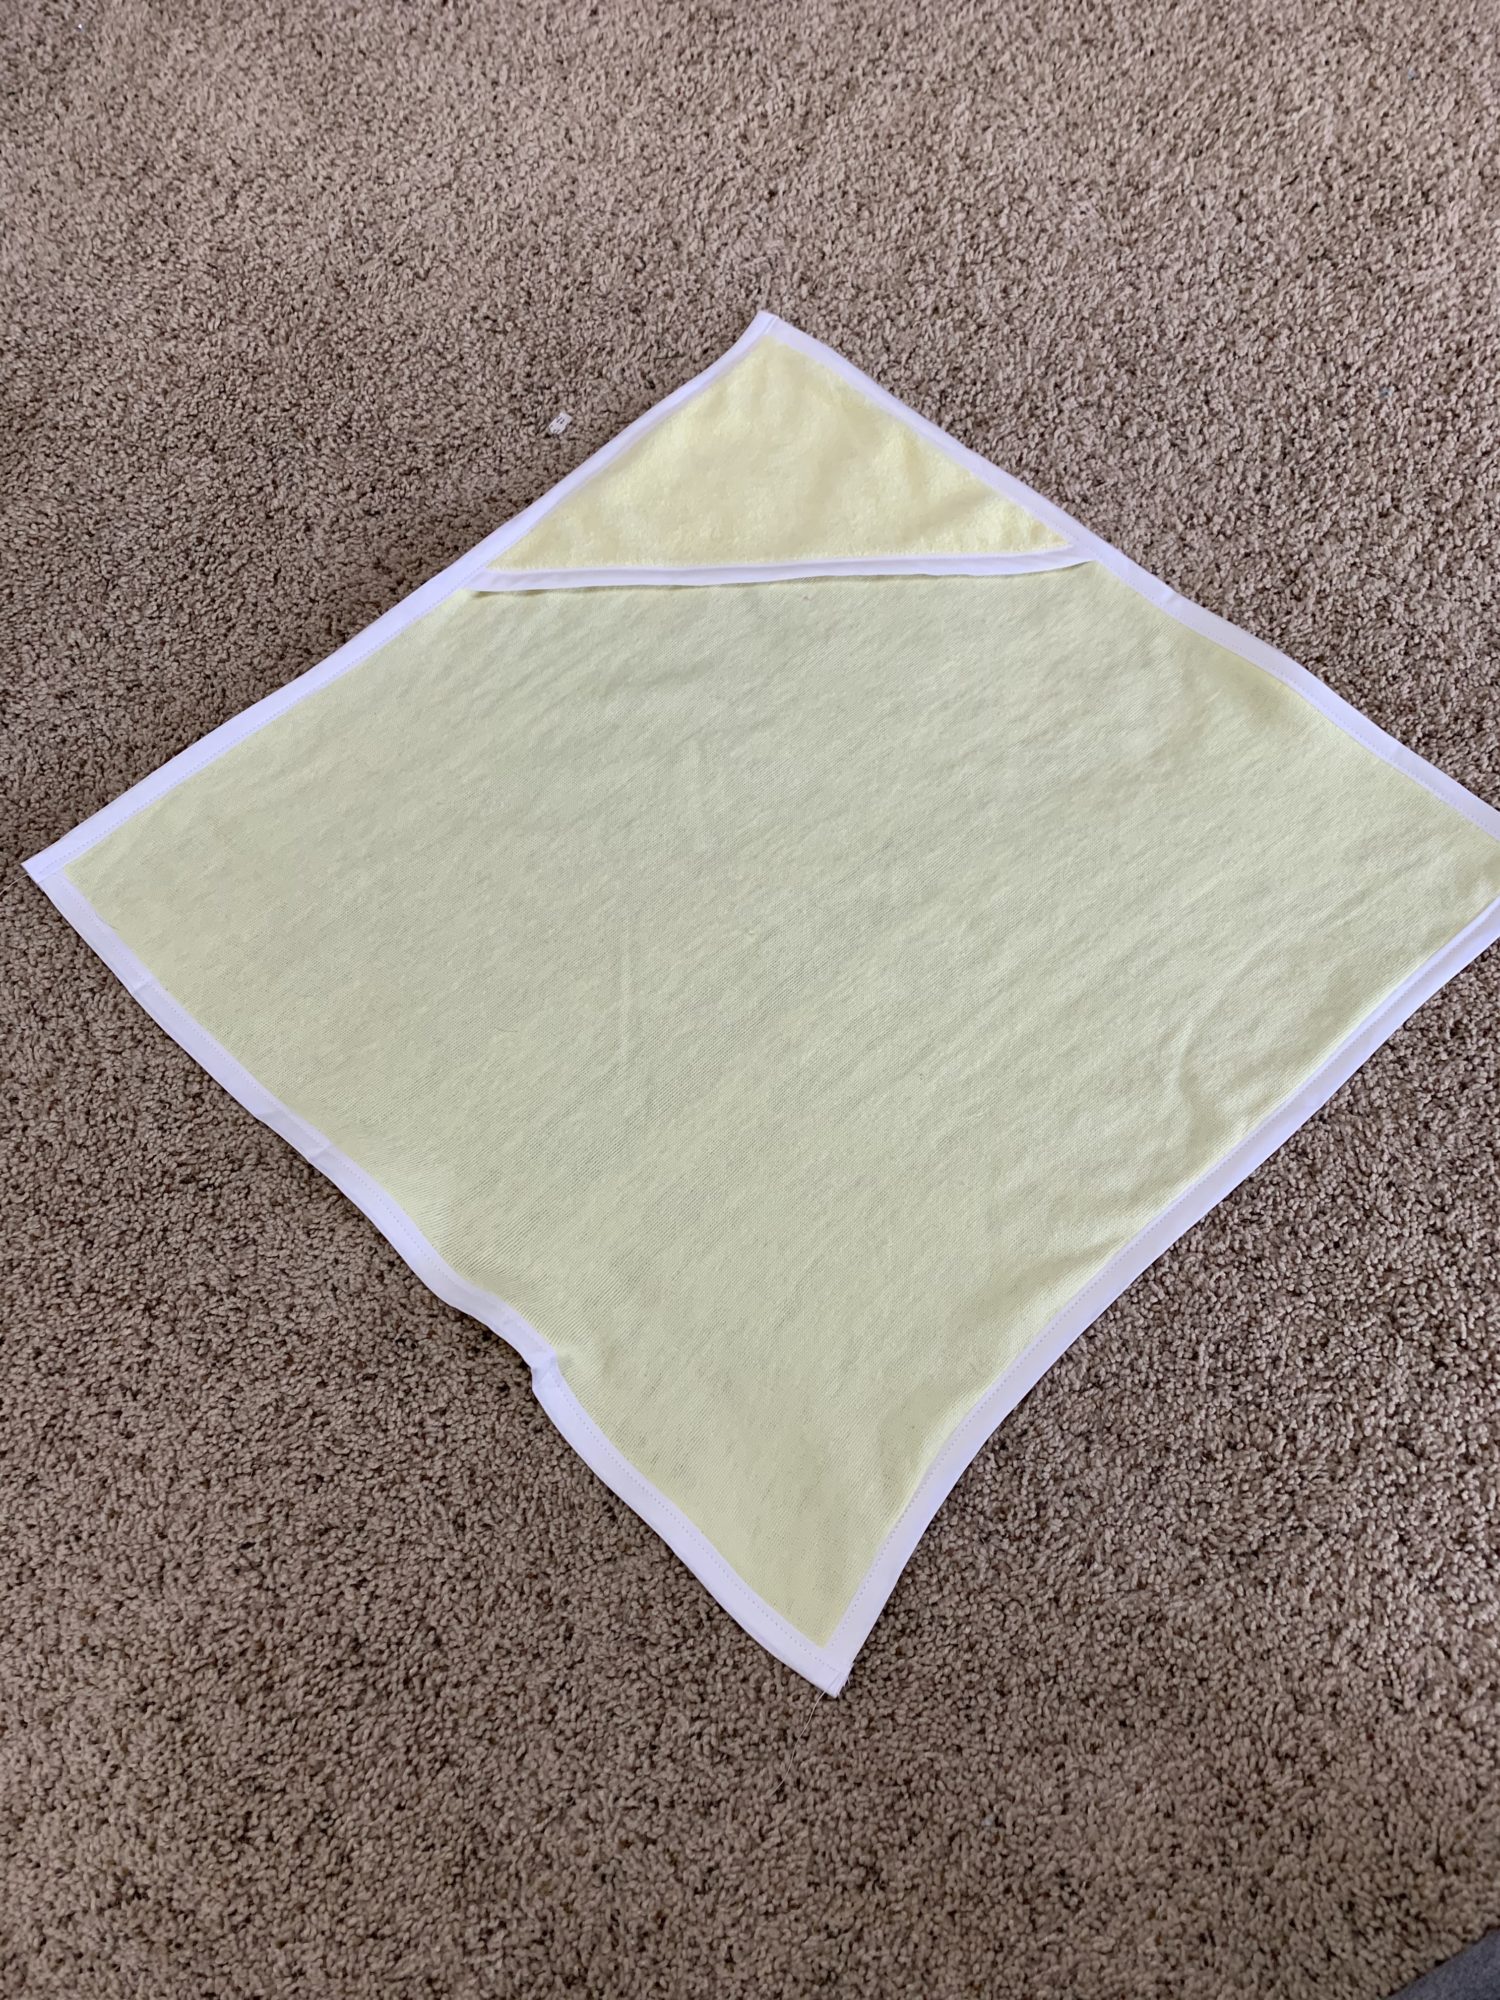
Adding hood piece to towel piece
- Place the hood piece (triangle piece) on top of the towel with wrong sides together
- Align the triangle at the top corner of the towel and clip together
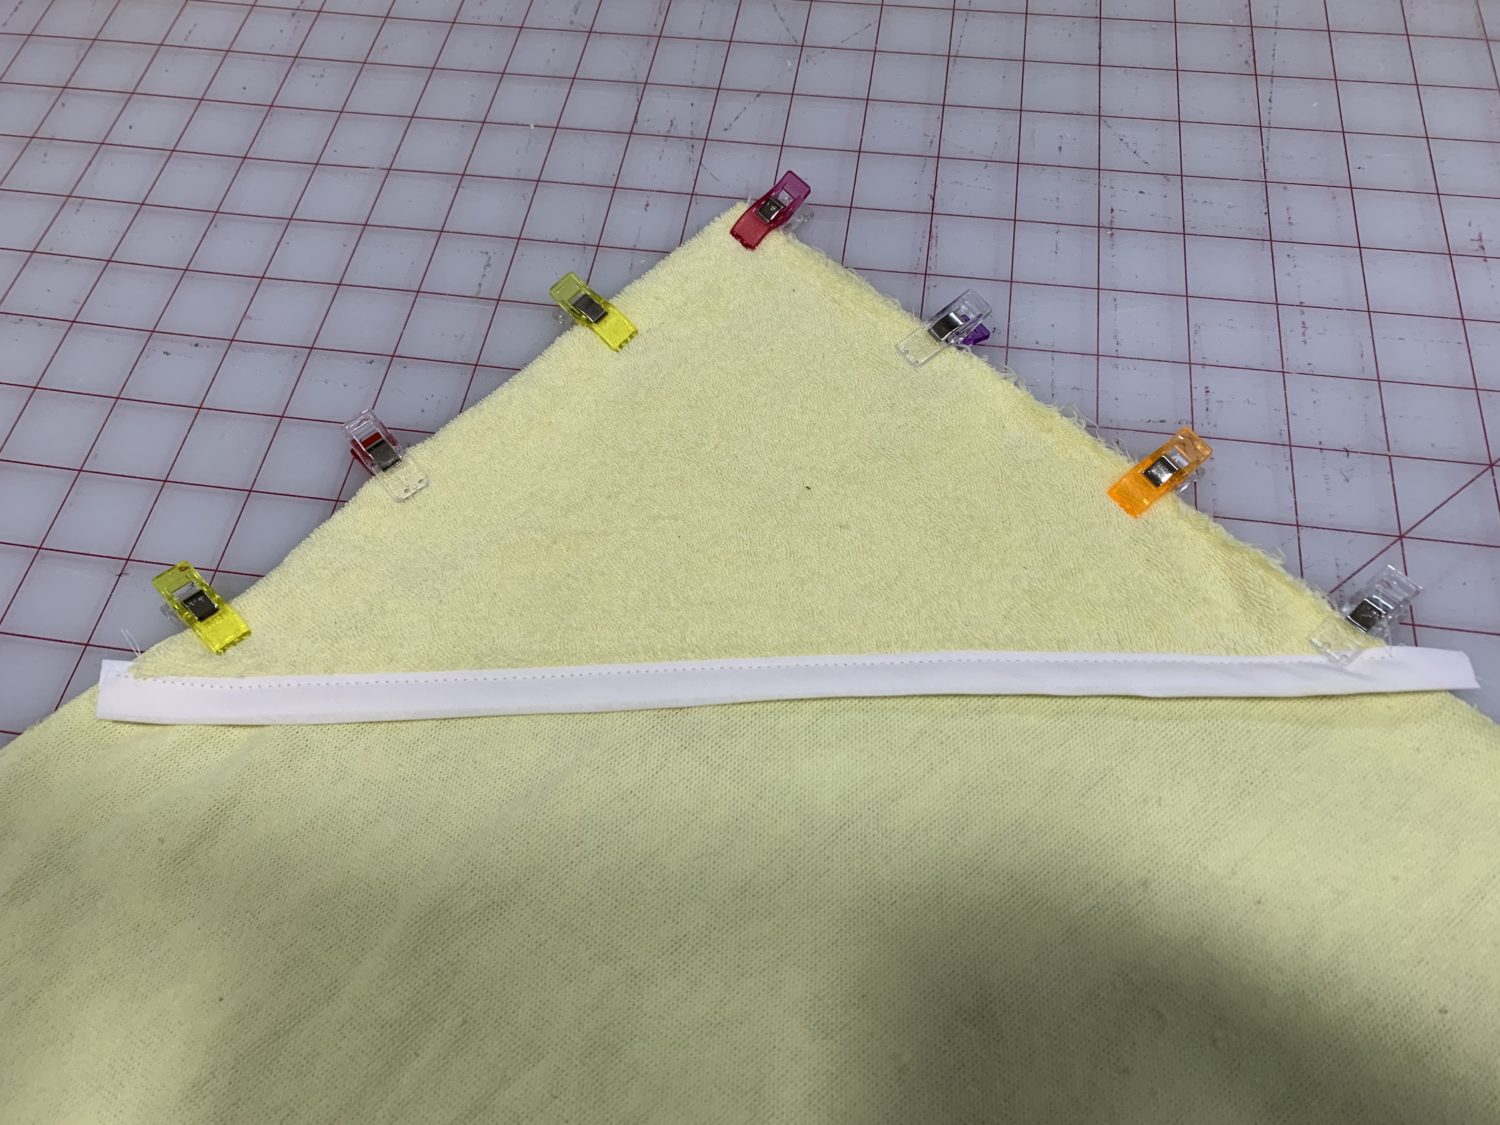
- Baste the hood to the towel
- This is optional, but it makes adding the binding a bit easier
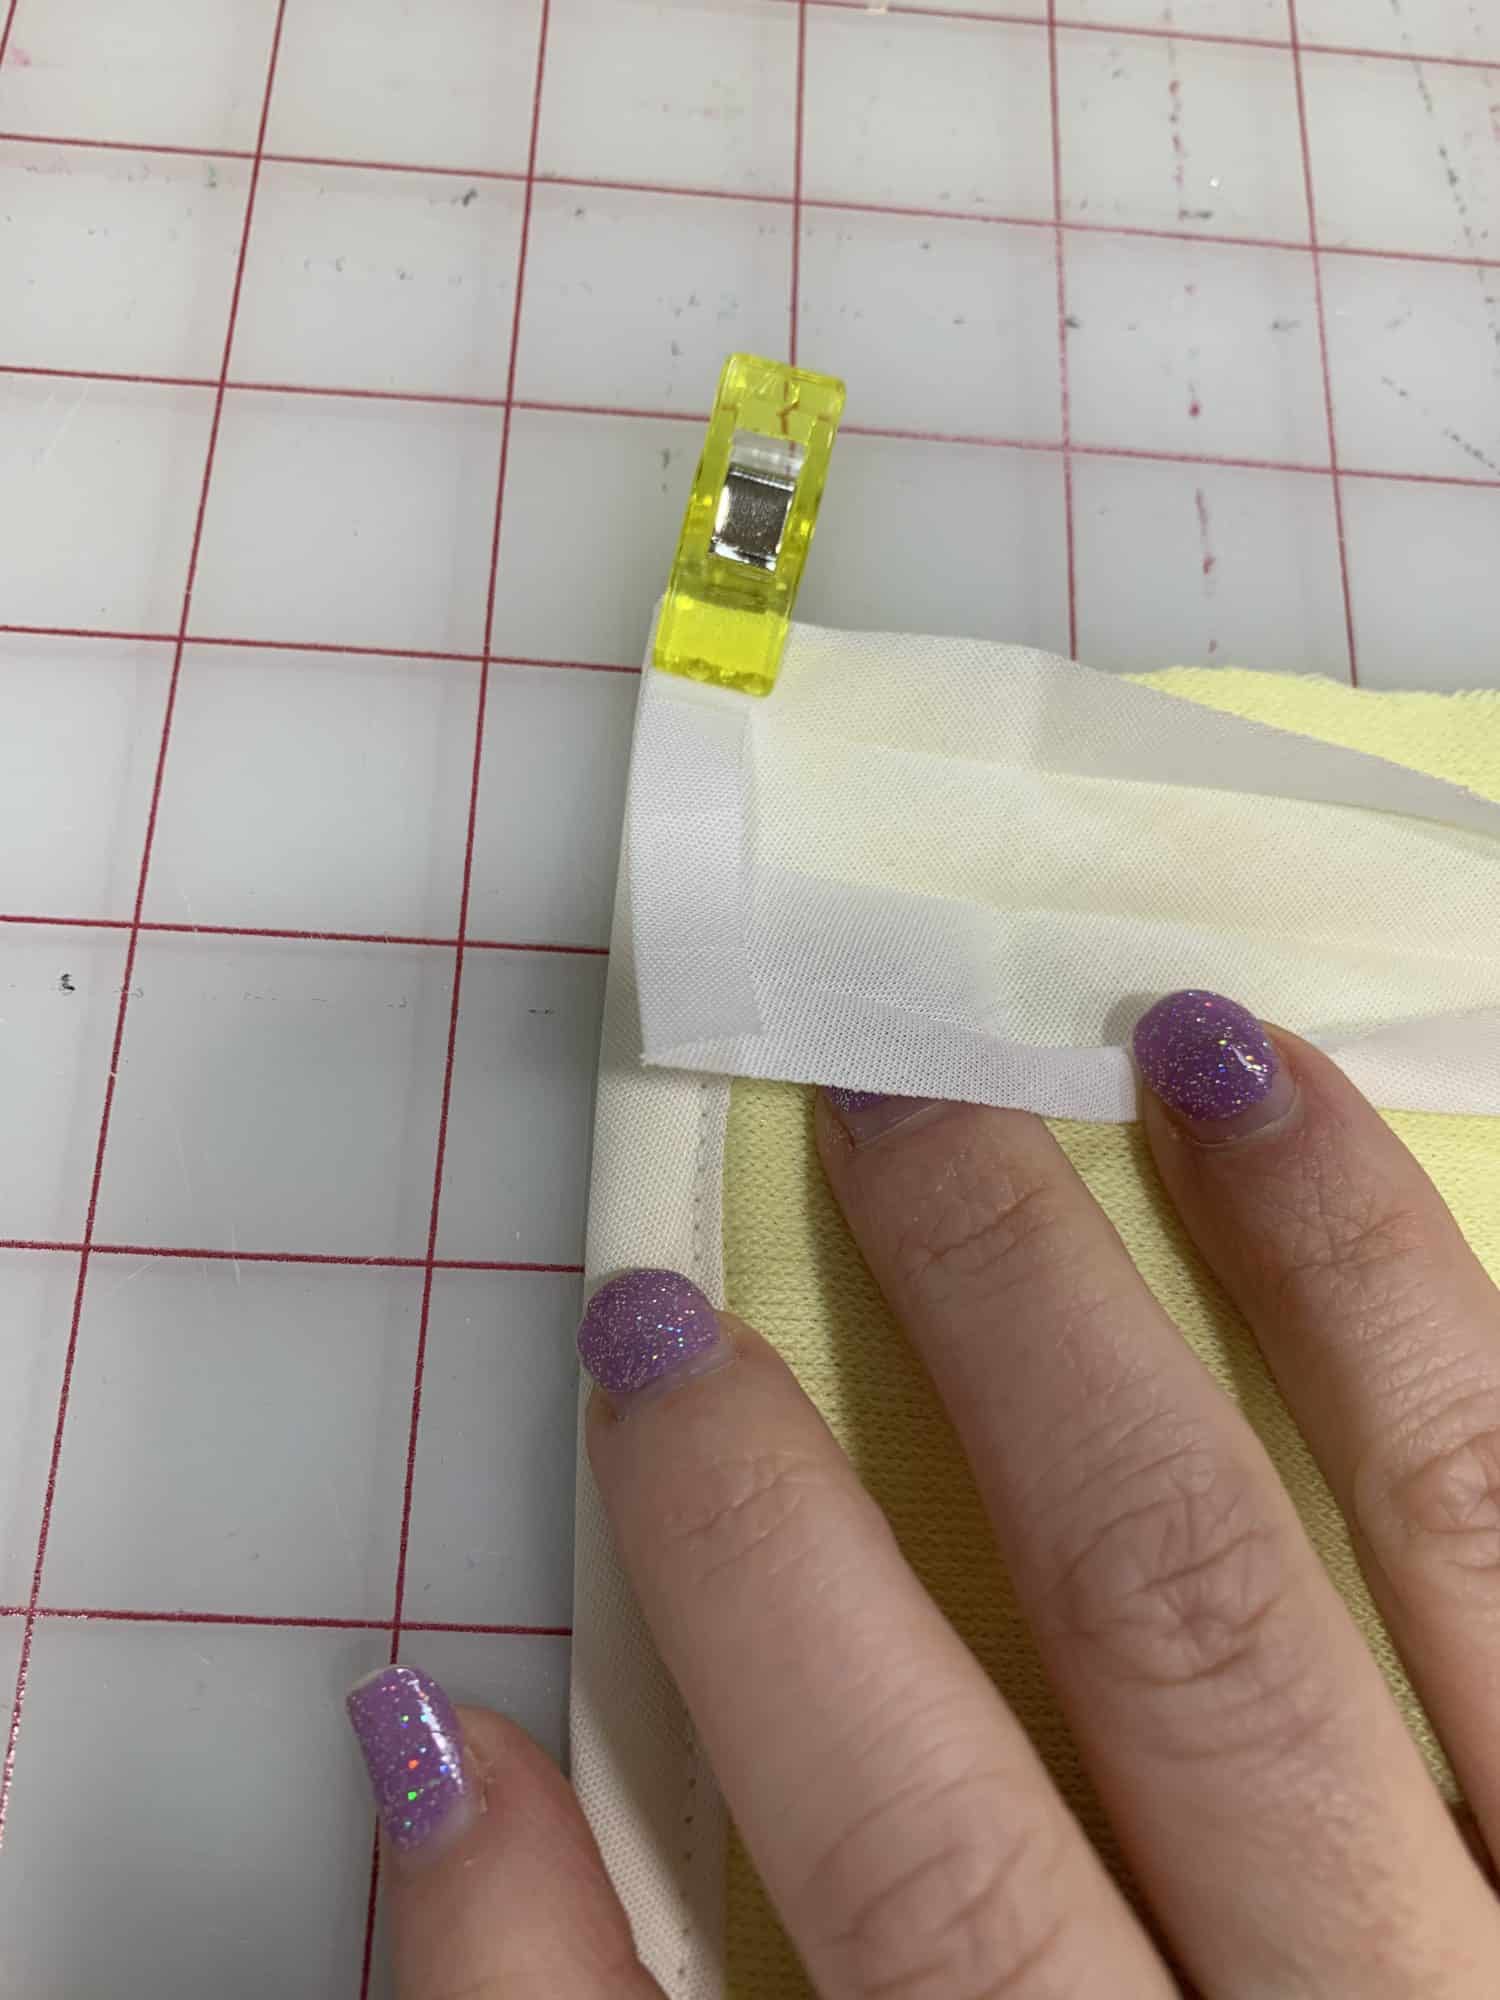
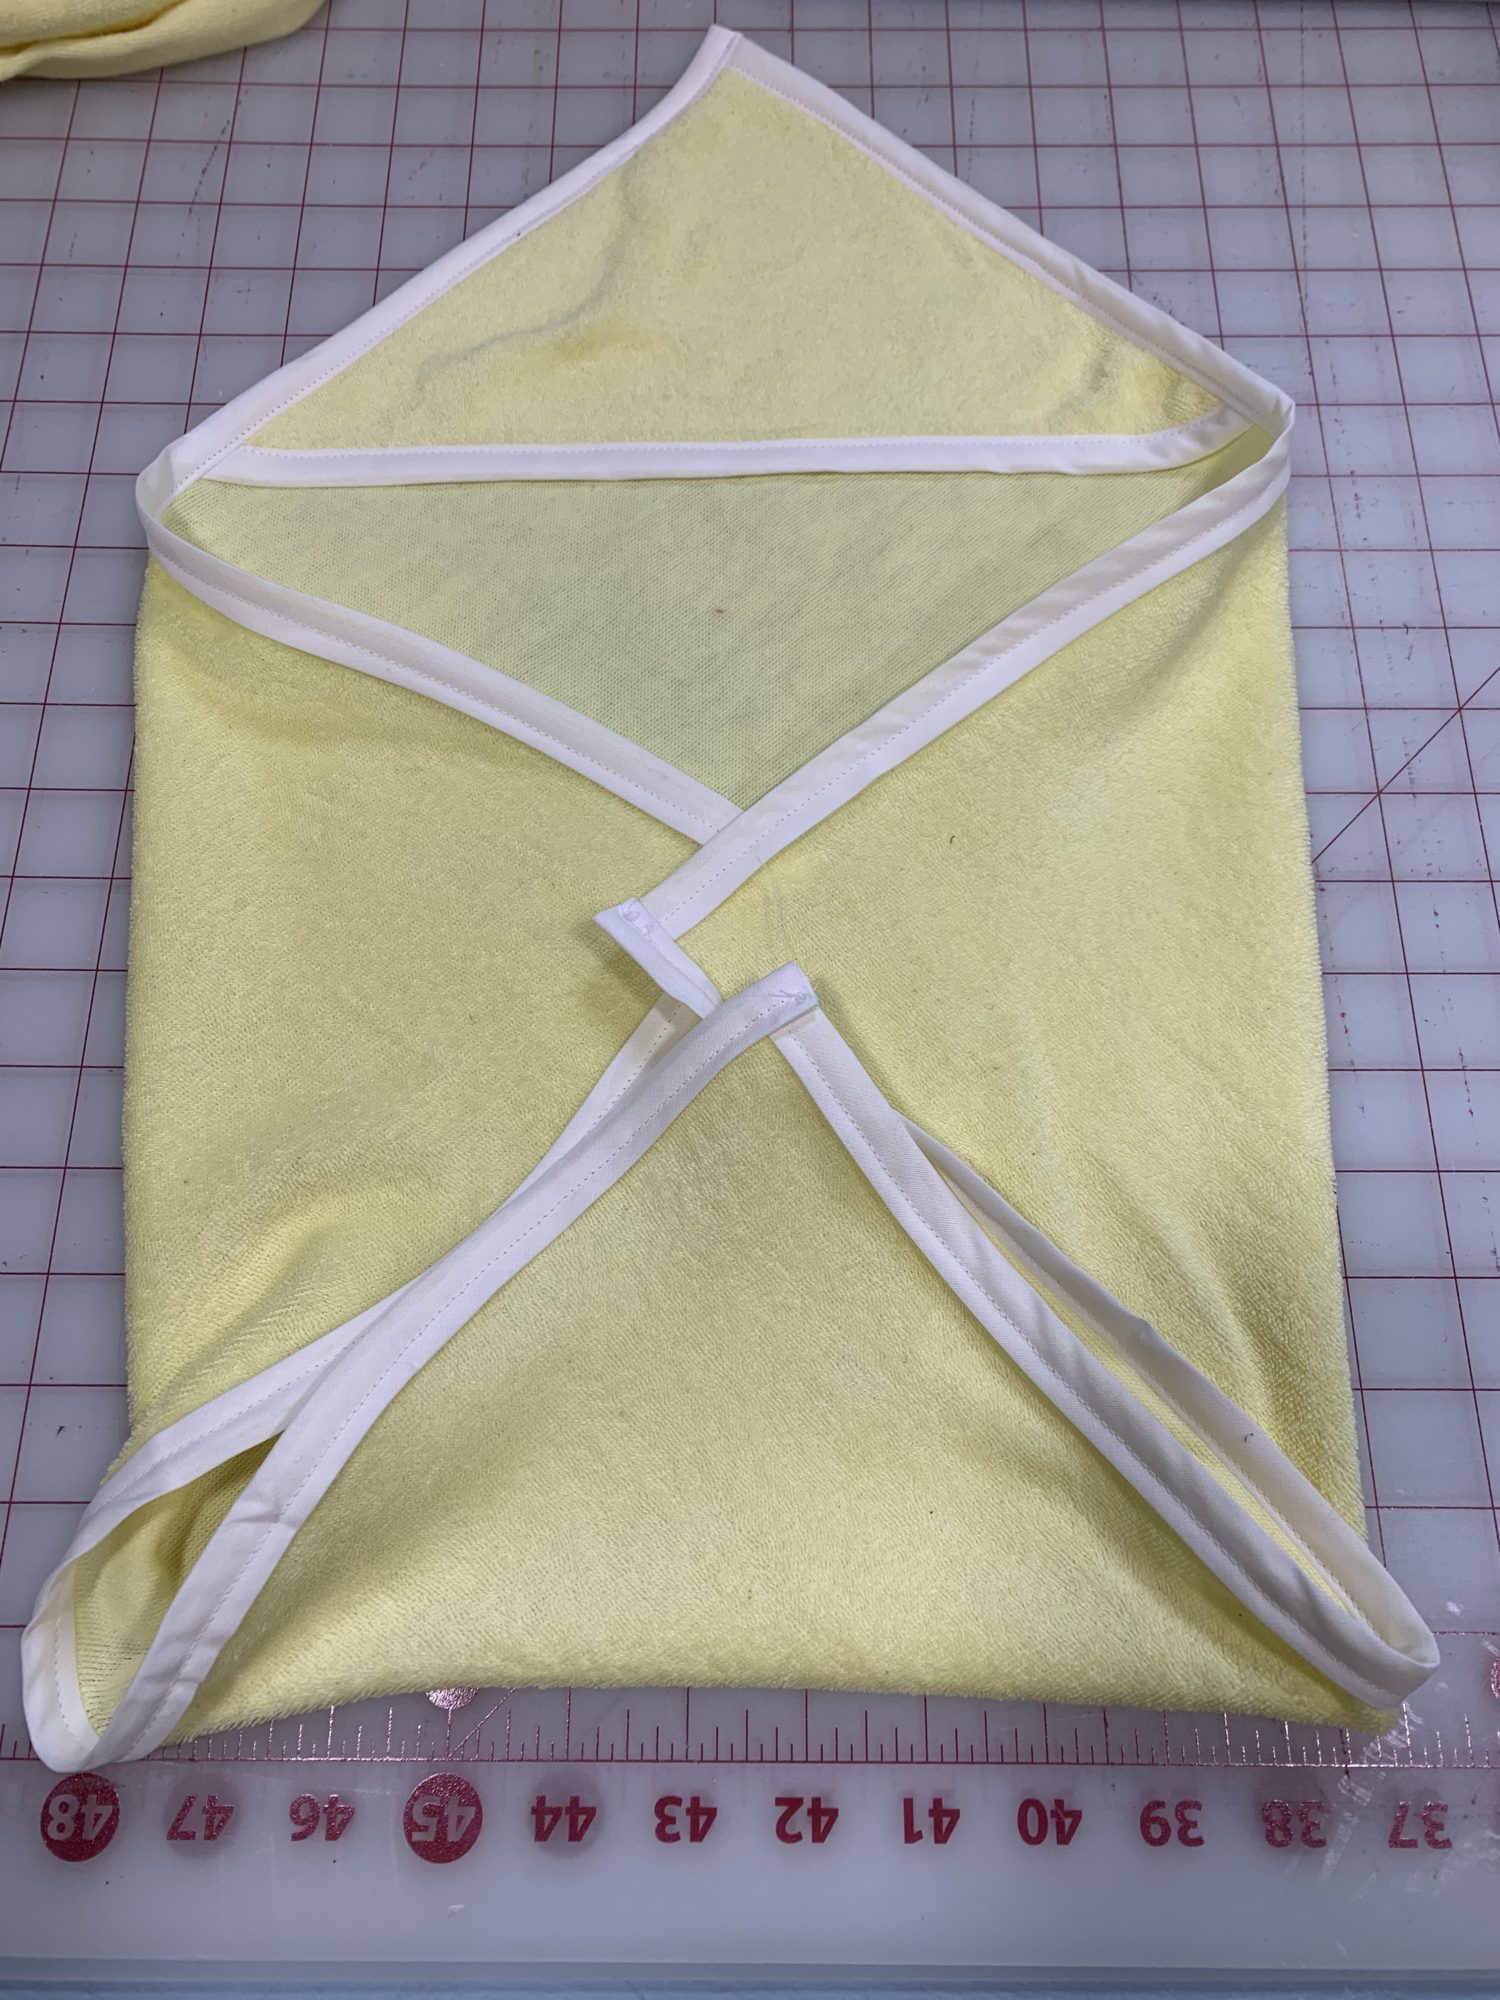
Adding bias binding to the towel
- Using the same process that you just used to attach the bias binding to the hood, you will apply binding to the entire towel
- Start at one corner and work your way down the side until you get the bottom, stitch along the fold, then press seam allowance up, fold bias over the seam allowance, edge stitch along the binding. Cut off any excess
- I started and stopped at each corner, but you can miter the corner if you prefer that method
- If you start and stop at each corner, when you start your second side with a new piece of binding, you will fold the raw edge in about 1/4 inch. This will give it a nice, finished edge
- On your last side, you will start the bias with a finished edge and end it with a finished edge as well
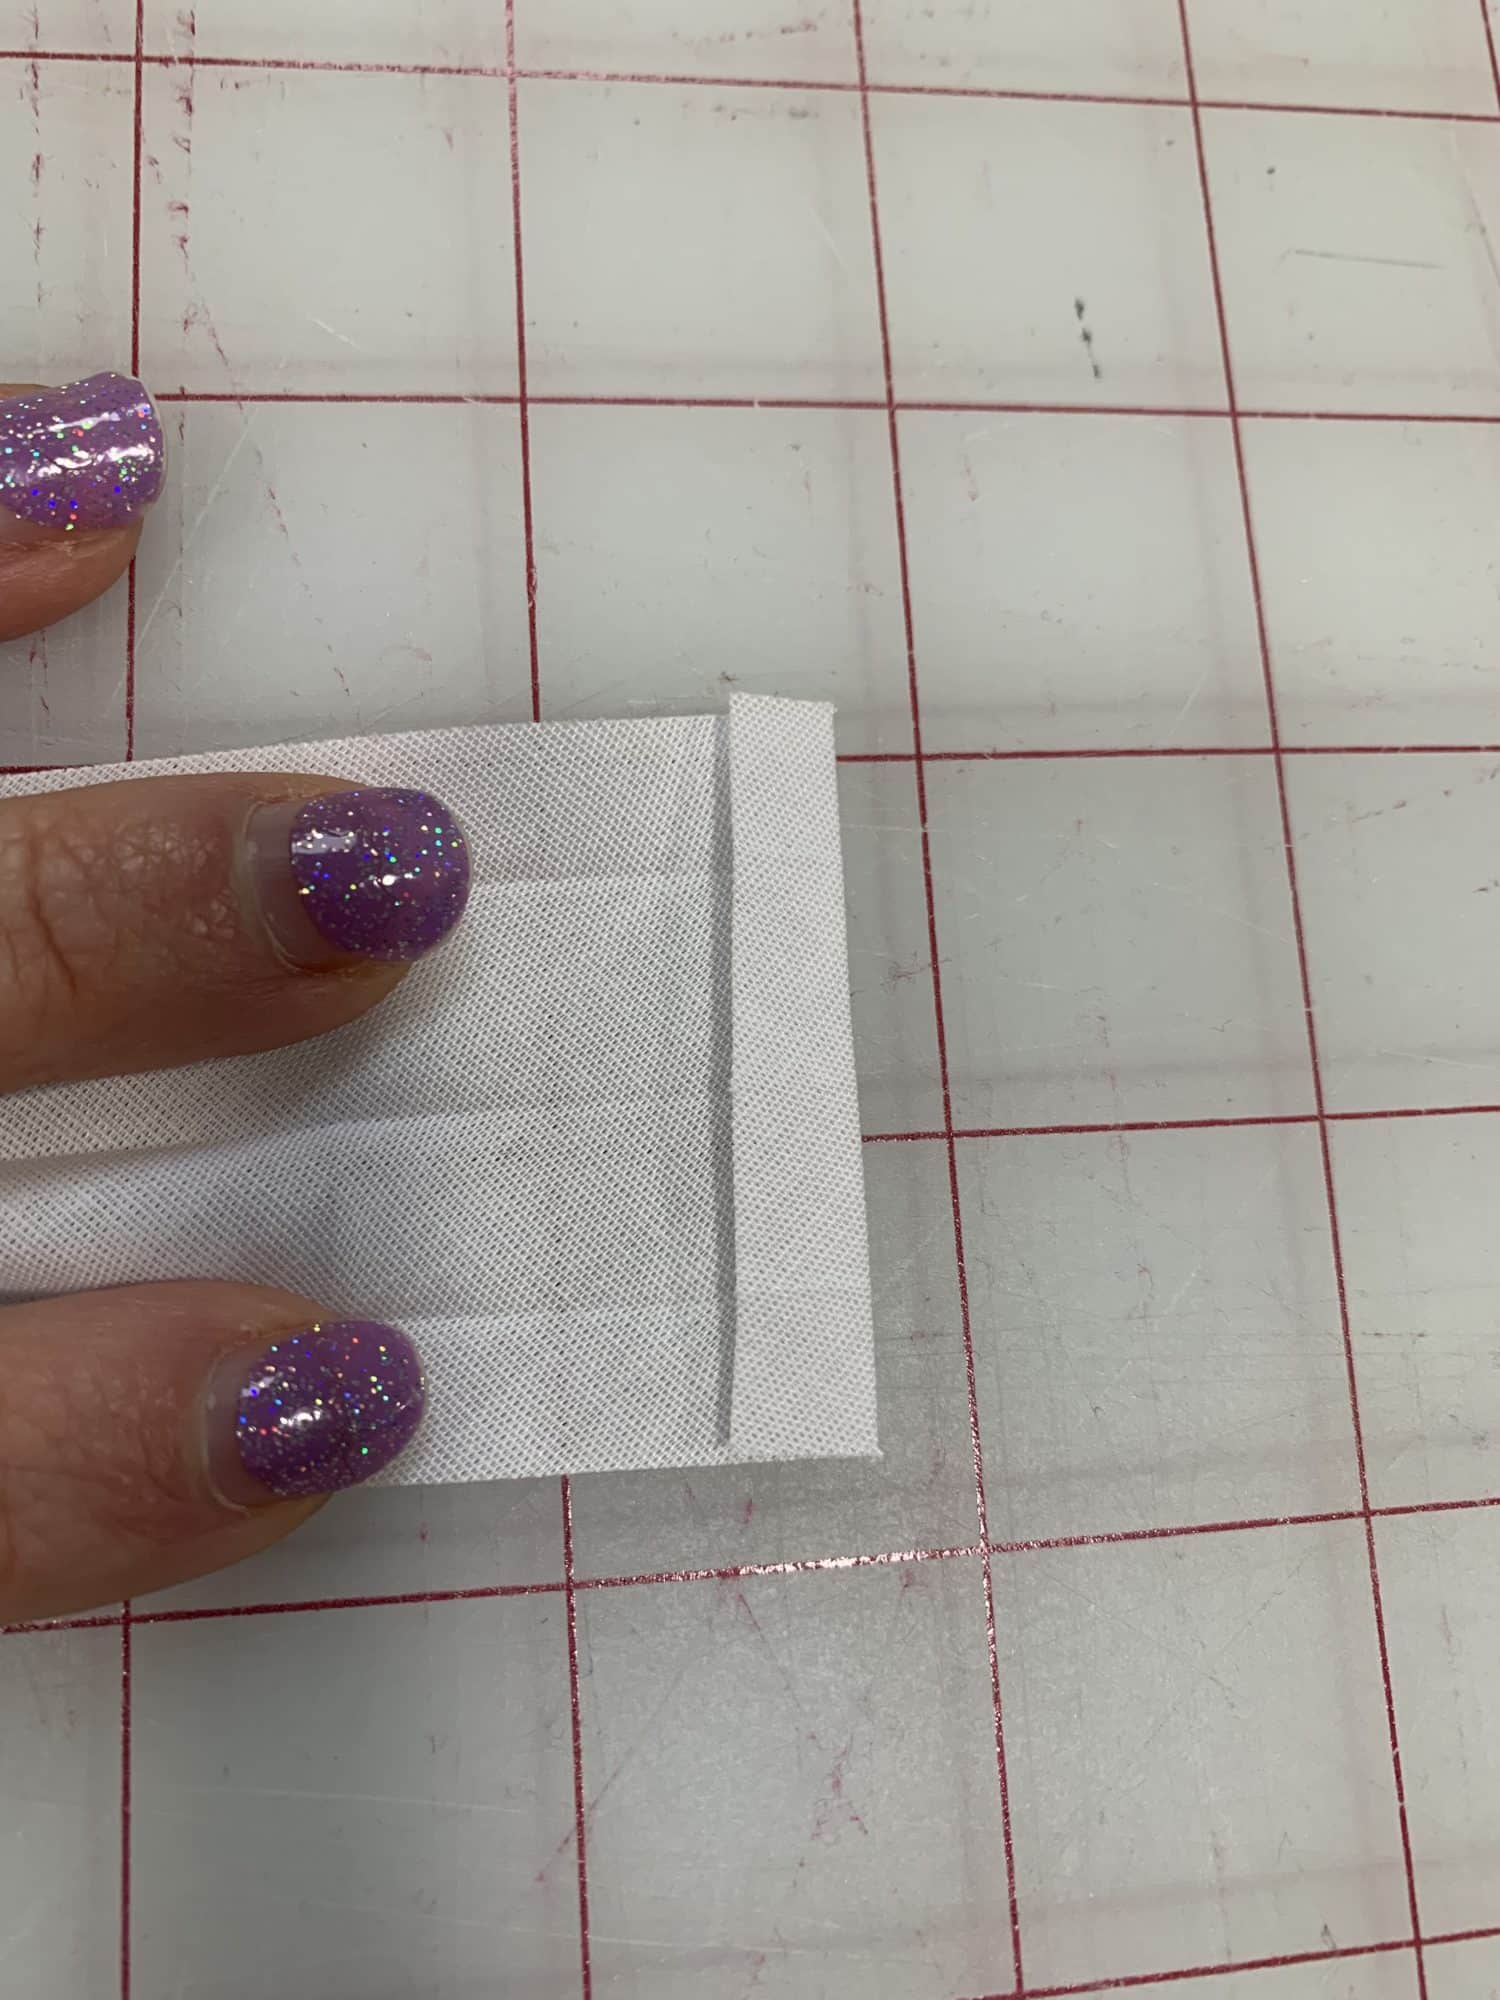
- This how my finished corners look
All done!
- Once you get all 4 sides covered with binding, you’re done! You have a beautiful new hooded doll towel!
Here is the same hooded towel on a small doll (about 15.5 inches) and on a larger doll (about 18 inches)
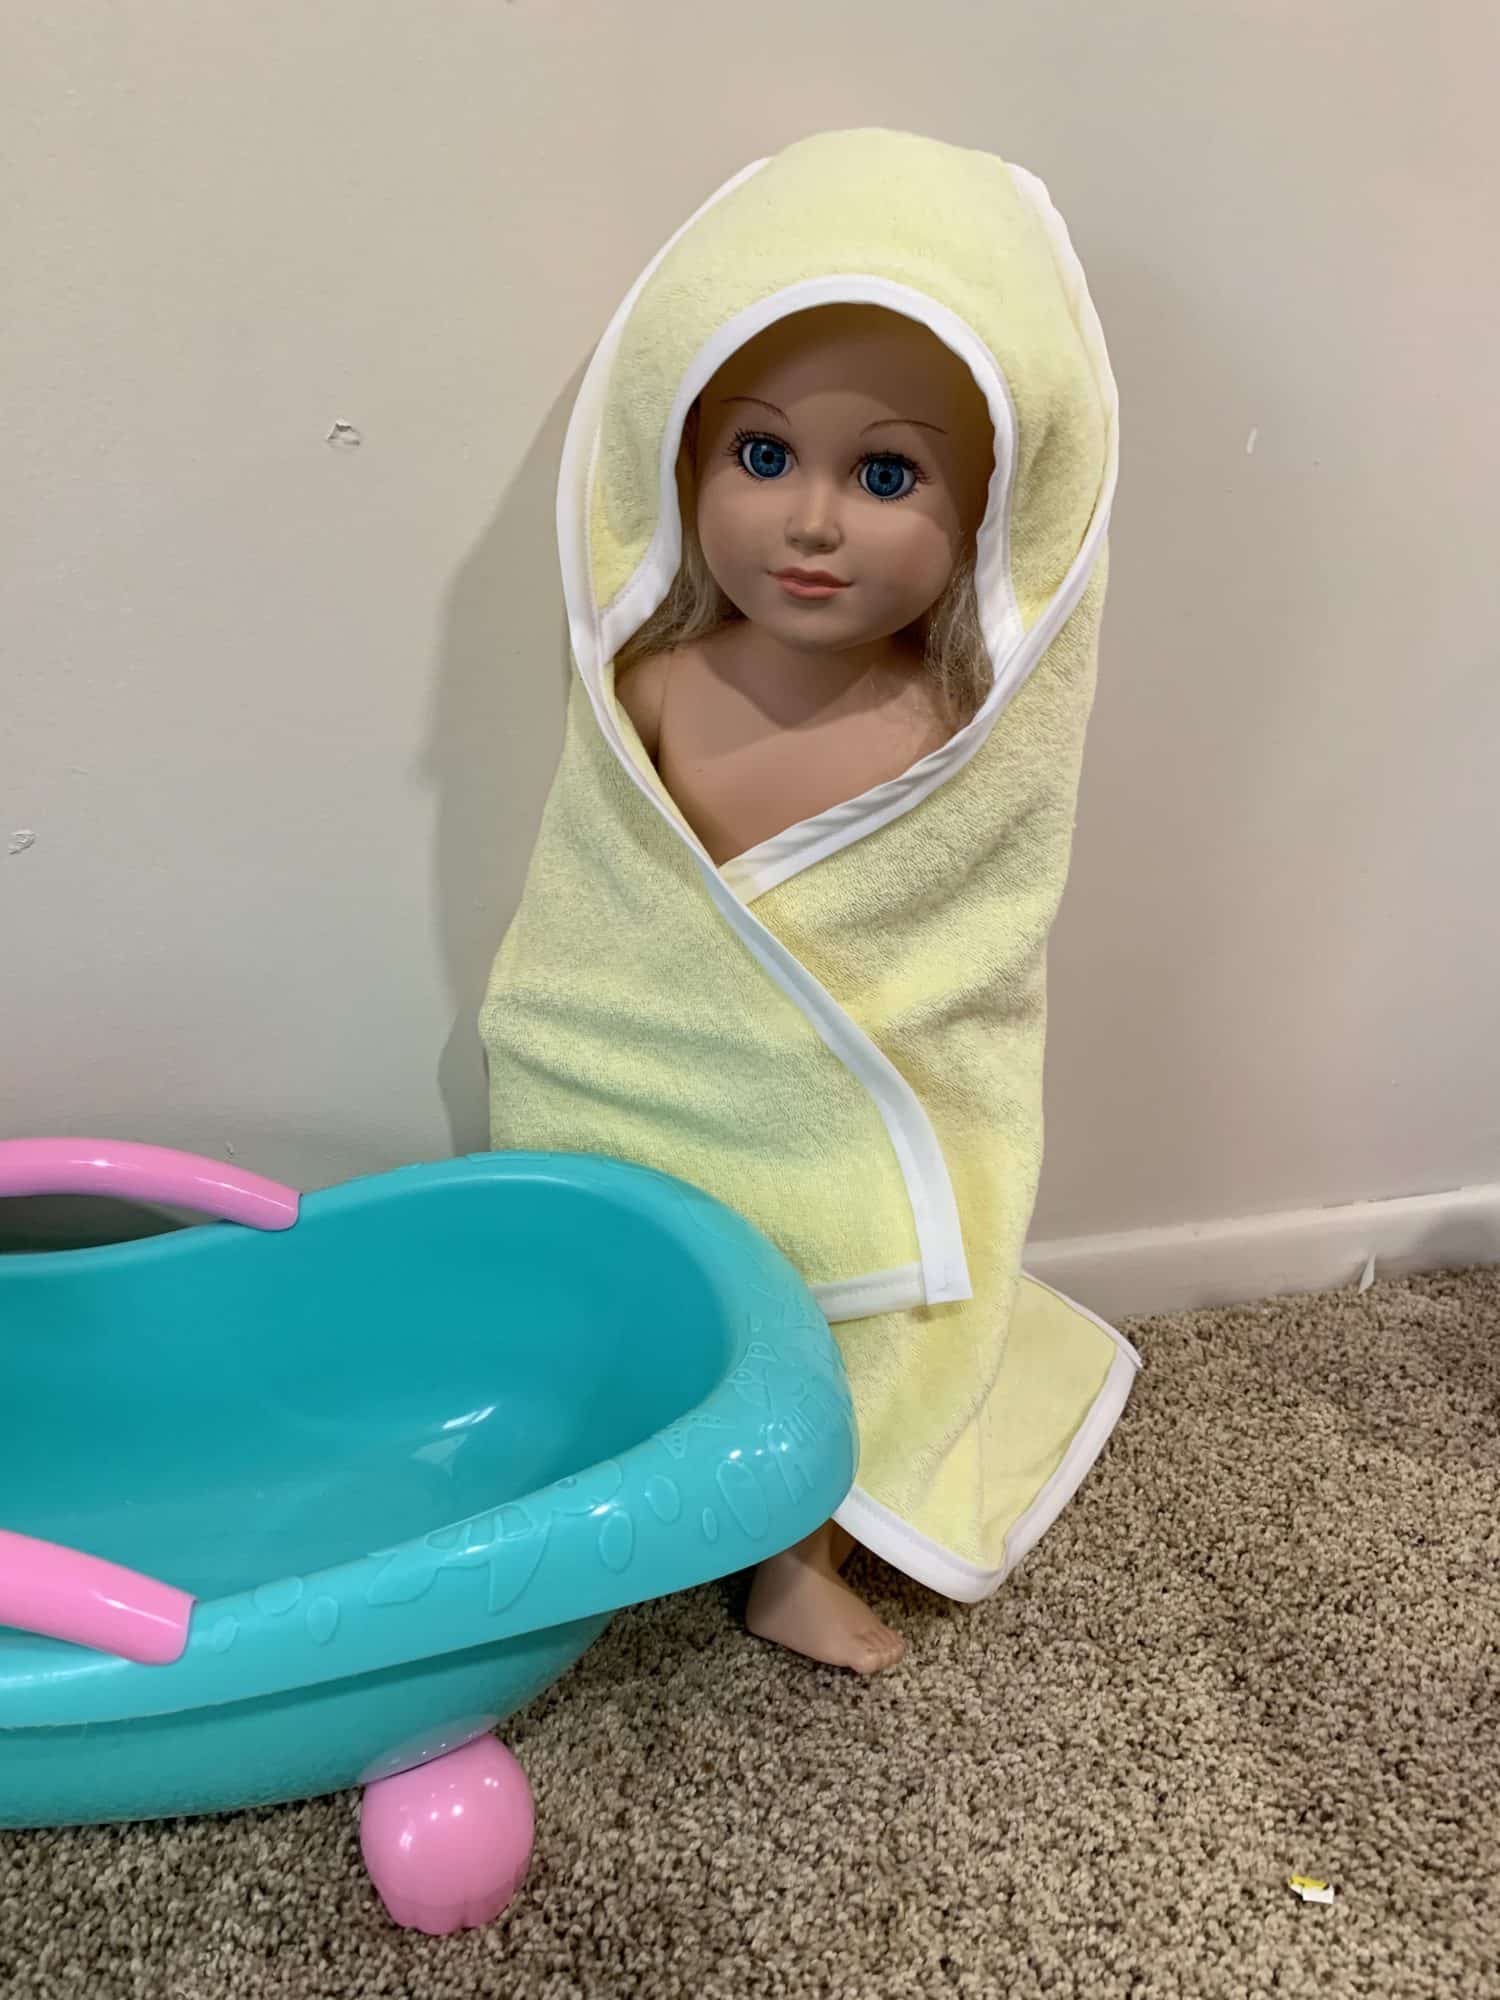
18 inch doll 
15 inch doll
Want more FUN DIY Freebies? Check out the FREEBIE TUTORIALS and the FREEBIE PATTERNS!
As always, we’re here to help if you need it! Join us HERE and on Facebook, Instagram, Twitter, Youtube, and Pinterest. We’re everywhere you are.
Leave a Reply