
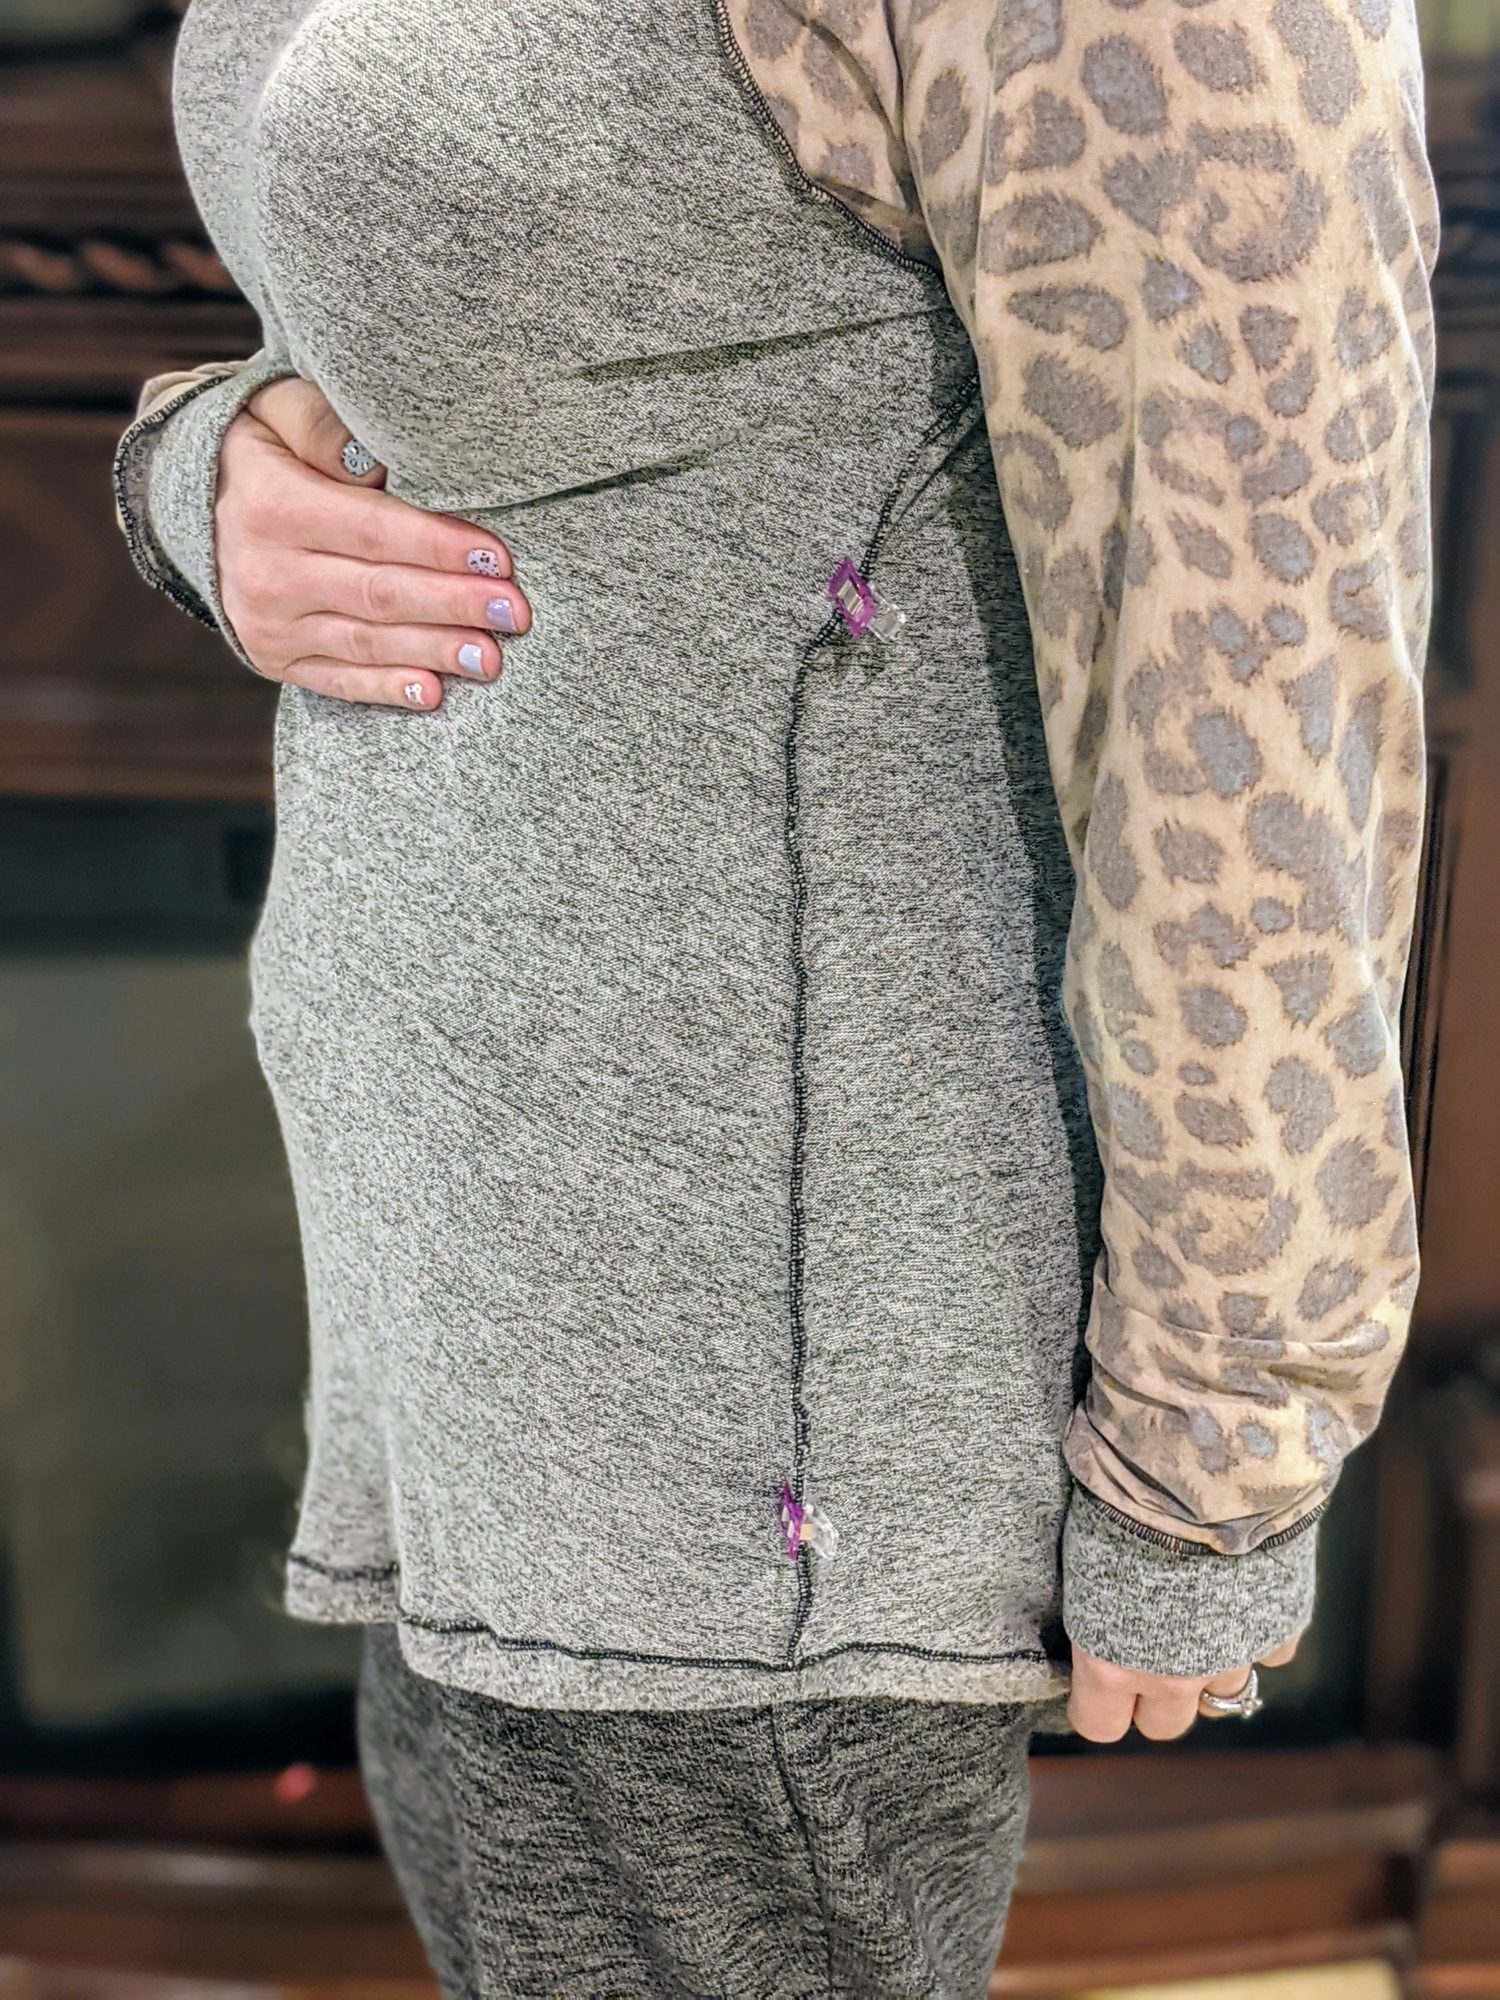
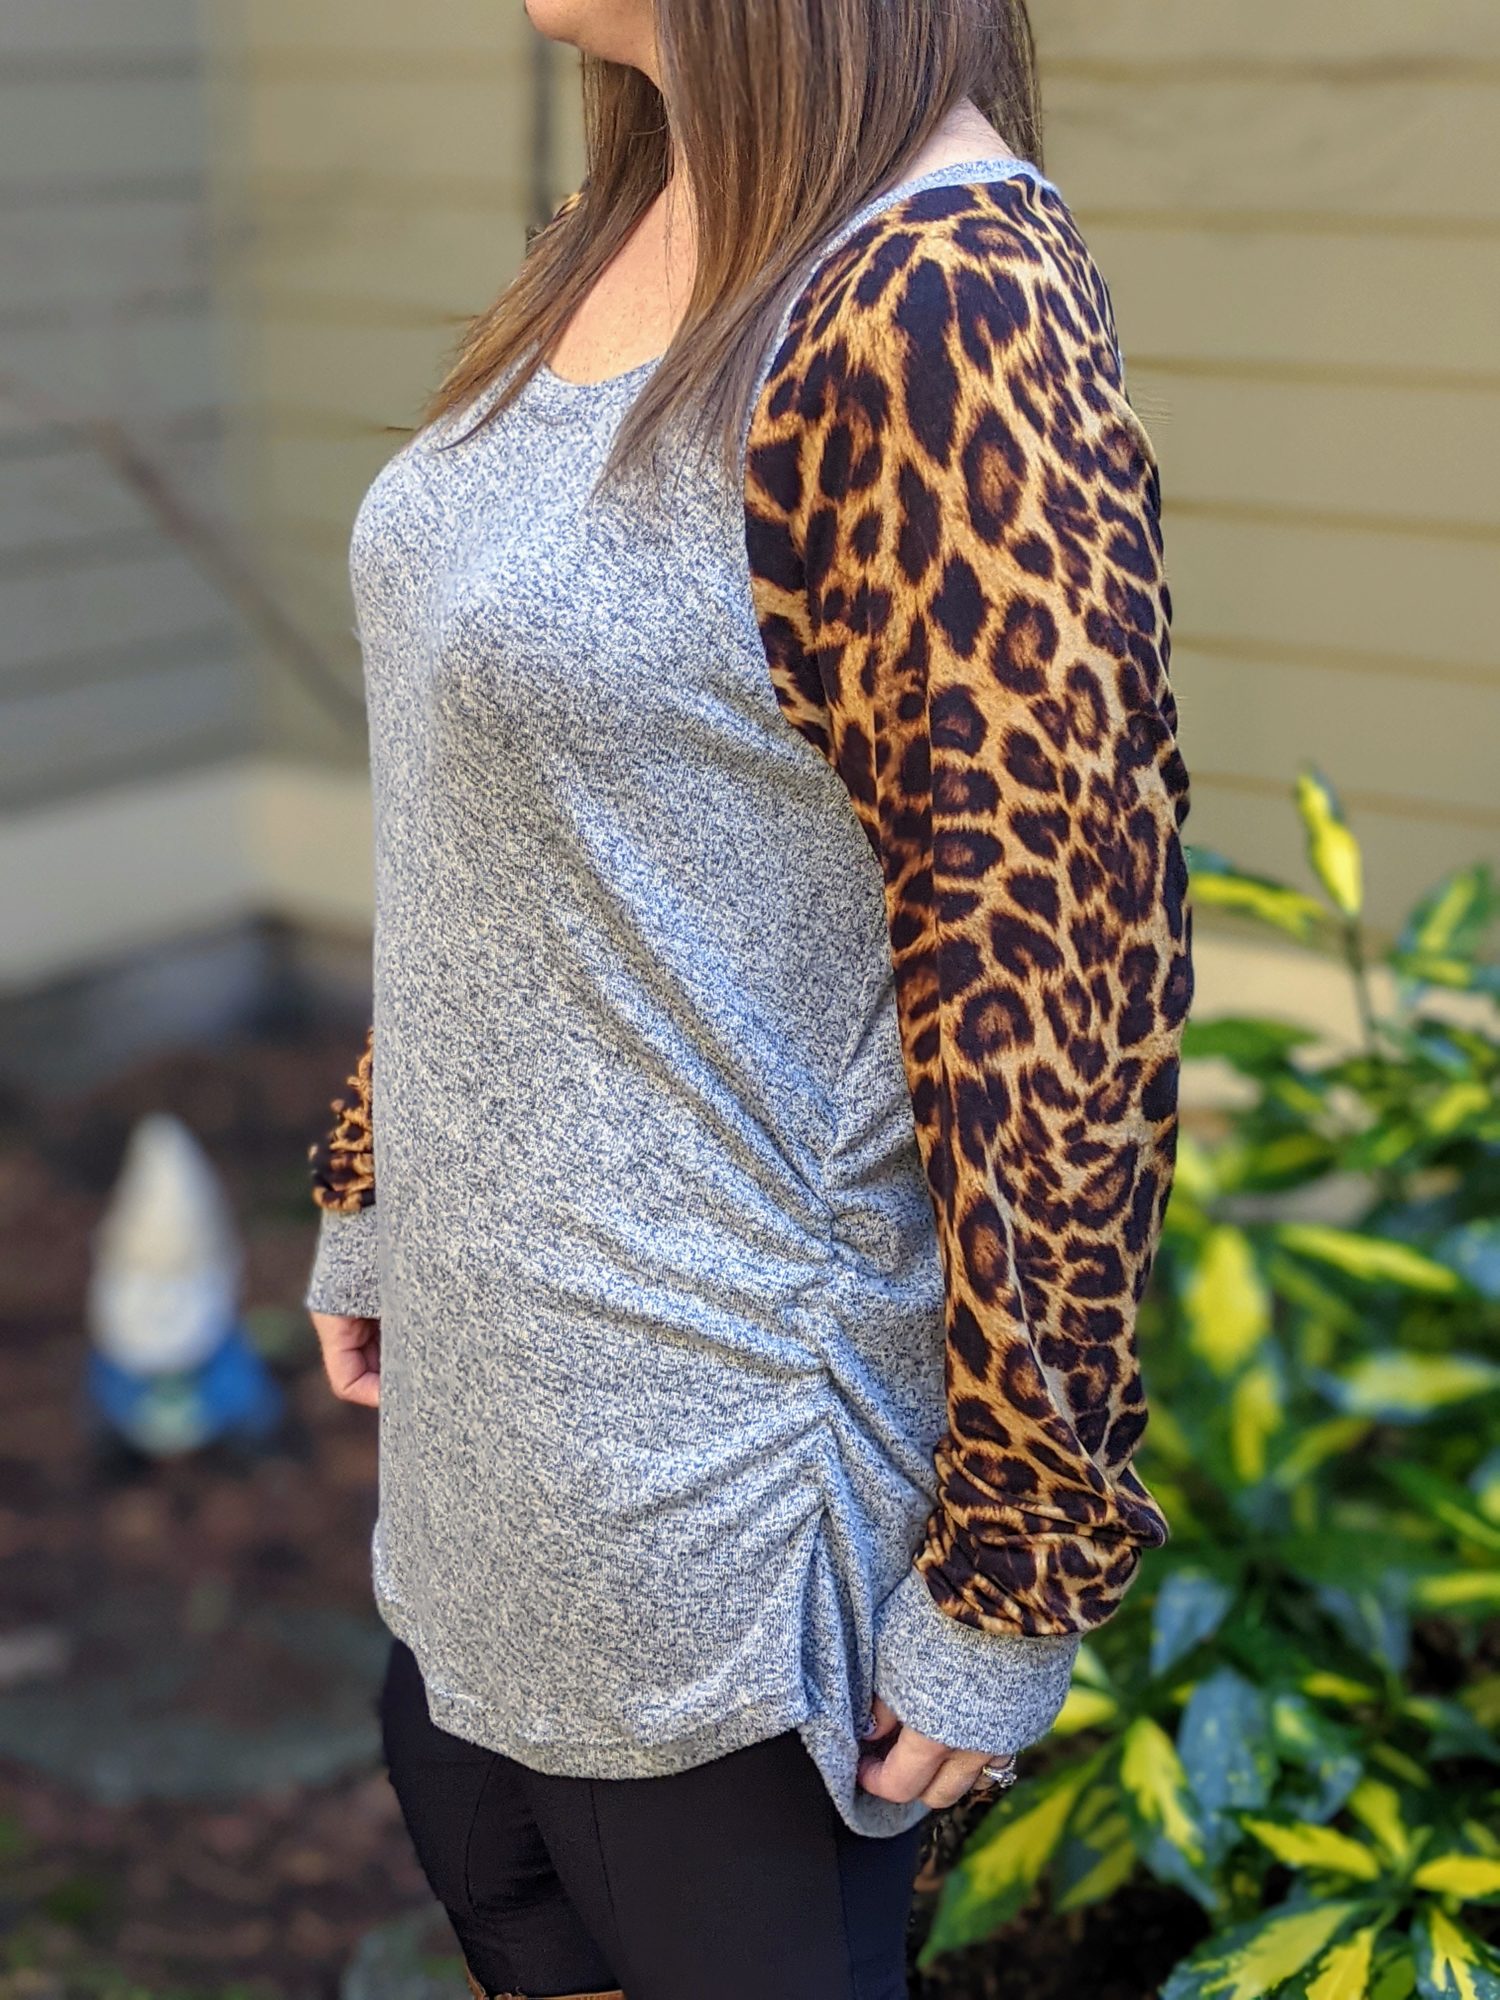
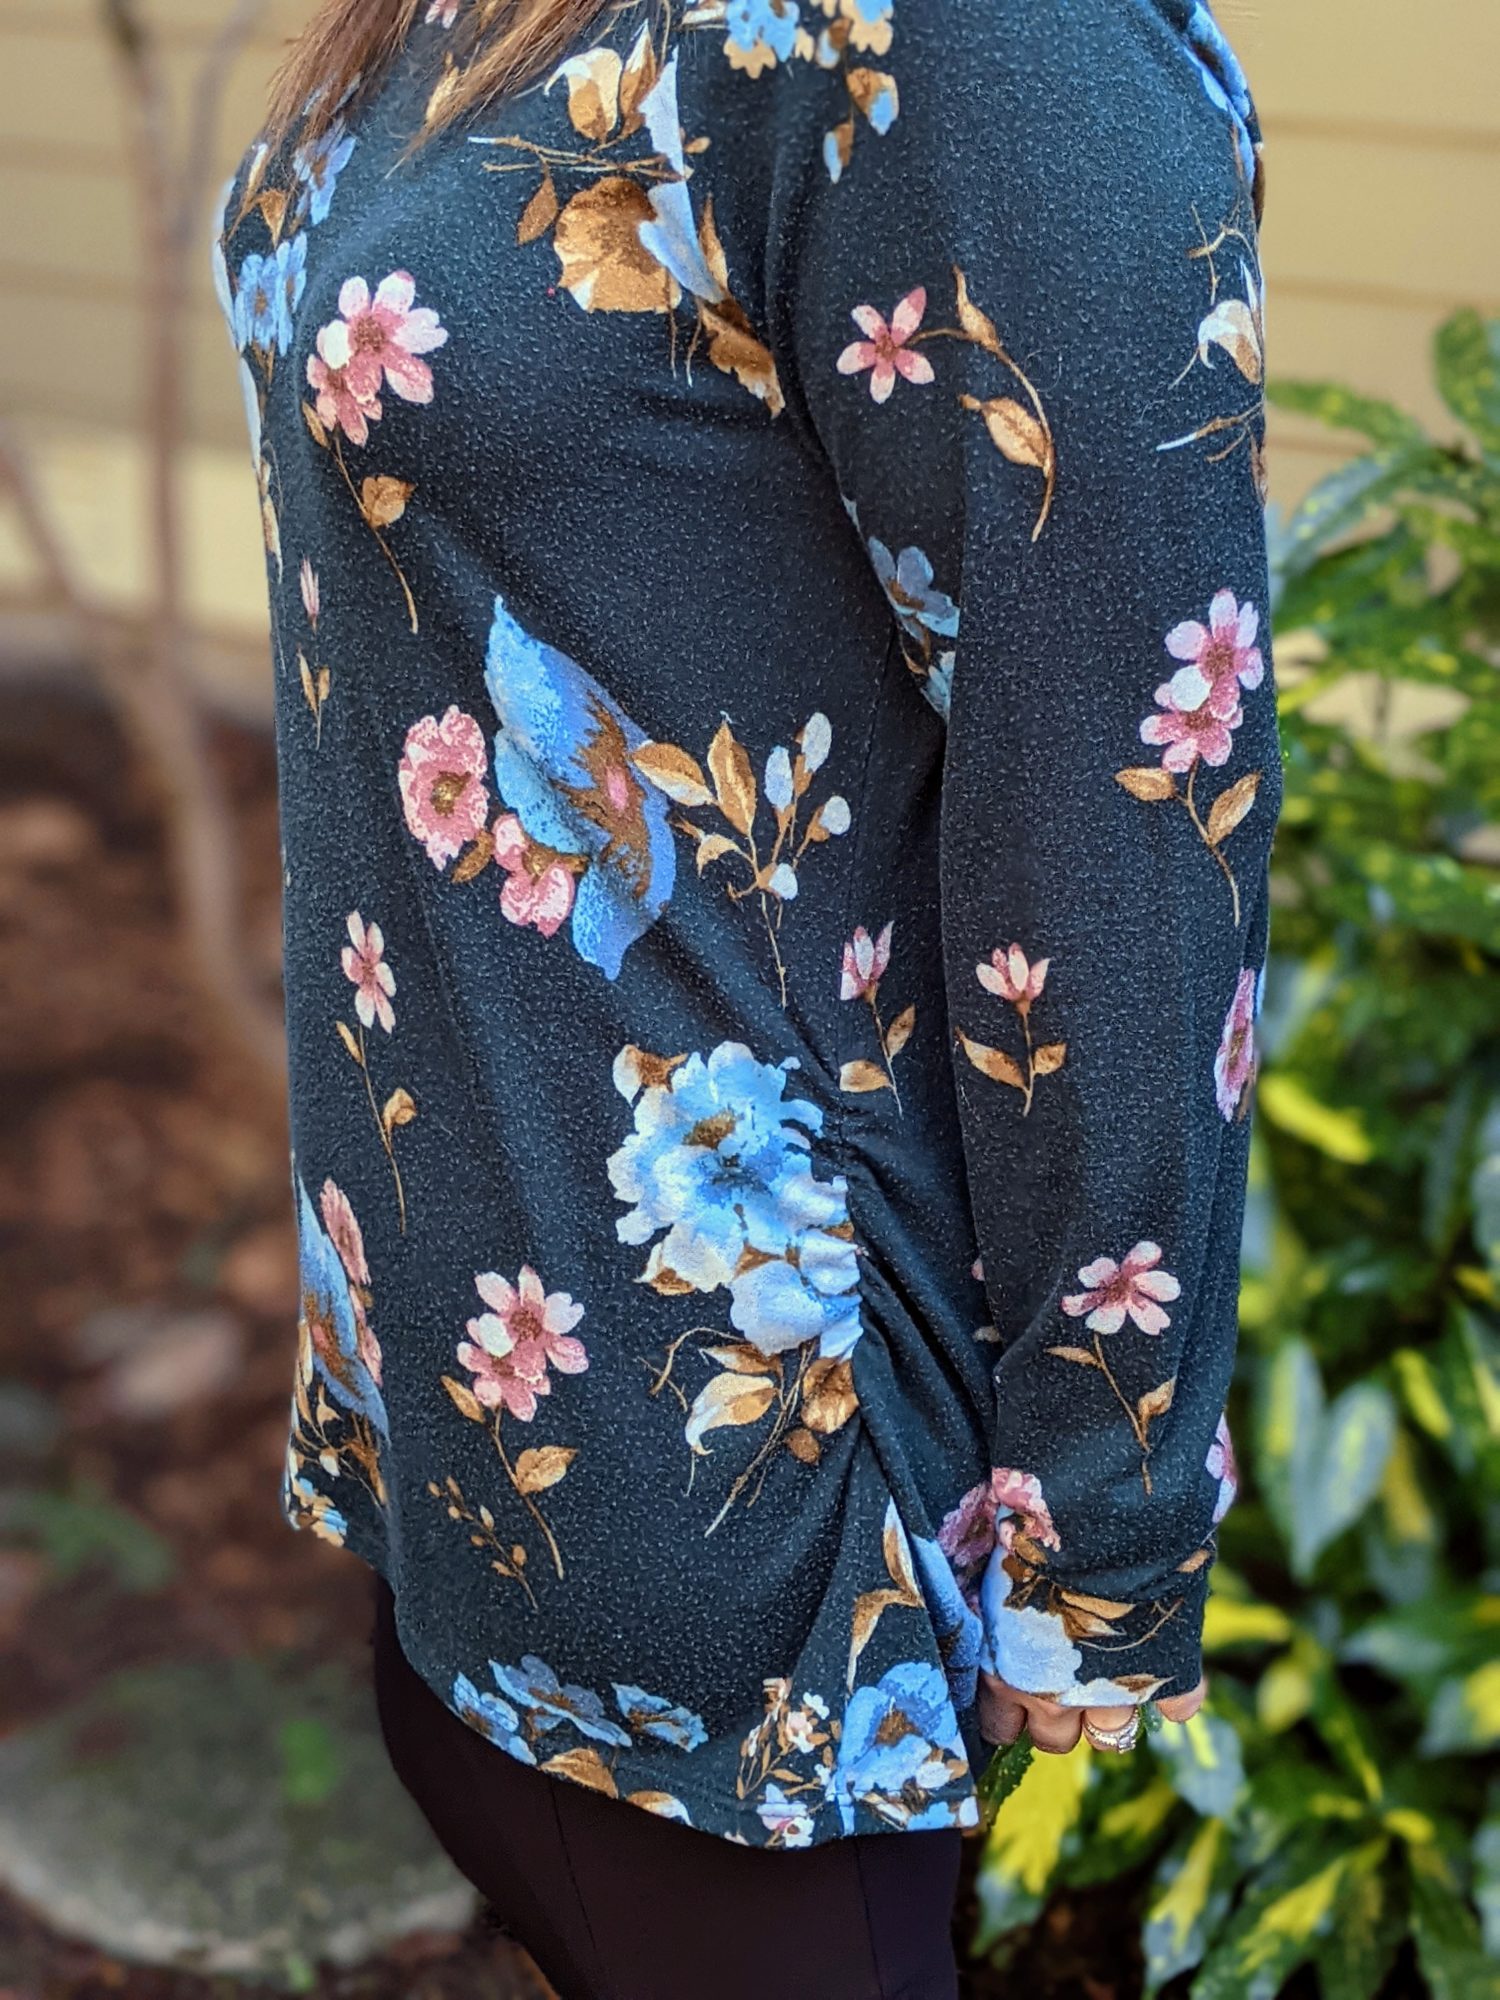
Rouching with elastic is such a quick and easy way to jazz up your basic shirt. I used my Nancy Raglan Top for this, but you can do this with any top. All you need is your shirt, sewing machine, and some 1/4″ clear elastic!
Let’s Get Started!
Measuring:
- Choose your shirt you want to rouche
- Try it on inside out
- Decide how long you want the rouching to be and mark with pins or clips
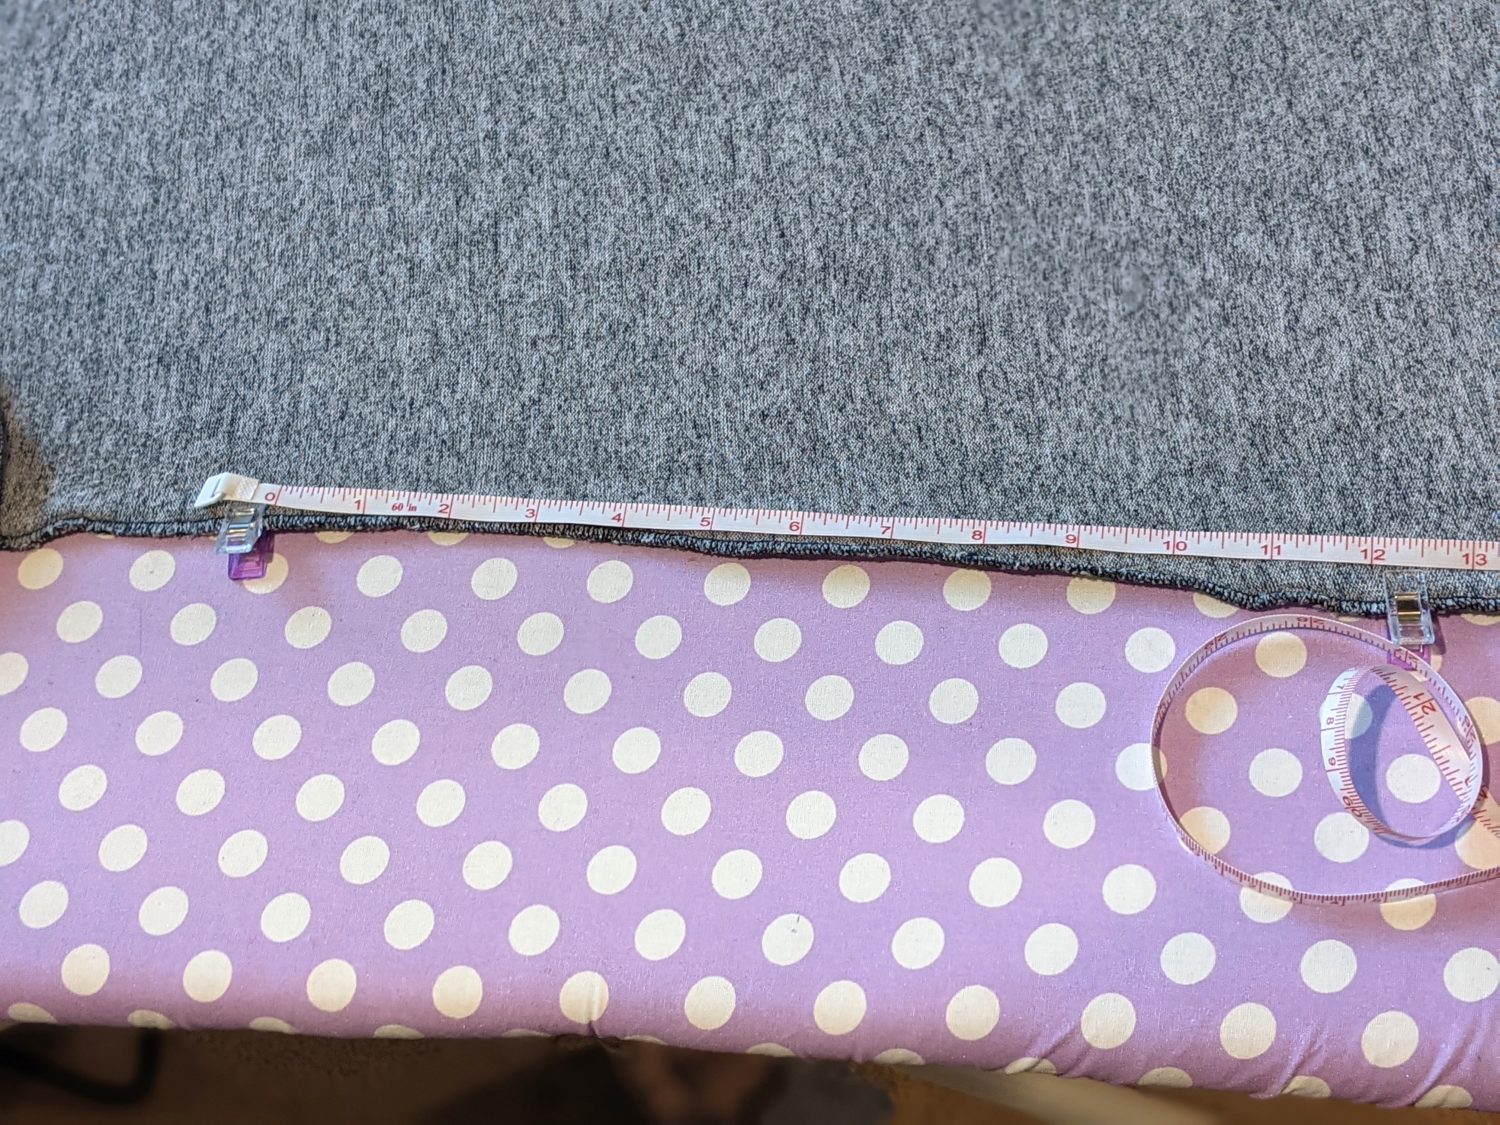
- Take the shirt back off and measure the distance between your clips

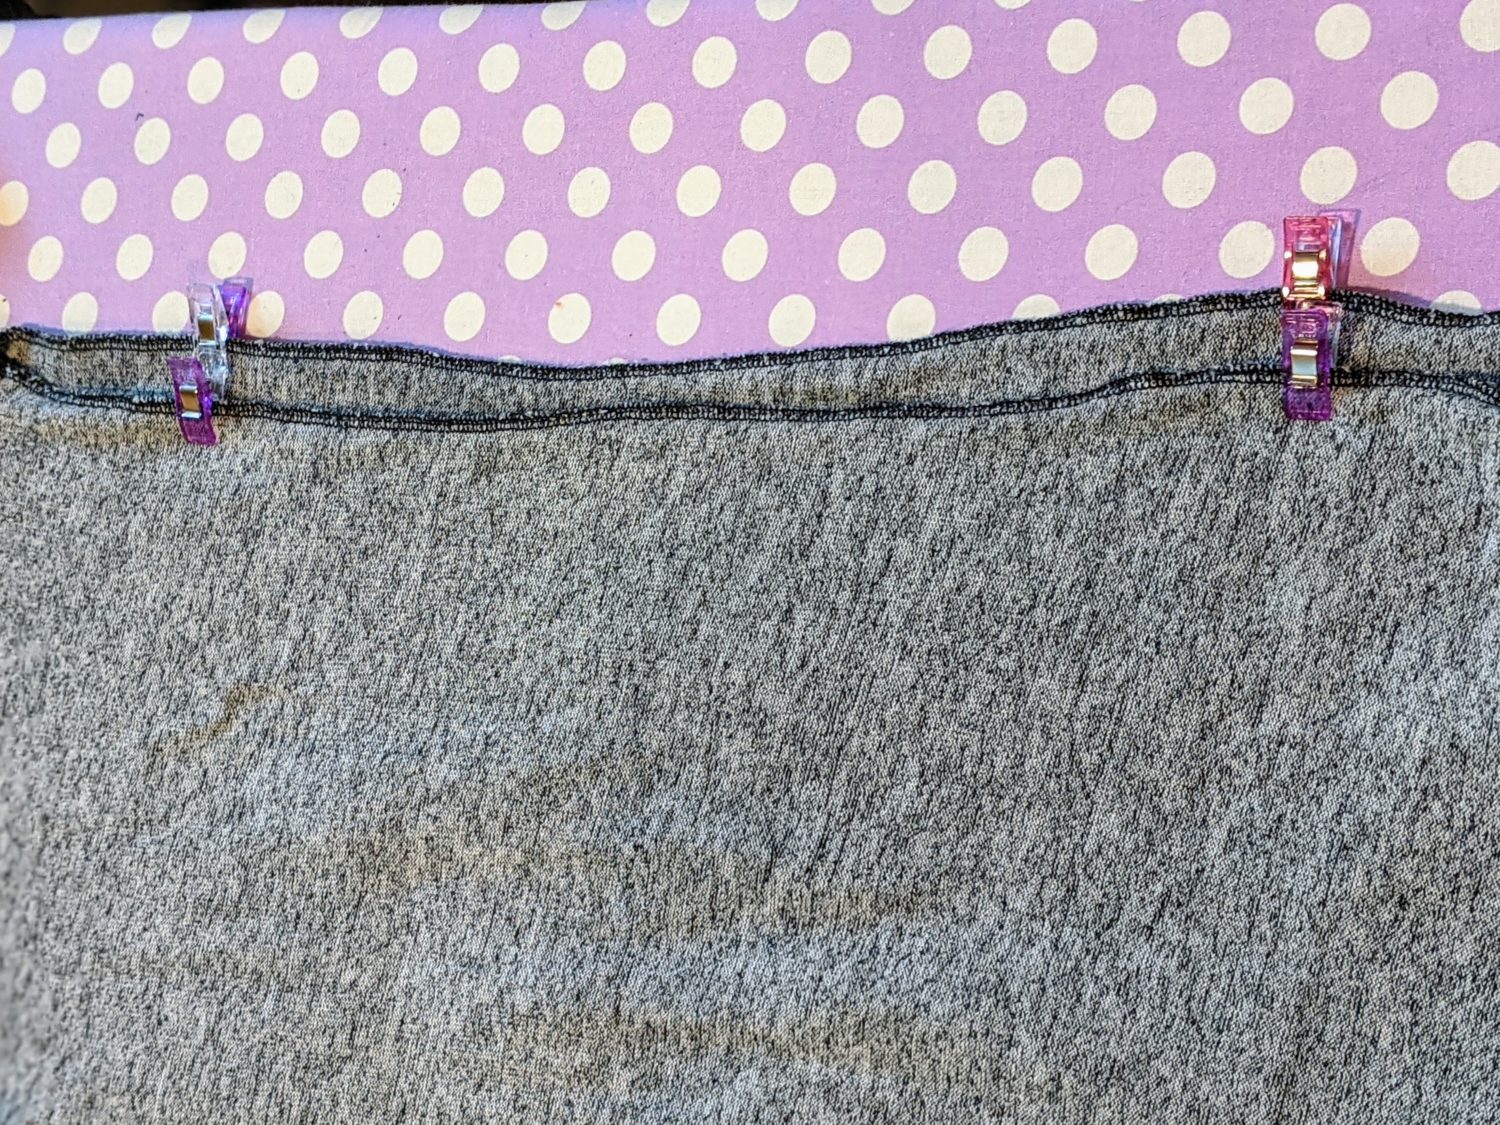
- Fold your shirt in half lengthwise and line up the other side seam.
- Transfer the markings to the other side.
- Take your measurement of the length between clips and multiply it by 65% to get the length for your clear elastic. For example, mine is 12″ between clips, so to determine the length for the elastic my math problem is: 12 x .65 = 7.8. I rounded that down to 7.75″
- I suggest stretching your elastic along the length of the seam to make sure it will reach all the way across before cutting it, adjust the length if necessary.
- Cut 2 pieces of clear elastic at that length. Make sure to STRETCH your elastic before cutting.
Sewing in the Elastic:
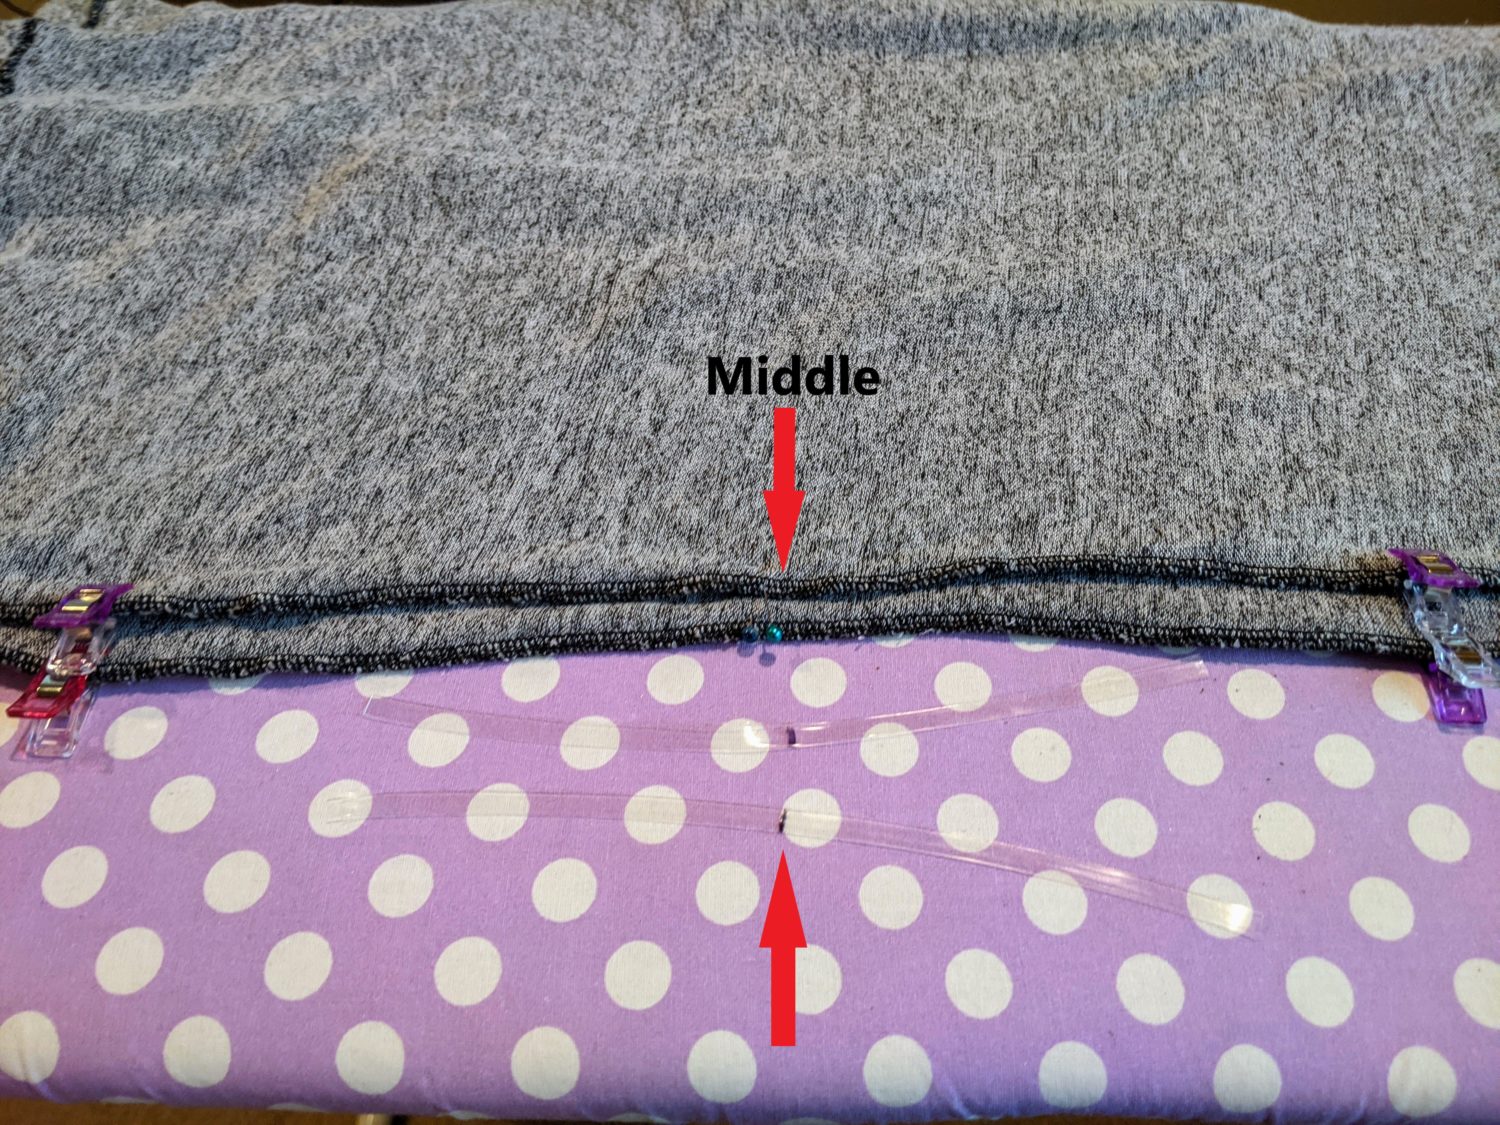
- Mark the middle points of both your pieces of elastic and side seams to give you a guide for how far to stretch.
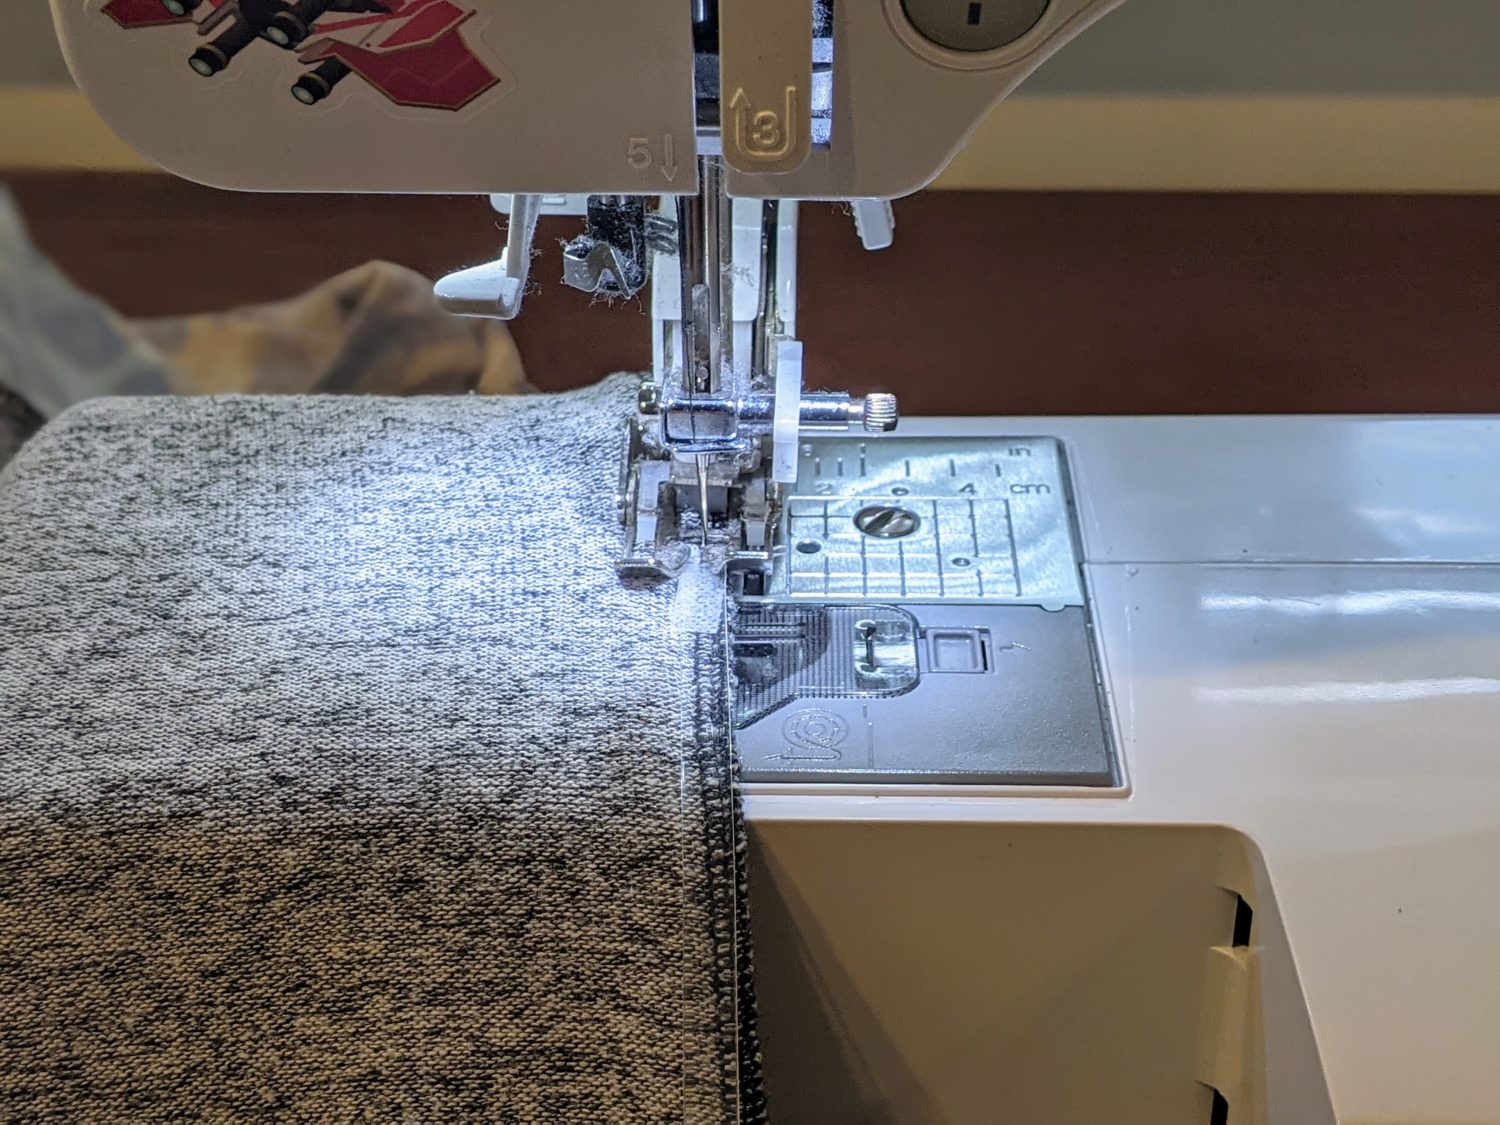
- Pin or use wash away wonder tape at one clip to hold one end of the elastic in place.
- Put the needle of your machine down into the elastic and backstitch a couple of times.
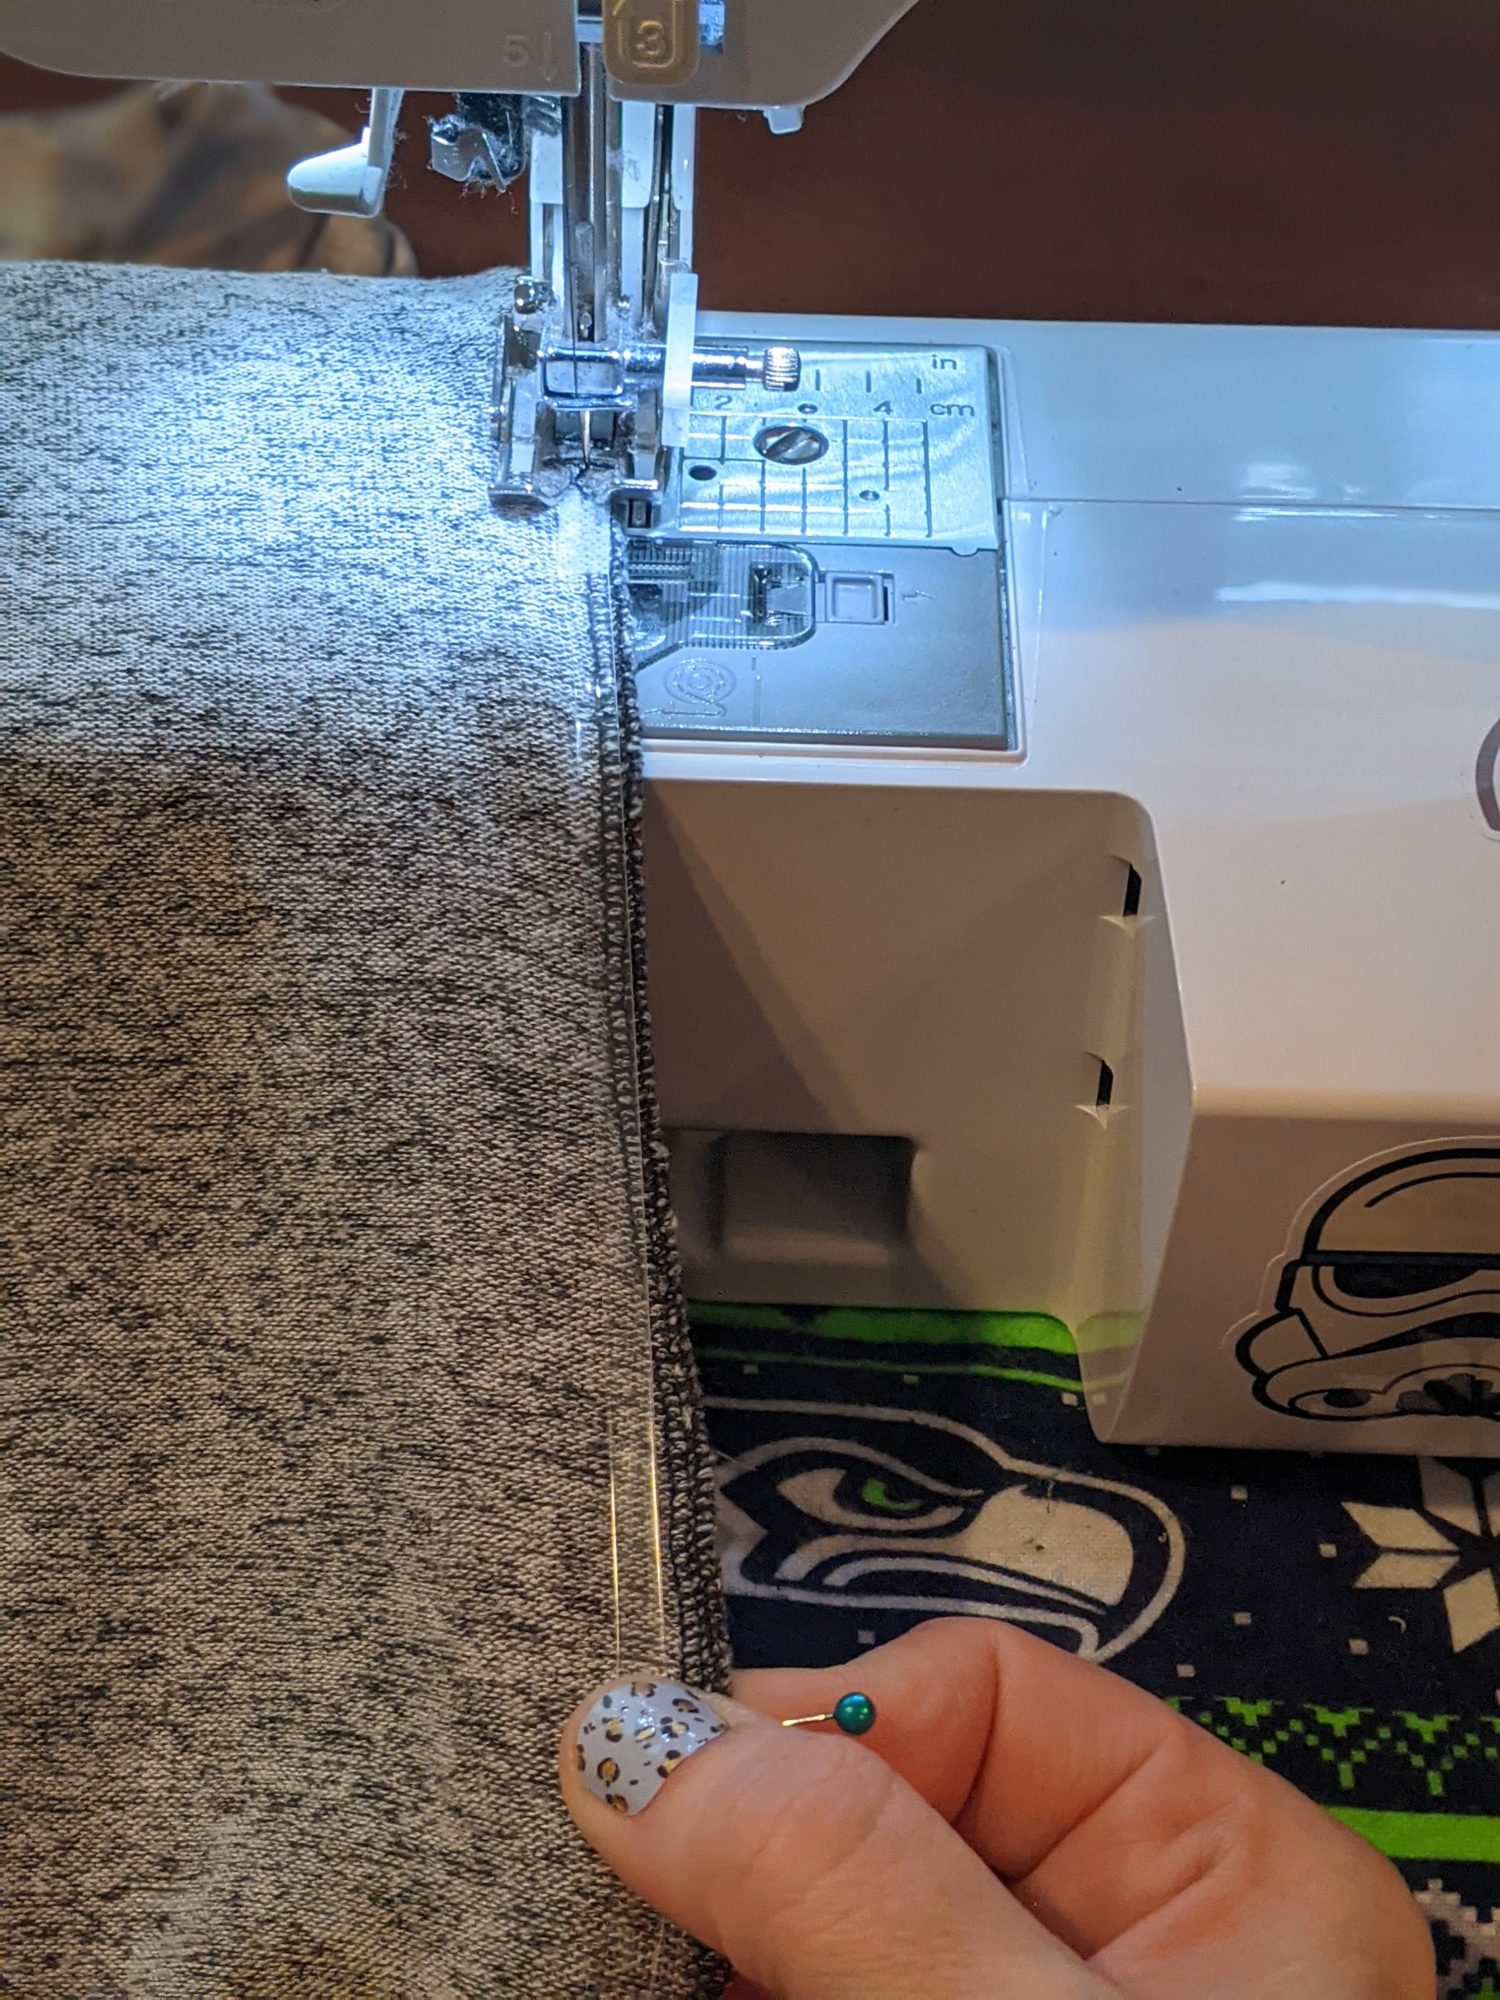
- Pull firmly on your elastic and sew slowly with a long, narrow zigzag stitch all the way down the elastic. Do not stretch the fabric, ONLY stretch the elastic.
- Repeat on the other side.
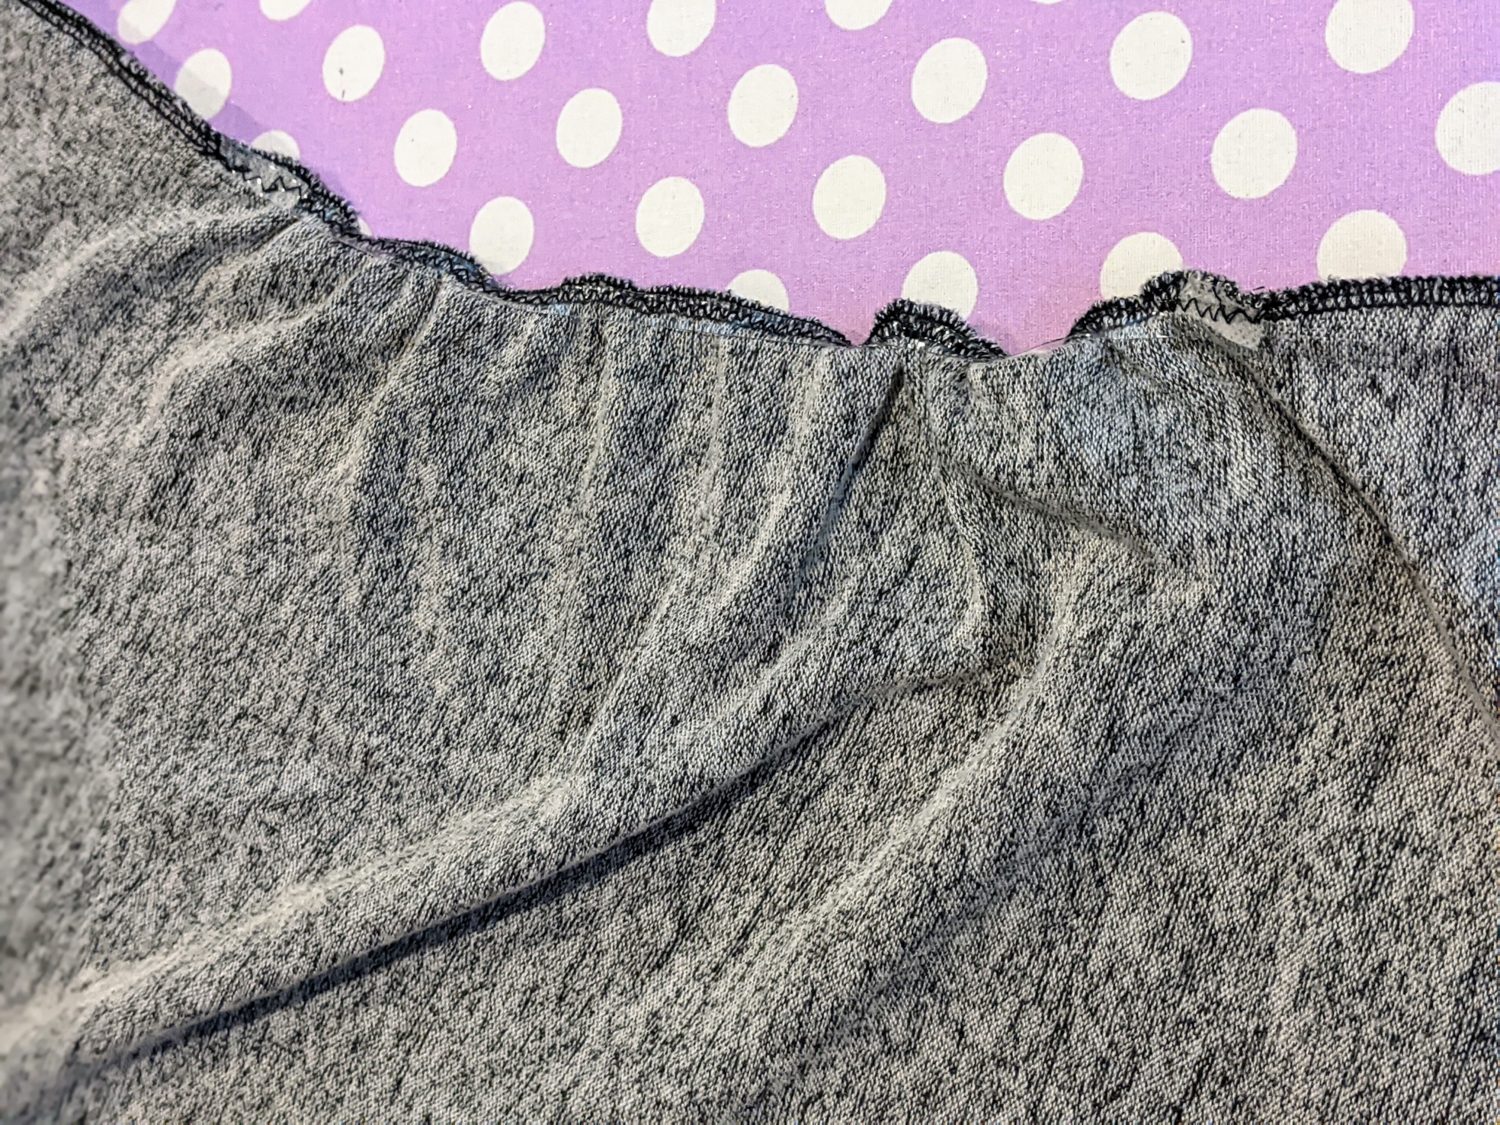
That’s it! It’s so quick and easy and gives any shirt some extra flare.
Want more FUN DIY Freebies? Check out the FREEBIE TUTORIALS and the FREEBIE PATTERNS!
As always, we’re here to help if you need it! Join us HERE and on Facebook, Instagram, Twitter, Youtube, and Pinterest. We’re everywhere you are.
Leave a Reply