Yoohoo! Need a last-minute gift? Or just want to spruce up your own kitchen? I *love* seeing a homemade potholder in my kitchen. I love using special fabrics that I know will bring a smile to my face every time I see them. (It’s also nice to use the same idea for gifts! haha)
In order to make a potholder, you’re going to need a few supplies you might not have on hand. Insul-Bright is the most important. It is heat resistant and may sound a little bit crinkly (the sound will fade after a few washes). It can be found at your local JoAnn Fabrics or online at Amazon. You also need some all-natural quilt batting. Do not get a poly mix. You want 100% cotton. I like the Warm brand type of batting. In place of the batting, you can also use terry cloth fabric or even a few pieces of flannel. The batting will help with condensation as well as an extra layer of protection.
Supplies:
- Insul-Bright batting
- Warm 100% cotton batting
- Safety pins or 505 Adhesive spray
- 2 pieces of fabric 9″ x 9″ (22.85cm x 22.86cm)
- 2″ x WOF (width of fabric) strip of binding. Do not use store-bought binding because it is typically a cotton/poly blend.
- Coordinating thread
- Hand sewing needle (not required, just preferred for finishing)
- Walking foot (not required, just makes things slightly easier-I show you the difference in the video)
A note on binding. If you are doing a square potholder, you do not need bias cut binding. If you round the corners of your potholder, I suggest cutting your binding on the bias. Have no idea what I’m talking about? Never fear! I show you what I mean and how to combine two pieces to get a longer strip in the video!!
Let’s do this!
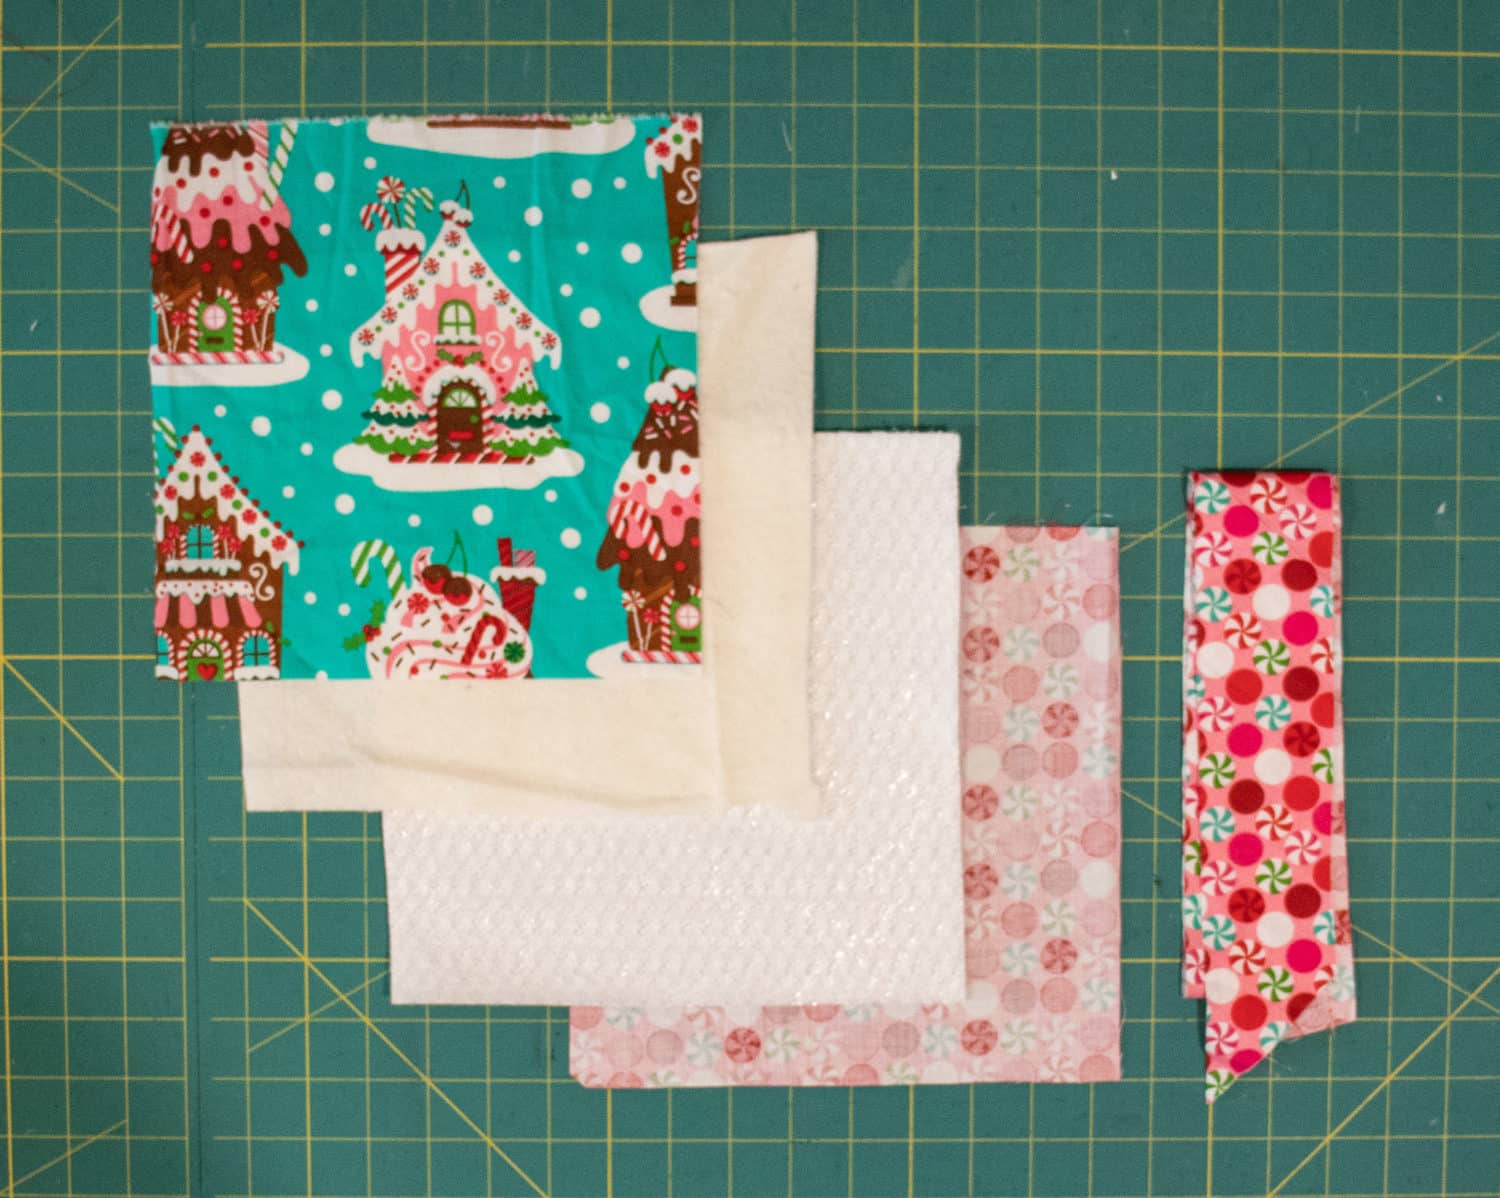
Cut fabric, batting, and Insul-bright so they are all 9″x9″ square. Layer them like this: fabric face down, Insul-bright, batting, and another piece of fabric face up. Photo shows binding cut as well.
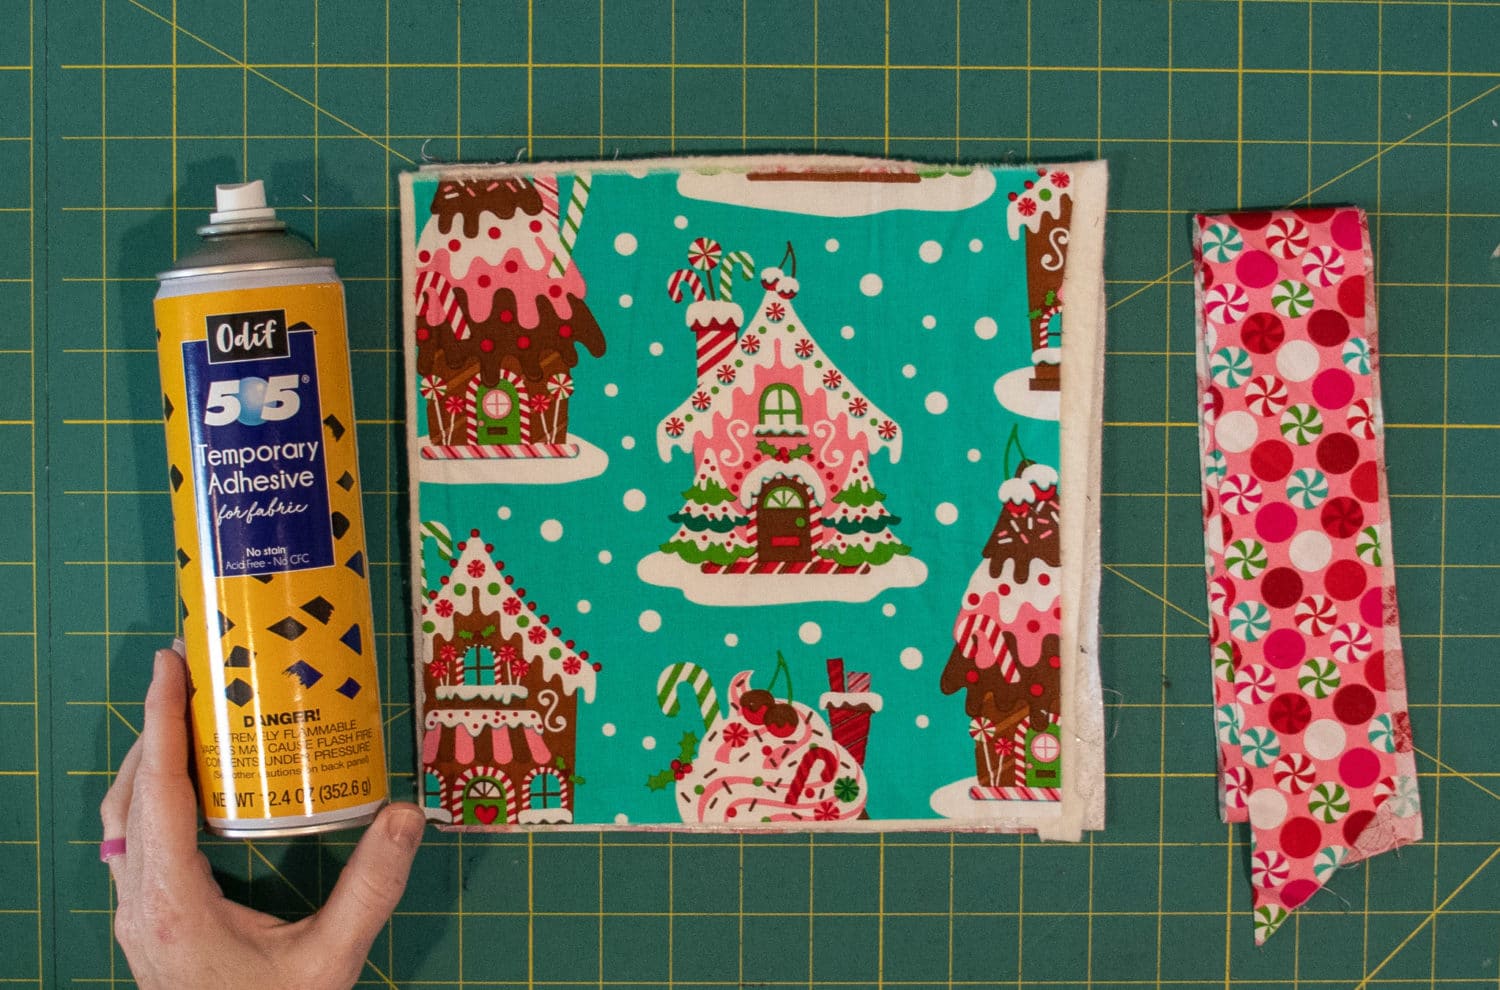
Pin layers or use 505 adhesive spray to keep quilt sandwich from shifting.
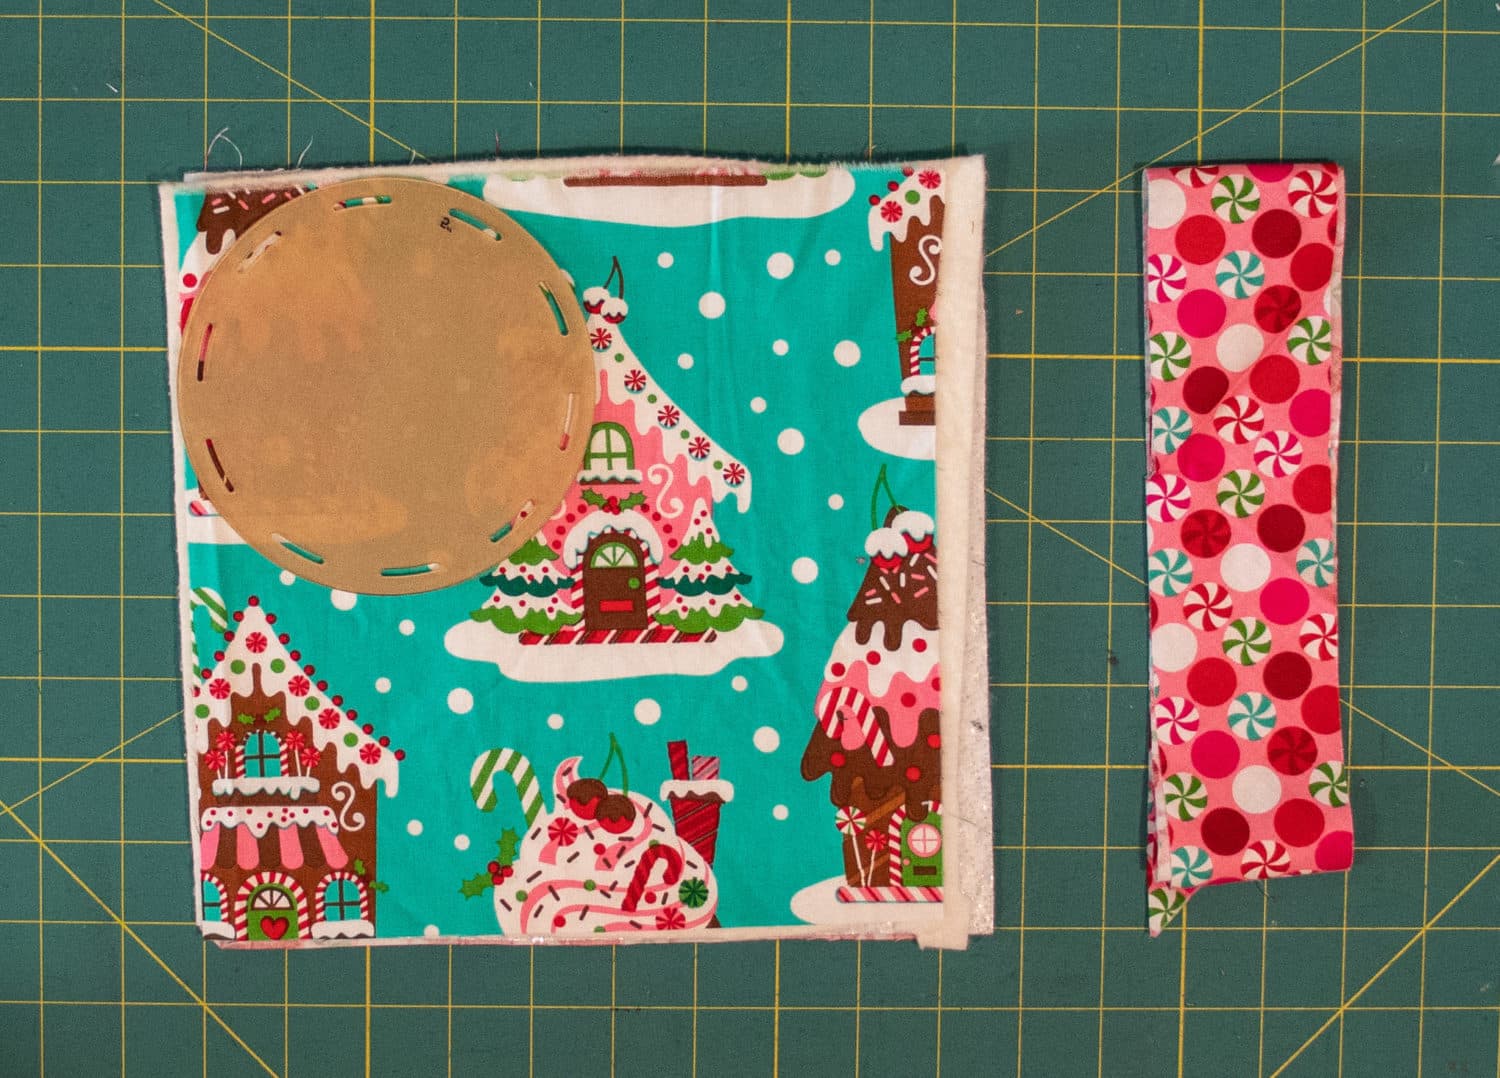
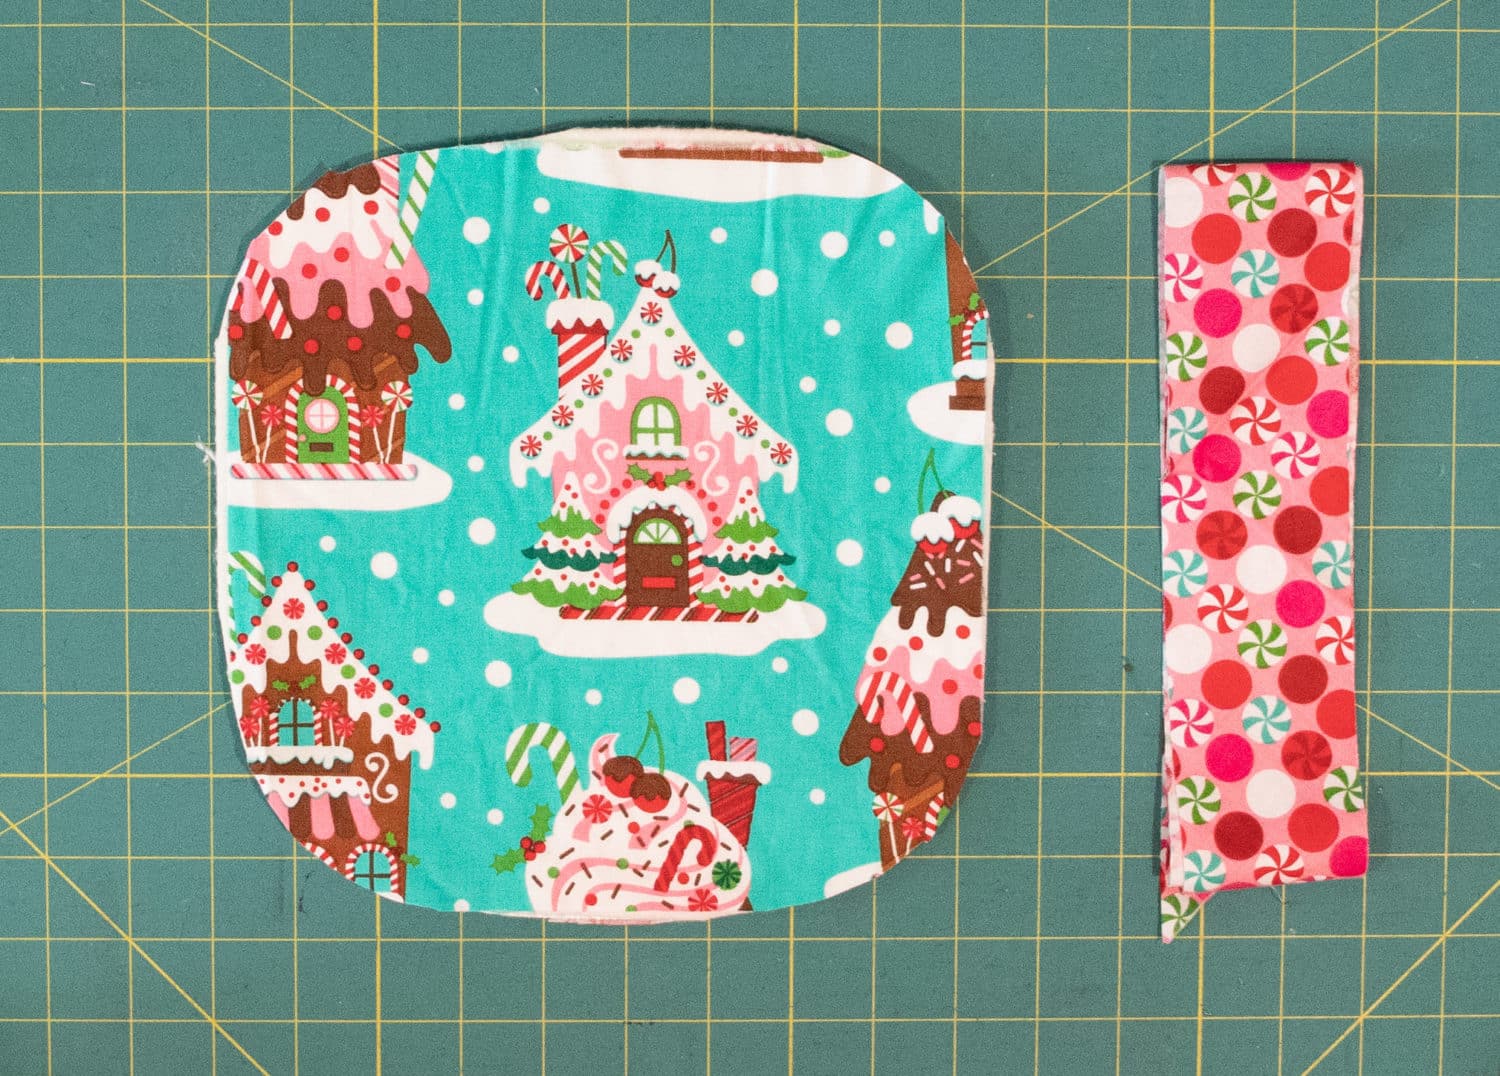
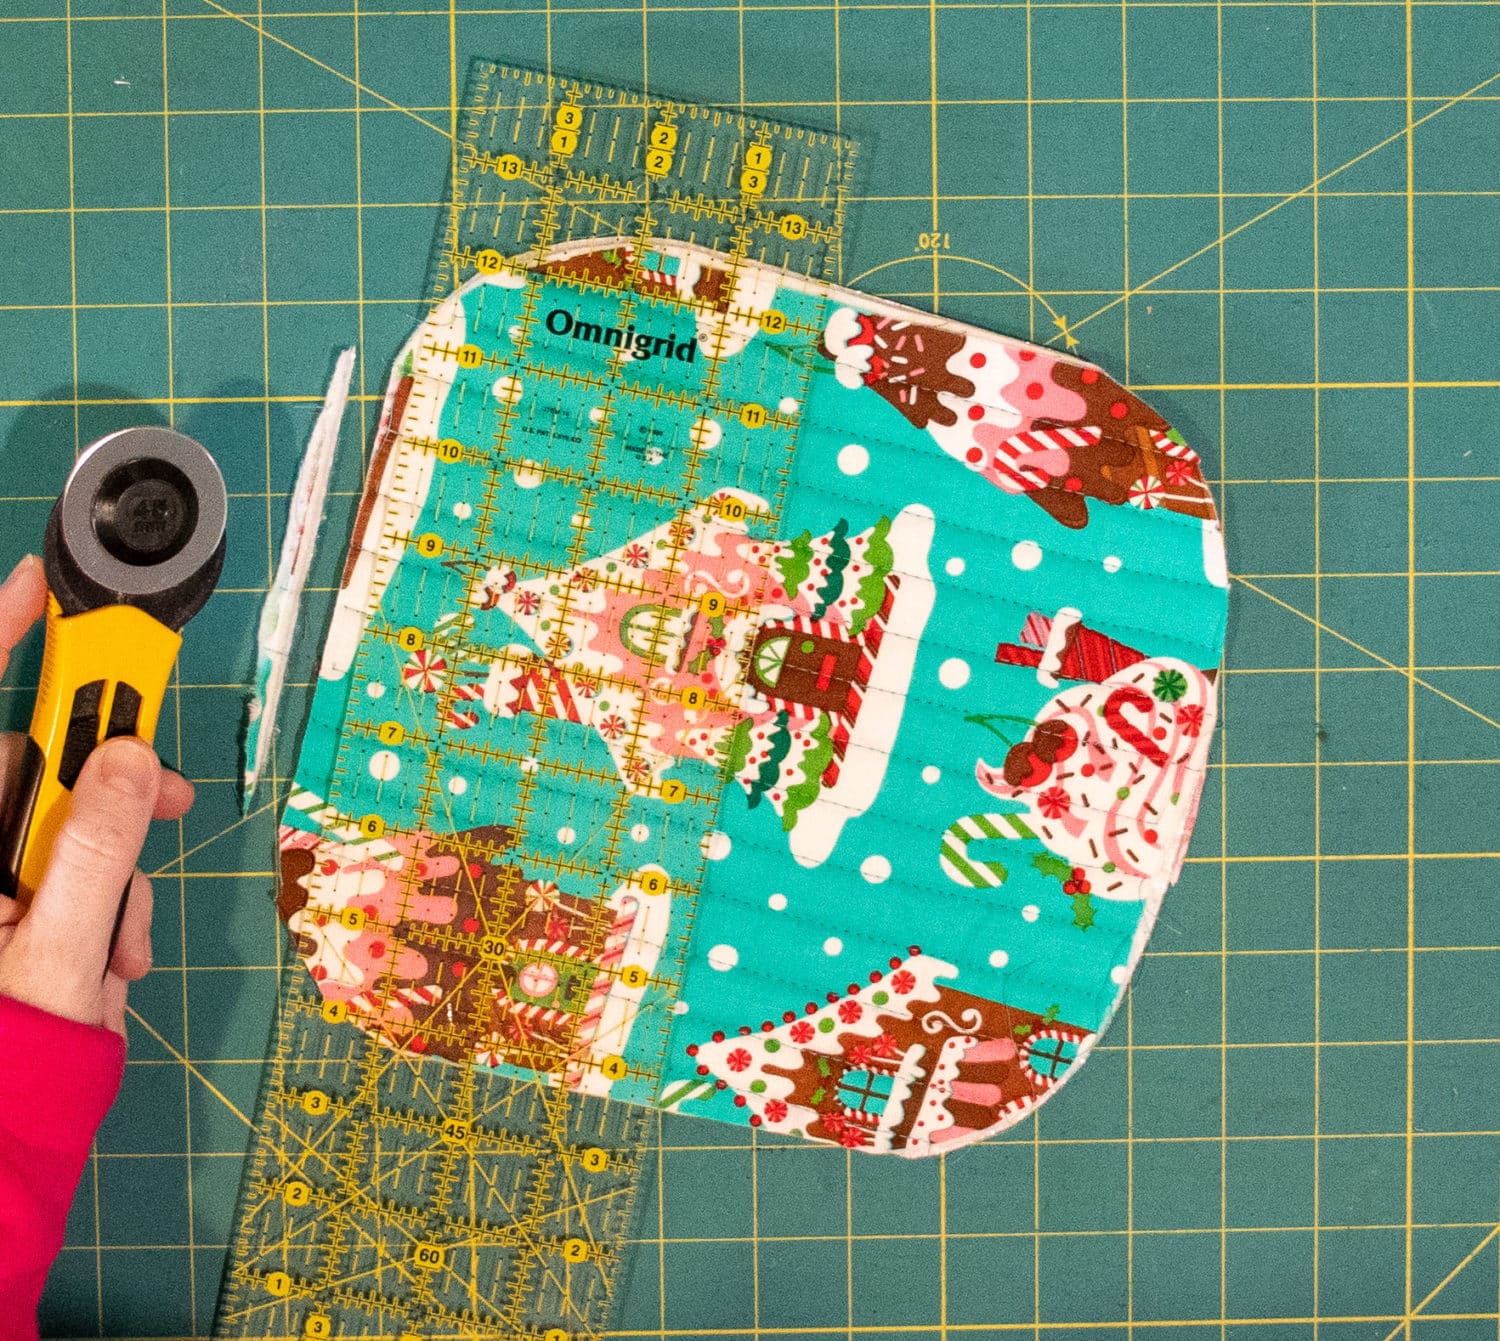
Decide if you want corners or curves. If you want curves, use a bowl or something round to cut your corners off. (If you used safety pins, I recommend quilting first so your fabric doesn’t shift after you trim the corners.)
Quilt as you see fit. I did straight lines about 1″ apart (I eyeballed it!). You do not need a walking foot for this!
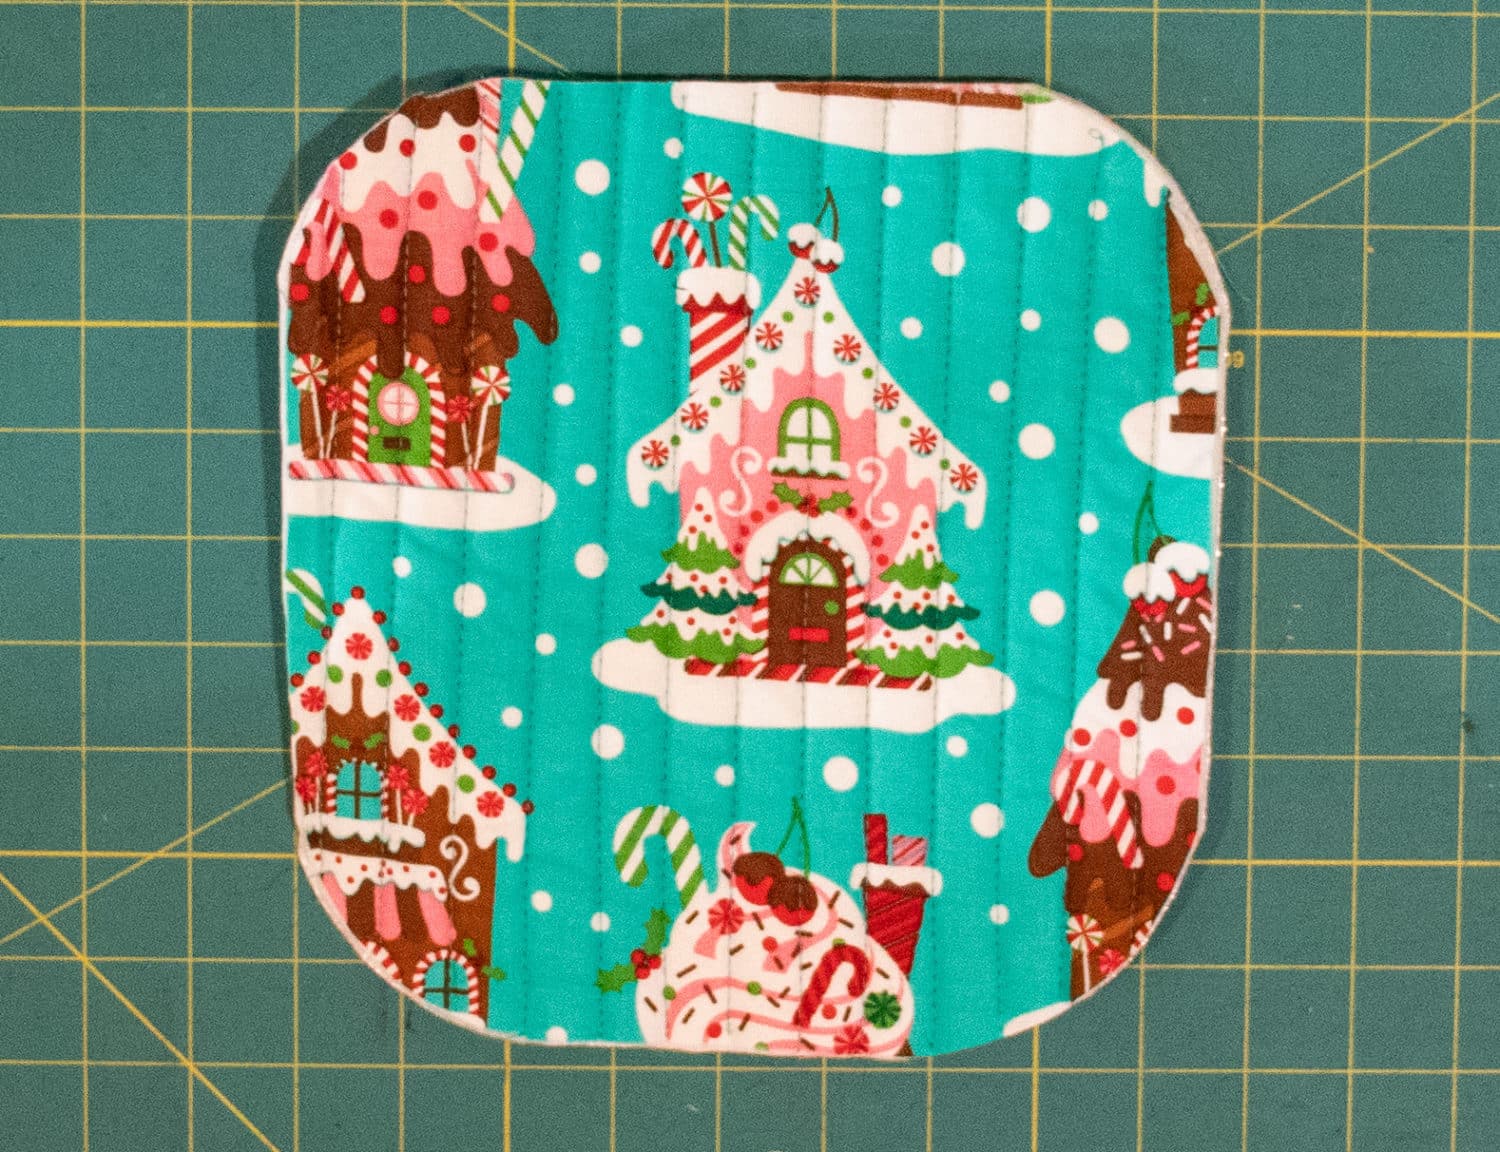
After you’ve finished quilting the potholder, clean up the edges.

Press binding in half lengthwise (like a hot dog). If you are doing a square, skip over to the mug rug tutorial to see how to apply binding so you have nice mitered corners.
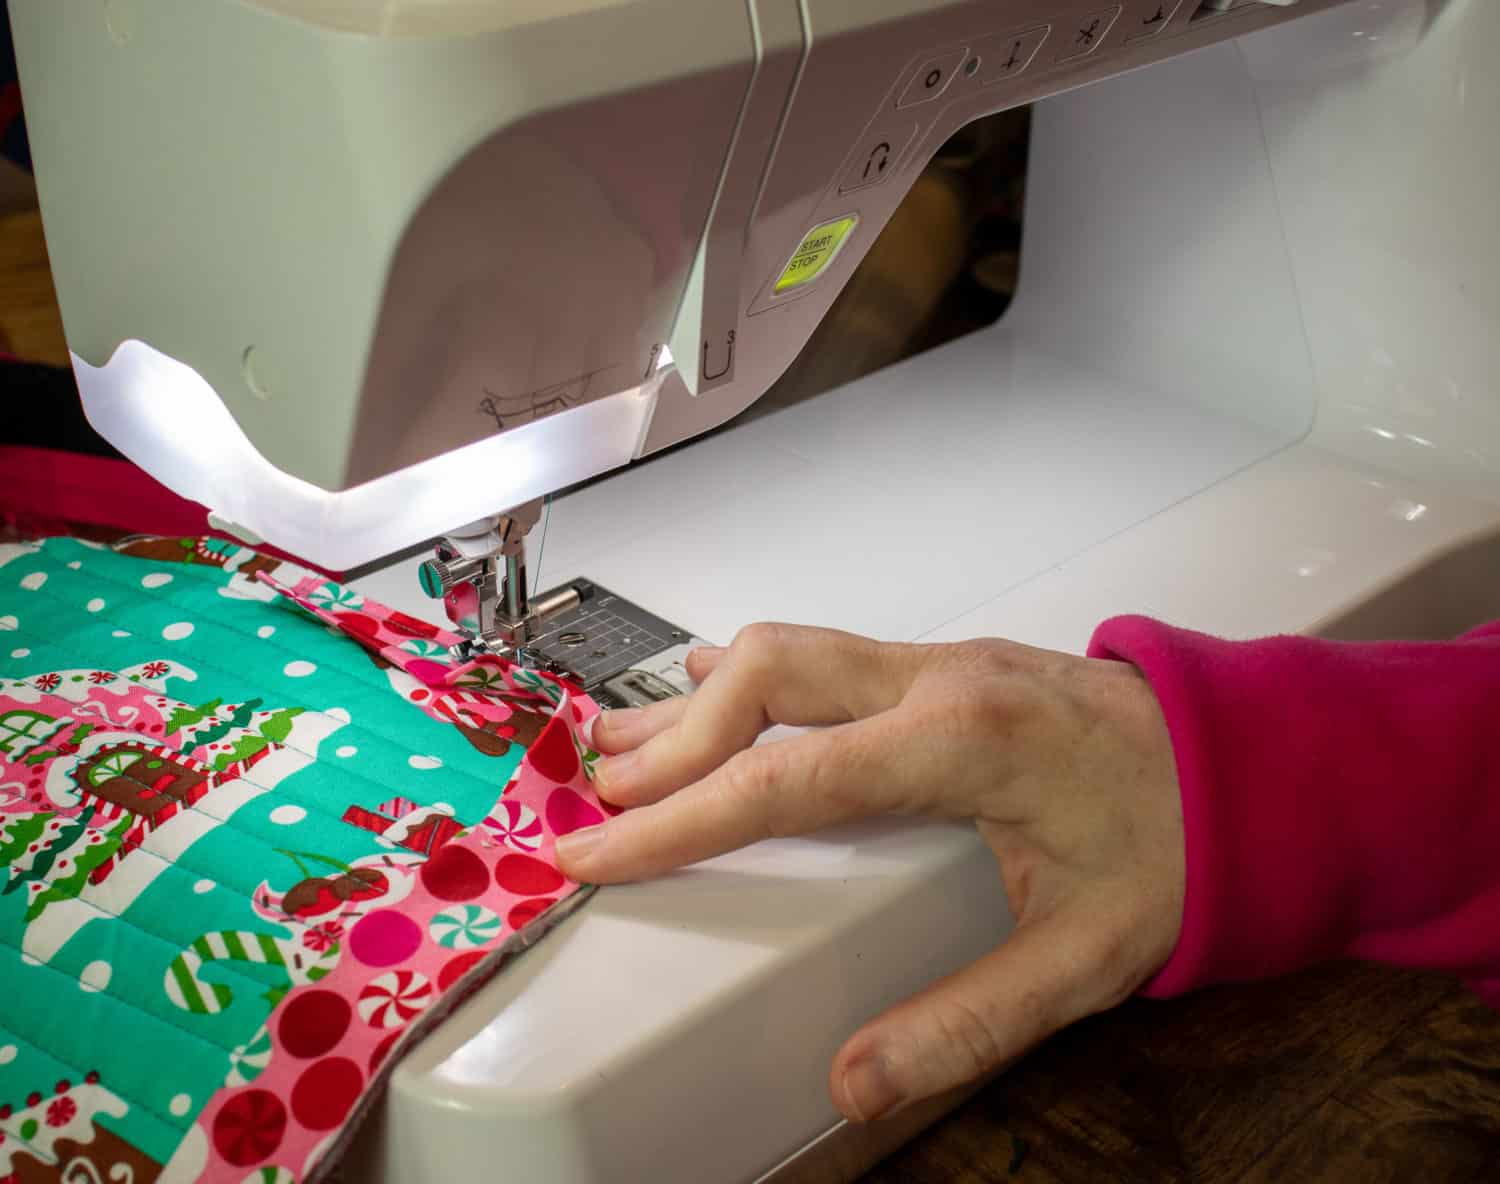
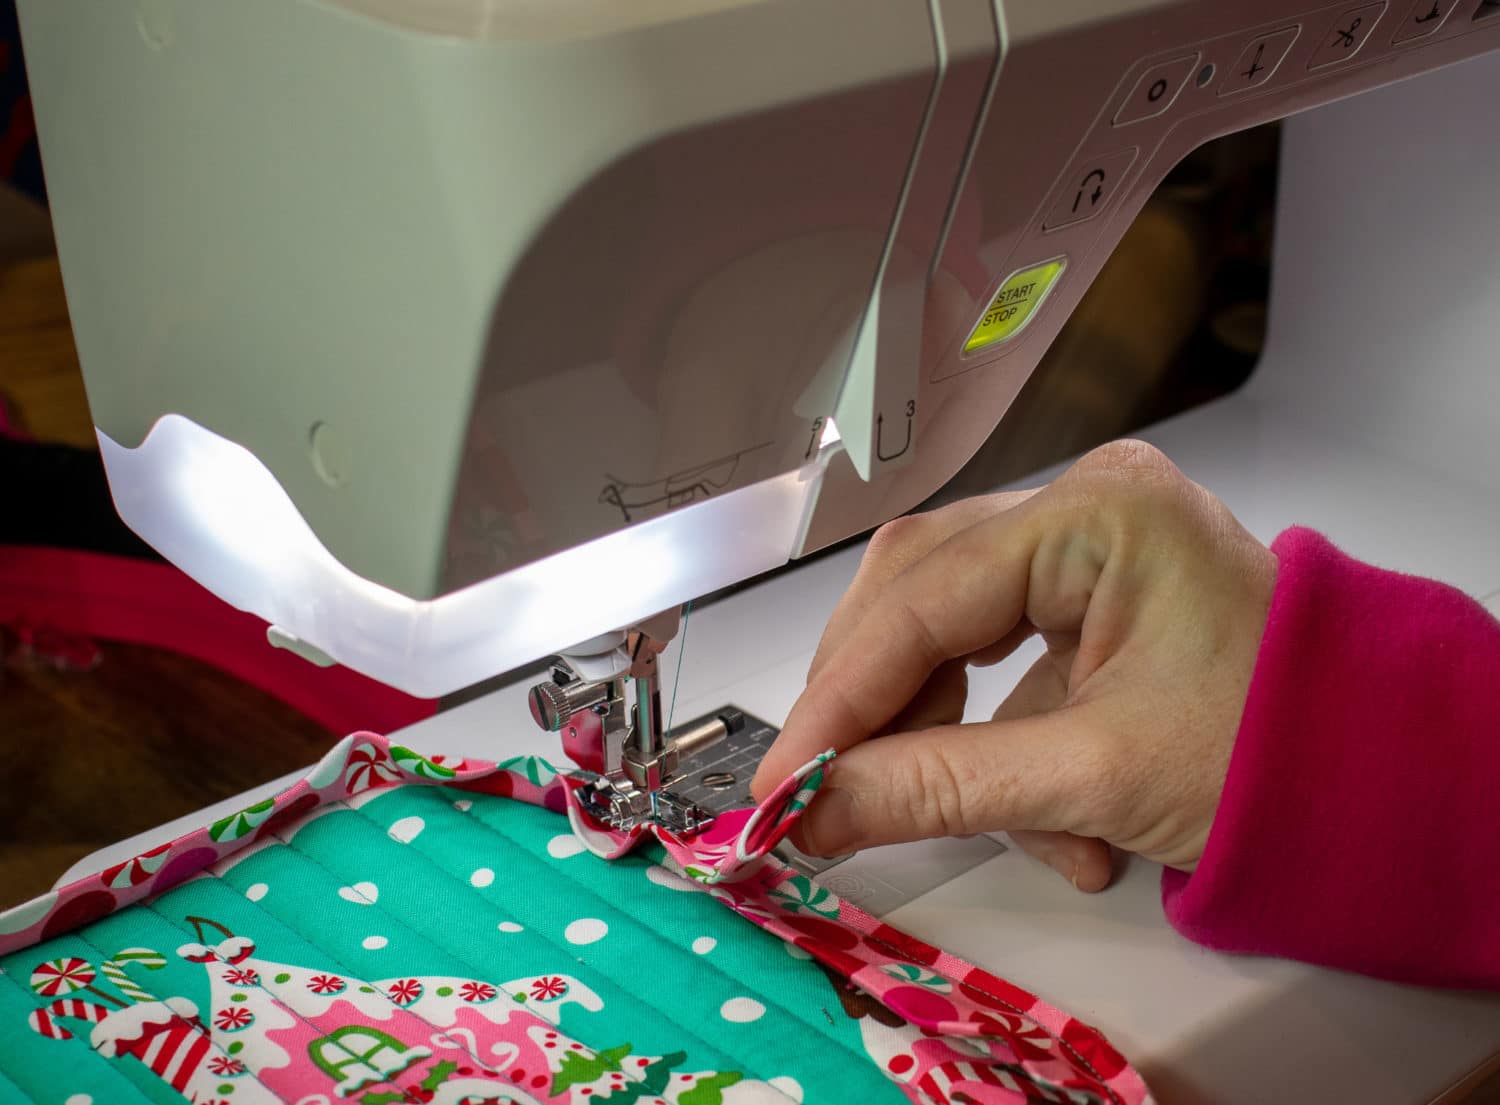
If you are doing curves, start on one side and align binding to edge of sandwich, with raw edges matched up. I recommend walking the binding around to make sure you have a long enough piece. Again, if you’re not sure how to cut bias binding, watch the video at the bottom for tips and a brief overview.
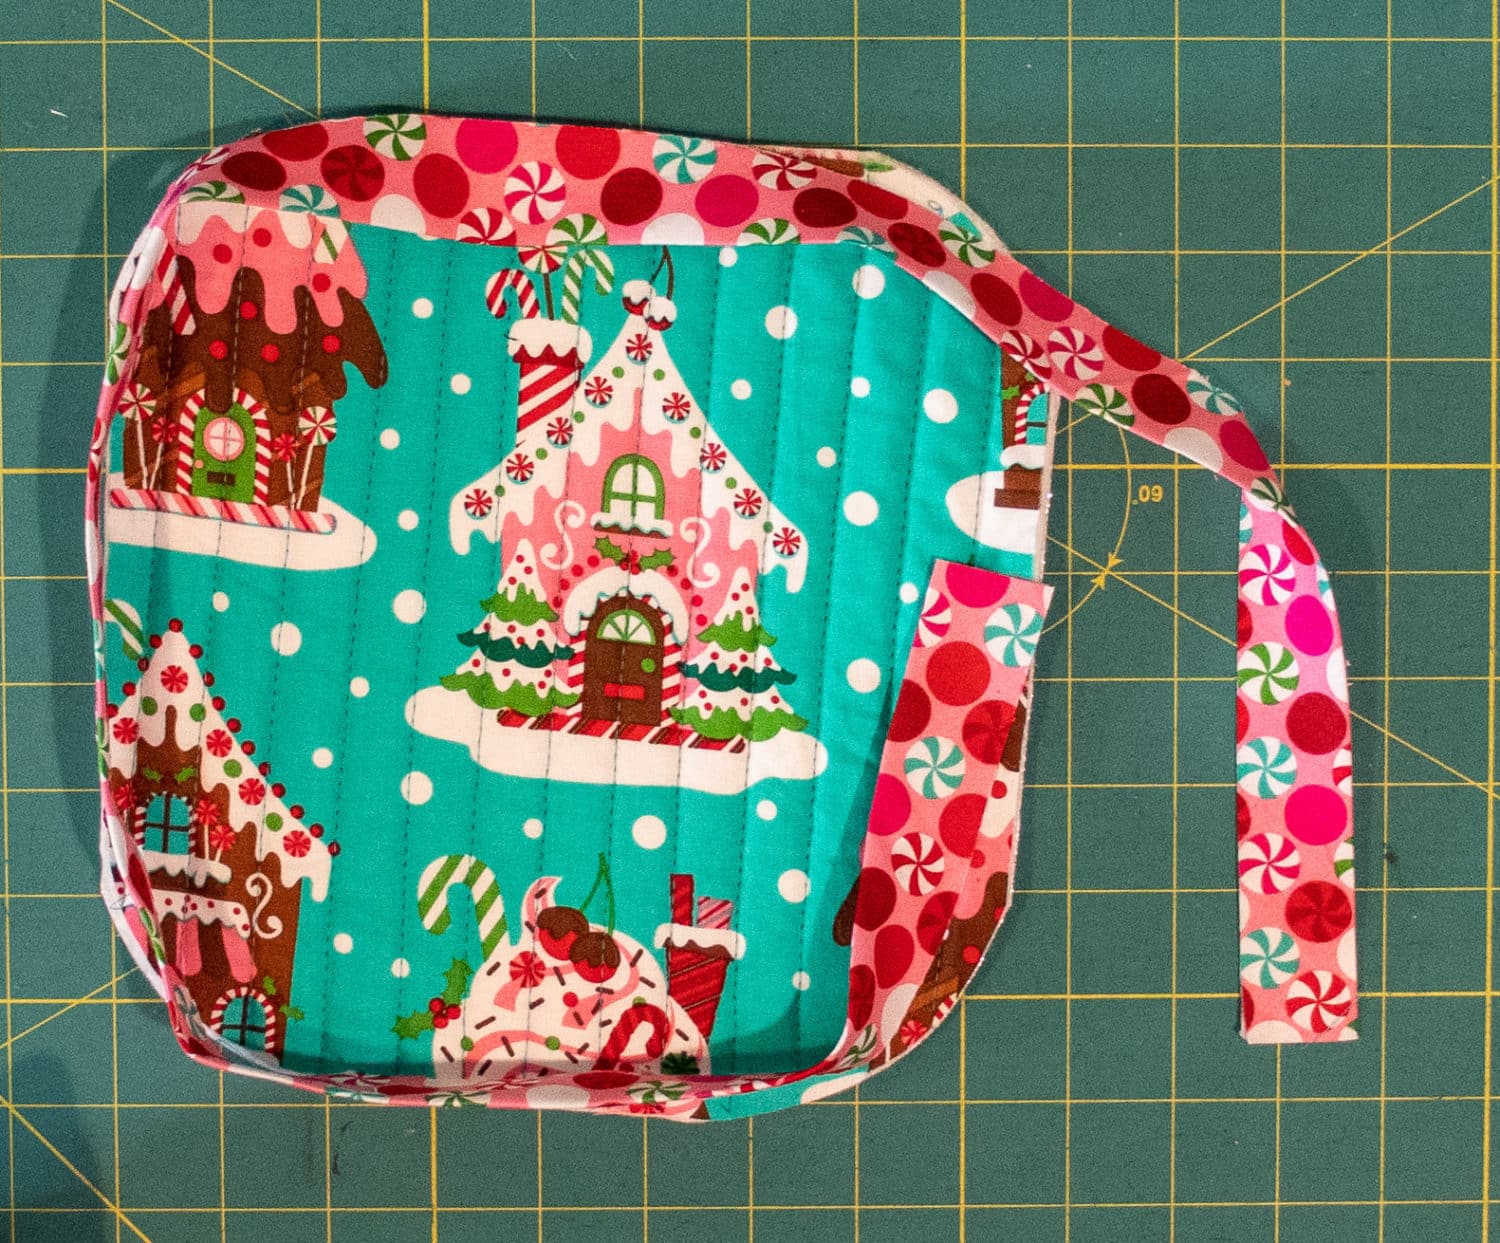
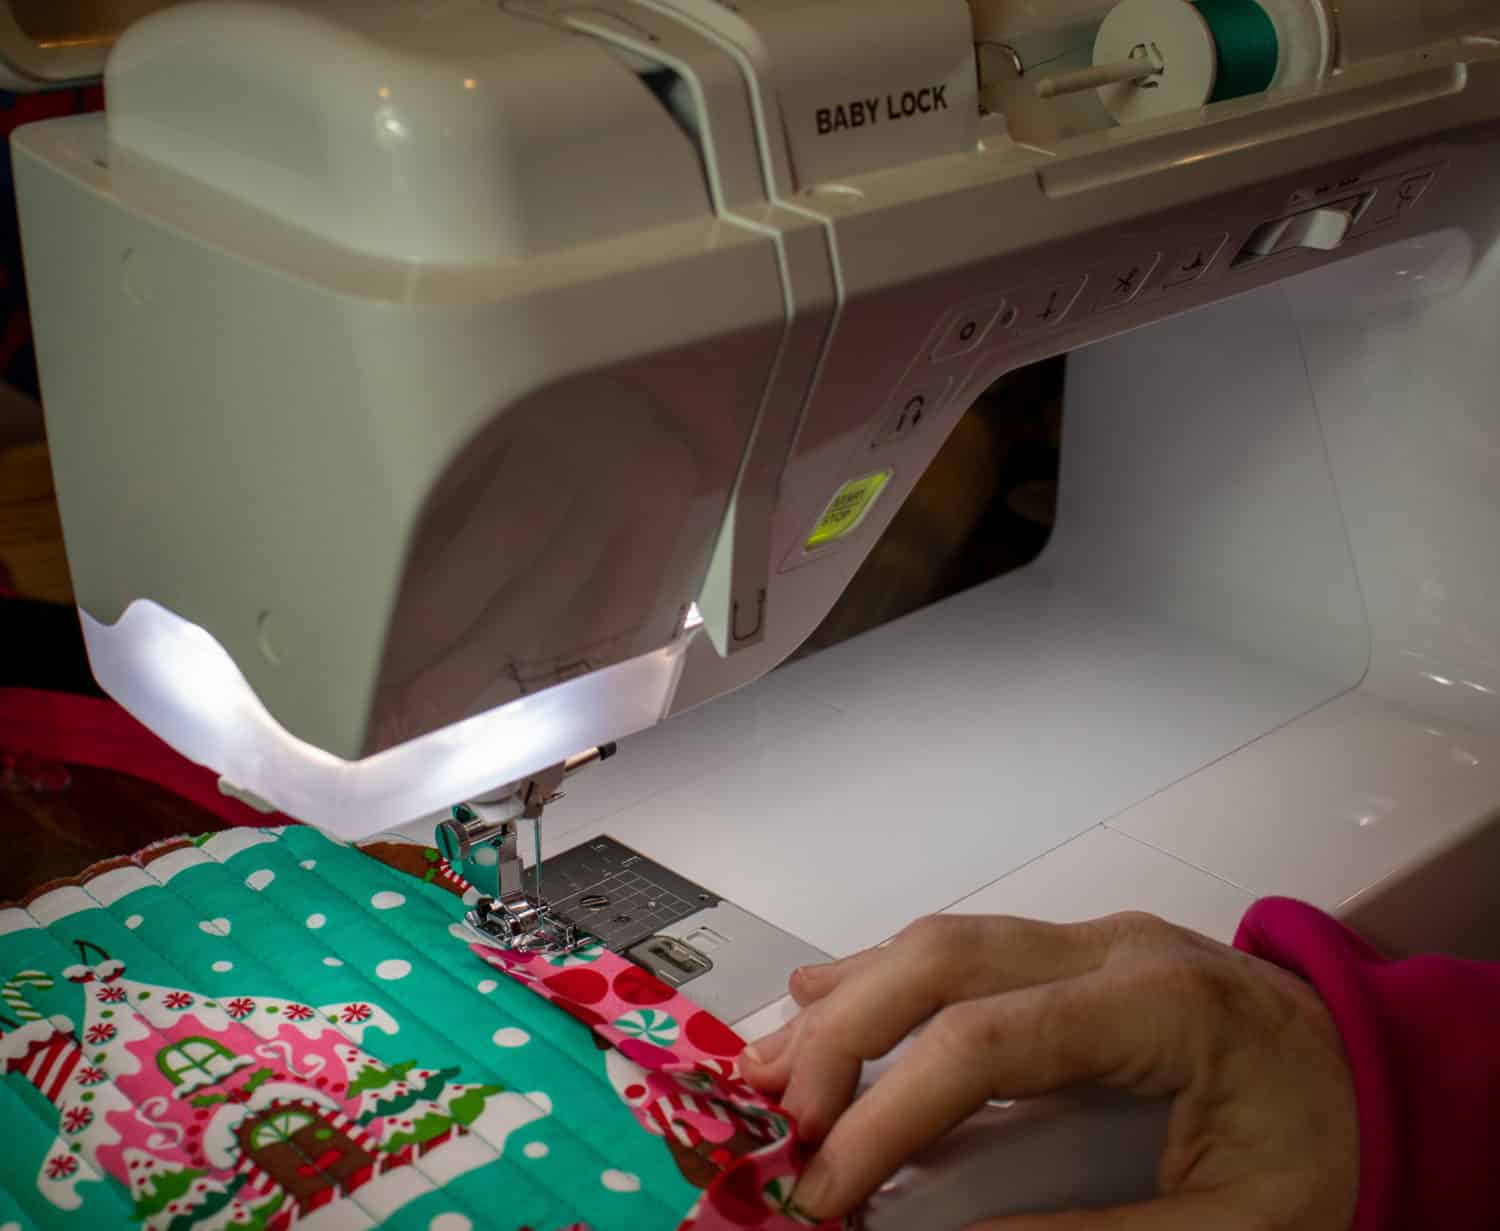
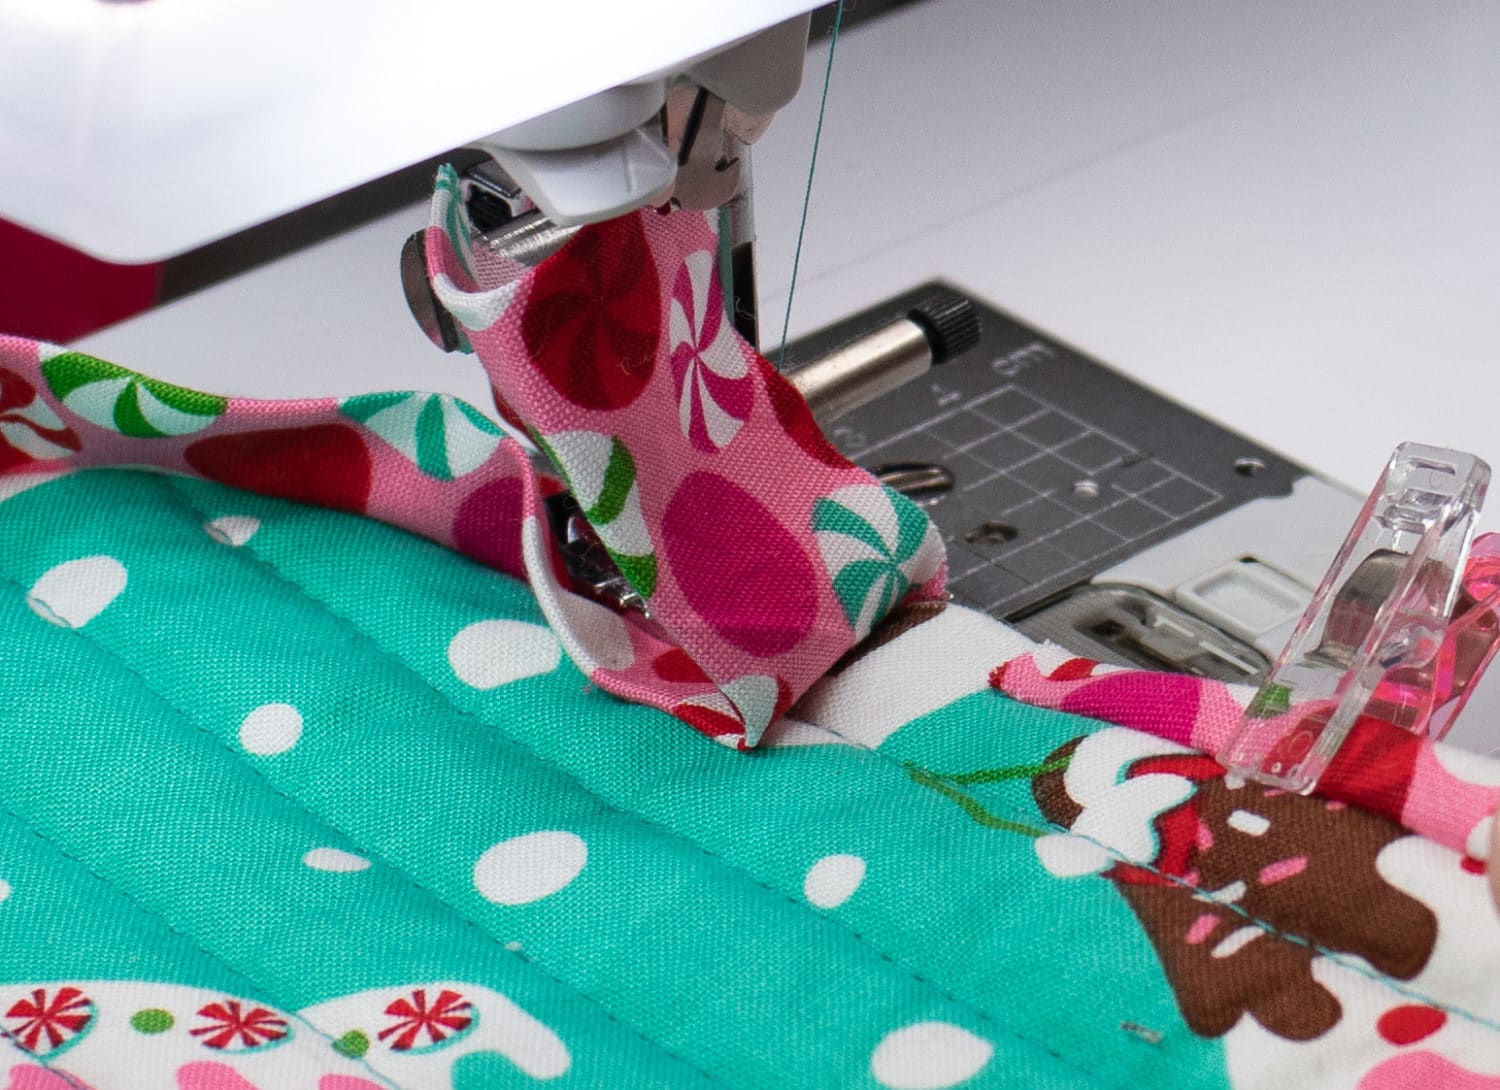
Sew binding to potholder with a 1/4″ seam allowance, easing around the curves to make sure you don’t get any wrinkles. Stop right before you get the the end.
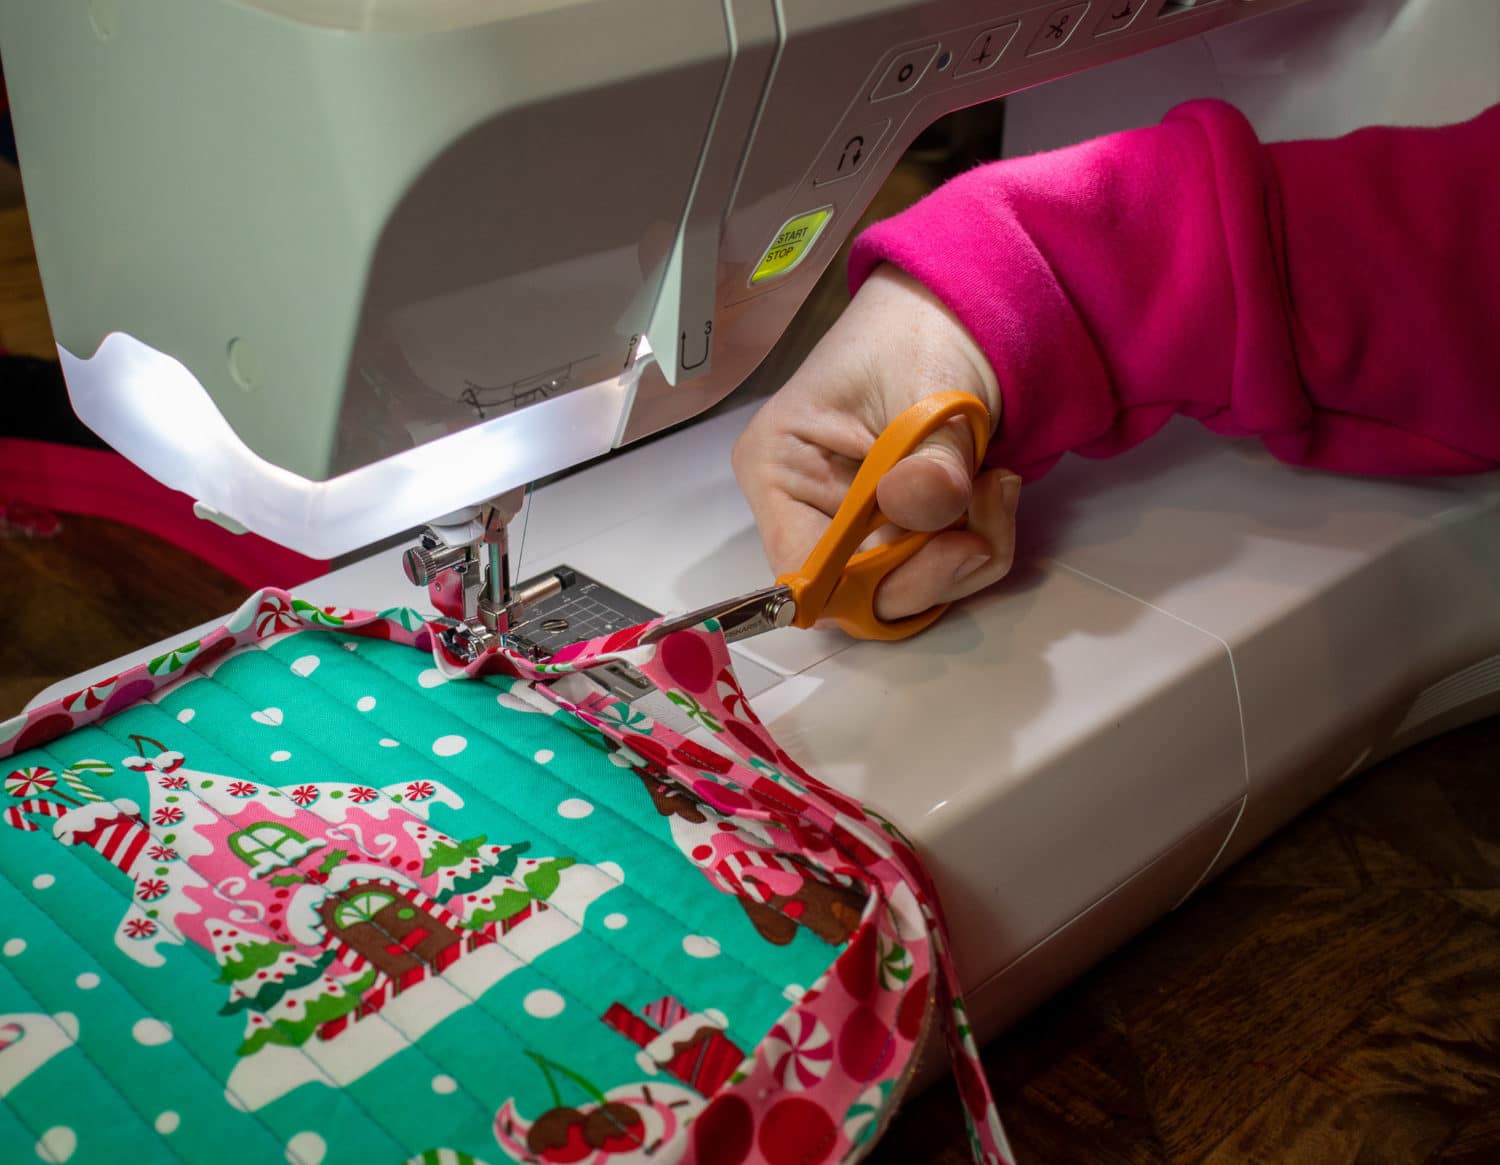
If you want a loop, watch the video at the bottom of this page. If you want to just end your binding, trim the binding so that you have about 1″ overlapping the end you’ve already sewn. (Again, this is for a curved edge!) Fold raw short end to wrong side so it is hidden and then refold binding. I used a piece of Washaway Wonder Tape to hold my fold in place.
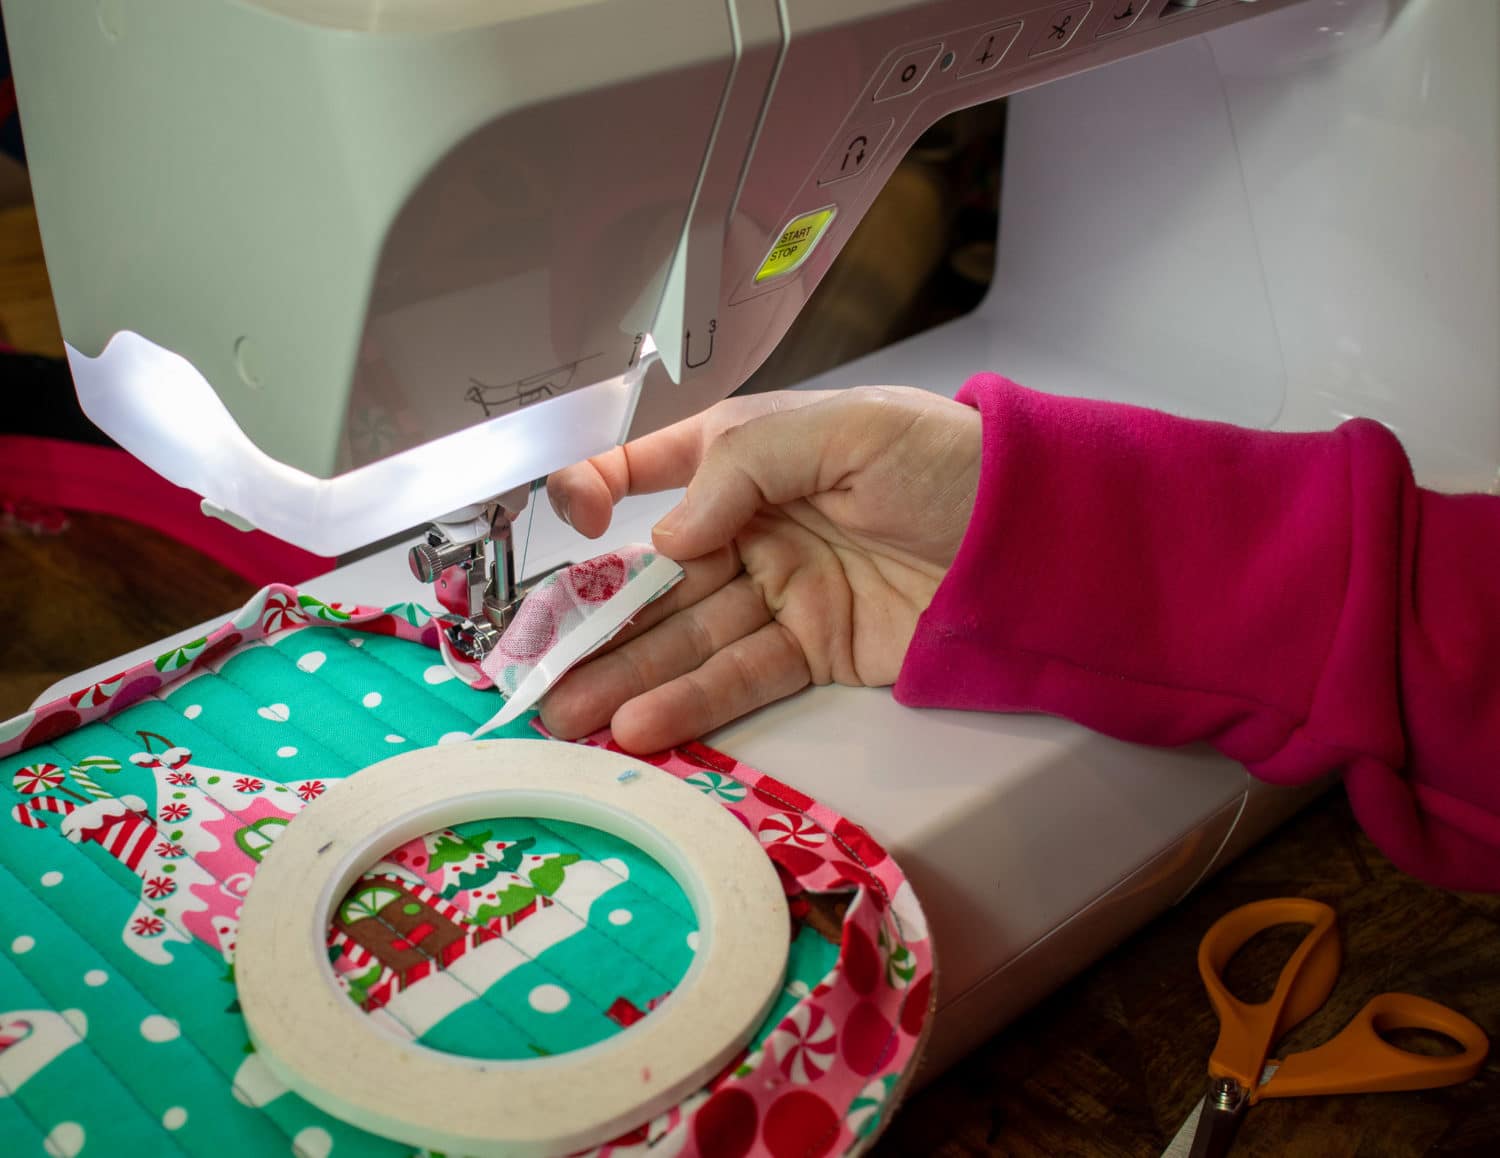
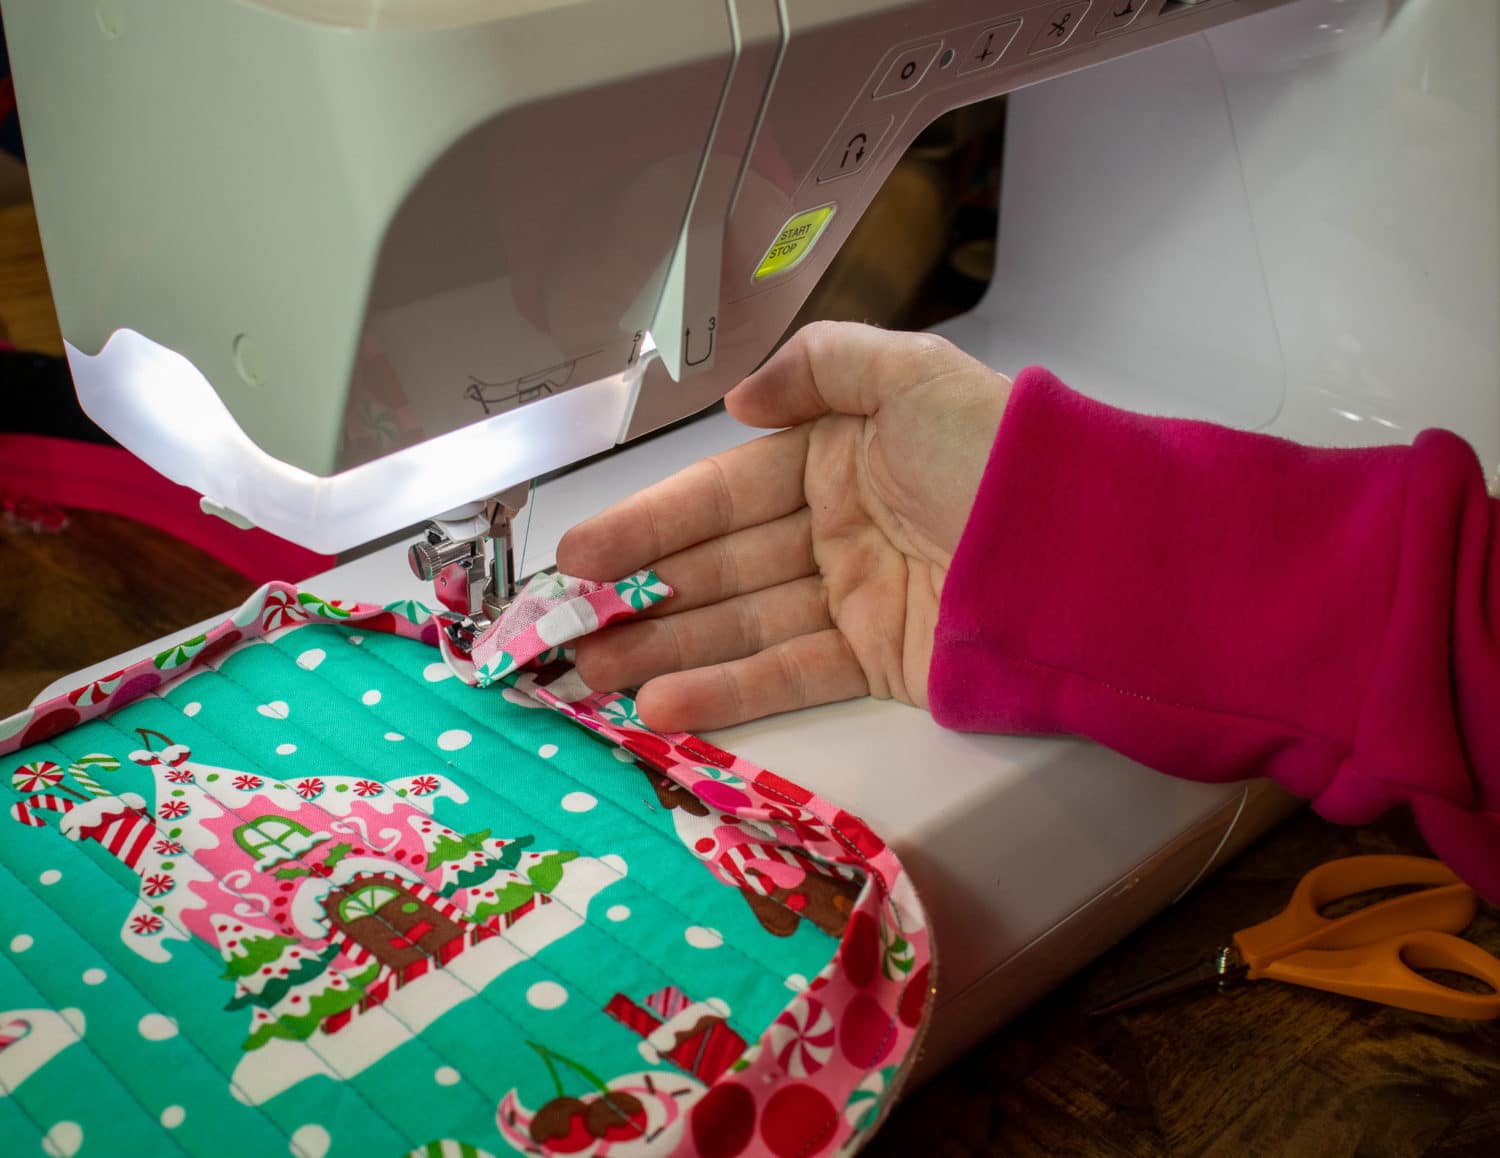
Where you STARTED your binding, go ahead and fold the end of the binding to the other side of the potholder and pin or tape in place. Now you can finish sewing the end of your binding on, making sure that the tail remains folded.
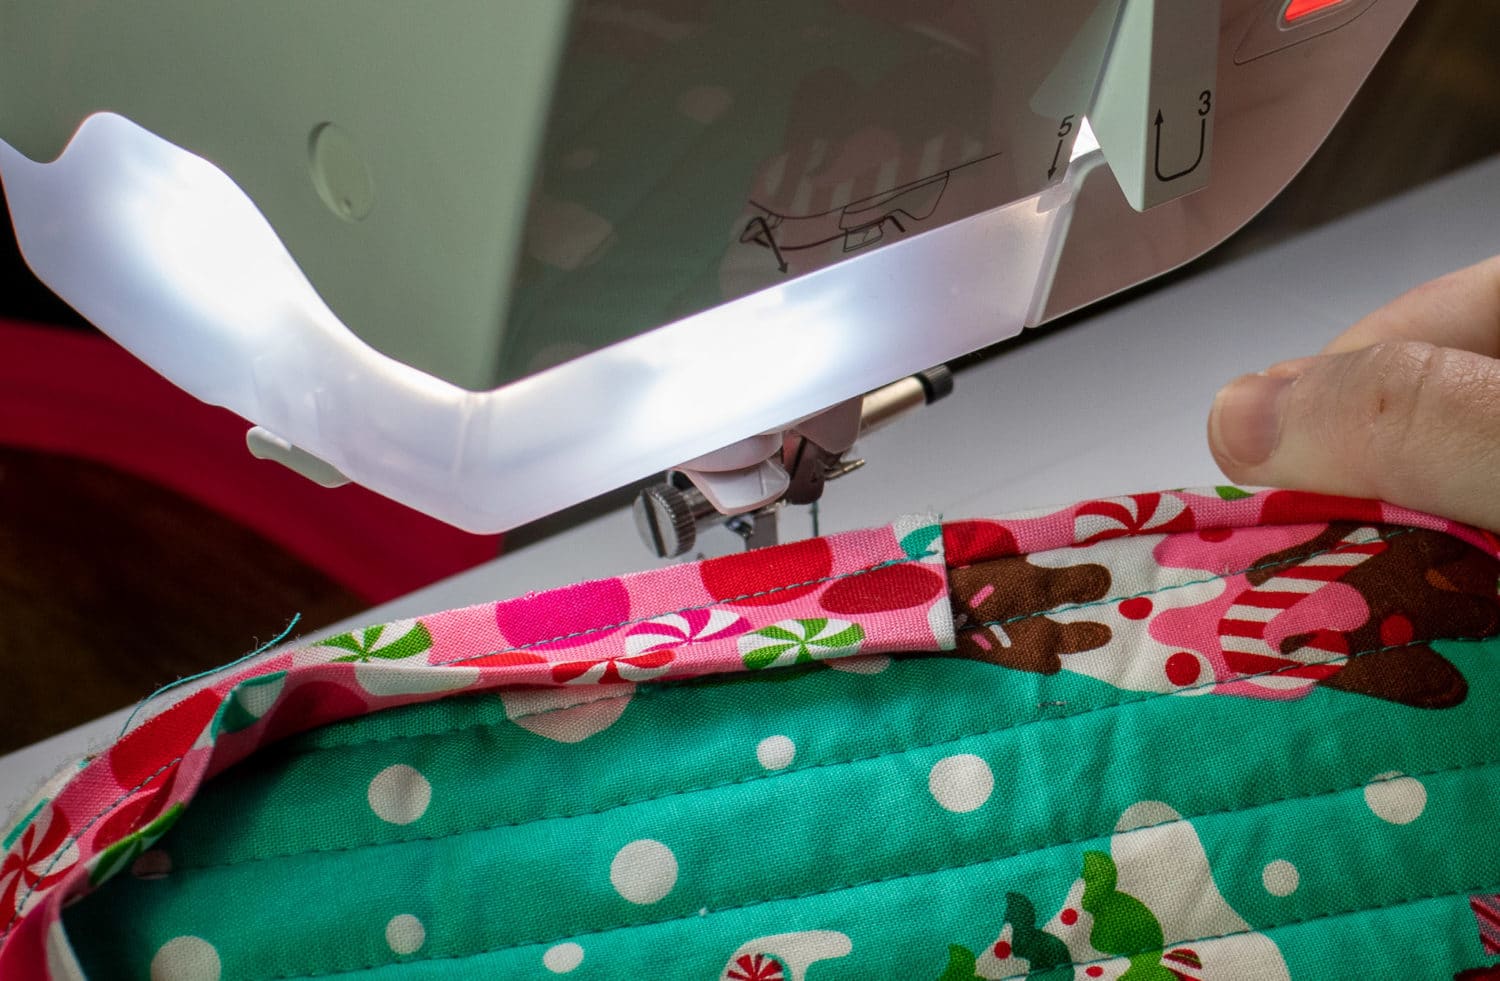
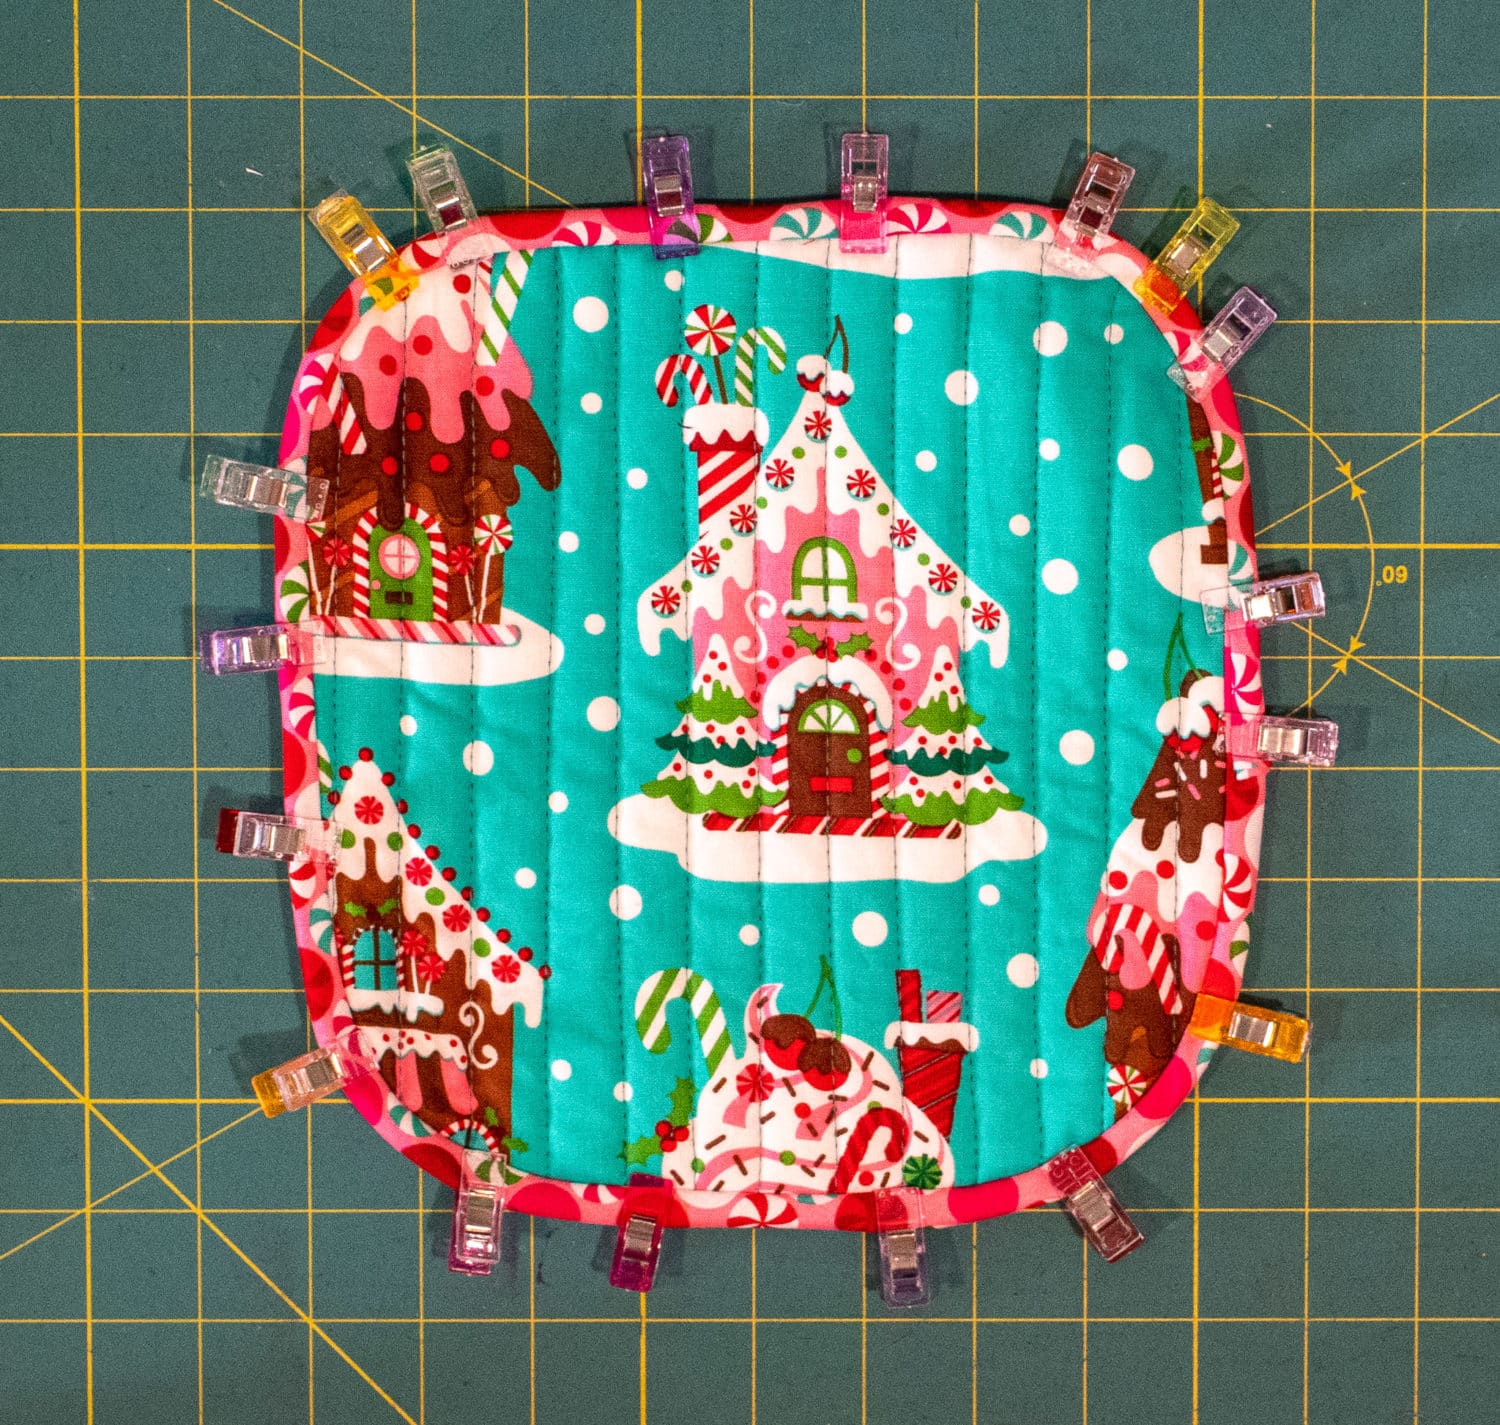
Push all of your binding to the opposite side of your potholder and clip in place. Use a ladder stitch to sew the binding down. This will be the nicest finish. Watch the Mug Rug tutorial video to see how to hand sew with a ladder stitch to finish the binding.
Here is the video tutorial if you’d like to see how I did everything! Enjoy and make sure you share your potholders in the 5oo4 FB group or on Instagram!
Leave a Reply