


The Cassidy Dress is one of my favorite dress patterns. It is the perfect combination of comfort and class. I took the skirt portion of it and turned it into a faux wrap skirt in several different lengths. It’s such a fun little addition to an already amazing pattern. If you don’t already have the Cassidy Dress, you can grab the women’s version HERE, and the kid’s version HERE.
Pieces
- Note:
- I used the sweetheart neckline from the Pamela top for all of my Cassidy dresses in this tutorial. It is not included in the Cassidy pattern. You can find the Pamela Top HERE.
- The circle sleeves on the maxi length dress are from our Sophie Dress and are not part the Cassidy pattern. You can find the Sophie Dress HERE.
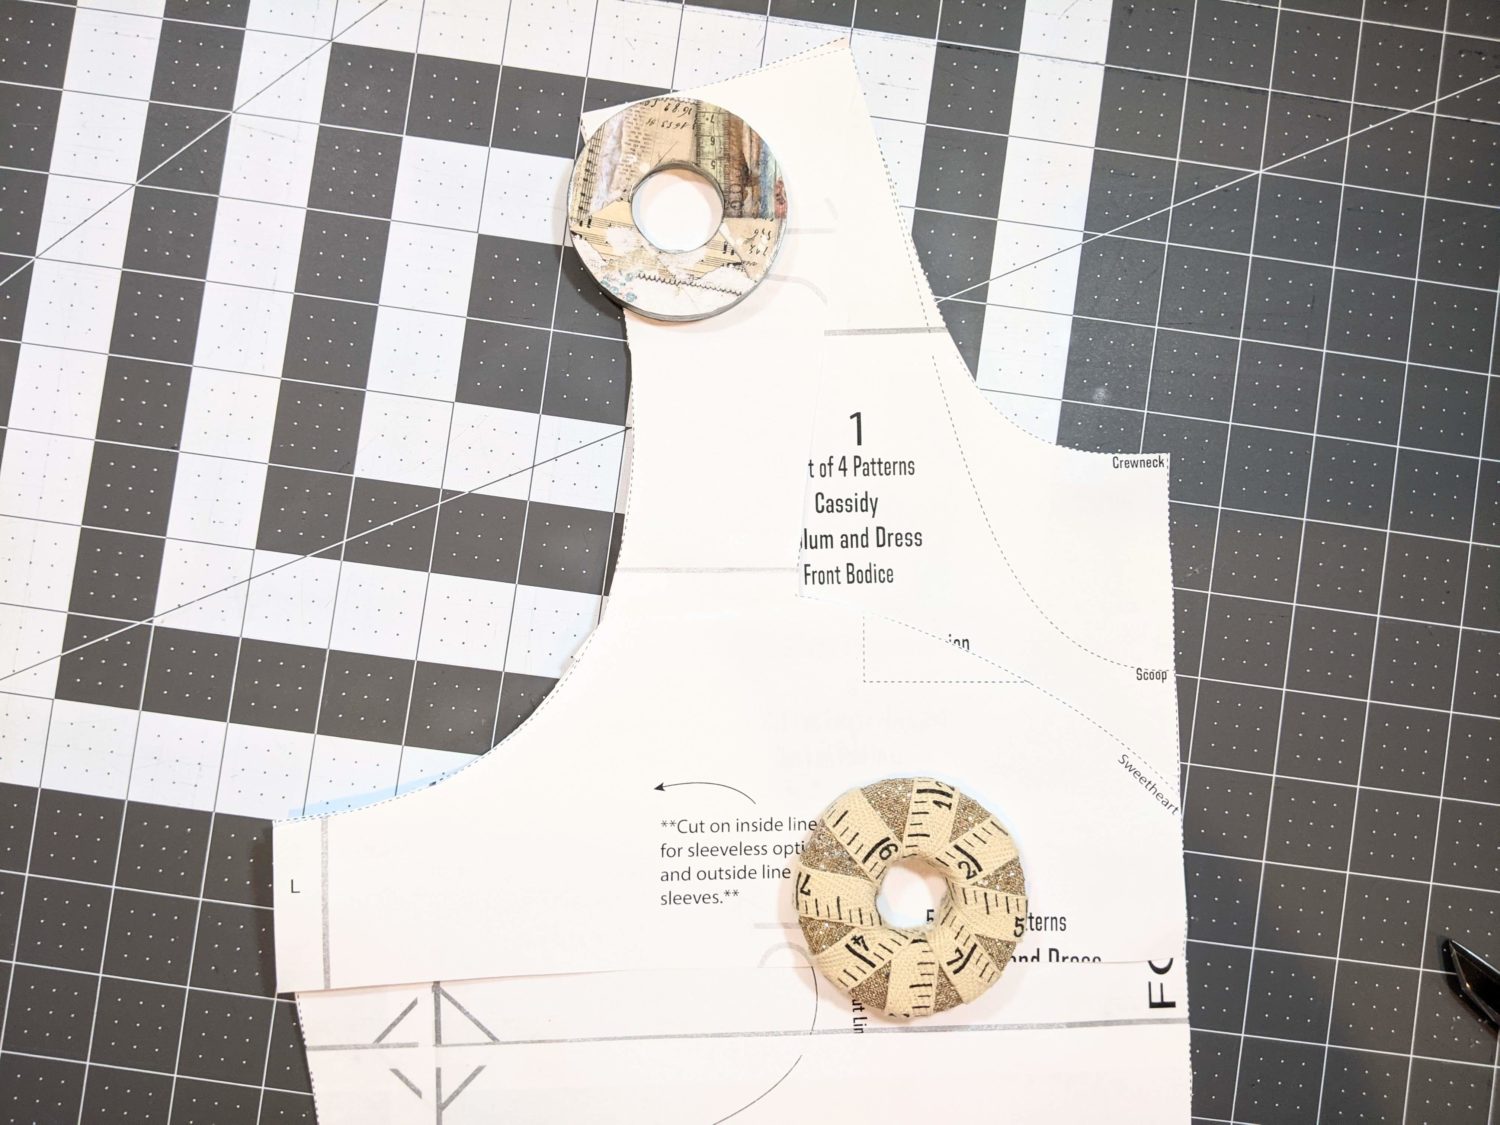
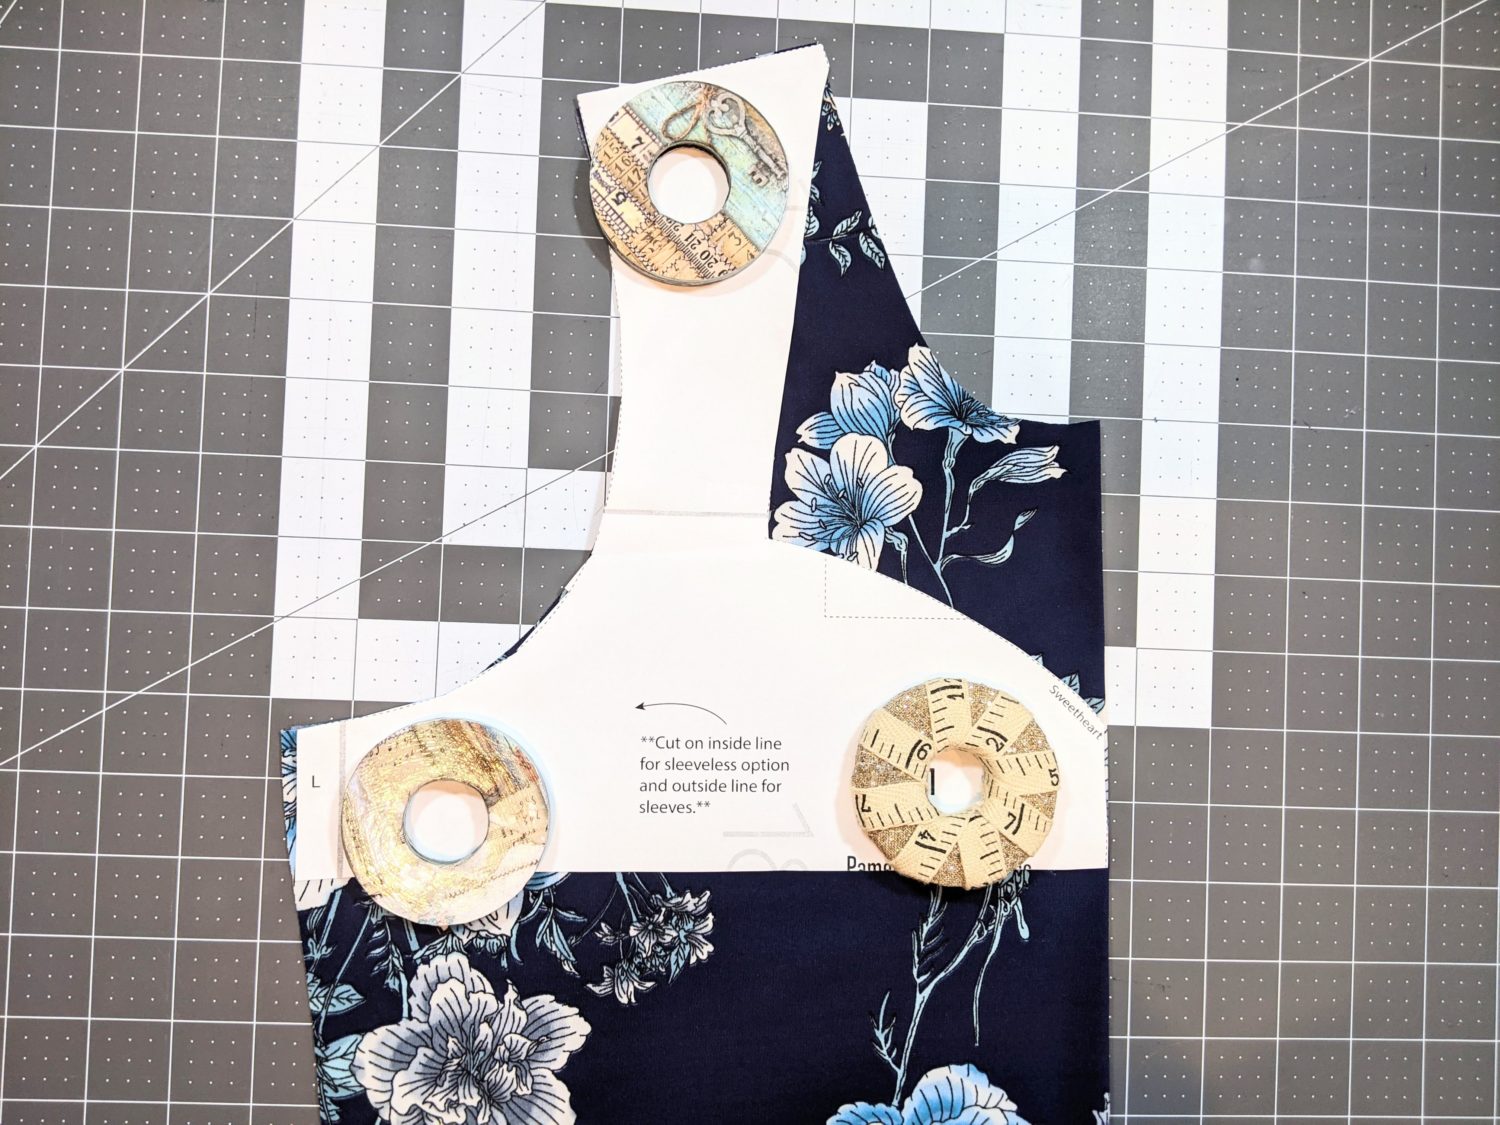
- Print and cut all of your pieces for your Cassidy dress as instructed in the tutorial.
- Cut out your fabric.
- If you use a neckline from Pamela, line up the armscyes and shoulders and cut the new neckline.
Bodice
- Sew your full bodice as instructed in the tutorial for Cassidy.
- If you choose a different neckline or sleeves, follow those tutorials to construct those portions.
Skirt
- Cut the front and back skirt pieces to your chosen length.
- For reference the lengths that I chose for each of mine are:
- Long: maxi length
- Medium: Knee length
- Short: Knee length with ruffle-didn’t add ruffle
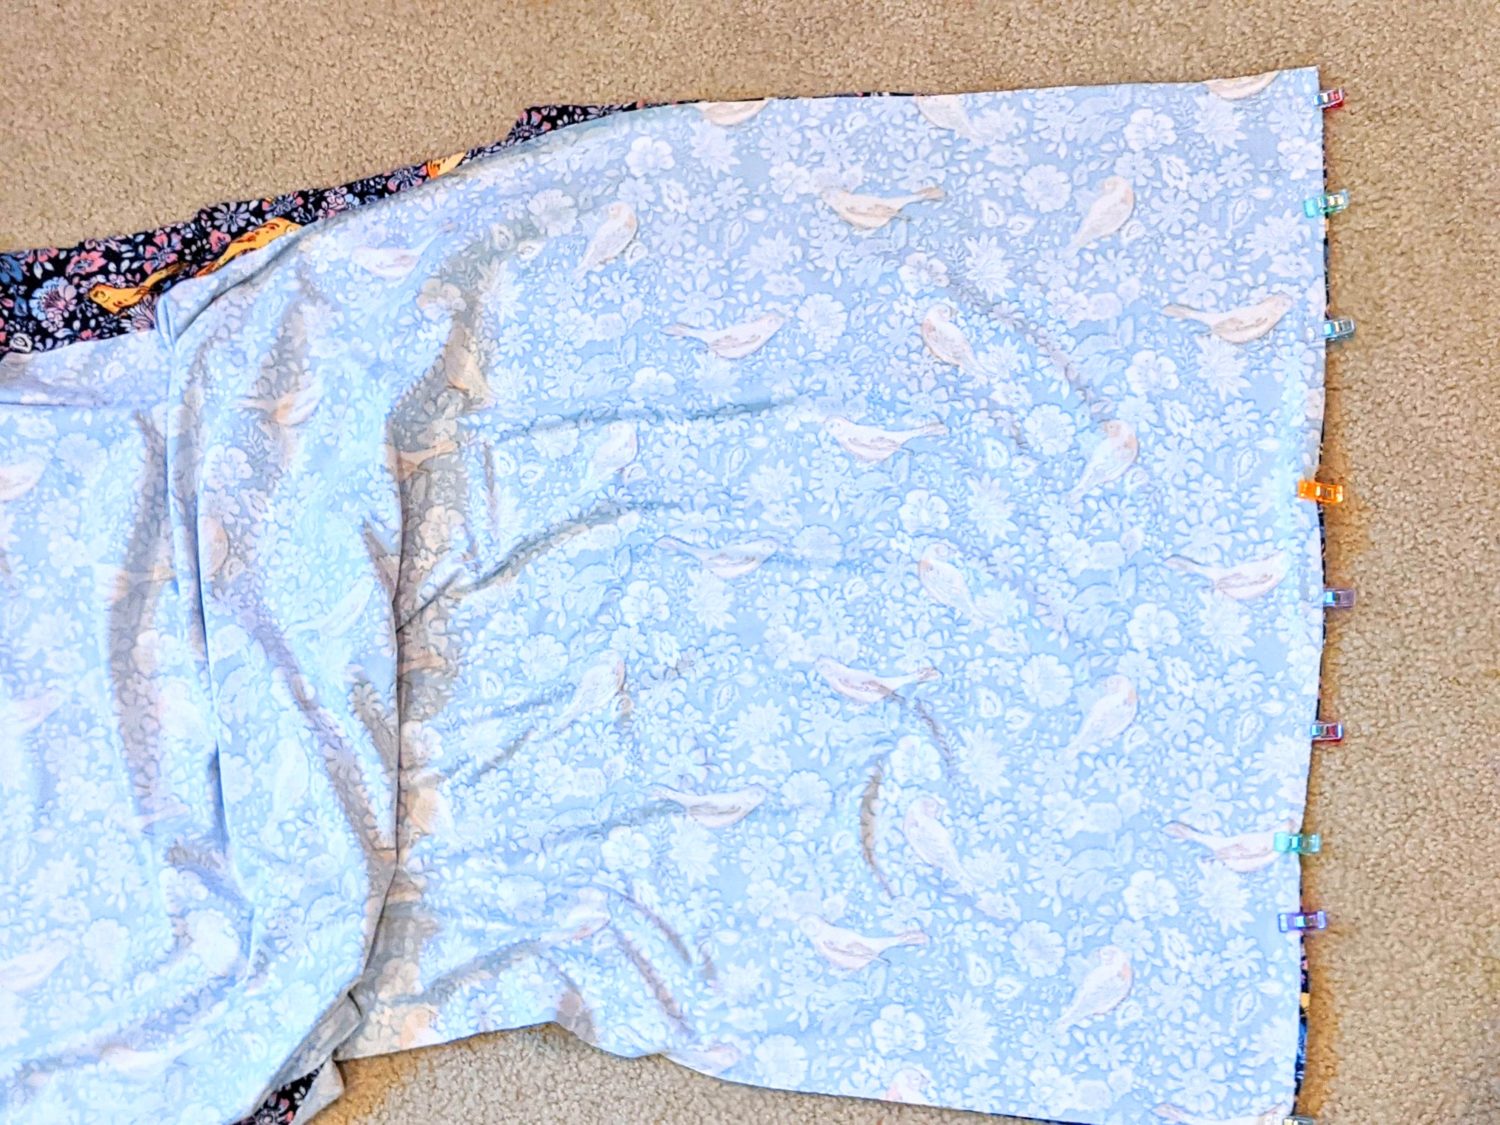
- Lay the front and back pieces right sides together, pin along one short side.
- Sew along the pinned side.
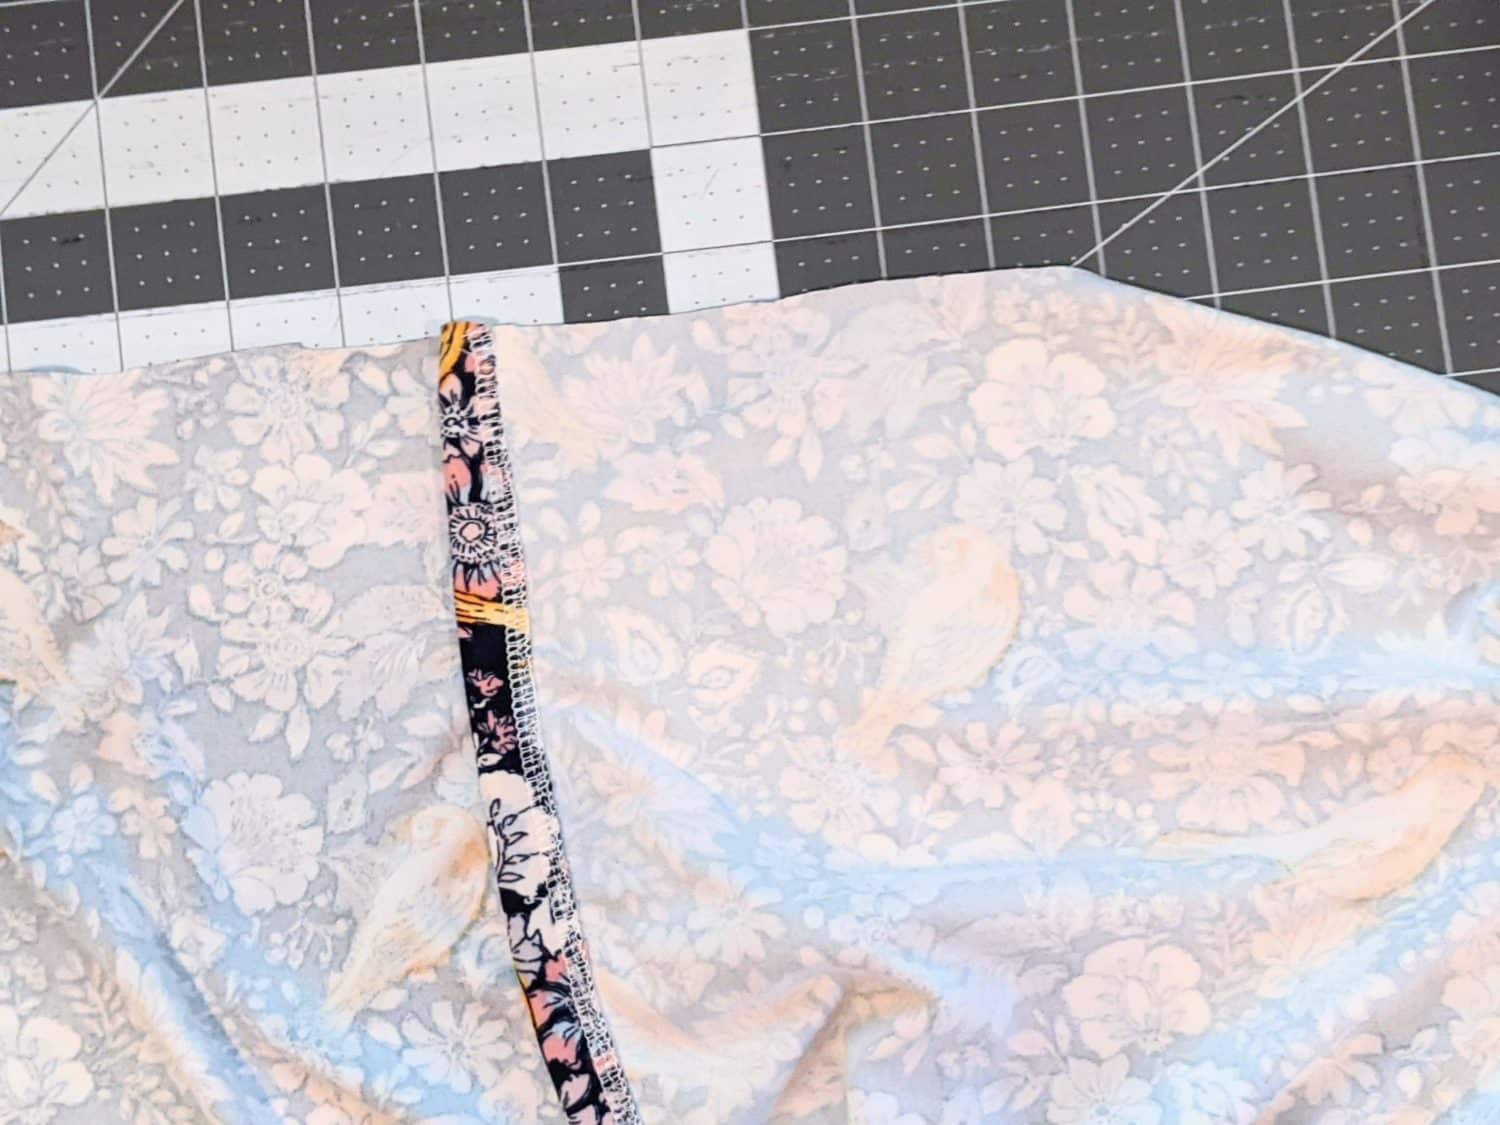
- One the other side seam, do not sew the front and back together. On each raw (short) edge, fold to the back ½” and hem using a ⅜” seam allowance.

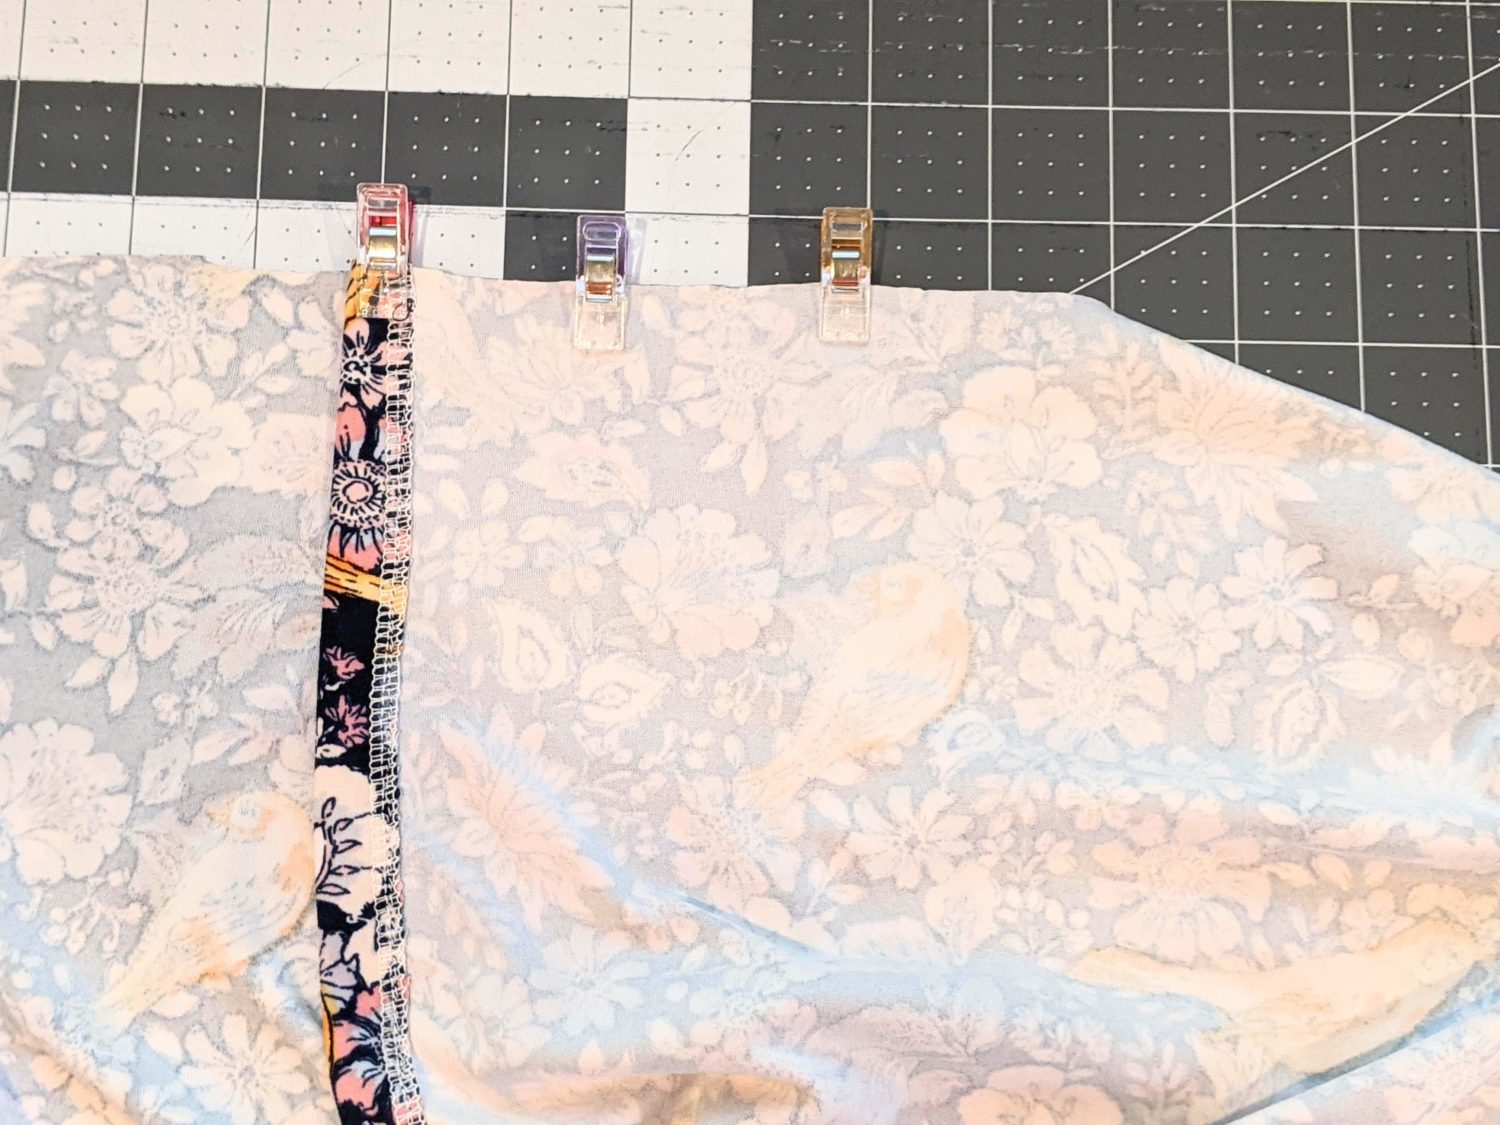
- Decide which side you want your slit on. (Mine is on my right.) Whichever side the slit is on, that side of the skirt will wrap underneath.
- Overlap the front piece over the back by 3”-4” depending on your preference. Clip together where they overlap.
- Baste the overlapped section together using a long, narrow zigzag stitch.

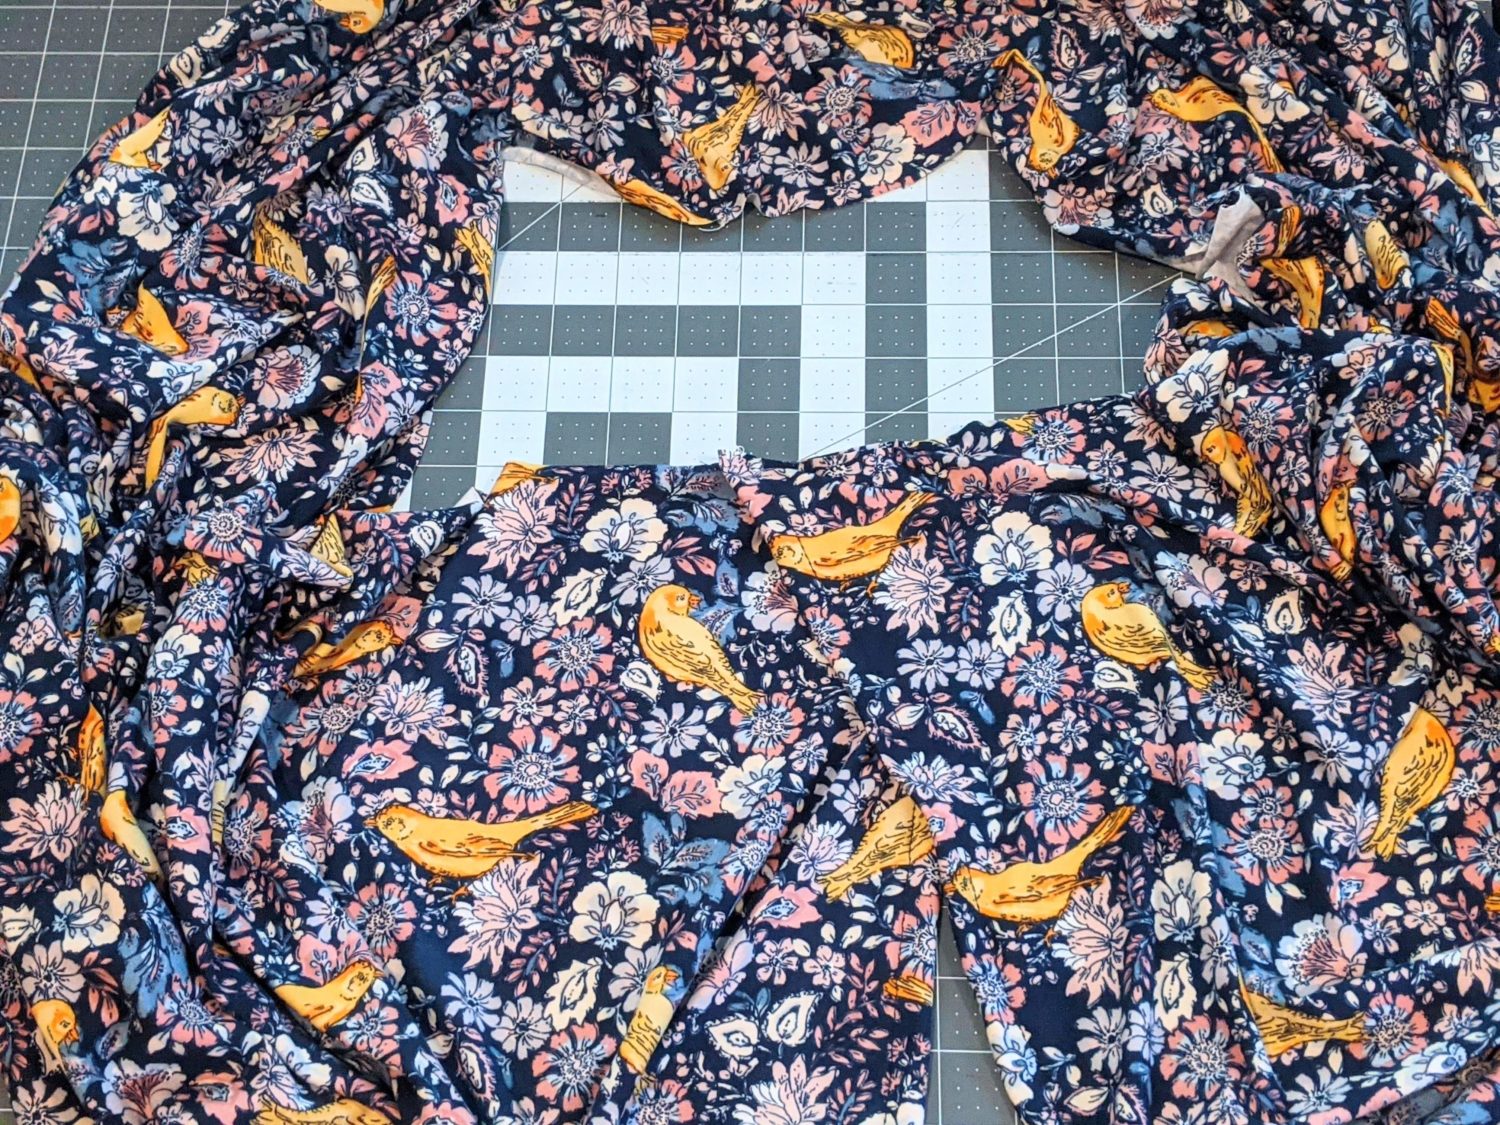
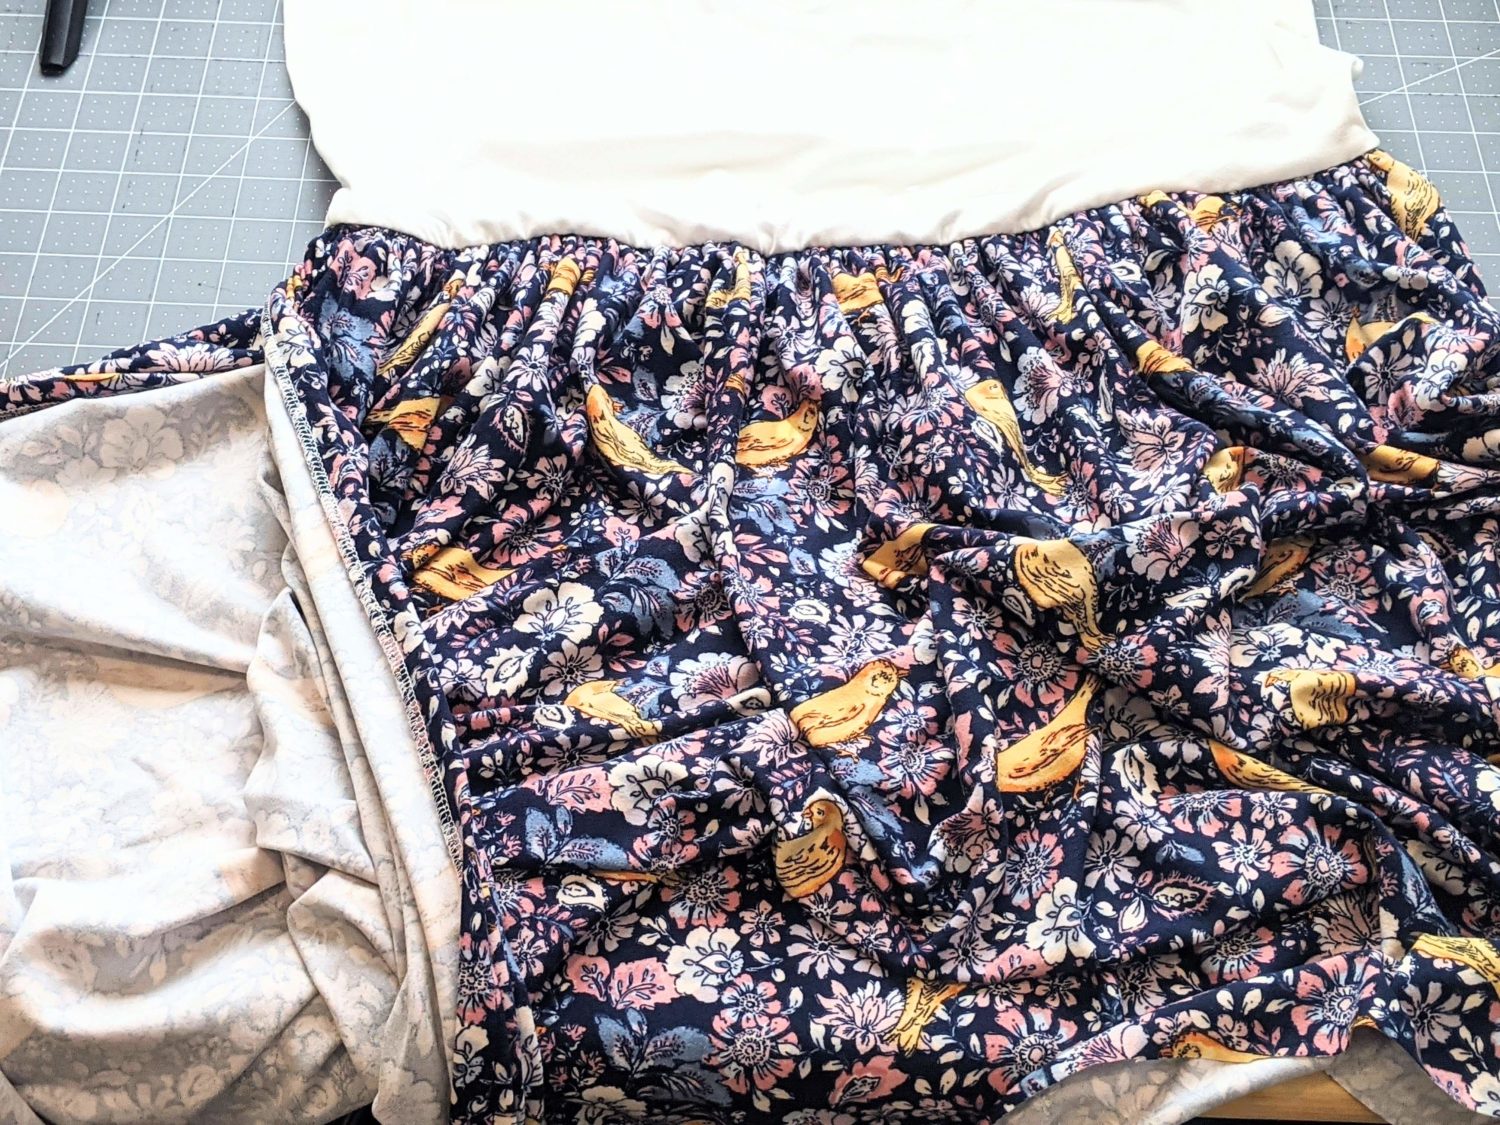
- Gather the skirt along the top as instructed using a long straight stitch and loosest tension. Pull bobin thread to gather to the correct size.
- Optional: After I gathered my skirt, I cut a piece of ¼”elastic to match the length around the bottom of the bodice. (Plus overlap/seam allowance)
- Pin and quarter the elastic and the gathered edge of the skirt.
- Match up quarter points with the elastic on the inside (wrong side) of the skirt.
- If you are using a serger to attach the bodice, leave a seam allowance above the elastic.
- Sew with a long, narrow zigzag stitch pulling only the elastic to stretch to meet the quarter points.
Put it all Together
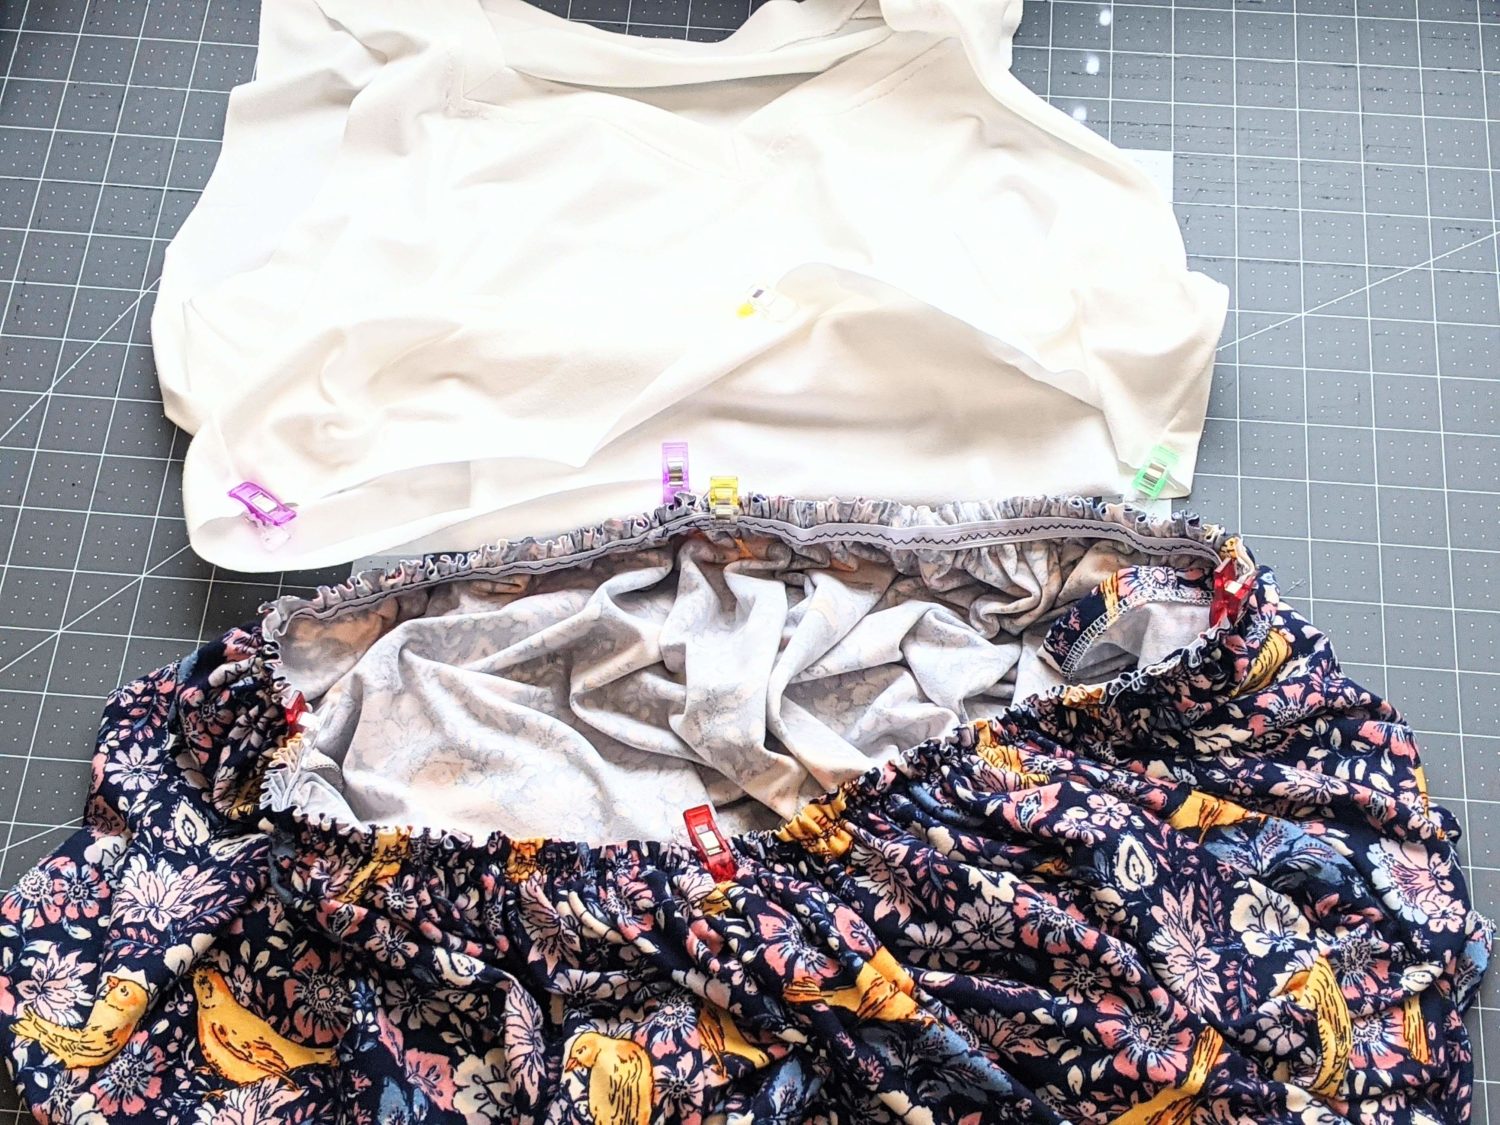
- Mark the front part of the skirt and bodice, and pin and quarter both.
- Make sure to line up the slit with your desired location.
- With all of the gathering, you will not notice the seams on the skirt. You don’t need to make any additional adjustments if moving the slit from the side seam.
- Pin the bodice to the skirt right sides together at the quarter marks and slit if necessary making sure you fronts and slit are facing the correct ways.
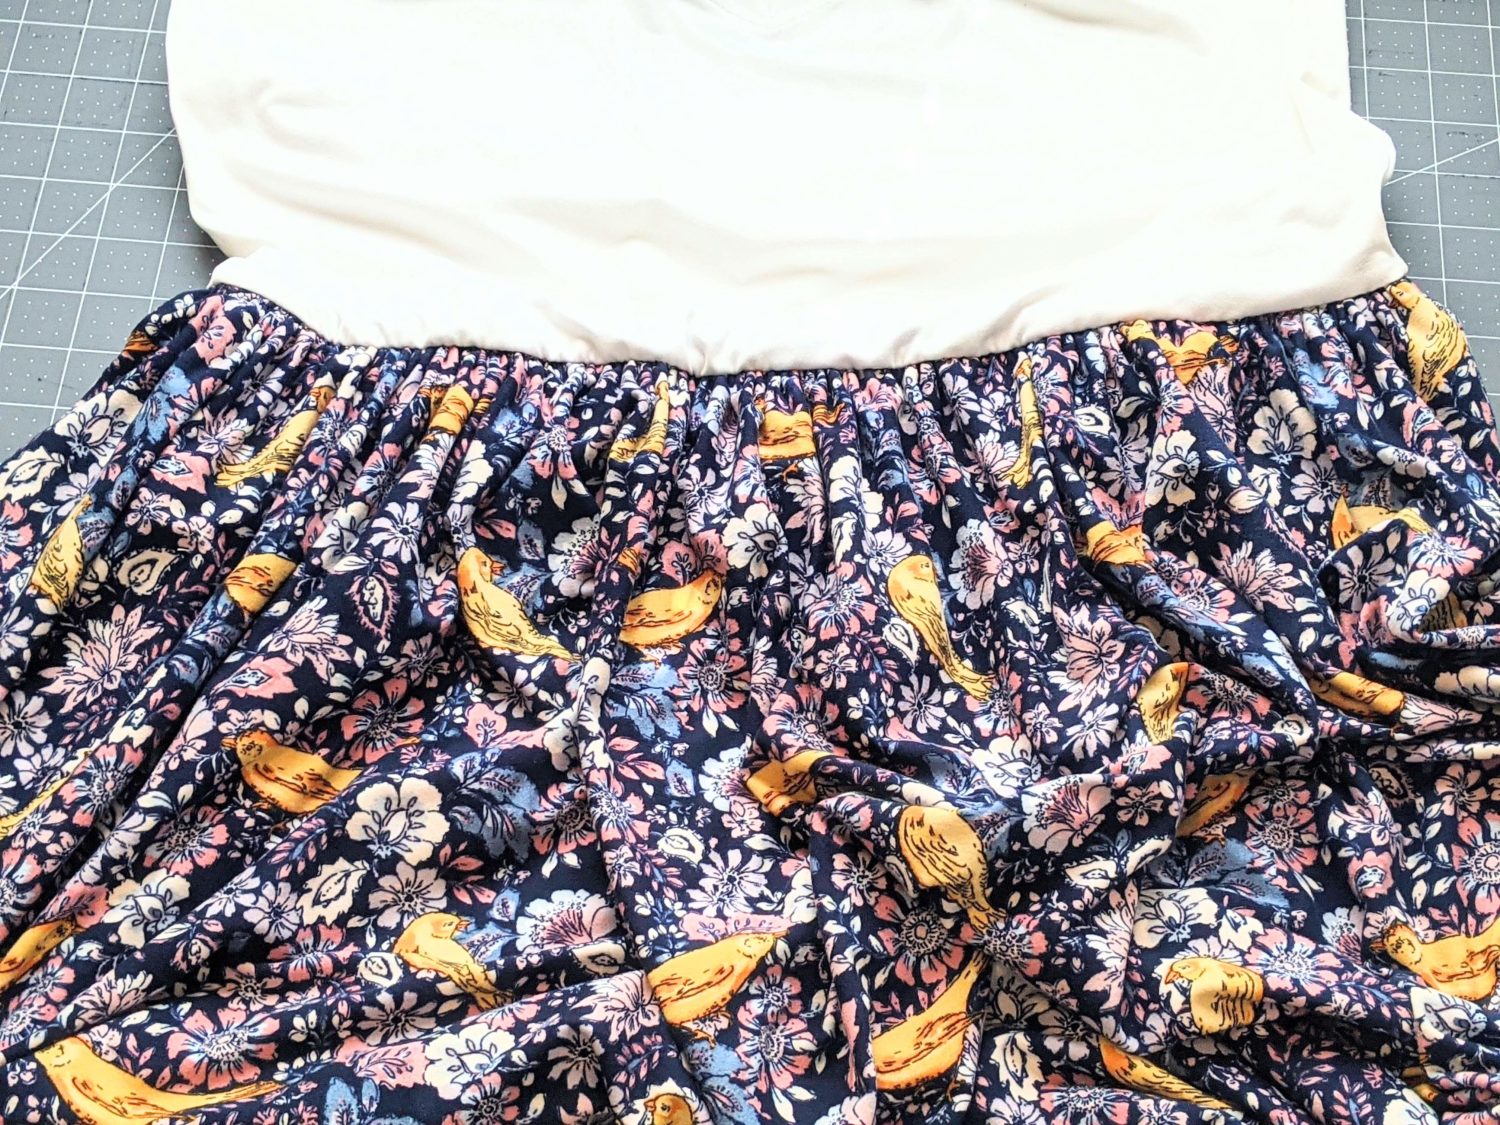
- Sew or serge the bodice to the skirt.
- Hem the bottom edge.
Optional belt:
- Decide on a length, cut two 3 ½” wide strips to desired length.
- Pin strips right sides together down the long edges.
- Sew with a 1/4 “ seam allowance or serger.
- Turn right sides out and press.
- Fold the short ends in and press. Pin in place.
- Topstitch all the way around with ¼” seam allowance.
- Tie around waist at bodice/skirt seam.
And you’re done! Go you!

Maxi Length 
Knee Length 
Knee Length with ruffle, minus the ruffle
Want more FUN DIY Freebies? Check out the FREEBIE TUTORIALS and the FREEBIE PATTERNS!
As always, we’re here to help if you need it! Join us HERE and on Facebook, Instagram, Twitter, Youtube, and Pinterest. We’re everywhere you are.
Leave a Reply