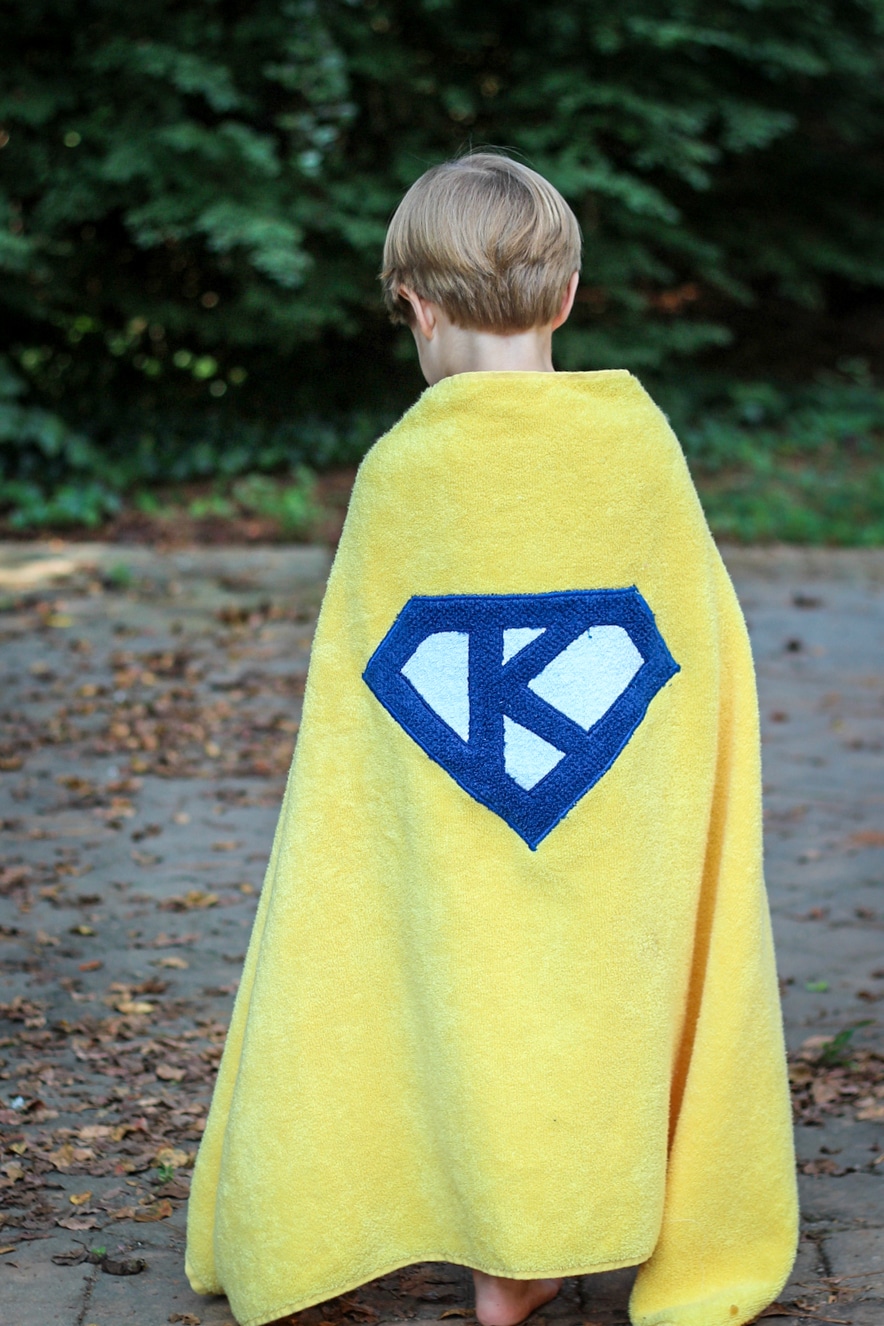
 Welcome to the 5 out of 4 stop on the Pool Party Blog Tour brought to you by Sprouting JubeJube and Lulu & Celeste! Today, I’d like to share one of my best-selling products from when I was sewing for my own Etsy store. I LOVE making superhero towel capes!. I LOVE that it’s a fun cape, but it’s also a practical towel. hahaha Yes, I admitted that. I love things that are both fun AND useful! The best part? You can make these with a regular sewing machine. You don’t need an embroidery machine! I don’t own an embroidery machine, so I’m happy to report that you really can do it without one. 🙂
Materials Needed
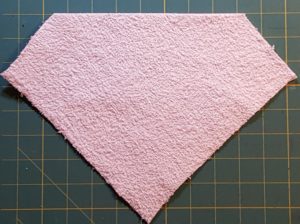
- Towel in a fun color. (I typically buy a cheap towel from Target because they have a great color selection.)
- Thin washcloths or terry cloth material (I typically buy cheap, thin washcloths from either Target or Walmart because I can find them in more colors than I can find yardage of terry cloth at JoAnn’s.) You’ll need two colors.
- Heat ‘N Bond Lite (HNB) (This is an aff link.)
- Size 14 universal needles
- Thread to match main emblem color and thread to match towel color
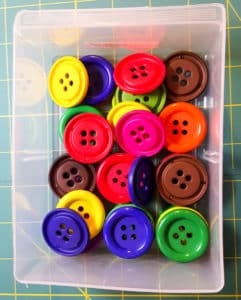
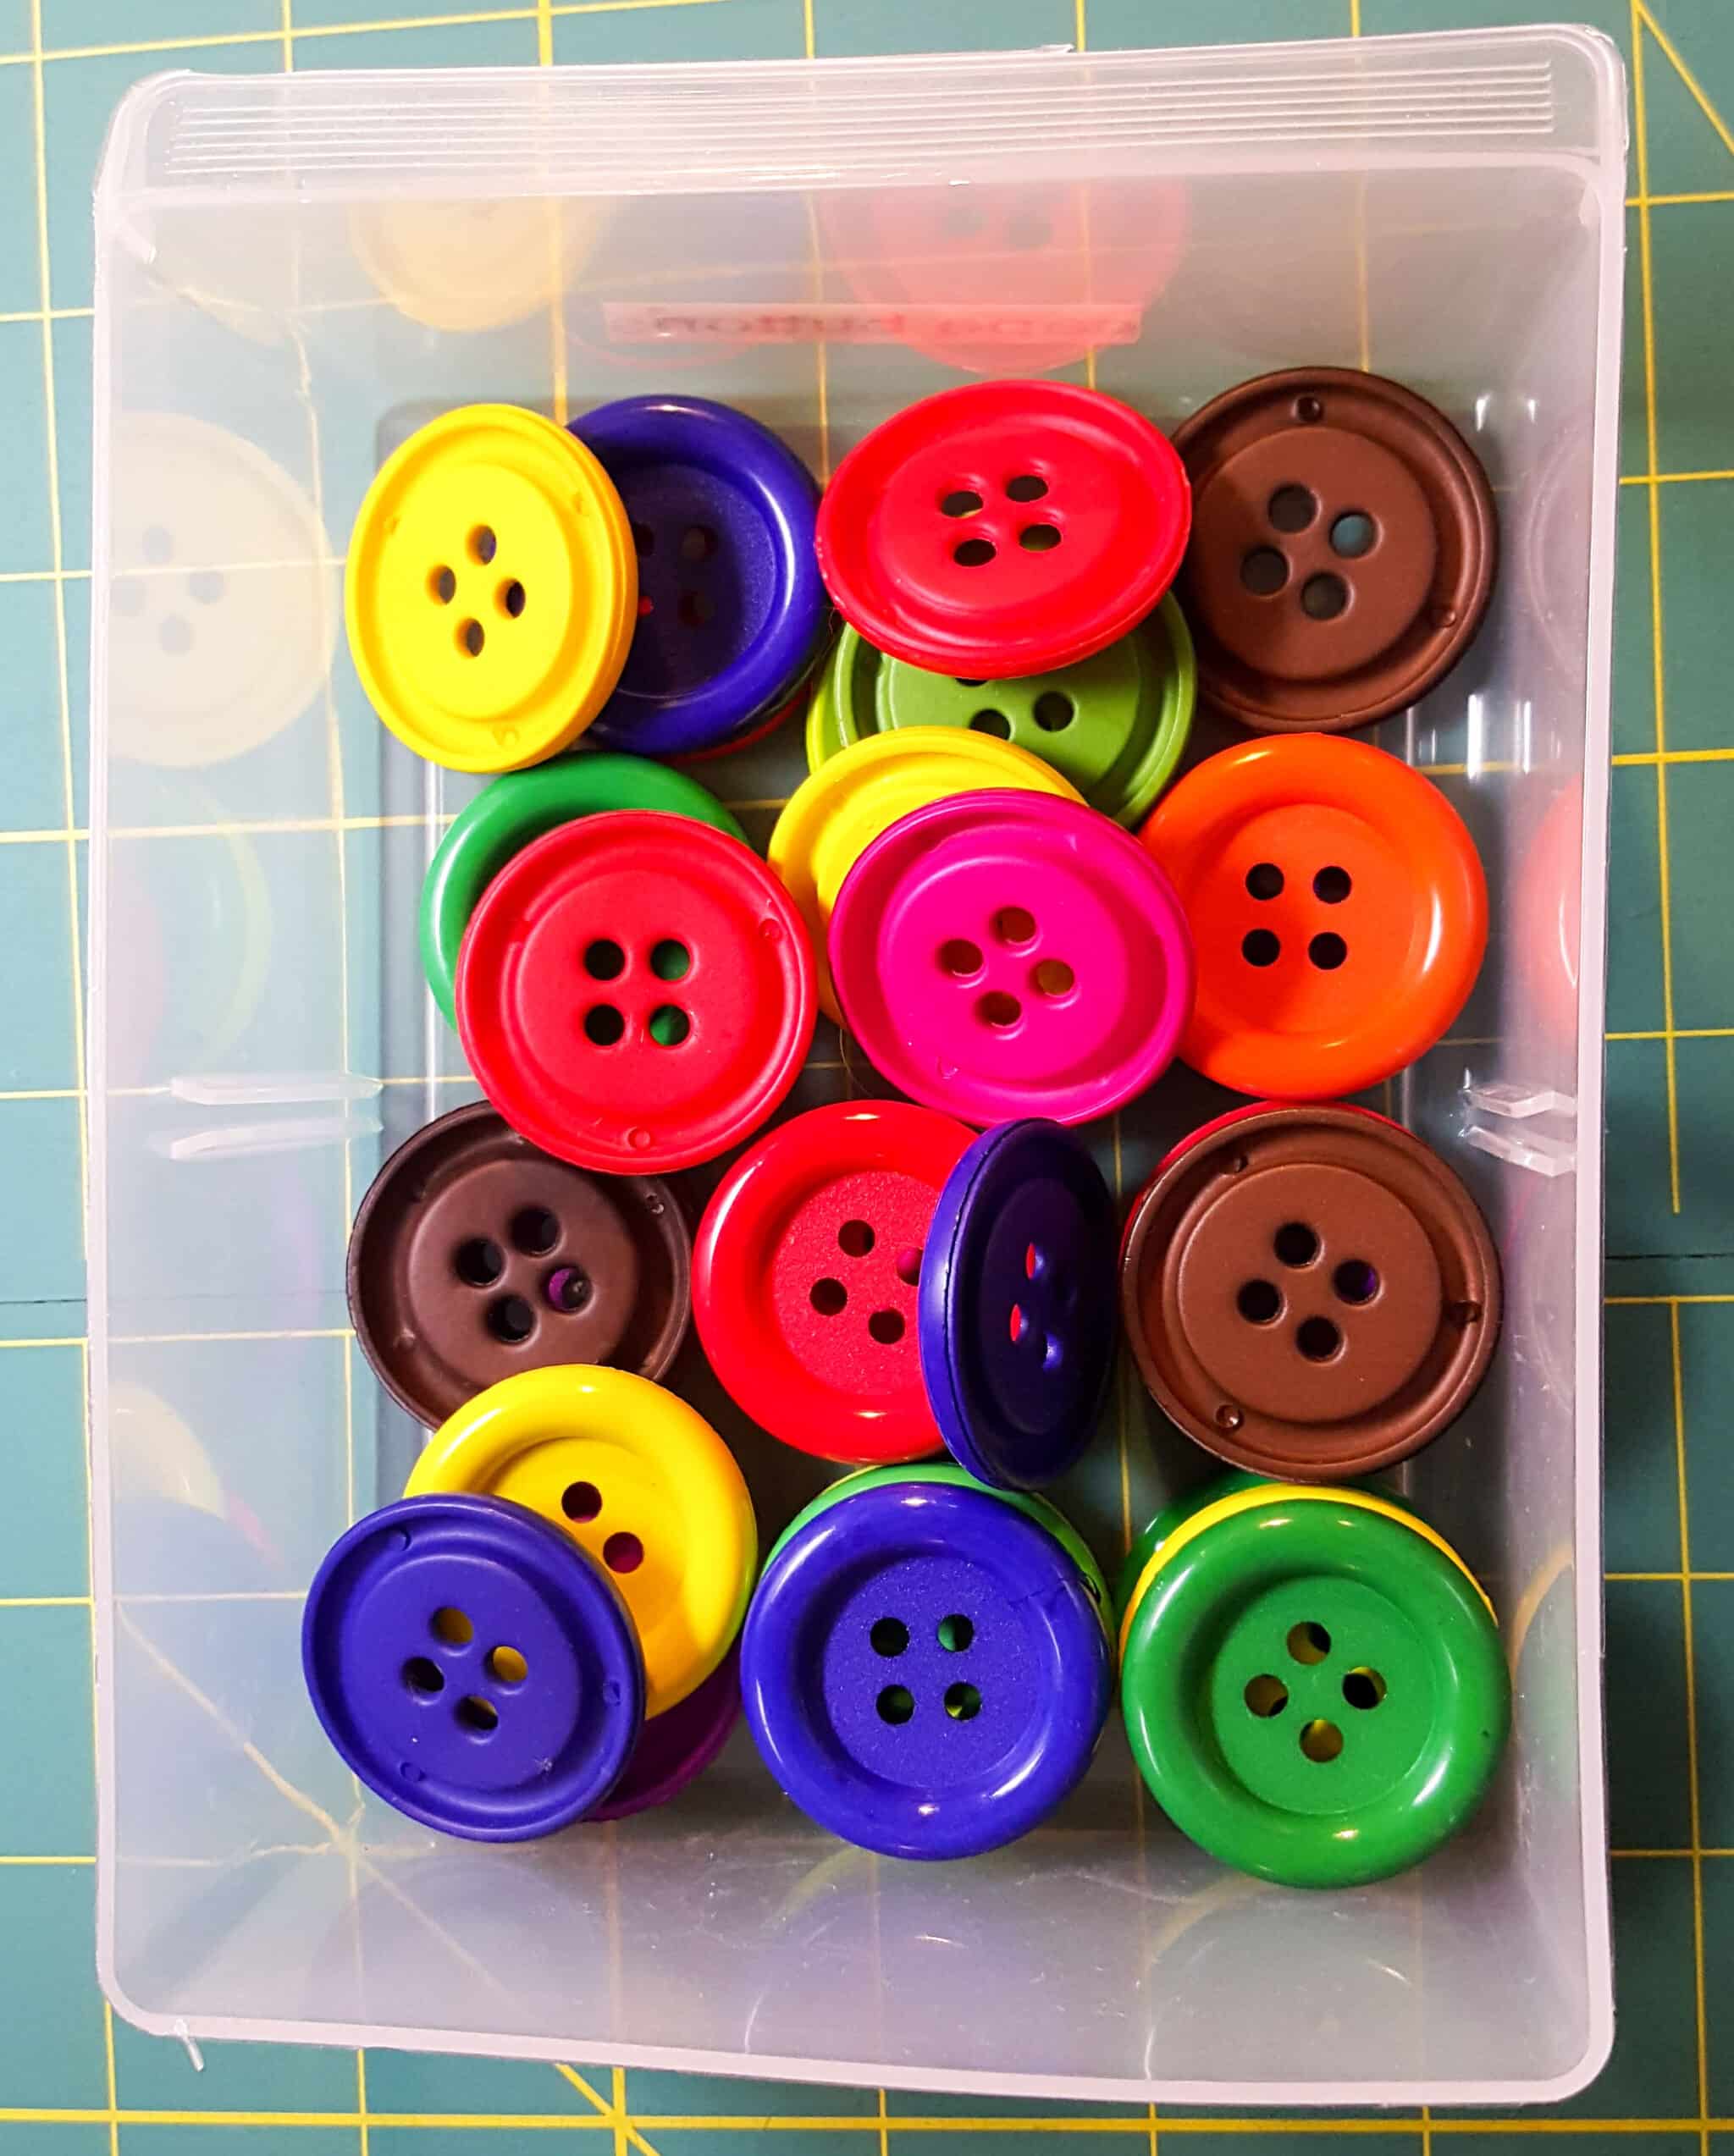
- Large plastic button (I buy cheap, colorful buttons that are about 1.25″ in diameter from JoAnn’s.)
- Your FREE pattern pieces for the alphabet emblem. You can download the pattern here.
First things first! Prewash your towel and washcloths!
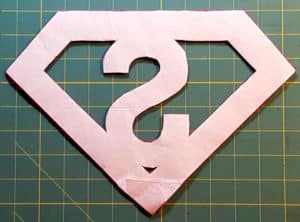
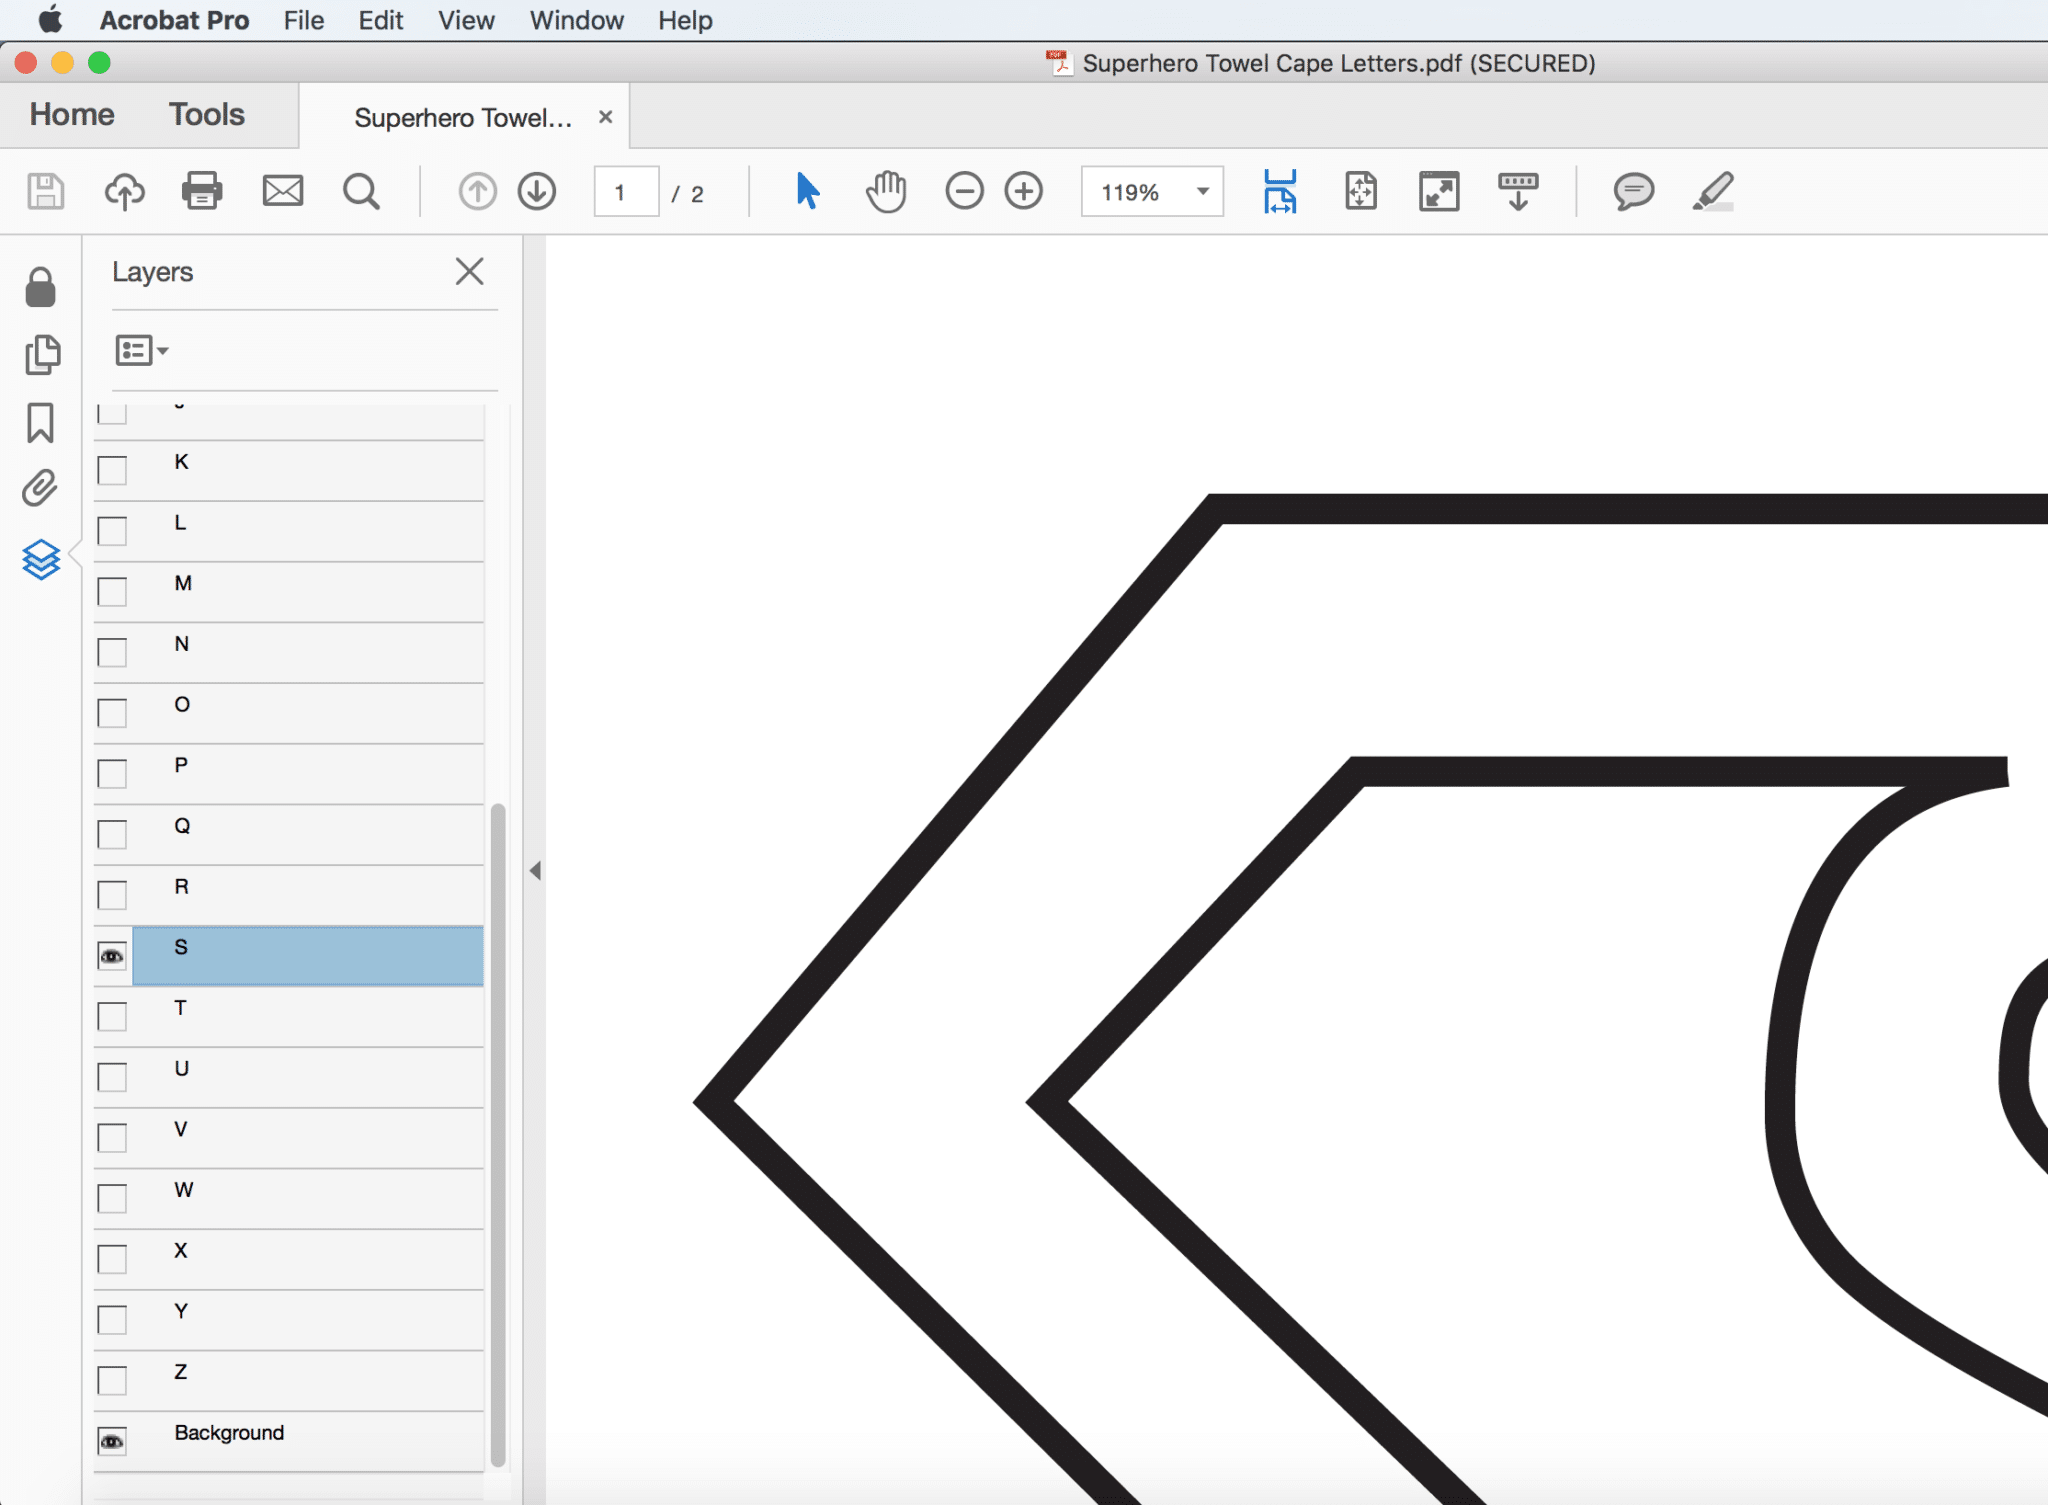
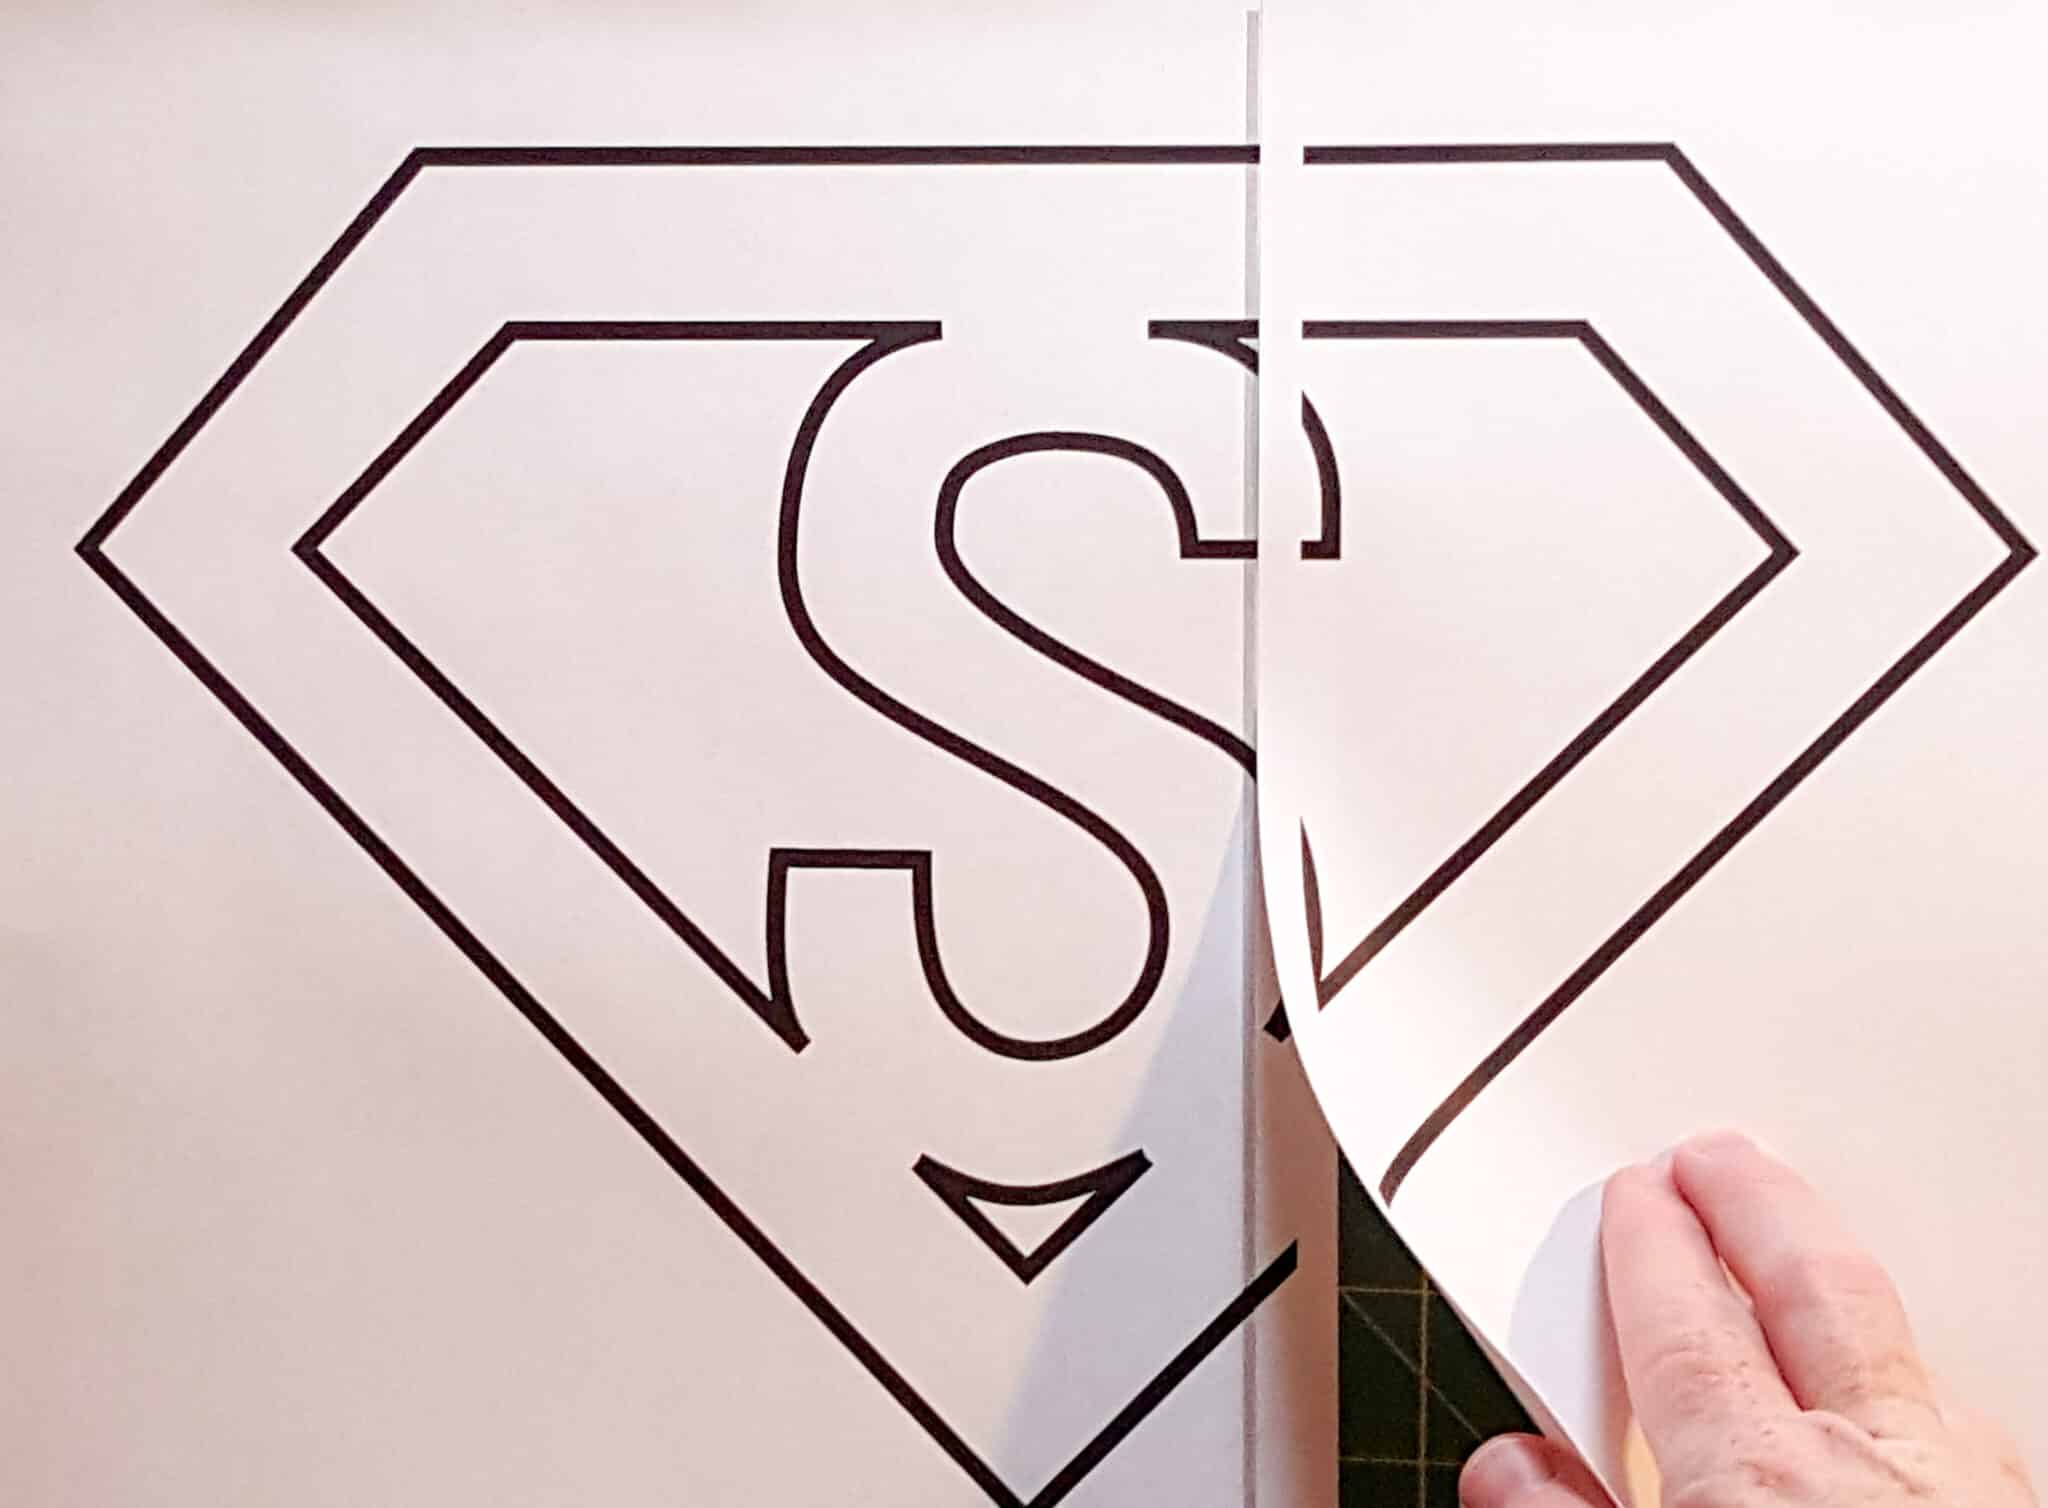
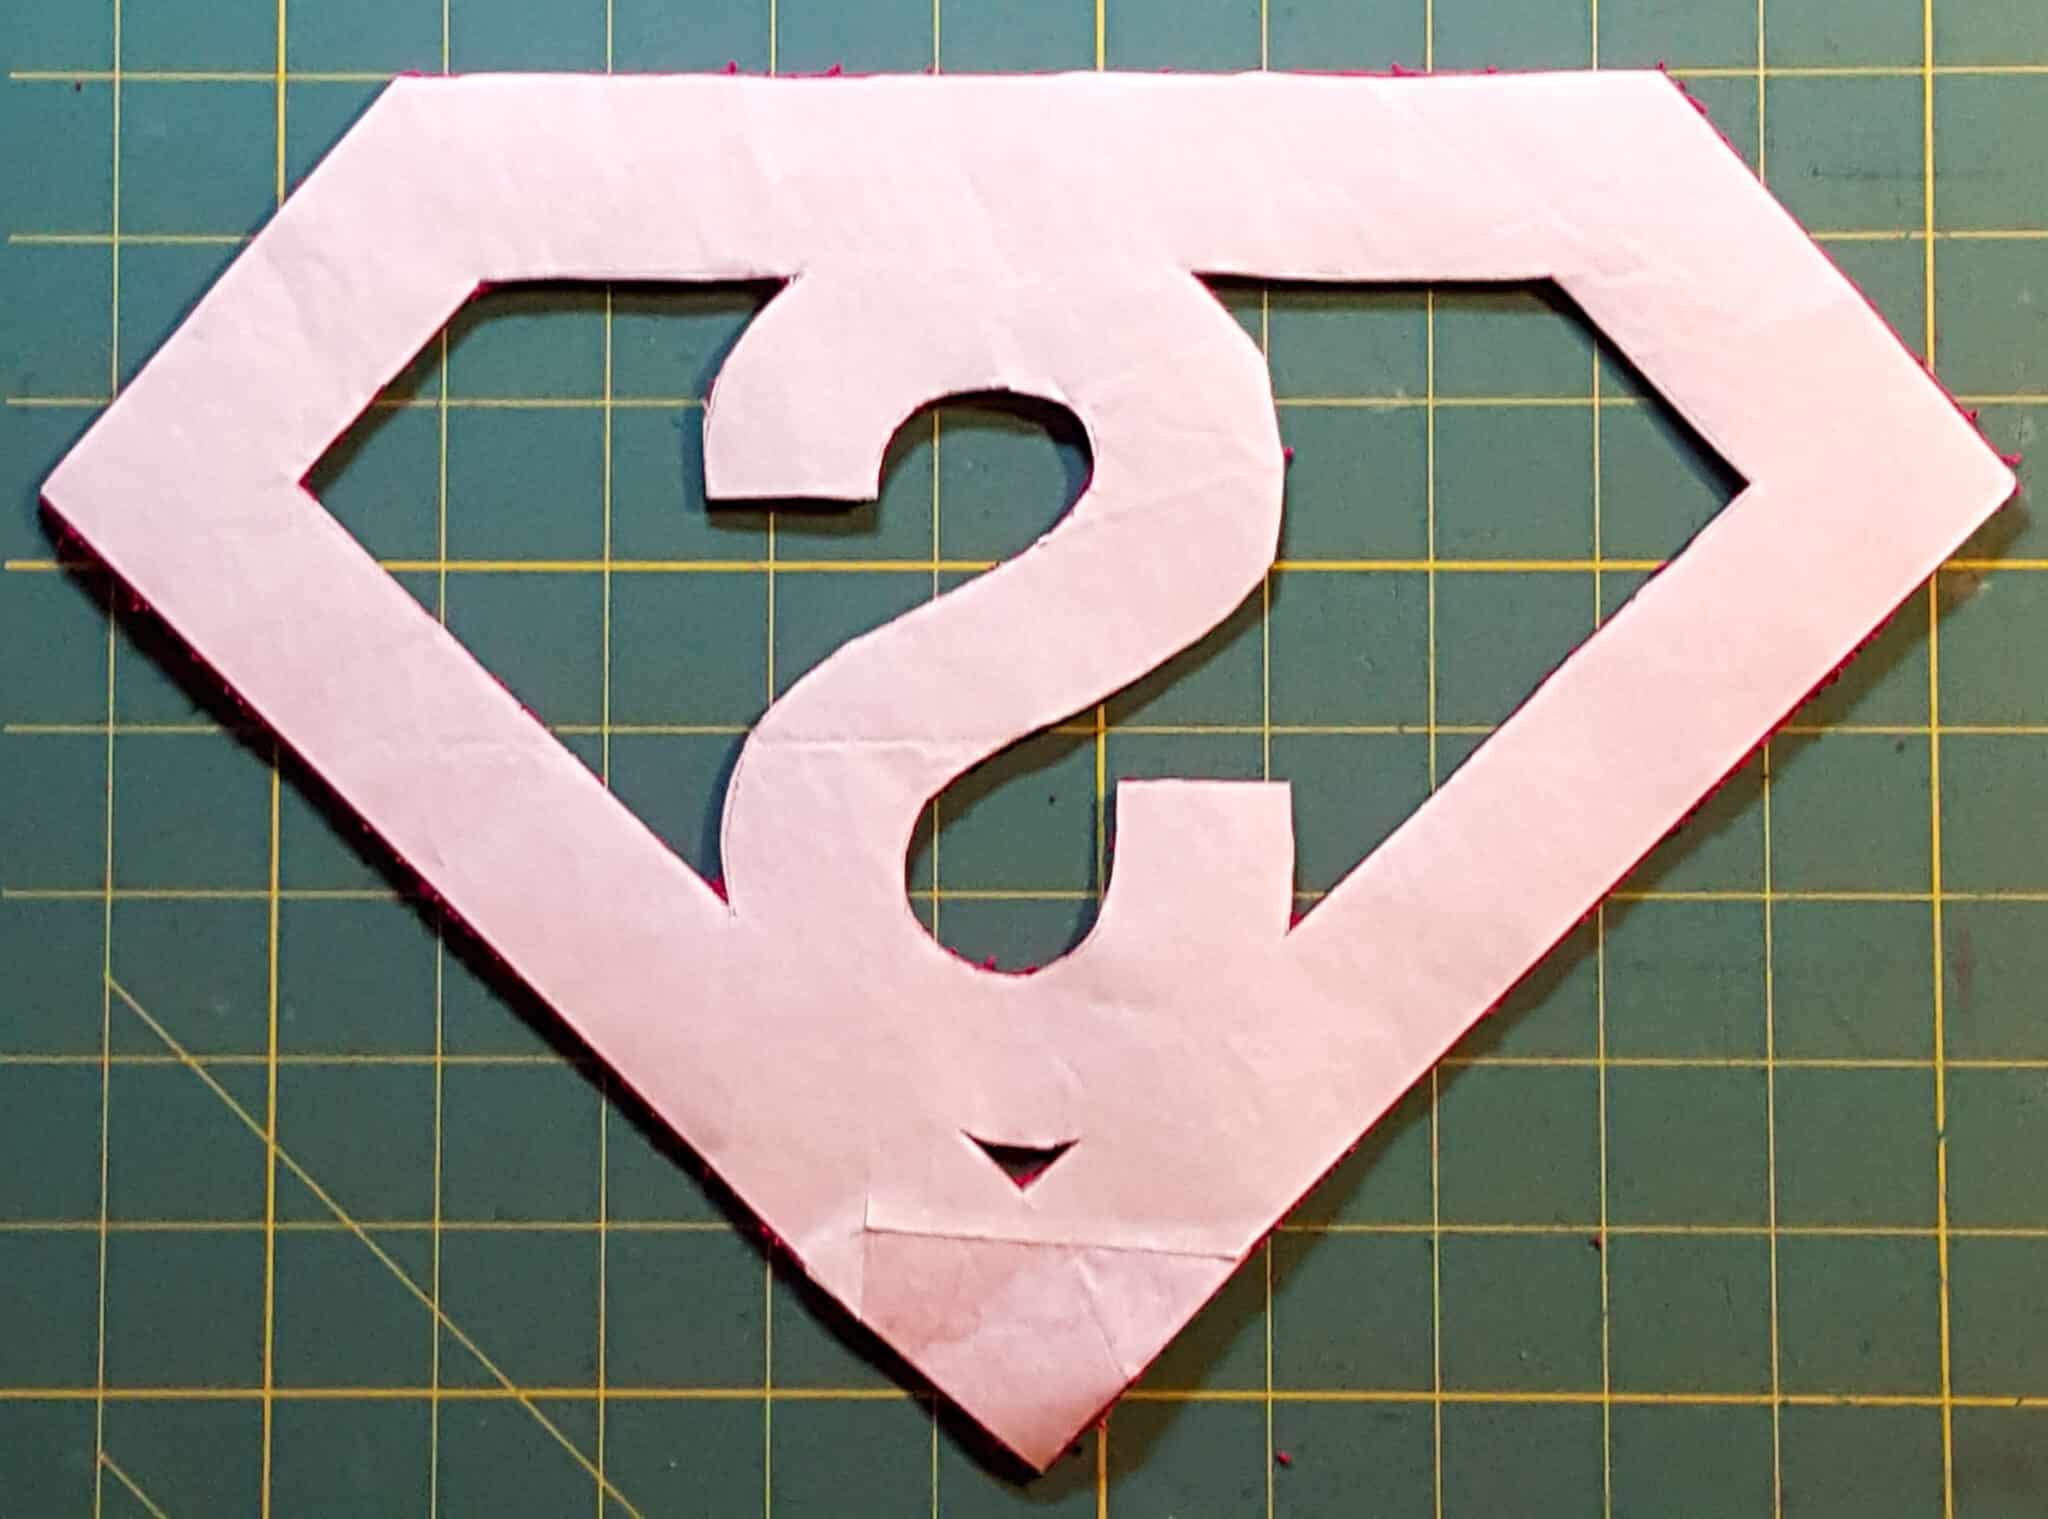
- Print off your pattern pieces. The pattern is layered for the alphabet and can be found here (if you haven’t already downloaded it). Open the PDF document in Adobe Acrobat Reader and click the layers menu on the left hand side. Have the “eye” clicked for the letter you would like to use and the background layer. I highly recommend printing it off on cardstock (or tracing it onto cardstock) so the pattern piece lasts longer!
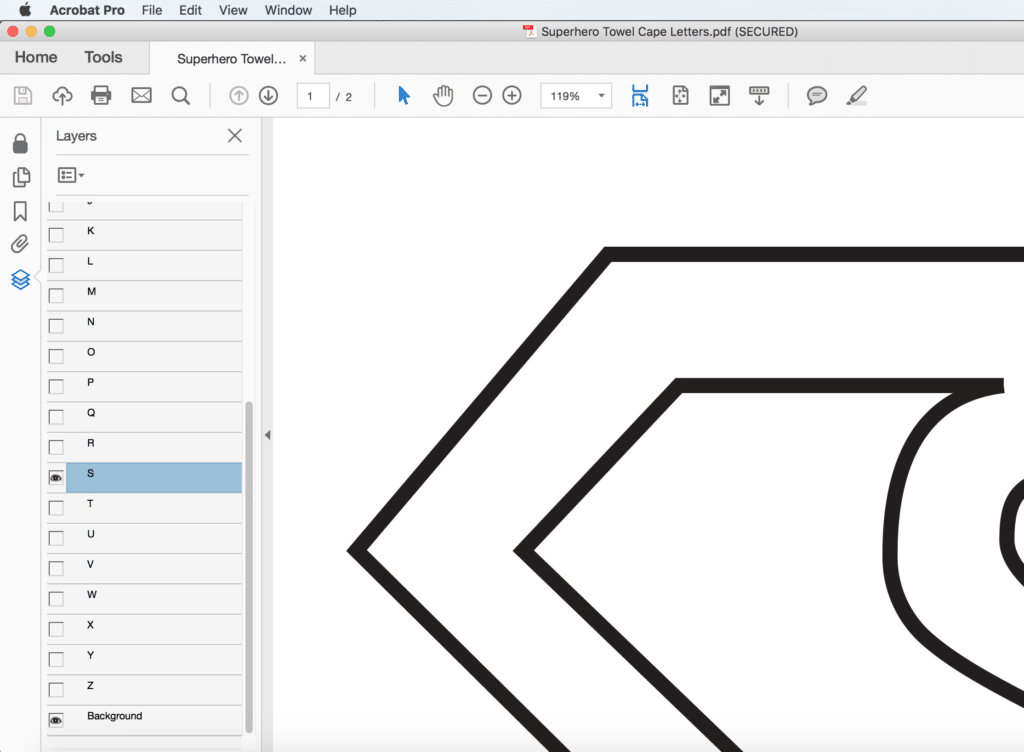
- Line up the second page along the gray line, with the gray line still visible, and tape in place. Cut out around the outside of the emblem and the negative space around the letter on the inside.

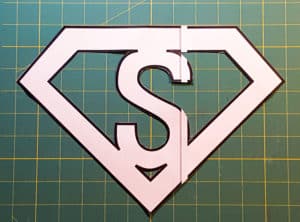
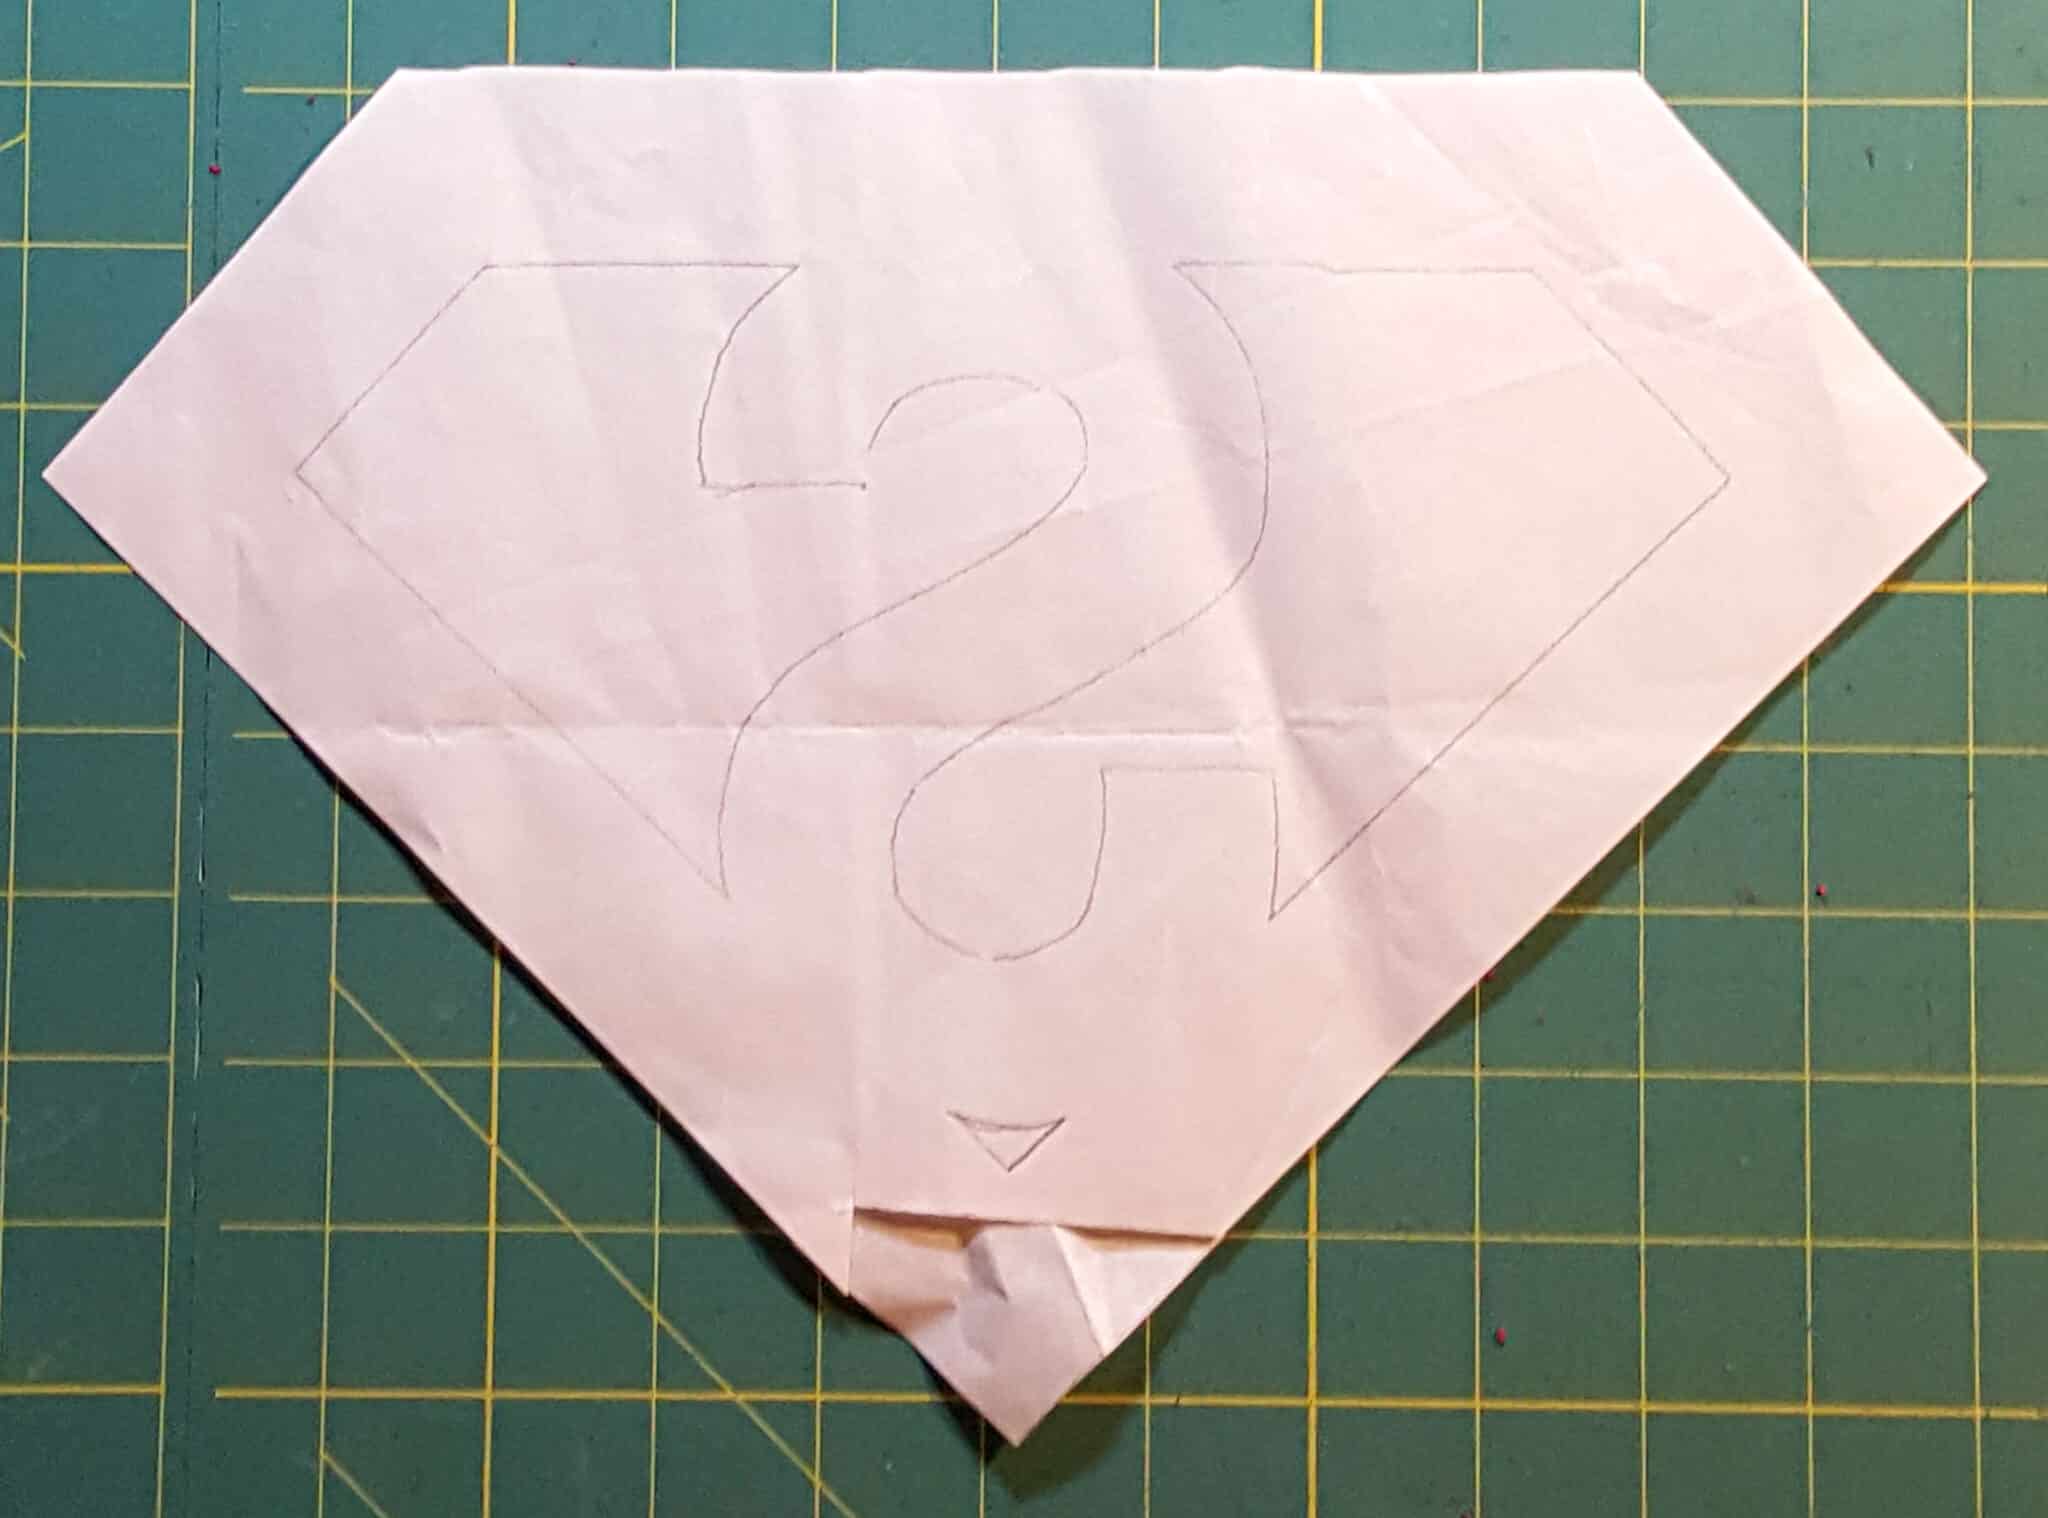
- Put pattern on paper side of Heat ‘n Bond (HNB) with the letter facing BACKWARDS and trace. Then trace just the outside of the emblem onto another piece of HNB. Cut out around the outside of both, but don’t cut out the negative space around the letter yet.
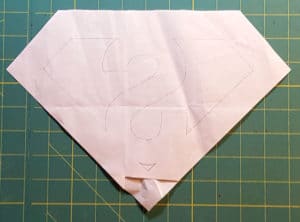
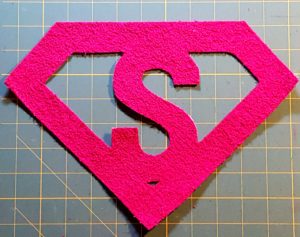
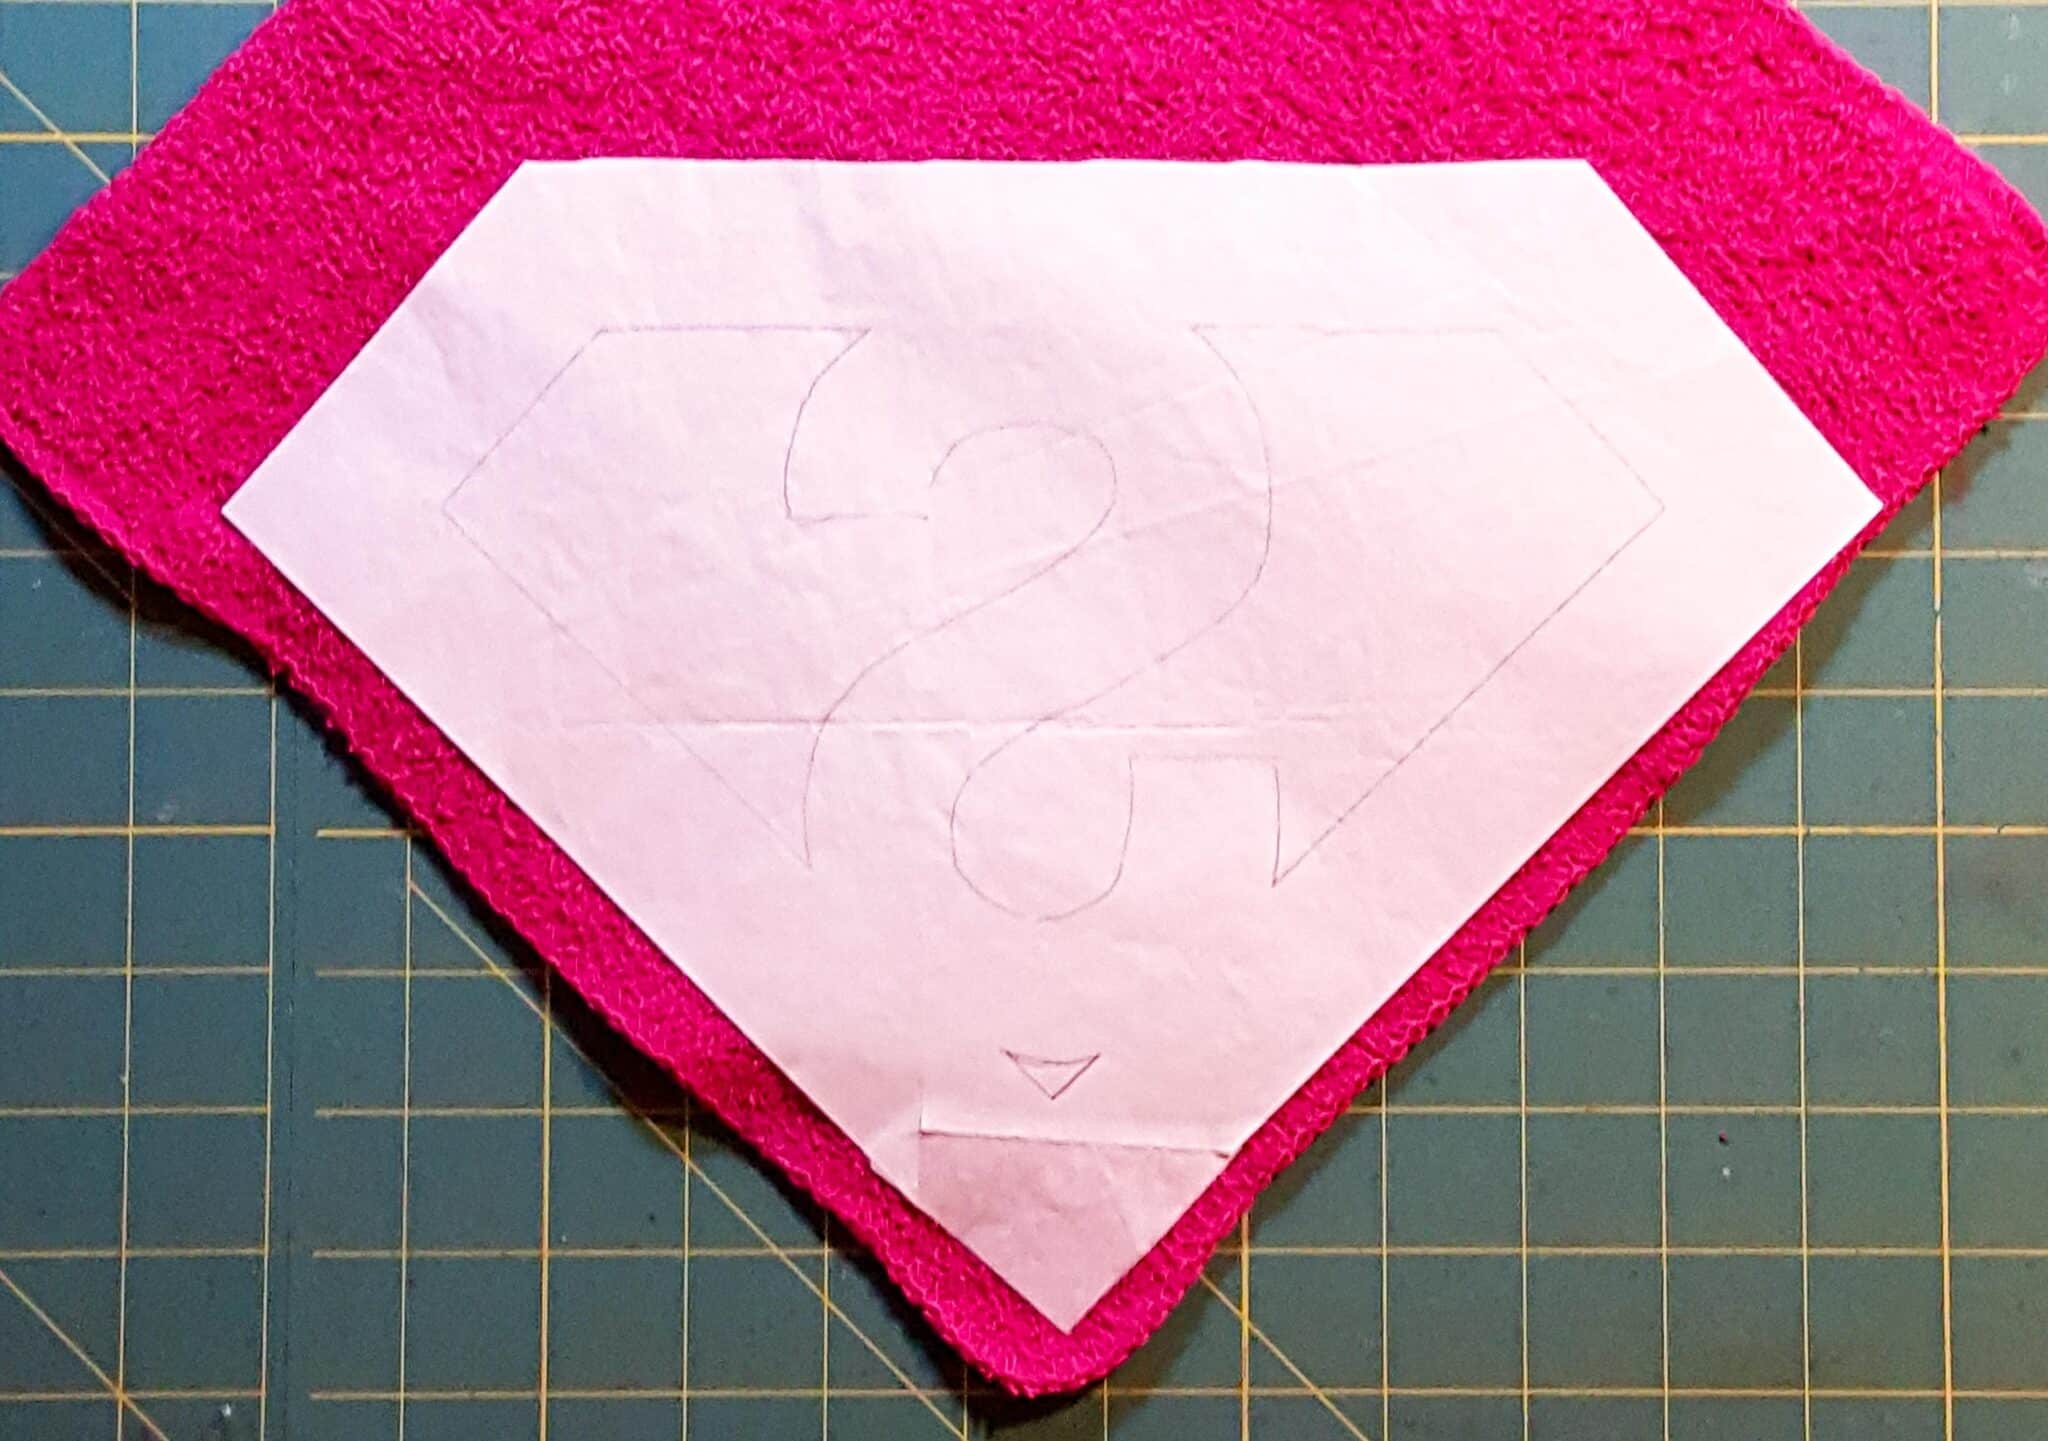
- Iron HNB to thin washcloths in the colors you’ve decided to use. I HIGHLY recommend using a bold color for the main emblem color (includes outline of emblem and letter shape) and a light color for the background of the emblem. You are going to want the emblem to POP, so use a good contrasting color from the towel as well for the main color. Follow the directions for the HNB, but don’t peel the paper off yet.
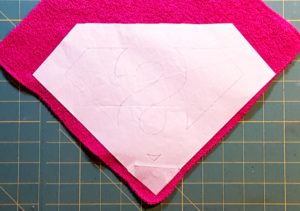
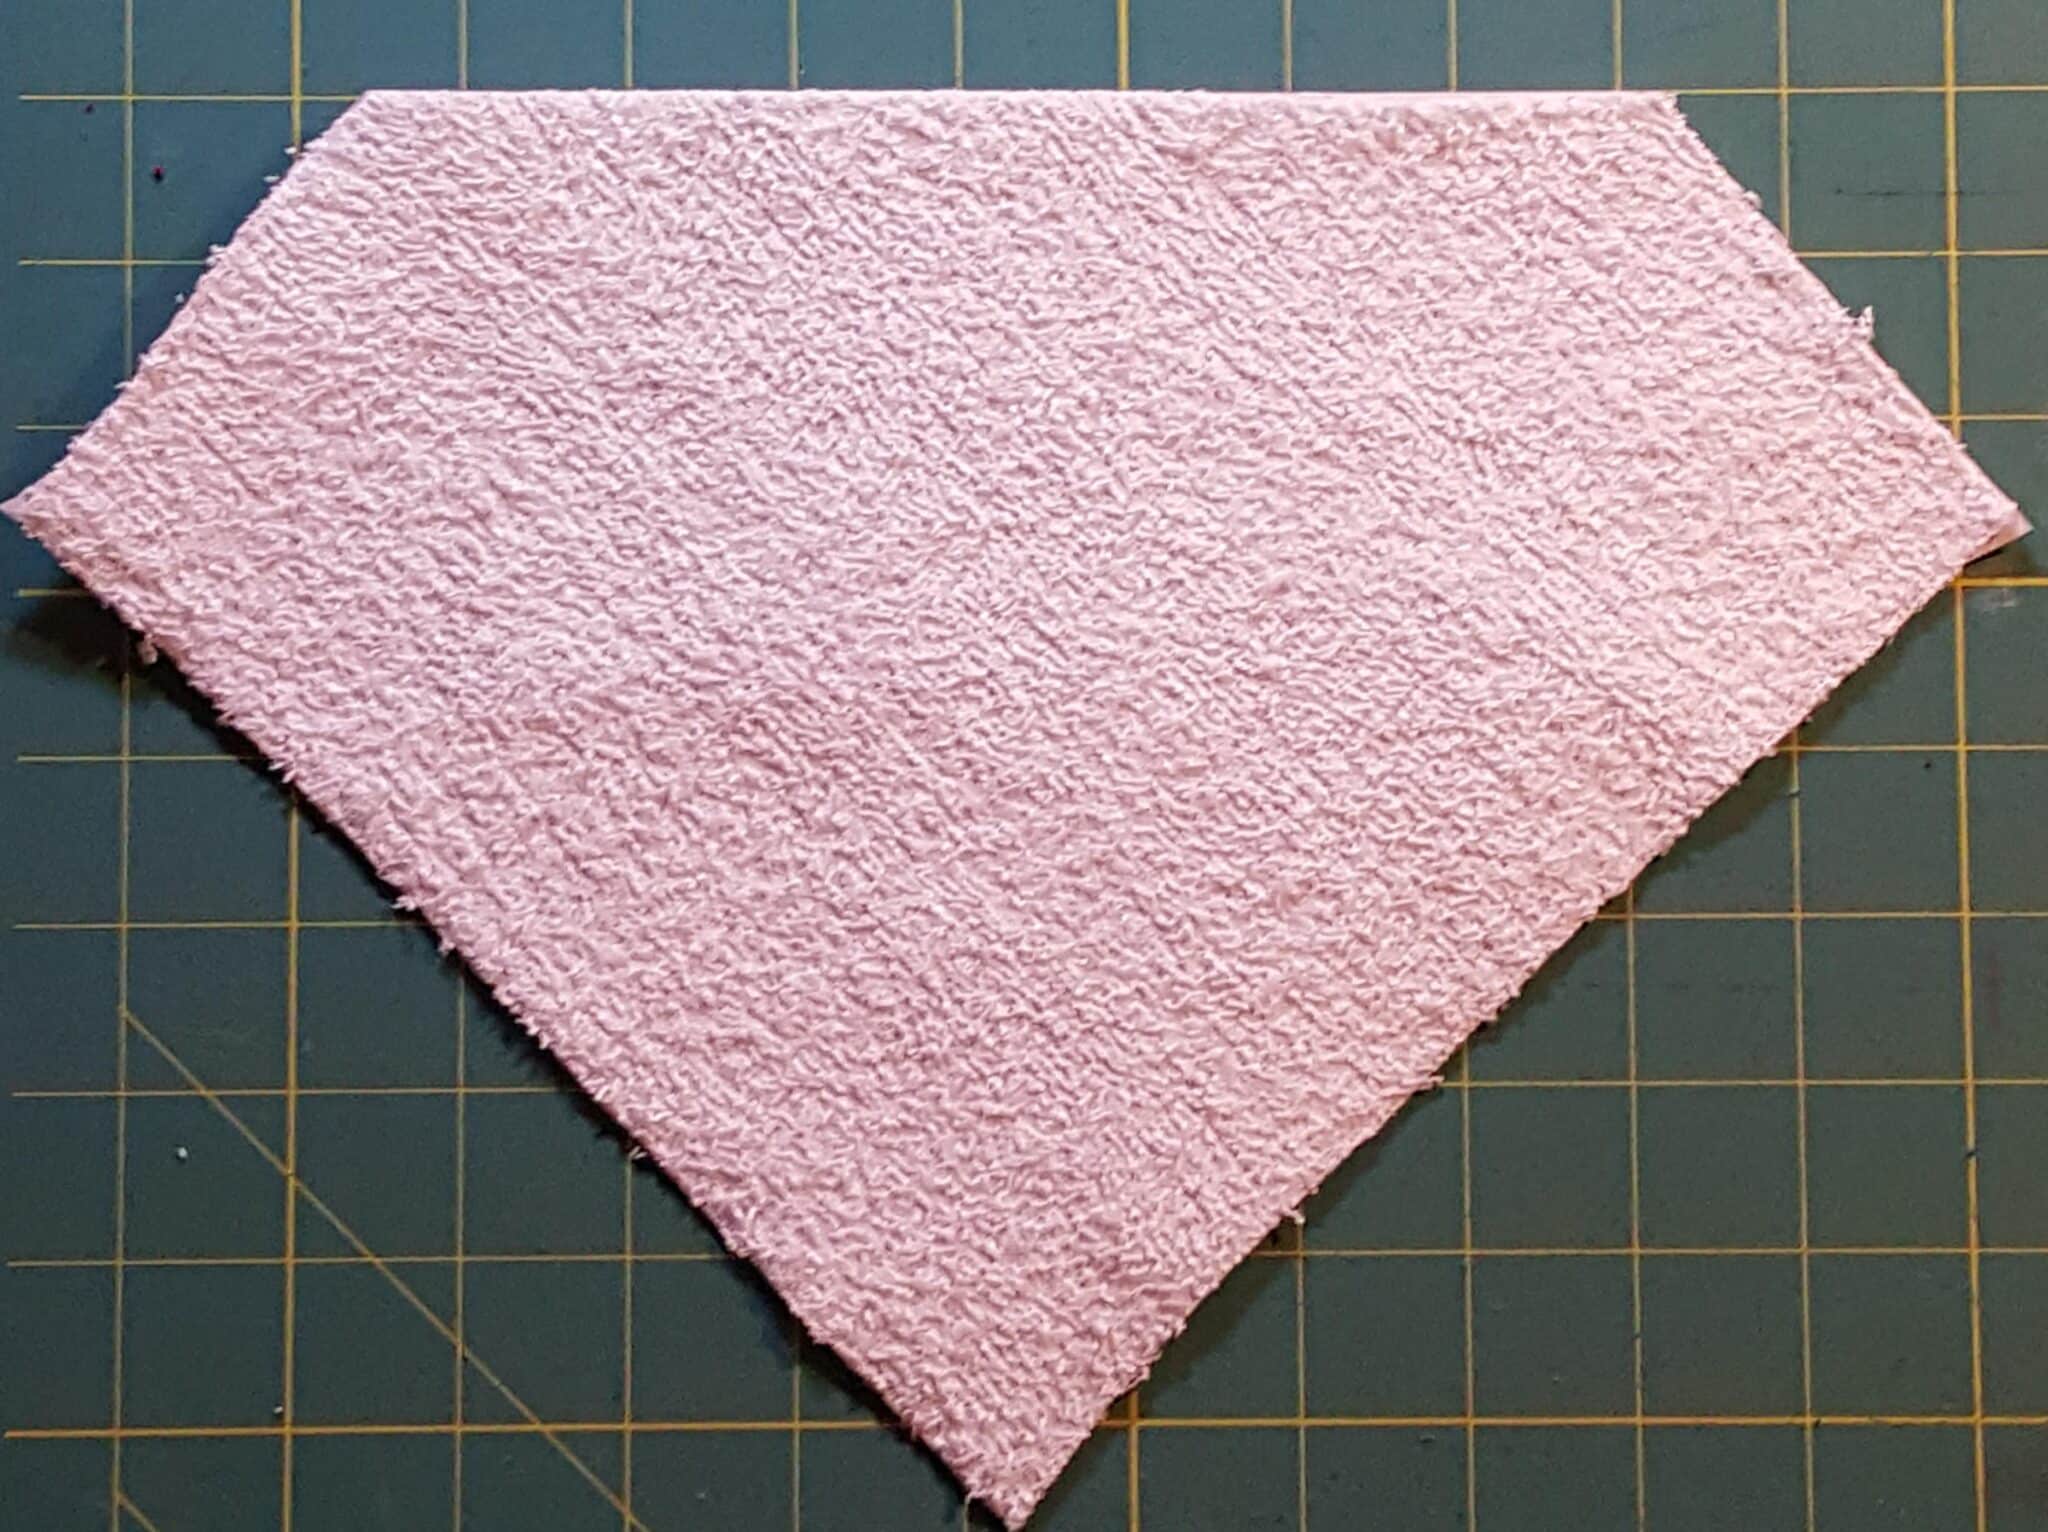
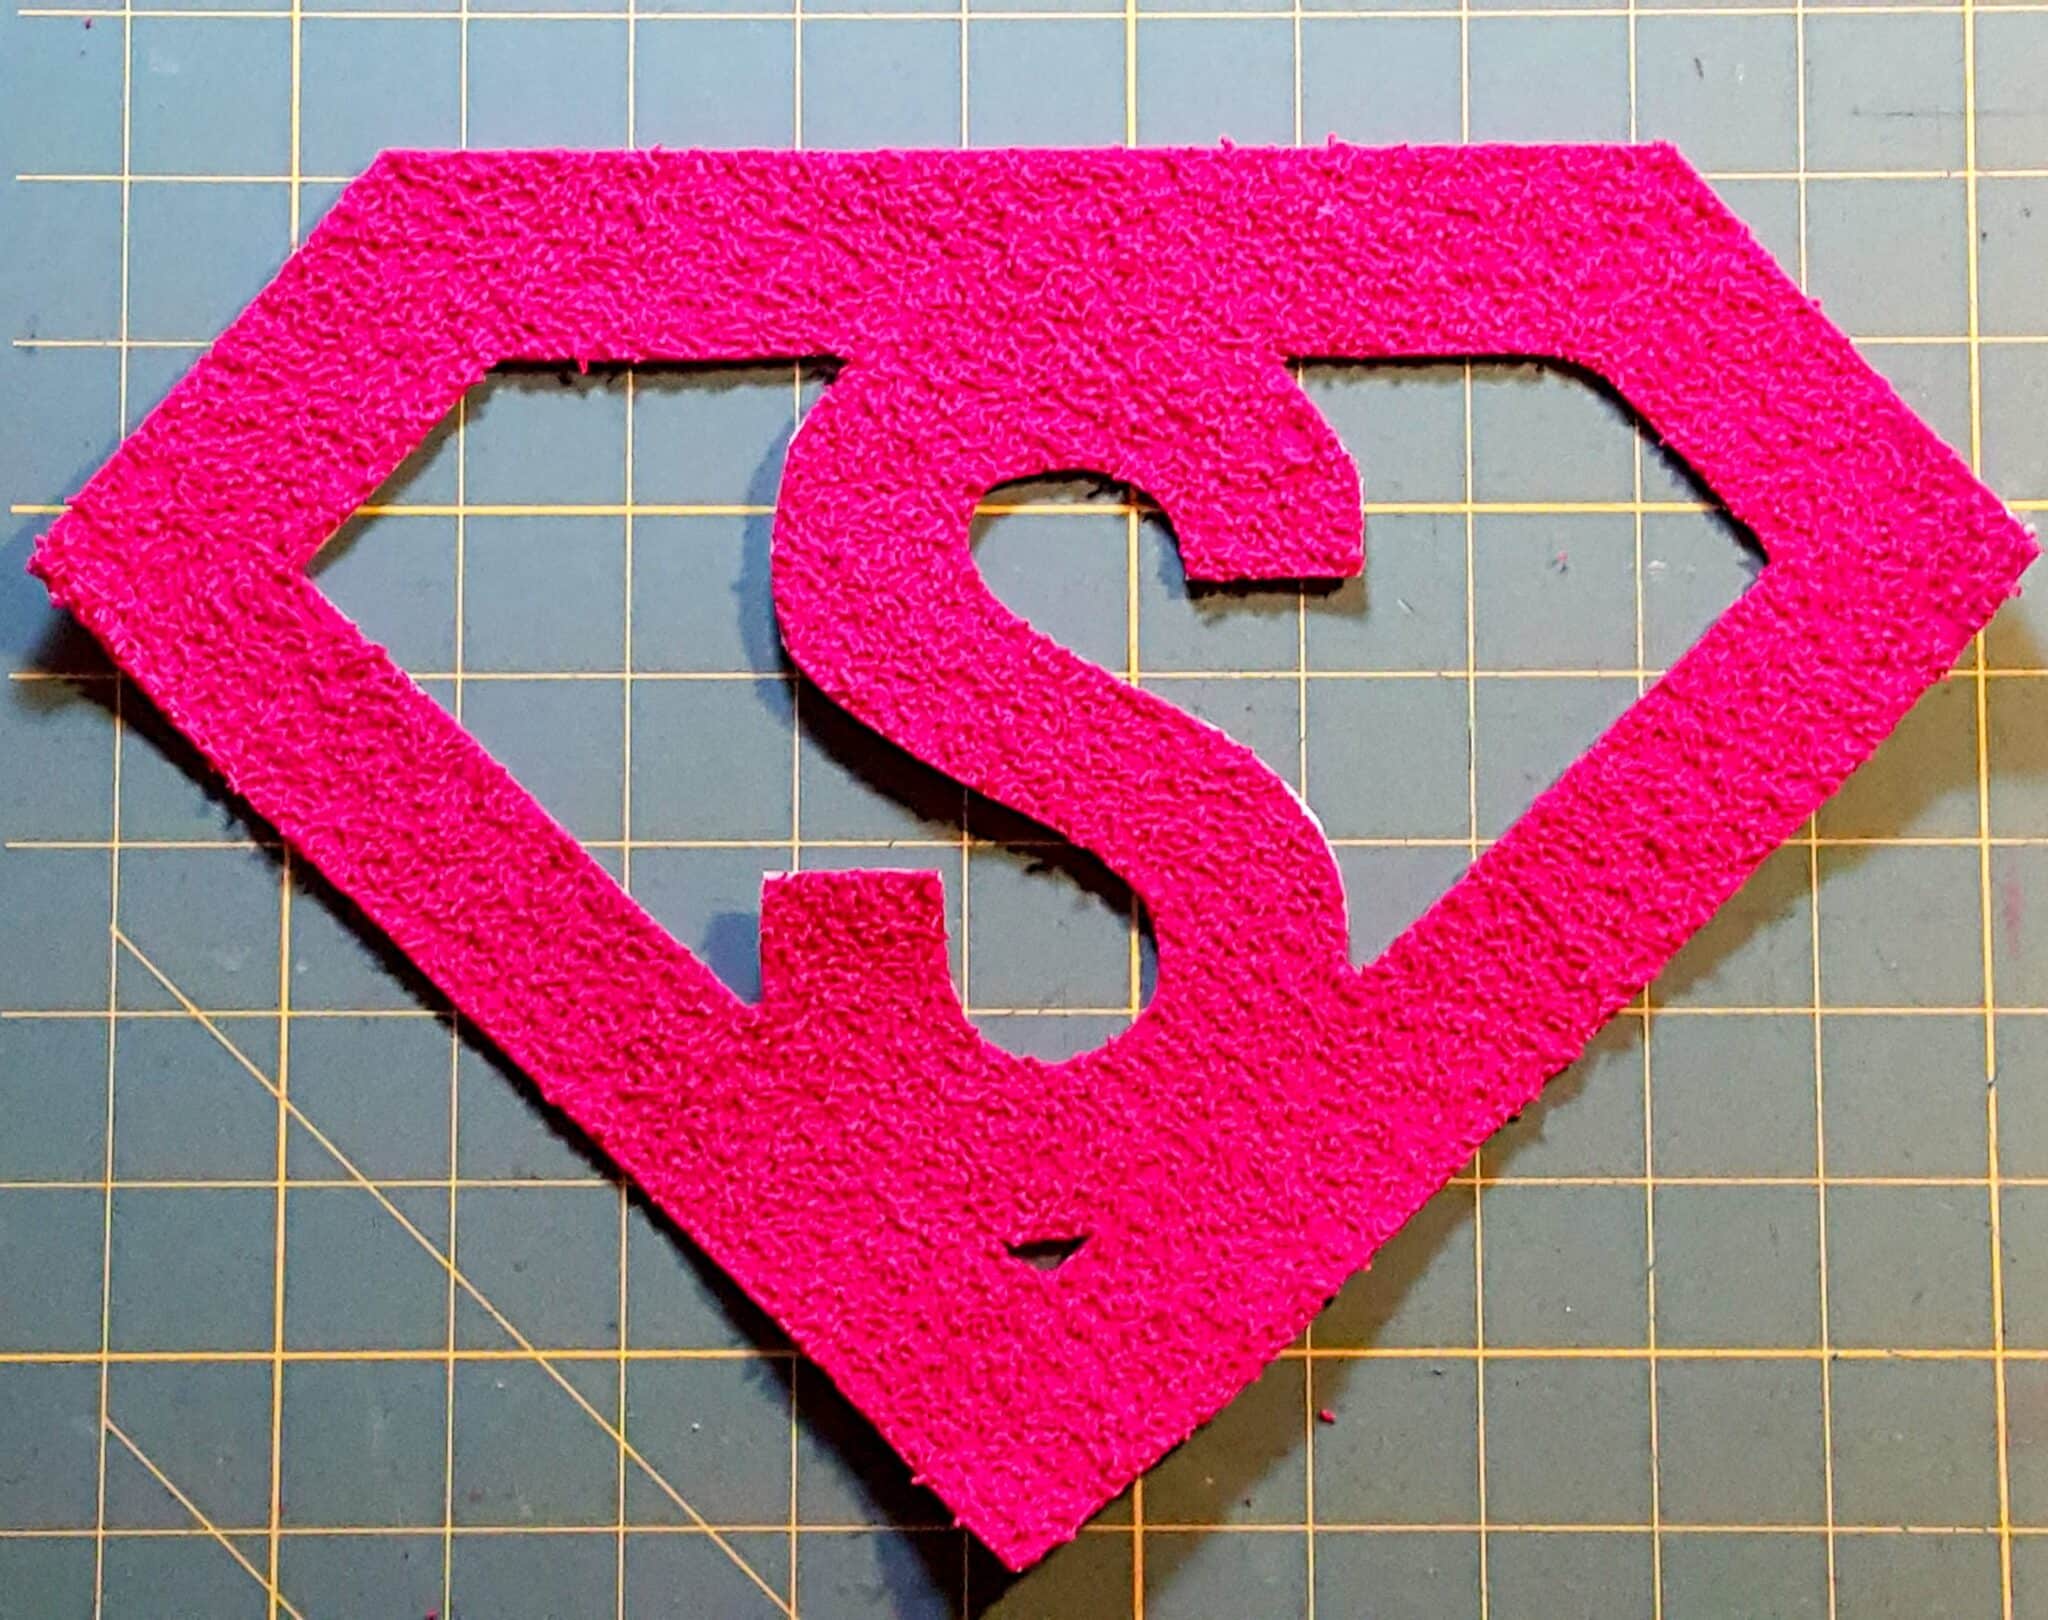
- After you’ve ironed both pieces, cut out the shapes. For the main emblem piece, you’re going to want to keep it all one piece (the letter and the outline of the emblem), so use sharp scissors or an X-acto knife to get the small pieces.
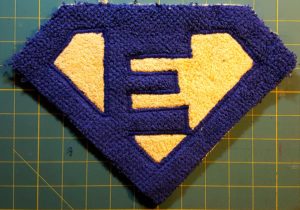
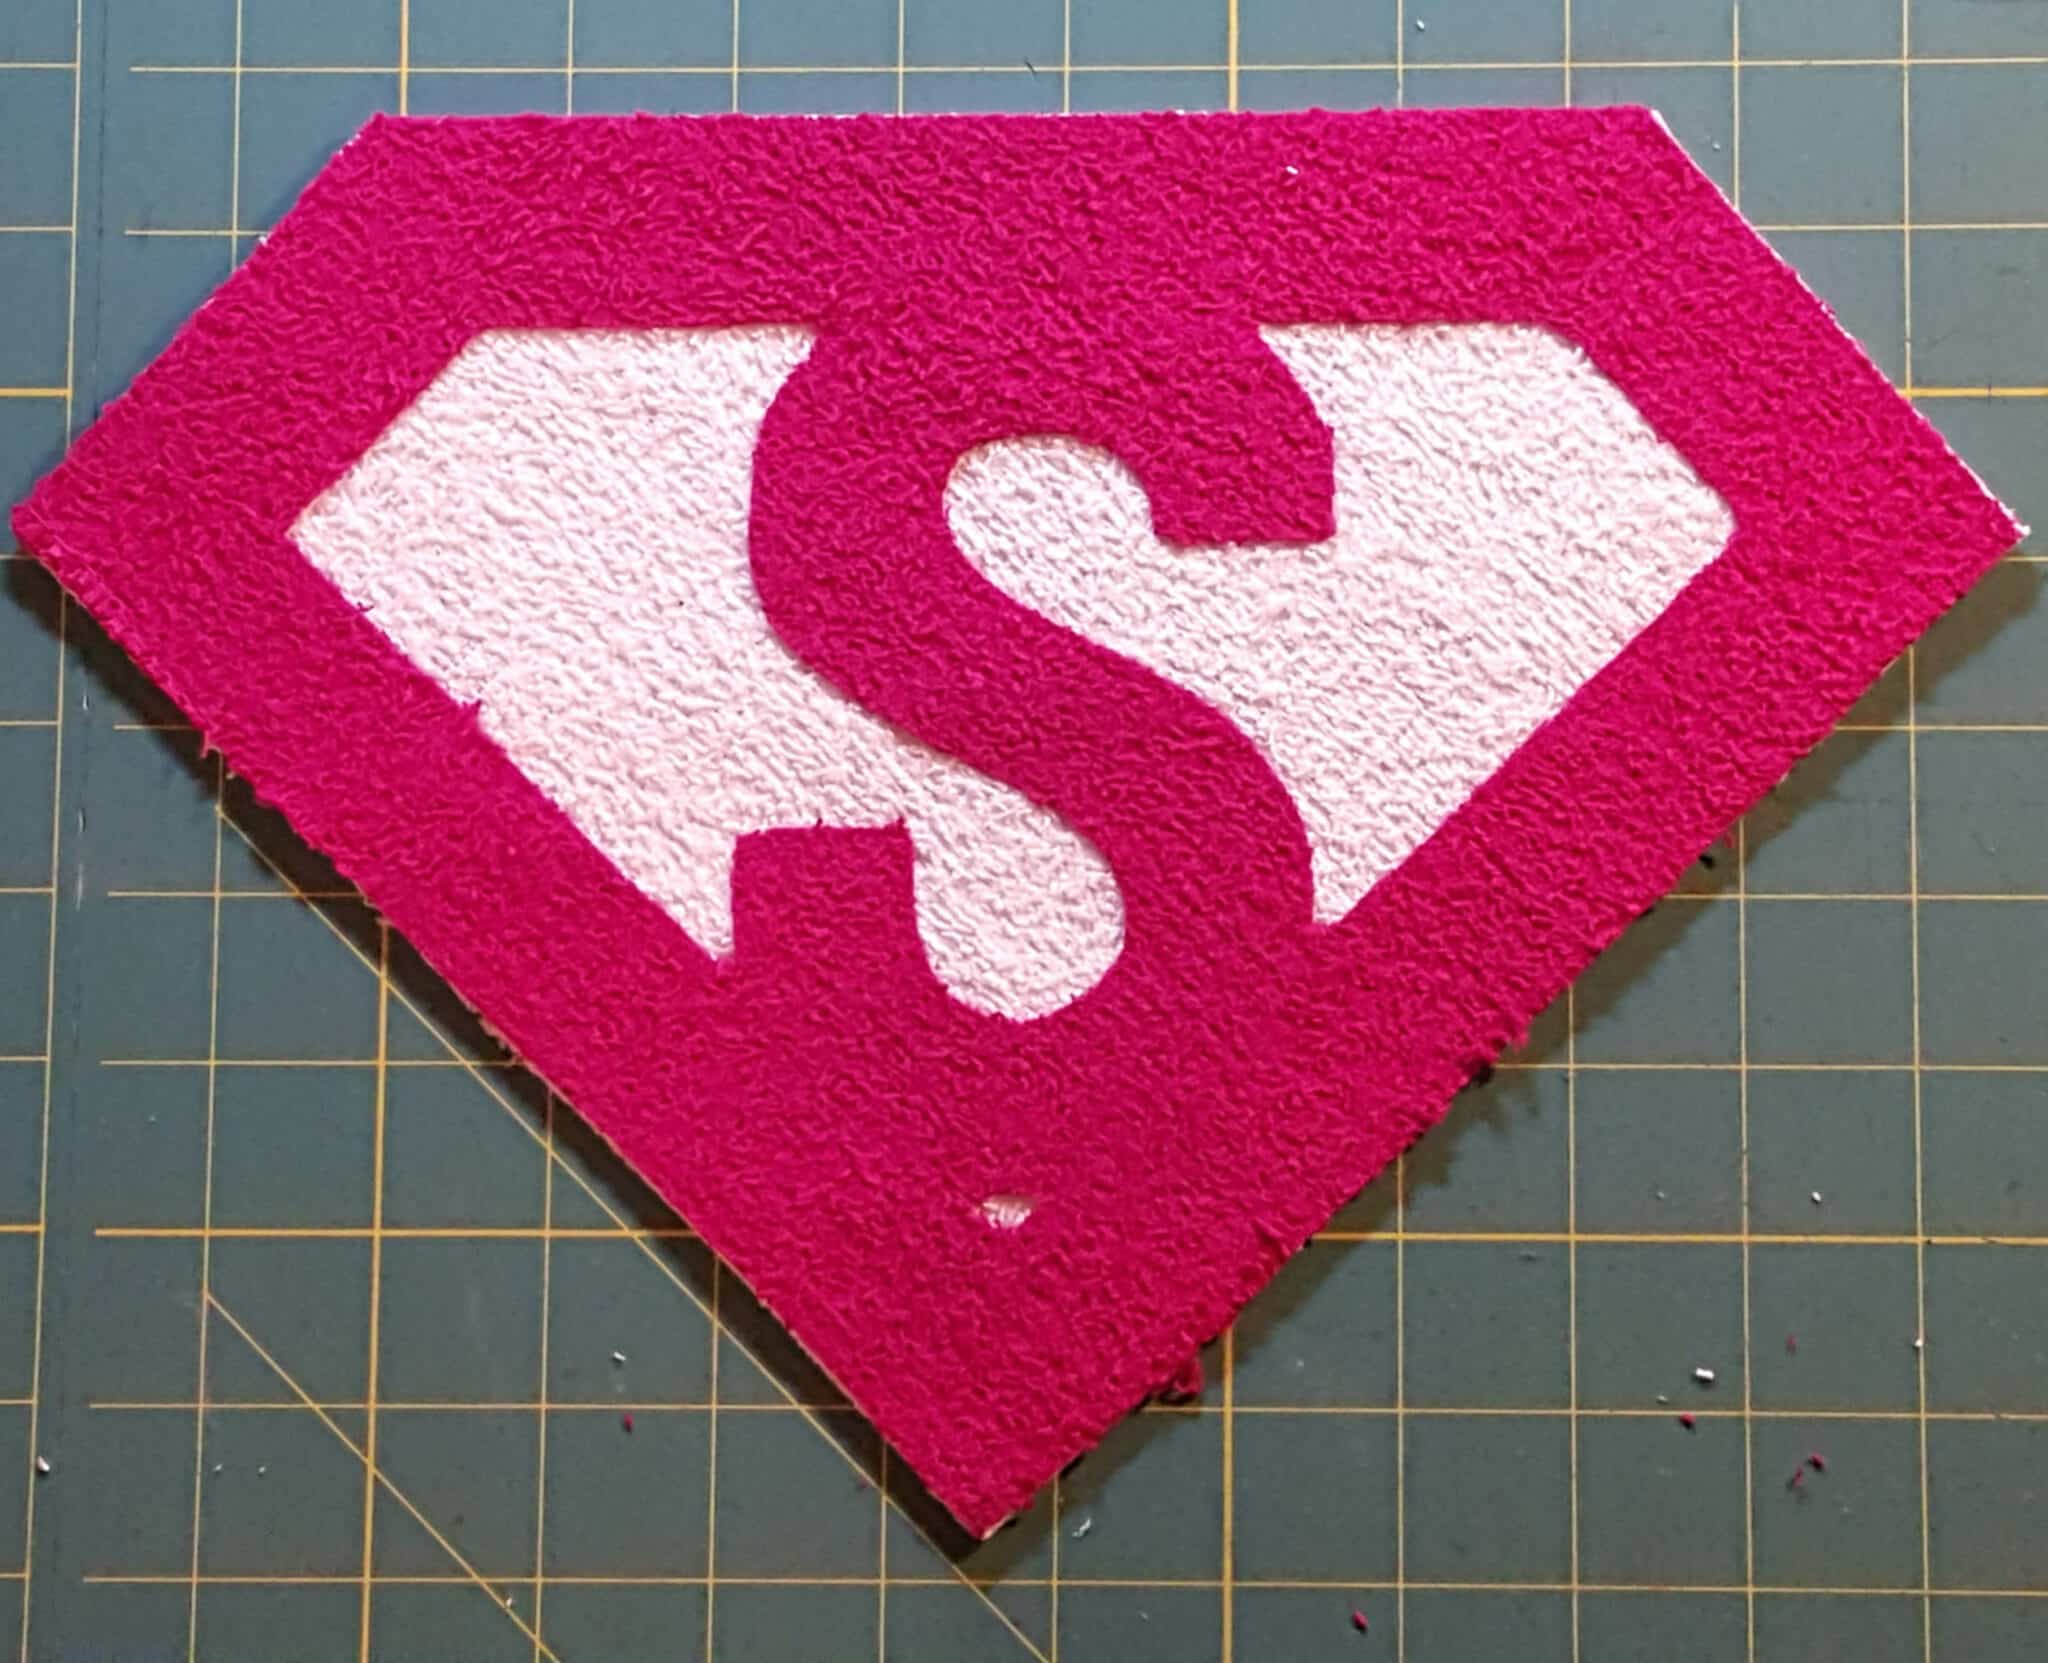
- Peel off the paper back and iron the letter/main emblem piece to the background piece.
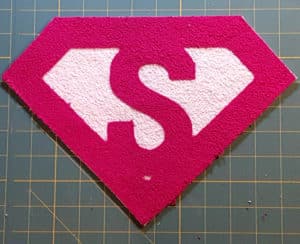
- Using a short and wide zig-zag (or bar tack stitch), sew around the letter and inside of the emblem. You’ll want to line one needle up with the edge of the main fabric. For tight spots, overlap the zig-zag and don’t be scared to be creative. After you do a few of these towels (because you know all your friends will want one), you’ll get to where you can zip right through them (even while watching Dawson’s Creek)! I’m showing you a different letter because it was way past my bedtime when I made this particular towel and I ironed my entire emblem to the towel BEFORE sewing the letter to the background. That’s not a huge deal, I just prefer to attach the letter to the background so there are less threads on the wrong side of my towel.
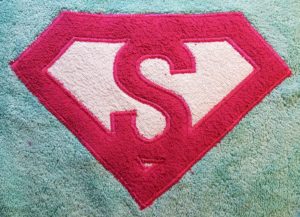
- Take towel and mark middle of long edge. Make sure you either trim the tag off or put it at the bottom of the towel (not the side where you’ll attach the neck strap). Find middle of top edge of emblem. Peel off paper from back of emblem. Measure down 7″ (this measurement might change if you are making this towel for an adult) from edge of towel center and place emblem, making sure the top edge of the emblem is parallel to the edge of the towel. Pin strategically to hold in place and then iron emblem to towel. I find it helpful to iron from wrong side of towel once I’ve got a decent hold on the right side, just to make sure it’s really attached well.
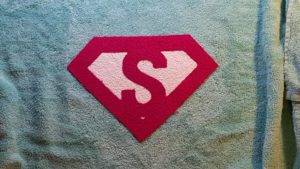
- Zig-Zag (same wide and short stitch or bar tack) around the outside of the emblem.
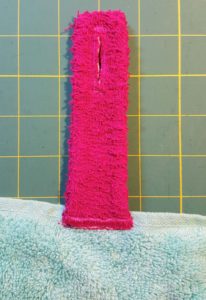
- Make the strap for the neck. Using scraps from main emblem color (or background, it doesn’t really matter), cut two pieces of fabric that are 5″ long x 2″ wide (or, alternatively, cut one that is 10″ long by 2″ wide, which is what I did). Iron HNB to one piece/one half of long piece (or if you have lightweight interfacing, you can use that instead).
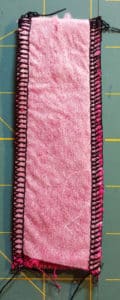
- Sew down long edges and across one short edge (if you used two shorter pieces). If you used one long piece, fold in half, matching short ends and sew down both long sides. Trim corners, peel off paper backing from HNB, and turn right side out. Press.
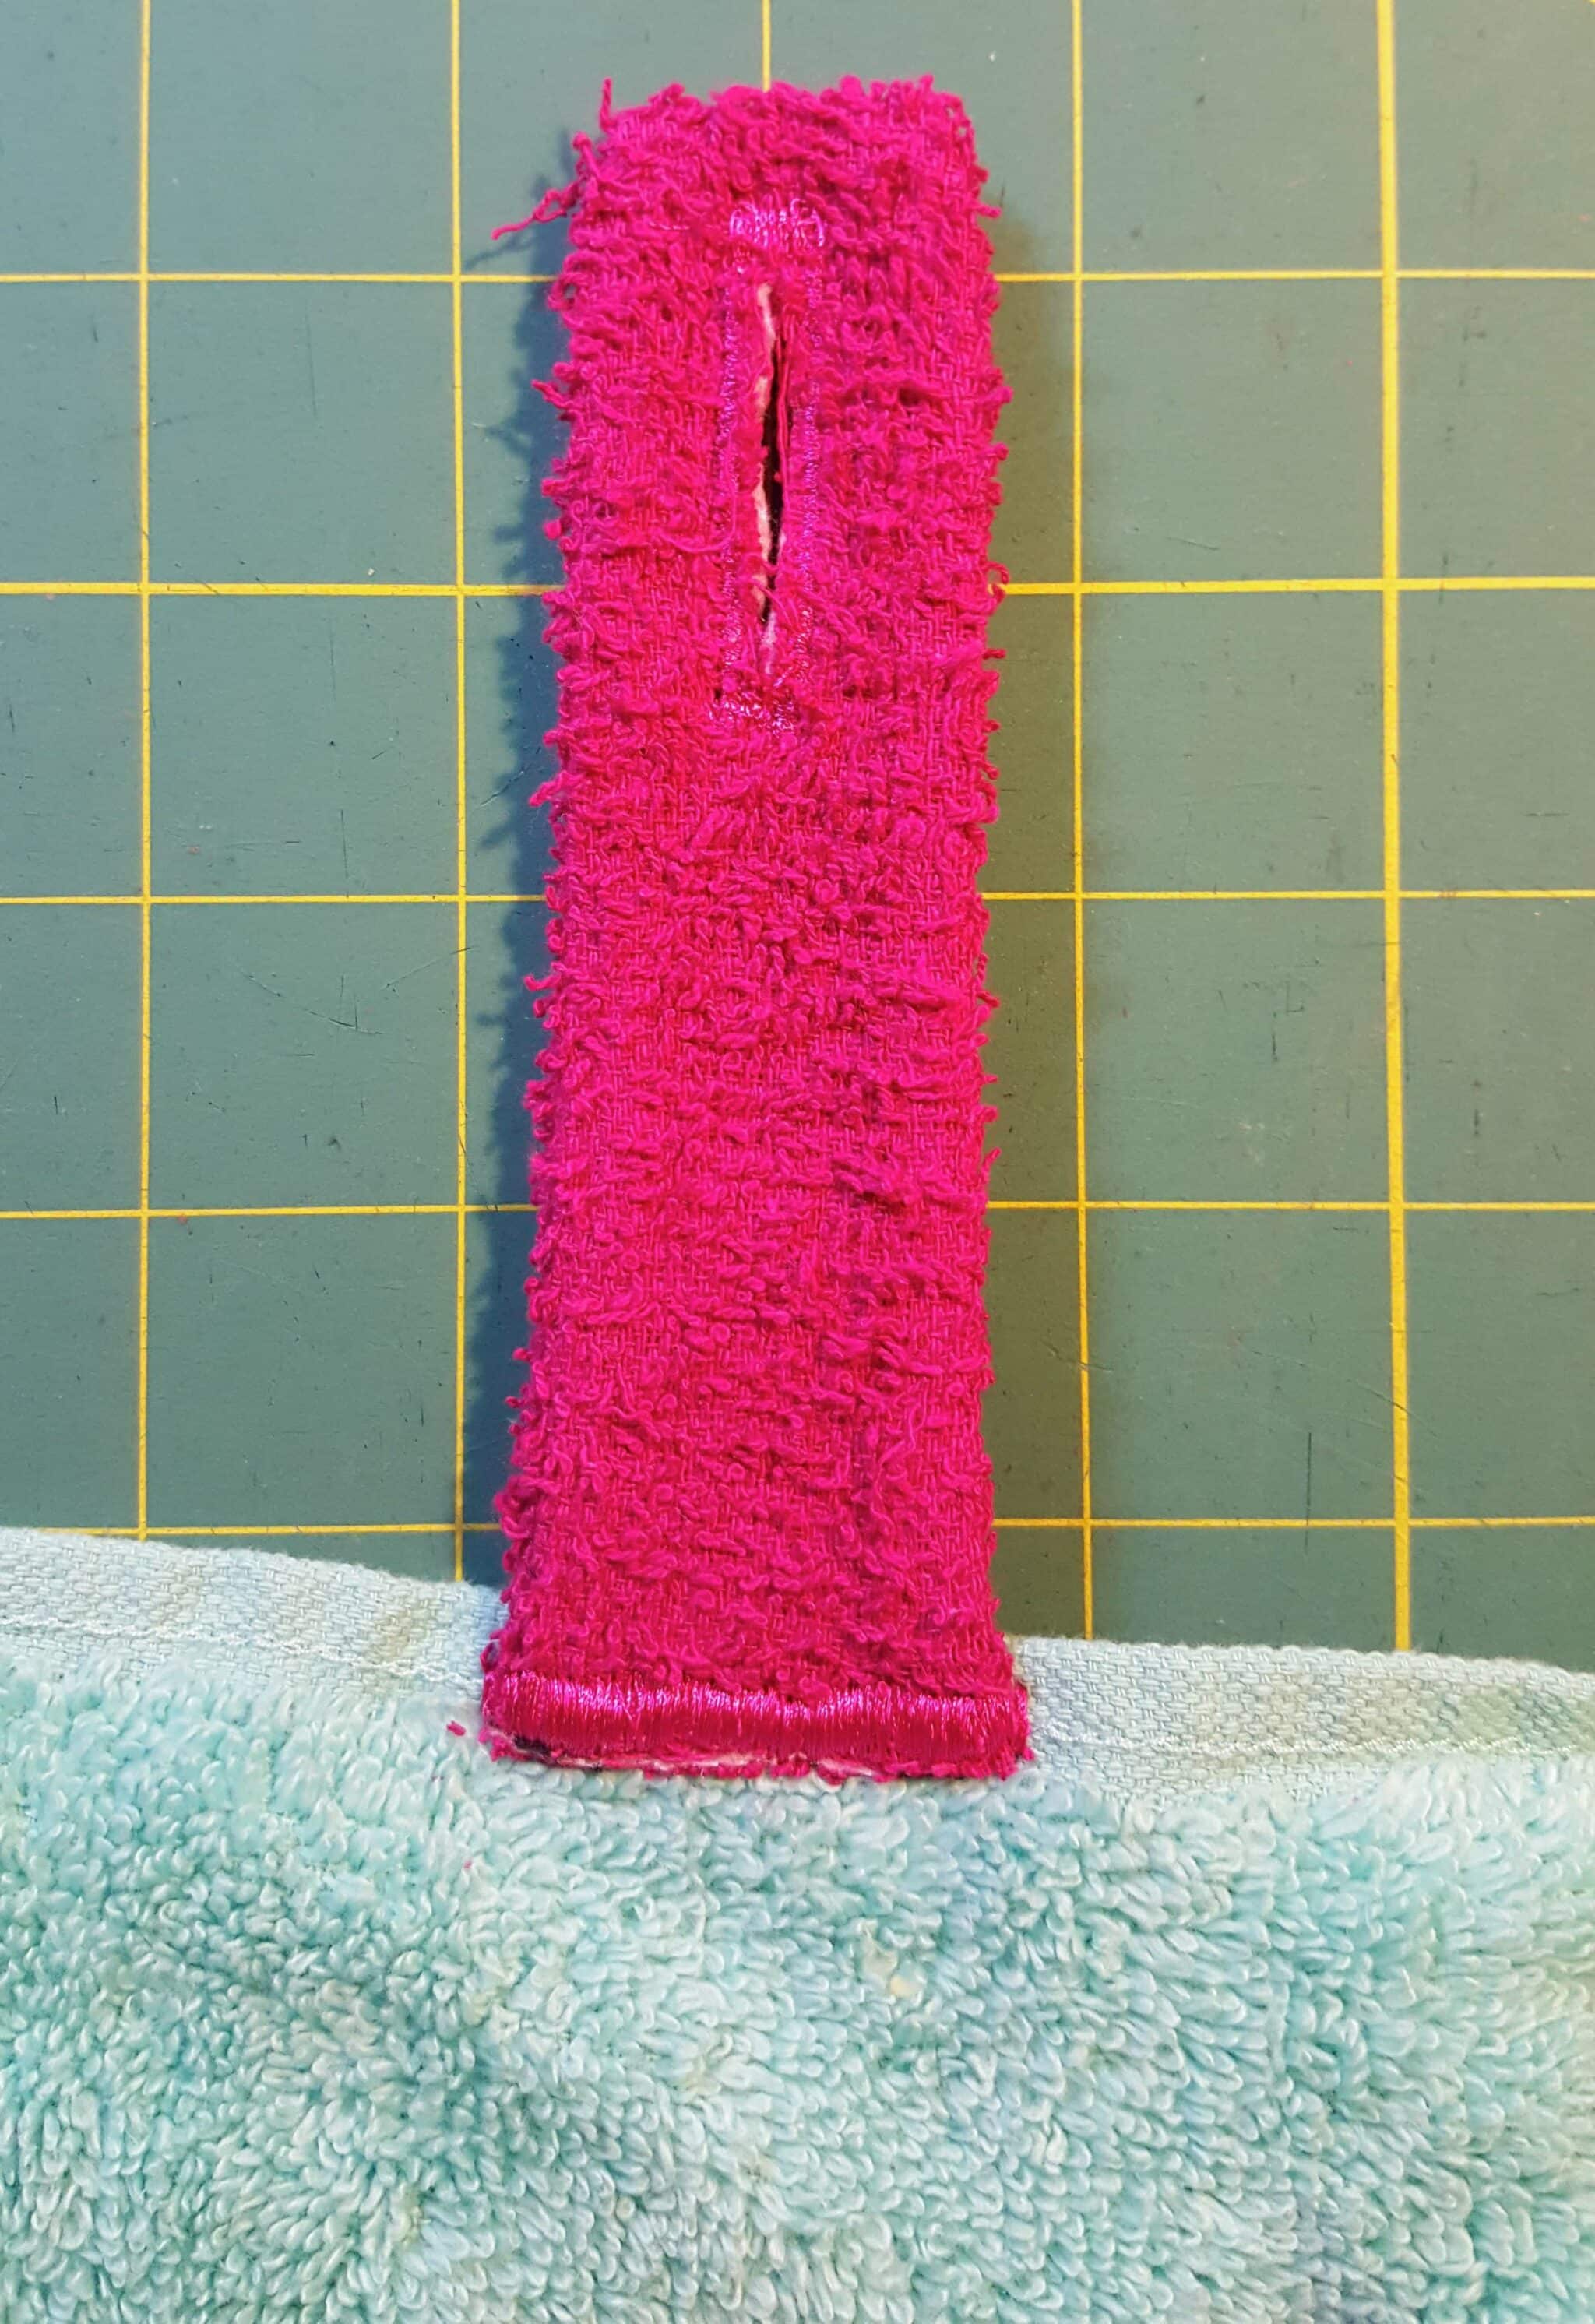
- Mark button hole about 1/2″ away from closed end. Use buttonholer or make a manual button hole if you have to fight your machine. Cut buttonhole open.
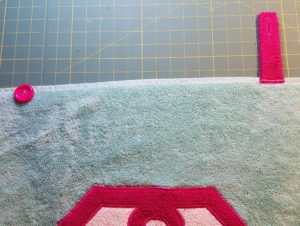
- Mark 8″ on either side of center of top/long edge of towel. Take open end of strap and put it on the long edge of the “top” of the towel (so letter is right side up!), lining it up with the outside corner of the emblem. Zig-Zag it in place, going back and forth several times.
- Place button at other mark, lining it up with other outside corner of emblem. Sew in place.
- Put it on and zoom around the house a few times to make sure it works effectively. 😉


We’ve been busy this summer. Take a look around the shop and check out our latest swimwear patterns the Journey Tank and Dress and the X-Factor Bikini and Tankini. The X-Factor paired with the Ultimate Bikini Bottoms has been my go-to swimsuit this summer. My Journey dress has really won me over. I wore it for our yearly family picture at the beach!
We have also recently updated the Agility Tank and Dress. I’ve integrated the pattern pieces for the tankini modification that I had added after I originally released the pattern and the tutorial has been updated as well. I’ve even included true maternity pieces in the new pattern!
Be sure to check out the other stops on today’s portion of the tour! You can enter the giveaway below too!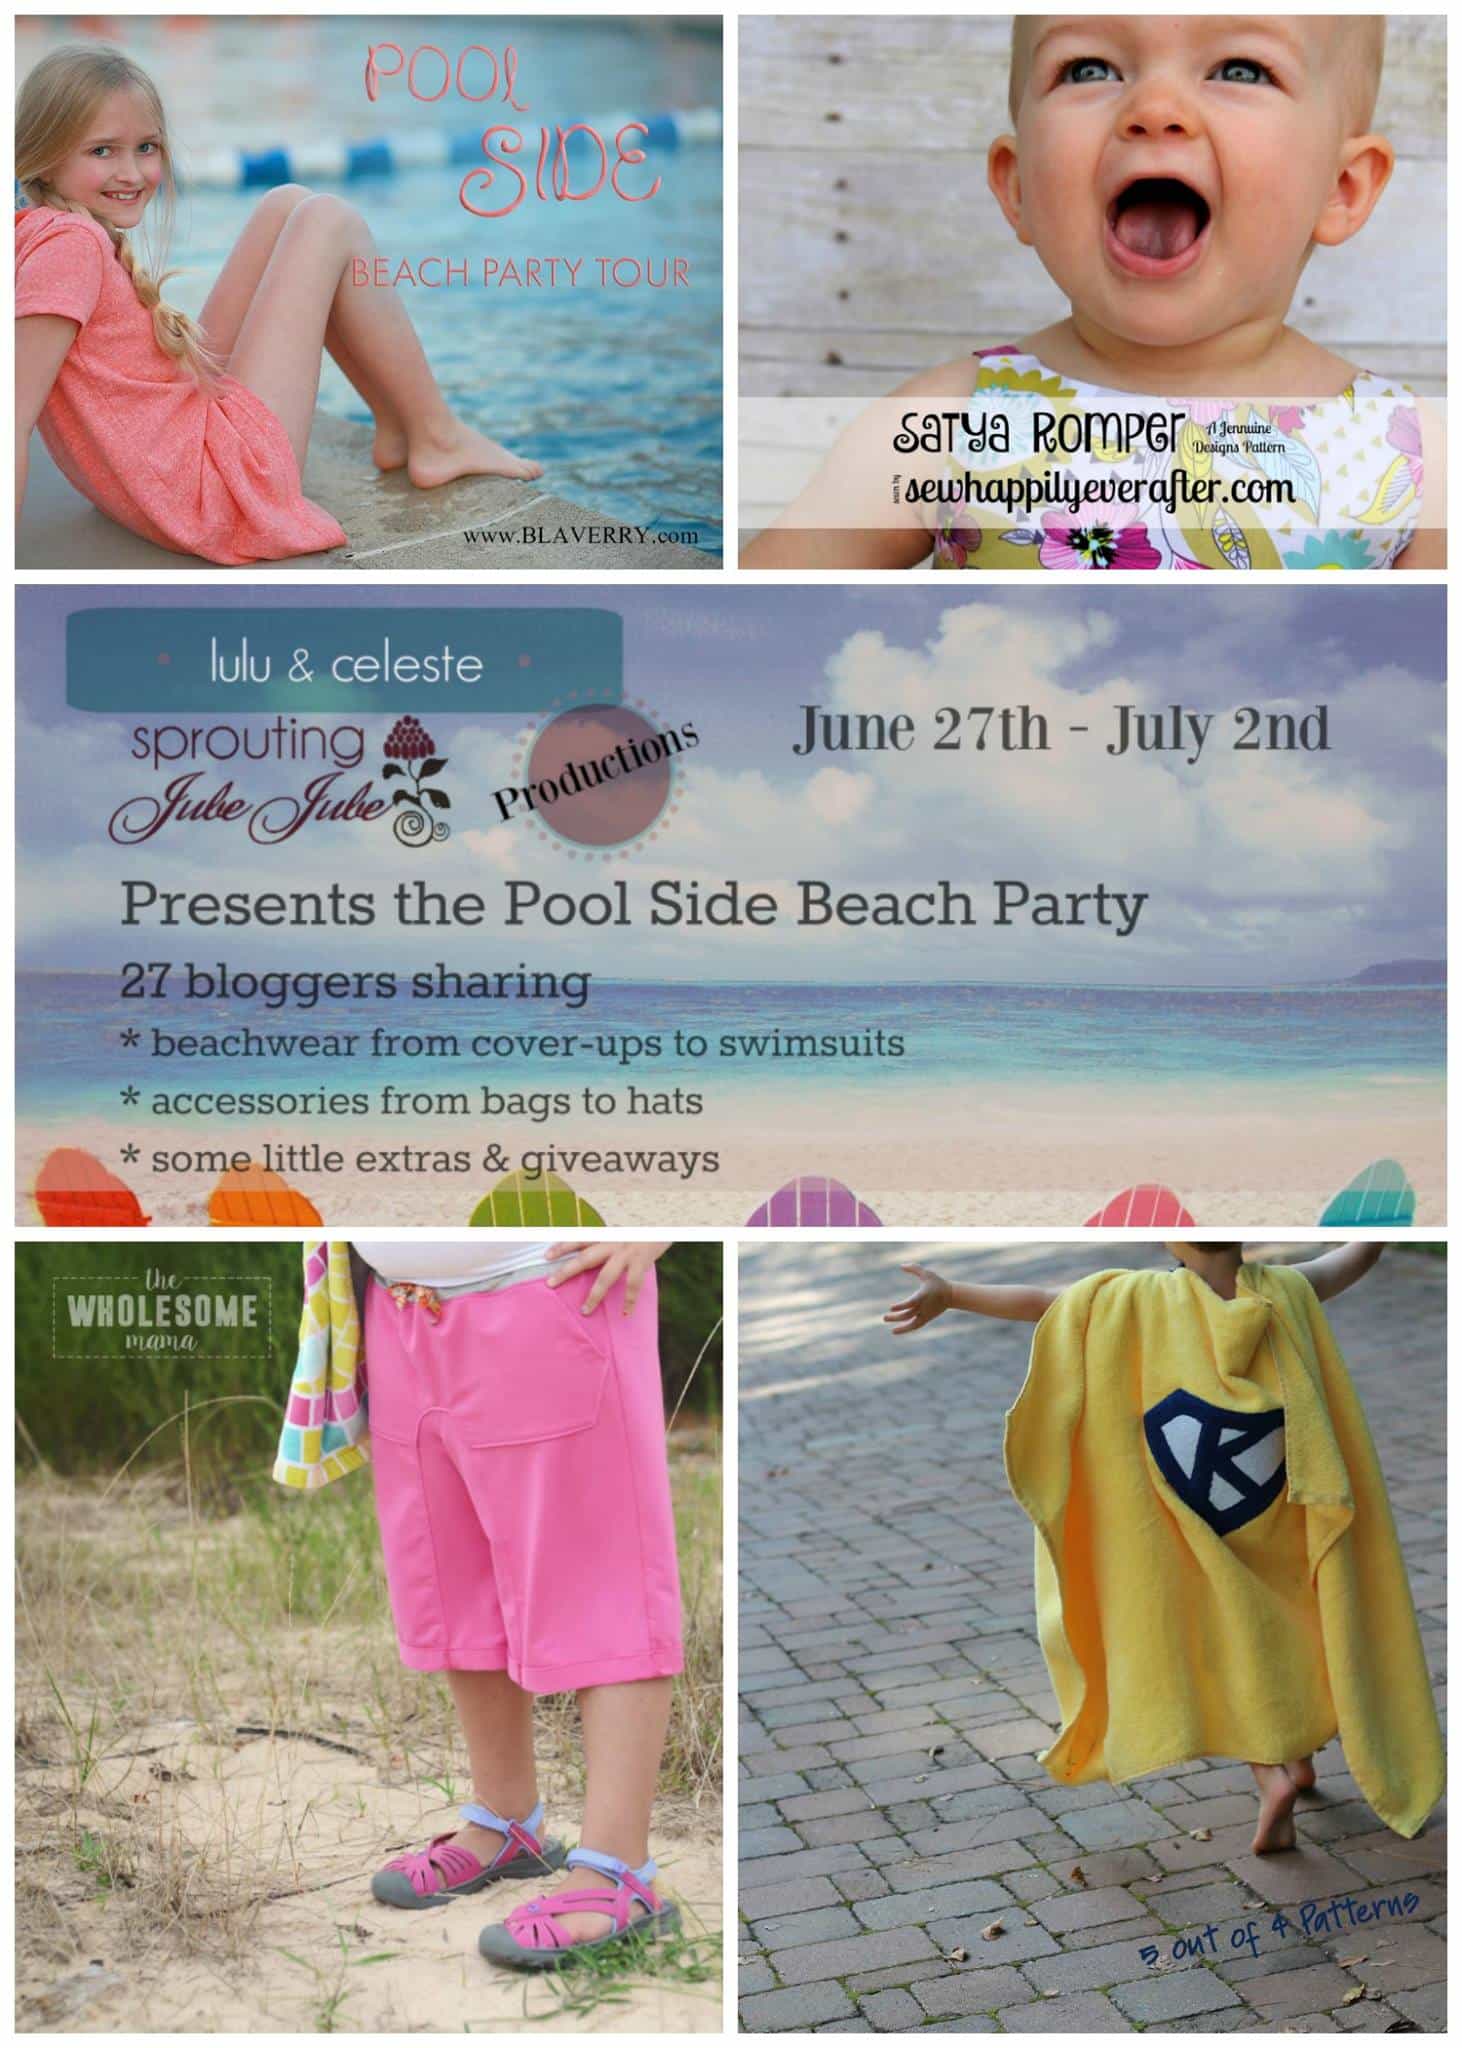
Make sure you join our Facebook group so we can help if you get stuck and you can share your 5oo4 creations!
What a great tutorial! This towel/ cape is for sure something every child would love!
Such a neat idea to keep towels on kids?
What a great idea! Thanks for sharing!
Thank you for the amazing idea!
This is great! I will have to make my girls some 🙂
Nice towel!
That is a great idea, and a fantastic tutorial!
So neat! Off to make one for my son =D
Cute idea. My grandsons are too big but I have a couple of granddaughters who would love one.
This is so cute!!! My little guy DEFINITELY needs one. My big guy might need one too 😉
Great idea. Thanks for tutorial
Oh my boys would love to have one of these!!! A futur project for sure!!!
THIS IS SUPERB! WHAT A GREAT DESIGN!
What a fun towel! I bet the little guys in my life would love this!
Great idea! Pinned it!!
What a fun idea!
Awesome!
I love this. Such a great idea ?
This is so fun. And how great are you for giving the entire alphabet for free!
Super cute! Haven’t met a little boy yet who wouldn’t love one of these!
I love this idea and the tutorial is so good.
That is adorable!!!!
That is such a cool towel! Thanks for the tutorial!