Do your kids have tons and tons of stuffed animals?? Is it just my kids?? I hope not! The stuffed animals are always everywhere and it always looks cluttered and messy. We go through and get rid of some every now and then, but it’s like they multiply! I finally got smart and realized that I could make a stuffed animal hammock to store them all! This is a fast and easy project and I’m so pleased with how it turned out. My kids’ rooms look clean and organized and they think that the stuffed animal hammock is the coolest thing ever! Win win! Does your house need a stuffed animal hammock? Let’s make one!
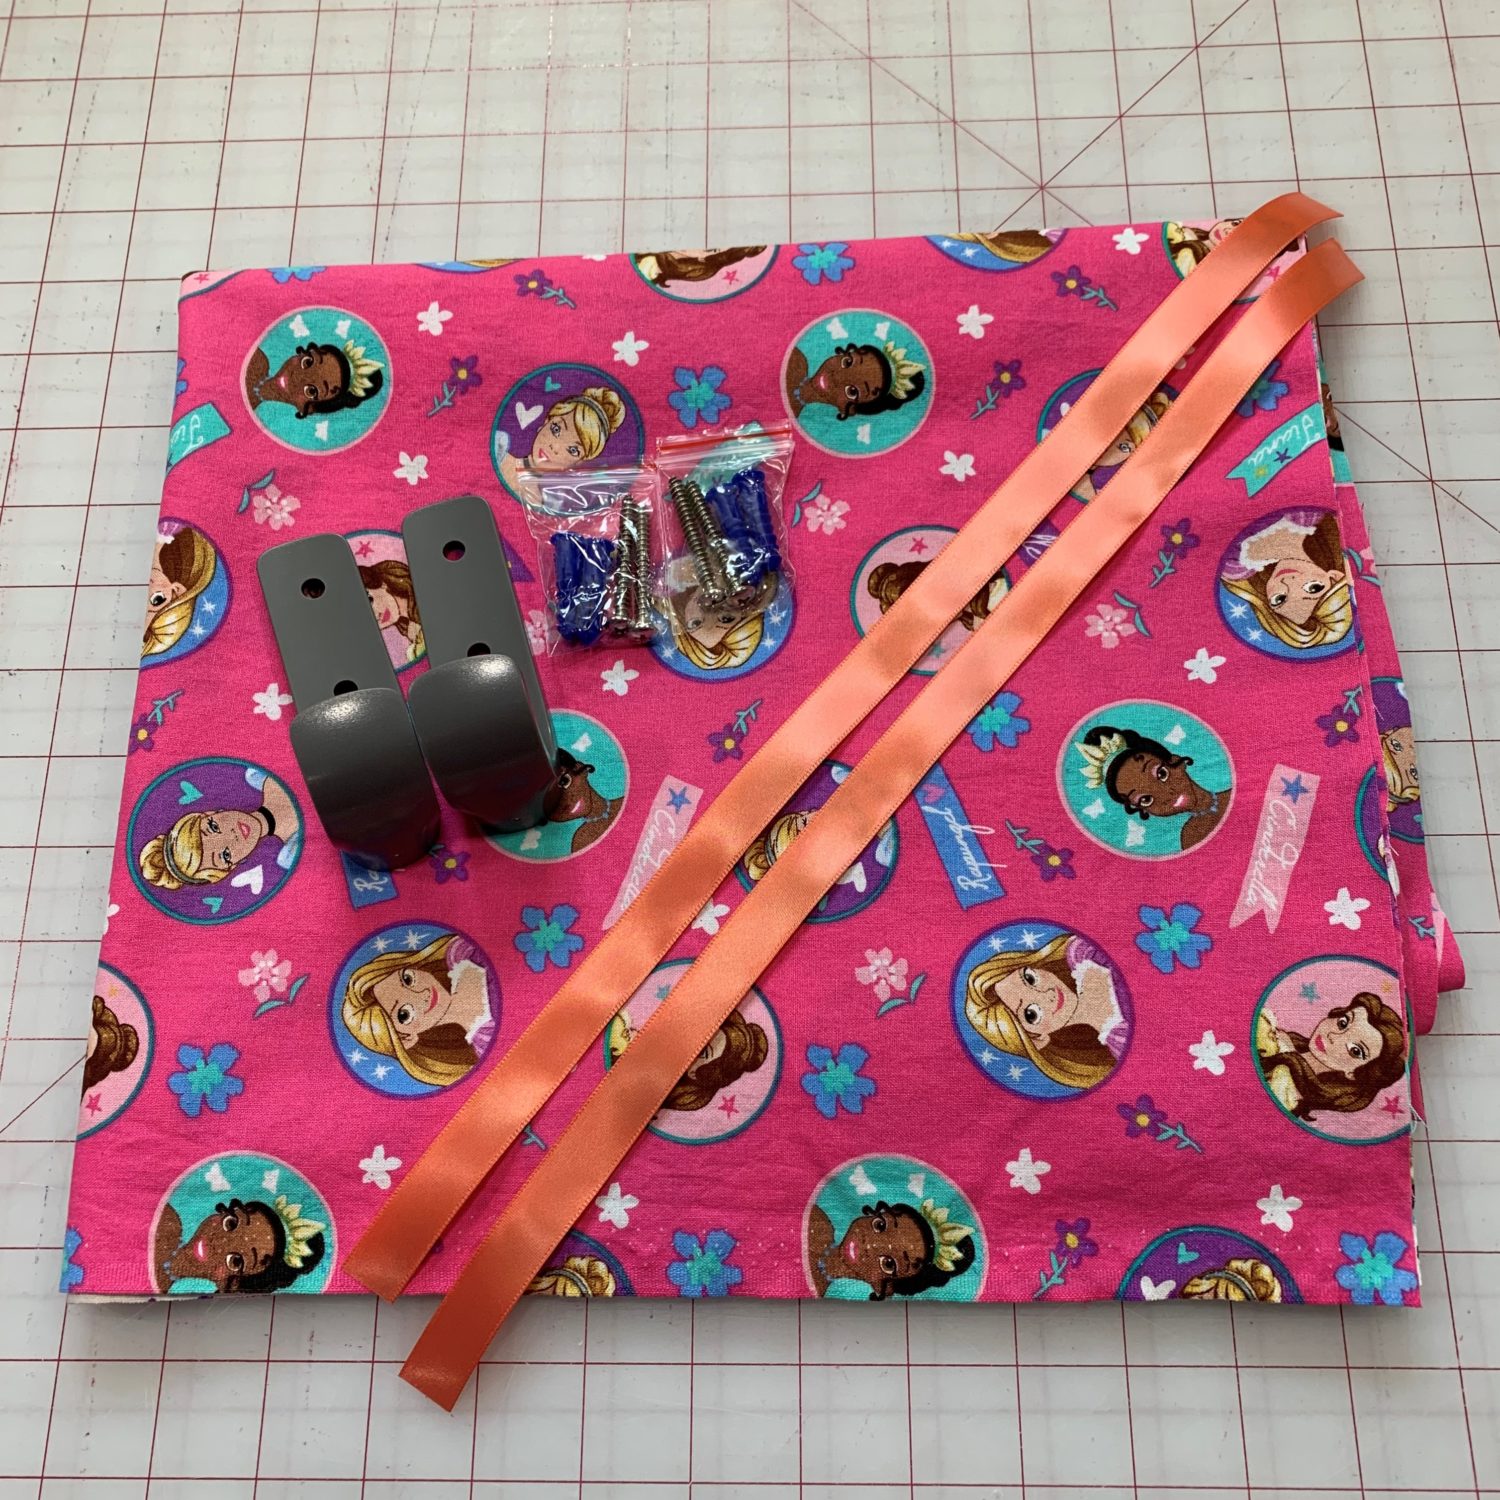
Materials
- Fabric-about 1.5 yards will work, depending on how long you want to make the stuffed animal hammock
- I used a cotton woven for my stuffed animal hammock. If you want the traditional hammock look, you can definitely use a mesh fabric for this! I have oodles of this princess woven fabric and my kiddos have decided that they don’t like wearing woven anymore! So, I’m using it up as I can 🙂
- Ribbon or rope to hang the stuffed animal hammock with
- Basic sewing supplies
- Hooks and screws to hang on the wall
Cut the fabric for the stuffed animal hammock
- Decide how long you want the stuffed animal hammock to be. Add about 2 inches for seam allowance.
- I cut my fabric WOF (width of fabric) by 50 inches long.
- Cut 1 piece of fabric
Hem the long edges
- The long edges are the selvedges.
- Since I used the width of fabric and did not cut any off of the width, my fabric won’t fray because the selvedge doesn’t fray. So, I only folded once to hem.
- Fold the long edge toward to wrong side of the fabric by 1/2 an inch.
- Press well.
- Edge stitch along the hem with your sewing machine.
- Repeat on the other long side so both sides are hemmed.
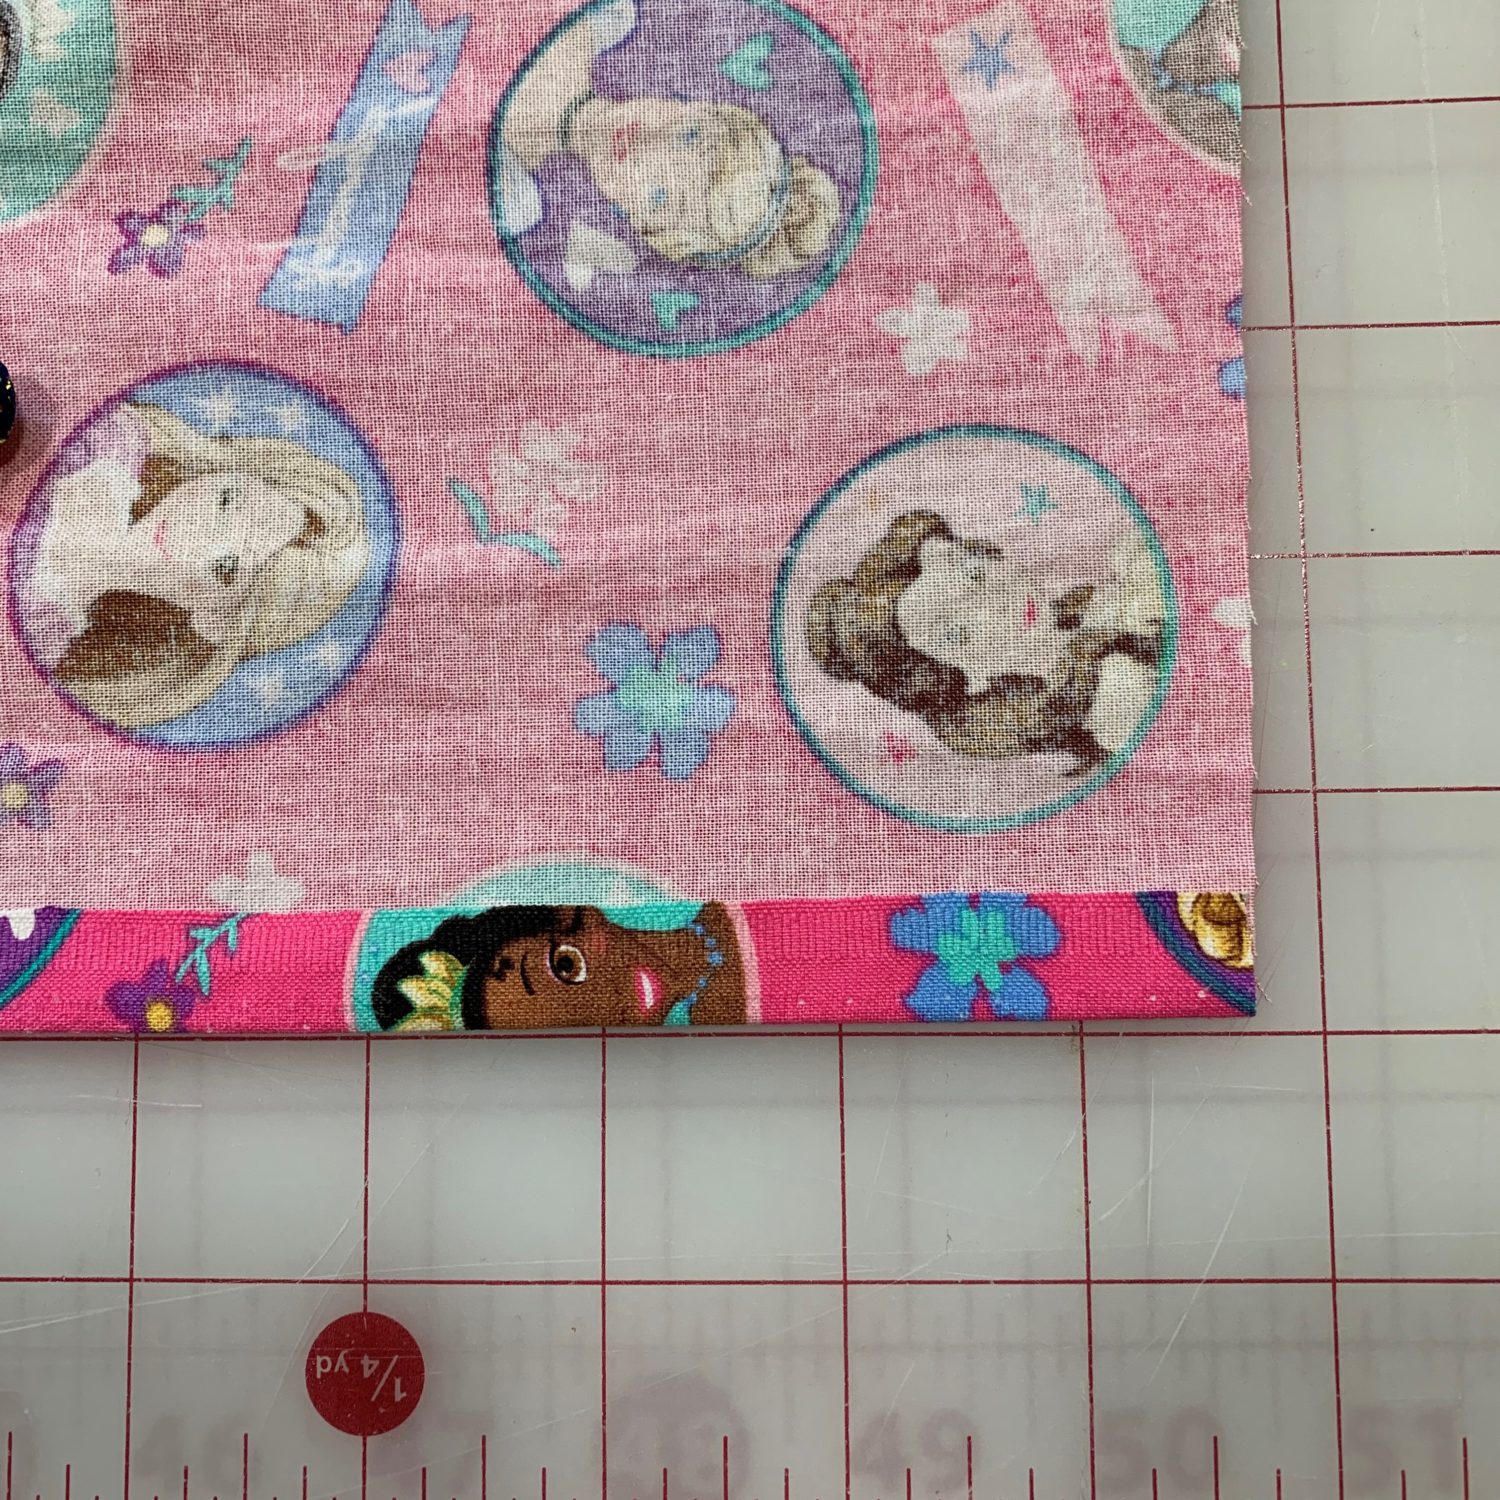

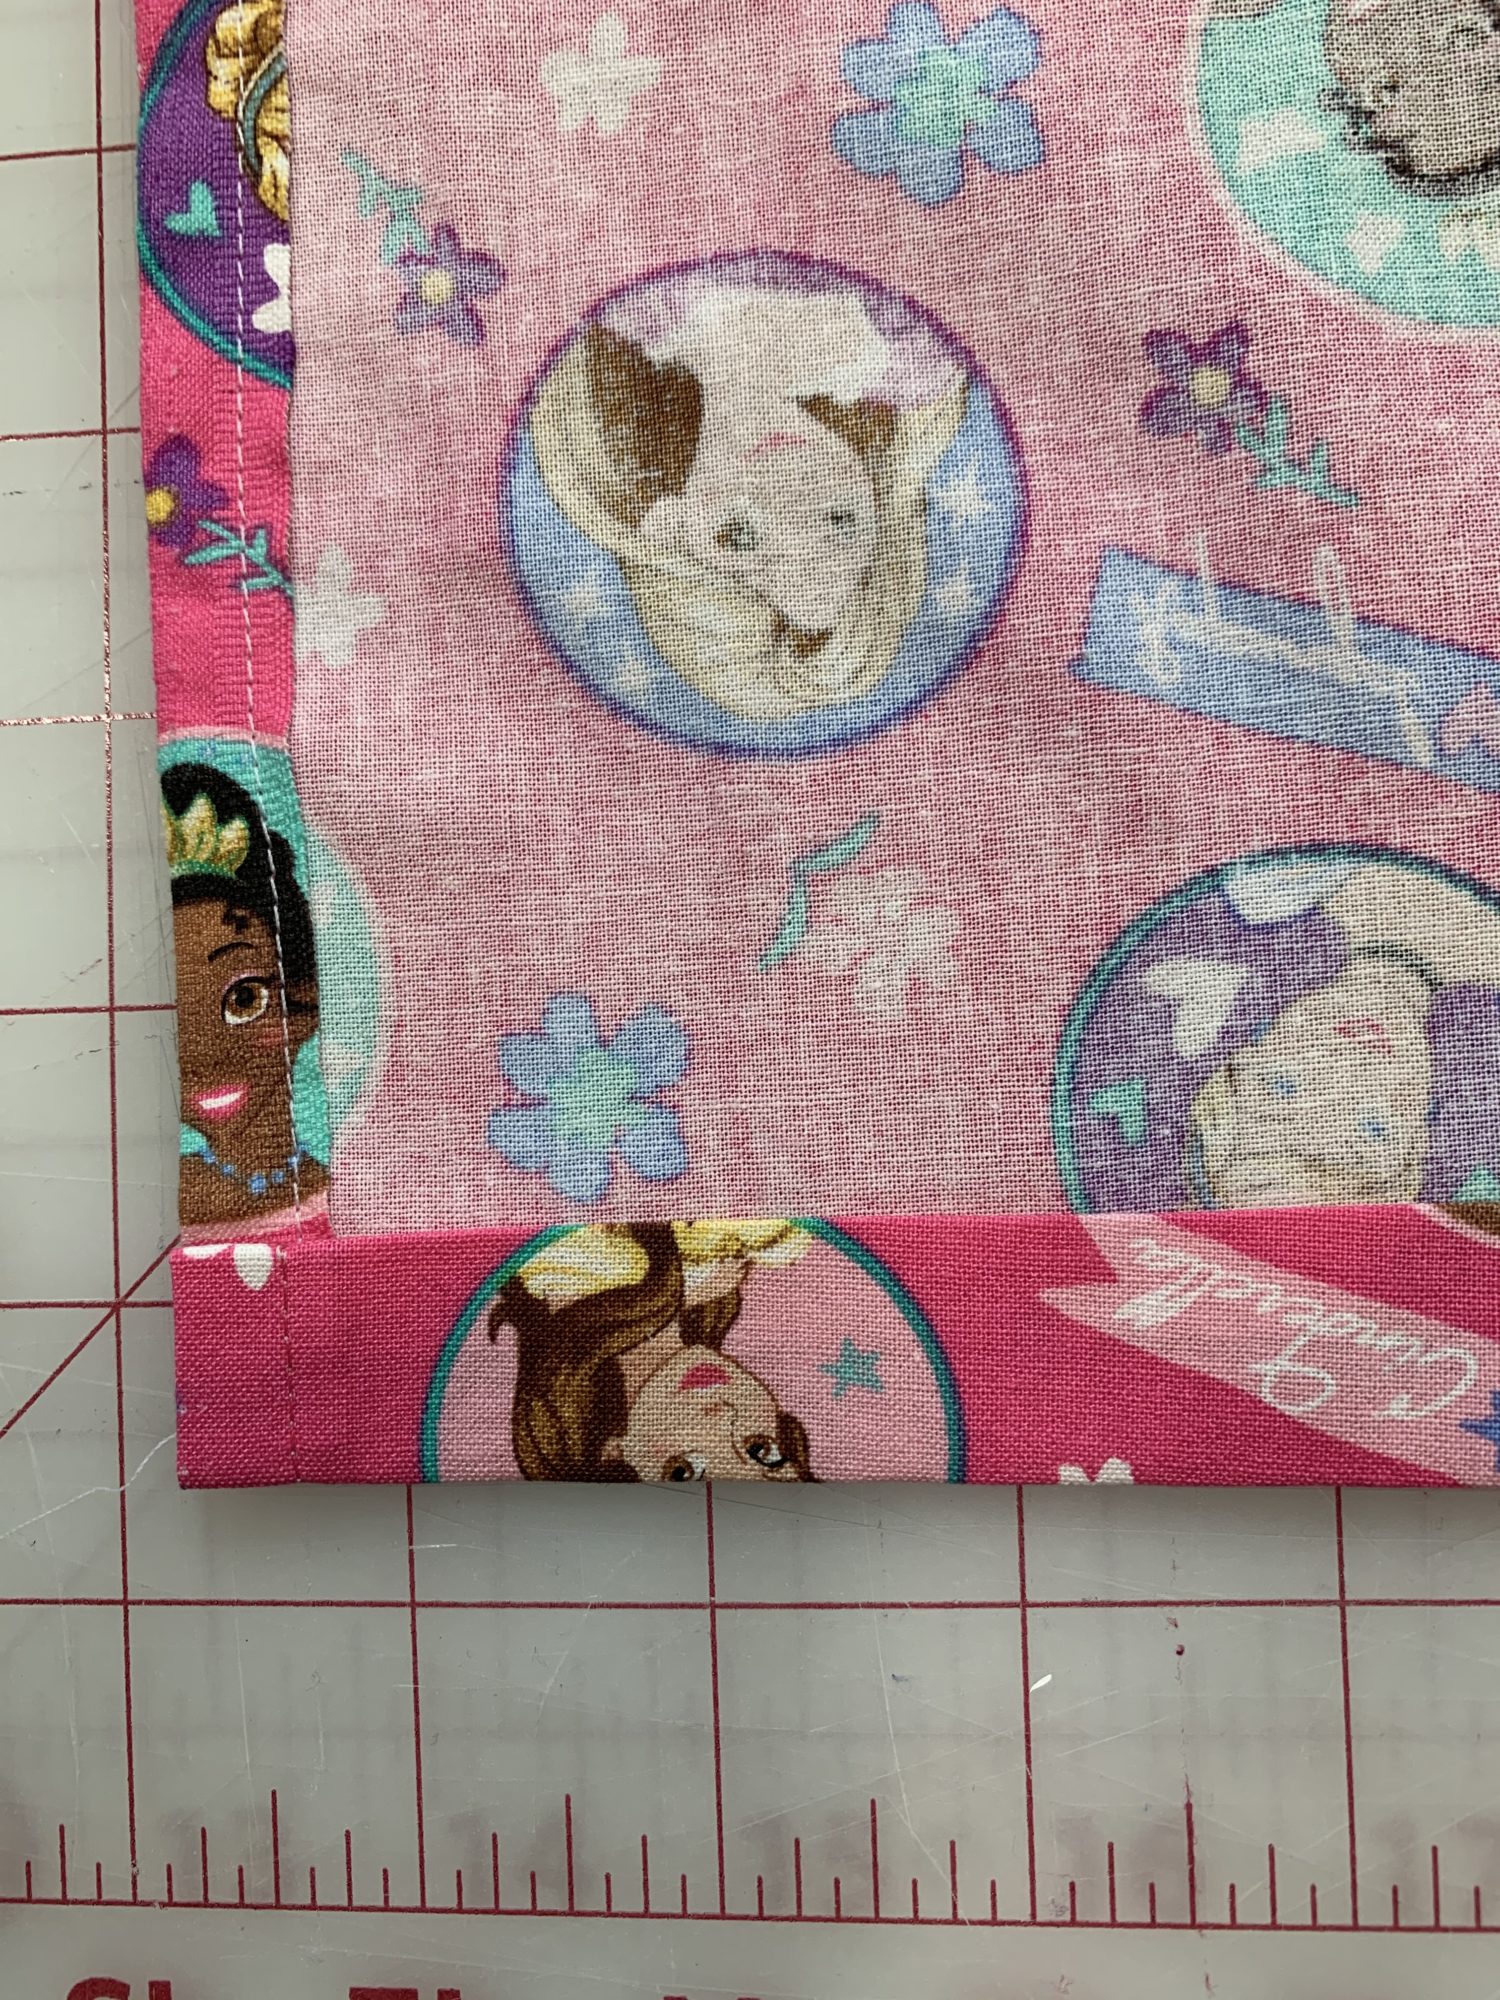
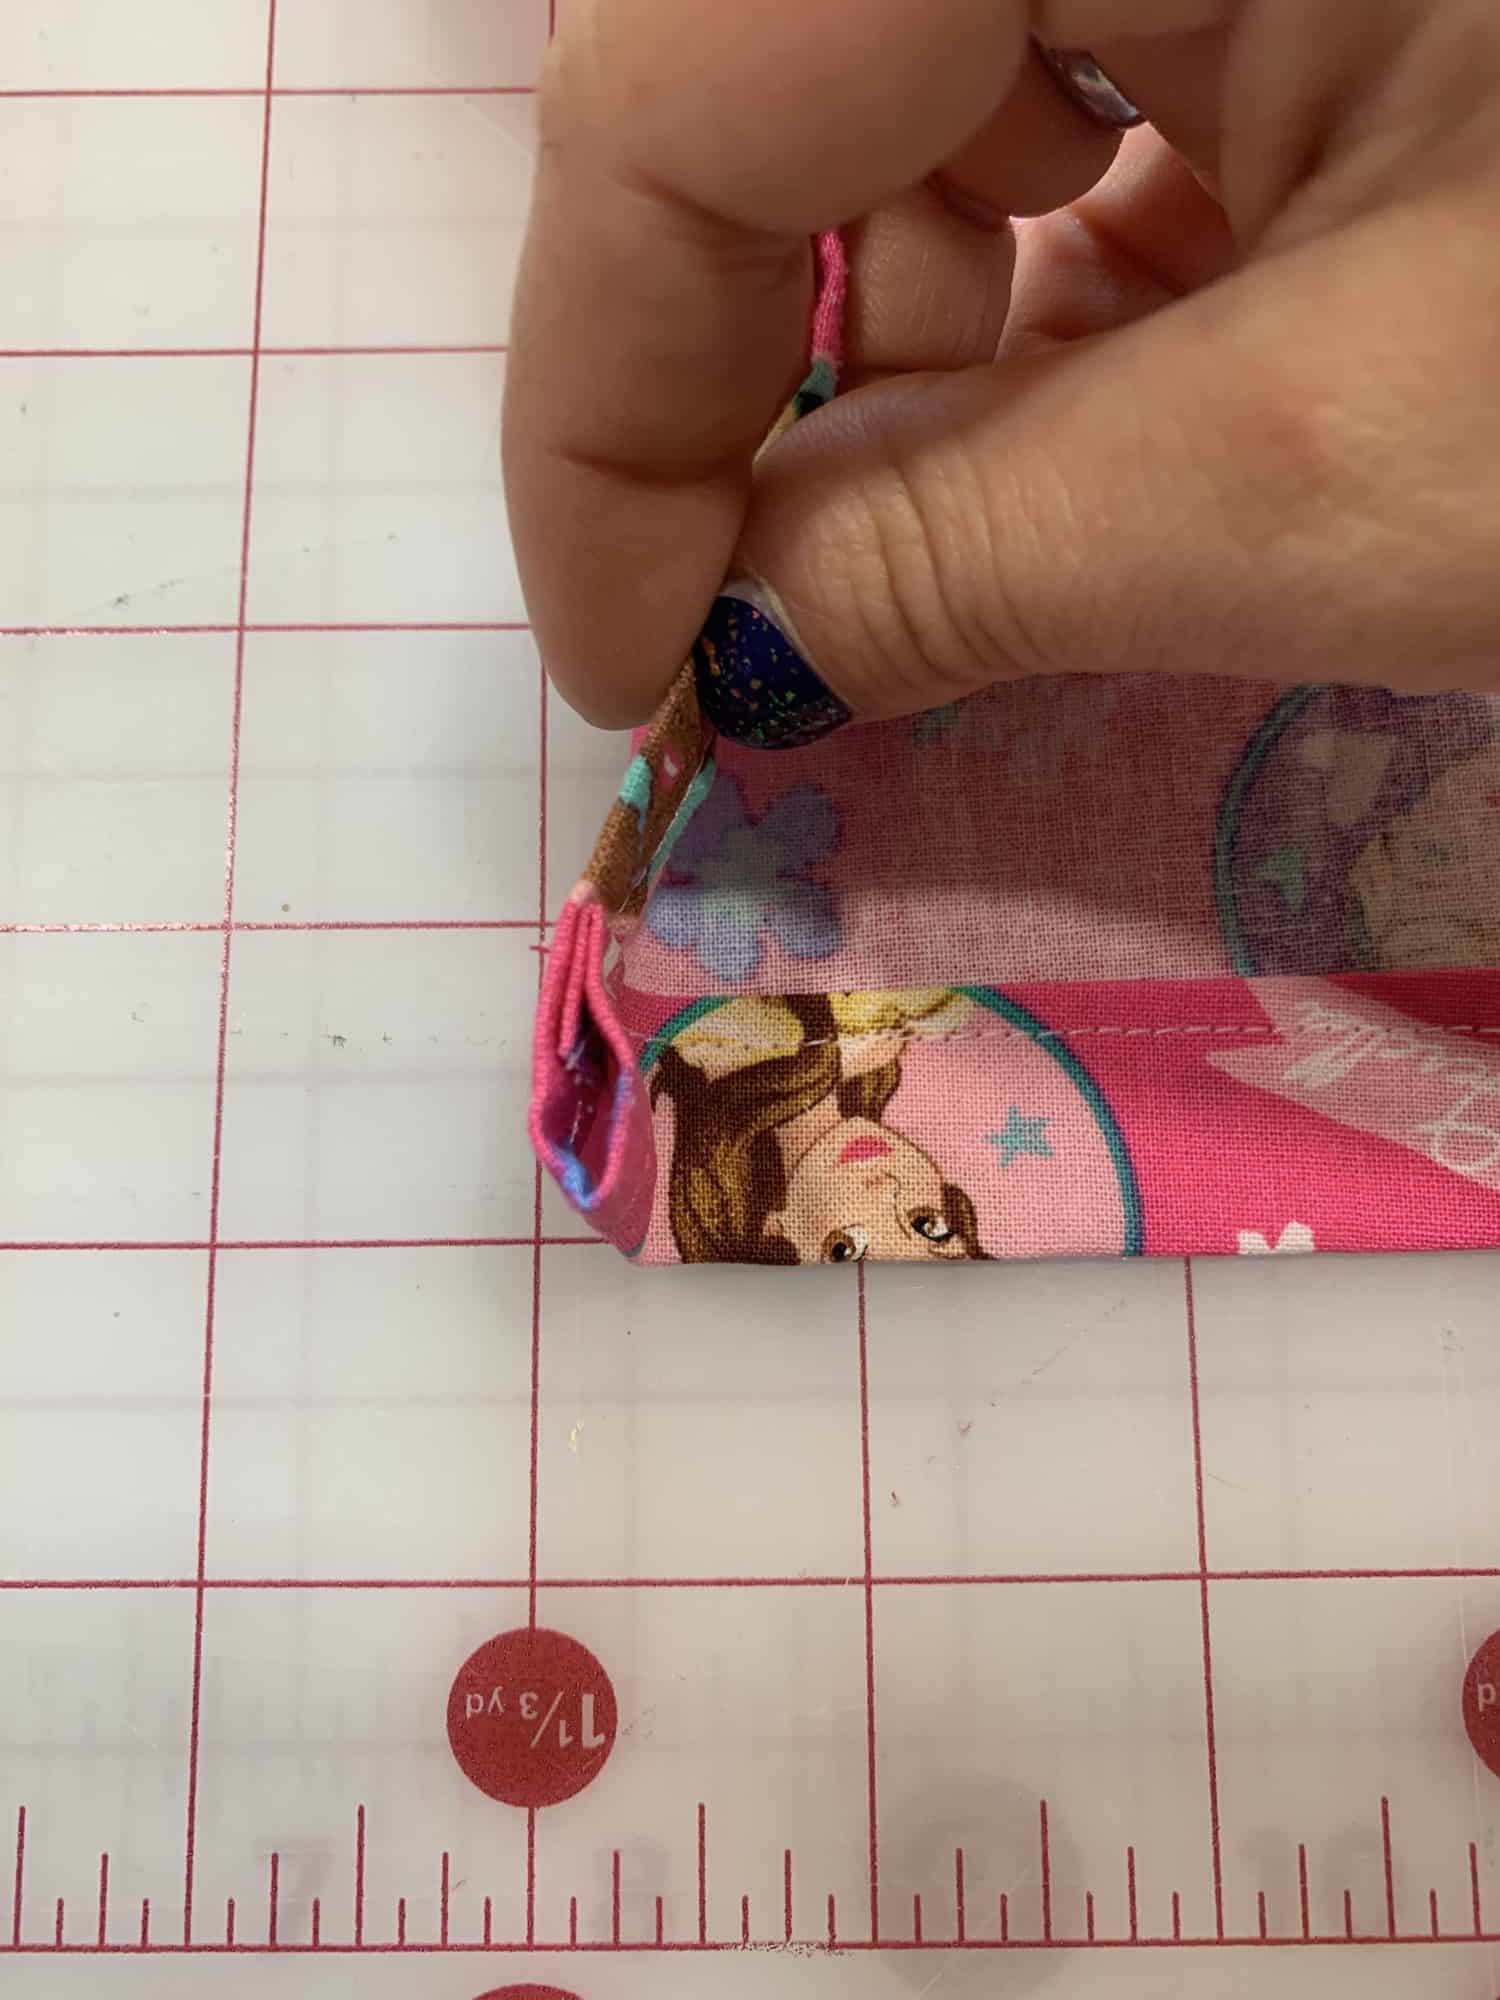
Create a casing on the short sides
- Now, you’re going to create a casing for the ribbon or string to go through.
- On one of the short edges, fold the fabric to the wrong side of the fabric by 1/4 of an inch.
- Press well.
- Now, fold that edge again by 3/4 of an inch. If your ribbon is wider, you’ll need to make a wider casing. Just be sure that your ribbon will fit into the casing after sewing it closed!
- Press well.
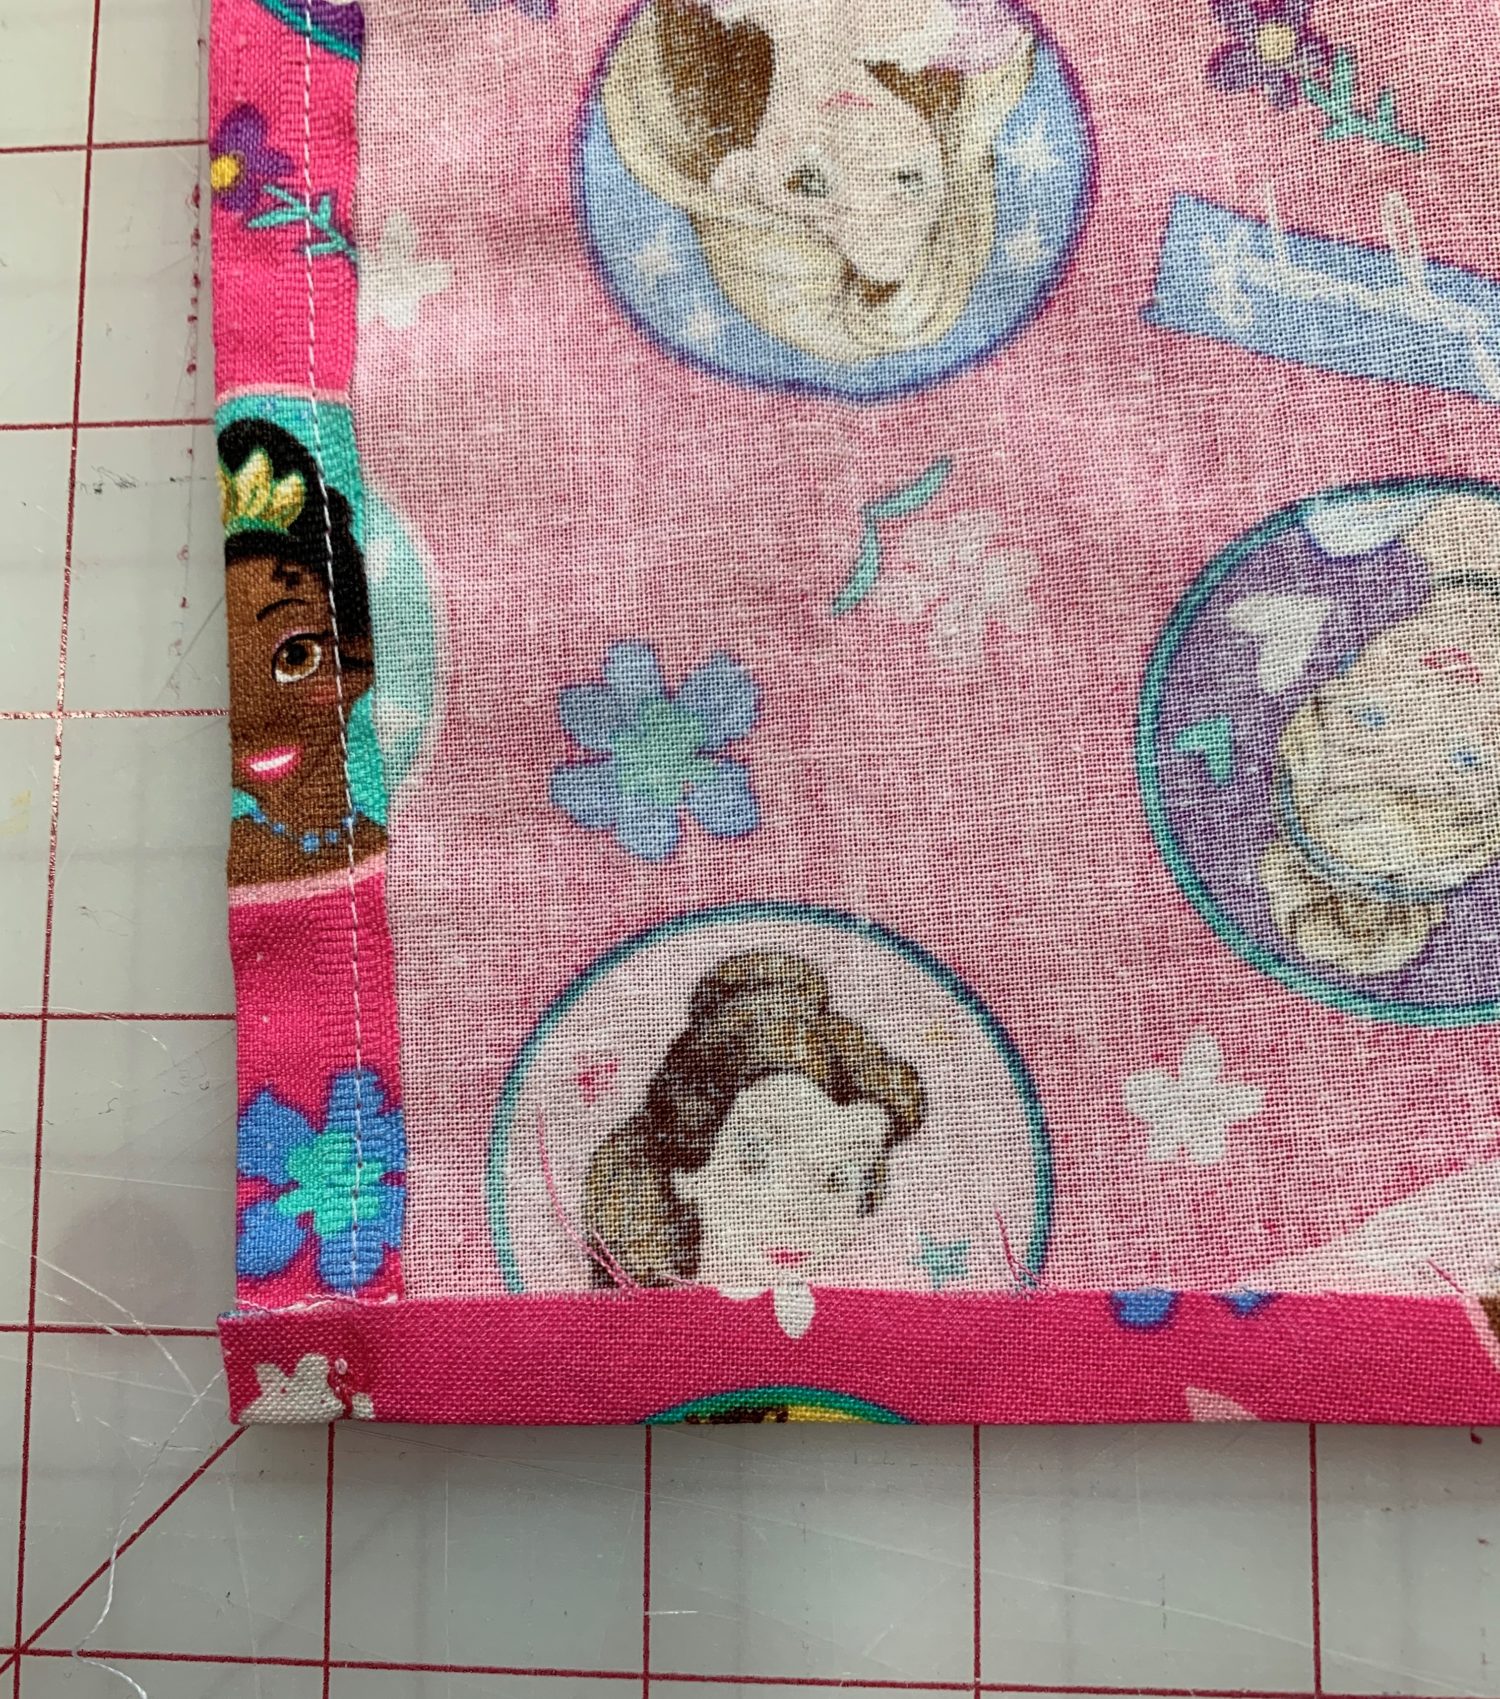
- Stitch along the edge to sew the casing closed.
- Repeat on the other short side so you have 2 casings!

Thread the ribbon into the casing
- Cut 2 pieces of ribbon to your desired length. Mine are 16 inches long.
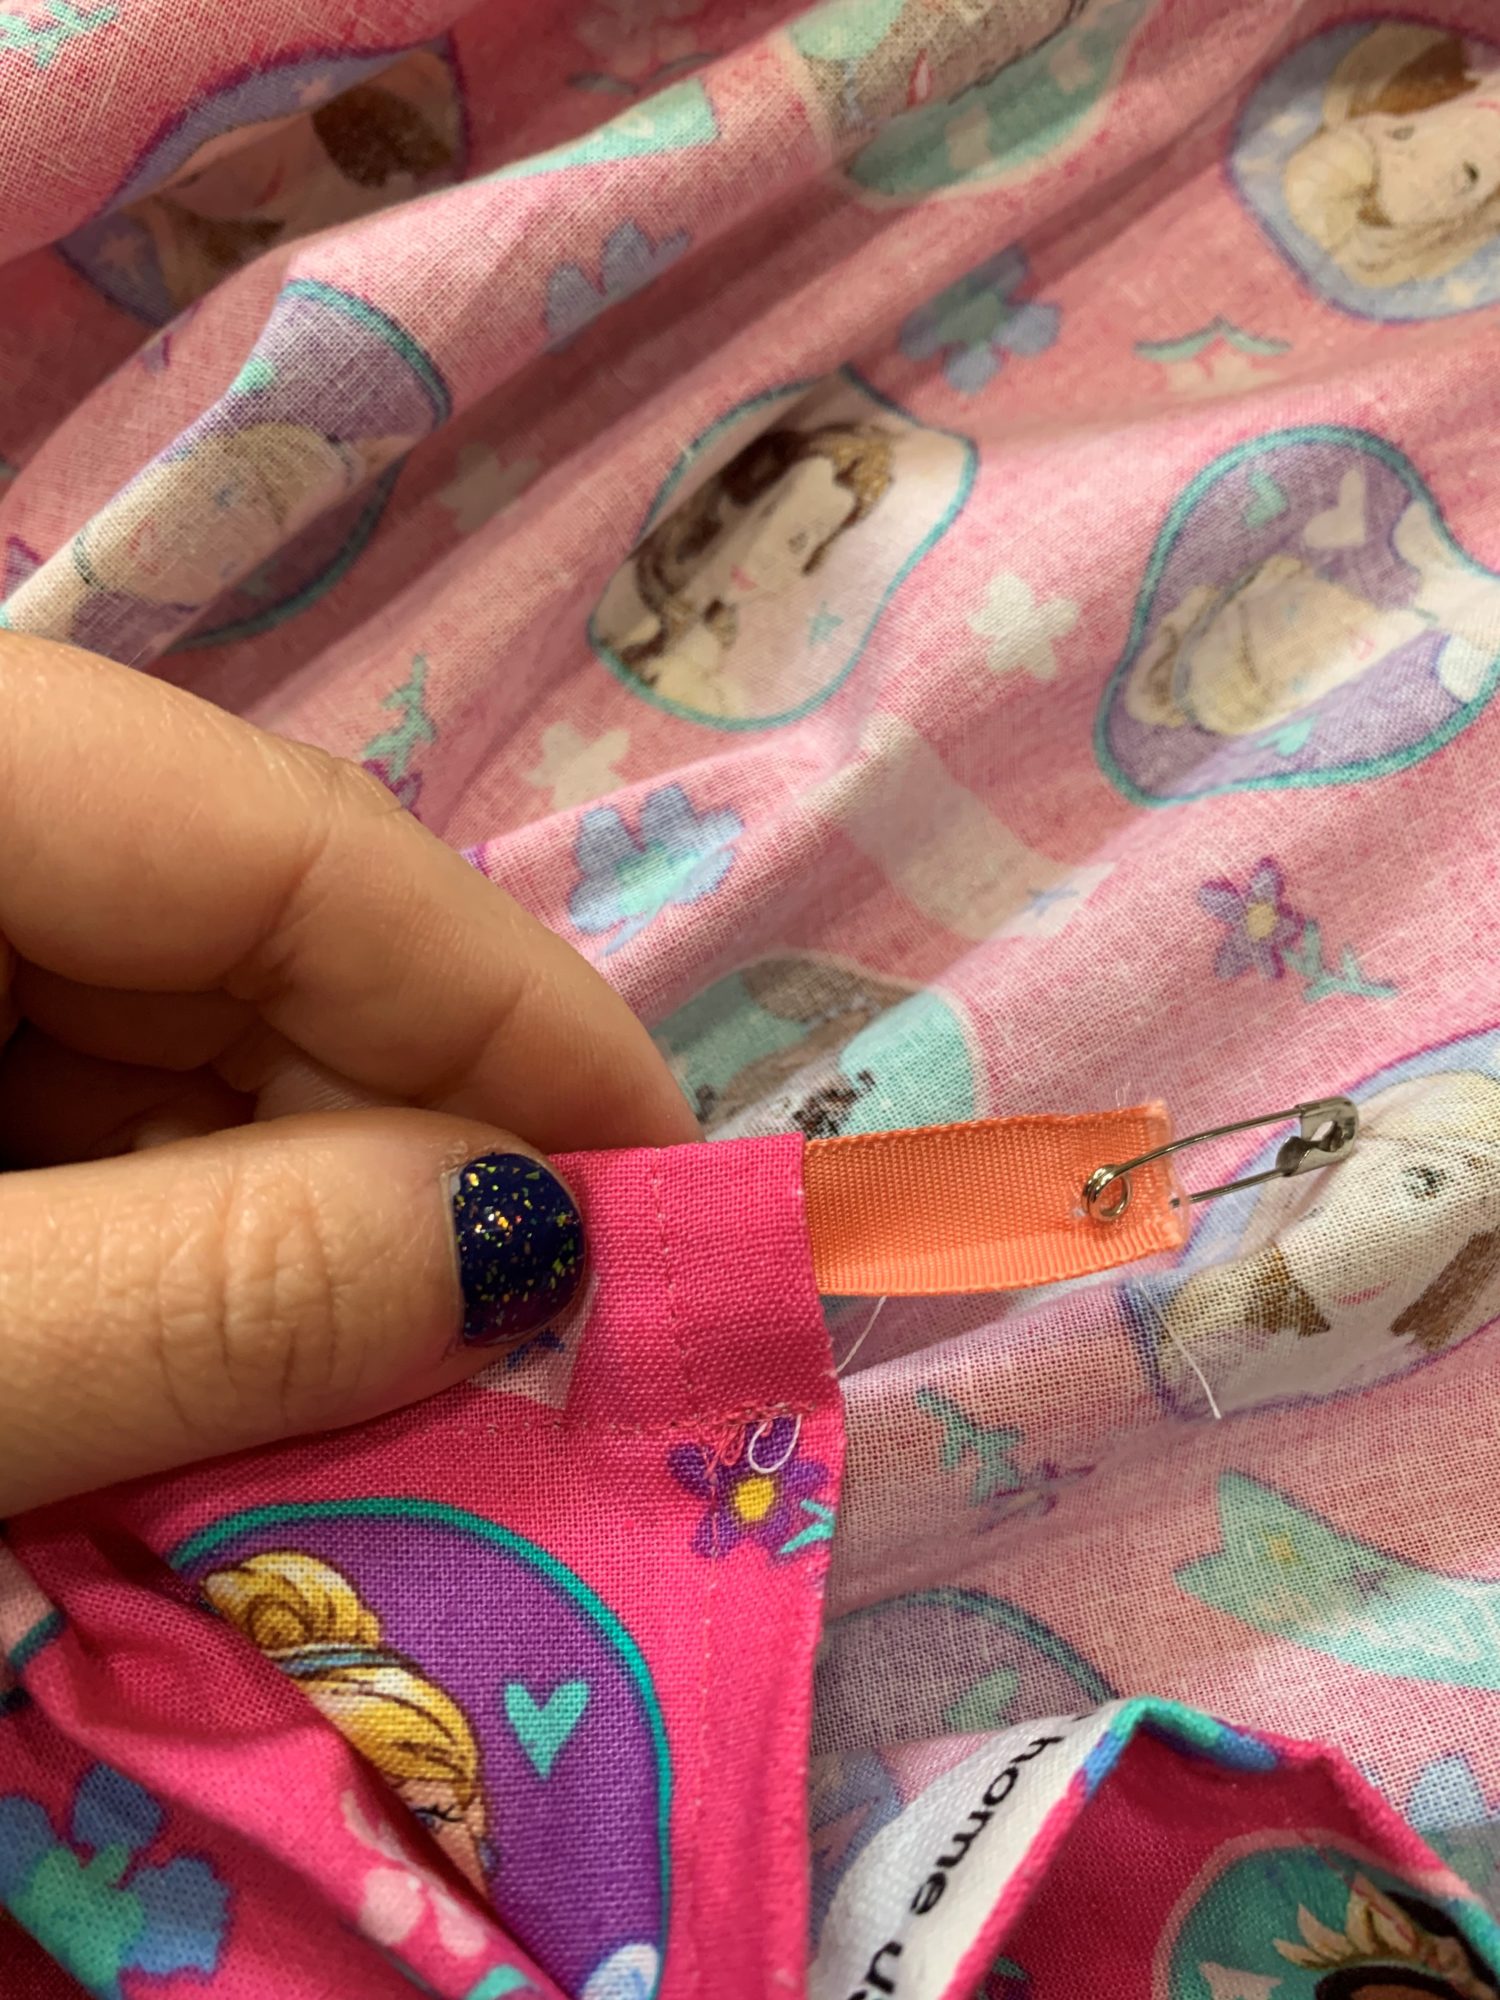
- Put a safety pin or bodkin on one end of 1 ribbon piece.
- Put the safety pin and ribbon into the casing opening.
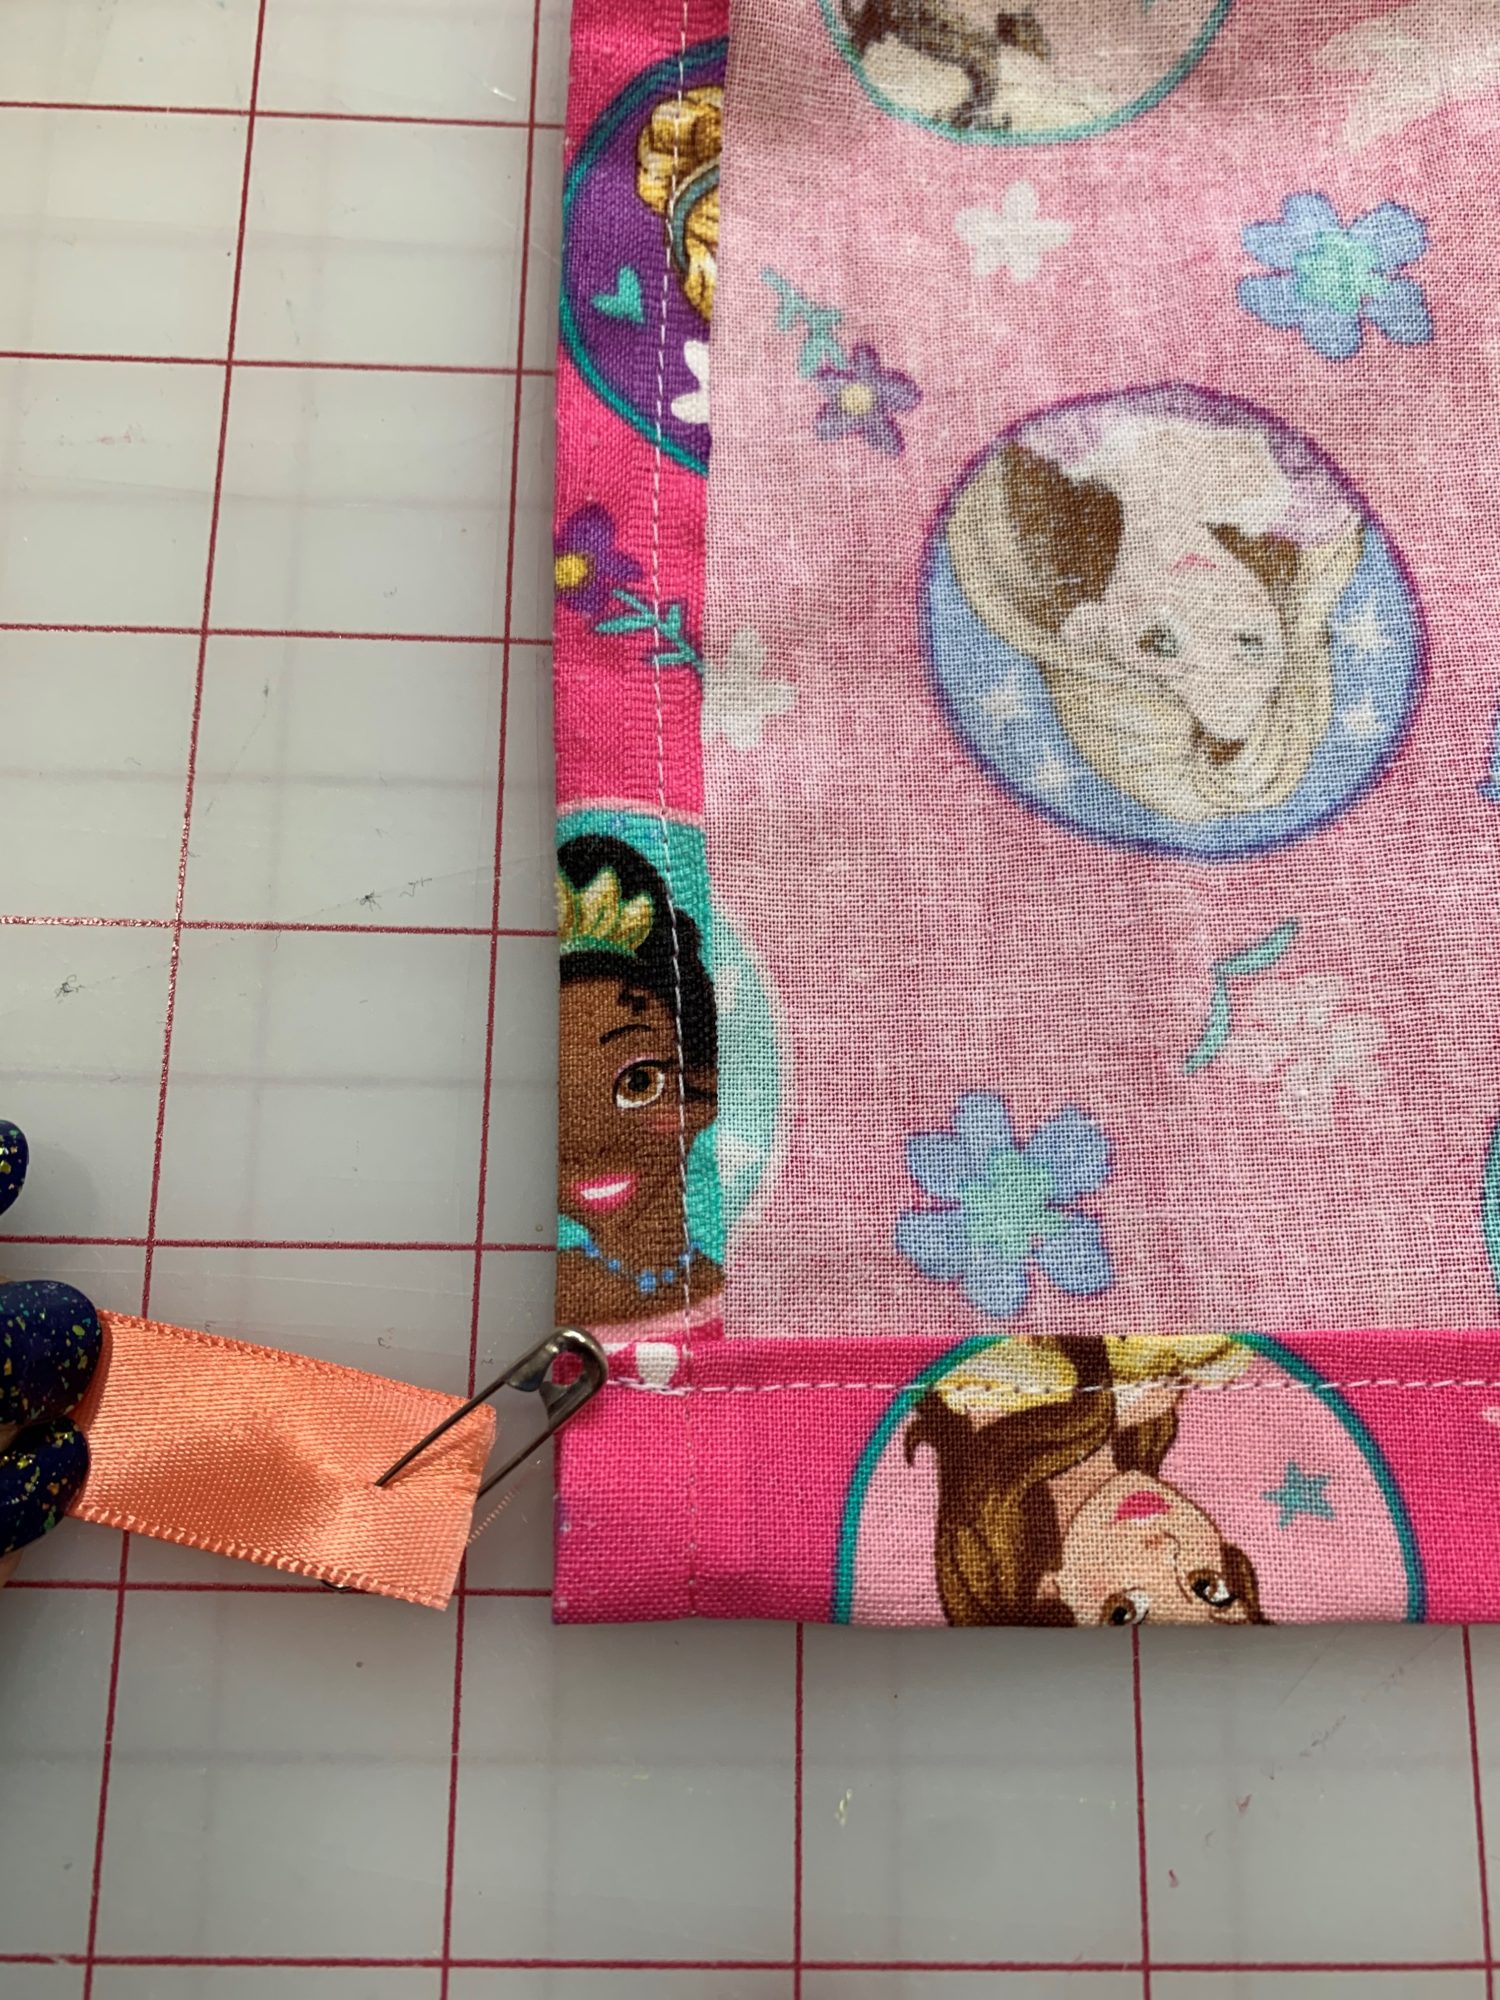
- I clipped the other end of the ribbon to the casing so that it doesn’t get lost inside while you thread the ribbon to the other side of the casing.
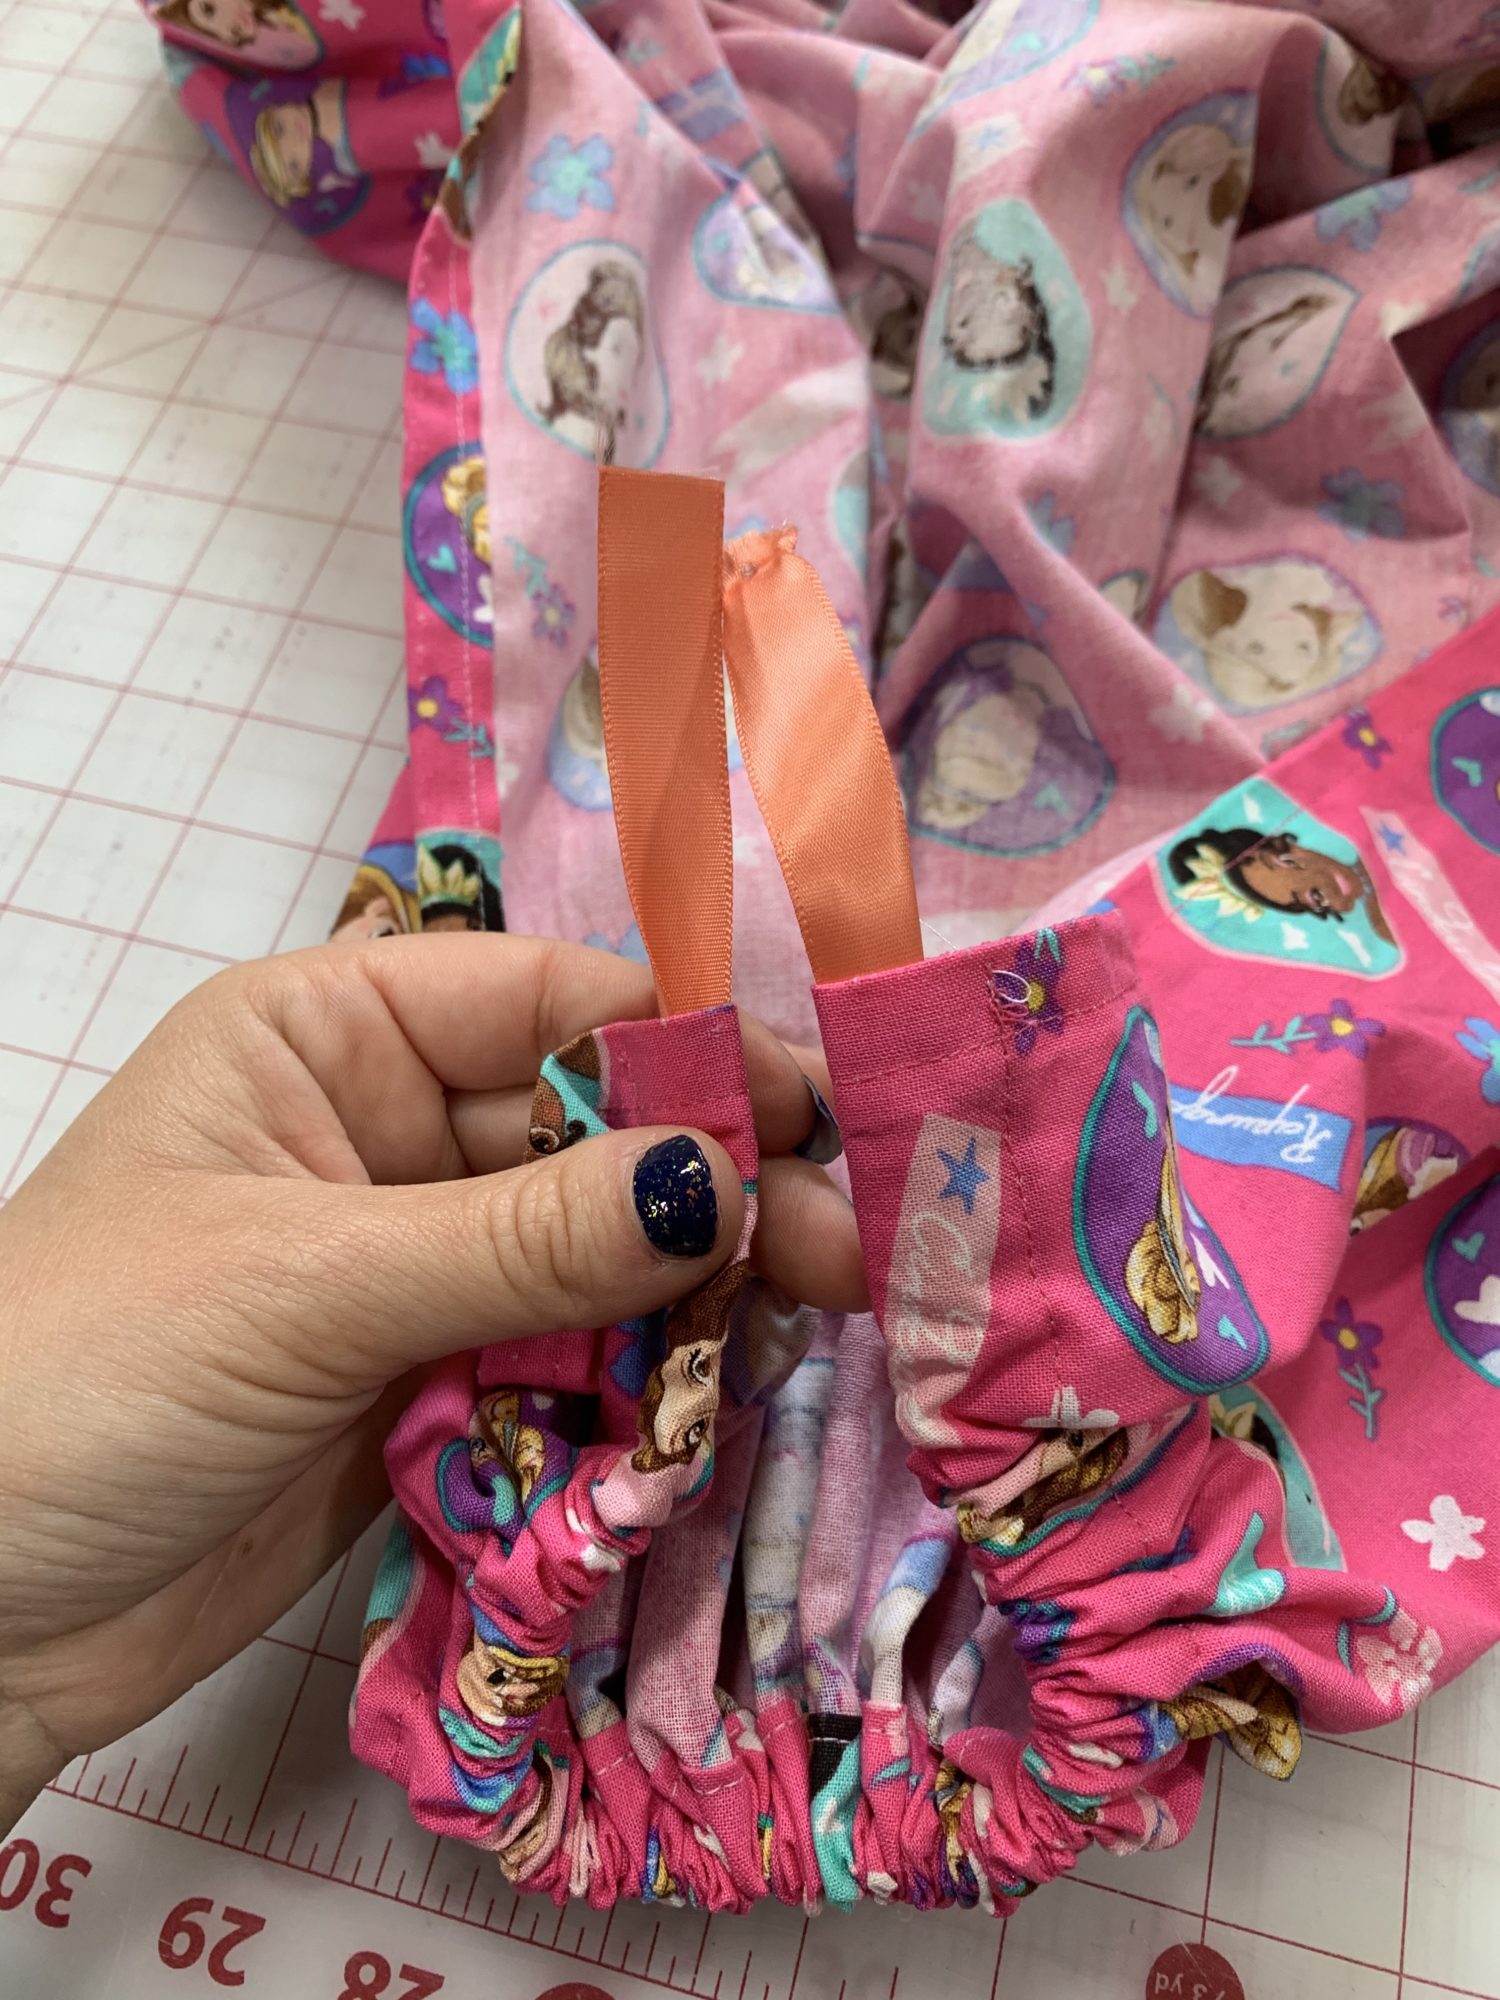
- Thread the ribbon through the casing until it comes out of the other side.
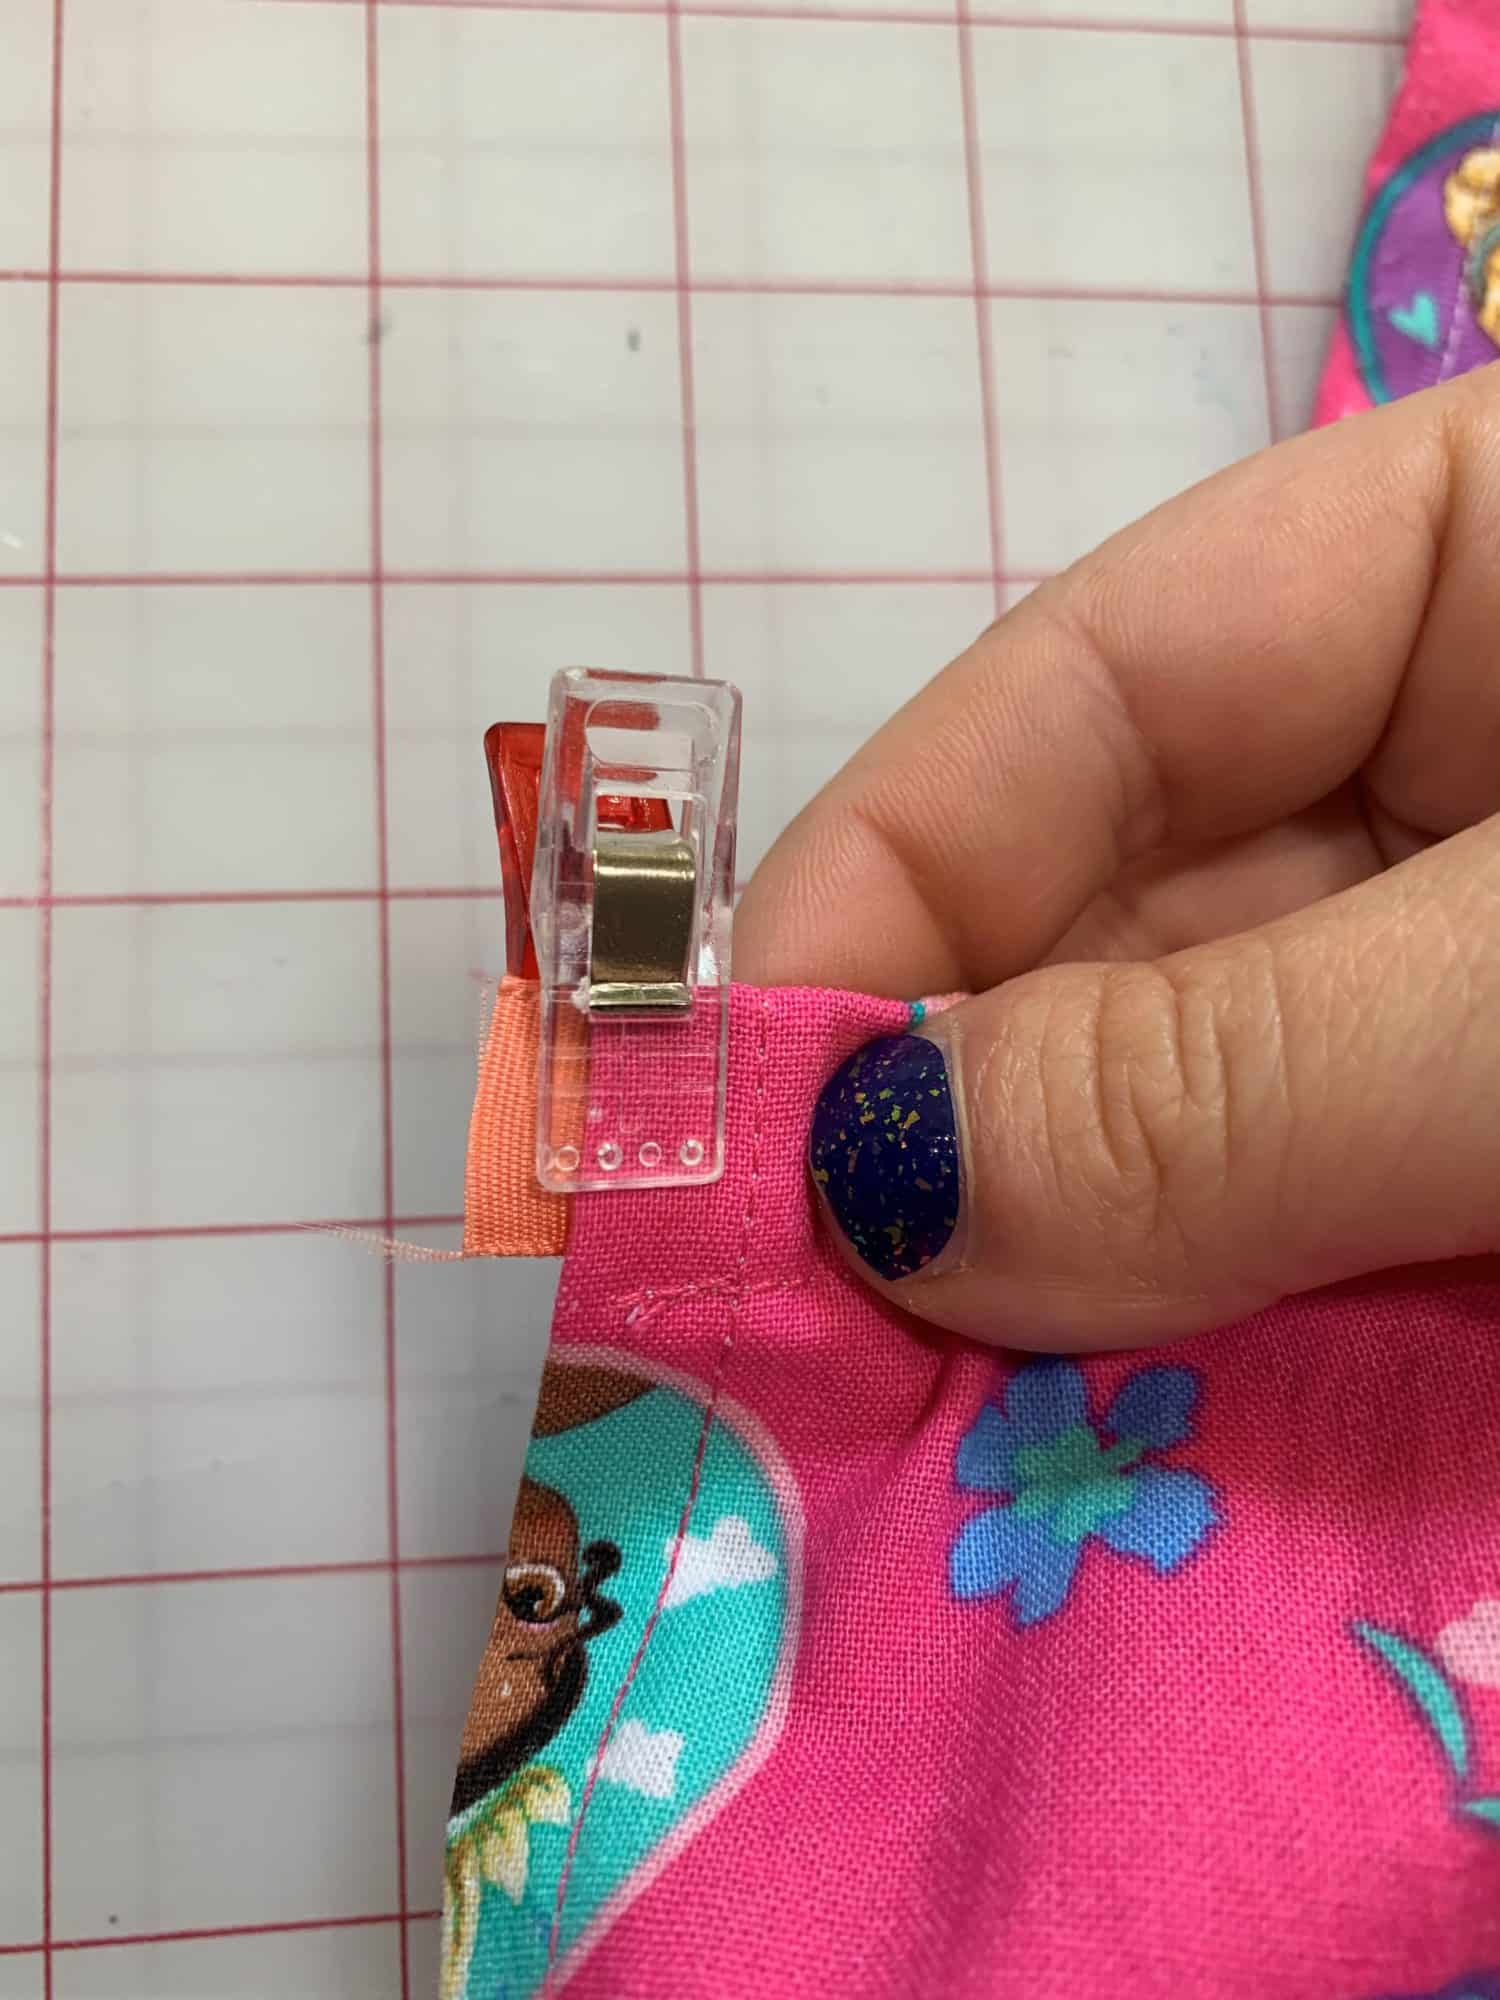
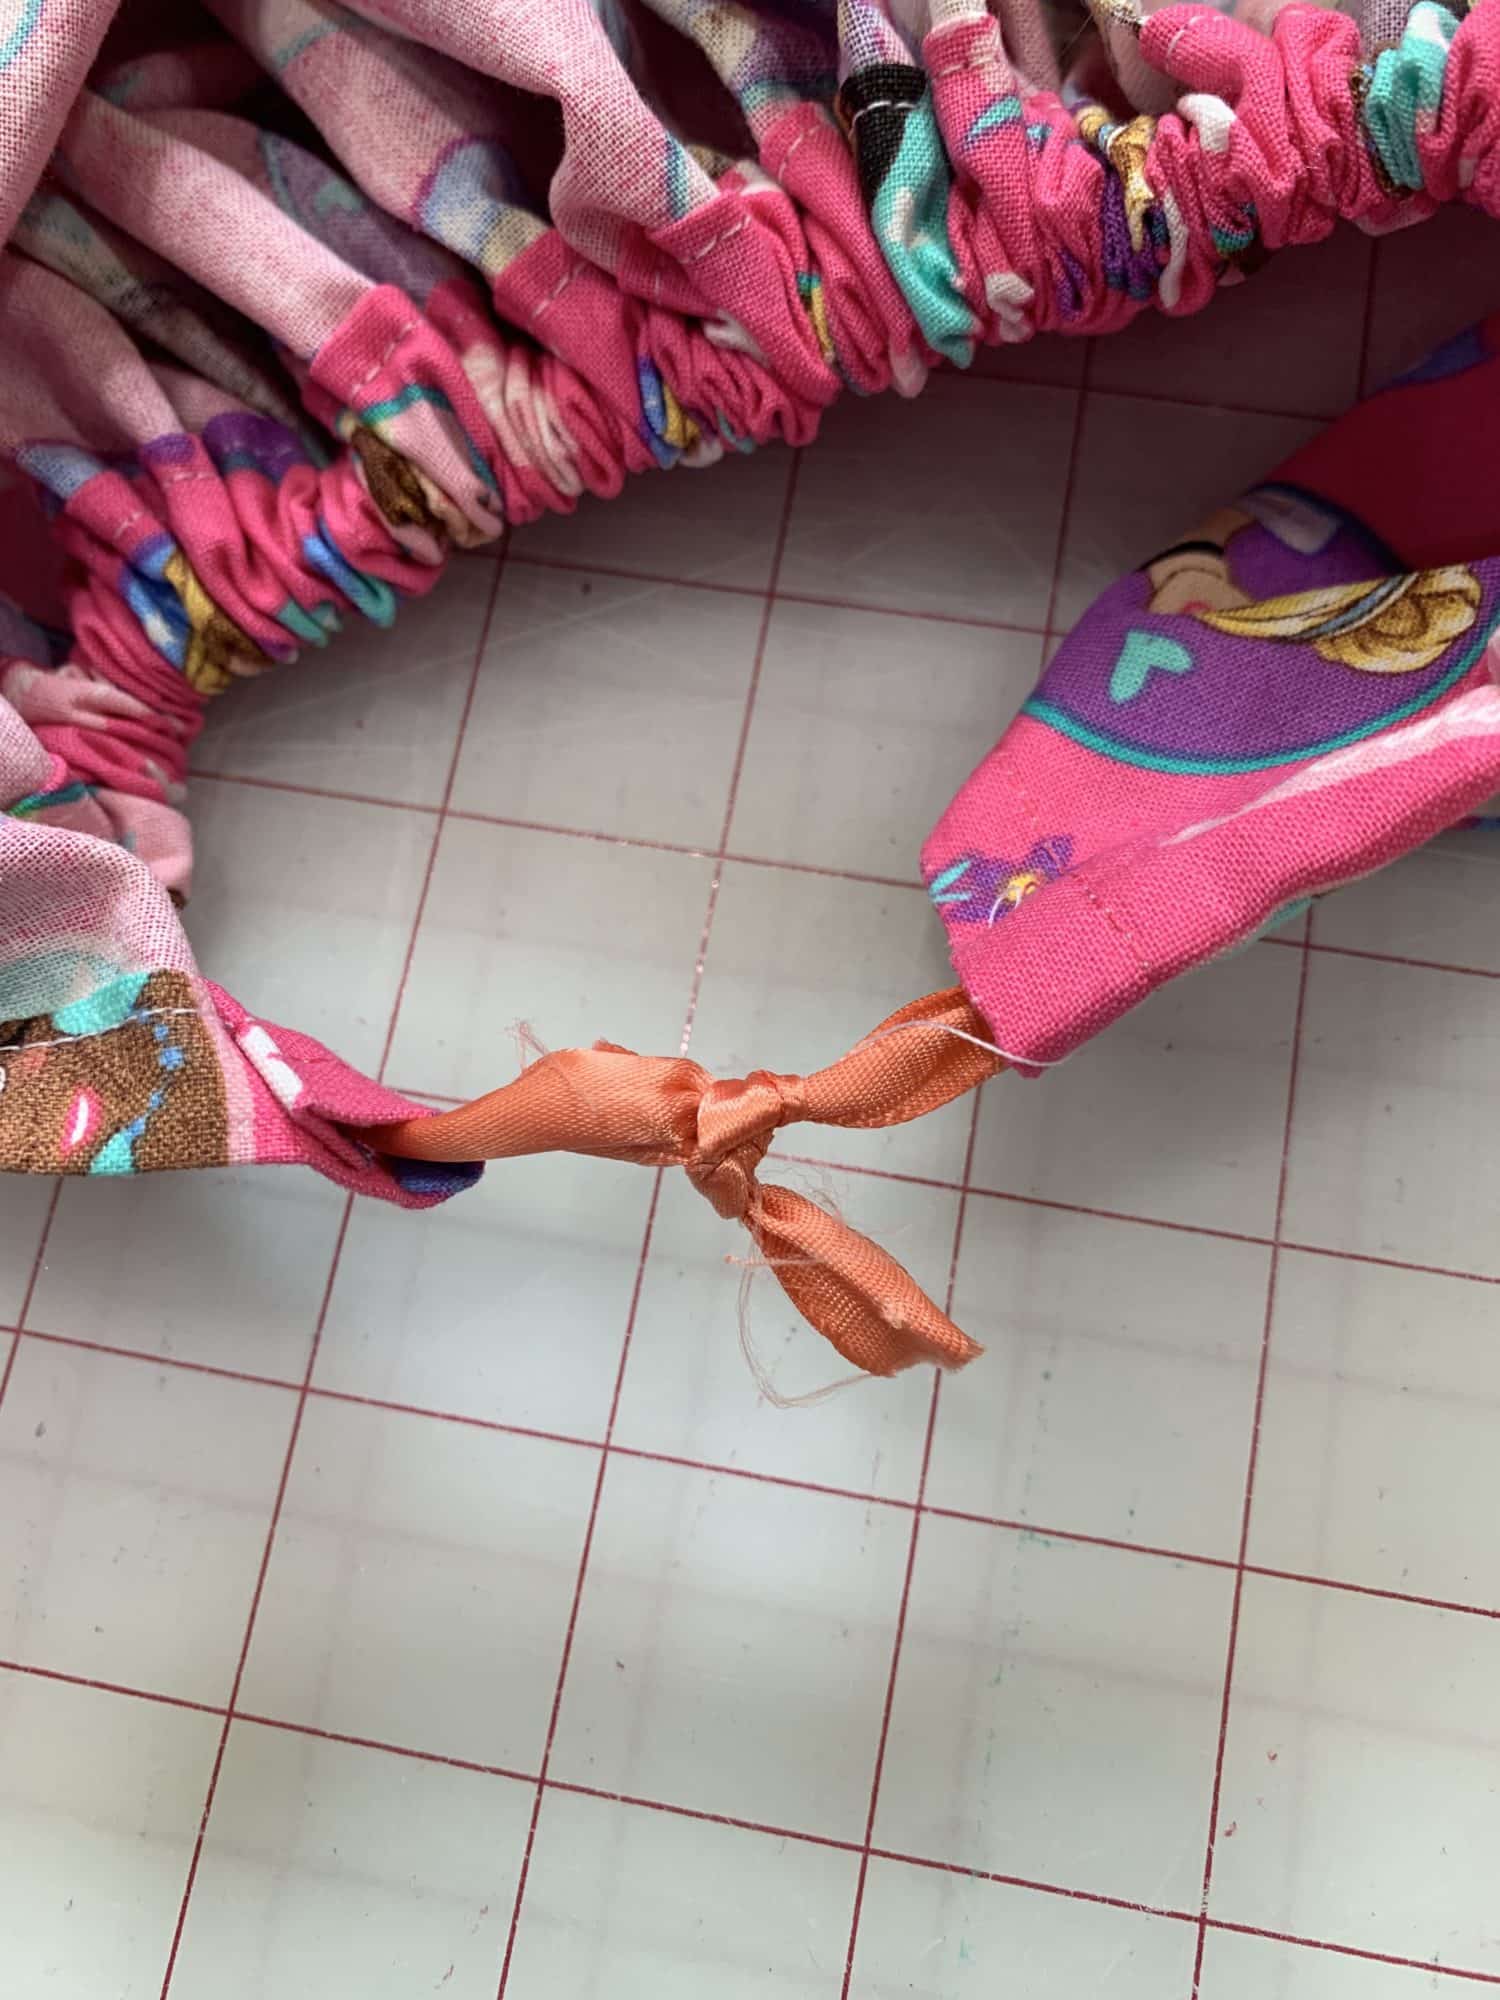
- With both ends out of the casing, tie ends into a tight knot.
- Depending on your ribbon, you could sew the ends together instead of tying them, if you prefer.
- Slide the knot into the casing so that it is hidden.
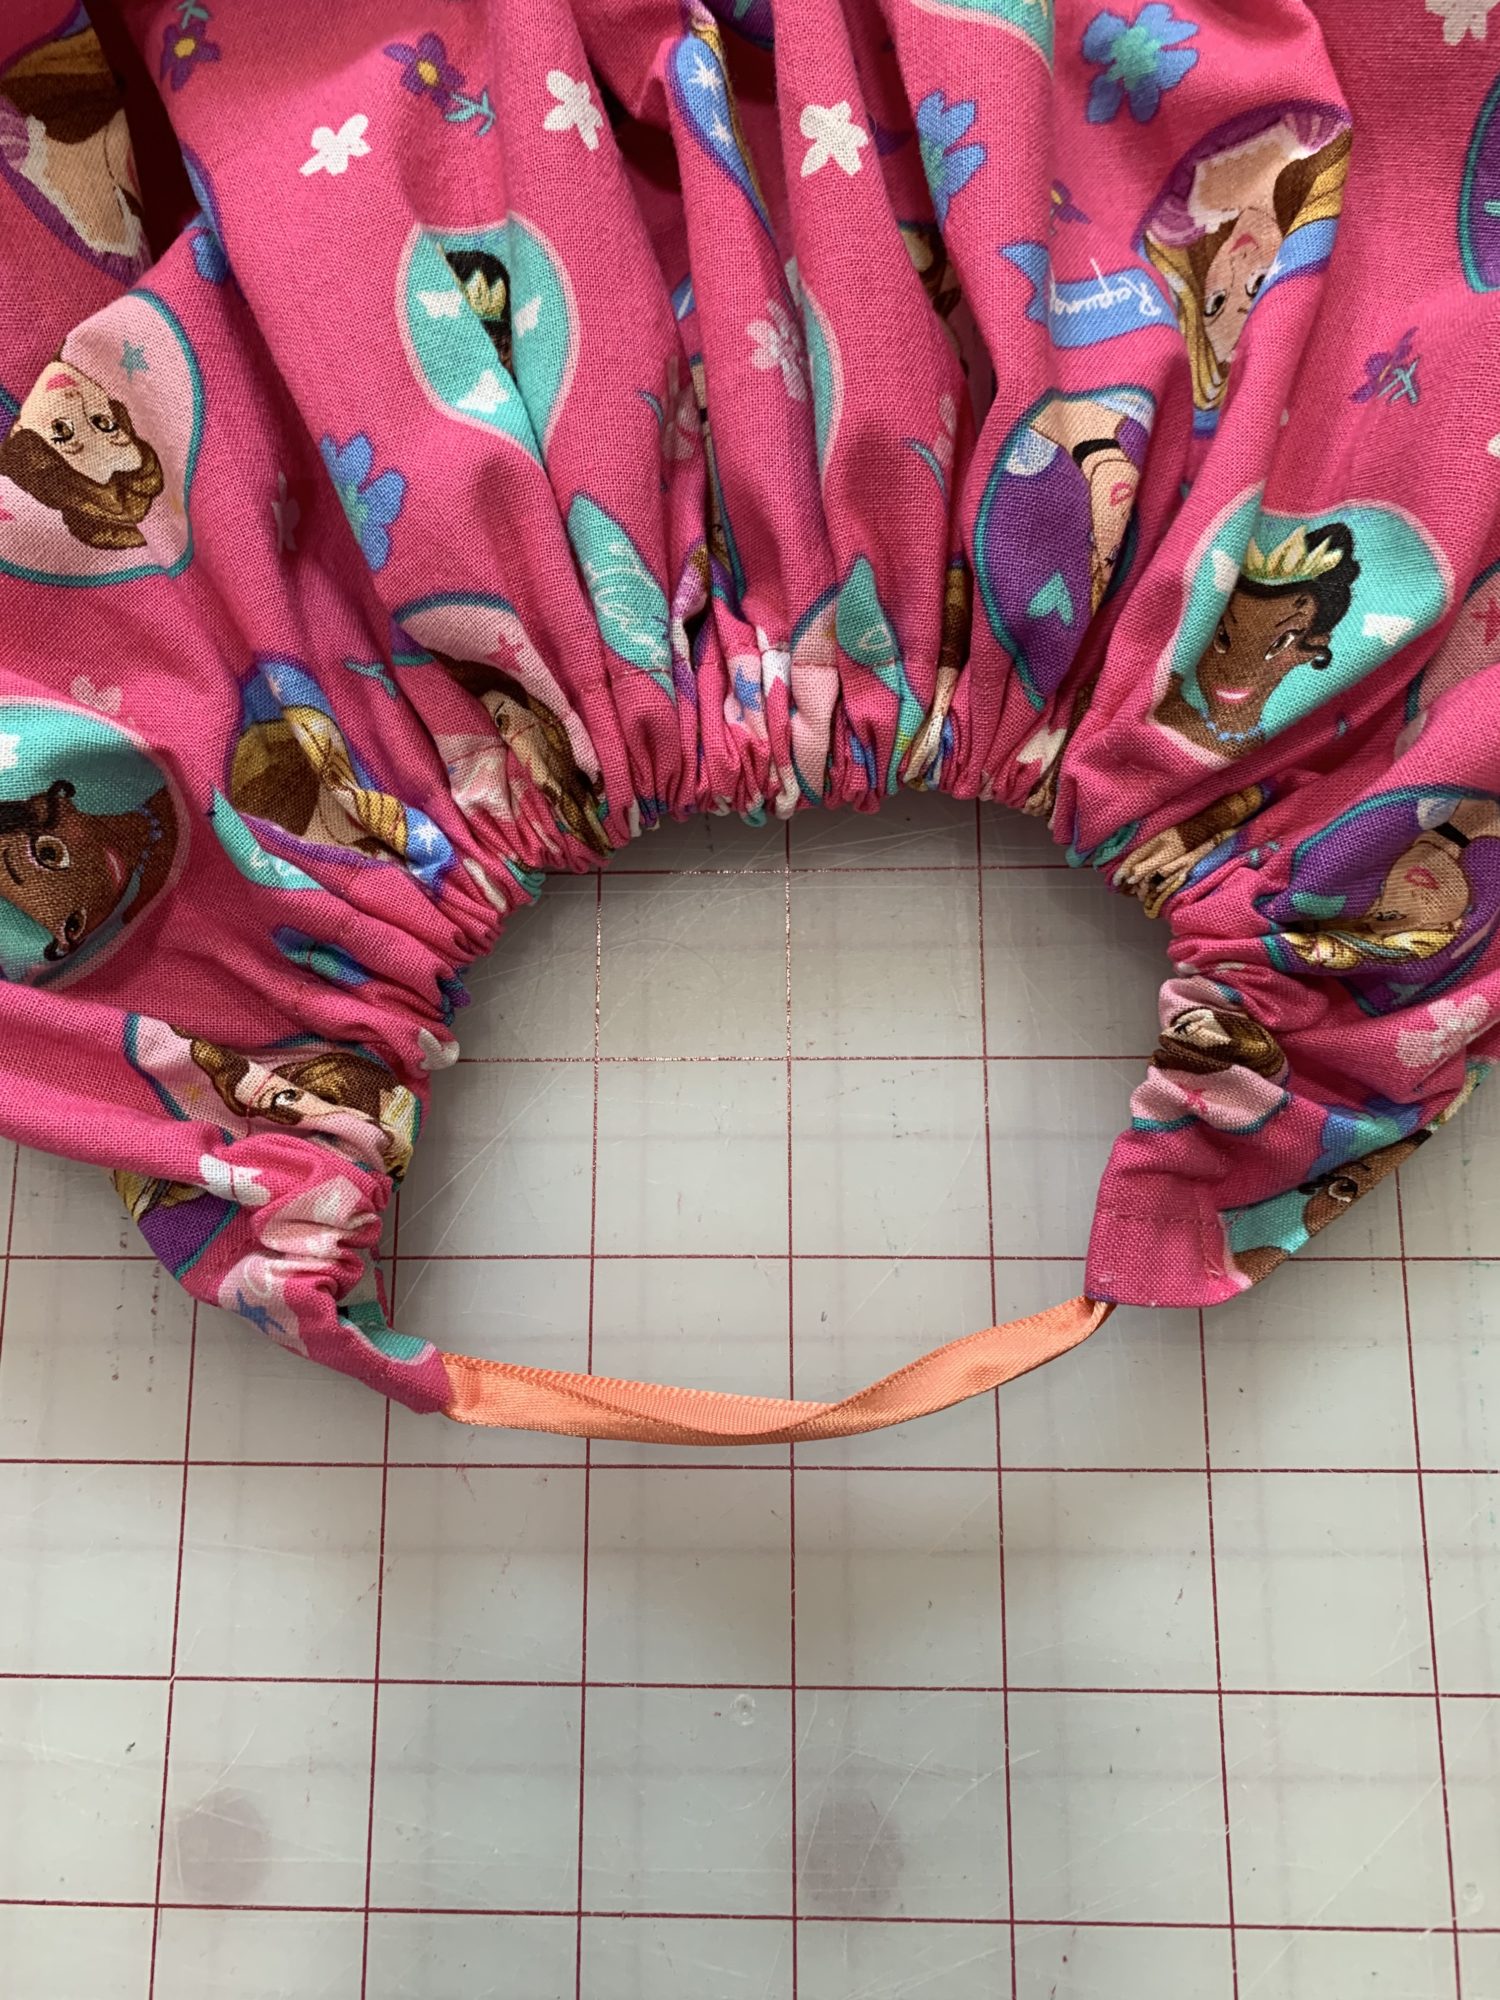
- Now, thread the second piece of ribbon into the second casing, just like you did the first one.
- Tie a knot to secure the ribbon and hide your knot.
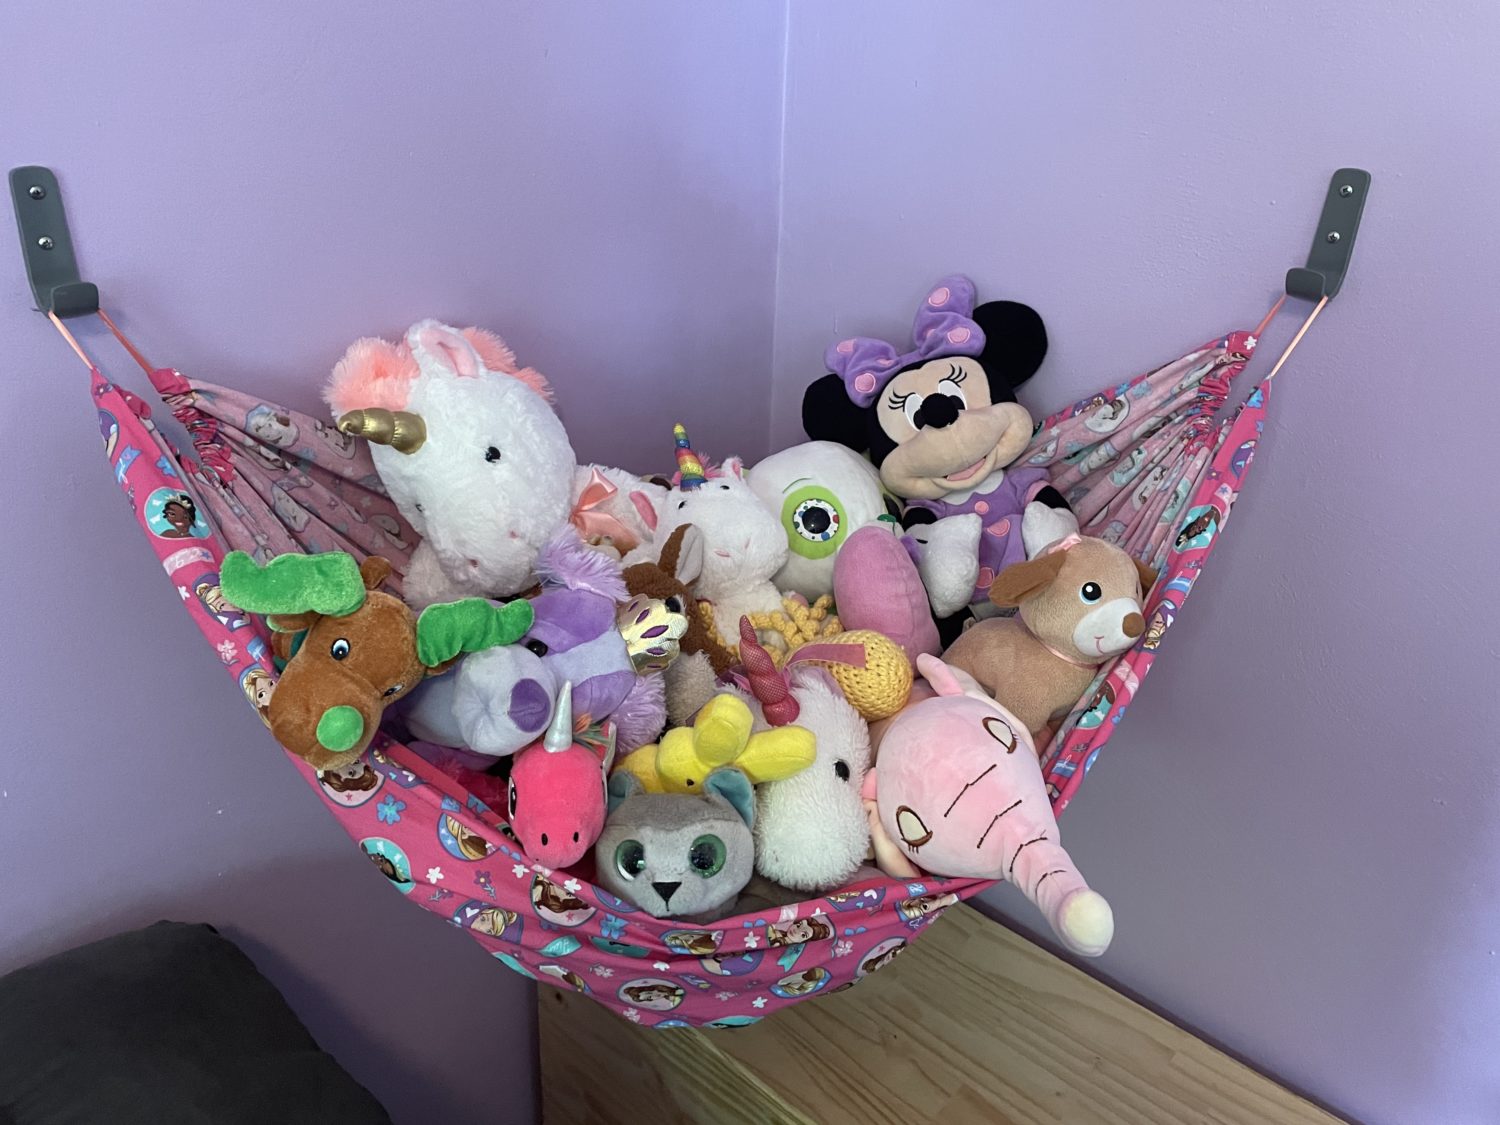
You’re done! Admire your new stuffed animal hammock!

Hanging it on the wall
- Use your screws and hooks to hang your stuffed animal hammock on the wall.
- We decided to hang it low enough for the kiddos to be able to put their animals away by themselves.
- Once it it secured to the wall, fill it up with stuffed animals!!
- Celebrate that stuffed animals aren’t all over the floor anymore! Woo Hoo!

Want more FUN DIY Freebies? Check out the FREEBIE TUTORIALS and the FREEBIE PATTERNS!
As always, we’re here to help if you need it! Join us HERE and on Facebook, Instagram, Twitter, Youtube, and Pinterest. We’re everywhere you are.
Leave a Reply