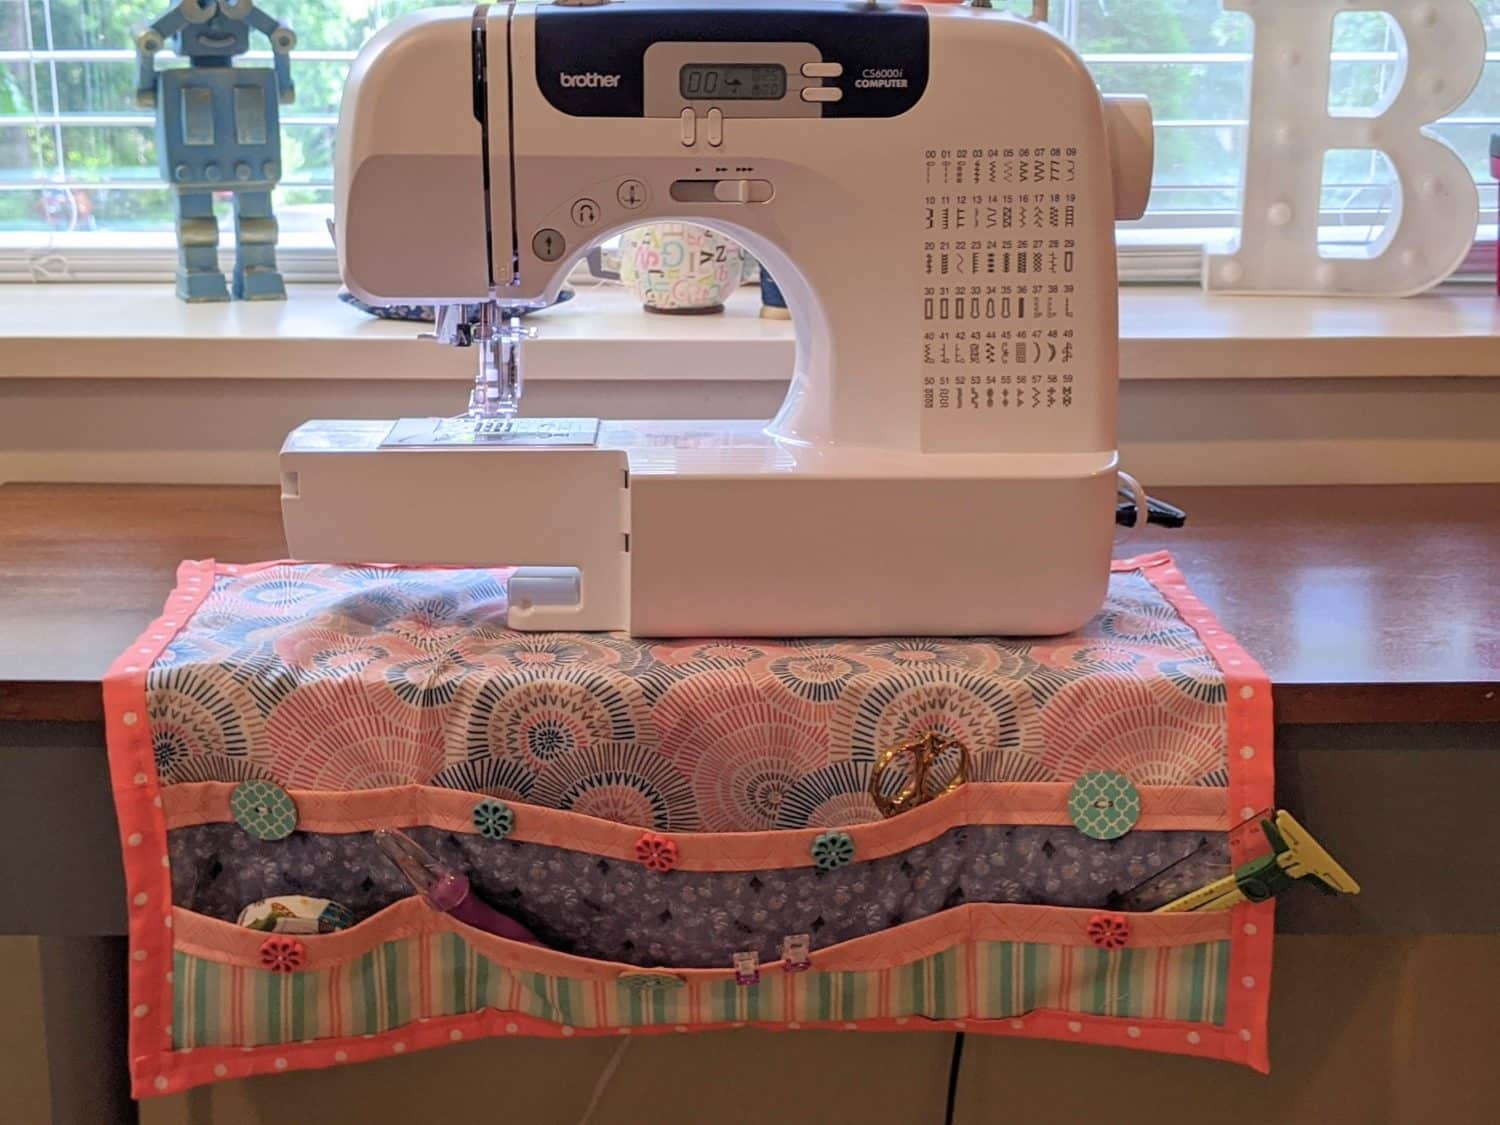
Last week I showed you all how I made an organizer for my ironing board. If you didn’t see it, you can check it out HERE! This week, I’m continuing on in my attempt to reorganize and beautify my sewing room. I made a non-slip organizing mat for under my sewing machine to hold all my most used sewing items so I don’t have to search through my drawer for everything. I will walk you through all the steps so you can make one too!
Organizer Materials Needed:
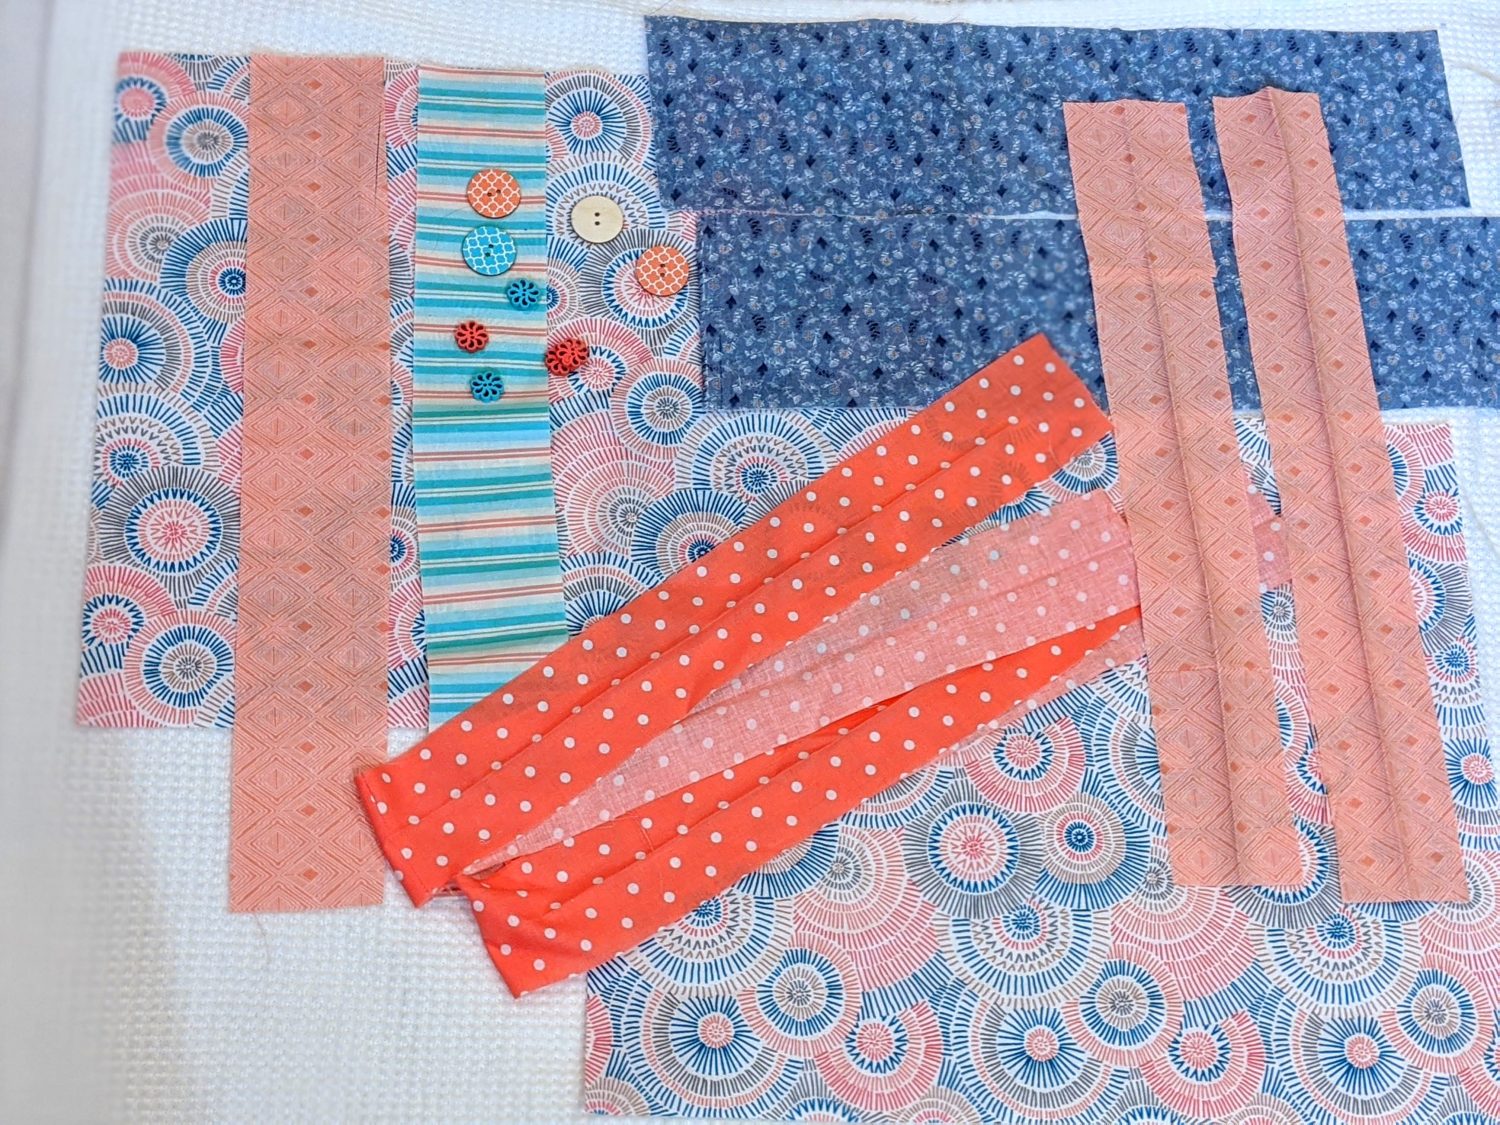
- Woven fabric in coordinating colors (I used quilters cotton)
- Coordinating thread
- Sewing machine
- Iron
- Gripper fabric or non-slip pad
- Optional: buttons or other embellishments
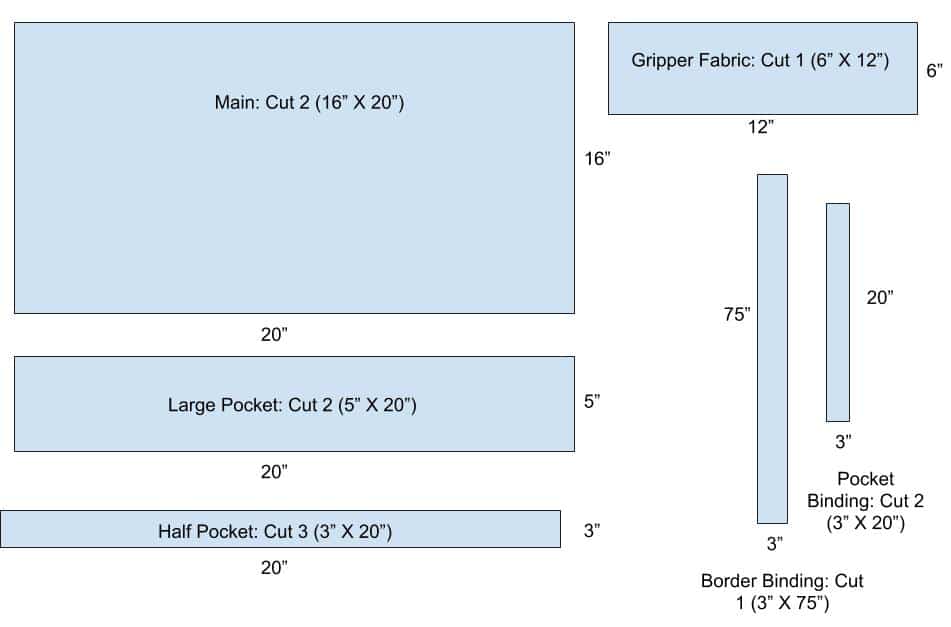
Cutting Your Organizer Pieces:
- Main fabric: (2) 16″ X 20″
- Large pocket: (2) 5″ X 20″
- Half pocket: (2) 3″ X 20″
- Gripper fabric (1) 6″ X 12″
- Binding pieces:
- Perimeter: (1) 3″ X 75″
- Pockets: (2) 3″ X 20″
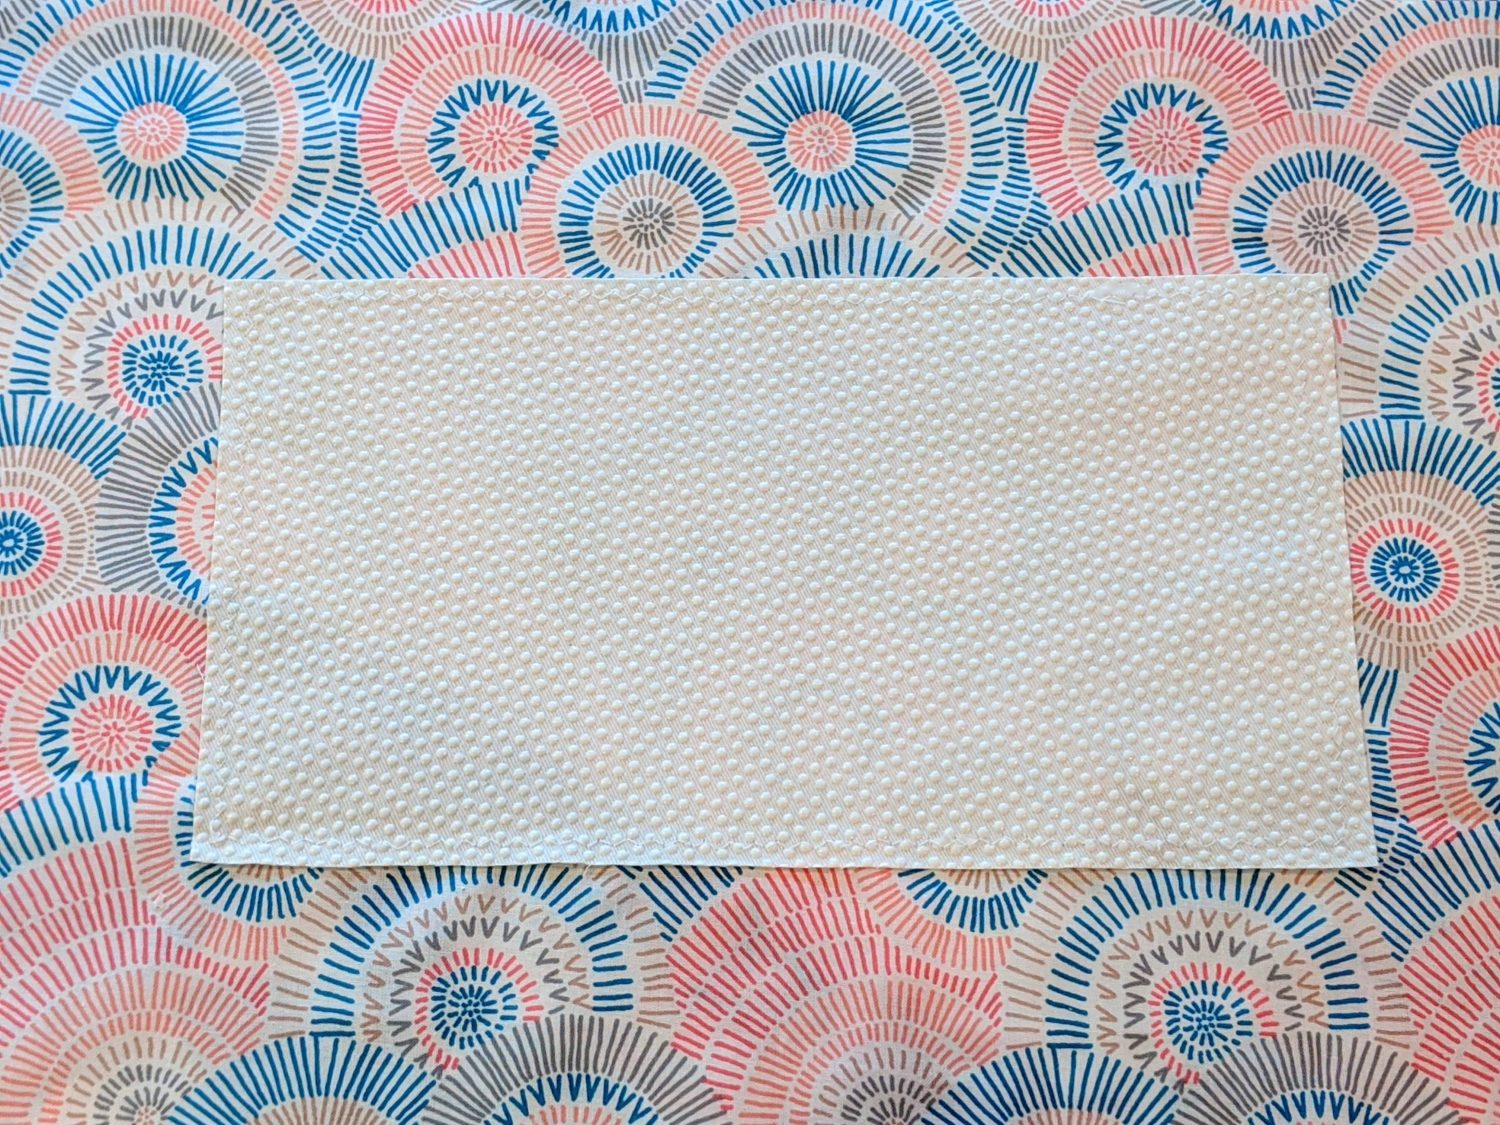
Starting With the Back:
- Take one of your main fabric pieces and your gripper fabric piece and find the center of each and mark
- Measure down 3″ from the top of the main fabric and lay your gripper fabric on top of your main fabric, both with right sides up and line up the center marks
- Pin the gripper fabric in place and sew around the edge

Onto the Front
Creating the Pockets:
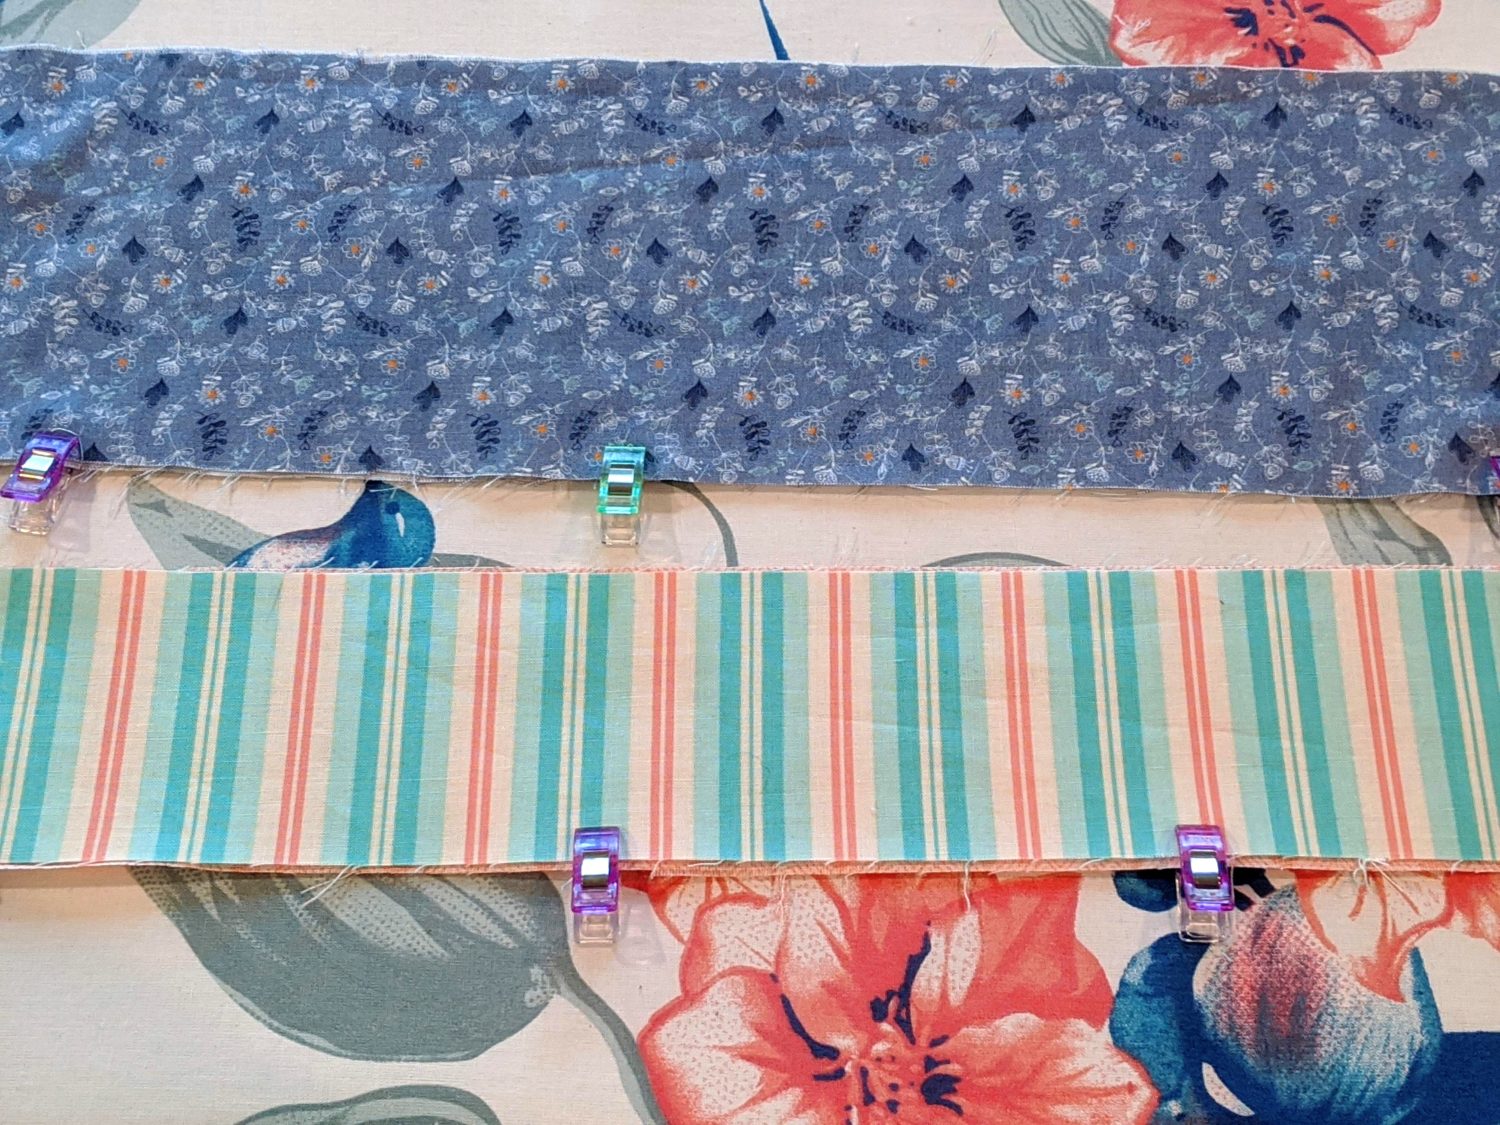
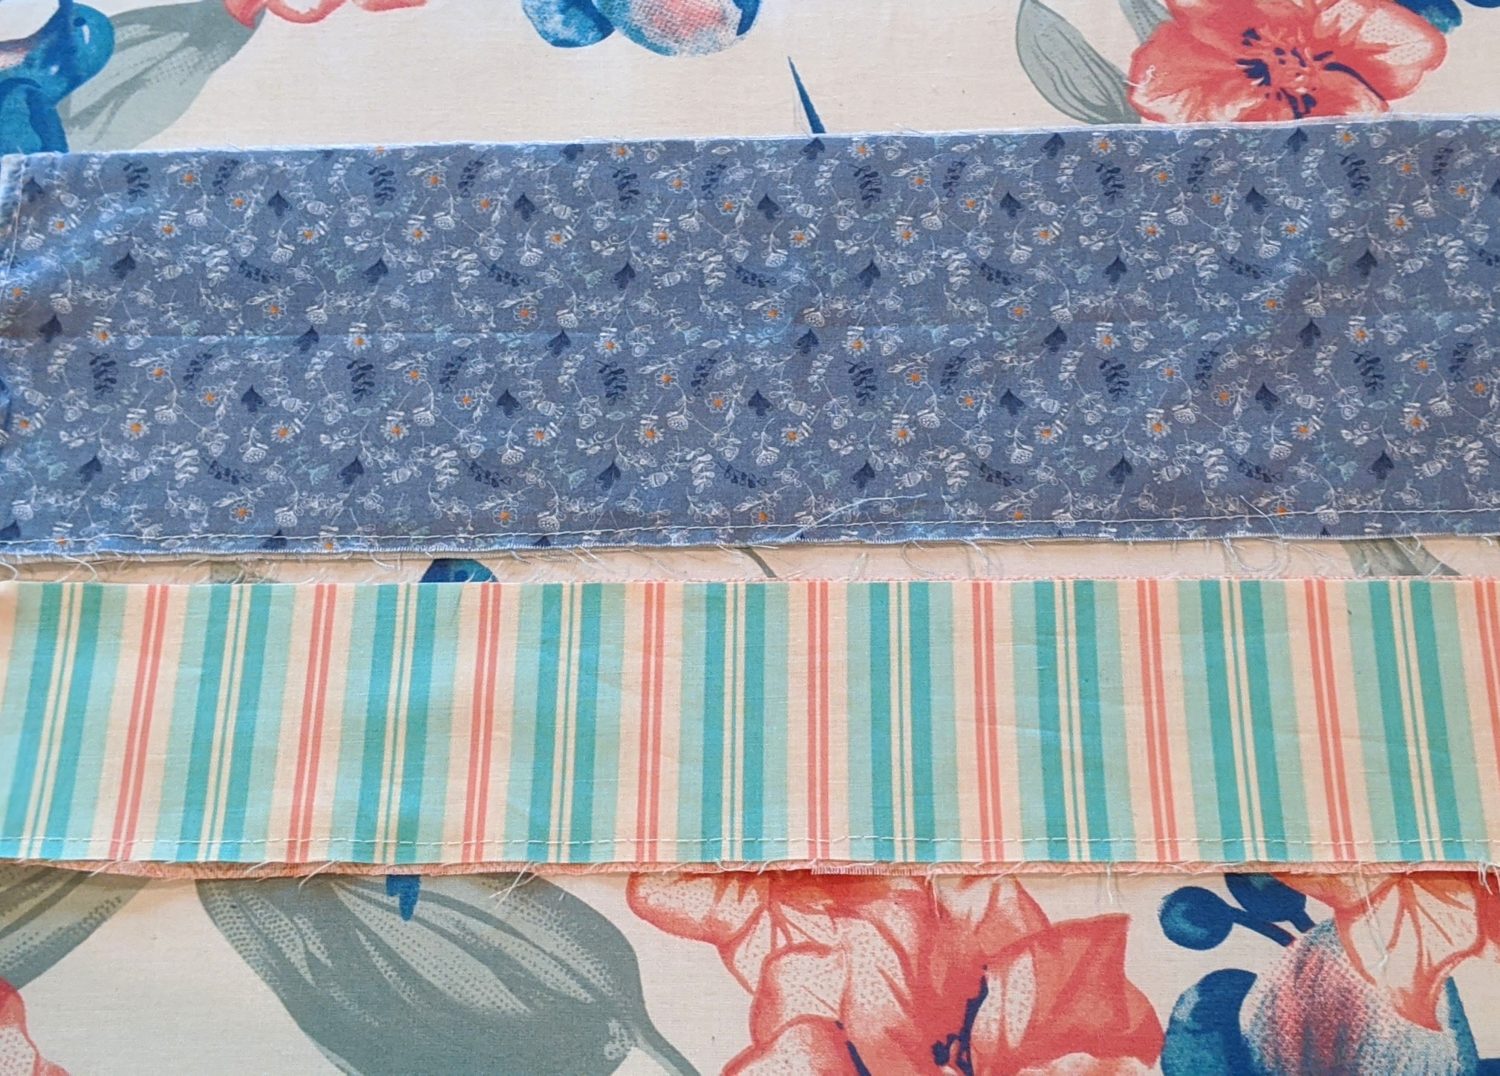
- Take both pieces for your large pocket and line them up right sides together
- Clip around edges and baste
- Repeat these steps with the half pocket pieces
Creating the Pocket Binding:
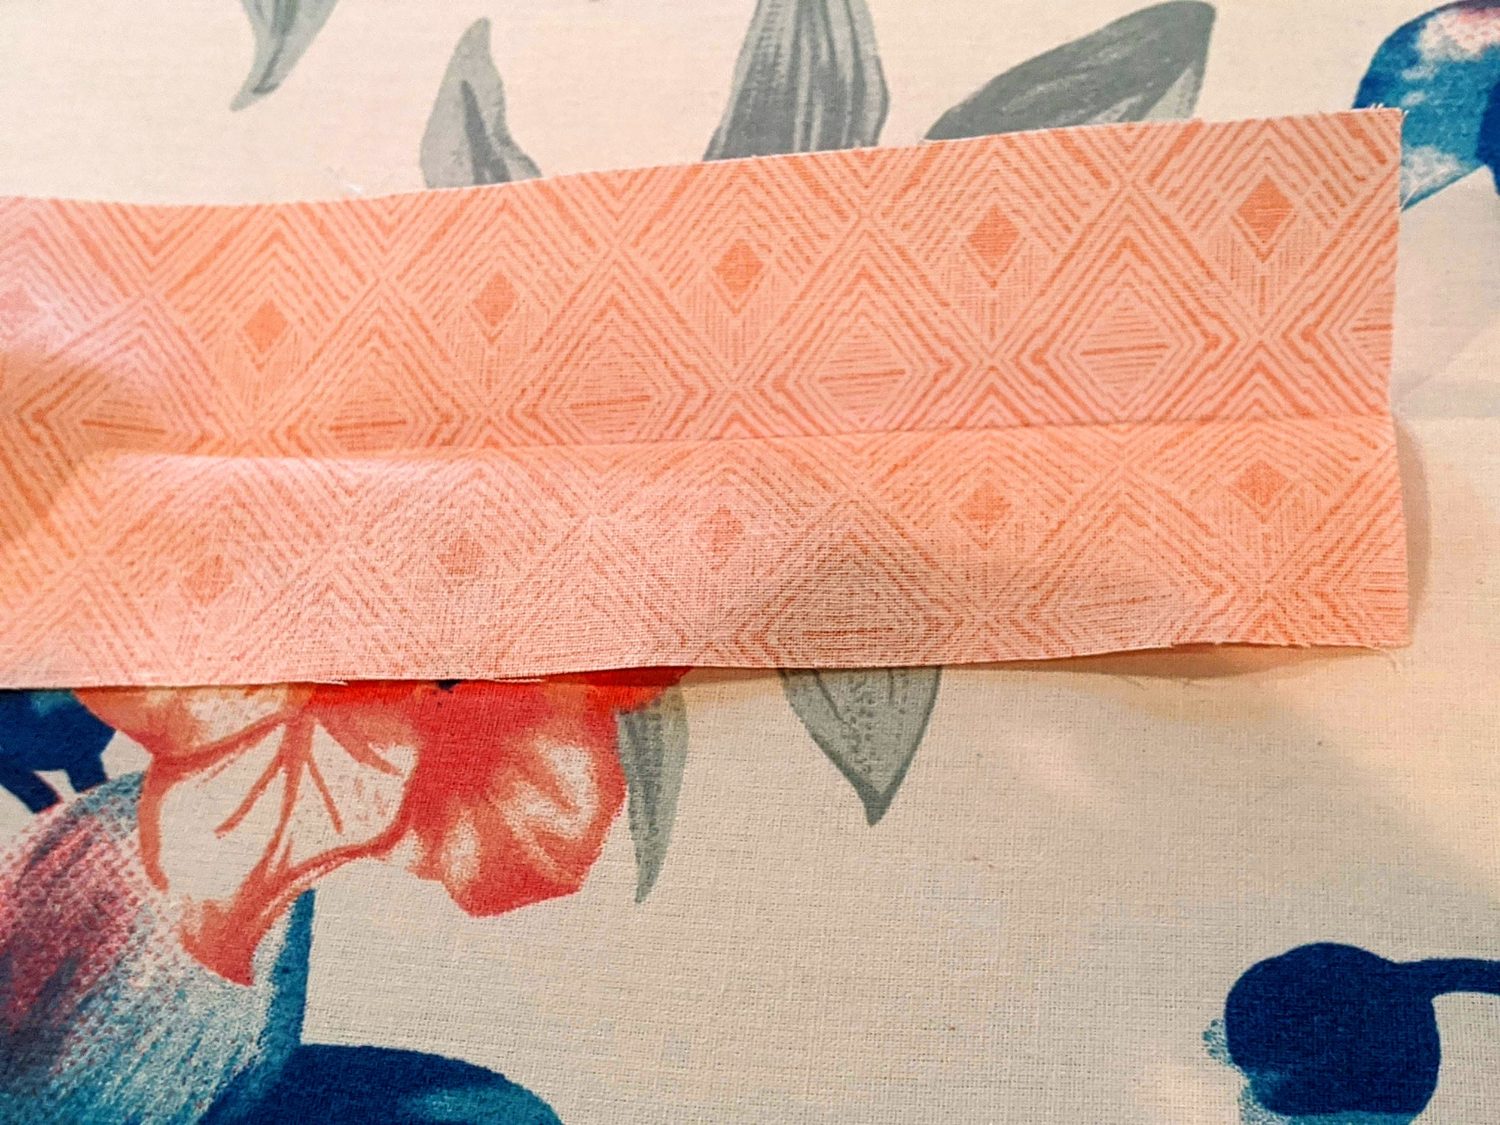
- Take one of your binding pieces and fold it in half hot dog way and press
- Open it up, and fold each side in towards the middle fold line and press
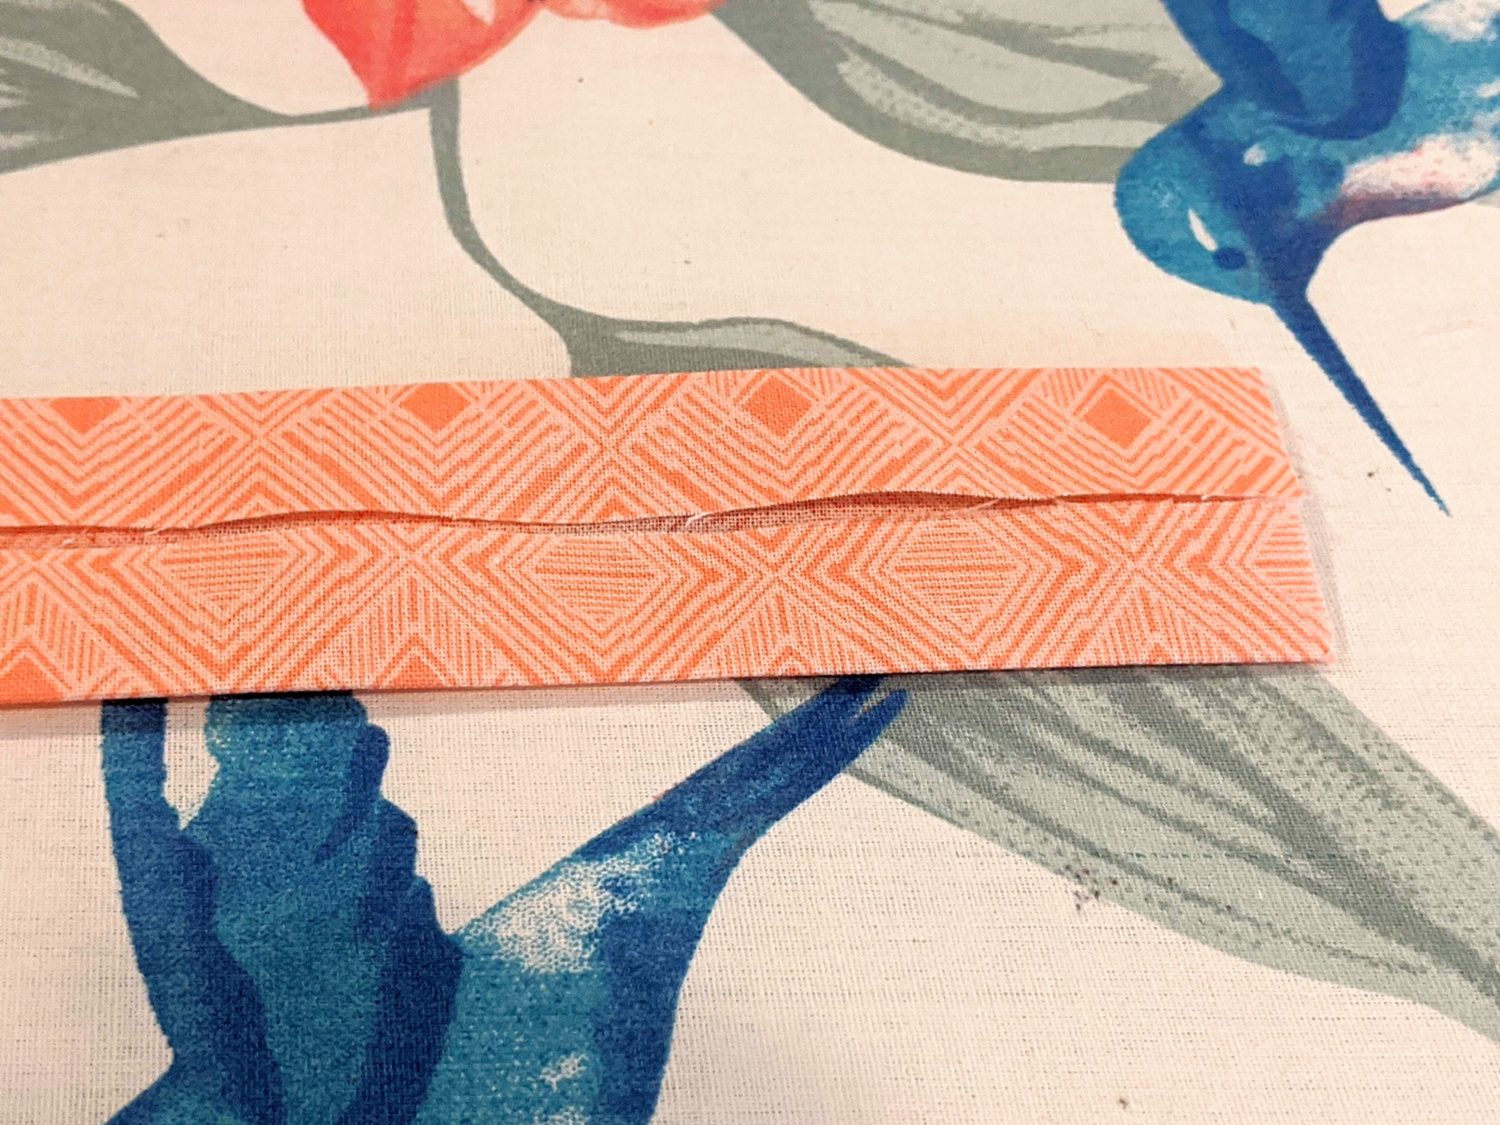
- Refold down the center with both sides still folded in towards the center and press
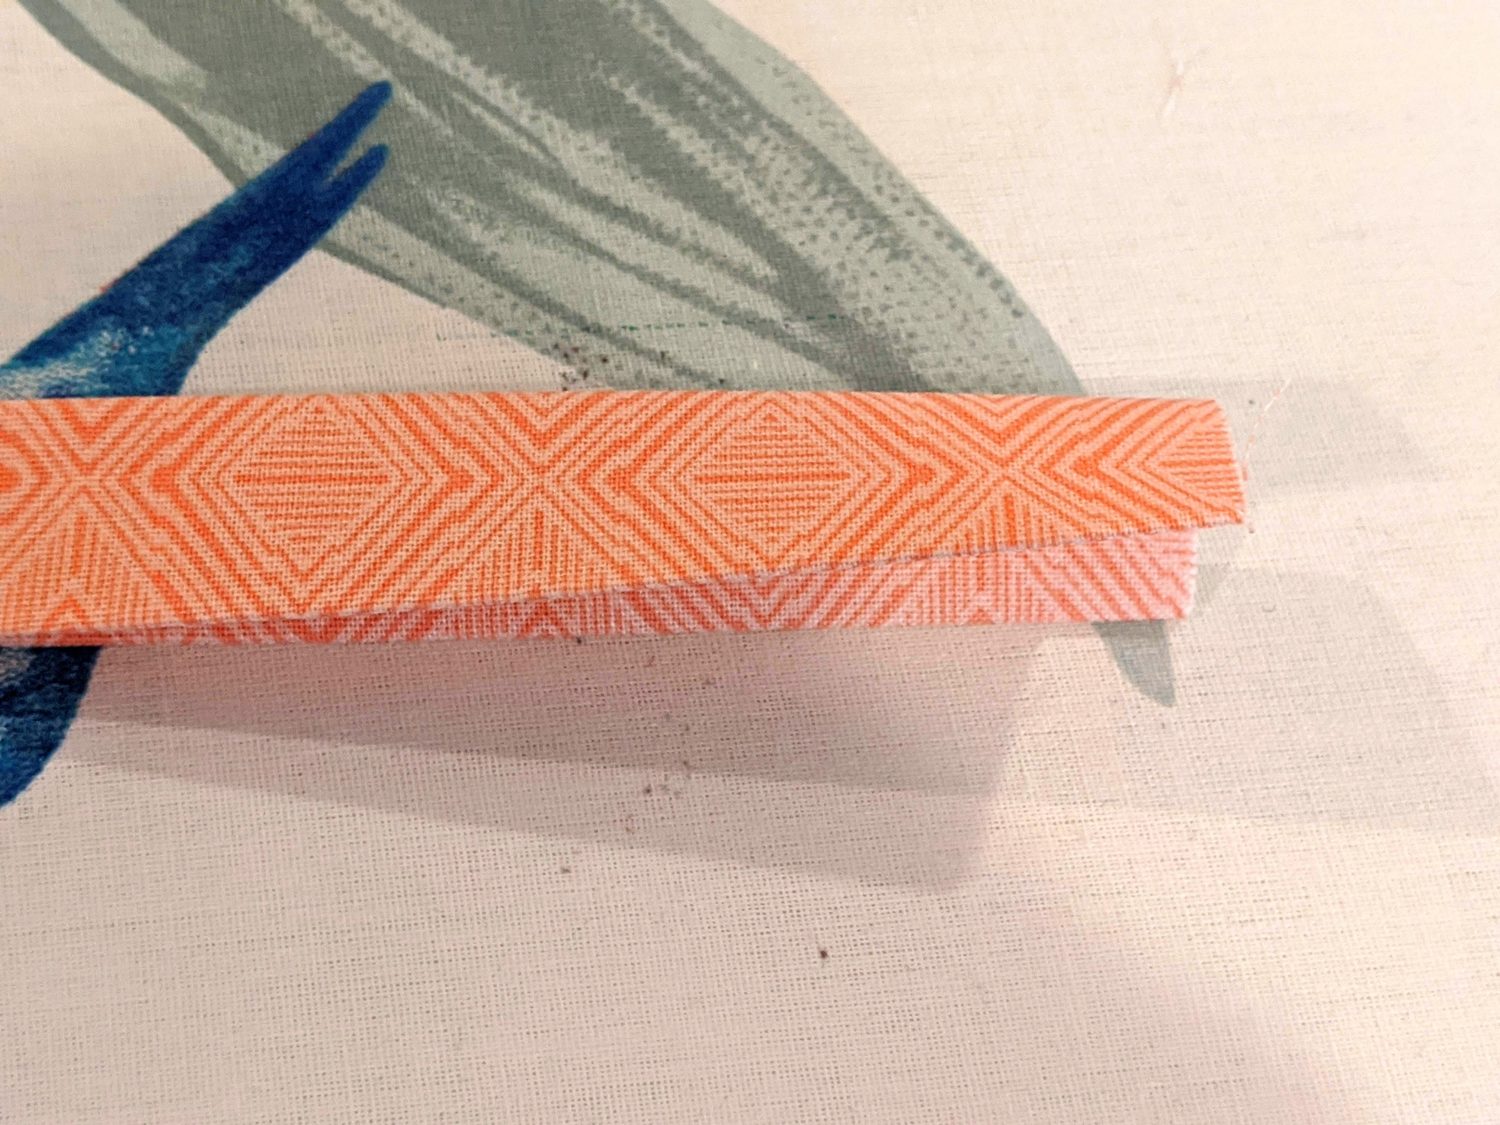
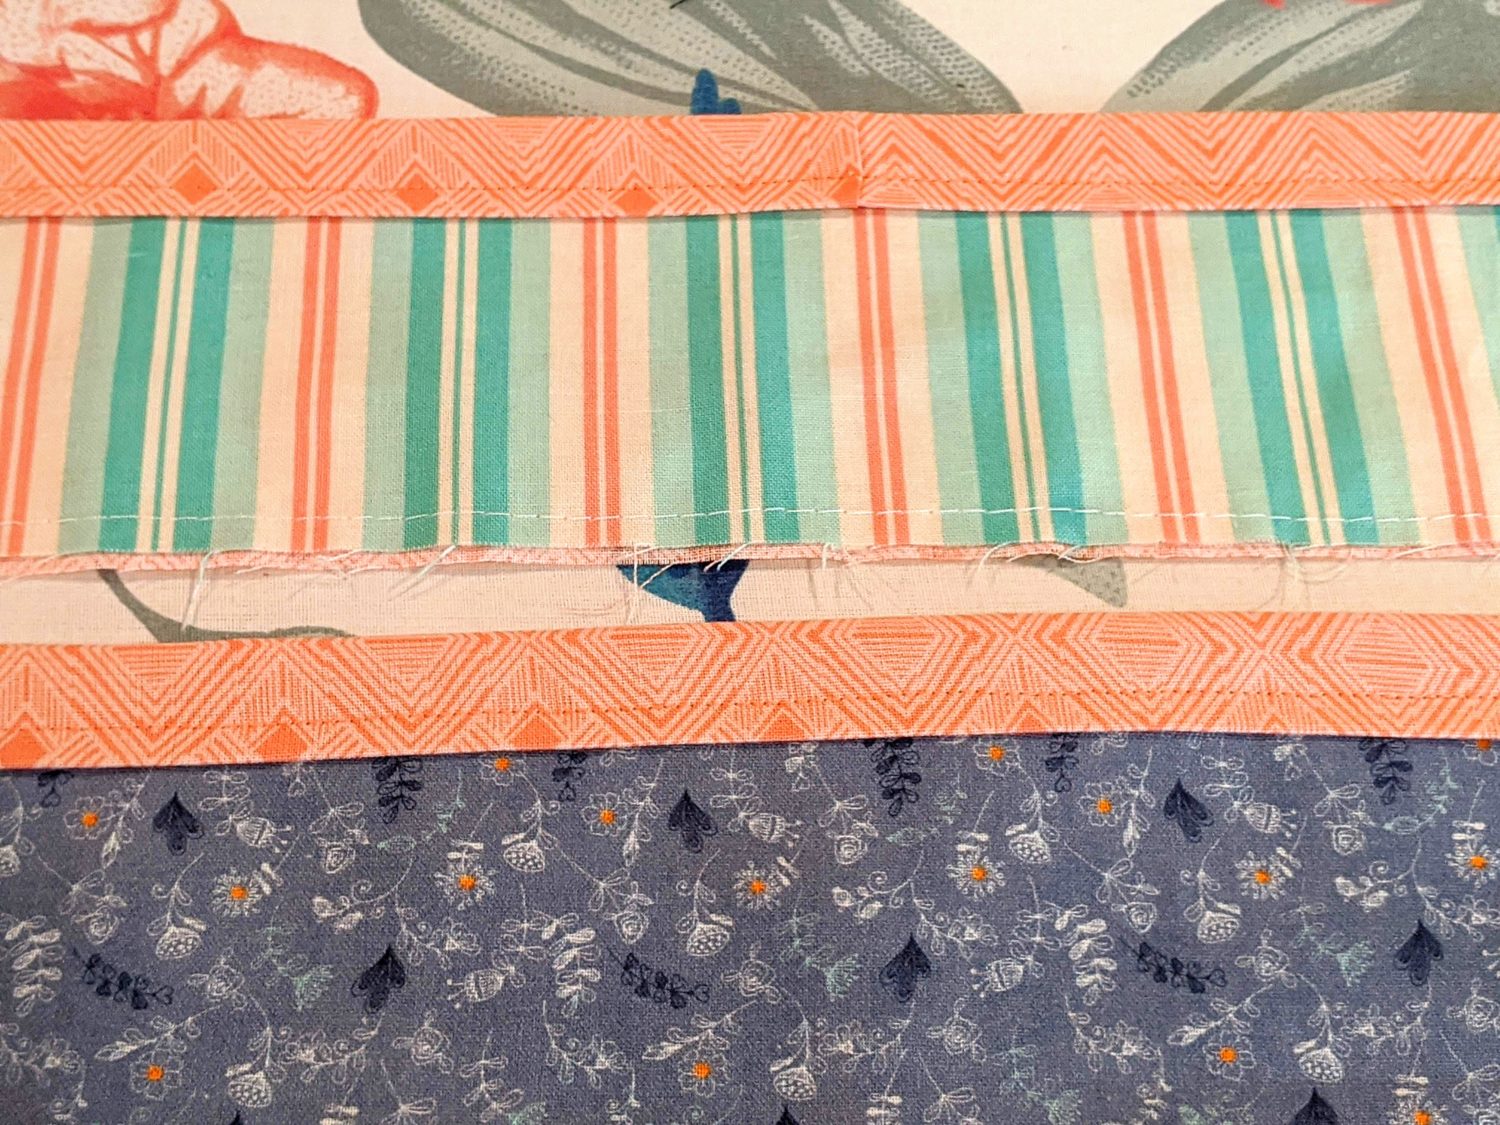
Attaching the Binding:
- Slip the top edge of the pocket into the fold of your binding
- Clip along the top pocket edge
- Topstitch along the binding edge
- Repeat with other pocket

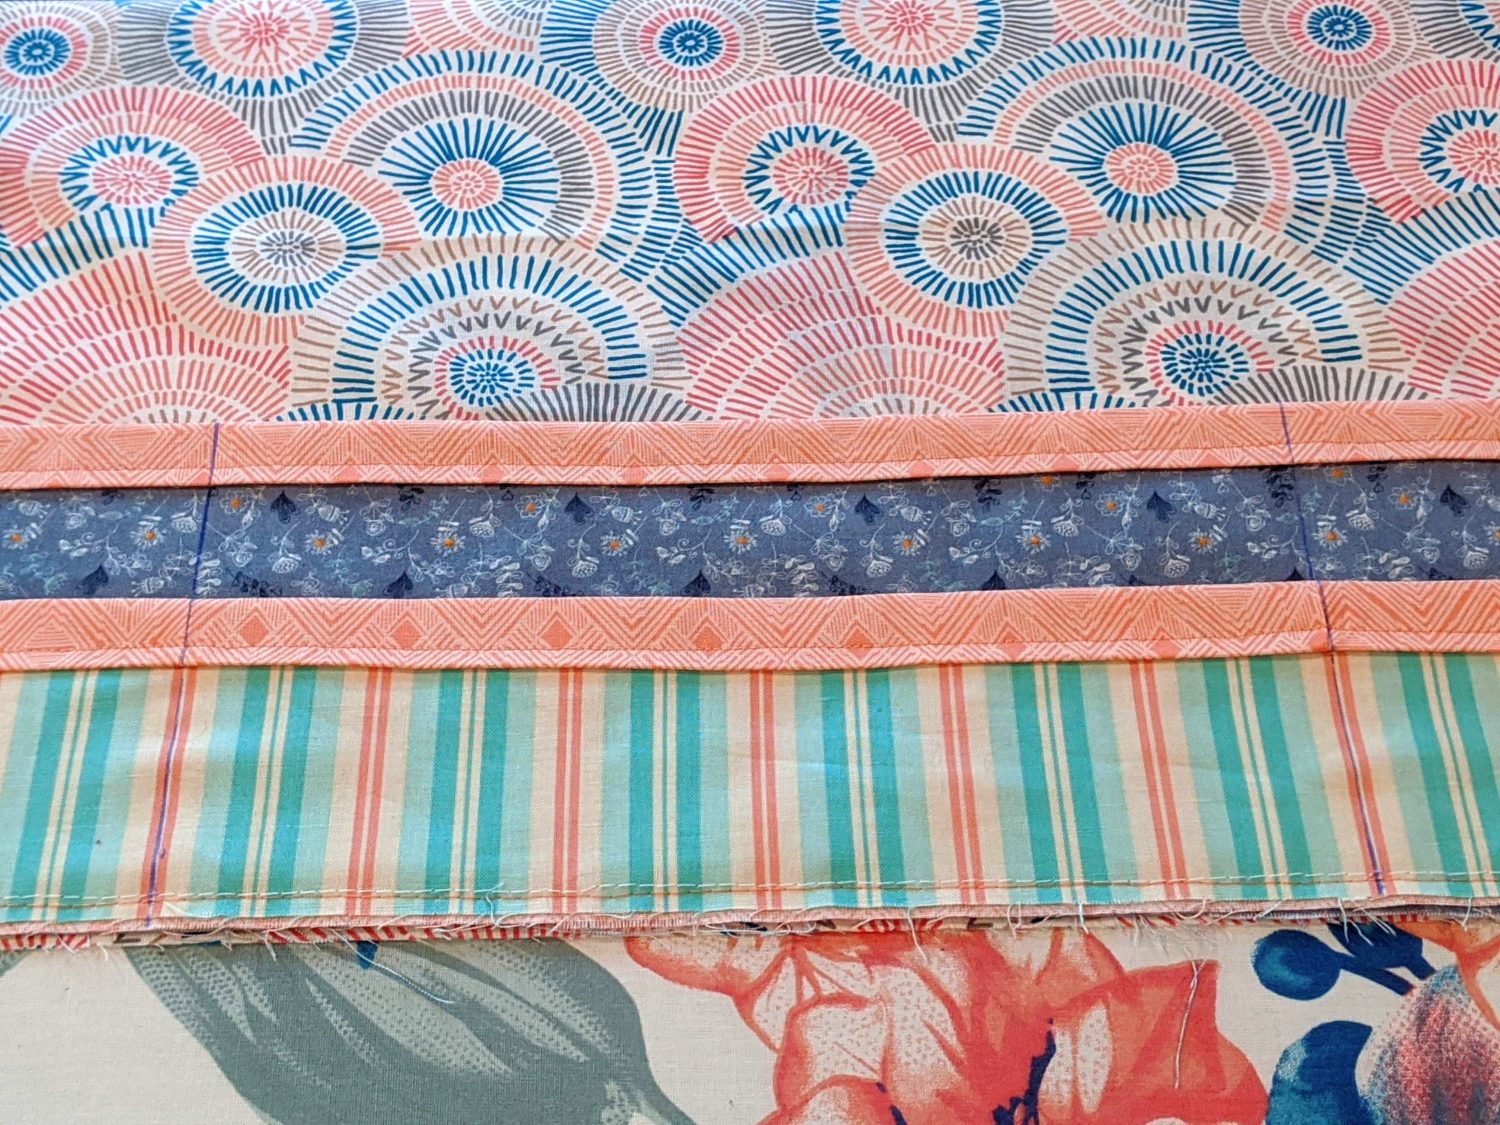
Attaching the Pockets:
- Lay your front main fabric piece out right side up
- Lay your large pocket on top of the main piece lining up the bottom and side edges
- Repeat with the half pocket
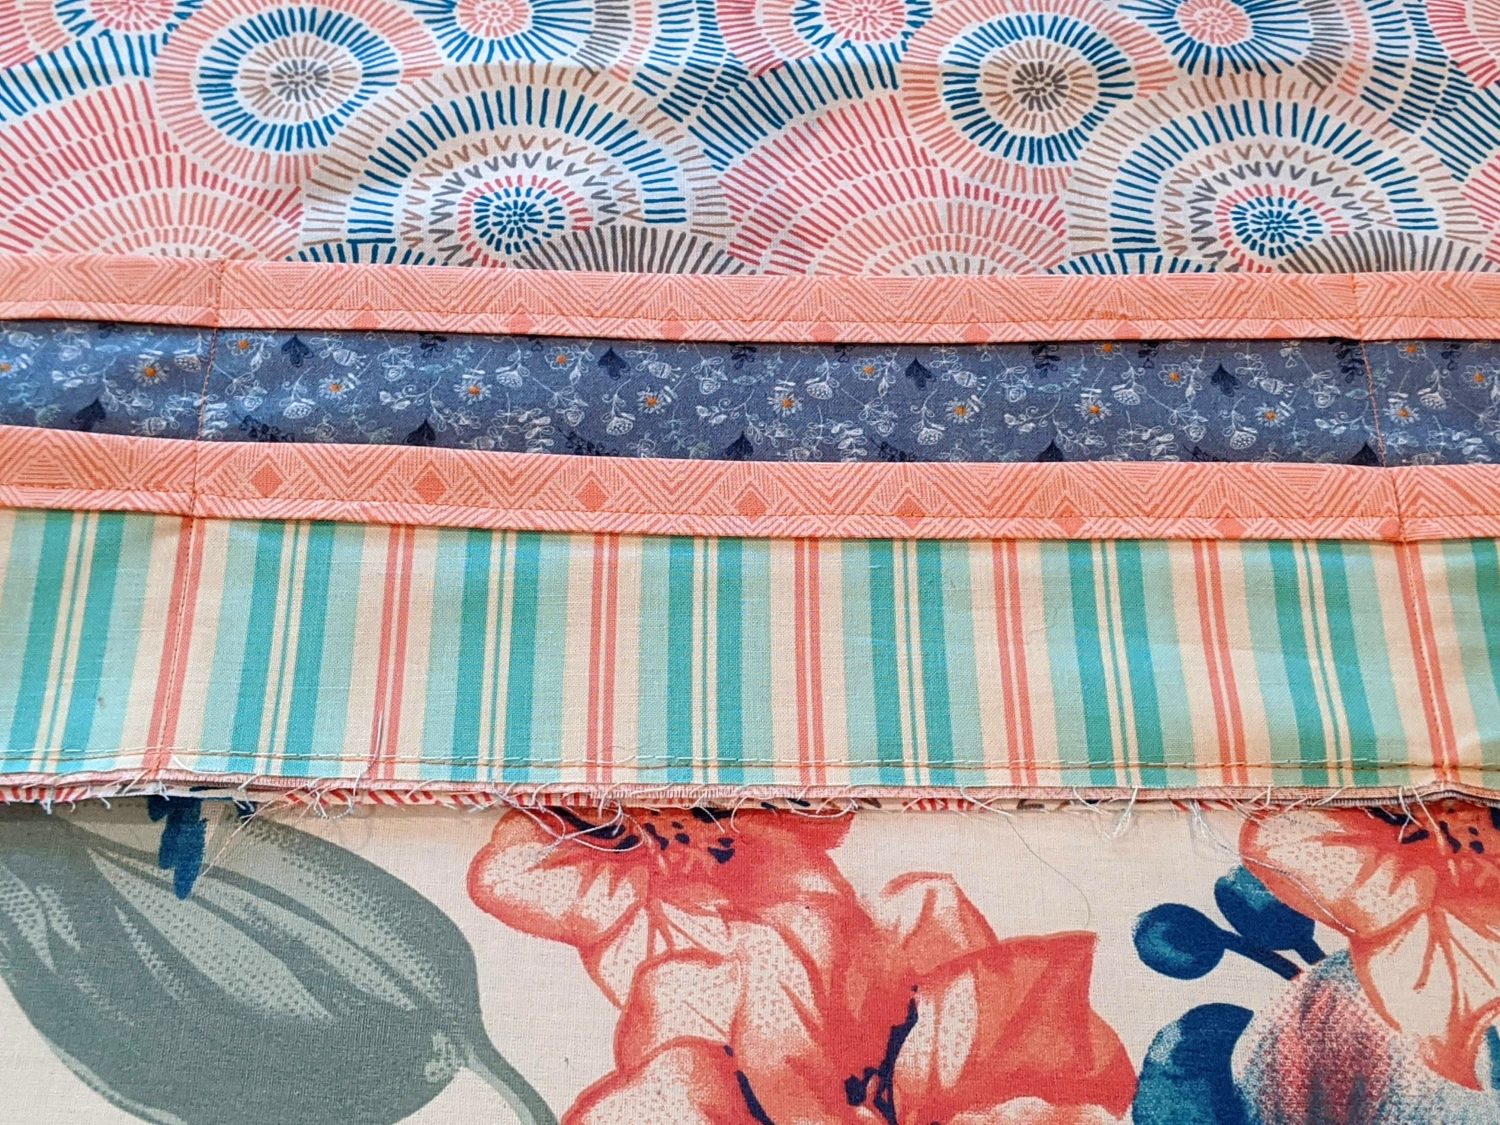
- Pin along edges and baste pockets to the main front
- Mark with an erasable fabric pen or chalk where you would like to divide your pockets into compartments. (I did one large in the middle and two smaller on either side, but you can do whatever configuration makes your heart happy)
- Topstitch along marked lines to create your pocket compartments

Optional: You can add any buttons or embellishments you’d like at this point
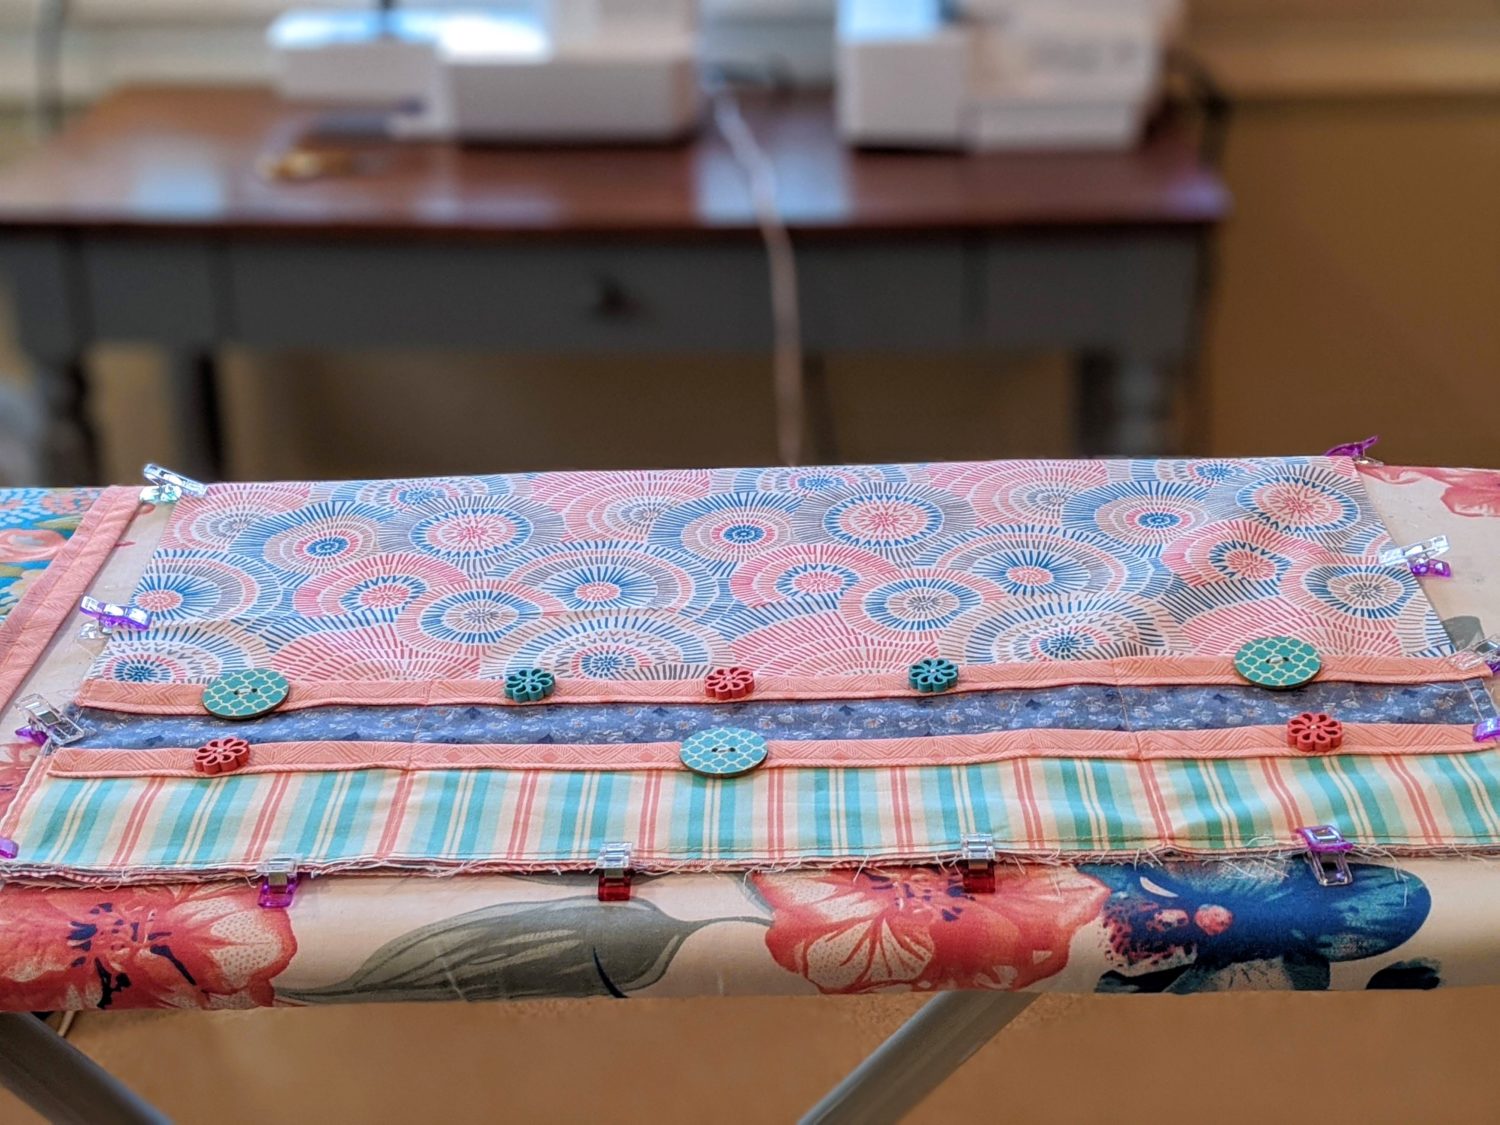
Putting Your Organizer All Together
- Lay our your back piece wrong side up with the gripper pad at the top
- Set your front piece on top of the back piece with the right side up and pockets at the bottom
- Clip in place and baste around the edges
Add That Binding!
- Prepare your binding as I showed you in the earlier step for making the pocket binding (If you have multiple shorter pieces, sew the short ends together to create one long piece and then continue with the binding process)
- Attaching your binding will be the same process and the pocket binding. Fold over the edge and clip in place down one side up to about 1″ away from your first corner
- Topstitch along where you’ve clipped
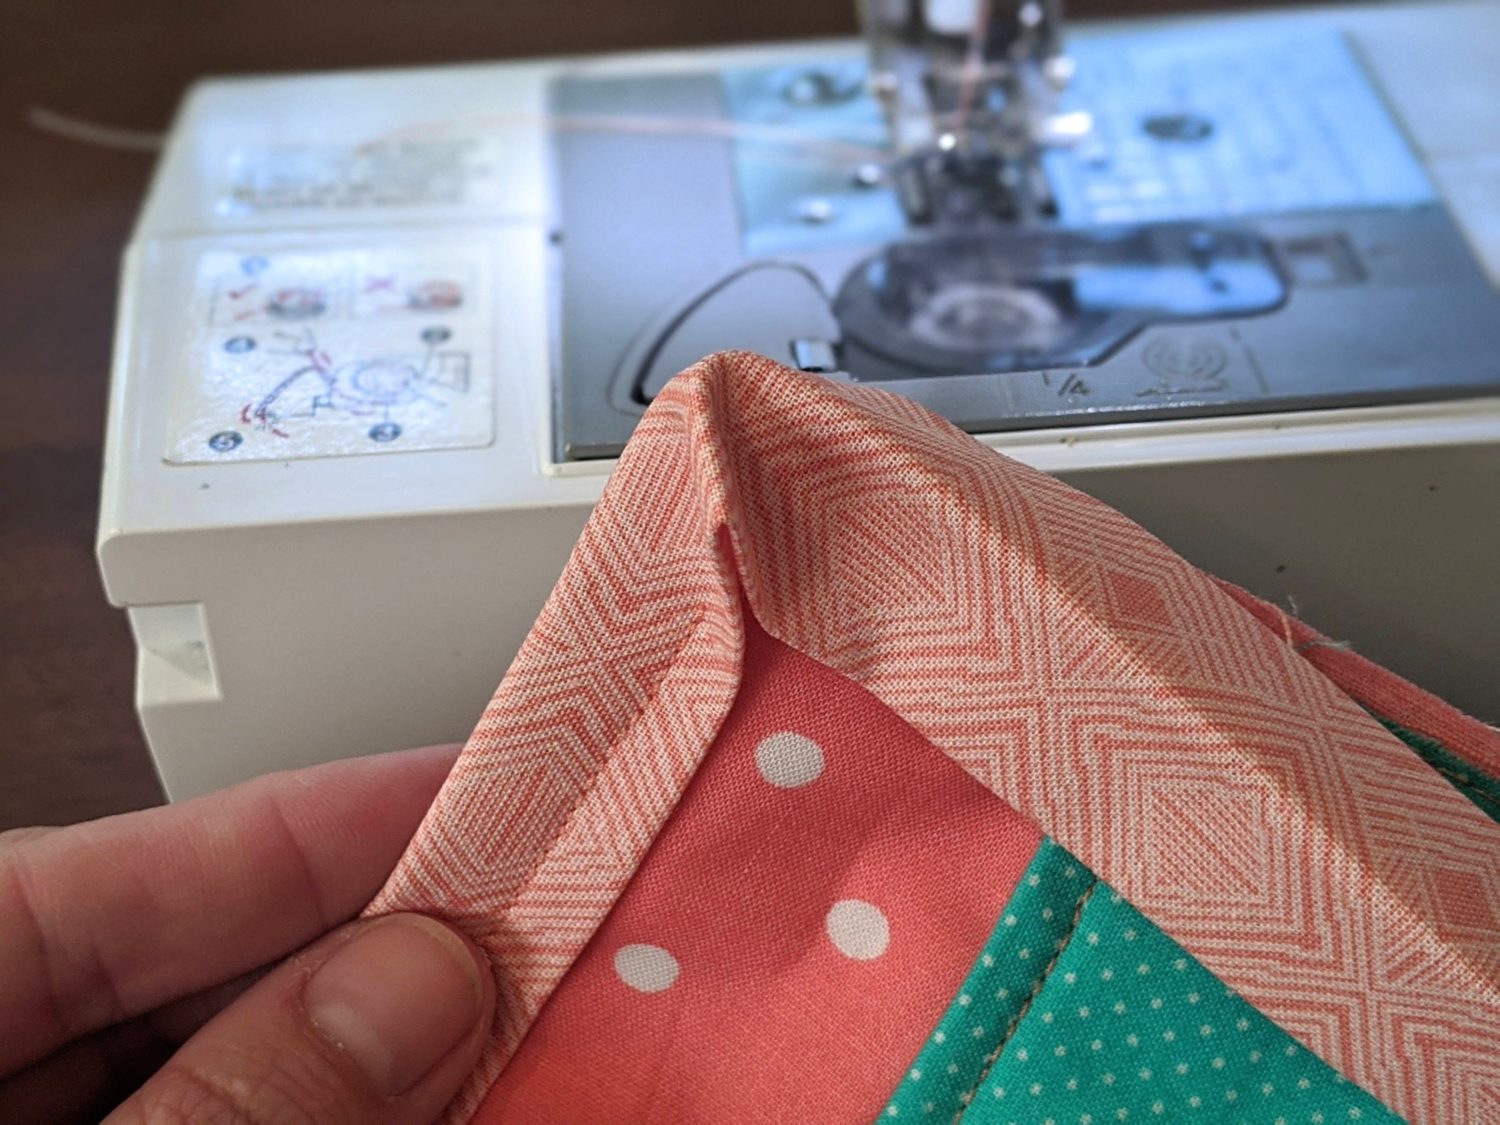
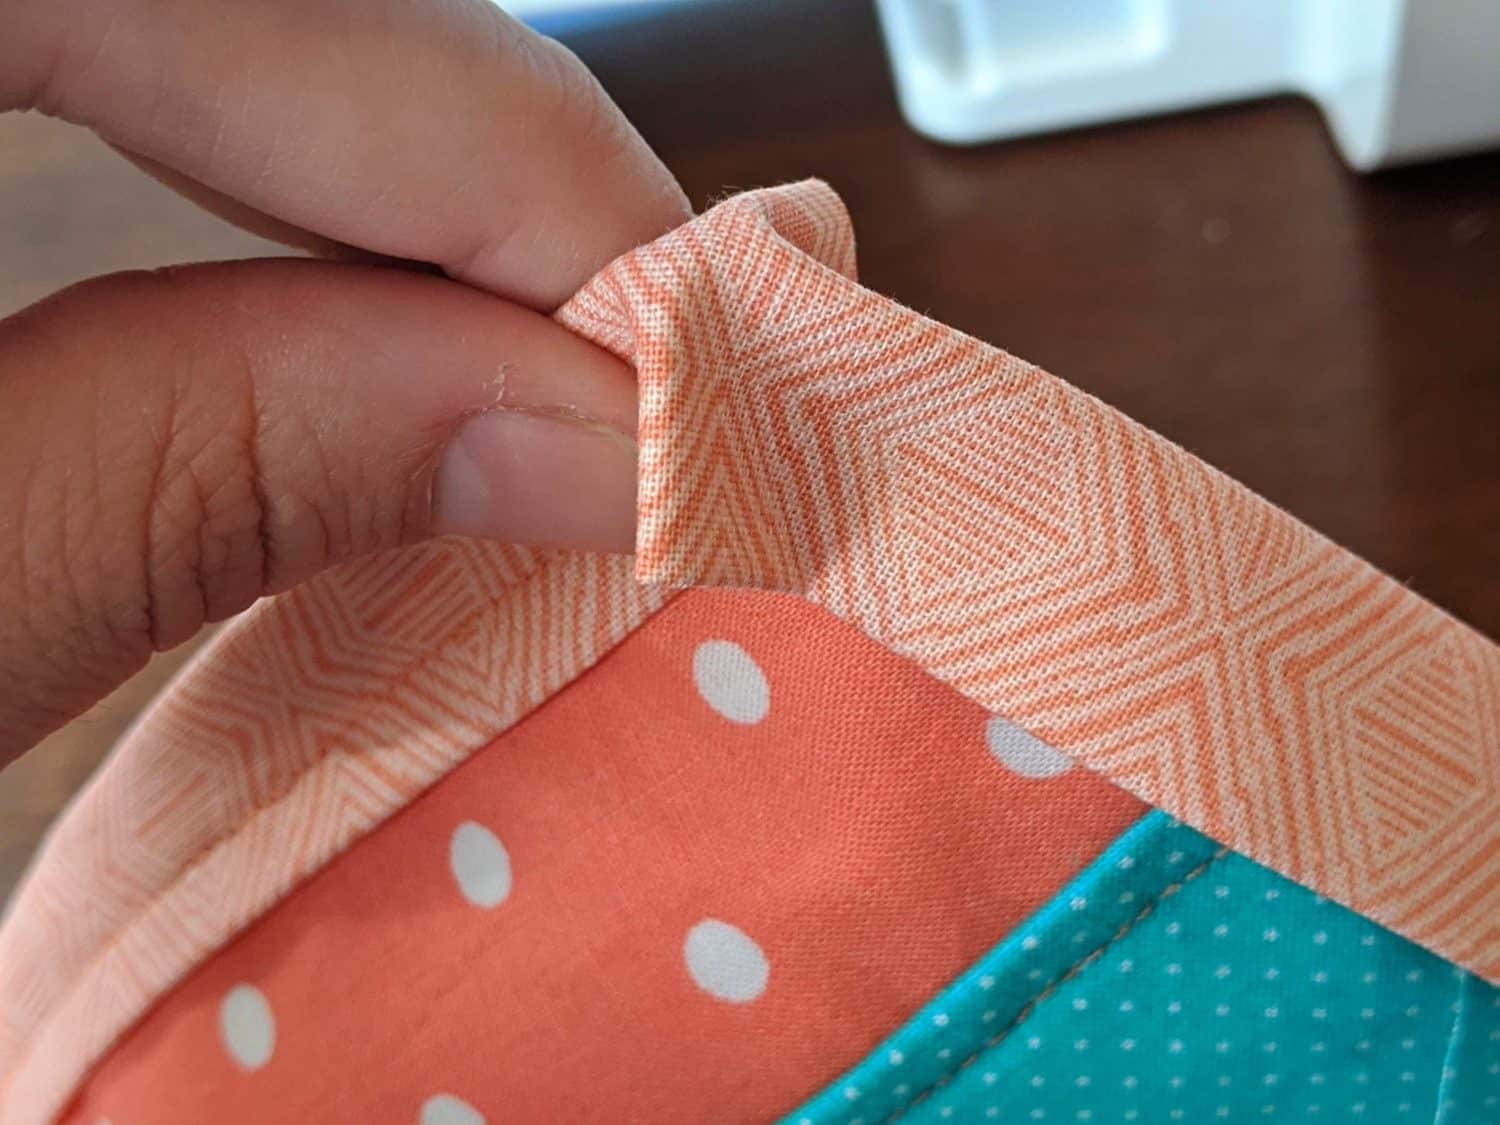
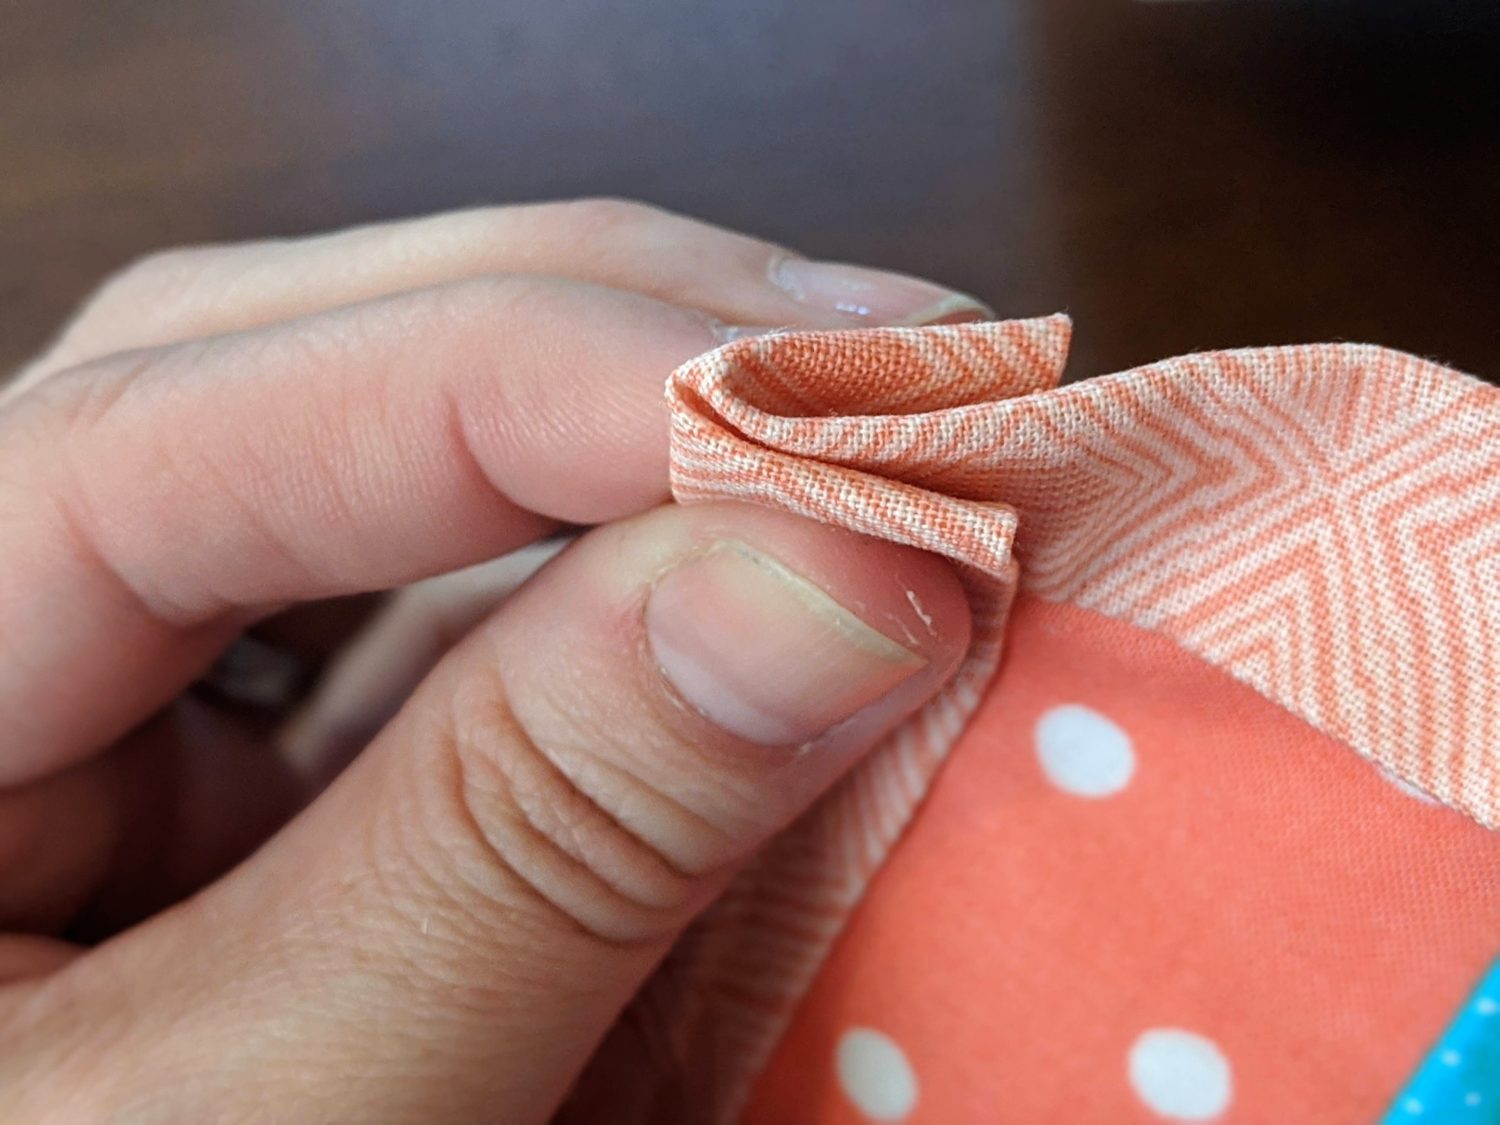
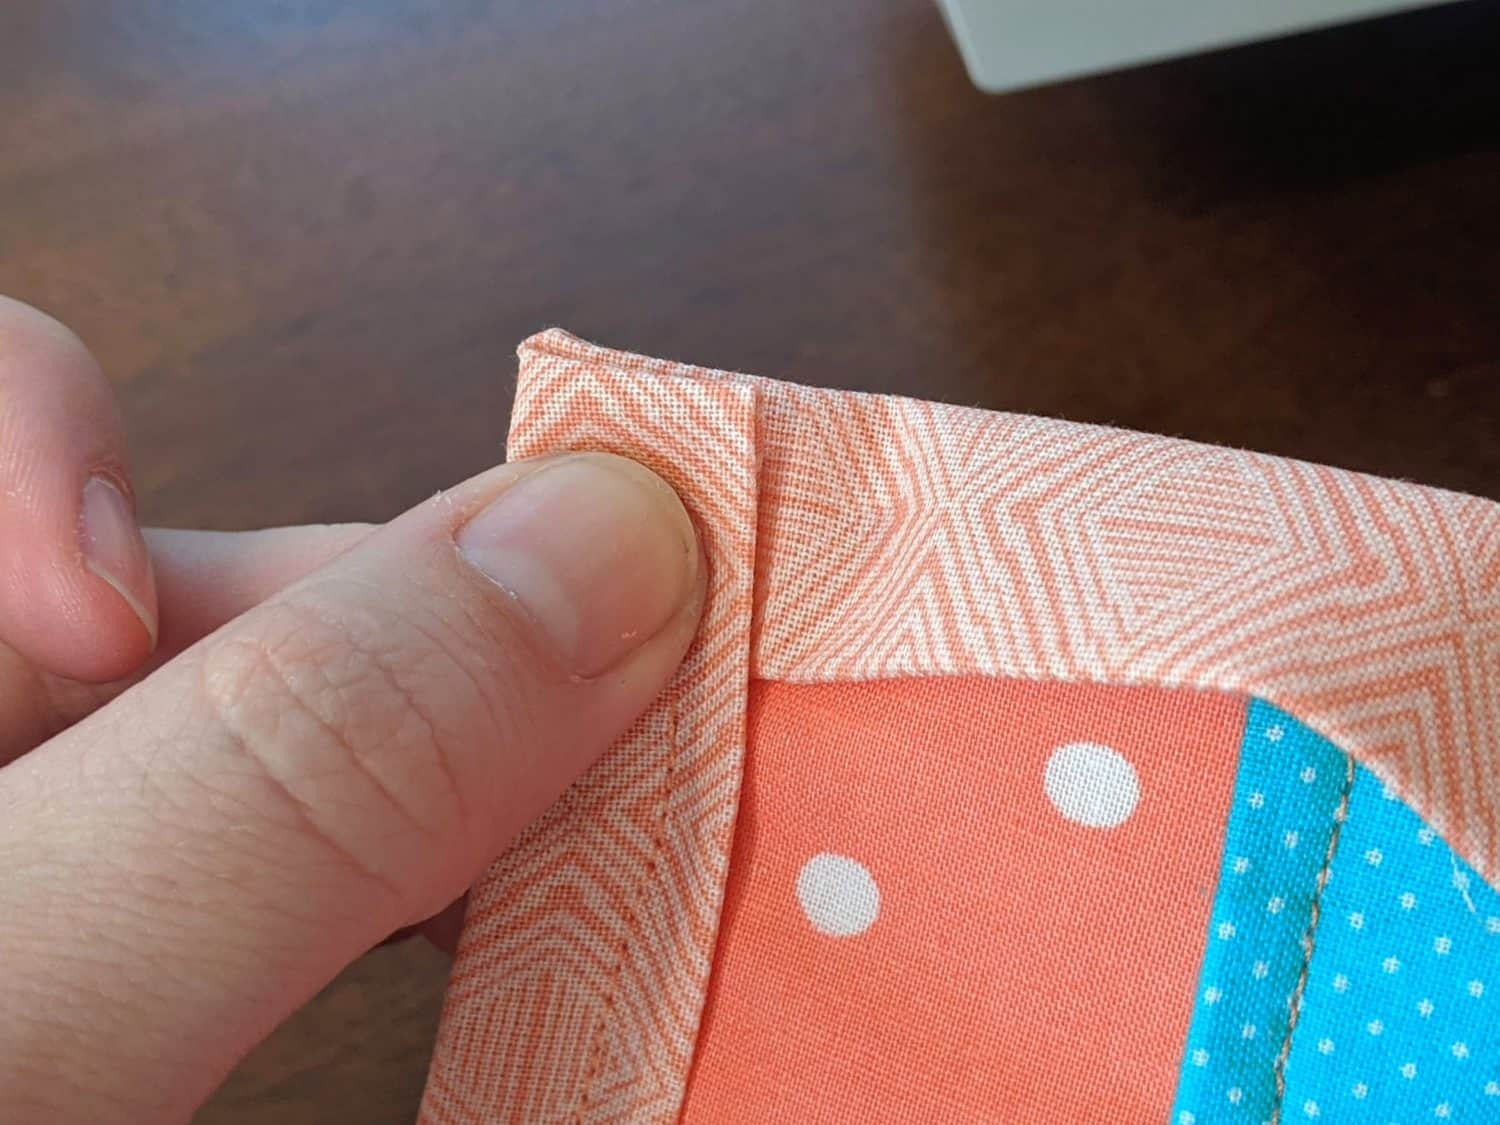
- When you get to a corner, you will push the binding that is hanging down into the corner and fold the side you were topstitching over it (see pictures below, it is hard to explain in writing)
- Continue the same process around all edges and corners until you get back to where you started
- Cut off any excess binding you have making sure you have about 1/2″ of overlap
- Fold the binding end in 1/4″ so there are no raw edges when you’re done and finish off your topstitching
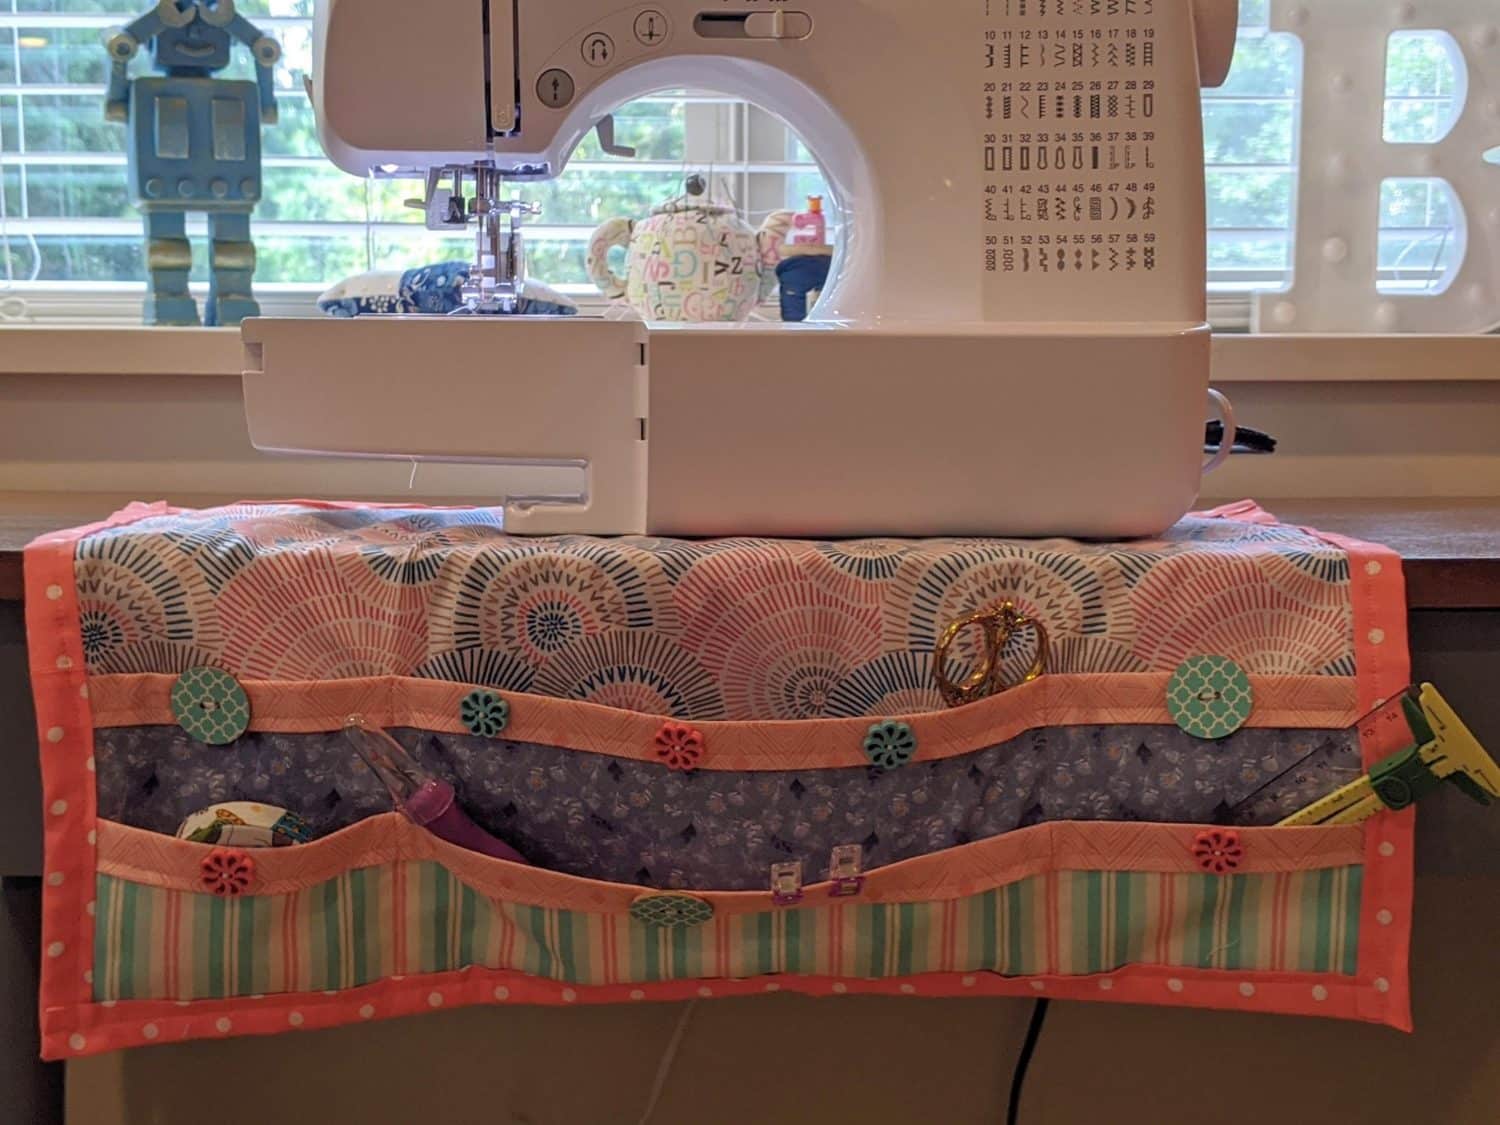
Woohoo! You did it!
Set that fabulous organizer on your table and put your sewing machine or serger on top of it. Load it up with all the essential sewing things and you’re ready!
As always, we’re here to help if you need it! Join us HERE and on Facebook, Instagram, Twitter, Youtube, and Pinterest. We’re everywhere you are.
On the steps here, did you mean *wrong* sides together (not right sides together)? I can’t make it make sense otherwise because it seems like we’re just binding raw edges (not flipping to get a finished edge). Thanks!
Step in question:
ONTO THE FRONT – Creating the Pockets:
Take both pieces for your large pocket and line them up right sides together…