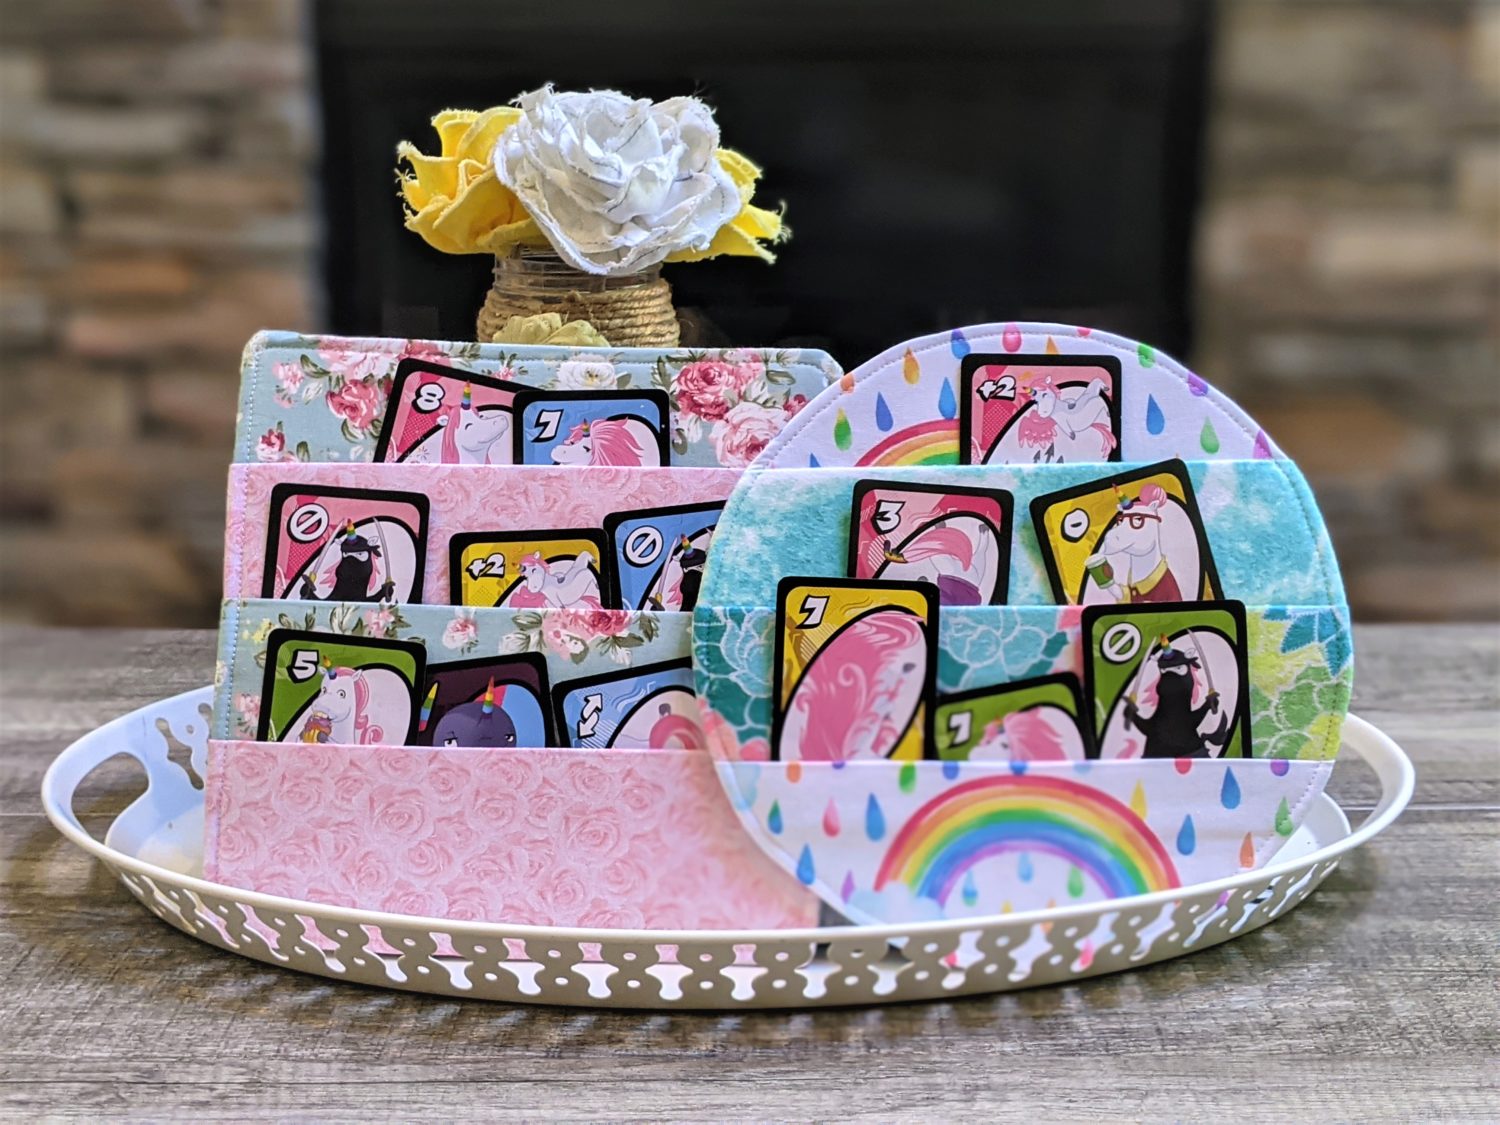
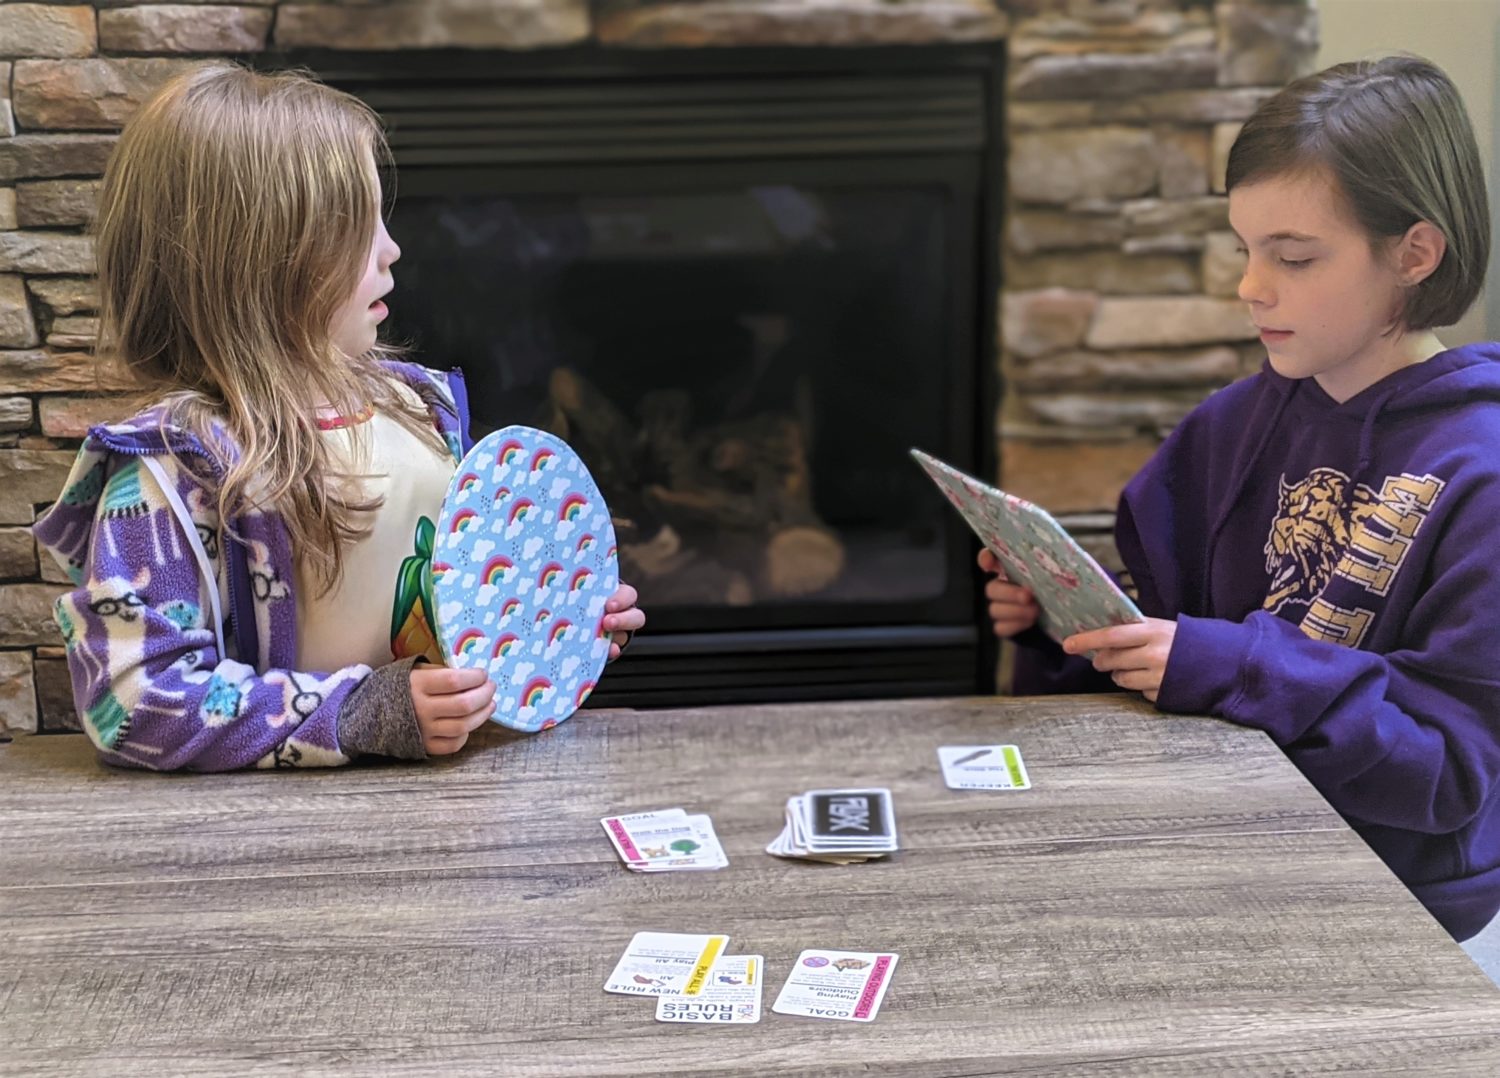
Every time my youngest daughter plays card games she sets up a barrier of books so she can lay all her cards out and keep us from being able to see them. Little hands can’t hold very many cards before they start dropping them, so I had an idea to make her a holder for them. I love how it turned out, so I had to try it in a couple of different shapes.
Supplies
- Coordinating woven fabrics: 2-5 depending on preference
- Fusible fleece
- Fusible ultra firm stabilizer – I used Pellon 71F Pellex one sided fusible ultra firm stabilizer
- Iron
- Sewing machine and basic sewing supplies
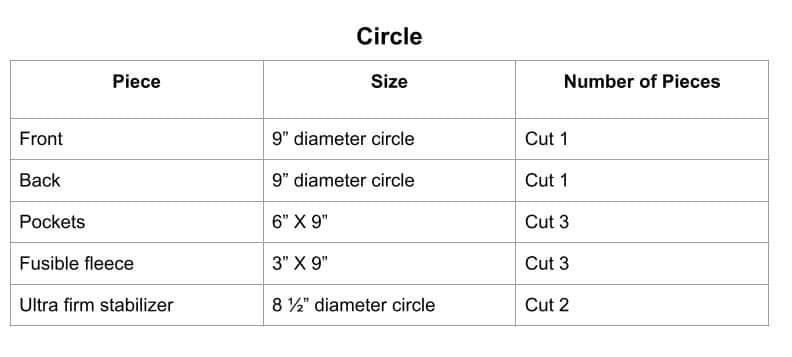
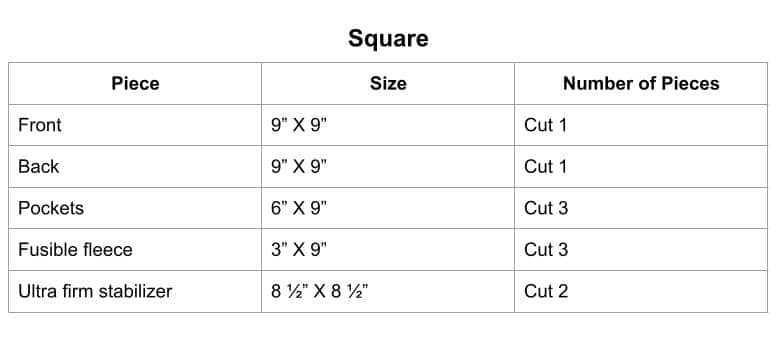
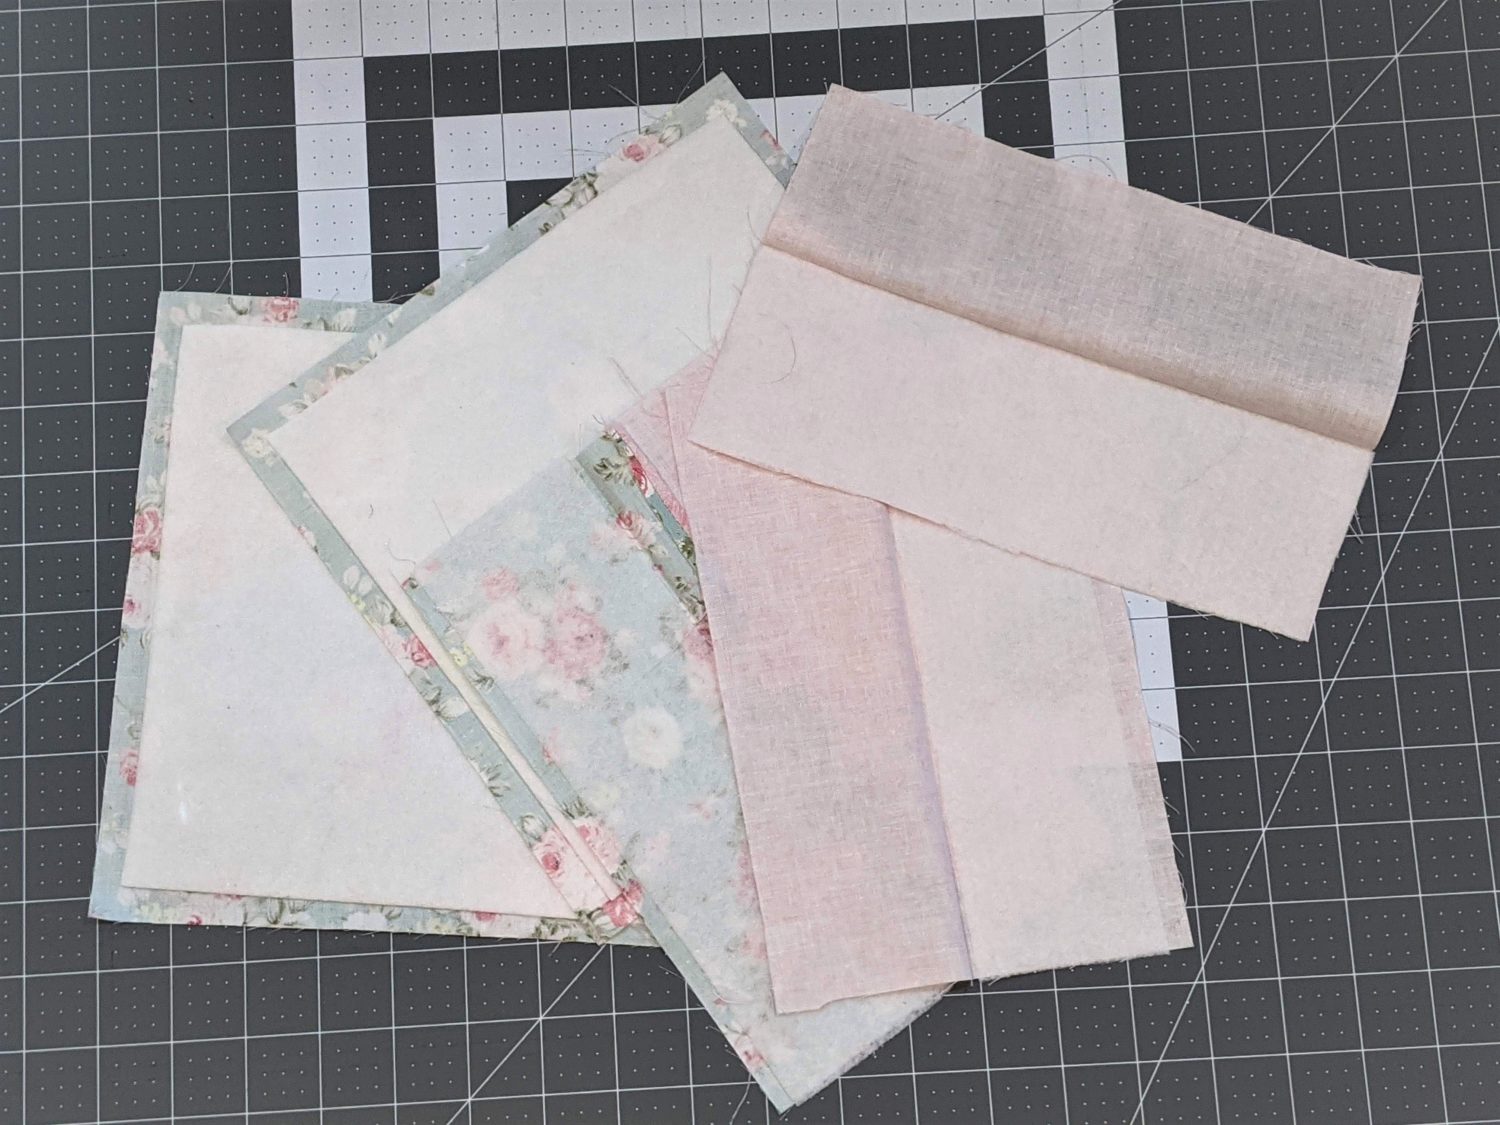
Cut out the Pieces
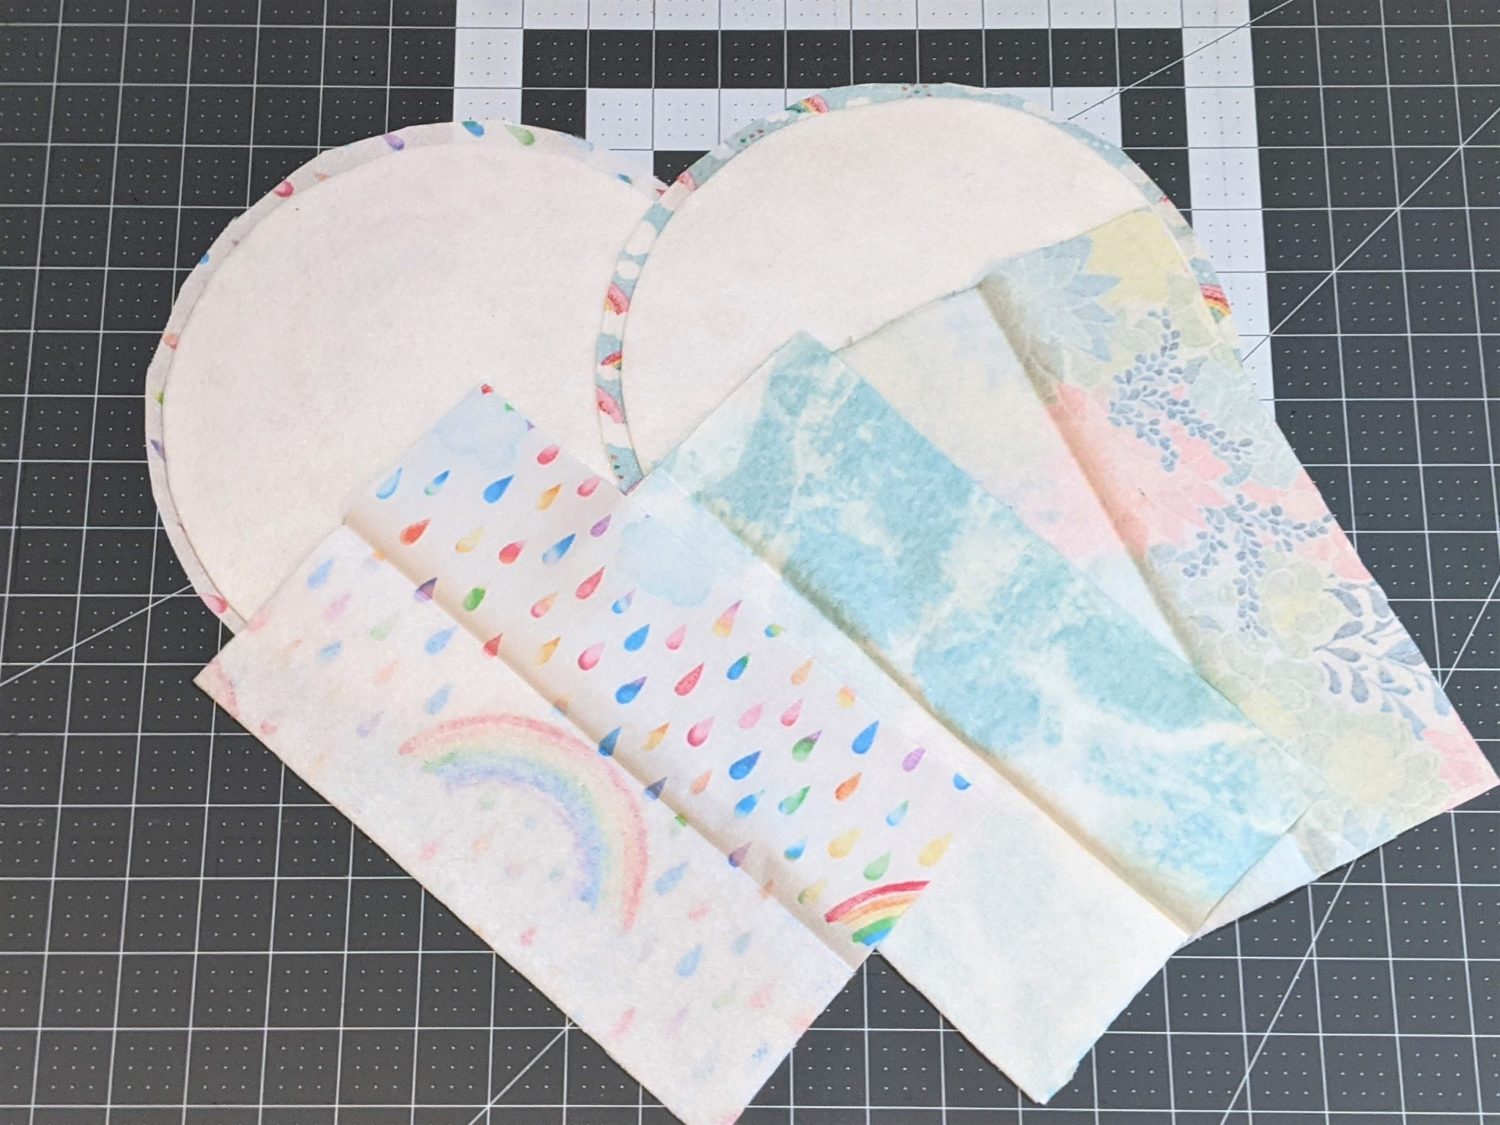
Iron on Your Interfacing
- Fold each pocket piece in half horizontally and press.
- On one half of each pocket piece, iron your fusible fleece onto the wrong side of the fabric per the instructions for your interfacing.
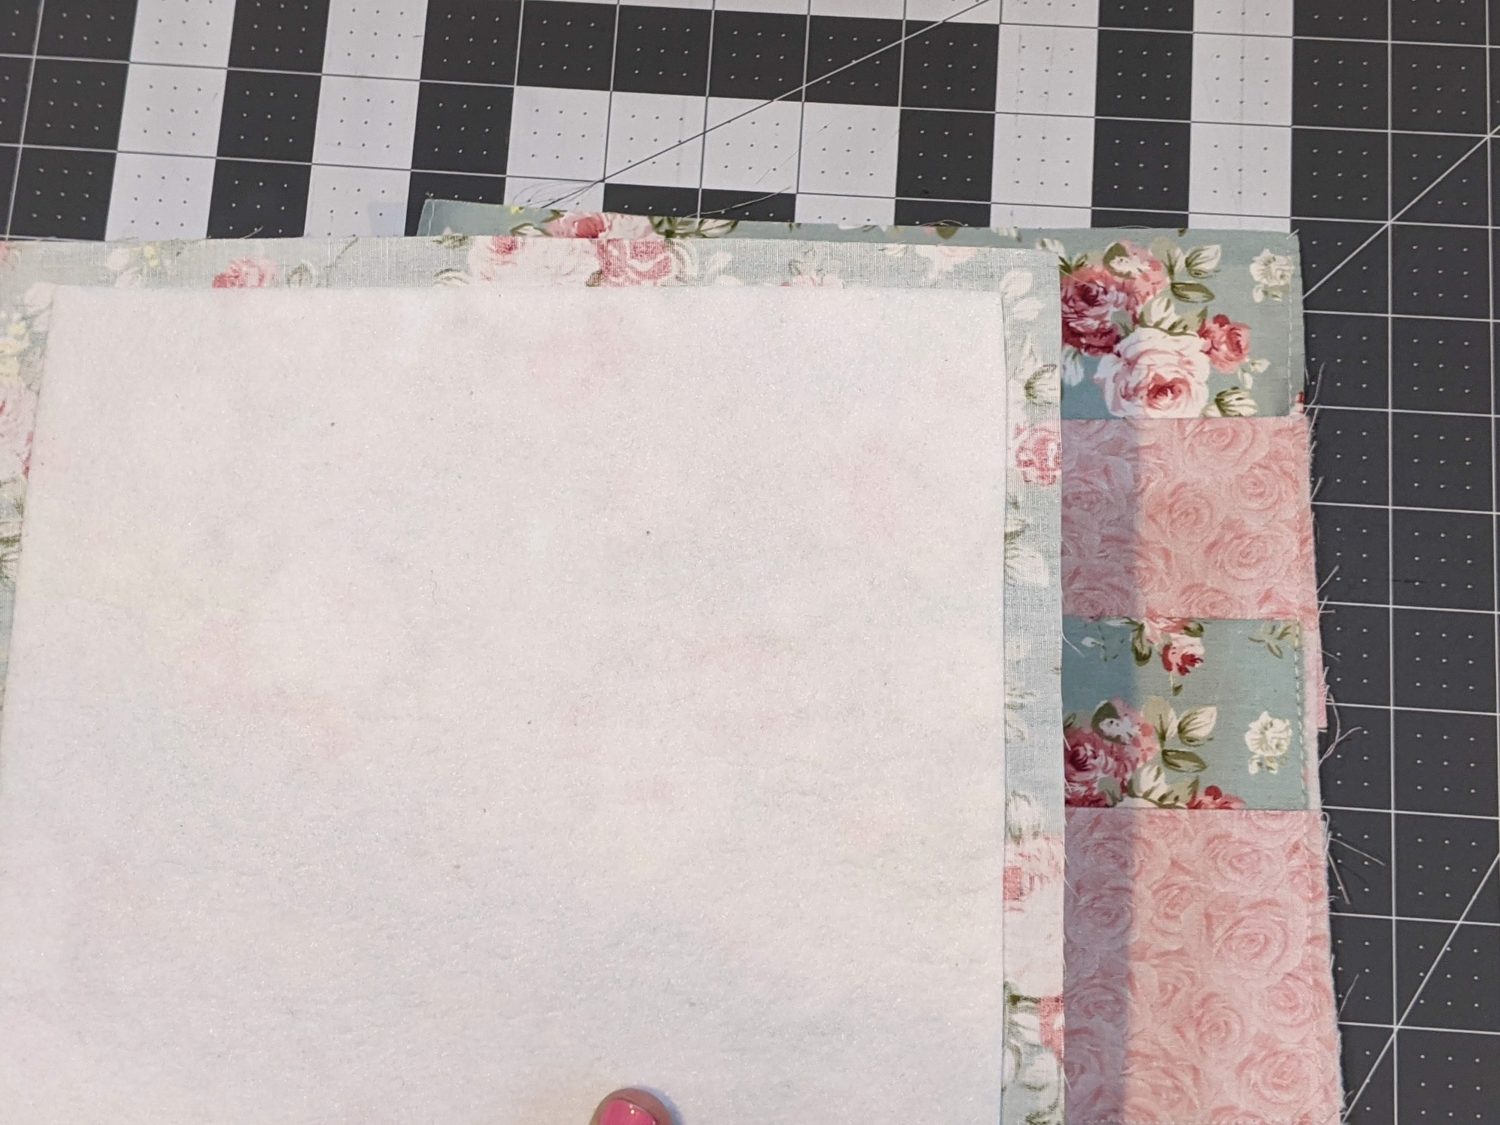
- With each circle or square piece laid out wrong side up, center the ultra firm stabilizer on the fabric, then iron per the instructions for the stabilizer.
Let’s Get Sewing!
Pockets First
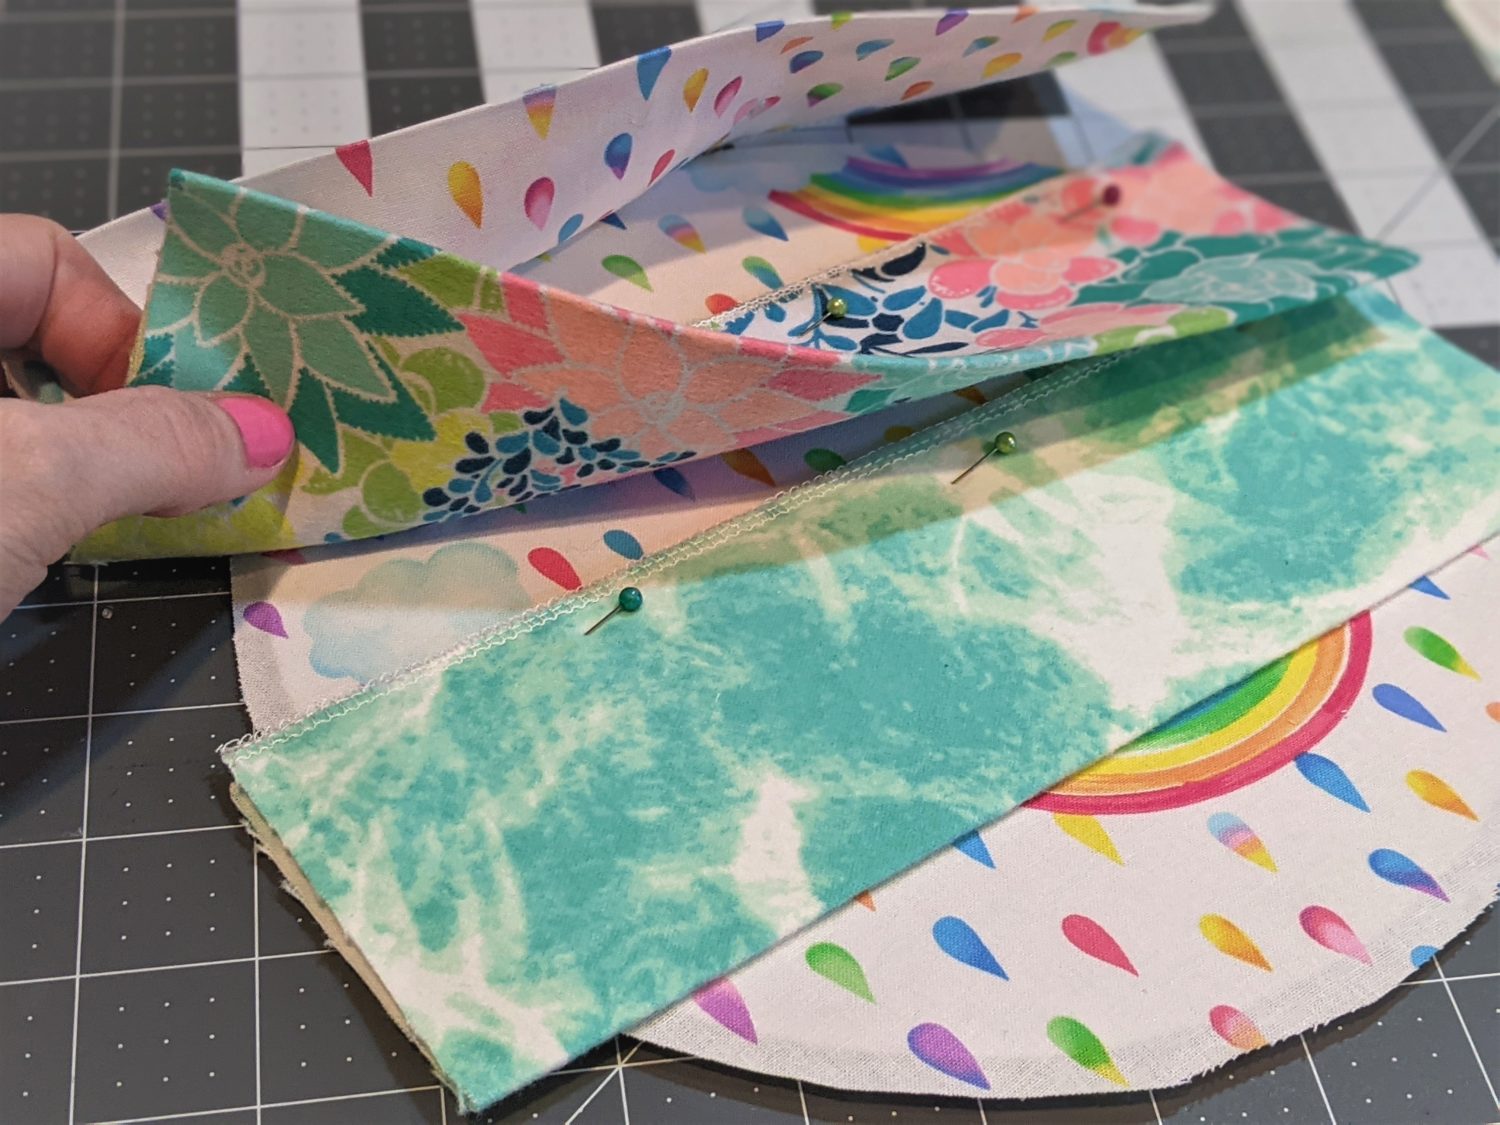
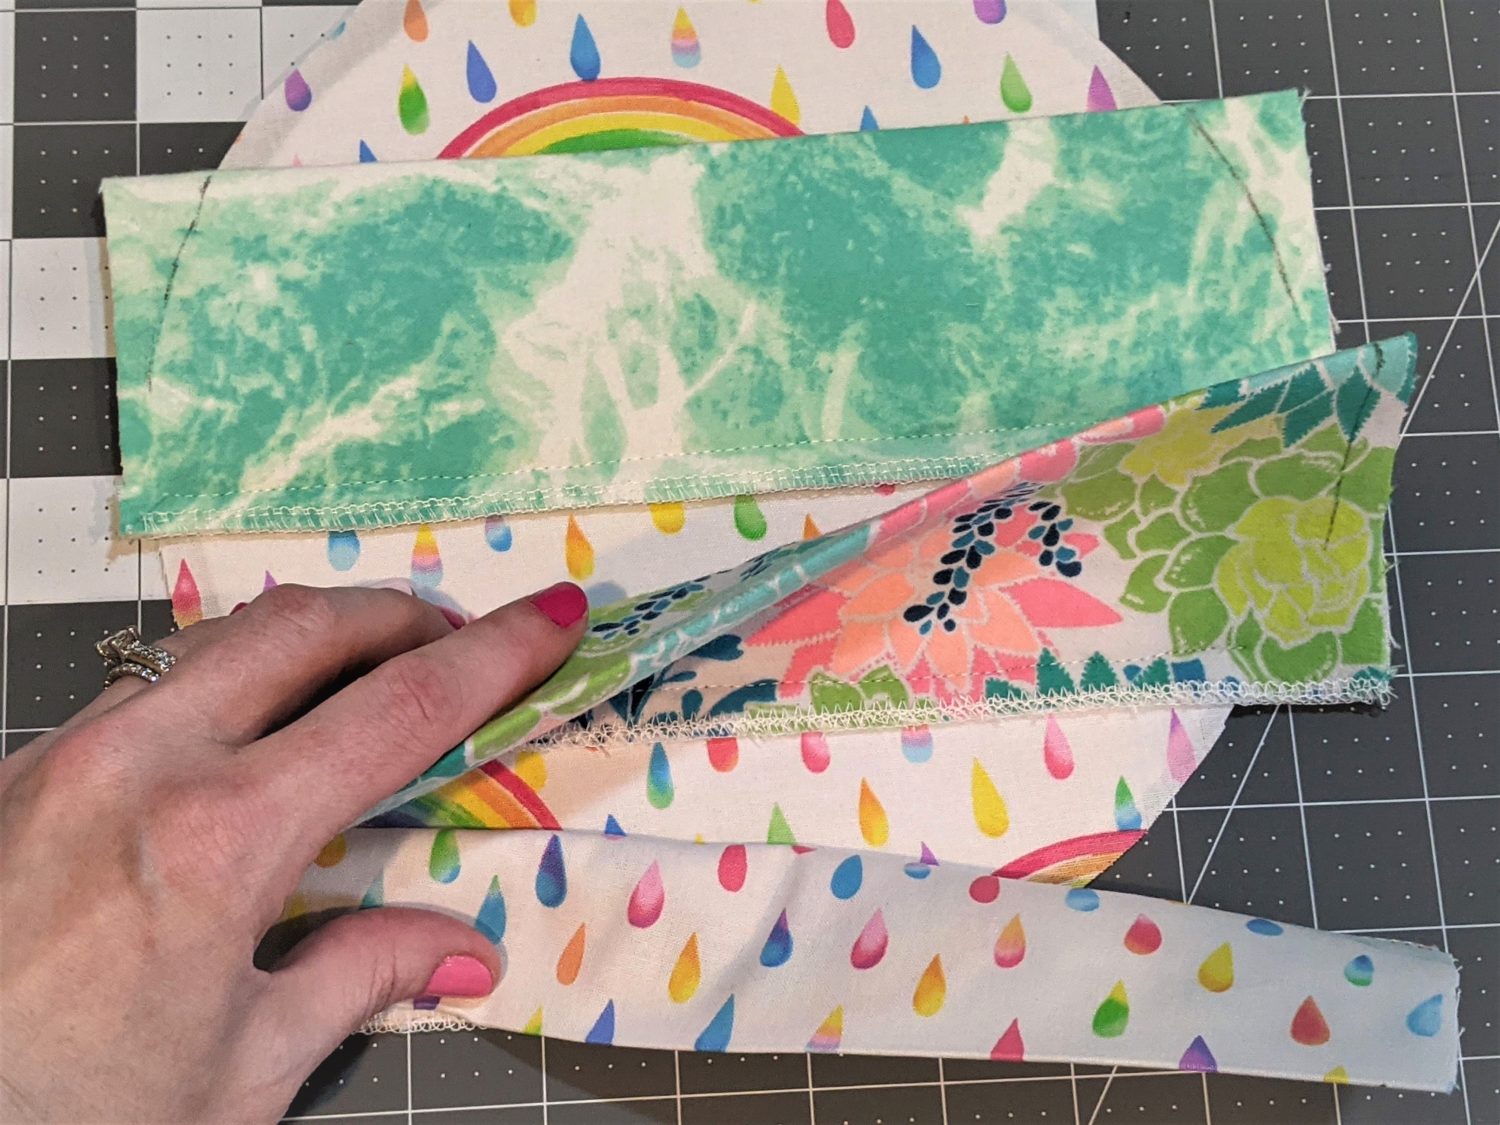
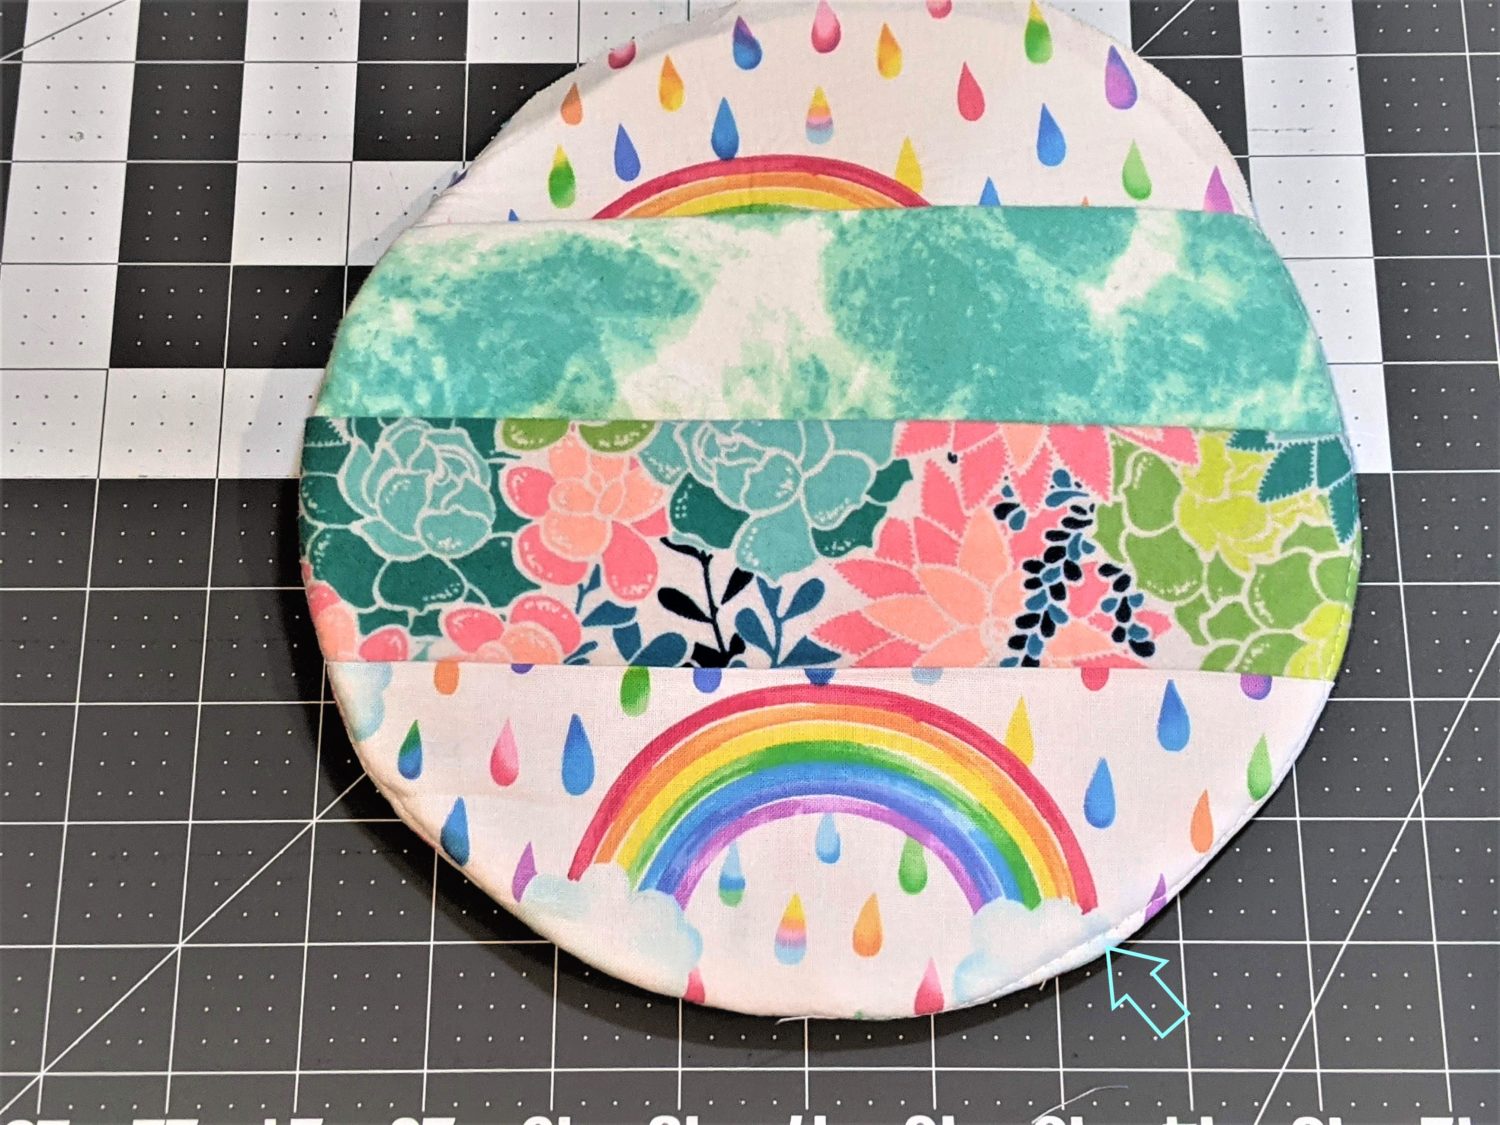
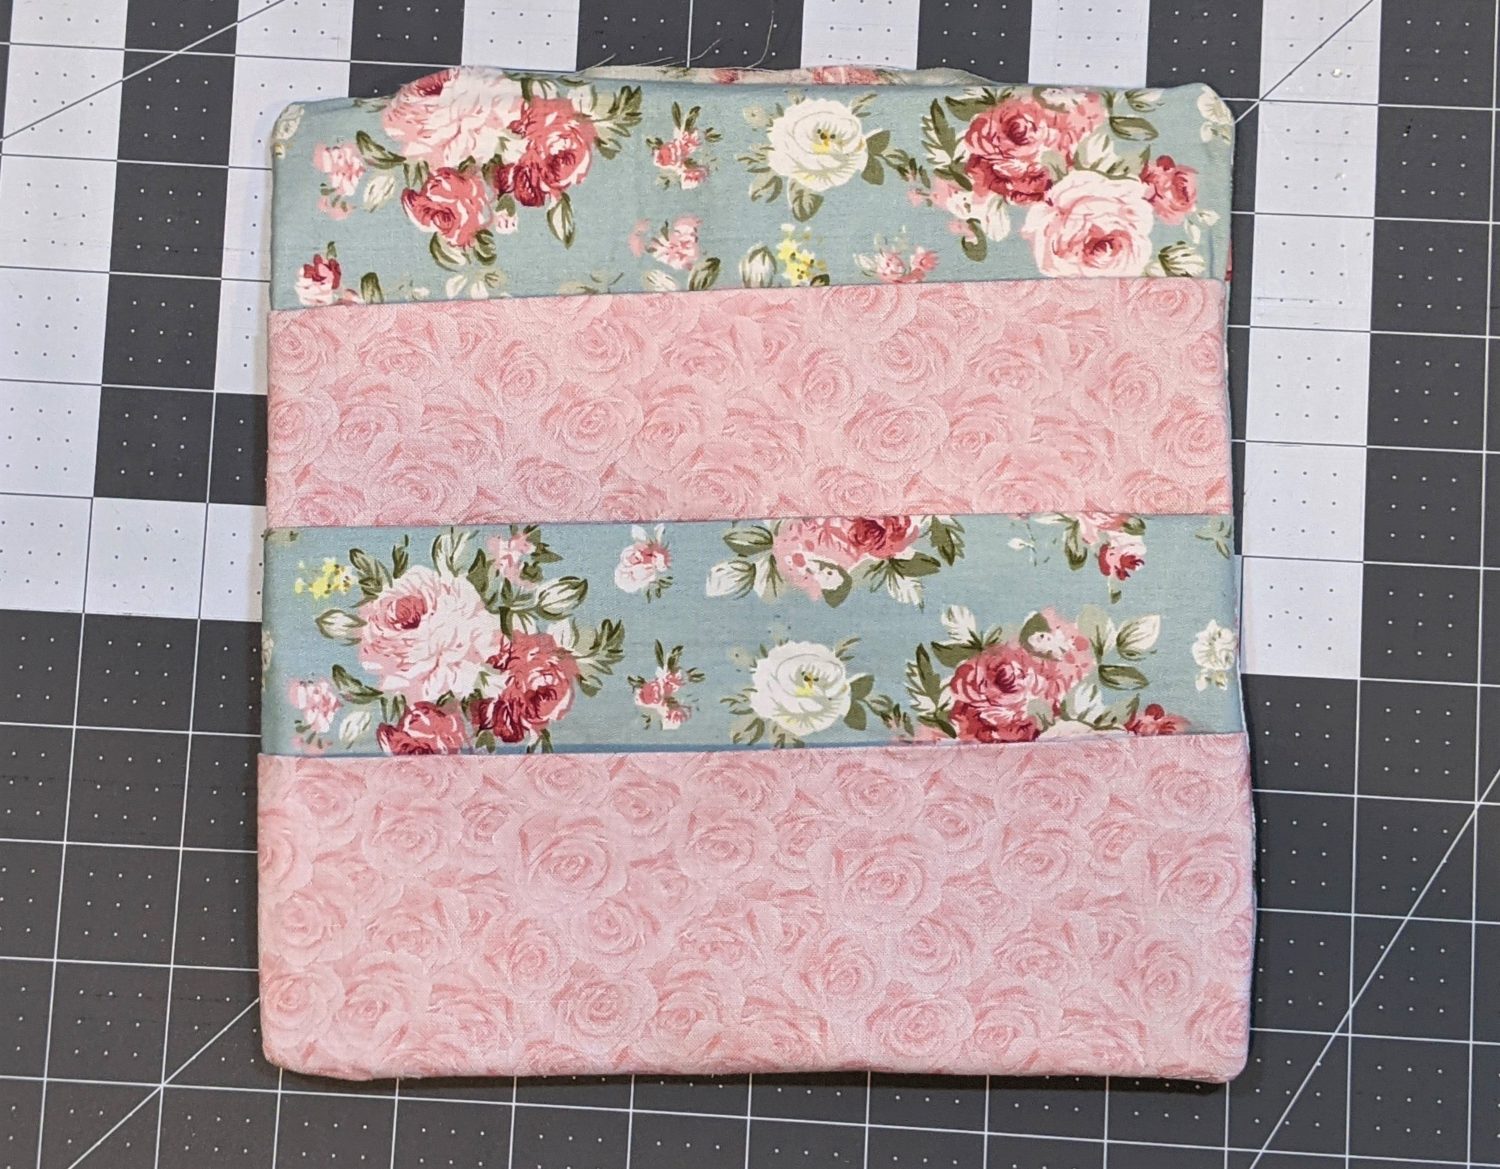
- Fold your front pocket piece in half lengthwise, then line up its raw edge along the bottom edge of the front main piece. Pin in place.
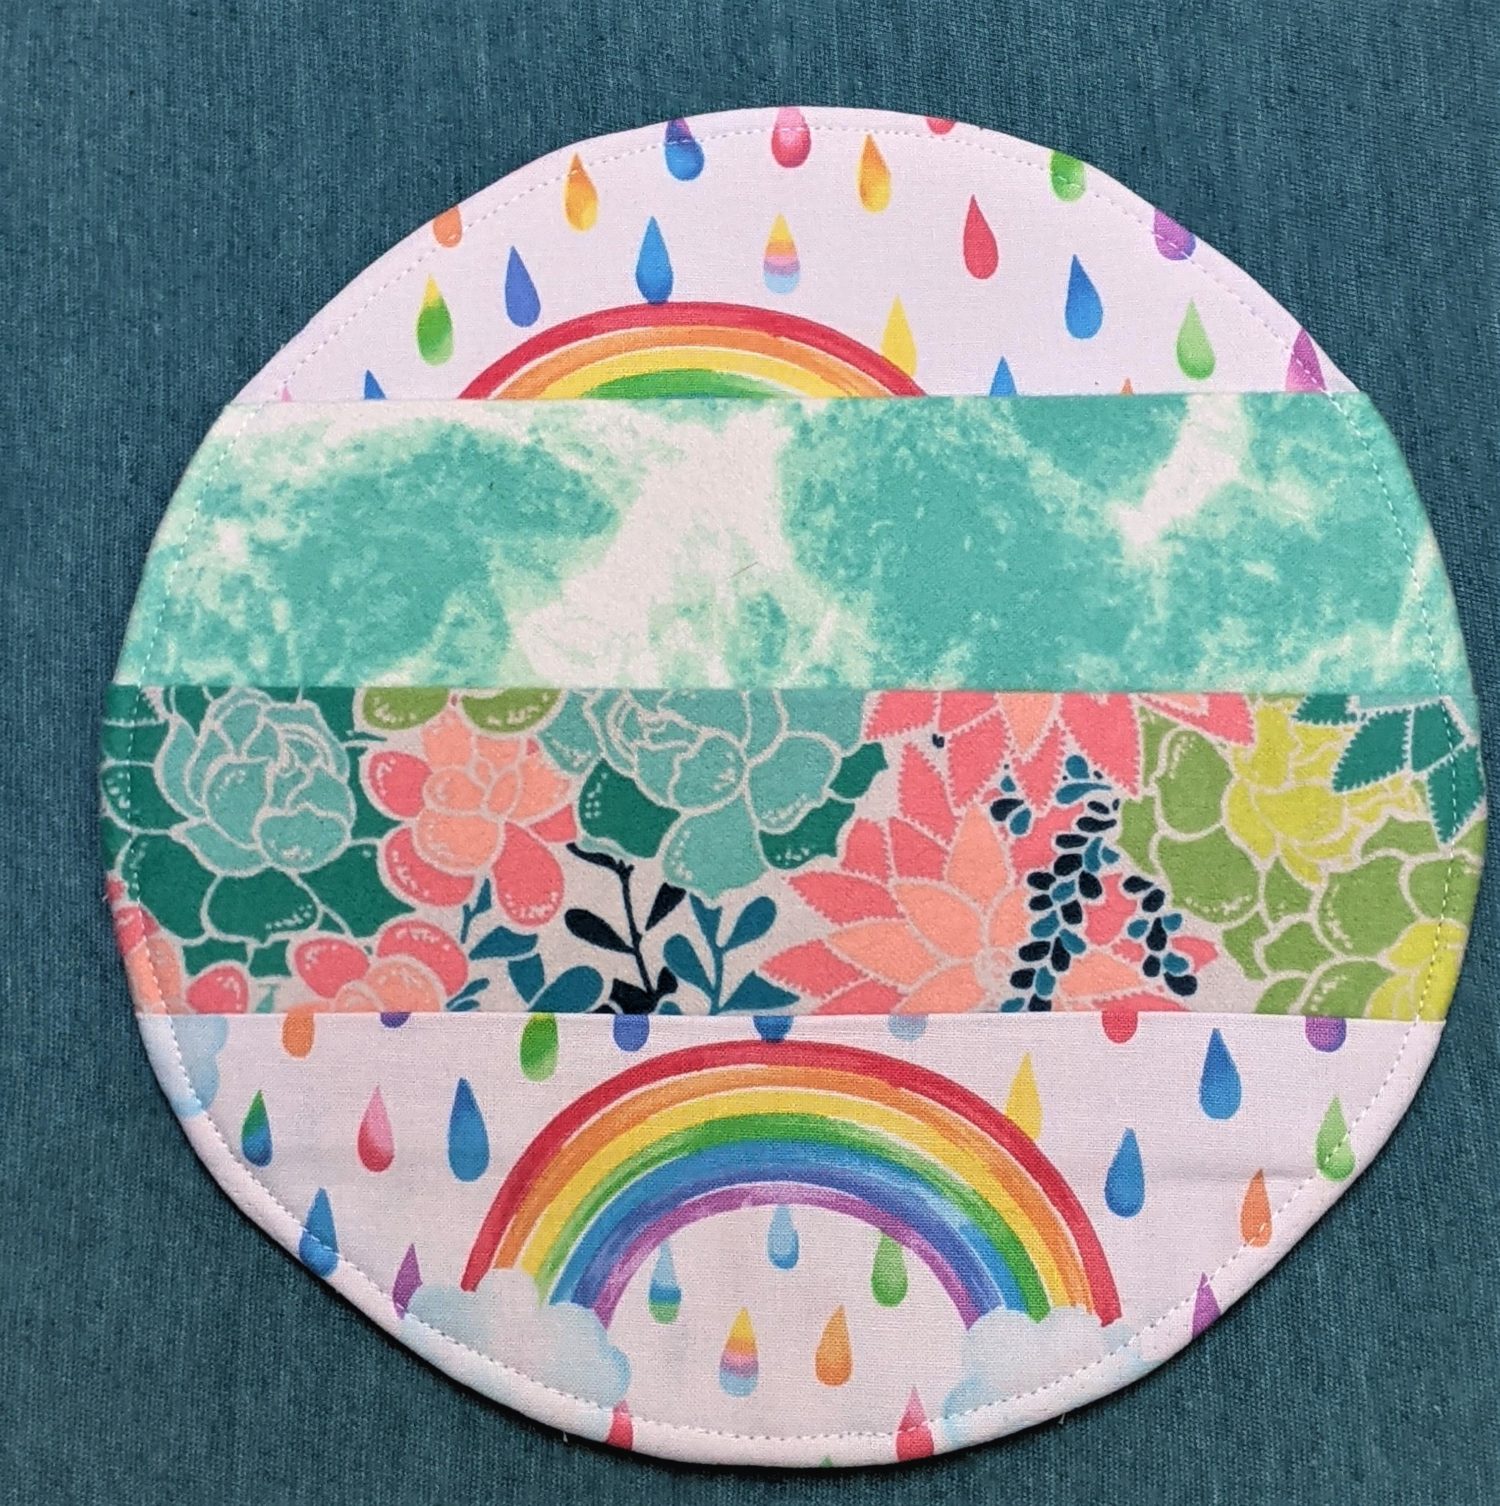
- For the circle one, line it up at the bottom of the curve. There will be extra fabric hanging over for all of the pockets but we will deal with that later.
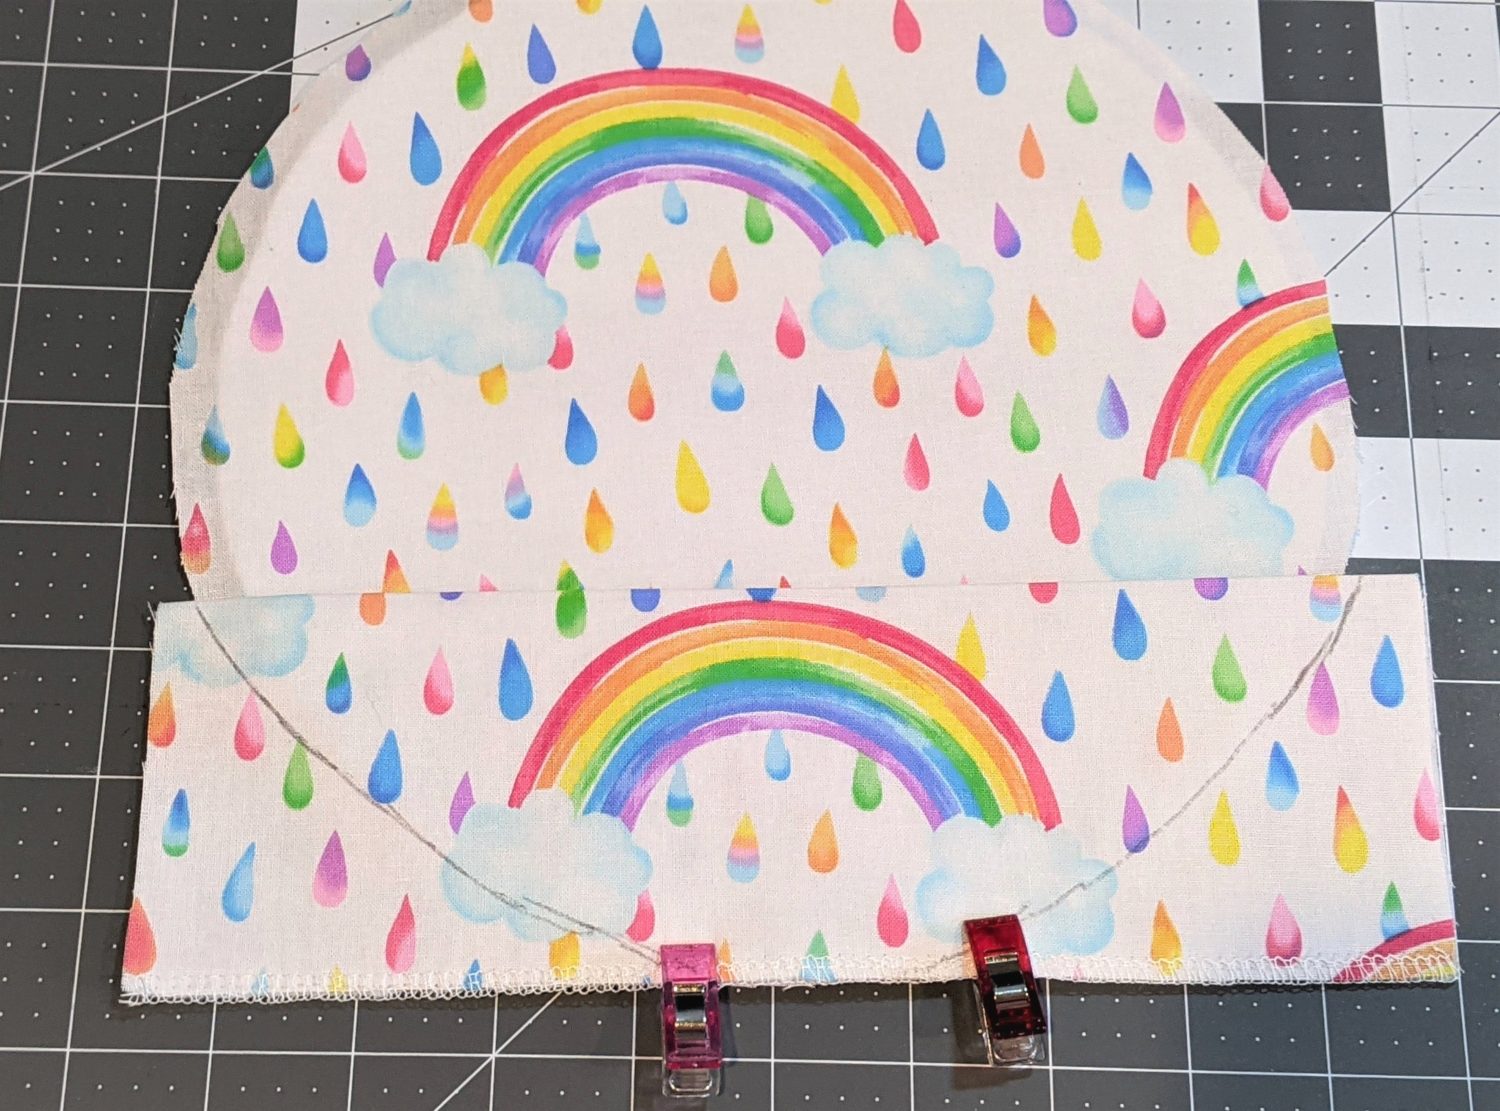
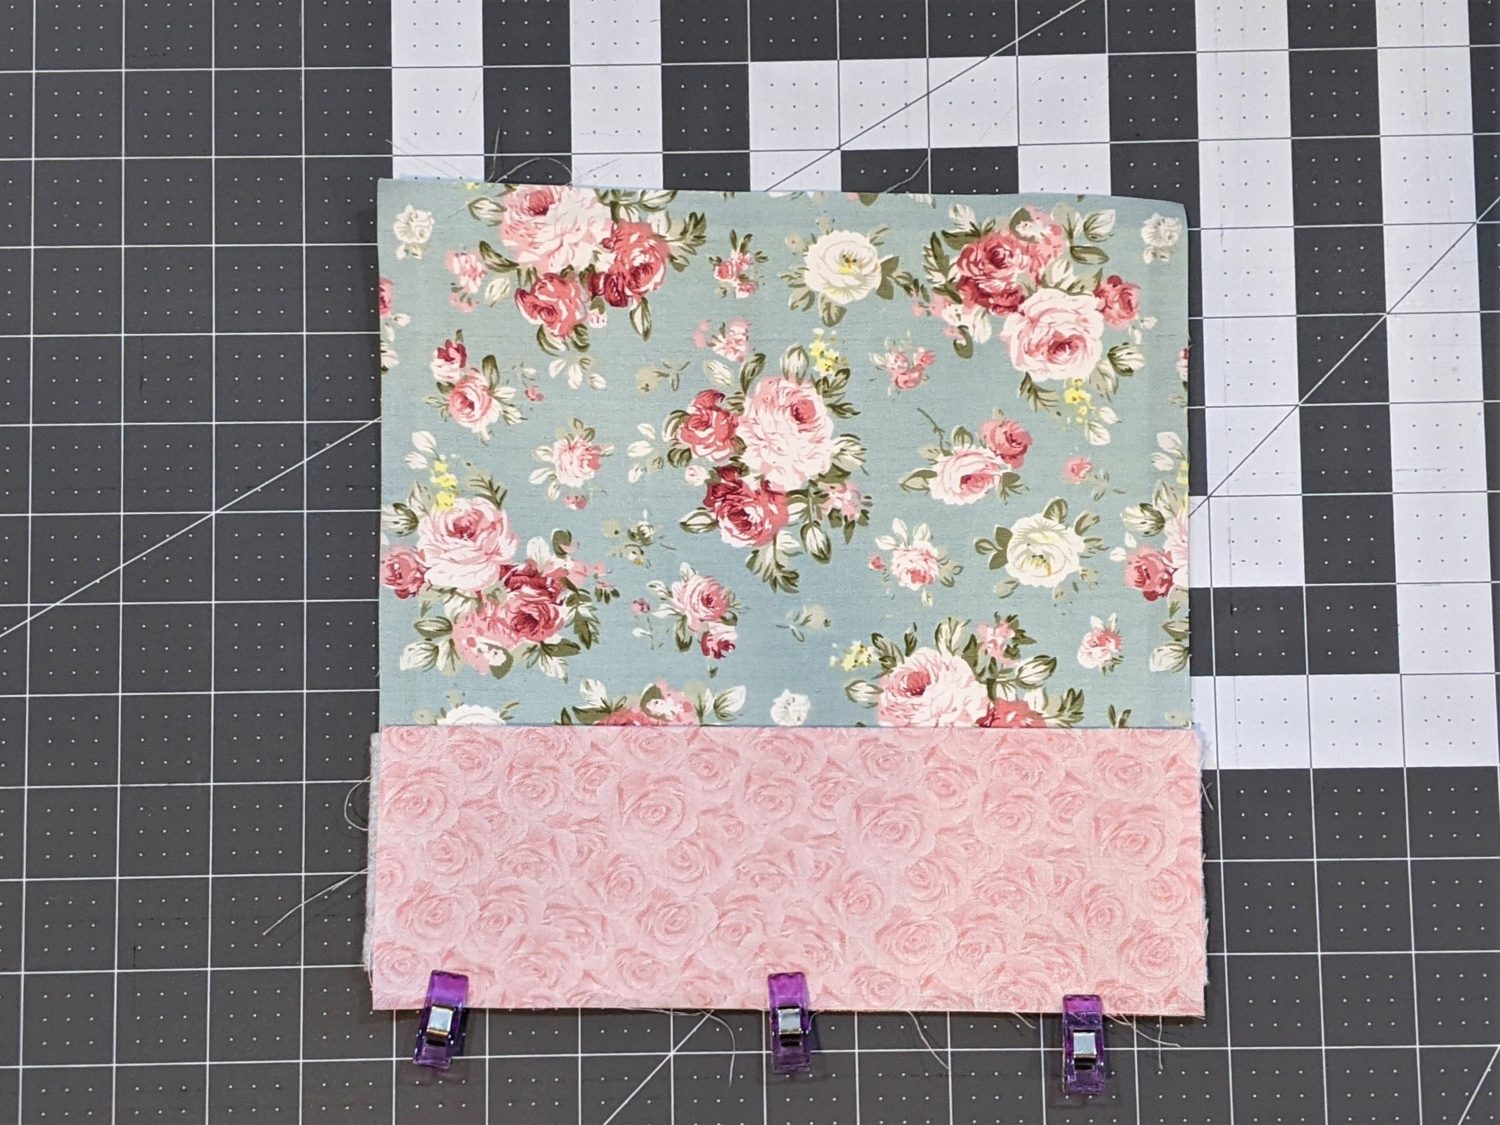
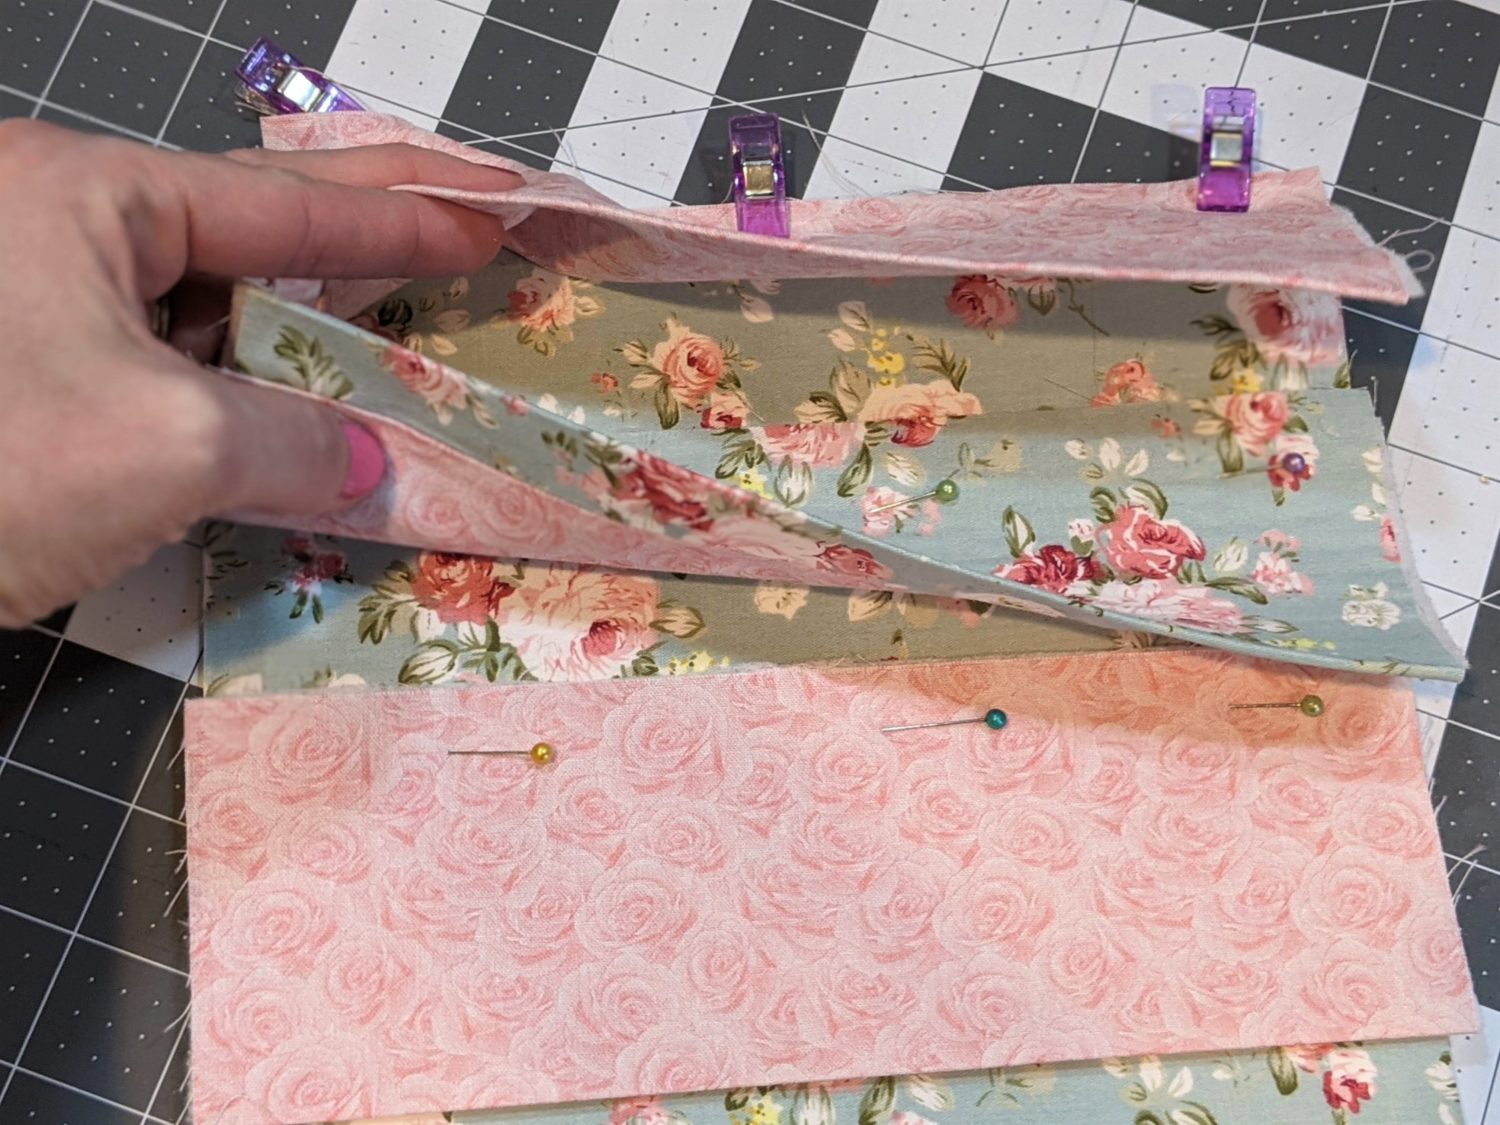
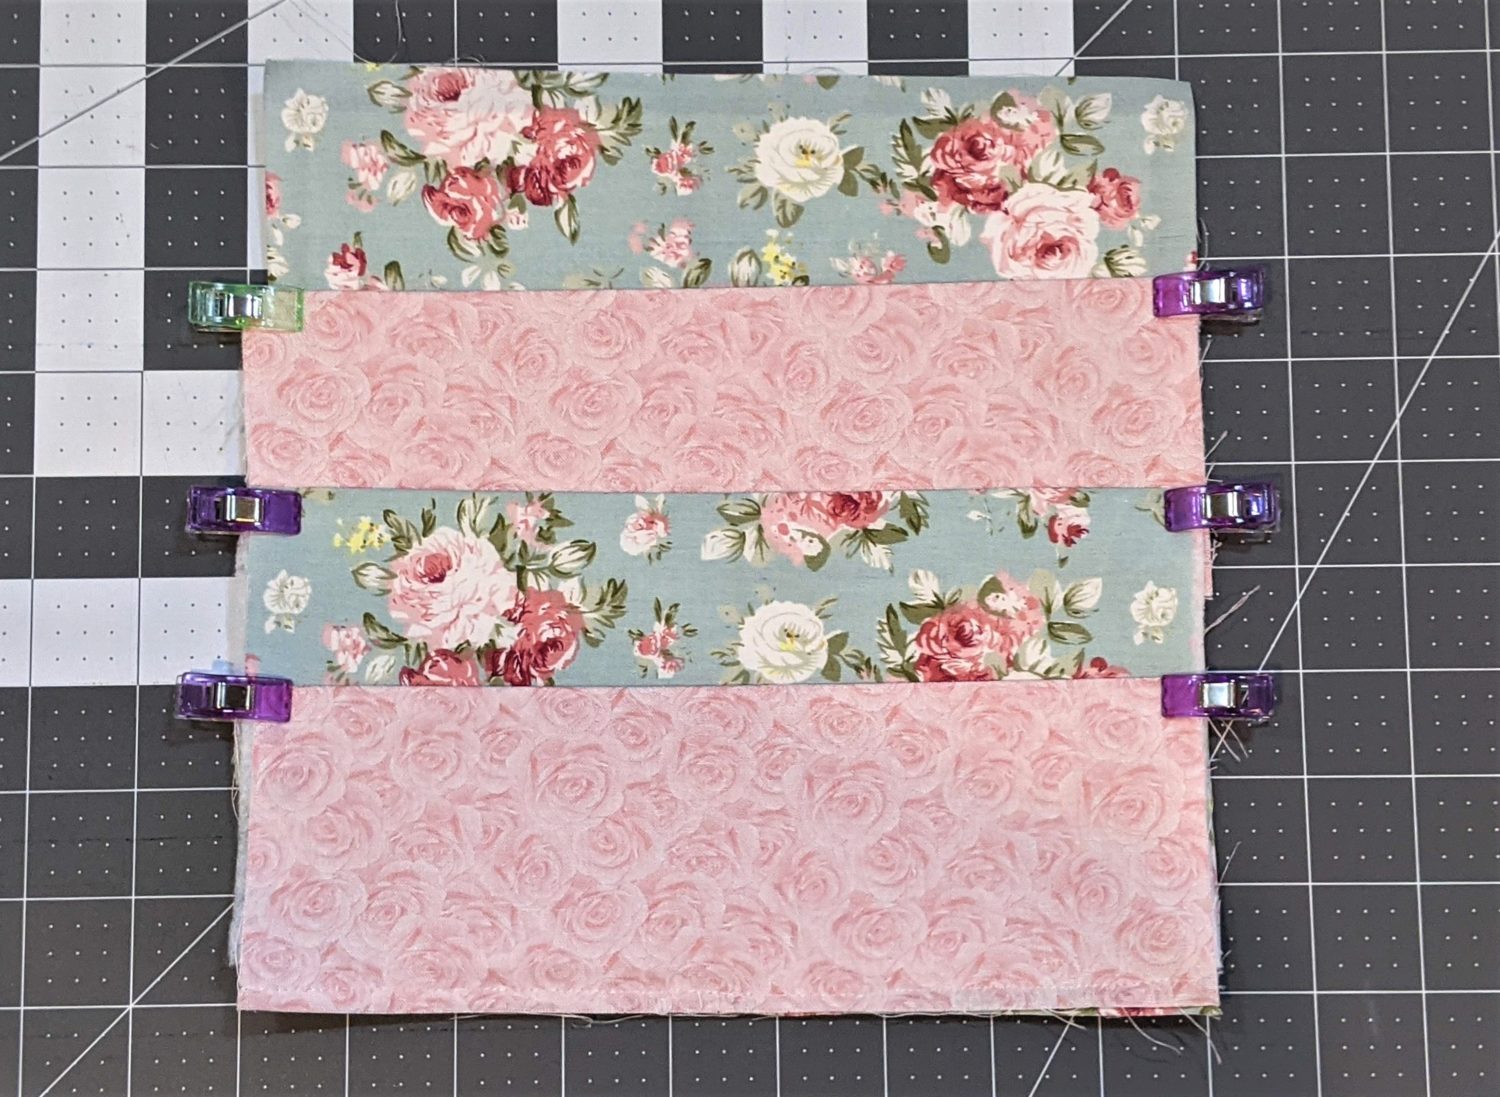
- Lift up the front card pocket, then slide the middle pocket under it with the top edge of the front one overlapping by 1″.
- Pin along the bottom edge of the middle pocket.
- Repeat the same process with the back card pocket.
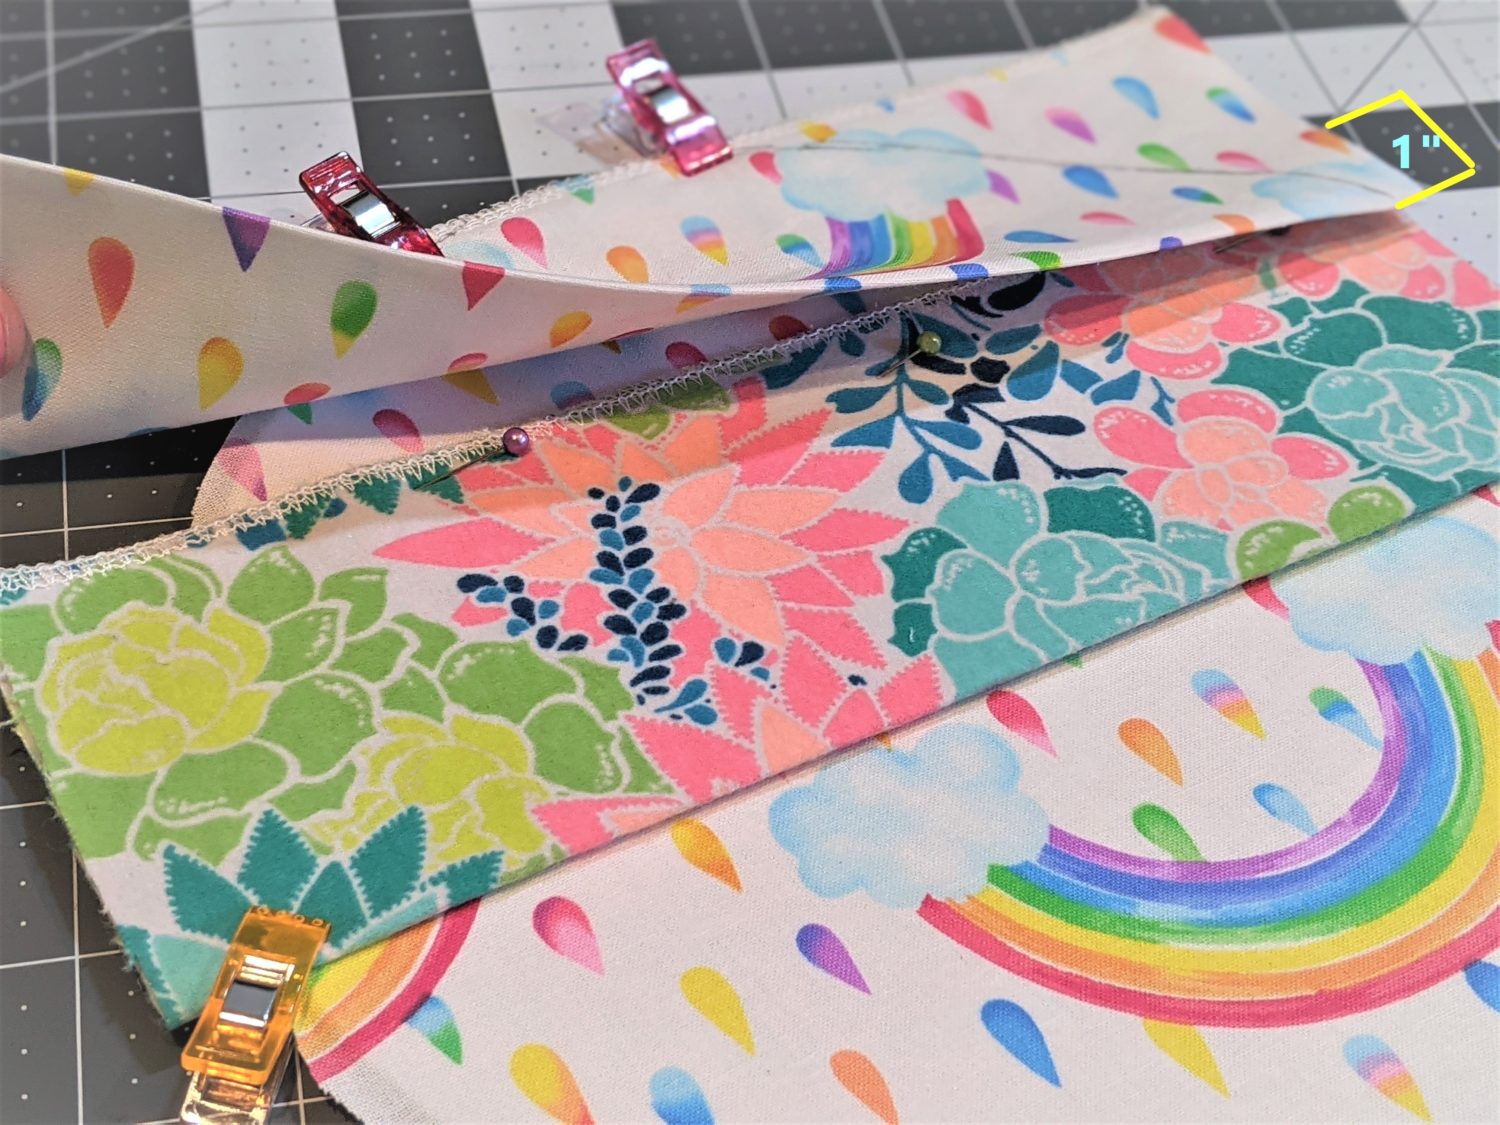
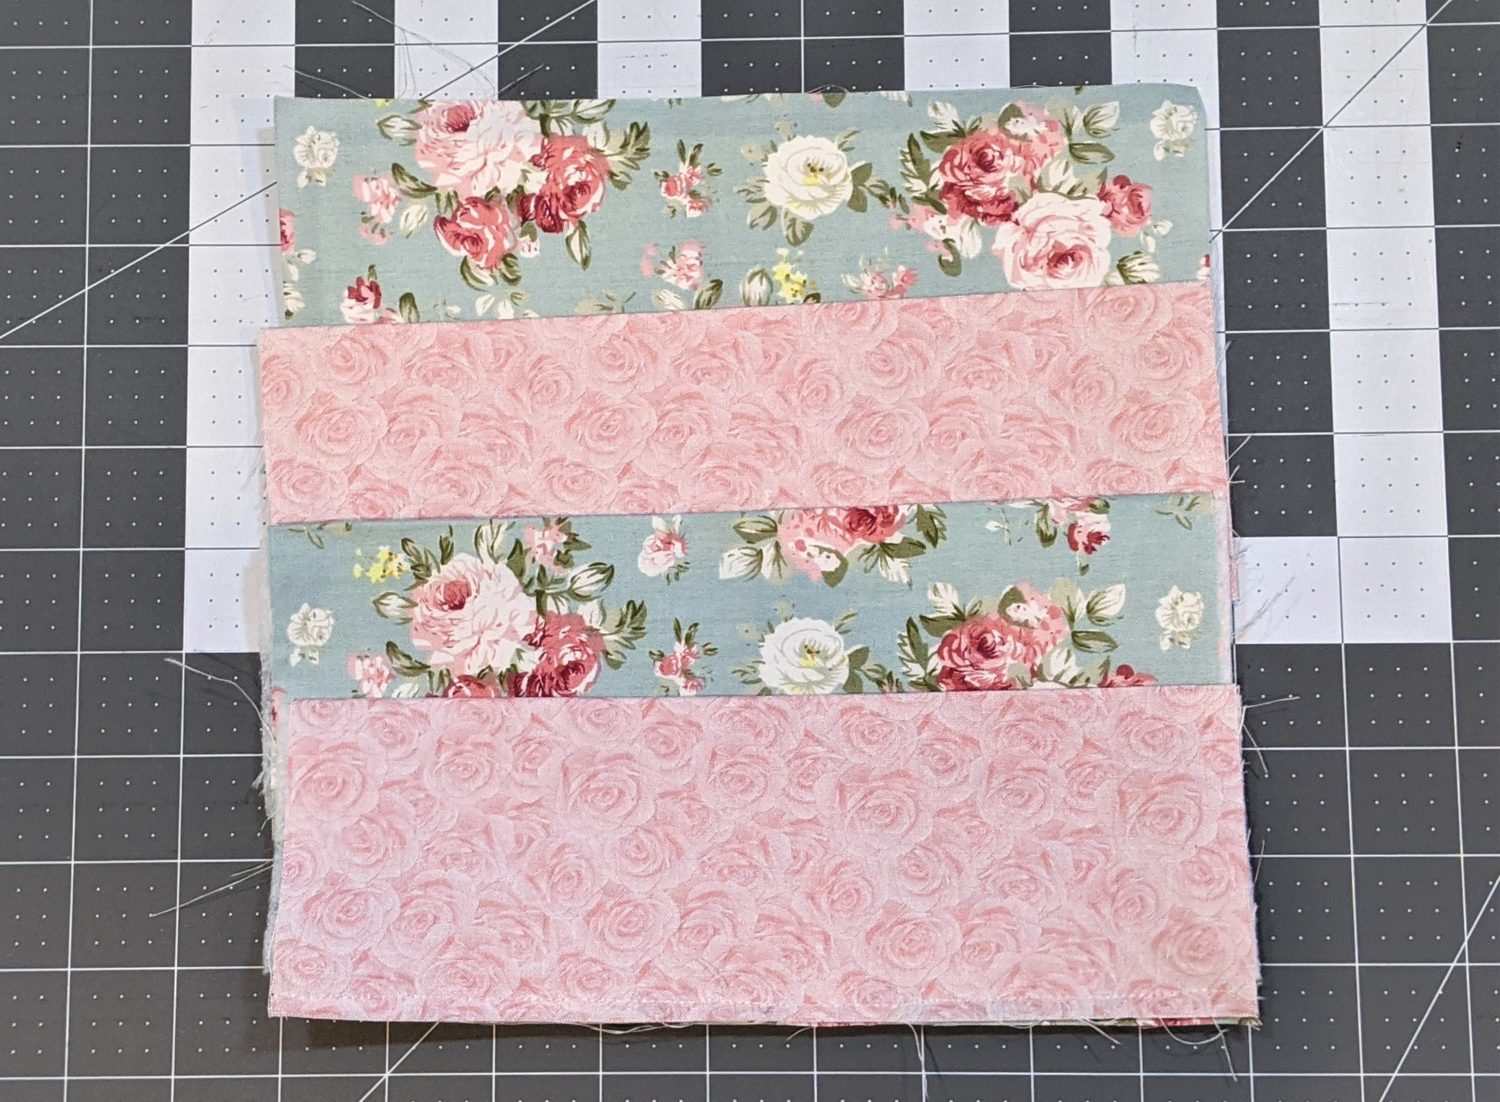
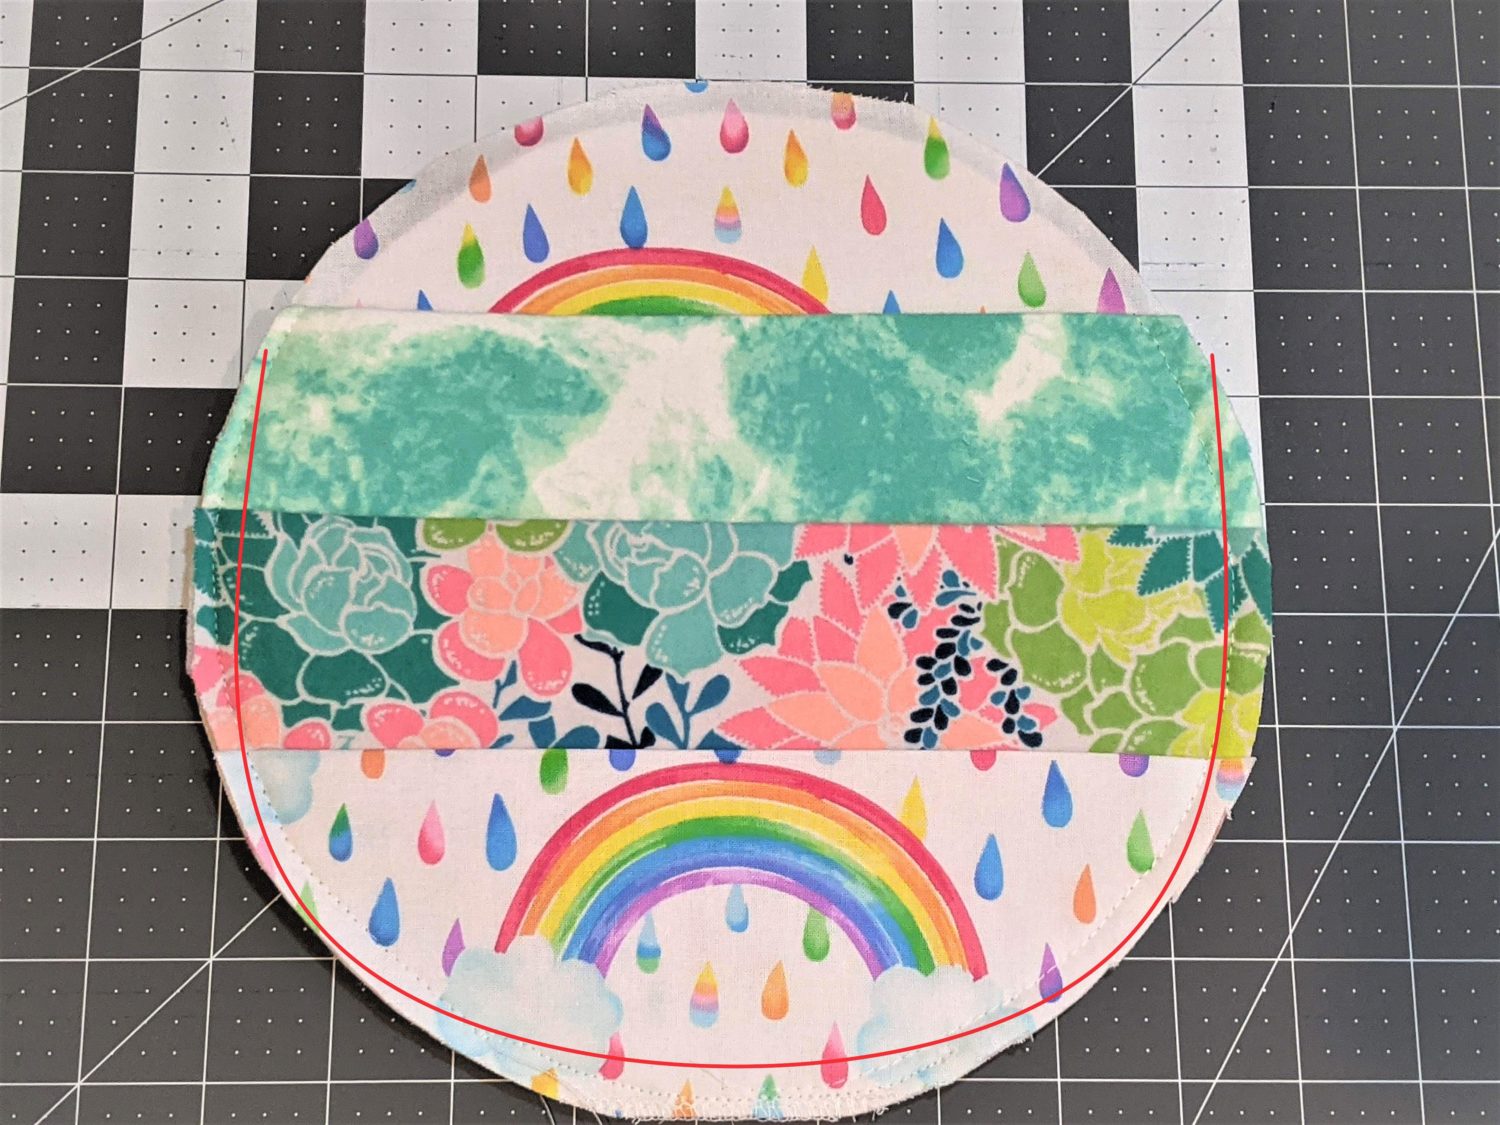
- Sew along the bottom edge of each card pocket. Use a 1/4″ seam allowance for the front pocket, and a 3/8″ seam allowance for the middle and back pockets. Press when done.
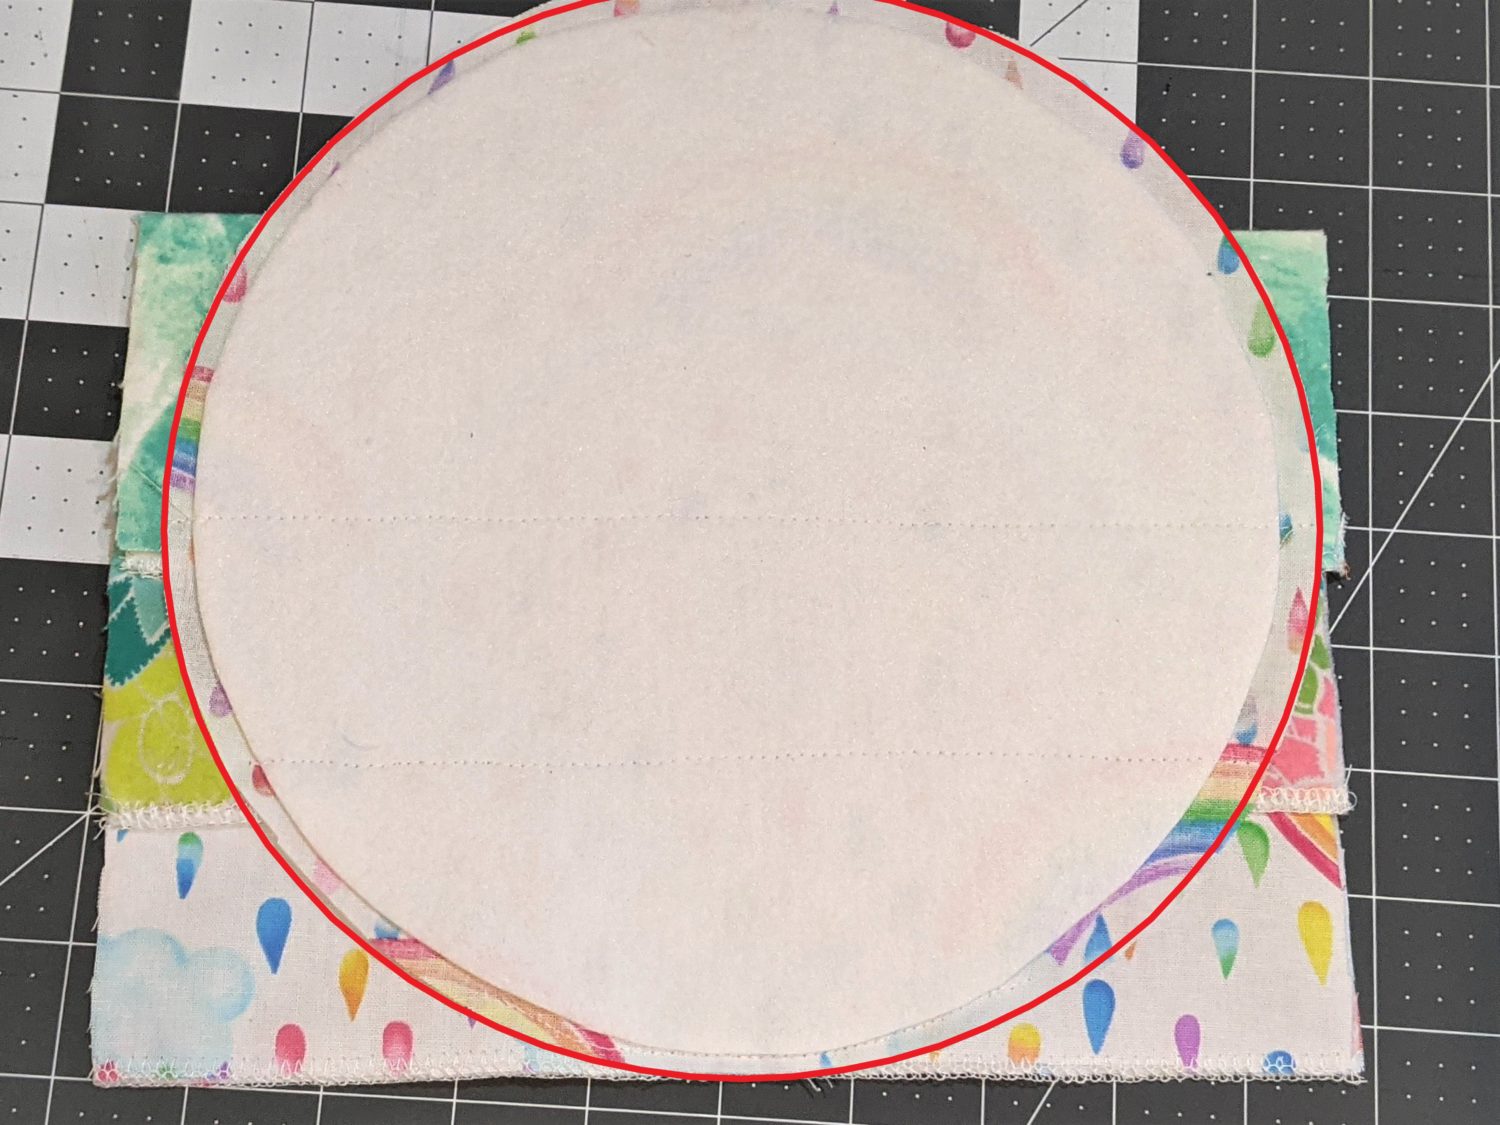
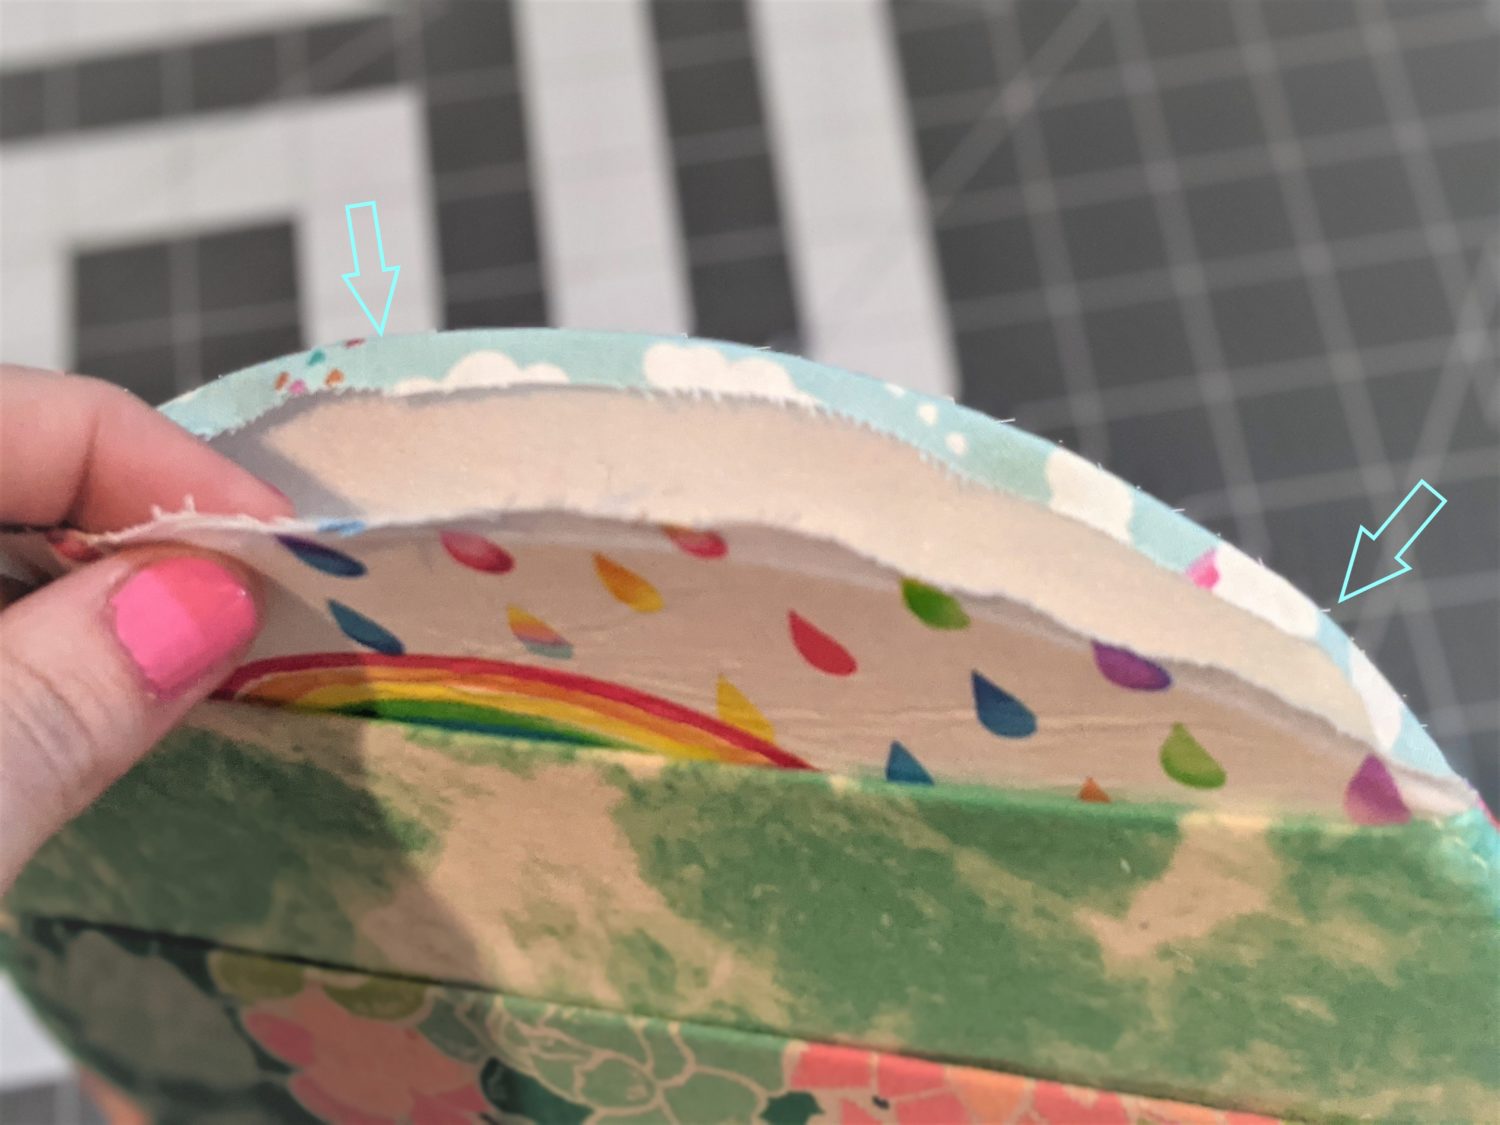
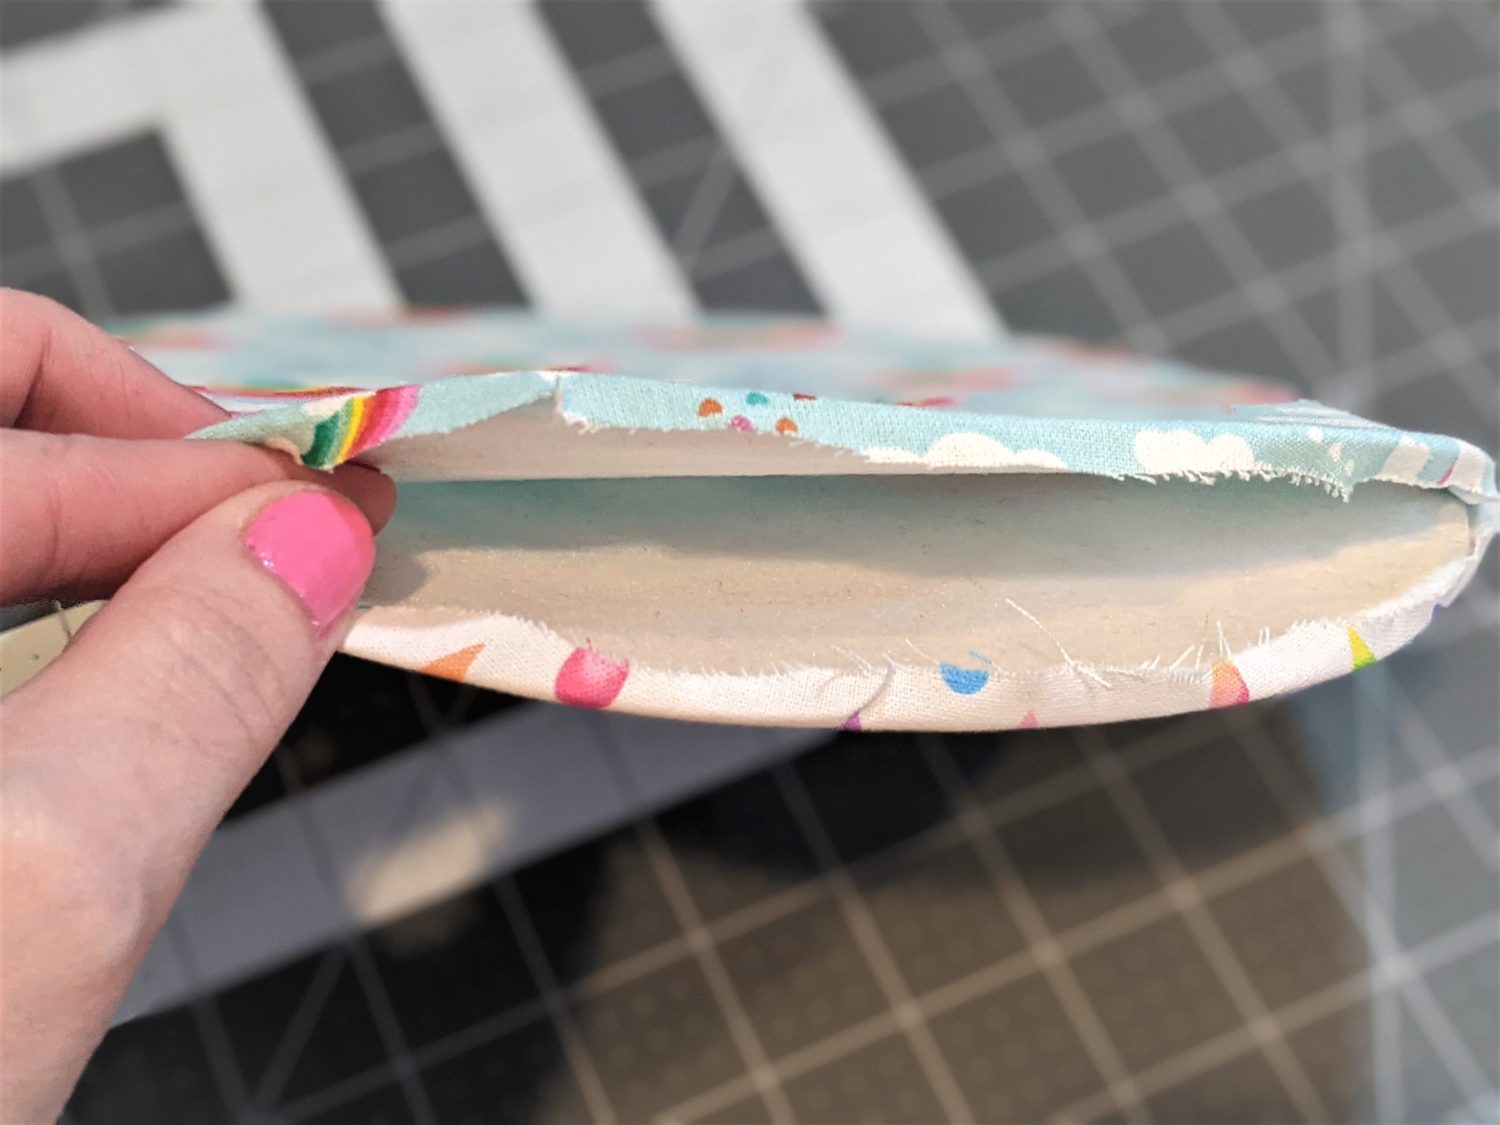
- On the circle one, you only need to sew the front pocket where it touches the main piece, and just to the edge of the circle for the middle and back pockets.
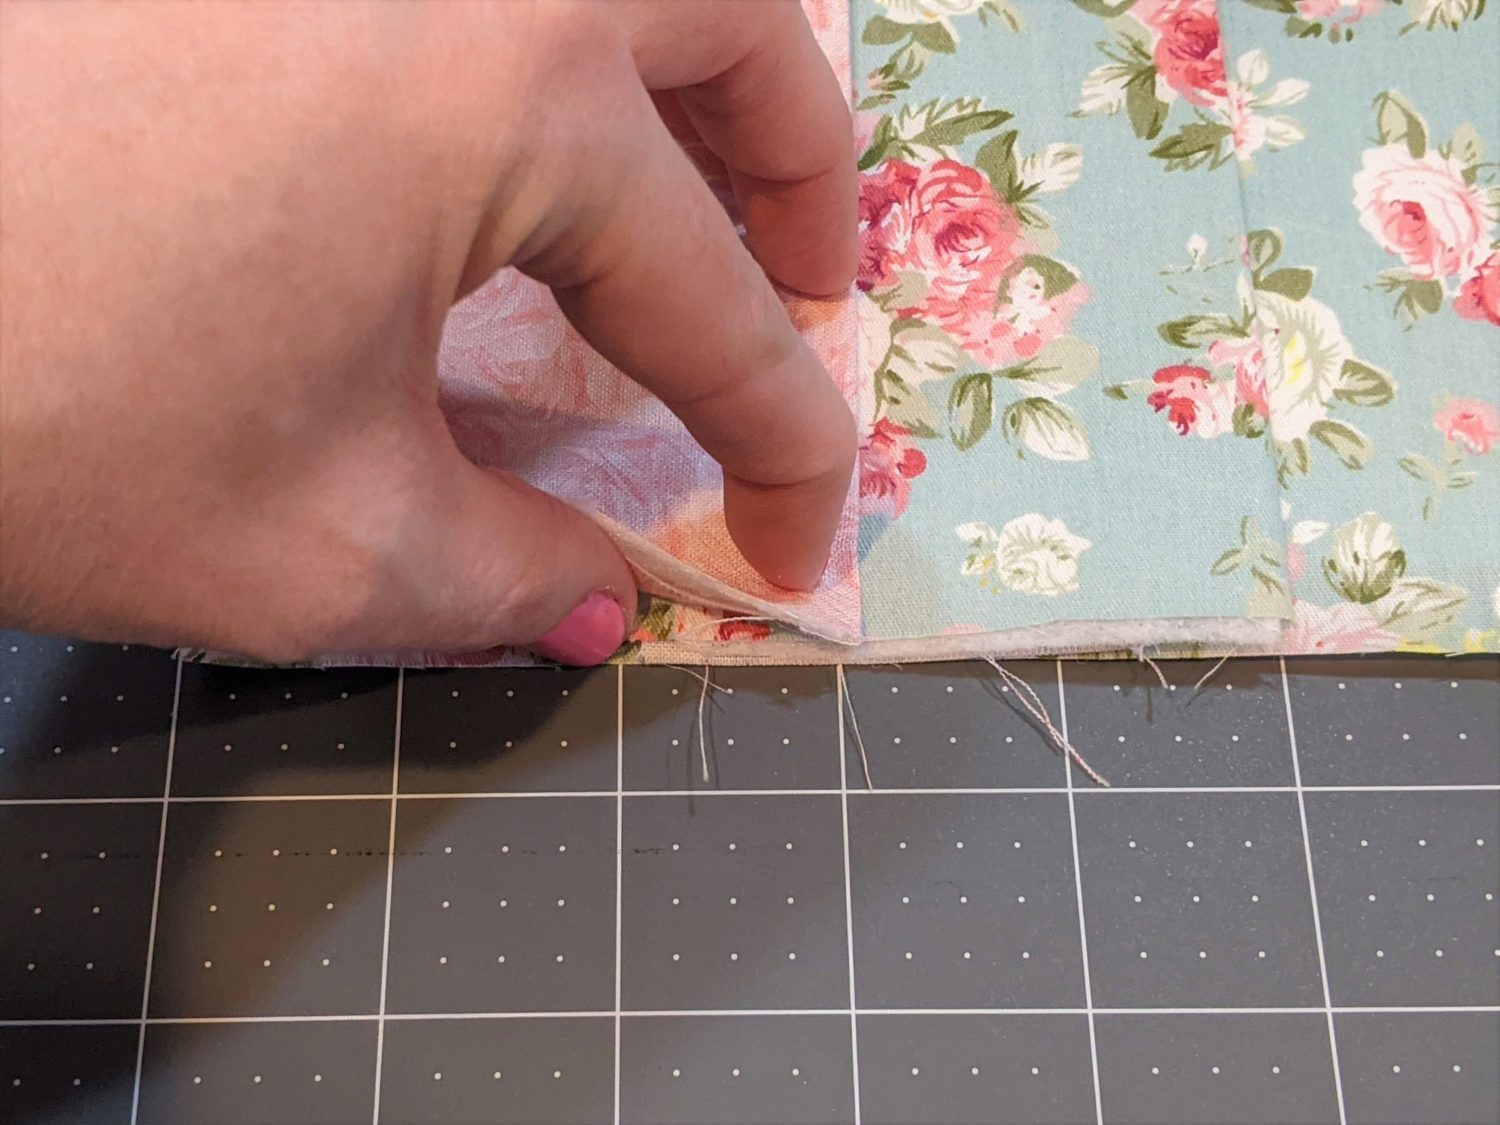
- After sewing the pocket edges, turn the circle over and trim off the excess fabric.
- Pin along the outside edges of the pockets.
- Use a long basting stitch along the edges to hold the pockets in place.
Attach the Back
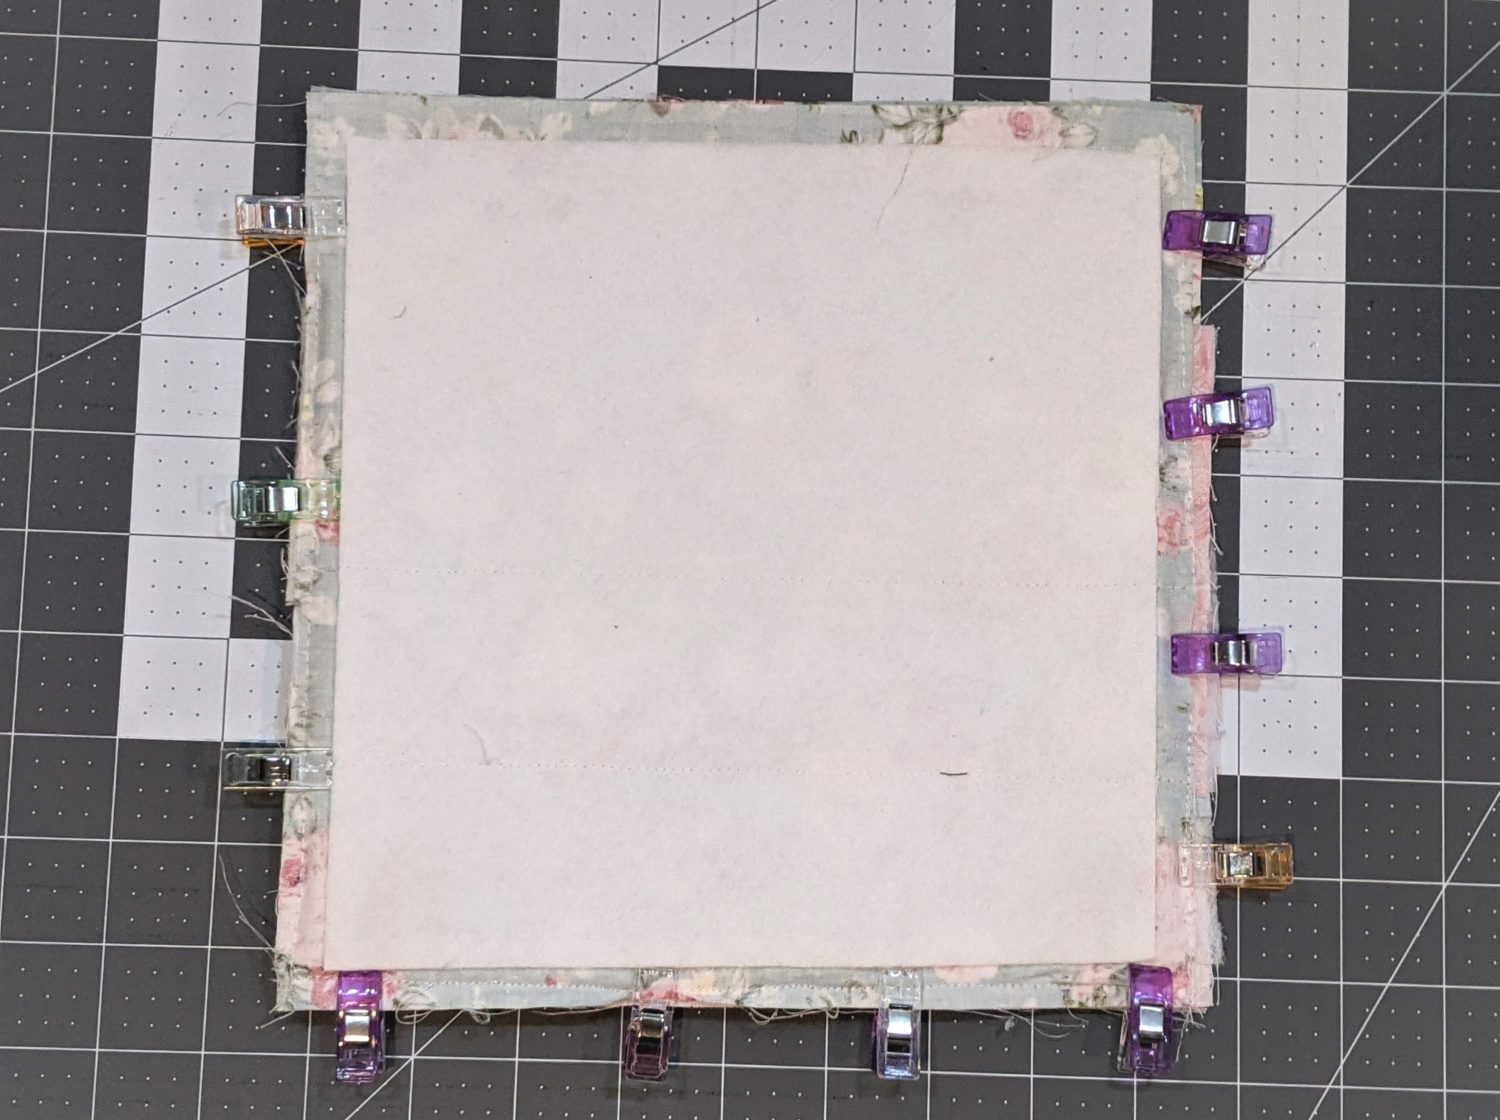
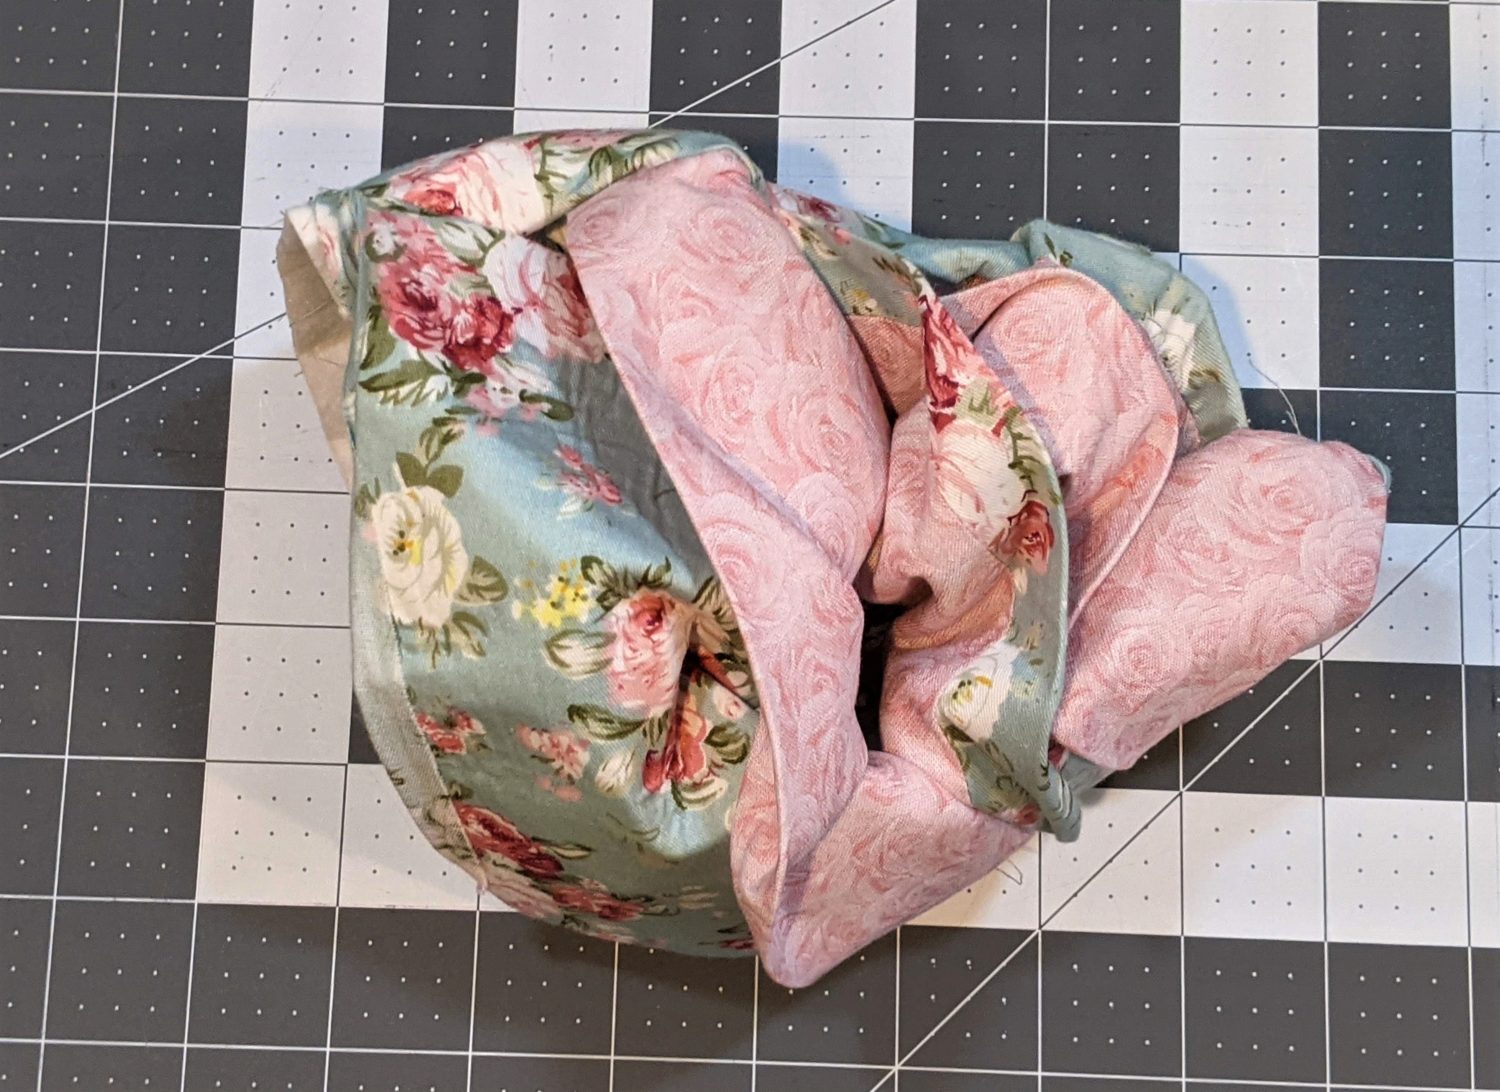
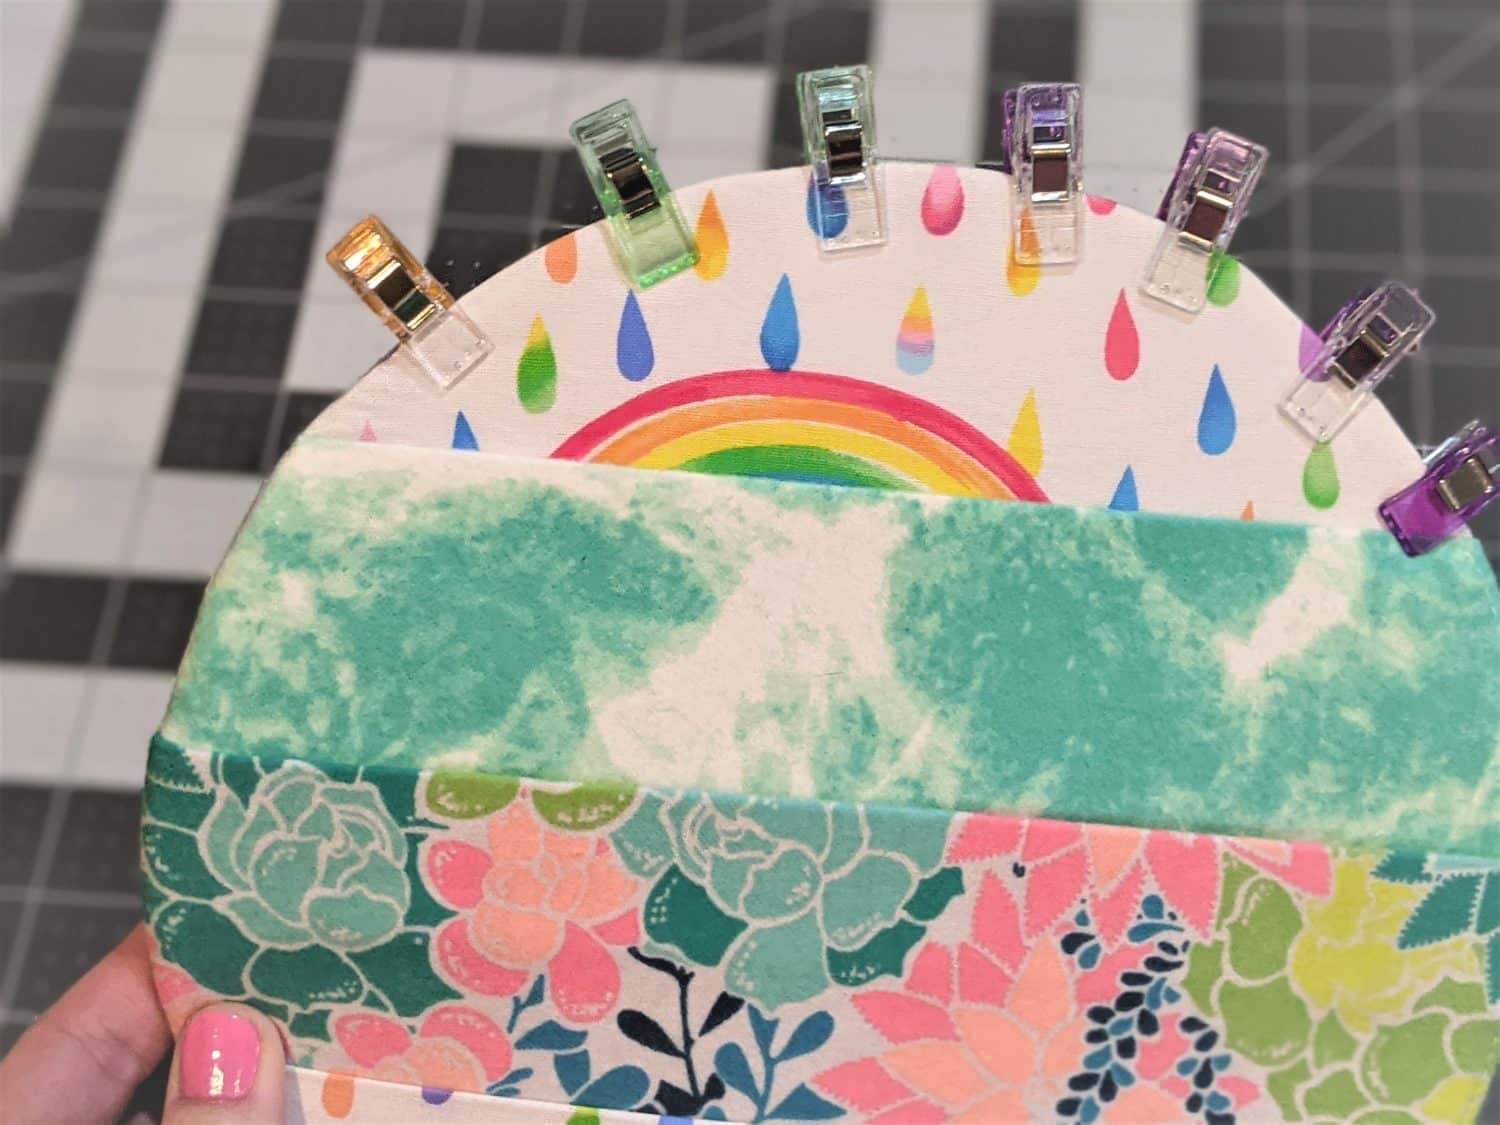
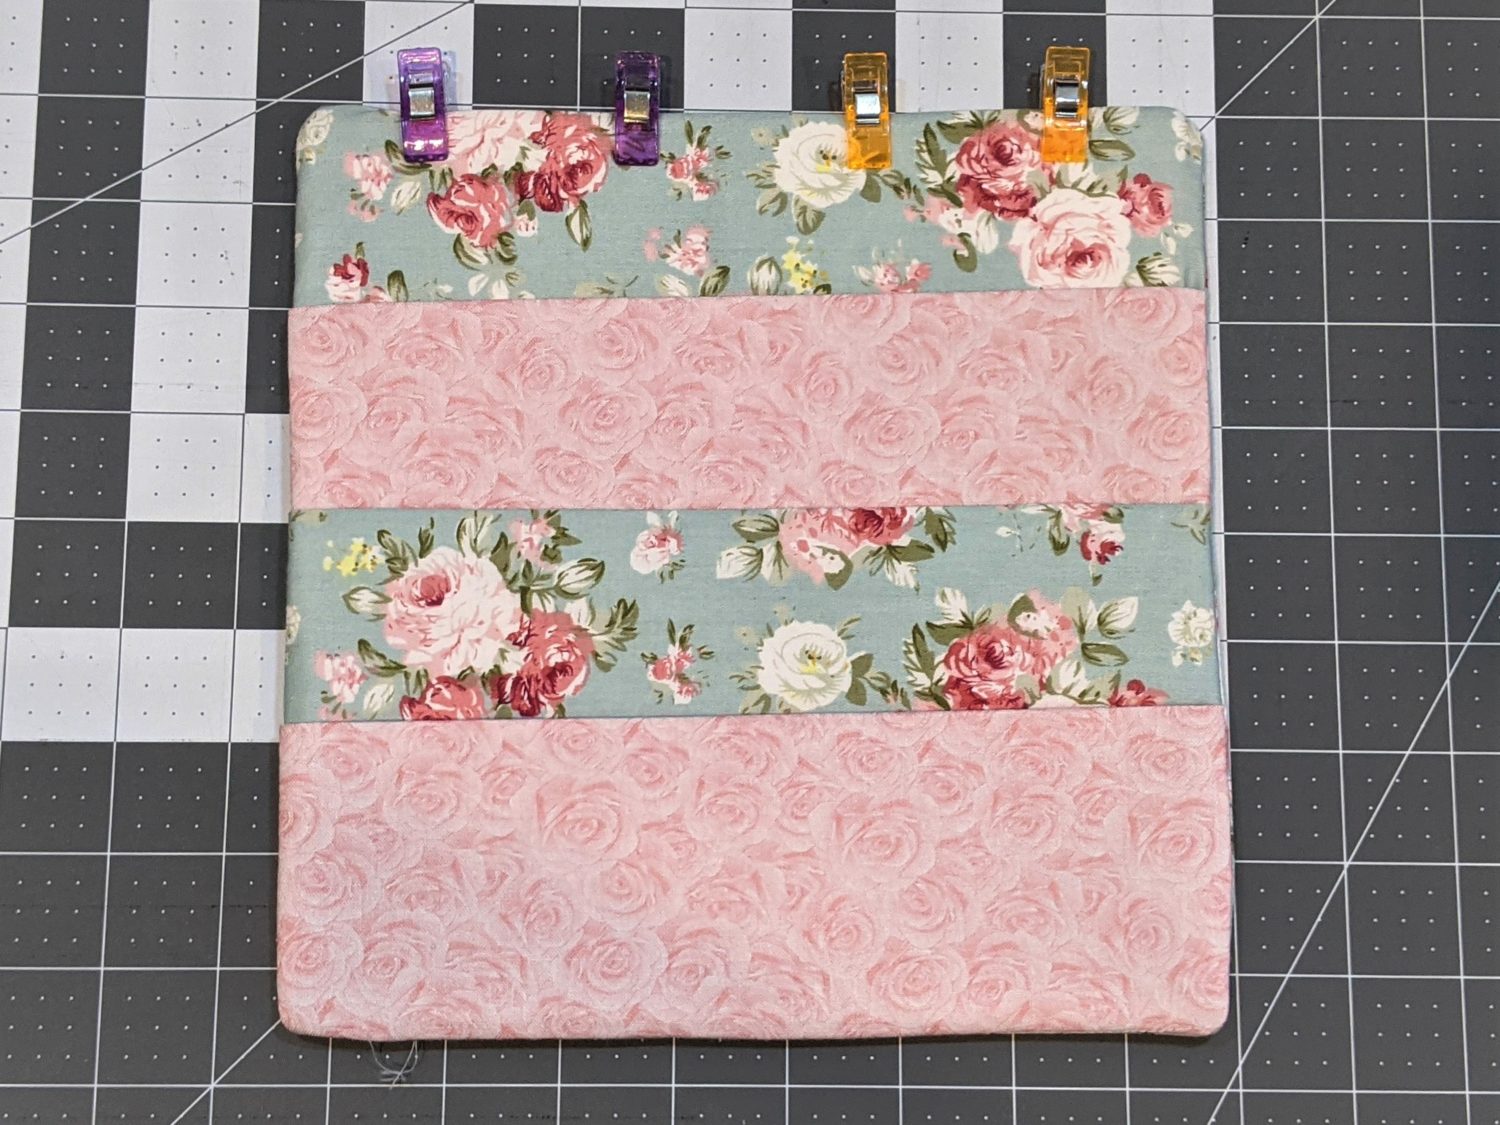
- With your front piece (with the card pockets) facing right side up, set your back piece on top of it right side down.
- Pin along the bottom and side edges.
- Sew around the edges with a 1/4″ seam allowance.
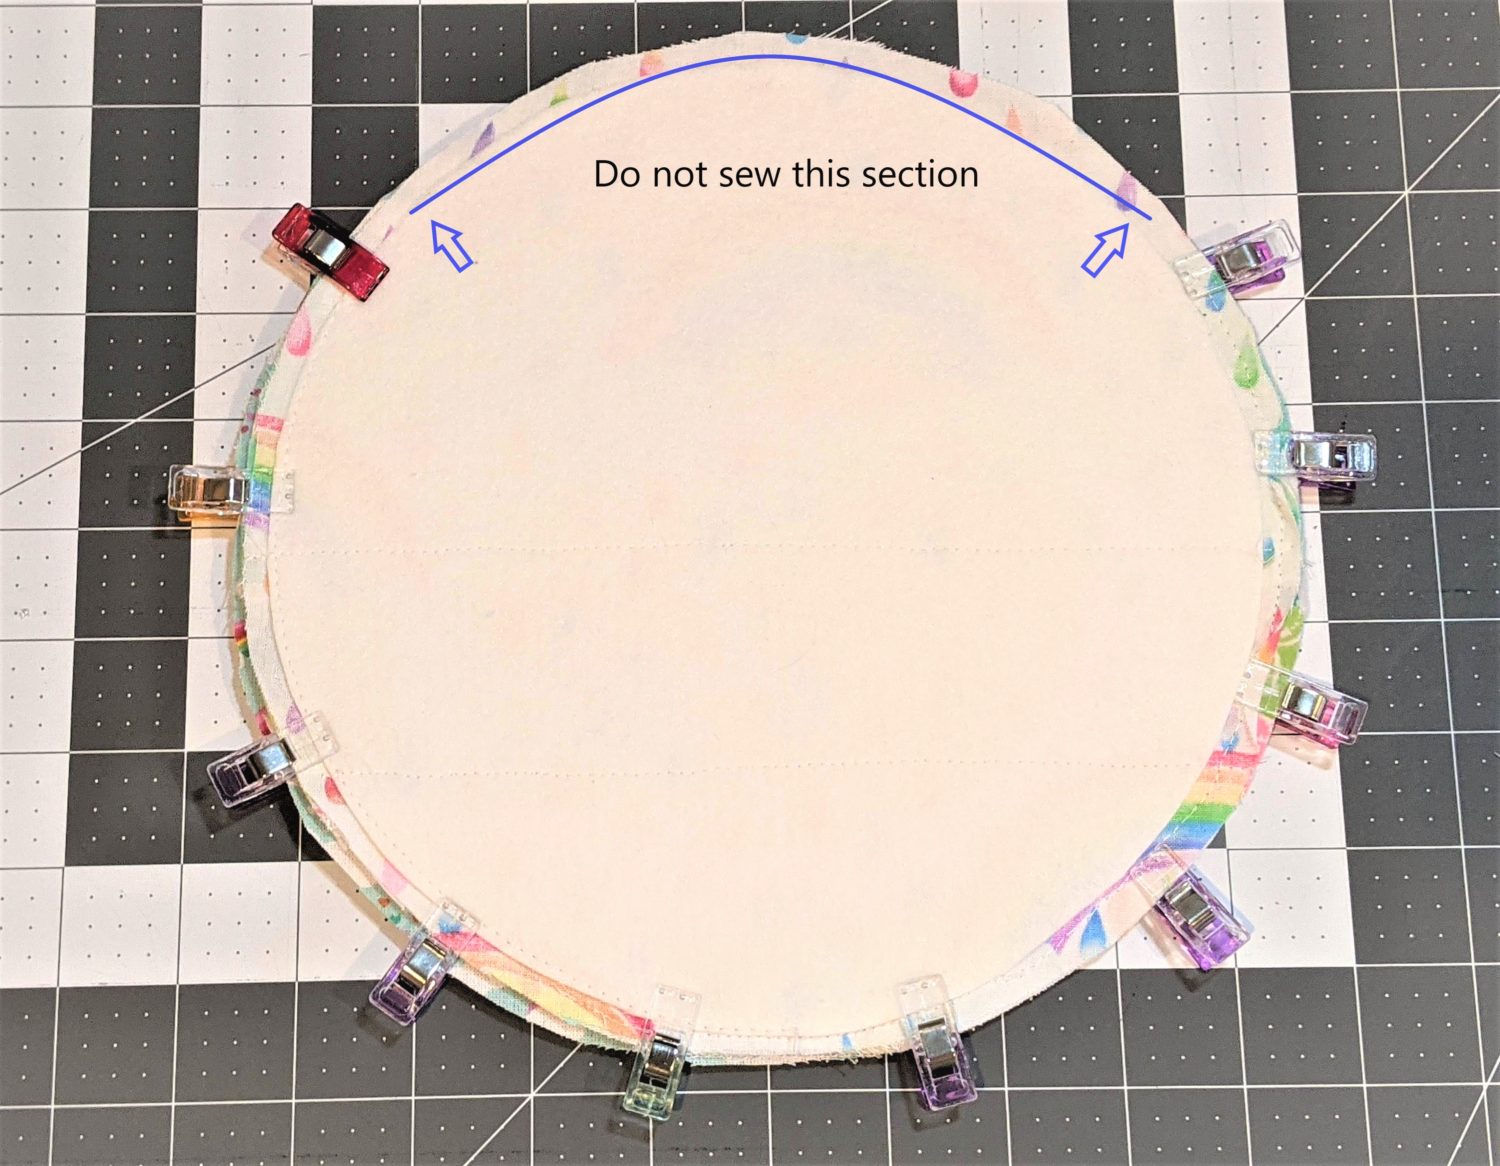
- For the circle, leave the top arch section open.
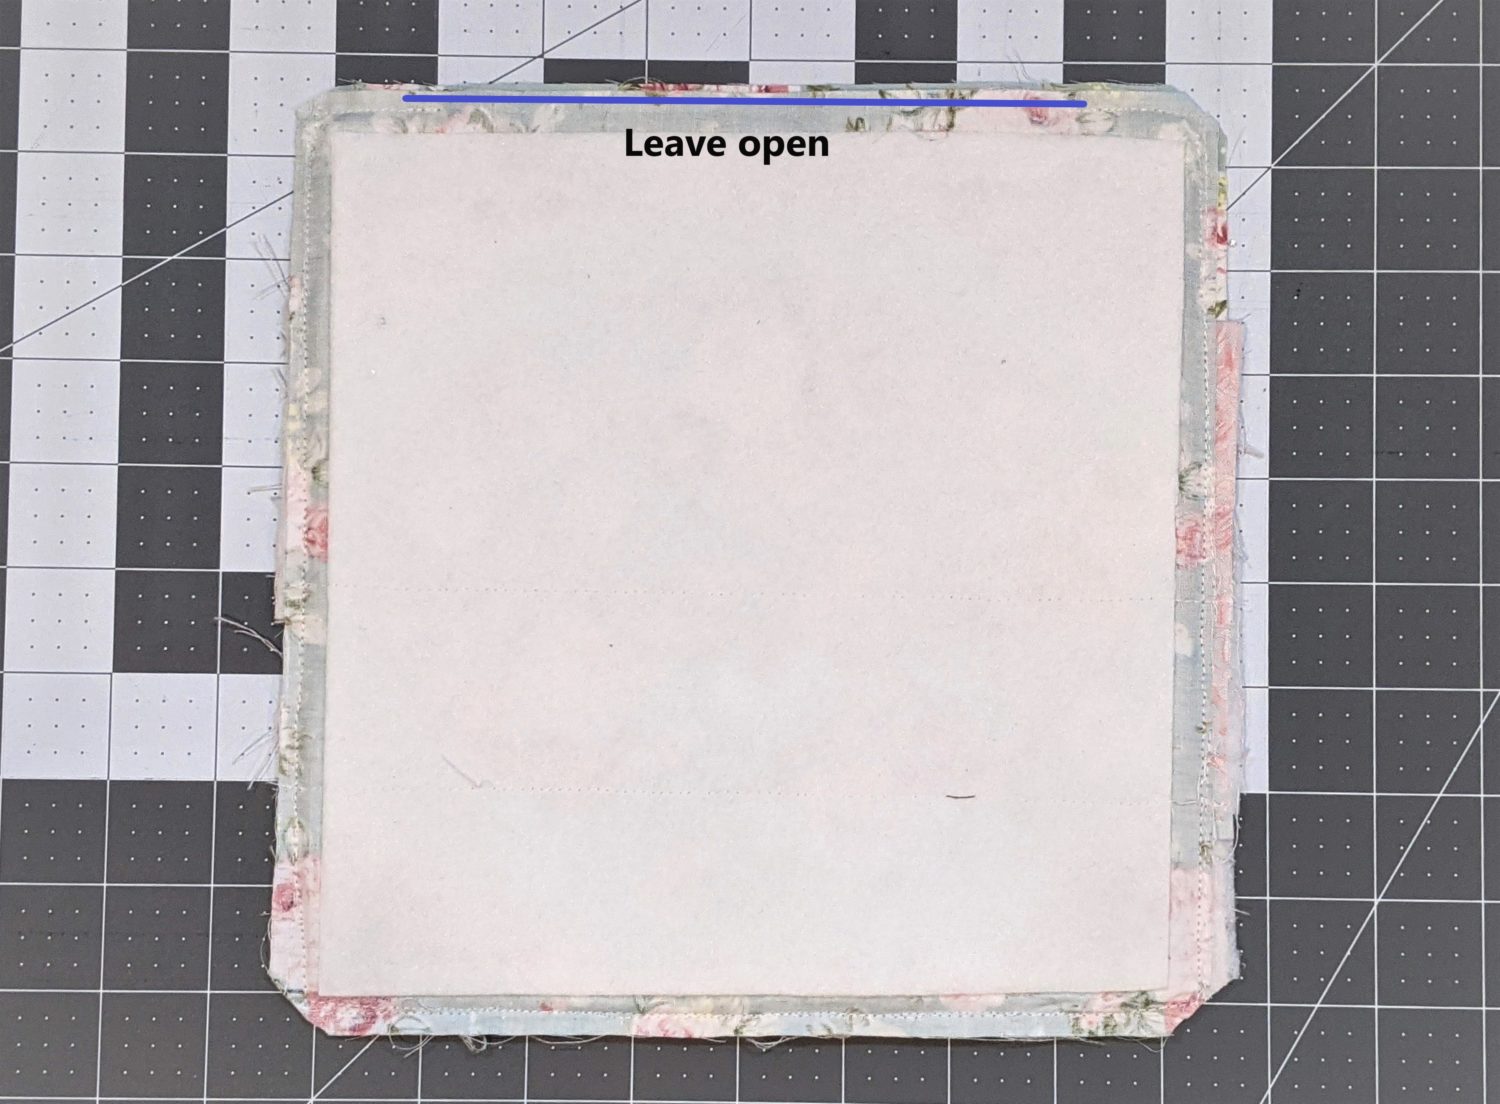
- For the square, sew in about 1″ on either side of the top edge leaving the rest of the top open.
- Clip corners on the square.
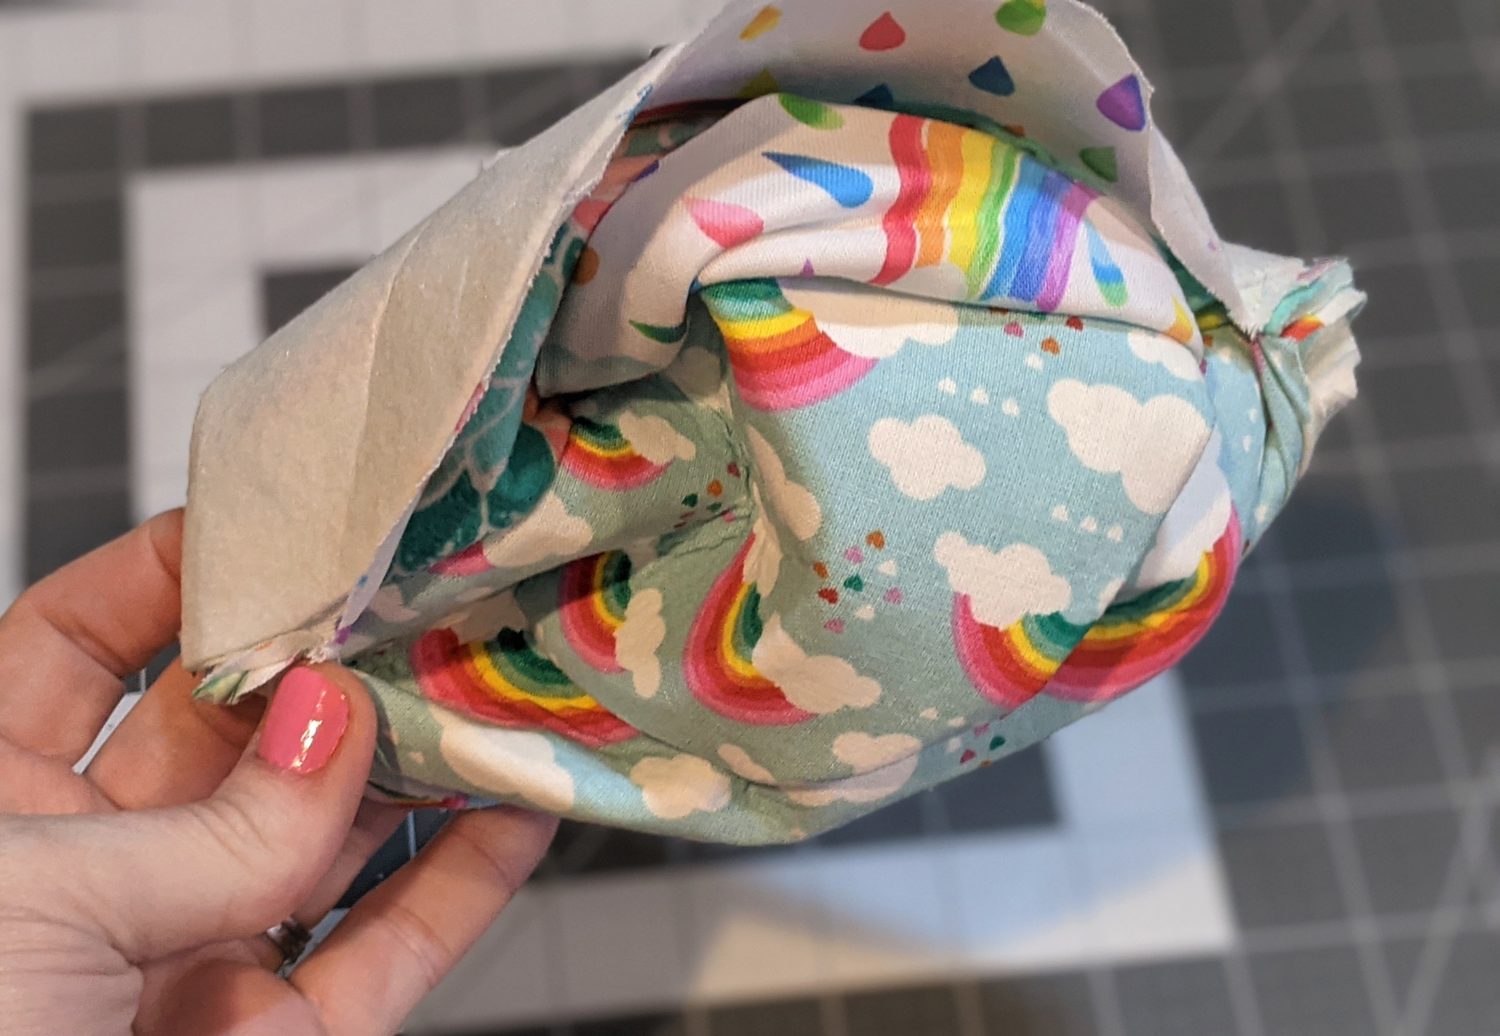
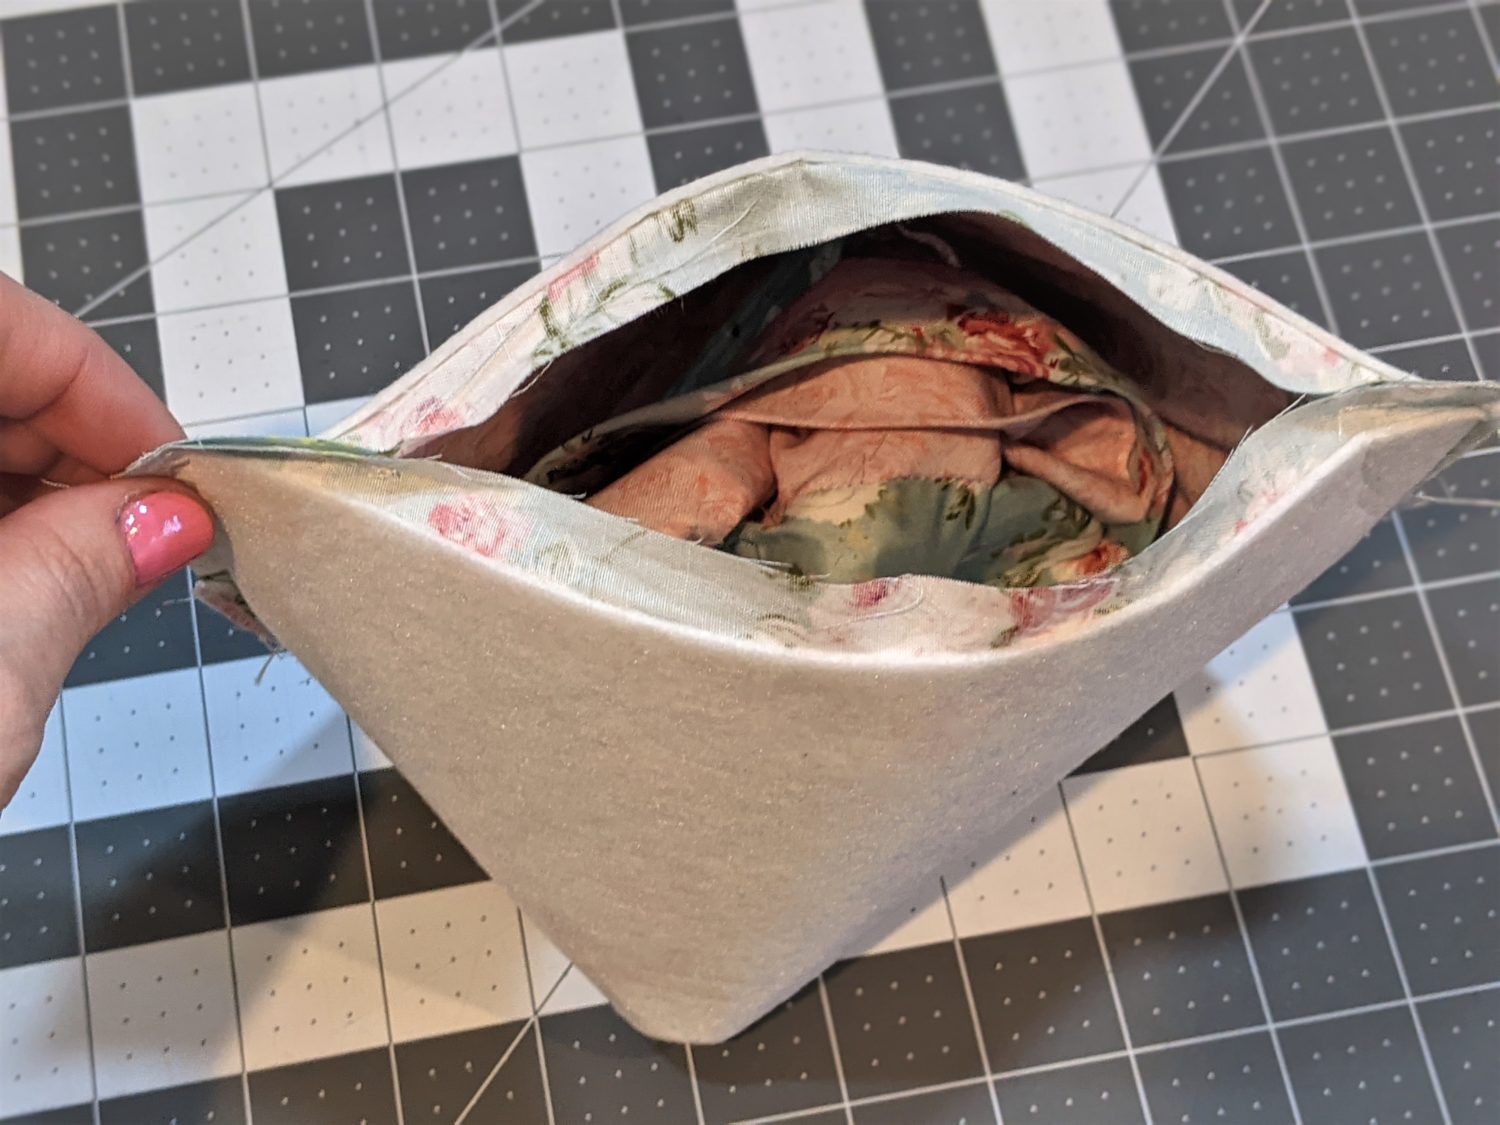
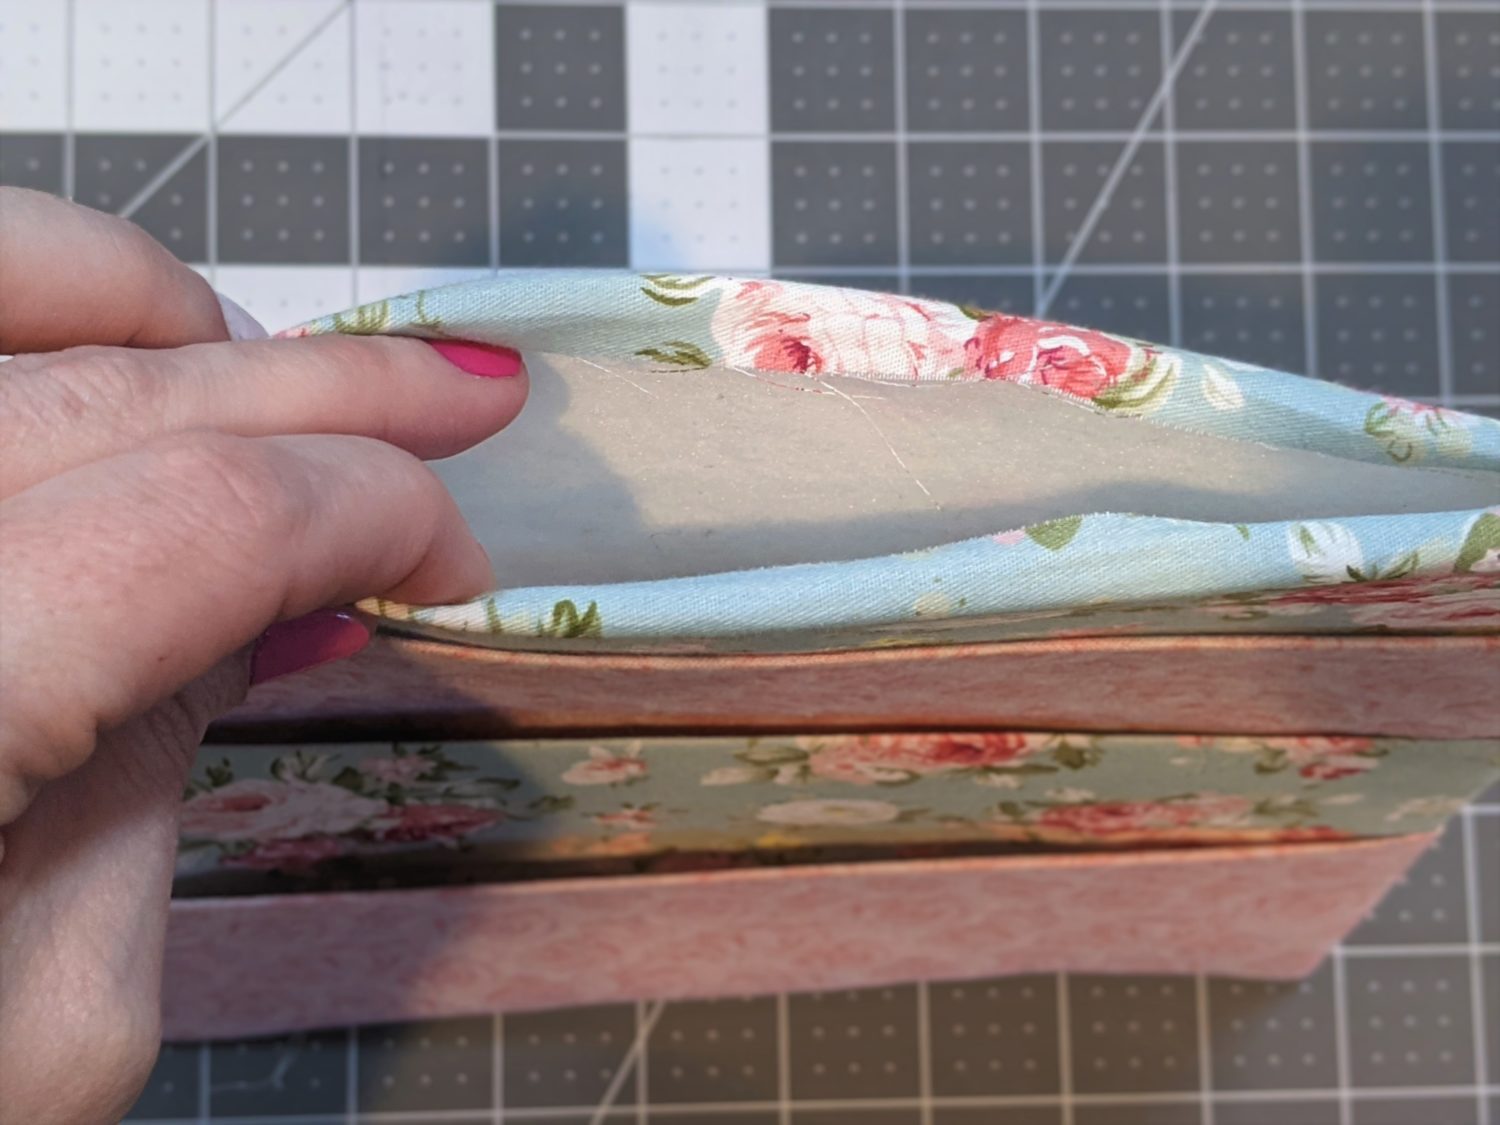
- Turn the fabric right side out pulling it through the top opening.
- Push out all the edges.
- Press the whole thing really well making sure the edges are nice and flat.
- Remove any visible basting stitches.
- Fold in both sides of the top edge along the opening and press well.
- Pin along the opening
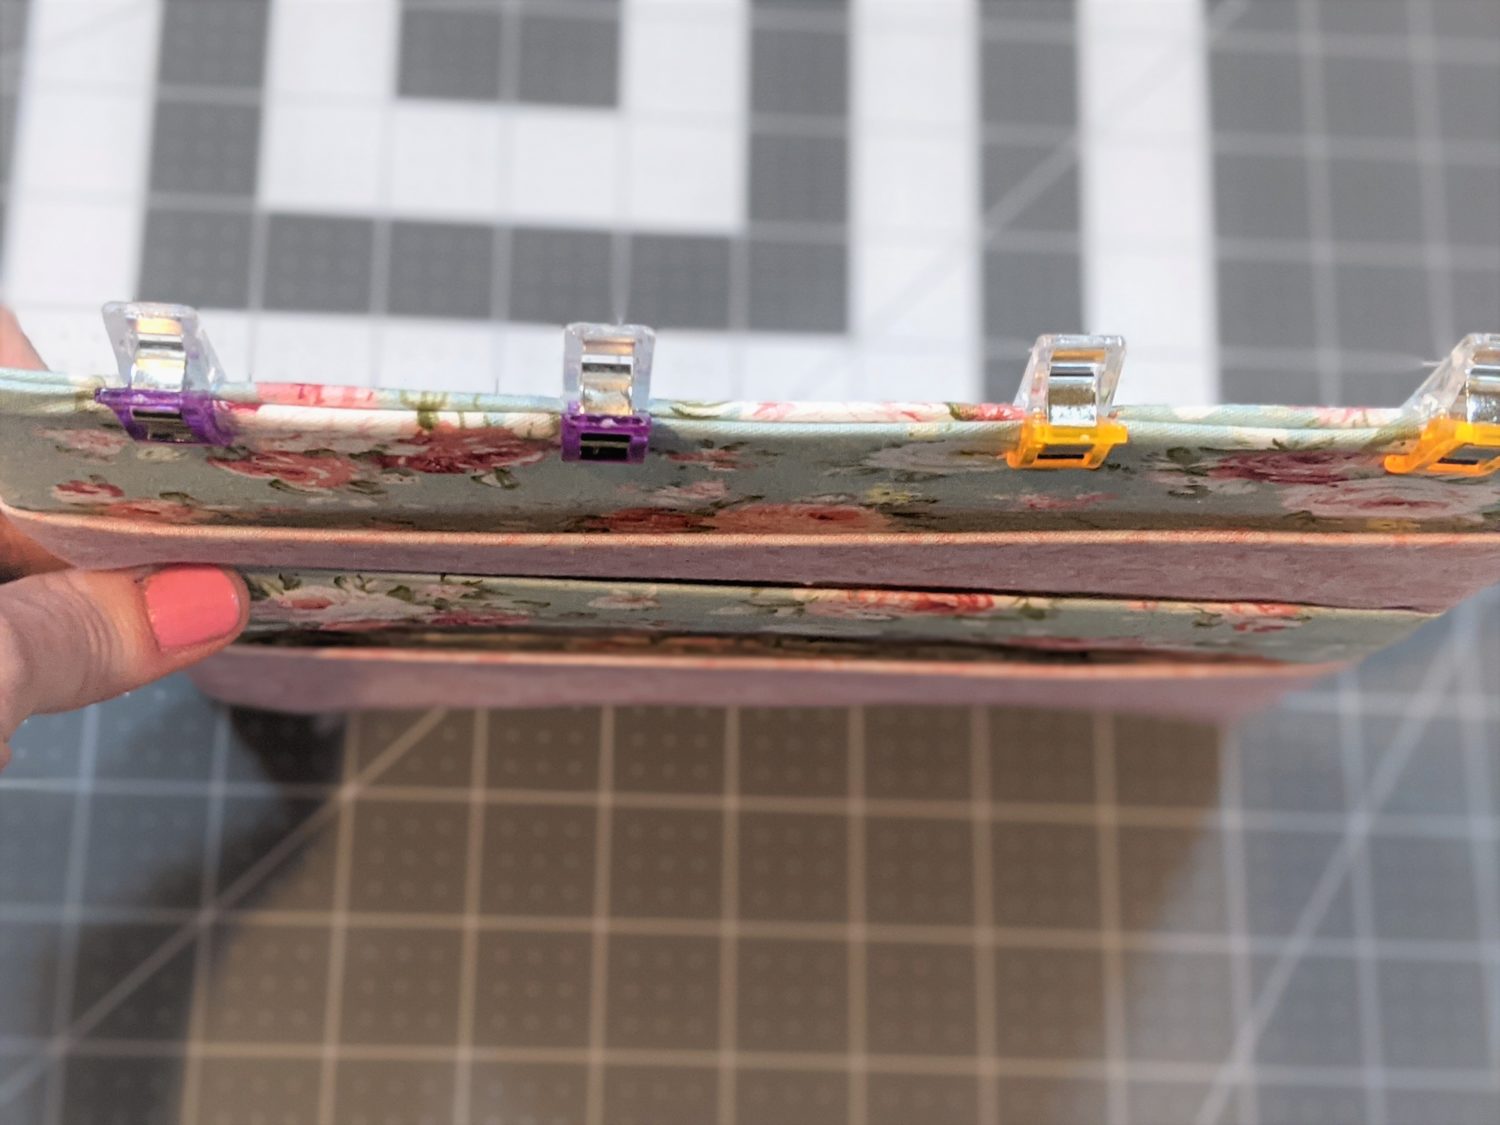
- Topstitch all the way around the edge with a scant 1/4″ seam allowance.
- Press again when done.
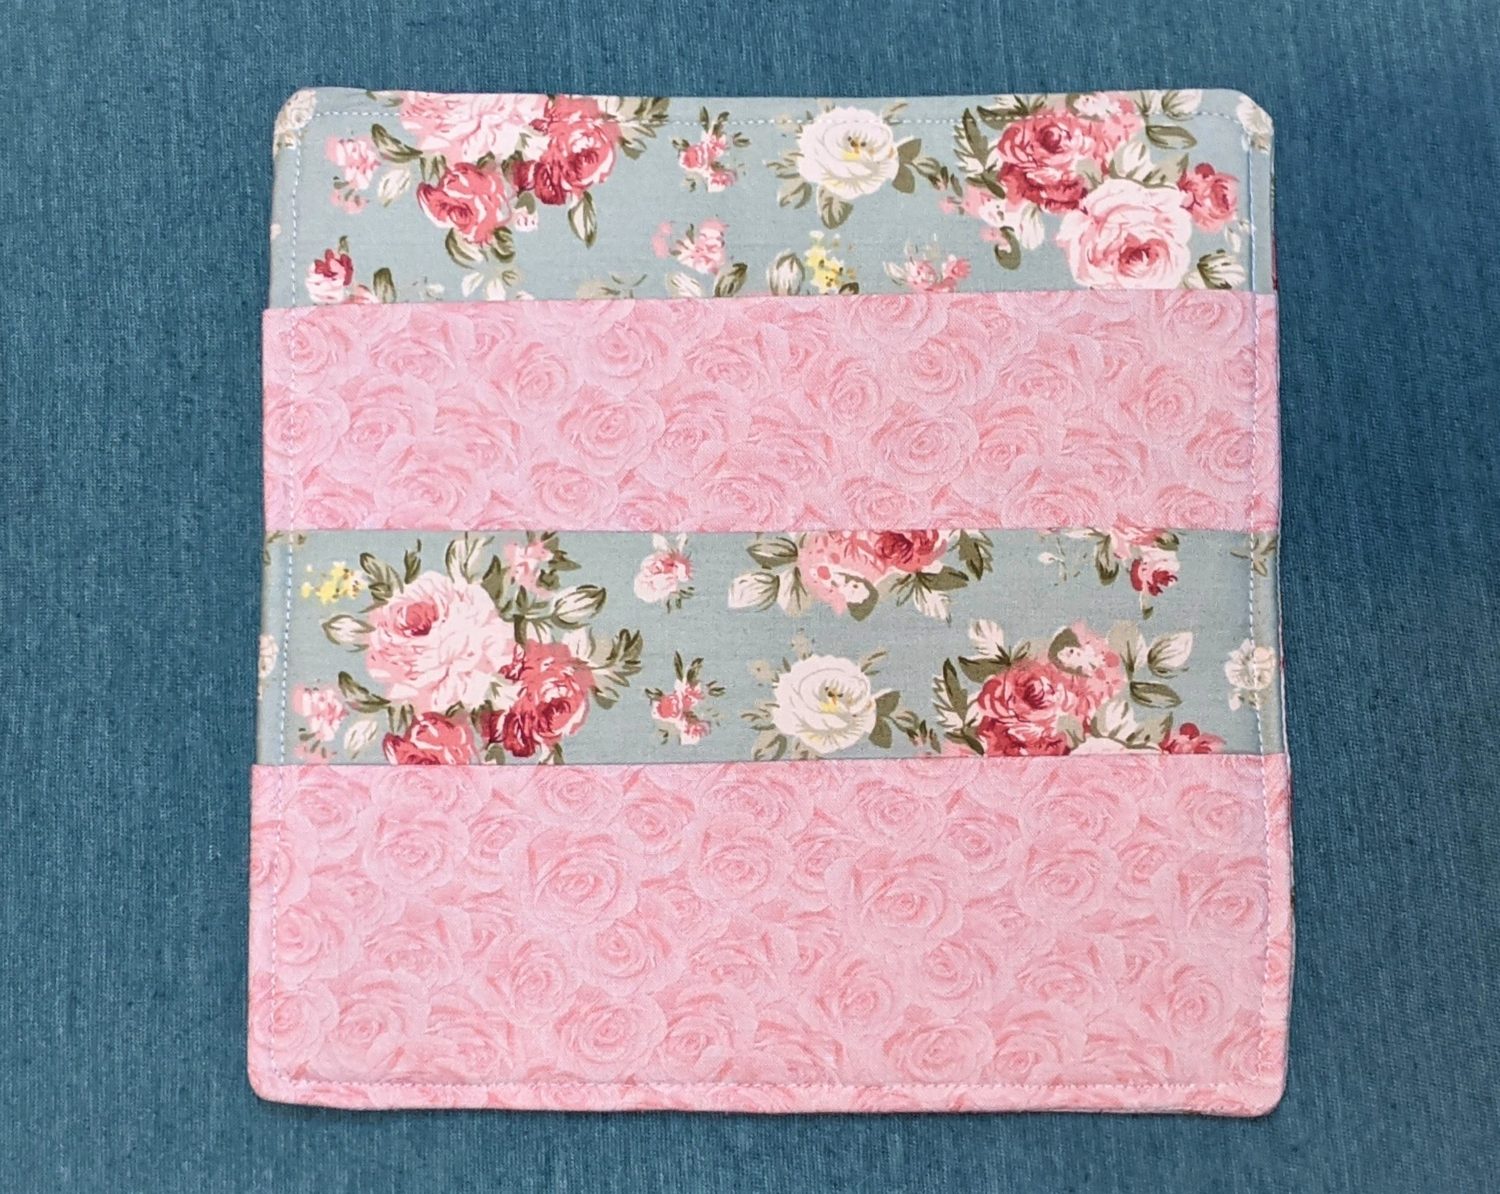
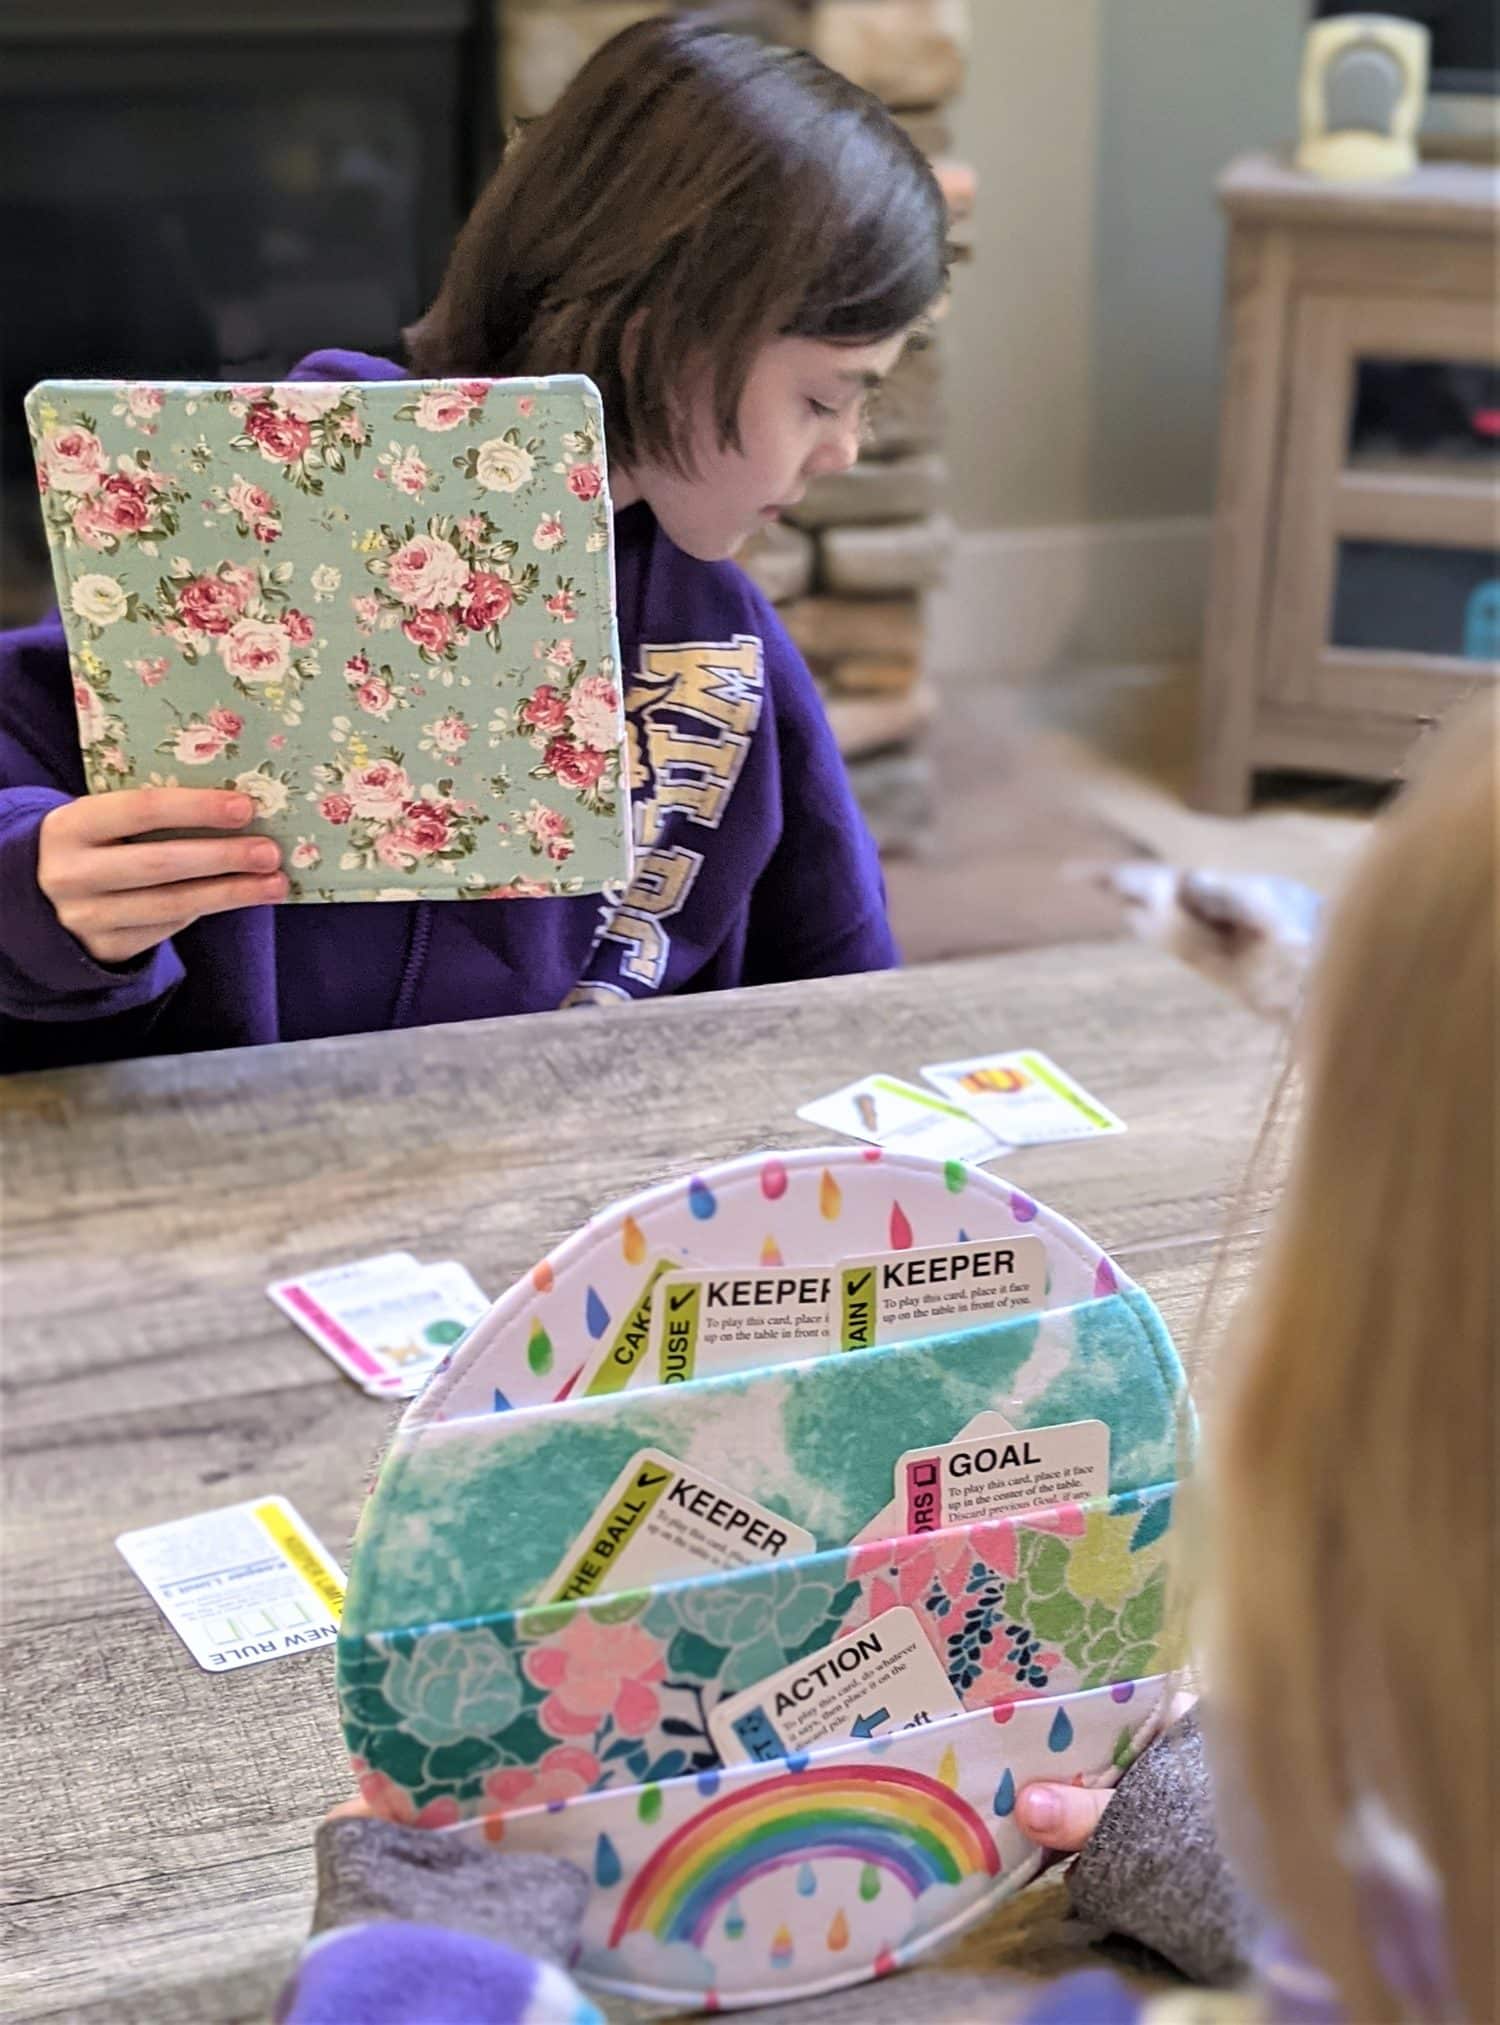
Get out your favorite card game and slide them into those slots!
Want more FUN DIY Freebies? Check out the FREEBIE TUTORIALS and the FREEBIE PATTERNS!
As always, we’re here to help if you need it! Join us HERE and on Facebook, Instagram, Twitter, Youtube, and Pinterest. We’re everywhere you are.
Love this!
Any chance you have this in video format?
Would love a video for these.
I really like this tutorial! Would you say that these can be put in the washing machine? I want to make this to keep my playing cards free of greasy fingers!