Do you have lots of plastic bags hanging around and no good way to store them? I try to save all of our plastic bags so that we can reuse them, but they get really messy and disorganized. I needed a plastic bag holder. Of course, I’d rather make one than buy one! So, I wrote a tutorial to show you how I made my plastic bag holder. This project is fast and easy and only uses a bit of fabric! Ready to make your own? Let’s get started!
Materials
- A fat quarter of fabric-almost any kind of fabric will work! If you are using yardage, you’ll need 1/2 a yard. I used a home décor fabric.
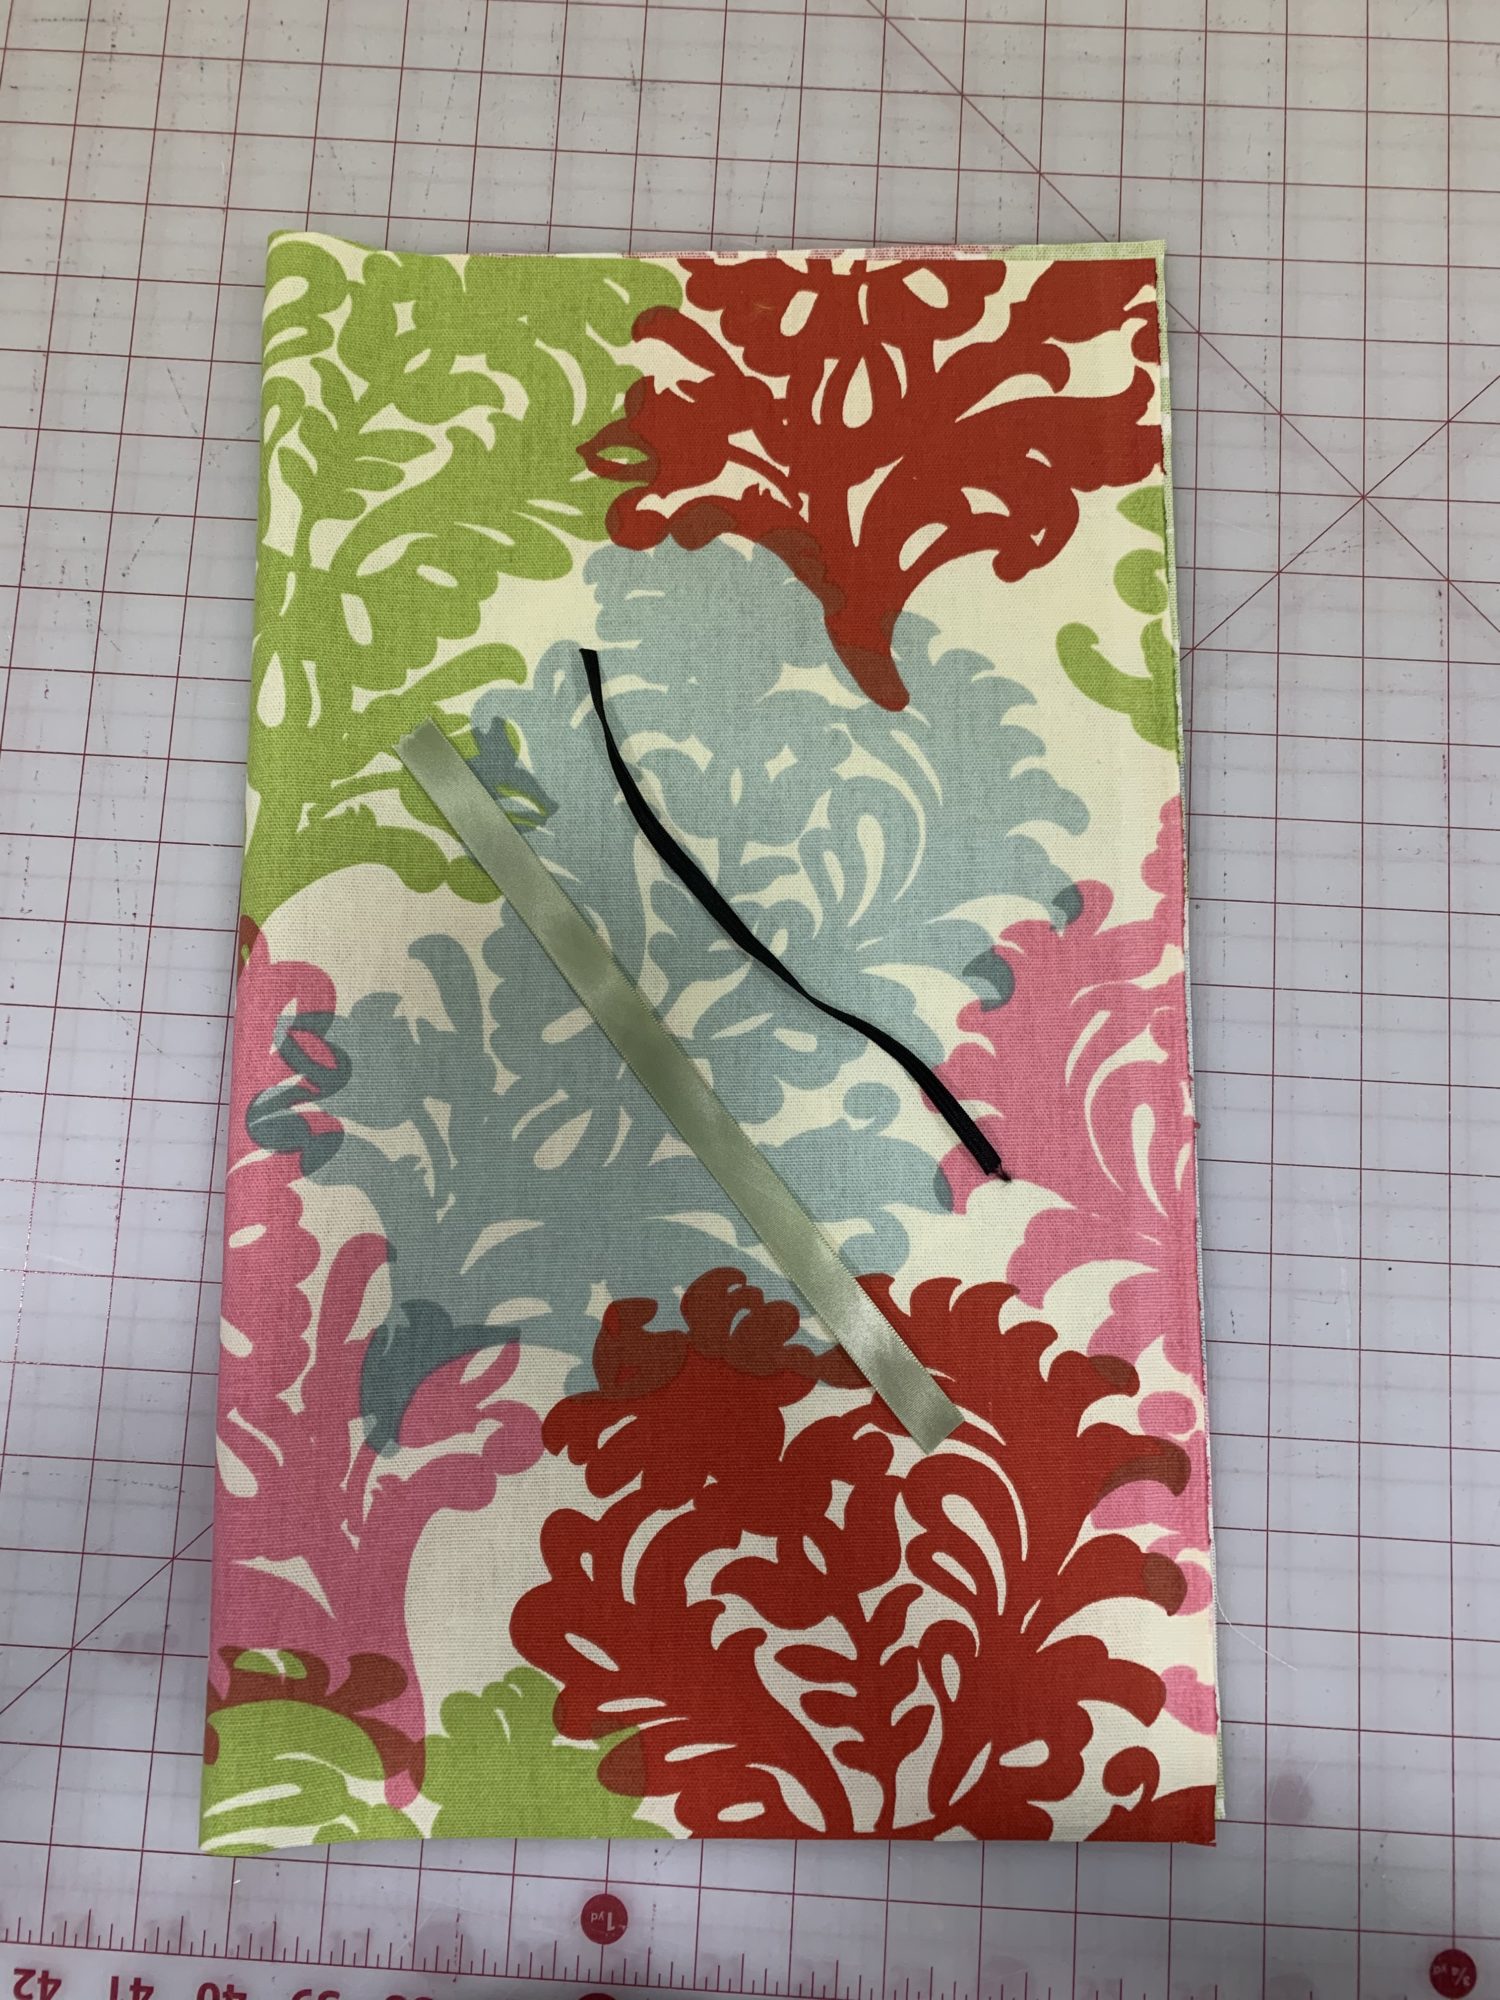
- A small piece of 1/4 inch elastic-about 8 inches long
- A small piece of ribbon, string, bias binding, or something similar for the hanger. Mine was 9 inches long.
Prepare your fabric
- If you are using a Fat Quarter of fabric, you don’t have to cut it, it’s already the size that you need!
- If you are using yardage, cut 1 rectangle of fabric 18 inches by 22 inches.
- Cut one piece of elastic 8 inches long.
- Cut one piece of ribbon 9 inches long (or however long you want the hanger to be).
Time to sew your plastic bag holder
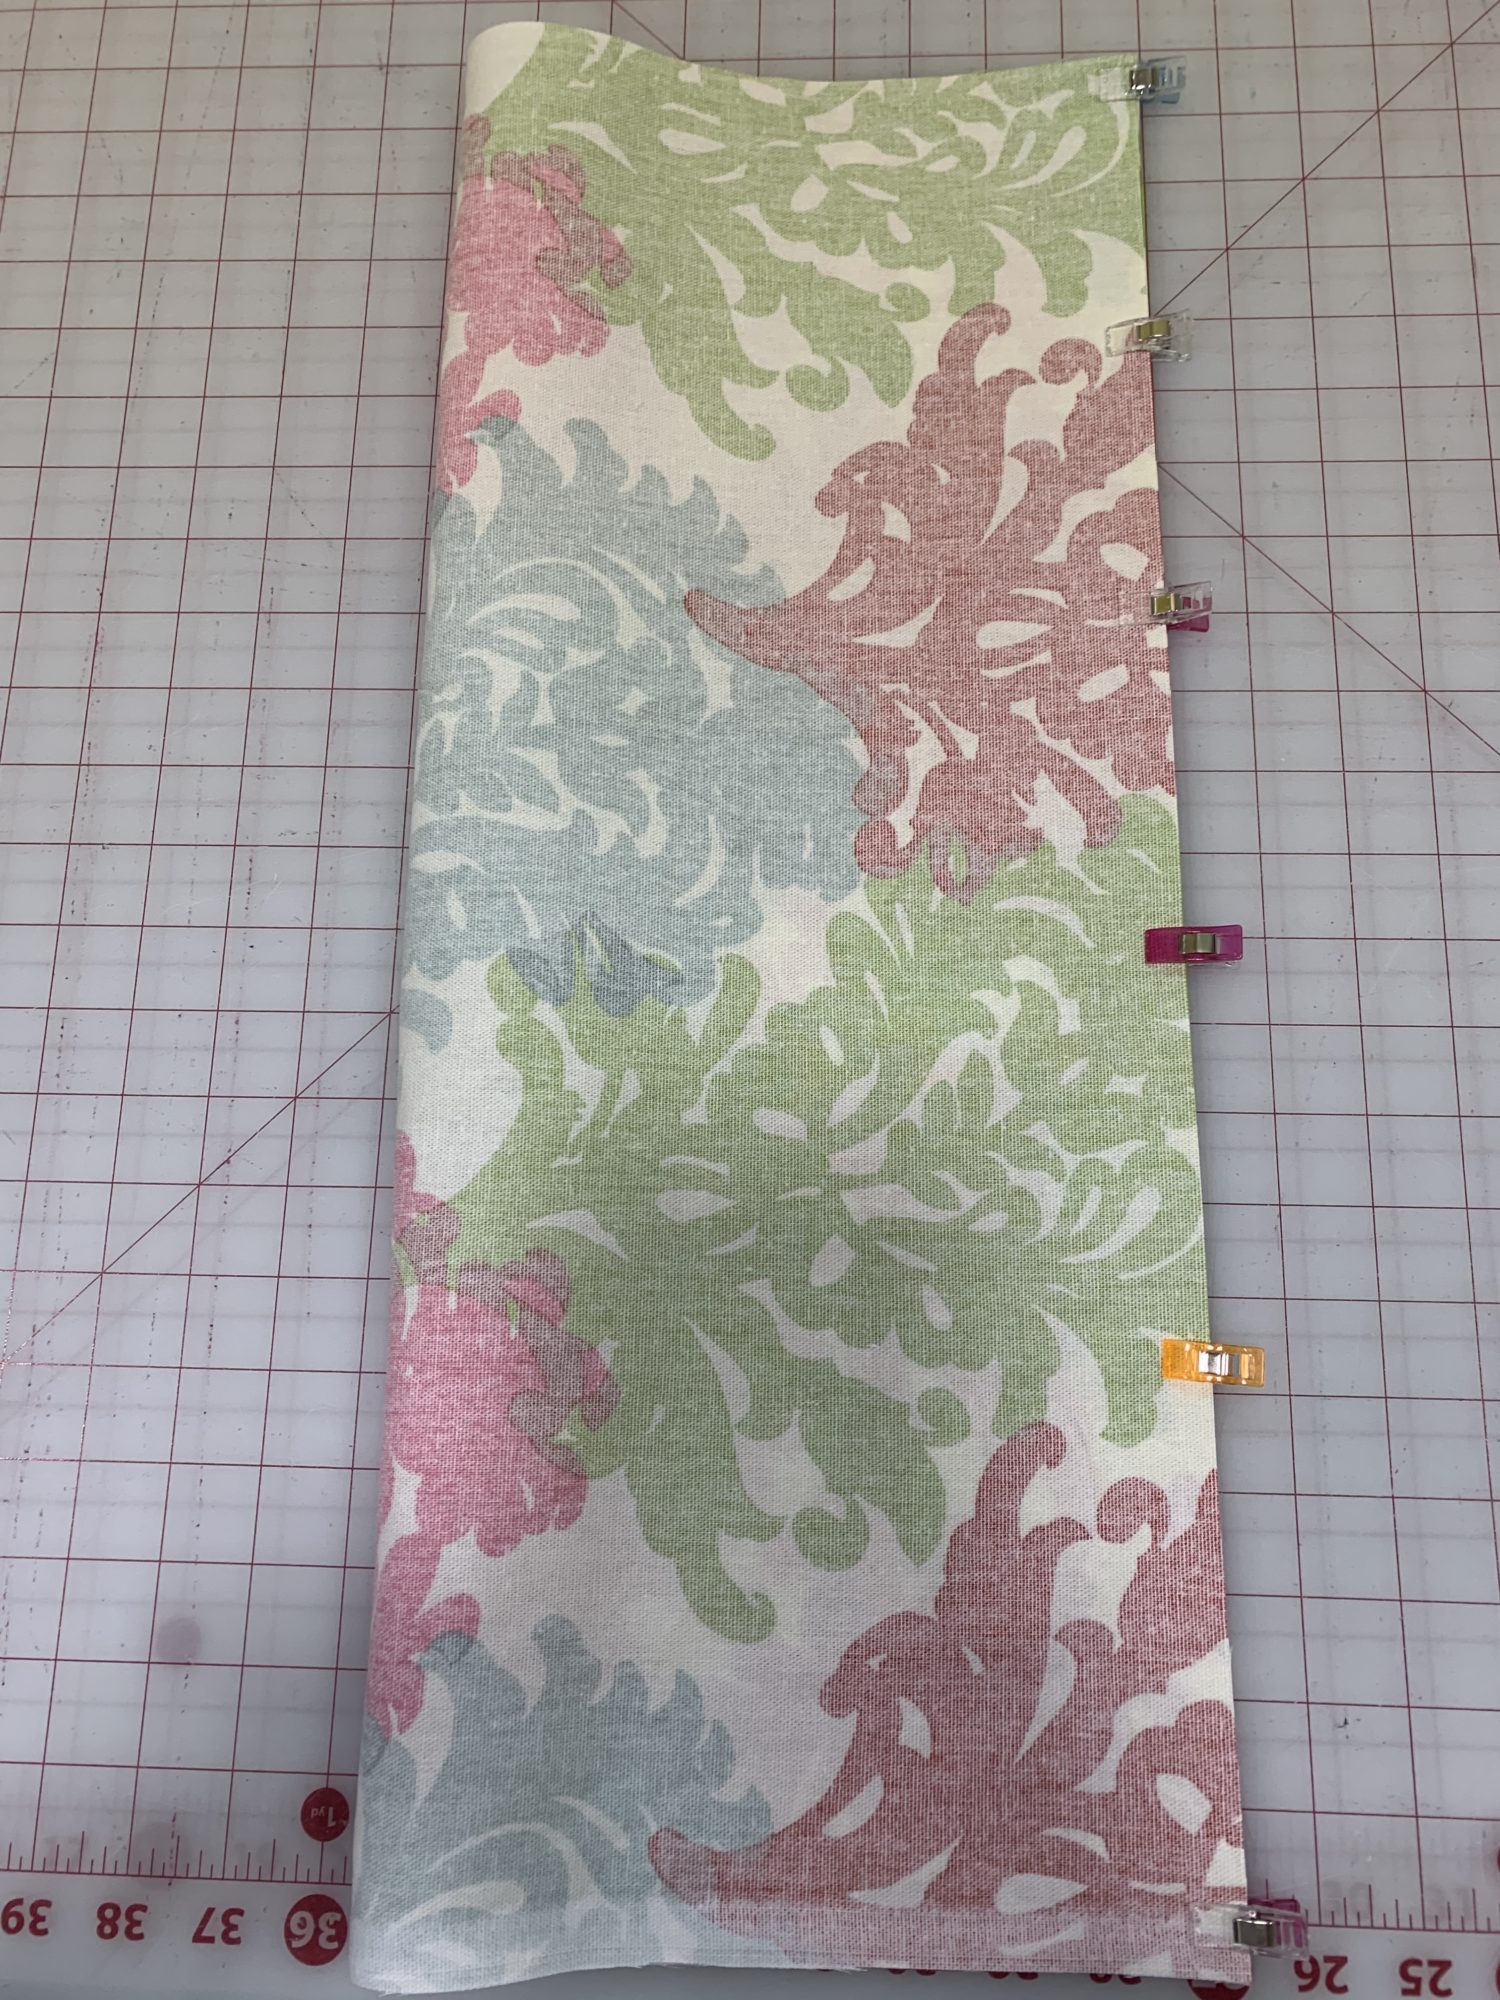
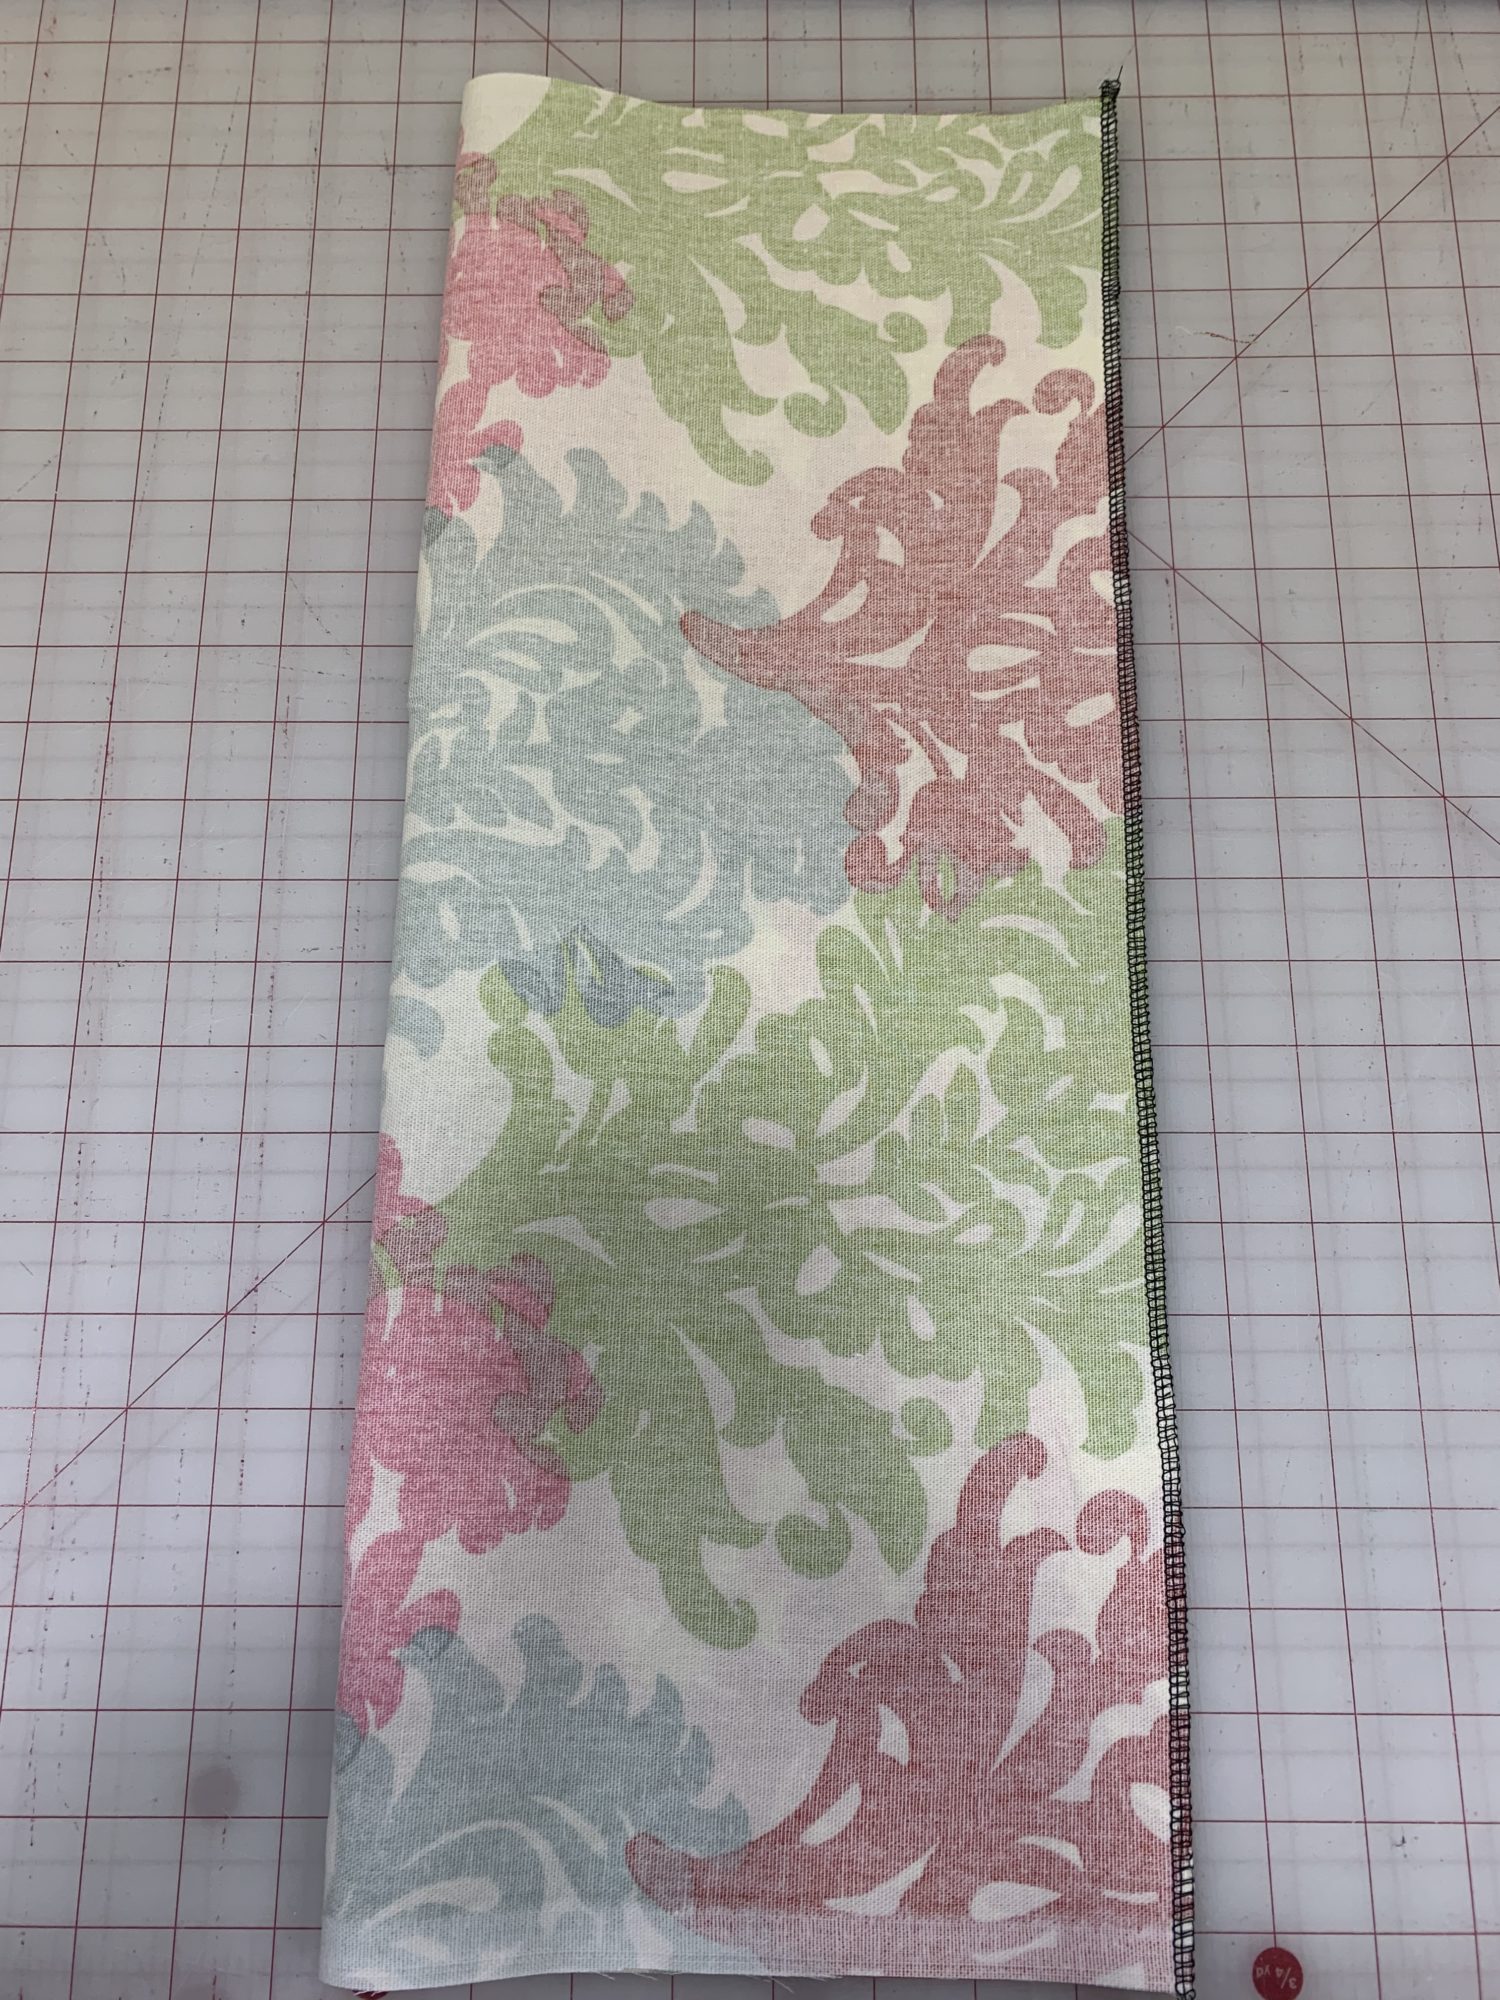
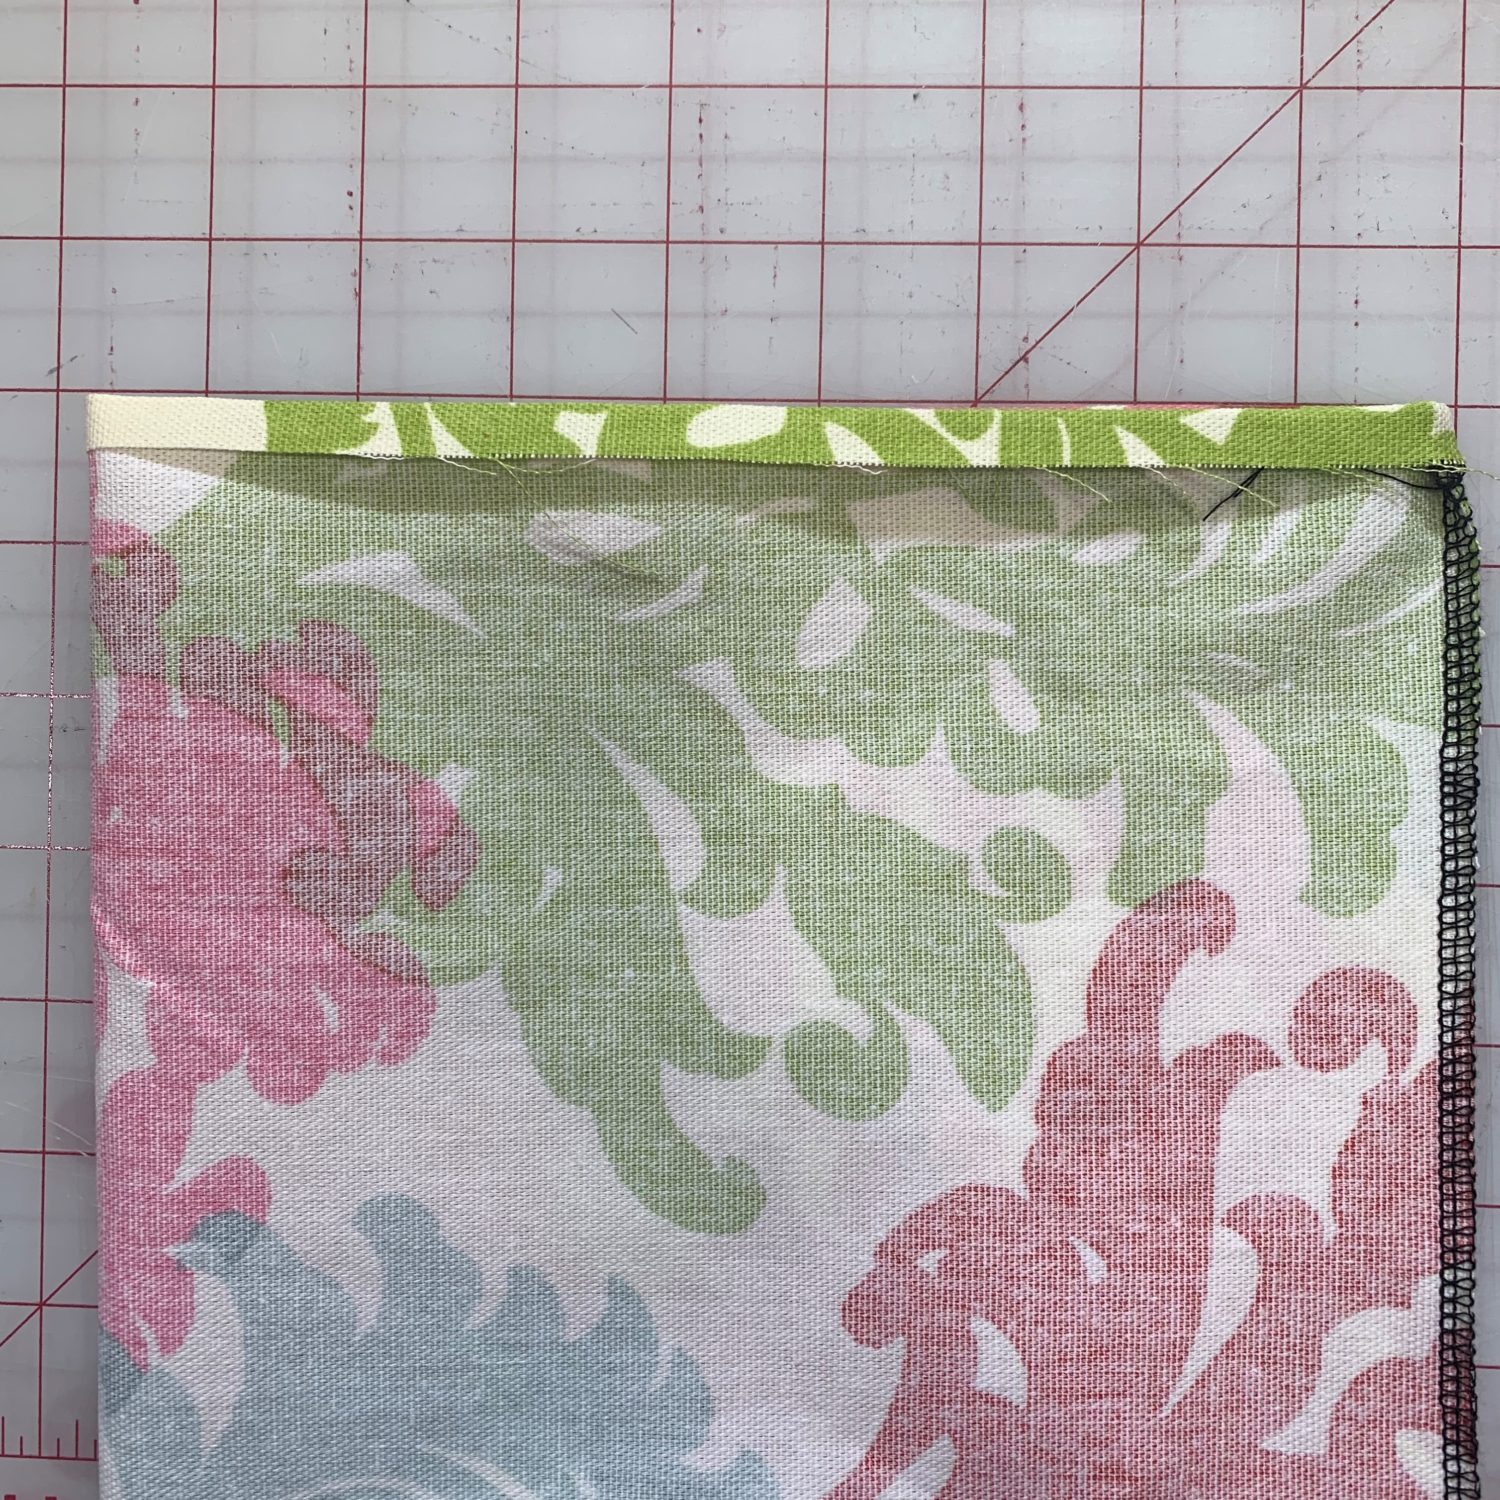
- Fold your fabric in half hot dog style or lengthwise. Once folded, your fabric will be 9 inches by 22 inches.
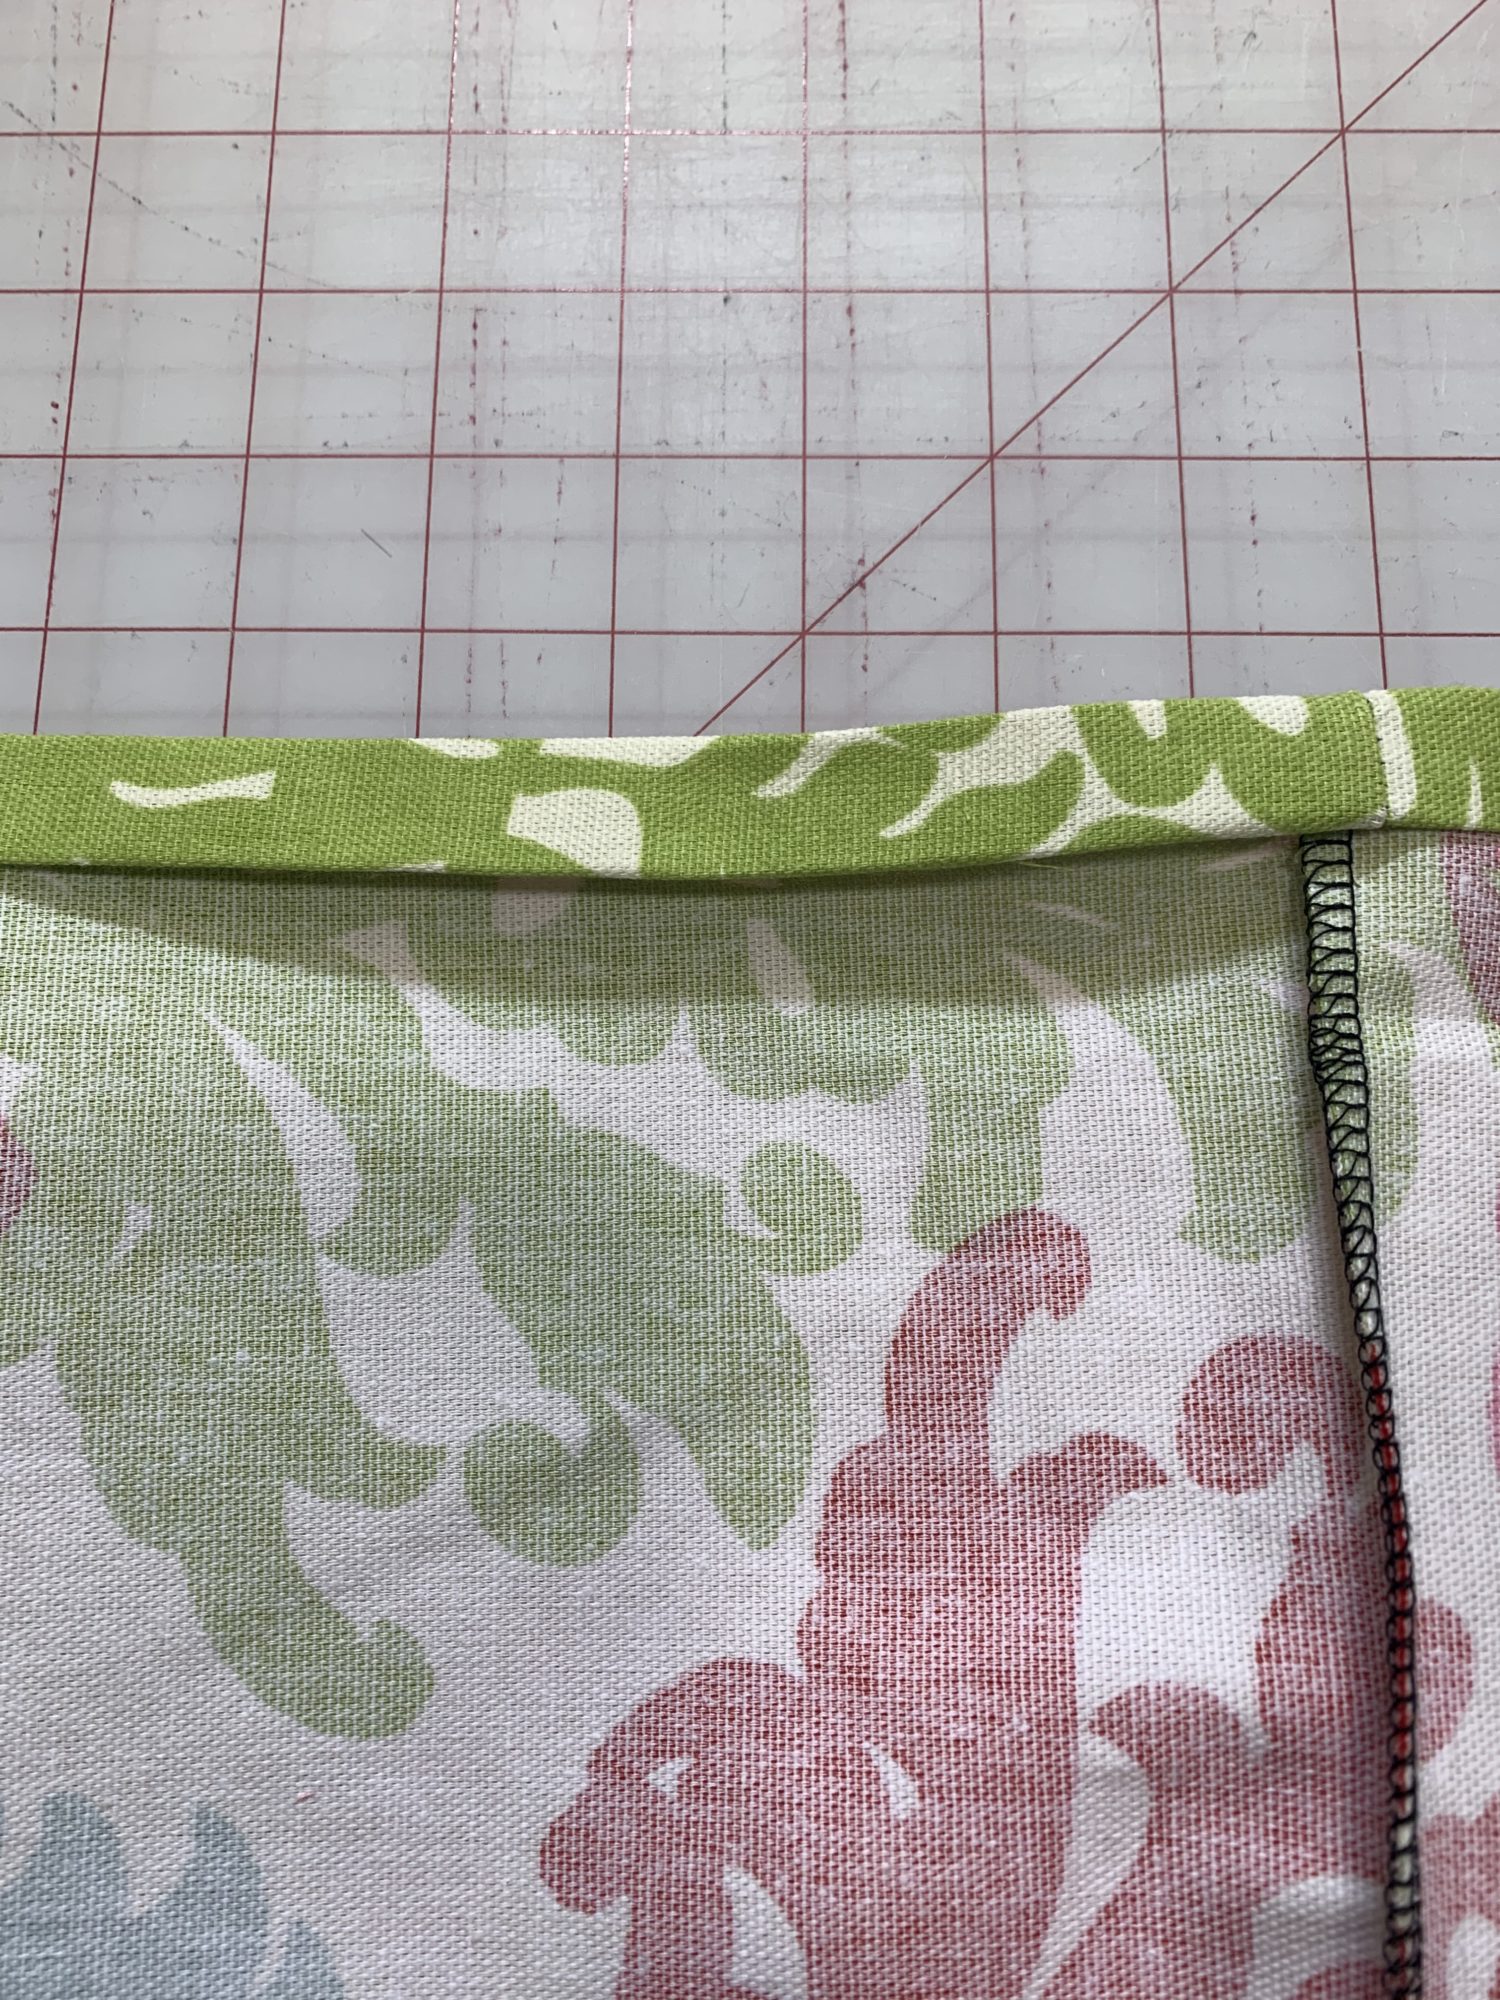
- Sew along the long edge and finish your seam allowance so that it doesn’t fray. I used my serger for this.
Making the elastic casing
- Now, we are going to make a channel for the elastic to go into. This will cinch the bottom of the plastic bag holder so that the bags don’t fall out!
- Fold the bottom raw edge up toward the wrong side of your fabric by 1/4 inch.
- Press well.
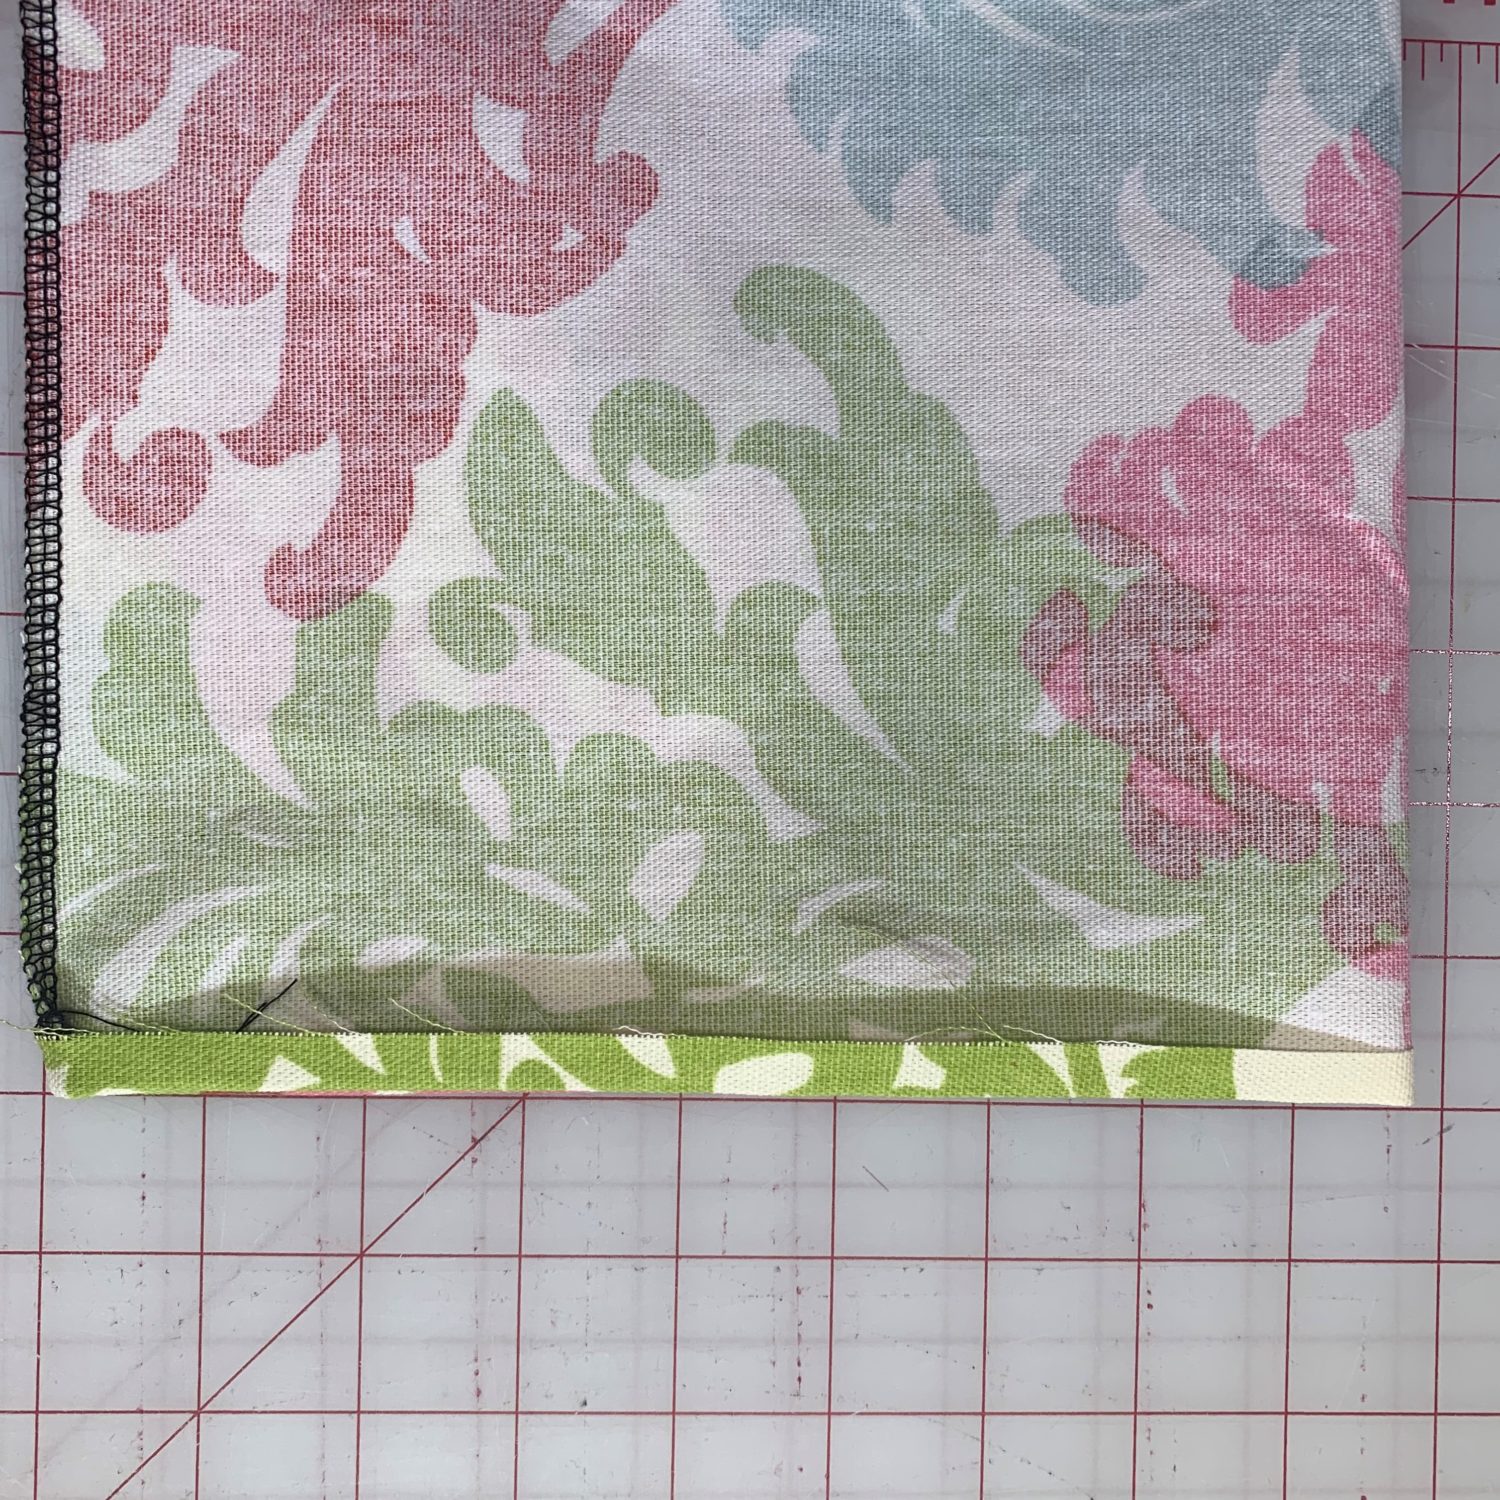
- Now, fold the same edge up again by 1/2 an inch. This will make a nice finished edge.
- Press well.
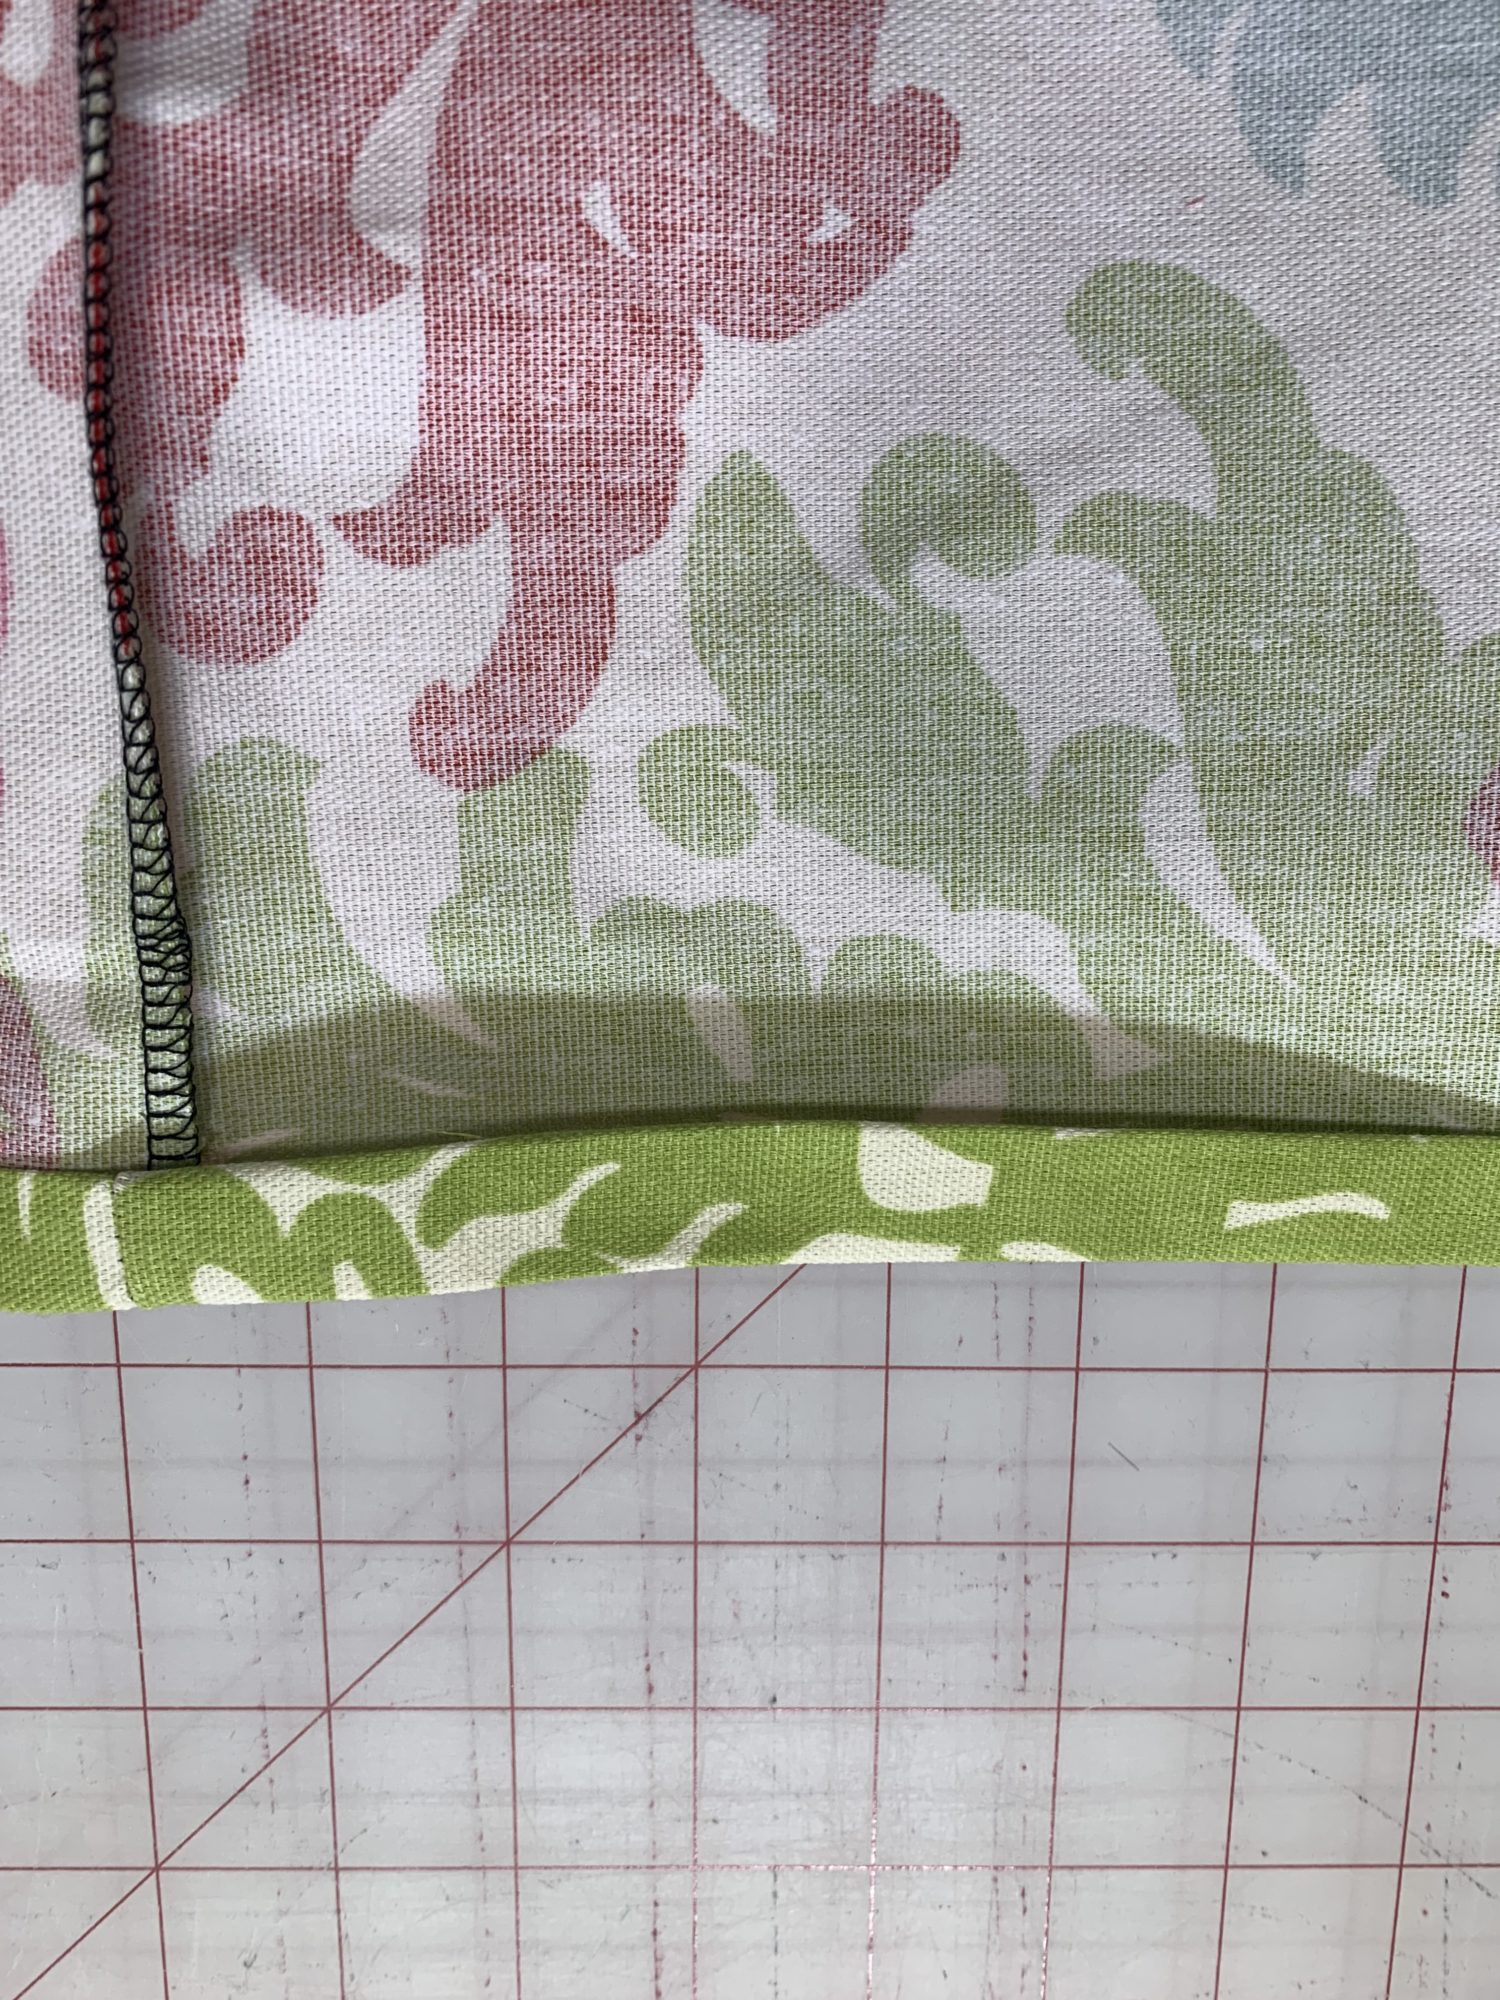
- Mark a 1-2 inch section with pins, you don’t want to sew that section closed! Leave it open so that you can thread the elastic into it!
- Edge stitch (sew and 1/8 inch from the open folded edge) from 1 pin all the way around the bag holder and stop at the other pin.

Add the elastic into the casing
- Put a safety pin on one end of the elastic piece
- Use the safety pin to help guide the elastic into the casing
- Keep pushing the elastic through the casing until it comes out of the other side
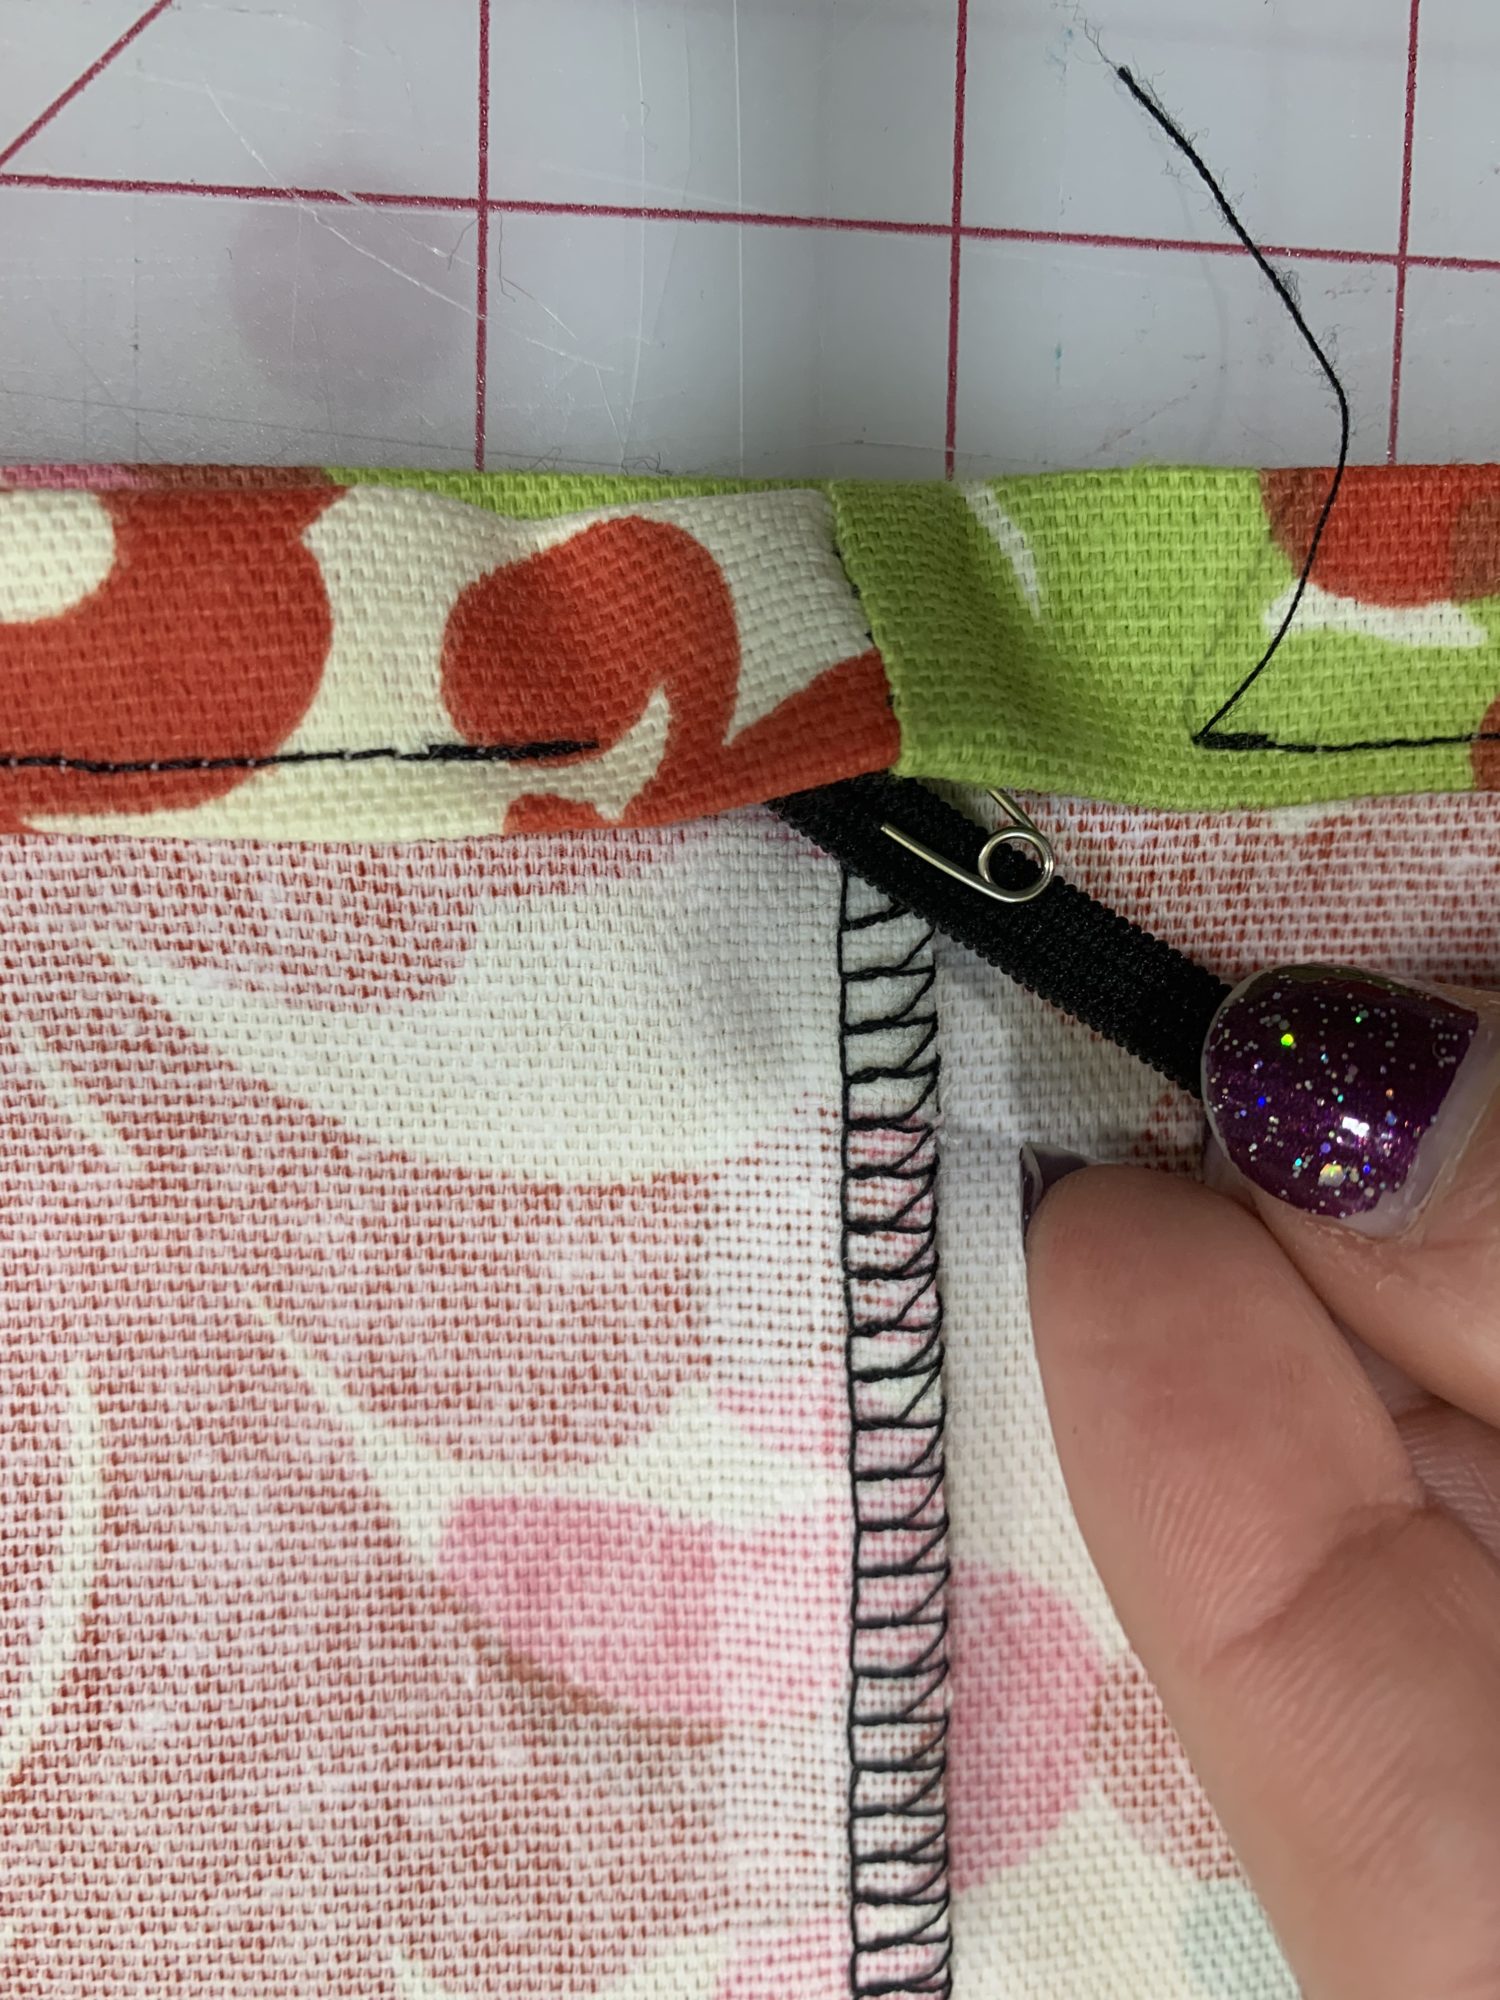

I put a clip on the other end of my elastic so that it didn’t get lost when I was pulling it through! 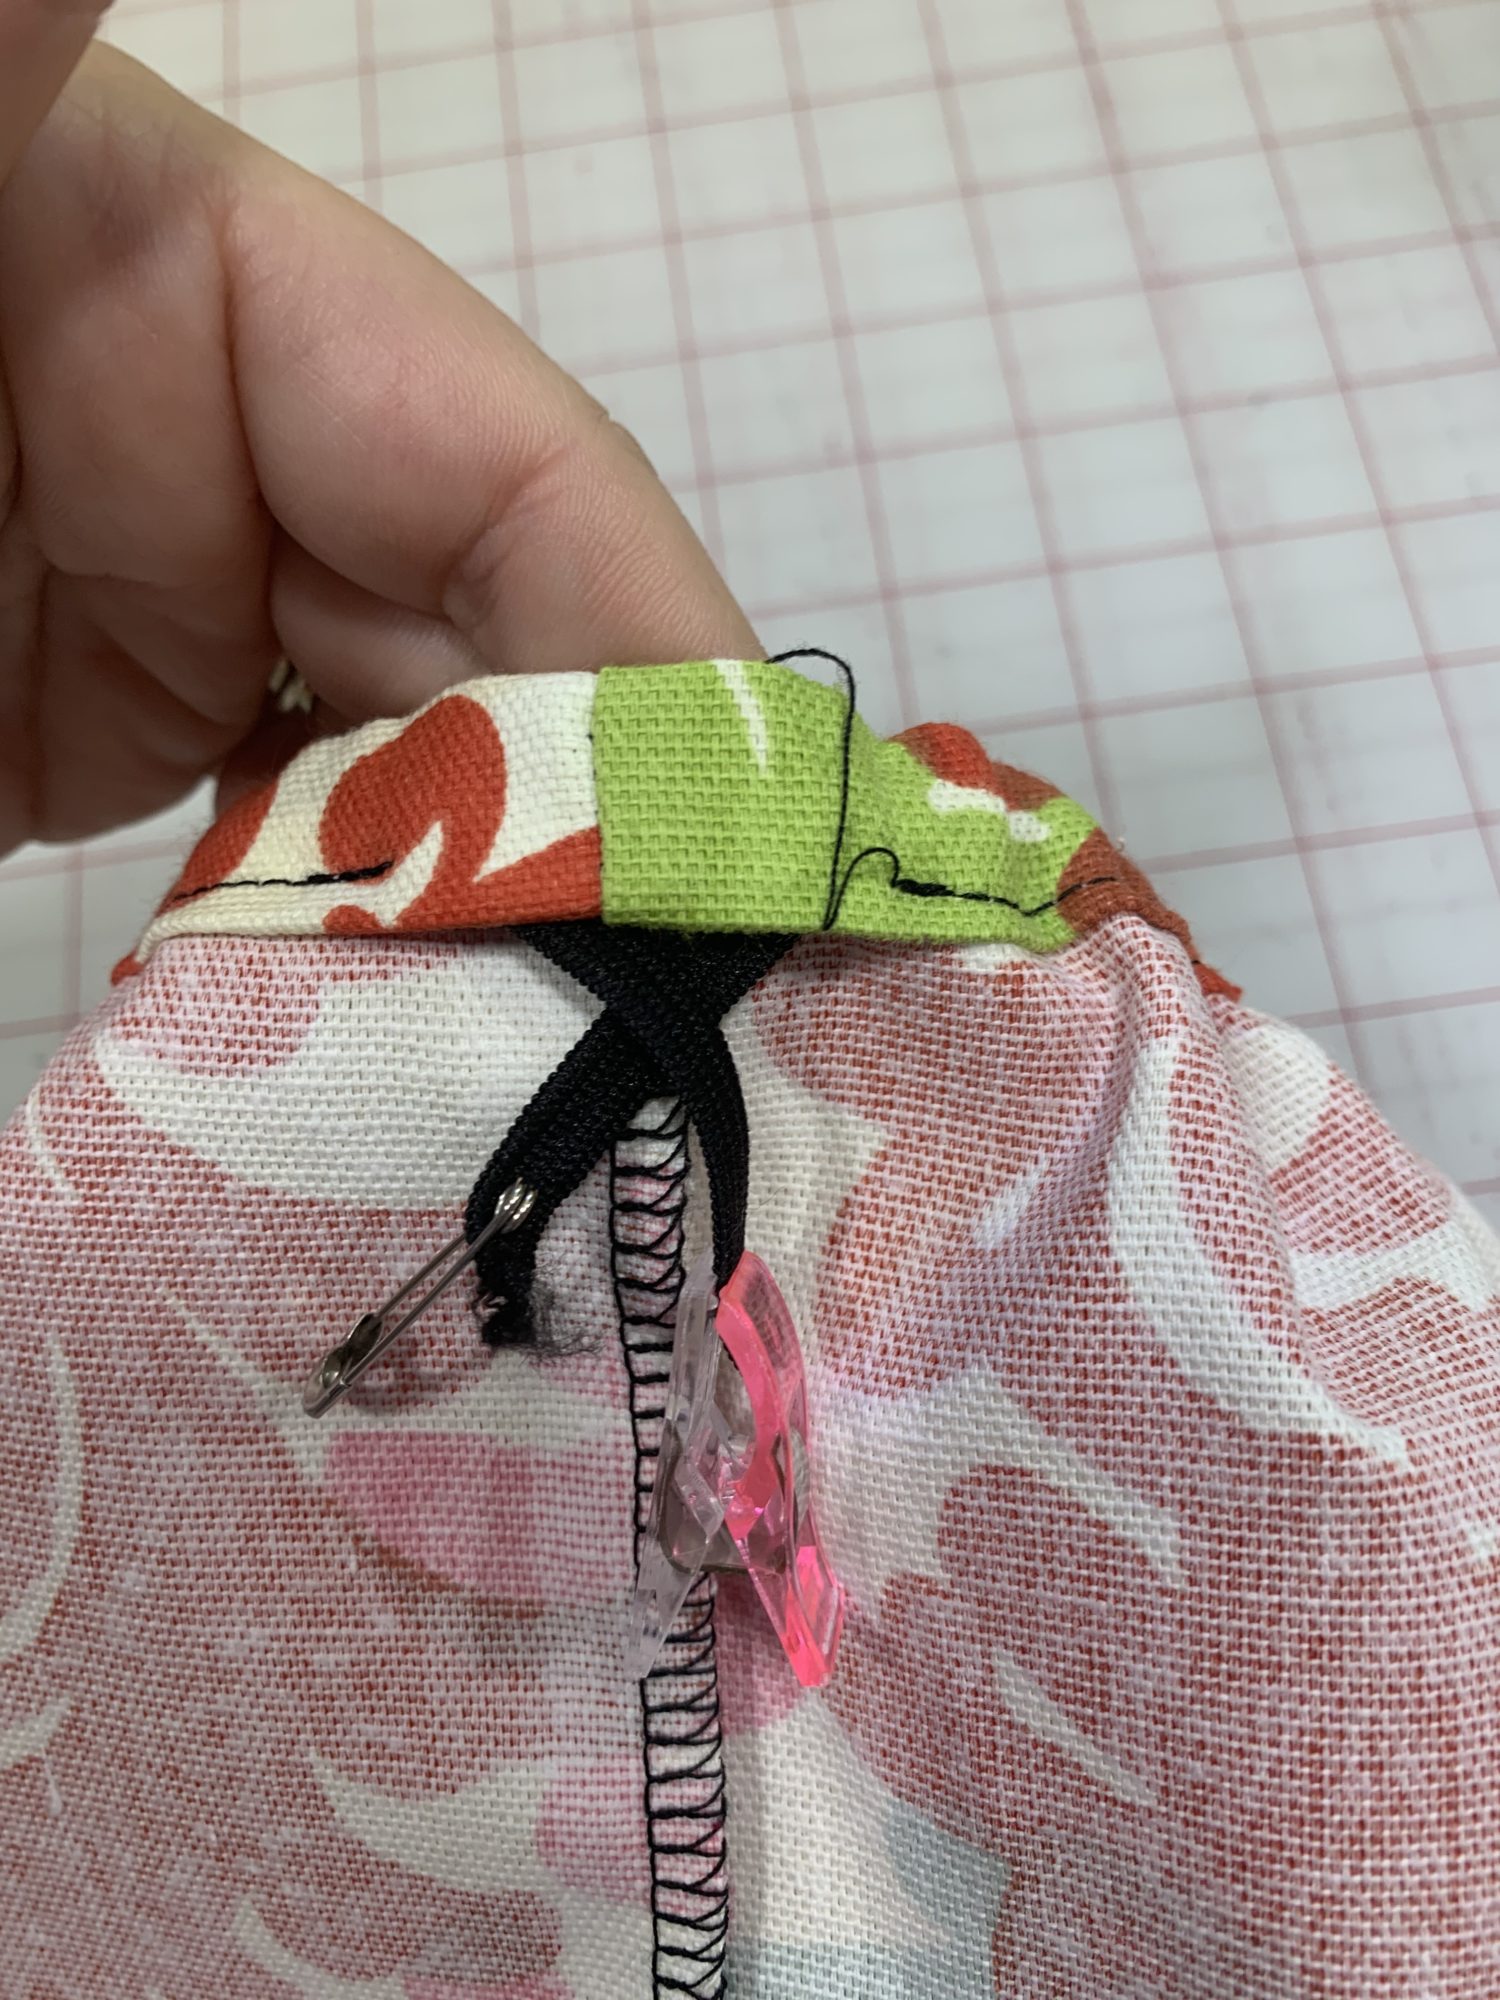
- Overlap the two ends of elastic by about 1/2 inch
- Sew together using a zig zag stitch. You may want to go over it a few times and make sure to backstitch so that it doesn’t come apart on you!
- Once the elastic is sewn together, pull gently on the plastic bag holder to get the elastic to slip fully up inside the casing
- Sew the opening of the casing closed
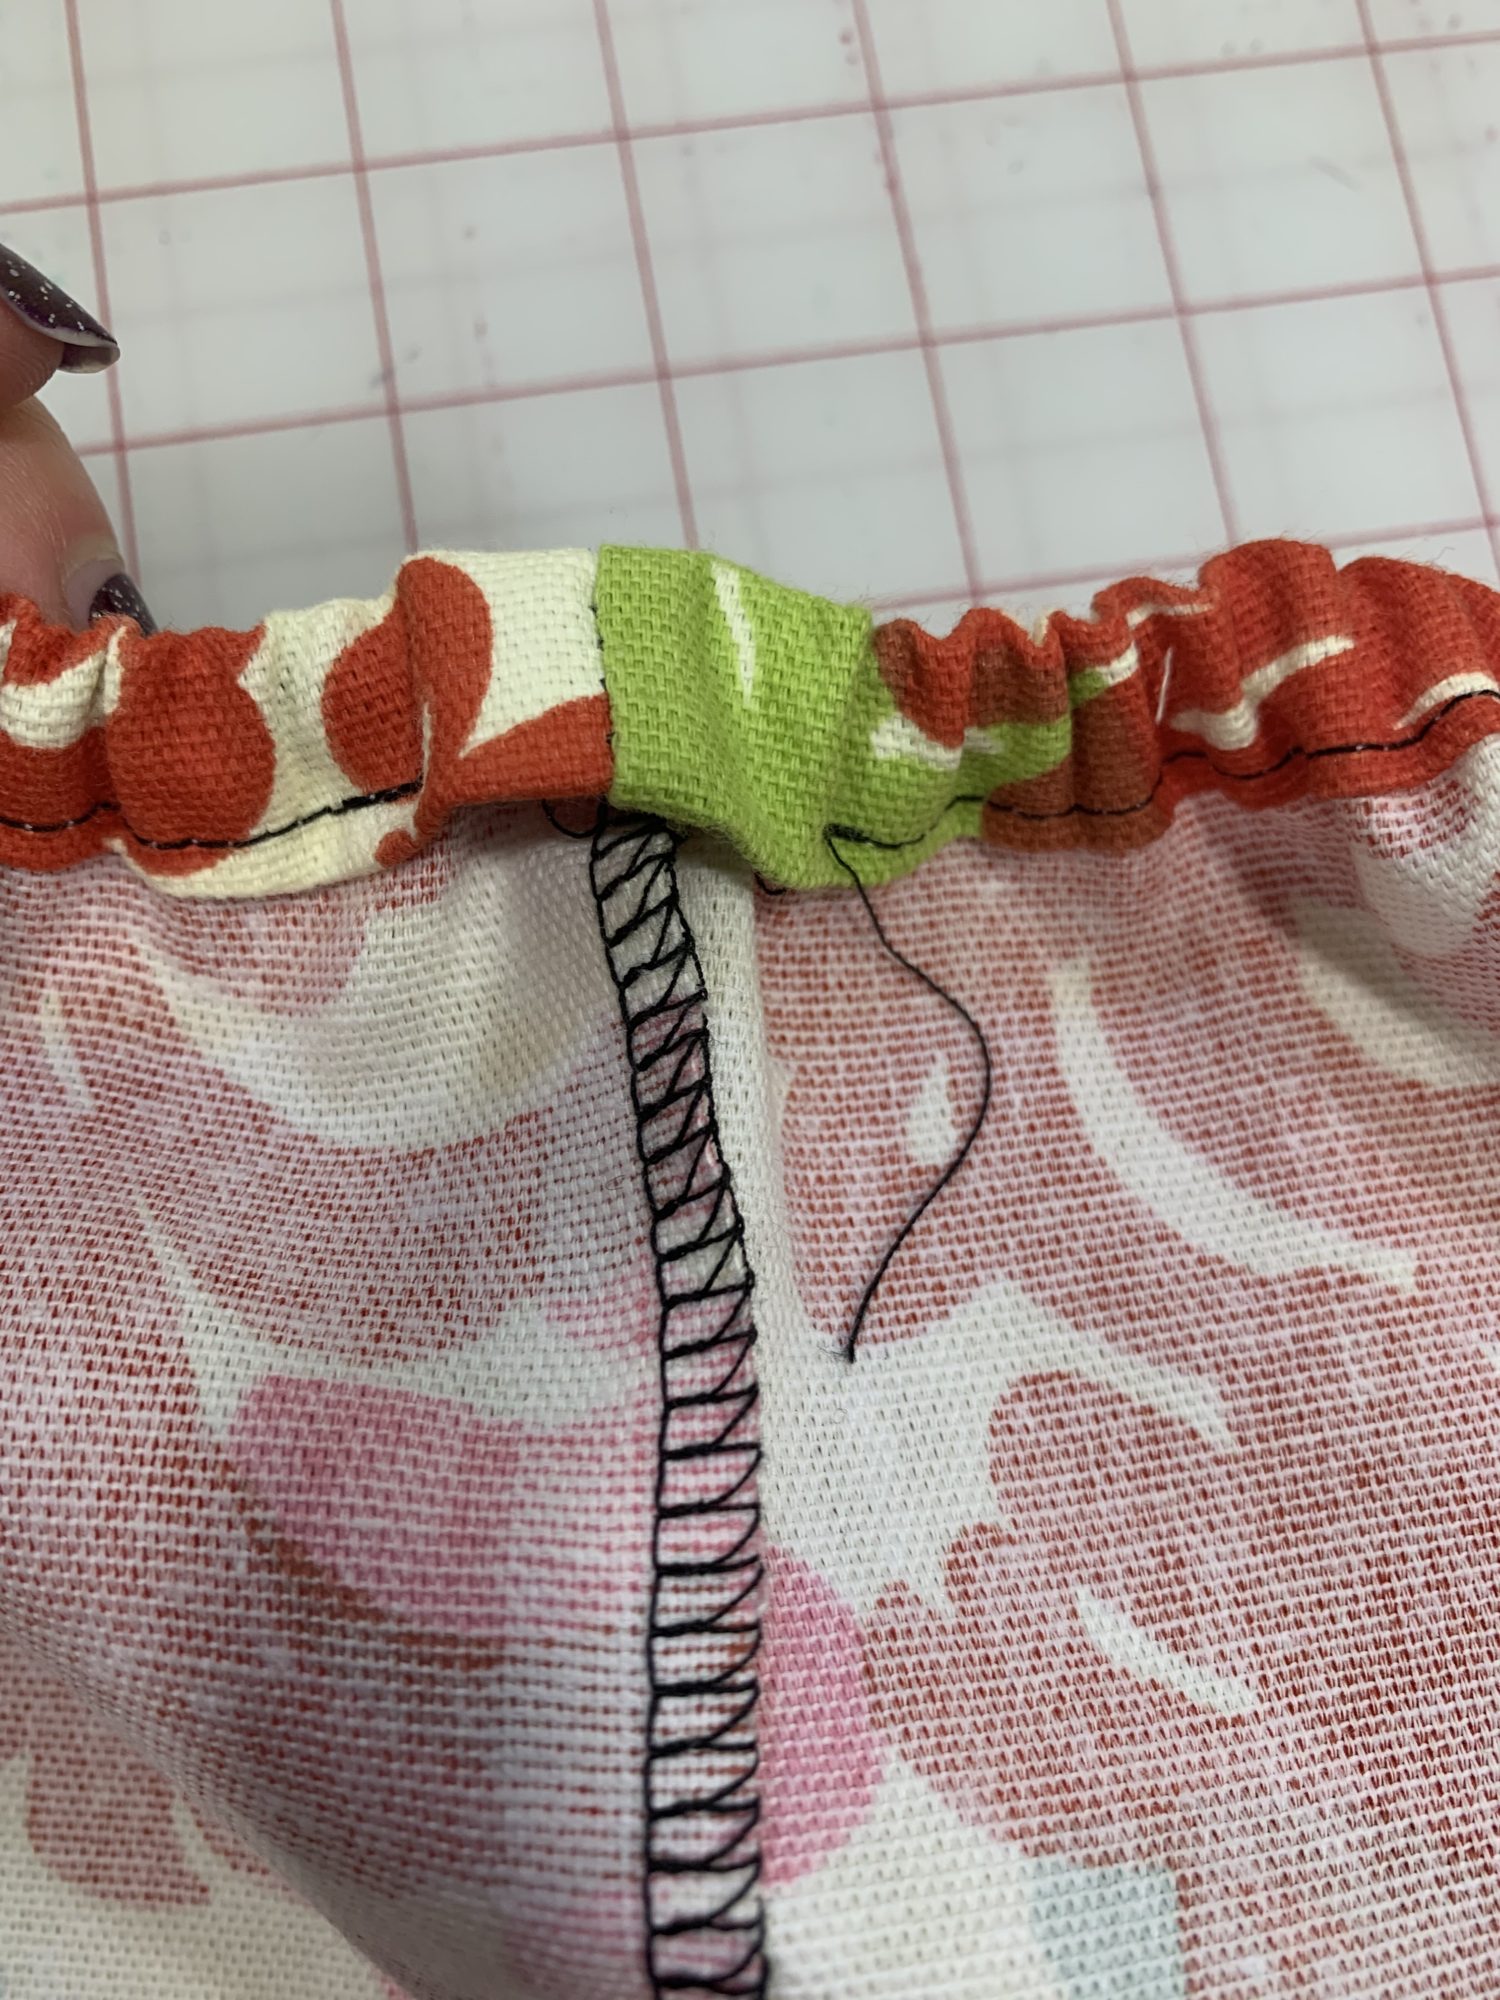
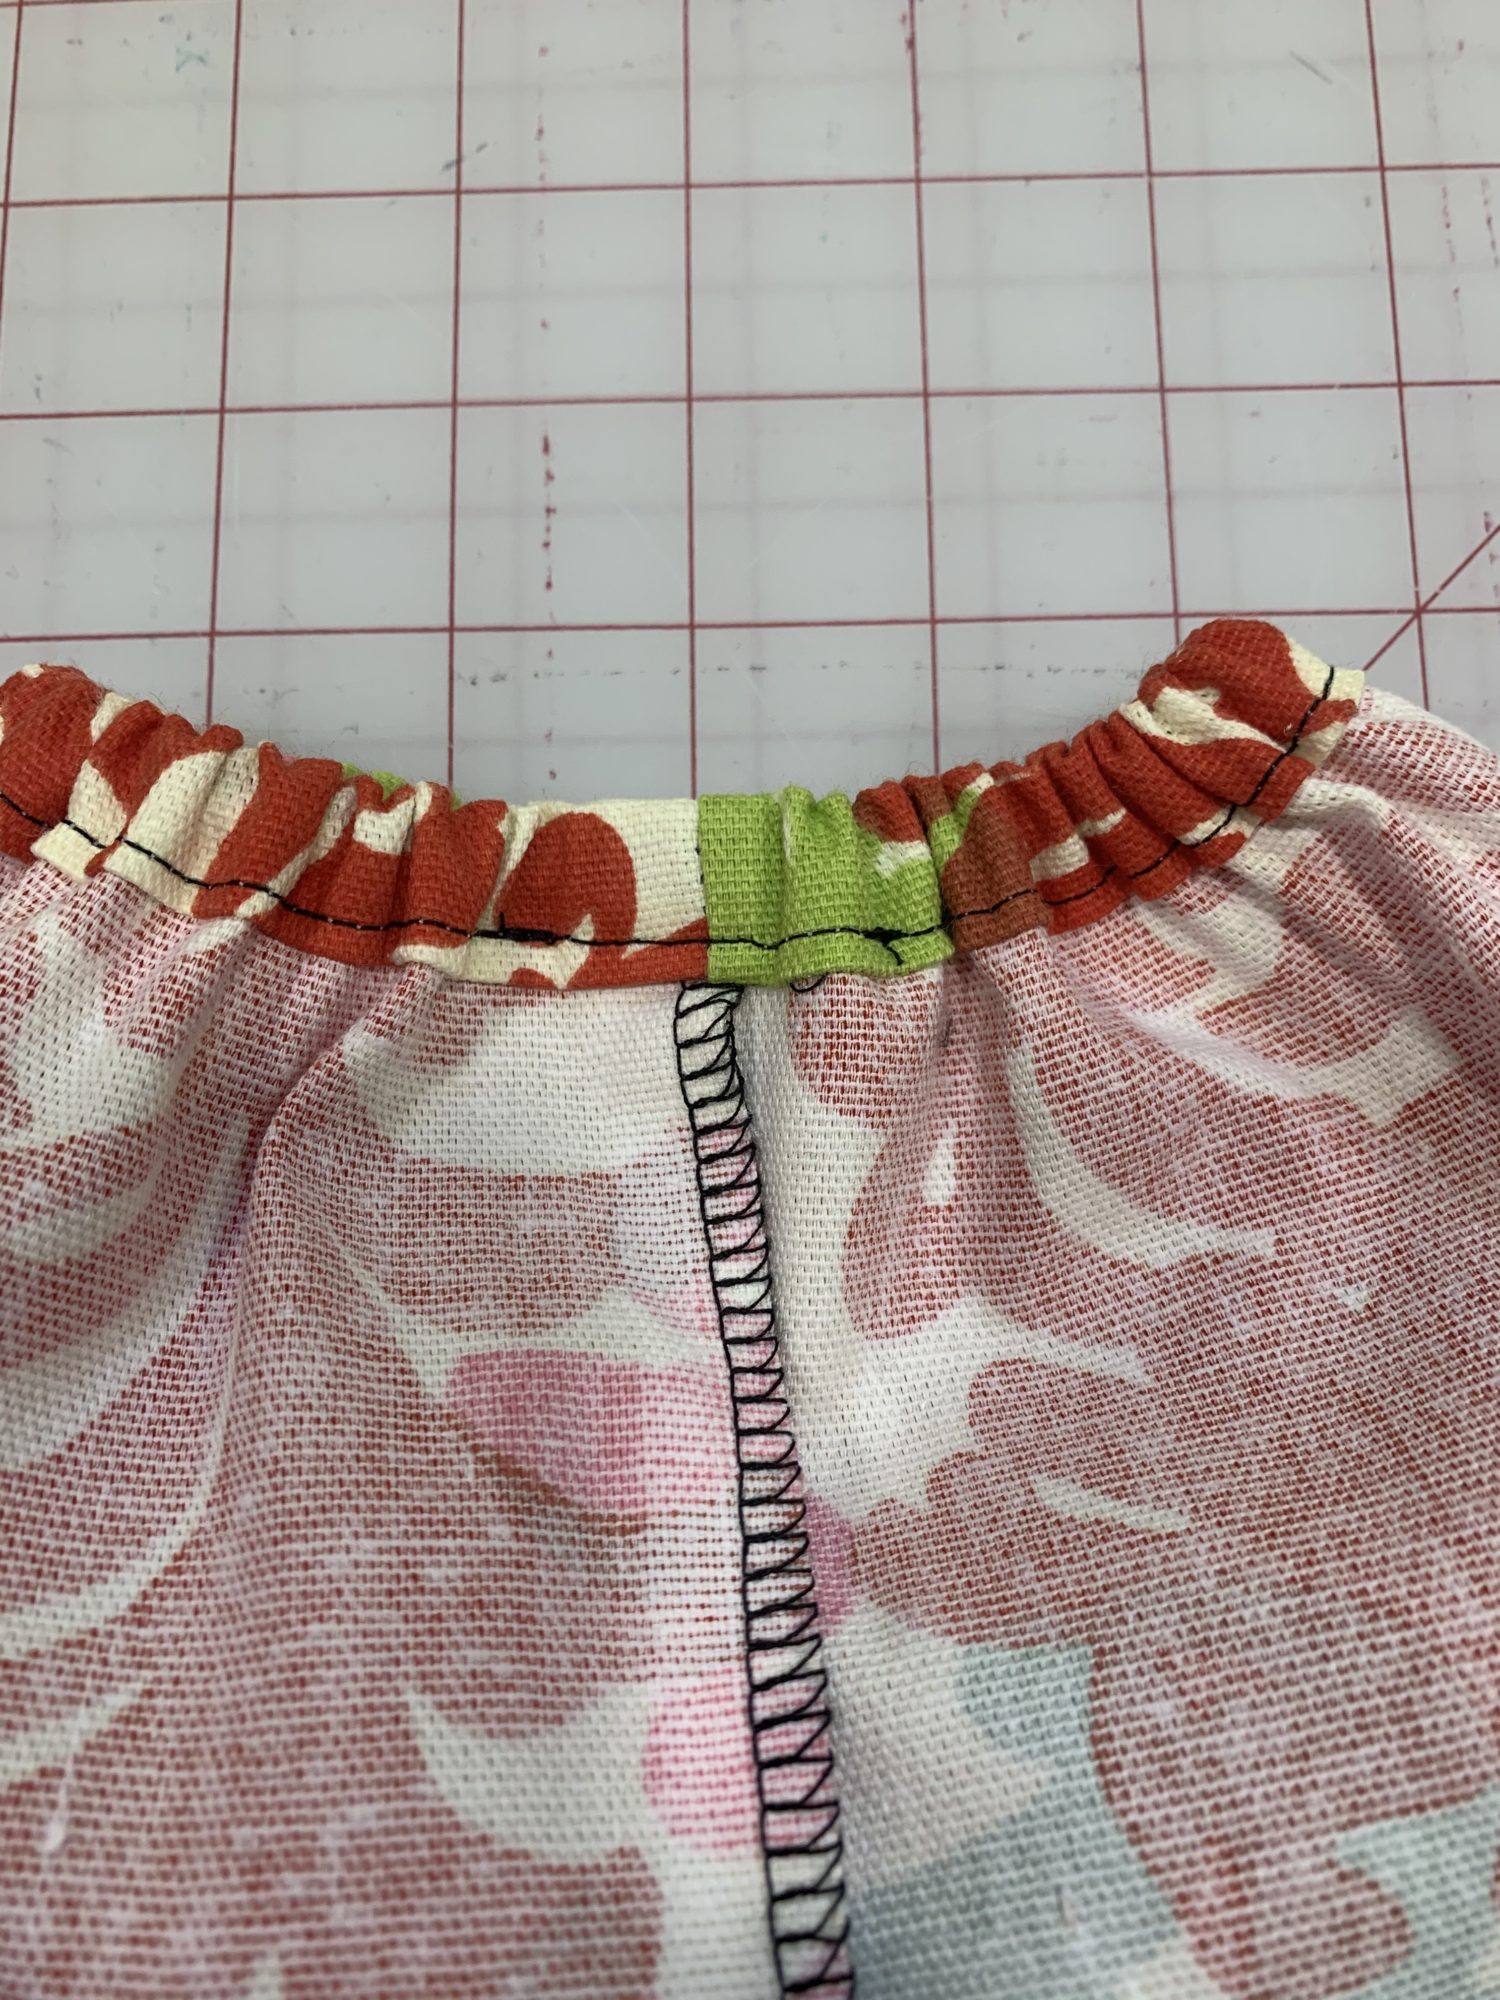
Finishing the top edge
- If you want to add elastic to the top, you can do that the same way we just did the bottom casing.
- Otherwise, we are just going to hem the top. I just hemmed it because I don’t think I’ll need elastic at the top too, but it’s a personal preference.
- To hem the top edge, fold the fabric to the wrong side of the fabric by 1/4 inch
- Press well
- Now, fold it again by 1/2 inch to the wrong side
- Press well
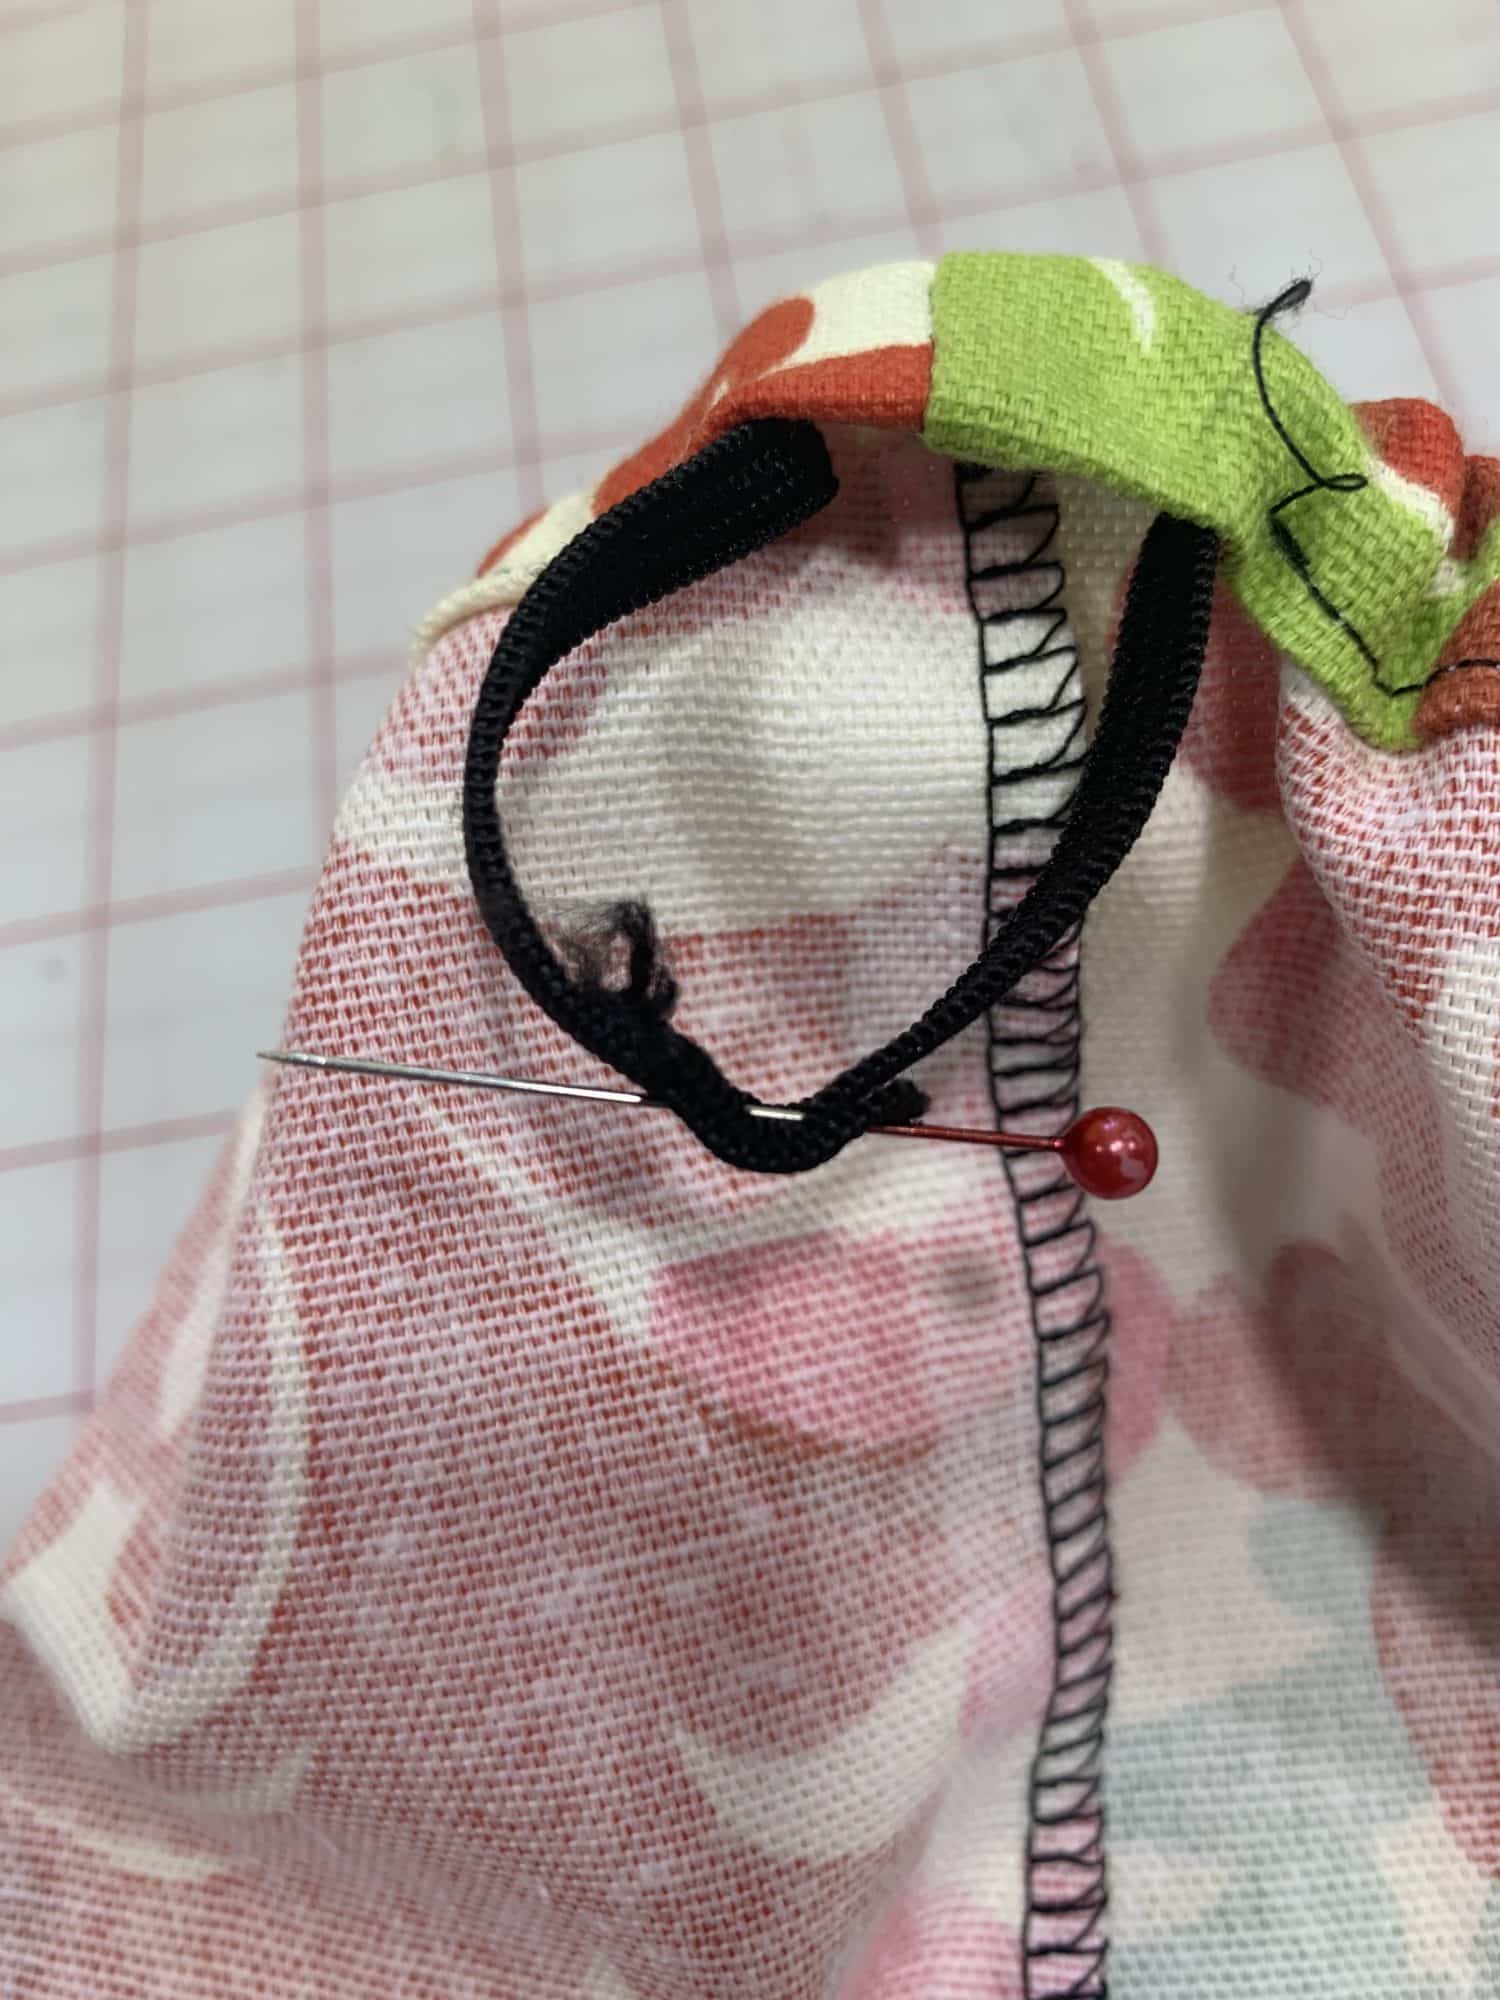
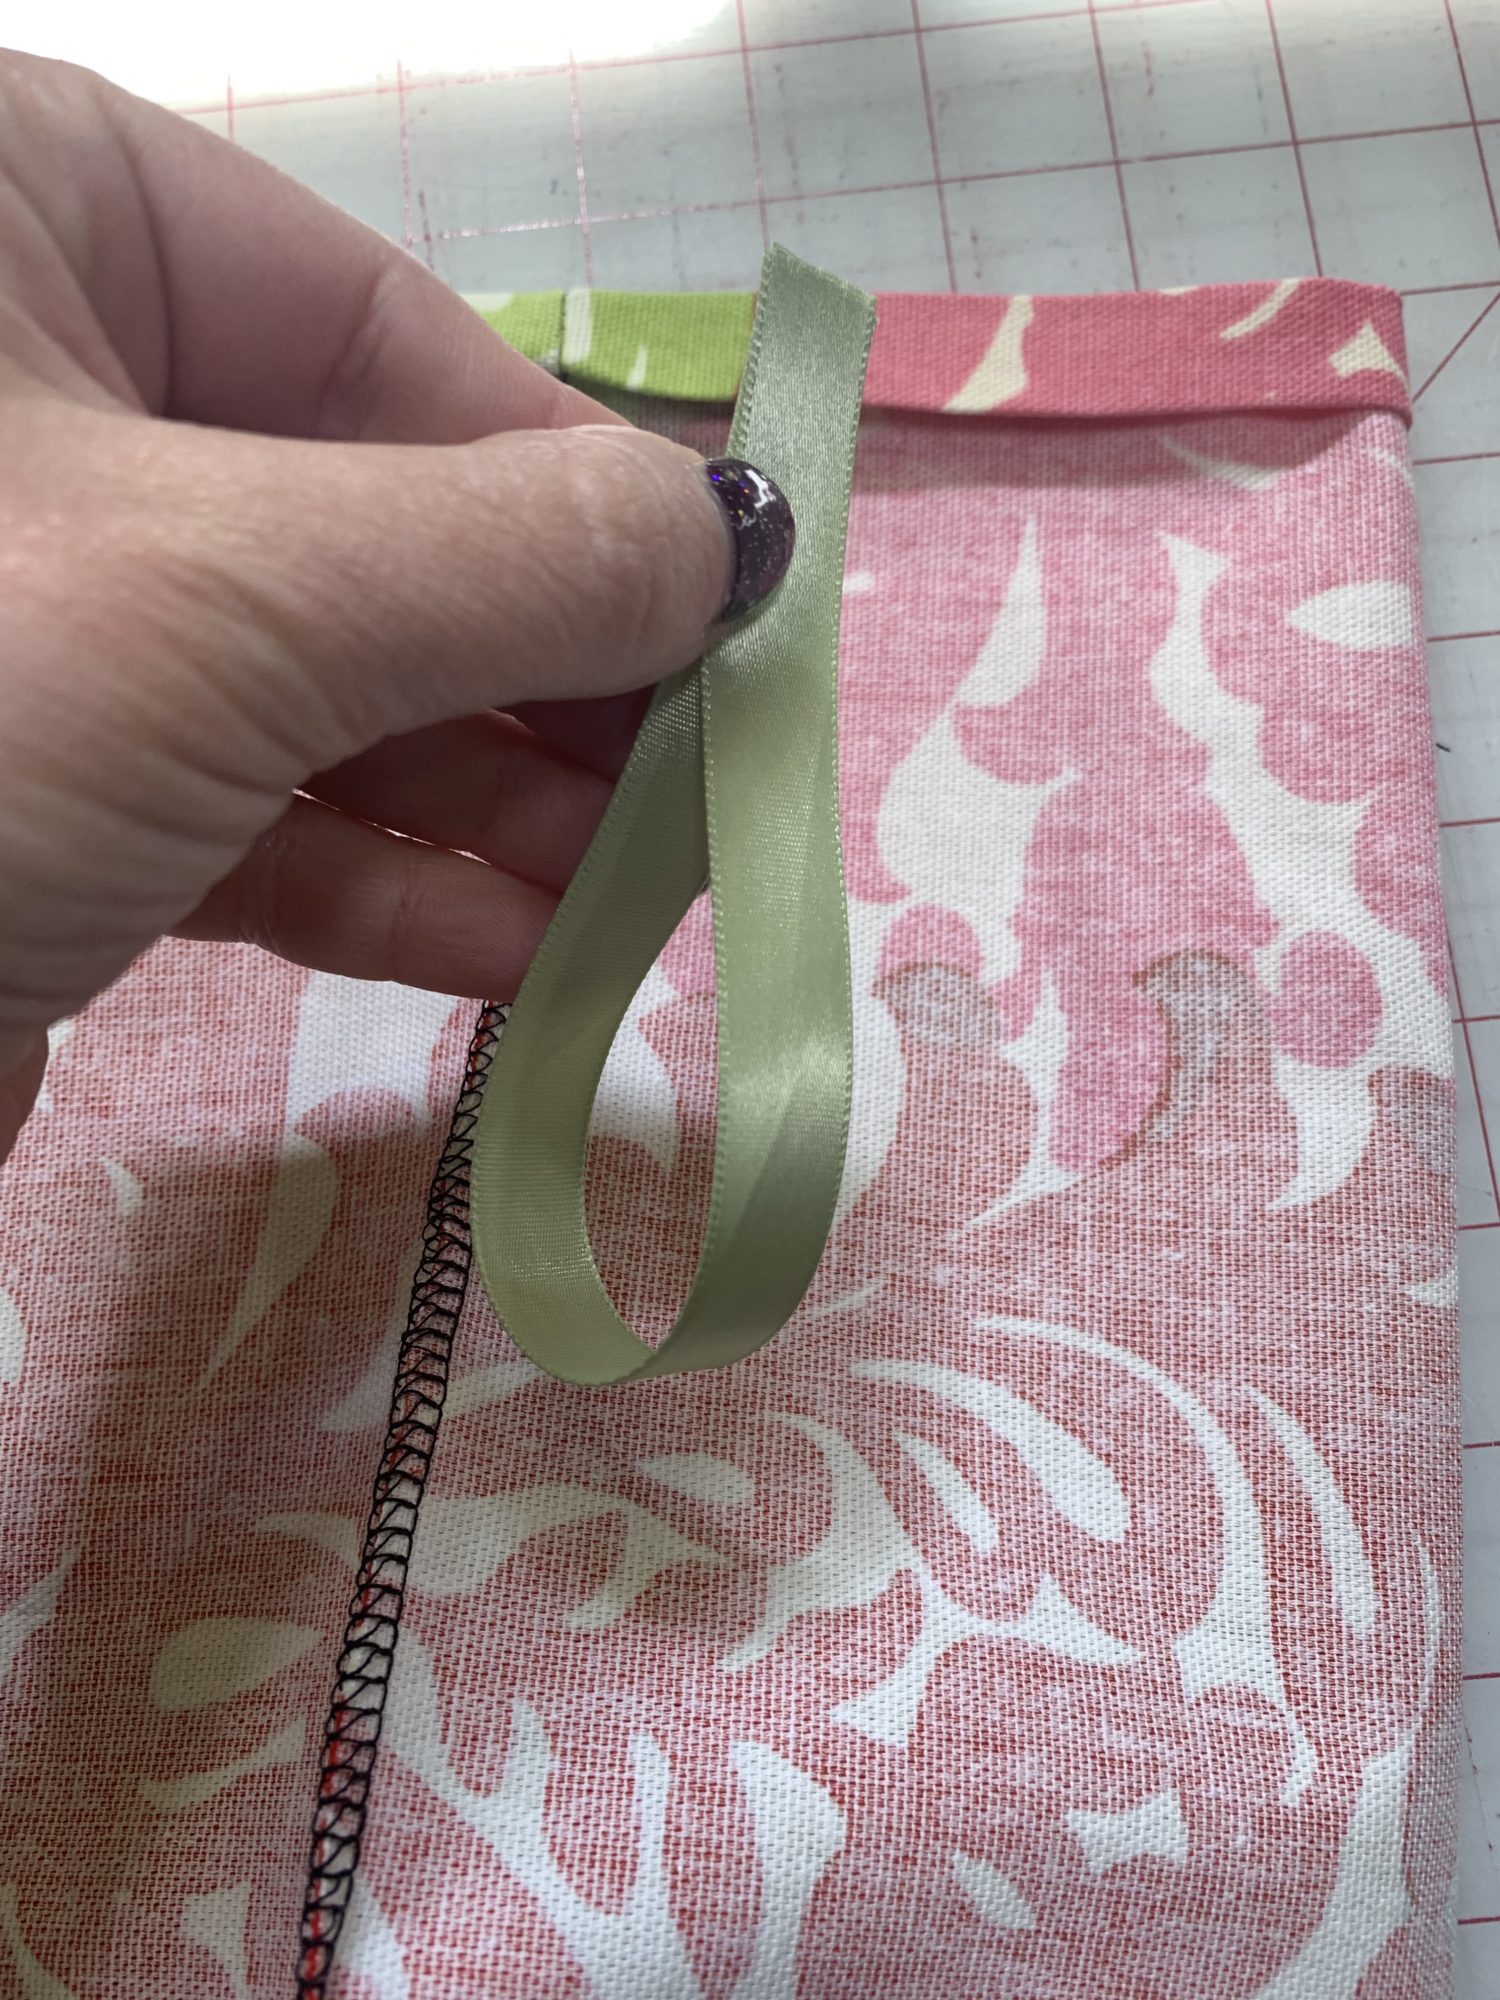
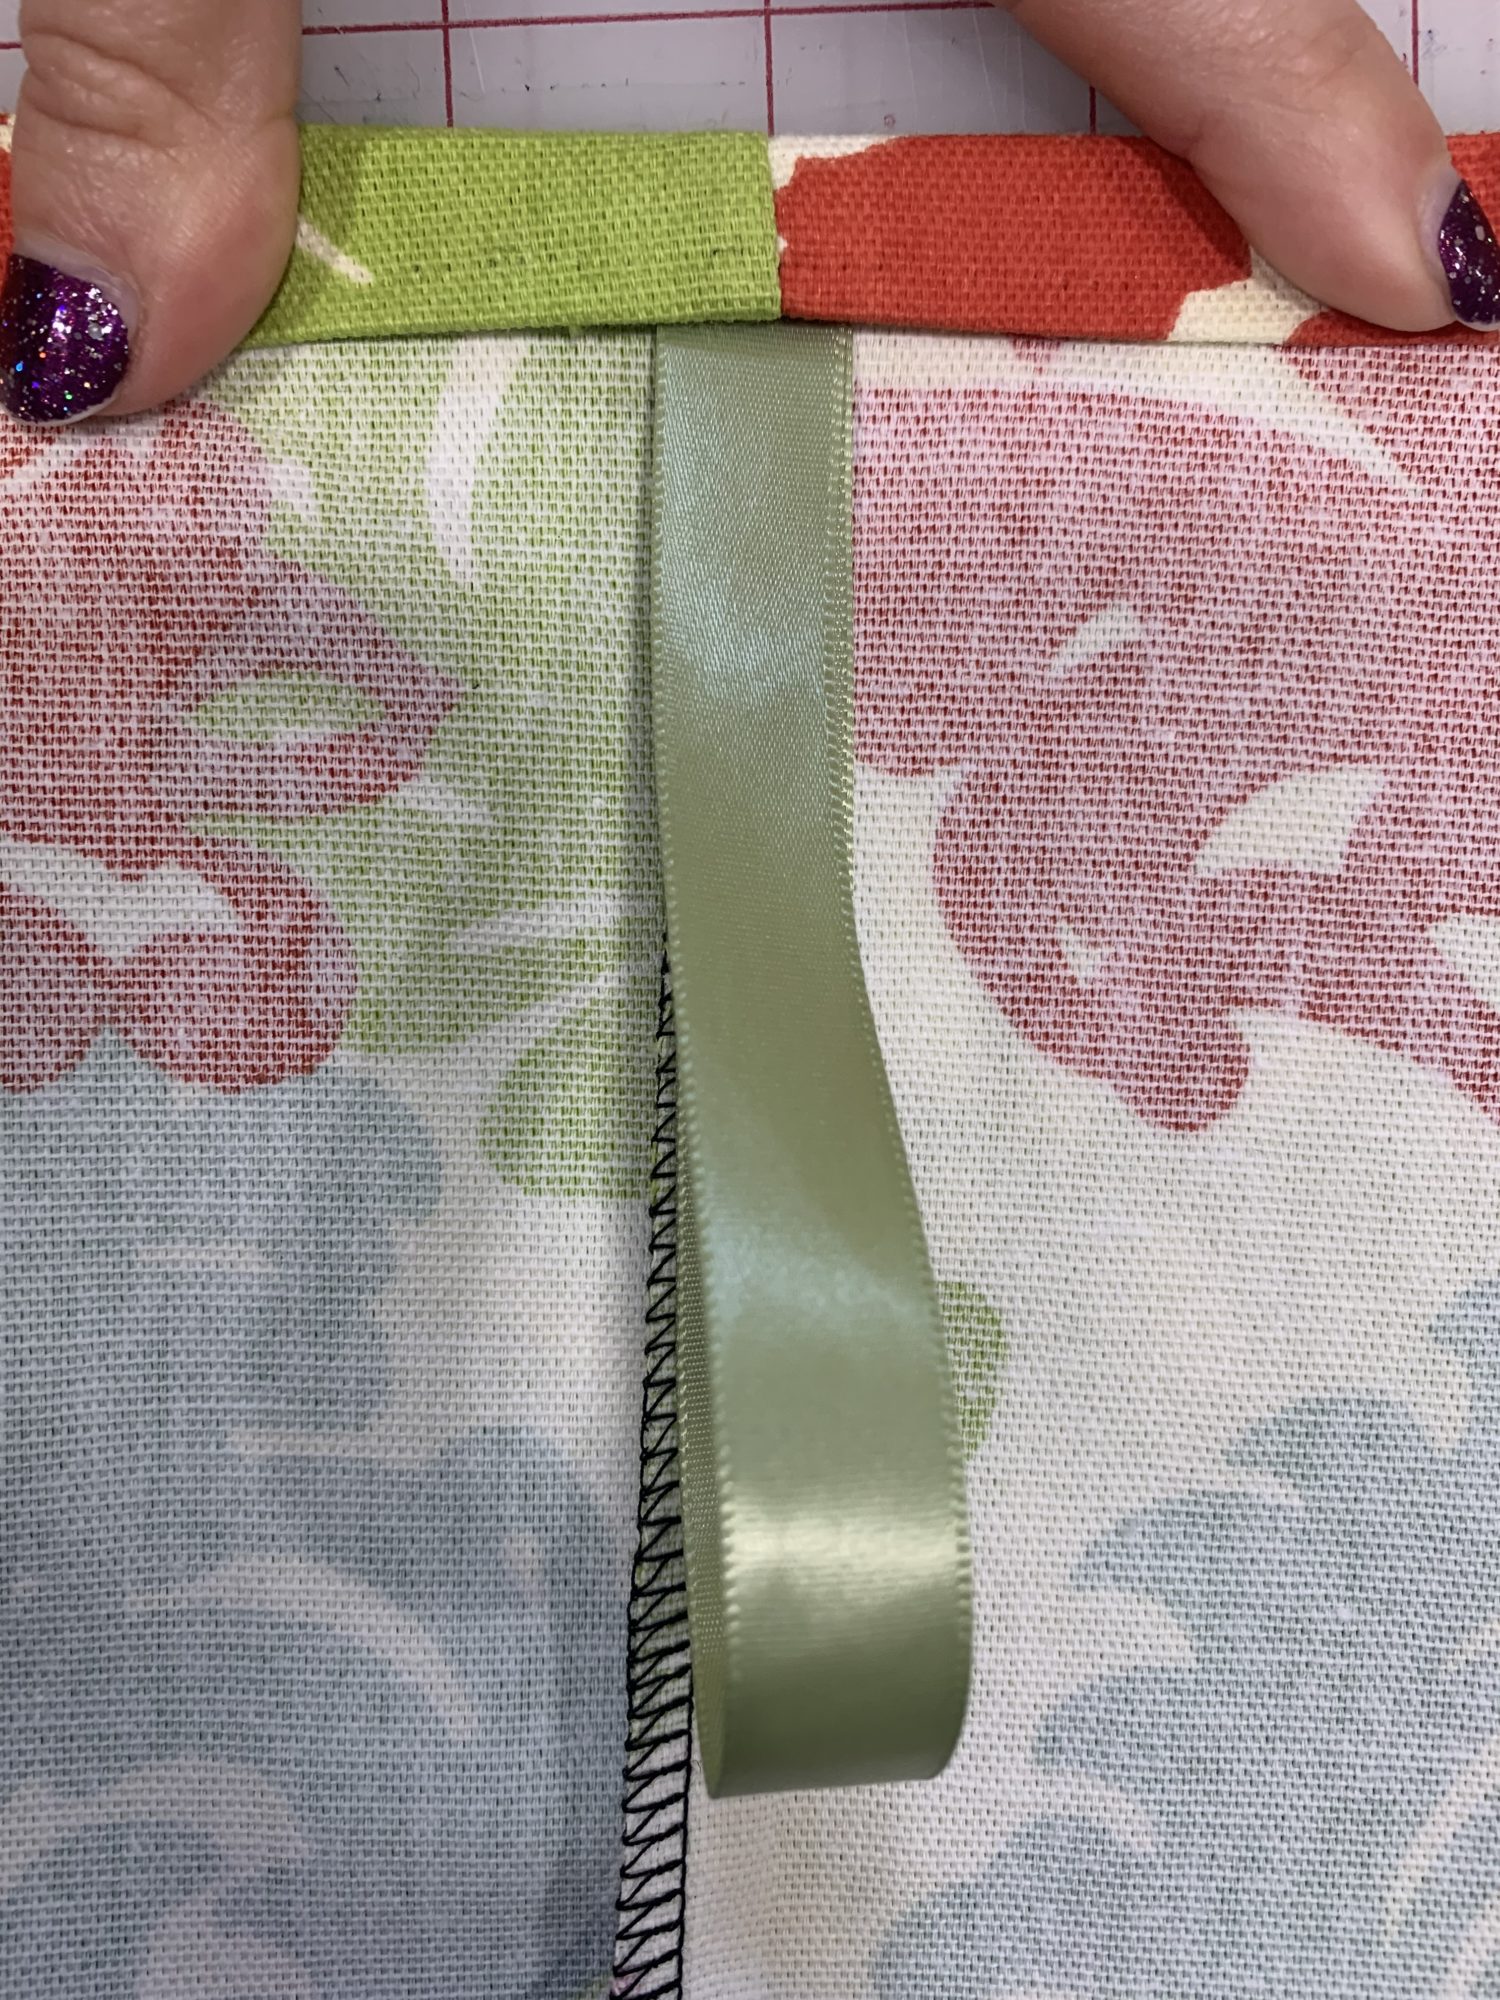
- Take your ribbon piece and fold it in half
- Tuck the ends of the ribbon into the hem of the plastic bag holder
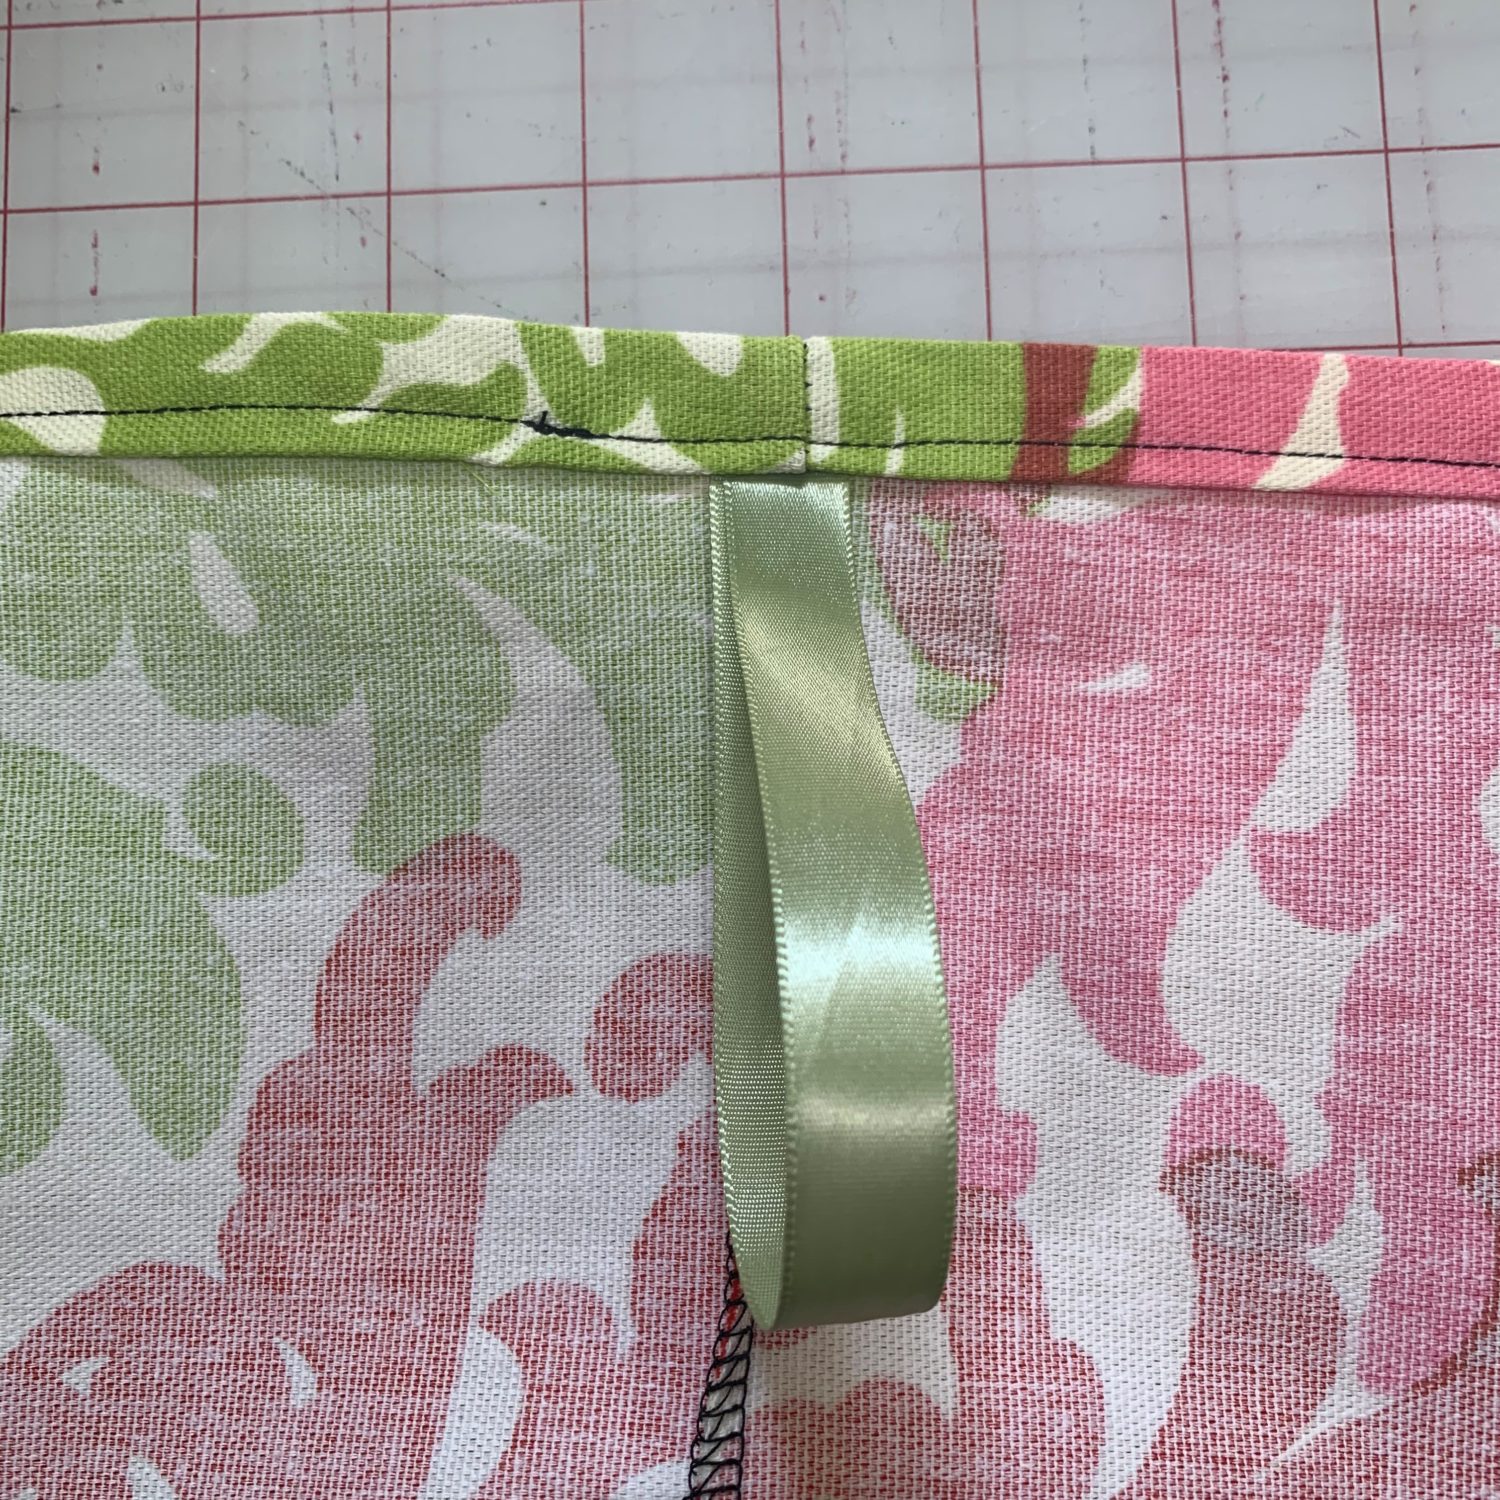
- Sew all the way around the folded edge making sure to sew the ribbon into the hem to secure it
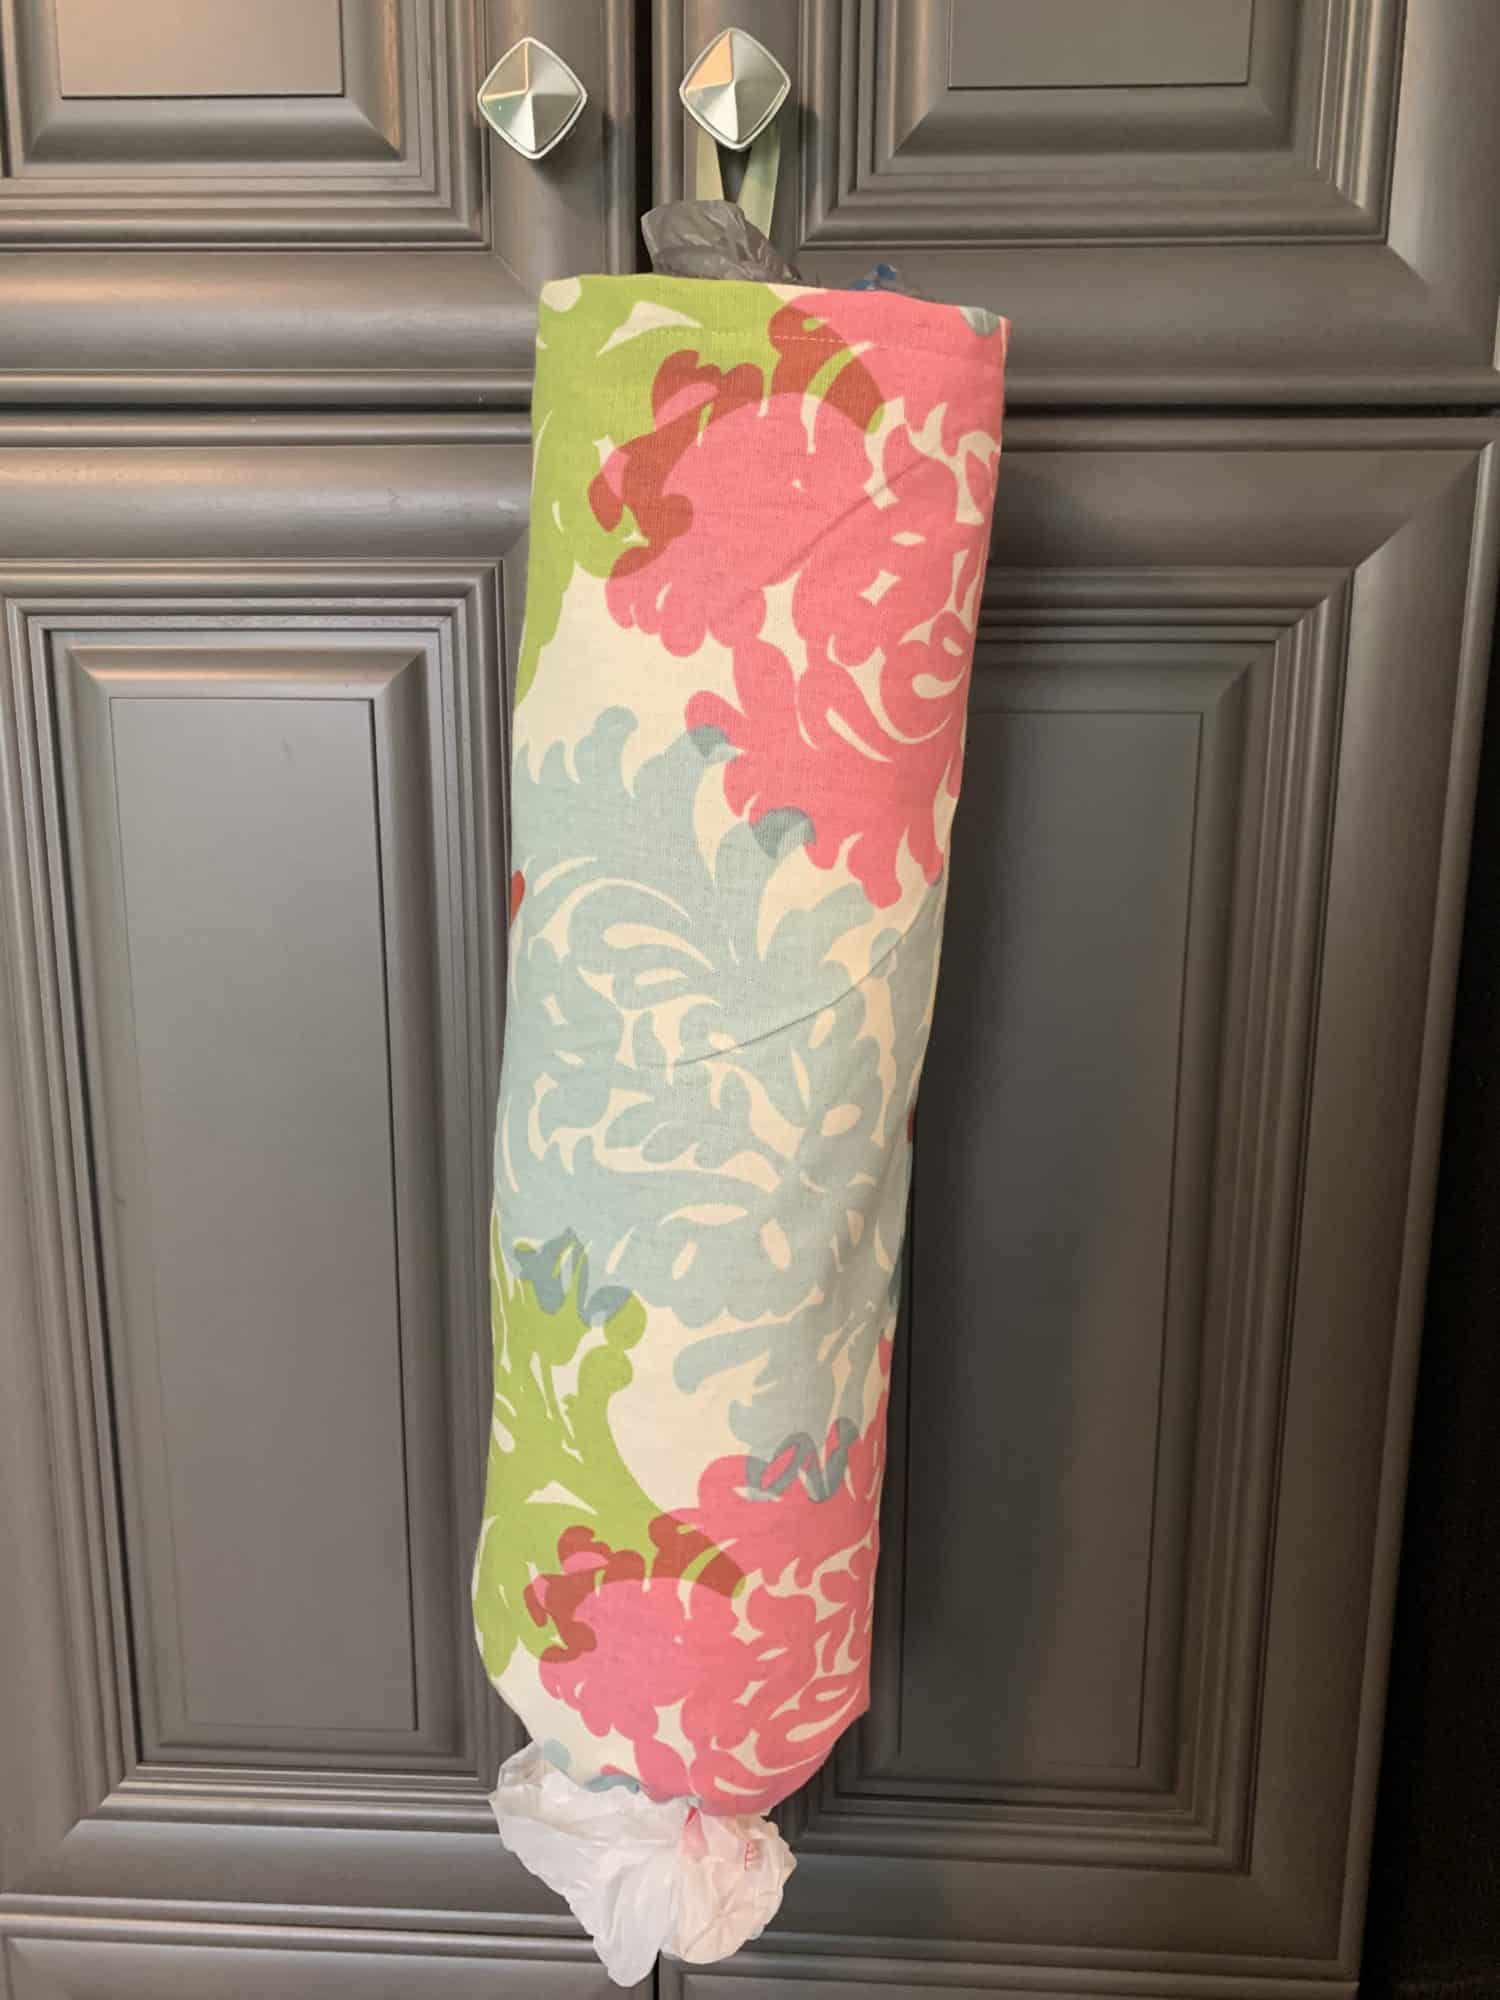
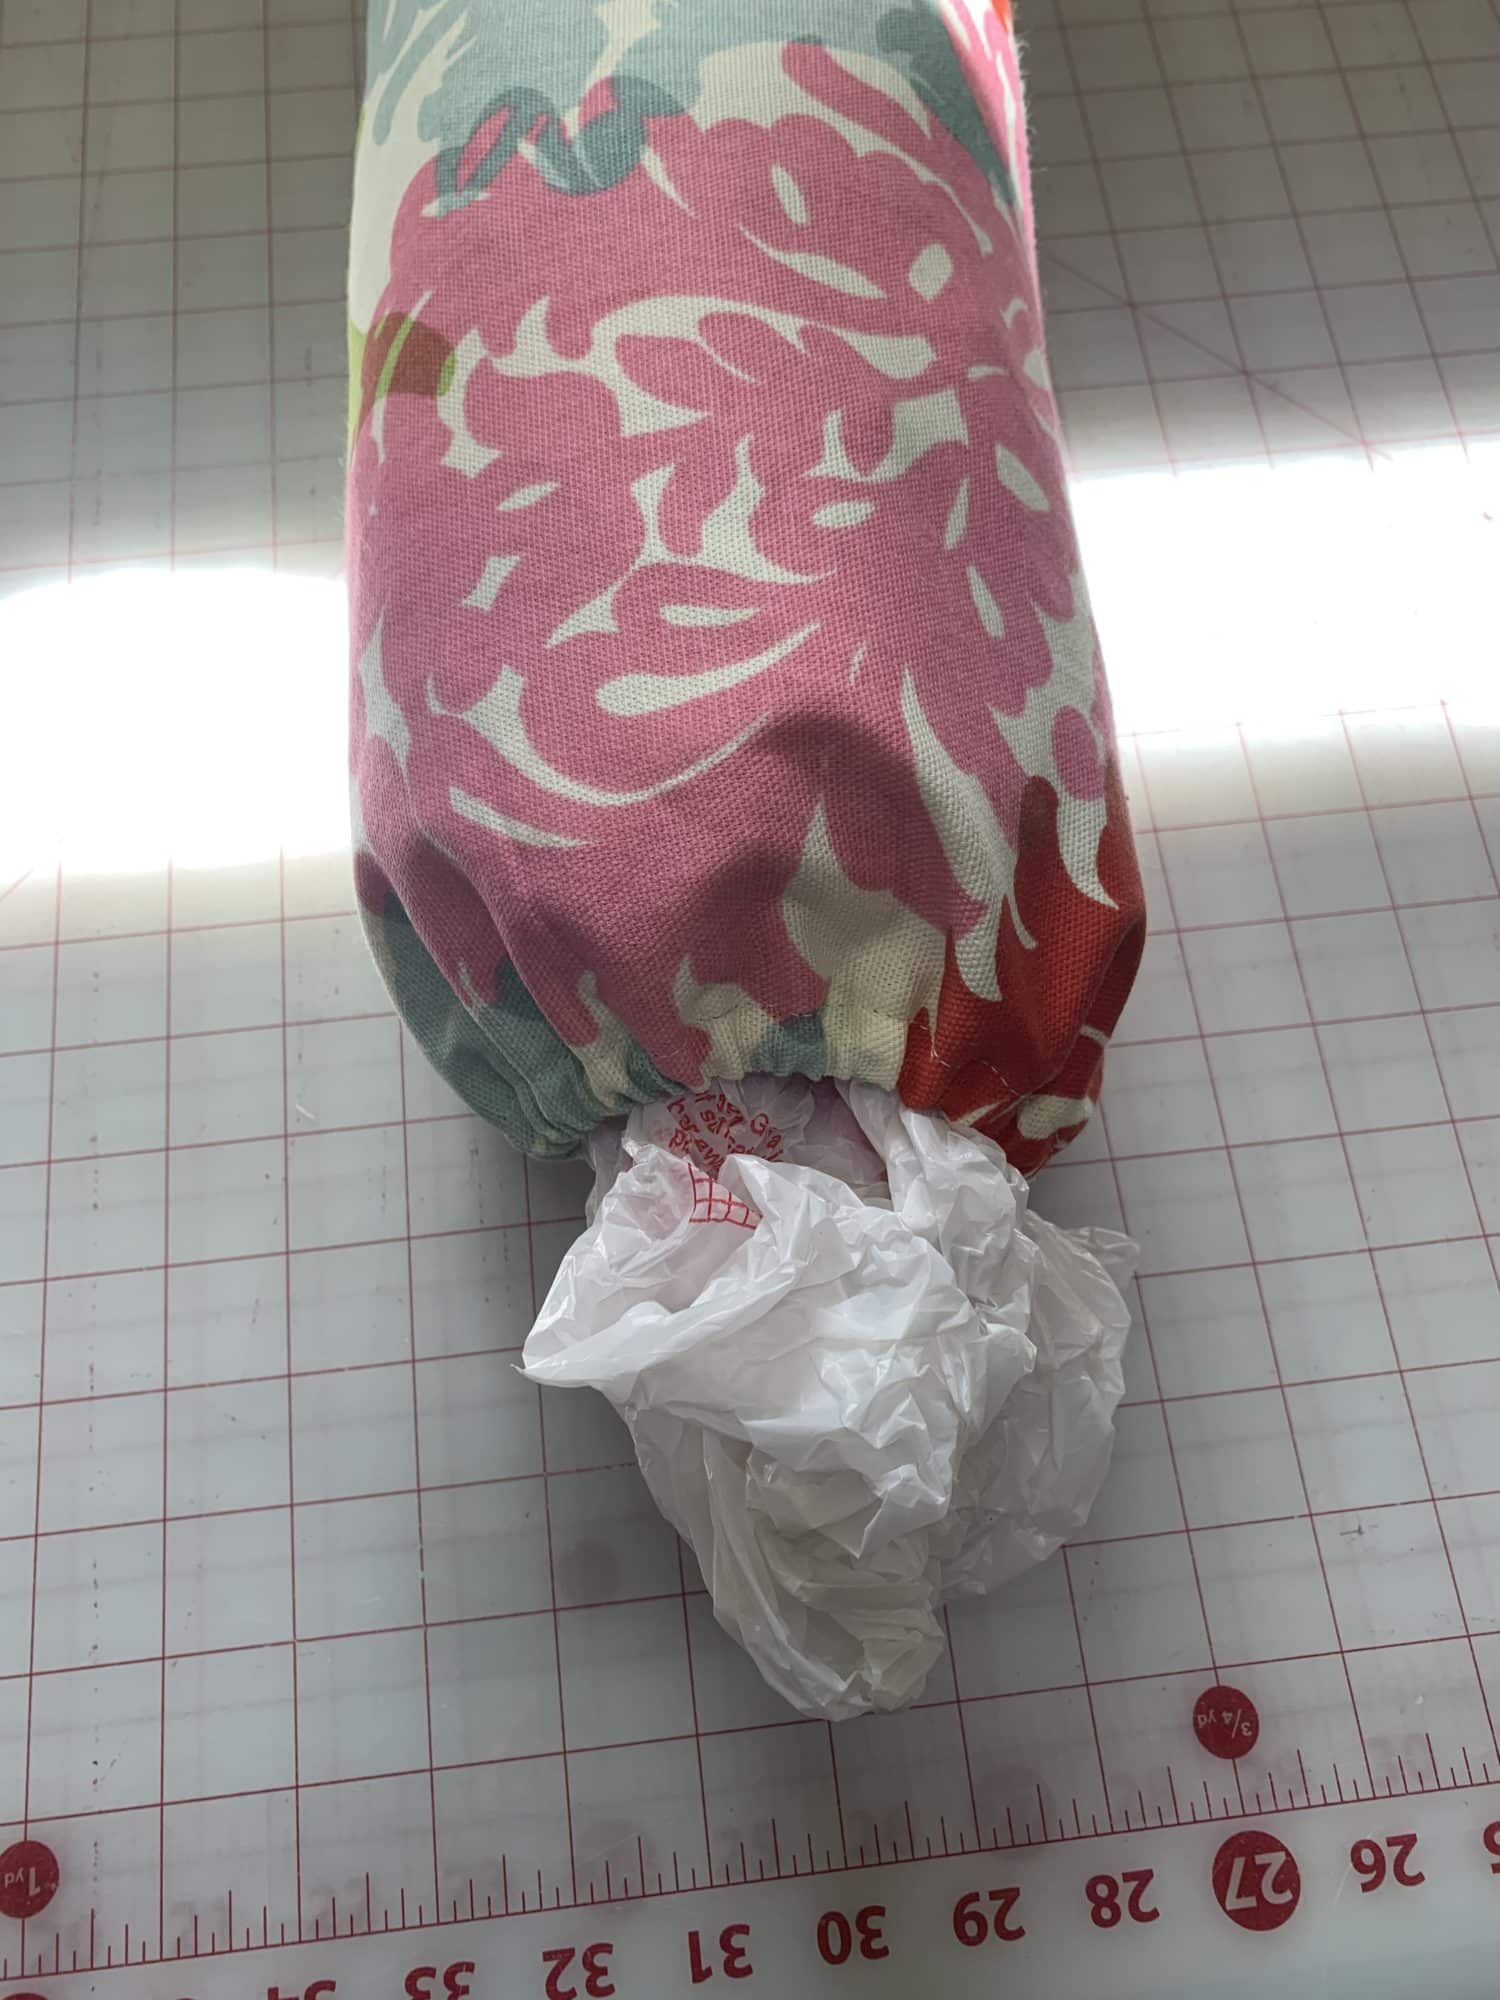
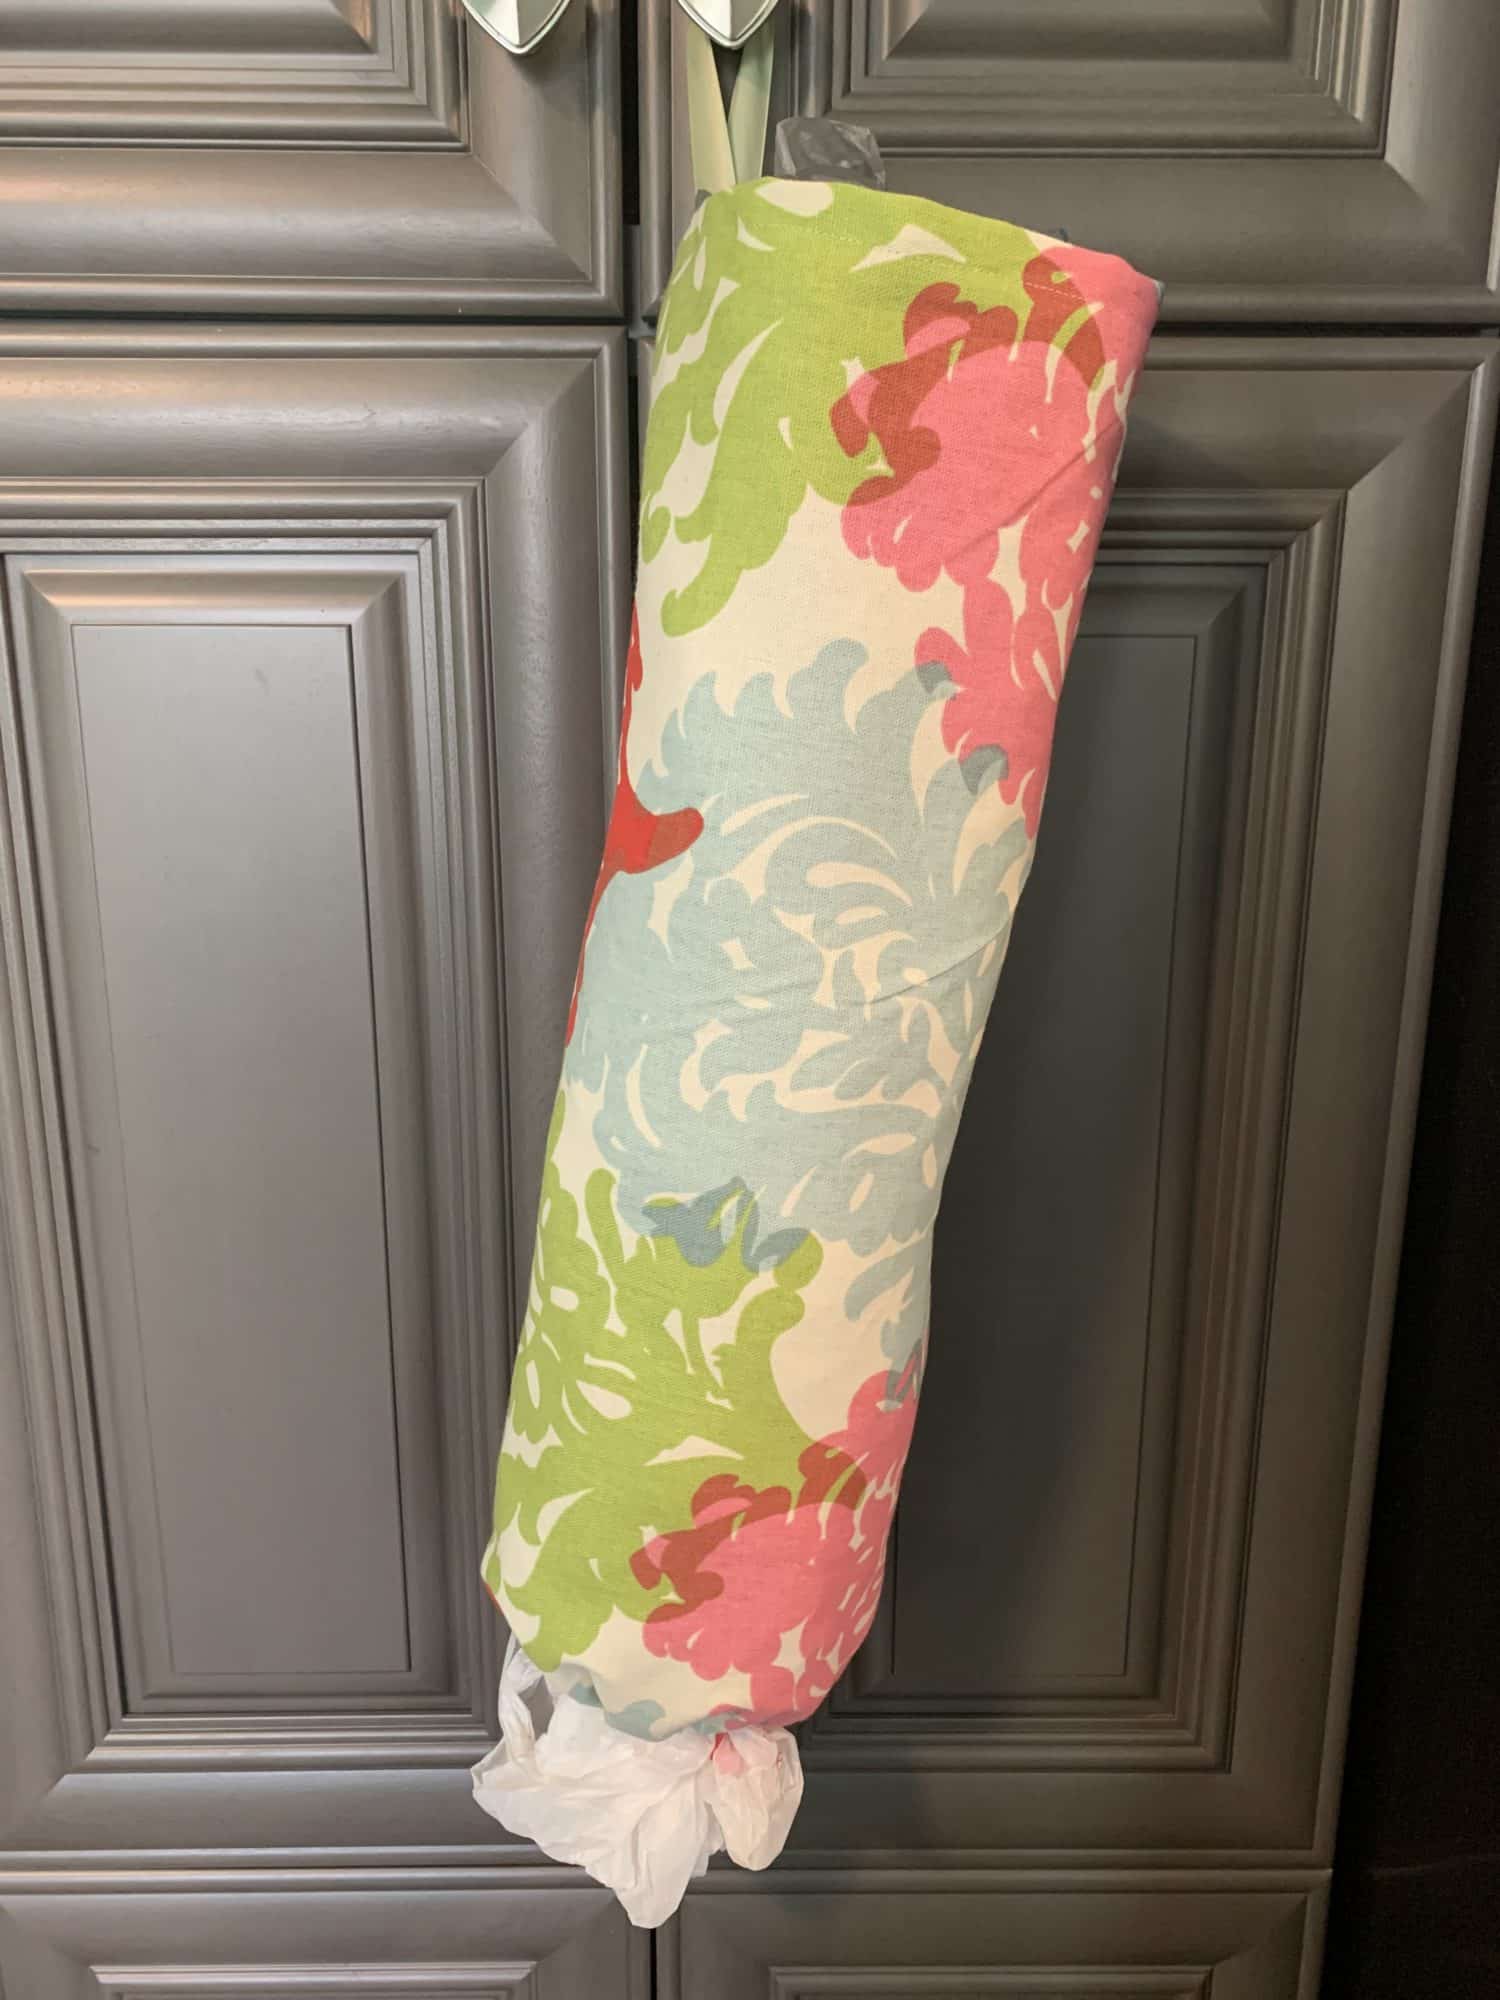
TA-DA!
Turn your plastic bag holder right side out and you are done! That was pretty fast, right? Now, stuff it full of bags and you’ll have a plastic bag handy when you need it!


Want more FUN DIY Freebies? Check out the FREEBIE TUTORIALS and the FREEBIE PATTERNS!
As always, we’re here to help if you need it! Join us HERE and on Facebook, Instagram, Twitter, Youtube, and Pinterest. We’re everywhere you are.
These instructions are really easy to follow and makes a cute plastic bag holder. Thank you!