During the holidays, I love making matching pajamas for my family. It has become our tradition and we love it! I don’t want to leave out our furry family members, though! Since my dog would not tolerate wearing pjs (he’s just no fun!), I like to make him a matching handkerchief. It is a super quick and easy project and helps the whole family be involved in the holiday spirit!
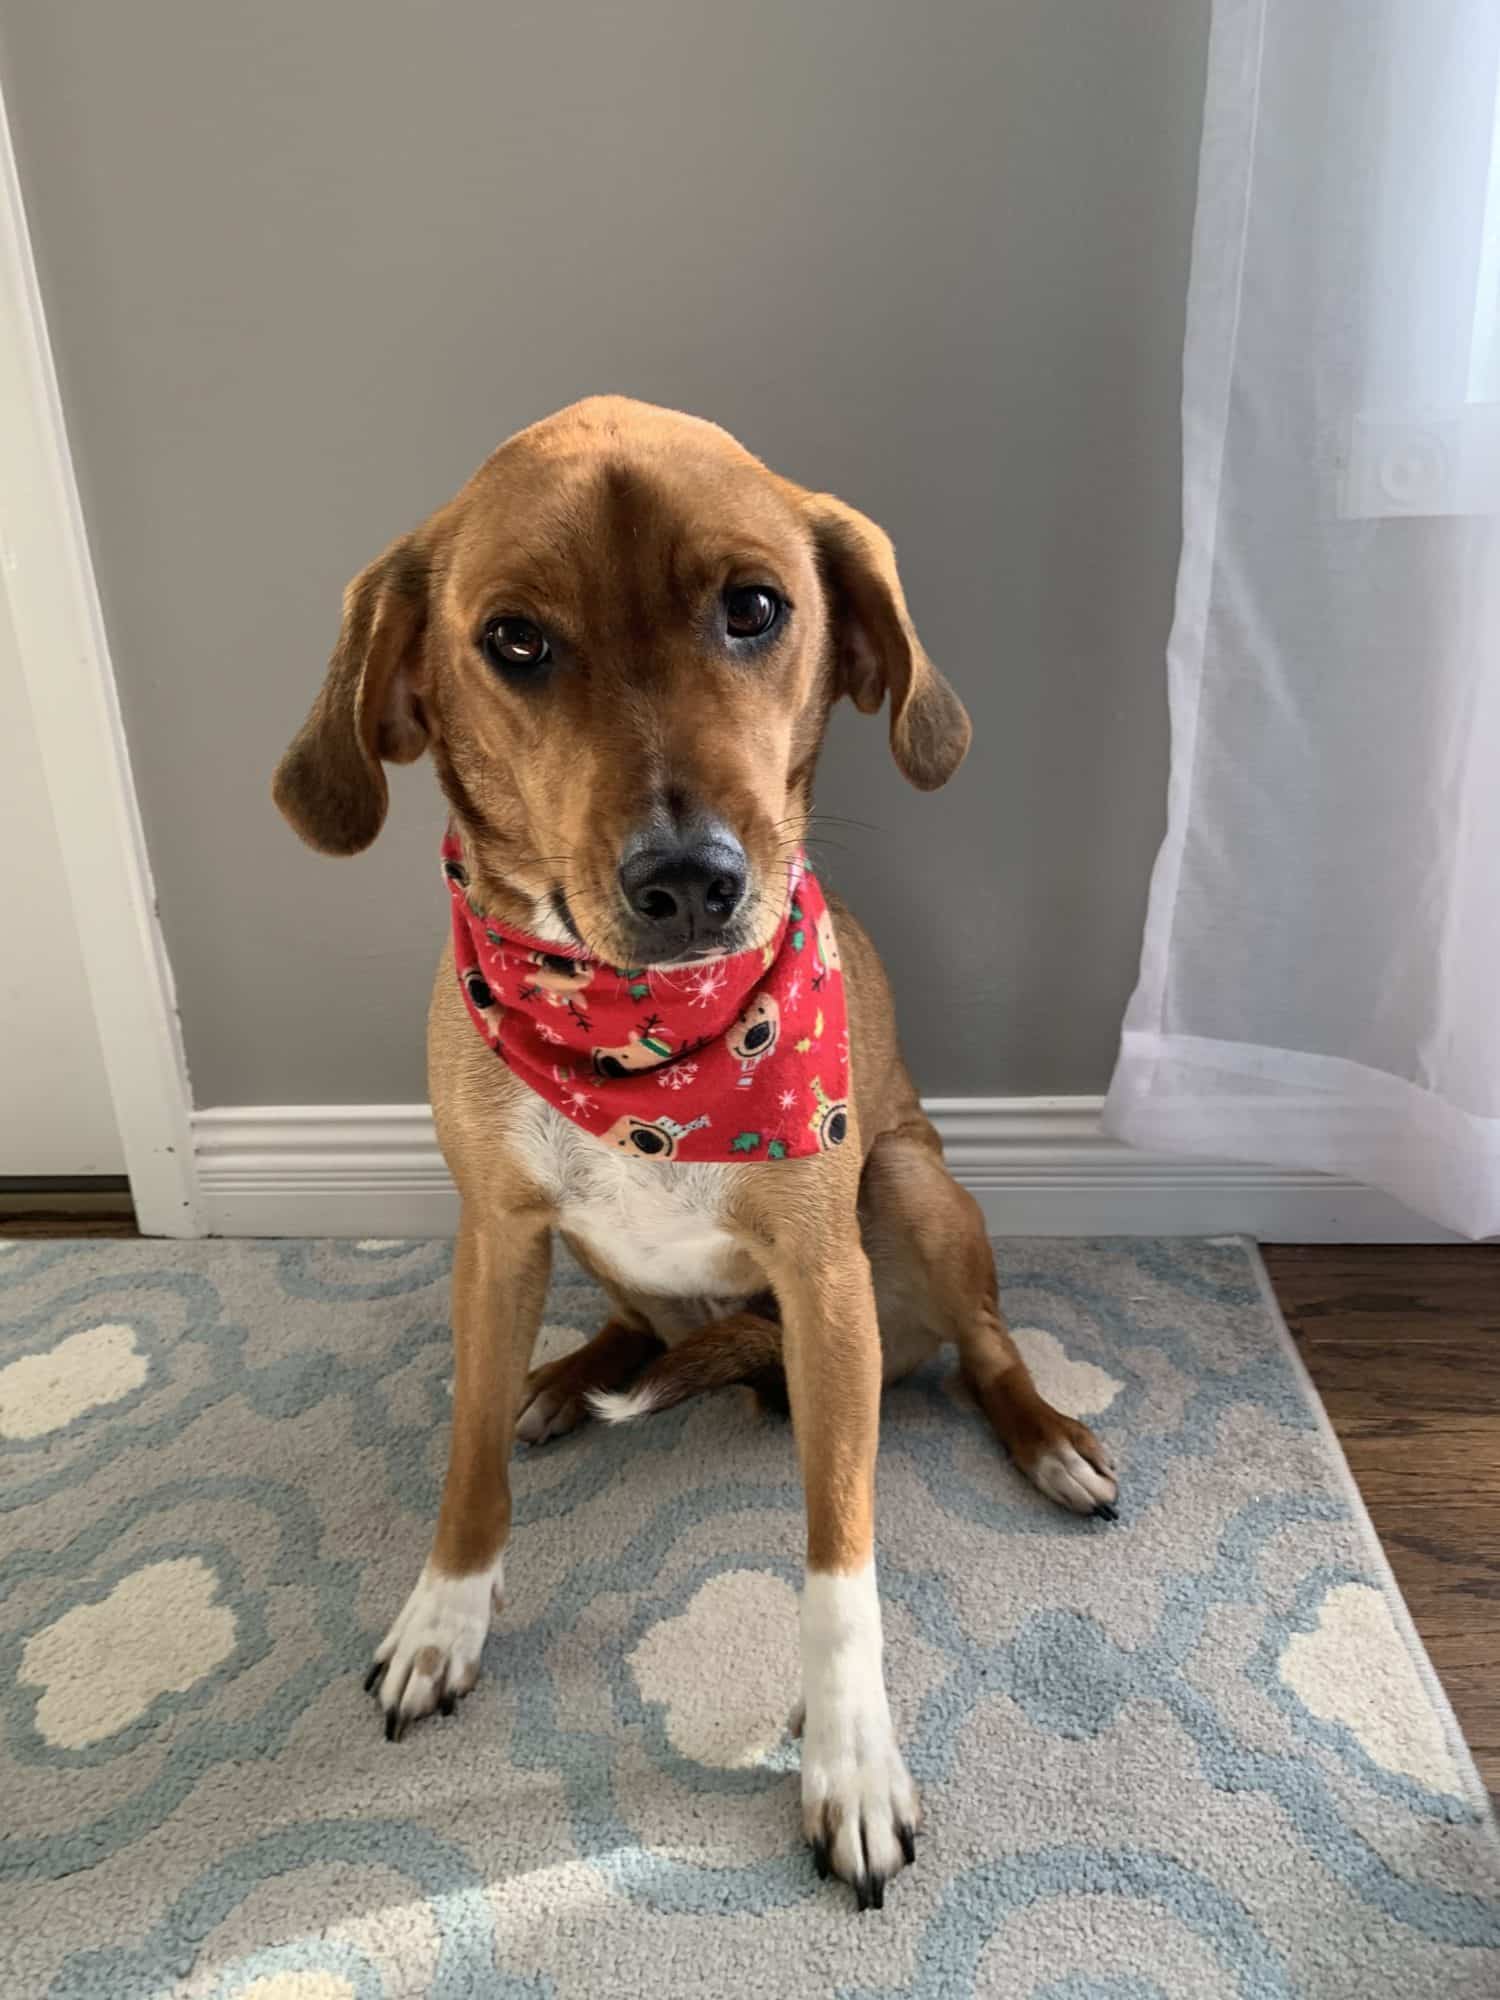
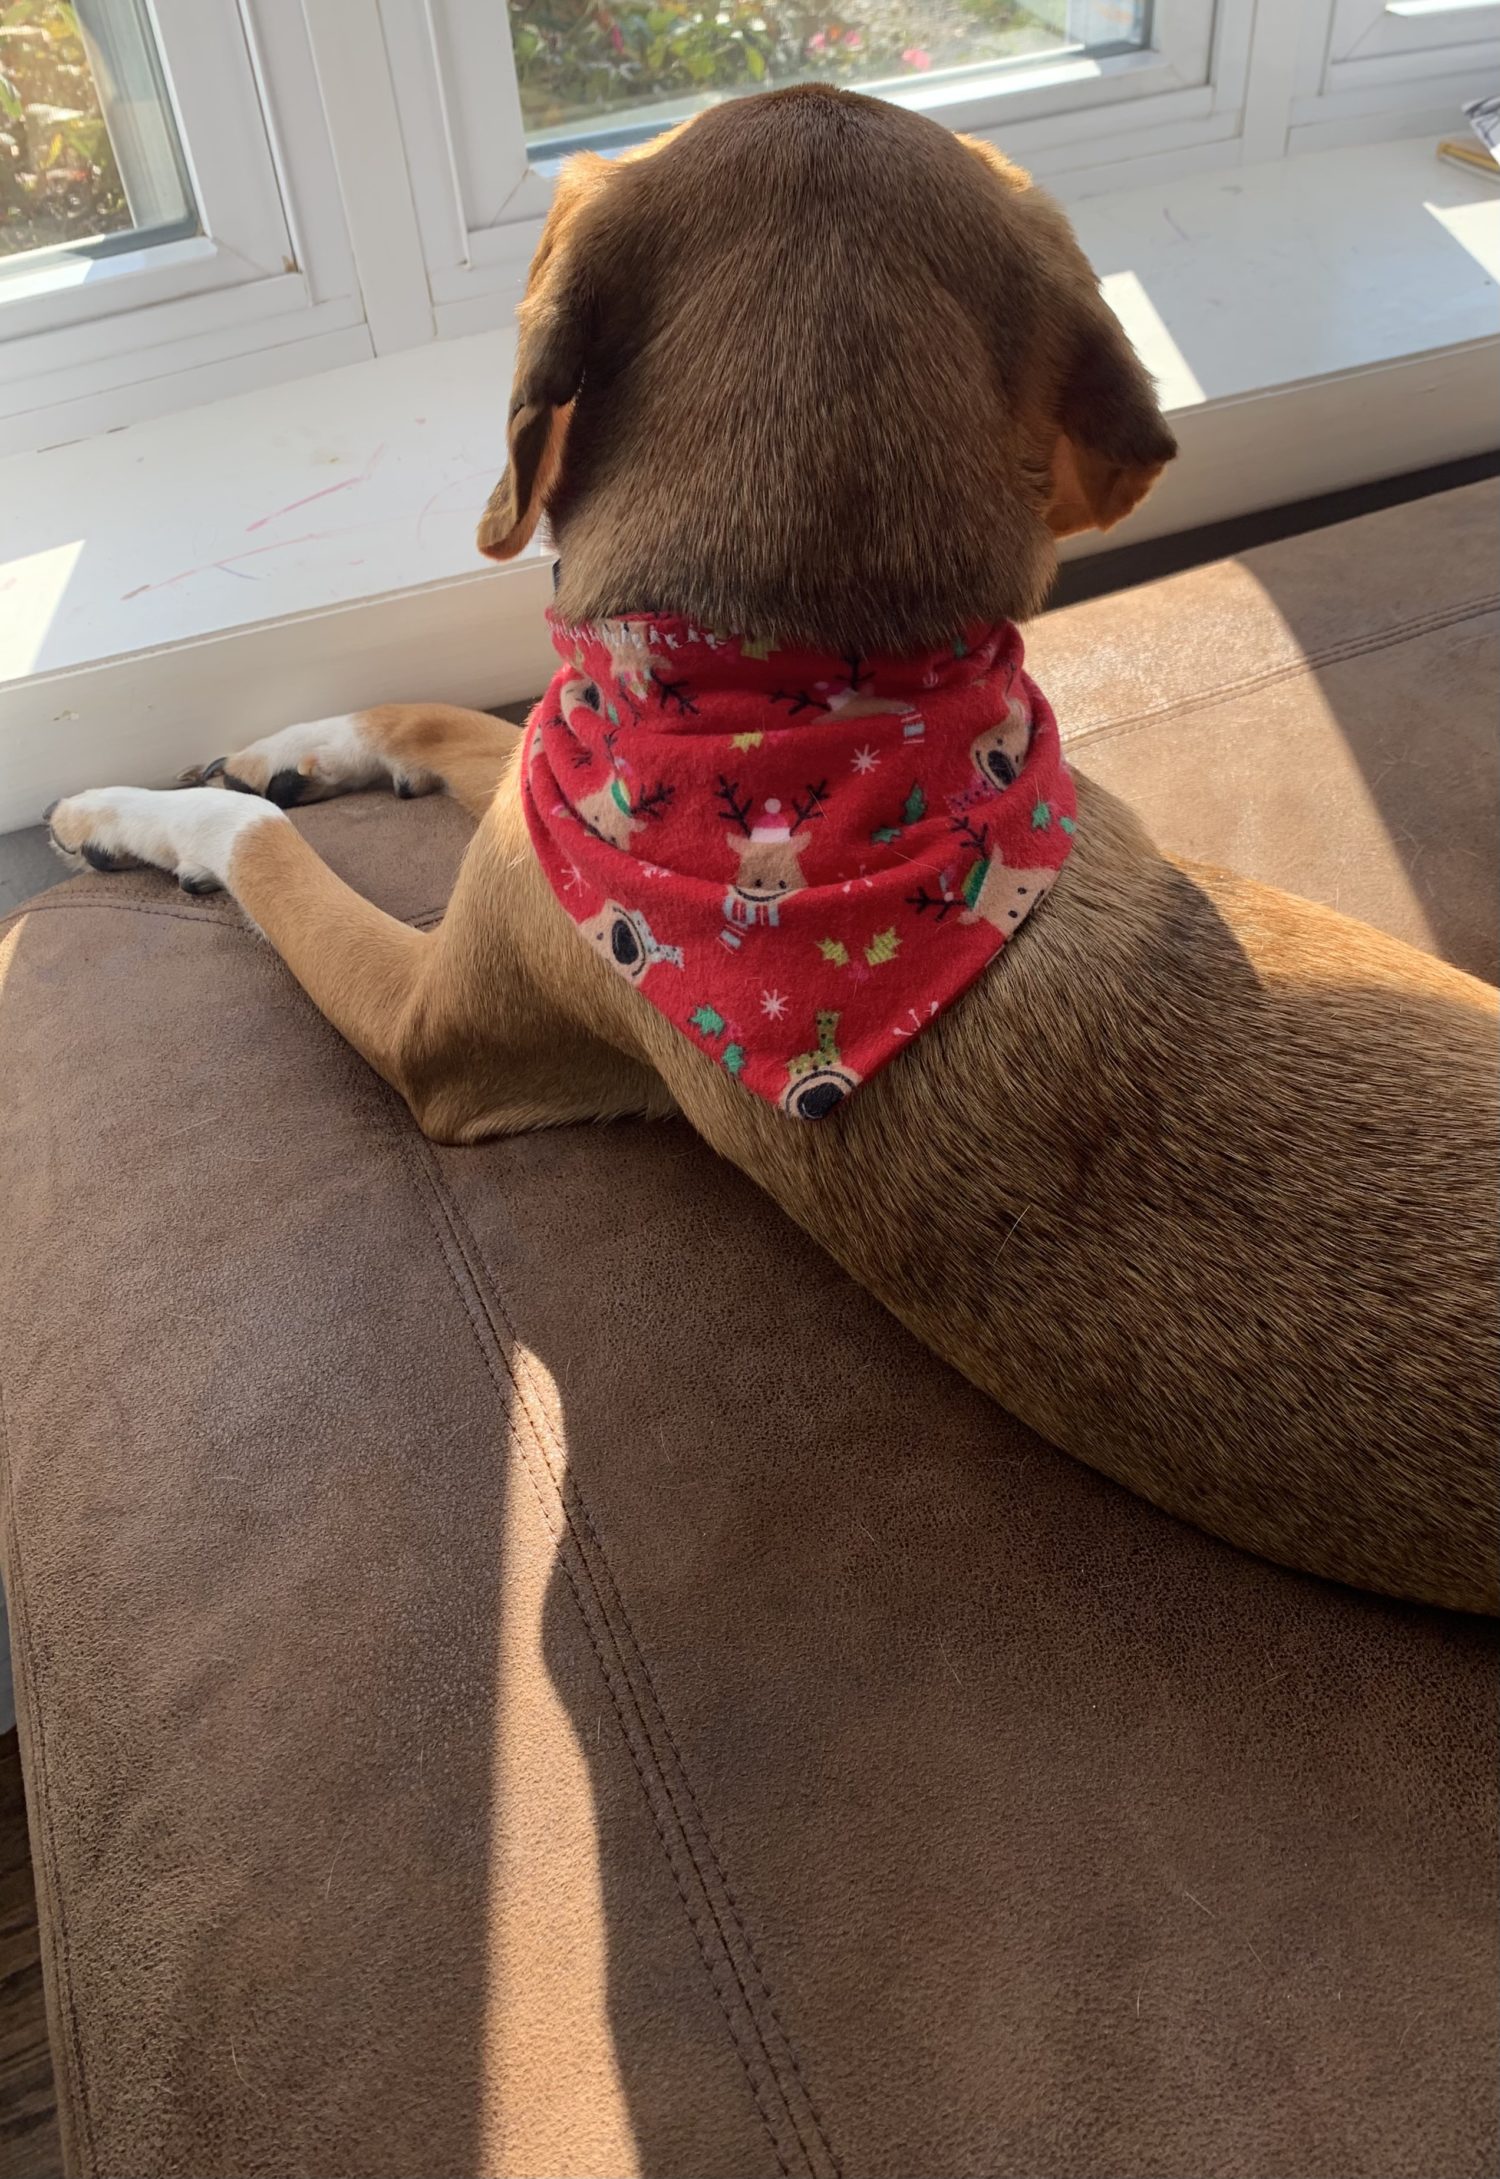
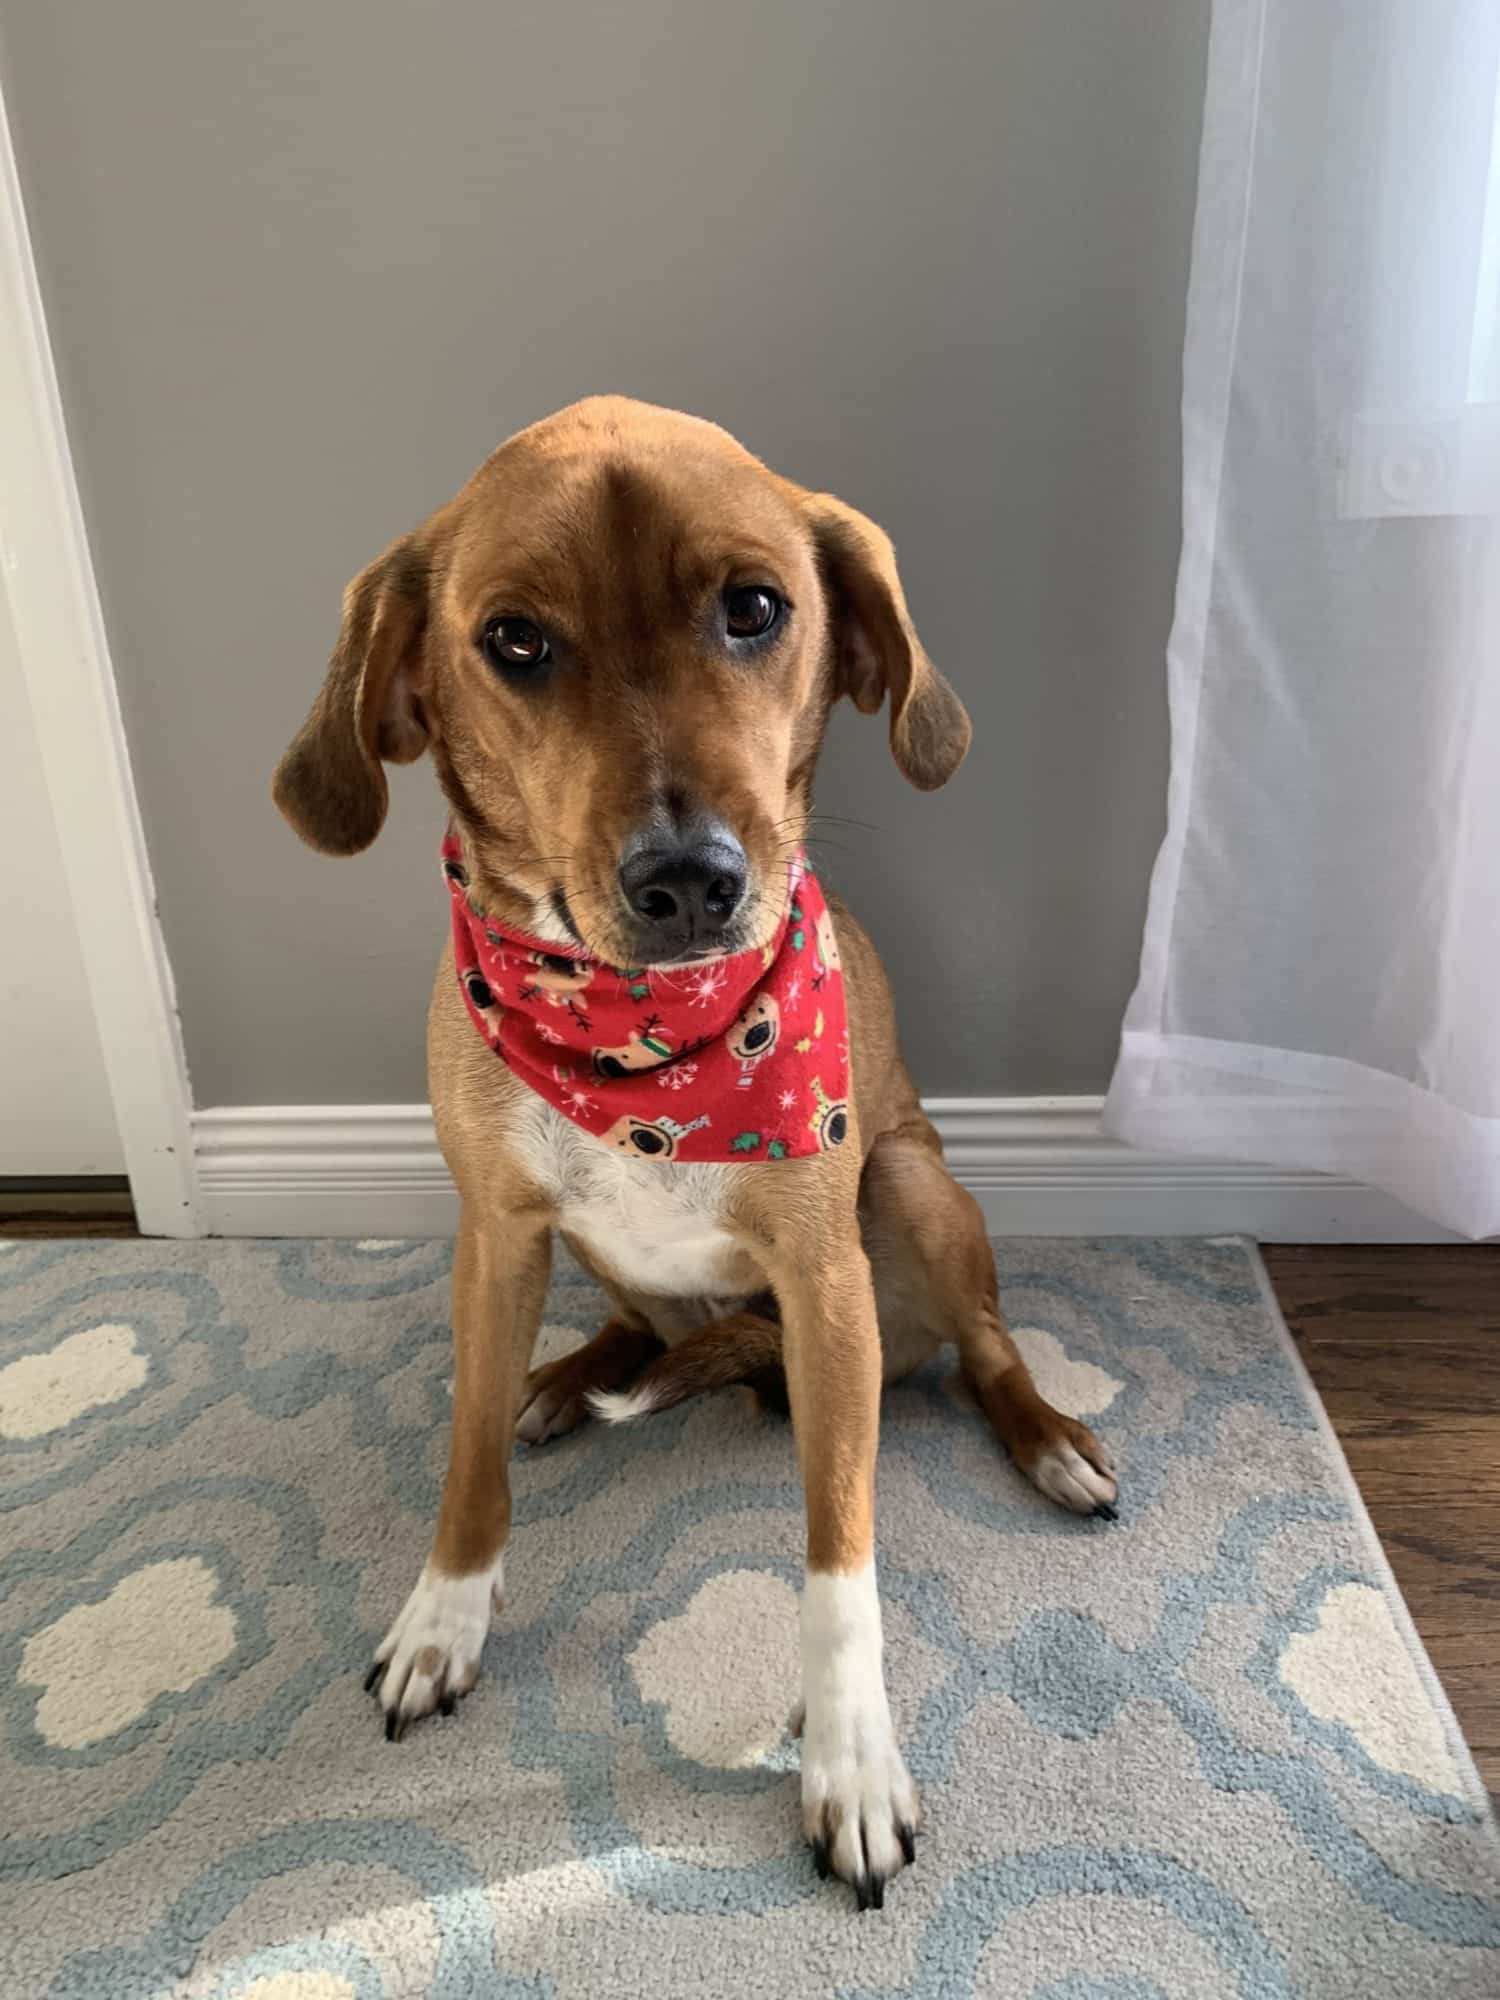
Don’t you love how excited he looks to be wearing it?! That’s all an act, he actually doesn’t mind it at all. He does mind, however, having his picture taken! The big scary phone is not ok! I thought getting pictures of my kids in their mommy made gear was a challenge, I was wrong! It took longer to take this picture than it did to make the whole project! It is completely worth it, though!
Let’s get started!
I make my handkerchief to the specific measurements that I want, that way, I can have a completely customizable finished product. For my dog, I can’t have a handkerchief that is longer than about 7 inches or he will eat it. They didn’t mention that he was part goat when we got him, ha! Using measurements is also great because you make a handkerchief for just about anything! Dog, cat, stuffed animal, whatever you want!
I measured around his neck and over top of his collar since he’ll always have the collar on when wearing it. Then, I added about 11 inches to that measurement. That gives me, after seam allowances, about 5 inches on each side to tie a knot. You can add more or less depending on how much of a tail you want leftover or if you prefer to tie a bow rather than a knot. I used 8 inches for the length measurement so that after seam allowances, I’ll end up with a 7 inch handkerchief like I wanted.
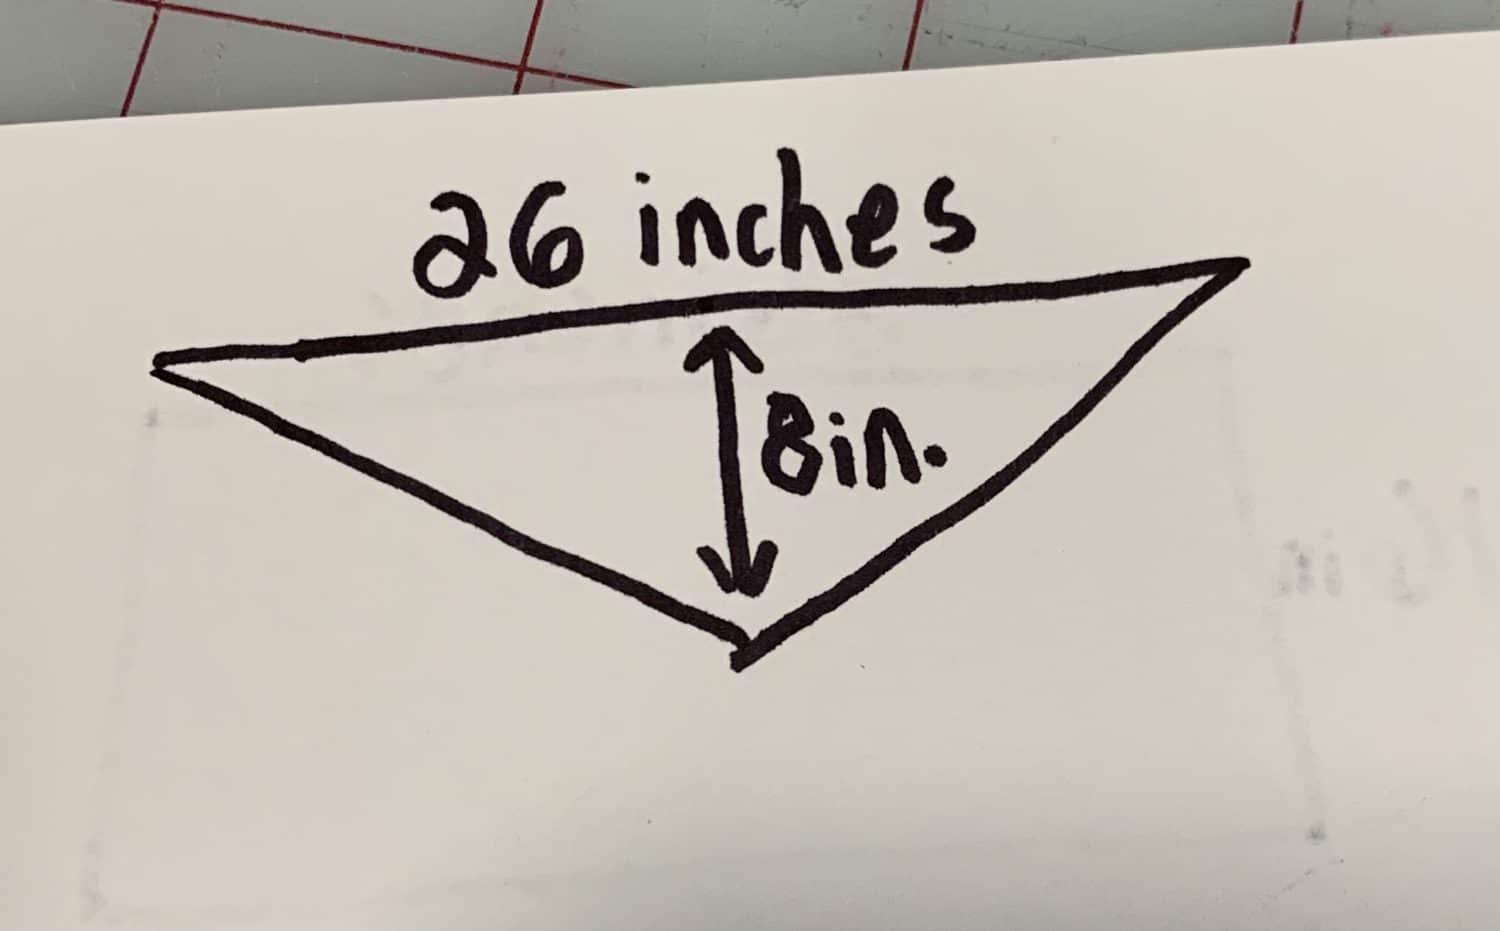
Cutting Fabric
I cut one rectangle of fabric 26 inches wide by 16 inches long. I used that rectangle to cut both of my pieces. It is 16 inches long because I want each piece to be 8 inches.
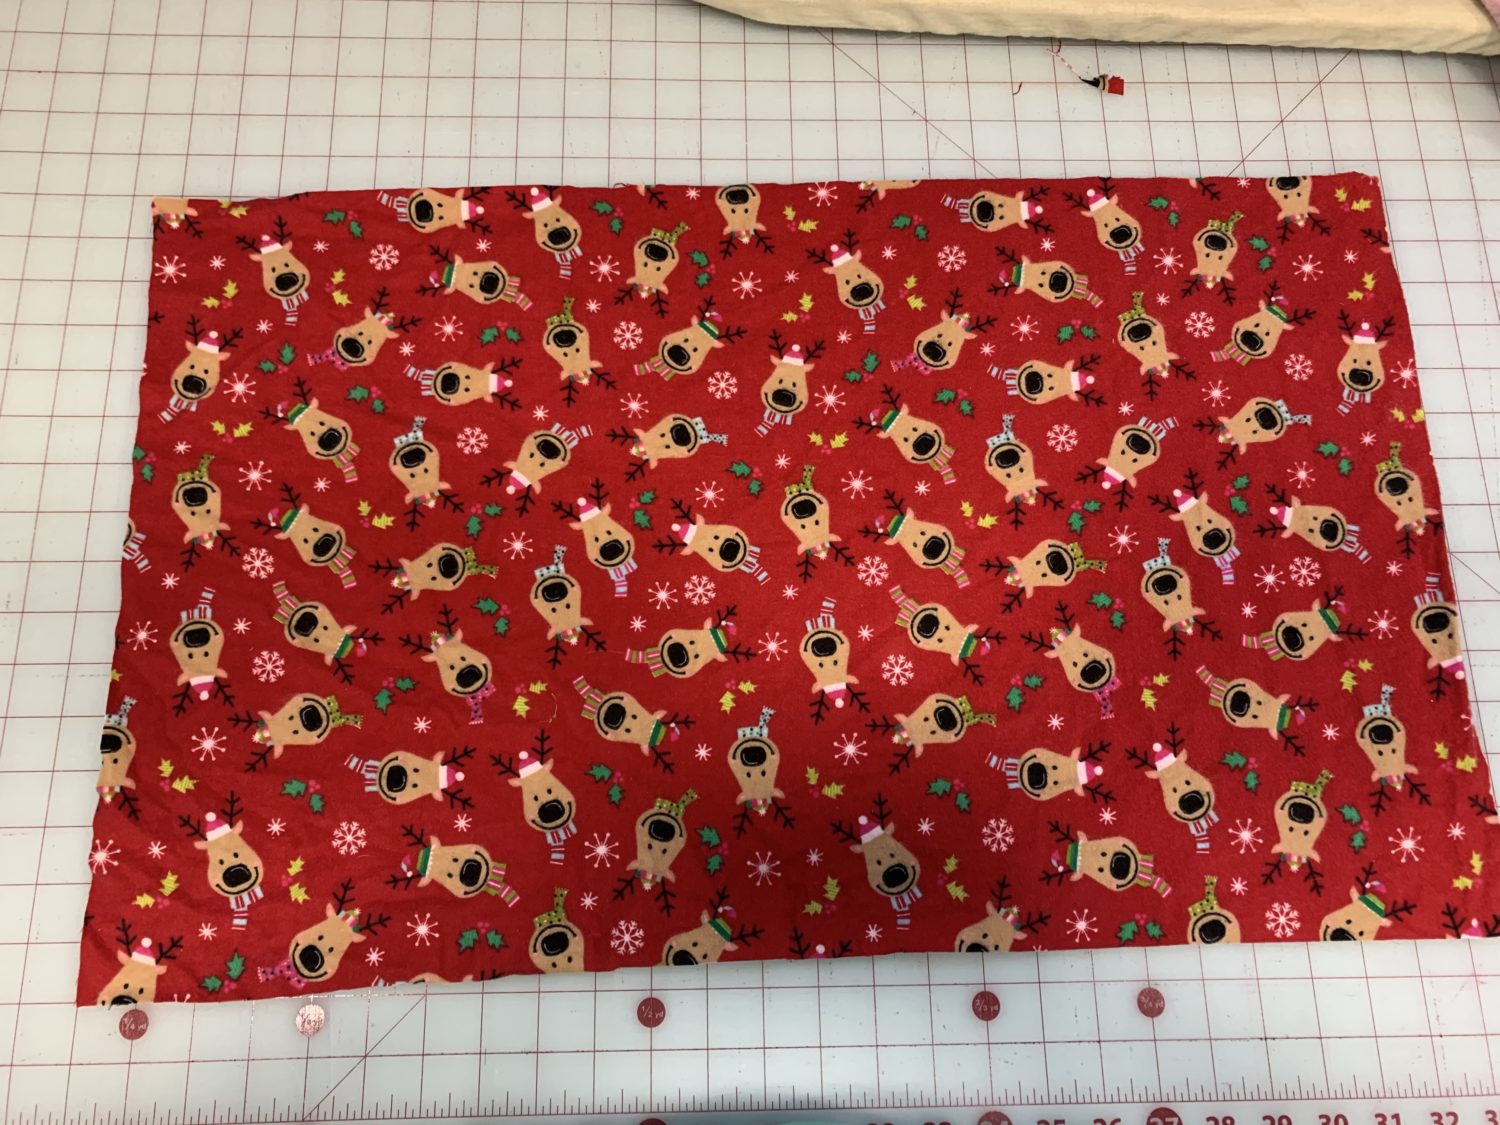
Next, fold the fabric in half so that the short edges are together.
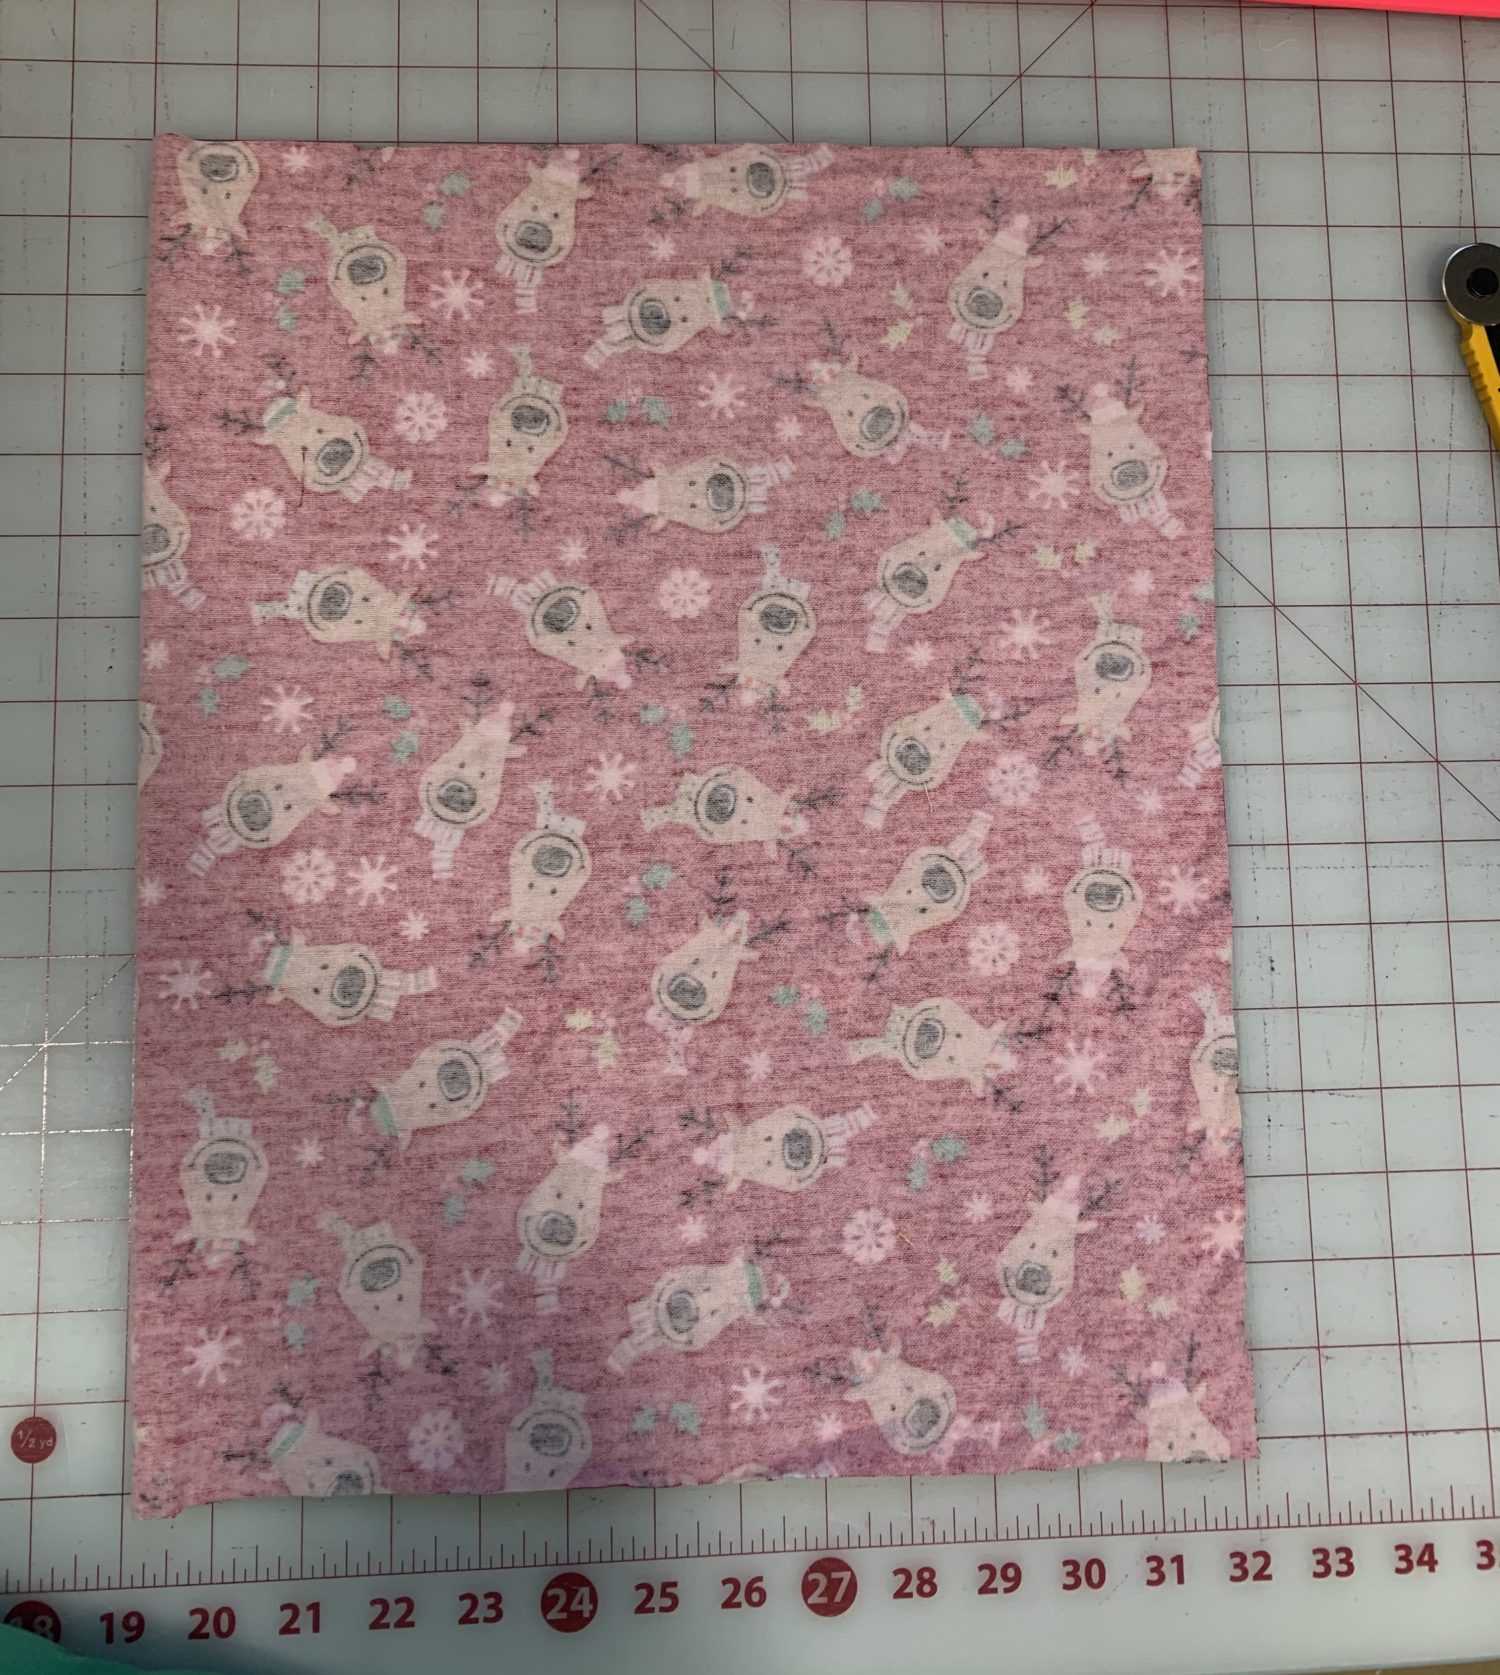
Now, measure down 8 inches from the top on the fold side. This will be the middle. Mark this spot. I used a black marker so that you can see my mark better.
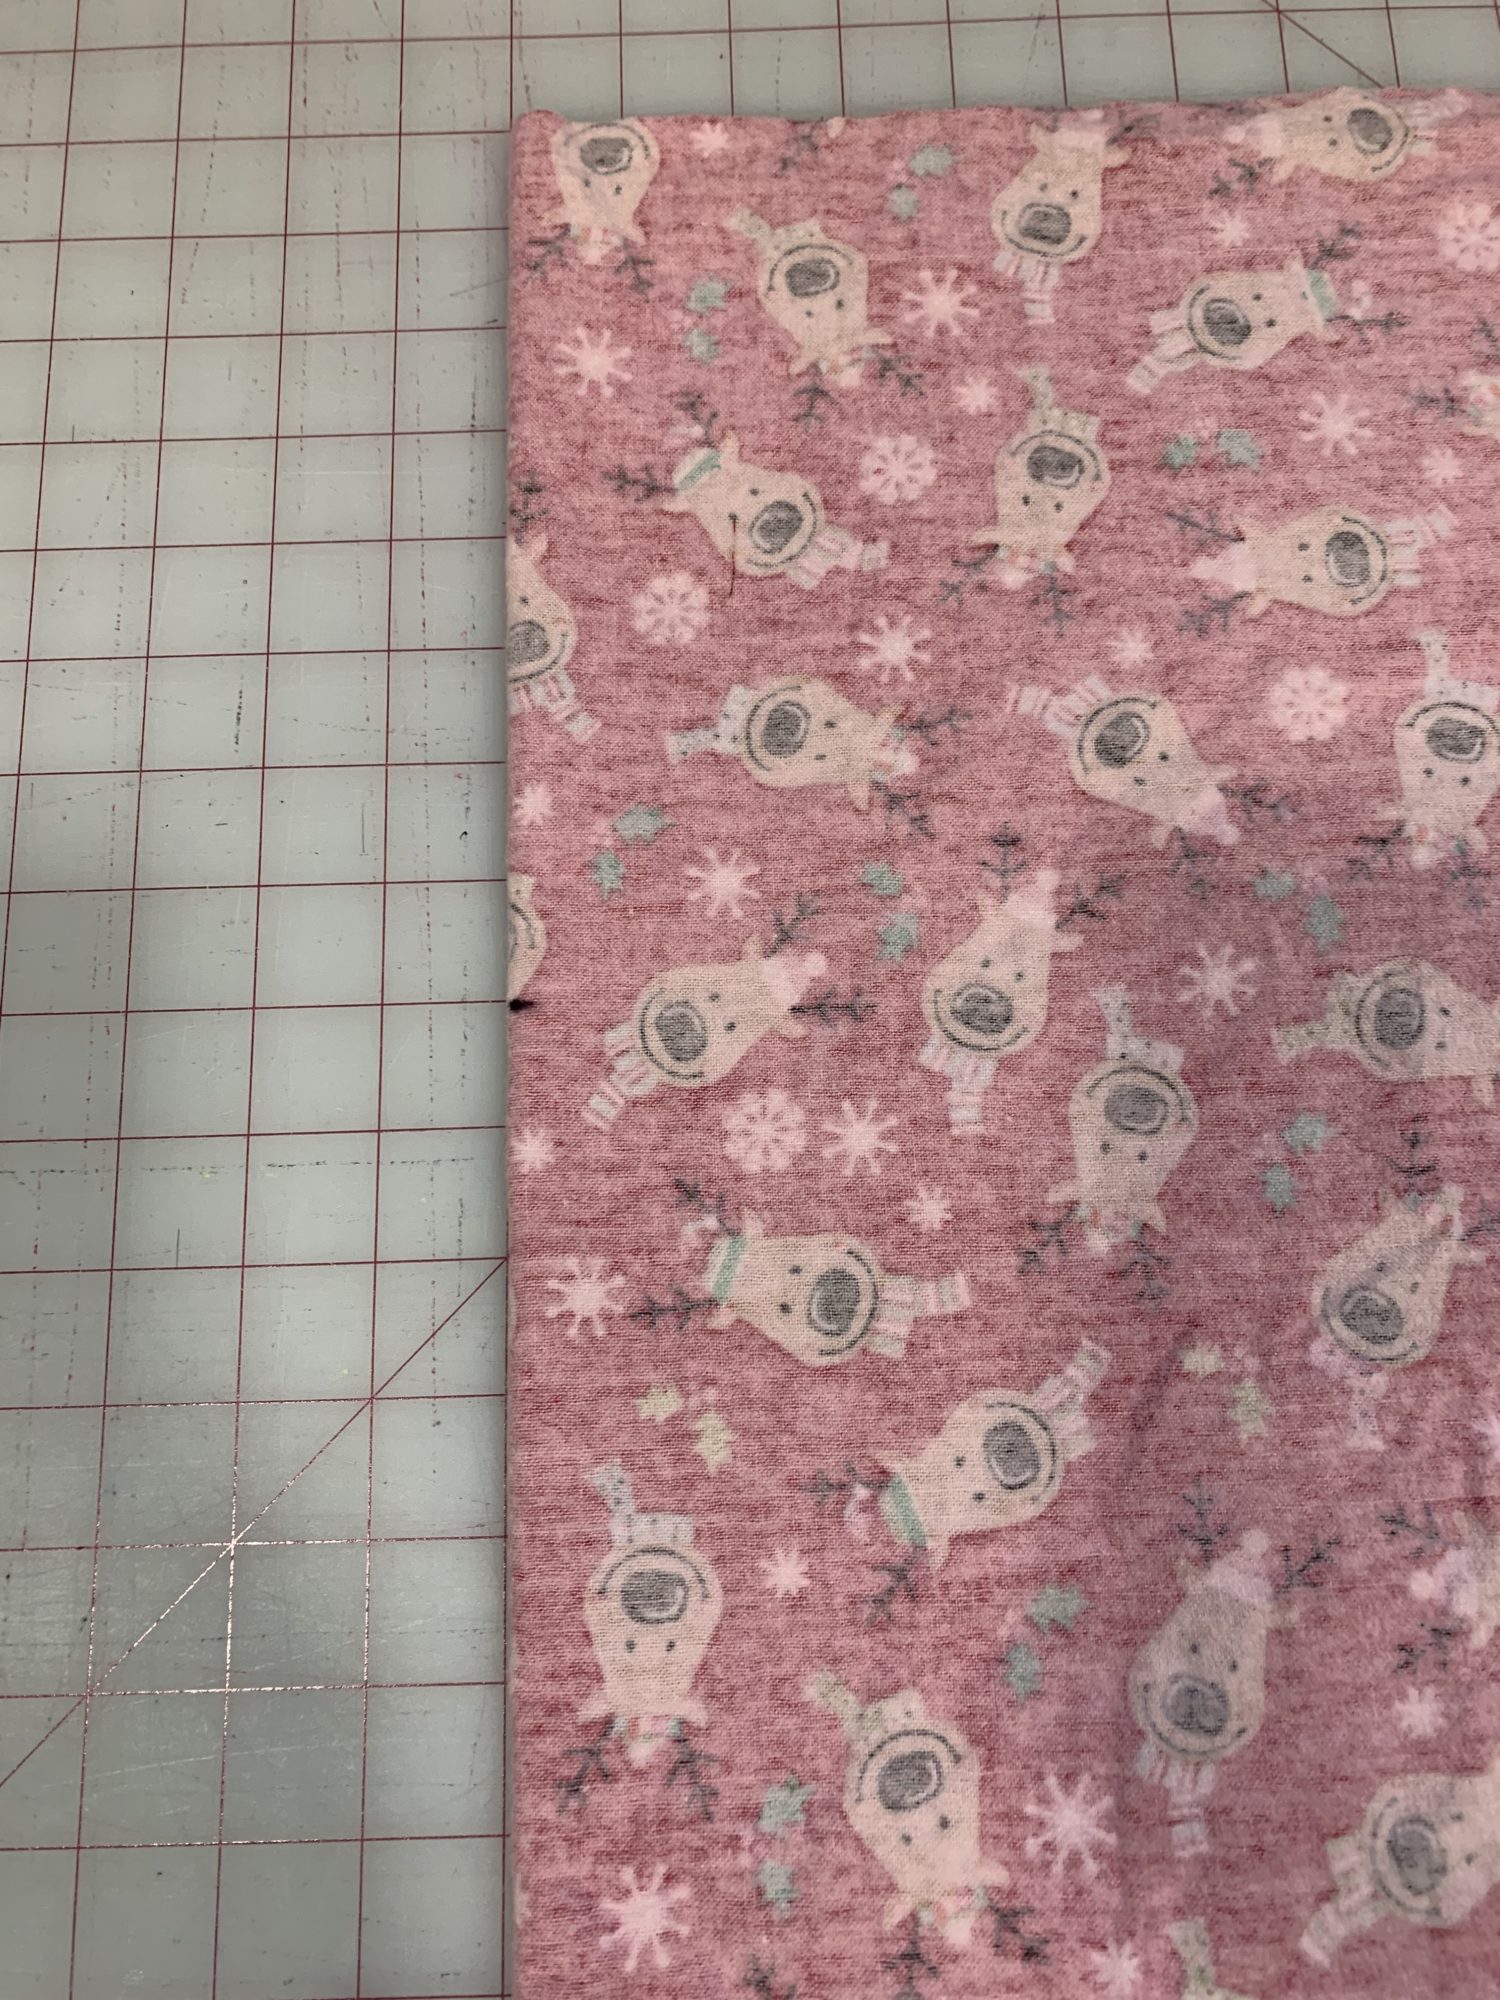
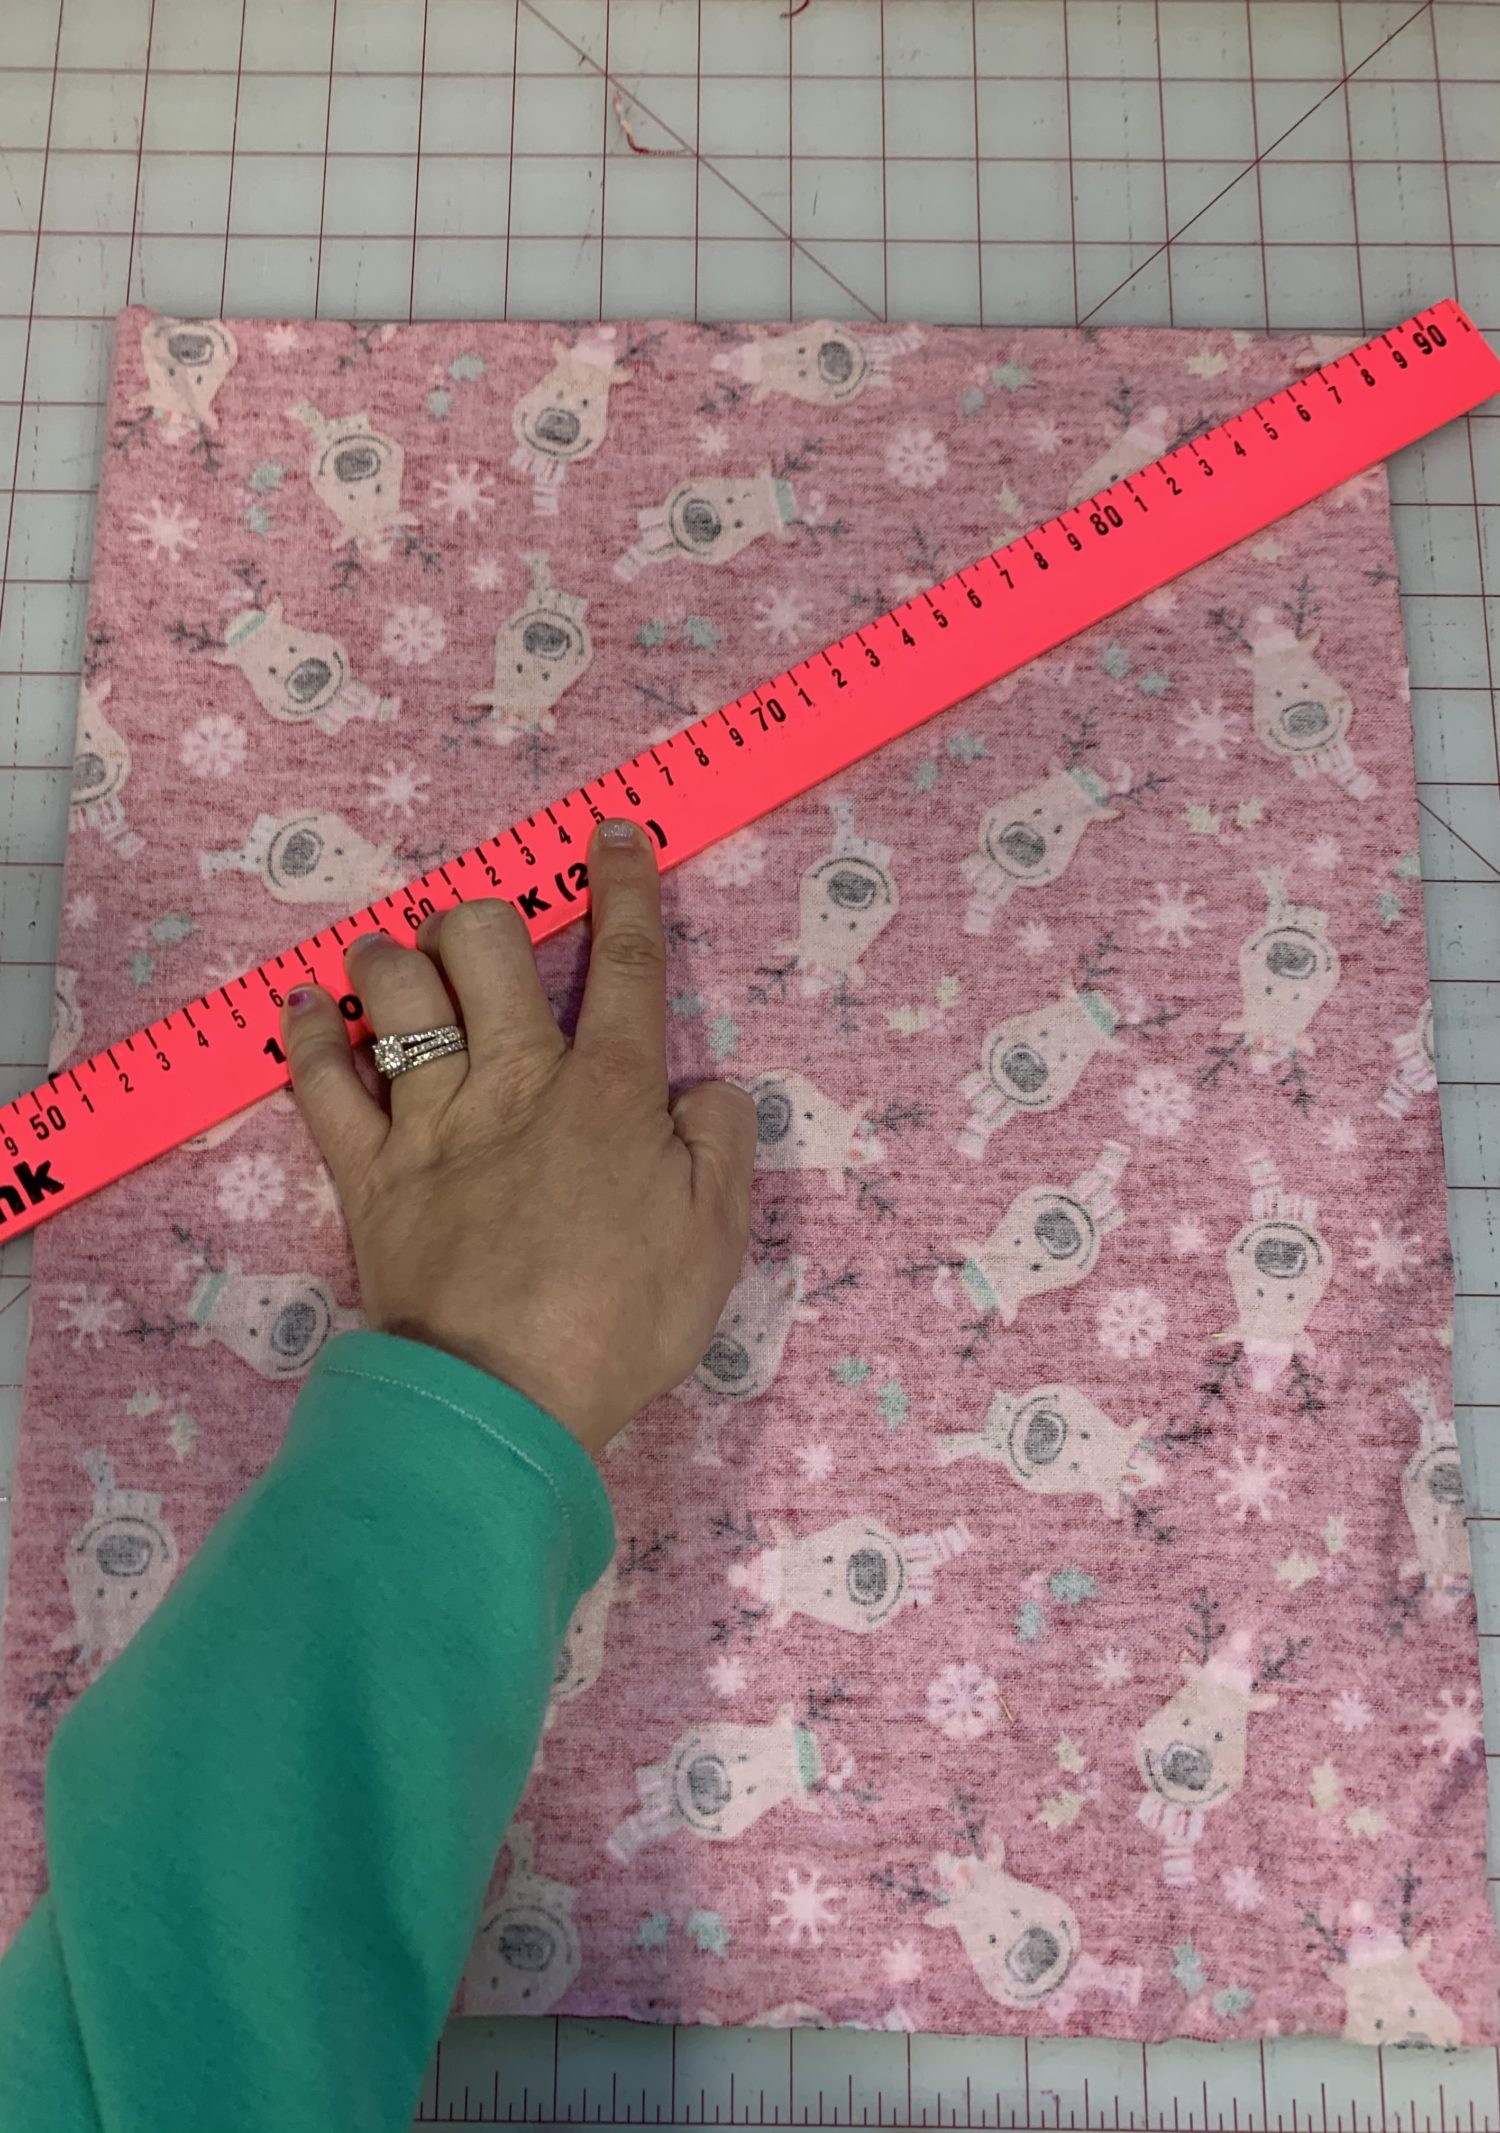
Ok, now we are ready to cut our two pieces out. Use whatever straight edge that you have and make a diagonal line from the middle spot, that you marked, up to the opposite corner on the top. Then, cut along that straight edge. This will be your first piece. Next, make a diagonal line from the middle mark down to the opposite corner on the bottom. That is piece number 2.
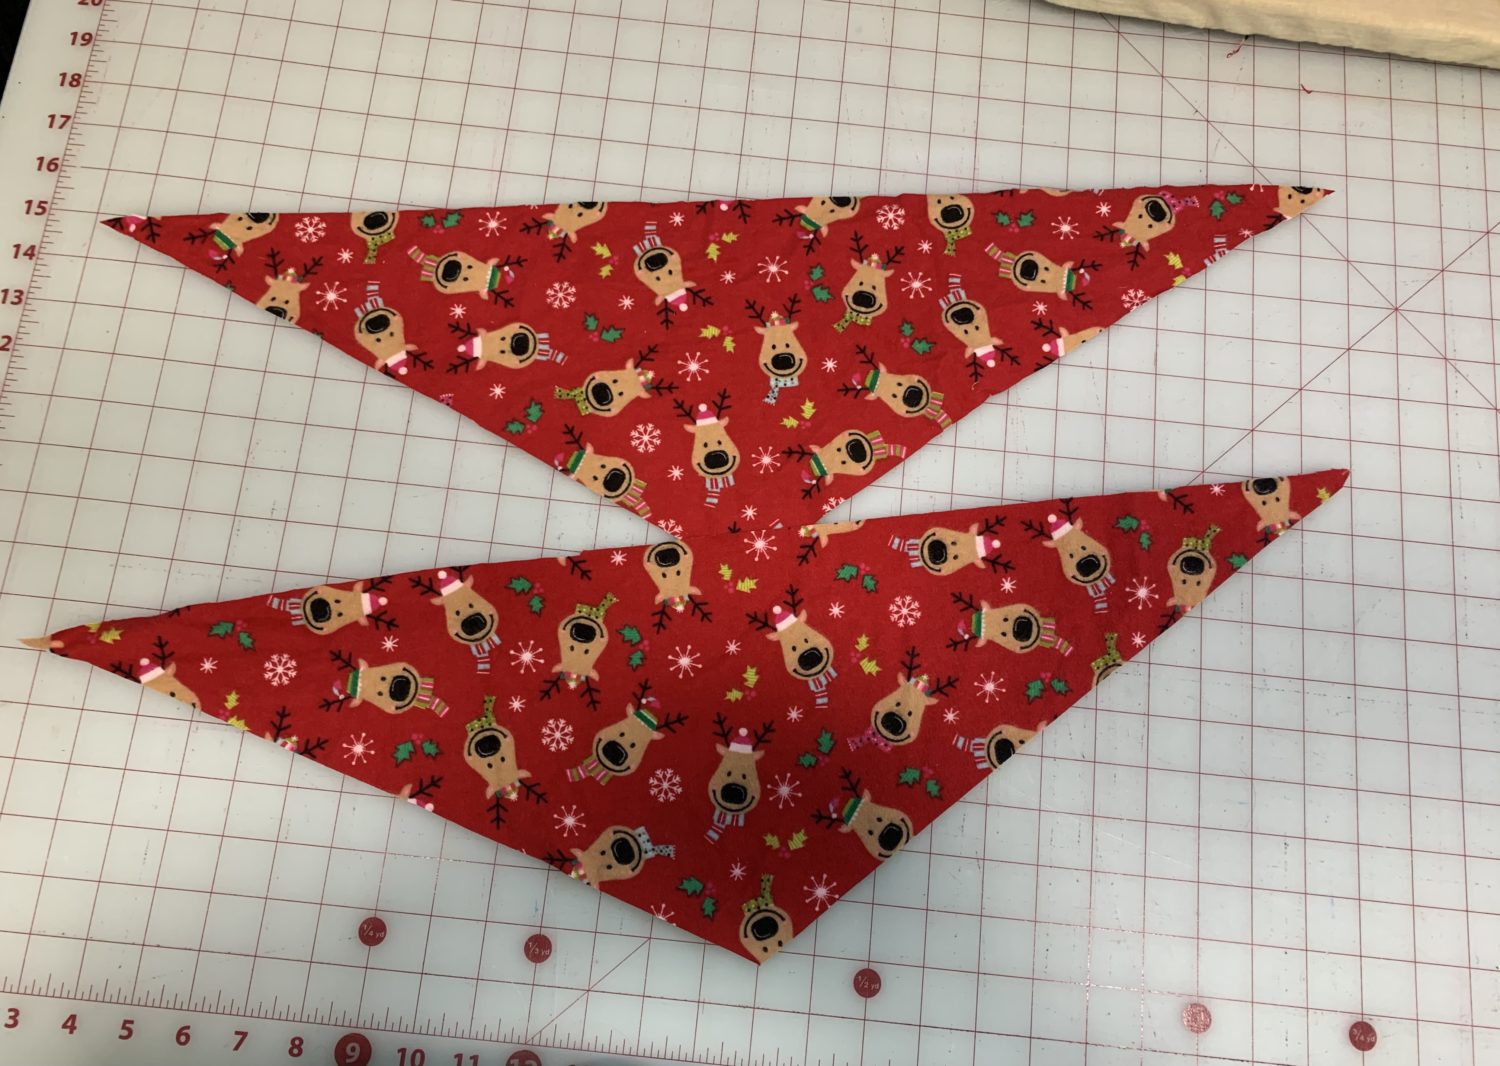
When you unfold the fabric, you should have two triangles that look like handkerchiefs.
Time to sew!
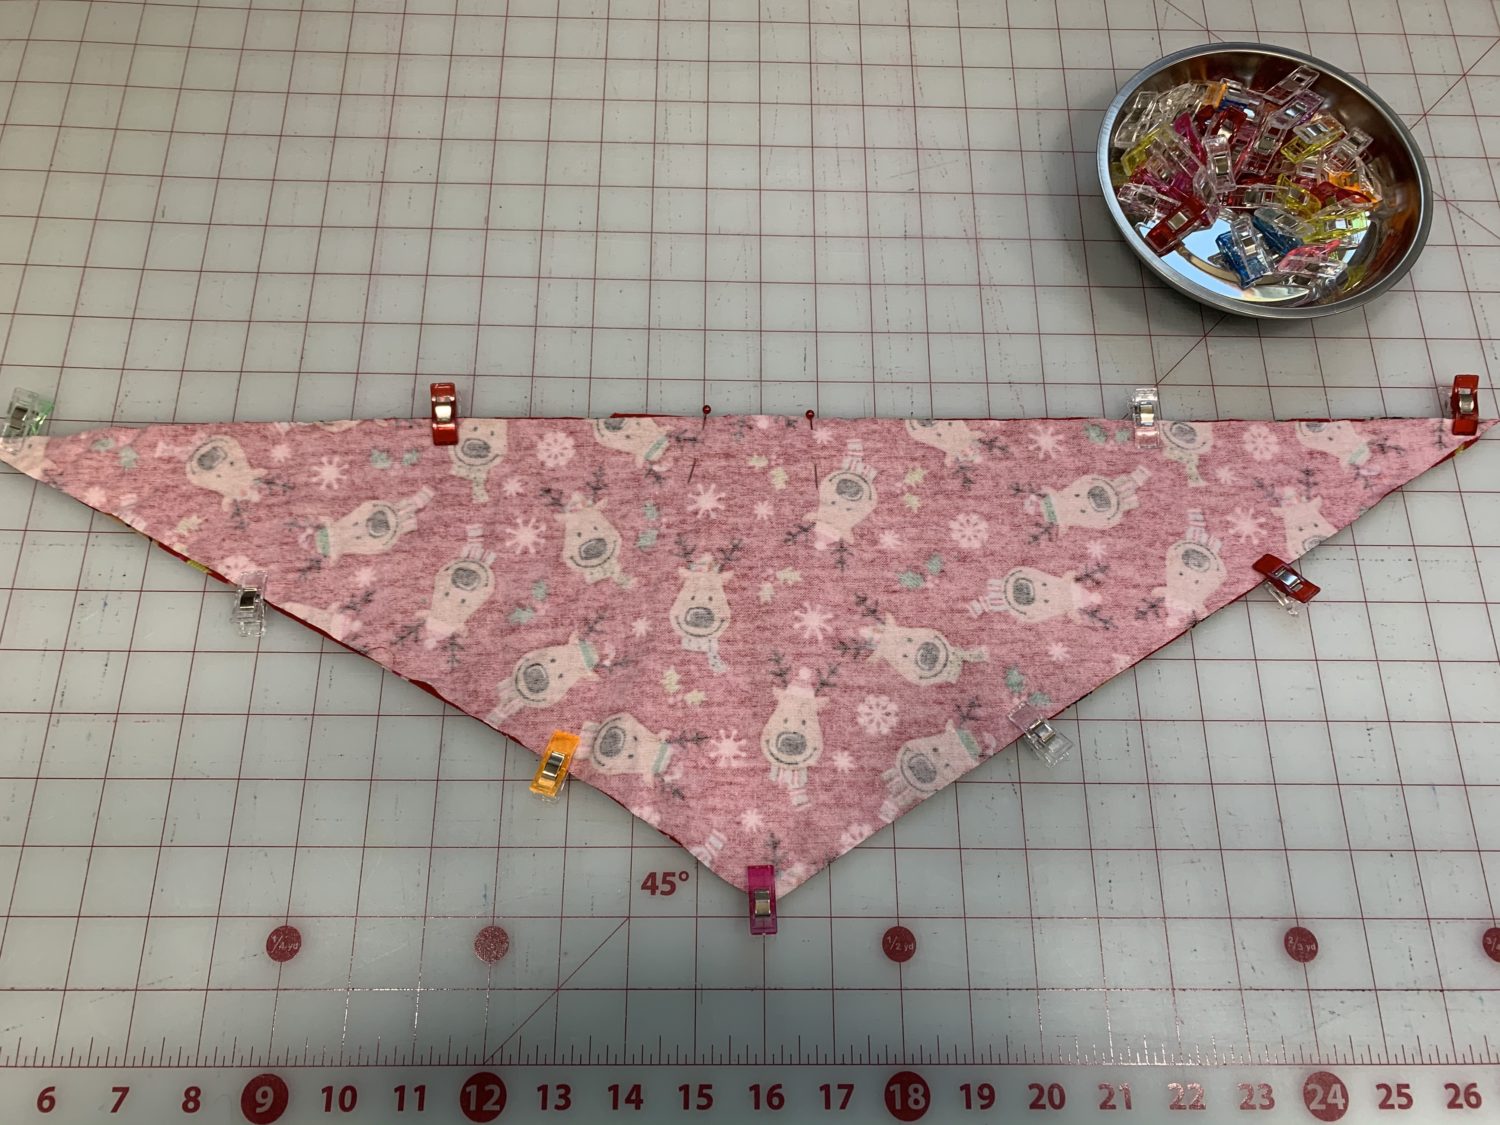
Place the triangle pieces right sides together and sew around the edge. I used about a 1/2 inch seam allowance. Make sure that you leave about a 2 inch gap at the top of your handkerchief so that you can turn it right sides out. I marked that spot with two pins so that I didn’t forget to leave it open.
Trim your seam allowance and cut the tips of your triangles off so that everything lays nice and flat.
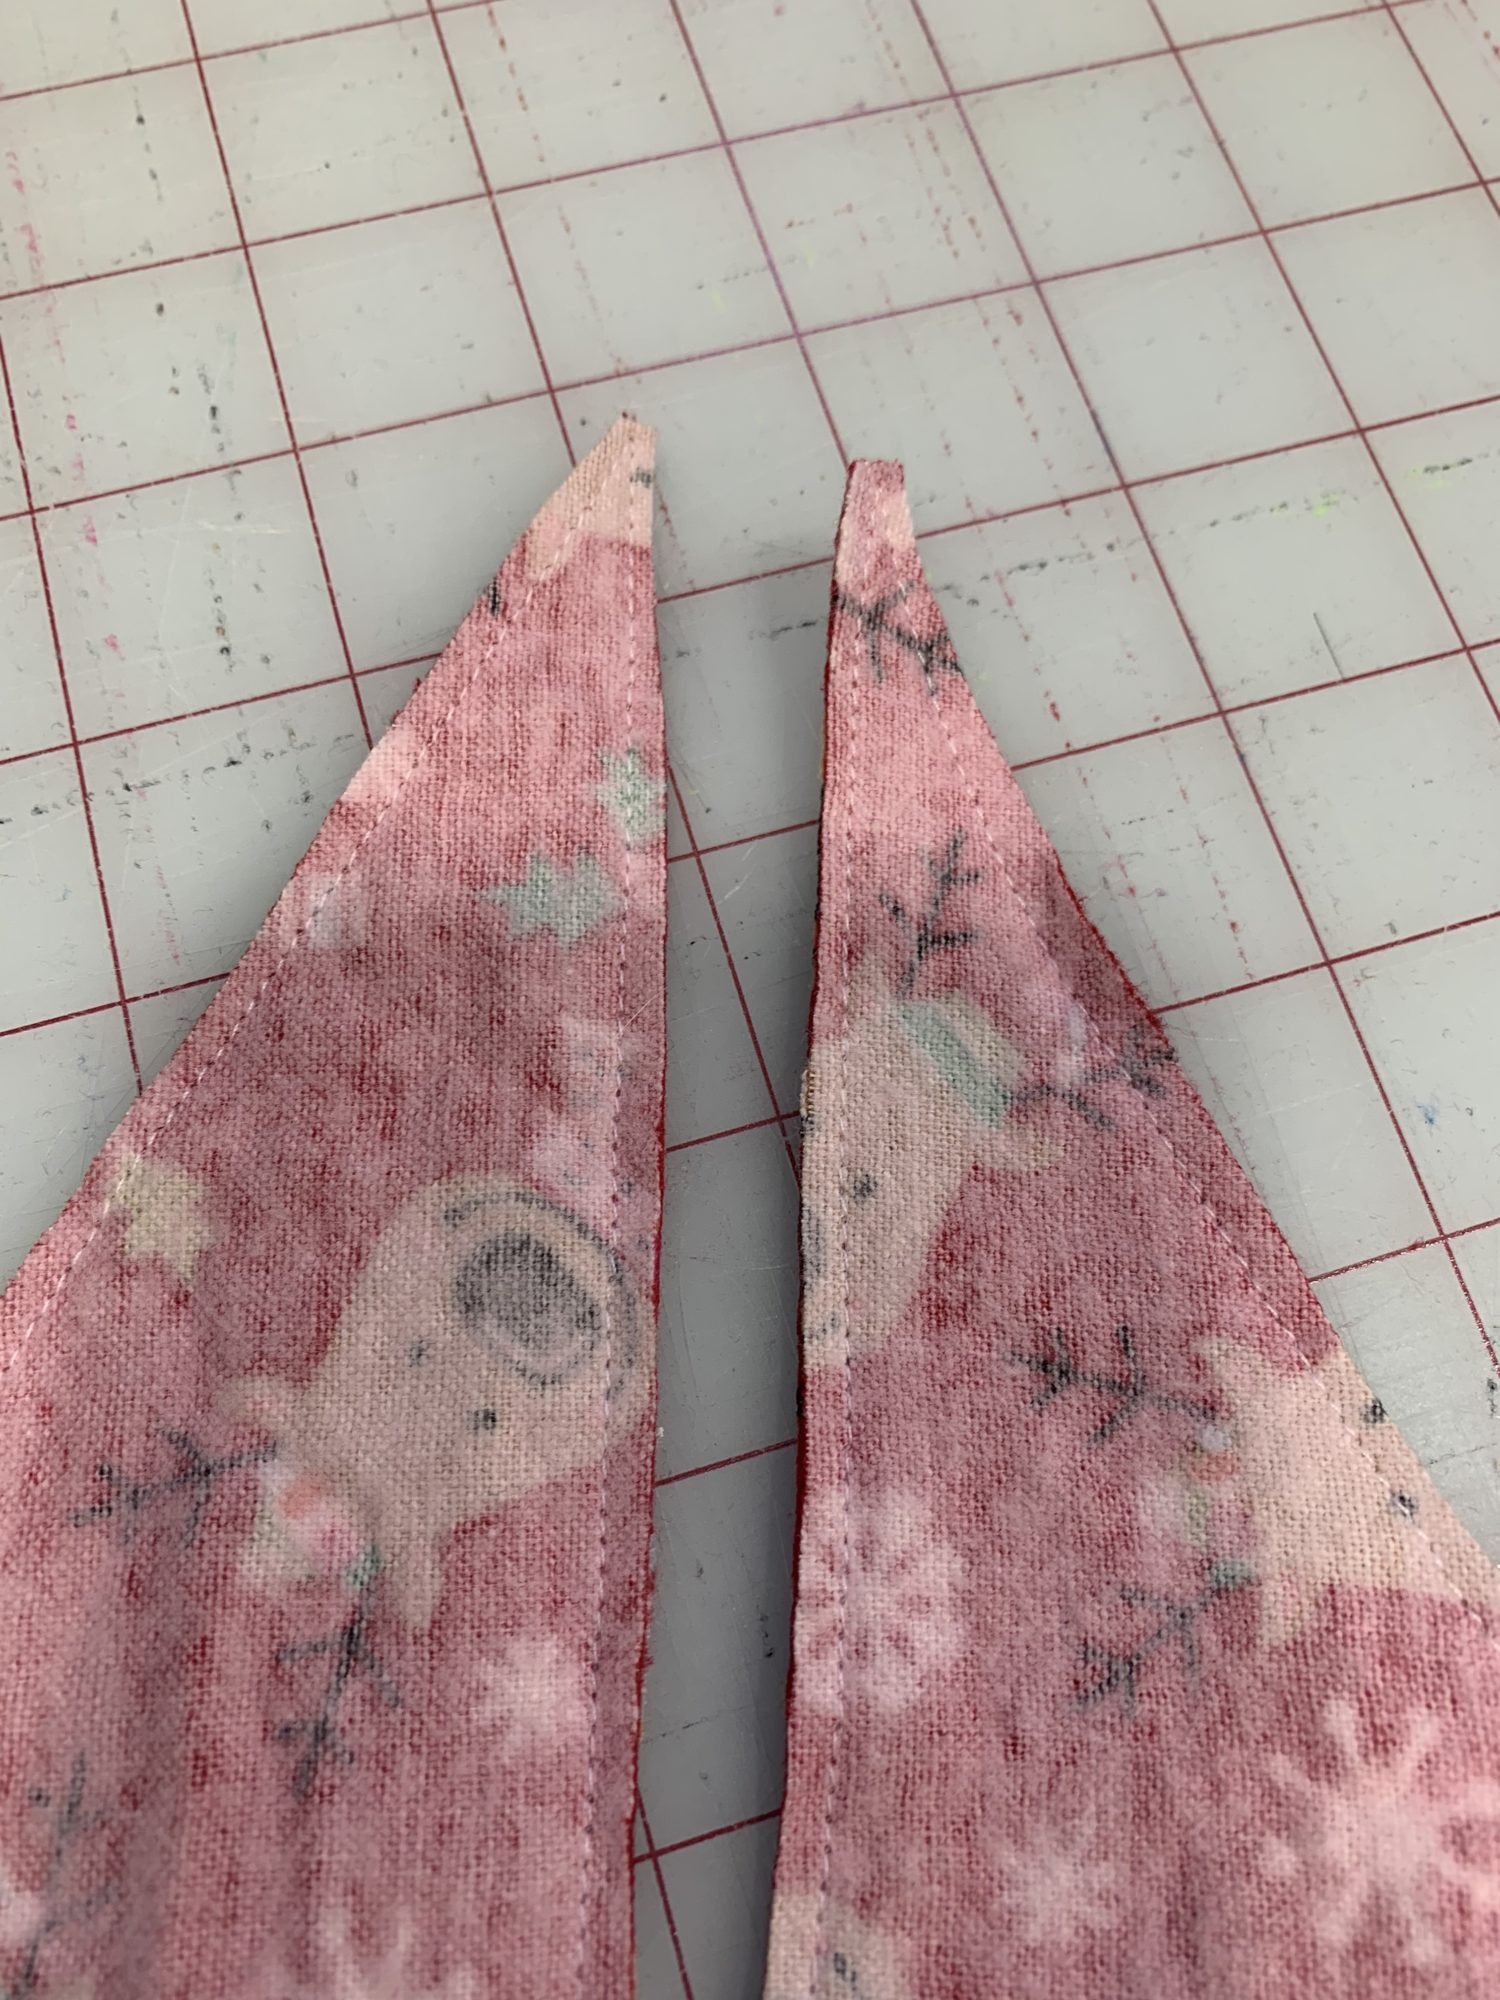
Almost done!
Turn your handkerchief right sides out and give it a good press. Top stitch all along the outside, this will close that gap that we left open for turning. This is a great opportunity to use one of those fancy stitches that you may have on your machine!
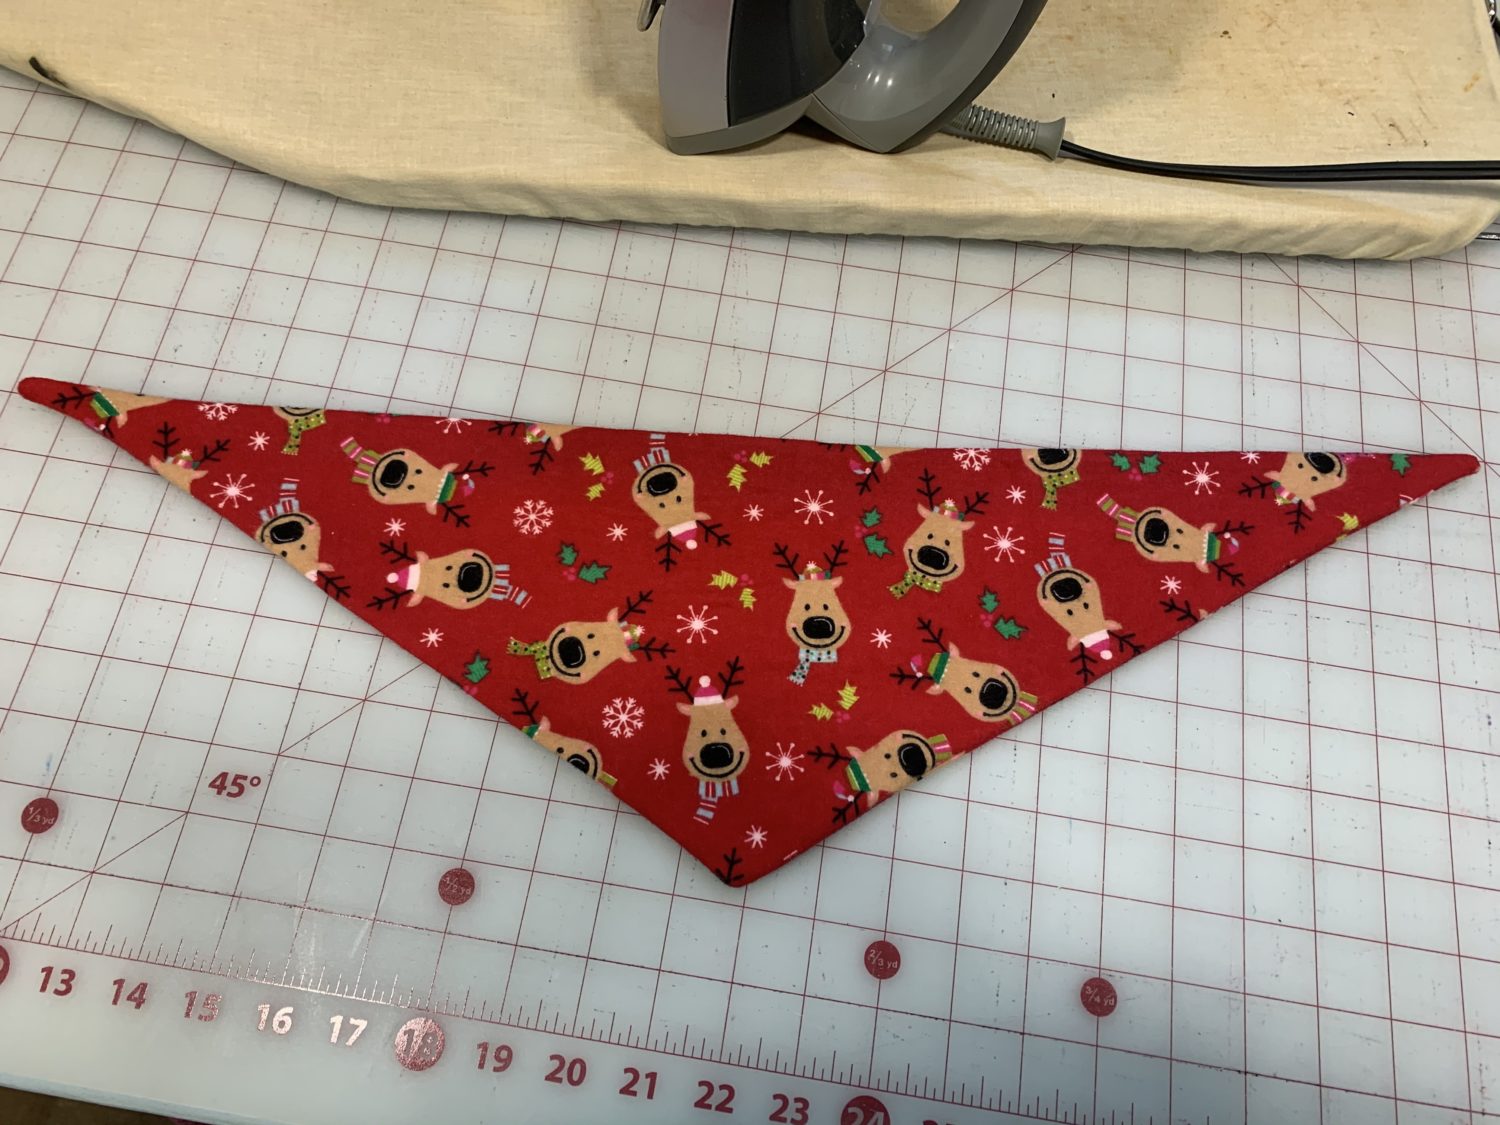
There you go! A finished handkerchief perfect for your four legged friends 🙂
Looking for more DIY tutorials? Check out the BLOG!
As always, we’re here to help if you need it! Join us HERE and on Facebook, Instagram, Twitter, Youtube, and Pinterest. We’re everywhere you are.

Adorable!!!
this is adorable!!! thank you for sharing!!!
this is adorable!!! thank you for sharing!!!
Really cute! And nice post too.
super cute project and doggie! the poodles will love this.