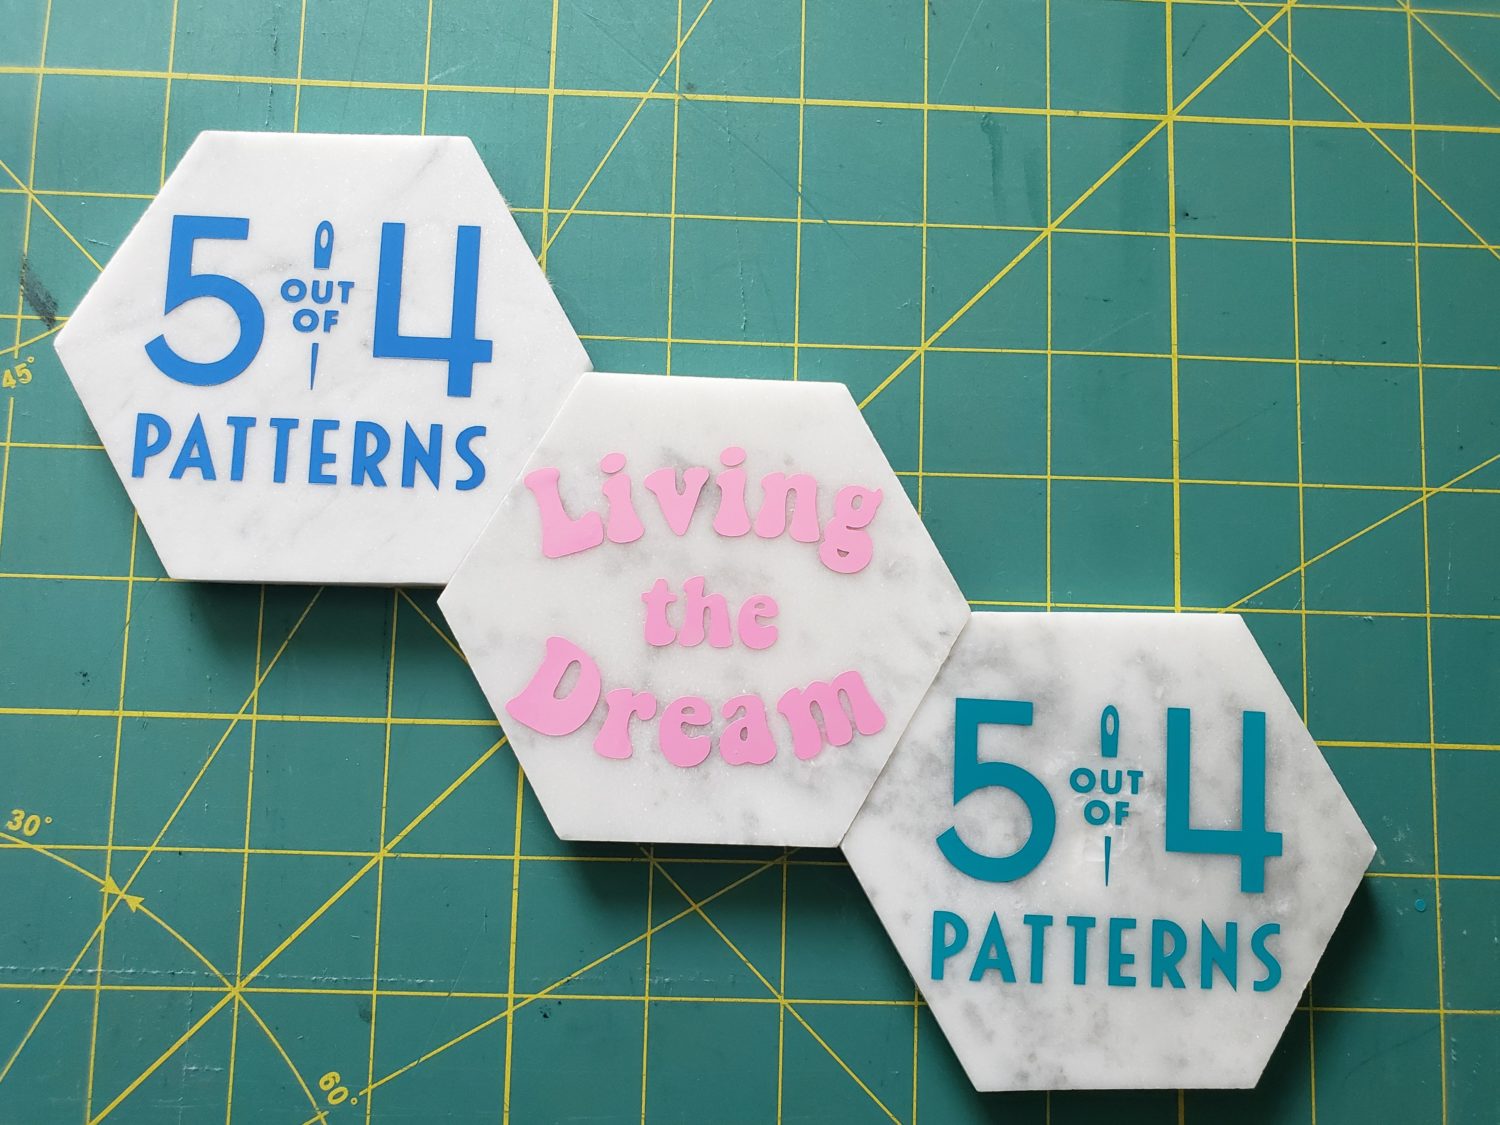
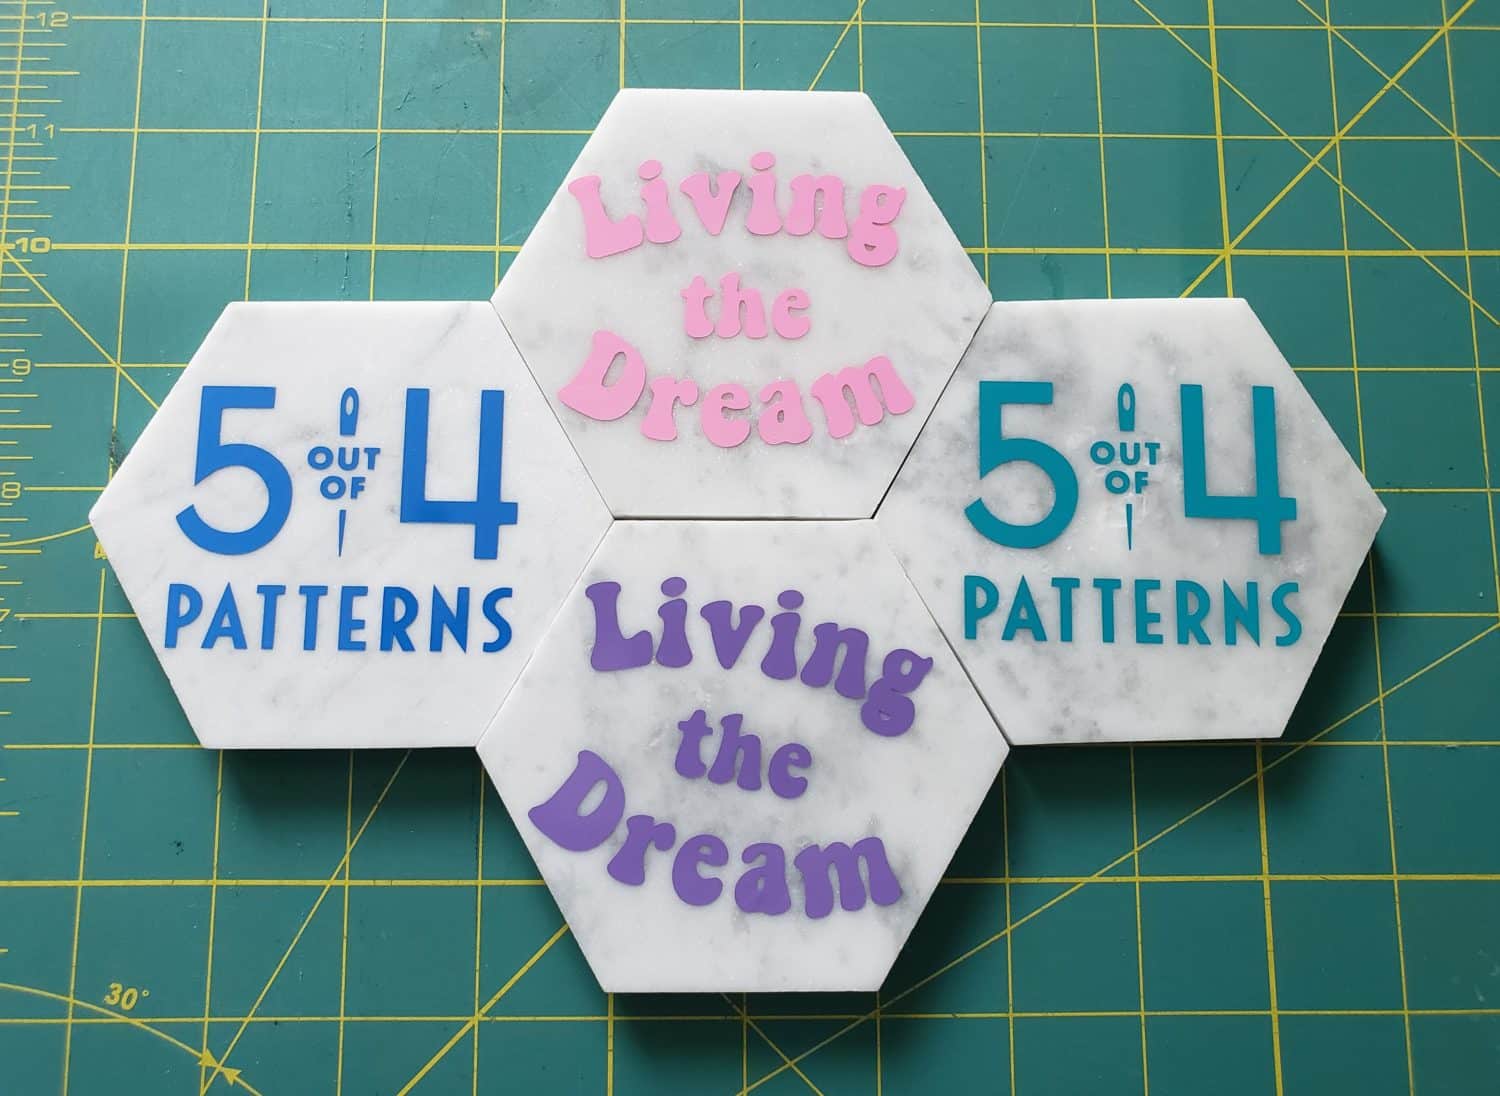
The Living the Dream contest is over but I wanted a reminder to keep on dreaming. So I decided to put the phrase on a few pattern weights along with the new 5 out of 4 logo. Want to make your own set? Well follow along with this pattern weight tutorial and I’ll show you how.
Supplies
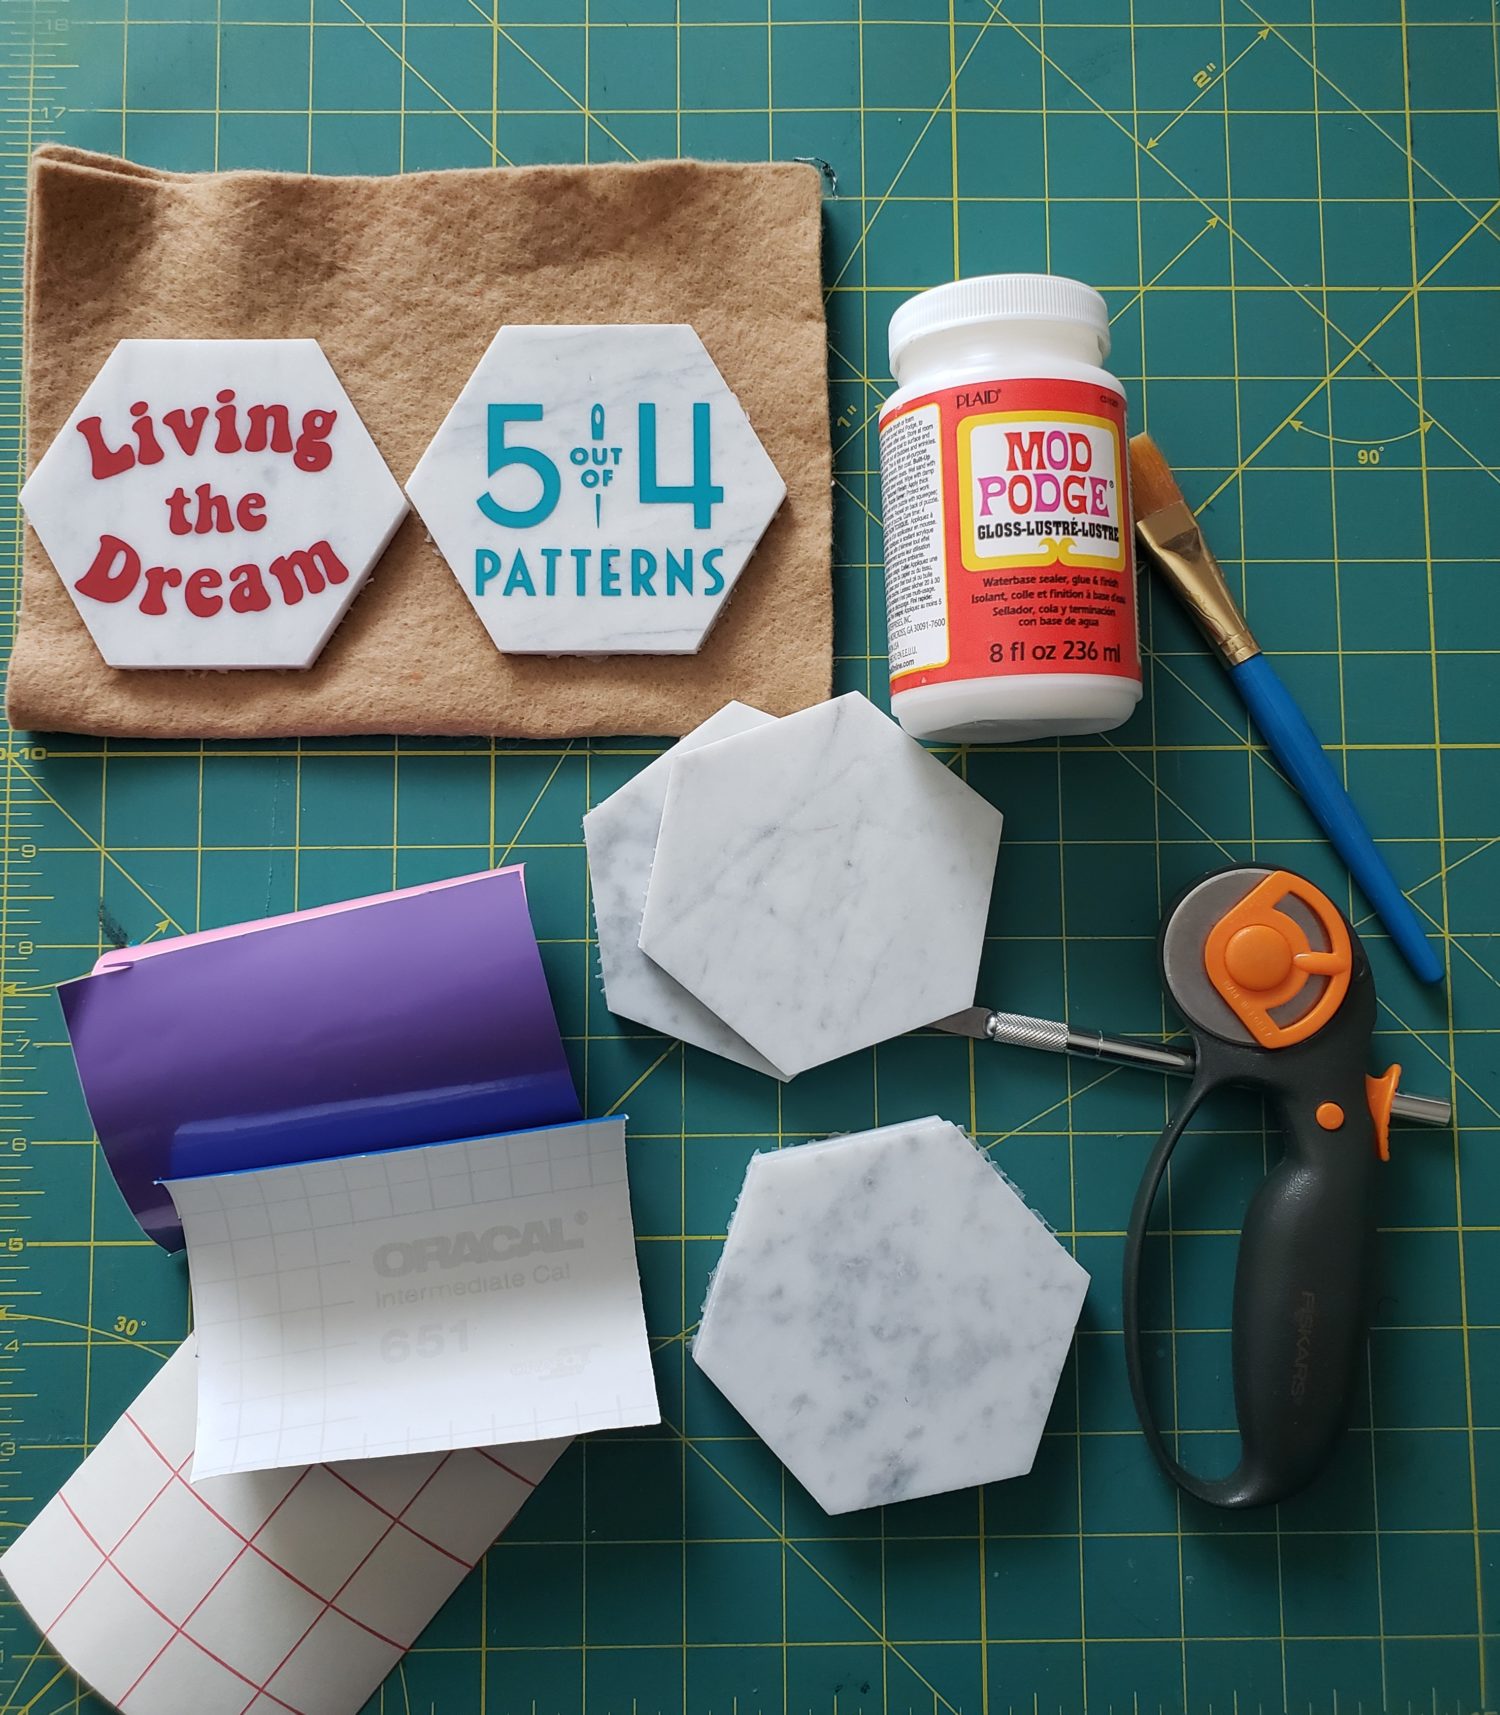
For this pattern weight tutorial I used 3″ ceramic tiles. Your local home improvement store is a great place to pick up tile samples that work perfectly for this project.
Felt backing for the tiles.
Modpodge to adhere felt to the tiles. A hot glue gun could also work but keep in mind you’ll want to spread the glue thin so you don’t get bumps on your felt backing.
A small paintbrush to spread the modpodge.
Permanent vinyl which is sometimes referred to as 651. (Semi-permanent or 631 vinyl would also work).
An exacto knife. You just need a sharp cutting tool so a rotary cutter or scissors are also options.
Vinyl cutting machine. I use a Silhouette Cameo but other brands like Cricut or Brother ScanNCut also work.
Vinyl transfer paper. Some people use clear contact paper but I’ve not tried it before and don’t know how well it works.
Living the Dream cut file. You can download it HERE.
Let’s get crafting
I typically cut my graphic first. The cut size will depend on the size tiles you use. Although these are 3″ tiles, they have a hexagon shape and therefore needed to be cut smaller. I ended up cutting these at 2.5″x 2.75″.
While your machine is cutting the file, you can be adding felt to the back of the tiles.
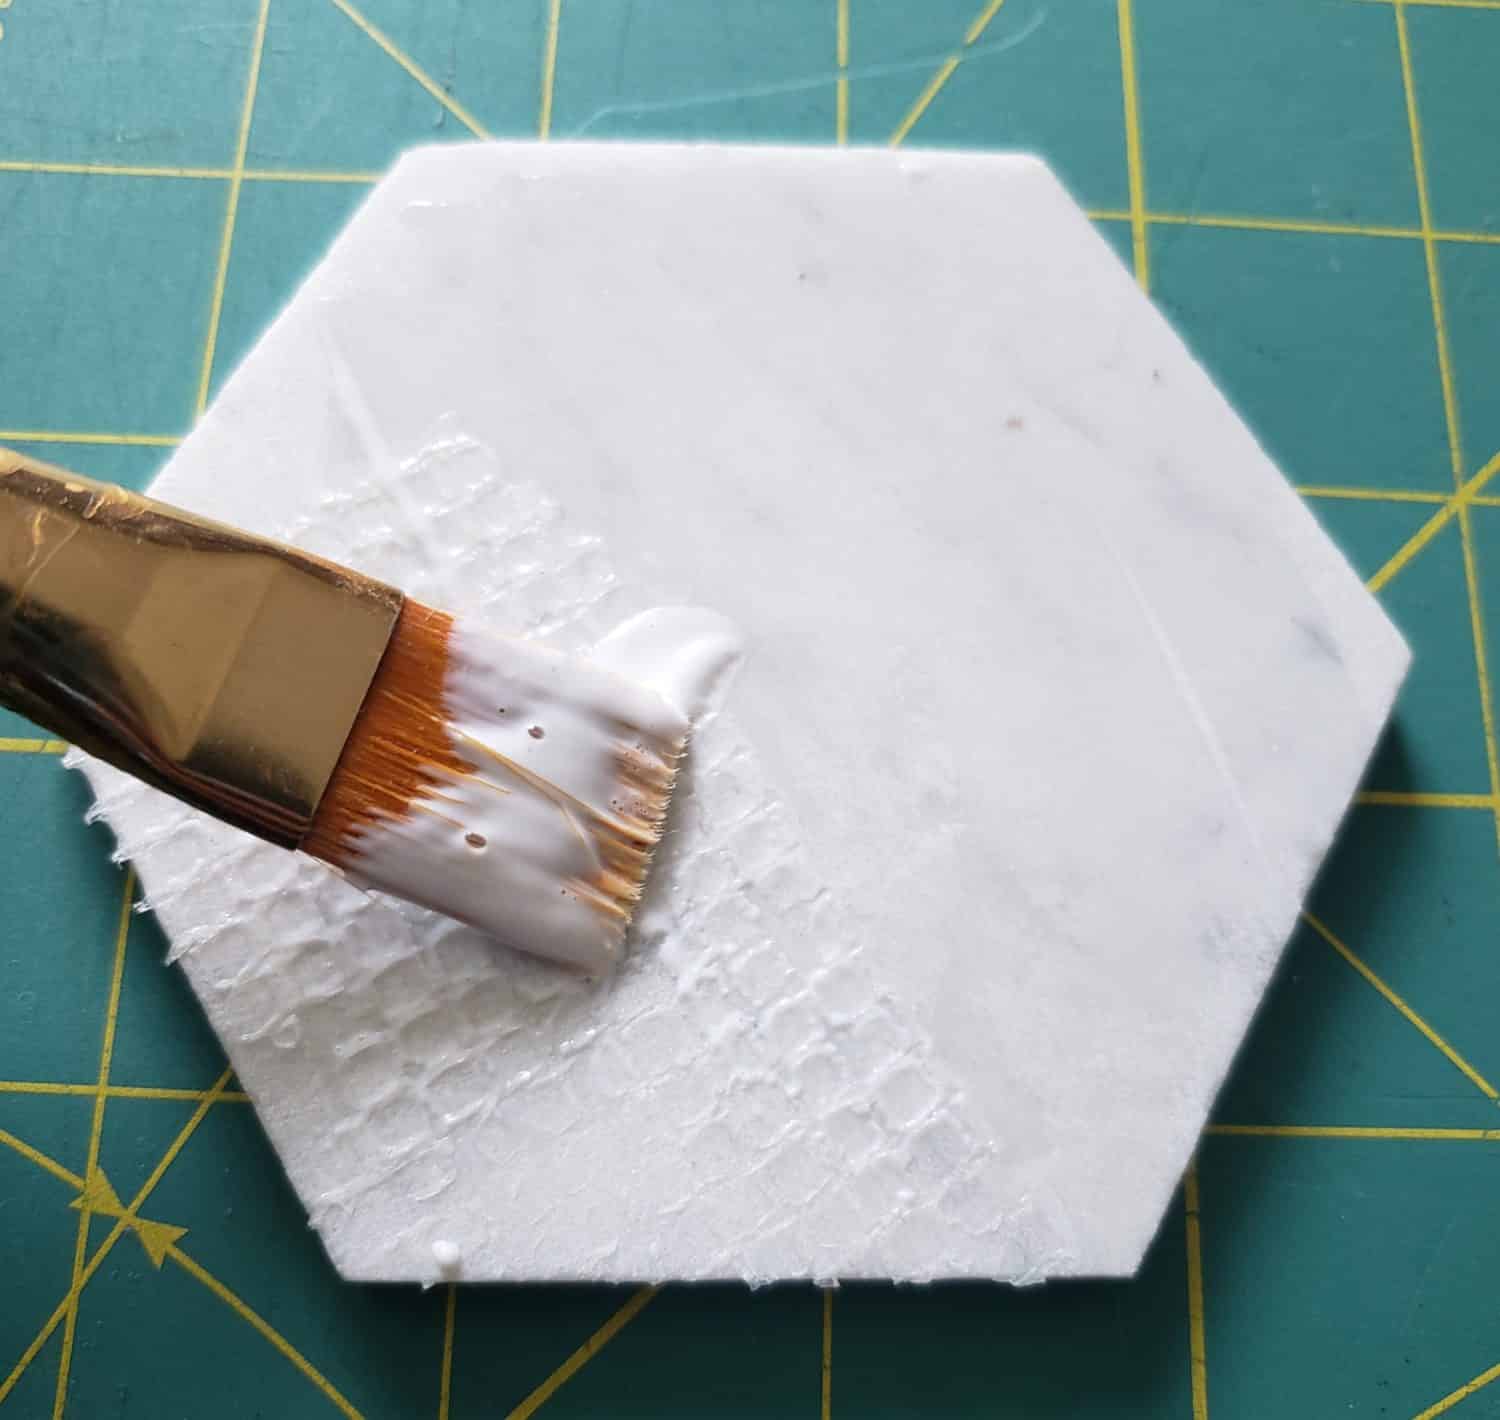
First start by spreading a thin layer of modpodge over the back side of the tile.
Next, press the glue side to a piece of felt. You can sit a bottle of water or rock on top to apply pressure why you apply glue to your remaining tiles.
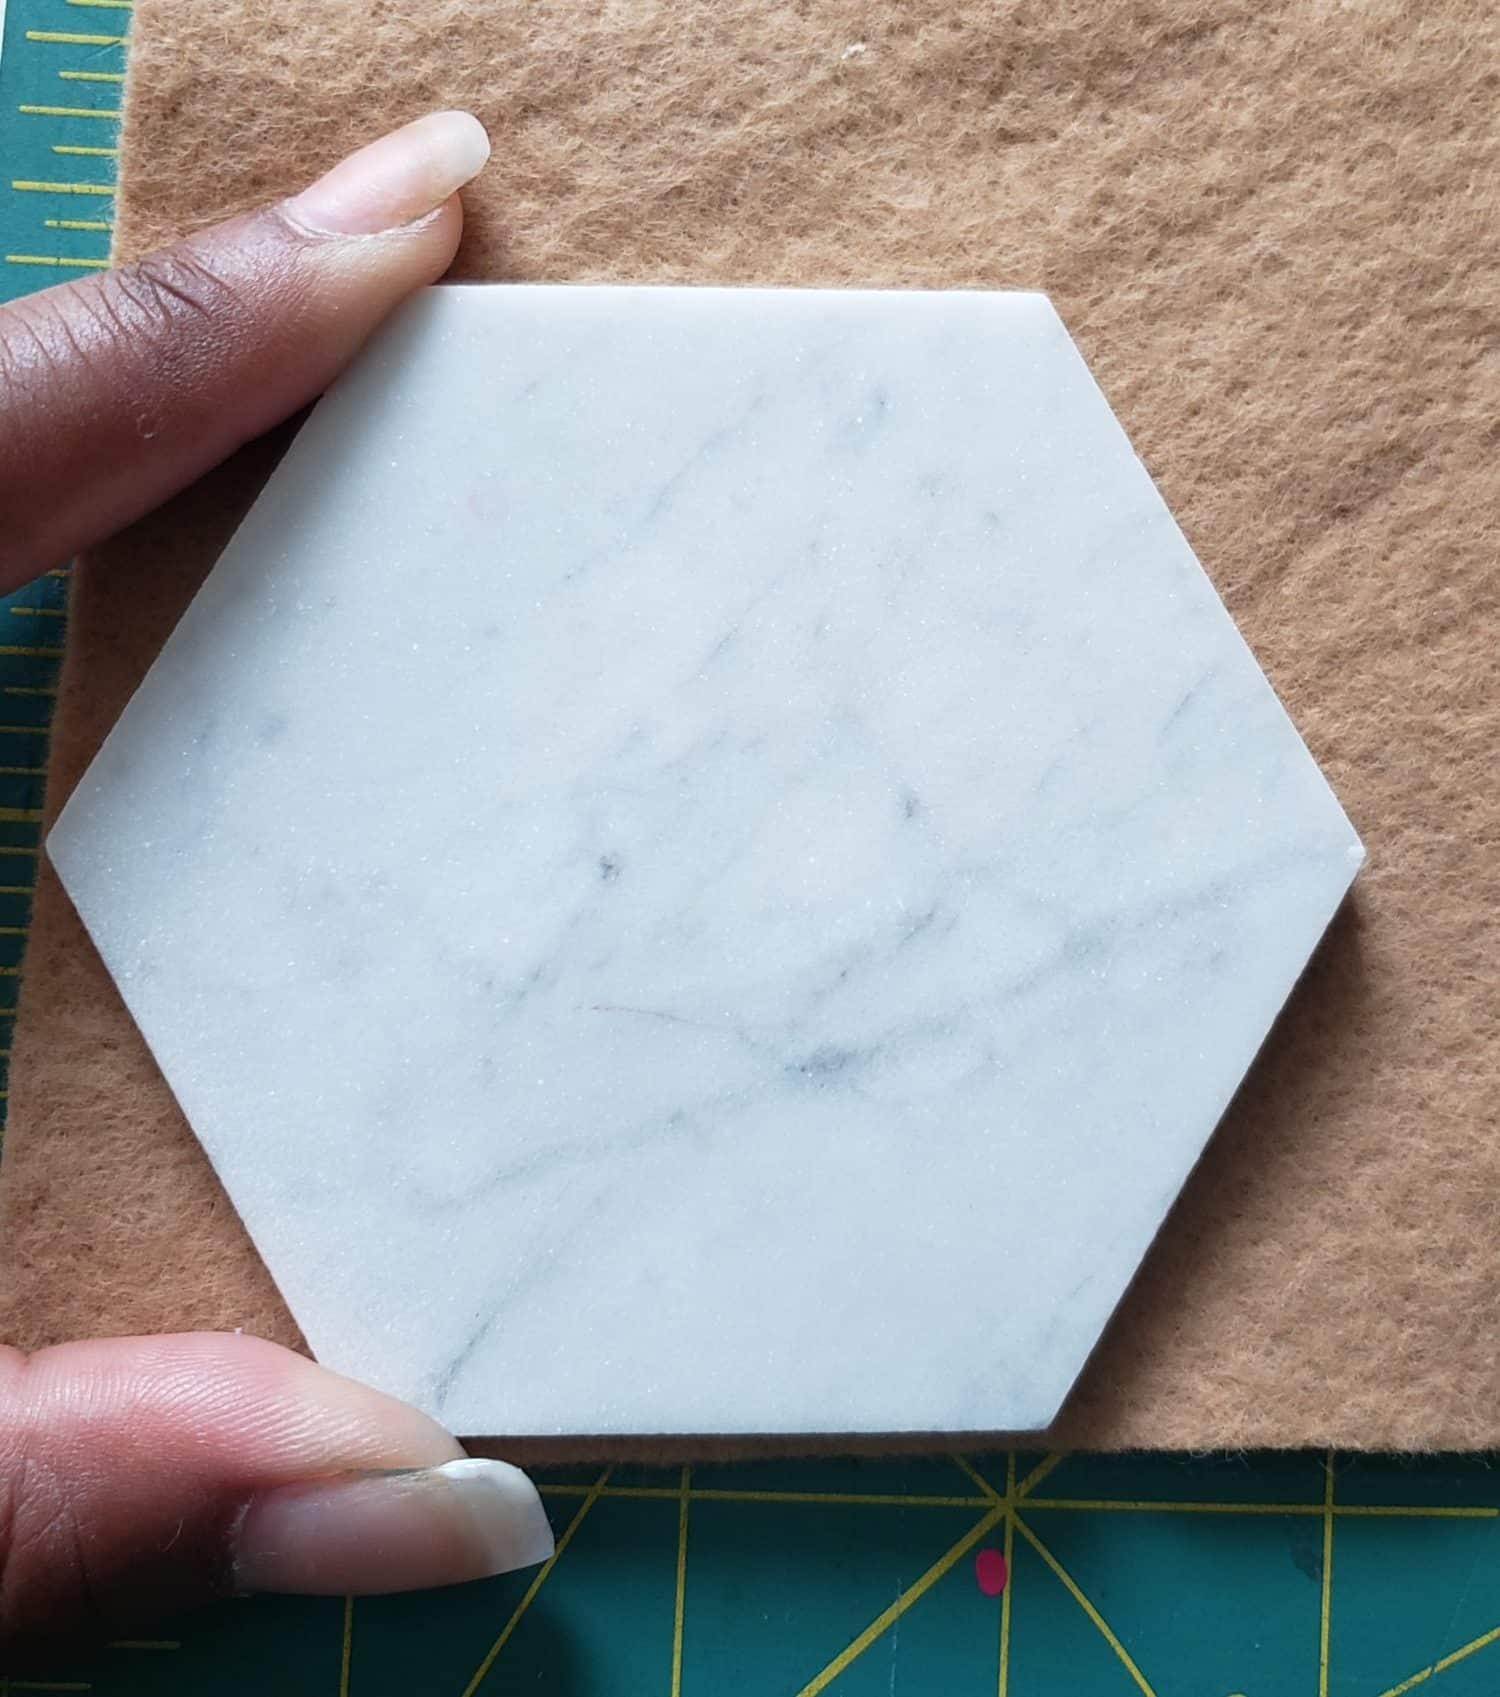
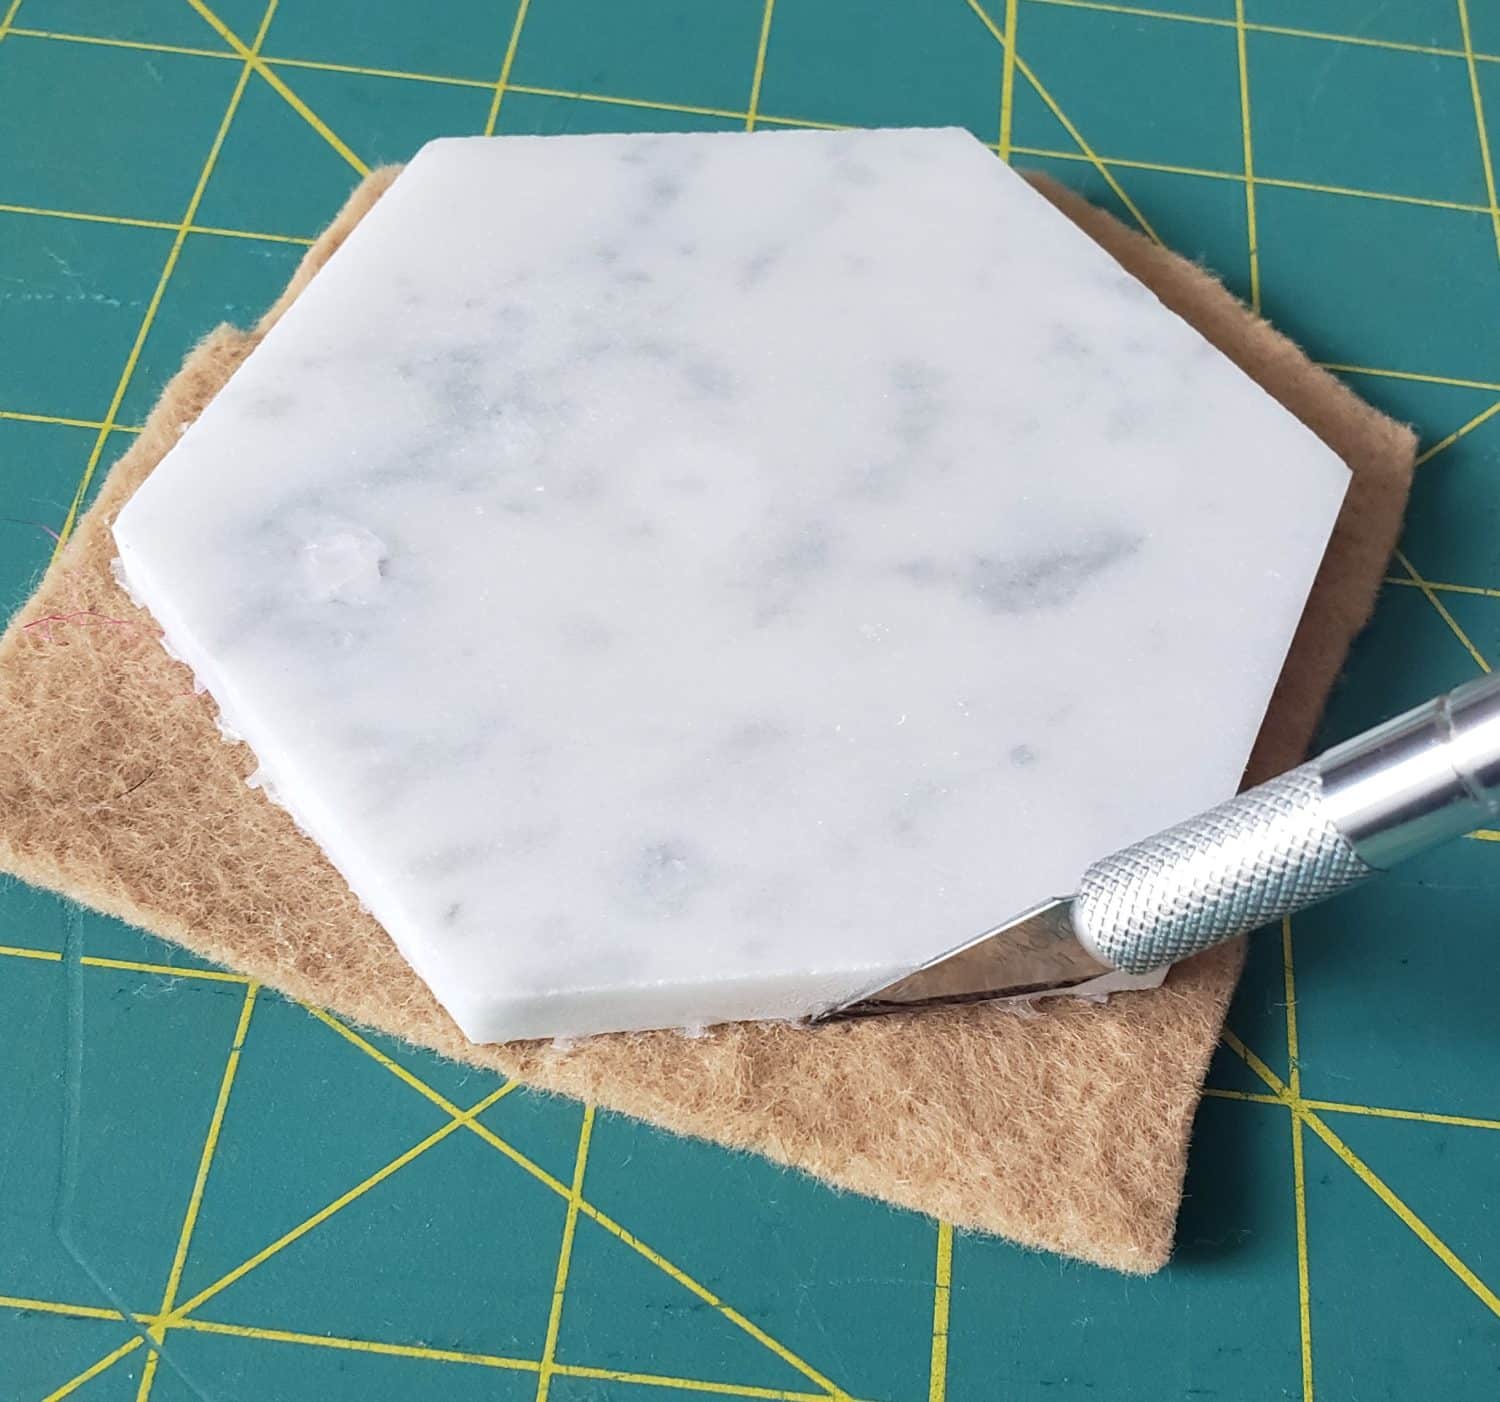
Finally, once dry, use an exacto knife, scissors, or other cutting tool to trim away excess felt.
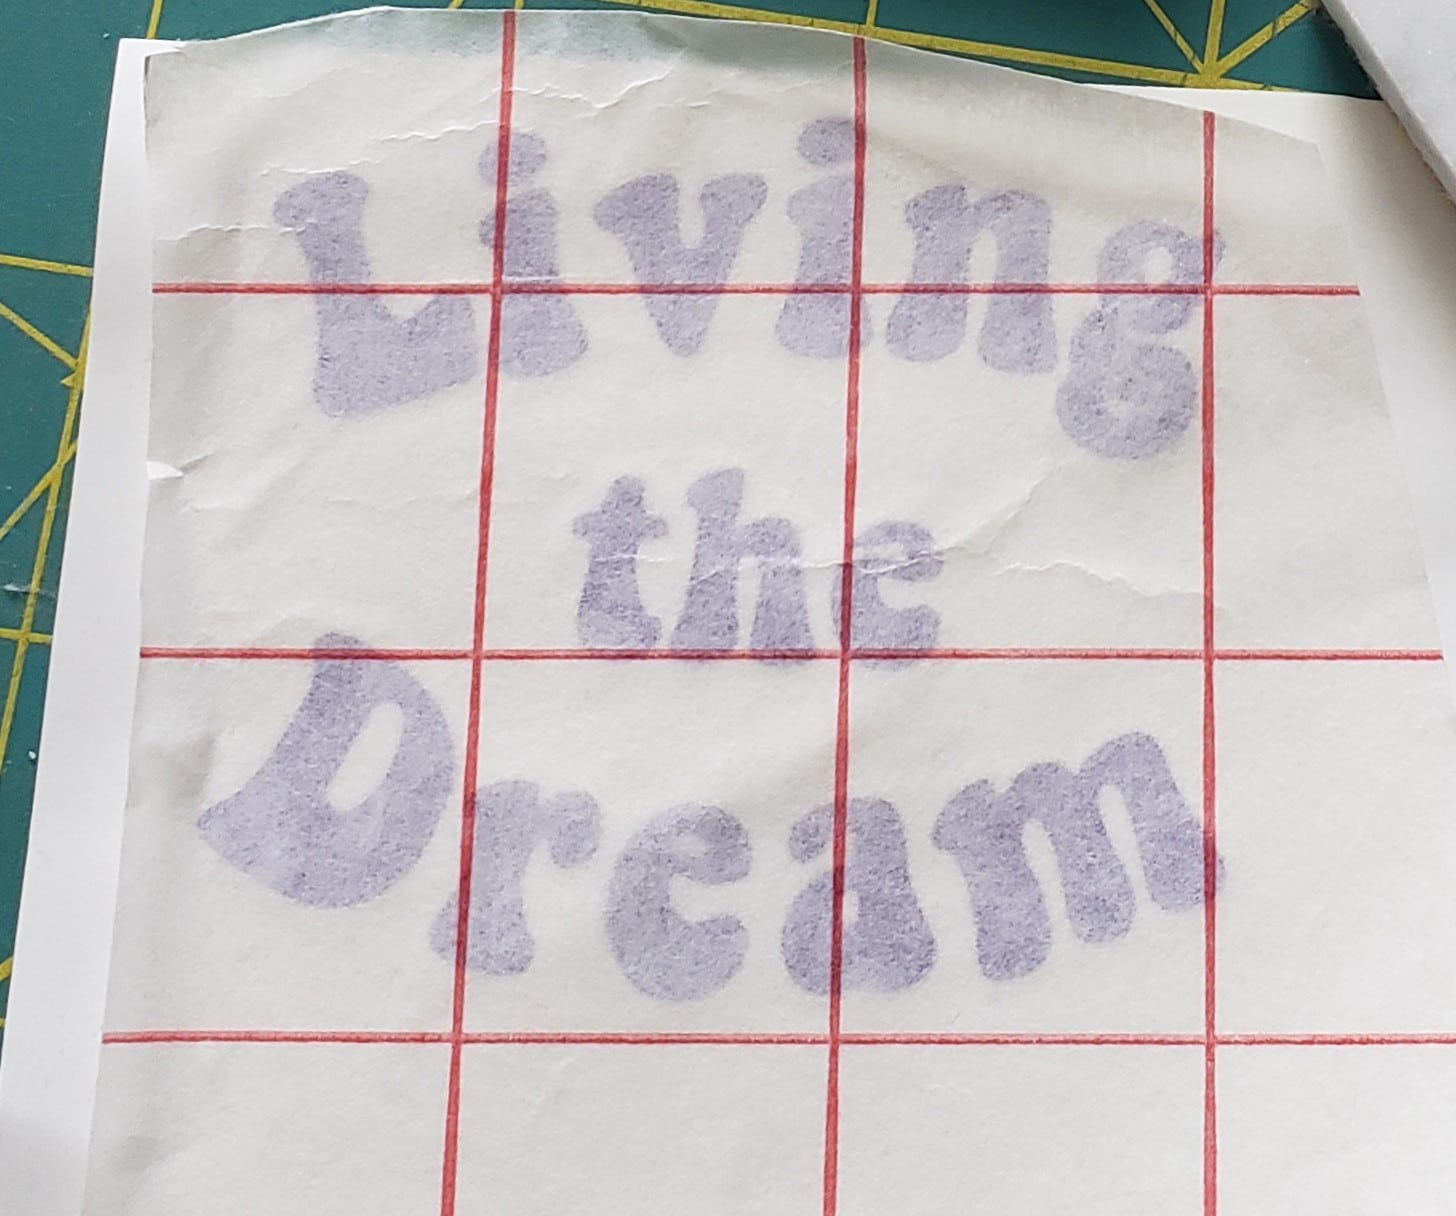
Your image should be finished cutting by now. After you weed (remove the excess vinyl), place a piece of transfer paper over the graphic. I like to use a credit card to smooth over the top several times to make sure all the letters adhere to the transfer paper.
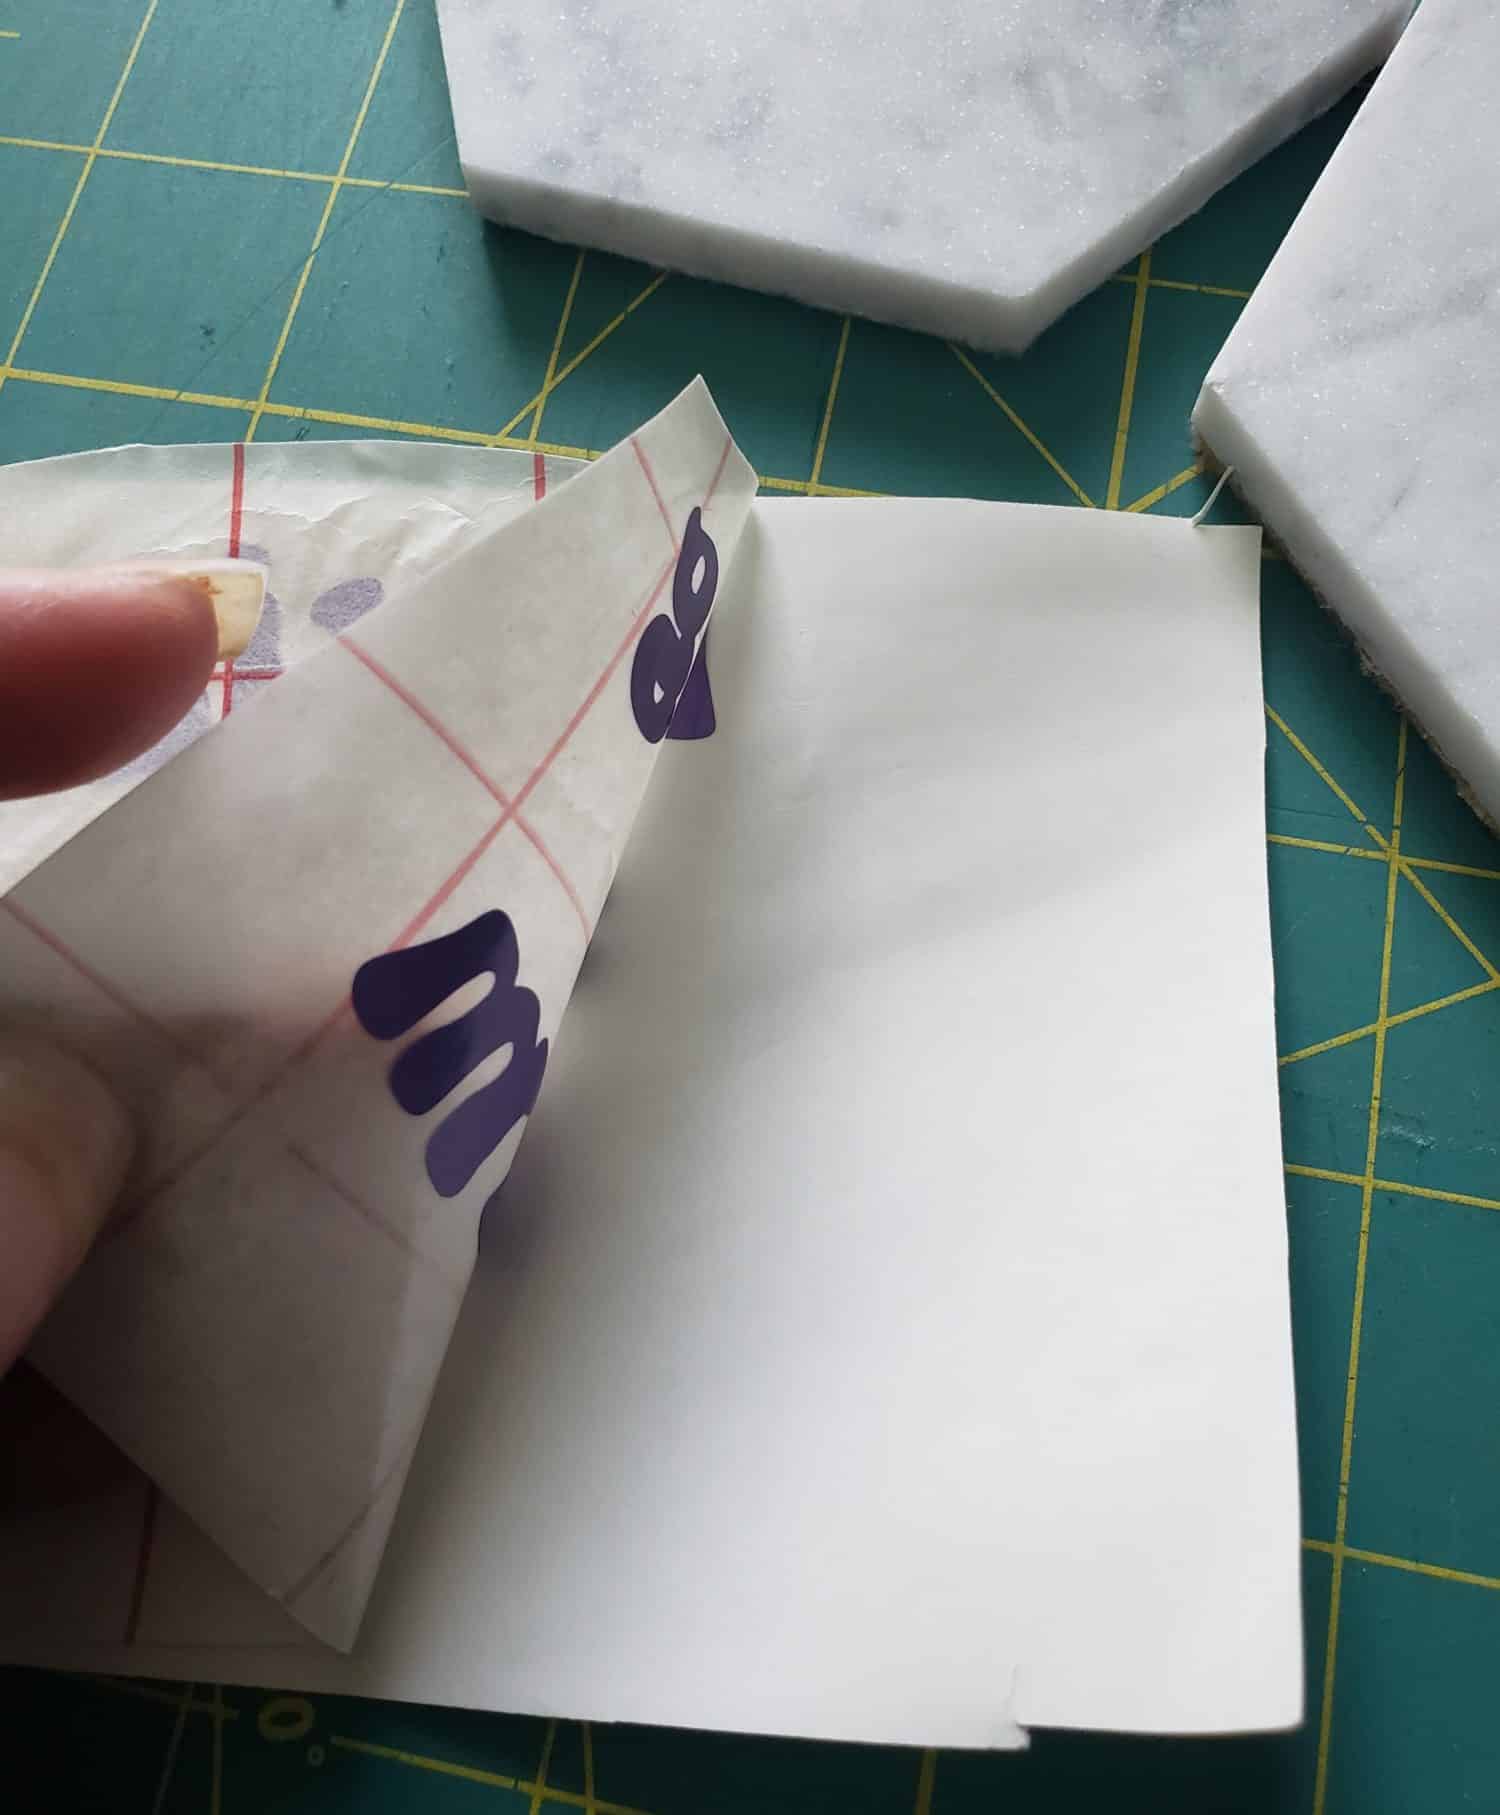
Grab one corner of the transfer paper, and slowly peel away. The letters should be sticking to the transfer paper. If not, carefully press the transfer paper back down, and smooth over the top a few more times.
Once all the letters are on the transfer sheet, place it over the tile and align however you desire. Yes this one is intentially a bit skewed 😉
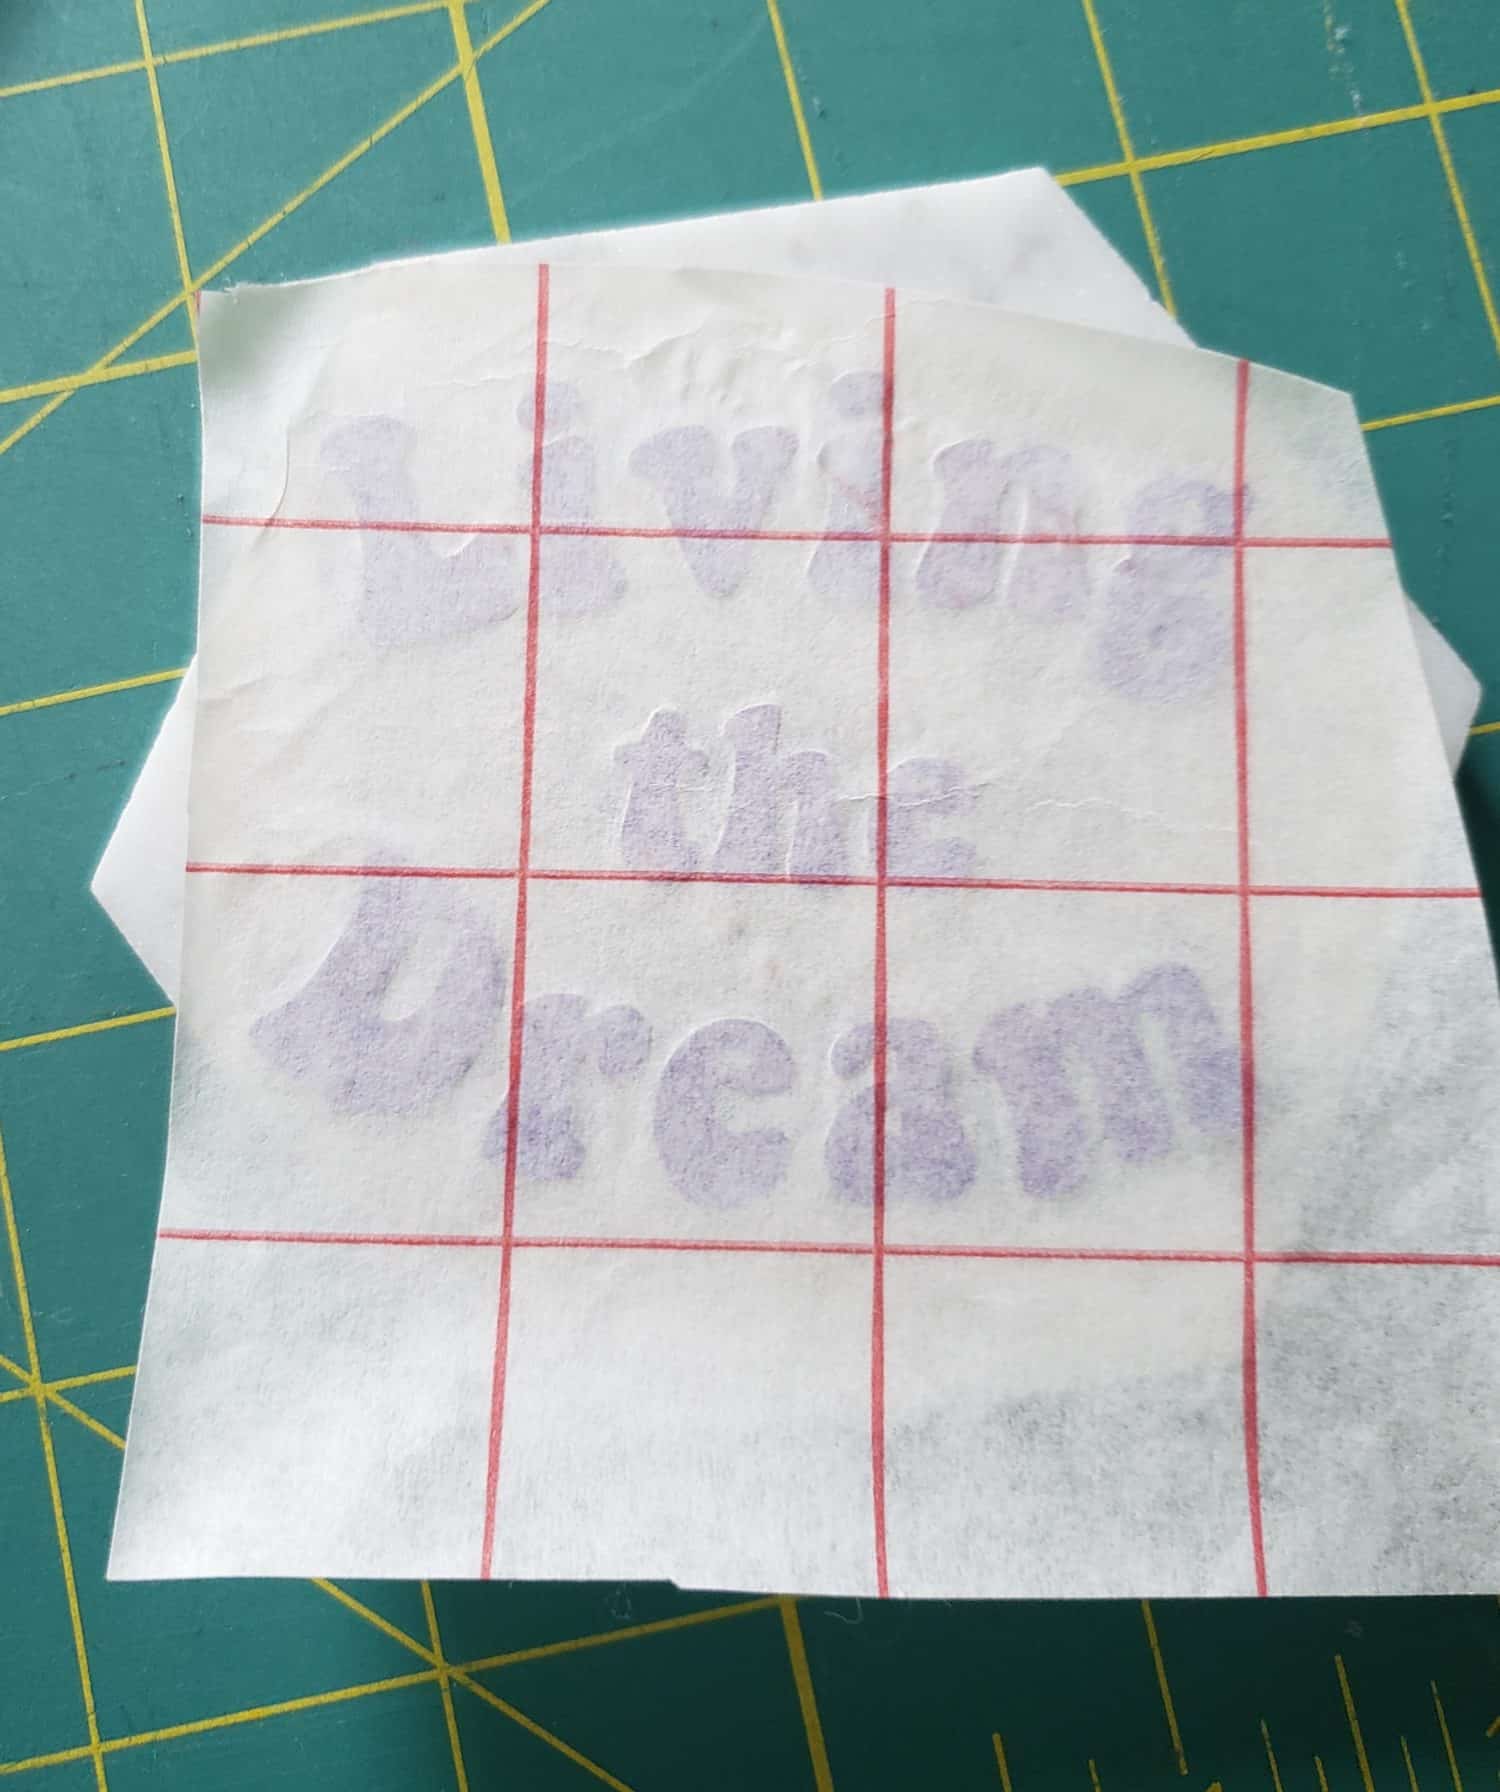
Smooth the top a few times to make sure the letters adhere to the tile. Slowly pull the transfer sheet away. Repeat the steps for any remaining tiles.
Now step back and admire your work. I hope you will use this pattern weight tutorial to make a few of your own and share them with us in the 5 out of 4 Facebook group. You can also share them on Instagram and tag us @5outof4patterns.
Earlier this week, I stated I would giveaway a couple of pattern weights as part of Mirror Selfie Monday. Congratulations M. Ronicker you are the winner from our random drawing! Please email me at [email protected].
And remember, Never Stop Sewing, Never Stop Growing, and Keep Living the Dream.

Great idea, tiles with felt. I’m not even going to decorate them. Thanks!