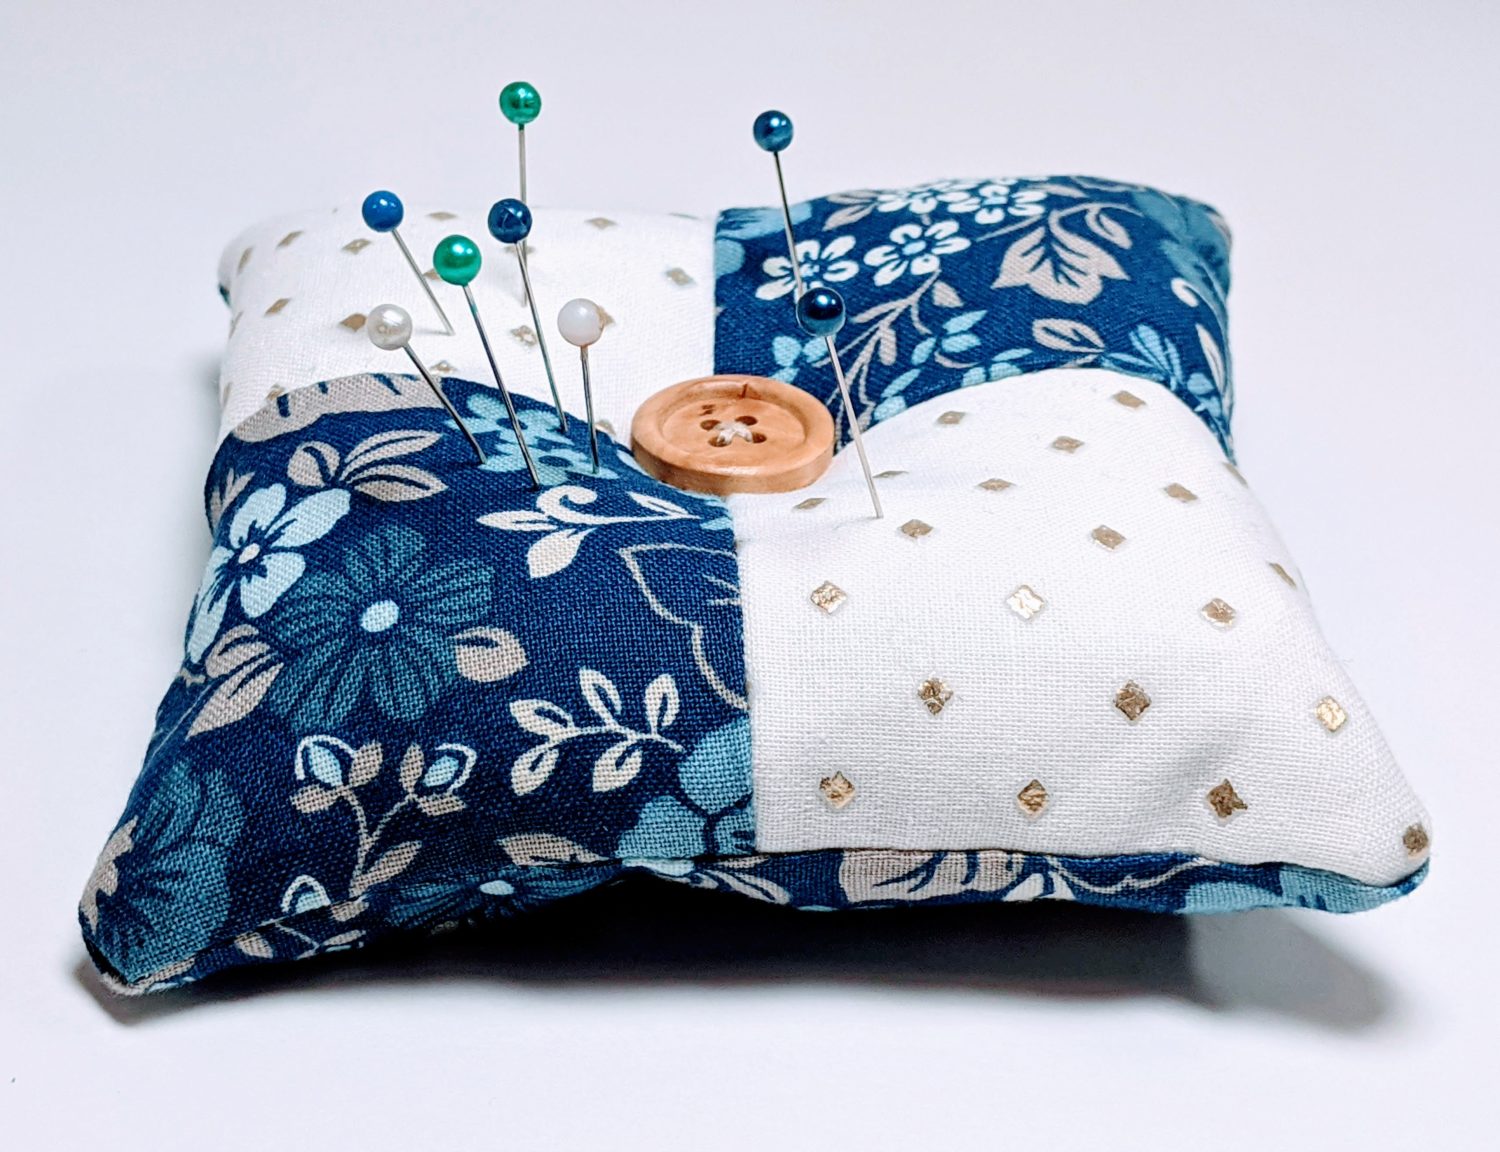
Everyone needs a pin cushion, right? This is a super quick, easy, and fun project that’s also great for scrap busting! Let’s jump right in!
Supplies:
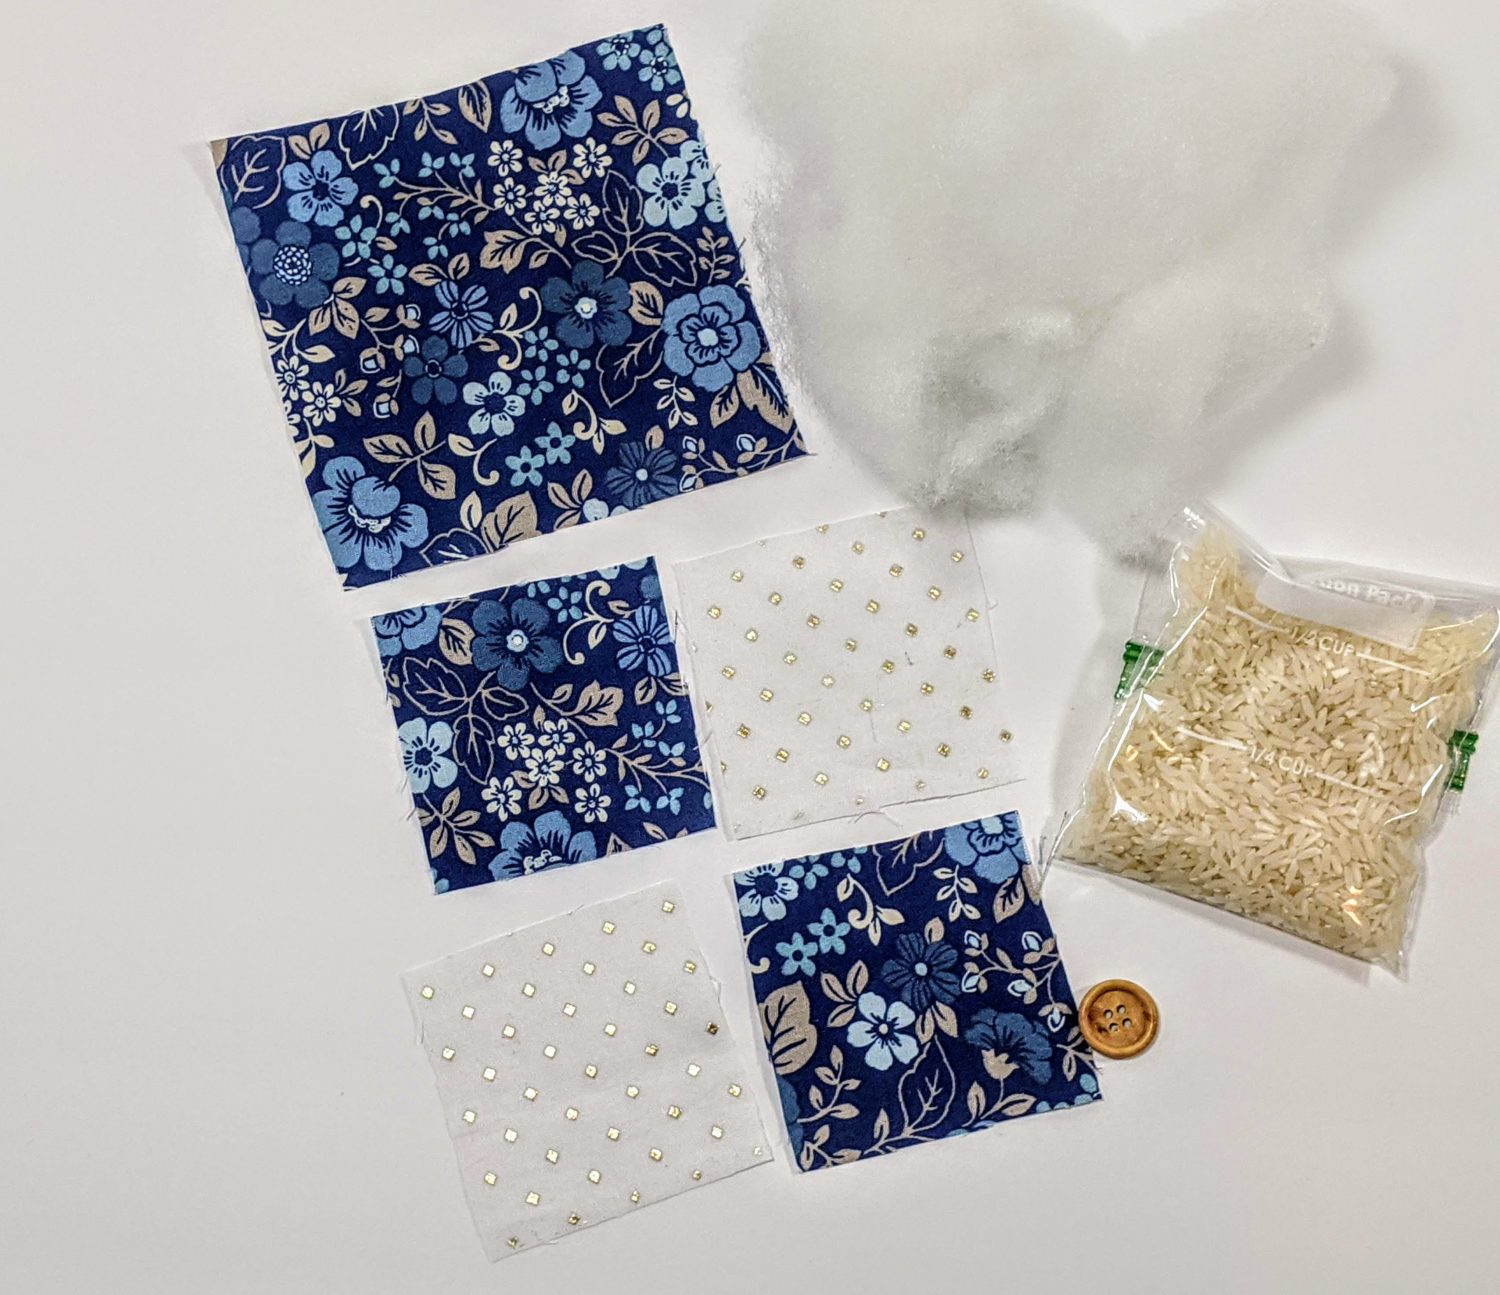
- Coordinating fabrics: One 5″X5″ square for the back, four 3″X3″ squares for the front
- Fiberfill, fabric scraps, or other material for stuffing
- Sewing machine
- Needle and matching thread
- Optional: weighted material for stuffing (i.e. rice, dried beans, etc.)
- Optional: Accent button
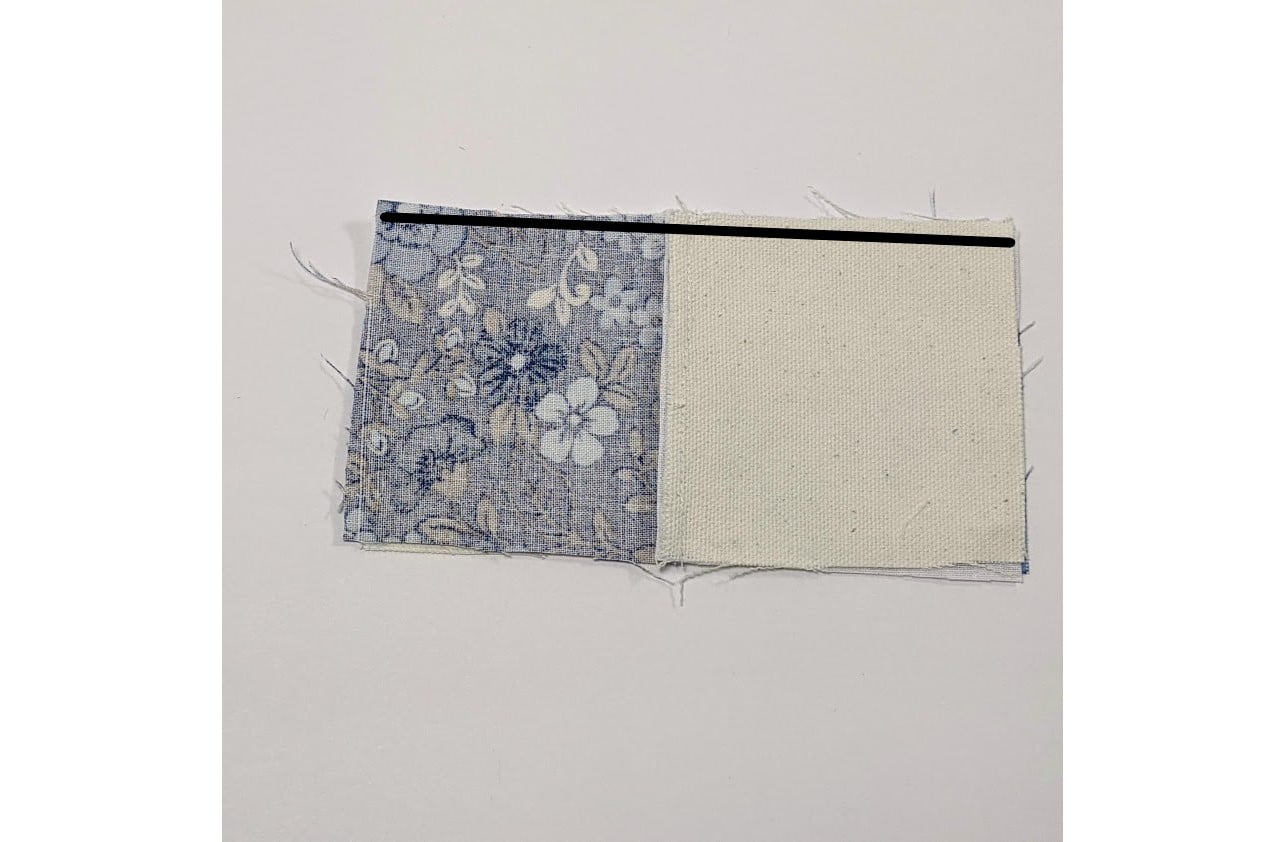
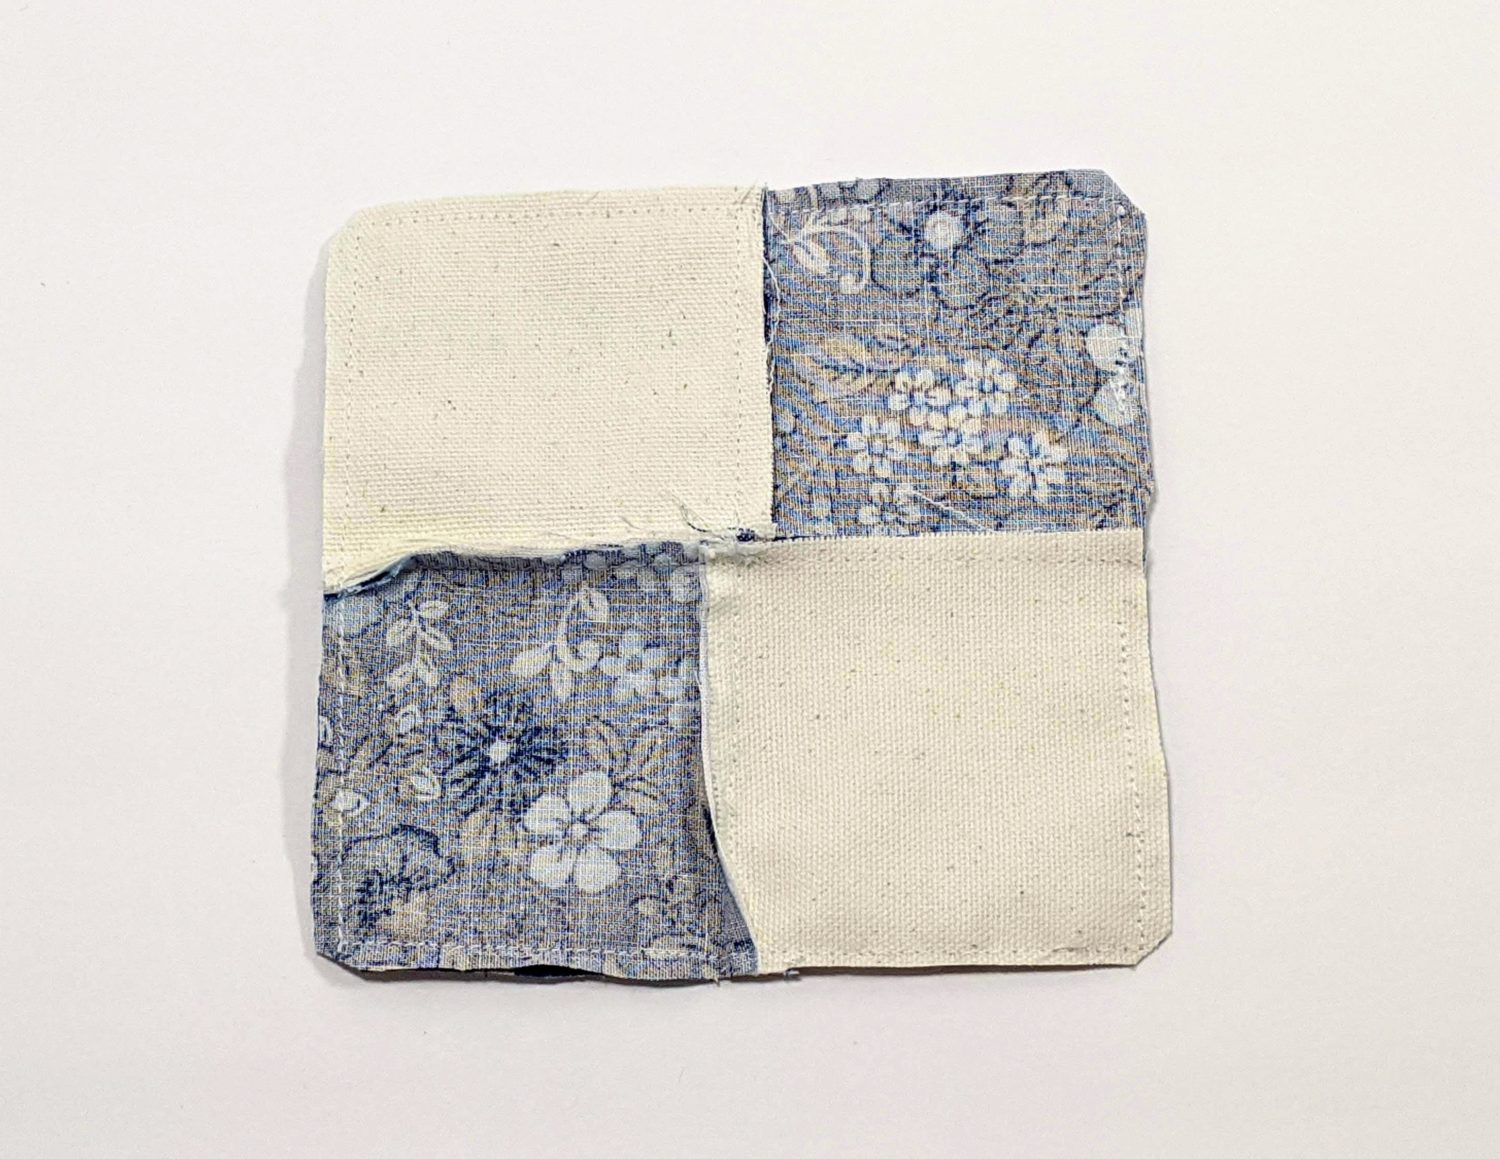
- Take two of your 3″X3″ squares, put them right sides together and sew a straight stitch along one side. Repeat with the other two small squares.
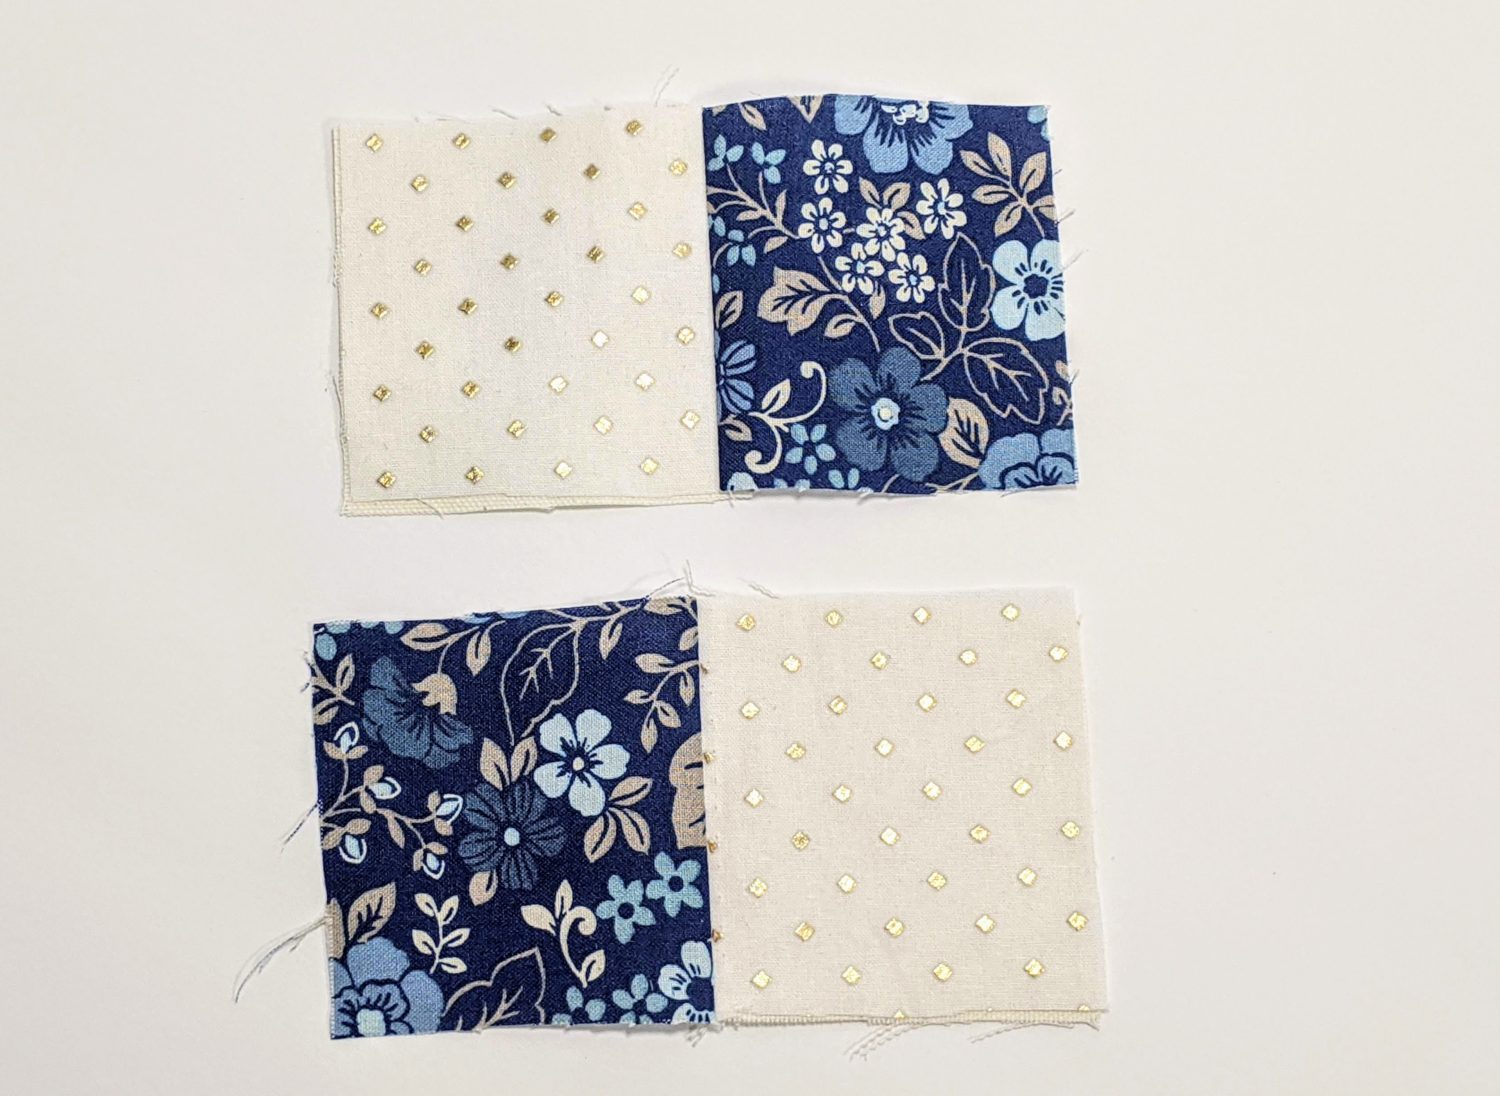
2. Line up the center seam of each piece you just sewed with rights sides together. Sew down the long edge to connect all 4 pieces.
3. Lay your front quilted square down with the right side facing up. Set your back piece on top of it facing down with the right sides together. The front piece is slightly bigger than the back to leave room for adjustments. Sew around the squares being sure to leave an opening to insert the weight and stuffing in later. Trim off any excess fabric and snip the corners.
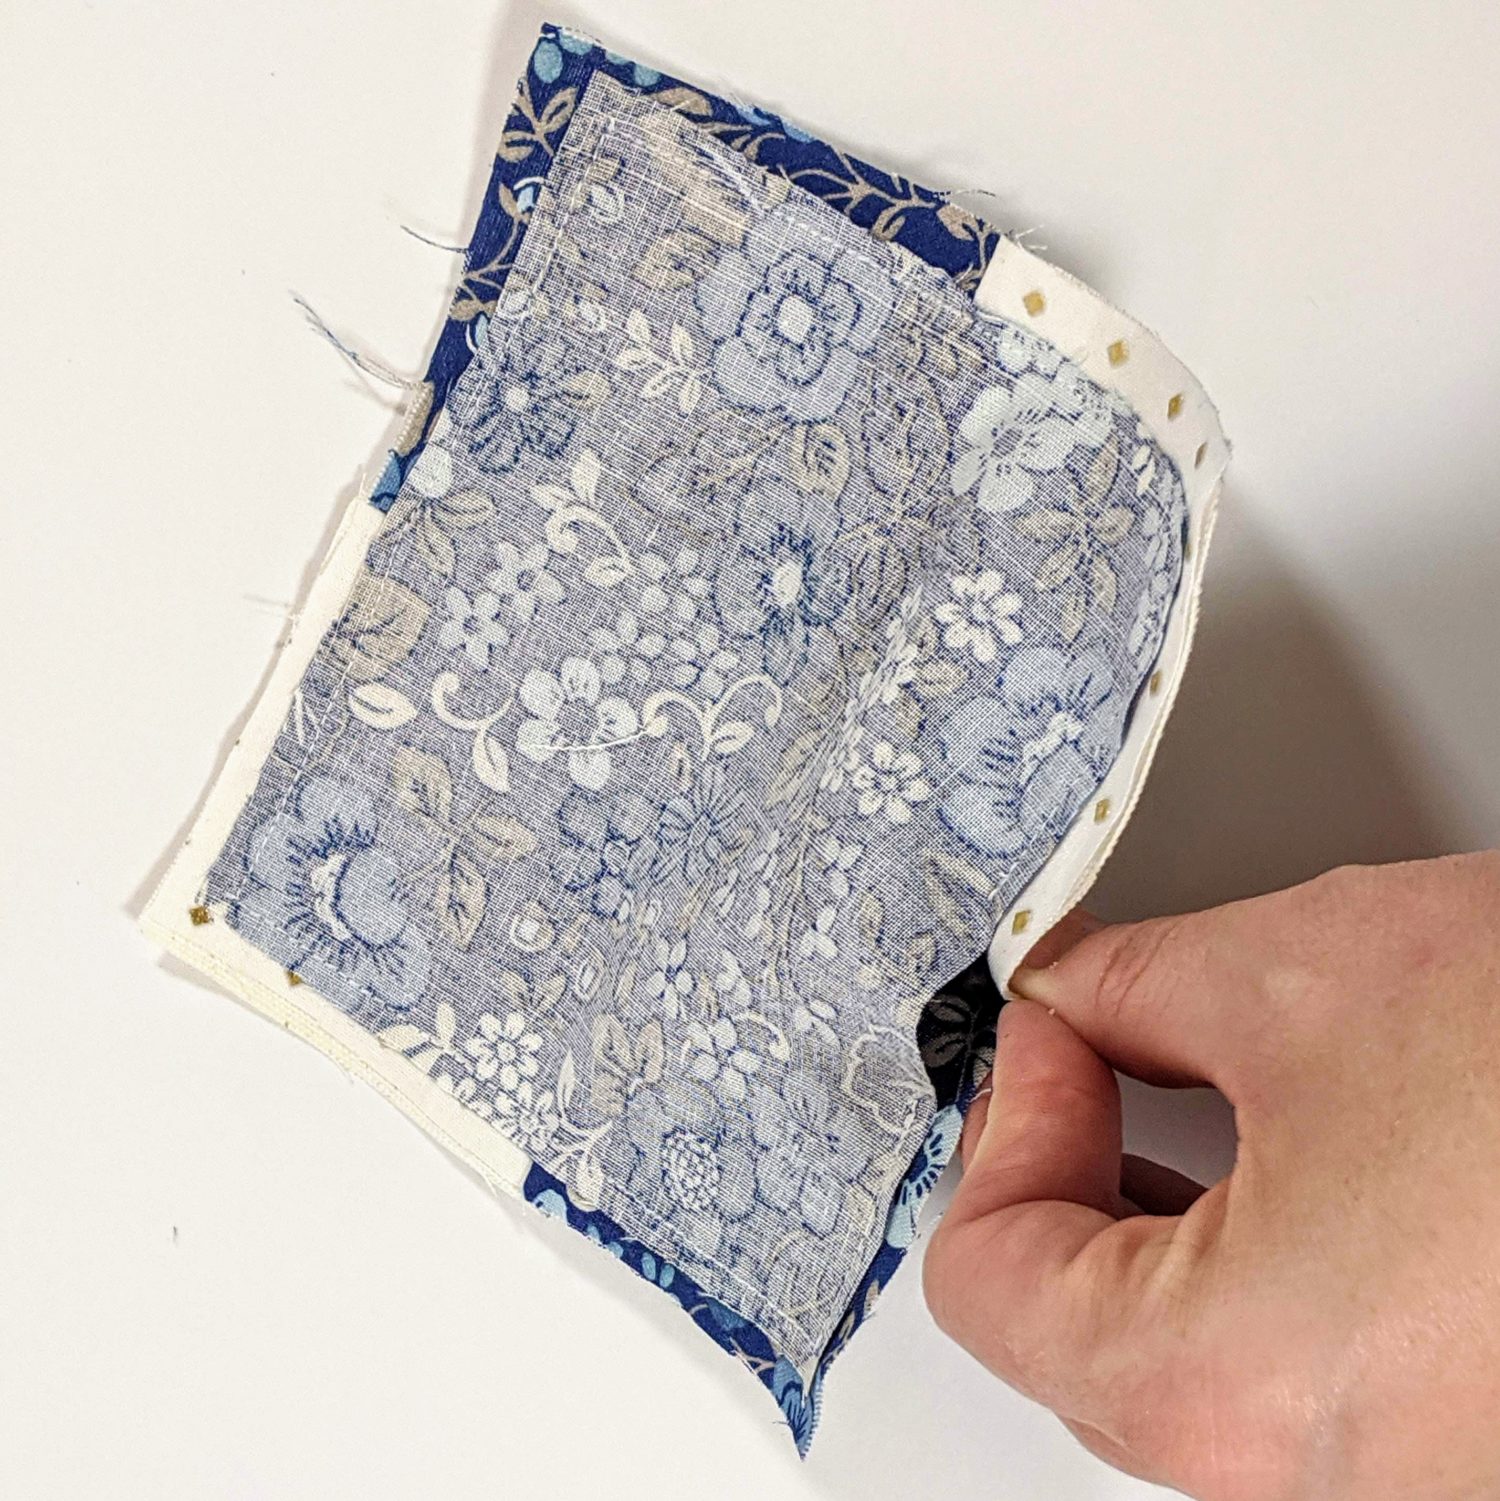
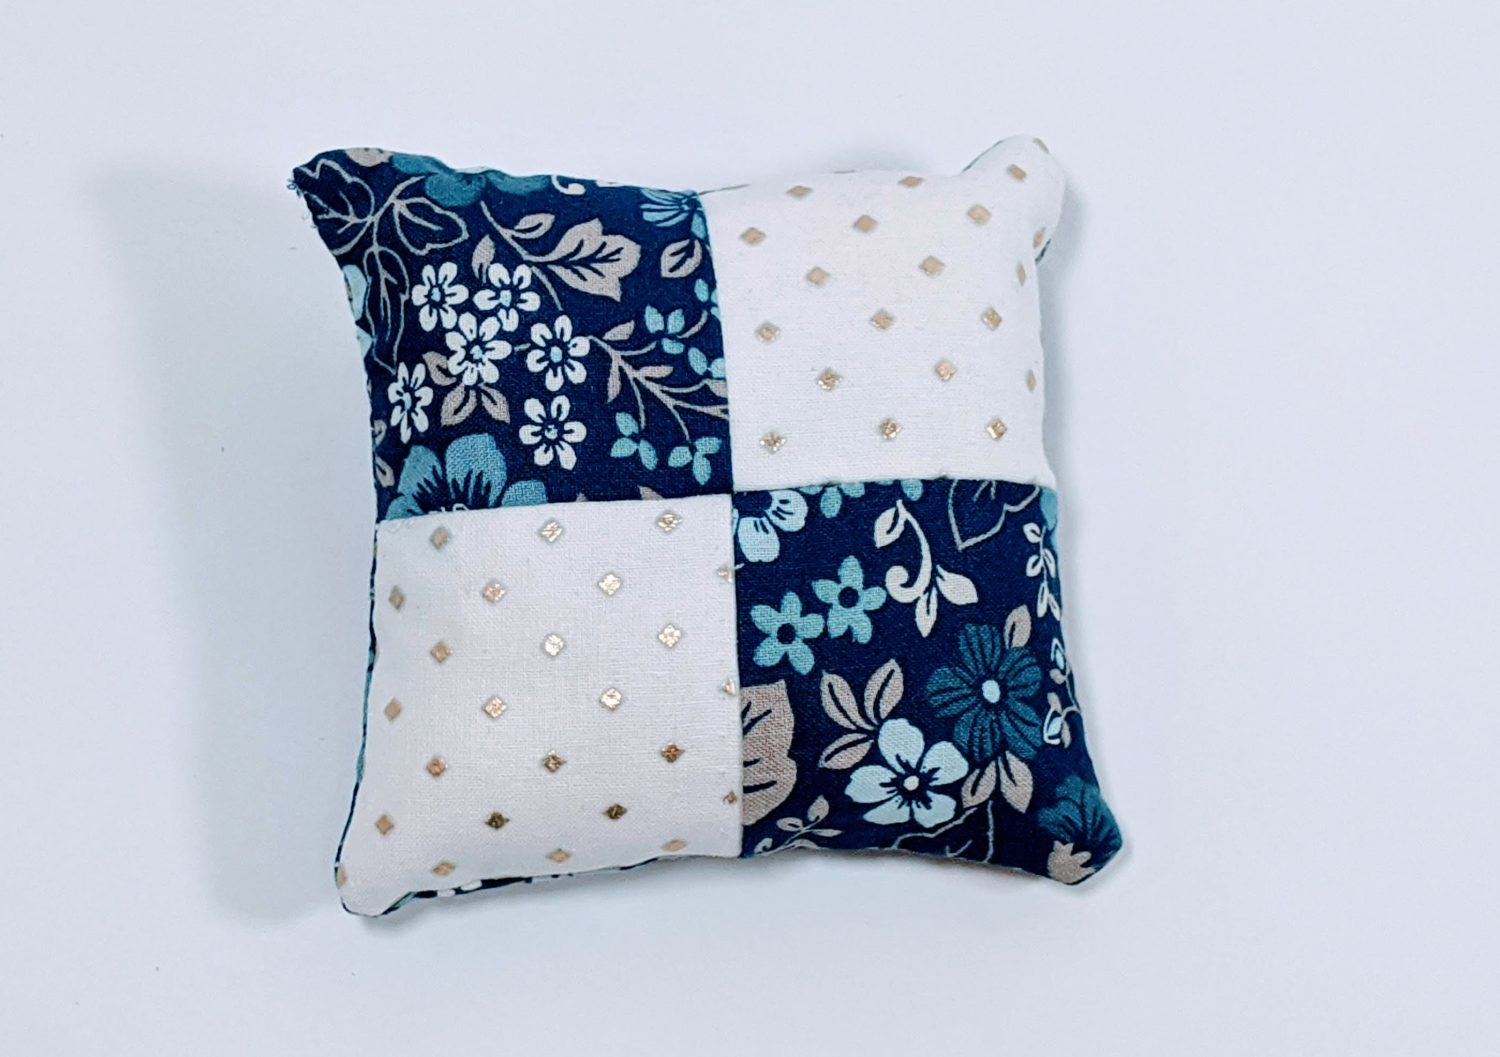
4. Turn your pincushion right side out and push out all the corners. Insert any weight in first, then fill with your stuffing of choice. Use a ladder stitch to close up your opening. If you need a reminder on how to sew a ladder stitch, you can find our sewing school video for that here.
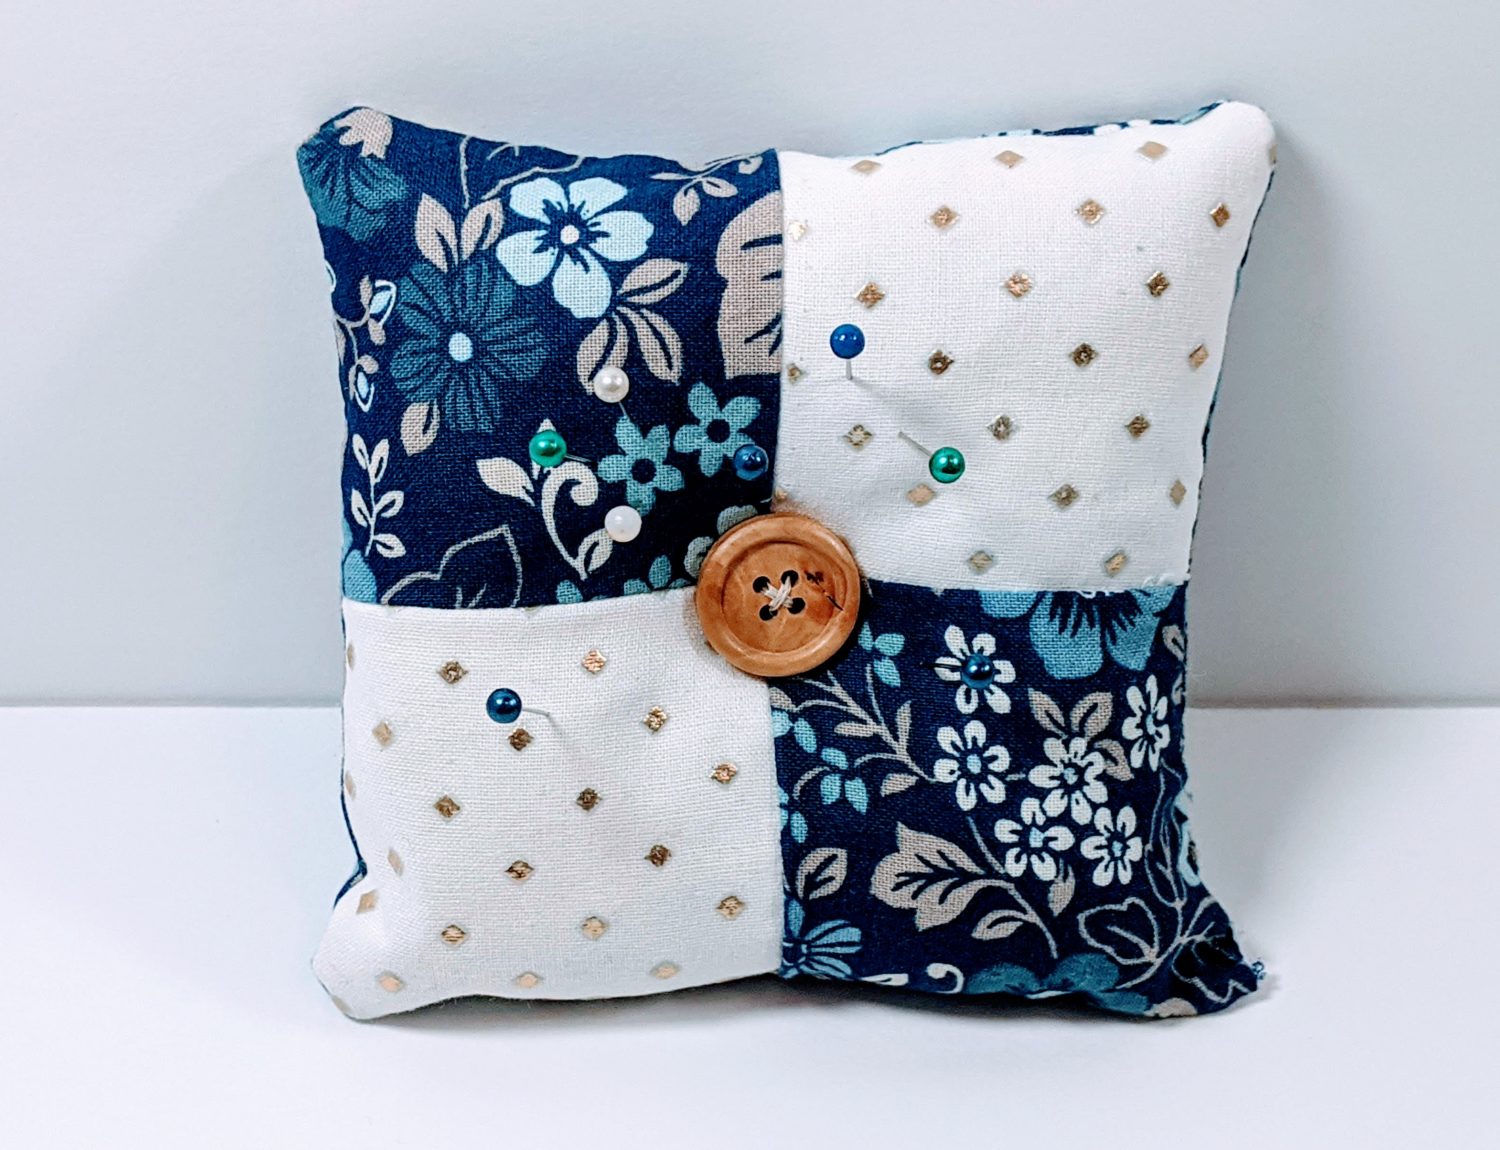
5. Just for fun and a little flare, you can hand stitch a cute button on in the middle. The back doesn’t have to look fancy, I just tried to make sure mine made a small x on the back instead of having stitches everywhere.
Go stab your pin cushion with some pins!
As always, we’re here to help if you need it! Join us HERE and on Facebook, Instagram, Twitter, Youtube, and Pinterest. Be sure to check all our fun extras on the blog. We’re everywhere you are.
I love your cute and simple projects! Please keep them coming!!