
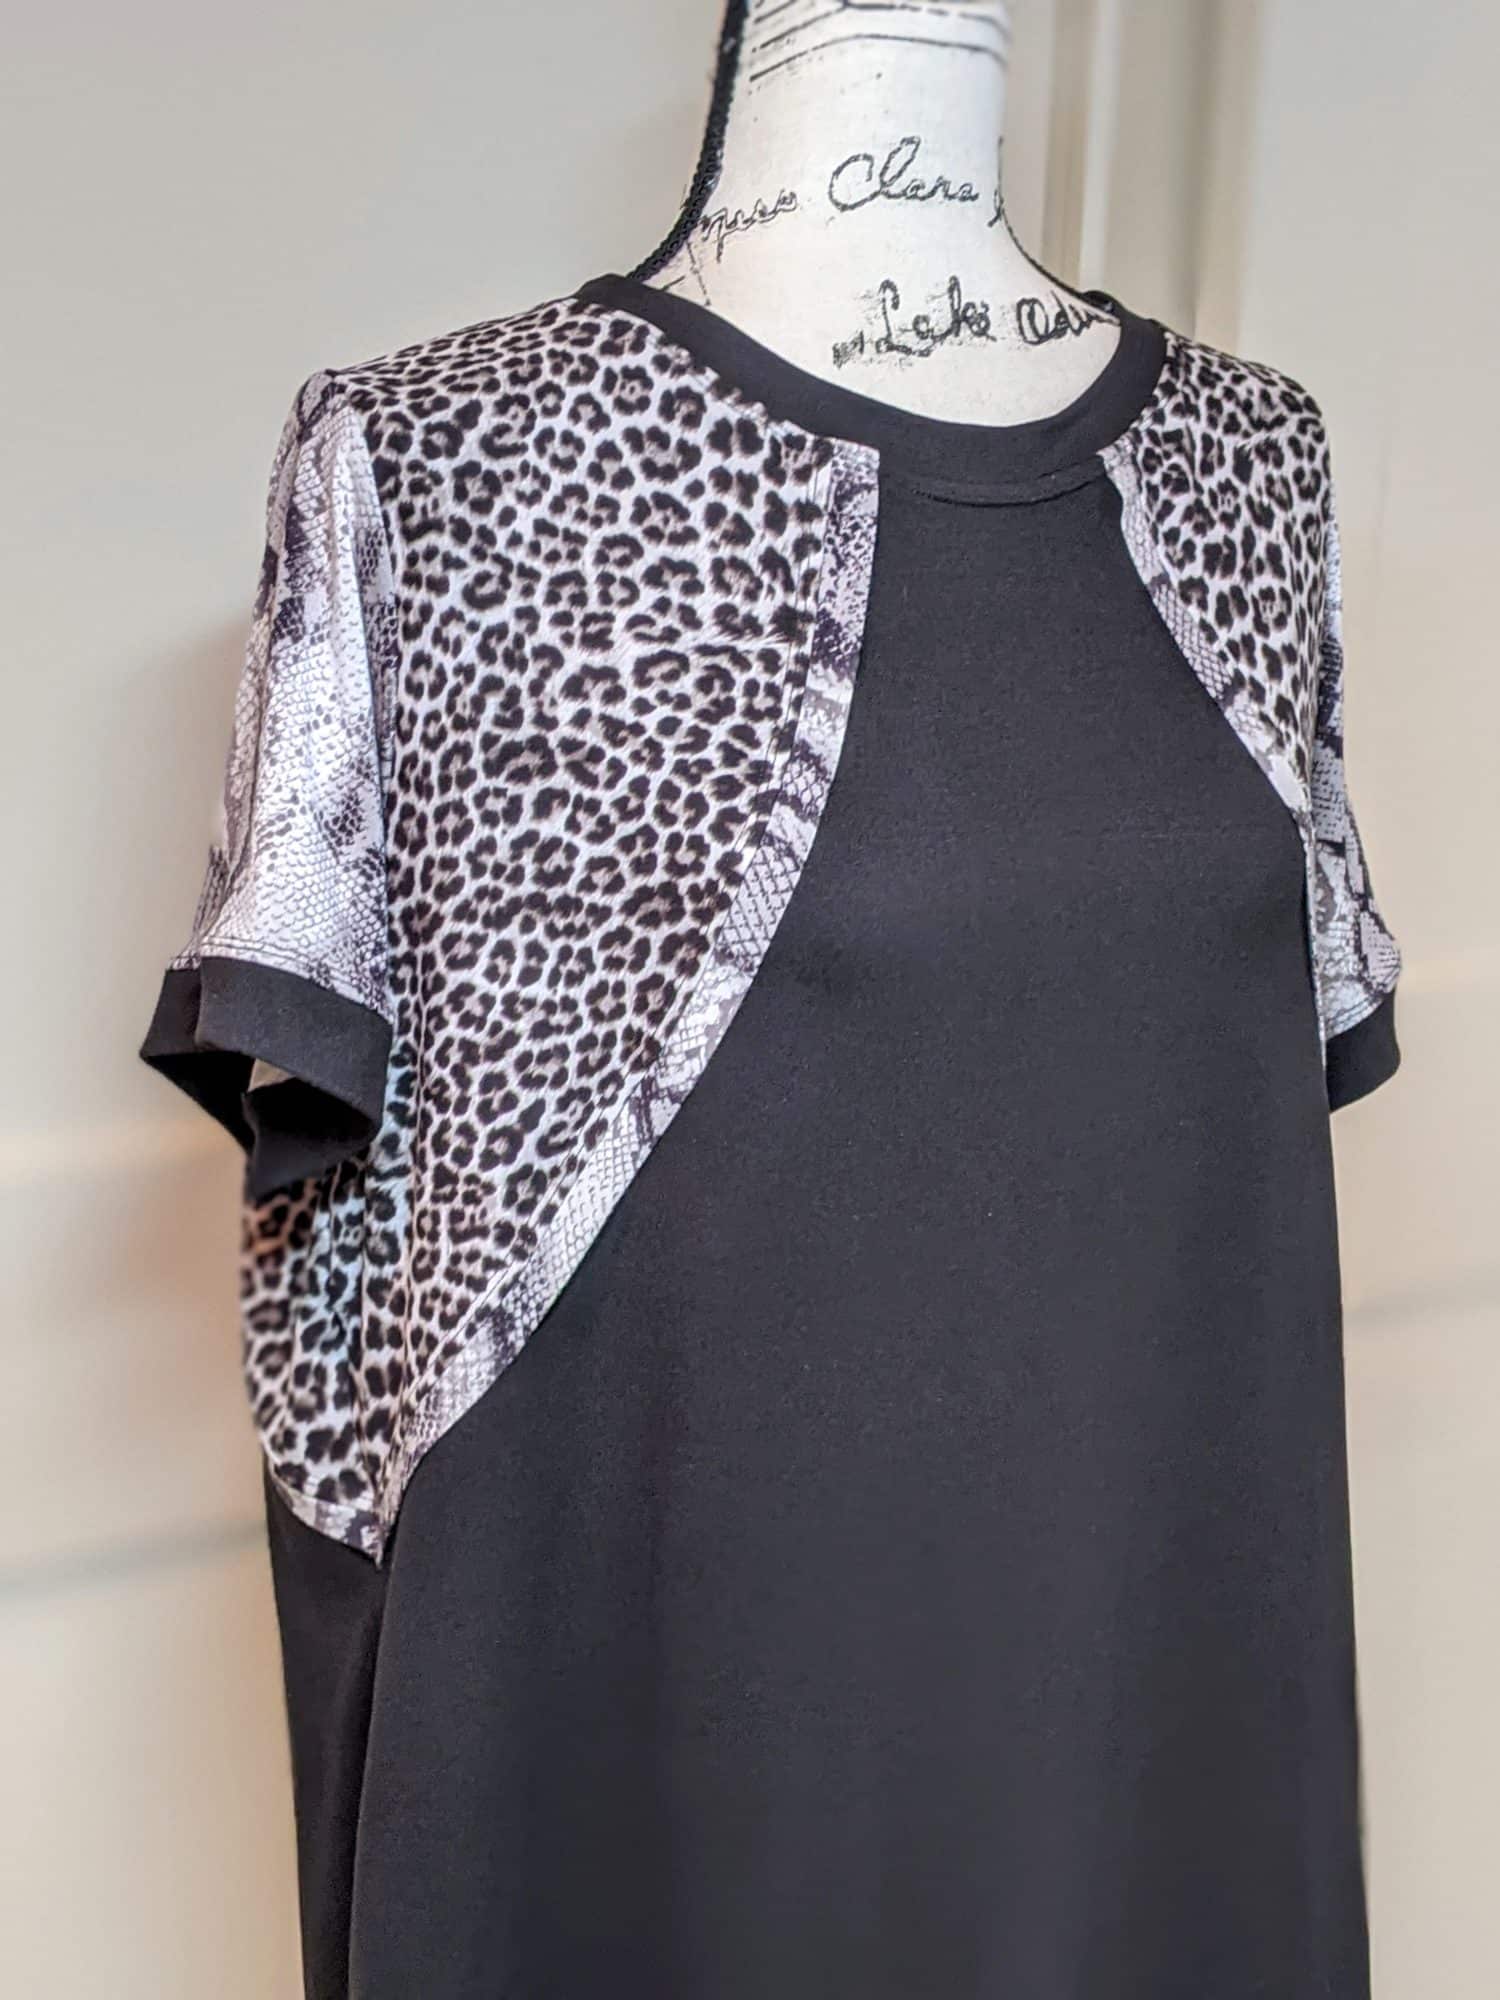
The Easy Tee recently got an update, so I played around with it and came up with a raglan-style hack while still keeping the original set-in sleeve. I love mixing patterns and colors together without it being too loud and crazy. I tried one with piping detail and one without and now I have so many other fun combos in mind for this one!
Start by printing out and assembling the Easy Tee pattern. You can find the Women’s Easy Tee HERE, and the Kid’s Easy Tee HERE. You will need the same supplies as listed in the tutorial, the only difference being that you will want to choose one main fabric for the bodice, an accent fabric, and a sleeve fabric.
Pattern Adjustments
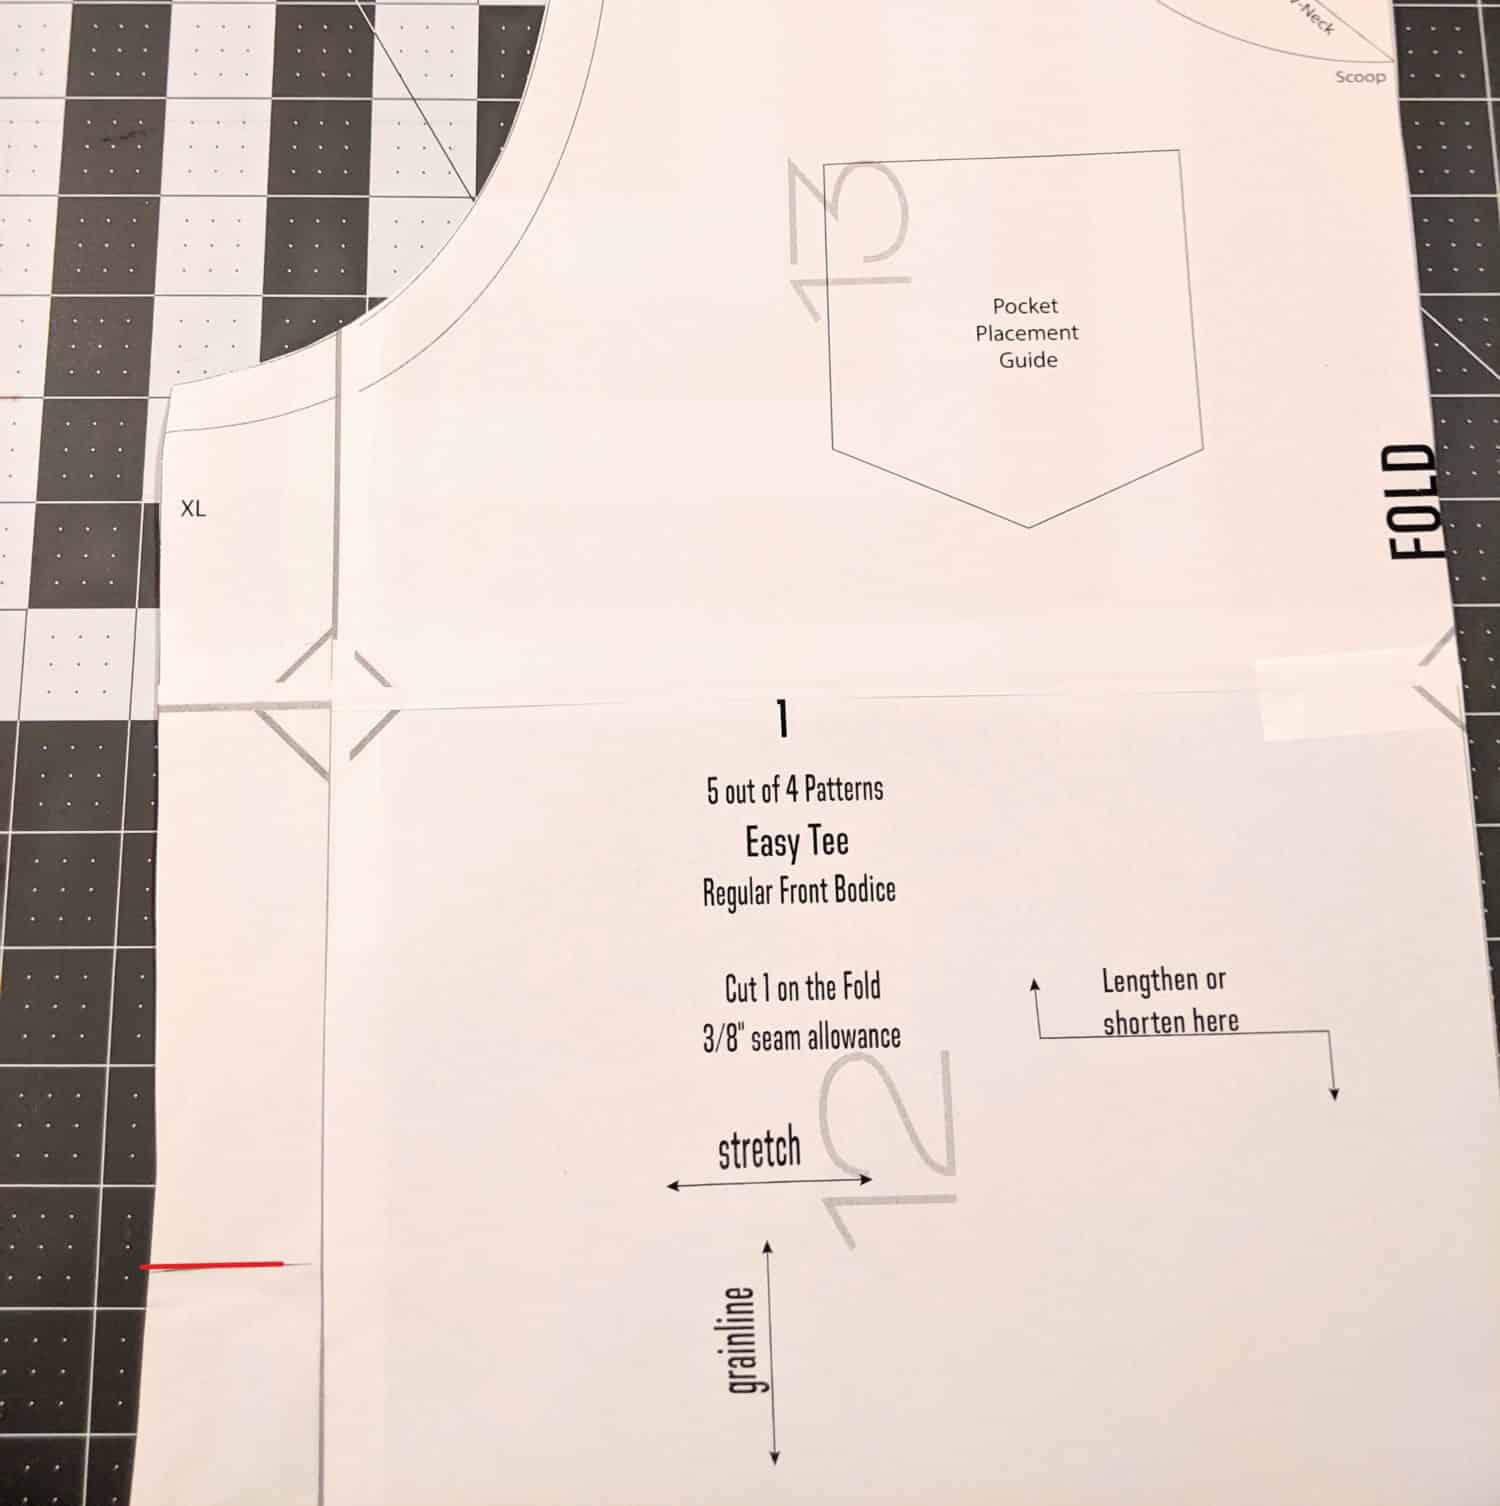
- Hold the front bodice pattern piece up to your body, lining up the front point of the armscye under your armpit and the shoulder edge along the top center of your shoulder.
- Mark on your bodice piece where you want the bottom of the accent to end. I chose to have mine hit at my natural waist just at the top of my hip bone.
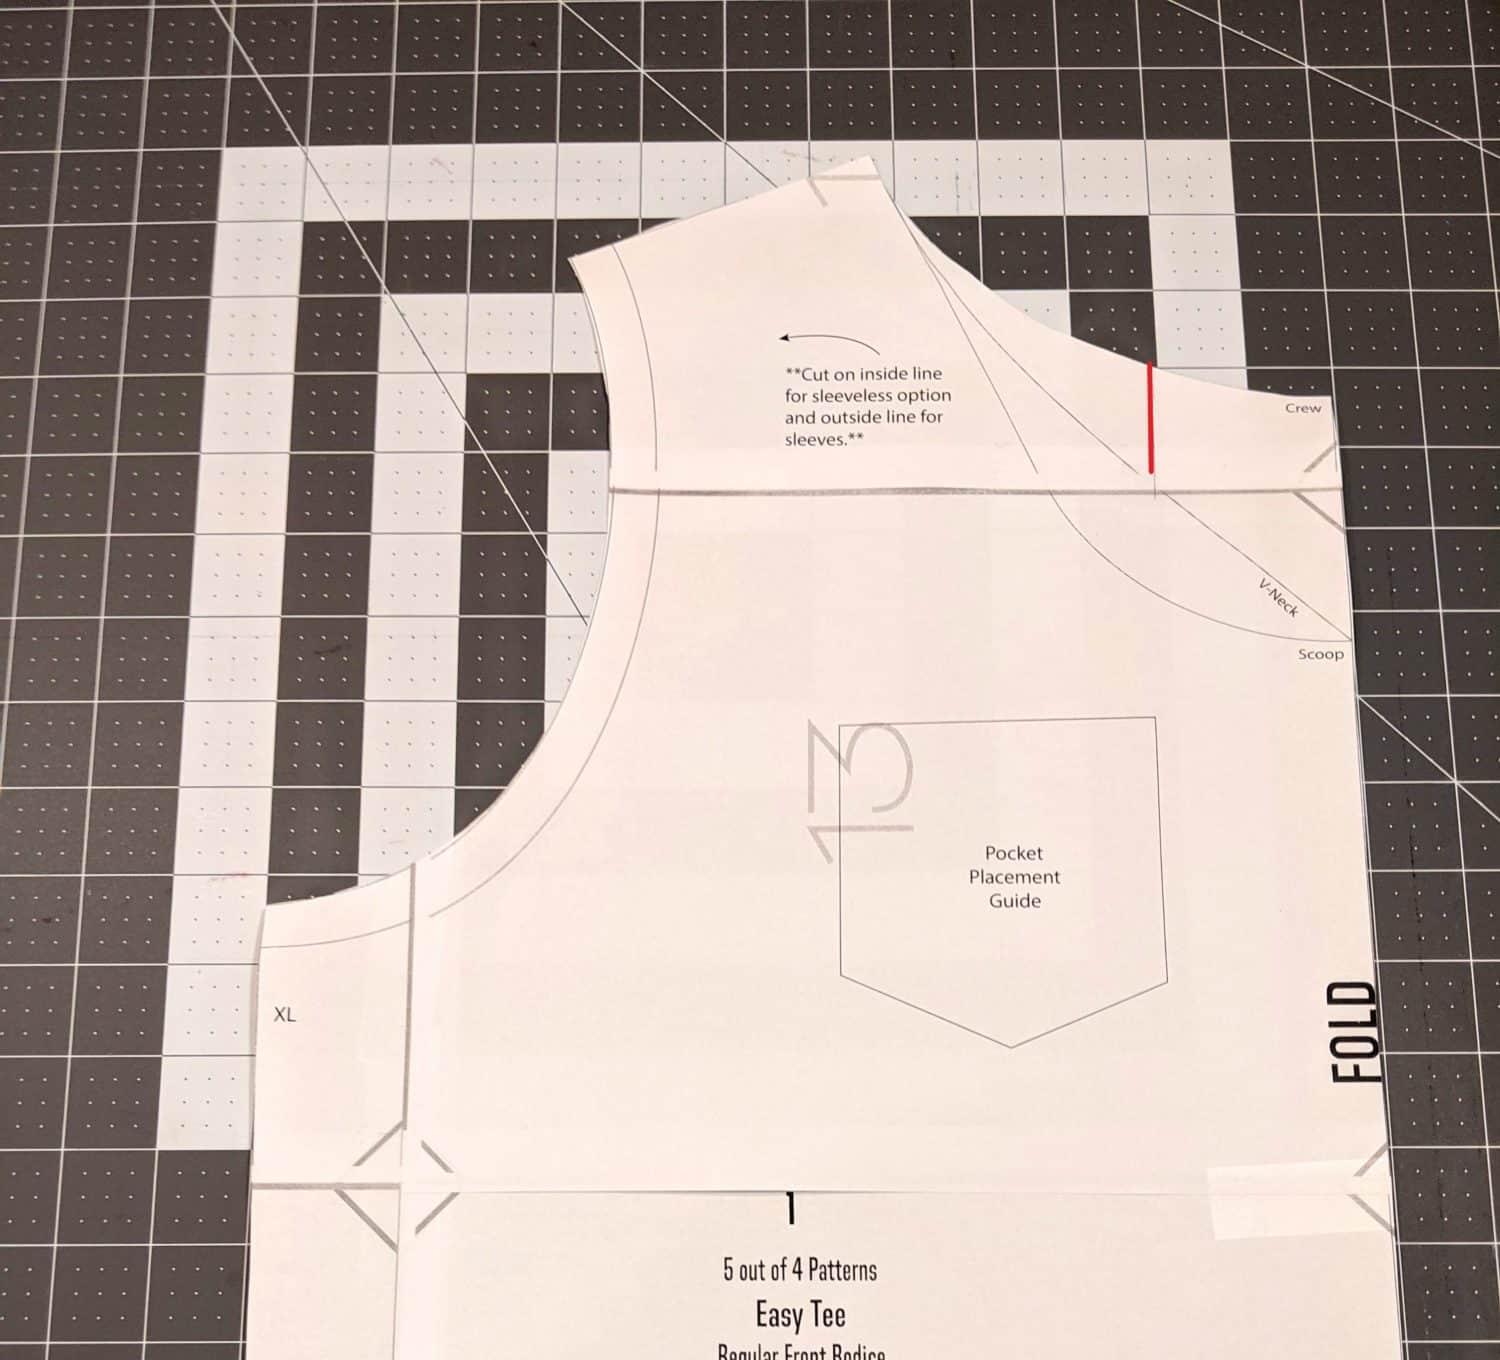
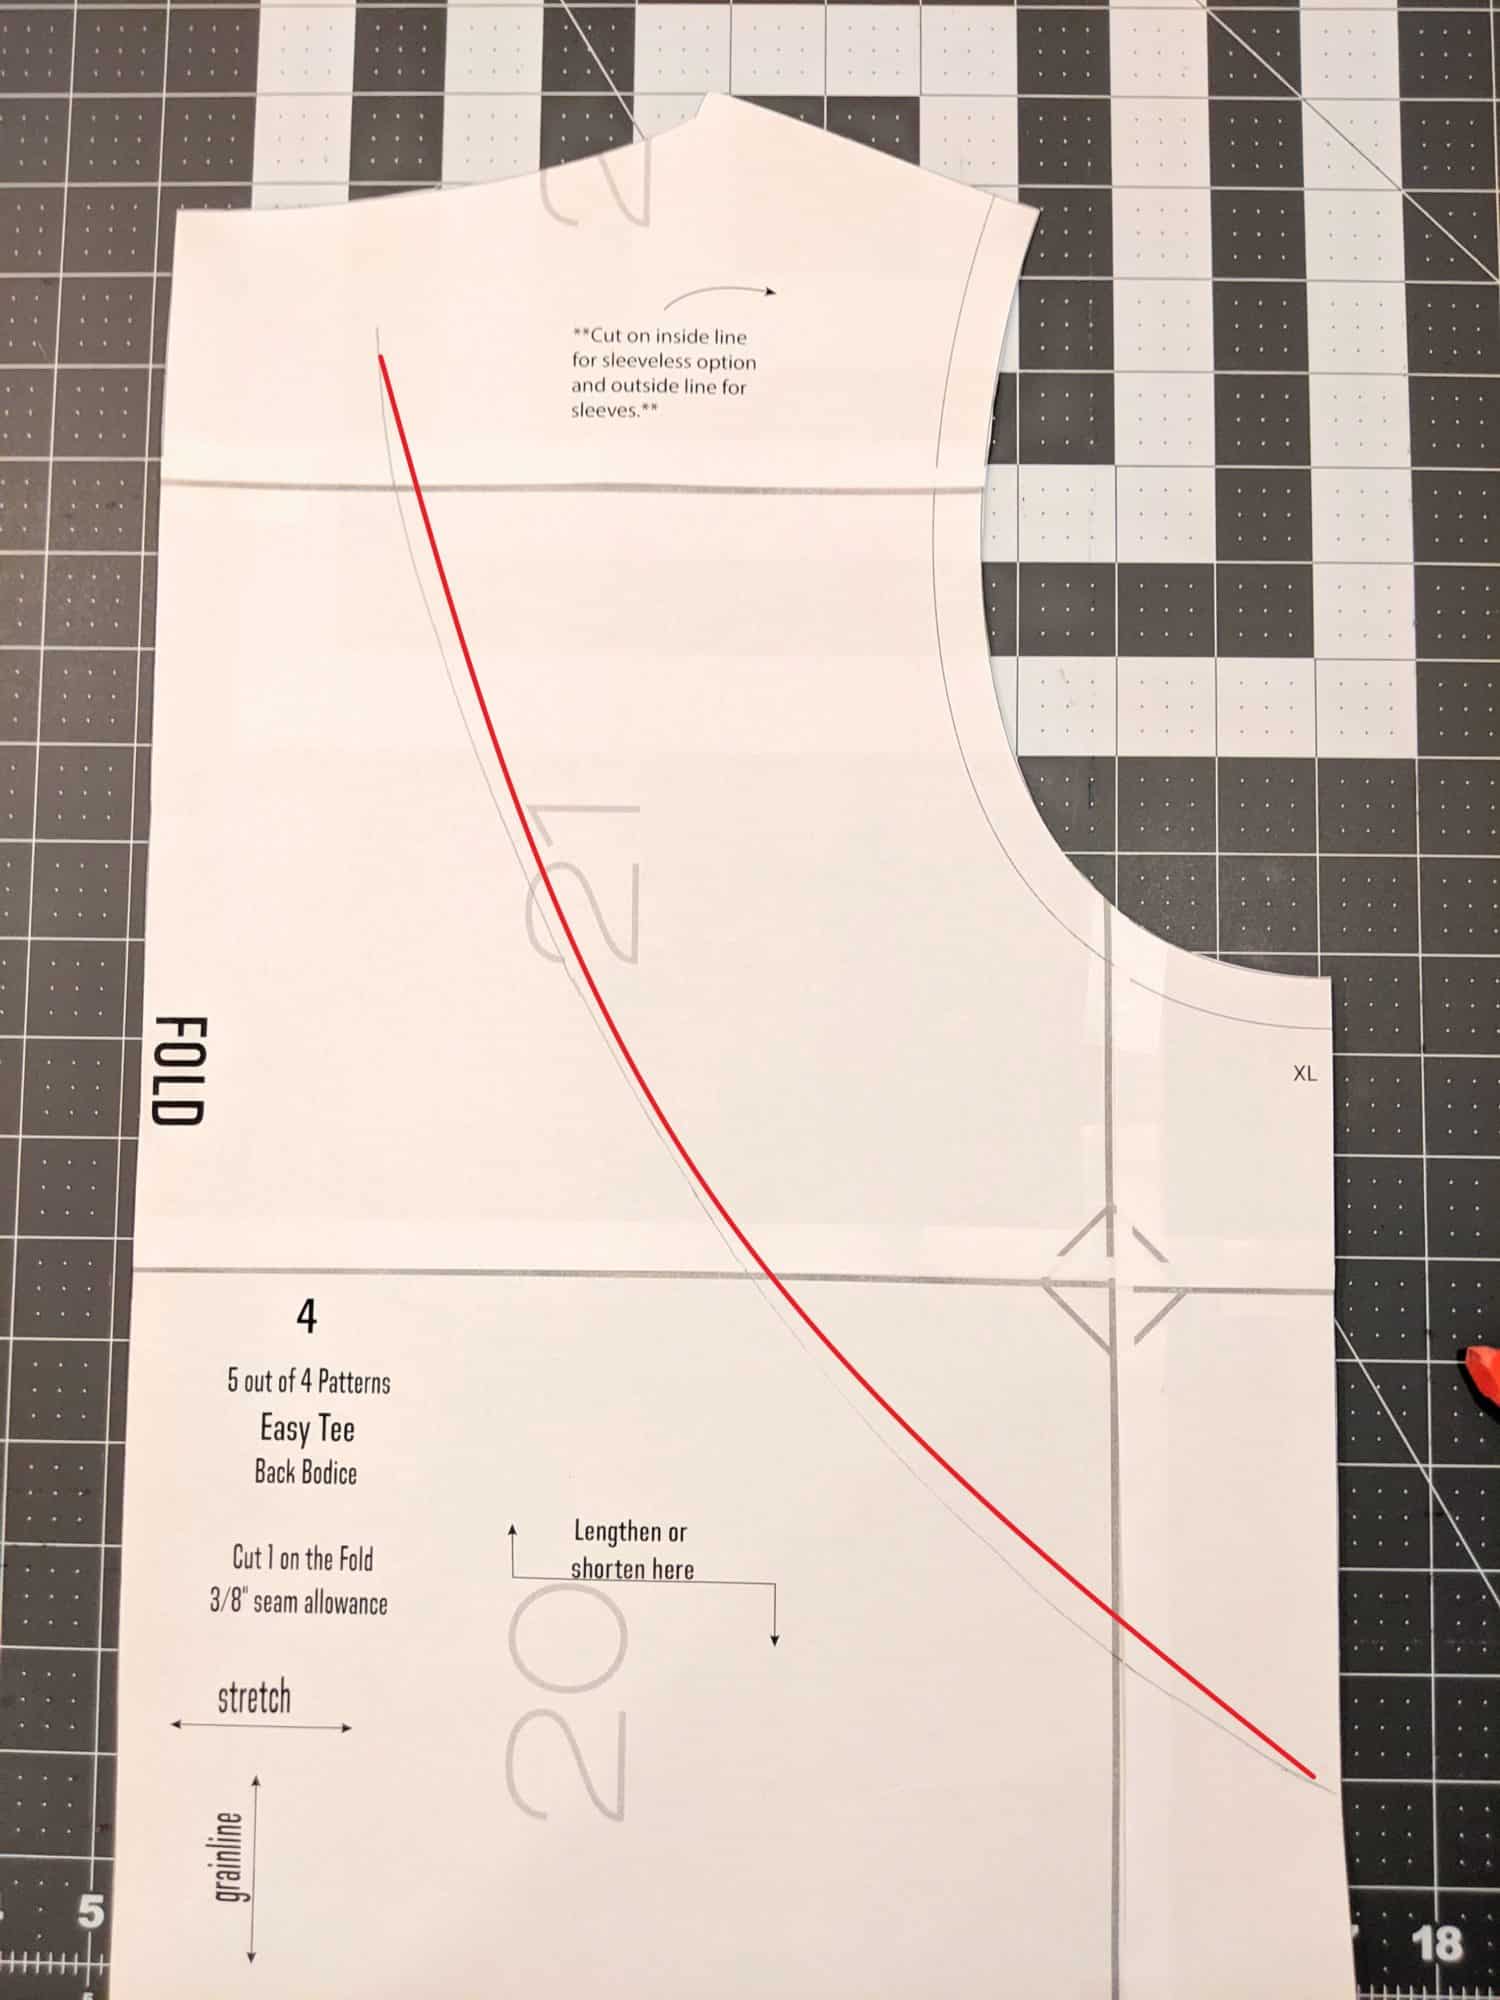
- At the neckline, measure over from the fold the width you want the main bodice neckline to be. For both my size XL and my daughter’s size 8, I measured over 2″ from the center which lined up with the inside line of the pocket placement guide.
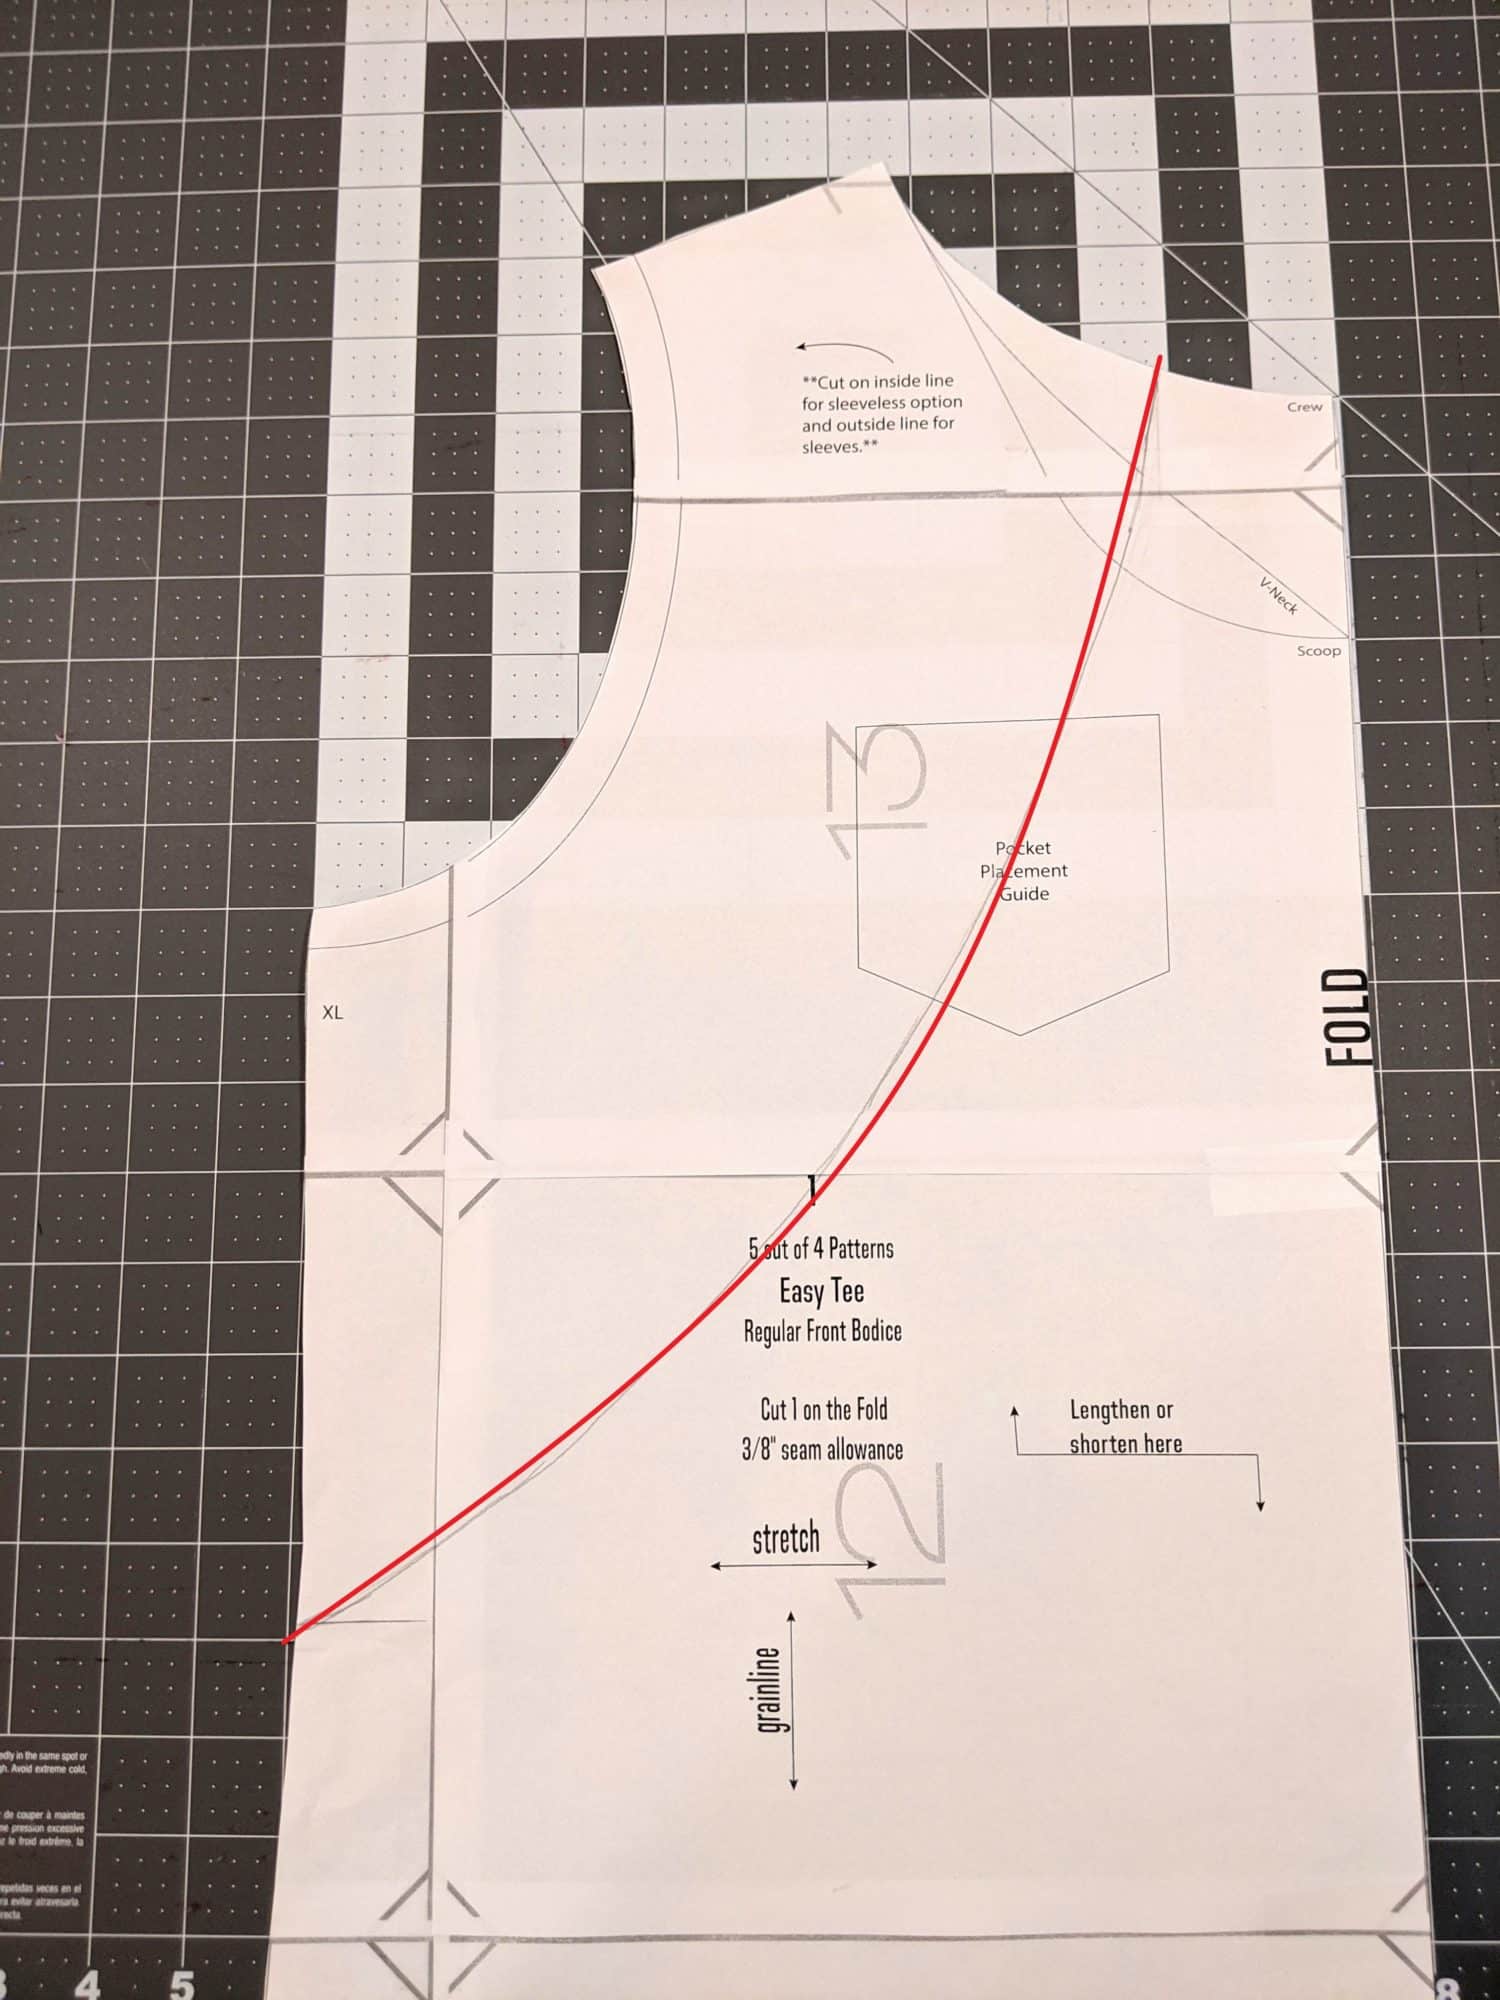
- Next, connect the side mark to the top mark by drawing a long, curved line between them.
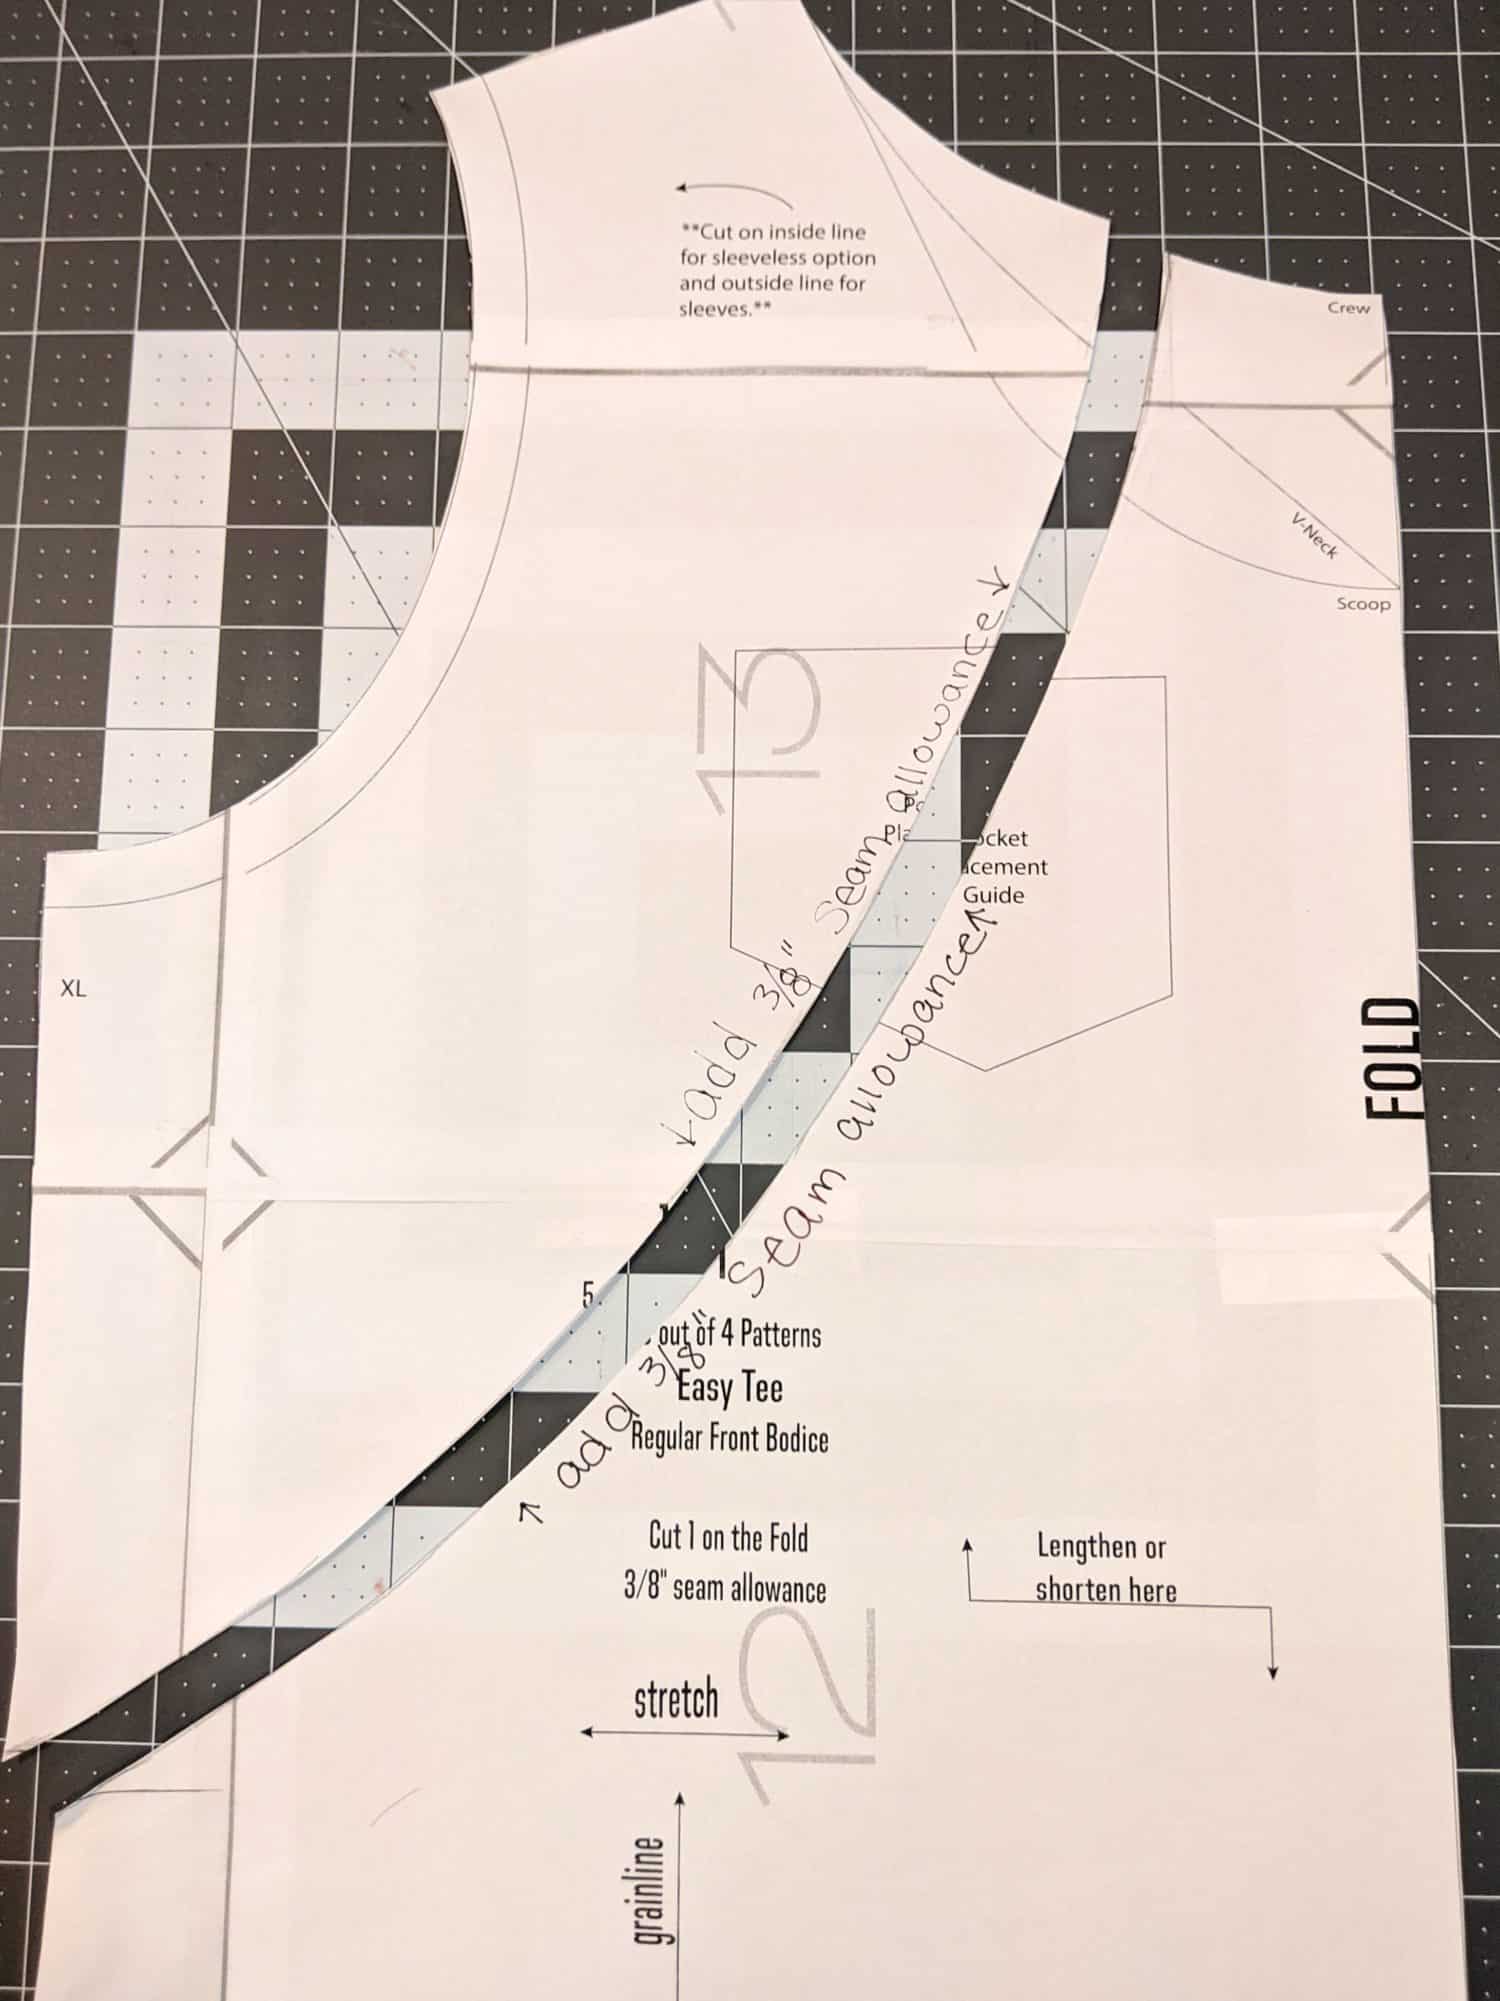
- Cut the two sections apart on the line.
- Write on each pattern piece to add in your 3/8″ seam allowance when cutting out your fabric.
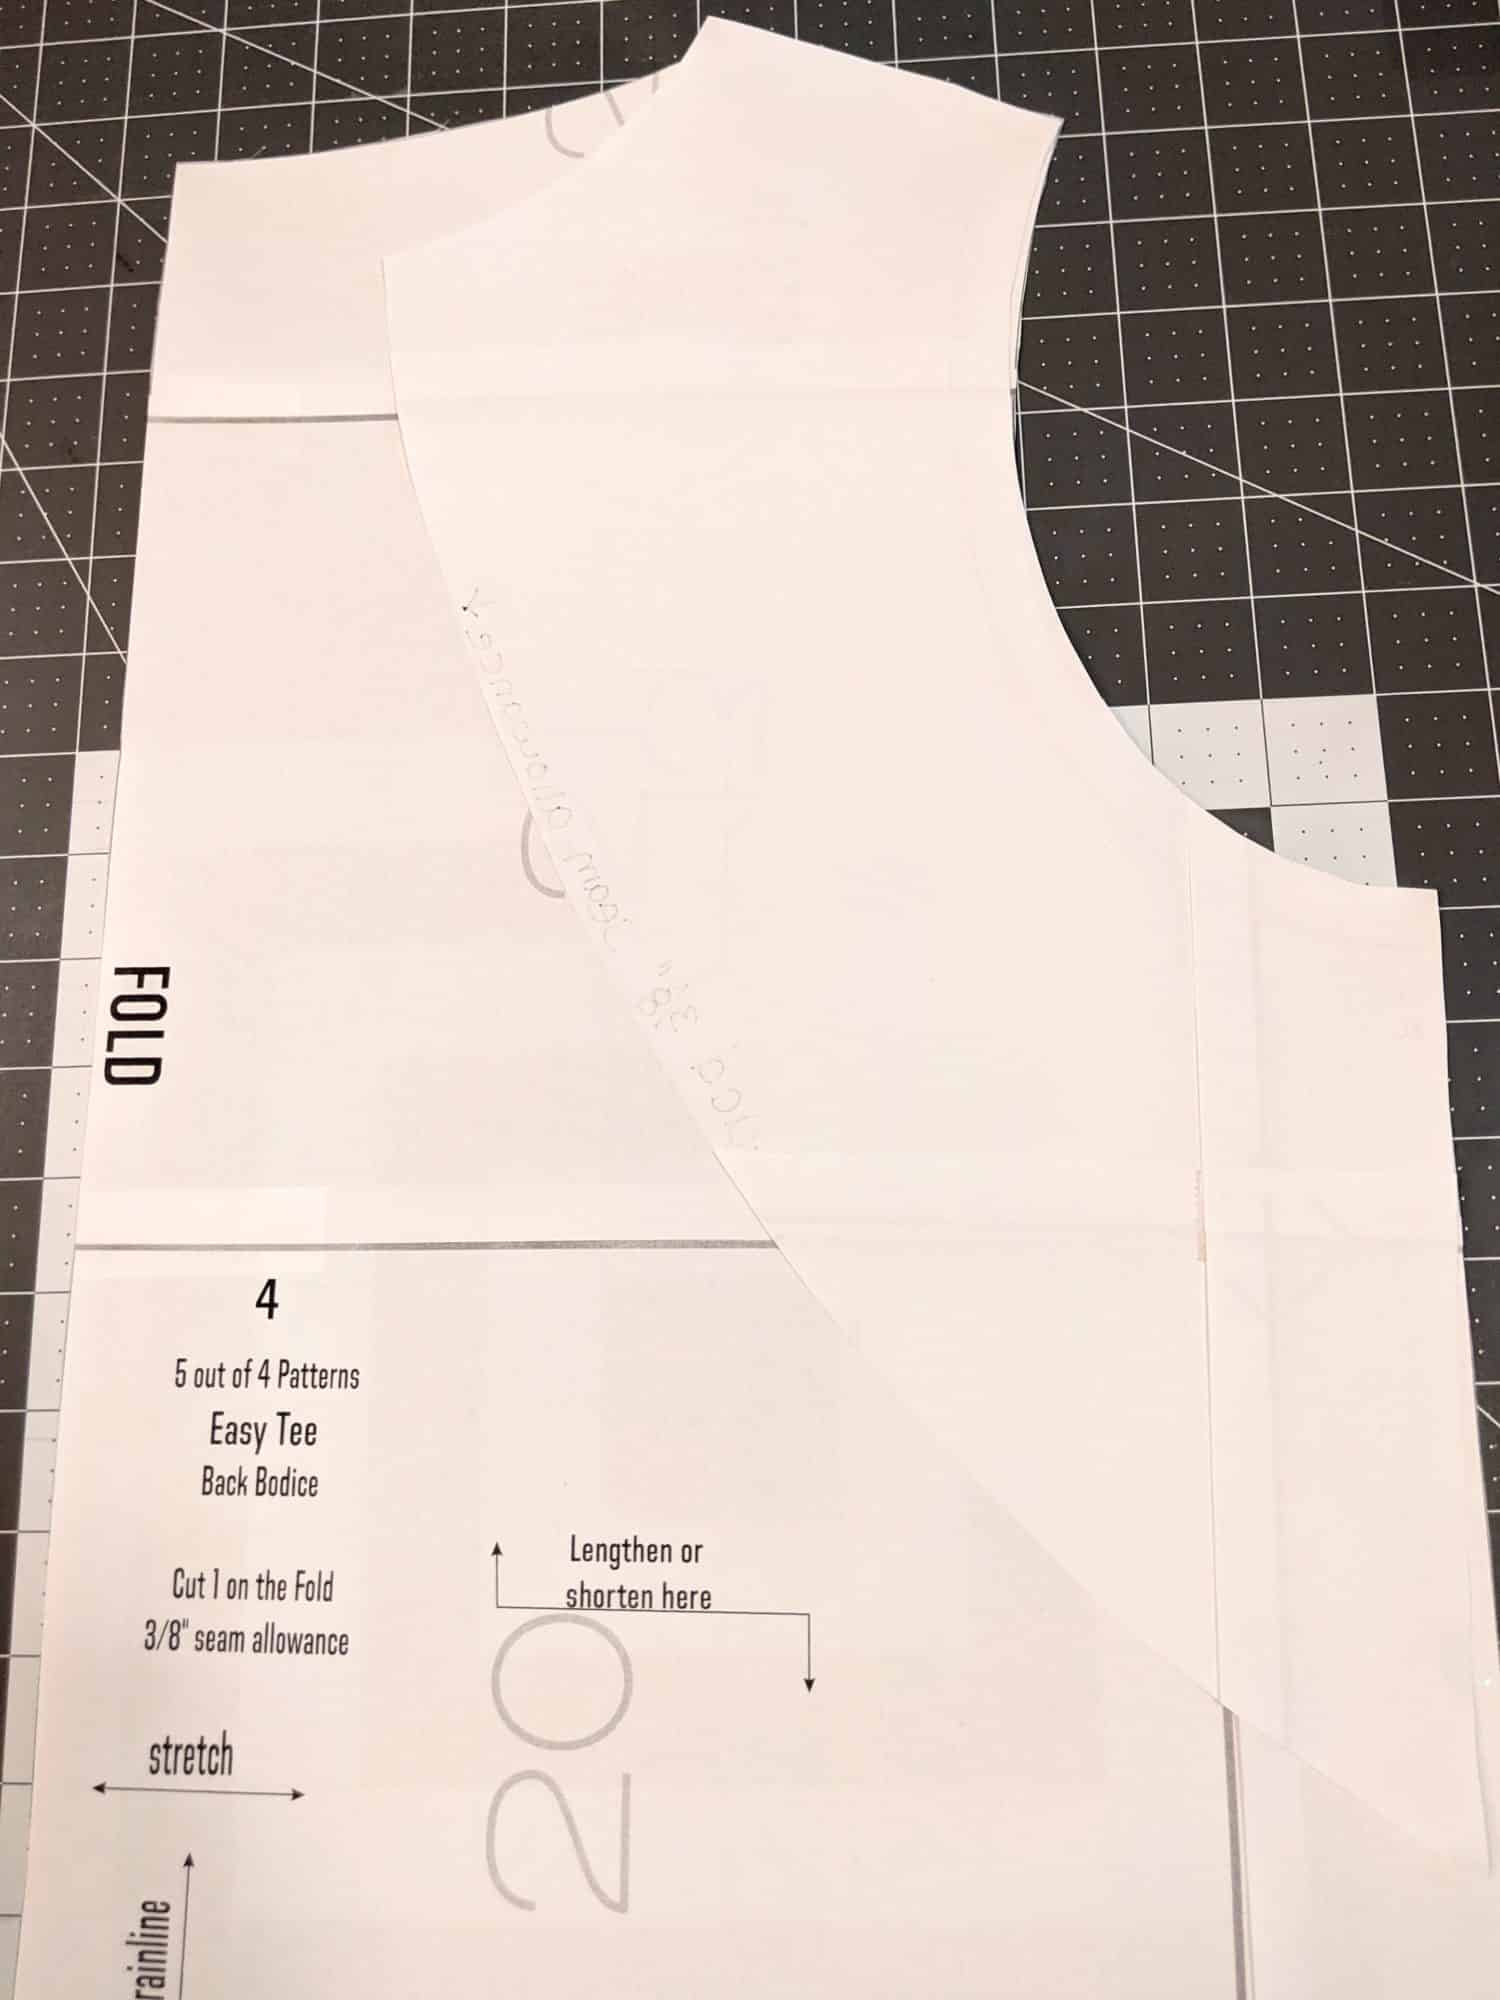
- Lay out your back bodice piece and stack the top section of the front bodice on top of it lining them up at the armscye and shoulder.
- Trace along the edge of the front bodice piece to make the back bodice match up with the front.
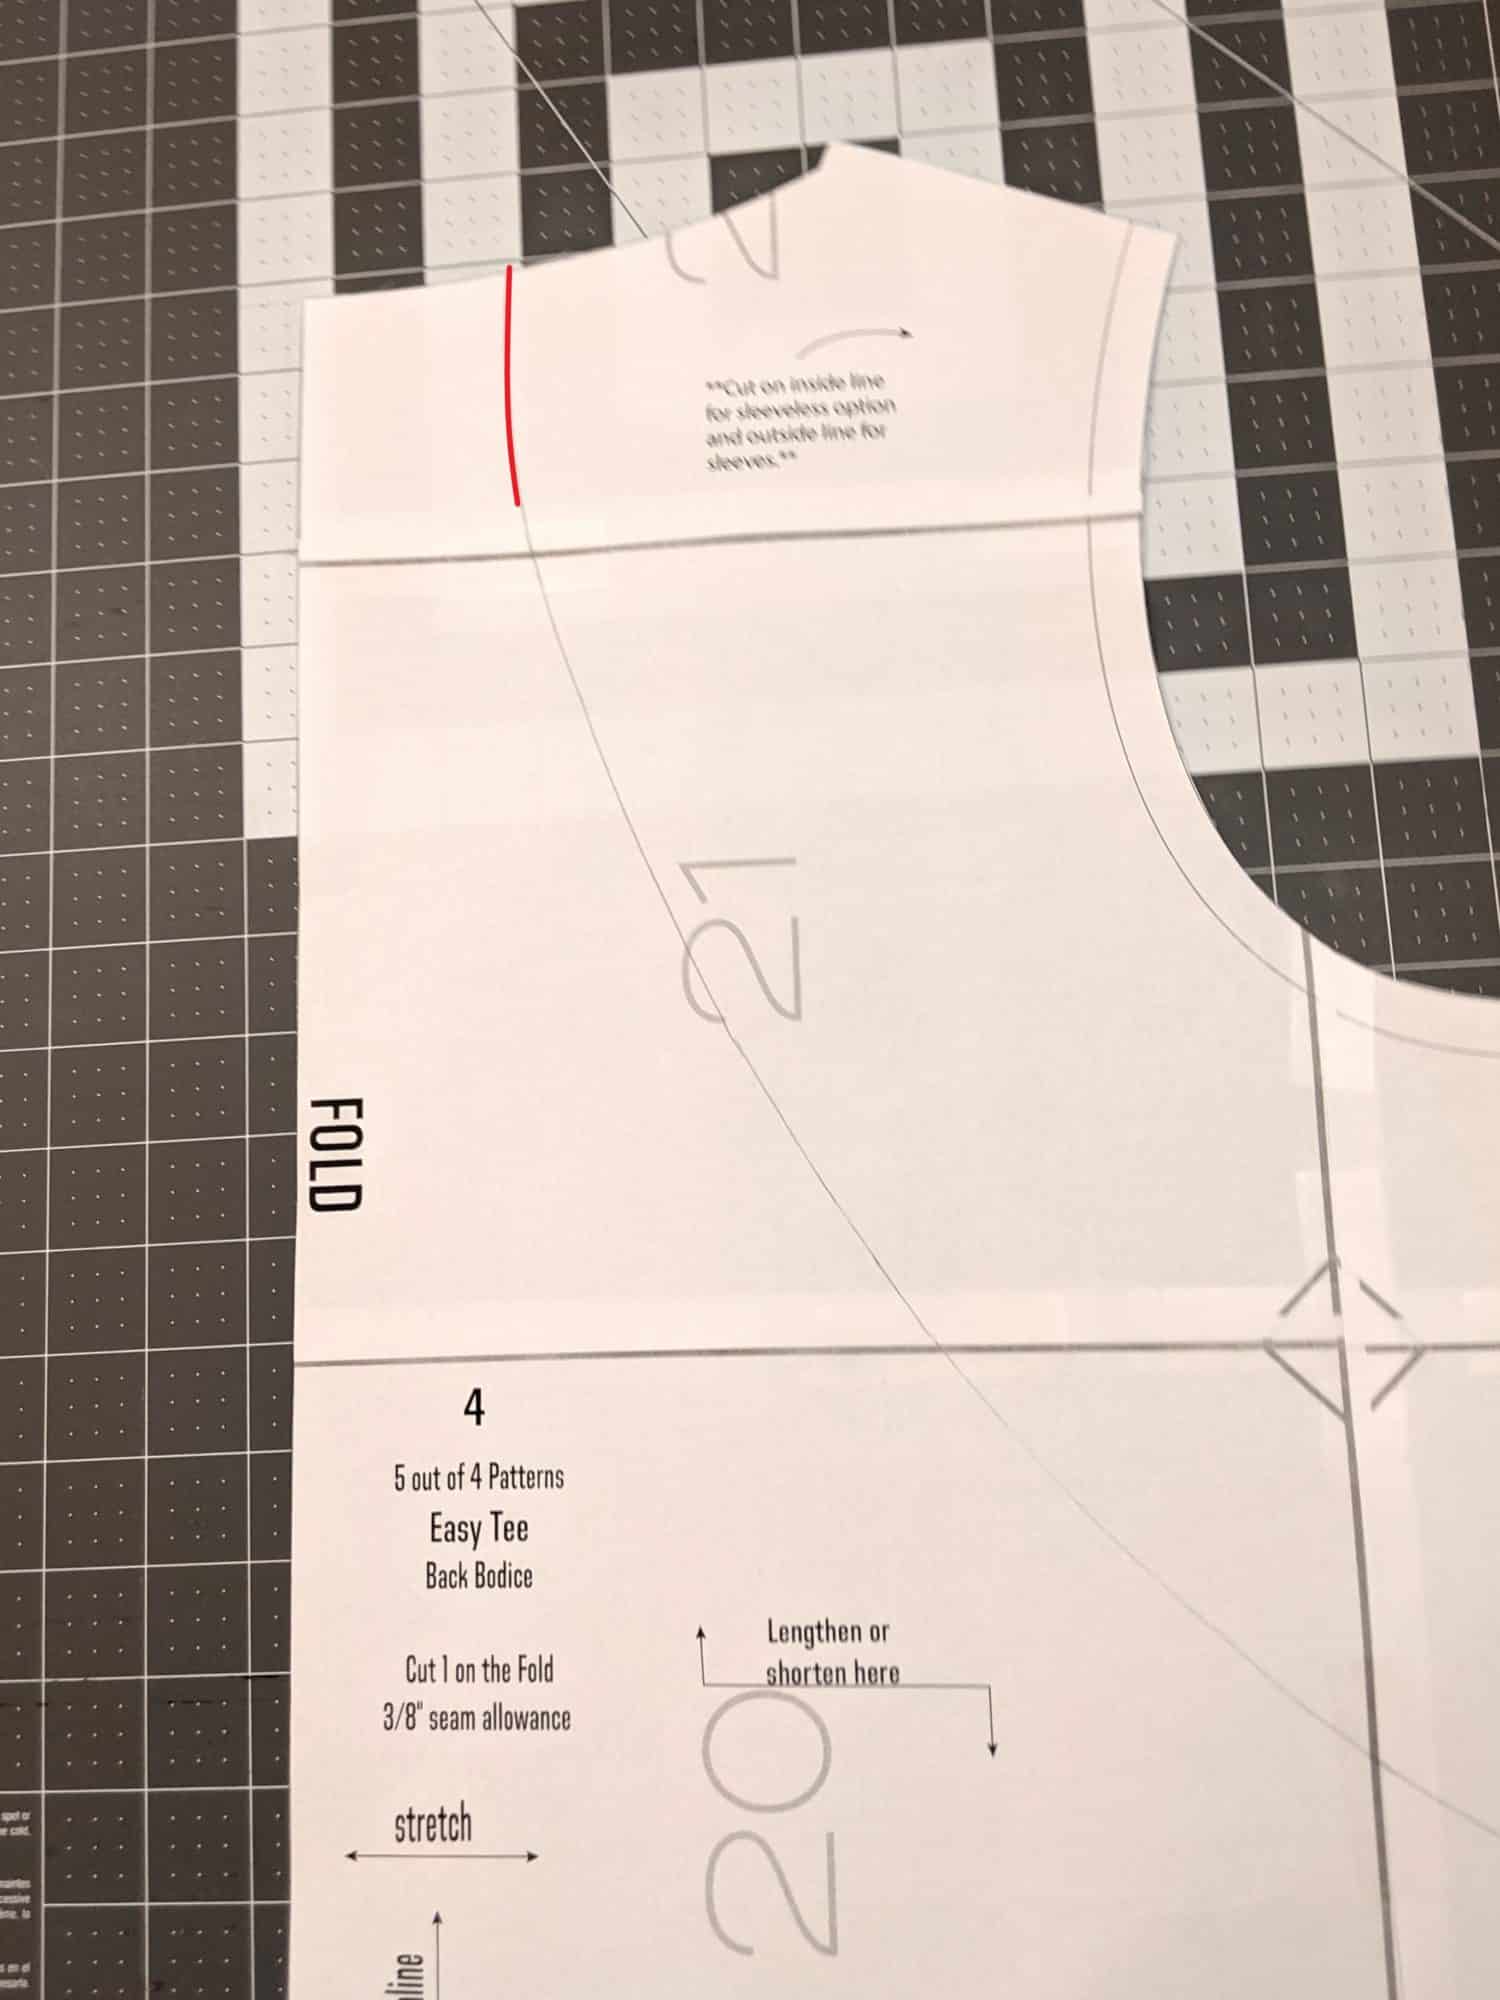
- Your back bodice is taller at the neckline than the front bodice, so you will continue your line up to the top of the neckline.
- Cut apart and write on the pieces to add in the seam allowance.
Sleeves
There are a few options for the sleeves. For mine, I cut it at the short sleeve length with a band just as you would normally with the pattern. For my daughter’s, I cut 3/8″ below the short sleeve cut line to add in the seam allowance, then cut the bottom section of the sleeve in the main bodice fabric. You can also just go with one fabric for the whole sleeve at whichever length you want. If you need more instruction on how to color-block the sleeves, you can check out how to do this on a different blog post HERE.
Optional Piping
Piping is a fun way to give your garment a little extra detailing. Measure along the edge of each place you will be adding the piping to find the measurement for your particular size, then cut your fabric pieces that long by 1.25″ wide. I will show how to attach those pieces as we get to that step.
Cutting Everything out
- 1 front bodice cut on the fold in your main fabric
- 1 back bodice cut on the fold in your main fabric
- Raglan accent pieces: cut 2 mirrored front pieces and 2 mirrored back pieces
- Sleeves: cut 2 mirrored in the desired length and any color-blocking sections you have decided on.
- Any other pieces, cut as outlined in the tutorial
Put it all Together!
- Start with your front bodice piece and lay it right side up.
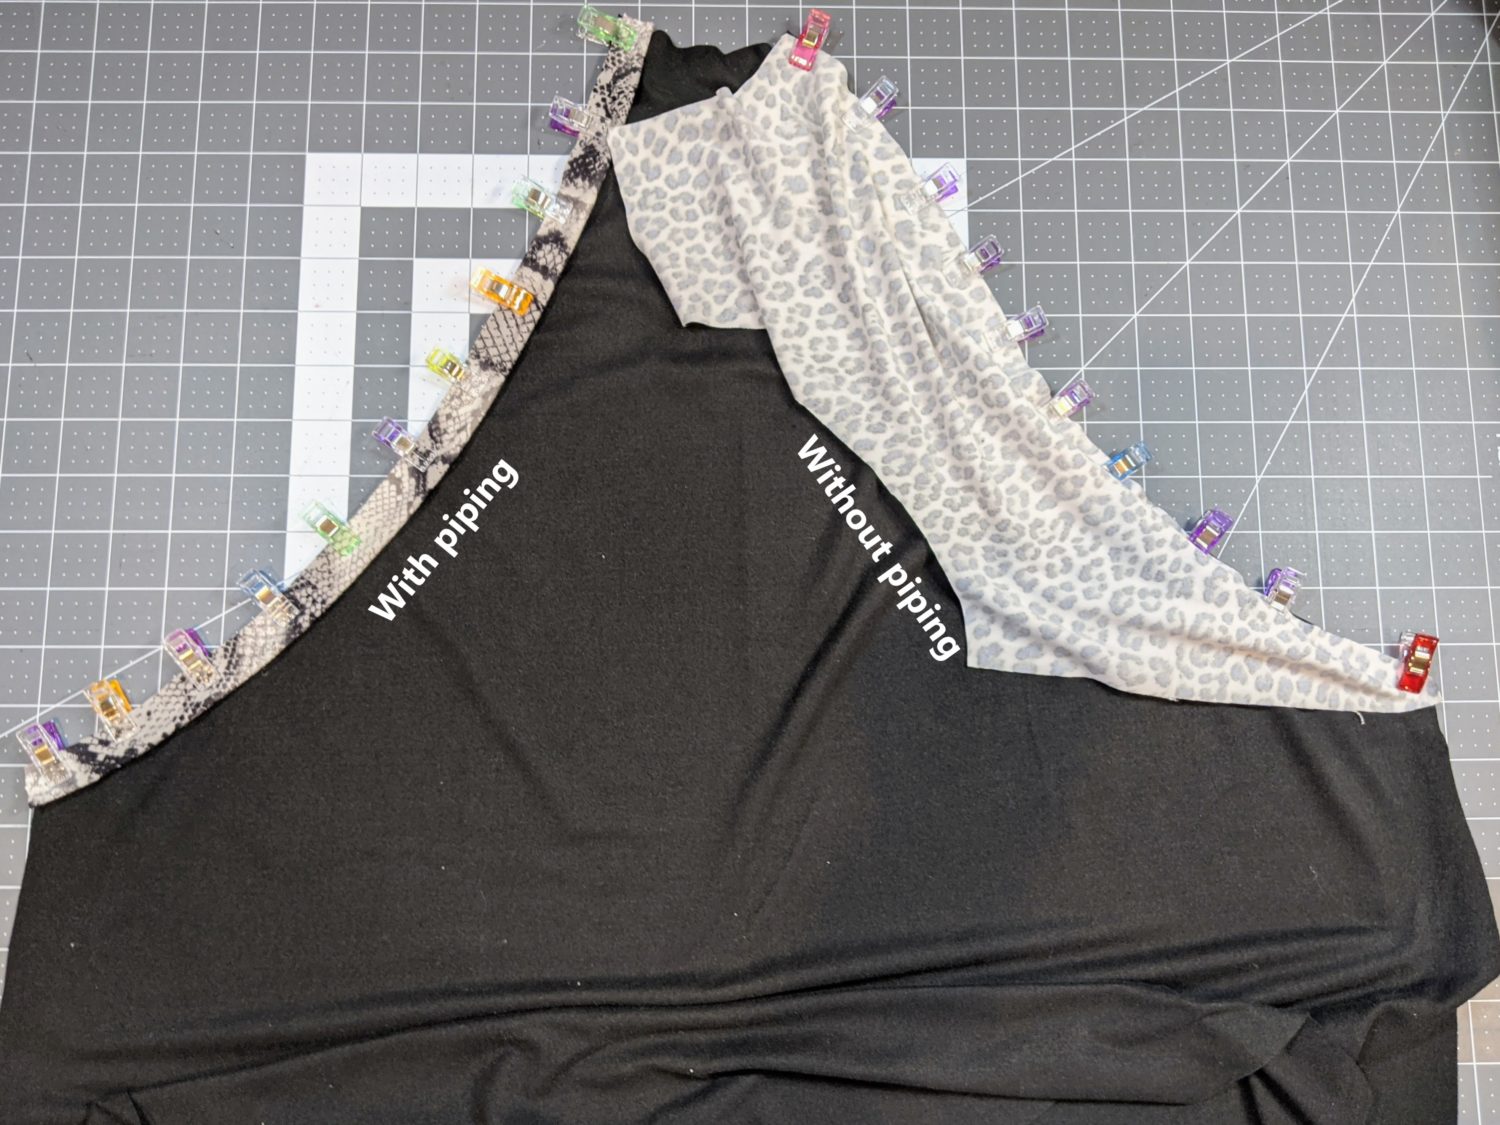
- If you are adding piping, fold it in half longways and press, then line up the raw edges of the piping along the raw curved edge of the bodice. (see pictures below)
- Both with and without piping, lay the accent piece on top of the main bodice with right sides together, line up the curved edges and pin in place.
- When adding piping, I prefer to baste my pieces in place, then open it and make sure everything is lined up and straight before serging over it.
- Sew with a stretch stitch or serge along the pinned edges.
- Repeat with back bodice pieces.

Piping
Fold piping in half and press 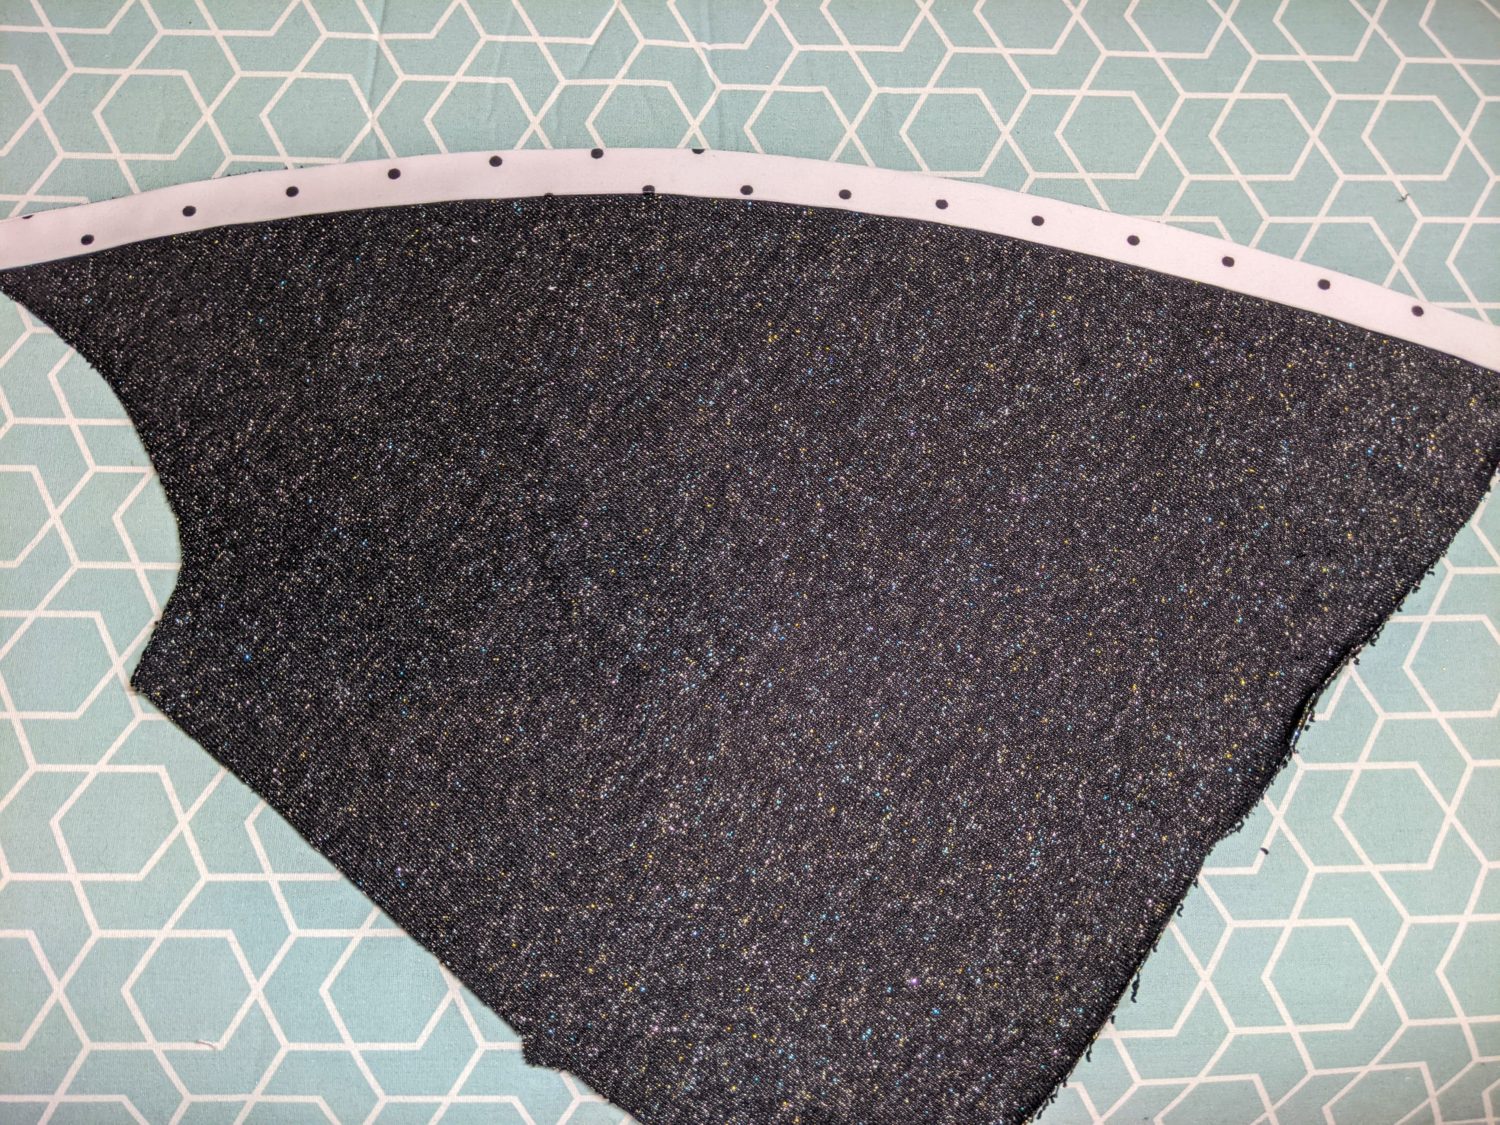
Line up raw edges on the curve 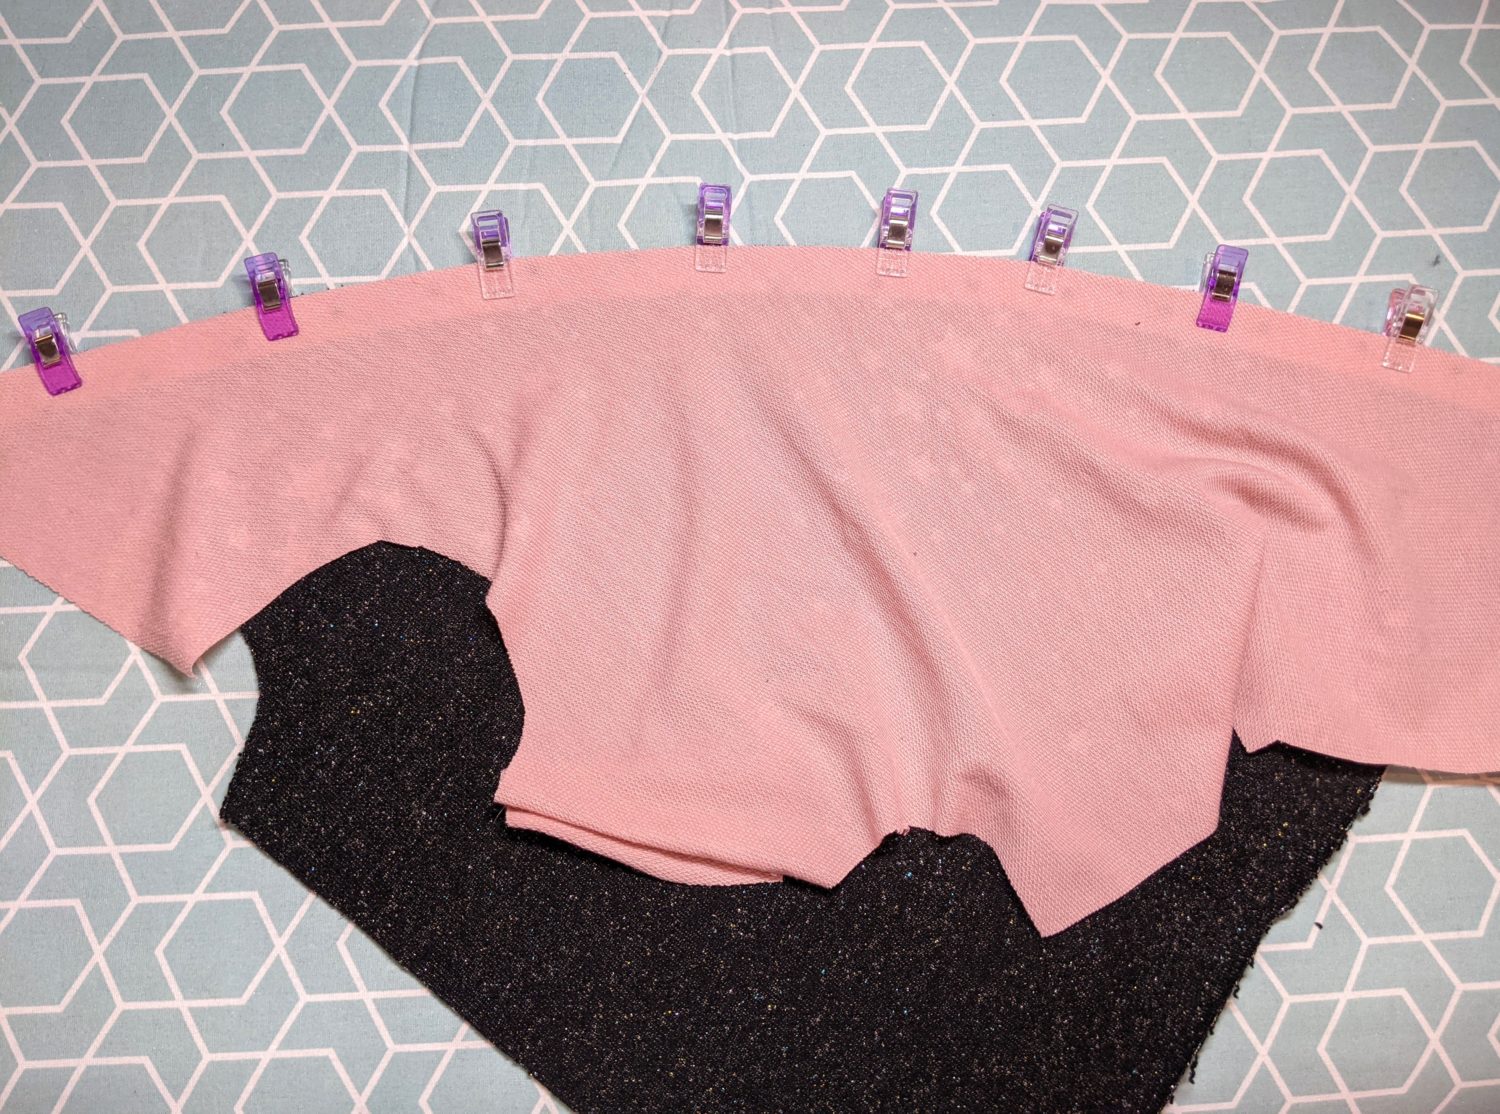
Lay the accent piece on top 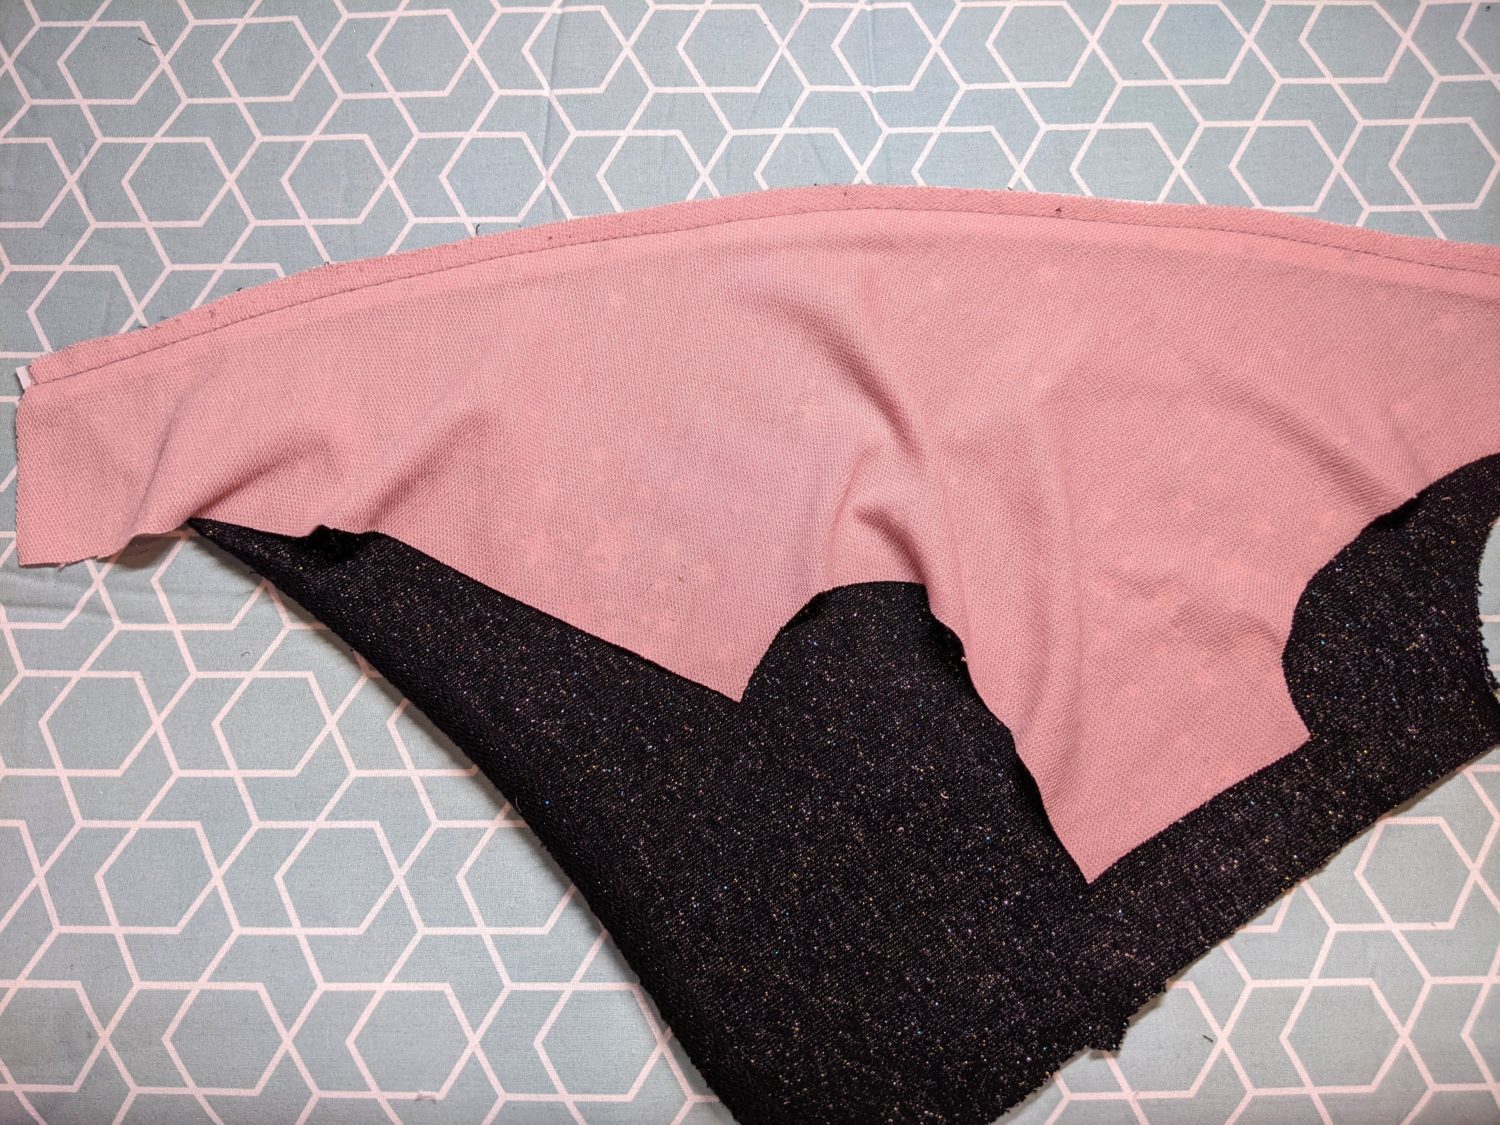
Baste in place and check your work 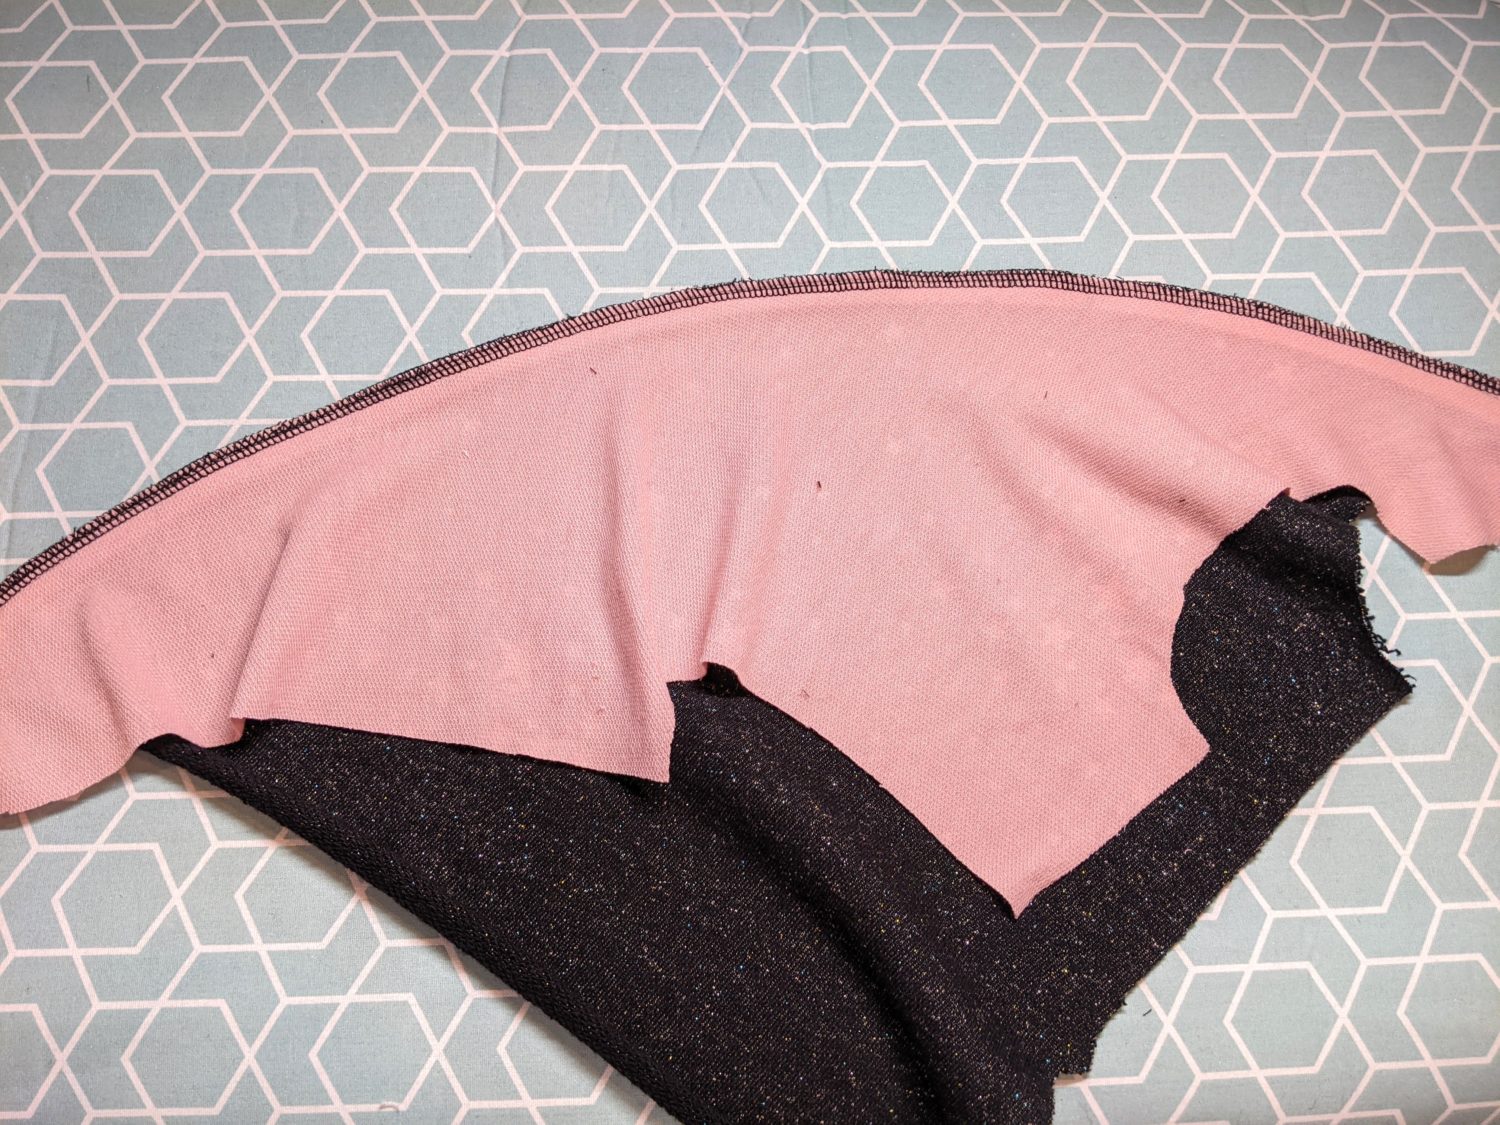
Serge or sew together
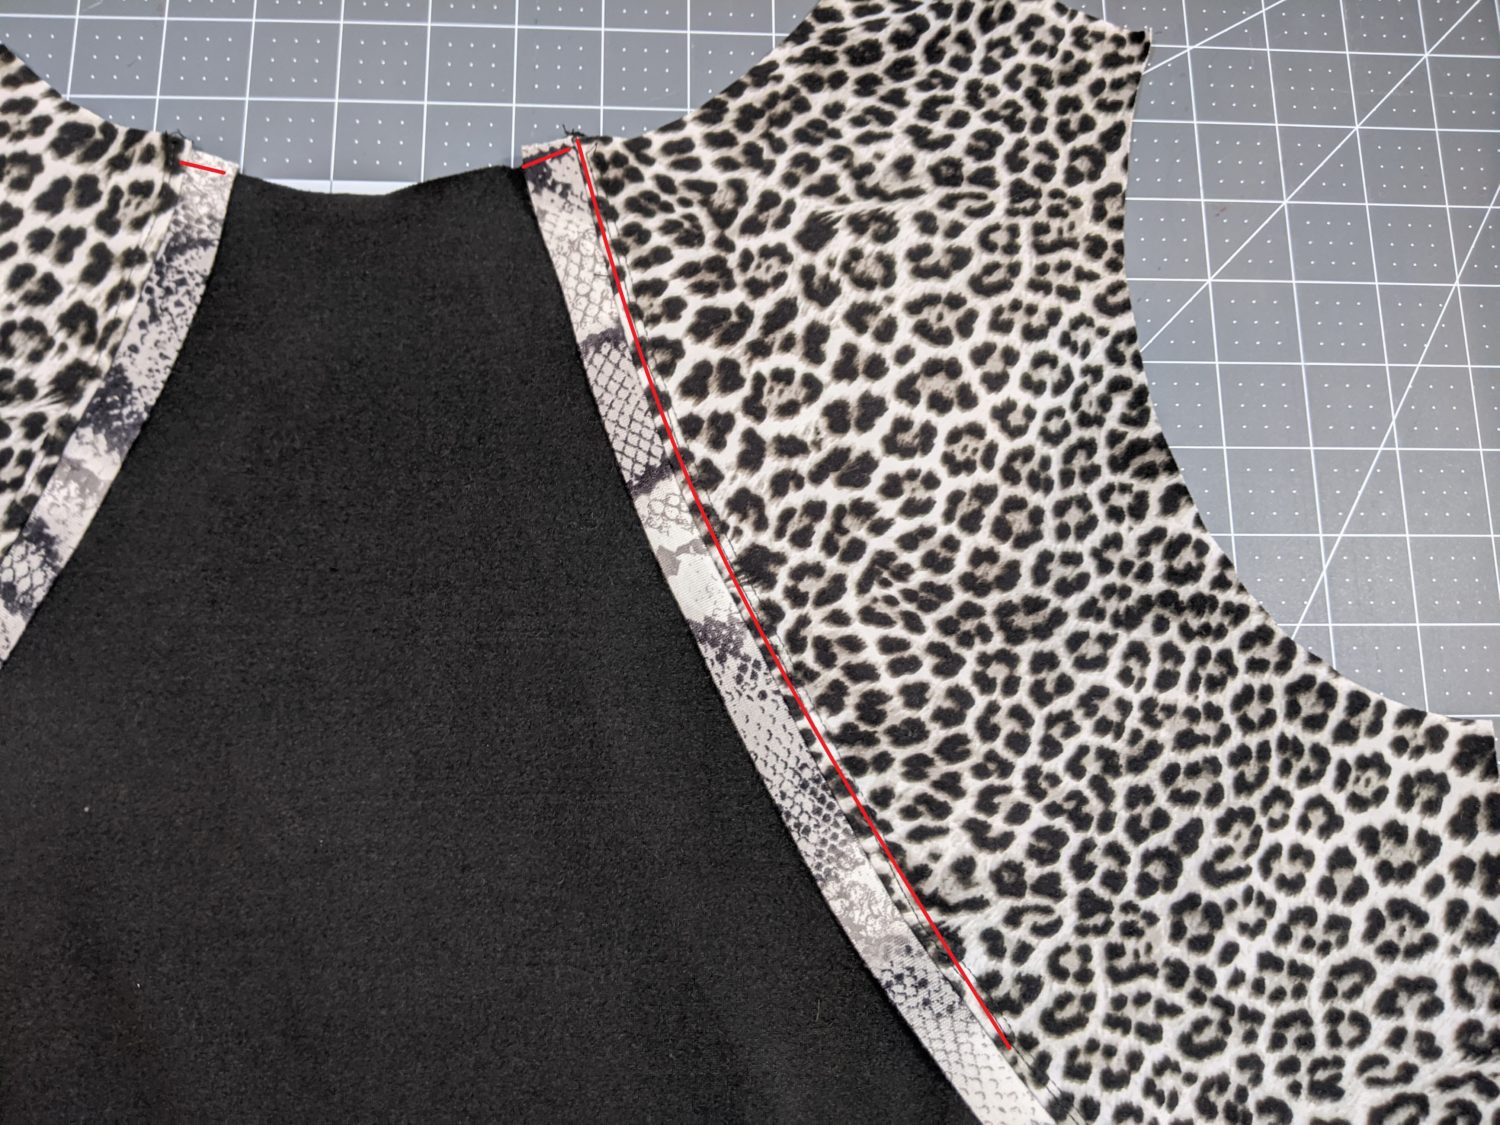
- Press your seam allowance towards the accent and the piping towards the main bodice.
- Topstitch along the seam allowance.
- If you have piping, baste the top edge of the piping in place at the neckline to keep it in place when you attach the neckband.
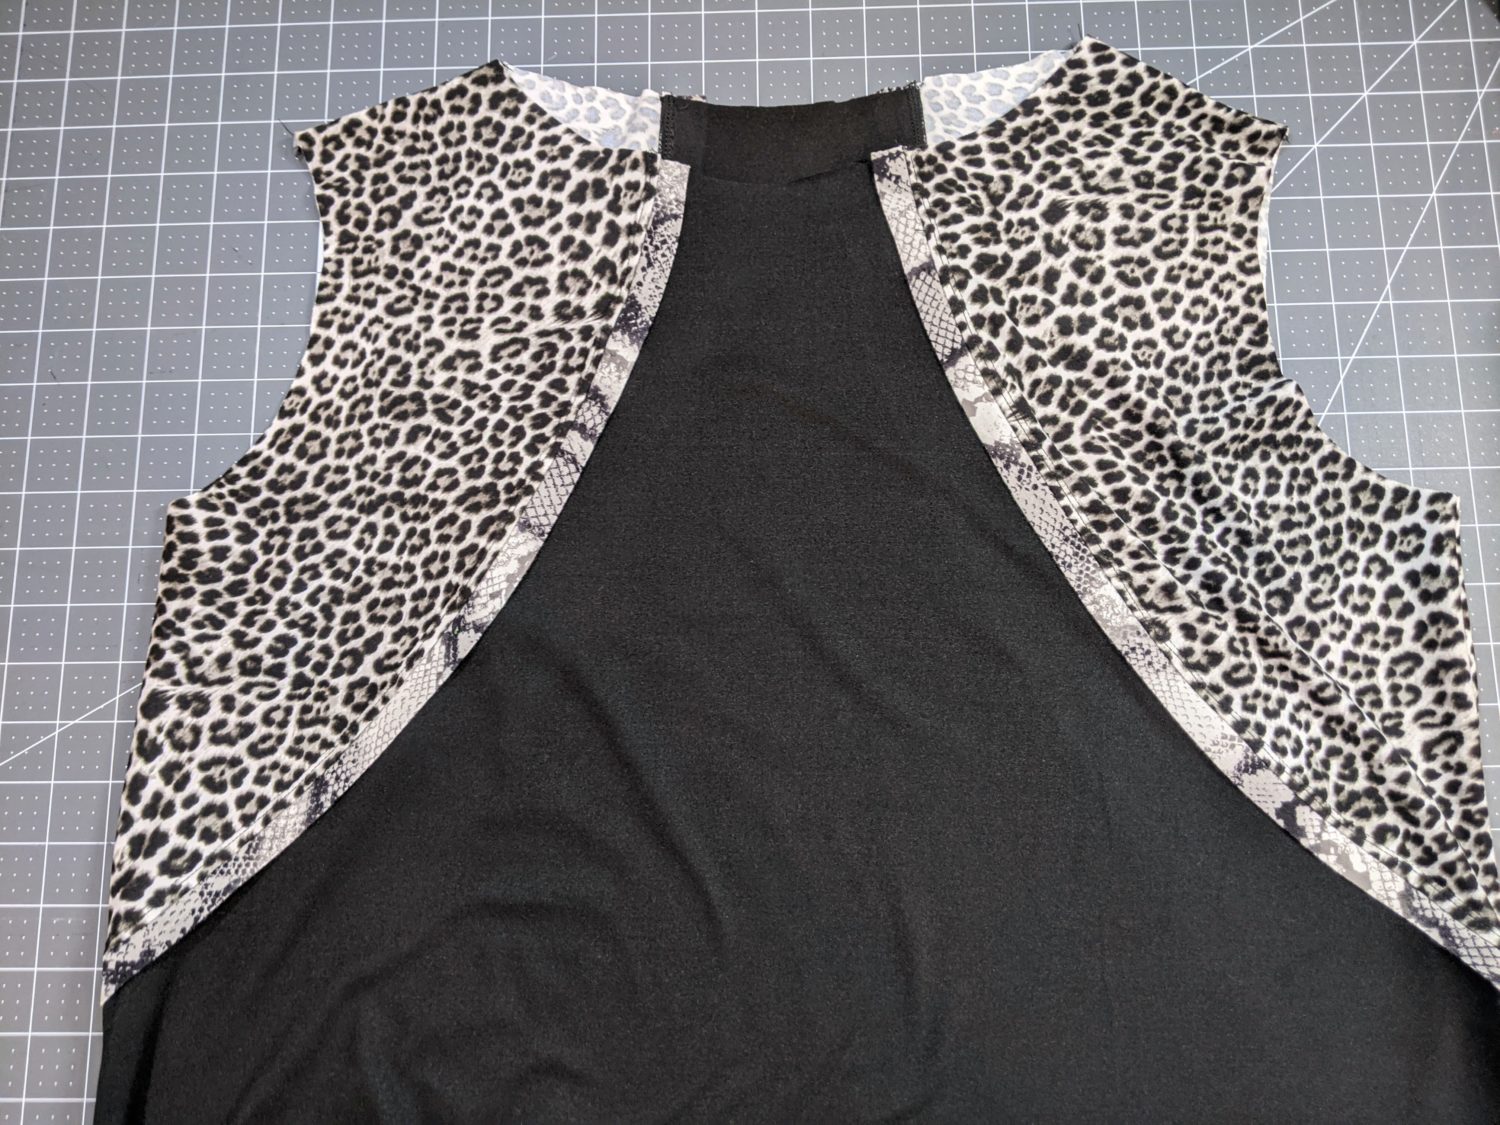
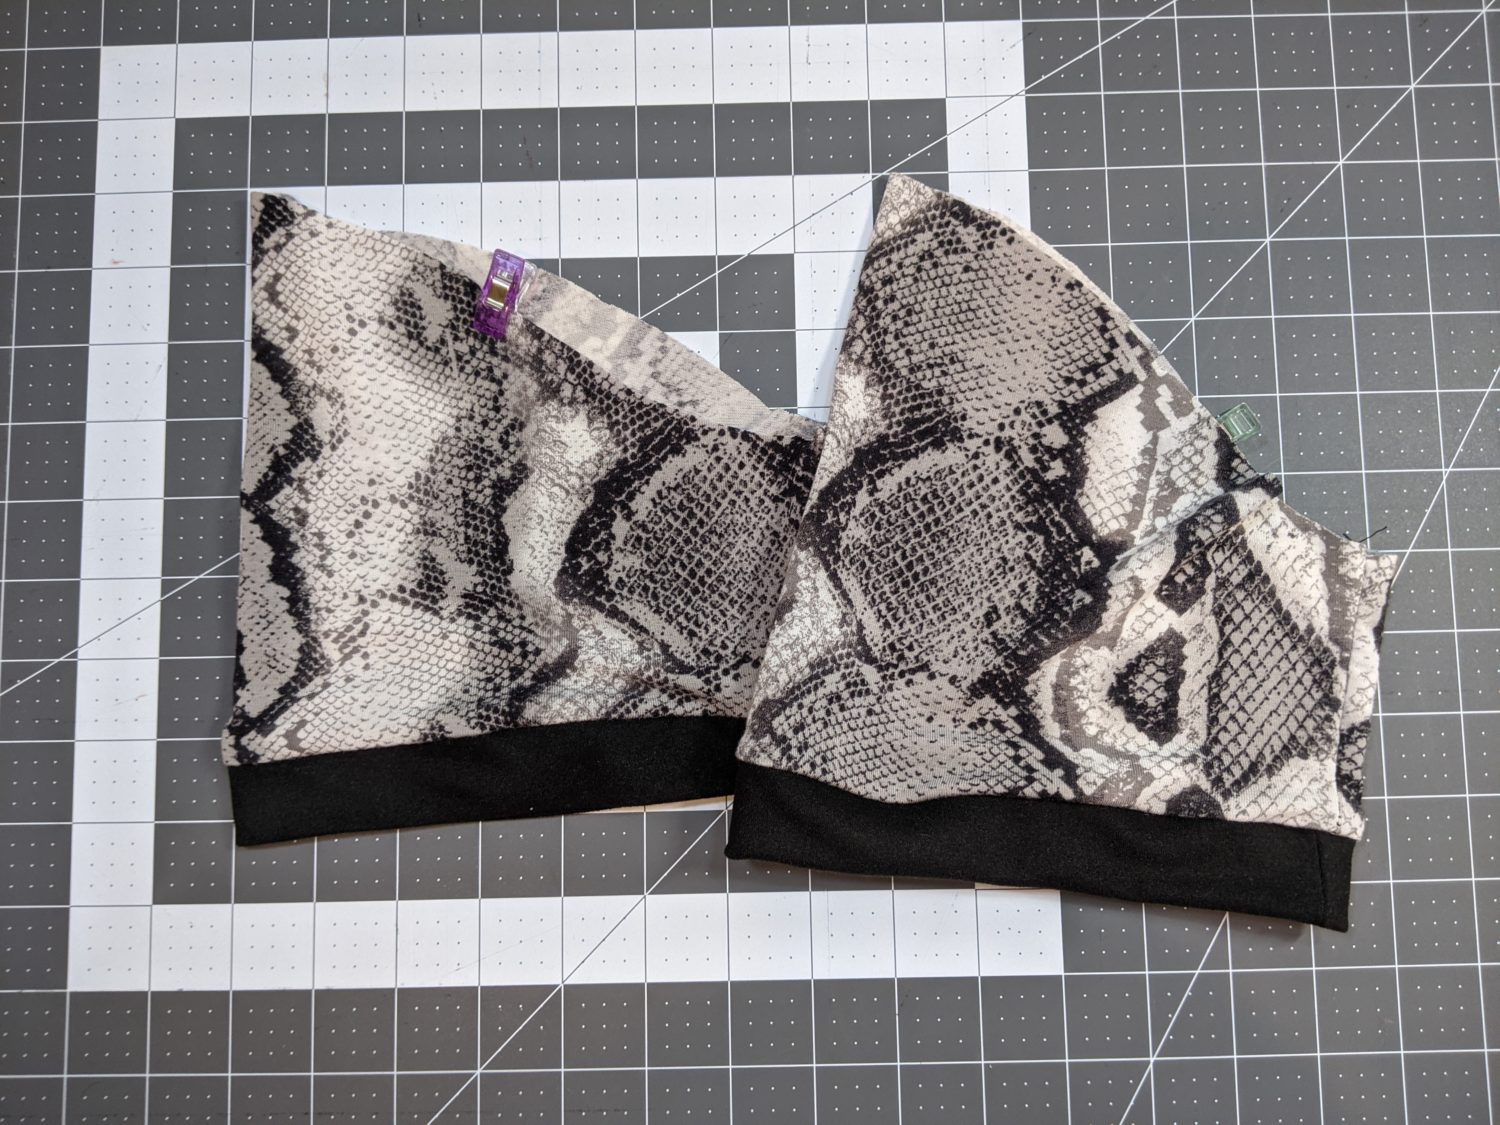
- Place the front and back bodices right sides together and pin at the shoulder seams.
- Line up the sides of the front and back bodices, making sure to match up the main, accent, and piping and pin in place.
- Sew along the shoulders and sides of the bodice.
Finishing up
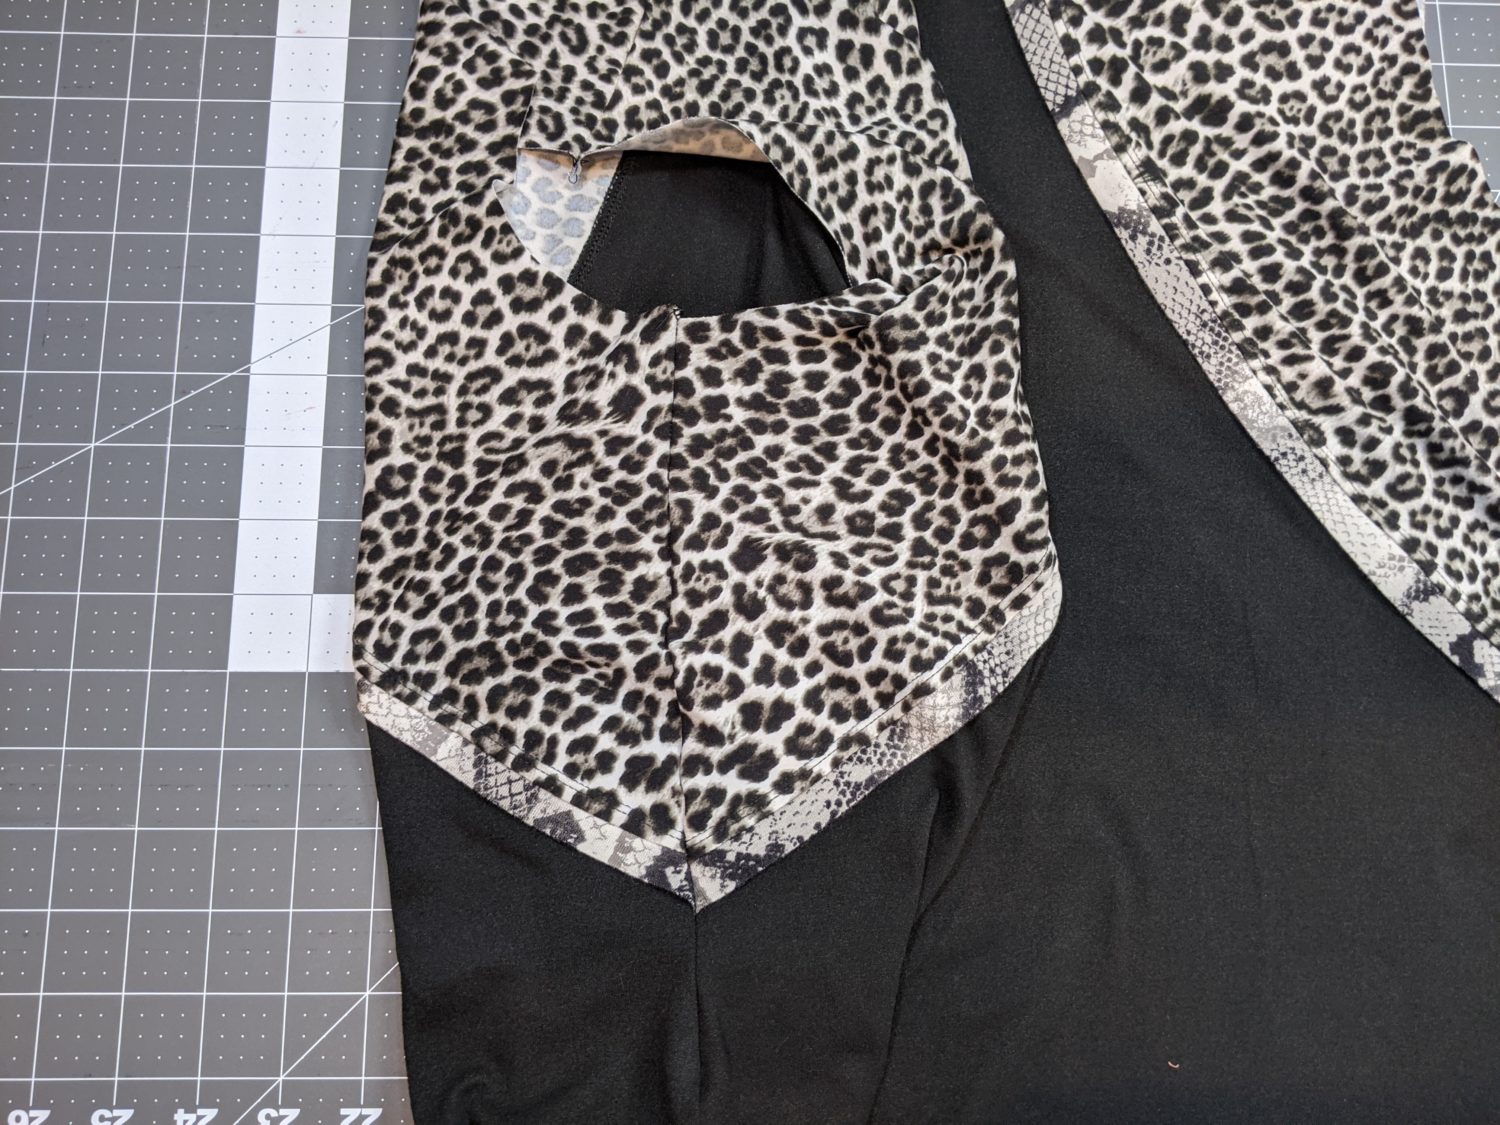
Even though this hack makes the shirt look like a raglan sleeve, it still keeps the original set-in sleeve of the Easy Tee pattern.
- If you have chosen to color-block the sleeve in any way, sew those sleeve pieces together first to create the full sleeve.
- Continue by following the tutorial to sew the sleeve together and attach it to the armscye.
- Sew on the neckband.
- Finish the hem per the tutorial for your selected hem finish.
Go mix and match and make something amazing!

Short sleeves with bands and piping detail 
Color-blocked sleeves without piping
Want more FUN DIY Freebies? Check out the FREEBIE TUTORIALS and the FREEBIE PATTERNS!
As always, we’re here to help if you need it! Join us HERE and on Facebook, Instagram, Twitter, Youtube, and Pinterest. We’re everywhere you are.
Leave a Reply