
My kids love playing dress up and celebrating holidays, so I thought that it would be fun to make a St. Patrick’s Day headband for them. One of my kids decided that she didn’t want a headband, so I also made a quick hair clip for her. This was a really easy and quick project to make. My daughter loves it! There is no machine sewing required, just a bit of hand sewing and you could even skip the hand sewing if you wanted to. Honestly, I made it for my kids, but adults can wear these, too! They’re fun no matter what your age! Want to see how I made my St. Patrick’s Day headband? Read on!
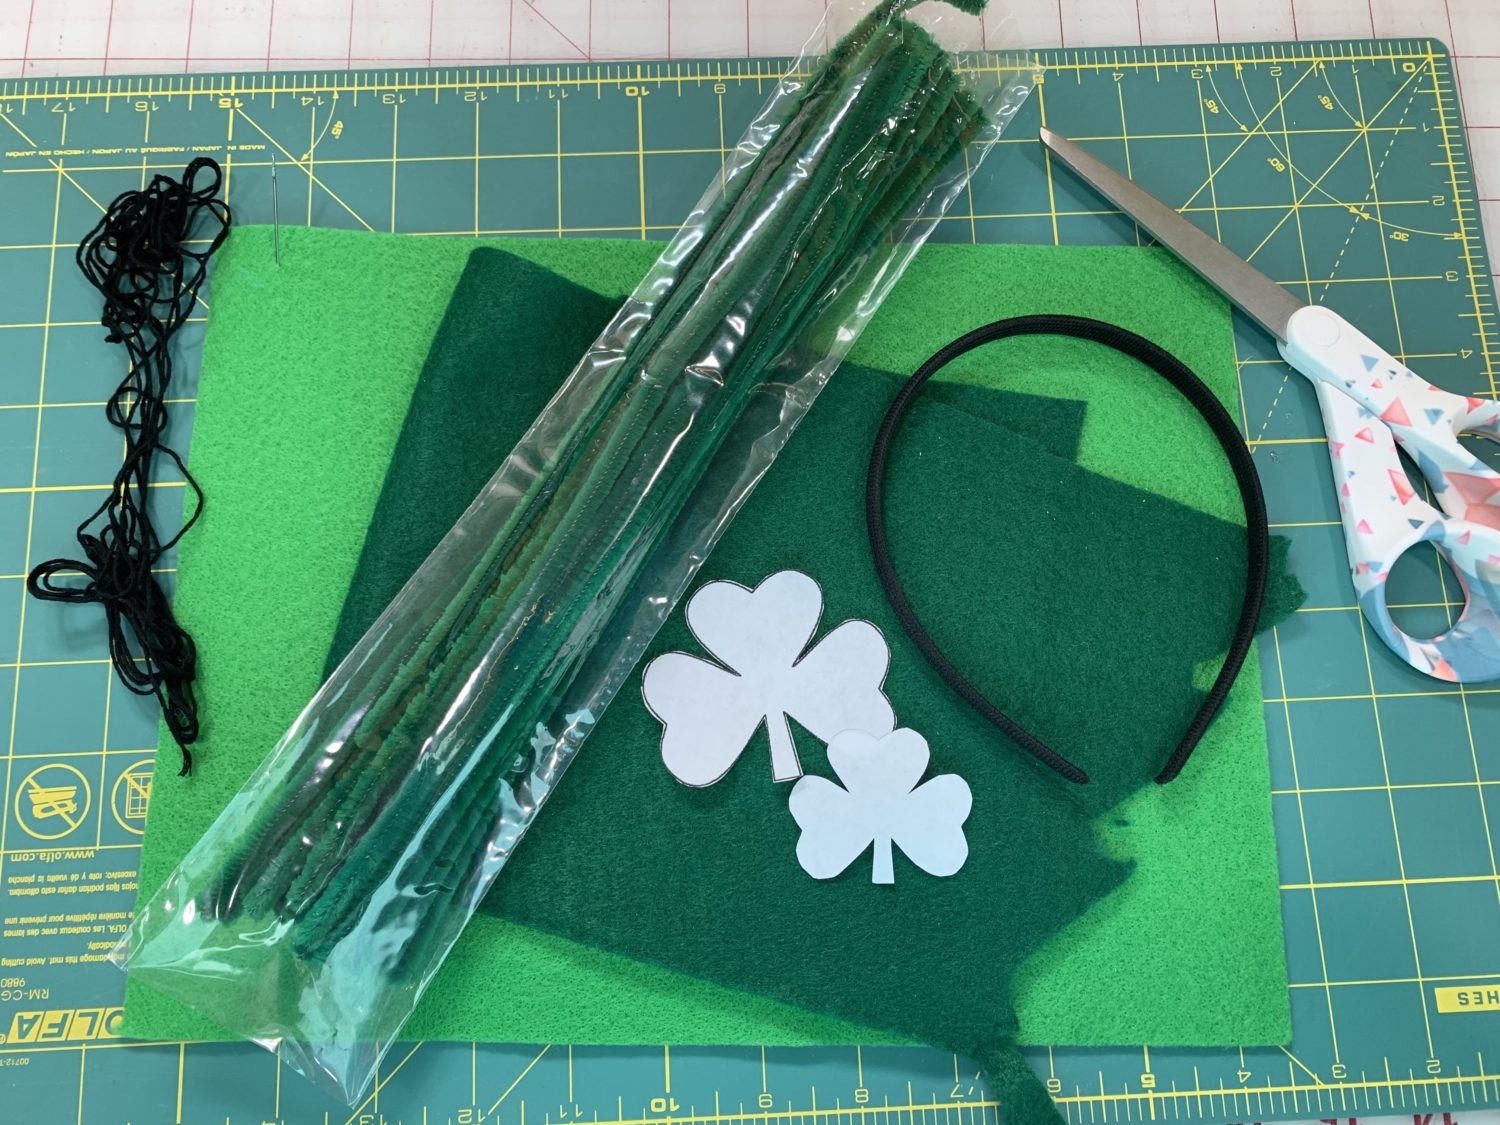
Materials
- Headband
- Green pipe cleaners
- Green felt (one color or various shades of green if you want to mix it up)
- Embroidery floss and needle
- Alligator hair clip (if you want to make a hair clip)
- Hot glue gun
- Shamrock template(s)-I used a 2 inch shamrock and a 1 inch shamrock
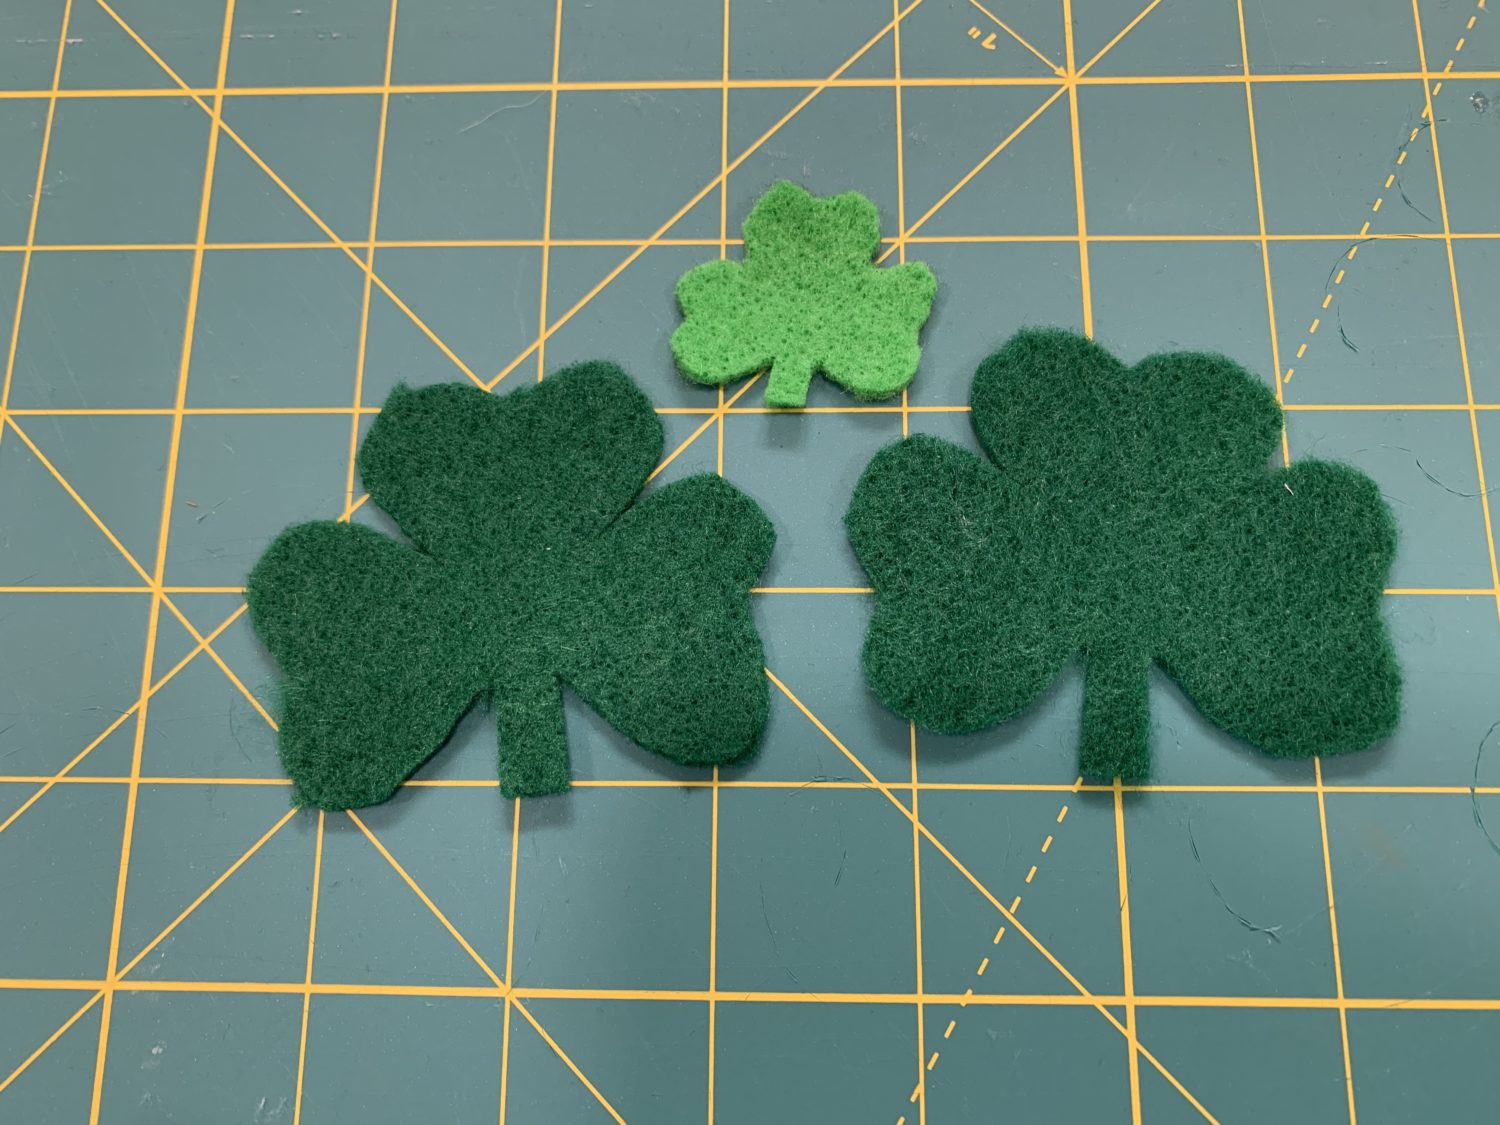
Cut shamrock pieces
- Use whatever template you’d like for the shamrocks. Cut out the paper pattern
- Use the paper pattern to cut your shamrock pieces
- You’ll need two pieces per shamrock (so, 4 total for 1 headband)
- If you want to use a smaller shamrock to accent the bigger pieces, cut 2 of those.
- Cut 2 pieces of embroidery floss (each at least 40 inches long)
Hand sew shamrocks
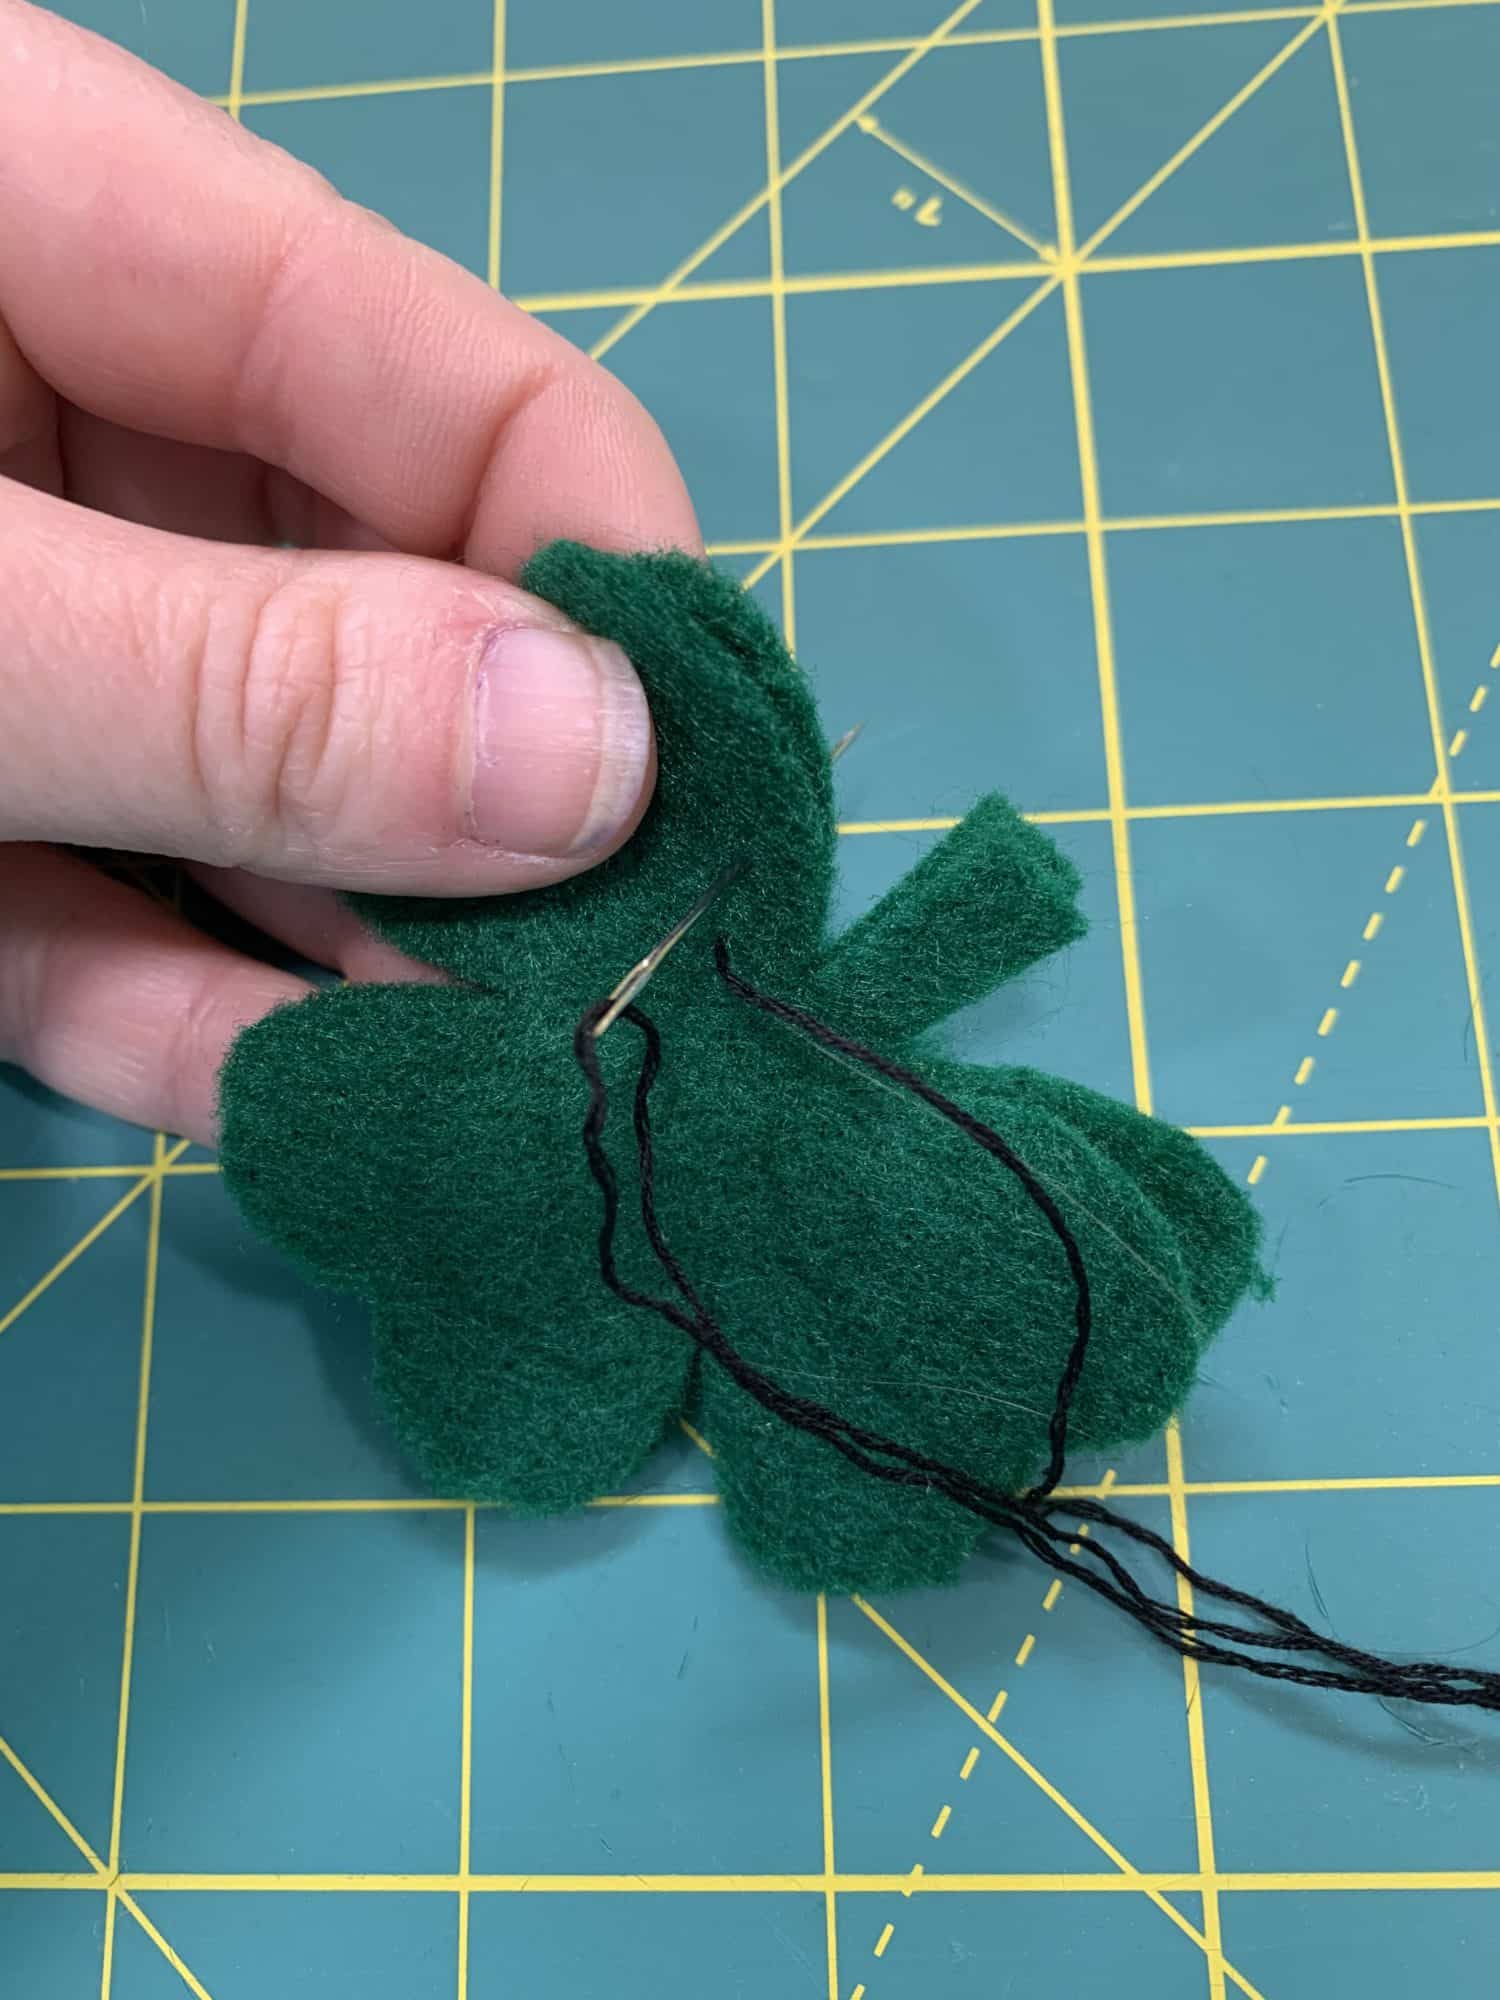
- Put two shamrock pieces wrong sides together
- Tie a knot at the end of the embroidery floss and thread the other end into the needle
- Place the needle through the the wrong side of the TOP shamrock piece so that the needle comes out of the top of the shamrock
- Pull thread all the way until the knot stops it
- This will conceal your knot on the inside of the shamrock
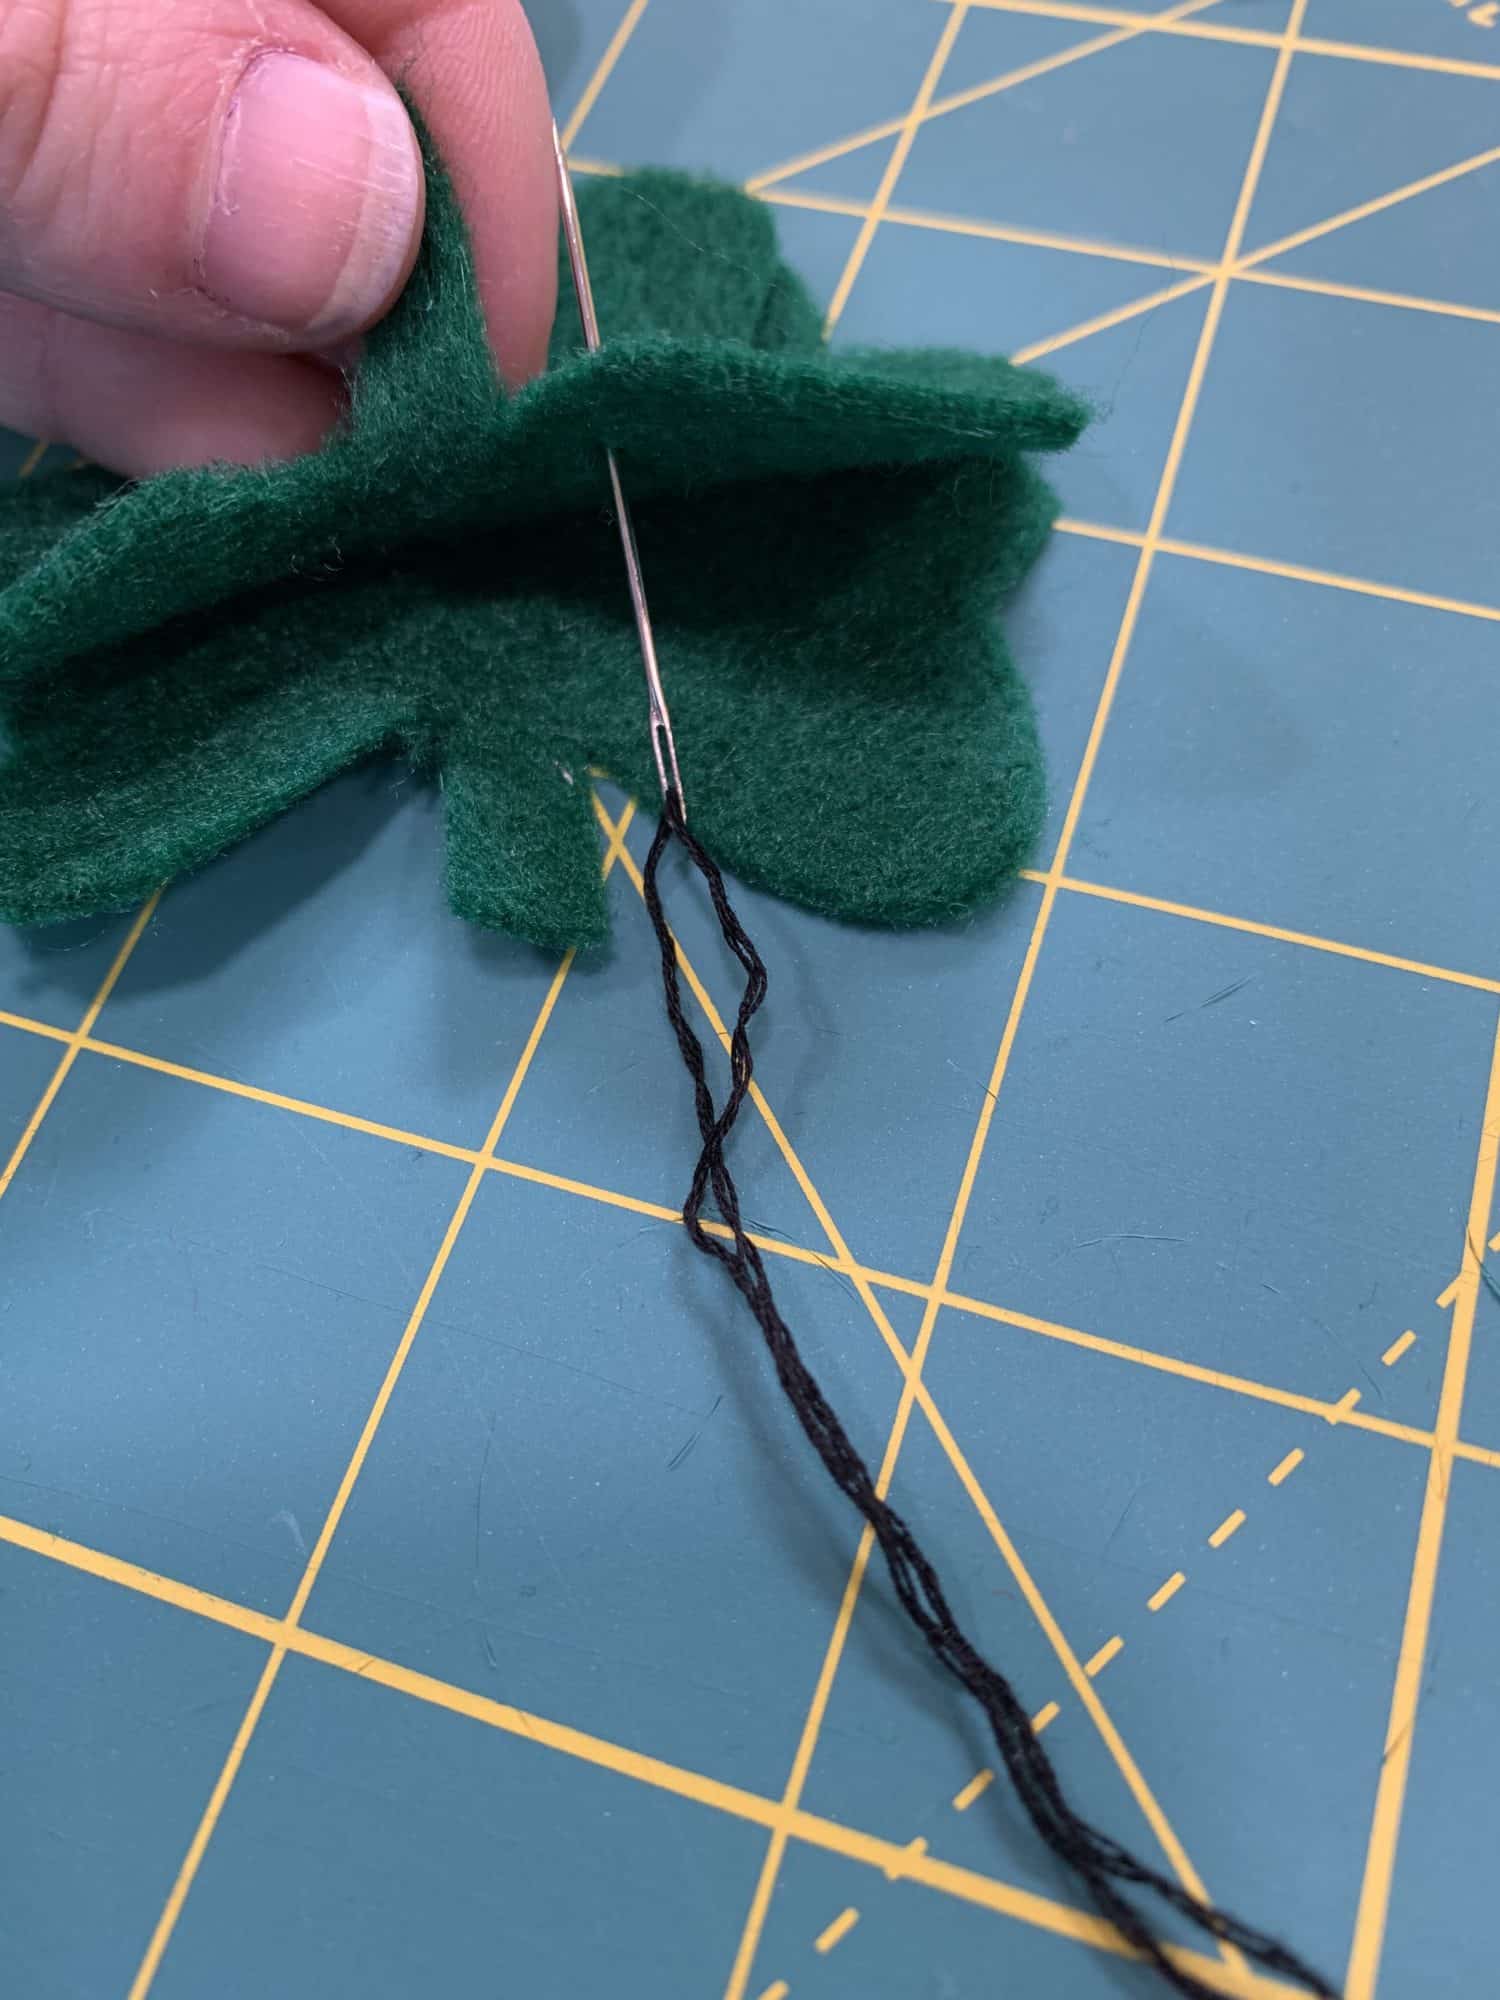
- Put the needle down through the top and through both pieces of felt.
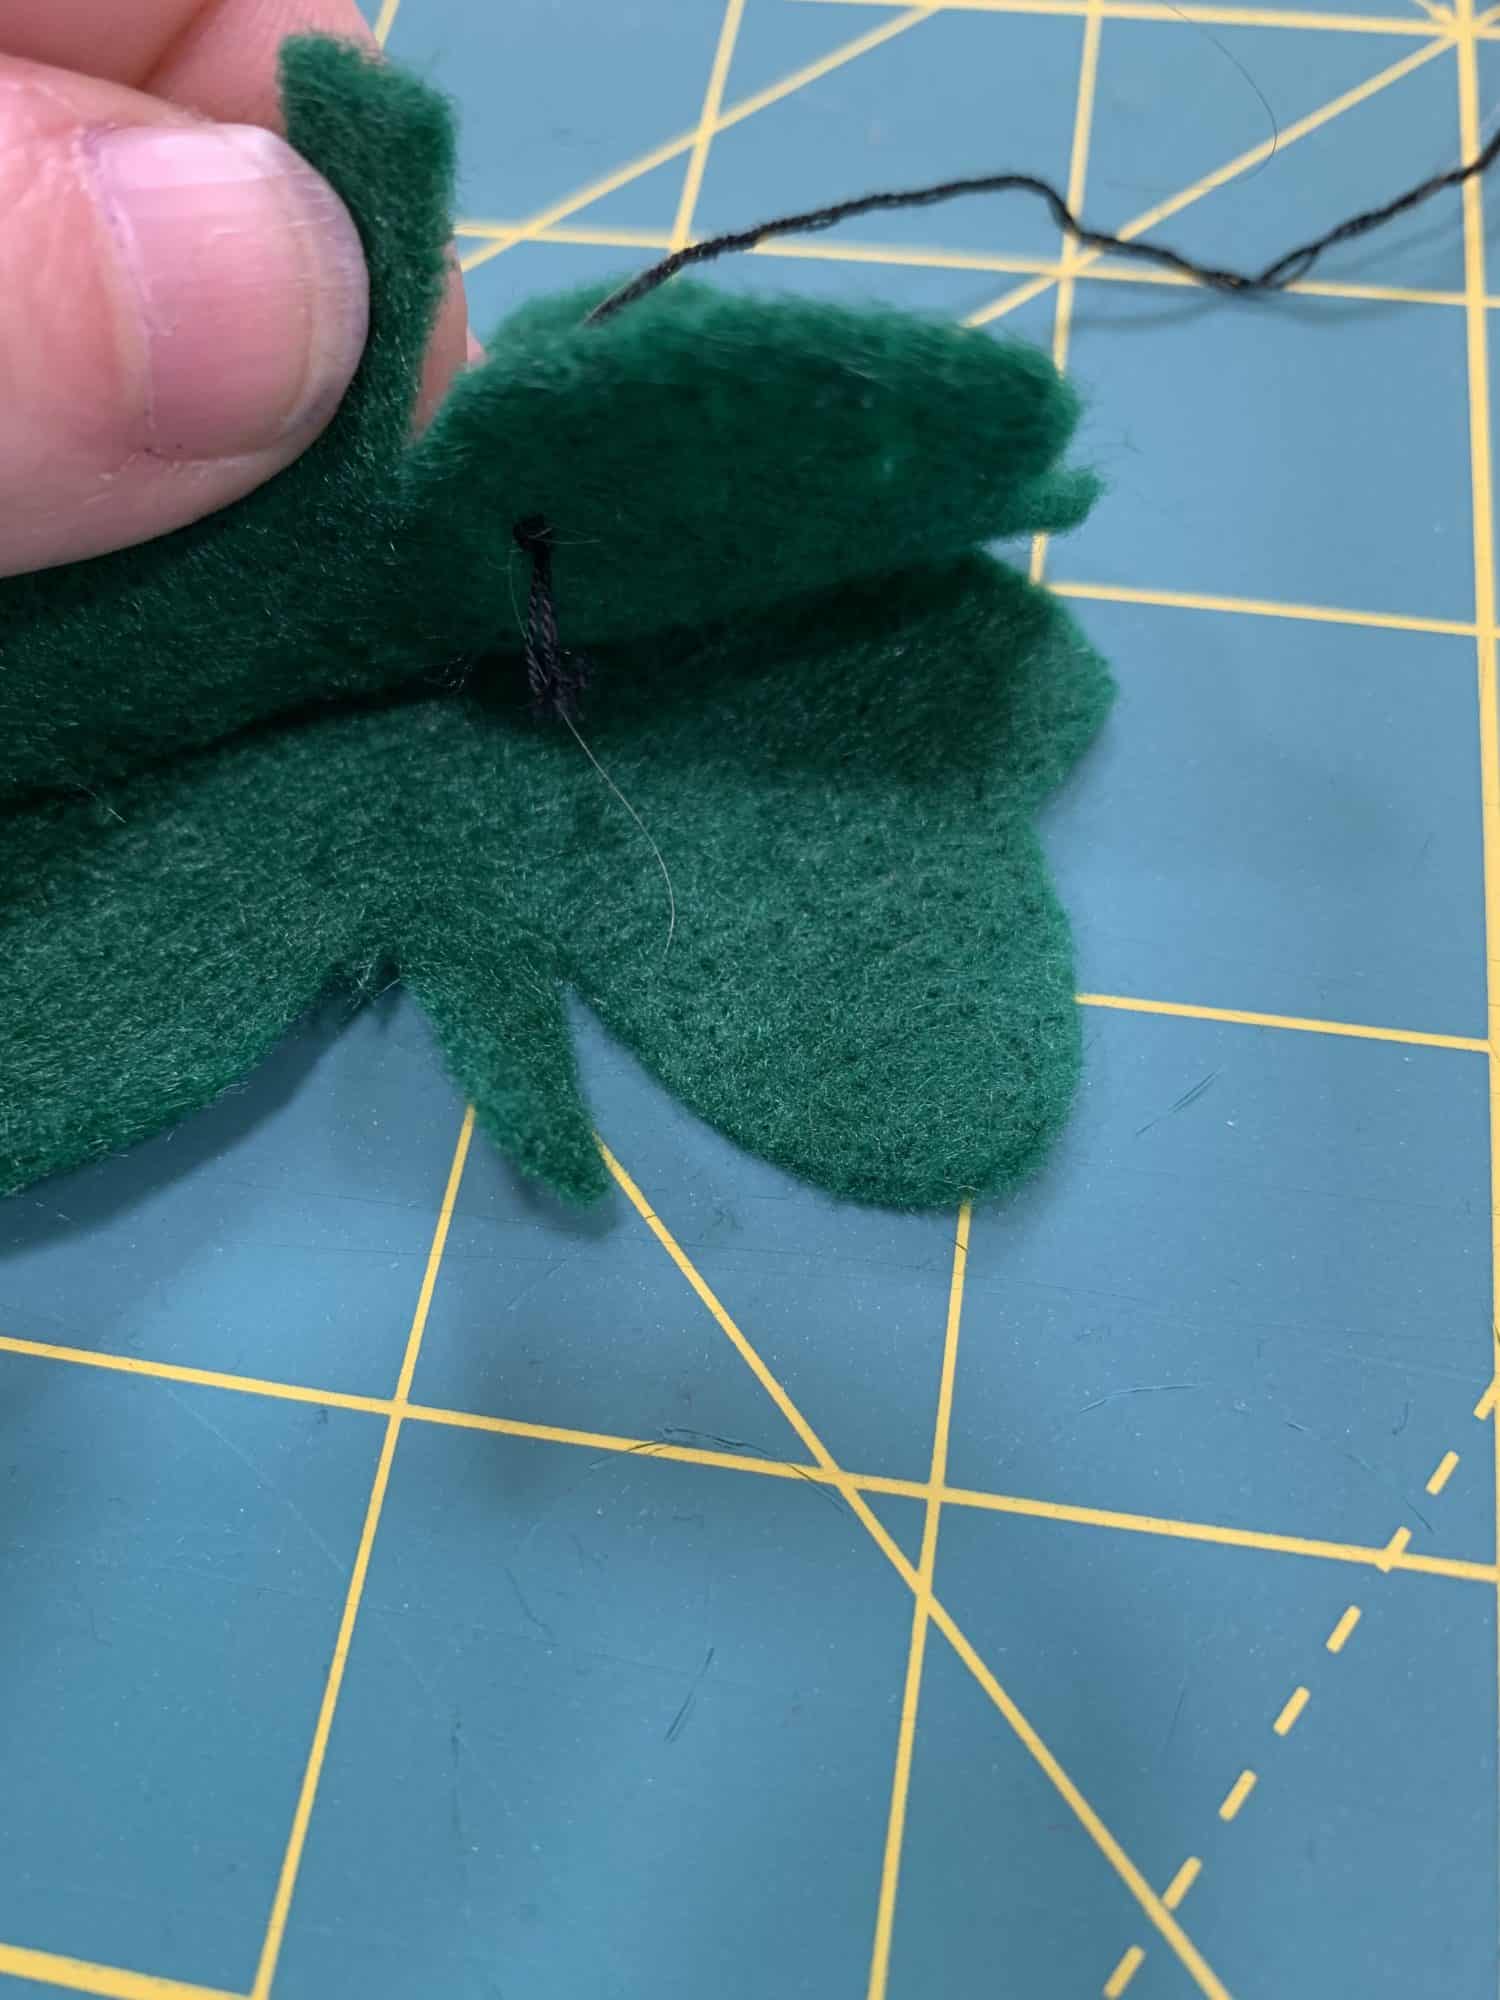
- Make the needle pass through the loop of thread. This will create the nice embroidered edge.
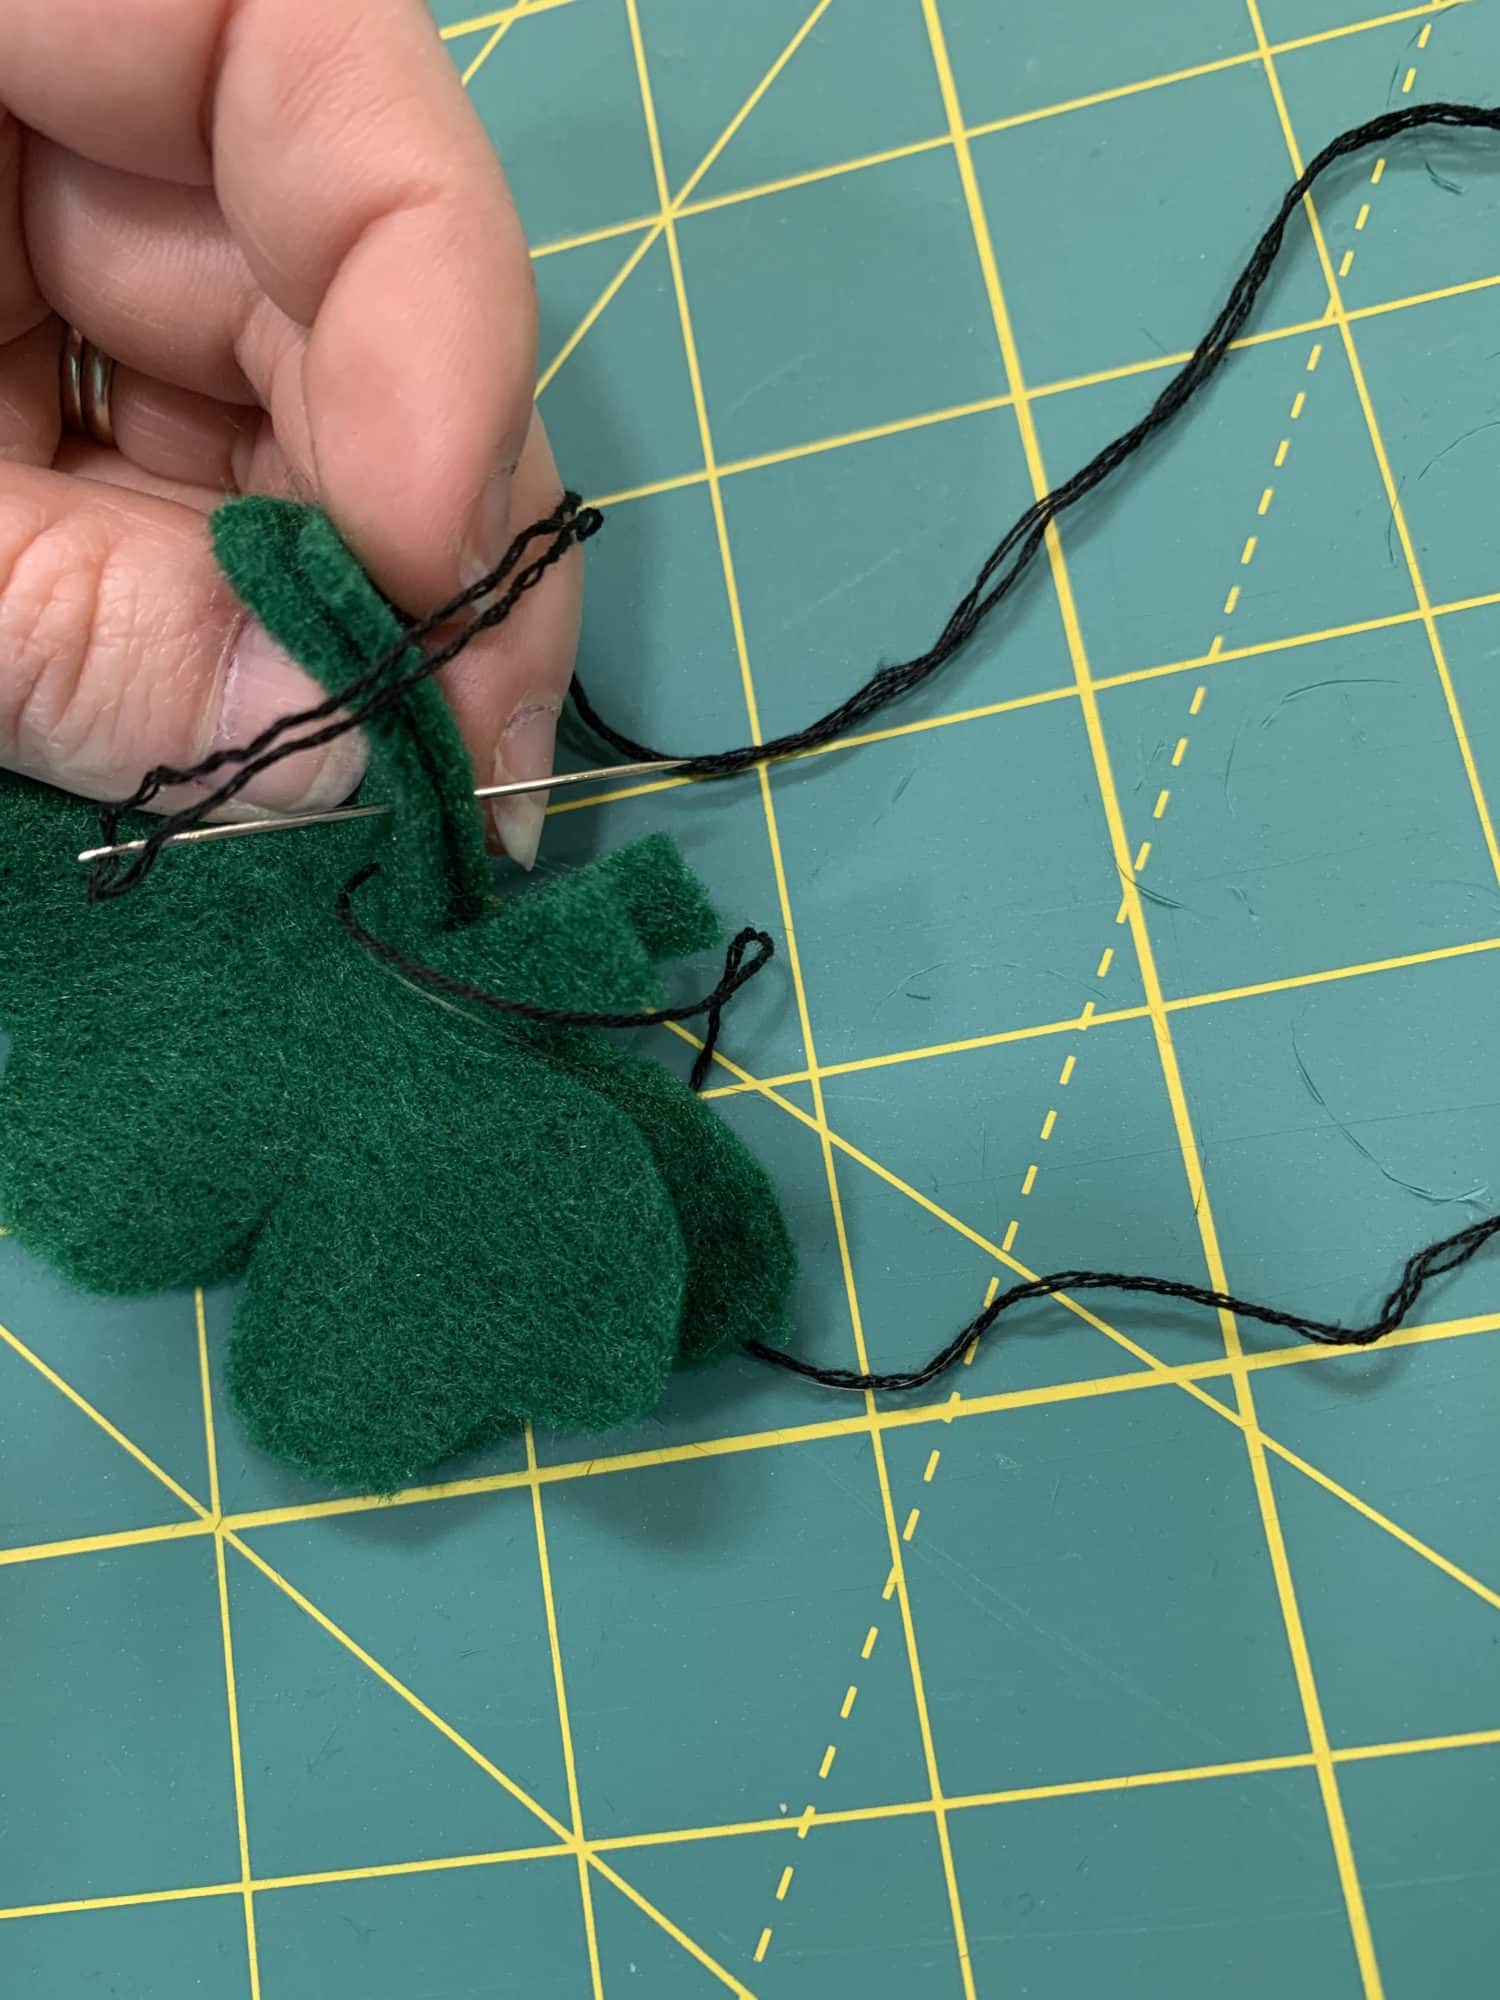
- Continue with the same stitching around the shamrock. The stitching will stay exactly the same, starting from the top each time
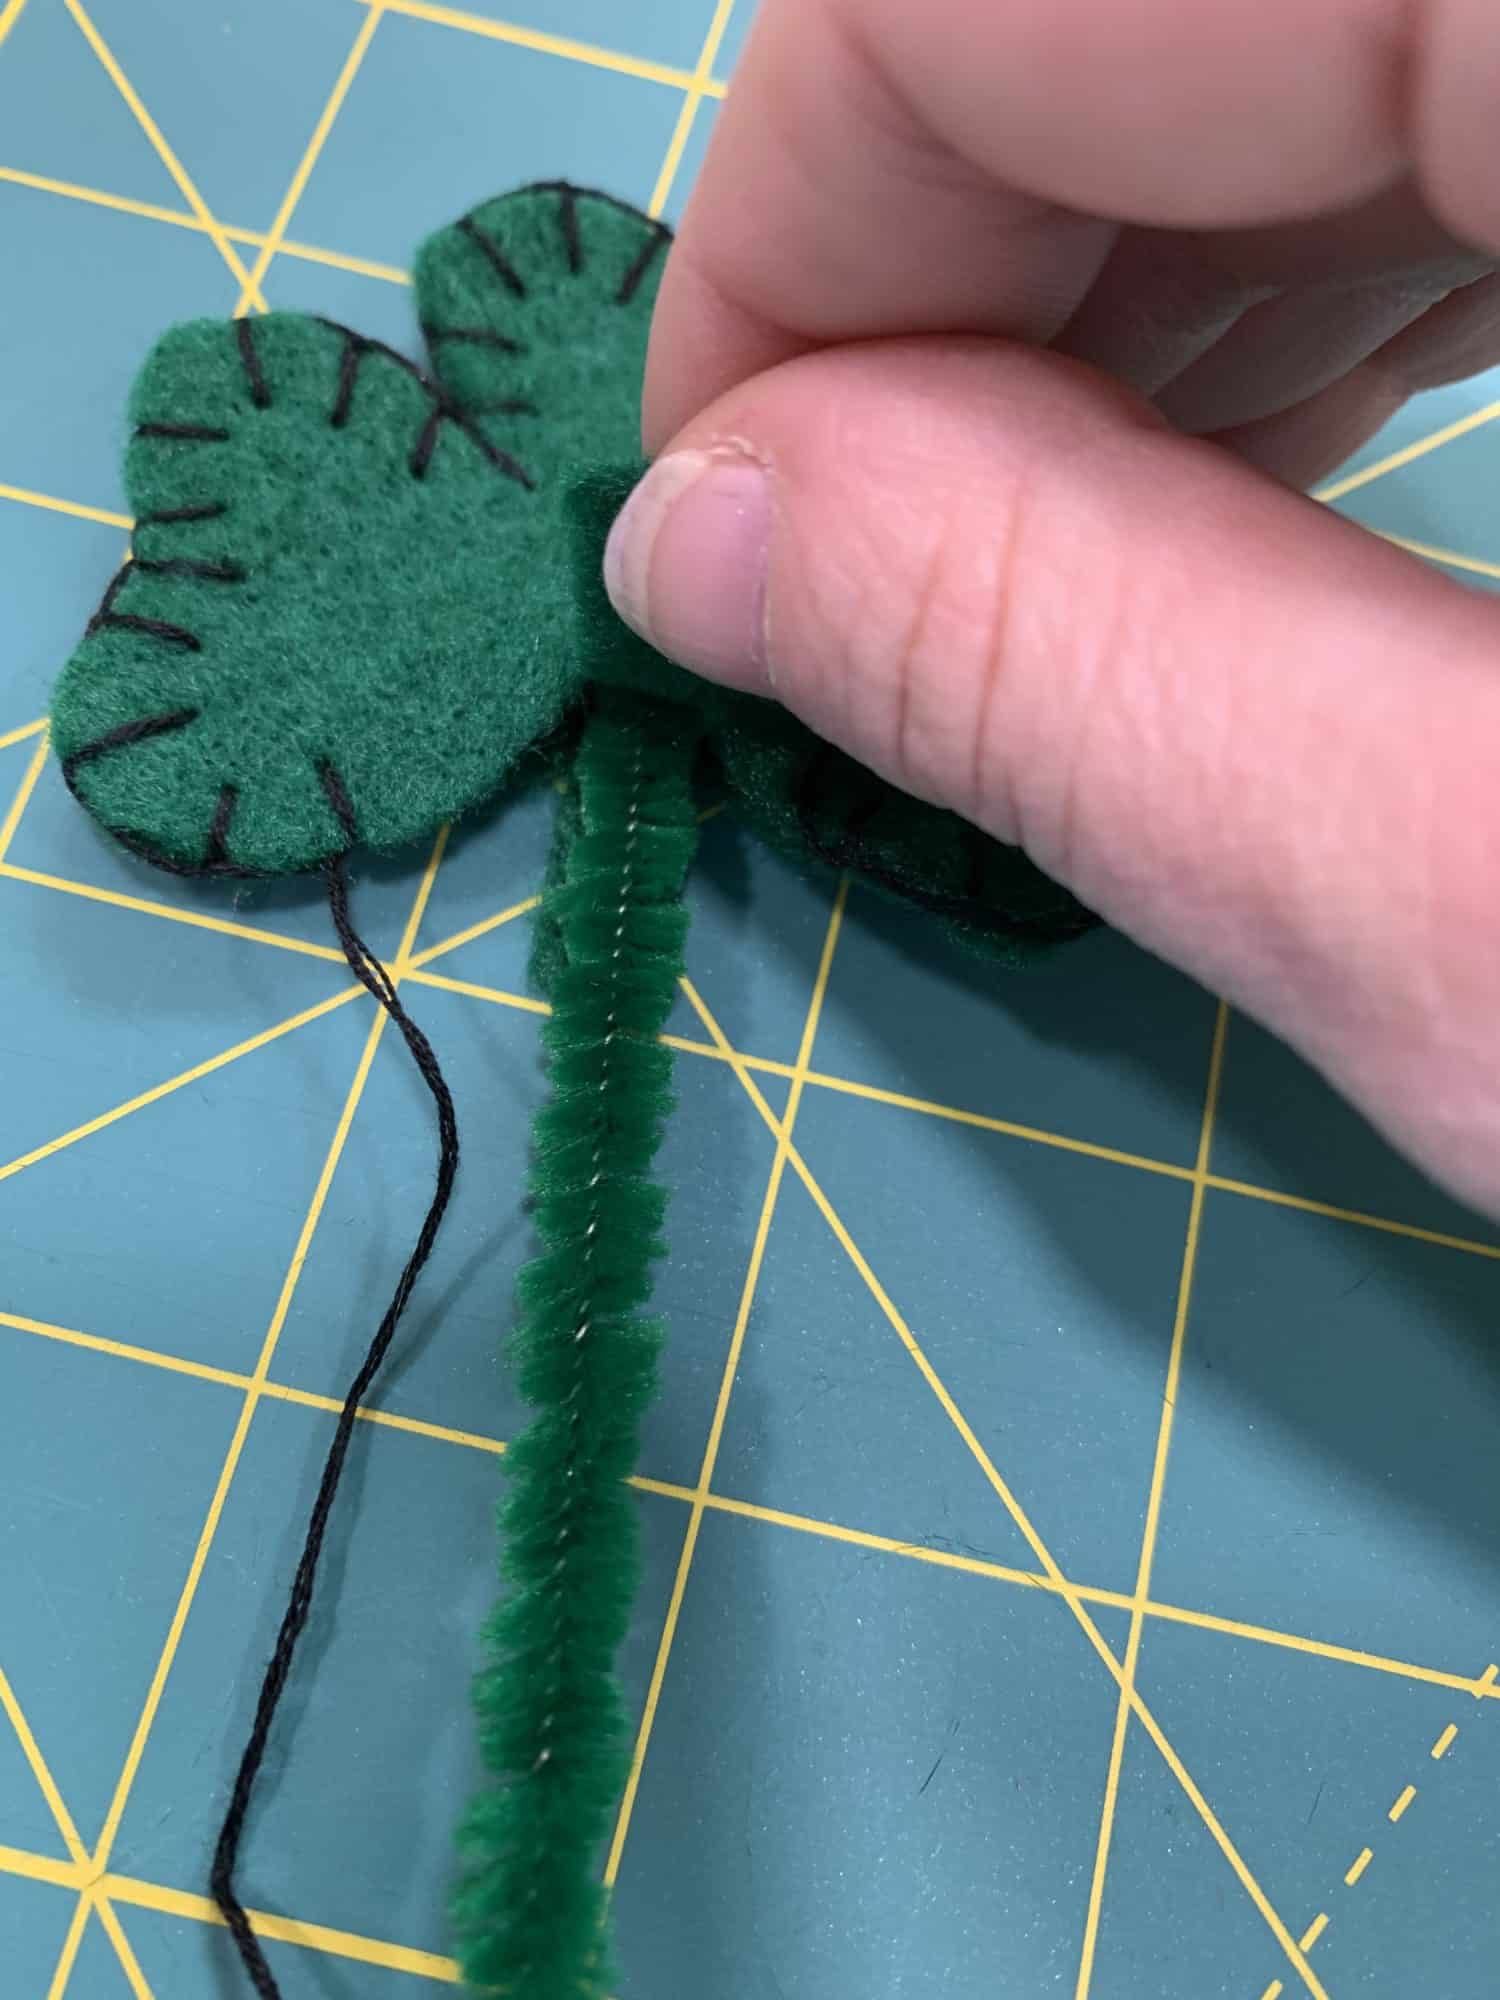
- Stop temporarily before you get the stem on the other side
- Stick a pipe cleaner in between the two shamrocks
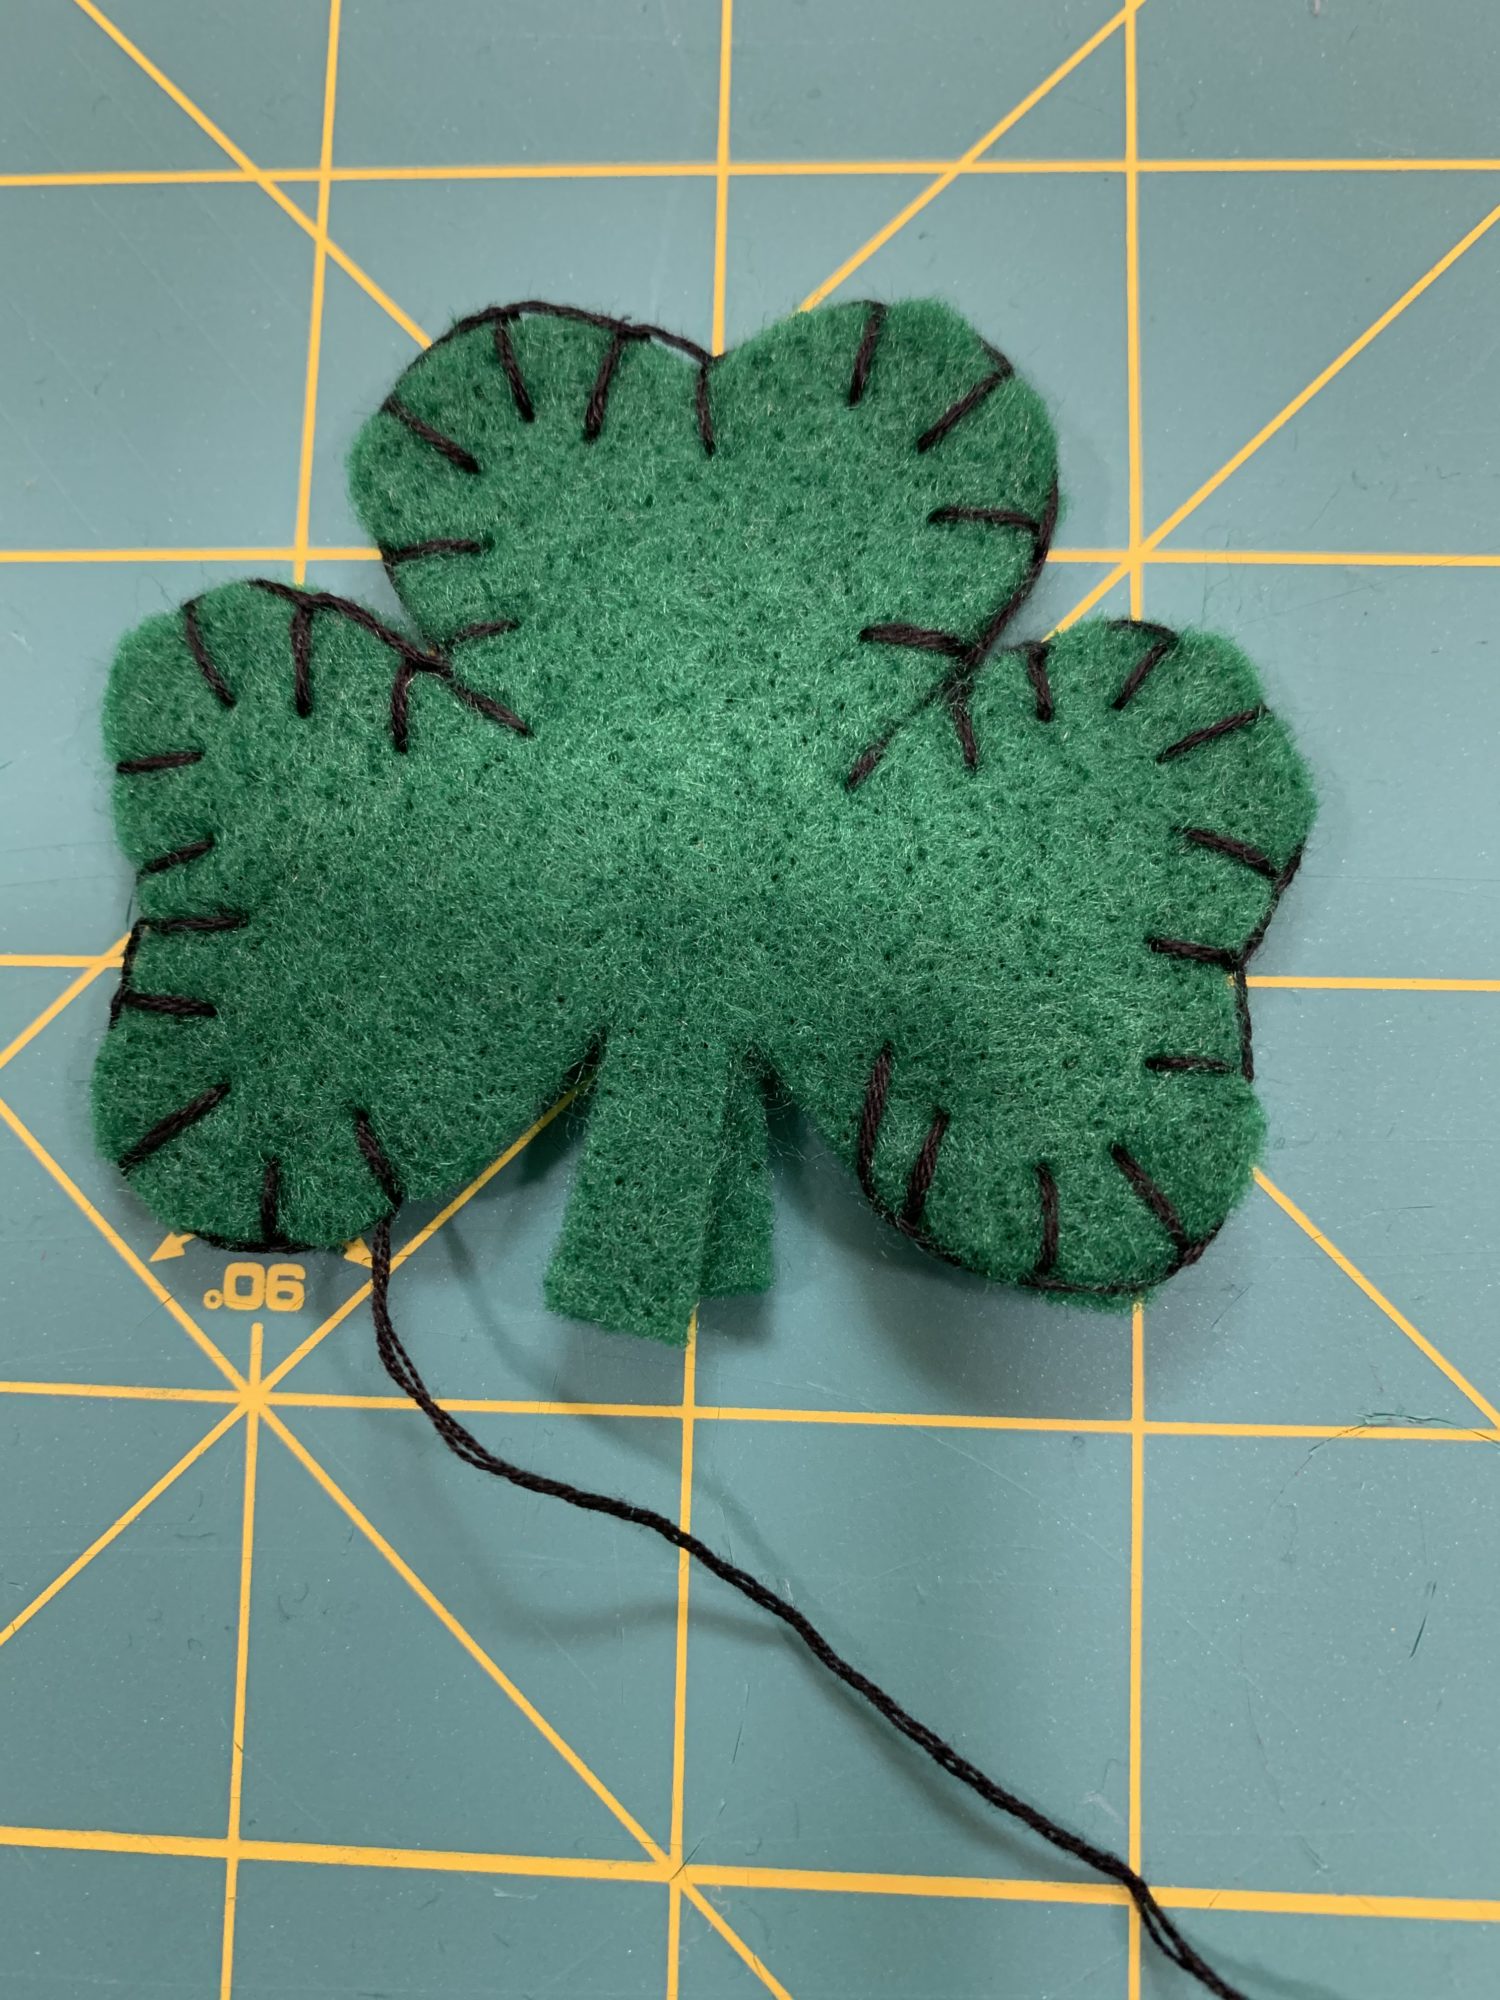
- Then, continue your stitching to finish the shamrock
- Make sure you close the stem, too. This will secure the pipe cleaner inside the shamrock.
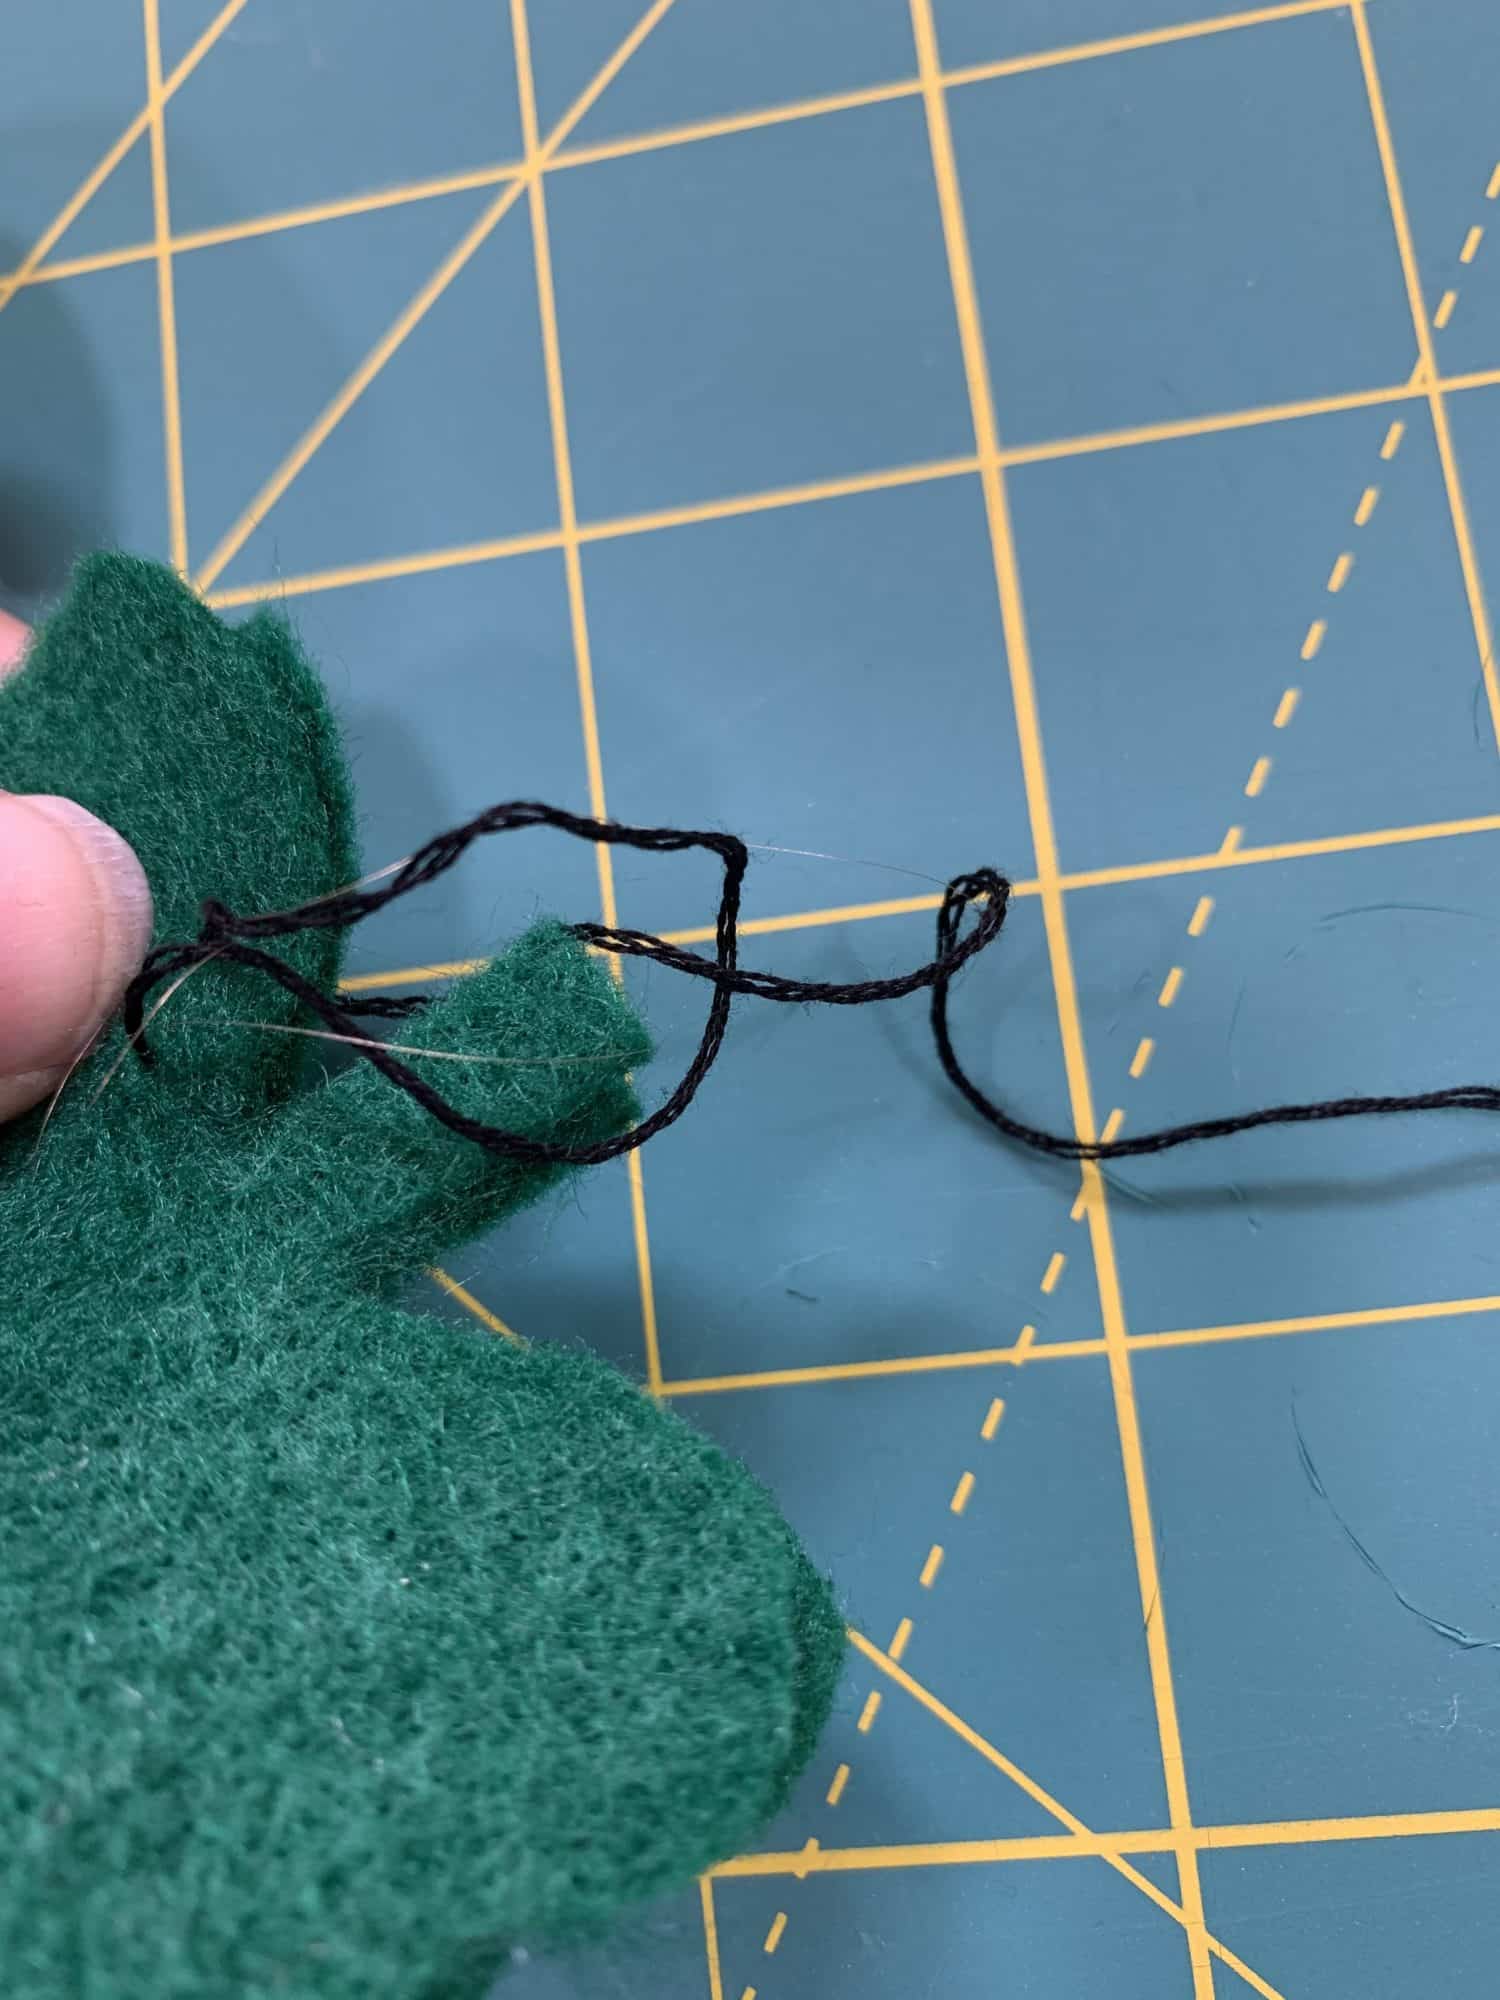
- I wrapped my thread around the pipe cleaner and stem a few times to help secure it. You could also put a dot of hot glue on the pipe cleaner before you place it in the shamrock.
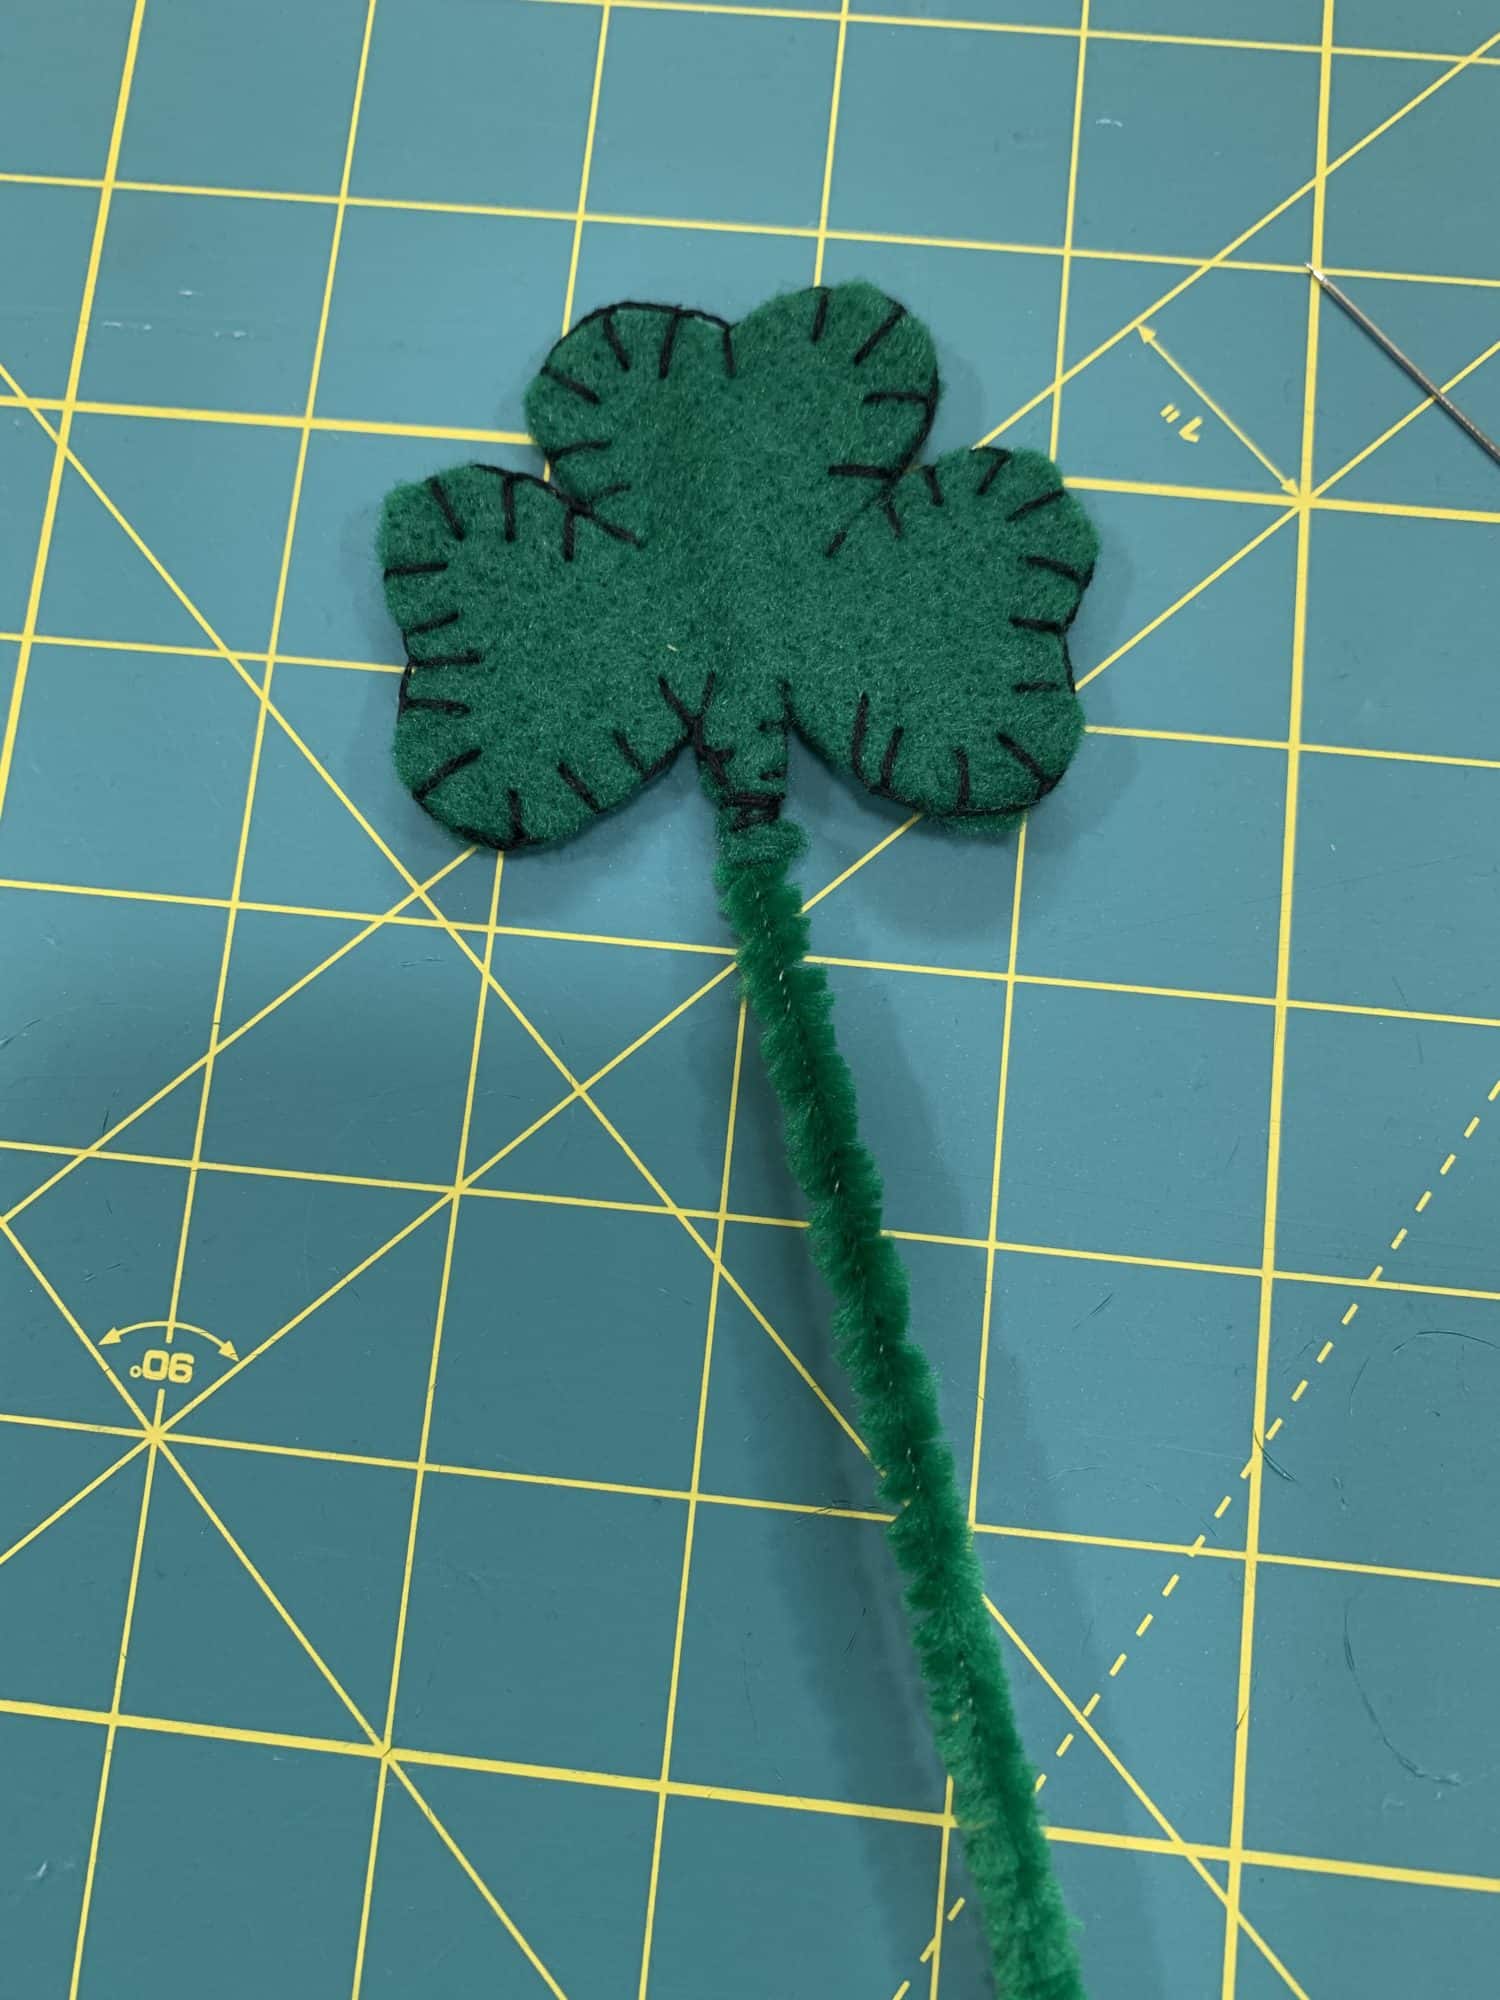
- Tie your thread off as close to the shamrock as possible
- Repeat this process to make another shamrock with stem
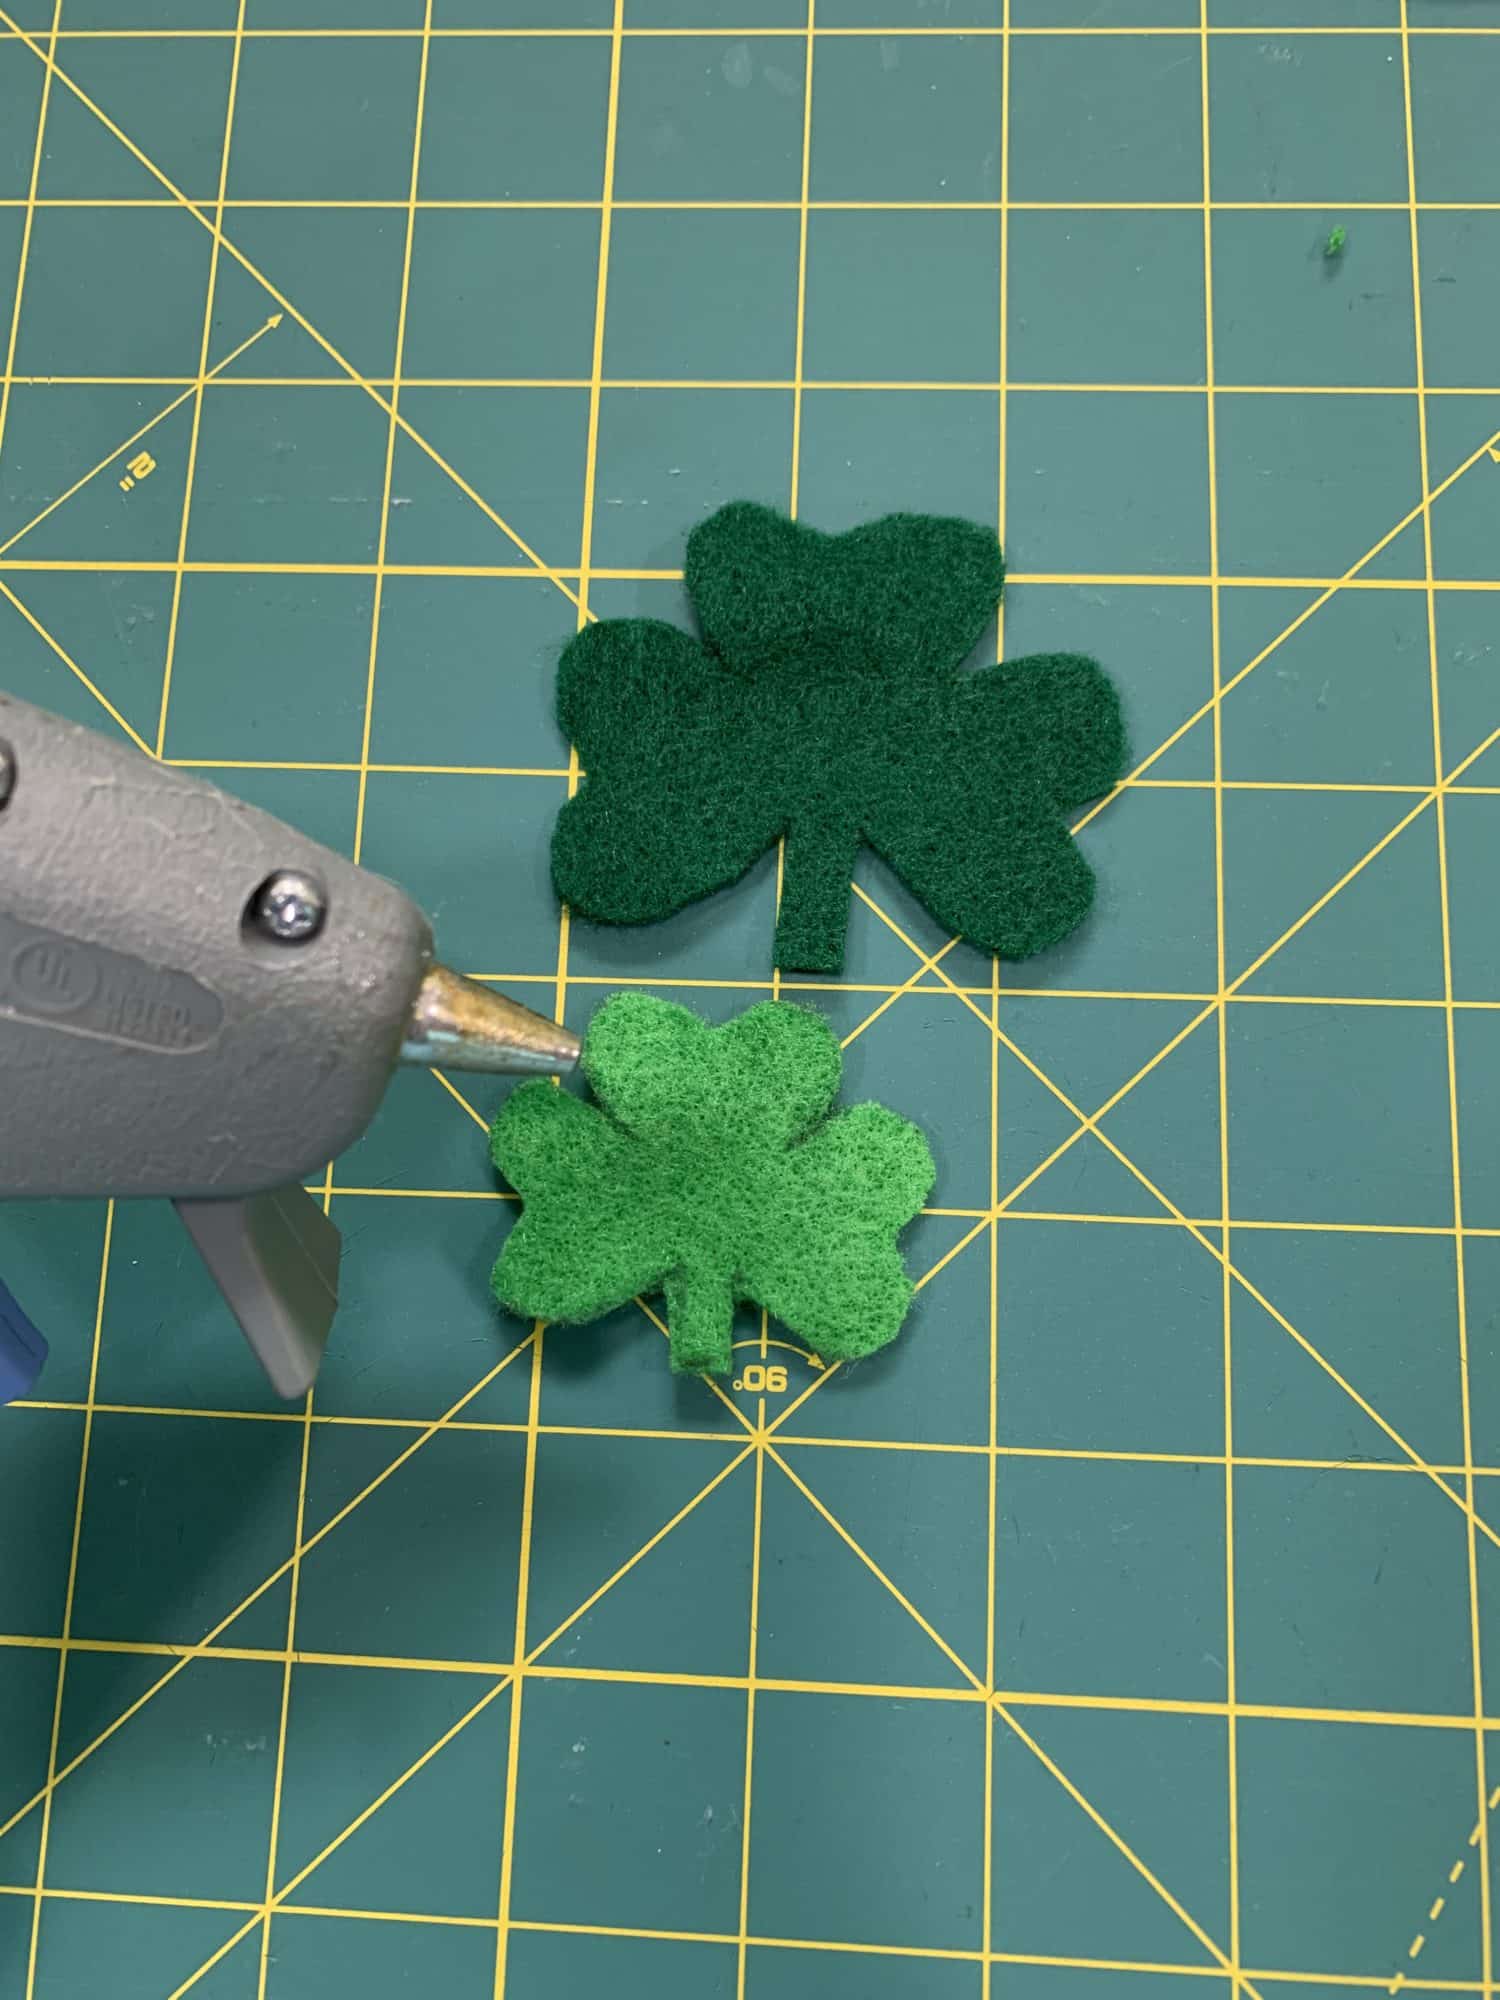
If you don’t want to hand sew, you could use your sewing machine to stitch these together or even just glue the two pieces together. Also, if you want to add another, smaller shamrock for color contrast. You can sew it or glue it to the center now.
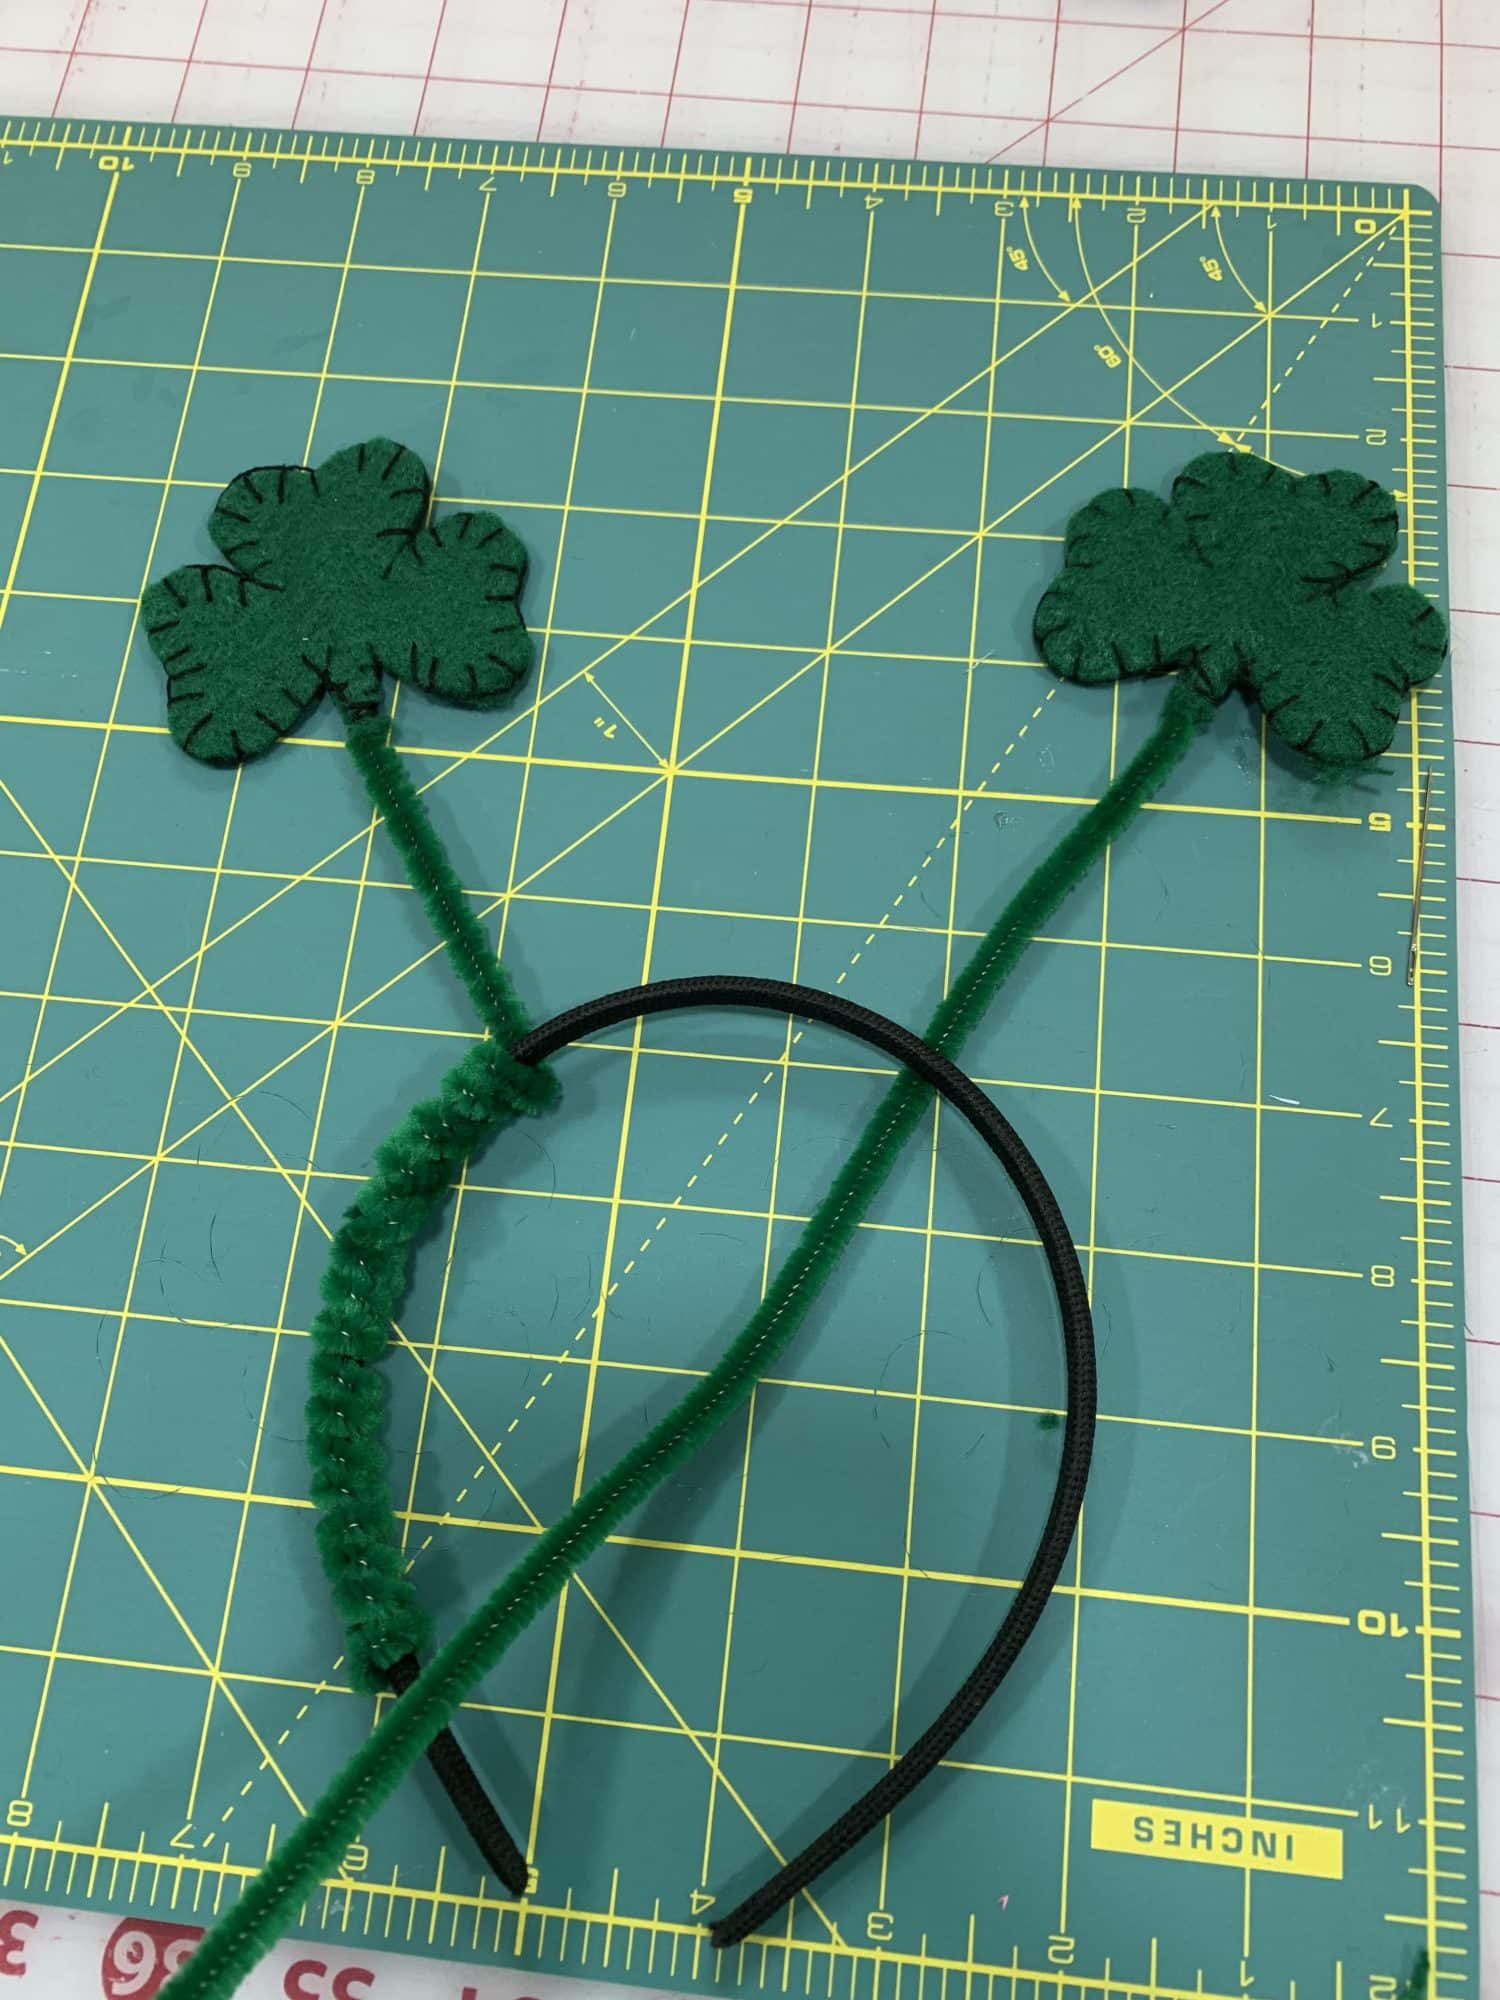
Time to add the shamrocks to your St. Patrick’s Day headband!
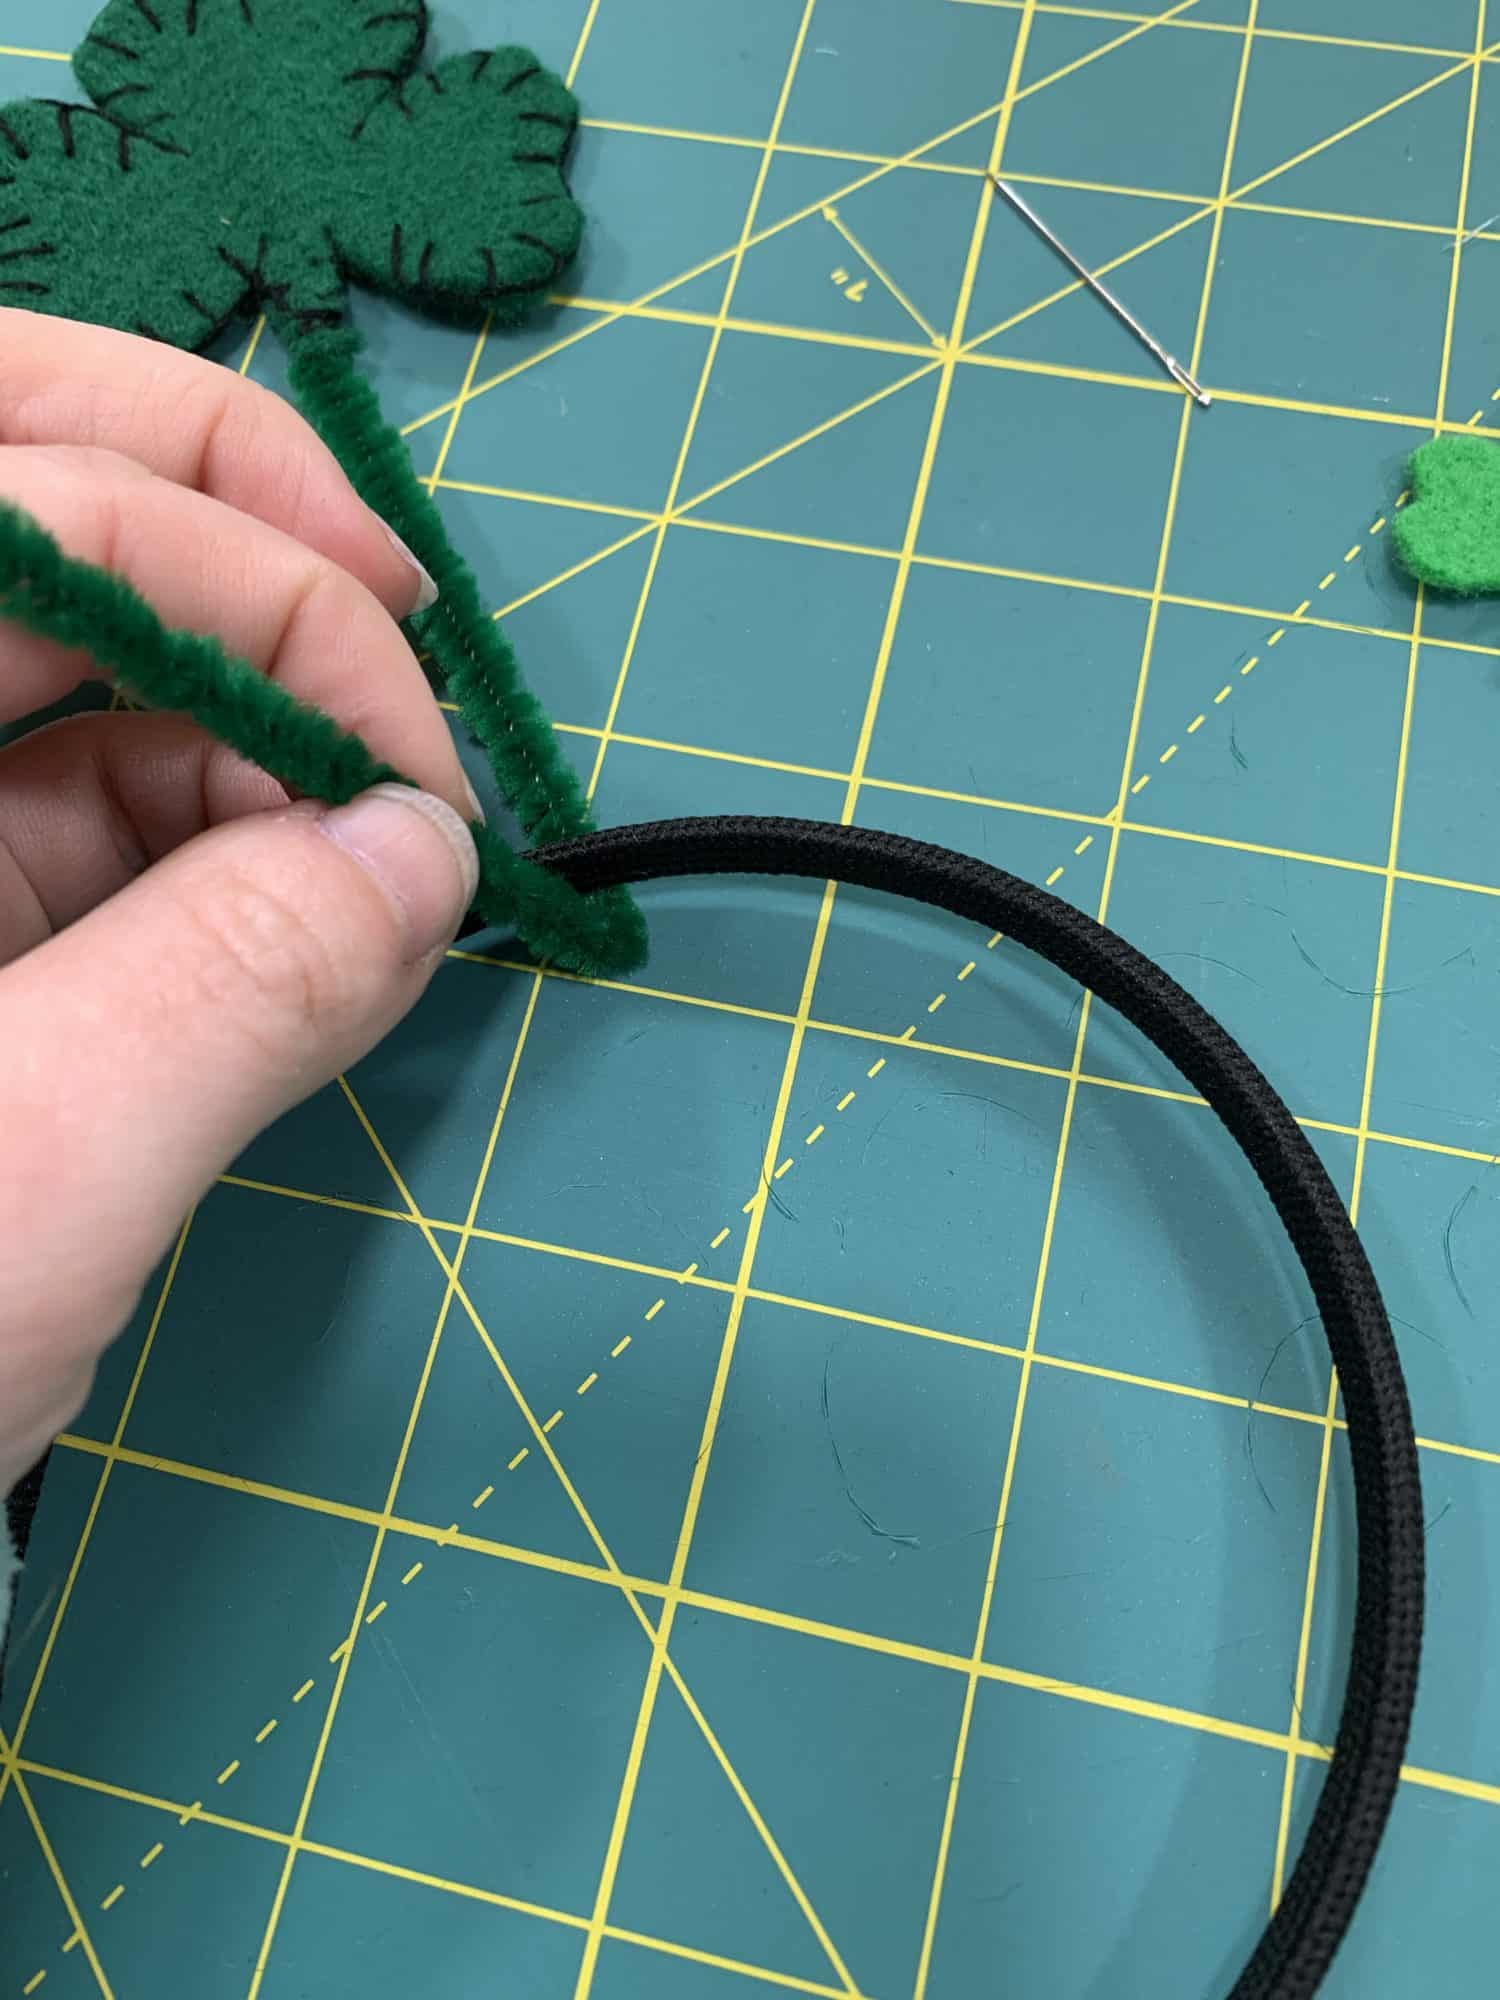
- You are going to wrap part of the pipe cleaner around your headband. This will attach the shamrock and make your headband match the stem
- If your headband is already green, or if you don’t want it wrapped with pipe cleaner, you could just cut the pipe cleaner and wrap a little bit around the headband. Or you could hot glue it onto the headband. There are lots of options!
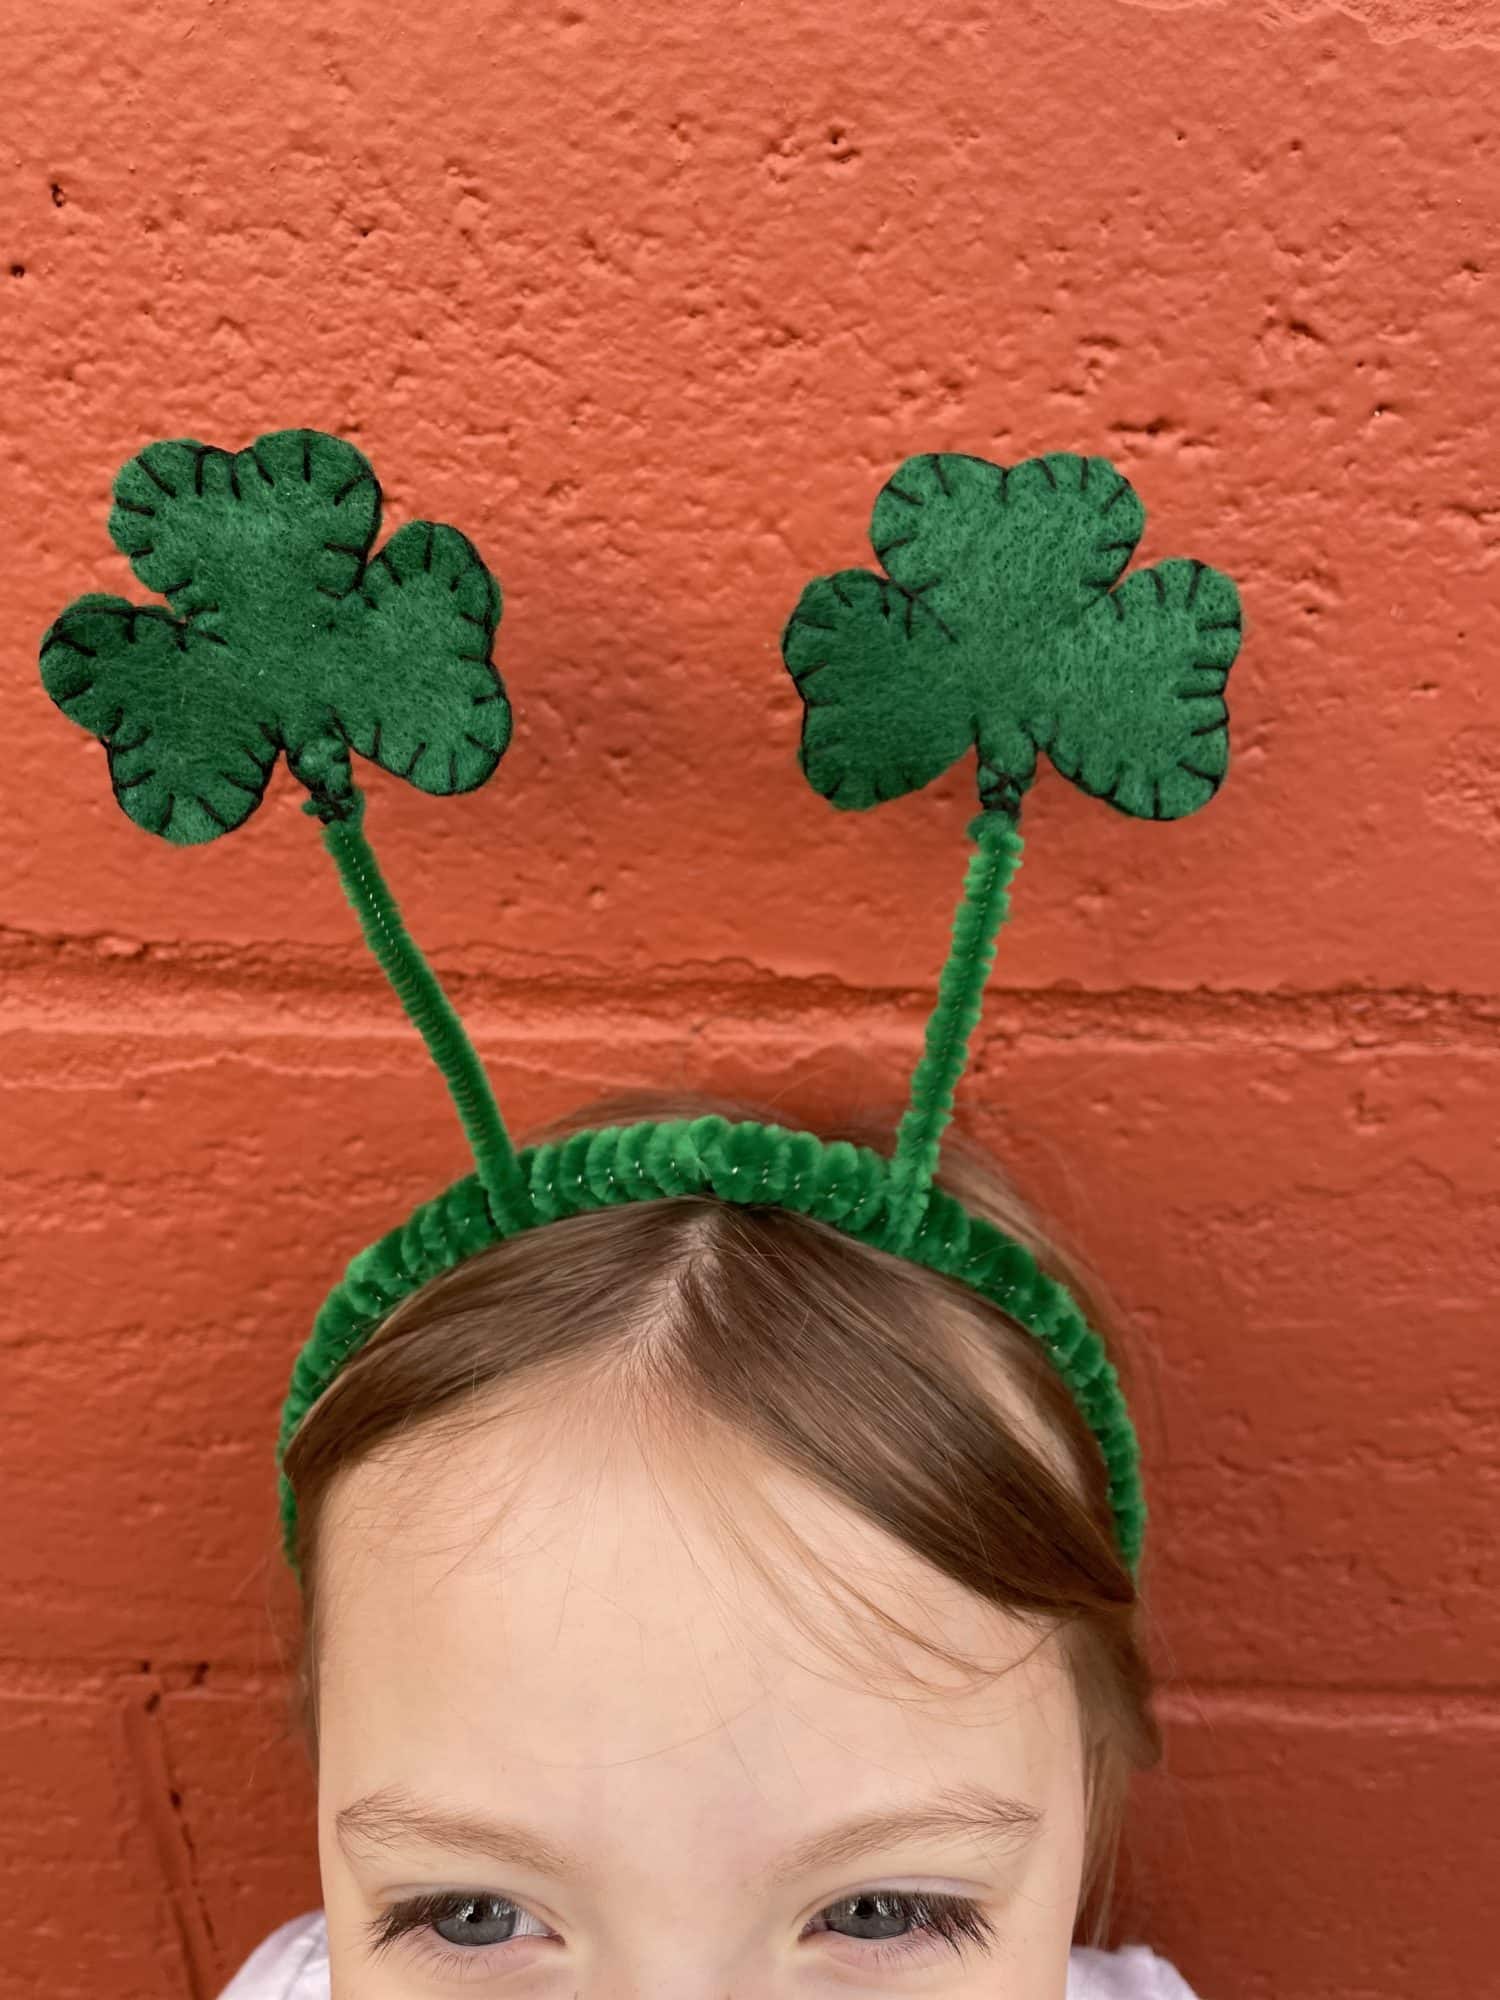
- I liked the look of the whole thing wrapped in green and my daughter says it makes the headband “cushier and more comfier!” As long as she’s happy!
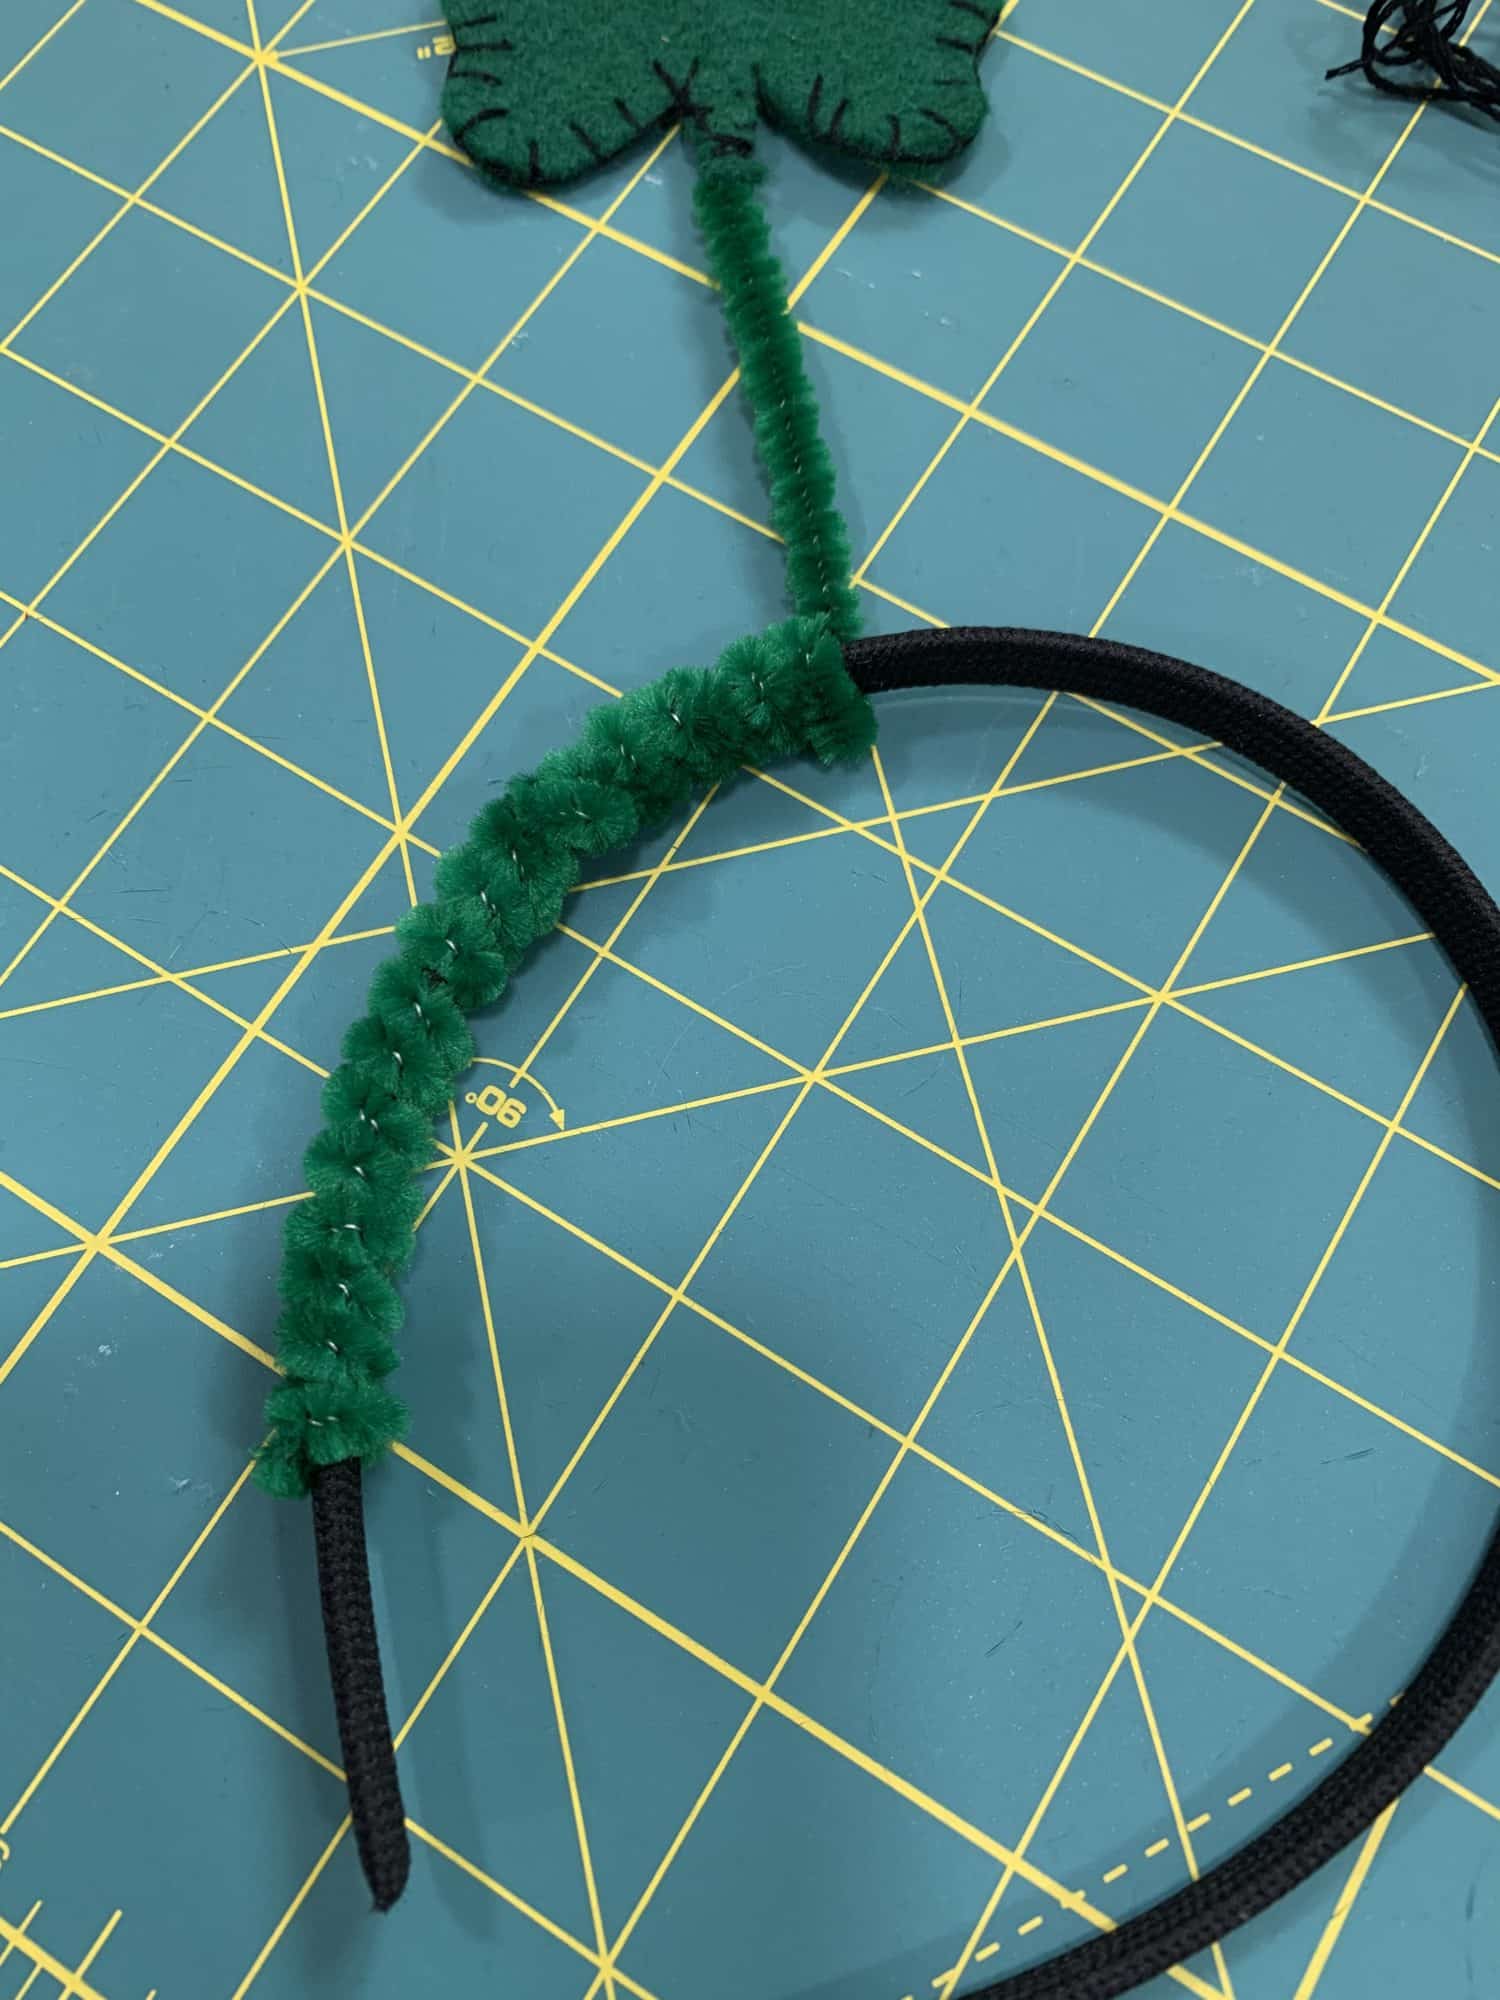
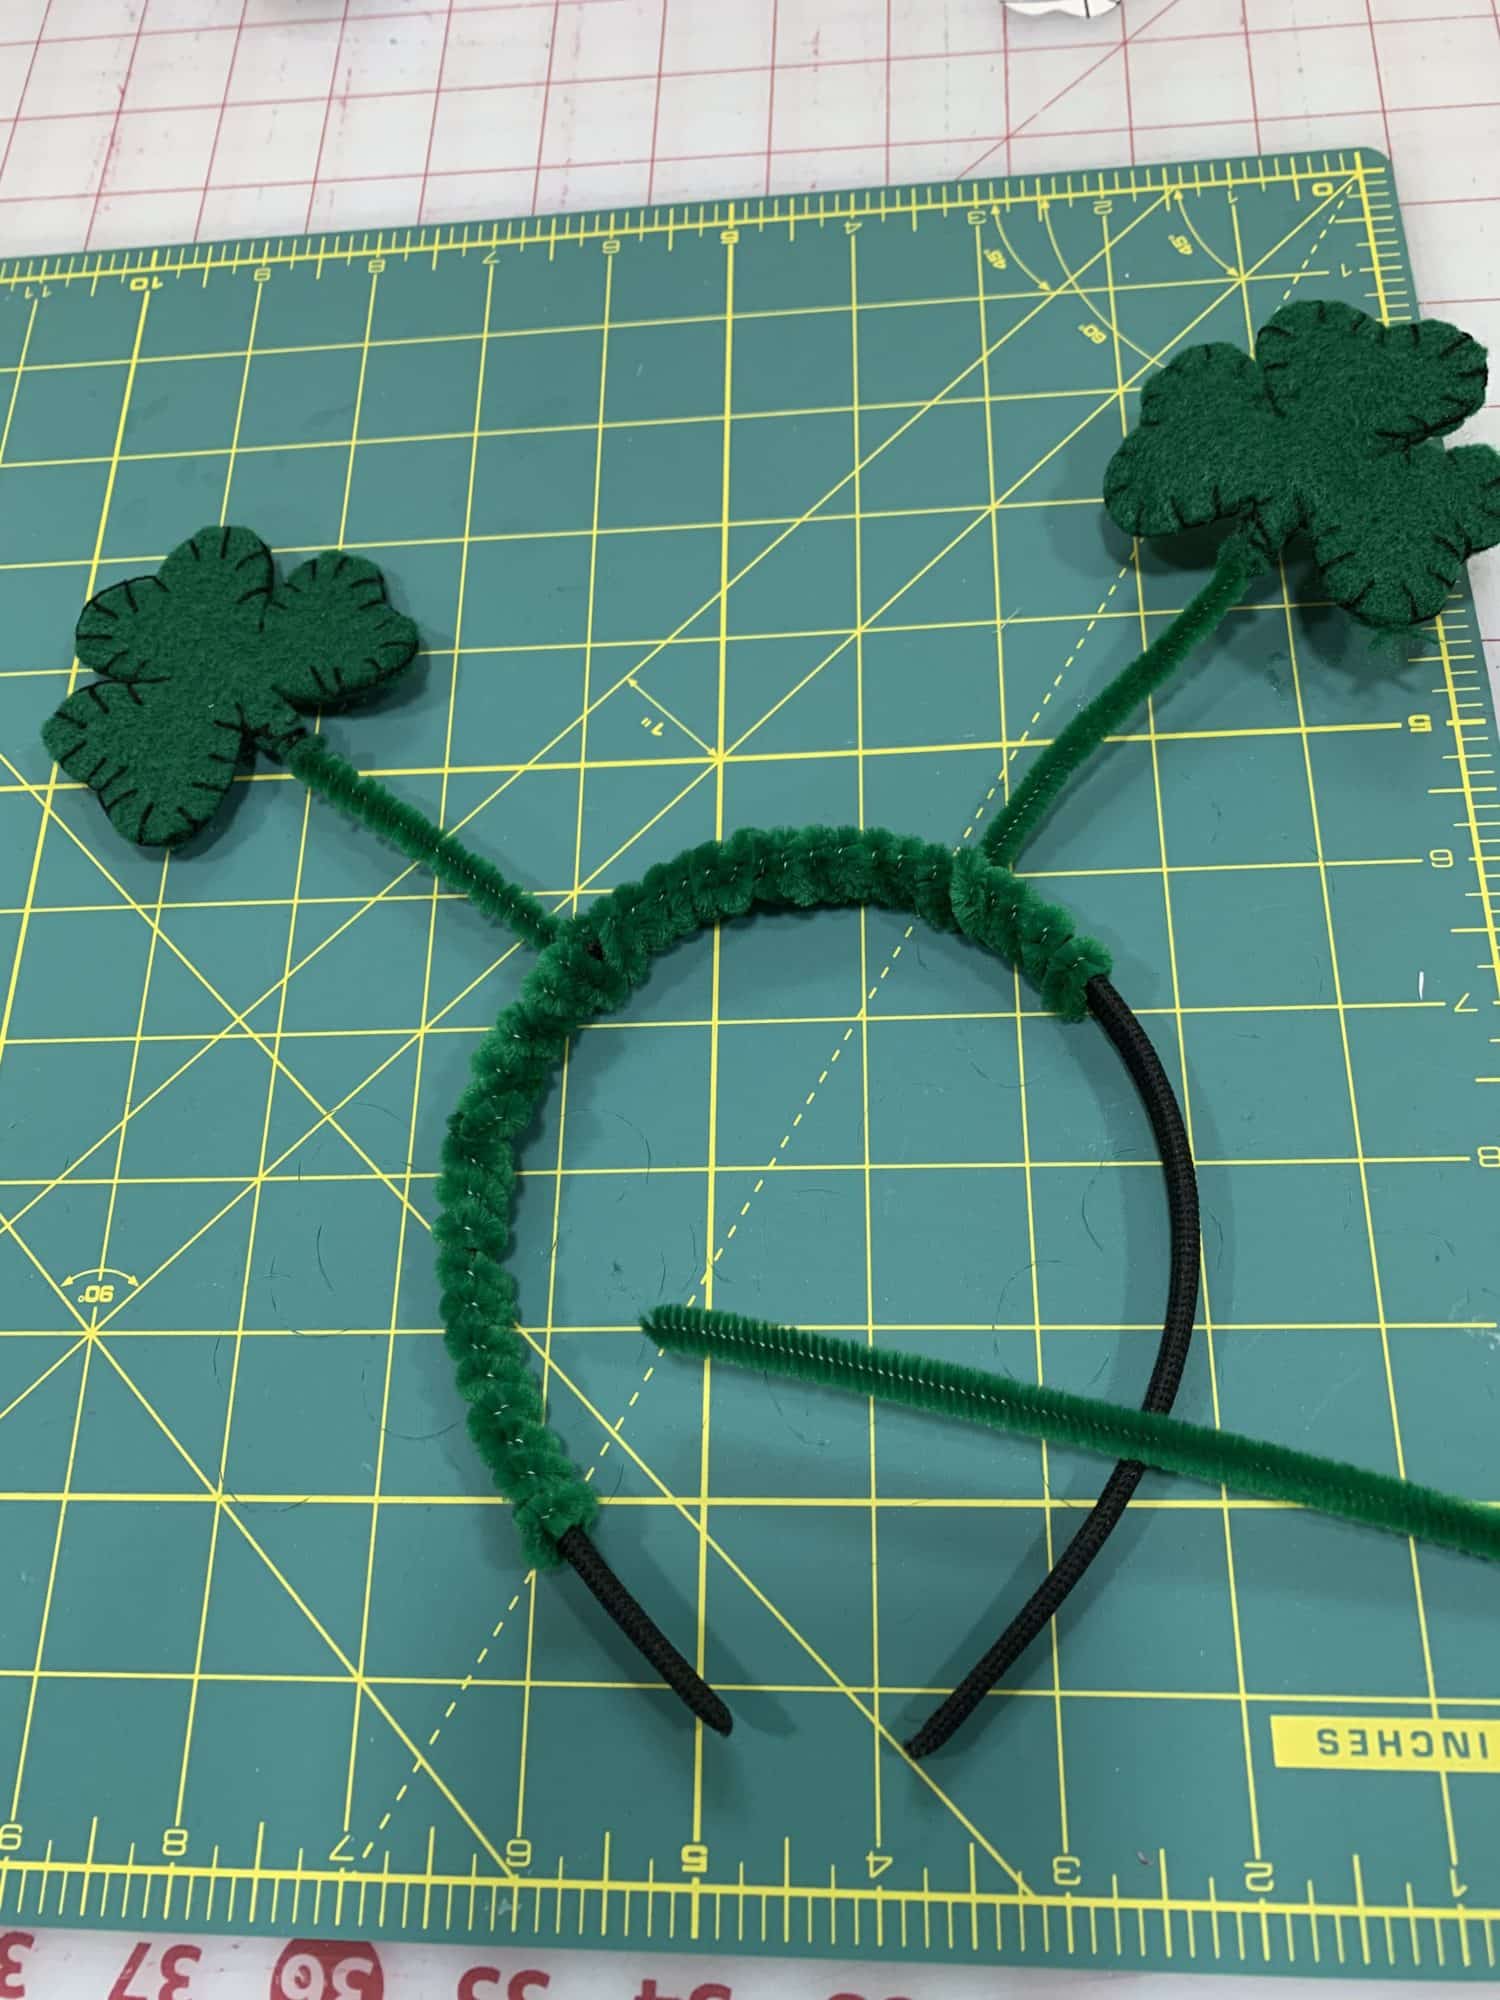
- Now, do the same thing with your other shamrock, make sure that the shamrocks will be the same height before you start wrapping.
- Then, use more piper cleaners to finish wrapping the headband. I left a little bit at the bottom unwrapped, just in case it bothered her ears, but it seemed to be fine either way.

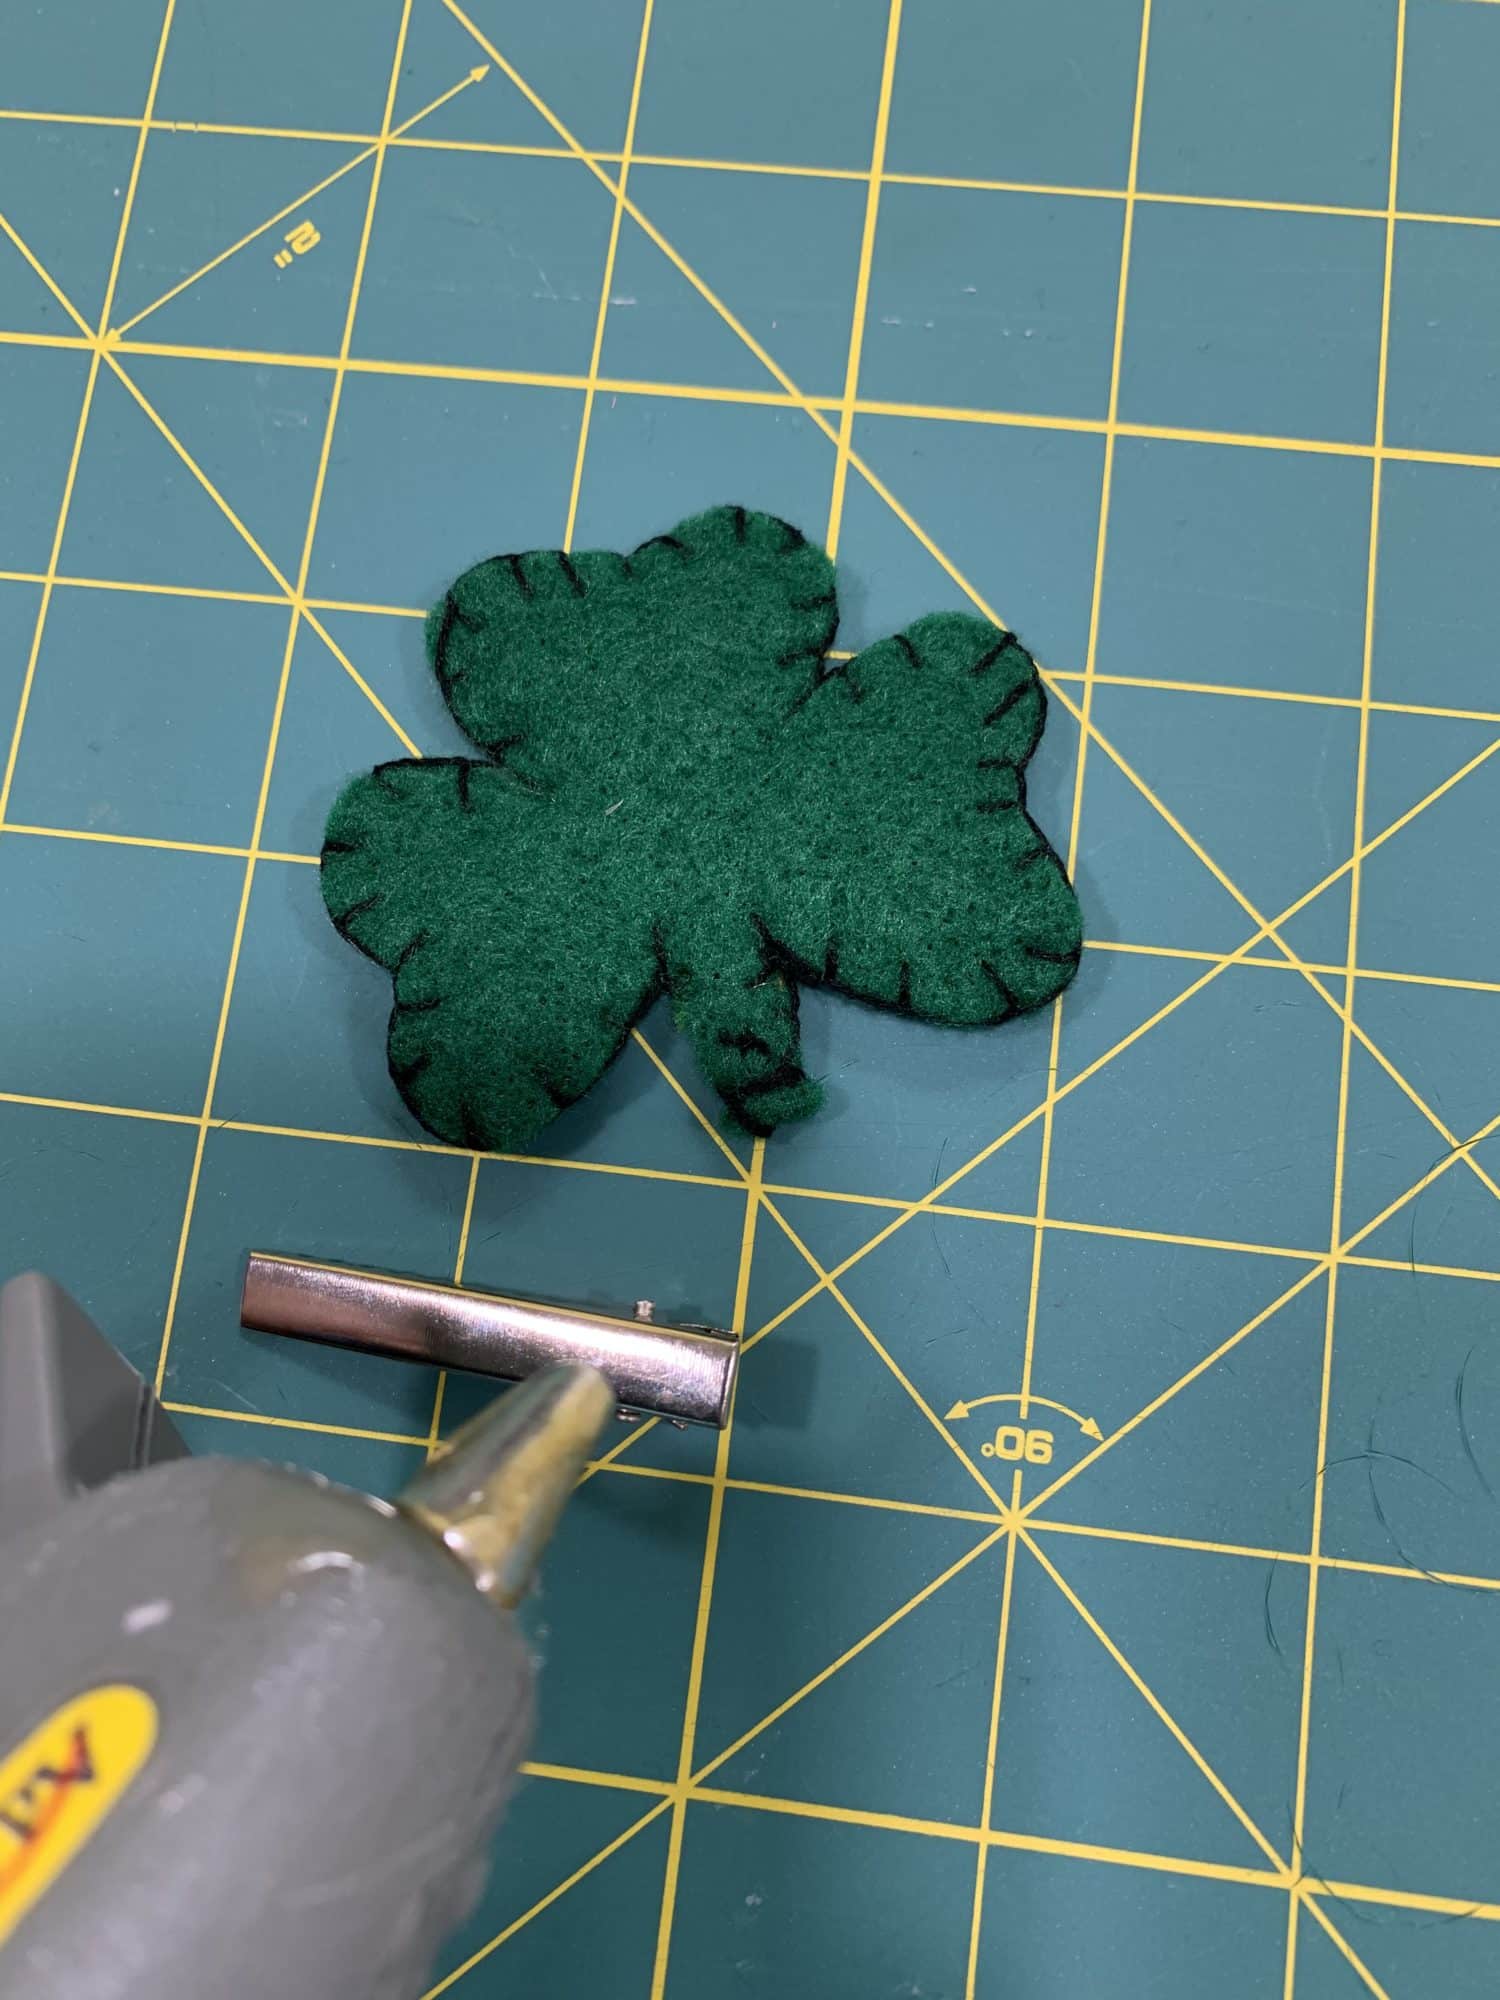
Hair clip
- If you want to make a hair clip, make the shamrocks the same way as described above, but don’t put a pipe cleaner stem inside it.
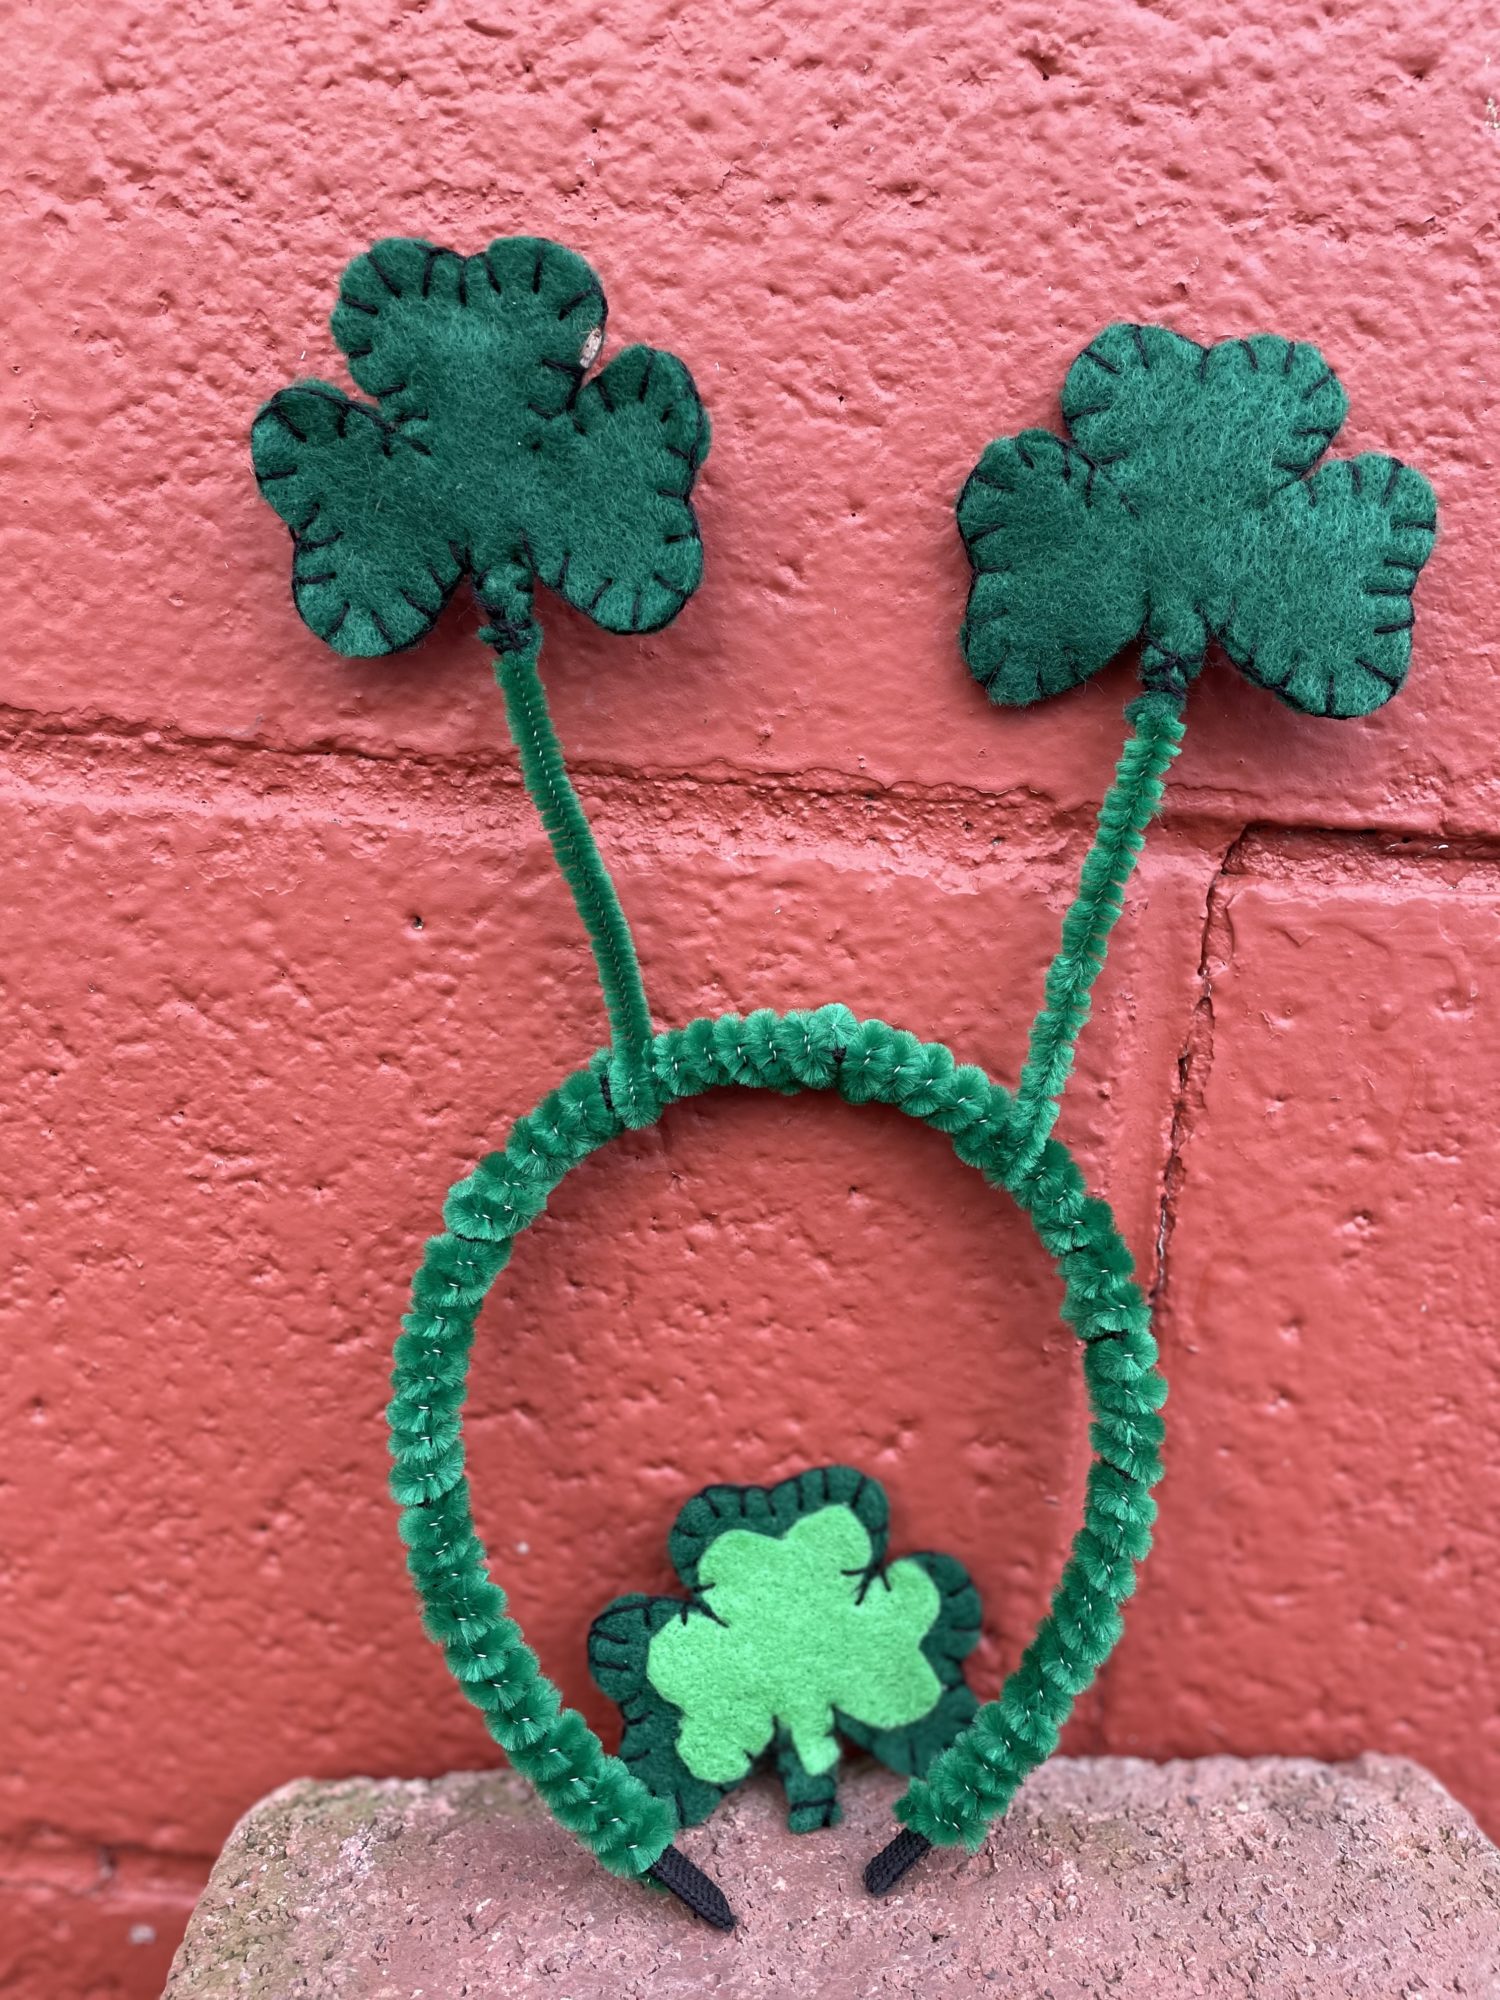
- I made a smaller, lighter green shamrock and hot glued it to the center for the hair clip. This is optional.
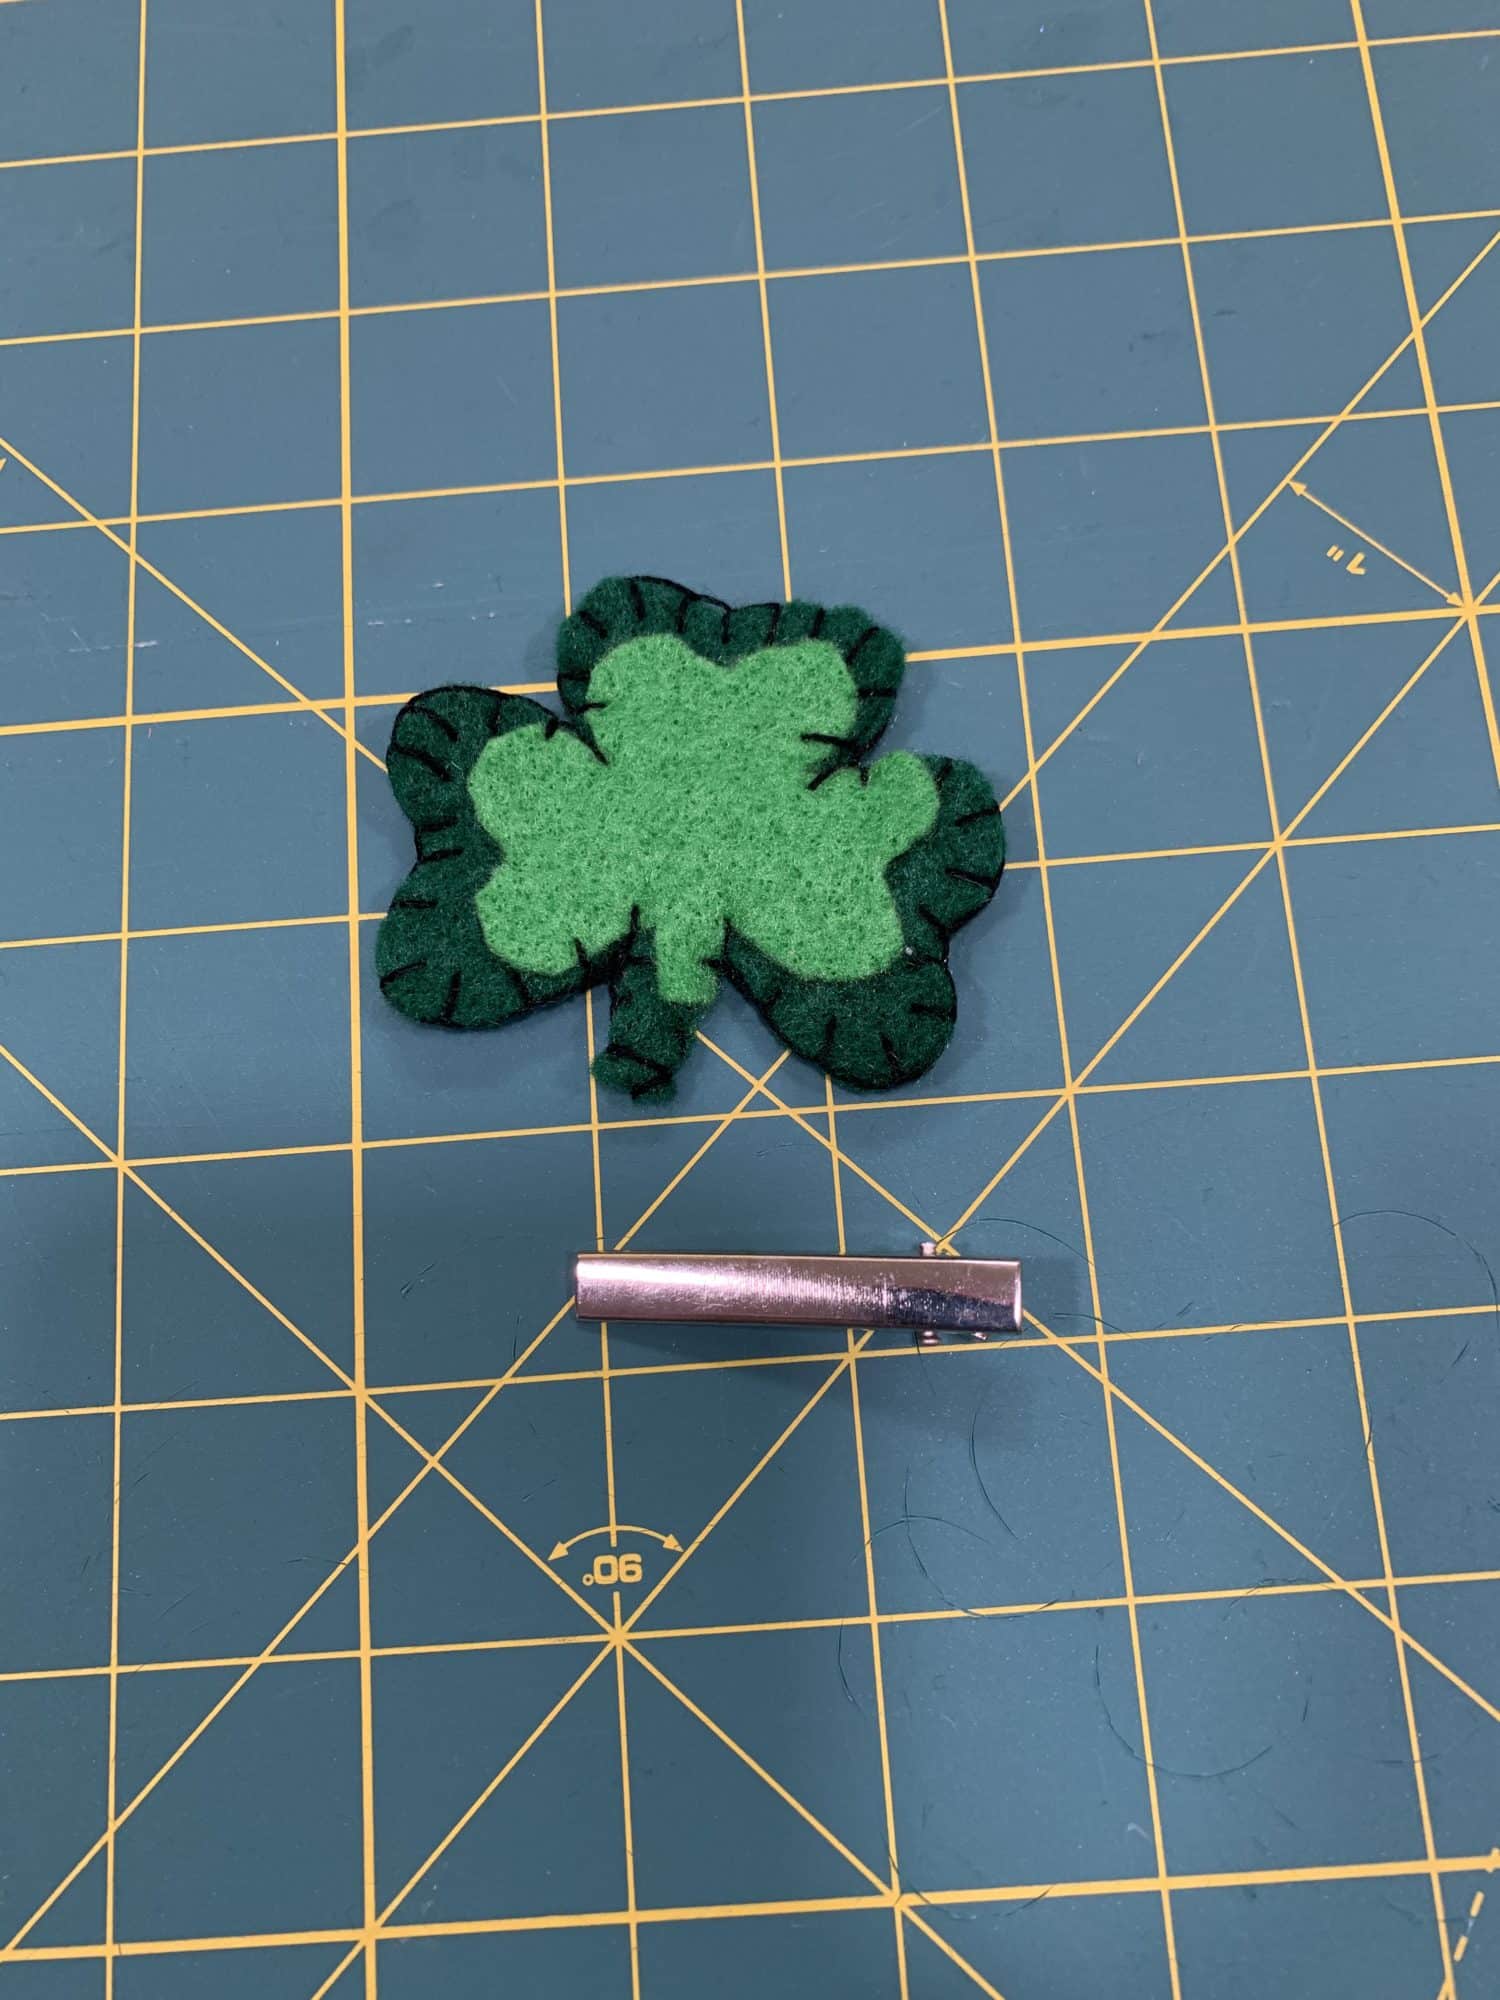
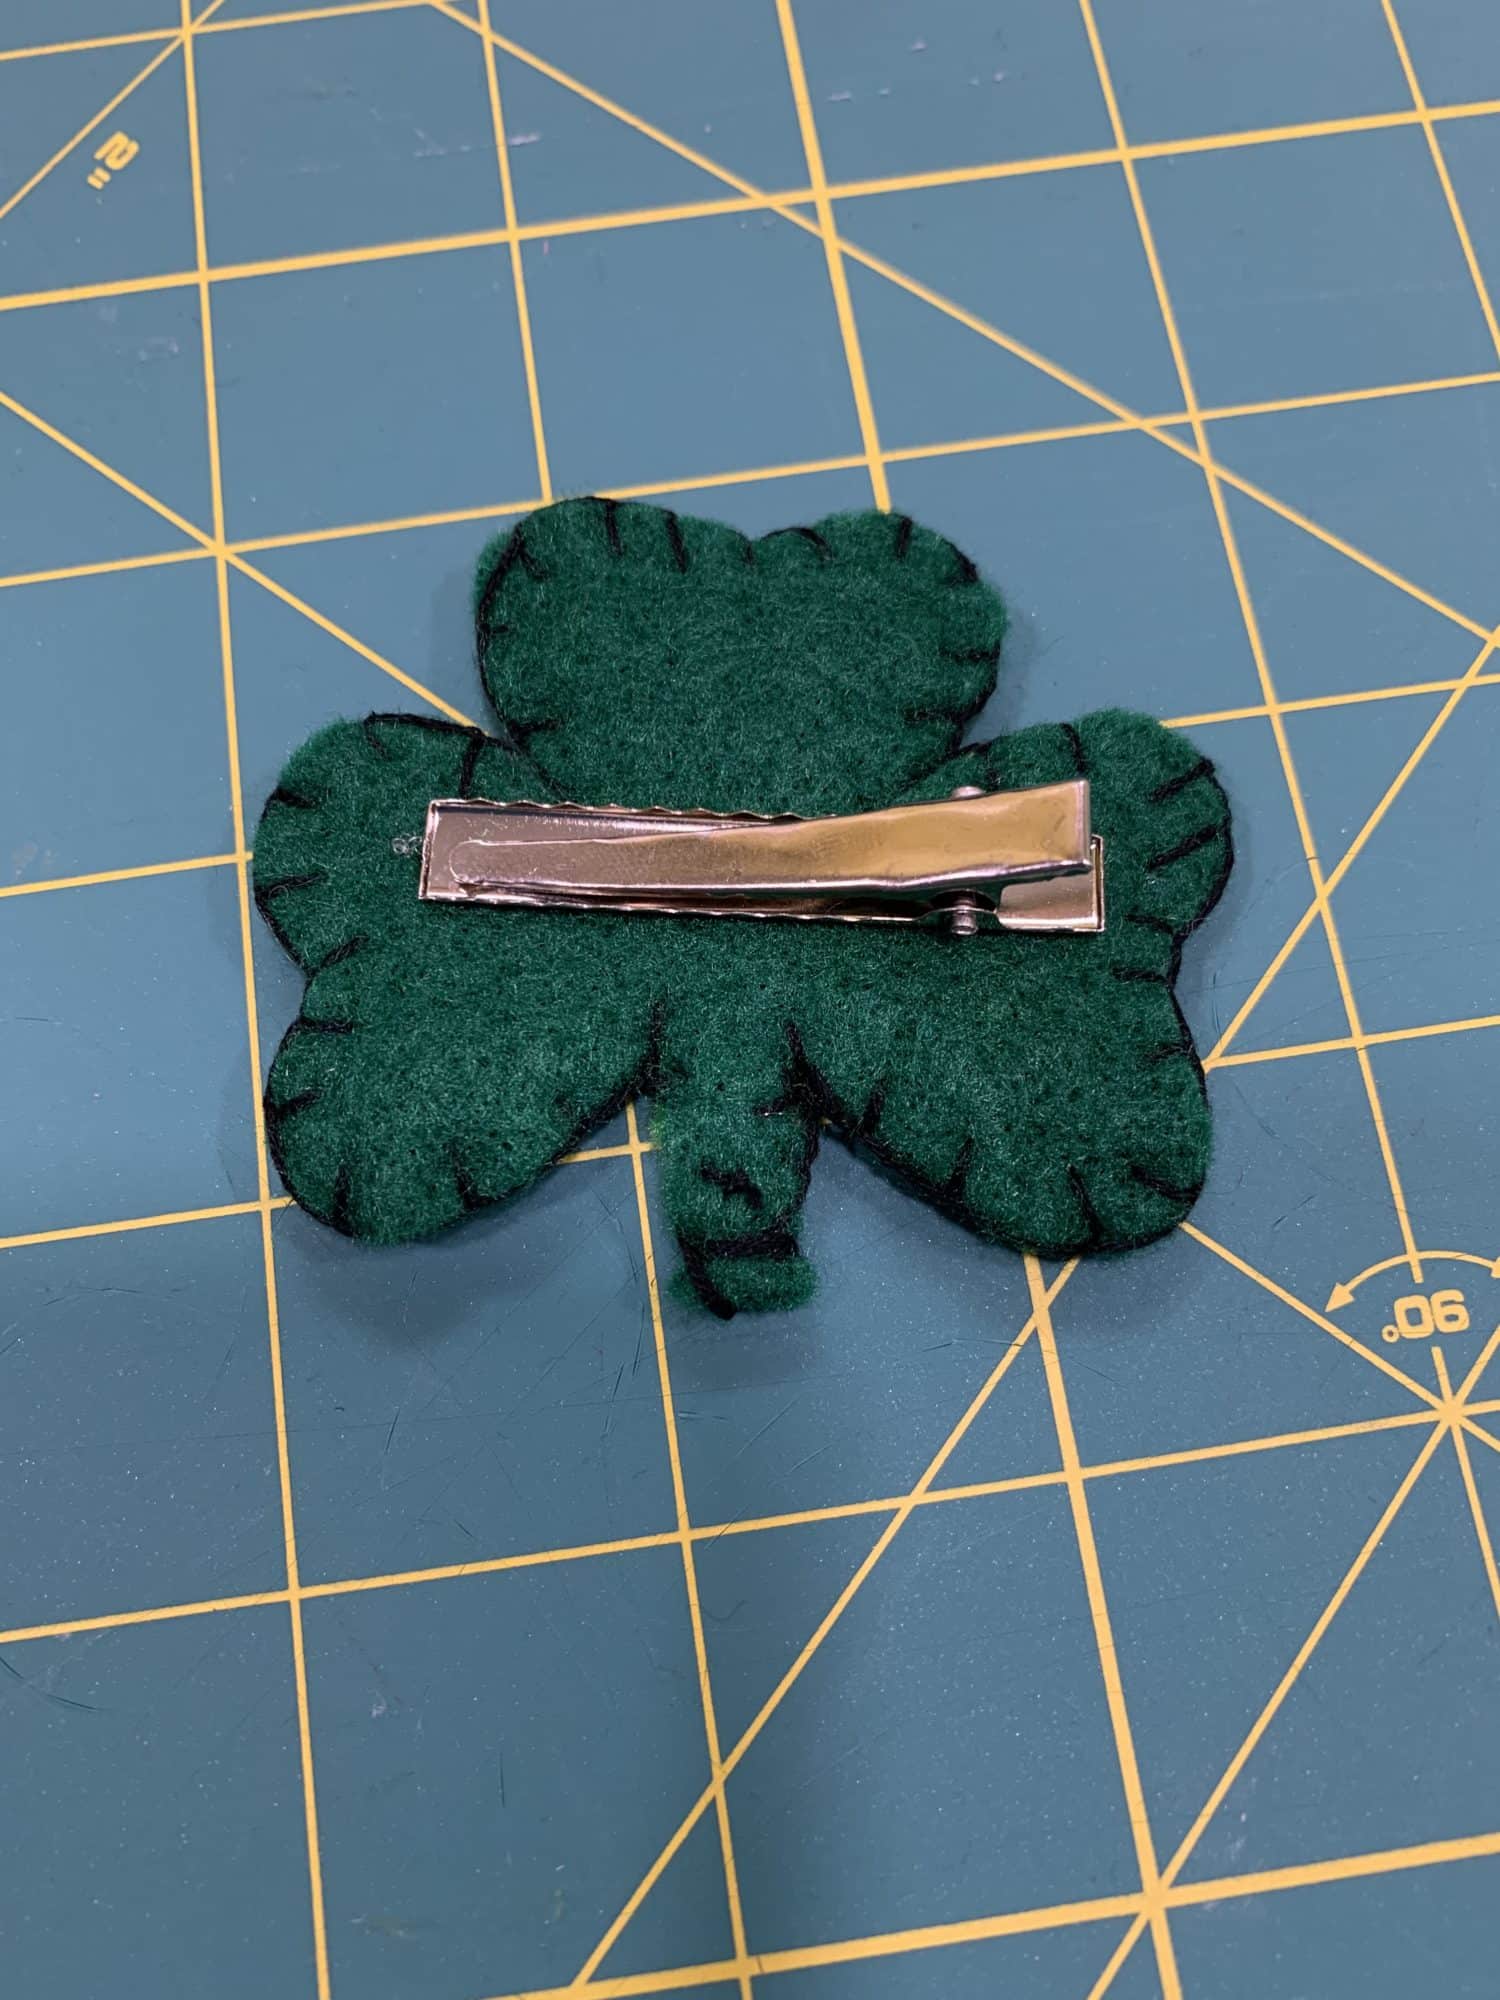
- To make the shamrock into a hair clip, all you have to do is hot glue the alligator clip and stick it to the back of the shamrock.
- That’s it, you’re done!
Your St. Patrick’s Day headband is complete!
- Told you it was fast and easy! I hope you enjoy your festive new headband!

Want more FUN DIY Freebies? Check out the FREEBIE TUTORIALS and the FREEBIE PATTERNS!
As always, we’re here to help if you need it! Join us HERE and on Facebook, Instagram, Twitter, Youtube, and Pinterest. We’re everywhere you are.
Leave a Reply