
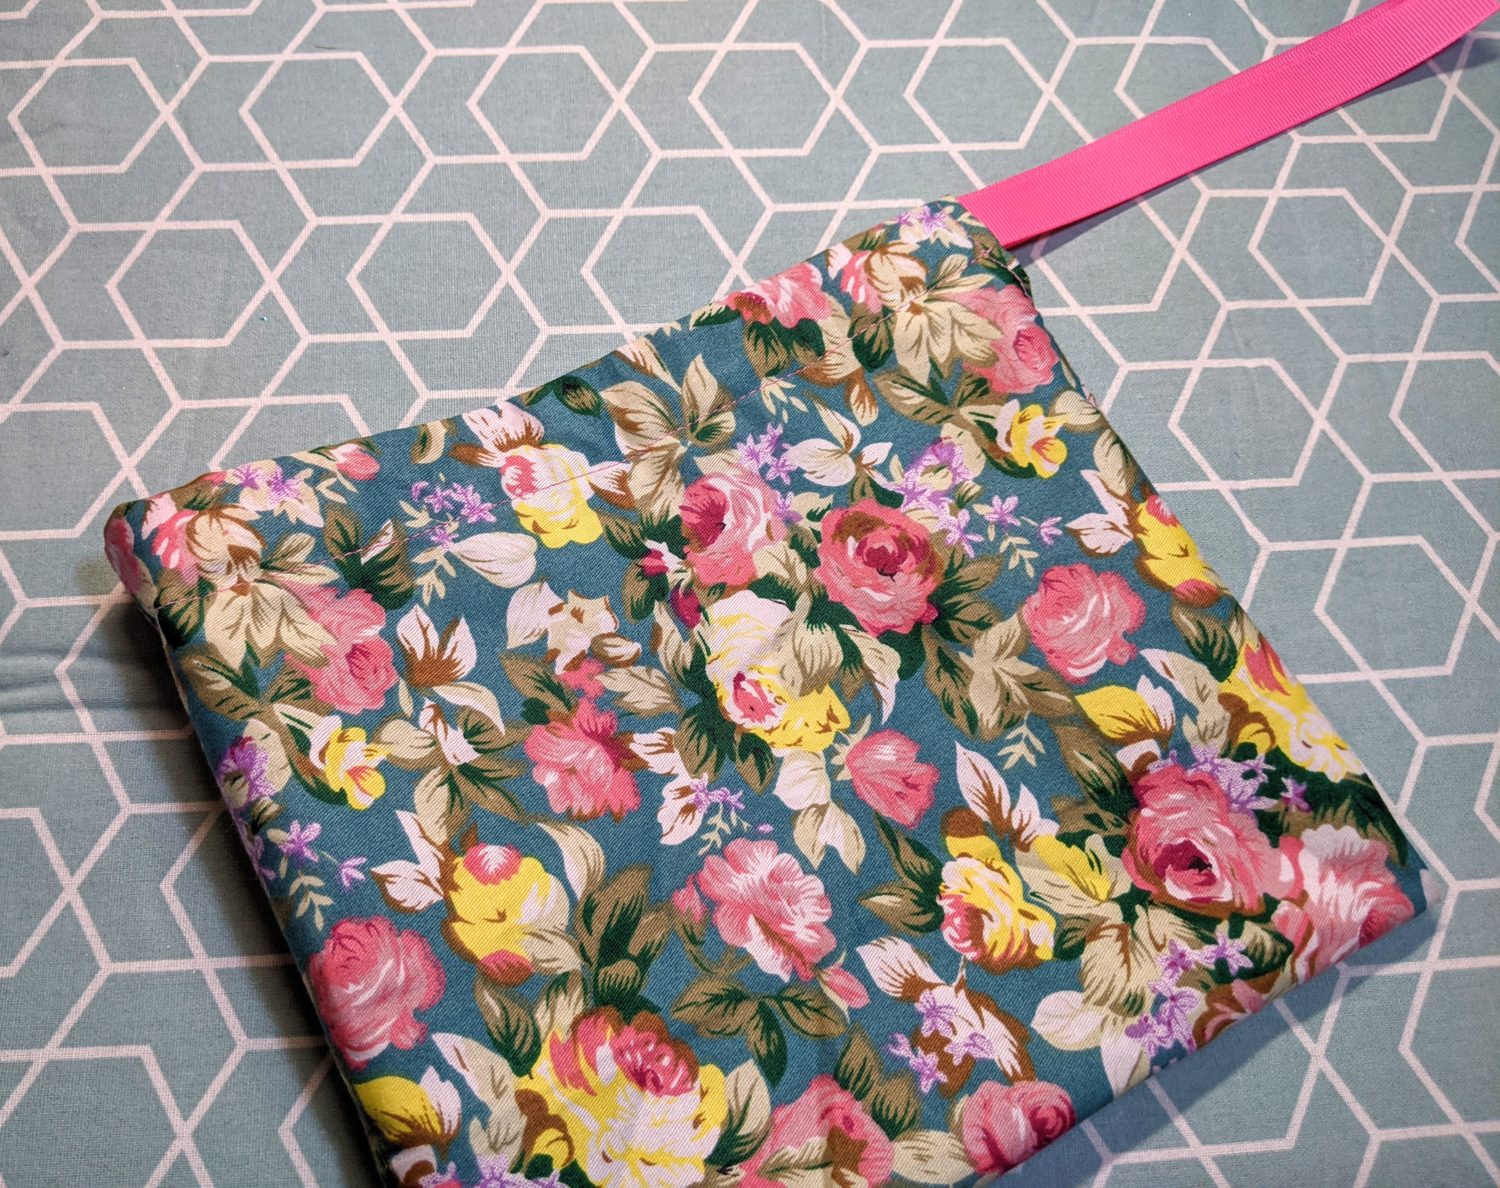
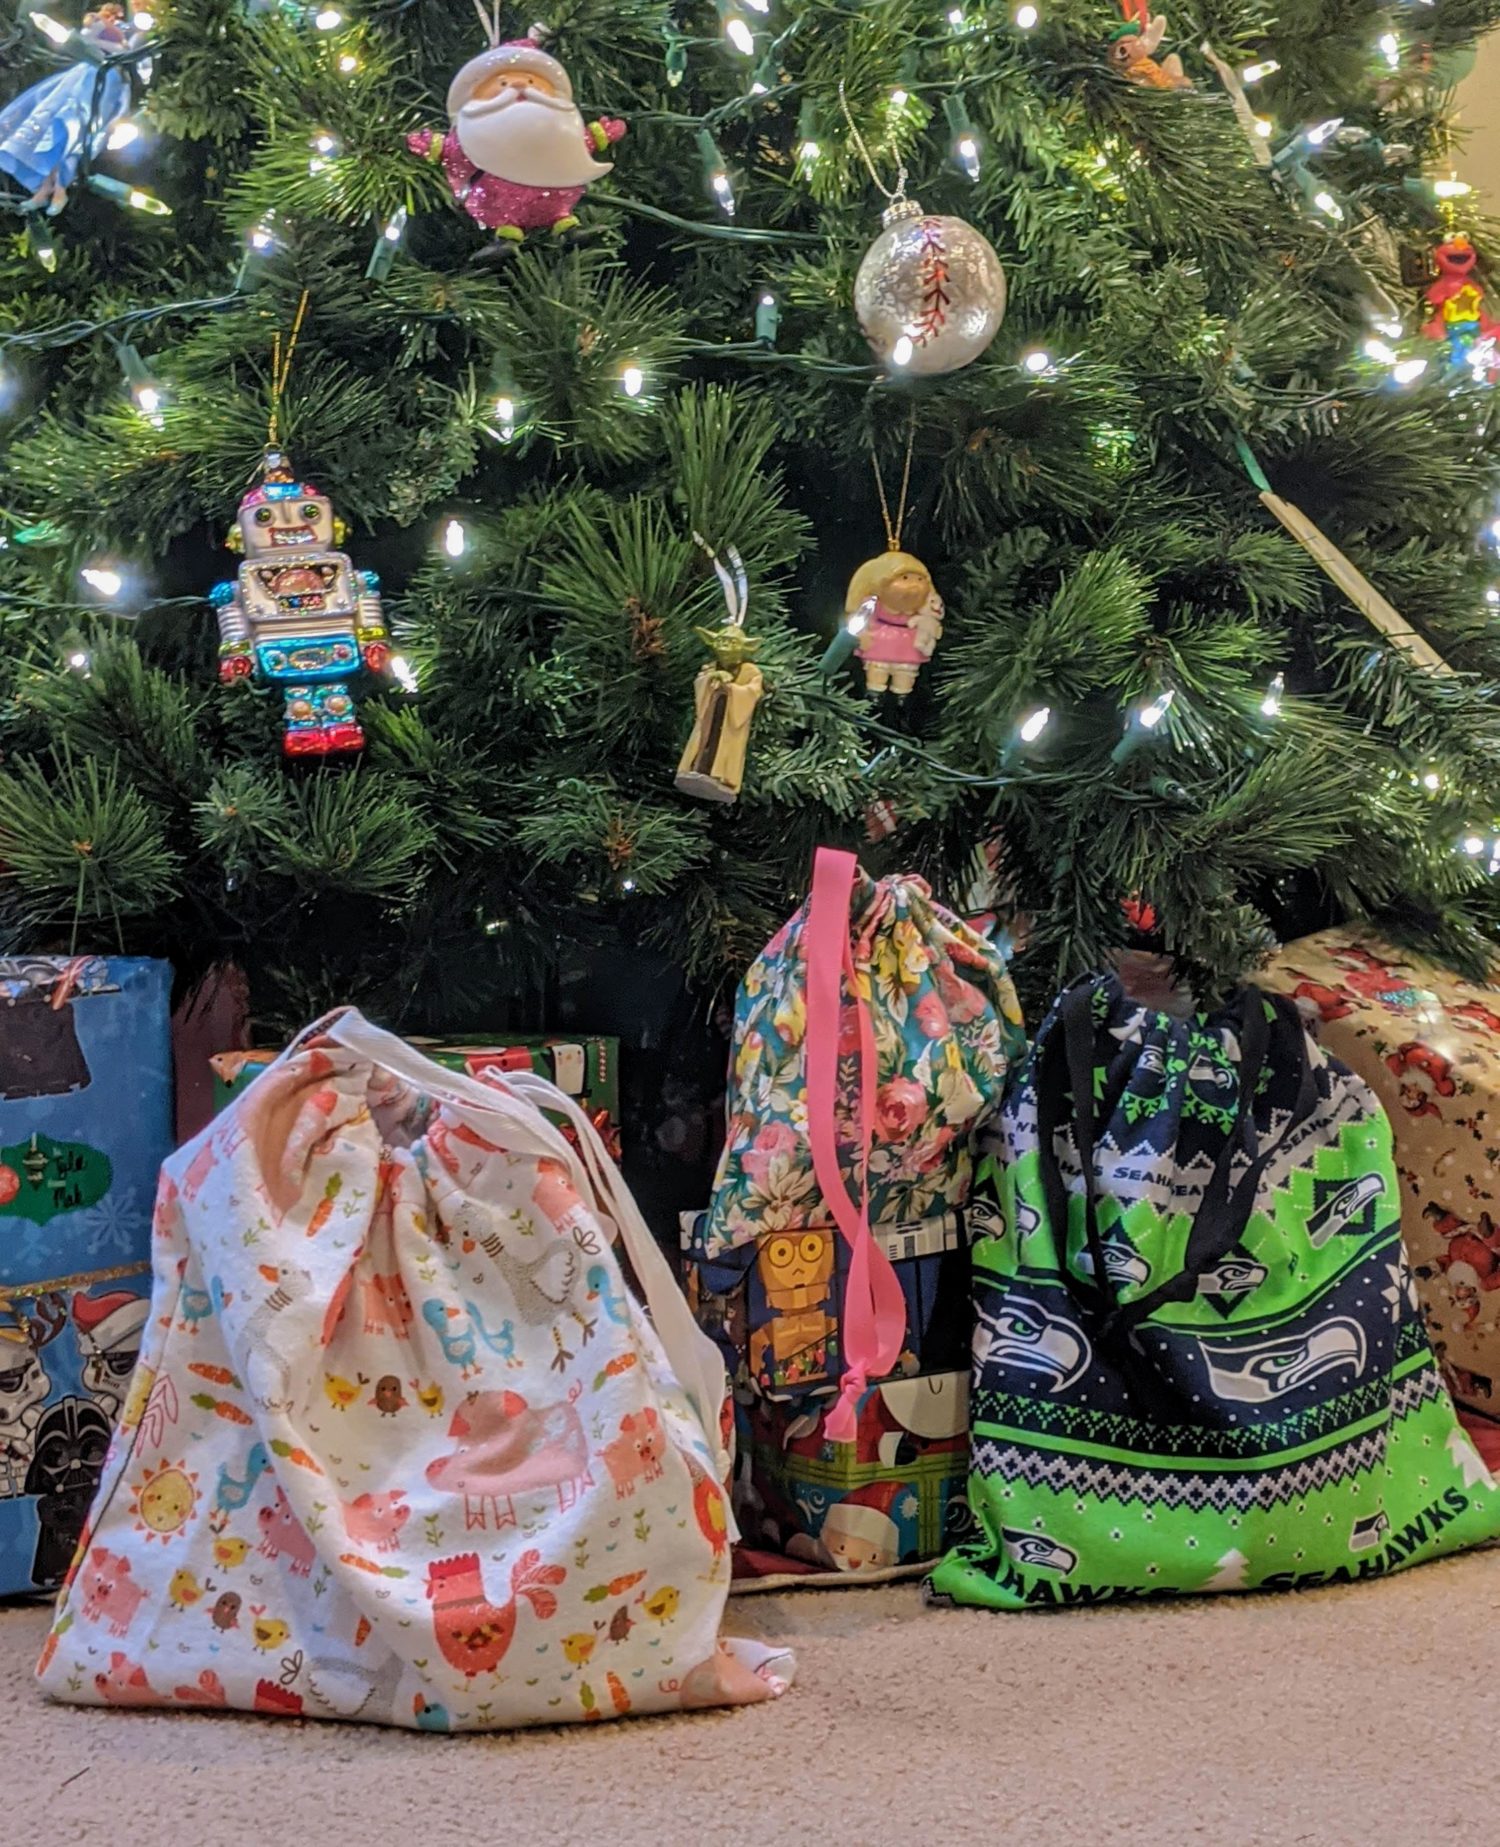
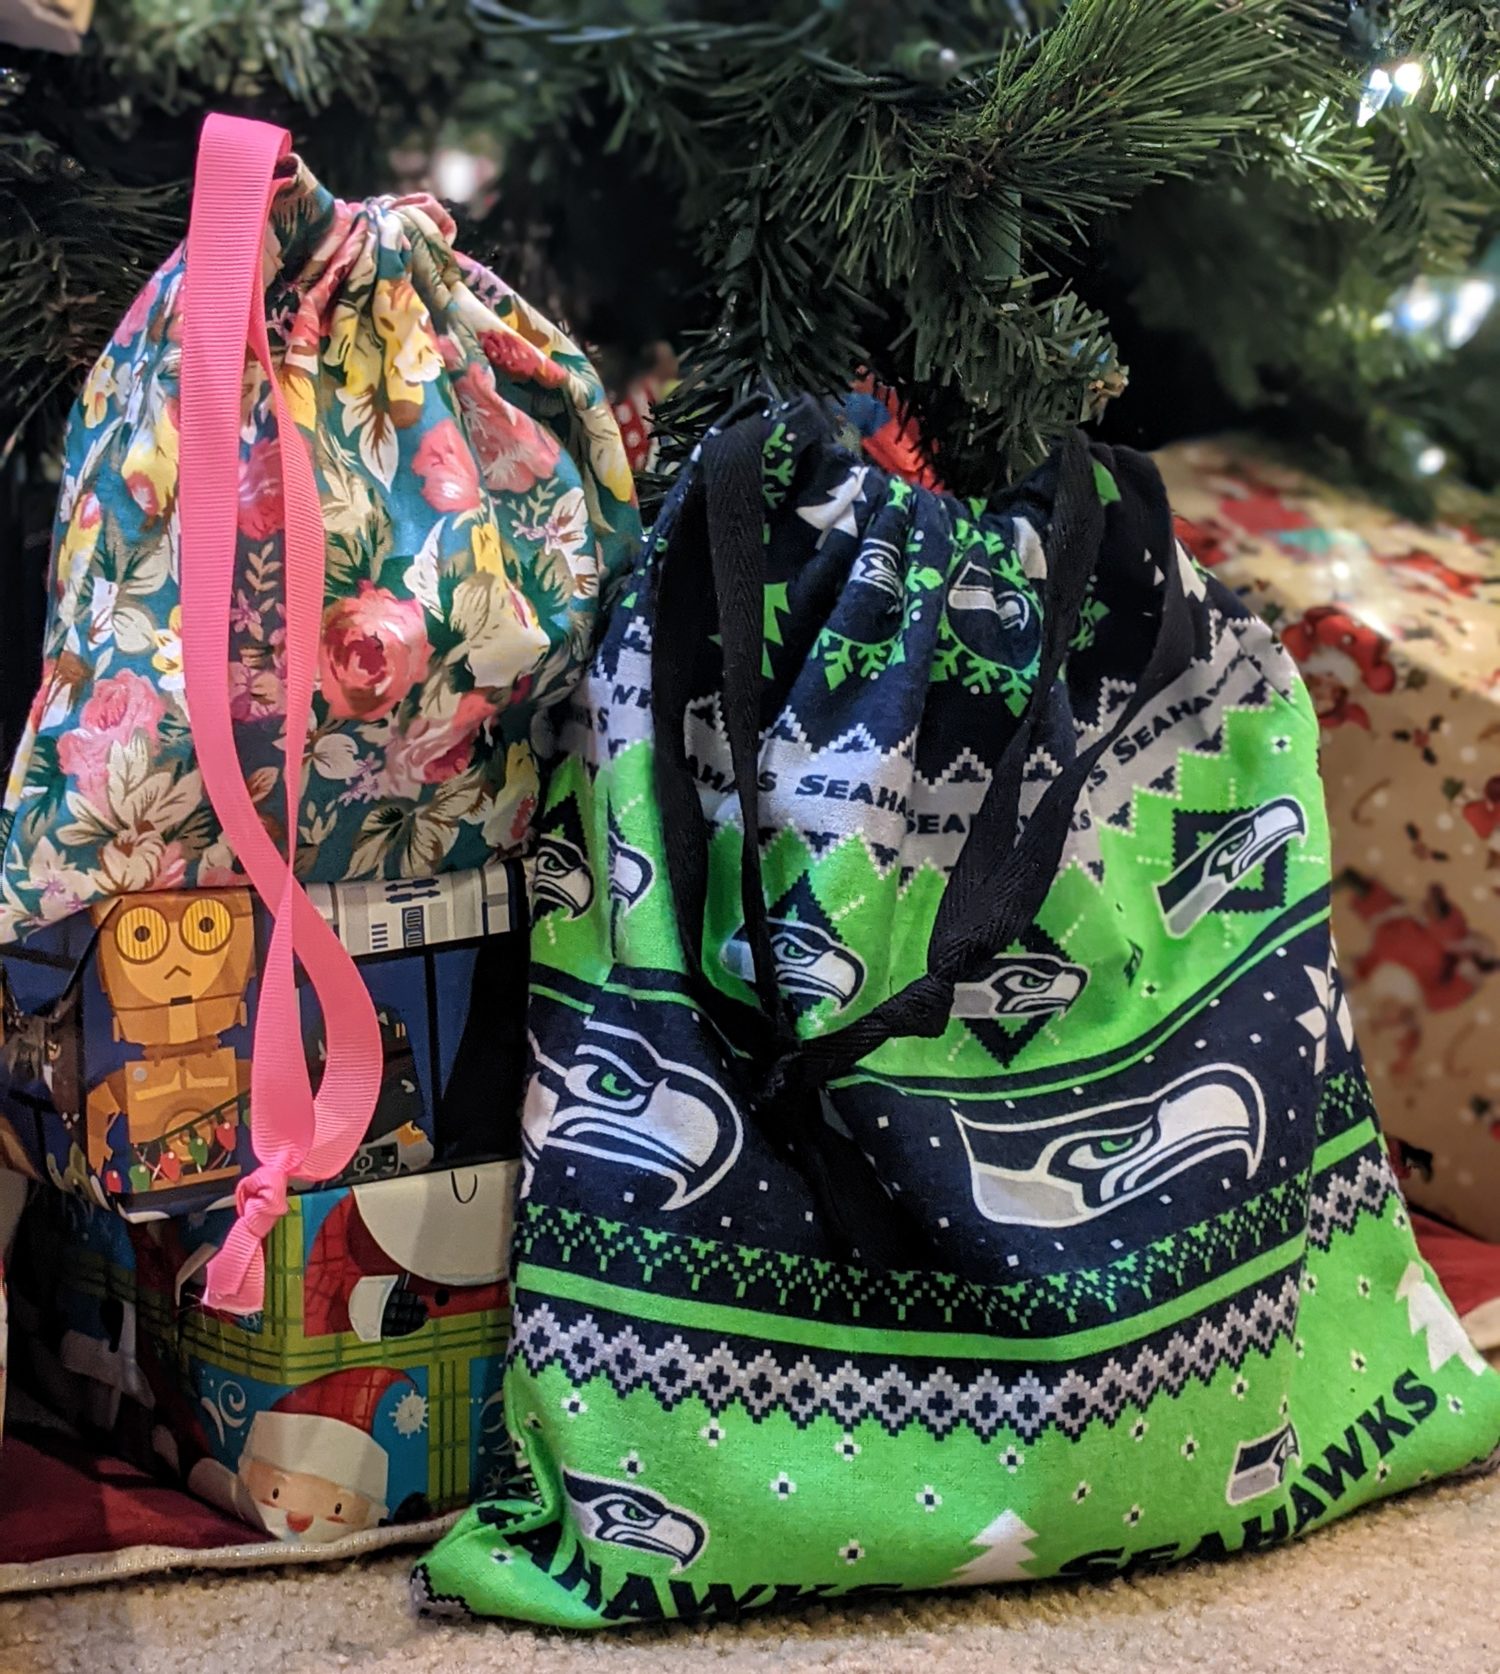
These drawstring bags are great for so many things! I use them for wrapping gifts, giving to my girls to store their doll clothes or their games with little pieces, and for carrying dance shoes, bar grips, and water bottles. You can make them any size that suits your needs, and make them with a single or double drawstring.
Supplies:
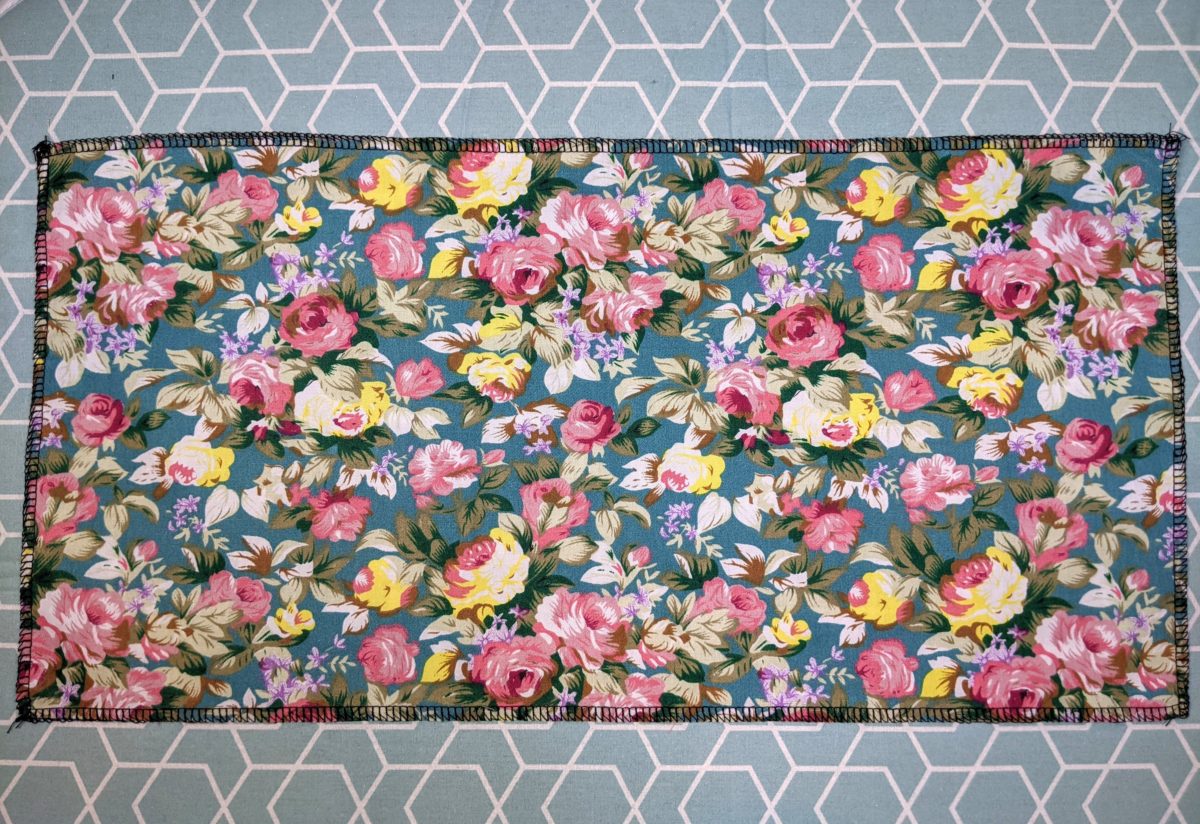
- Woven fabric
- Drawstring material: ribbon, twill tape, string, etc
- Sewing machine
- Pins
- Iron
Choose Your Size
You can make any size that you want. You can either cut out two rectangles to sew together and there will be a seam on the bottom of the bag or just one long rectangle that you will fold in half. I will show you how to sew it with either option.
Prep Your Fabric
- Start by ironing your fabric to get it nice and flat
- Finish off all the edges to prevent fraying. You can do this by serging around the sides (shown) or using an overcasting stitch on your sewing machine. You can also use pinking shears around all of the edges.
Sew The Two Pieces Together
**If you cut out one long rectangle to be folded, skip down to Let’s Get Sewing!**
- Place the two rectangles right sides together and line up all the edges
- Pin along the bottom edge
- Sew with a 1/2″ seam allowance and press the seam open
Let’s Get Sewing!
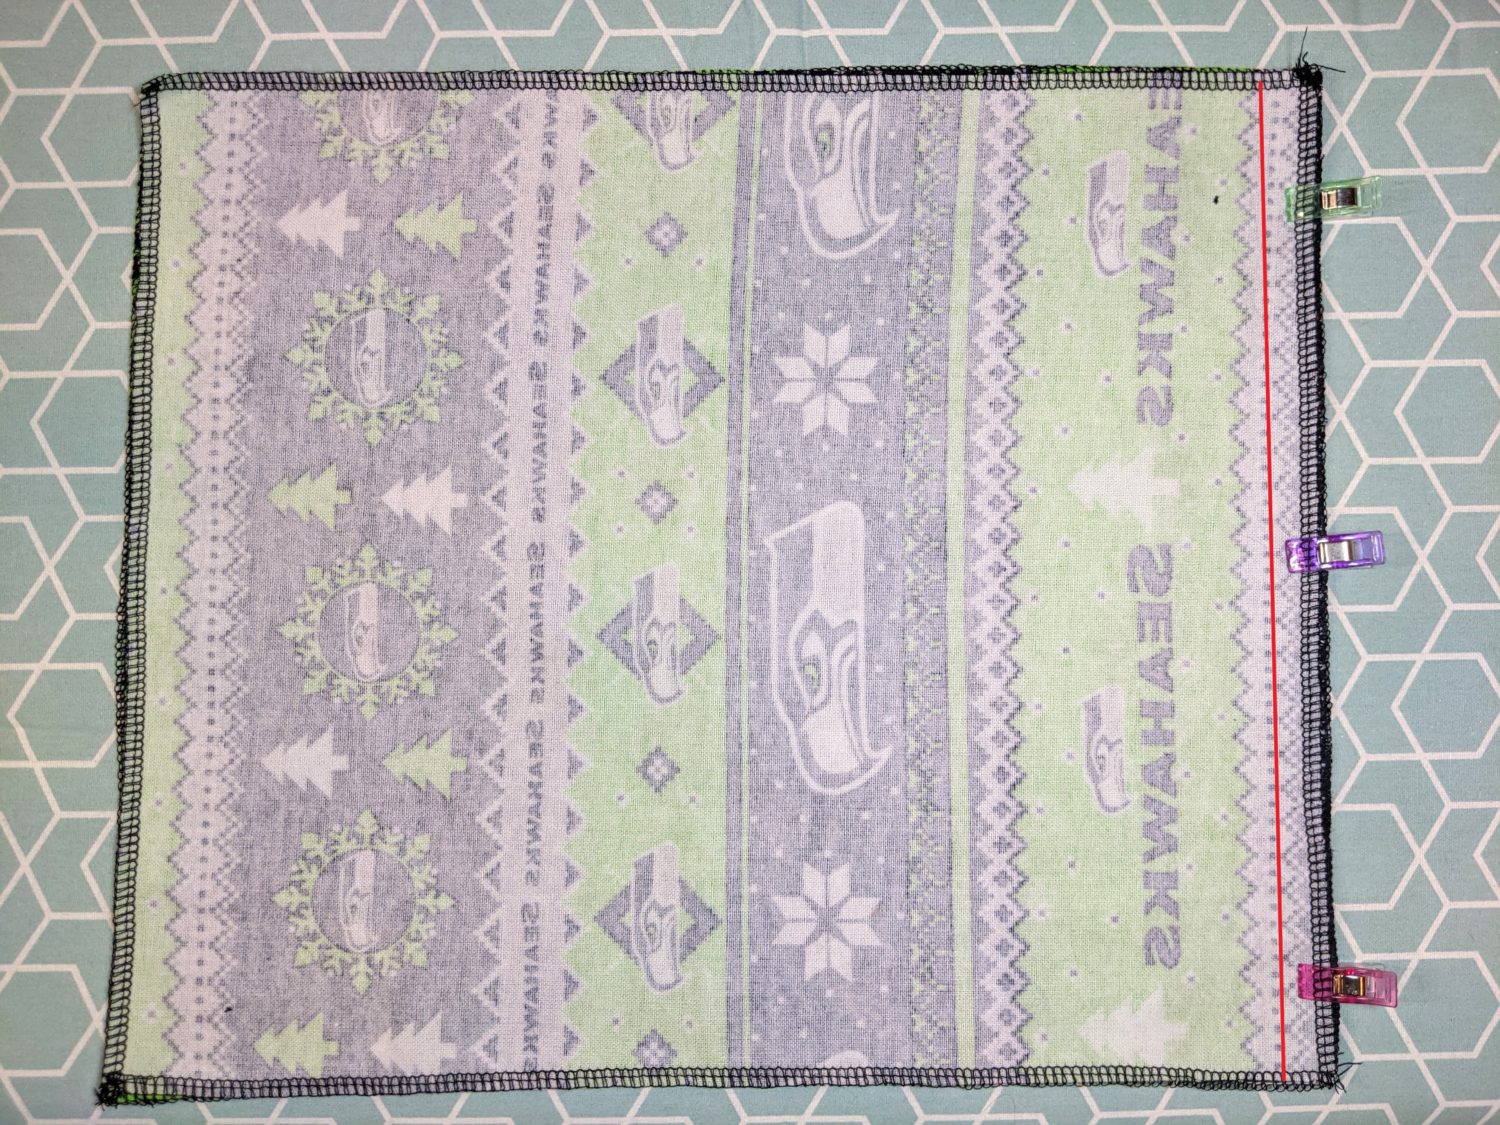
- Fold your fabric in half hamburger way so that the folded side (or seam) is at the bottom
- Decide if you would like a single drawstring or two
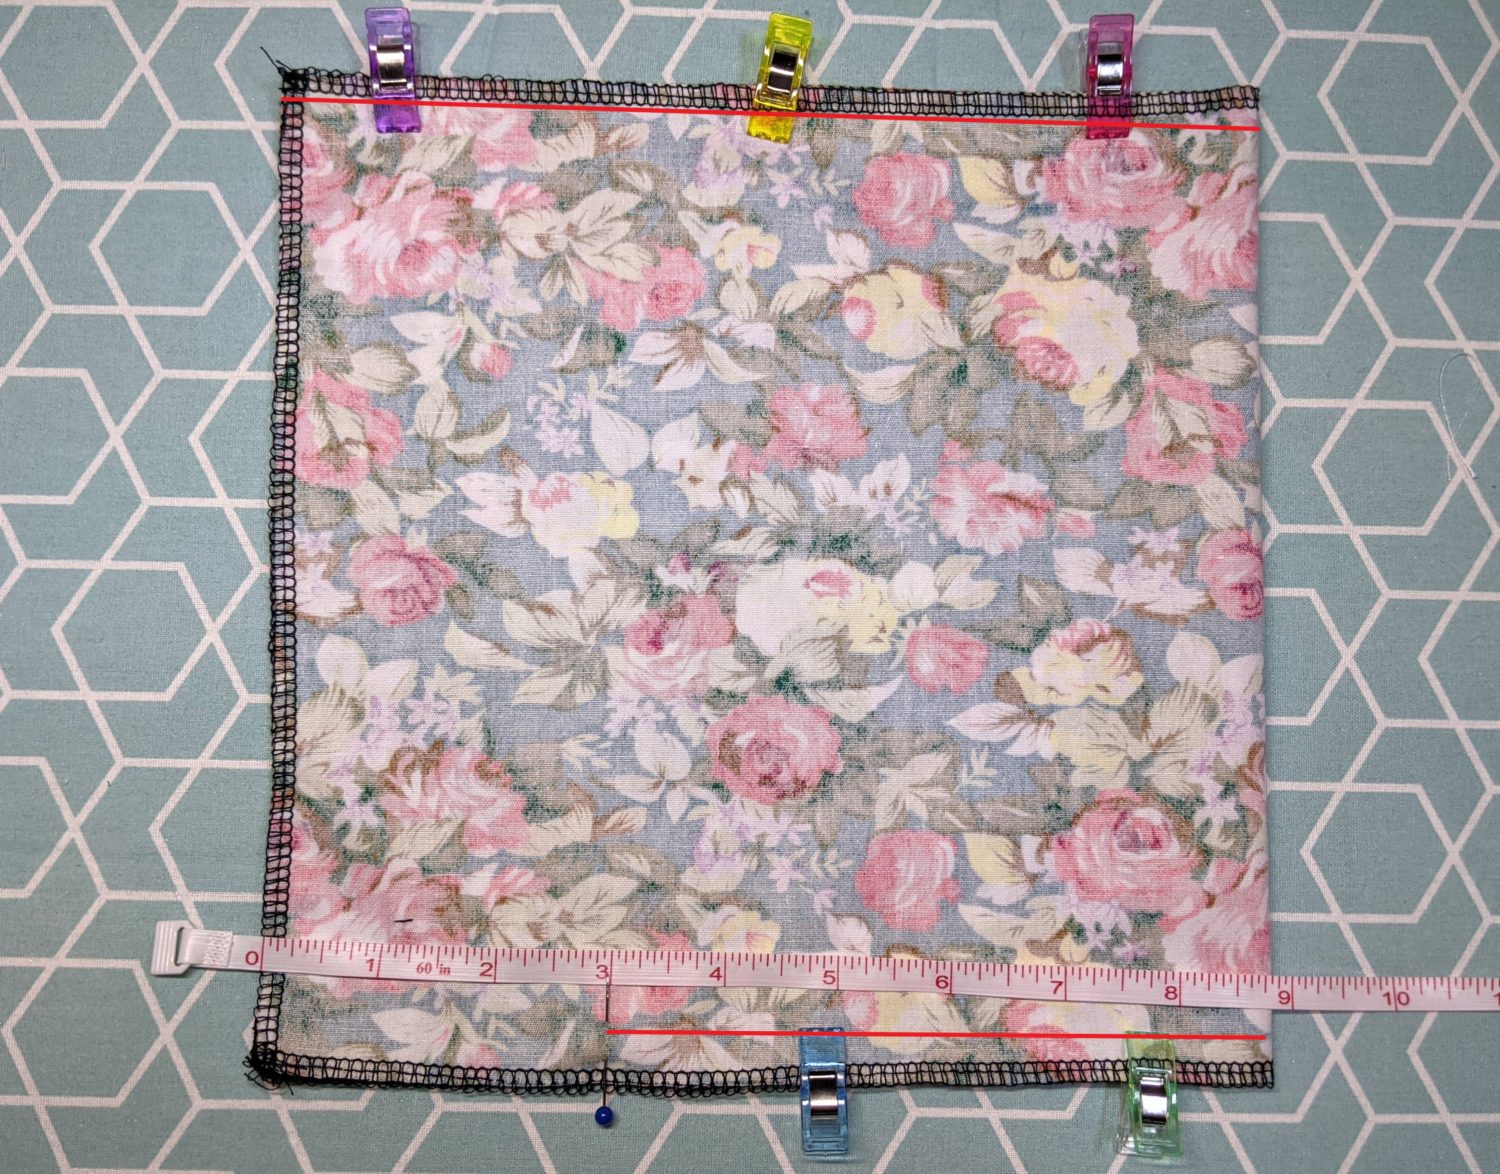
- For two drawstrings, measure down 3″ from the top edge on both sides and mark with pins
- For one drawstring, measure down 3″ from the top edge on one side and mark with a pin
- Pin the rest of each side below the pins
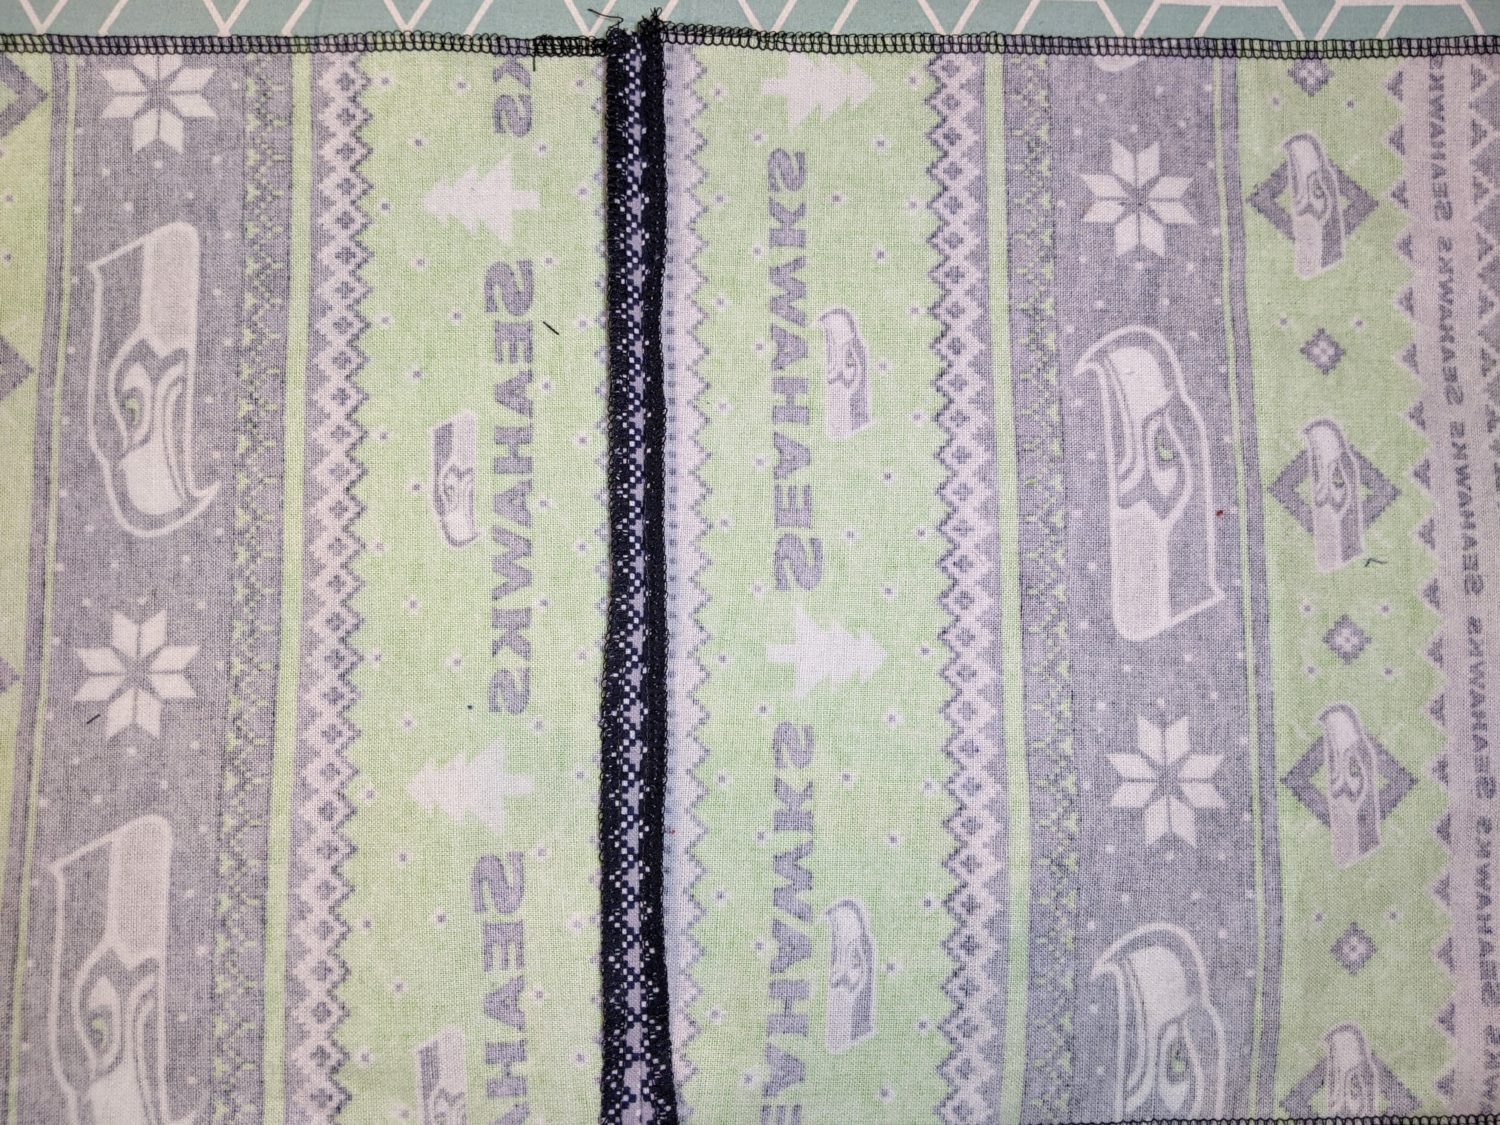
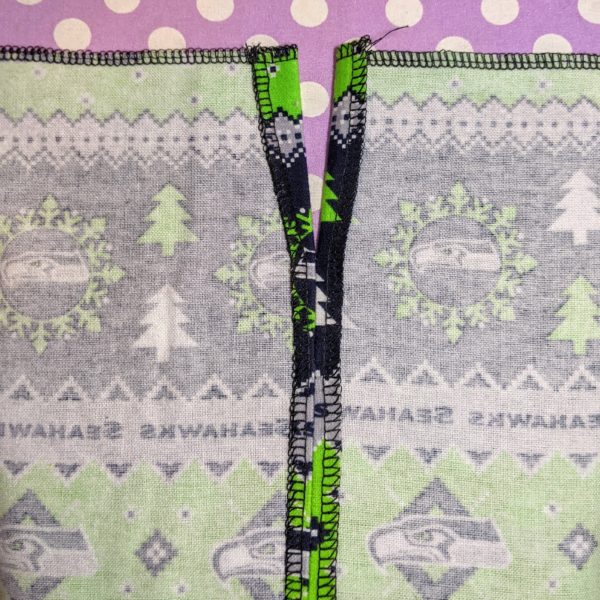
- Sew from the bottom edge up, stopping at your pin and backstitching a couple of times (if you have a bottom seam, pin the seam allowance to either side of the bag before you sew)
- Press the seam allowance open on both sides
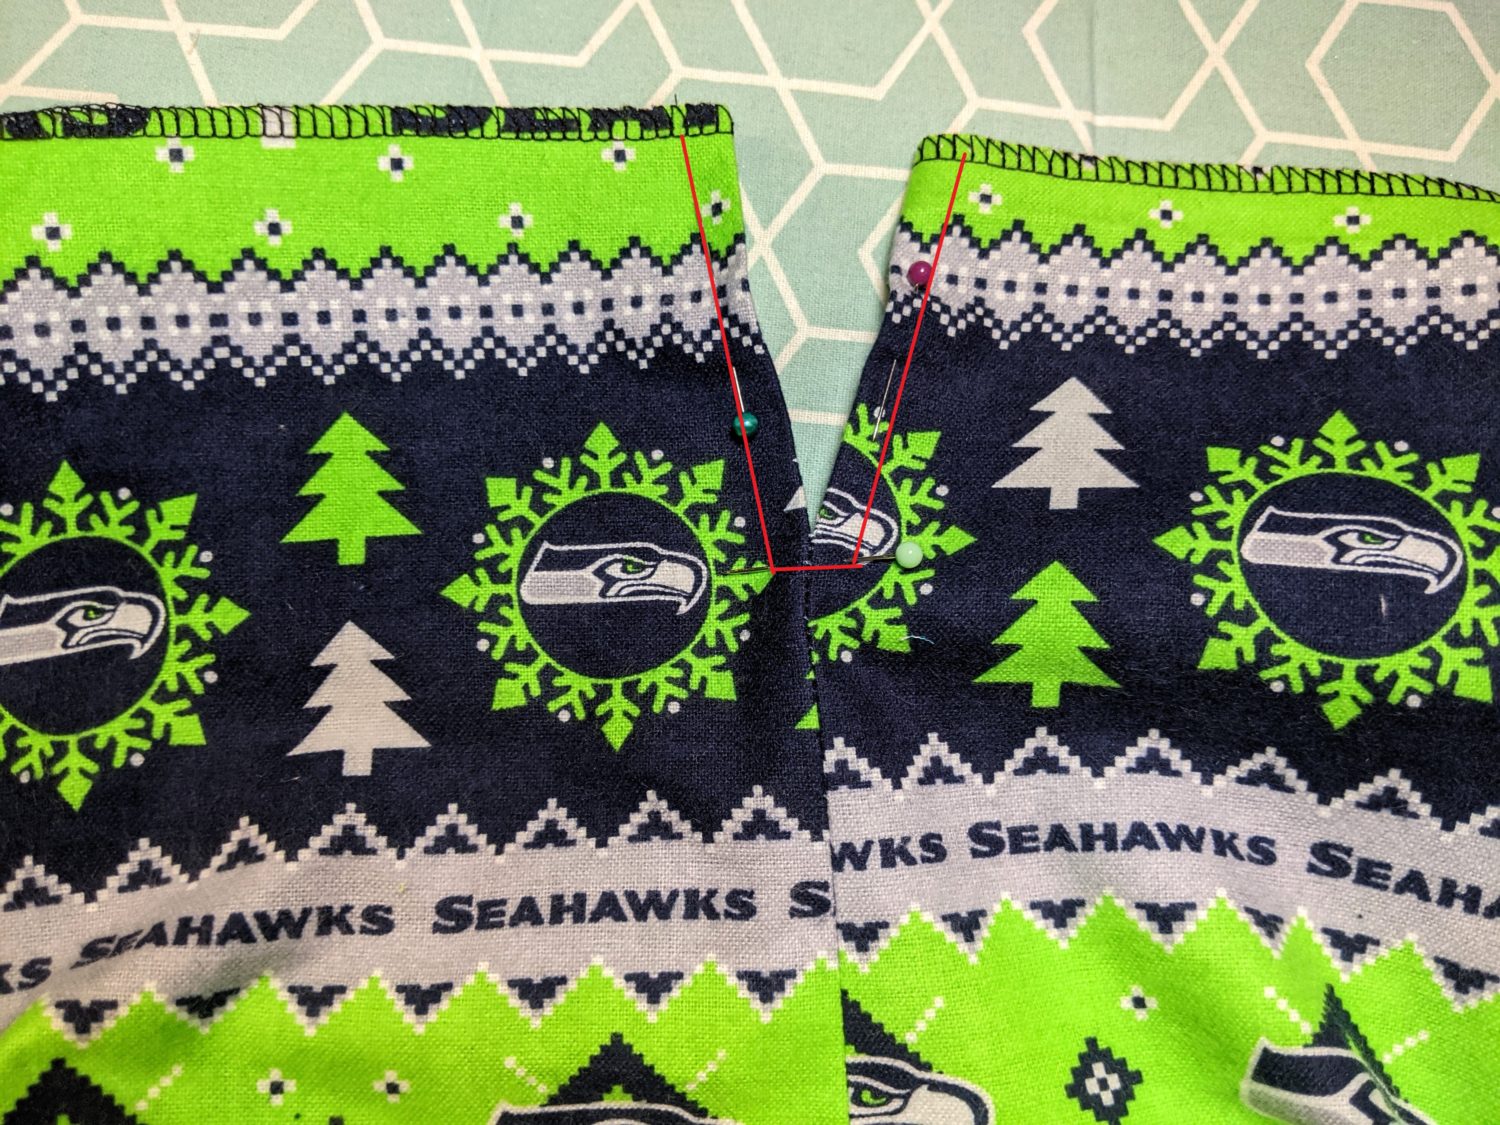
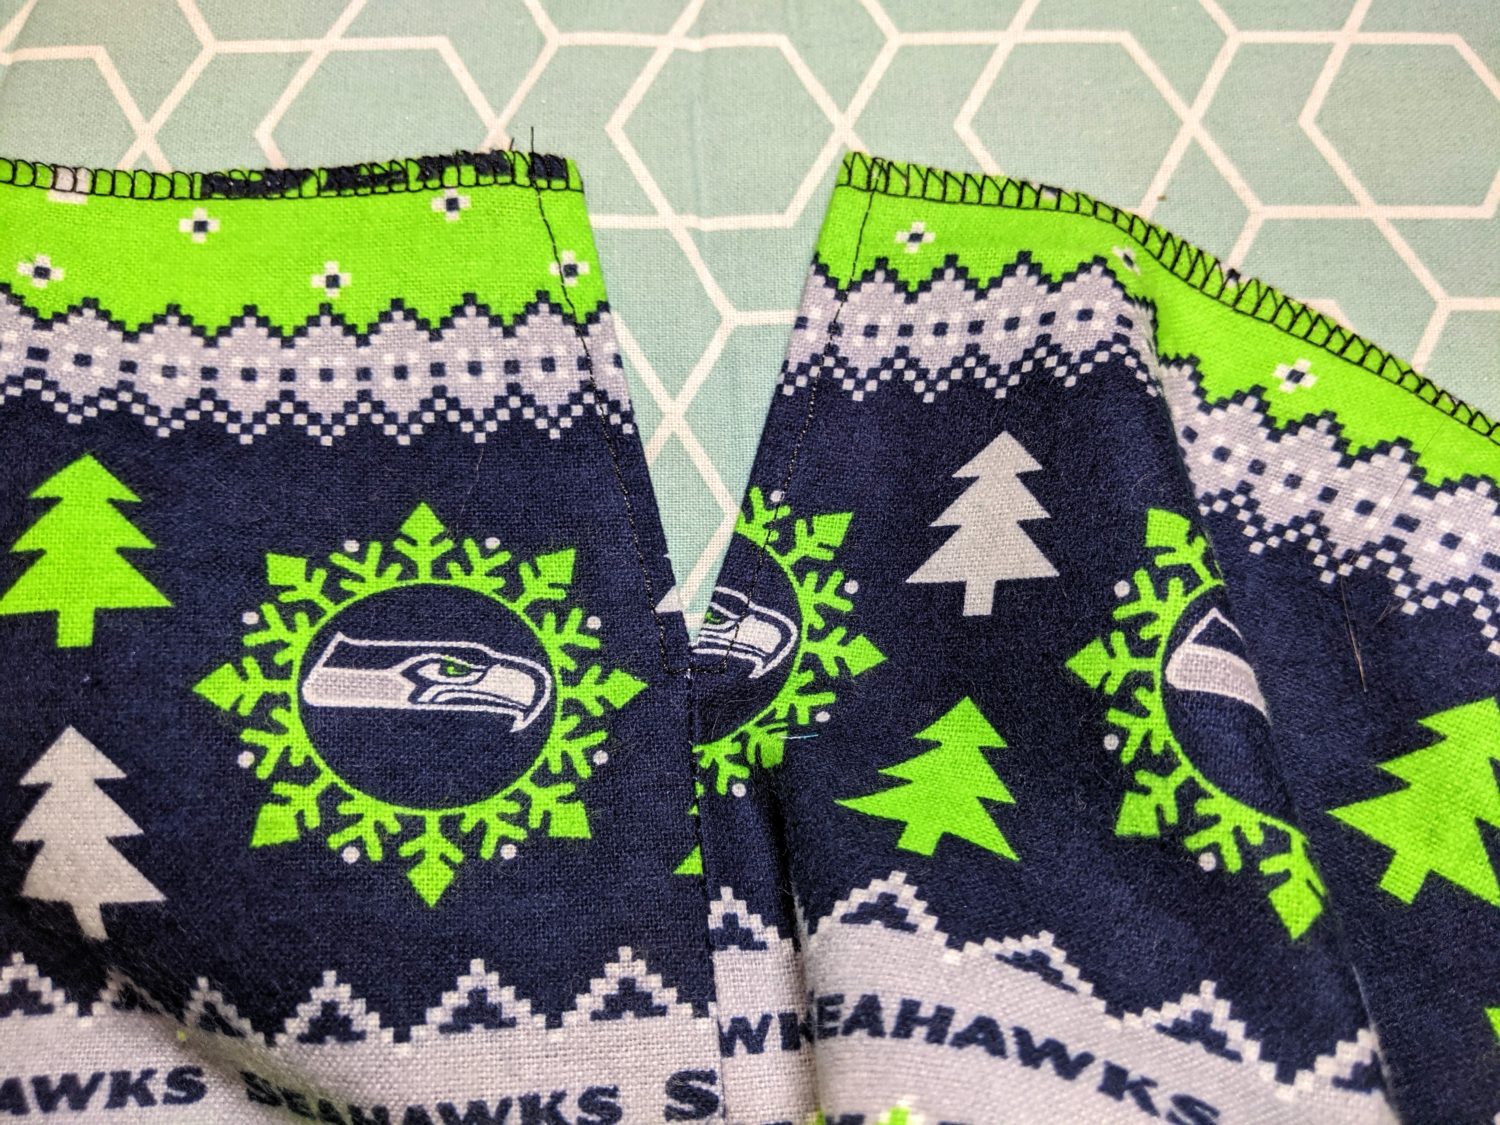
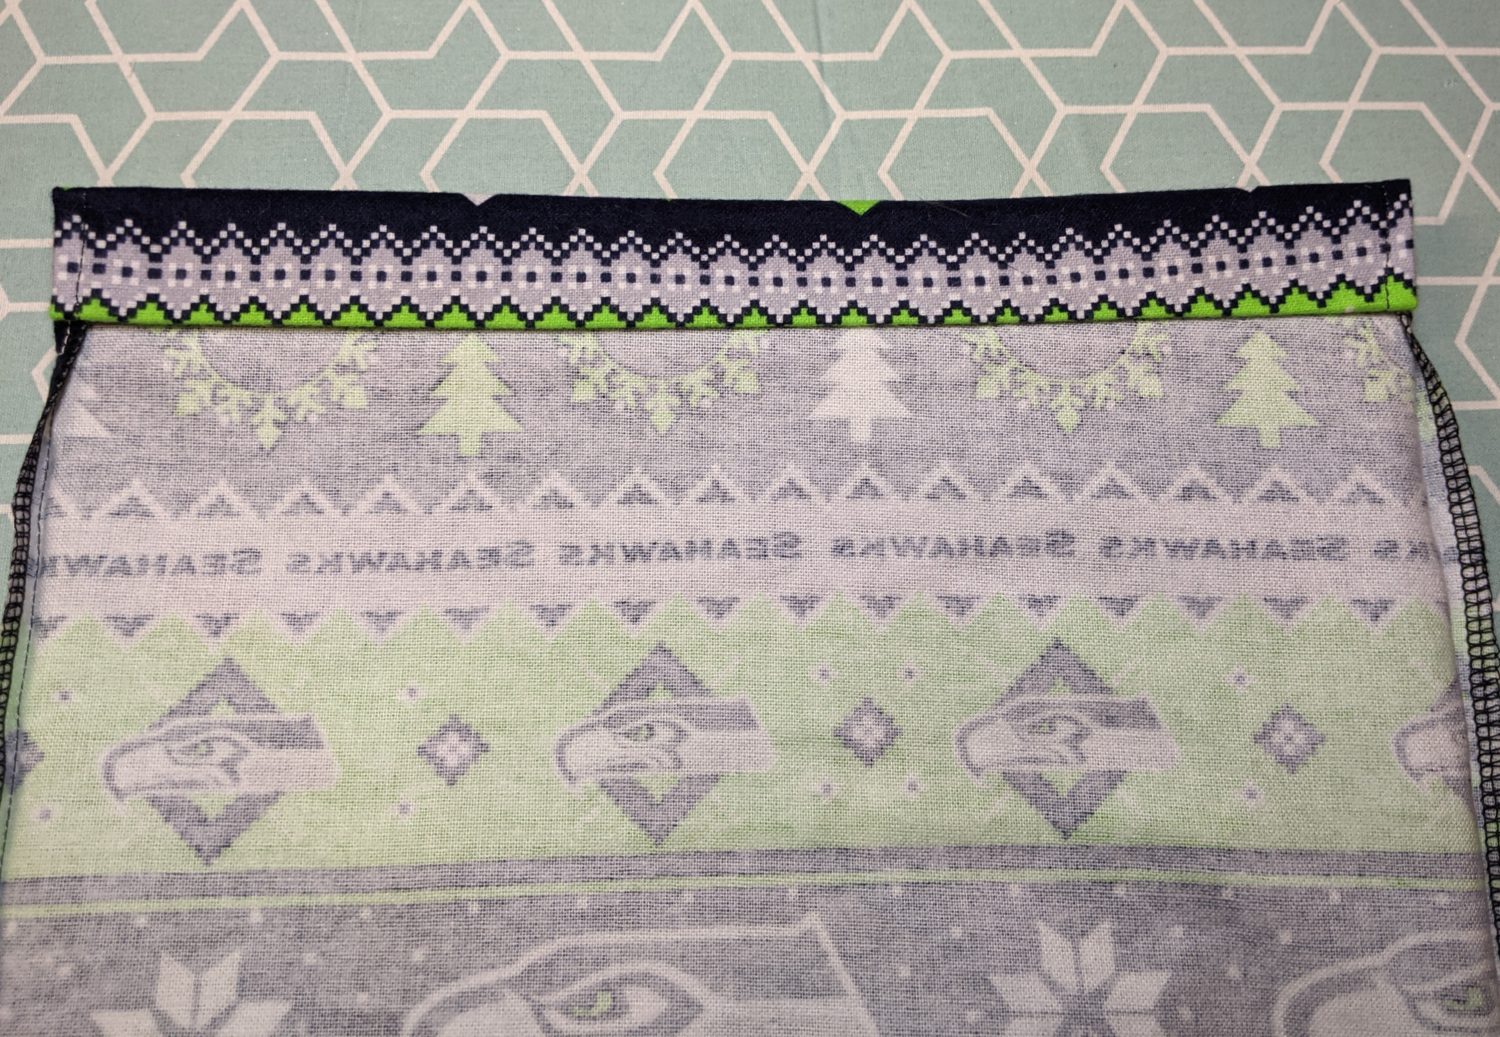
- At the top where you stopped sewing at the pin(s), press the edges in towards the bag about 1/2″ and pin in place
- Turn bag right side out and sew along the pinned seam allowance
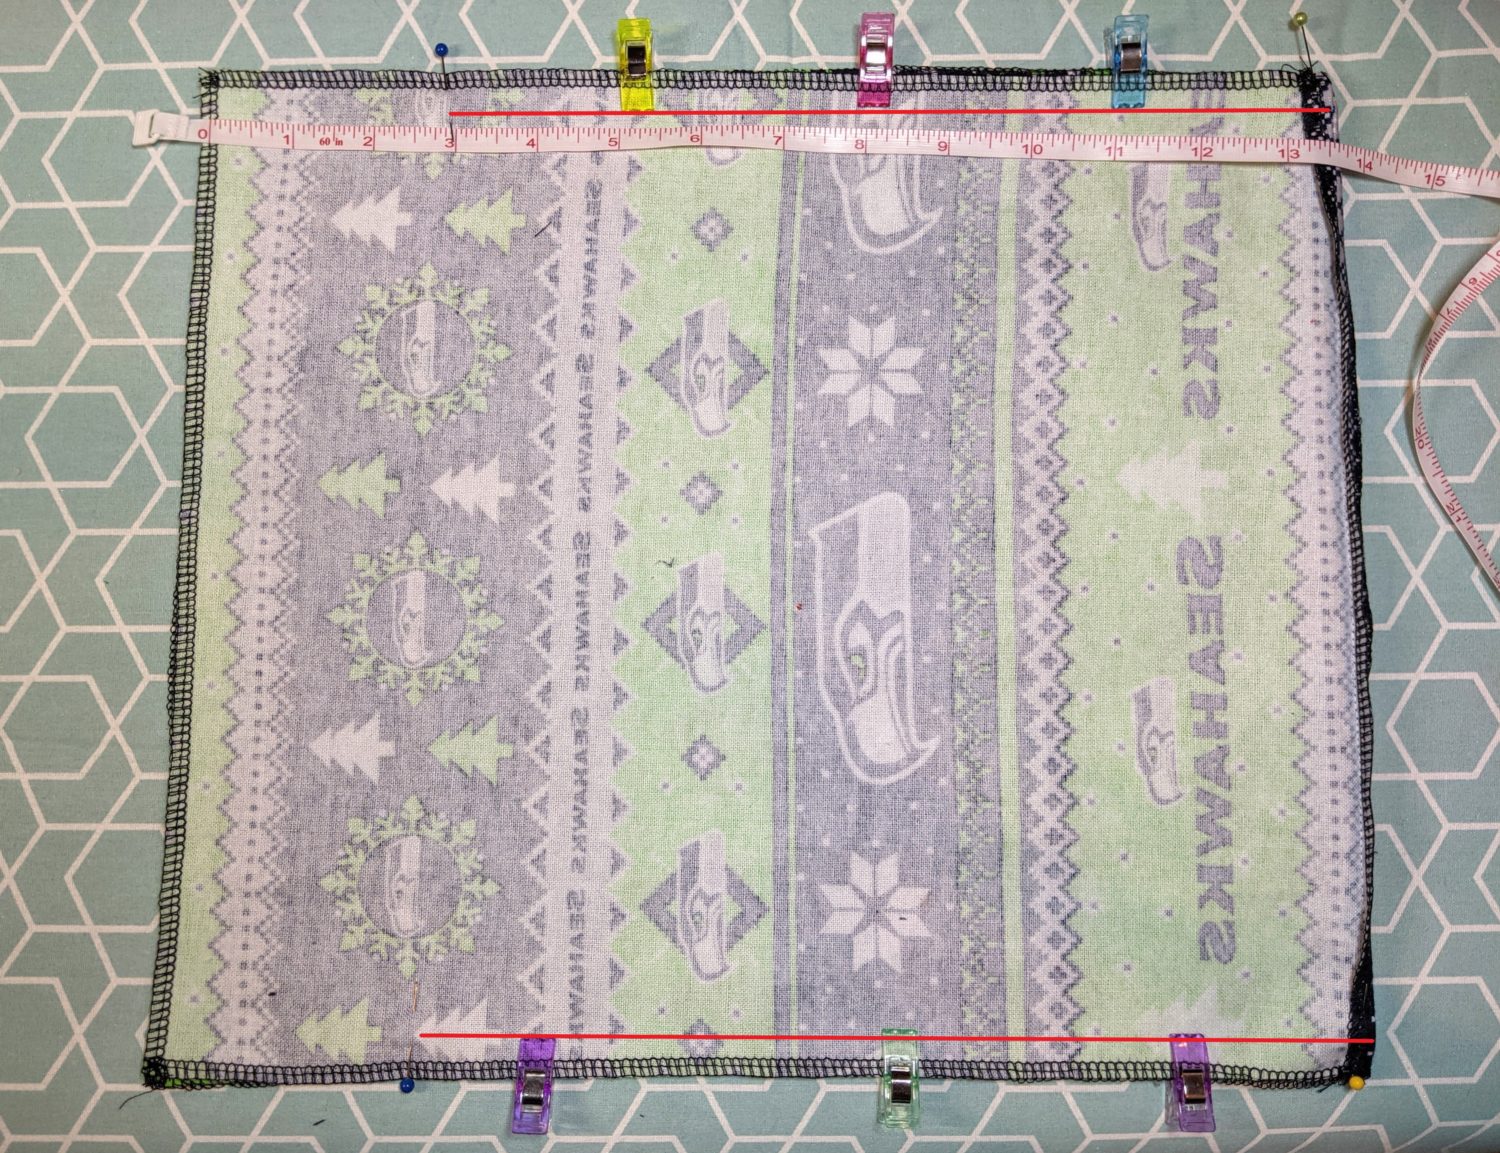
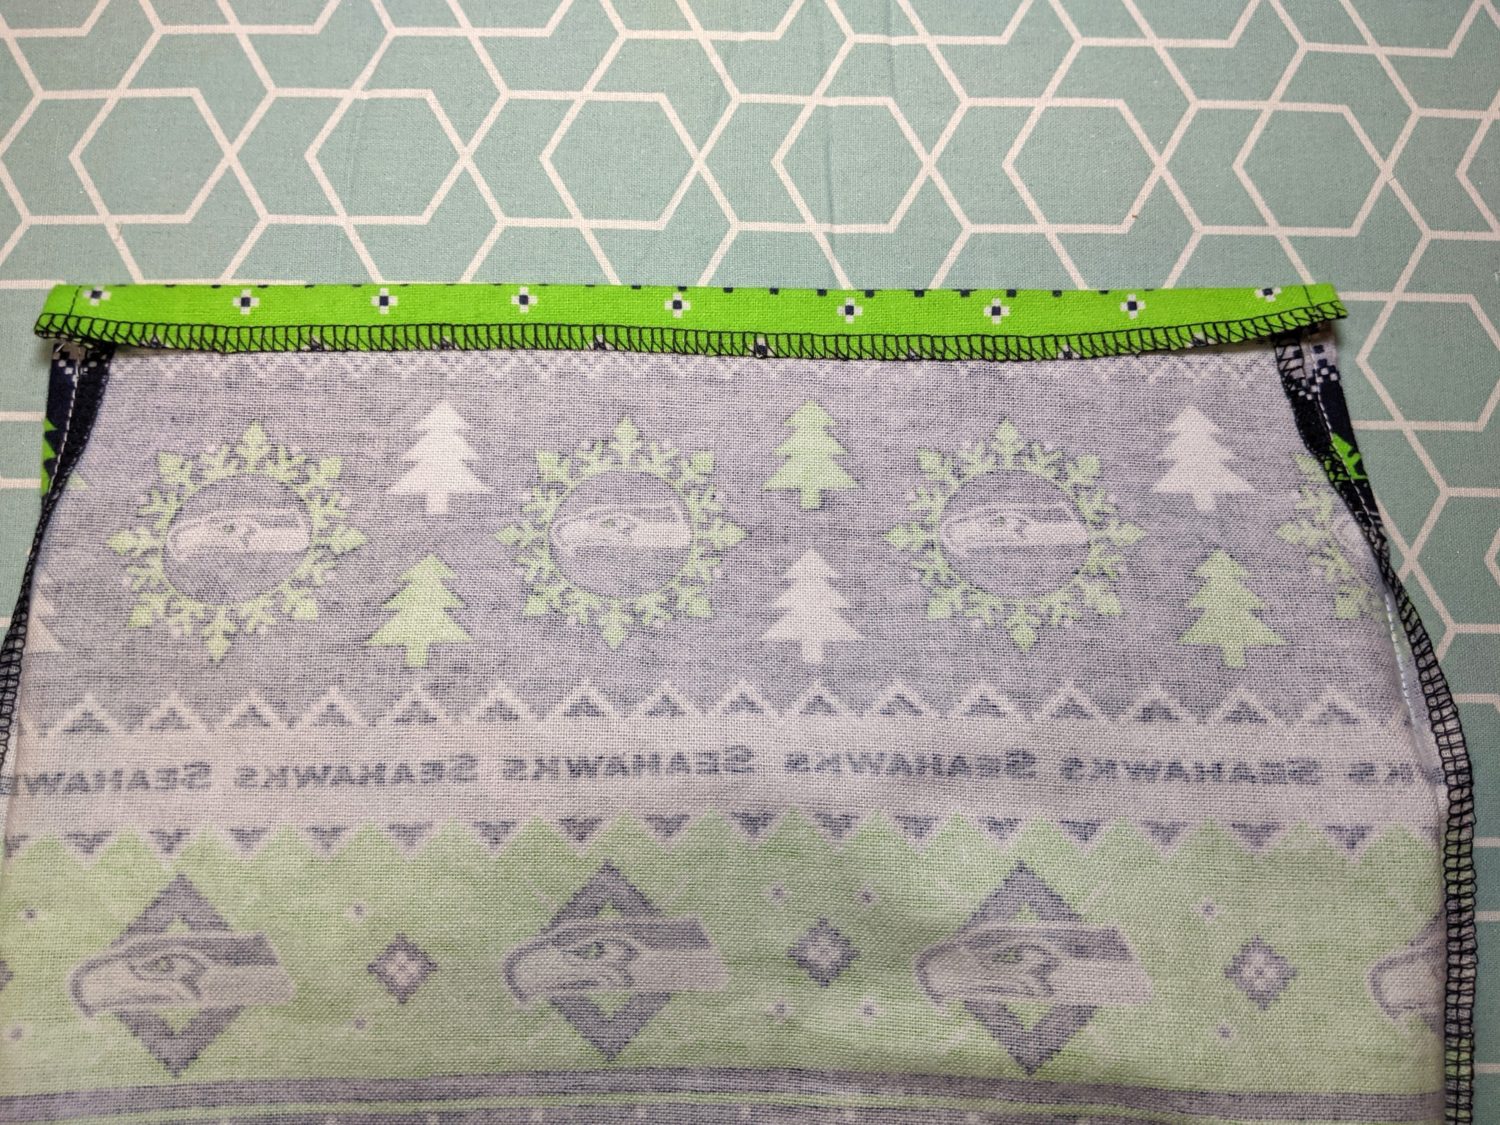
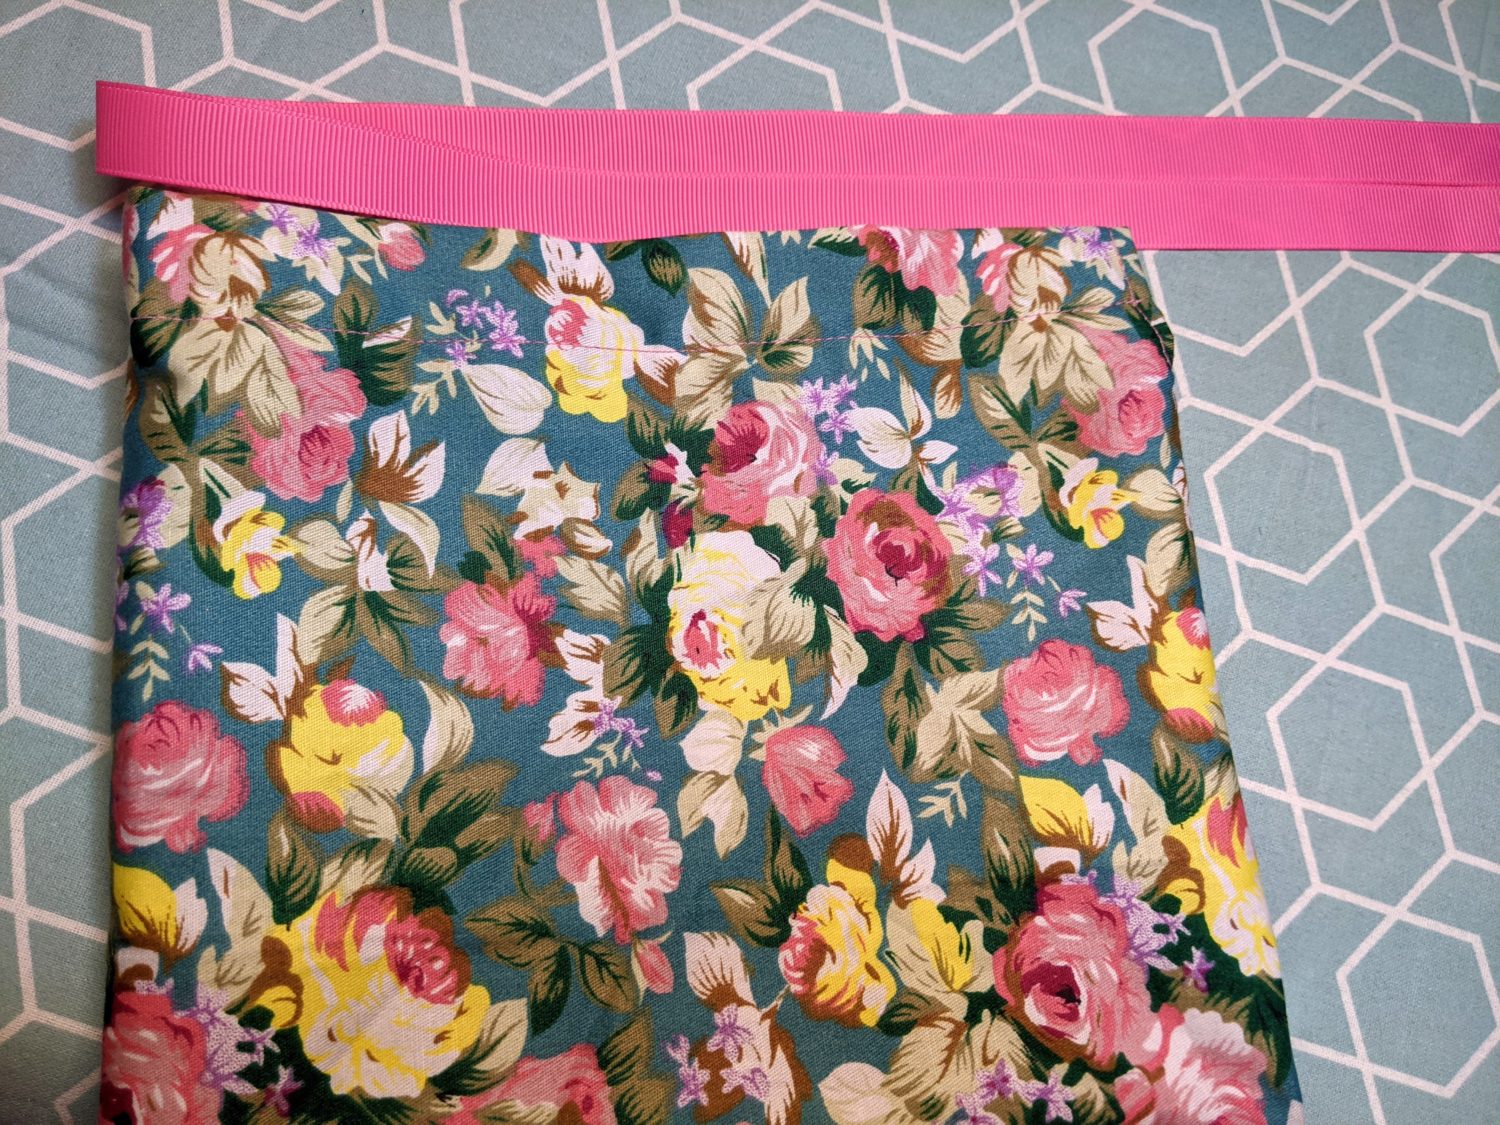
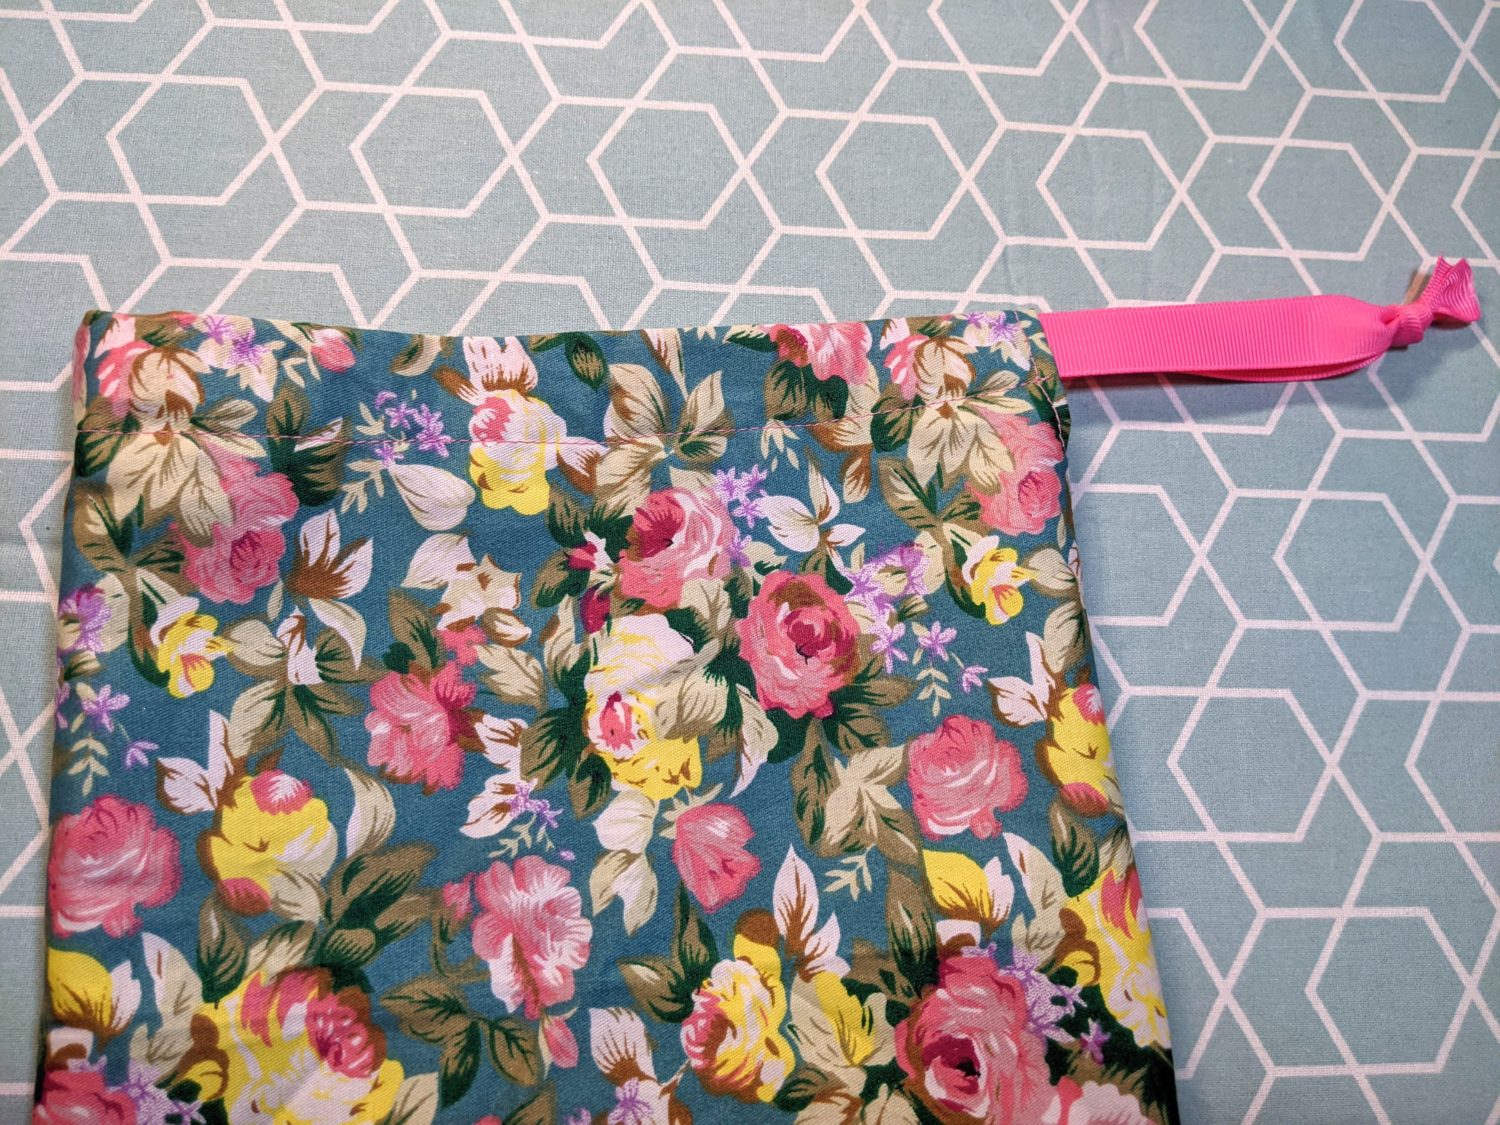
Create the Drawstring Channel
- Fold the top edge down 1/2″ and press
- Fold the same edge down again 1 1/2″ and press
- Pin in place
- Sew along the inner edge of the folded edge about 1 1/4″ inch in
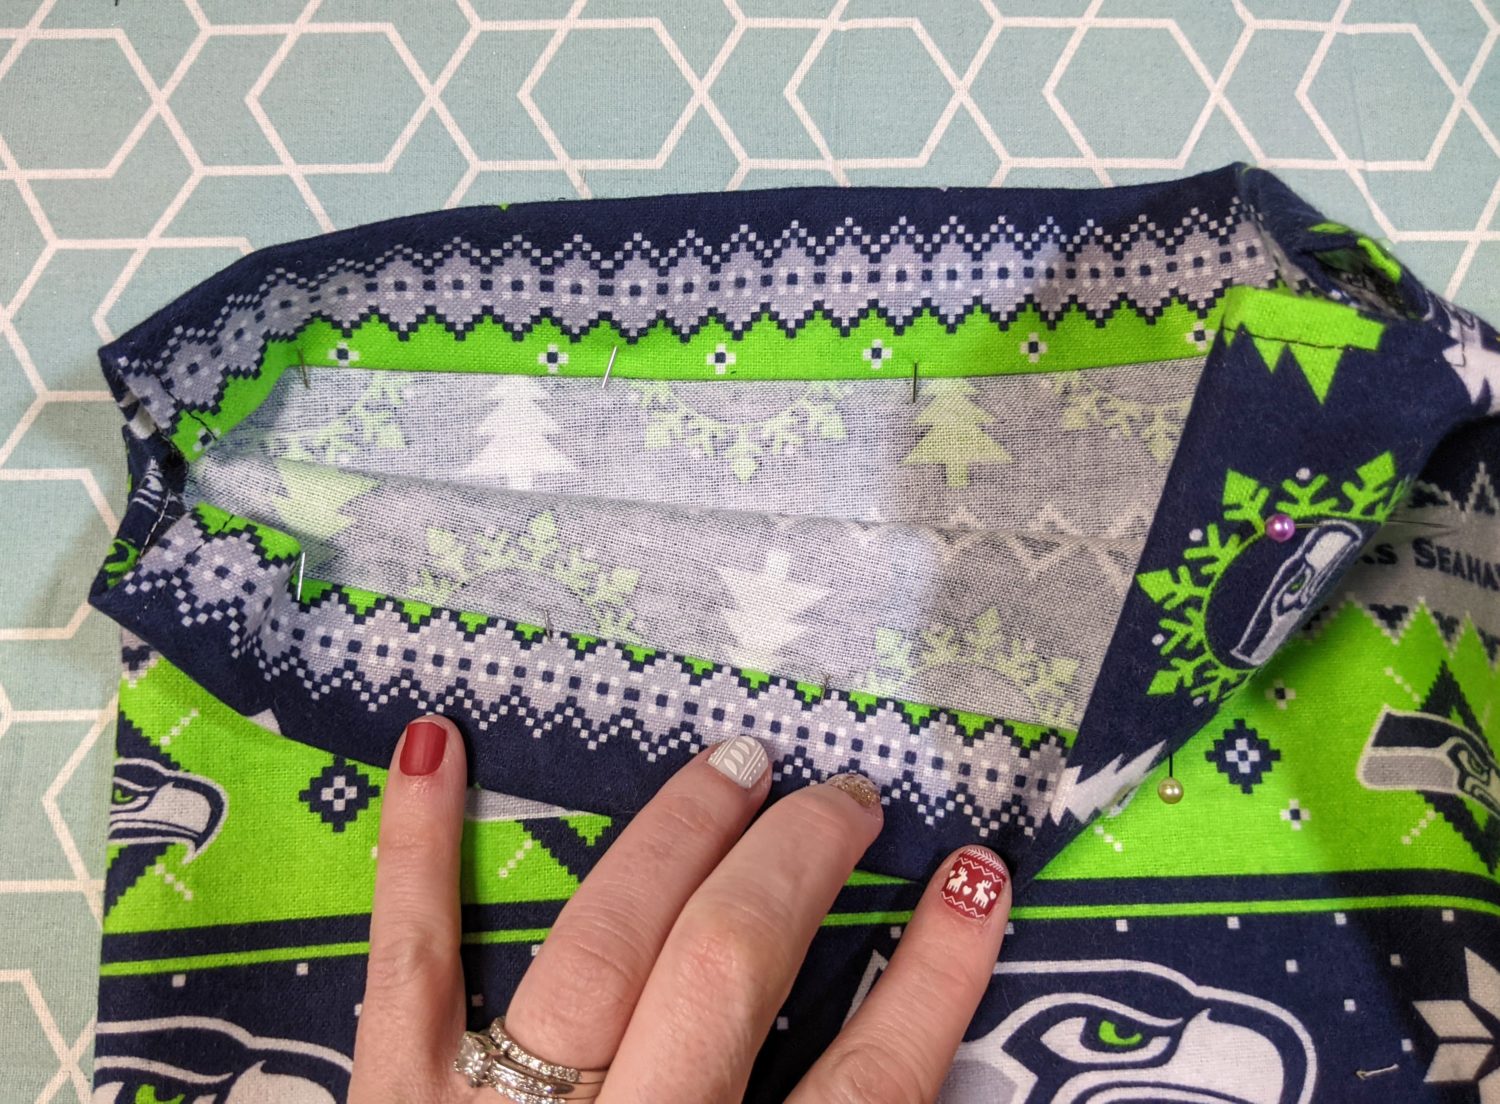

Drawstring
- If you have one opening for your drawstring, fold your drawstring material in half along the top of the bag and let both string ends extend about 6″ past the edge of the bag and cut to size
- If you have two openings for your drawstring, lay your drawstring material along the top of the bag letting it extend about 6″ further than both sides of the bag, and cut to size. Cut a second drawstring the same length.
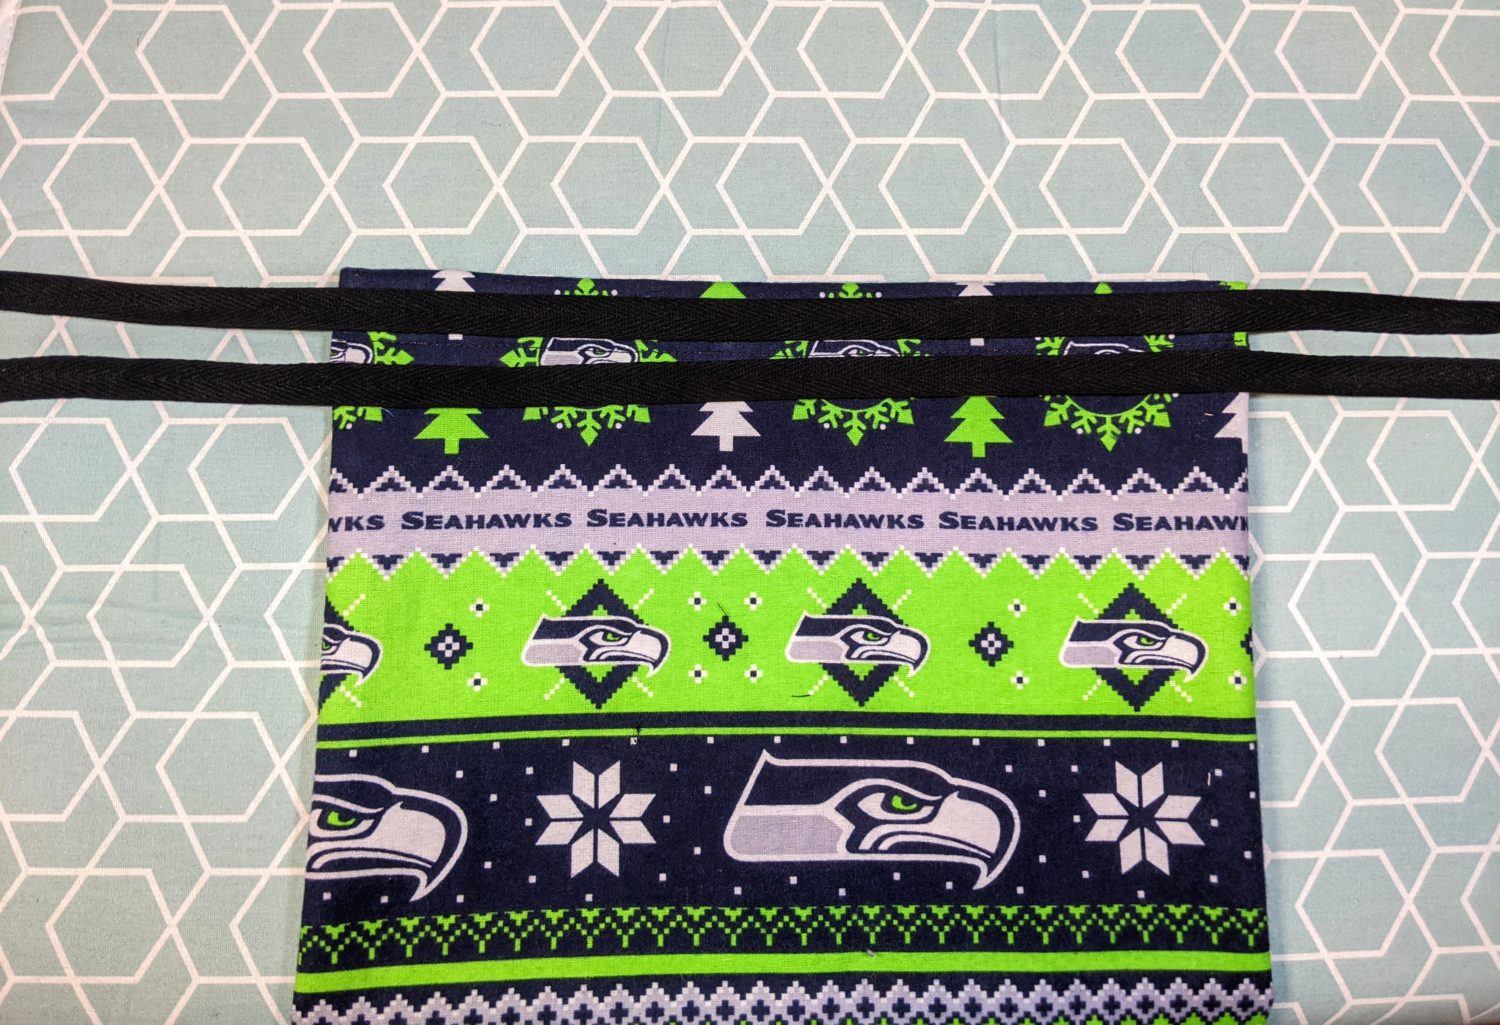
- Using a safety pin or other threading tool, thread your drawstring through the channel(s)
- For one drawstring, take both ends and tie and knot
- For two drawstrings, take one end of each string on the same side and tie in a knot, then repeat on the other side

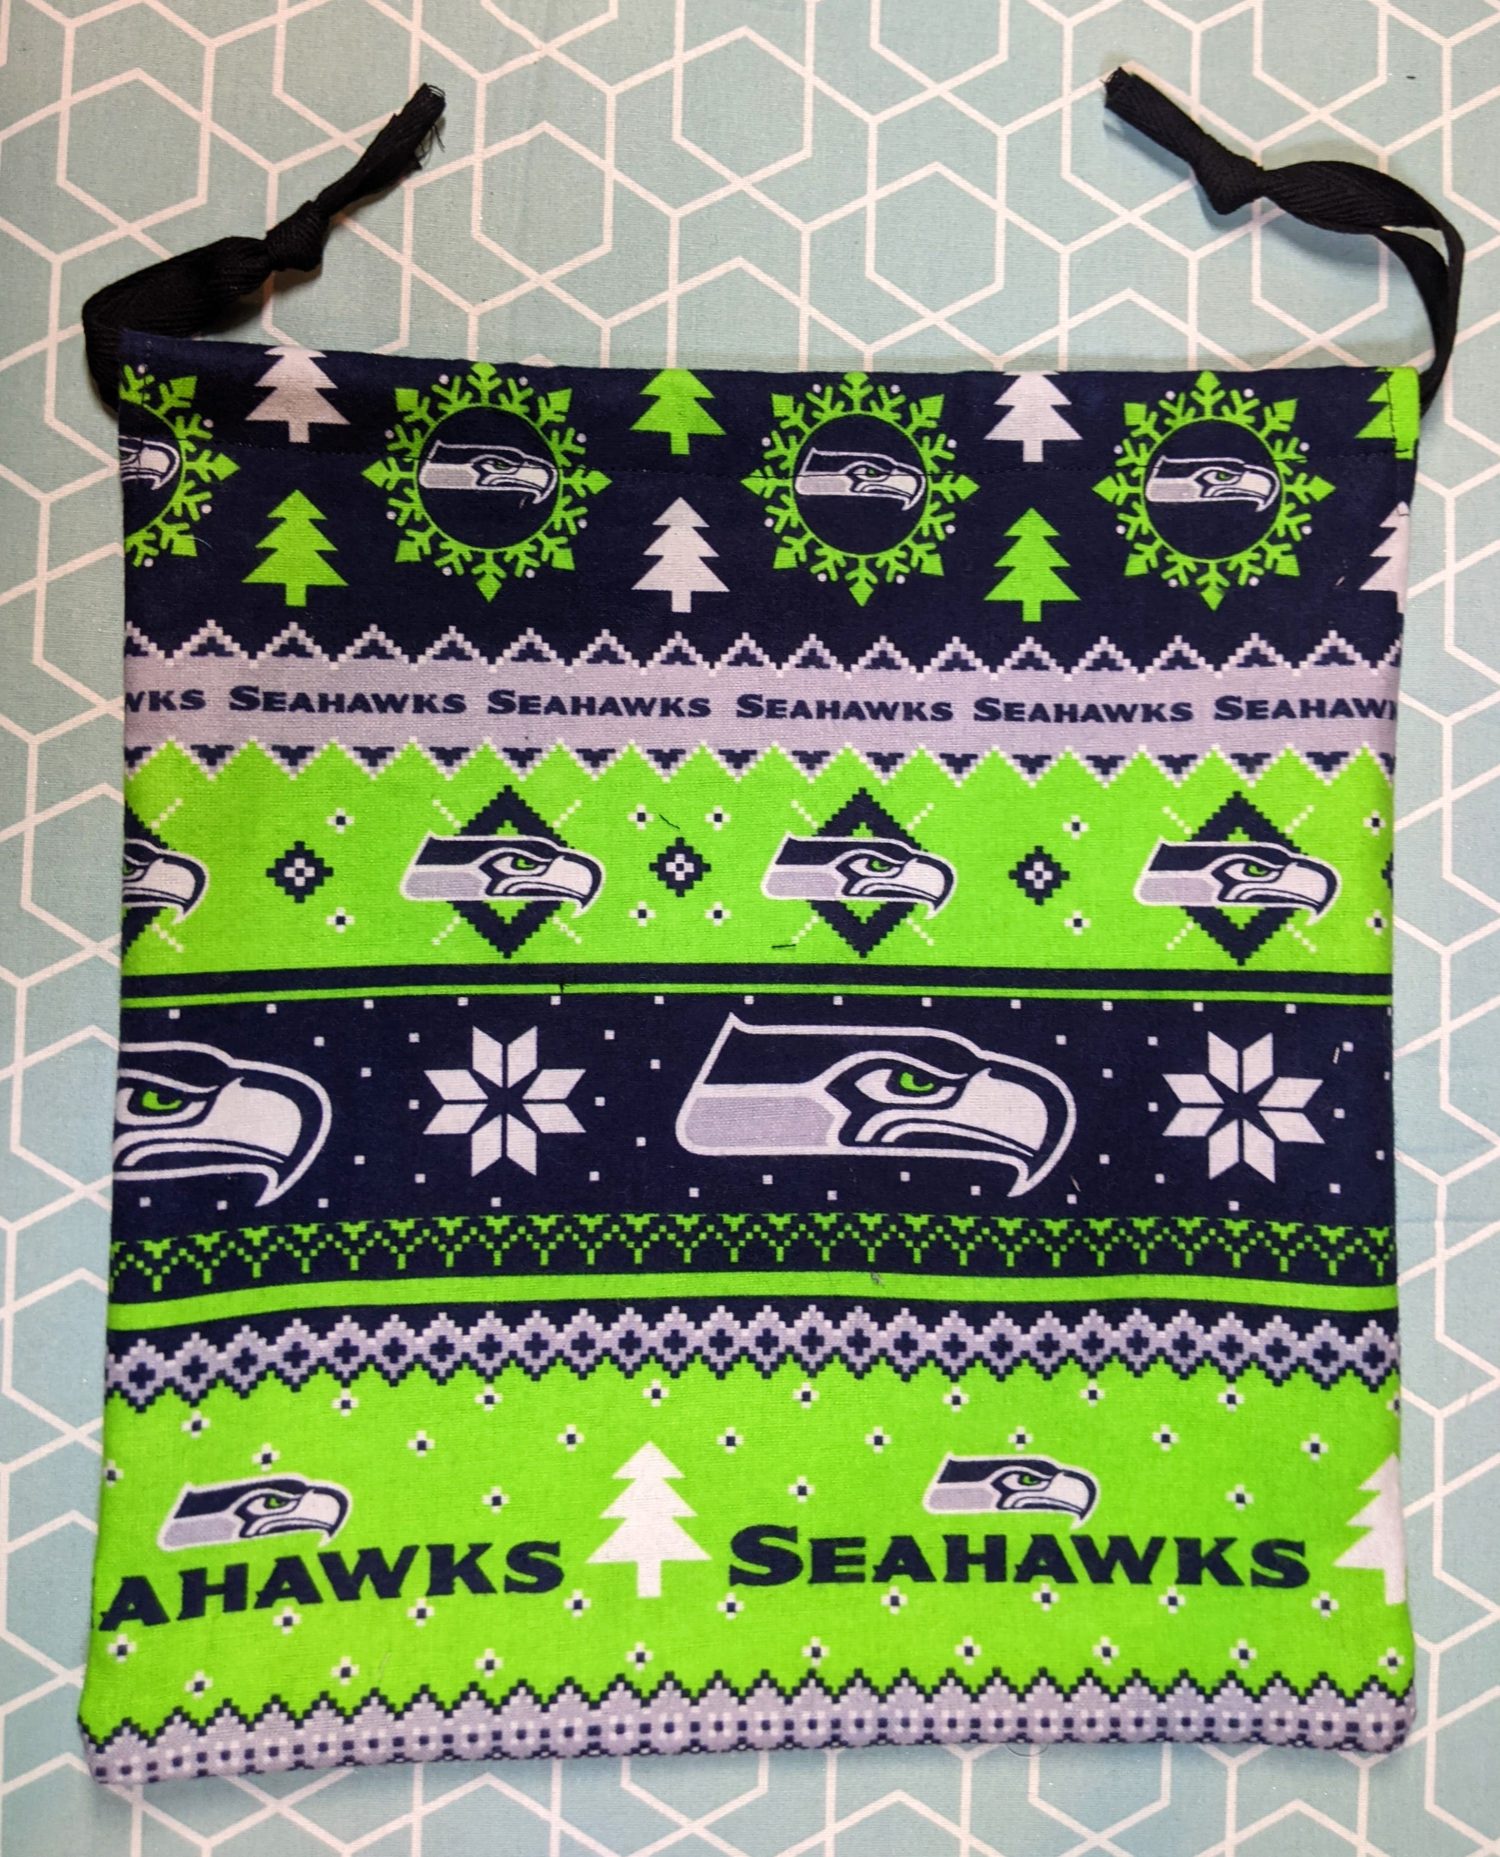
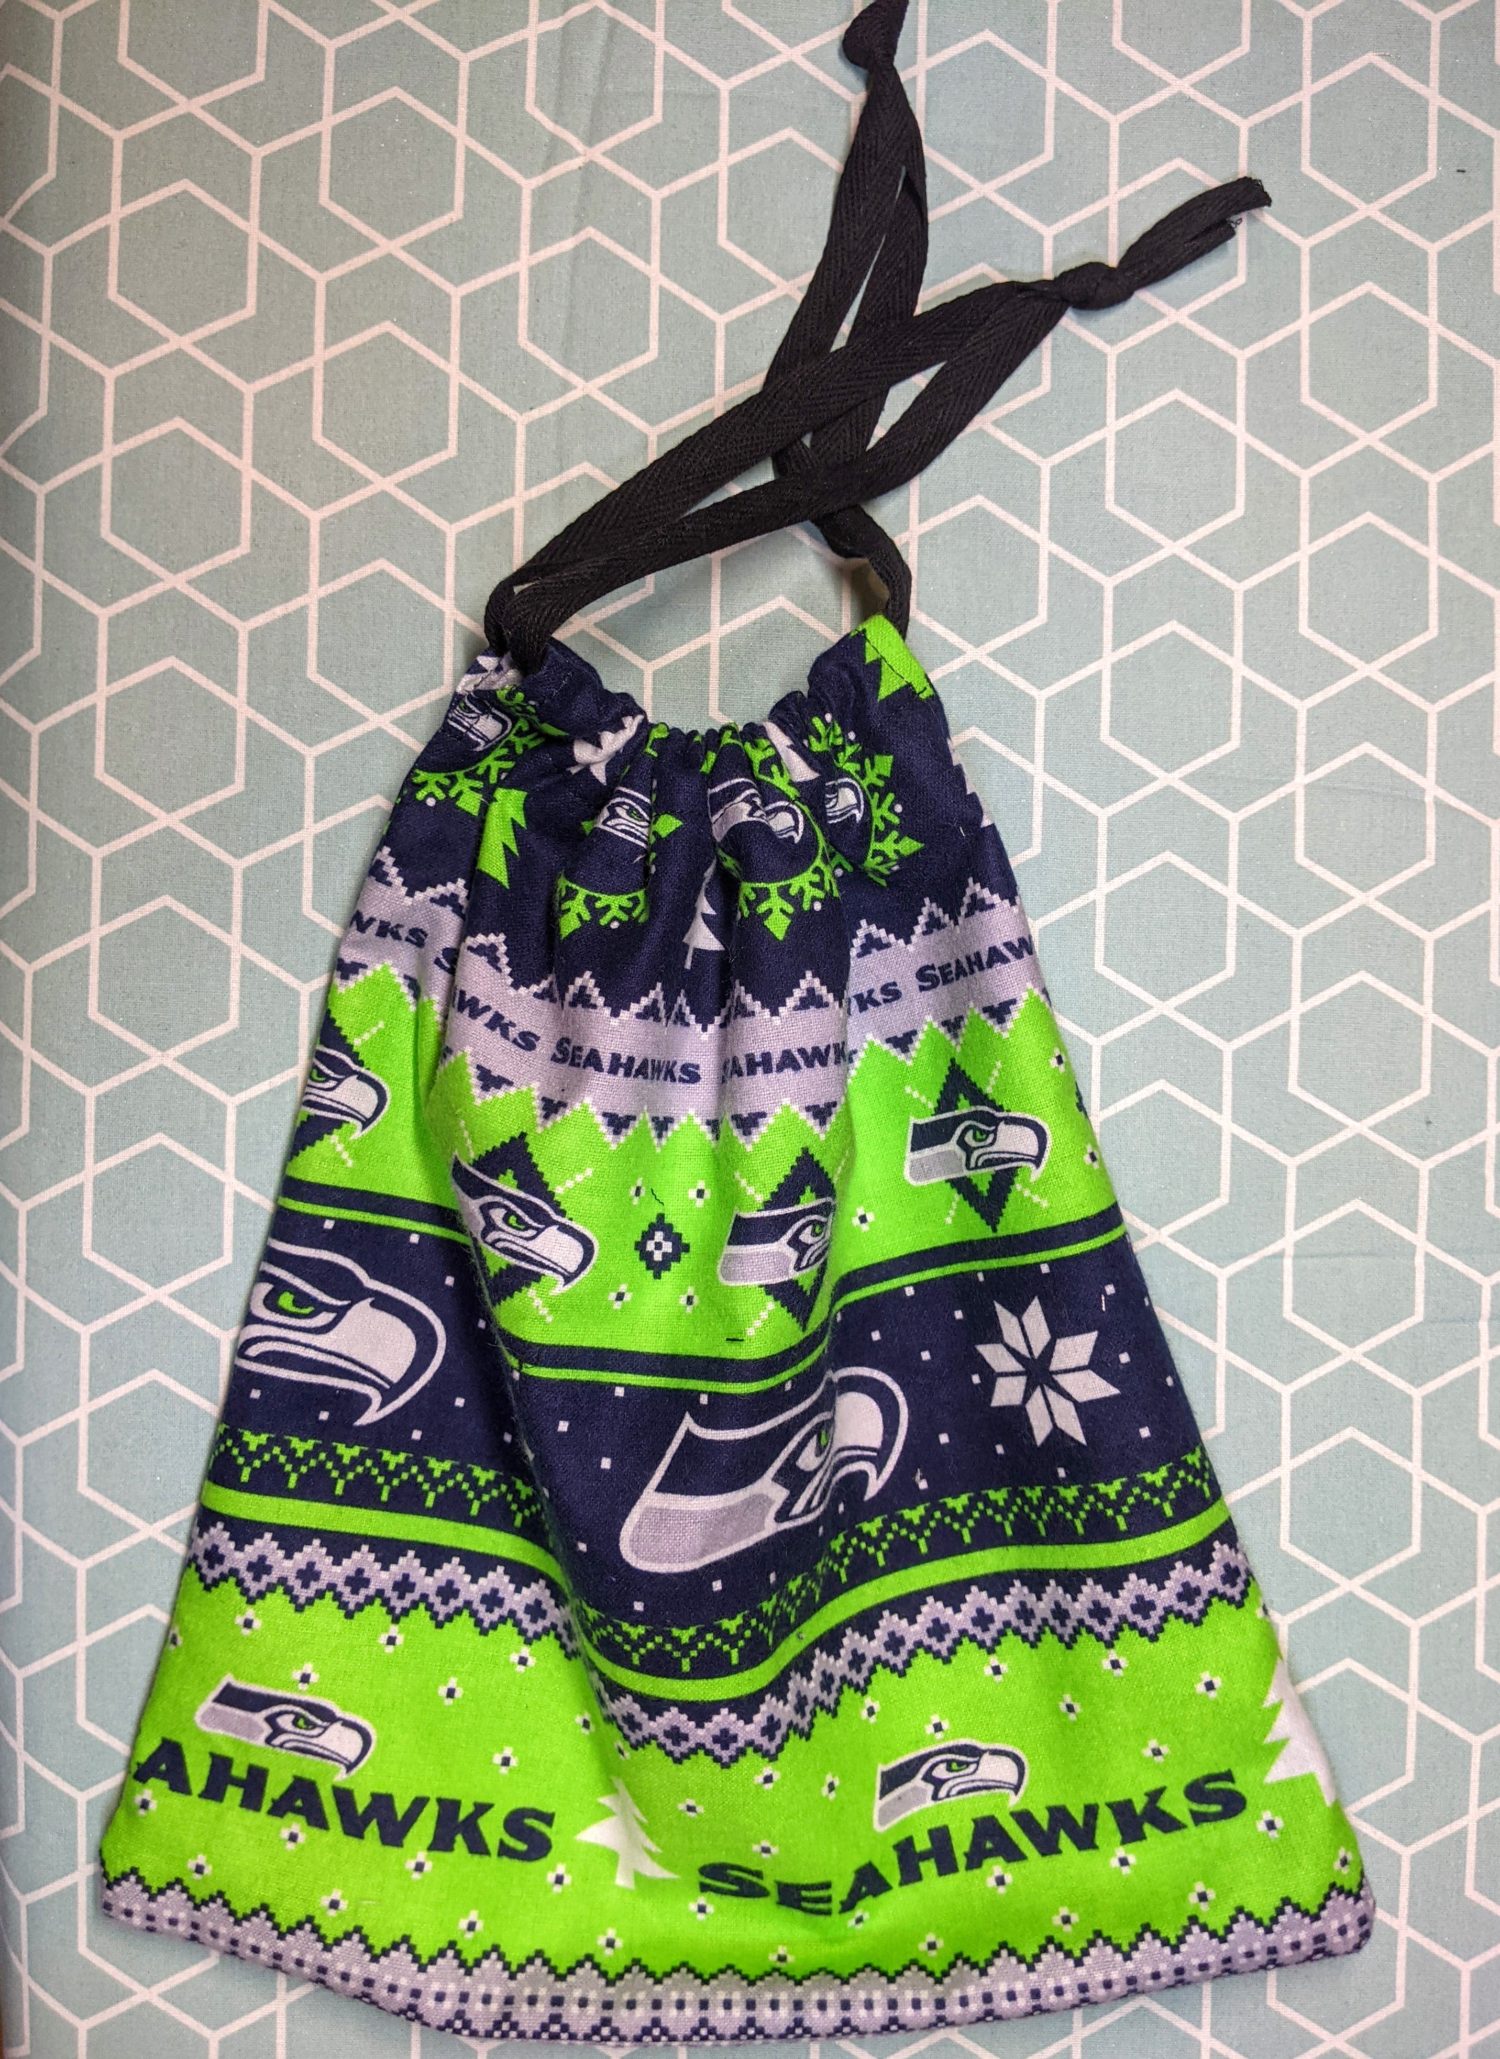
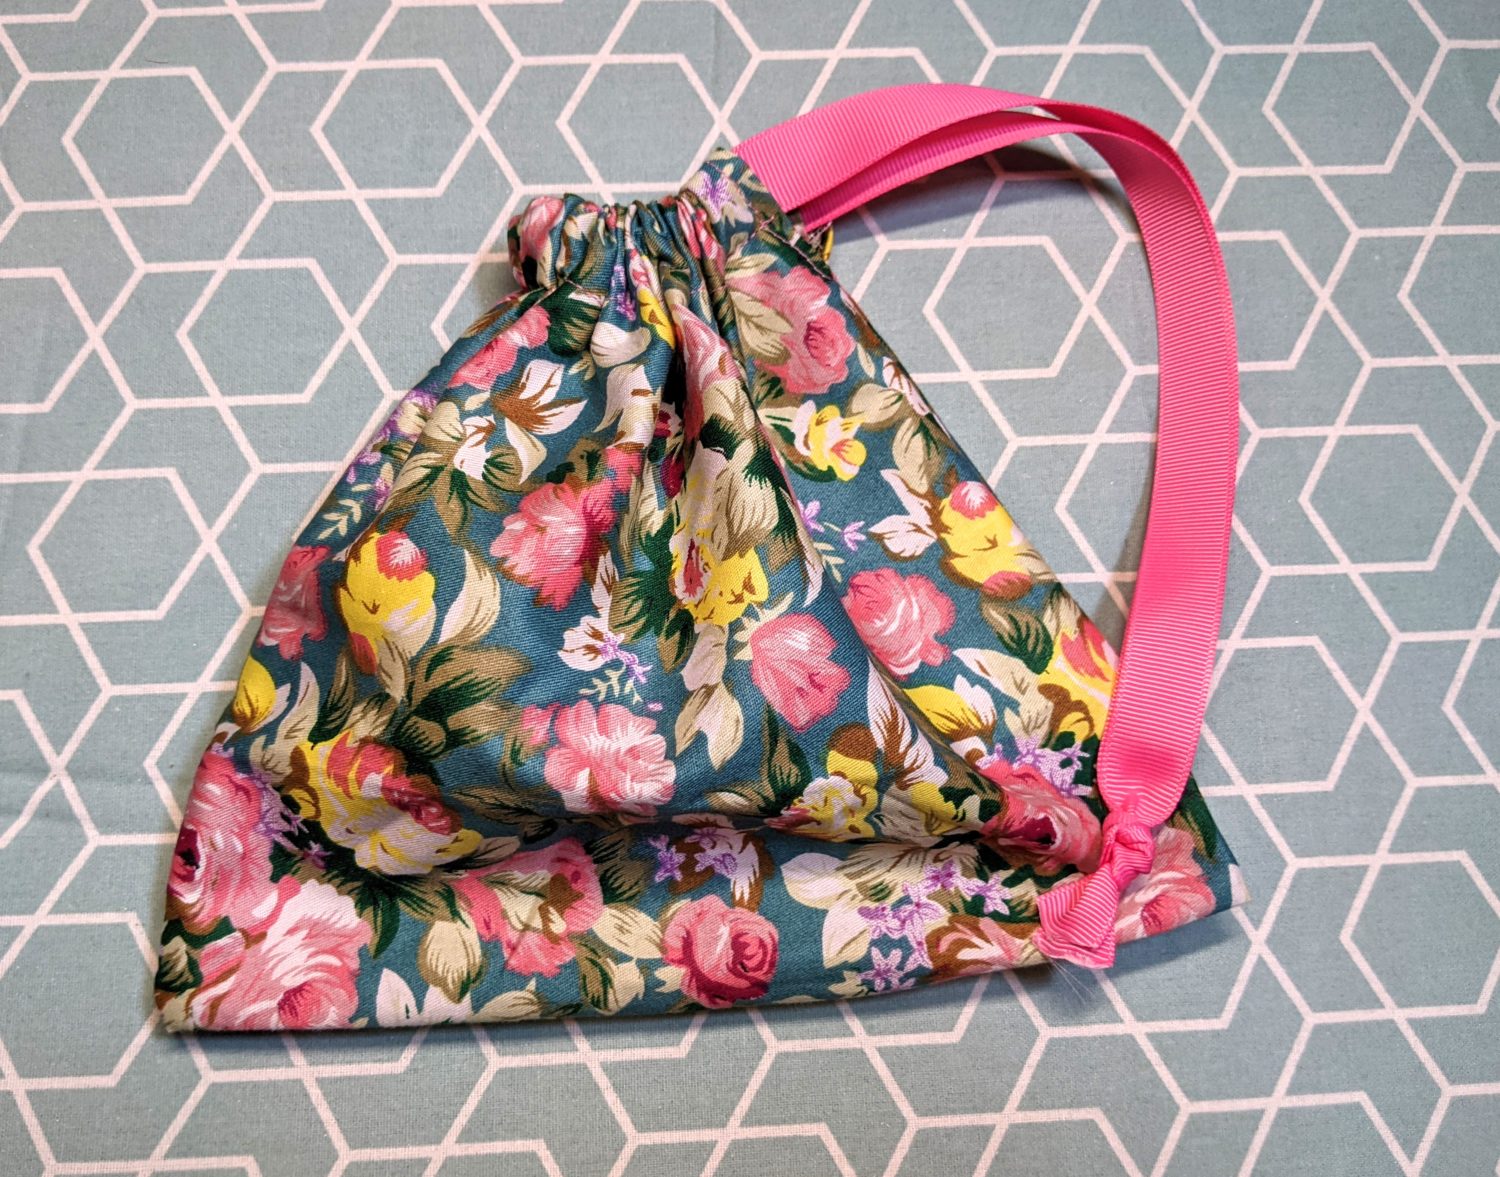
Look how cut those are! Go you!
Want more FUN DIY Freebies? Check out the FREEBIE TUTORIALS and the FREEBIE PATTERNS!
As always, we’re here to help if you need it! Join us HERE and on Facebook, Instagram, Twitter, Youtube, and Pinterest. We’re everywhere you are.
Leave a Reply