Need a fun, extra little sewing room DIY project in your life? I made these adorable custom drawer pulls to help decorate my sewing room and I thought you guys might like to see how I created them!
First, gather your supplies.
- Drawer Pulls – I bought these plain white porcelain drawer pulls from Amazon but I’m sure you can find them almost anywhere: Home Depot, Walmart, Target, etc.
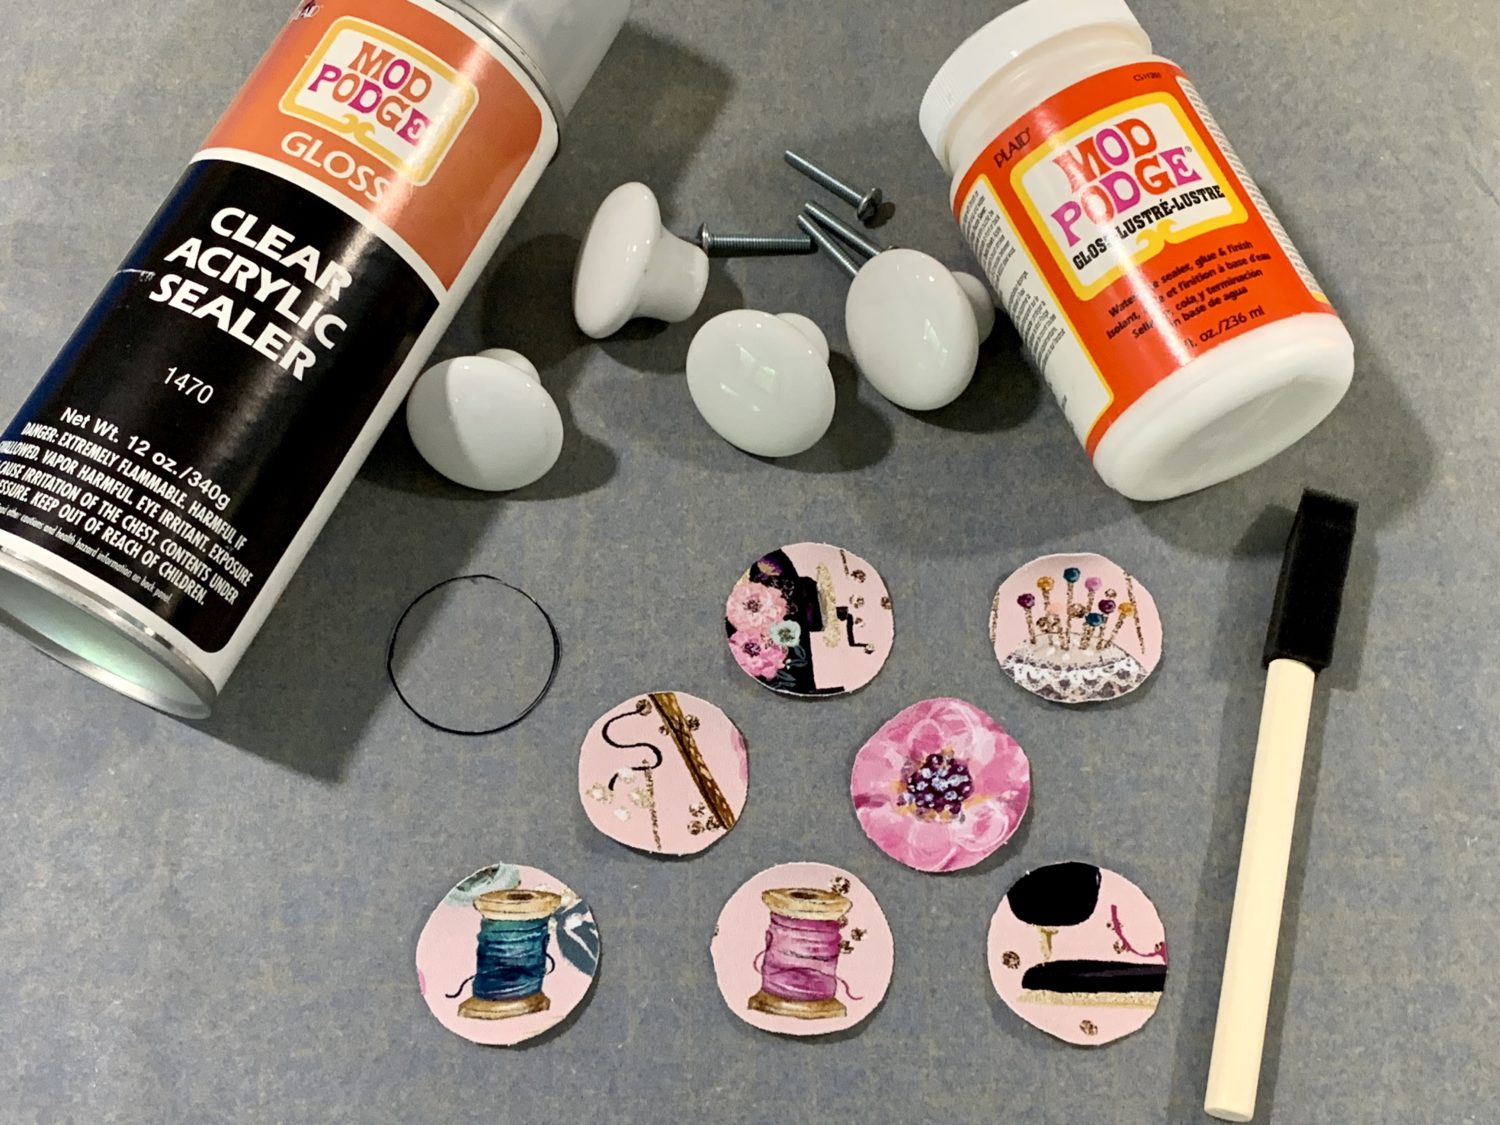
- Mod Podge and Mod Podge Clear Sealer – I’ve had them for a while so I’m not sure where I actually bought them. Here are the Amazon links for those: Mod Podge and Clear Sealer.
- When I work with Mod Podge, I like to use a sponge brush.
- The last (and most fun) item is the FABRIC.
- I selected a gorgeous sewing fabric from Sew Fit Fabrics. This is supplex (athletic fabric) so it’s not the most ideal for this project due to its thickness but I love it so much that I made it work!
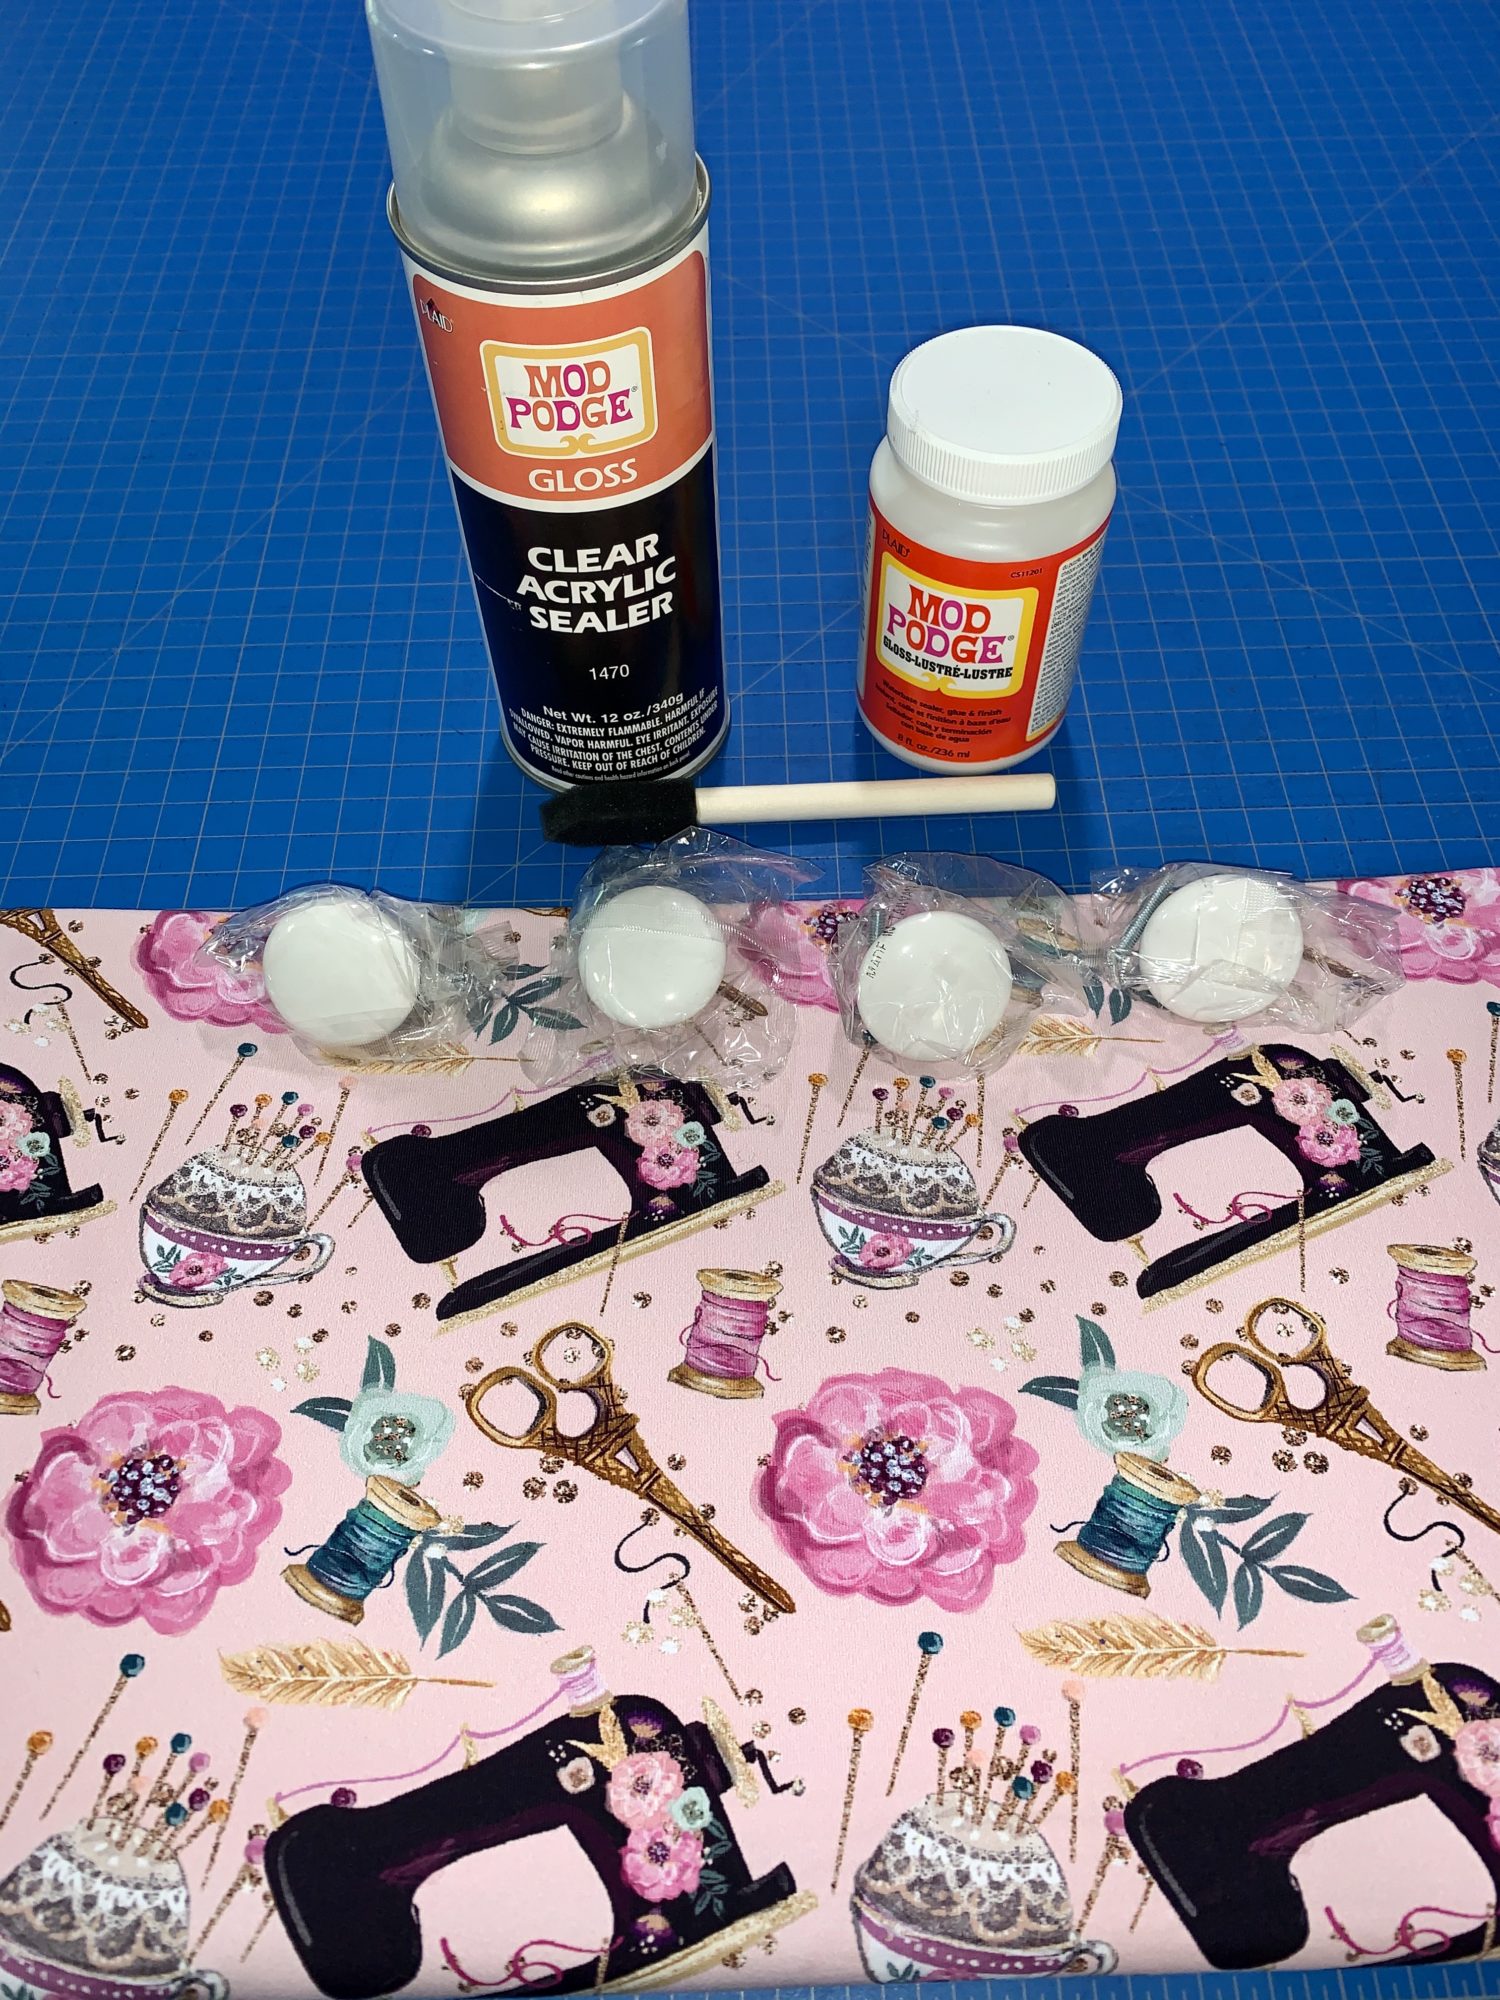
Supplies
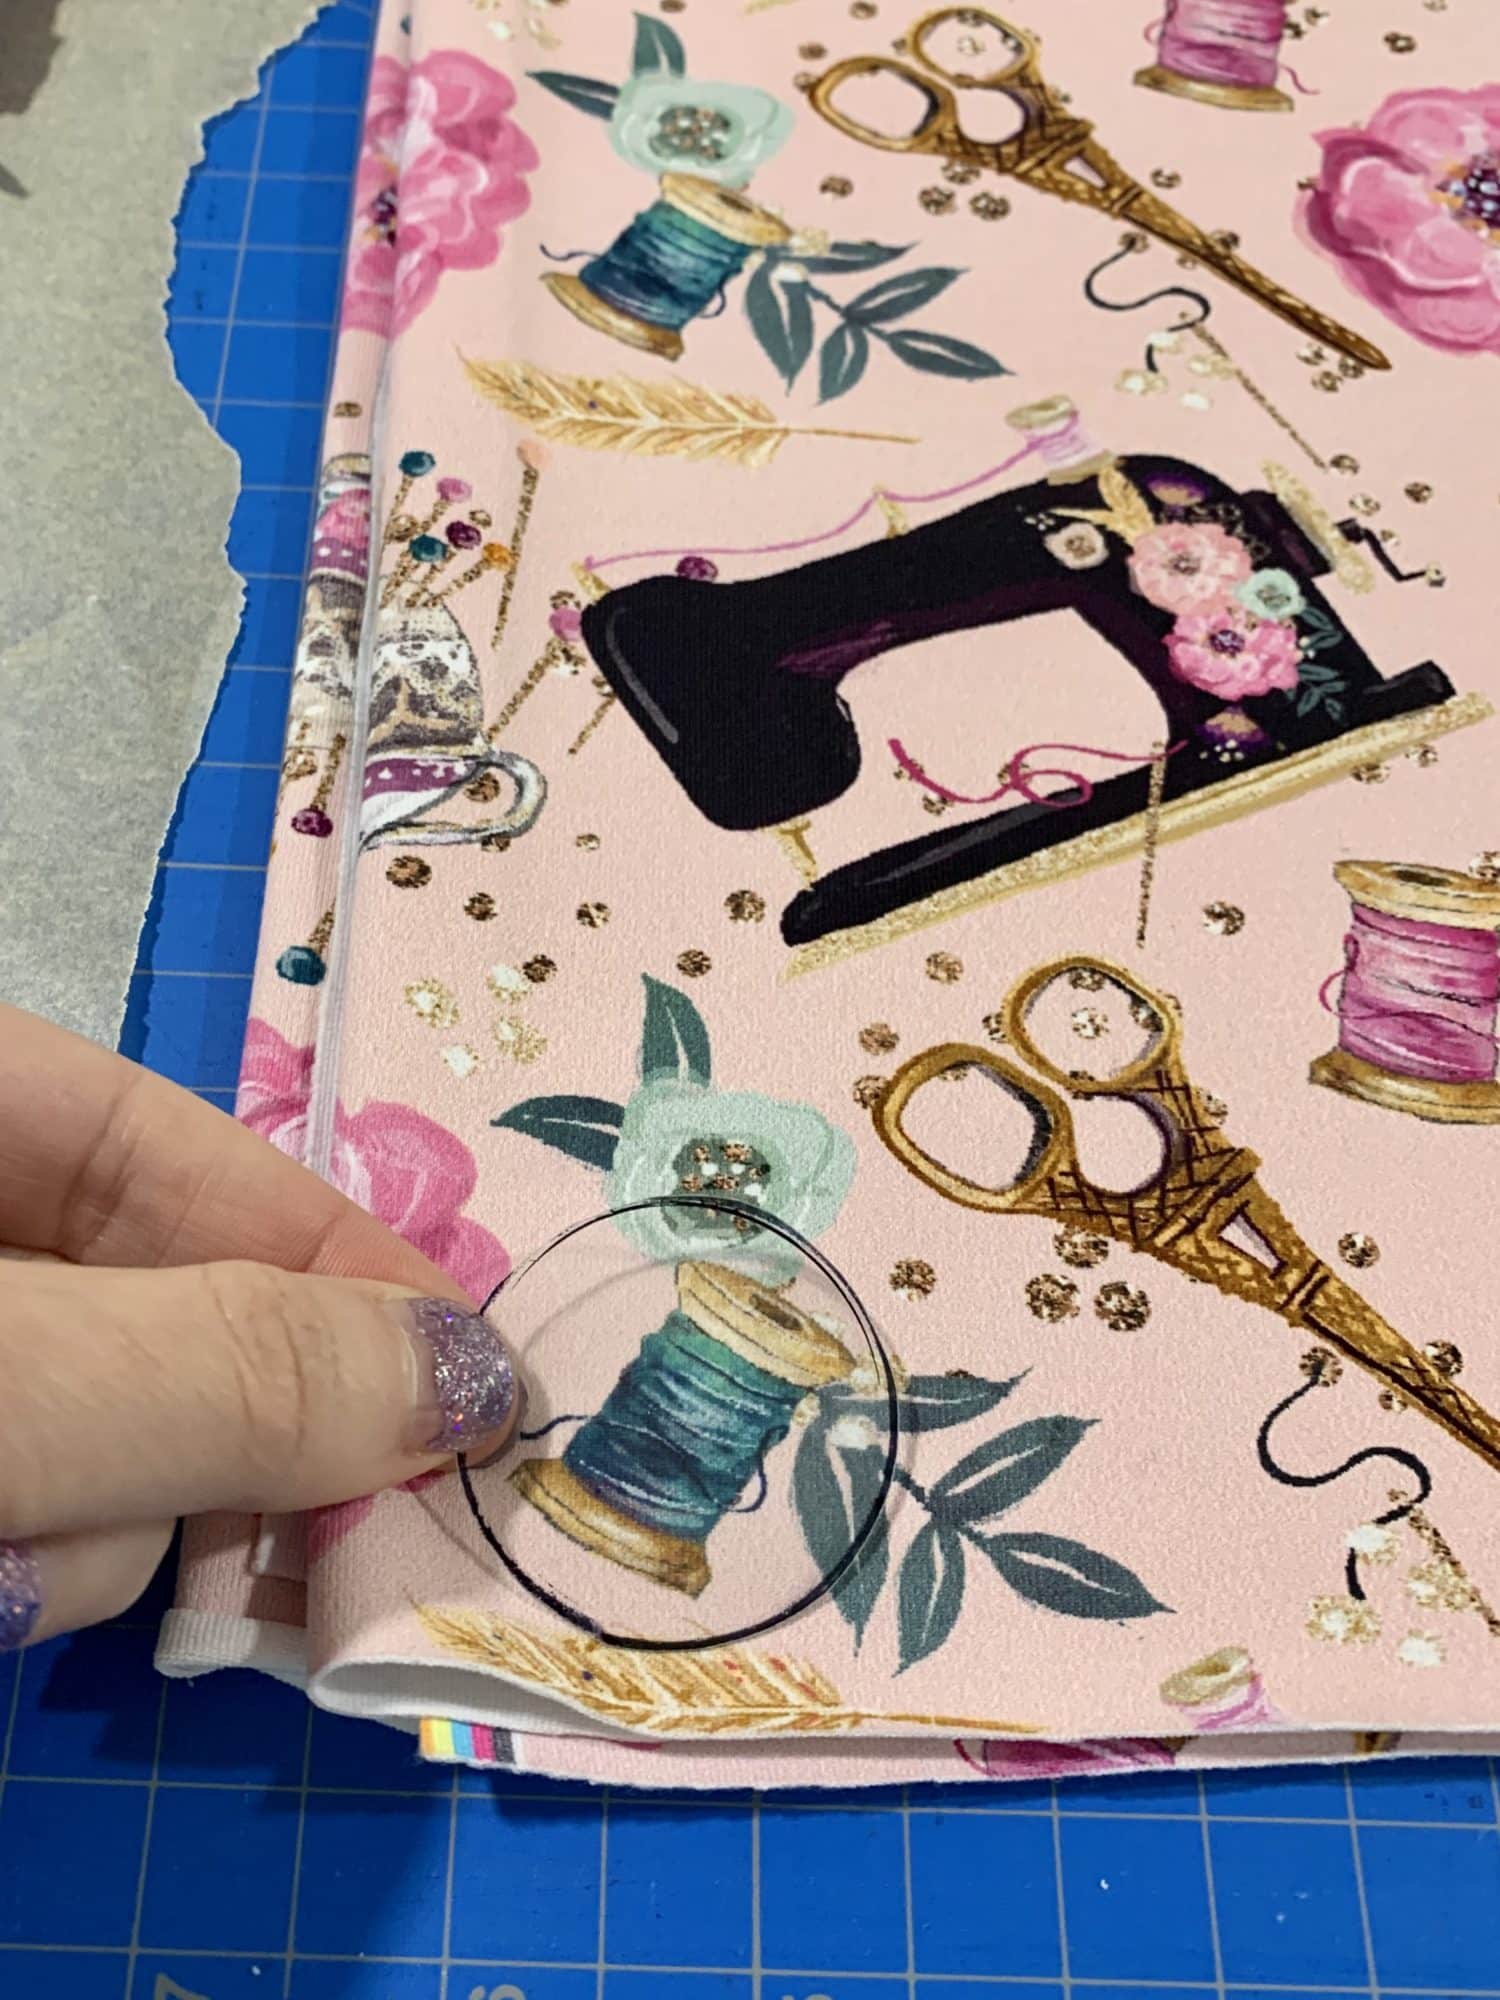
- First, use the drawer pulls to create a circle template out of plastic.
- Using a clear piece of plastic allowed me to figure out which areas of the fabric I wanted to use.
Template 1 
Template 2 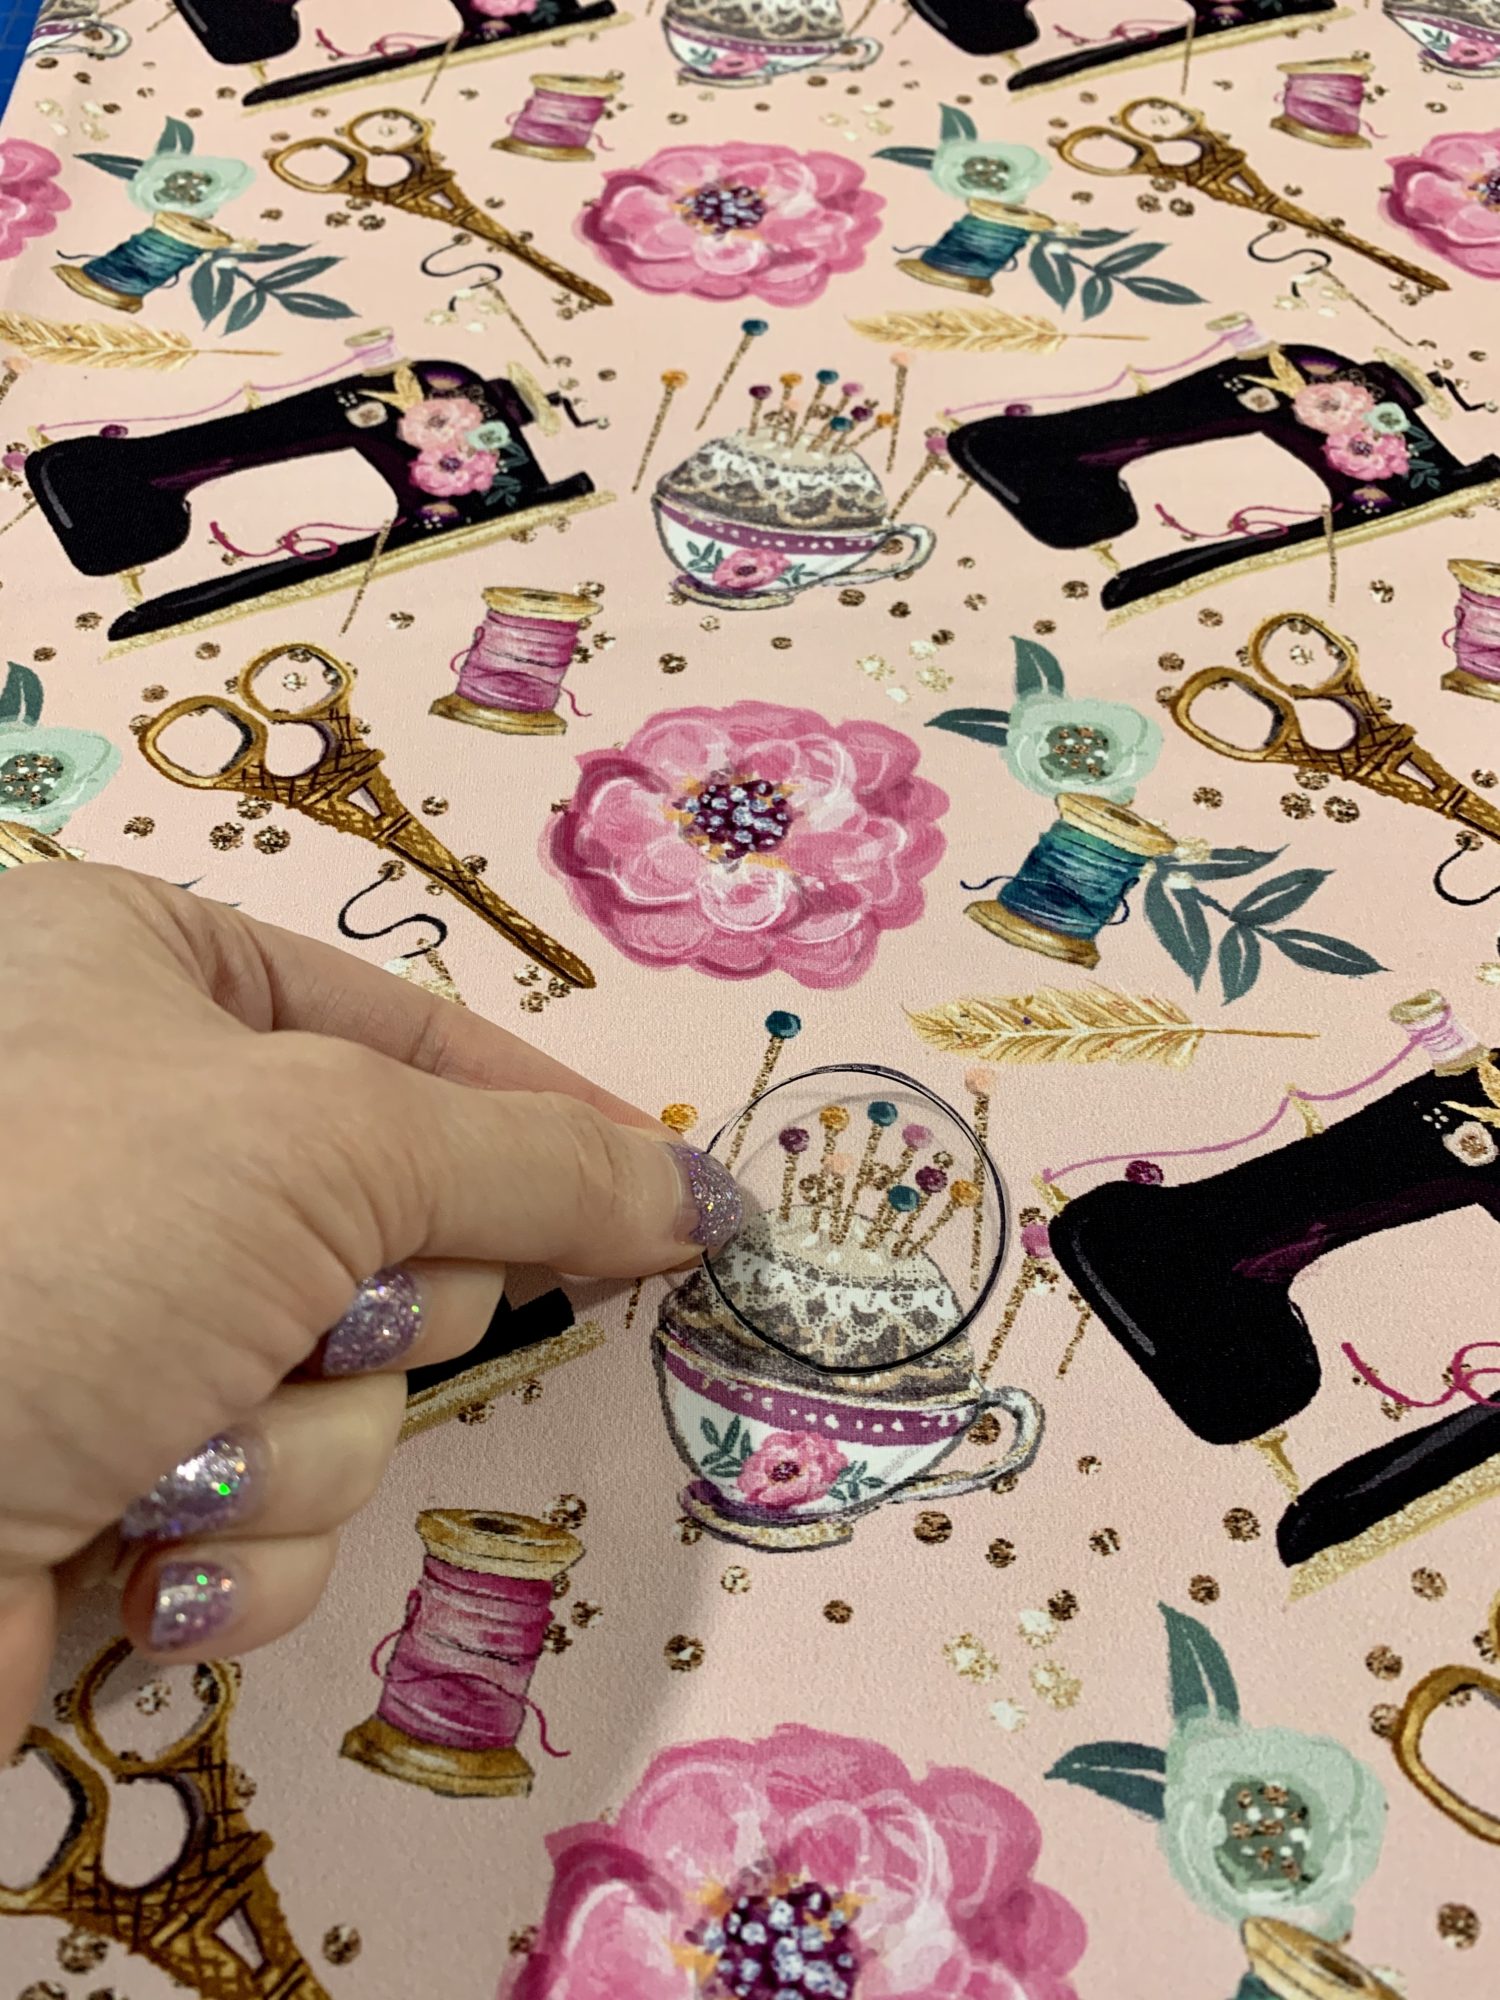
Template 3
- Using your template, carefully cut out the fabric being sure to make the cleanest cuts to prevent any jagged edges.
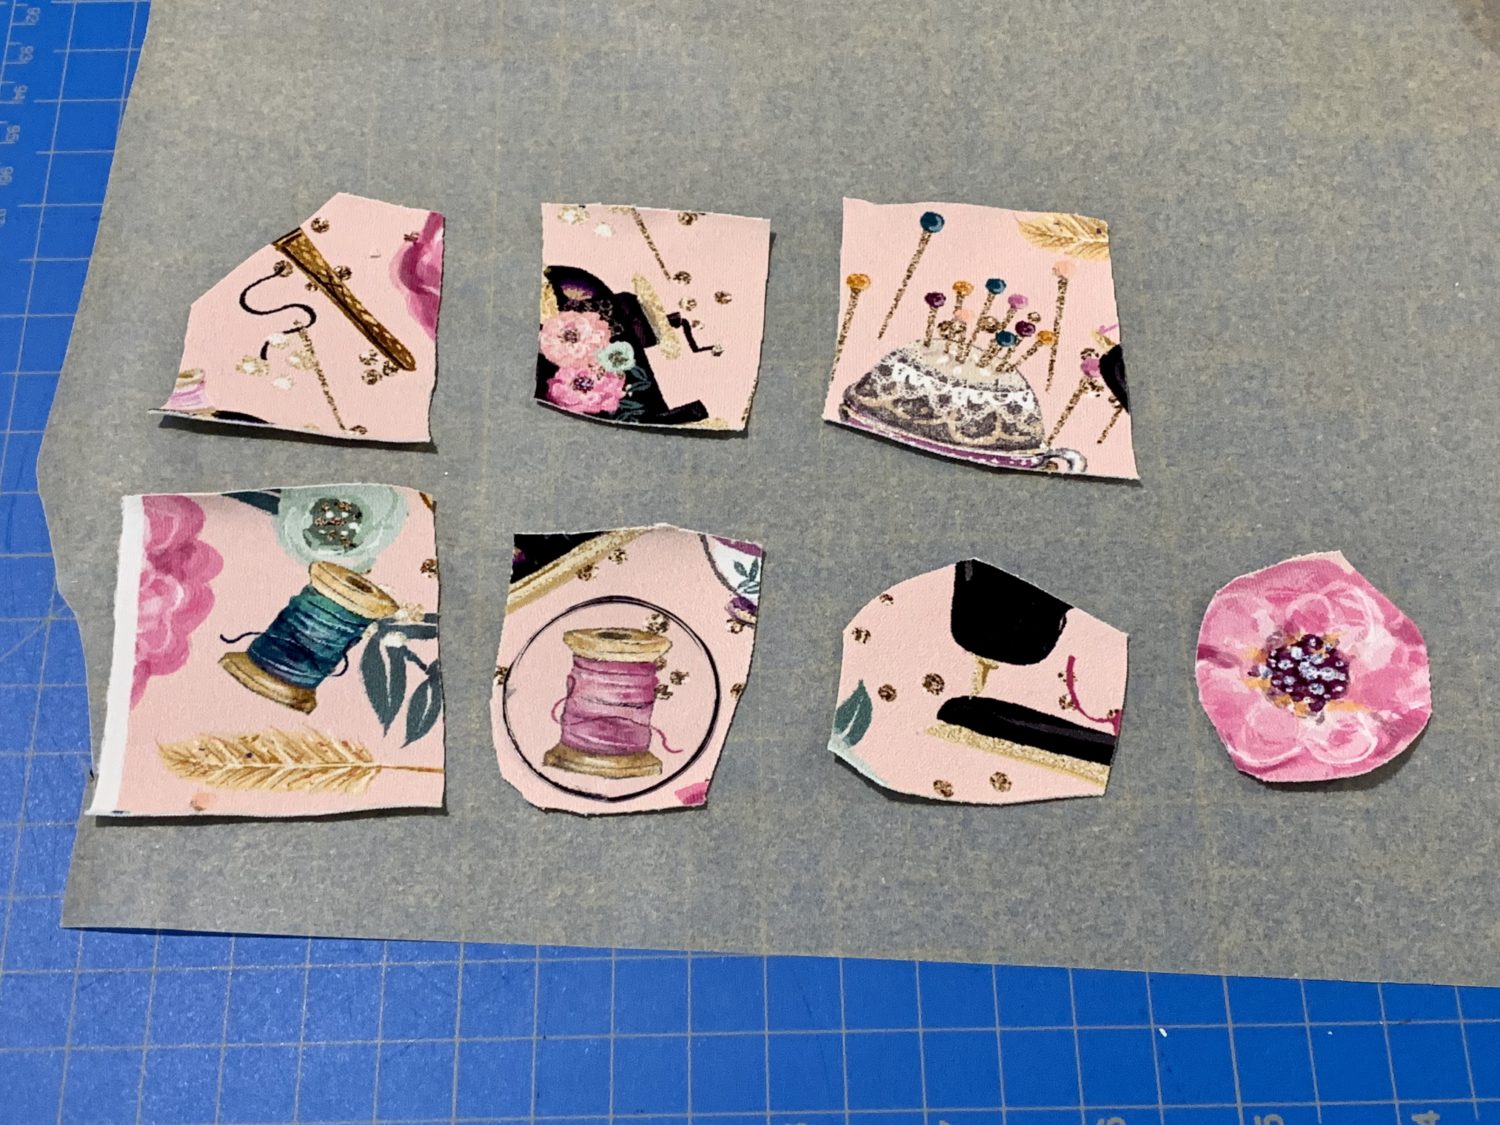
Cutting 1 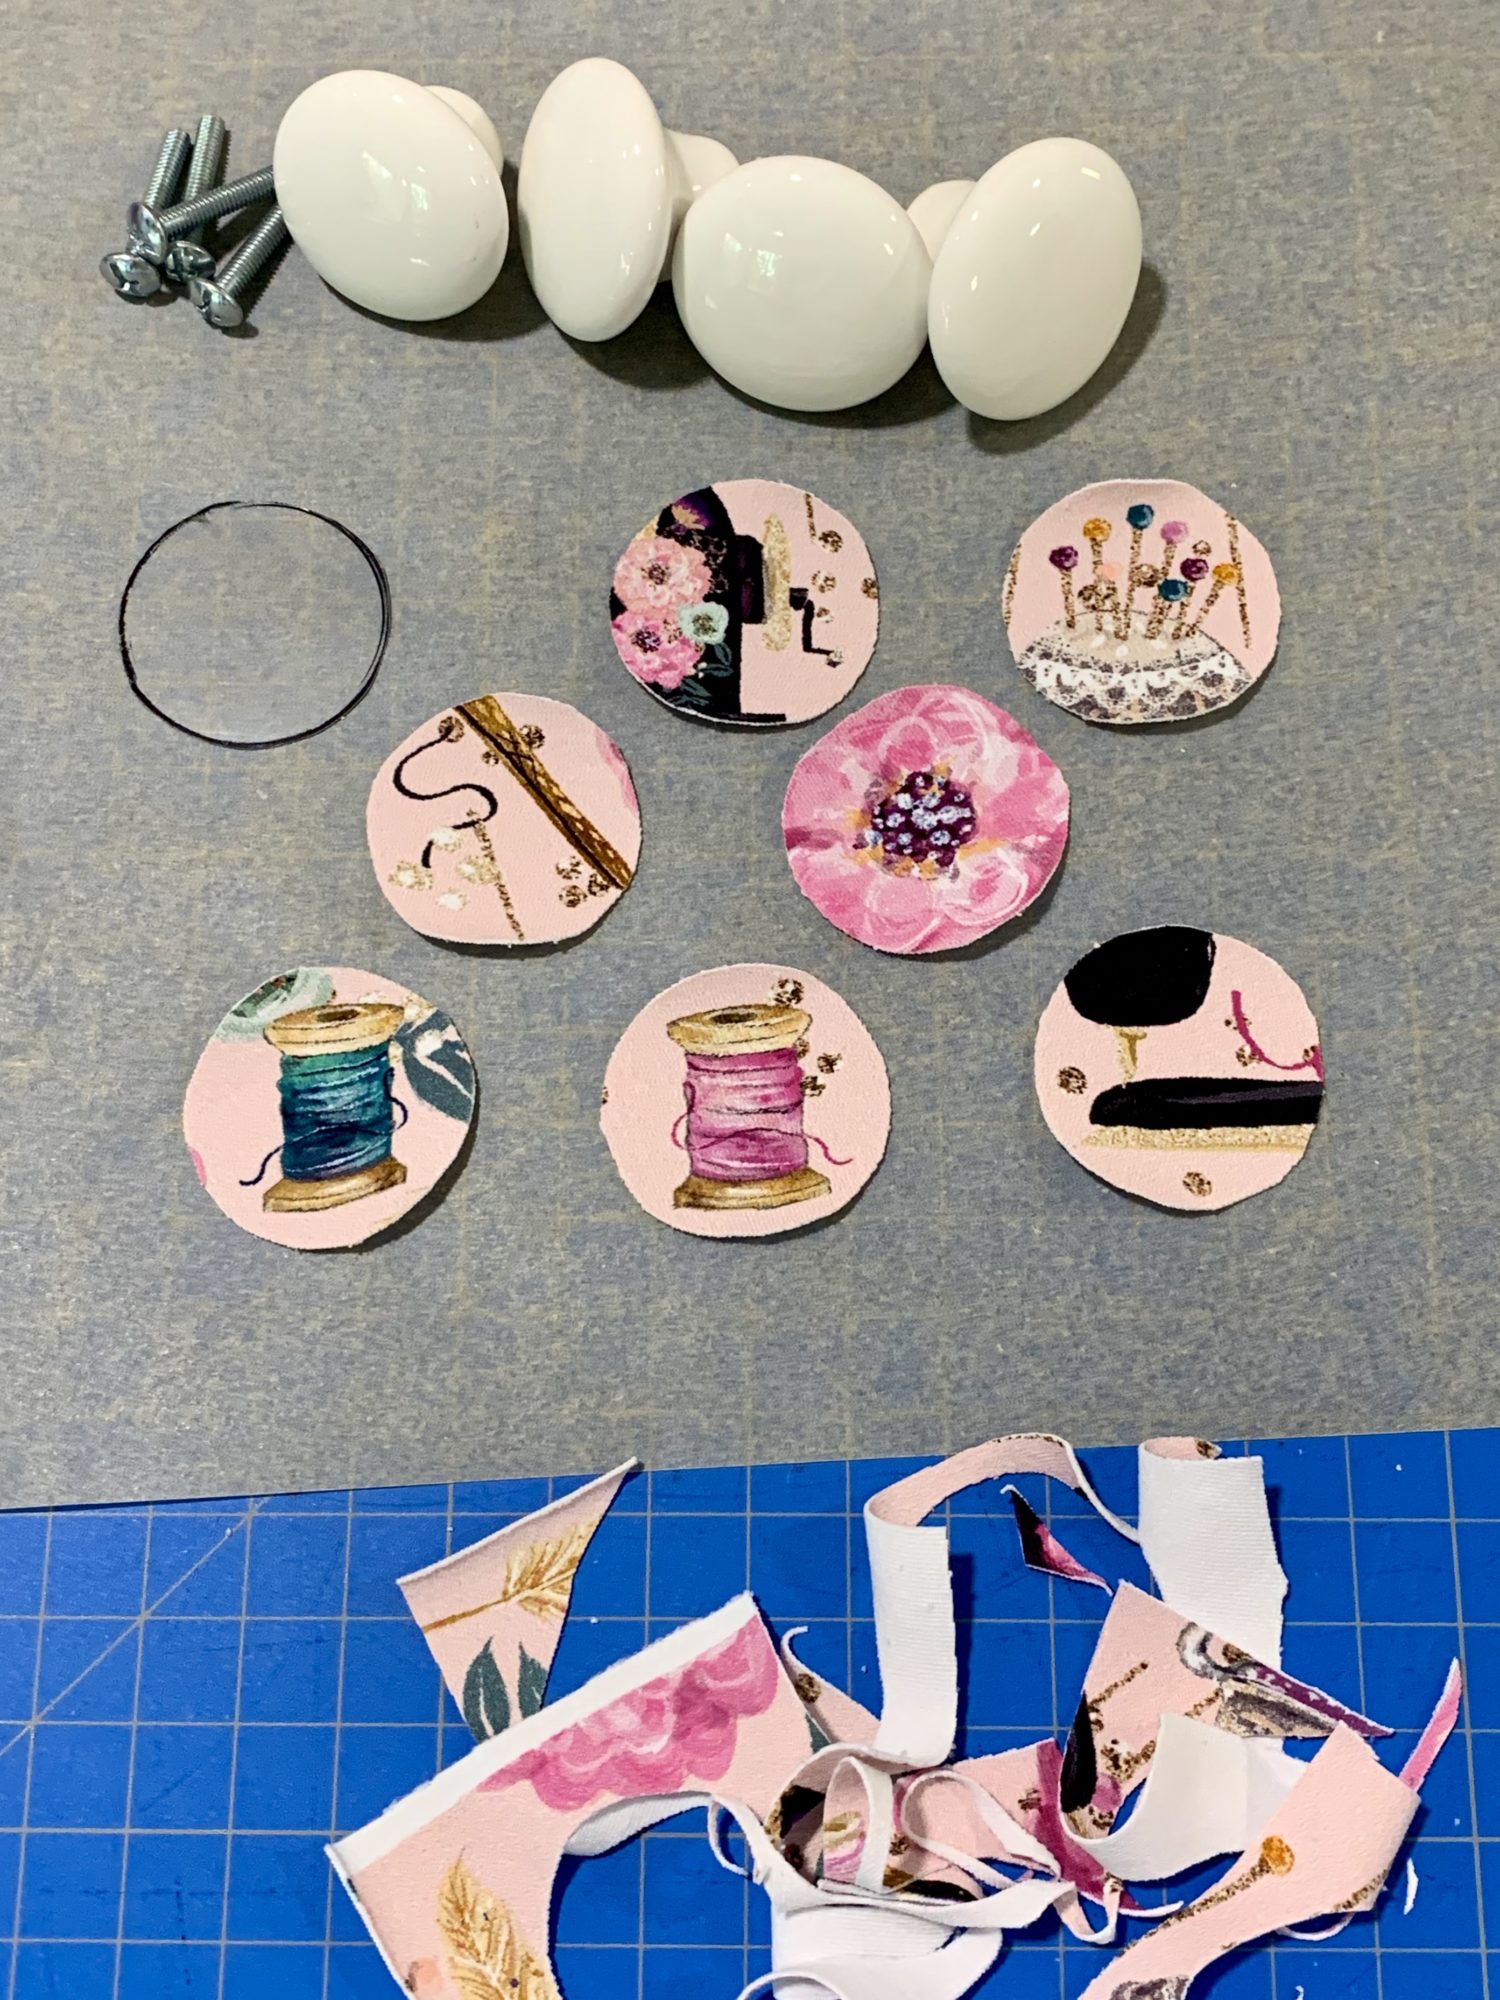
Cutting 2
All cut out and ready to create!
Ready to go!
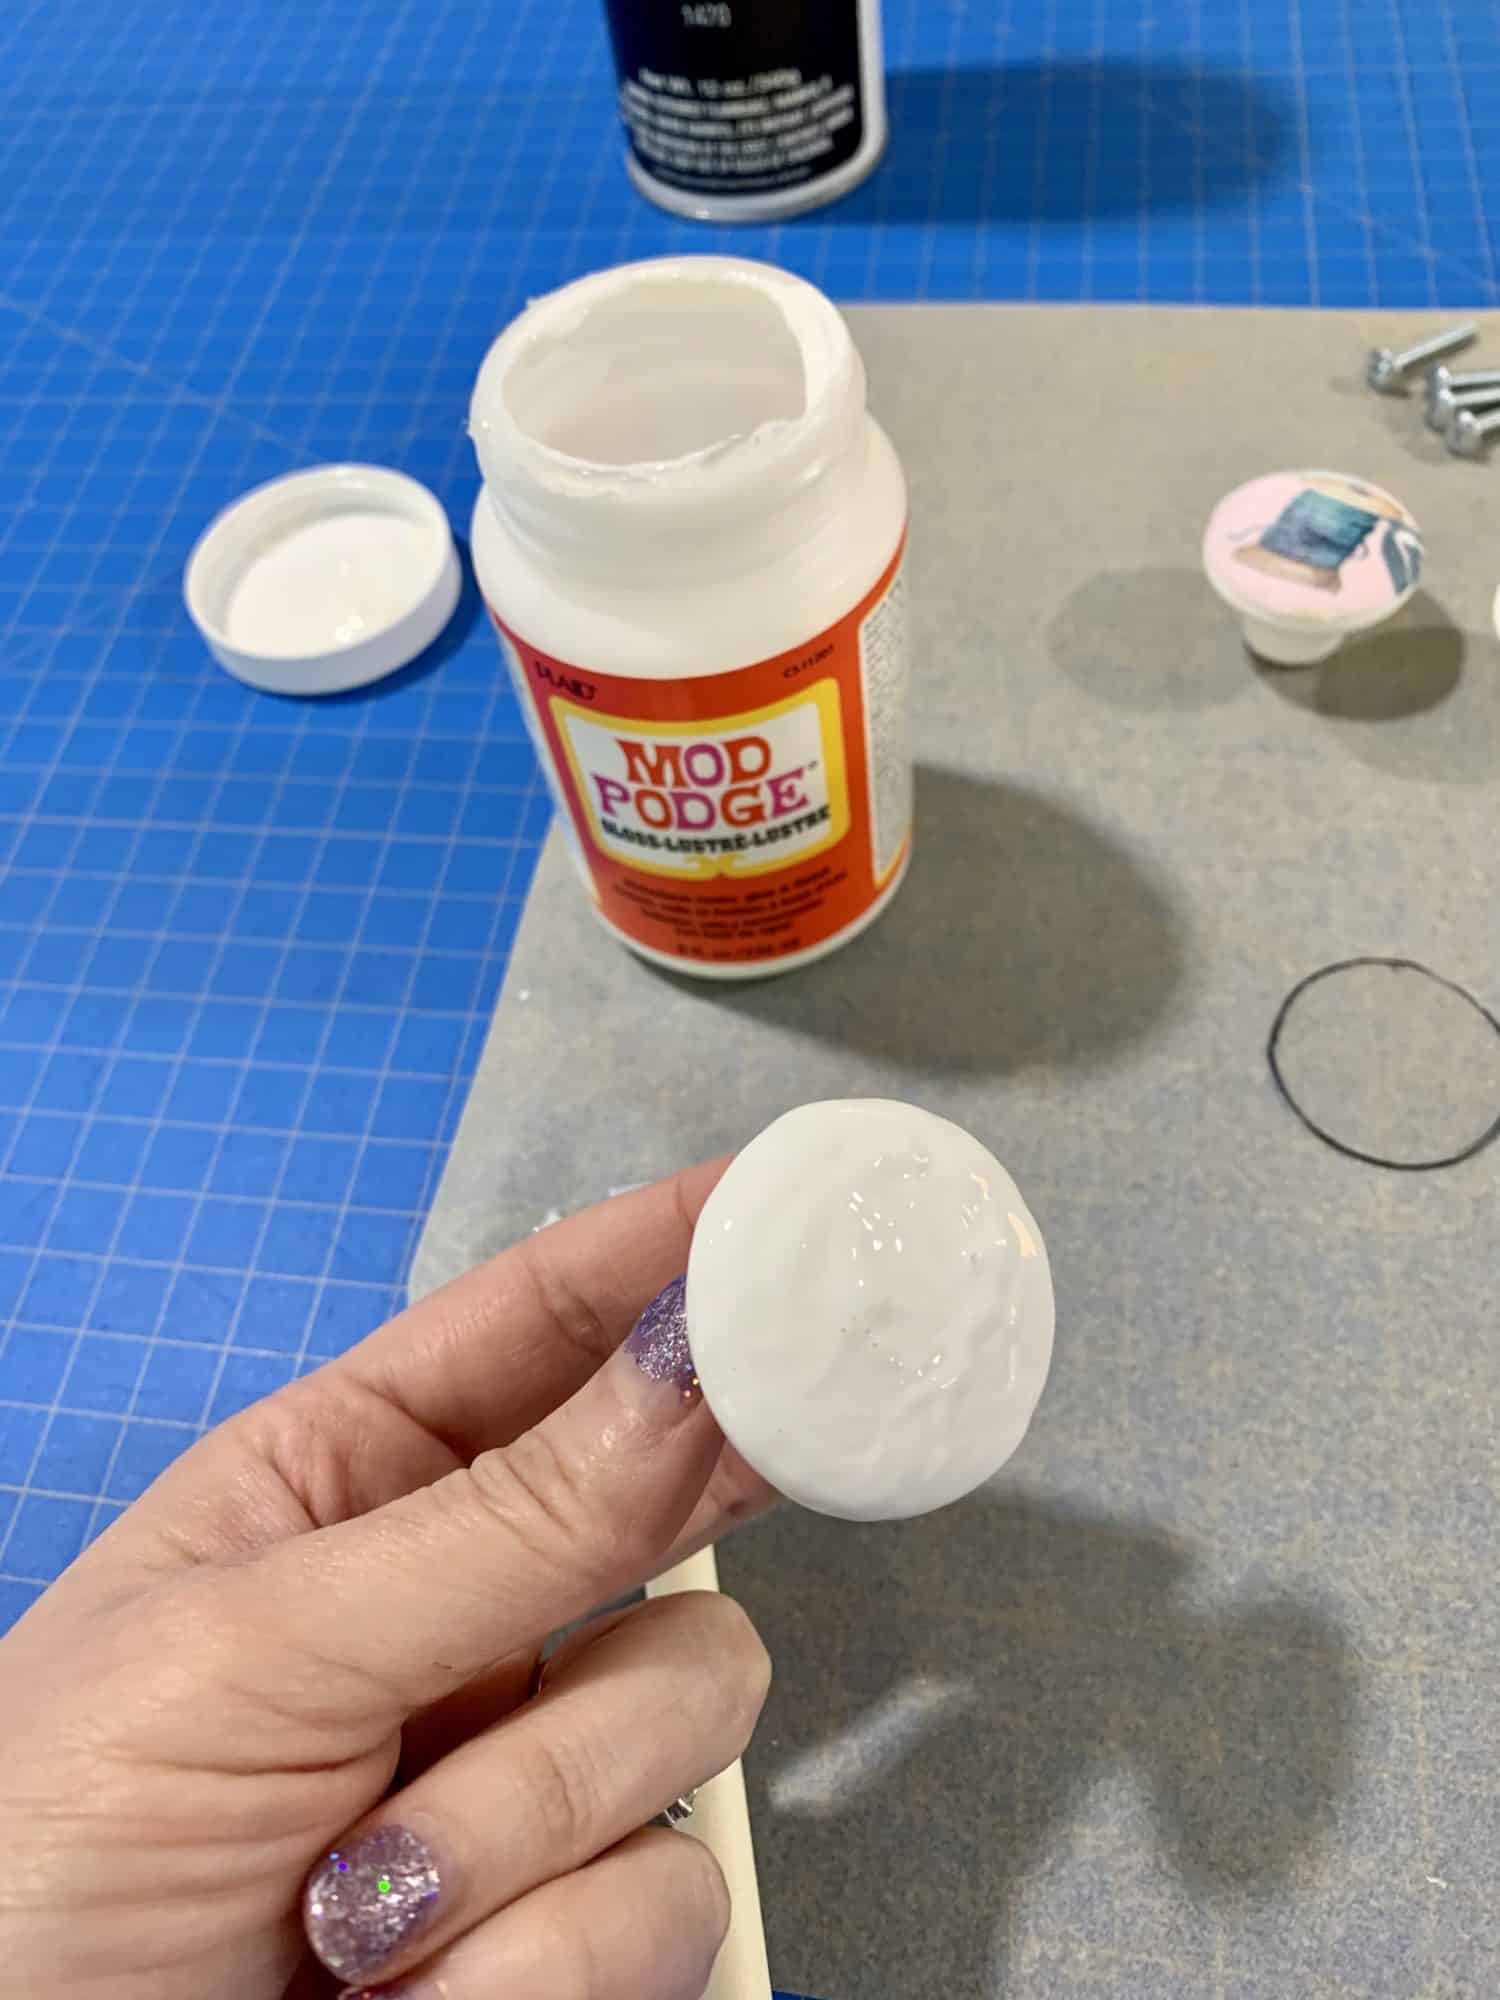
- Add a layer of Mod Podge on a drawer pull, then place one fabric circle directly on it moving it around until it is centered.
- Due to the thickness of my fabric, I slathered a rather thick amount of Mod Podge on my drawer pull.
- Next, coat the top of the fabric with more Mod Podge making sure to cover the edges really well to ensure they are secured to the drawer pull. Repeat these steps for all drawer pulls.
Mod Podge 1 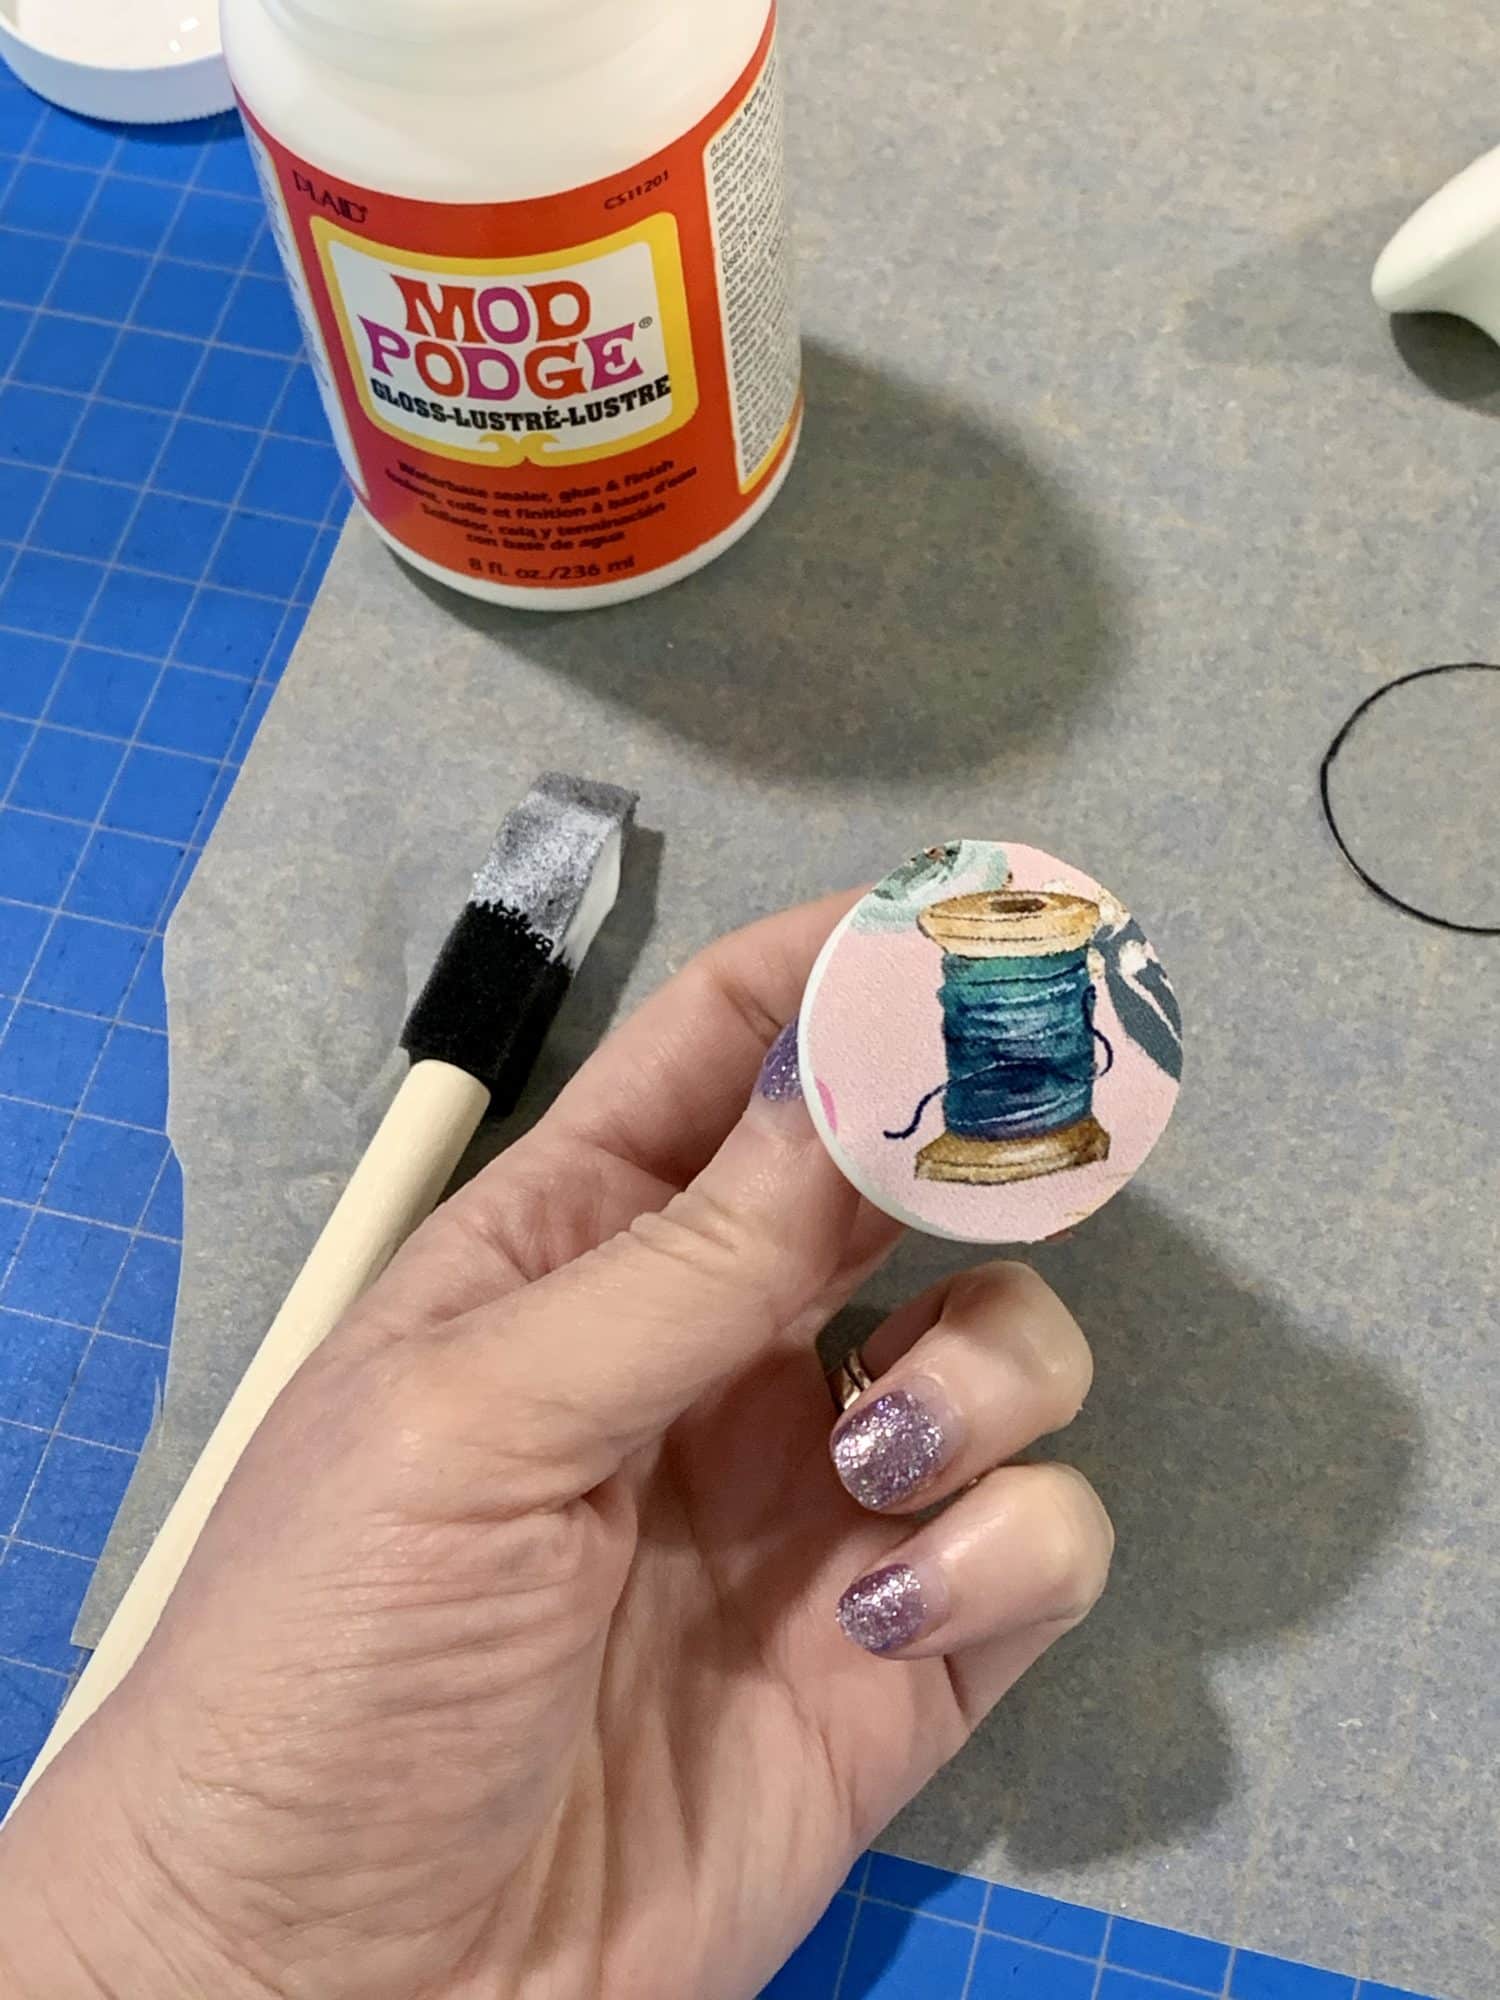
Mod Podge 2 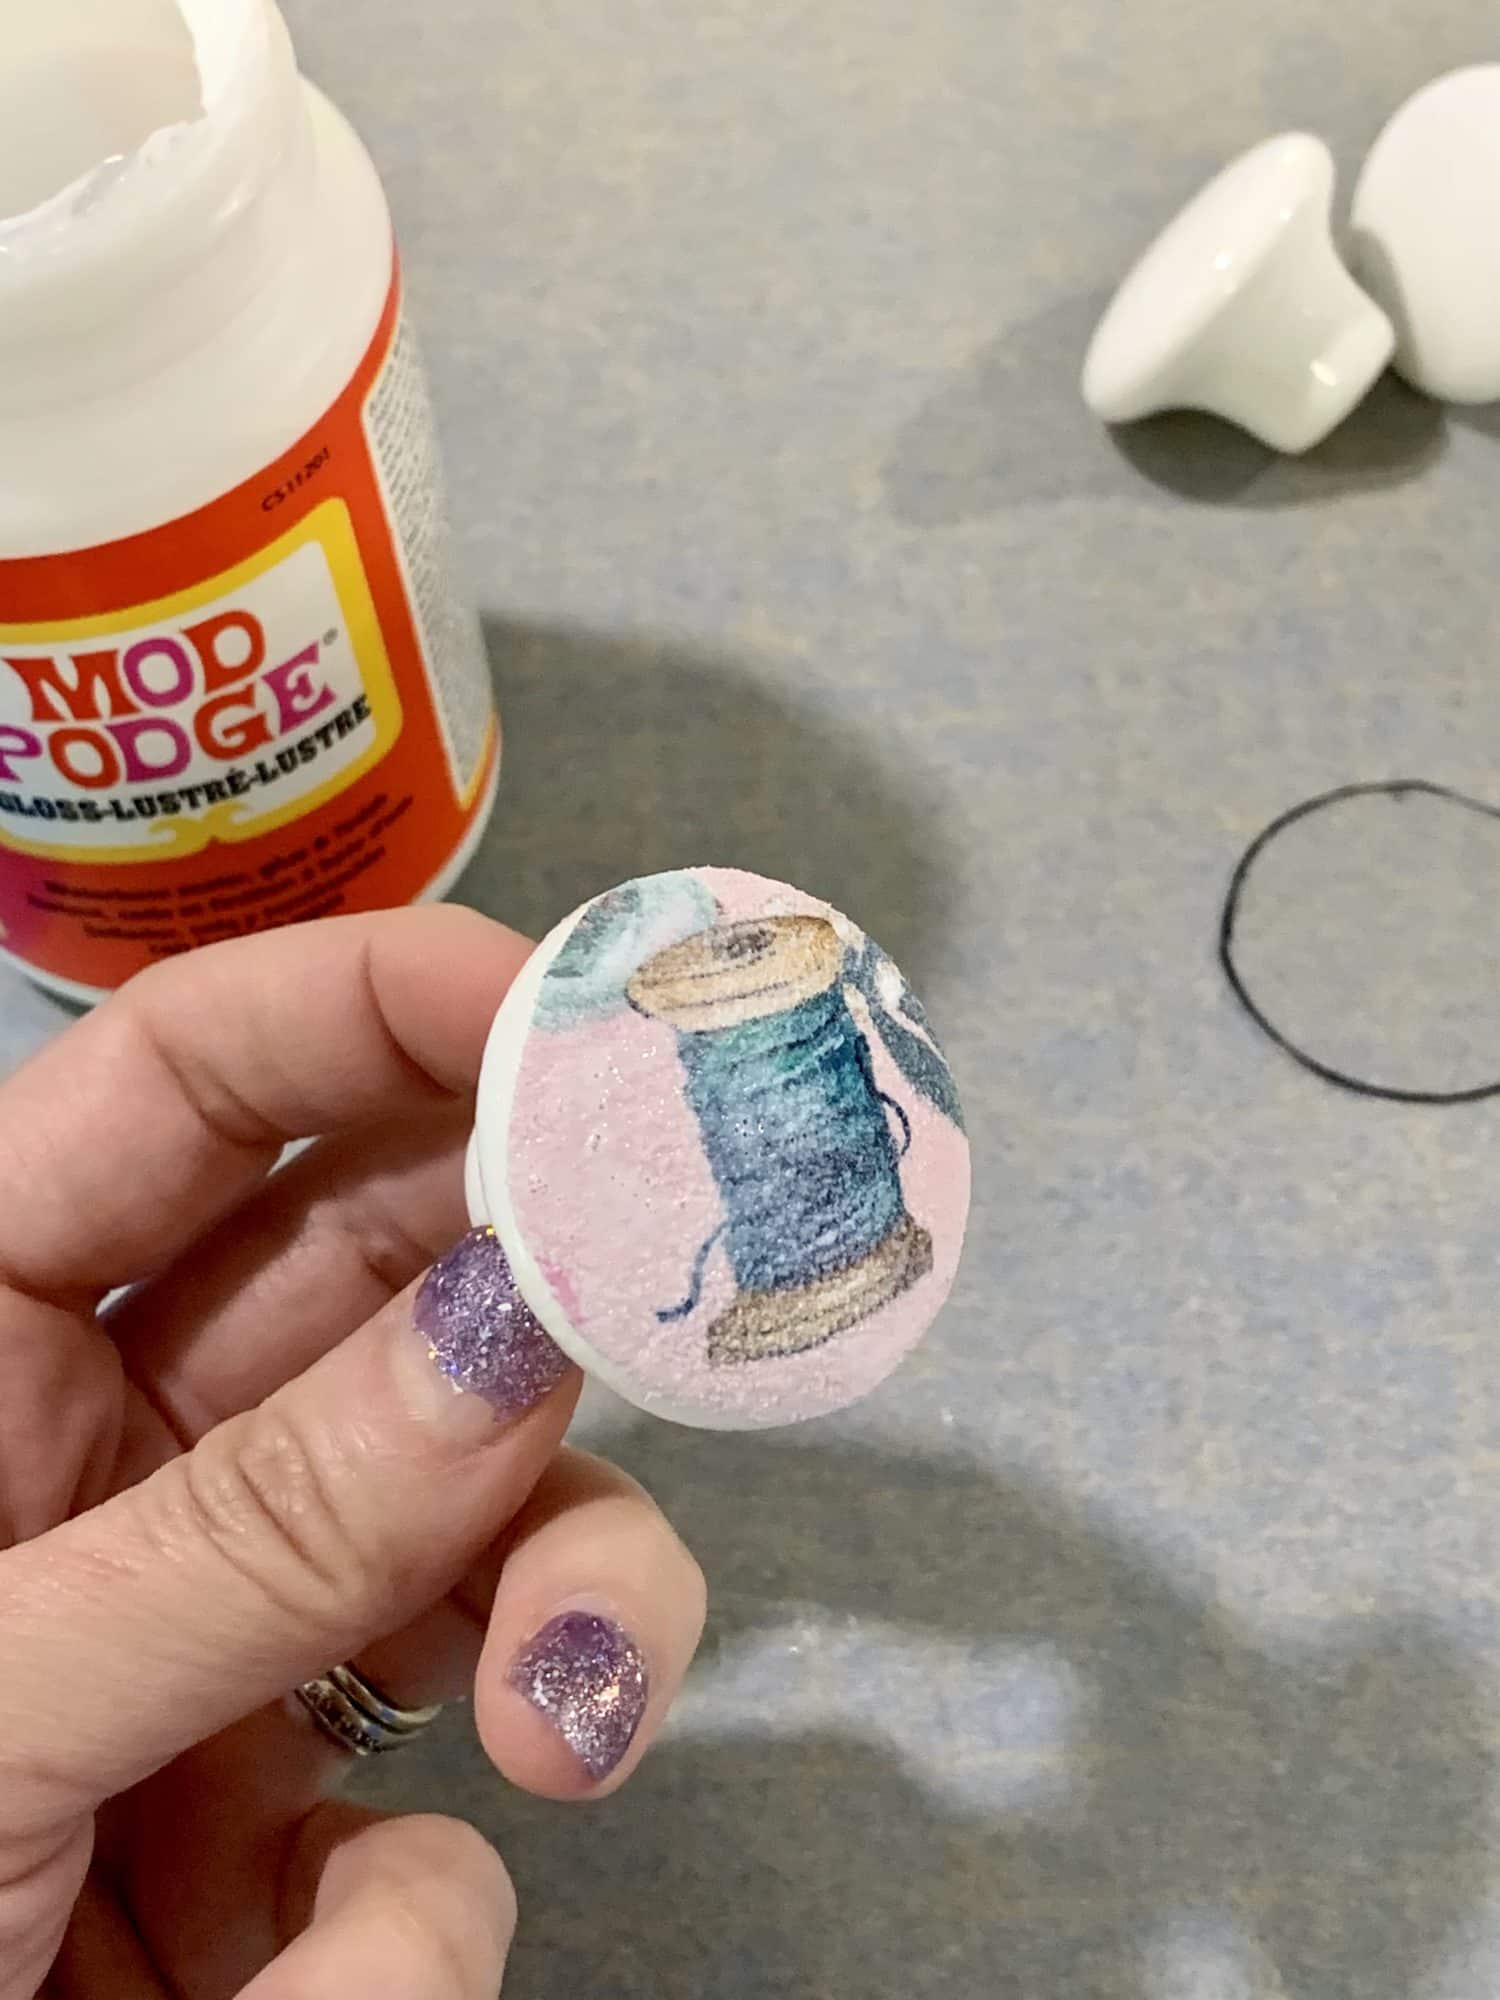
Mod Podge 3 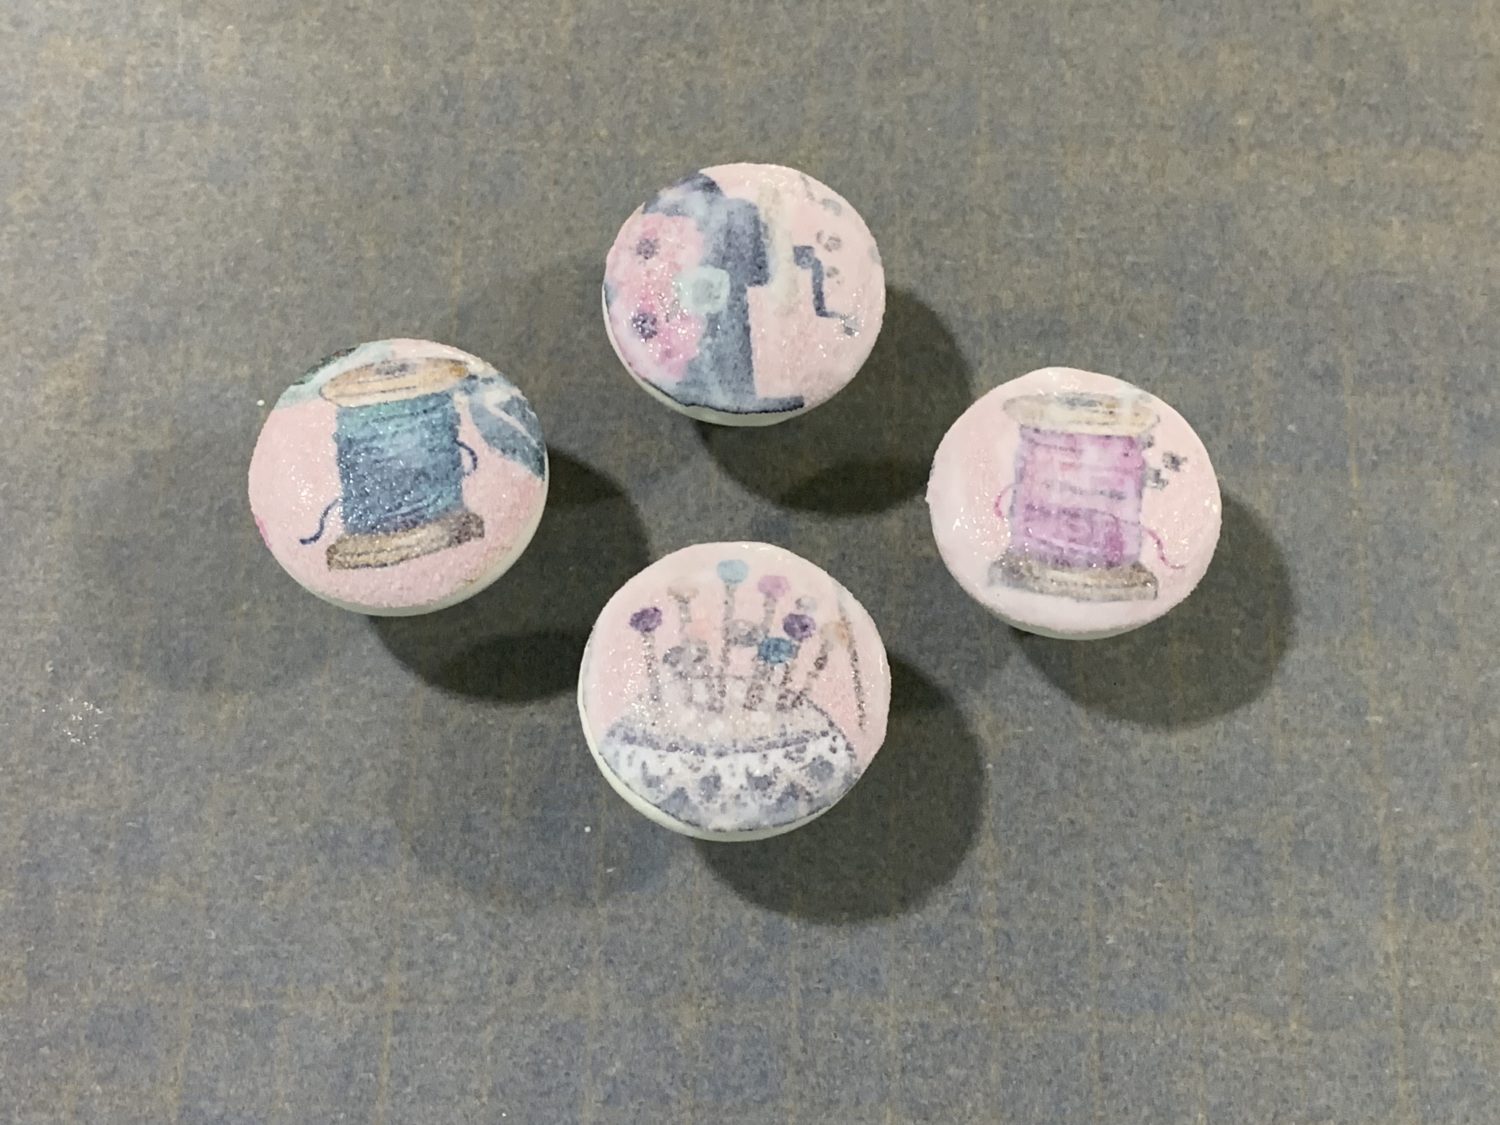
Mod Podge 4
- Let the first coat of Mod Podge dry for a couple of hours, then add a second layer and leave them overnight. Here’s what they look like once the second coat is dry.
After 2 Coats of Mod Podge
Now they are ready for a coat or two of the clear sealer!
- I’m not sure this step is actually necessary (they seemed fine prior to adding it) but since I already had the sealer, I decided to go for it.
- The easiest way to spray it on is to add the screws to the back of the drawer pulls and stick them in a piece of Styrofoam. Then, just lightly coat them with the sealer but beware: this stuff DOES NOT smell good. It’s best to do this step outside if possible.
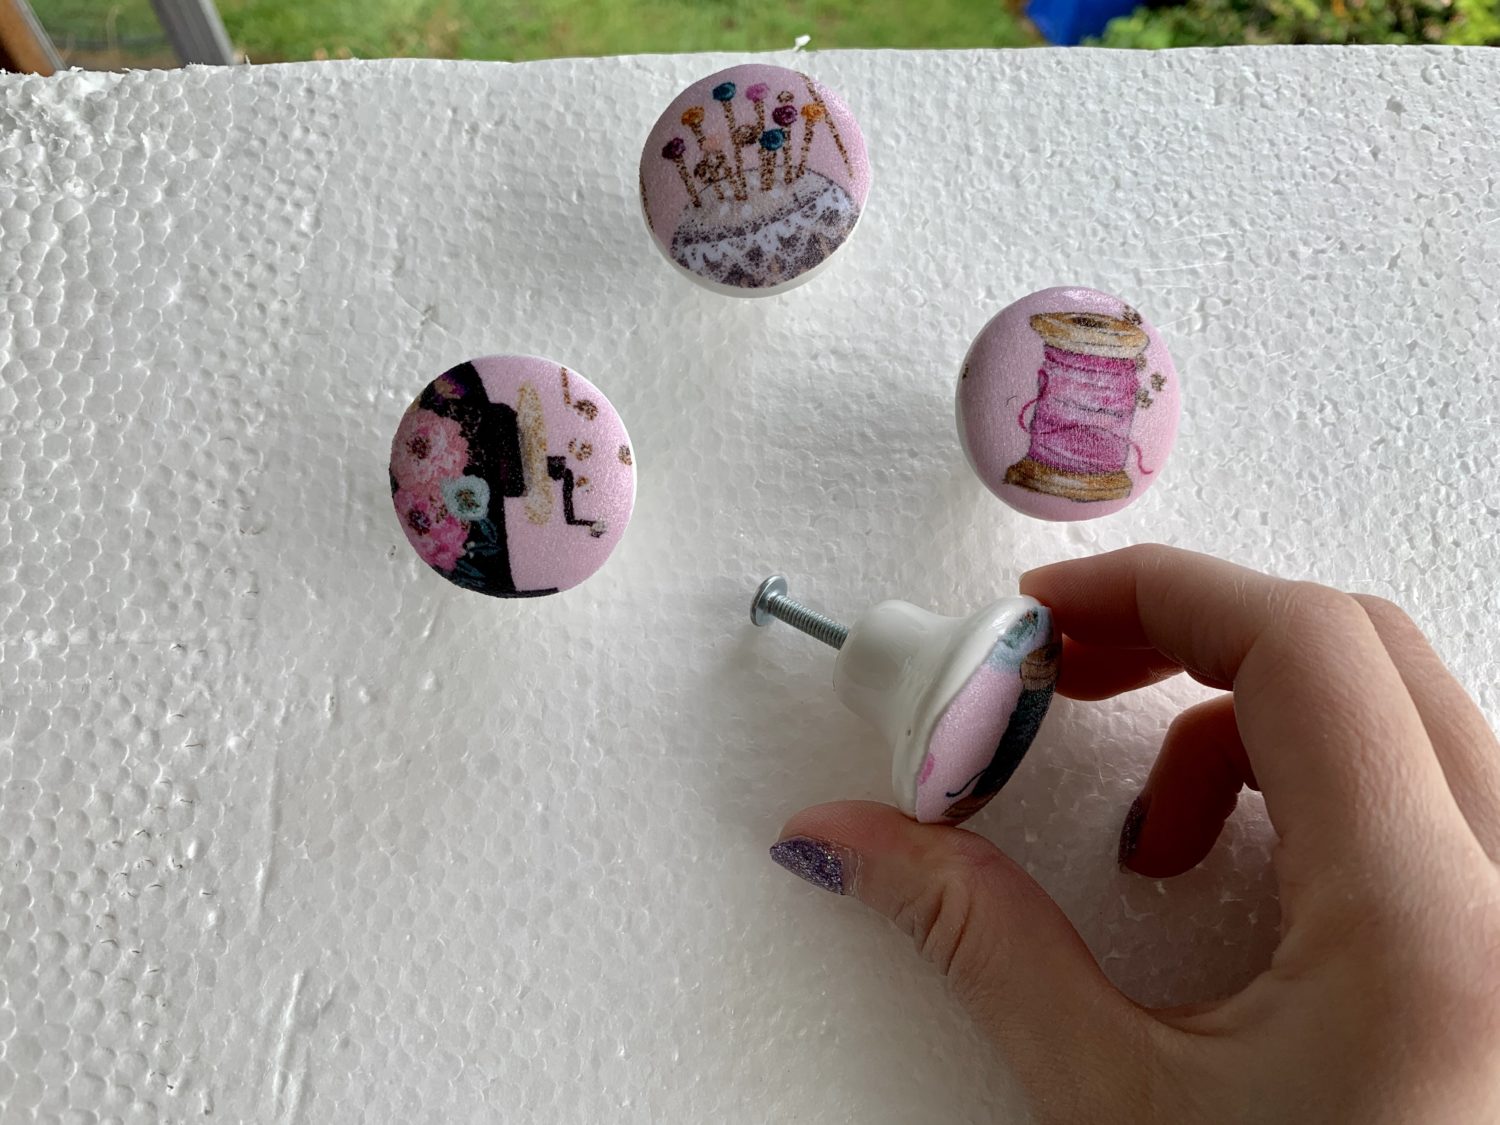
Preparing for Clear Sealer 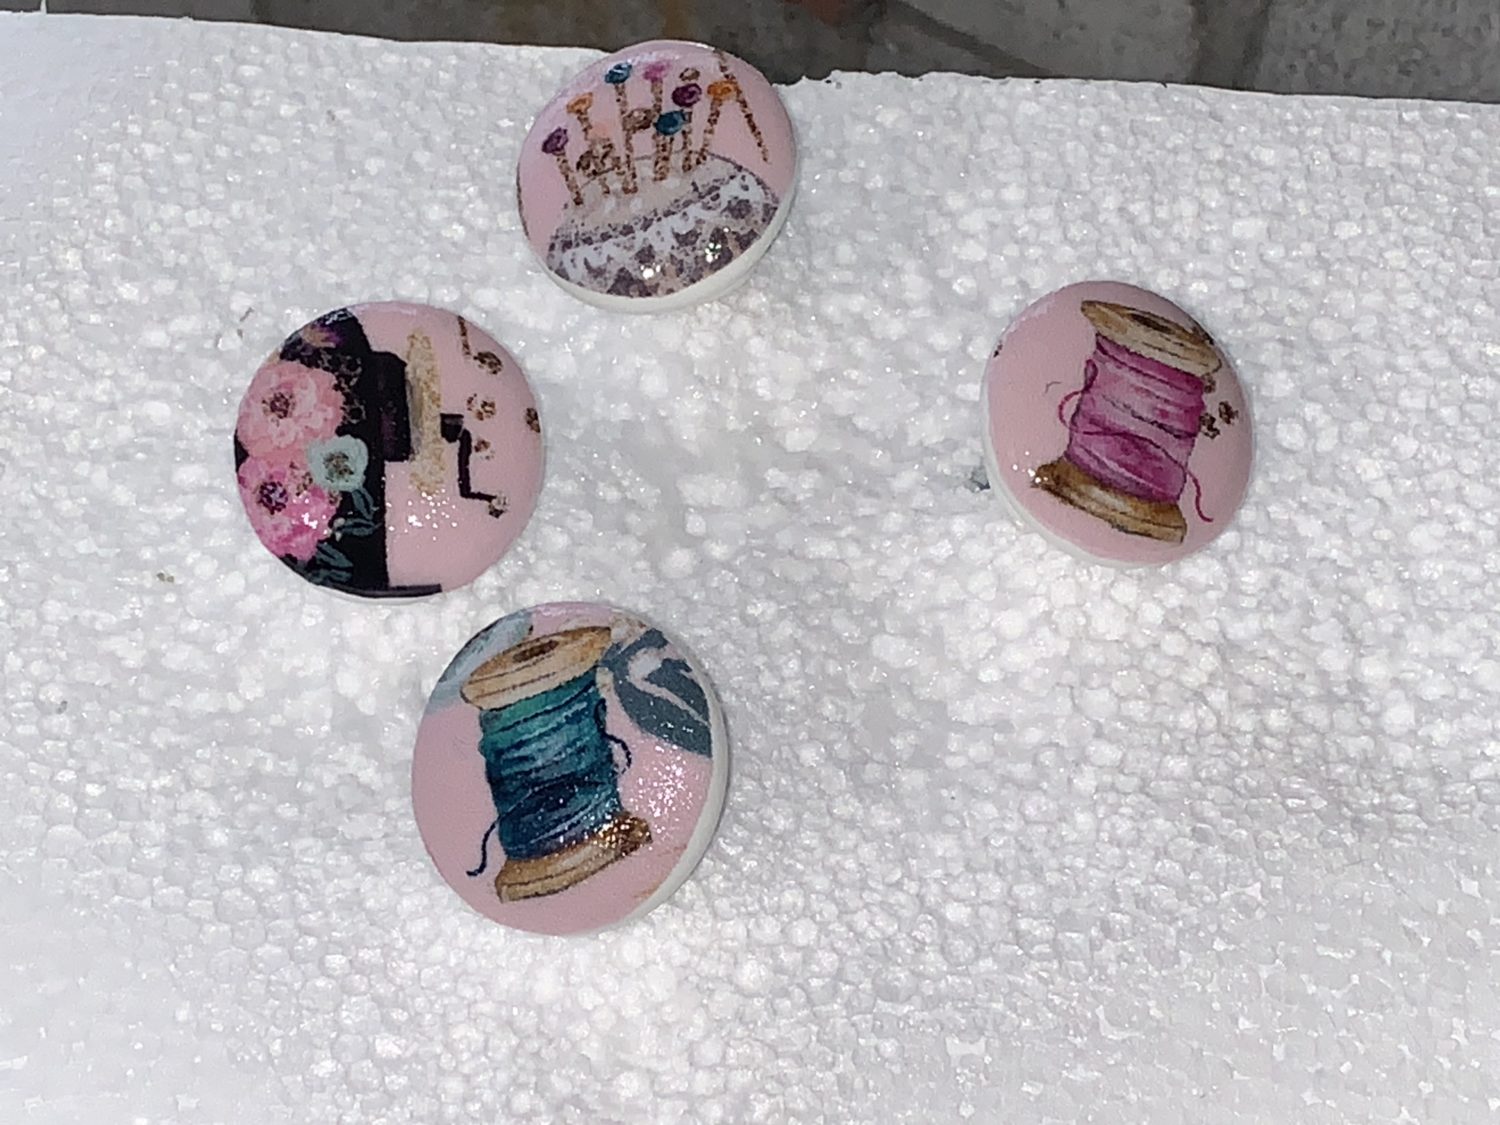
Clear Sealer
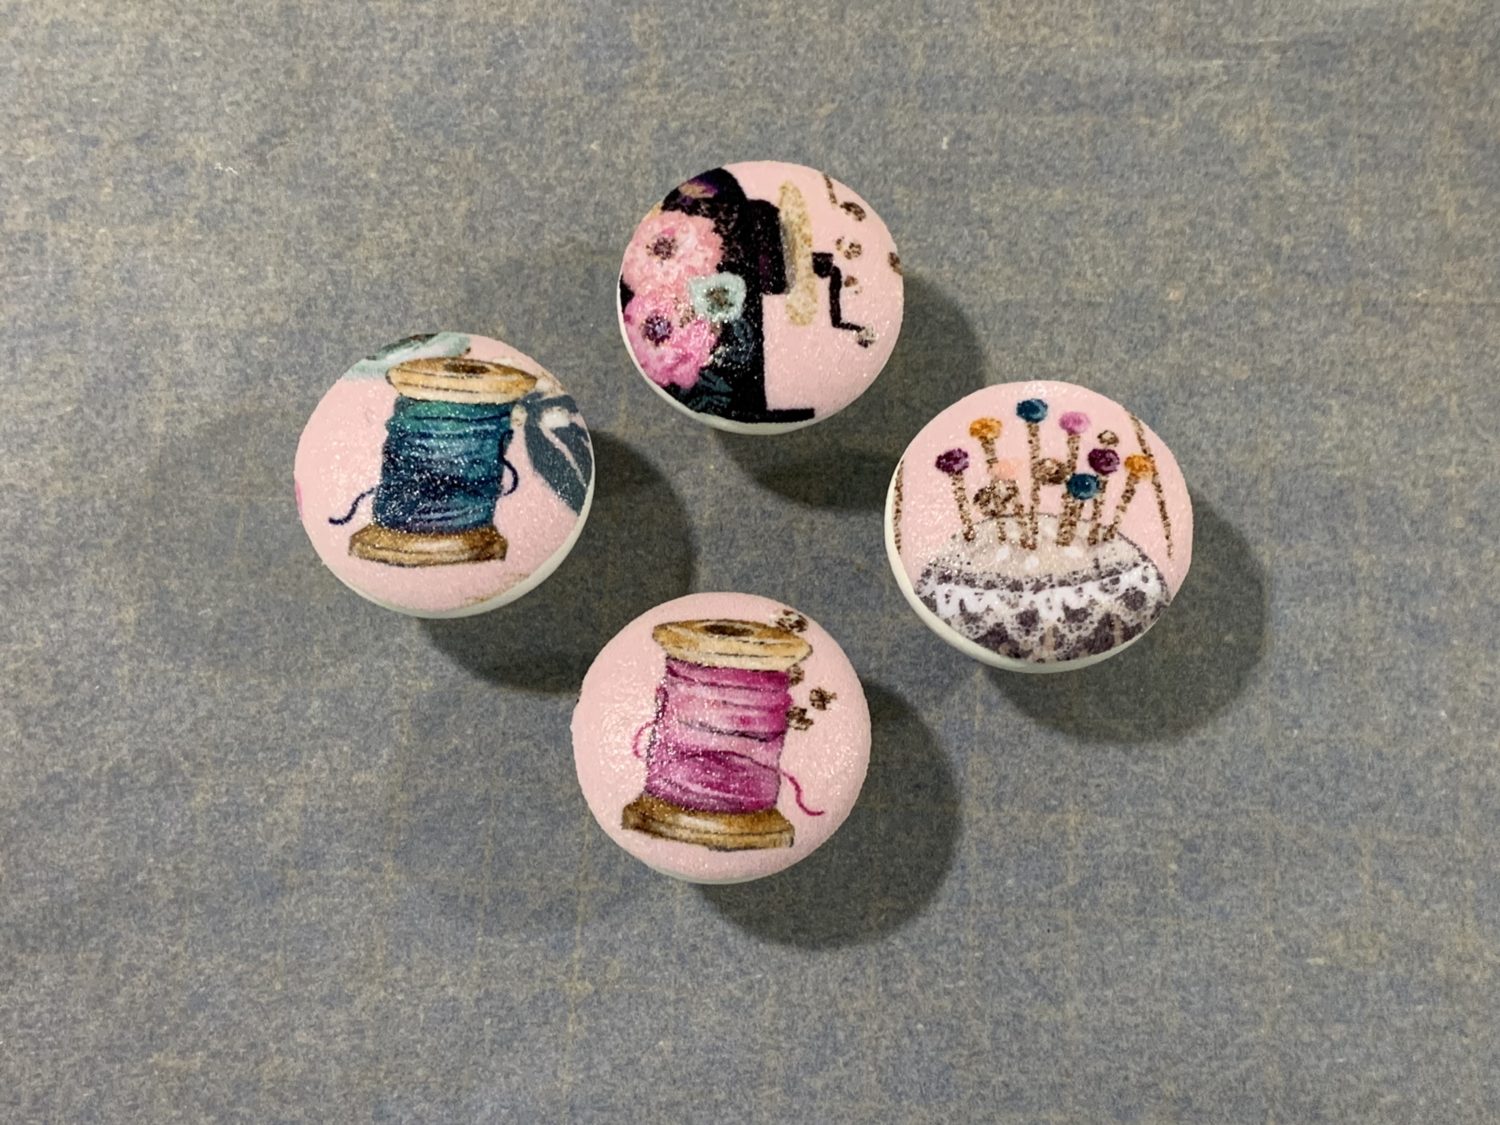
- I ended up adding two coats of the clear sealer just to be on the safe side.
After 2 Coats of Clear Sealer
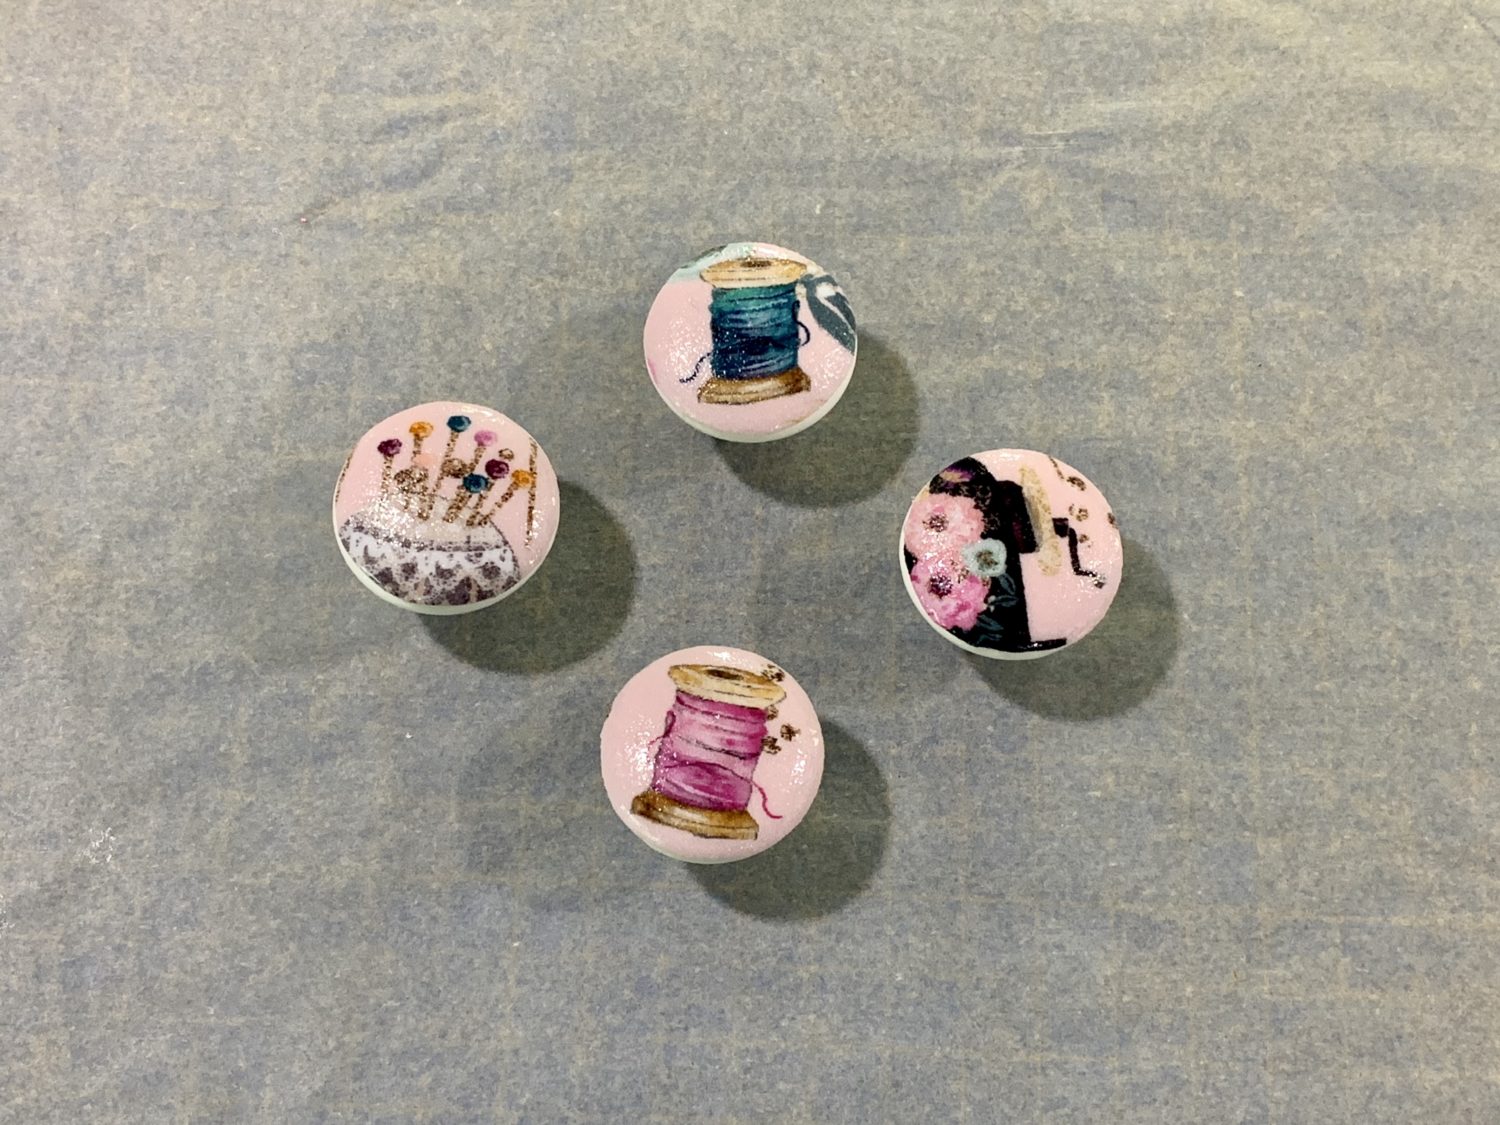
And that’s it!
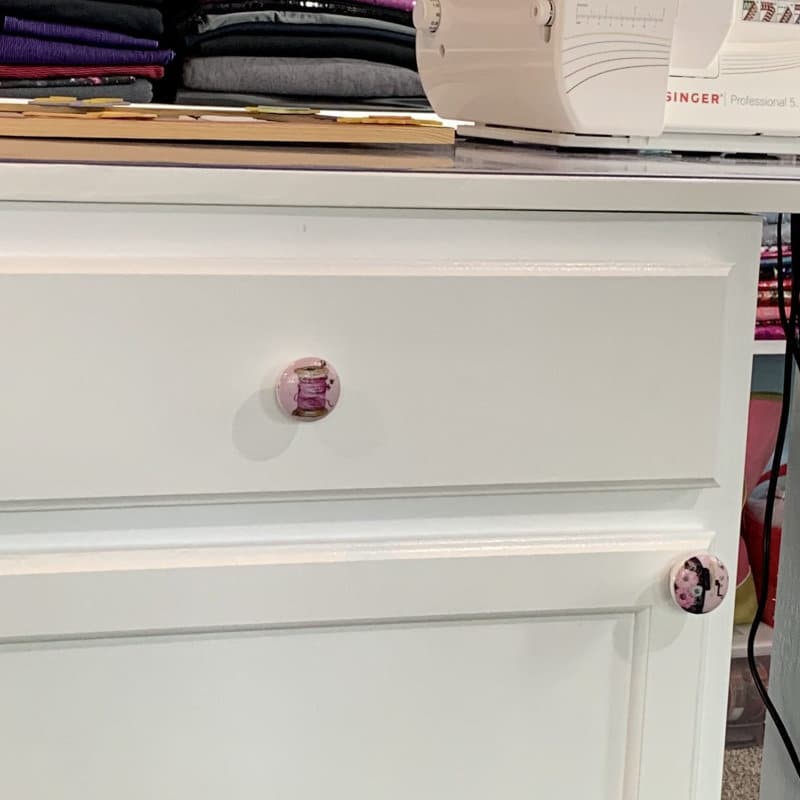
You now have some beautiful, custom drawer pulls to liven up any space! Make some other sets like Christmas, summer, floral, etc. and you can change them out throughout the year.
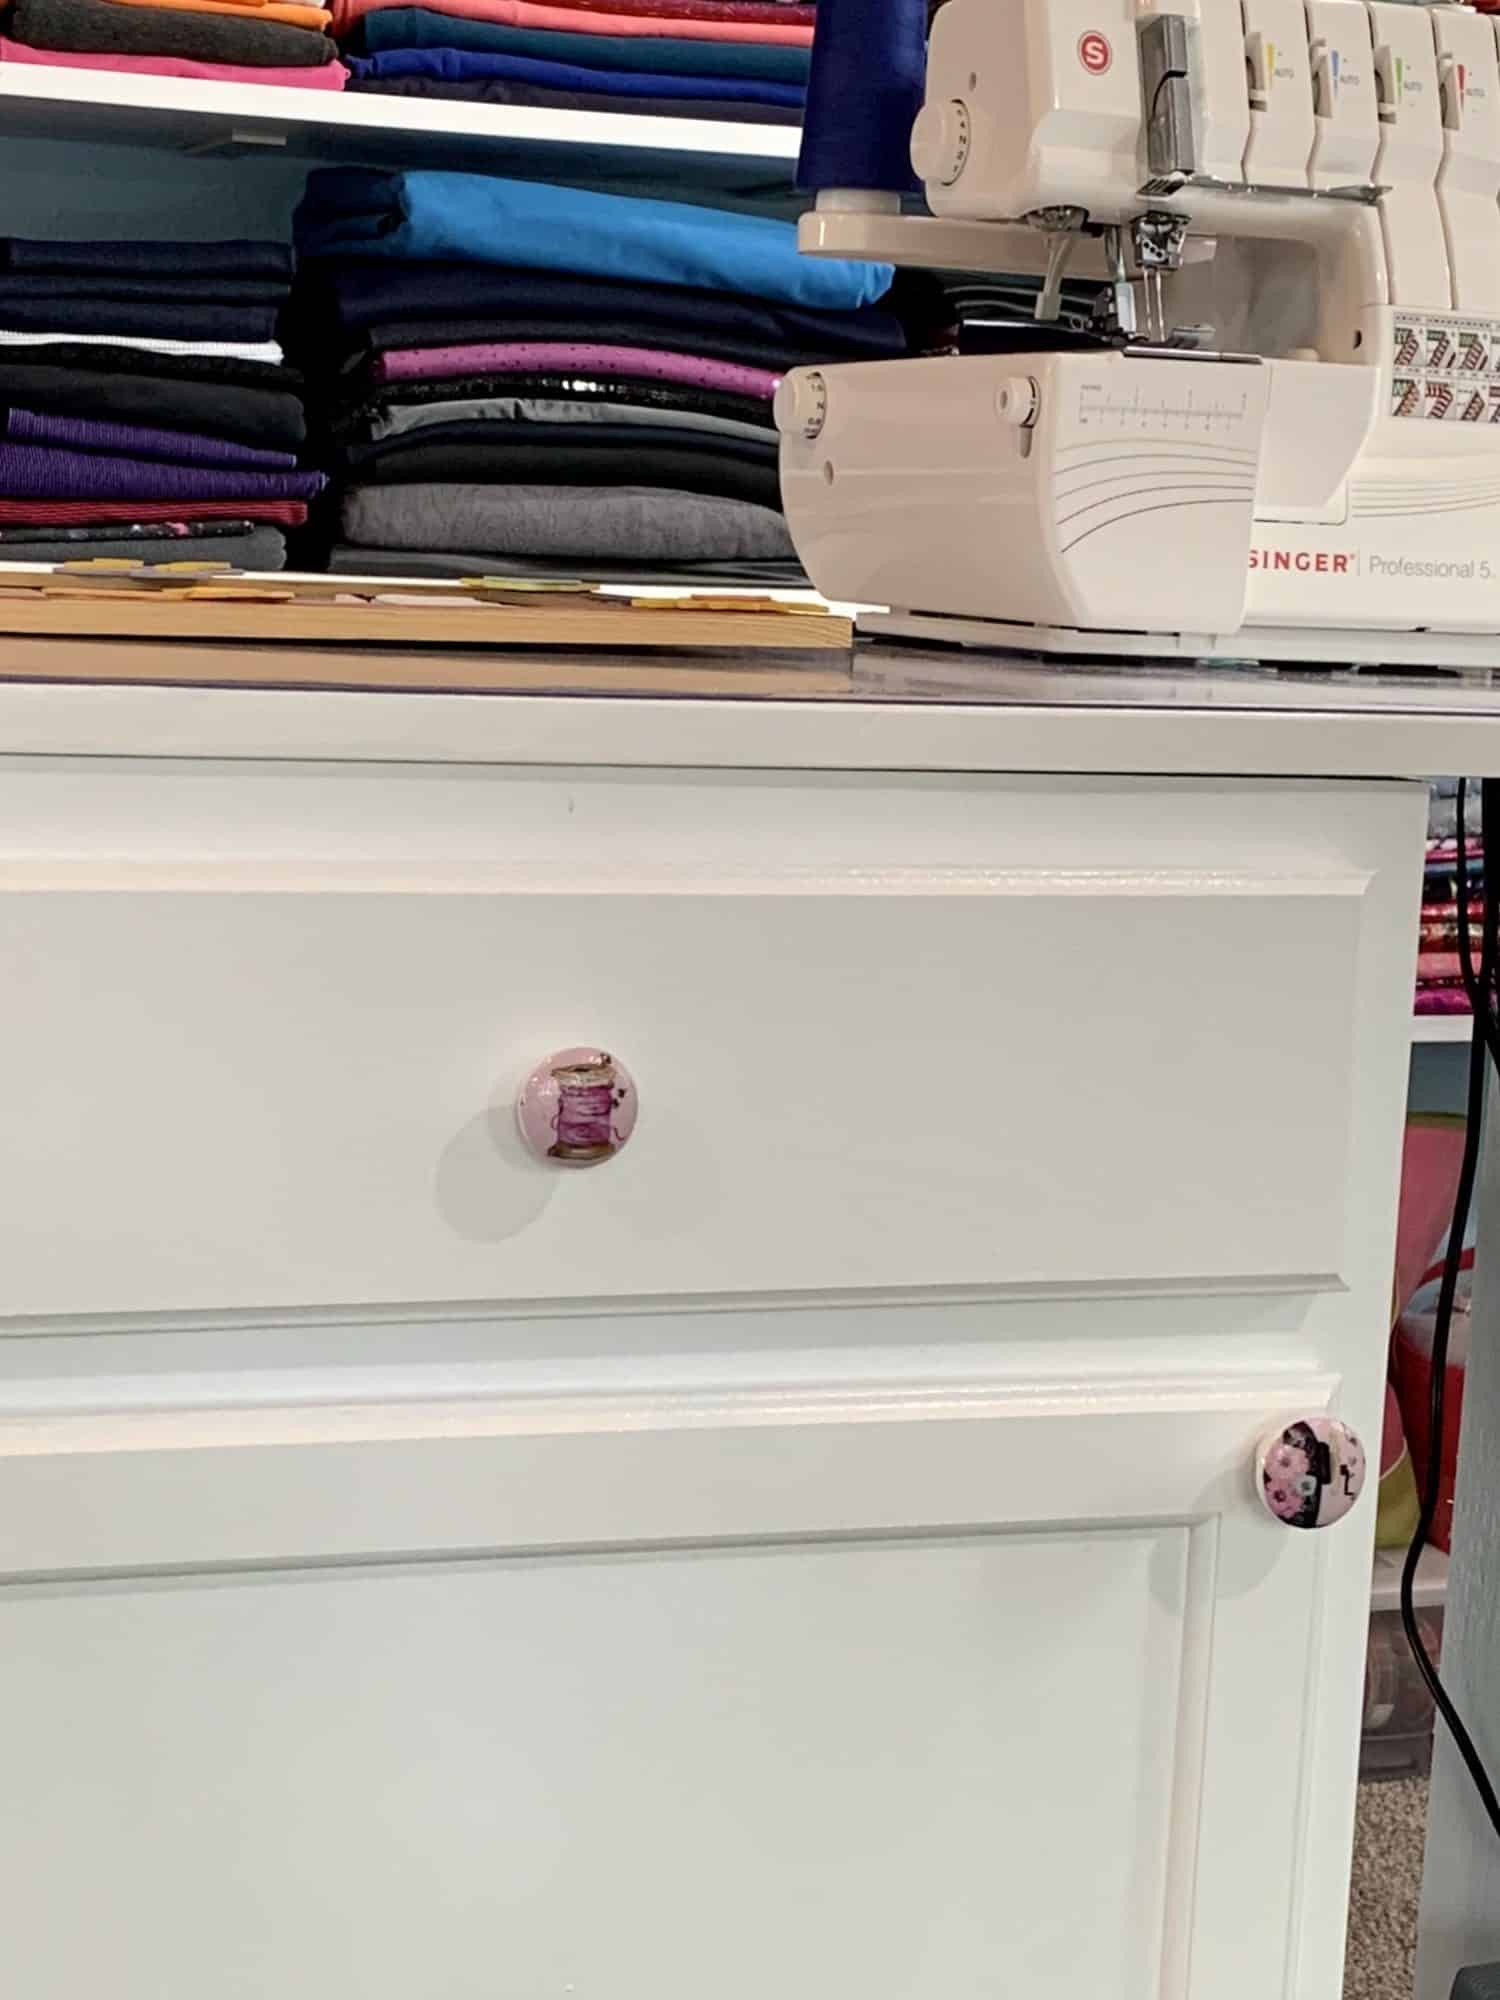
Finished! 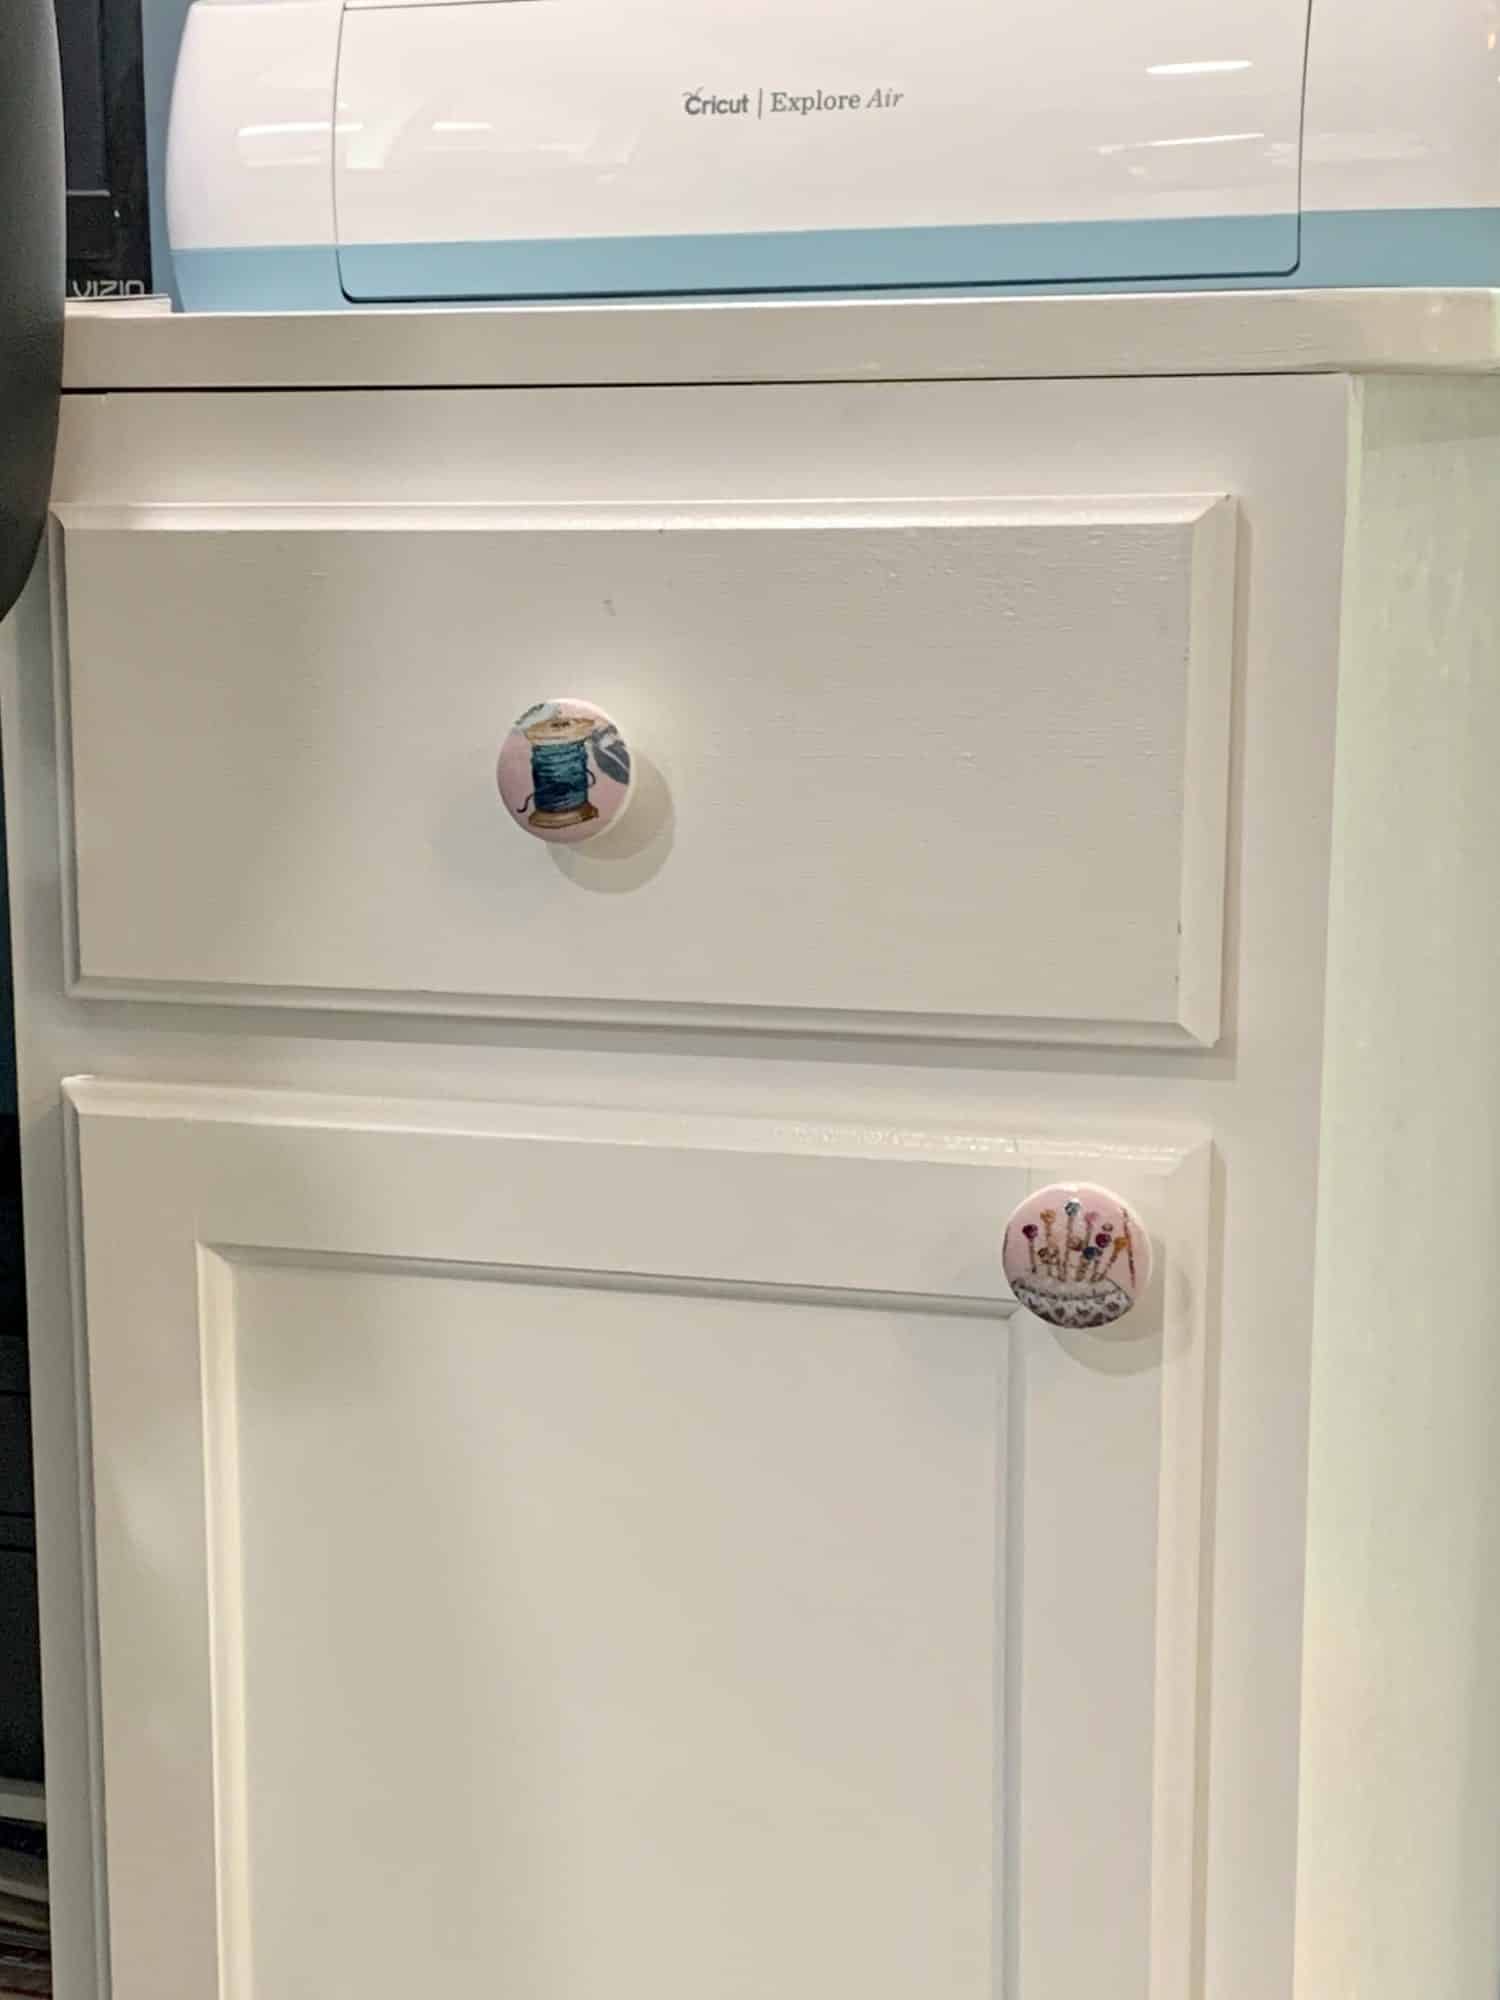
Finished!
As always, we’re here to help if you need it! Join us HERE and on Facebook, Instagram, Twitter, Youtube, and Pinterest. Be sure to check all our fun extras on the blog. We’re everywhere you are.
Thank you for the very clear instructions- I love the way in which these brought personality to your furniture!