
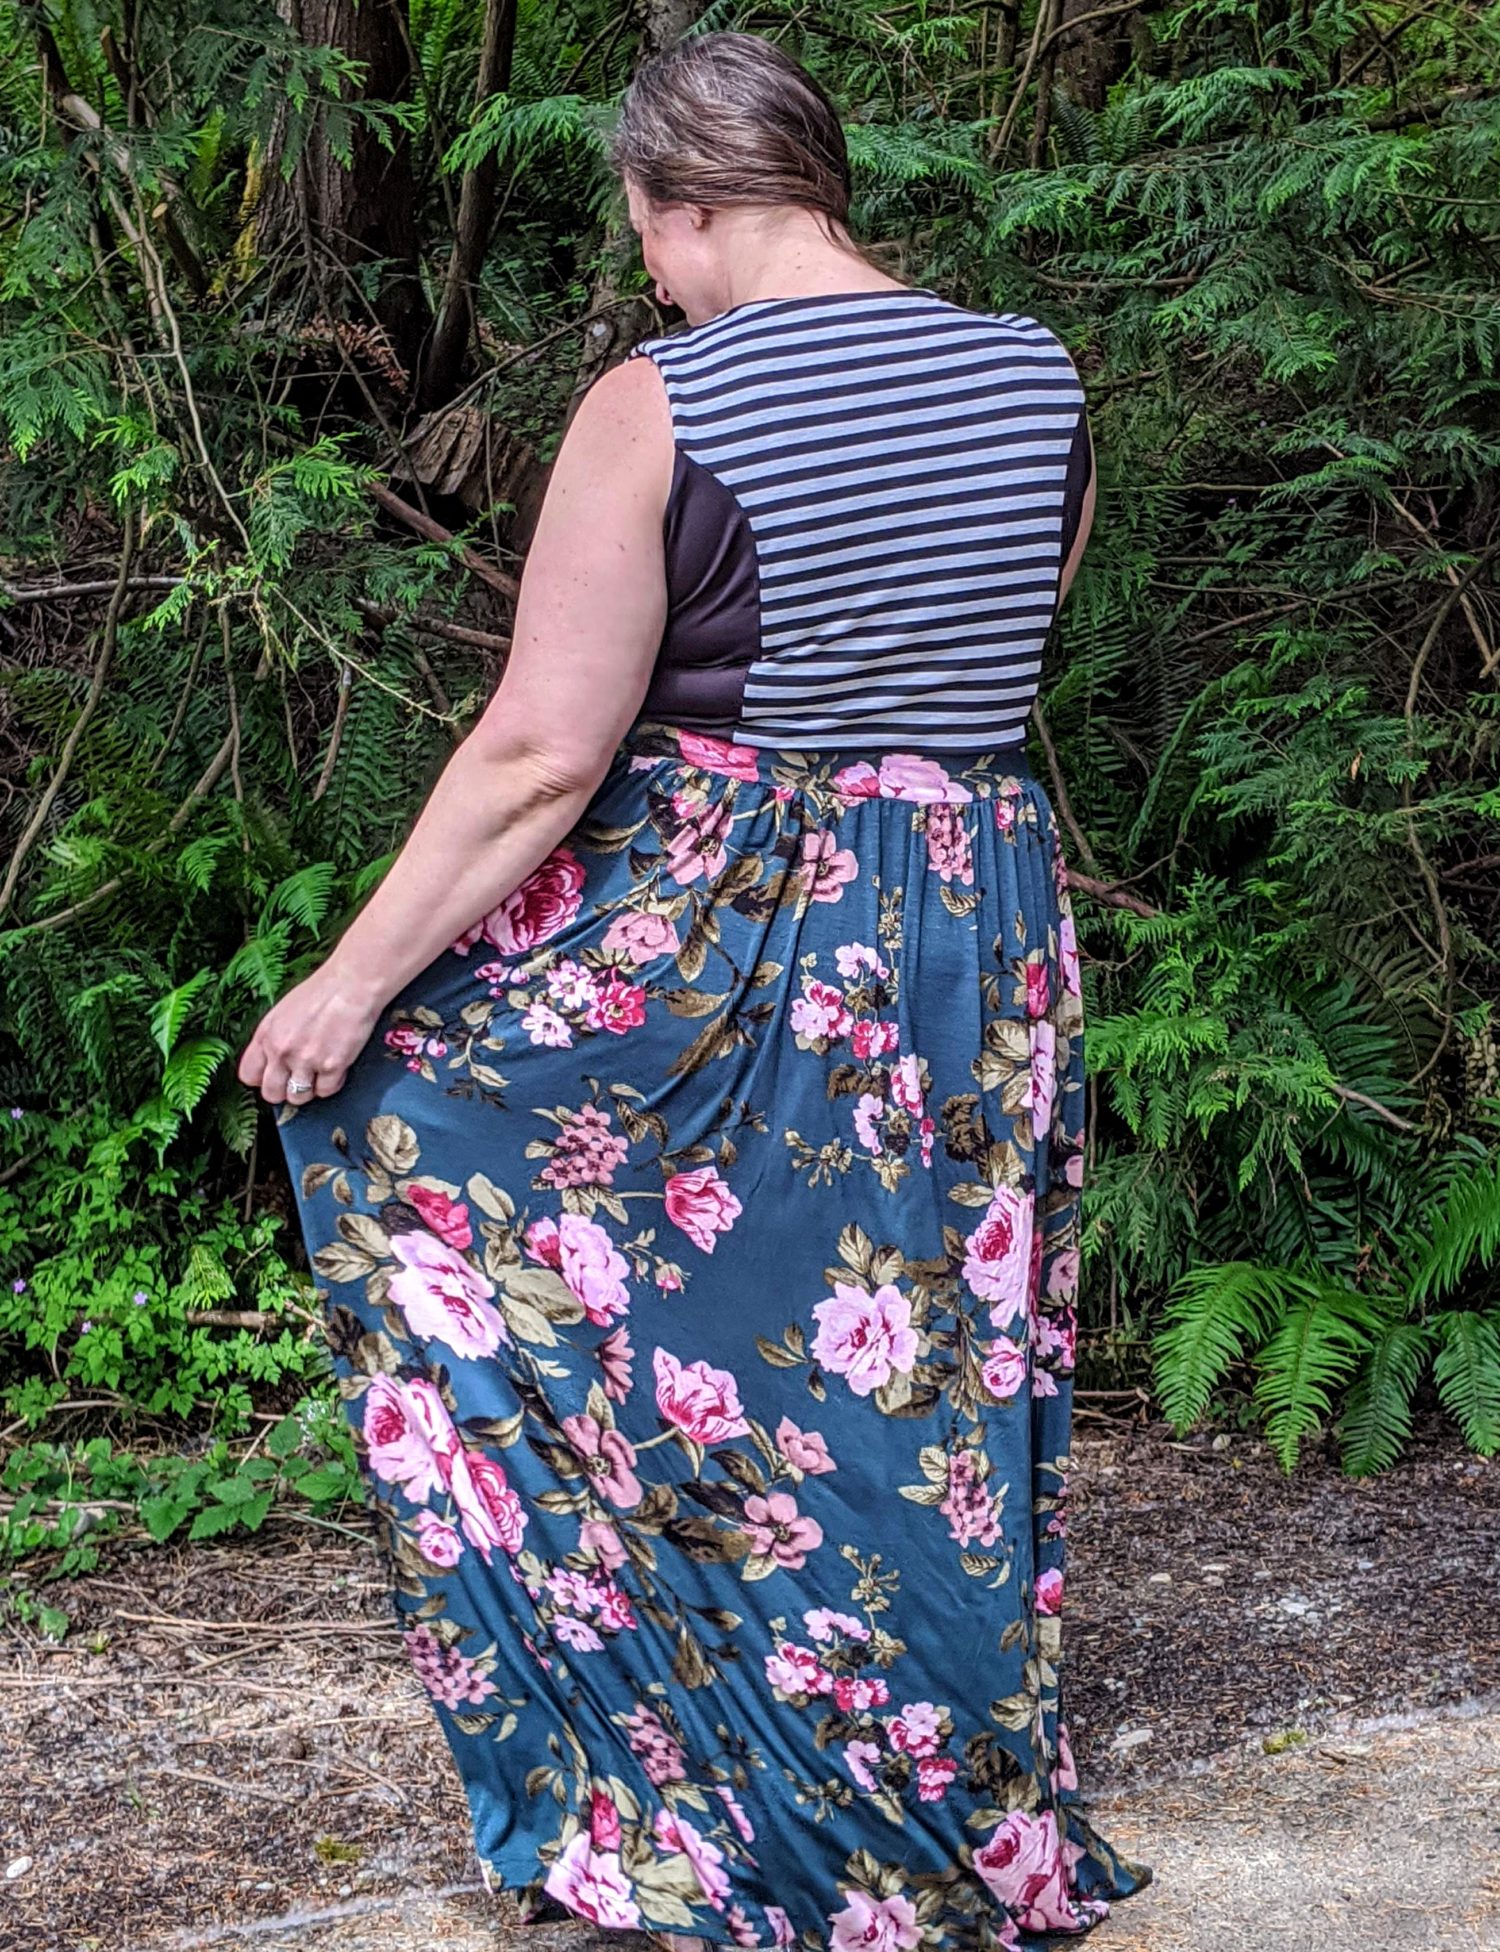
I absolutely love the lines of the Layla dress bodice, and I adore the fit of my Monica skirt. I decided to make a small change to each pattern and combine them to make the dress I had in my head come to life.
Before we start, I want to mention fabric choice here. Layla was drafted to be able to use a woven fabric for the skirt portion. This works because it buttons down the back. However, in this hack, I am taking out that back opening making this hack for knit fabrics only.
Getting Started:
The first thing you will need to do is to print and assemble your patterns. If you don’t already have them, you can grab the Layla dress HERE, and the Monica skirt HERE.
First up is Layla
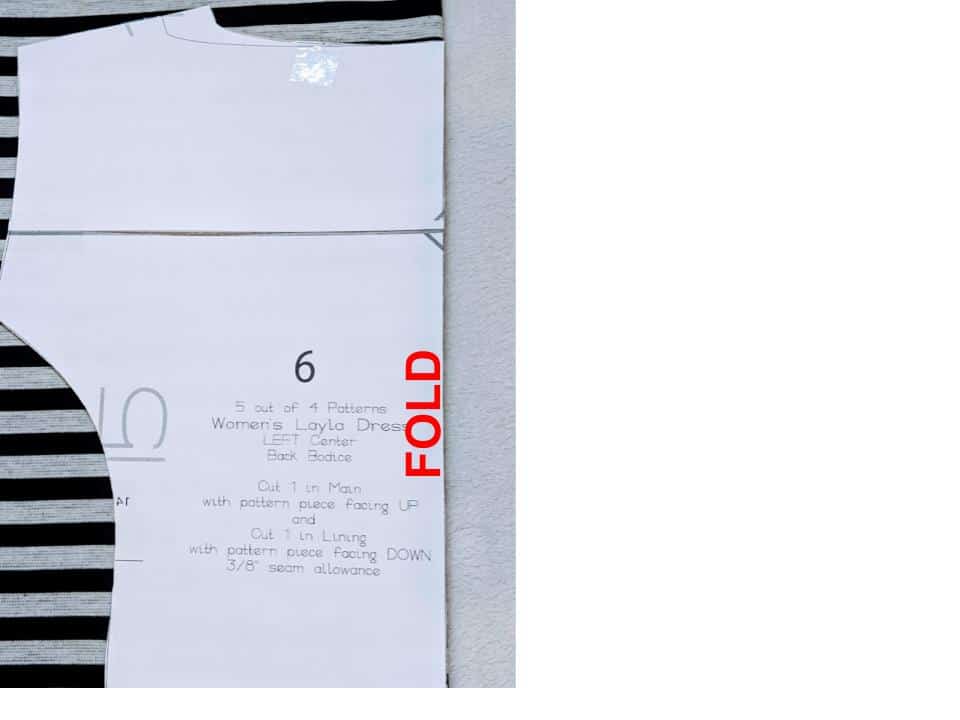
- Your pattern has two back pieces; a left and a right. The right piece is larger for it to be able to overlap the left side. We won’t be doing this, so we only need the back LEFT piece. We are going to cut the back left piece on the fold, making it one solid piece.
- Repeat this with your lining fabric.
- The rest of your top pieces will remain the same, so cut those out per the pattern instructions.
- Construct the main fabric and lining fabric of all the front and back pieces per the pattern instructions. The only difference is that you have one full back piece instead of two.
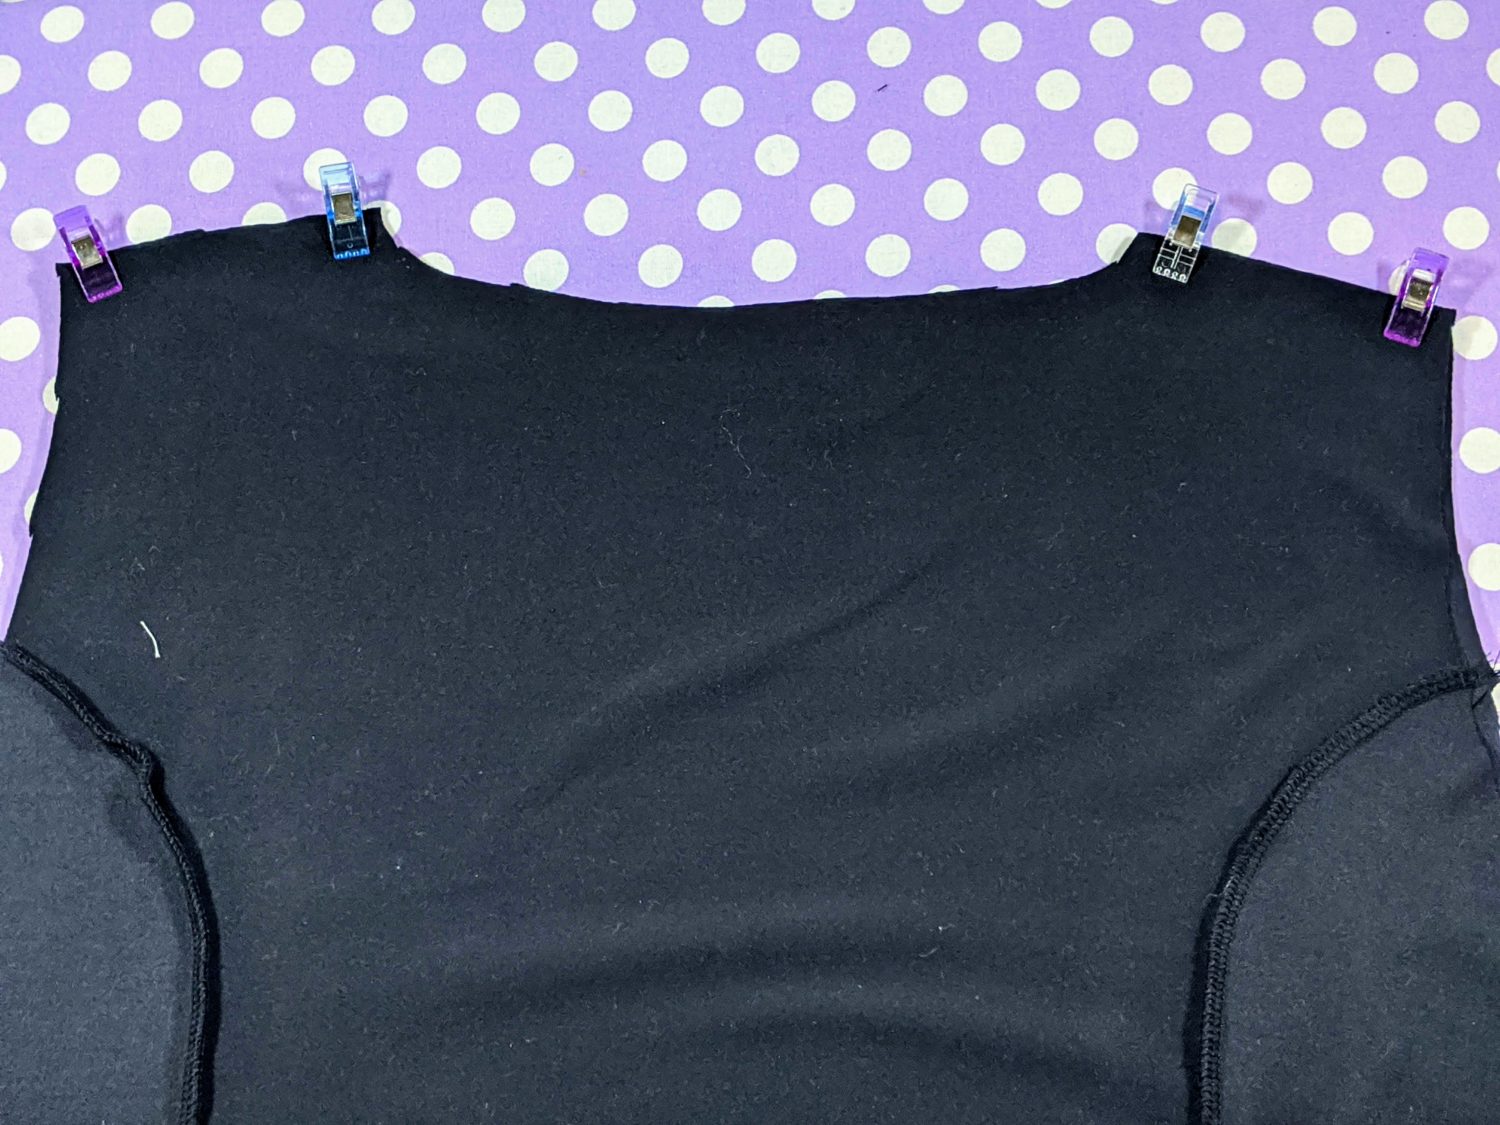
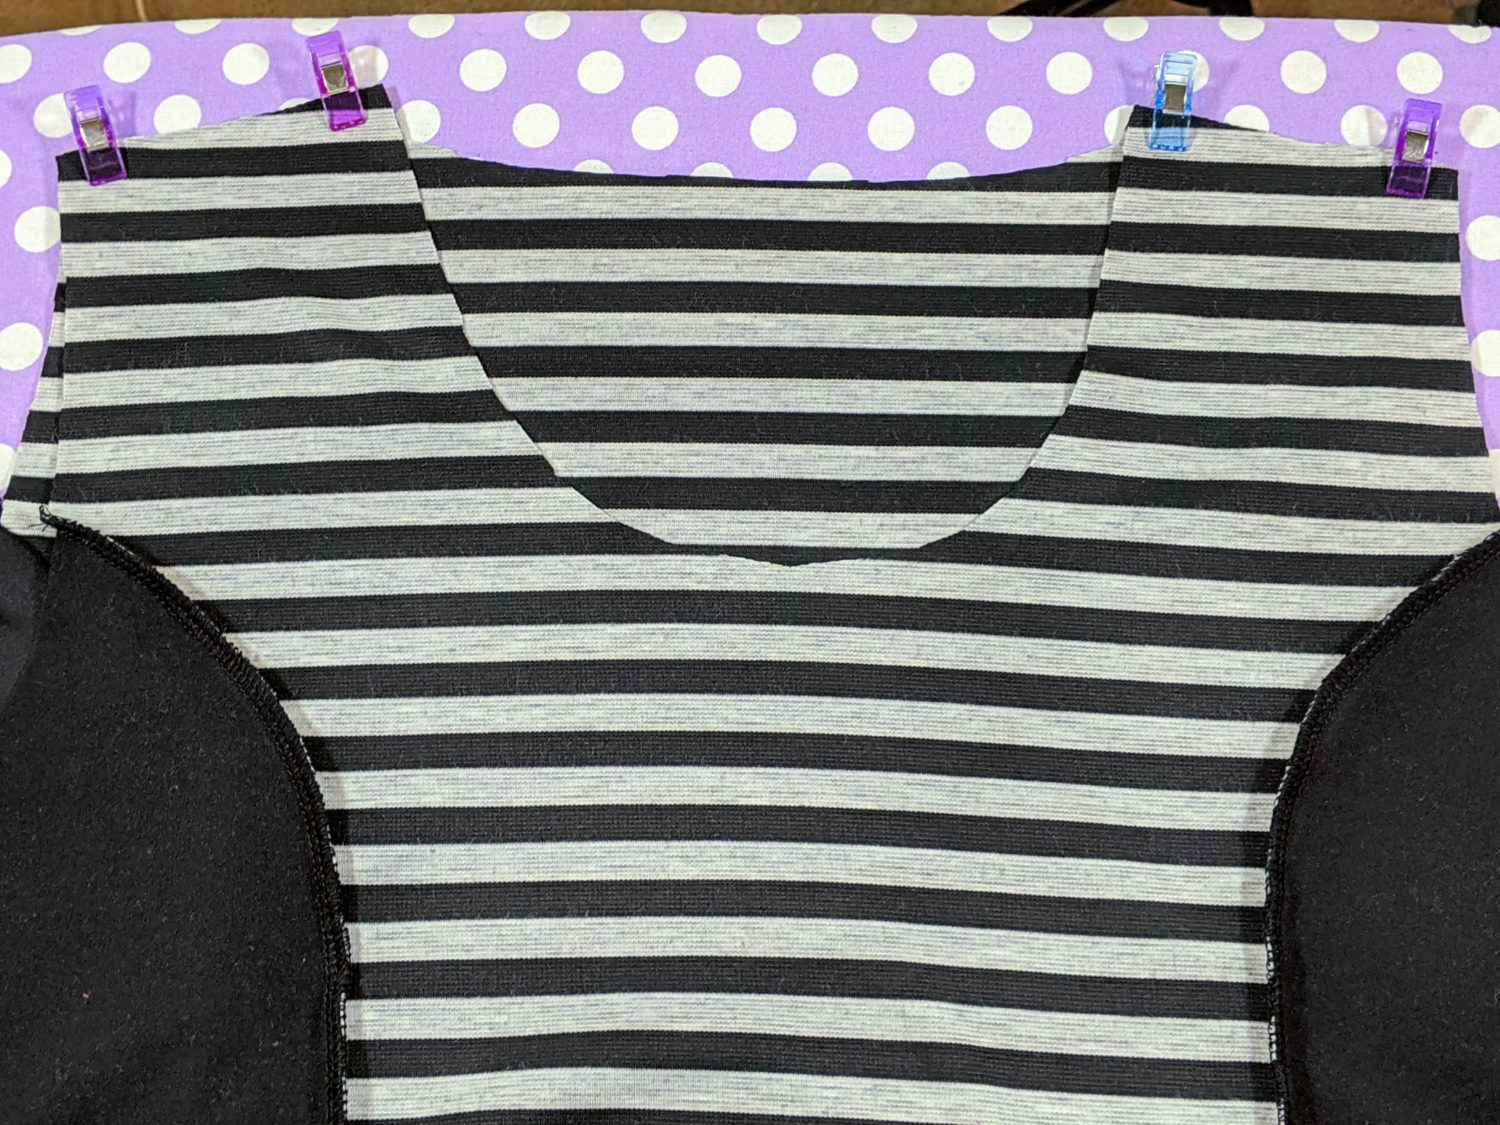
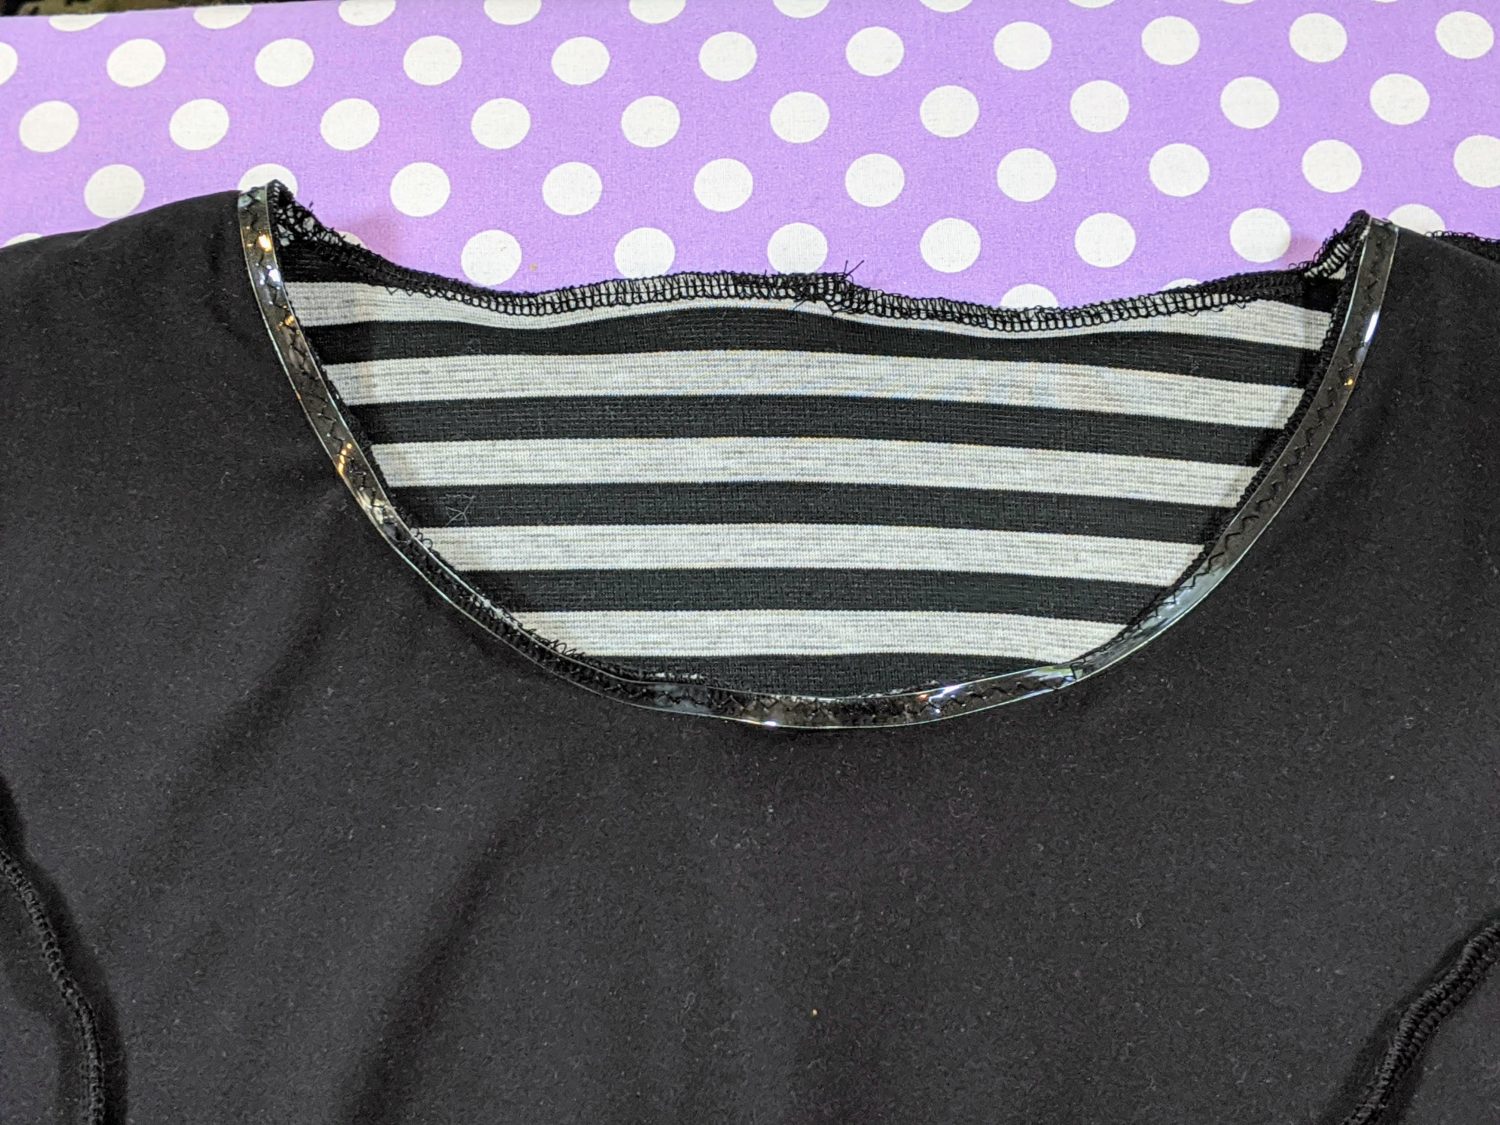
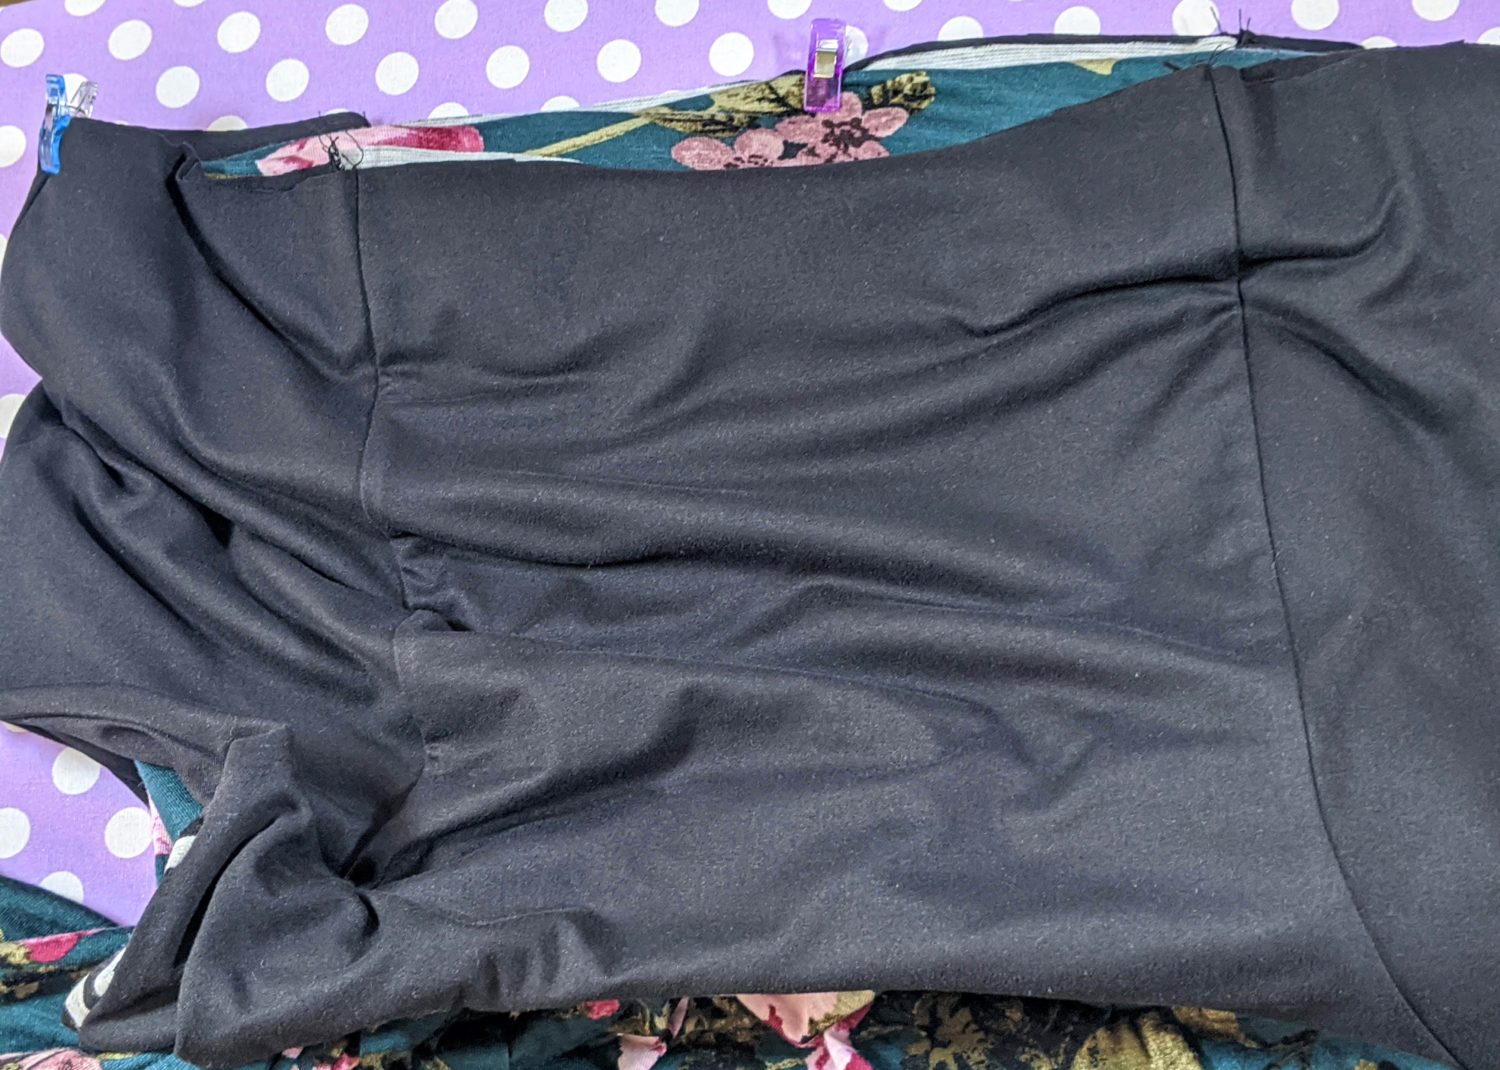
- Putting your lining and main together will be a little different since there is no back opening.
- Lay the lining and main fabrics right sides together, lining up the neck openings.
- Use a stretch stitch or serger to sew around the neck.
- Use clear elastic to reinforce the neckline and add stability. This will be sewn onto the lining side of the seam allowance. If you need a visual for sewing in the clear elastic, you can find a sewing school video for that HERE
- Turn right side out and press.
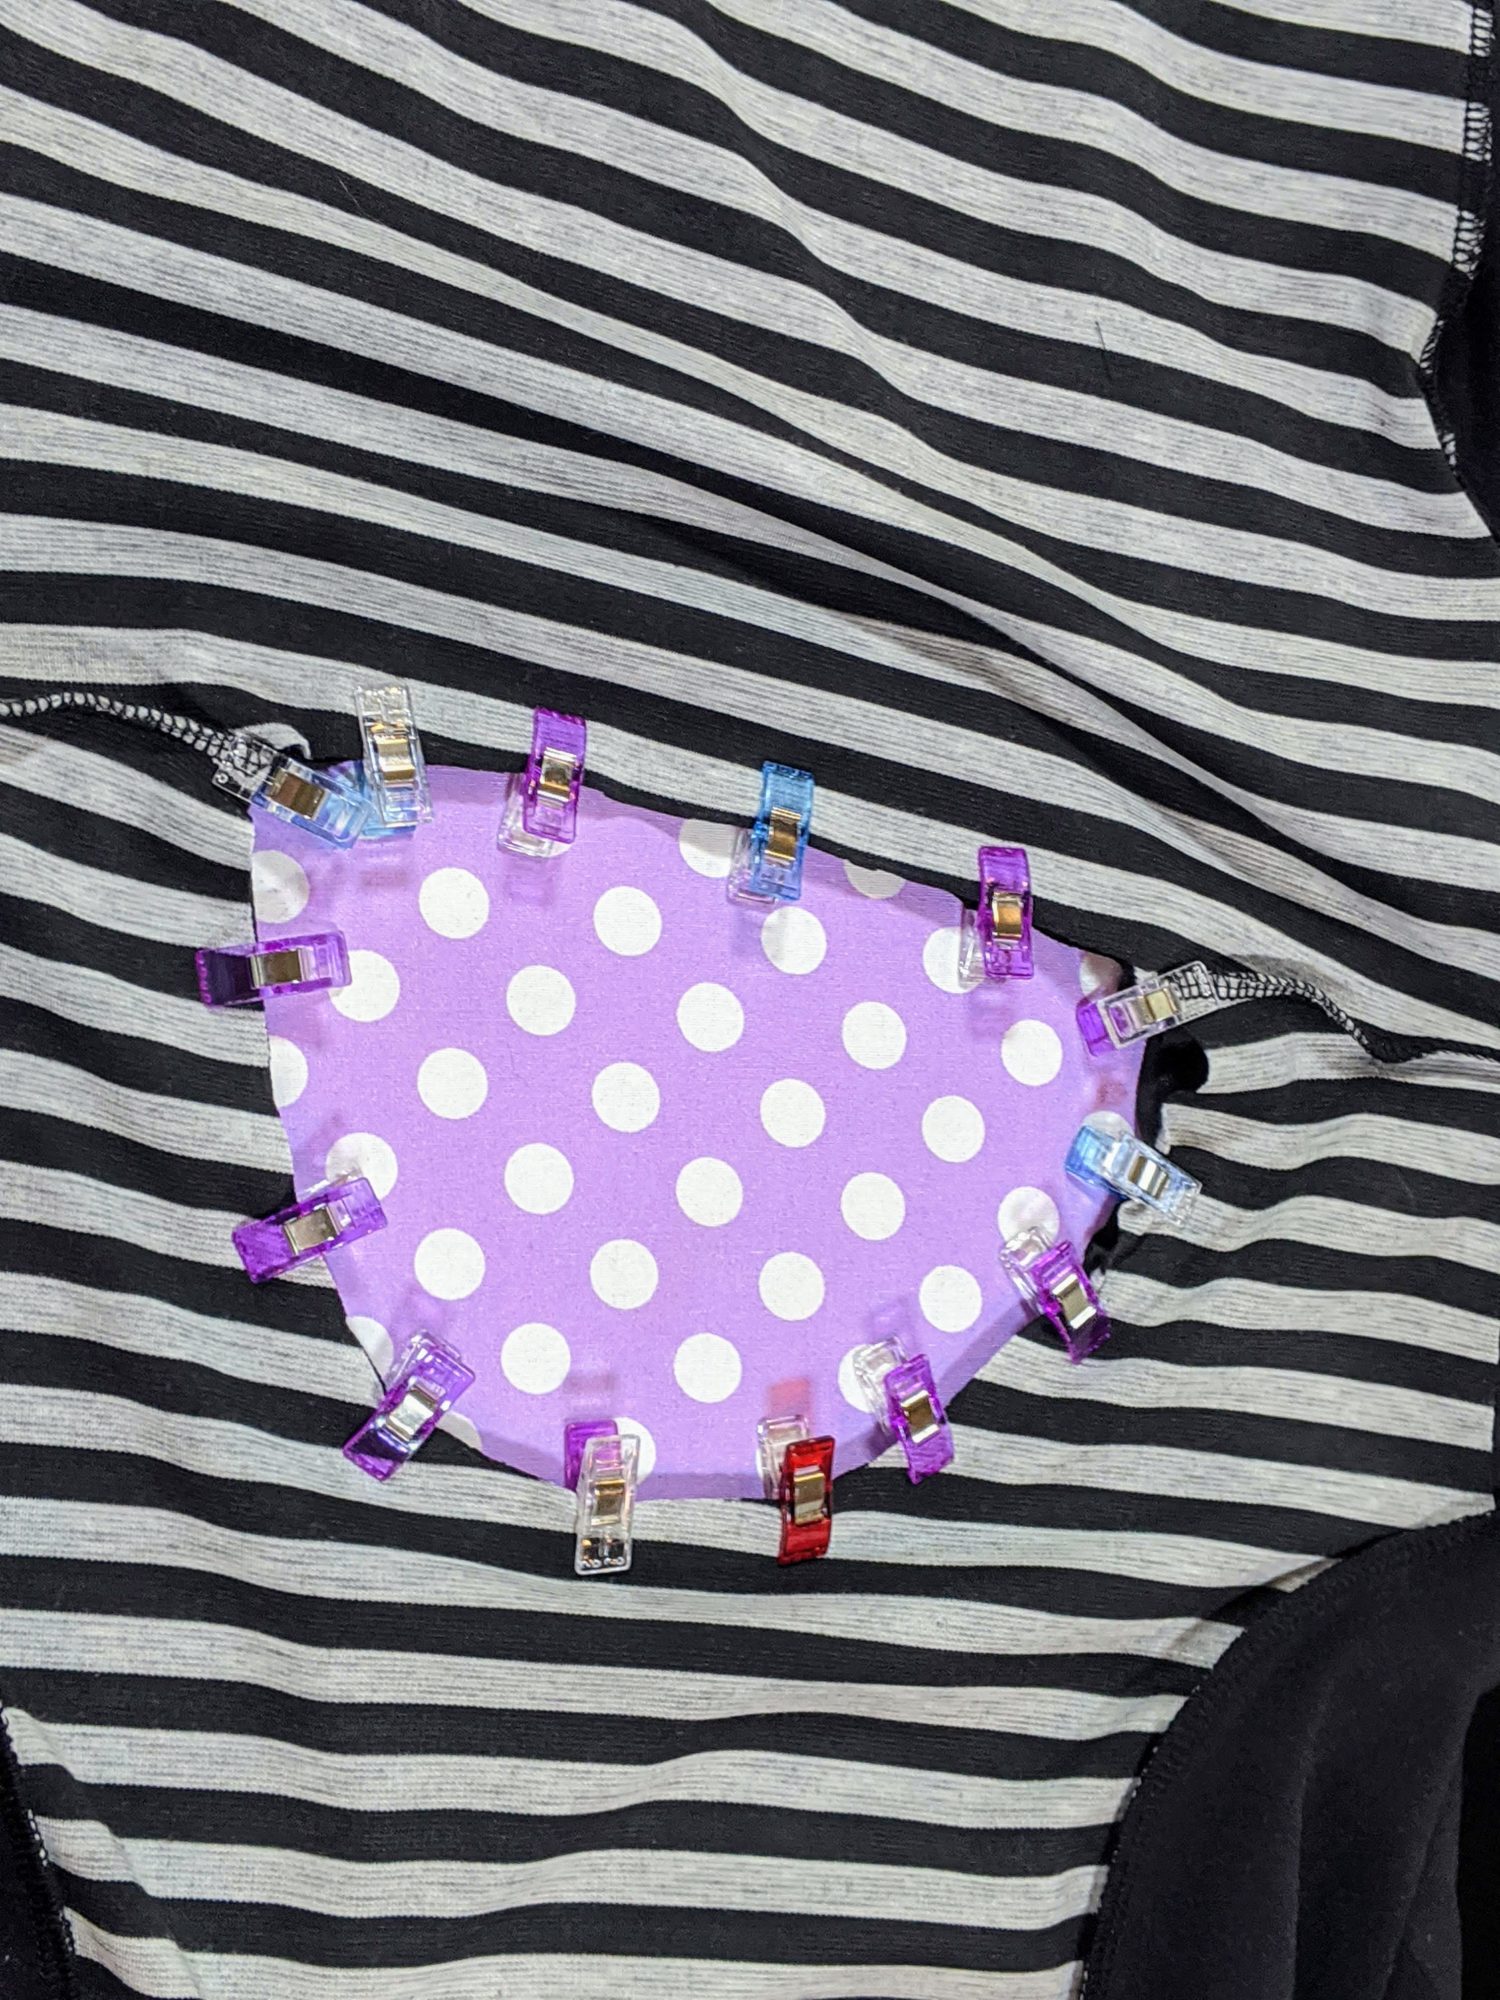
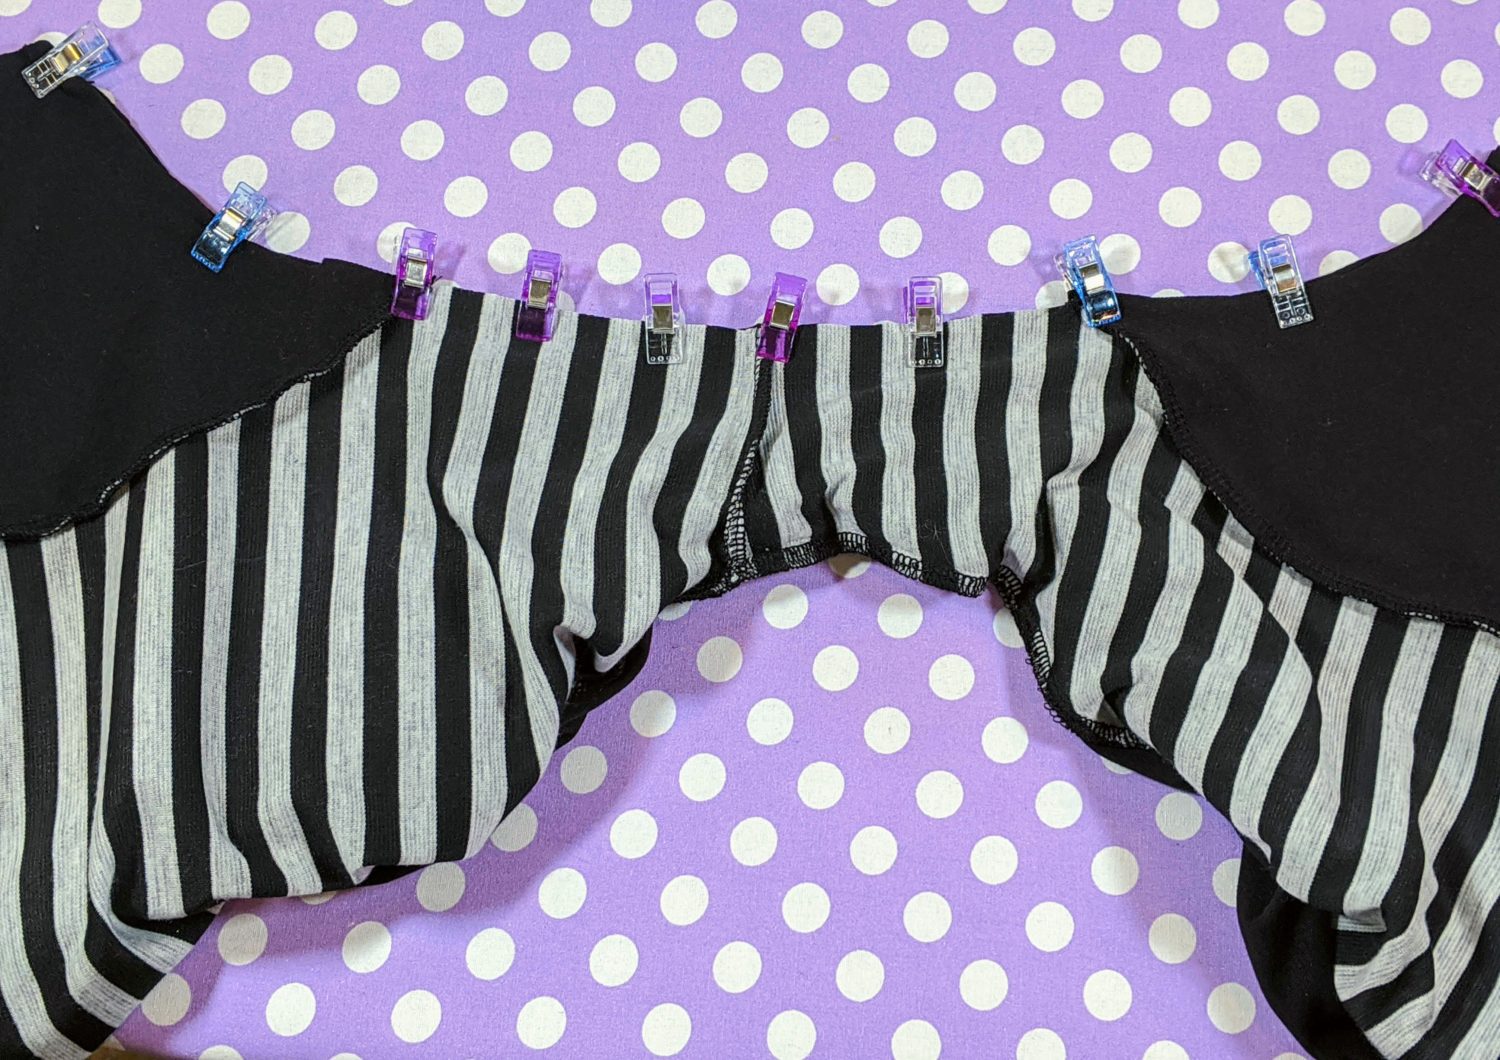
- I am making a sleeveless version, so I am going to use the burrito roll method to finish the arm openings. If you are adding sleeves, you will skip this part. If you need a burrito roll refresher, you can find a sewing school video for that HERE.
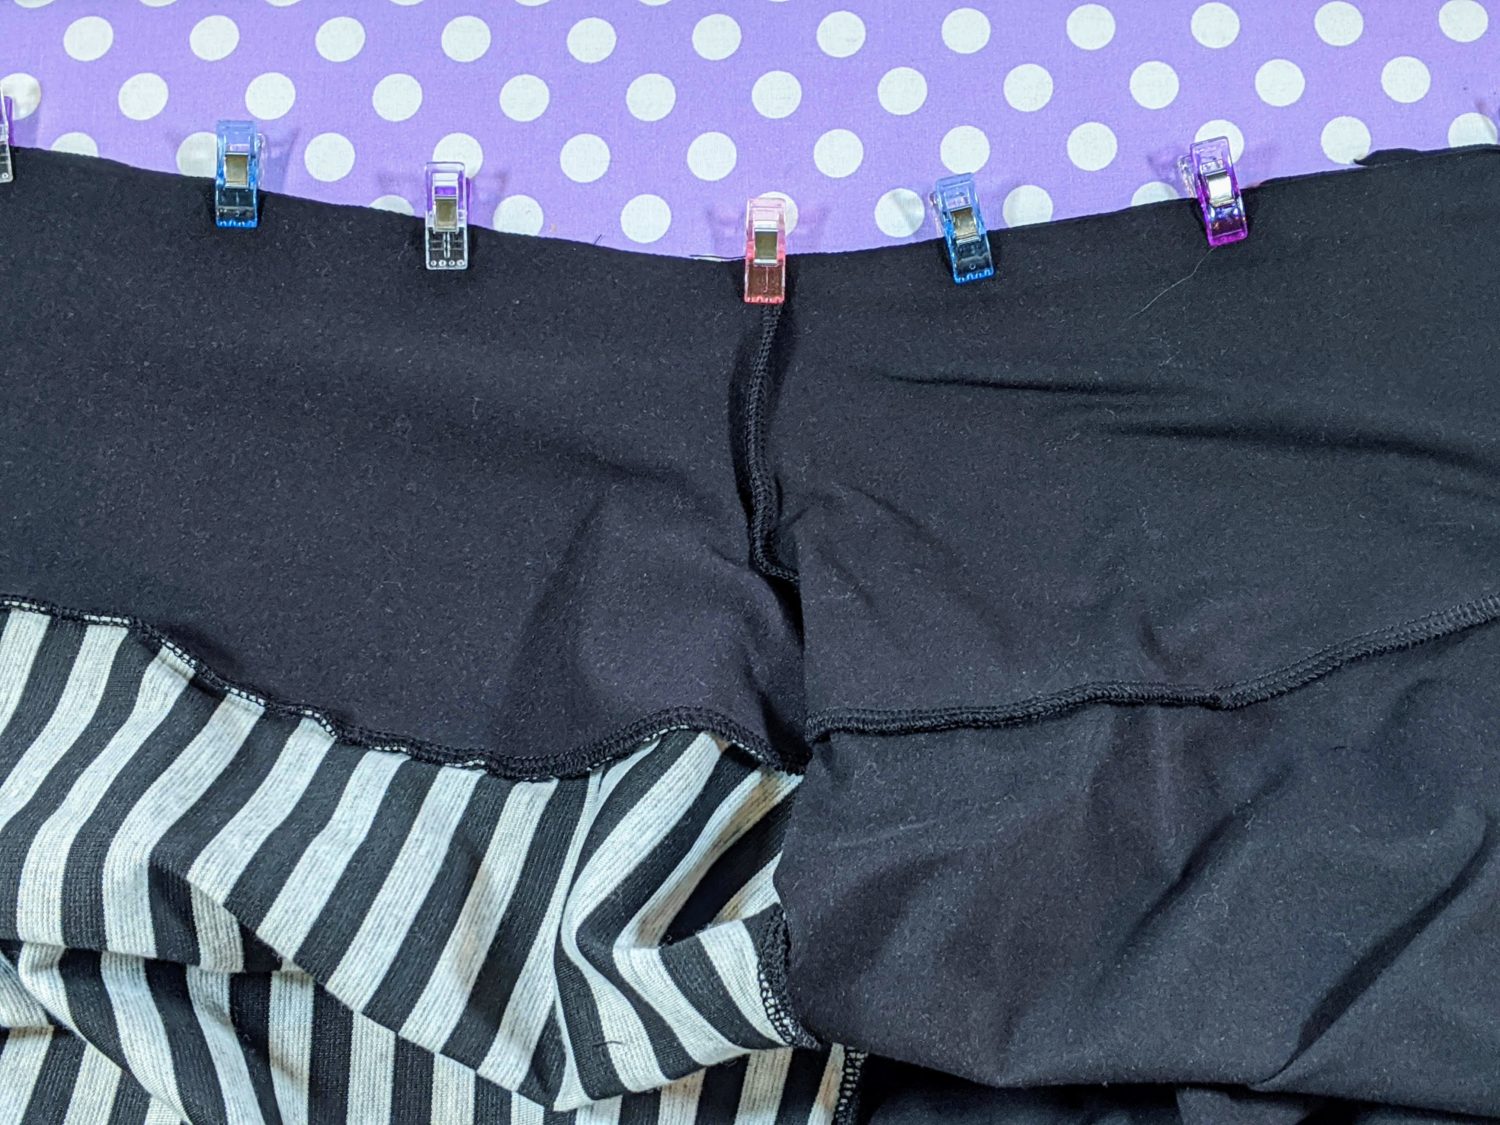
- To finish up the bodice, you will continue to follow the pattern instructions for sewing the underarm side seams. Your Laya top is done. Set it aside for now and we’ll continue onto the skirt.
Next up is Monica
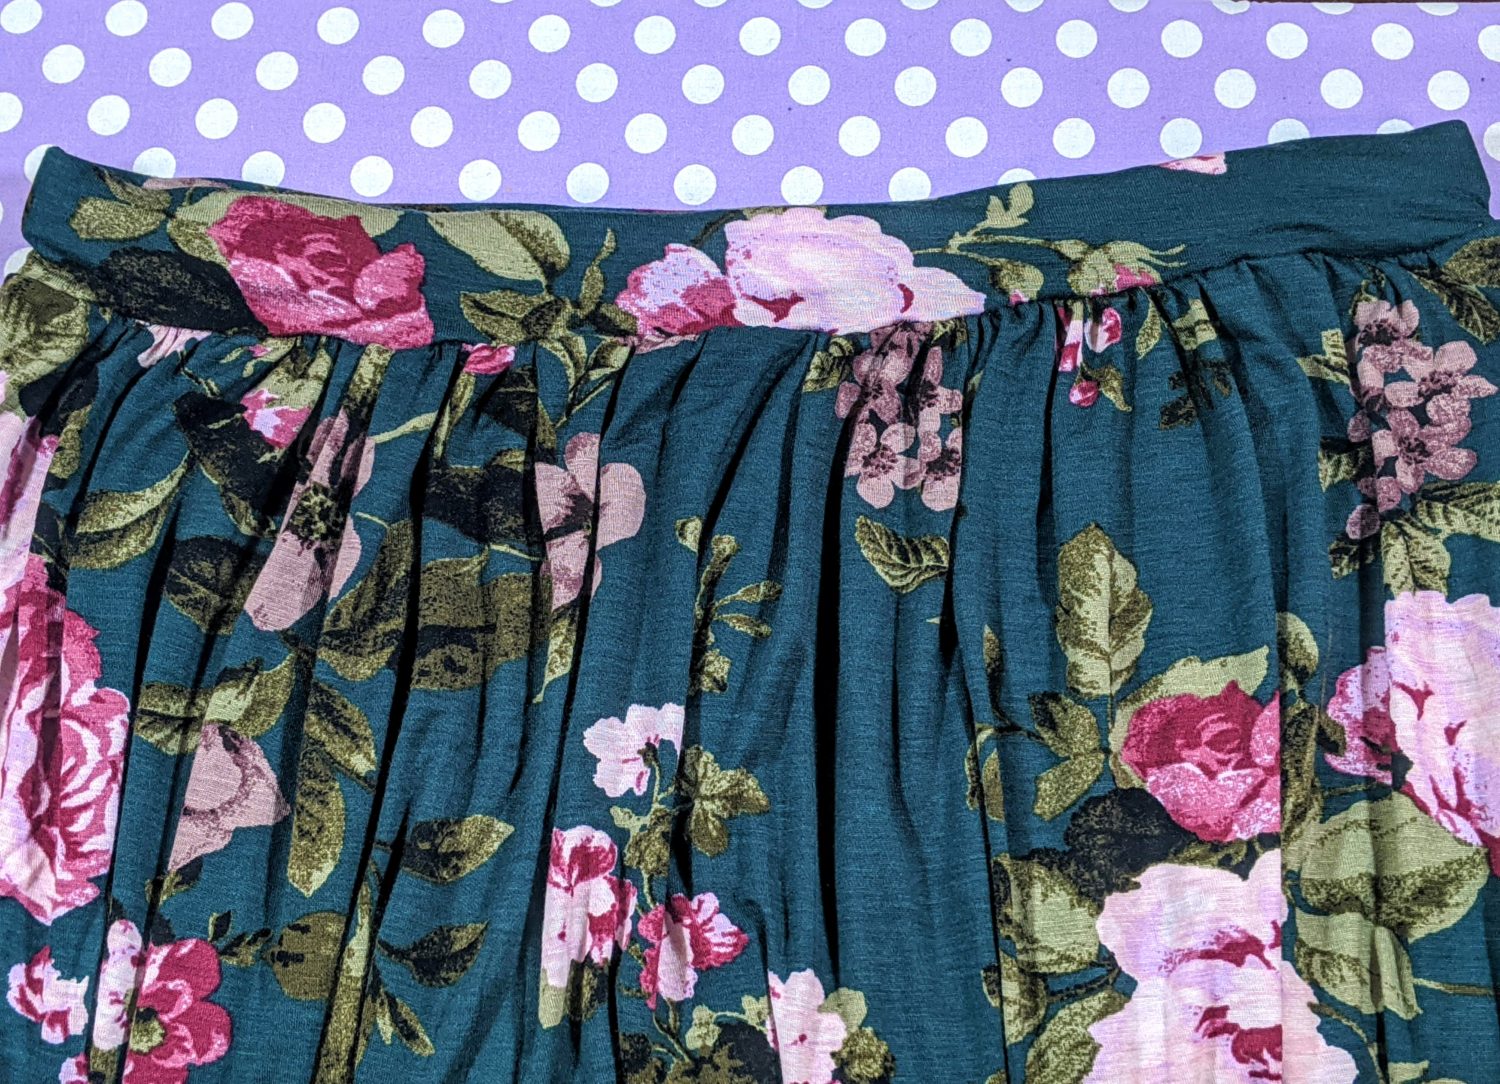
- Moving onto the Monica skirt. Monica has pleats, but I was really wanting a gathered skirt.
- Cut the skirt out using the original pattern pieces with no alterations. I also put pockets in mine, but that’s up to you, and I chose the contour waistband option.
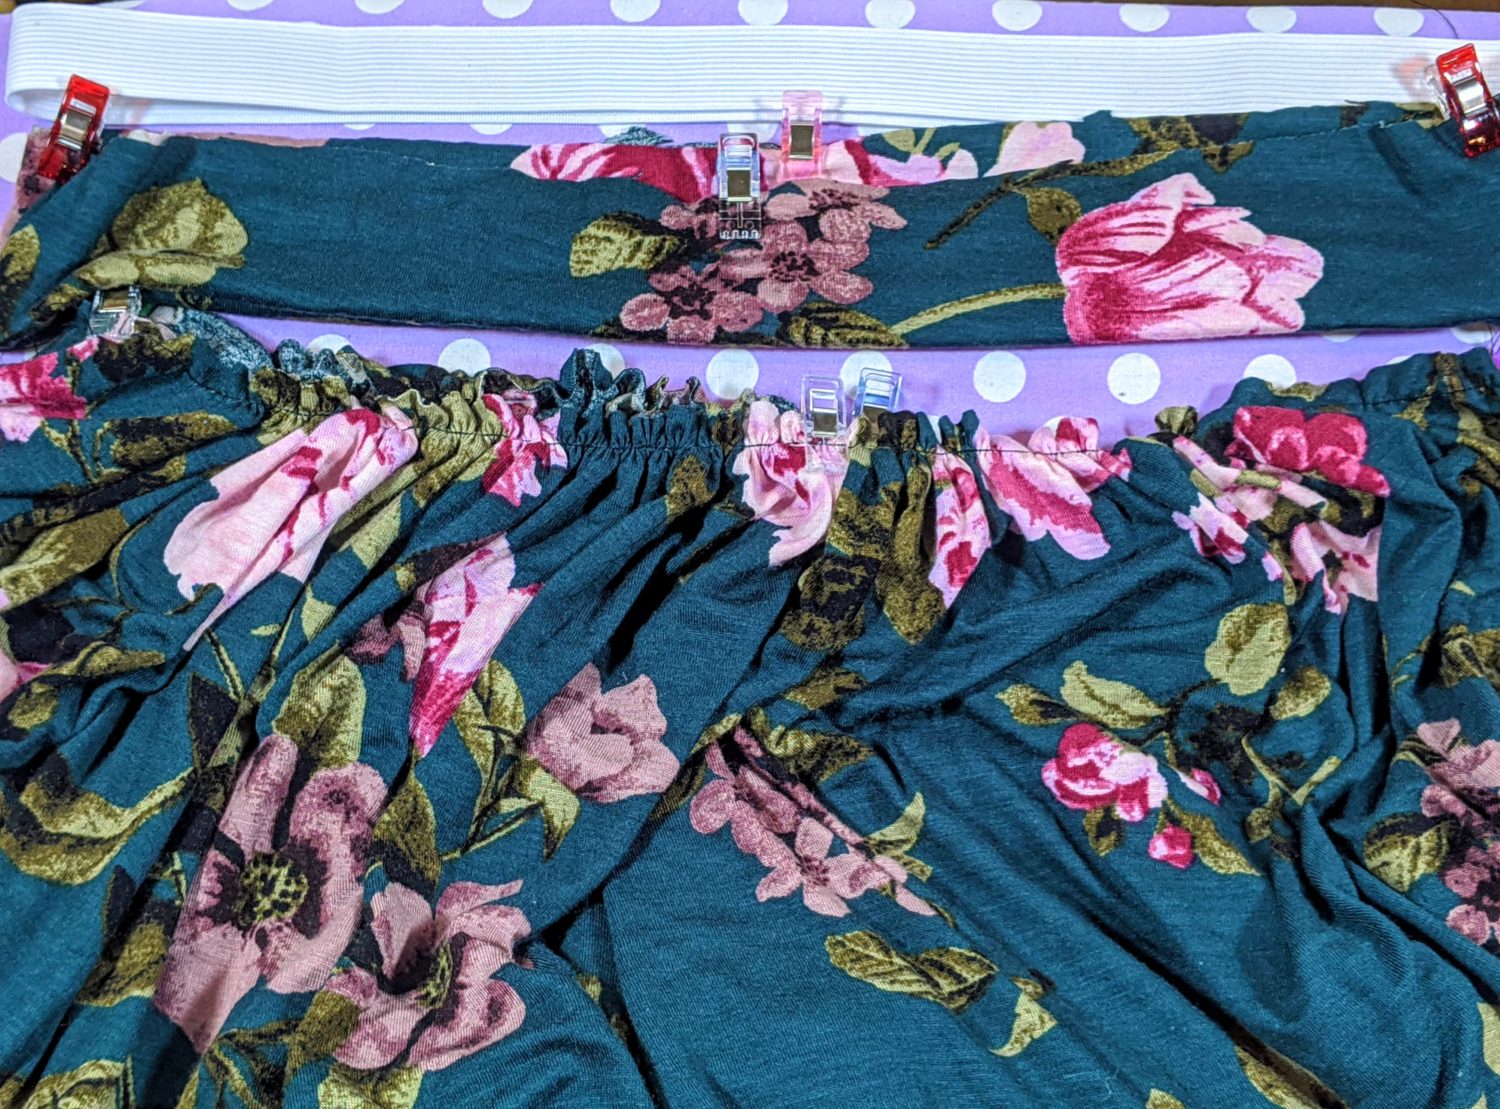
- The fabric I used is fairly light and I didn’t want all that weight from the skirt pulling down the bodice so I added 1” elastic into the waistband for more support.
- If you’re adding pockets, follow the pattern instructions for those. With or without pockets, continue the instructions in the pattern to create the main skirt piece and to construct the waistband.
- I am going to gather the top of the skirt instead of making the pleats. I’m using the longest stitch length and loosest tension on my sewing machine to sew a gathering stitch all the way around the top of the skirt.
- Pull the bobbin threads as needed until the size of the skirt matches up with the waistband.
- If you are wanting to add elastic into the band as I did, wrap the elastic around your natural waist and pull to a comfortable tightness. Cut, sew the short ends into a loop, and insert it into your waistband.
- Slip your waistband over your gathered skirt, lining up the side seams. Attach using a stretch stitch or serger. Now you have a gathered Monica skirt.
Let’s put it all together!
- Quarter and mark both the top and skirt.
- Turn the bodice inside out and slip it over the skirt with right sides together making sure to line up your marked quarters.
- Sew all the way around the waistband and bottom of the bodice.
- Hem your dress to your desired length and you’re done!


As always, we’re here to help if you need it! Join us HERE and on Facebook, Instagram, Twitter, Youtube, and Pinterest. Be sure to check all our fun extras on the blog. We’re everywhere you are.
Leave a Reply