
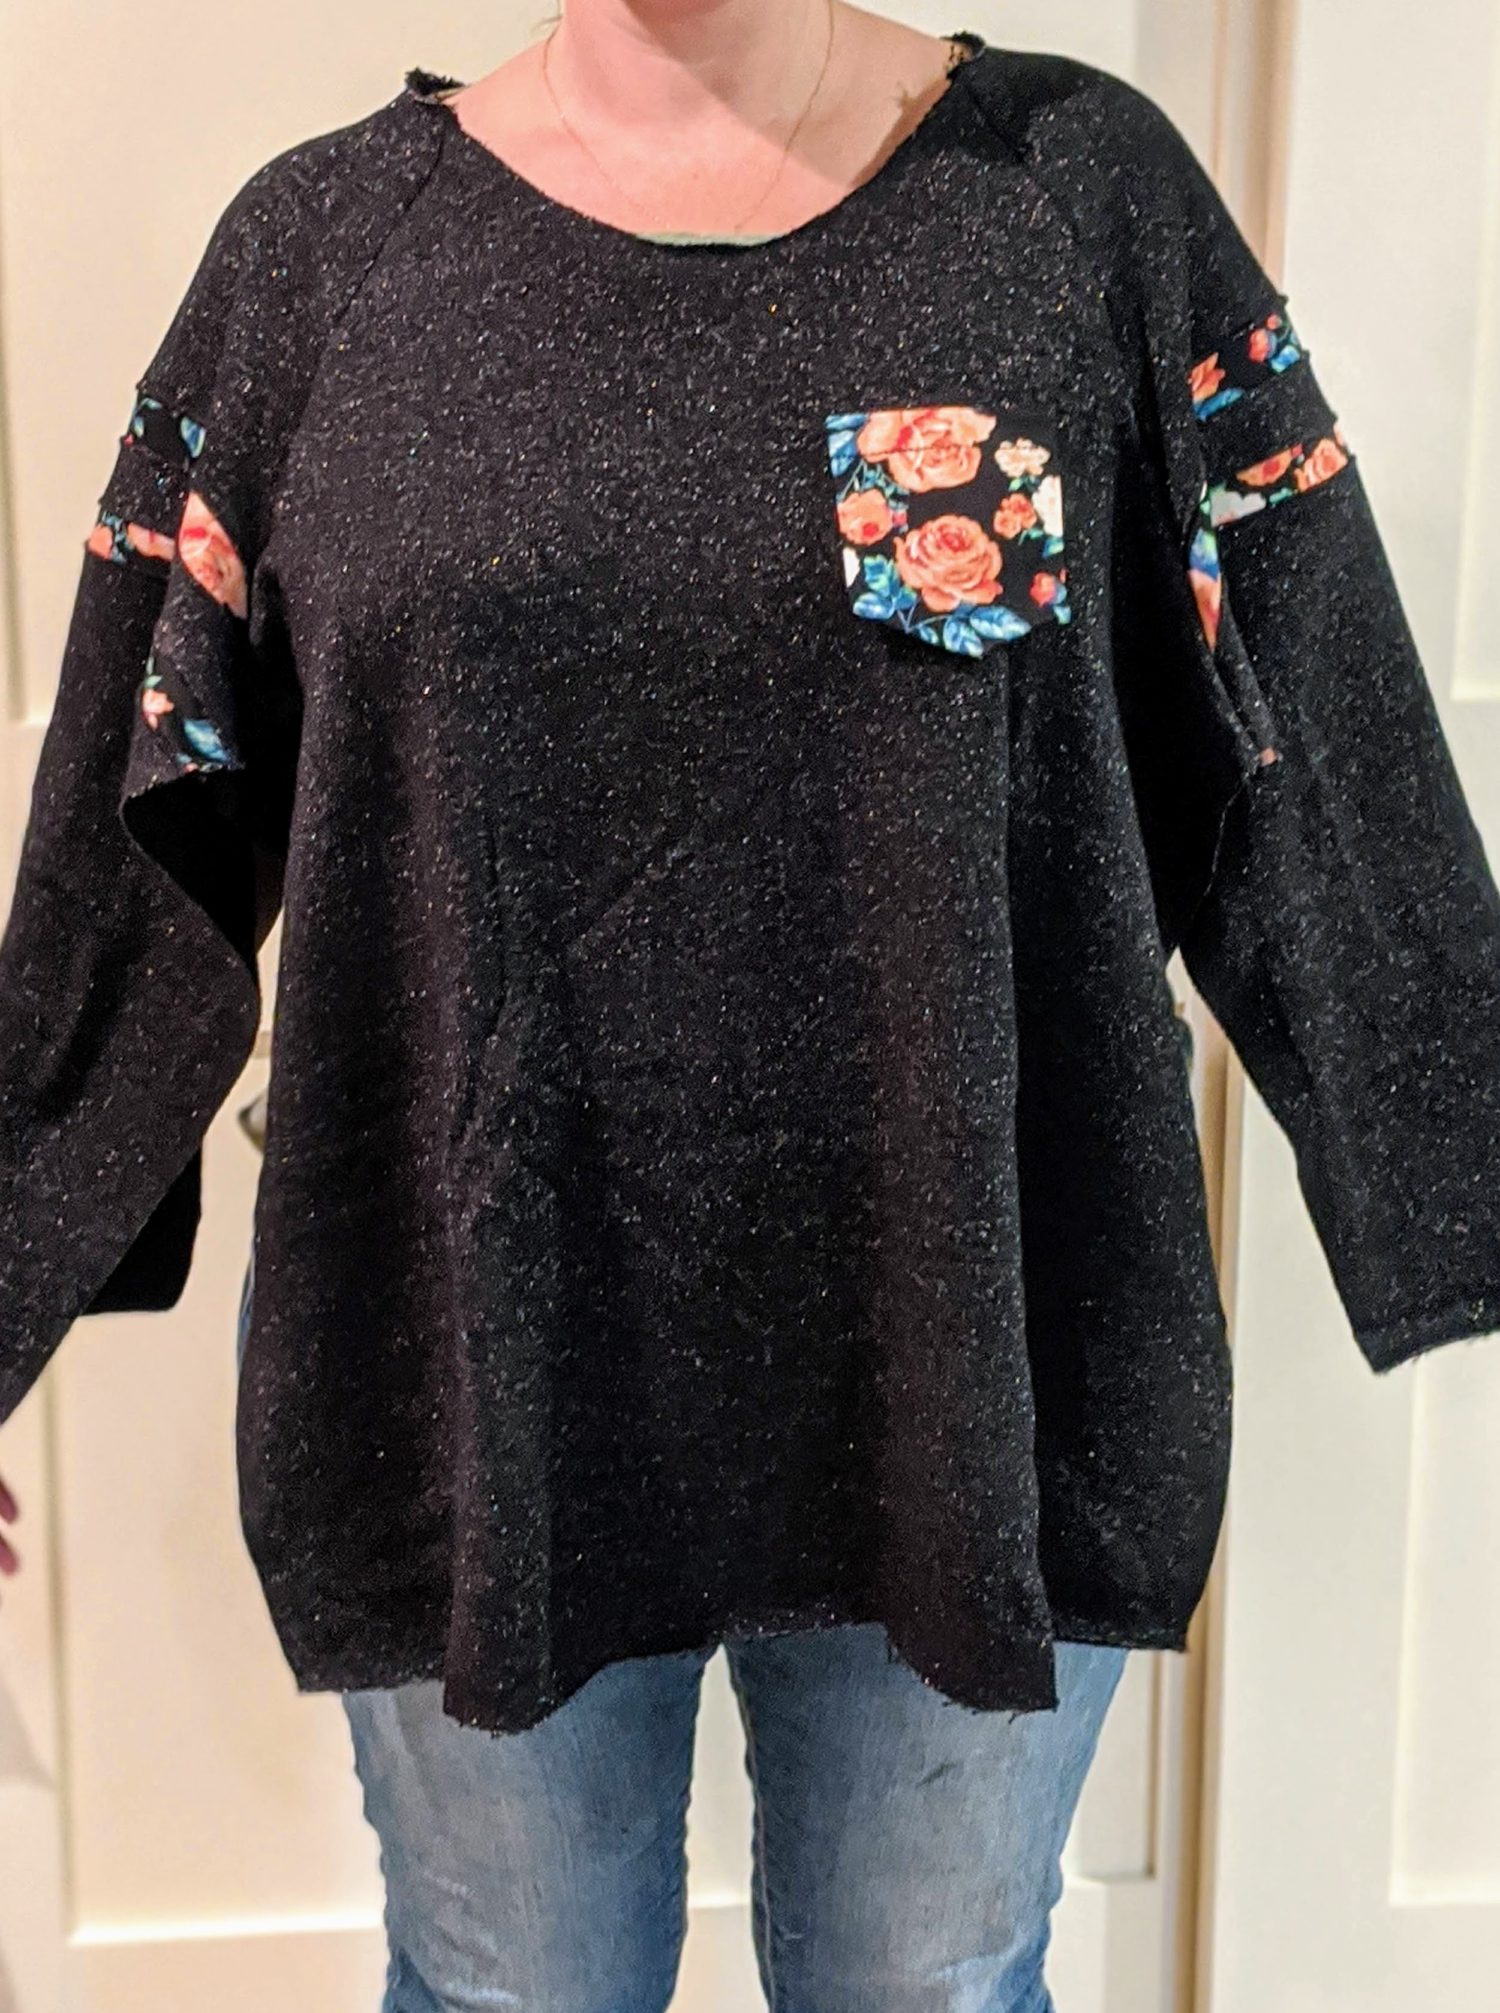
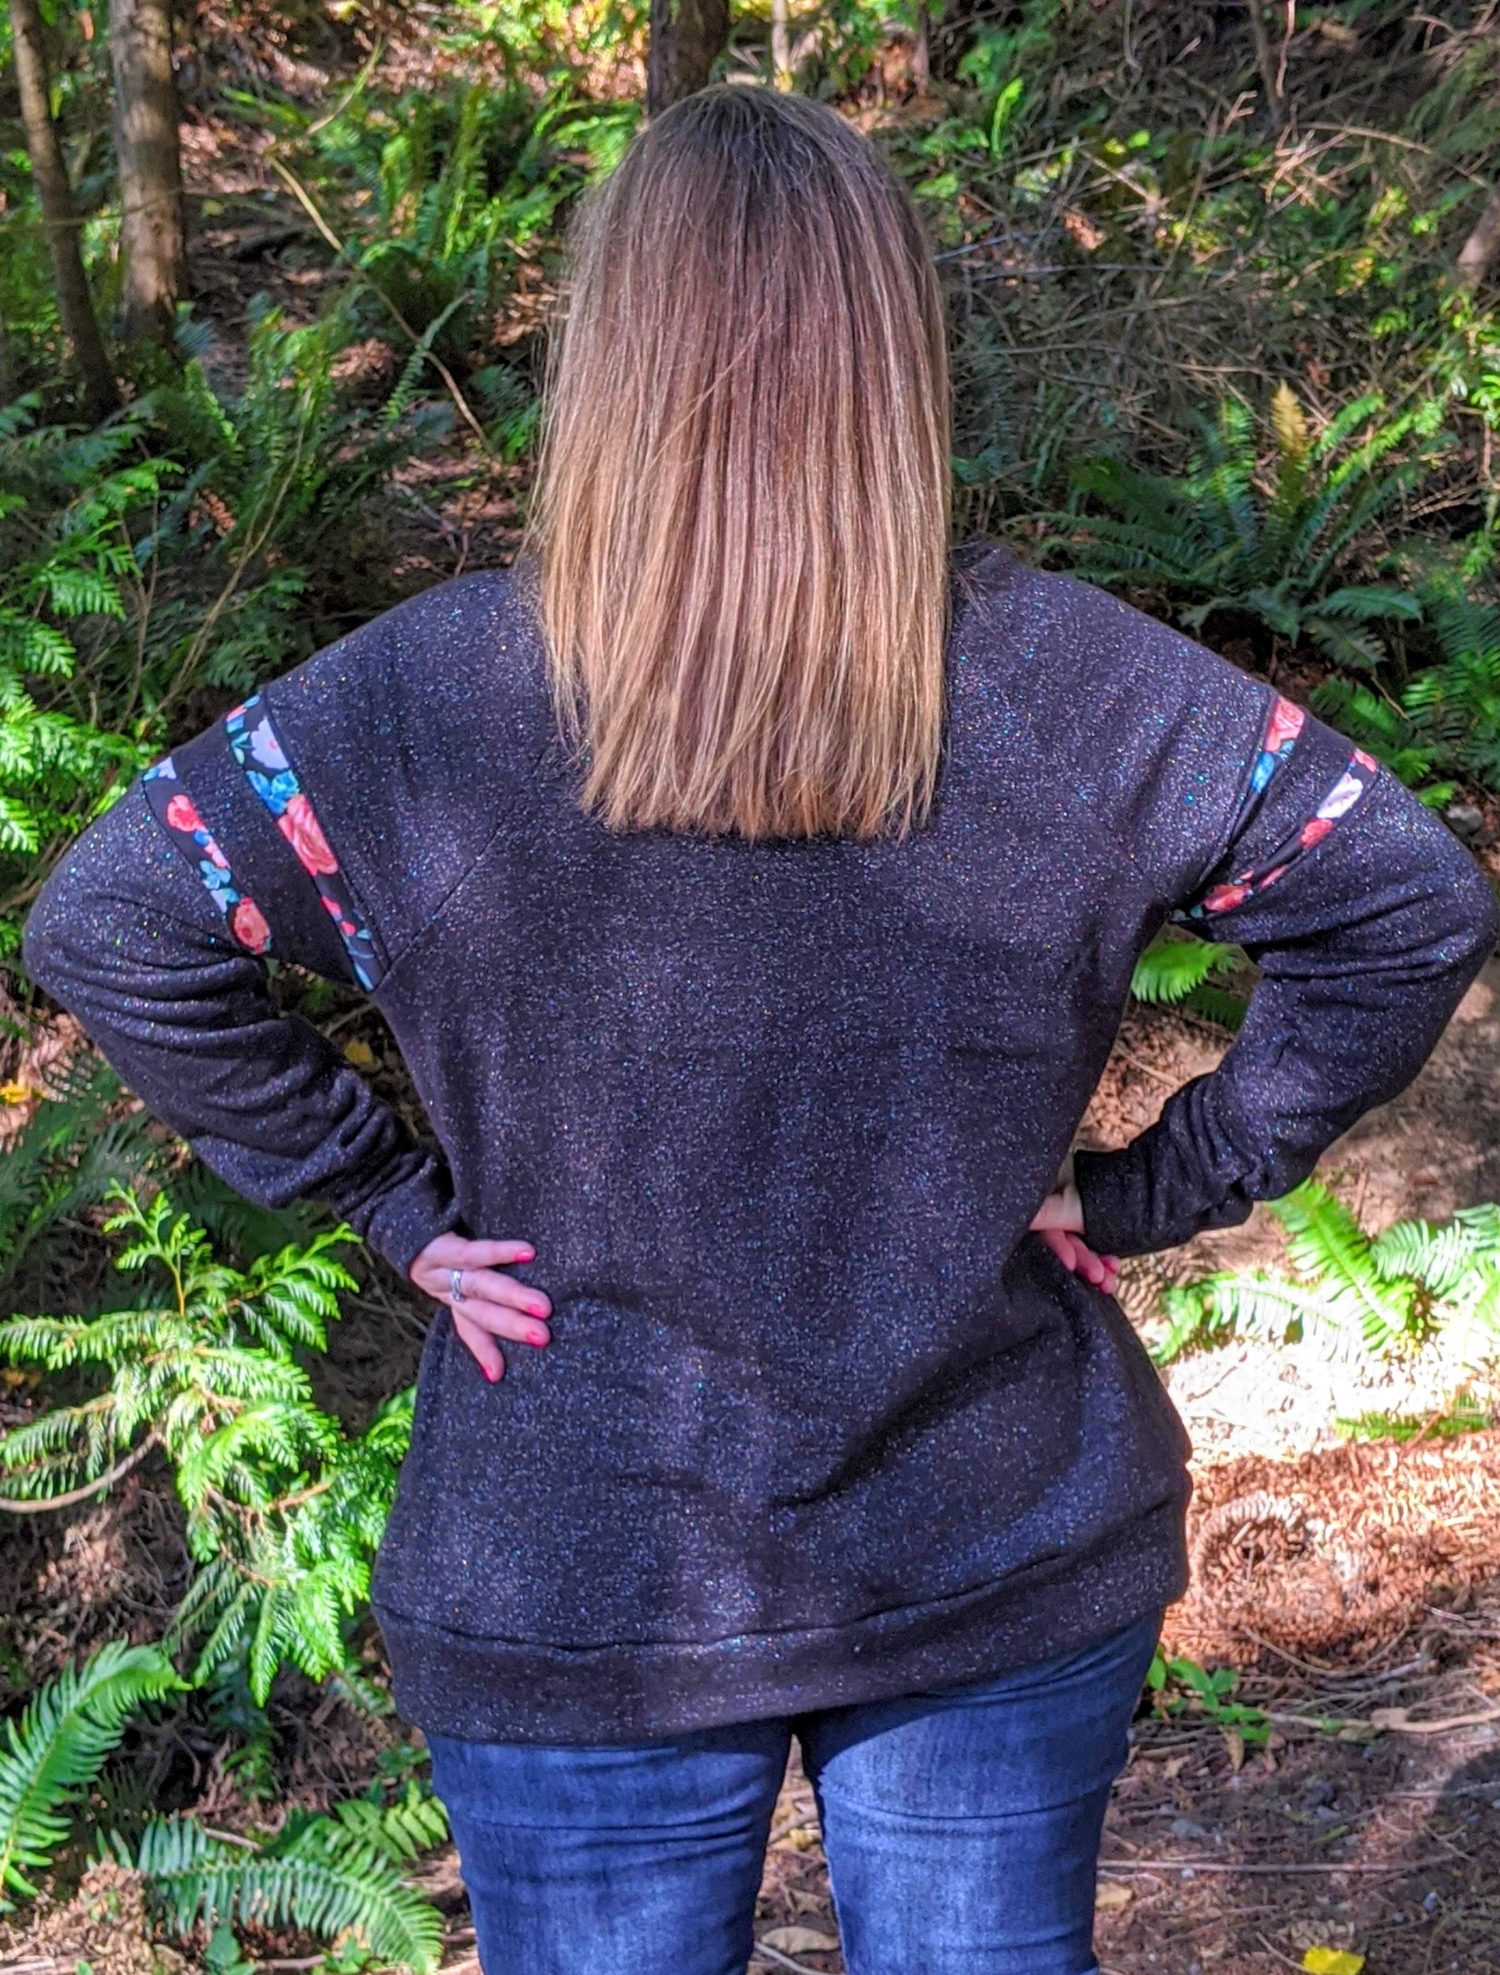
I am obsessed with arm stripes on my shirts. You can put them anywhere you want on the sleeves and it gives a fun pop of color! Follow along as I show you how to create this look on your own!
Prep your Pattern:
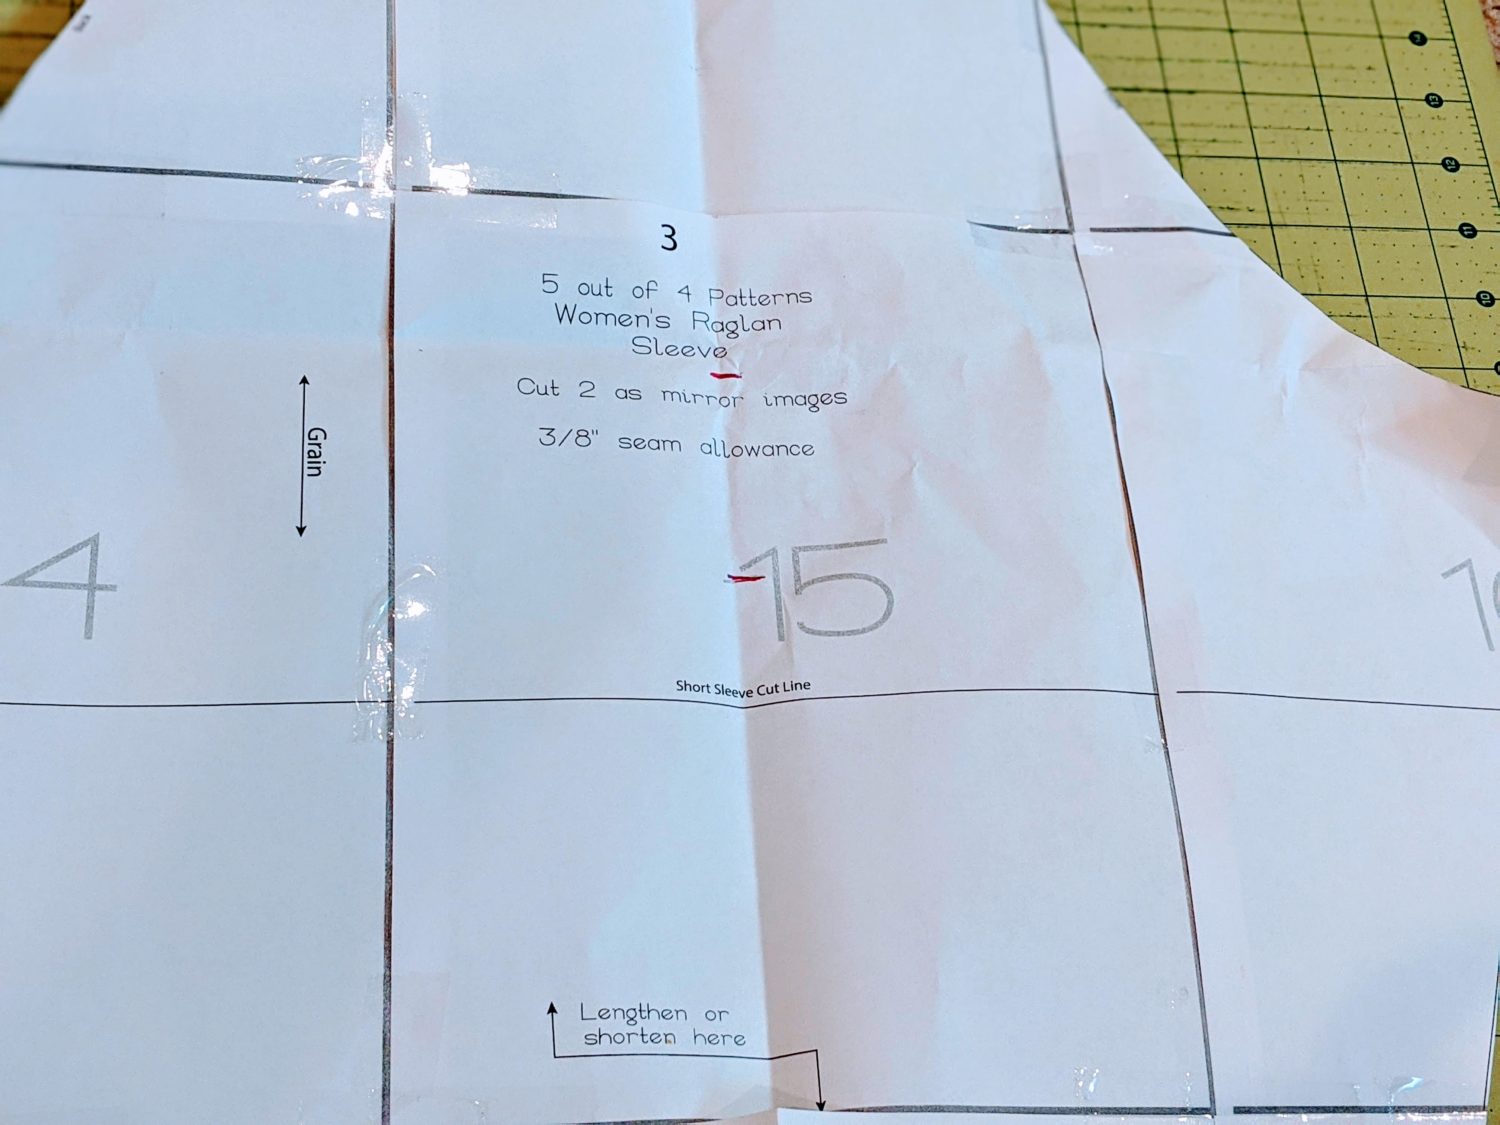
For this hack, I used the Nancy Raglan pattern. You can, however, use any pattern you like that has a long-sleeve option. Get your pattern printed and assembled. Finally, set everything aside except your sleeve piece. Let’s begin!
Altering your Sleeves:
- Starting with your armpiece, hold it up to your arm to where it will sit when finished, tucking it under your armpits for placement
- Mark on your pattern piece approximately where you want your stripes to be (I put mine on my bicep area, but you can put them on your forearm or mid-arm)
- Based on your approximate markings, decide how wide you want your stripes to be when finished and how far apart you’d like them (I decided I want mine to be 1” wide when sewn and 1 ½” apart)
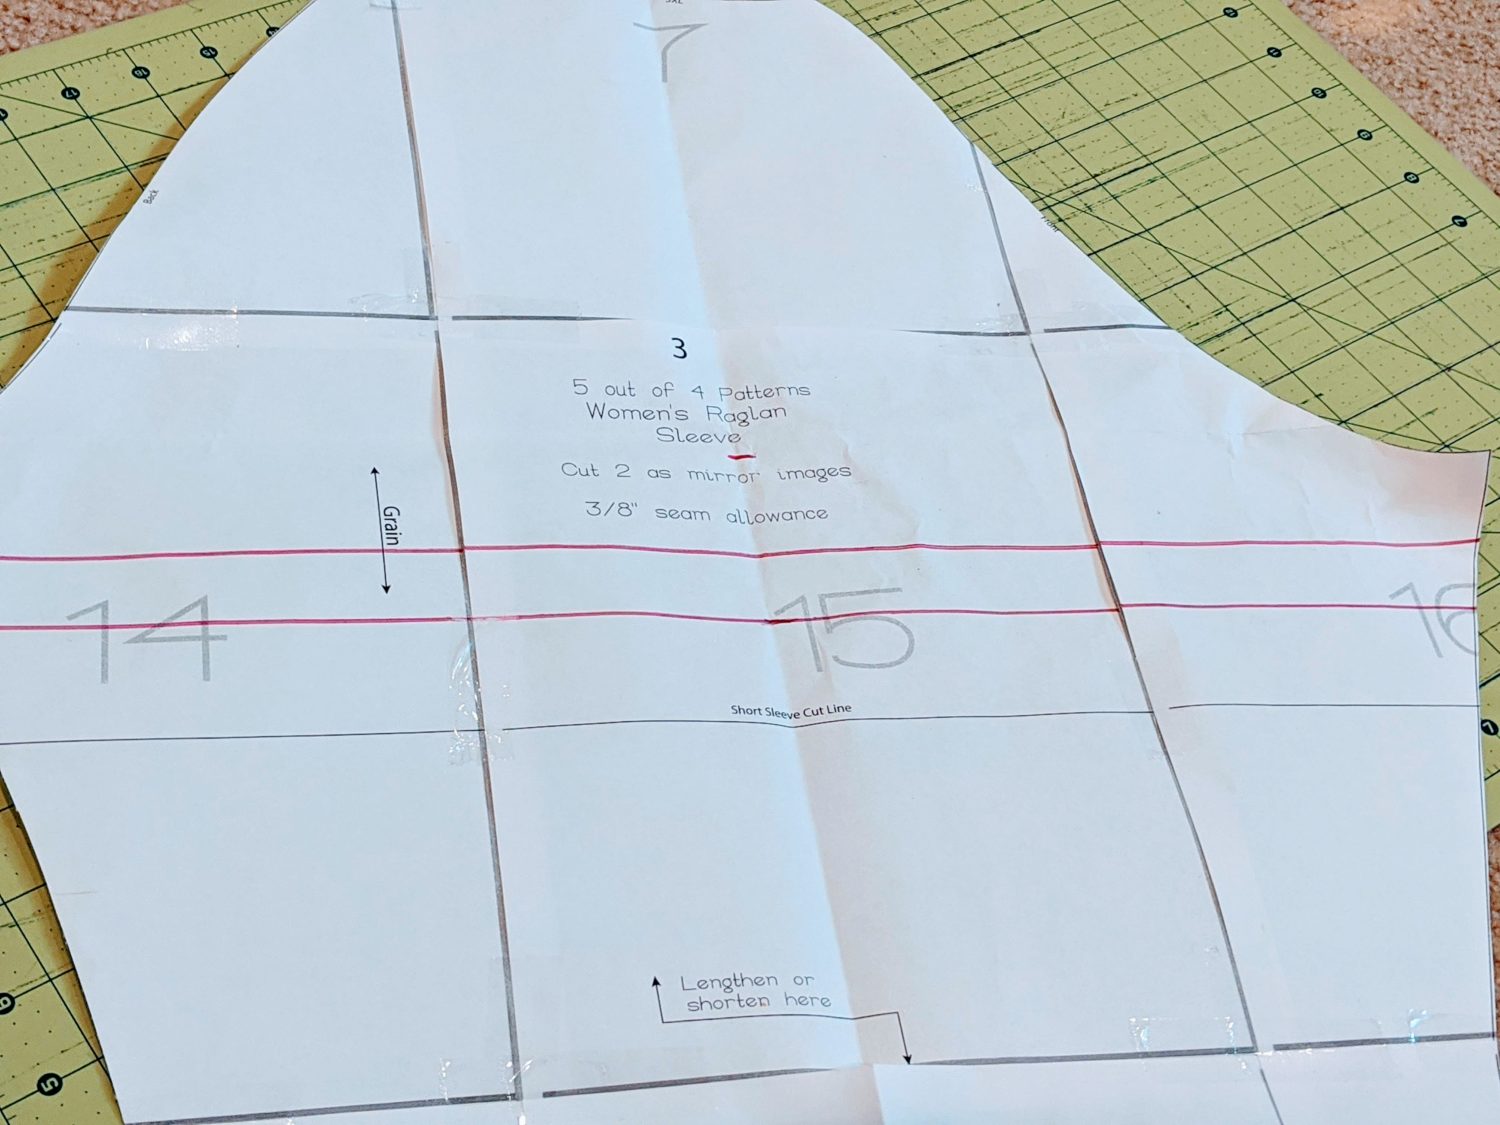
- At the bottom marked line, draw a line all the way across
- Measure up 1” and draw a parallel line (This will be your bottom stripe)
Making all your stripes!
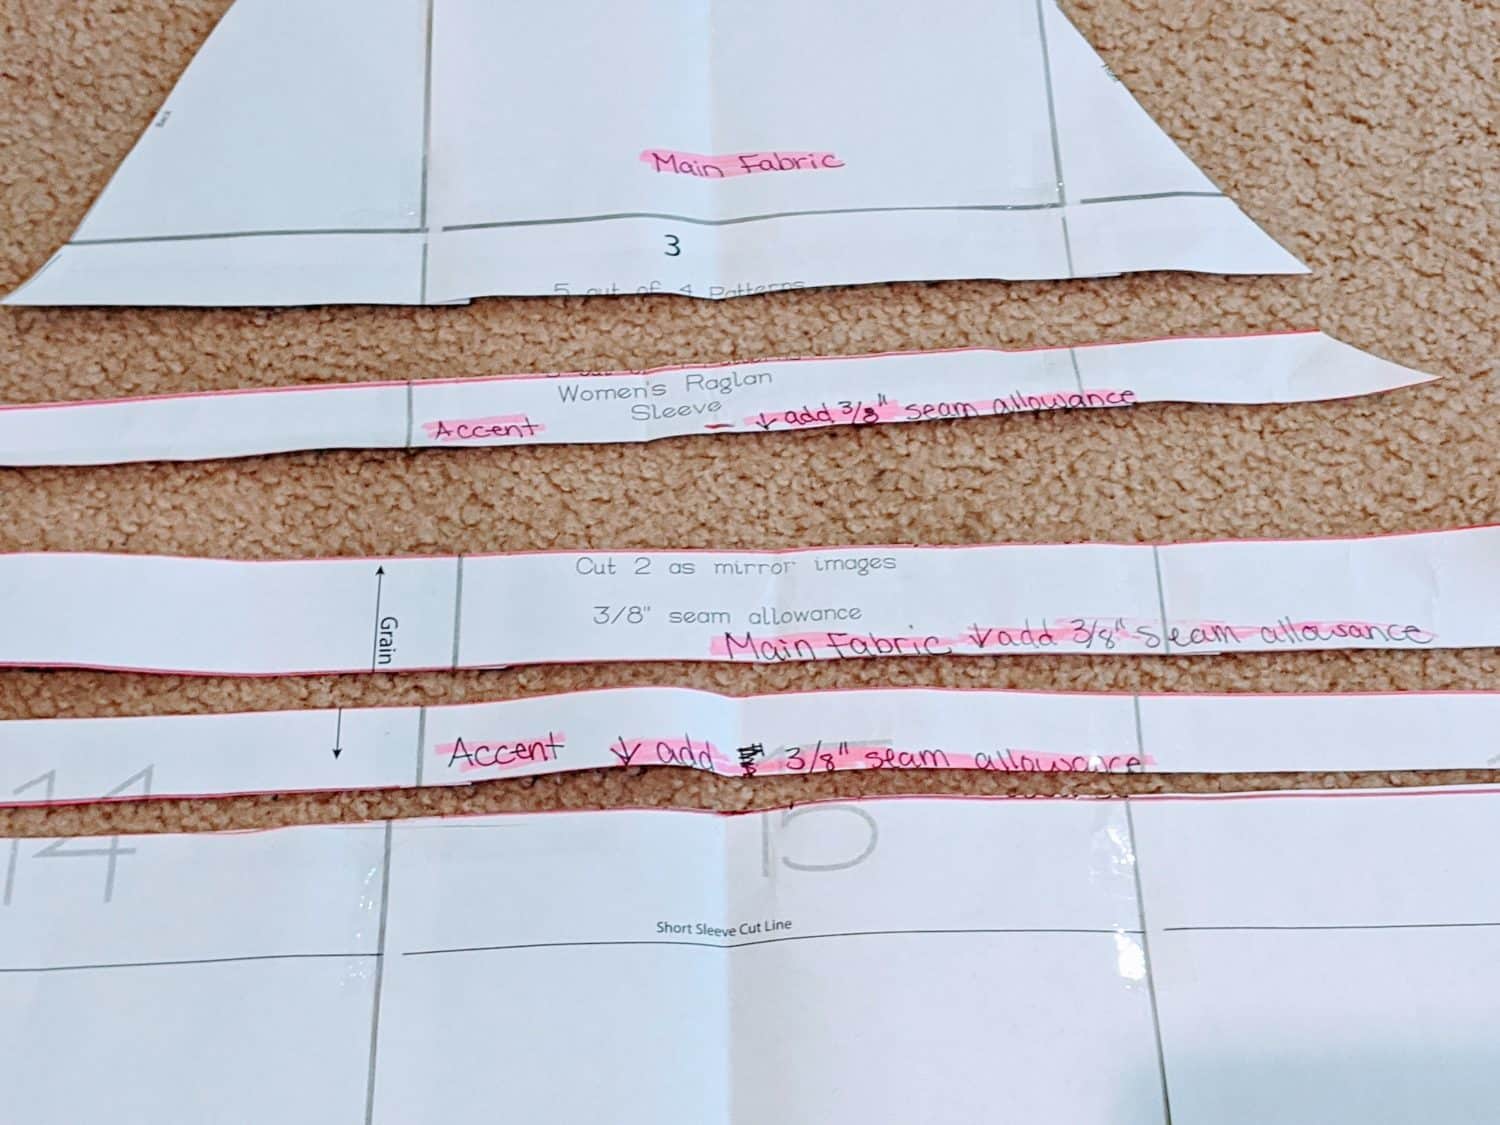
- From the bottom of the first stripe, measure up 1 ½”, then mark and draw a line across (This will be your main fabric in between the stripes)
- Measure up another 1” and draw a line across (This will be your top stripe)
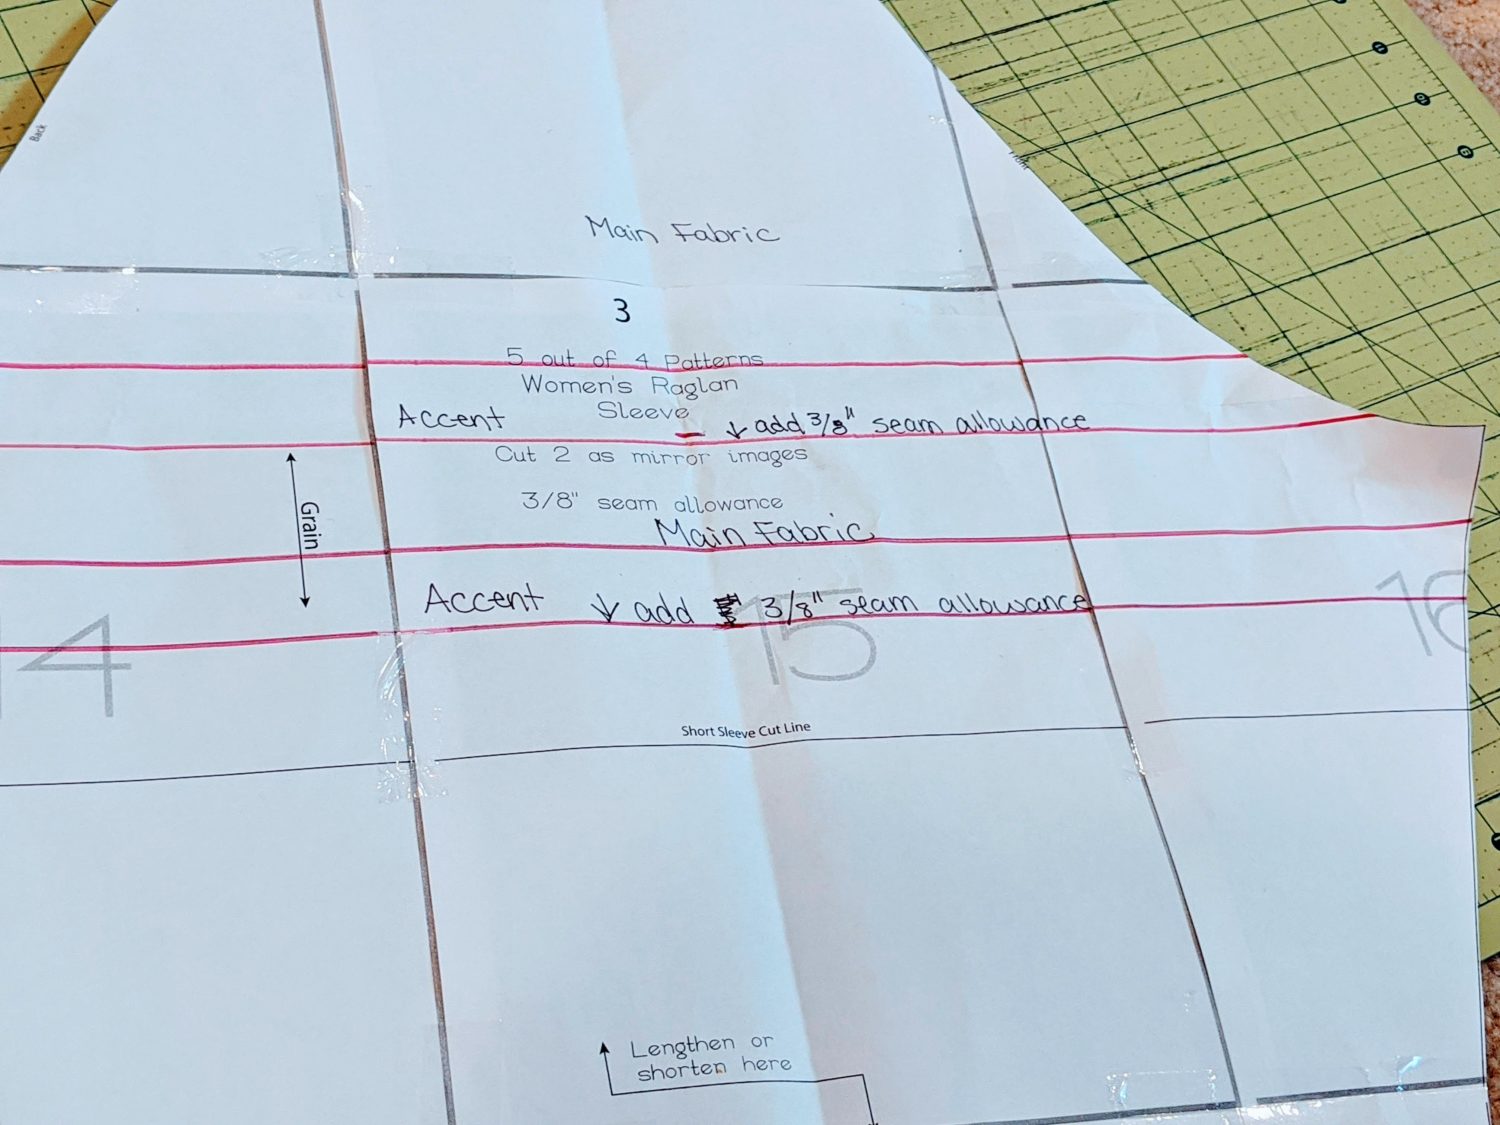
- At the bottom of each stripe, you will need to add in your seam allowance. Be sure to mark and label where that should be and how much to add. Each of my pieces has a ⅜” seam allowance.
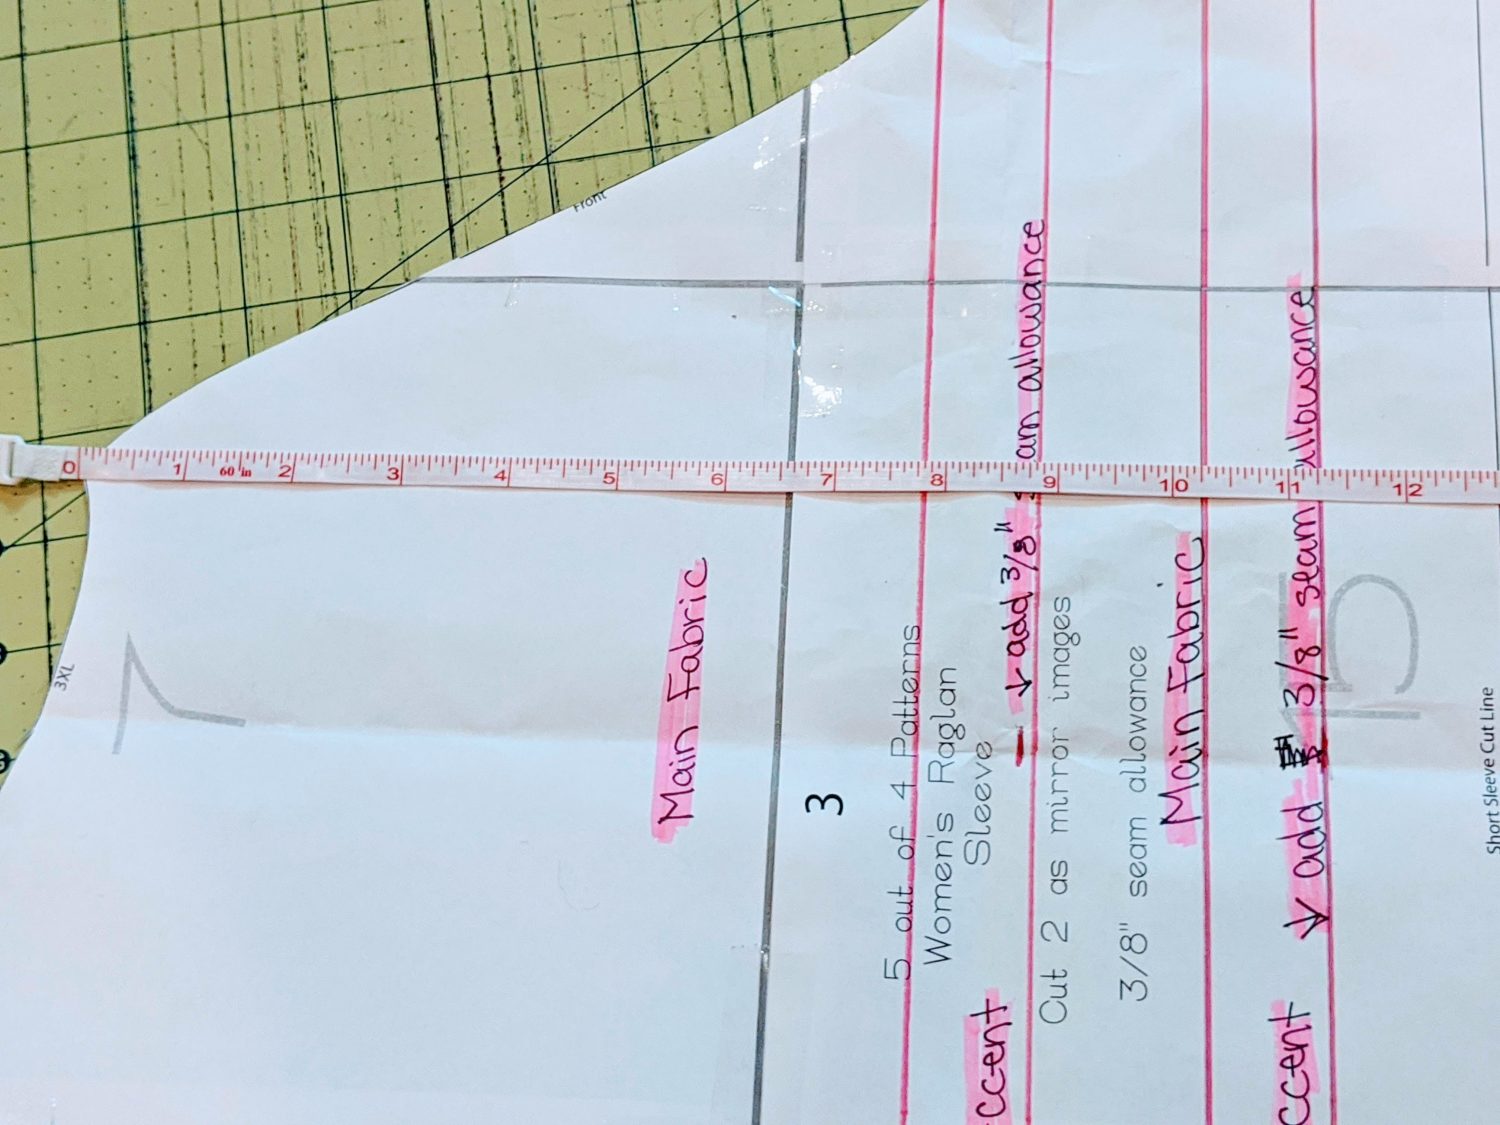
- Write on each pattern piece the order they go in and what fabric they will cut out of so you don’t get confused when cutting the pieces out **For reference, I made a size 3XL. For the top stripe, I measured from the point on the front part of the sleeve 7 ¾” for the first stripe line. The second stripe top line was at 10 ¼” down***
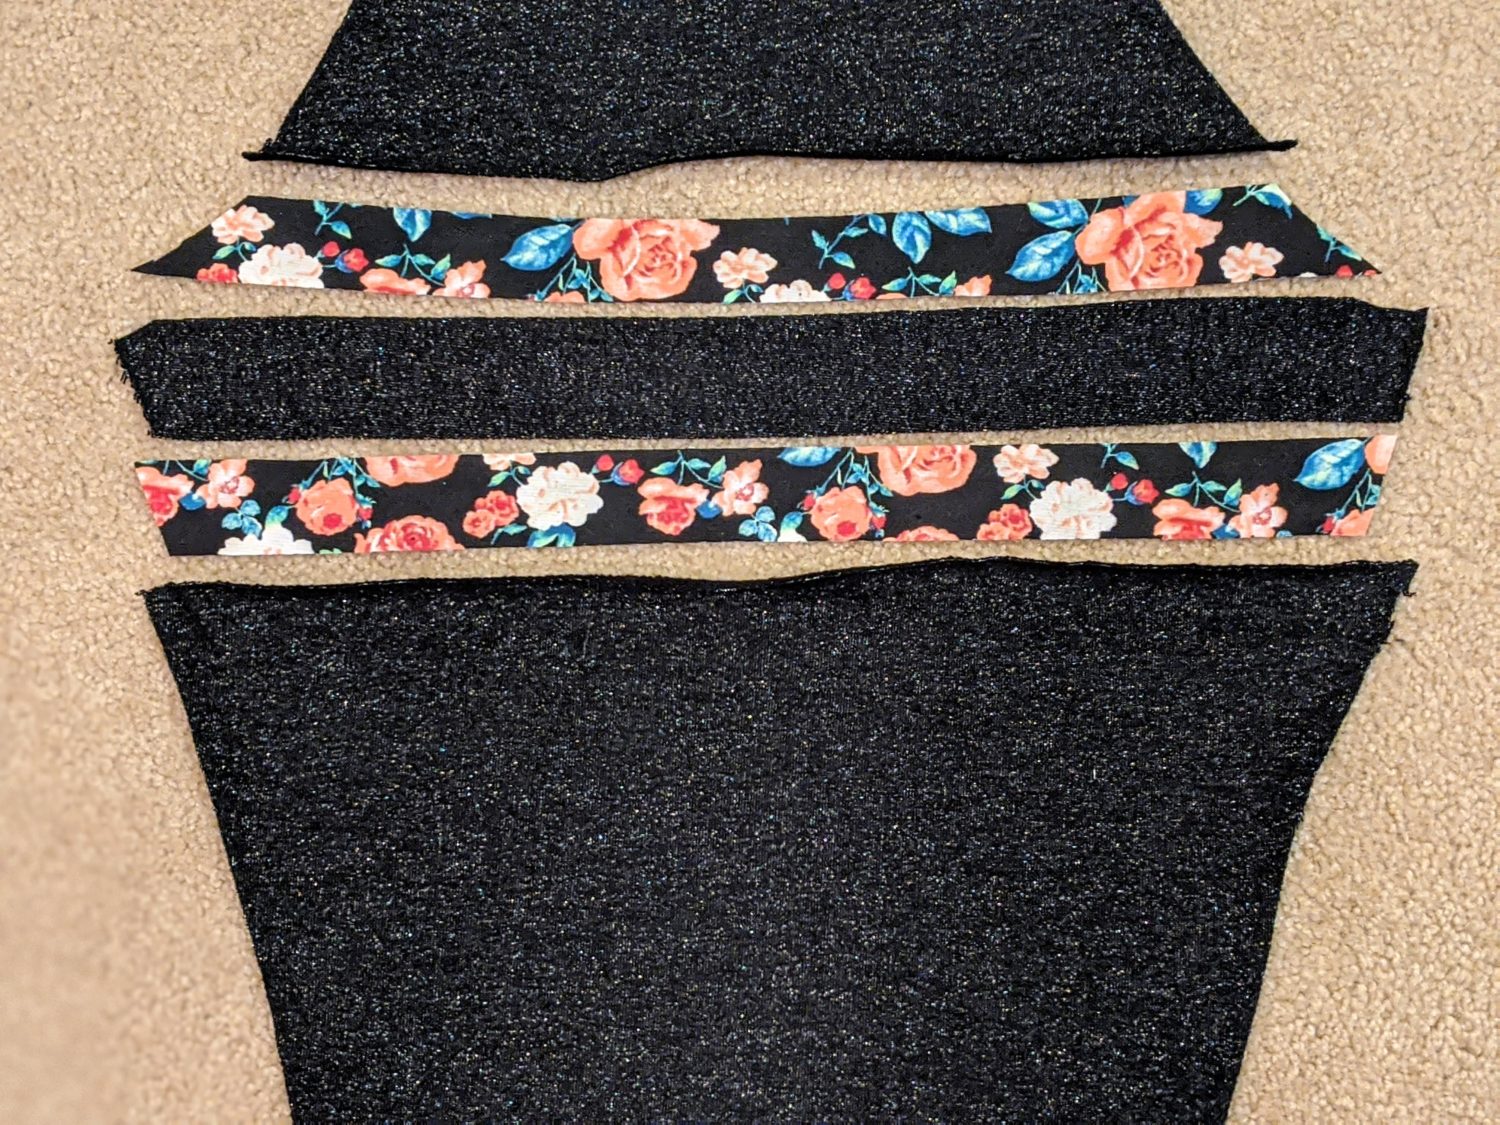
- Cut all the pieces of the pattern piece apart and lay them out in order
- Cut your main and accent fabric pieces out for each sleeve. REMEMBER TO CUT YOUR SEAM ALLOWANCE AND CUT ALL THE SLEEVE PIECES AS MIRROR IMAGES
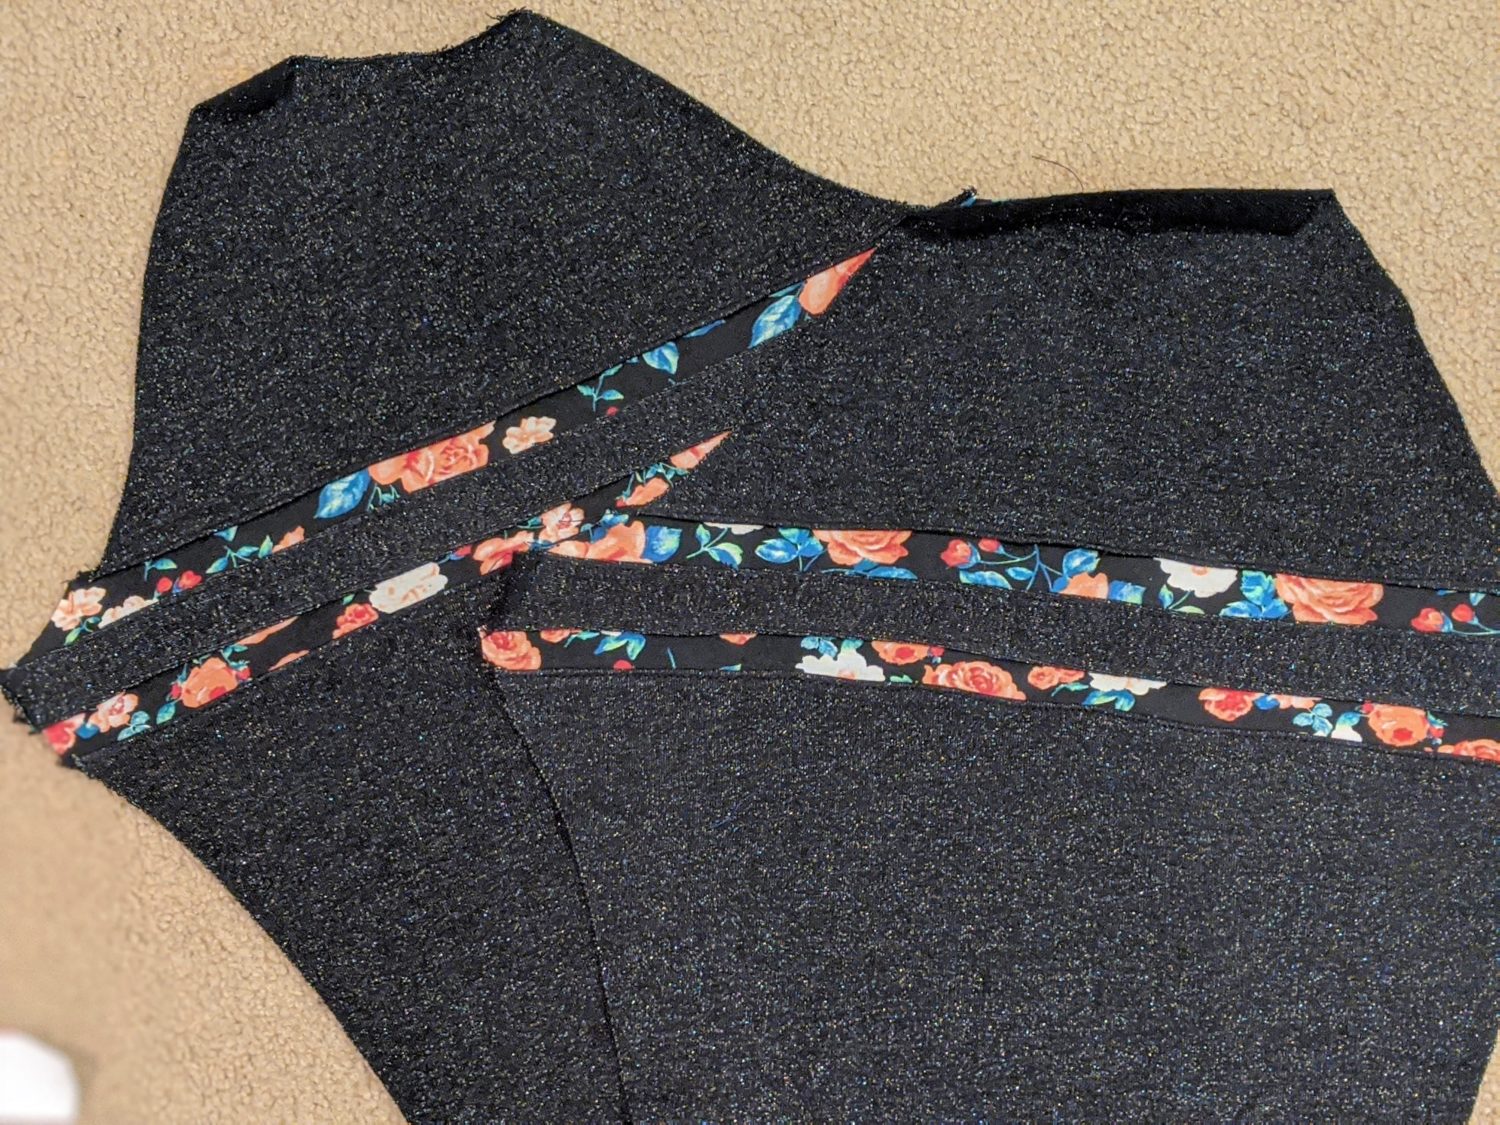
Assembling the Sleeves
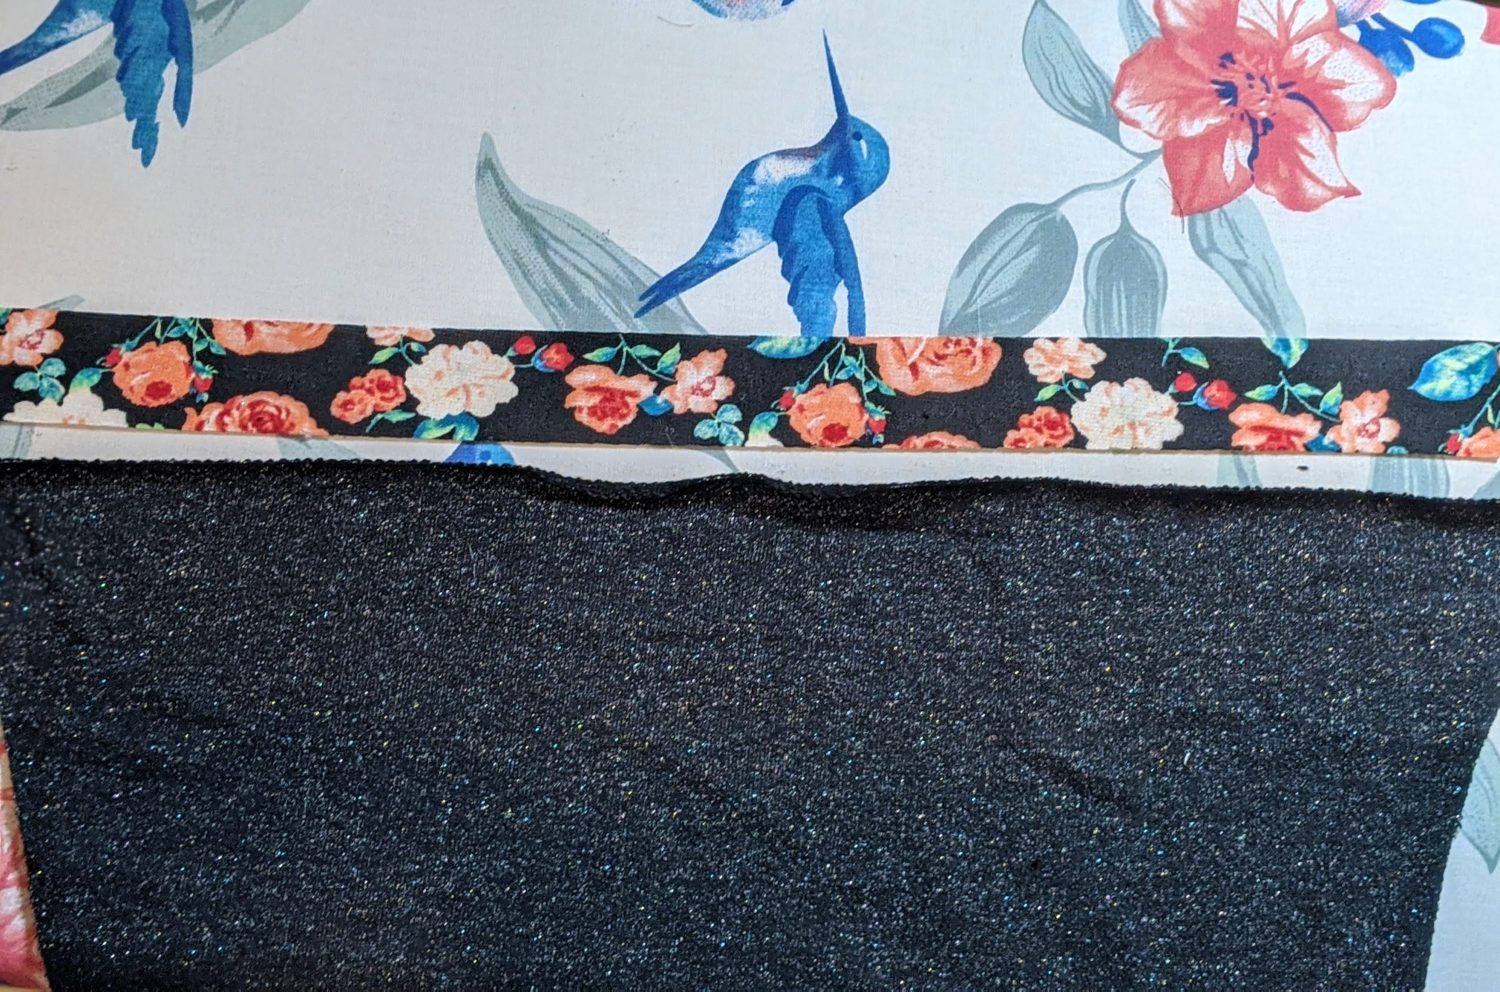
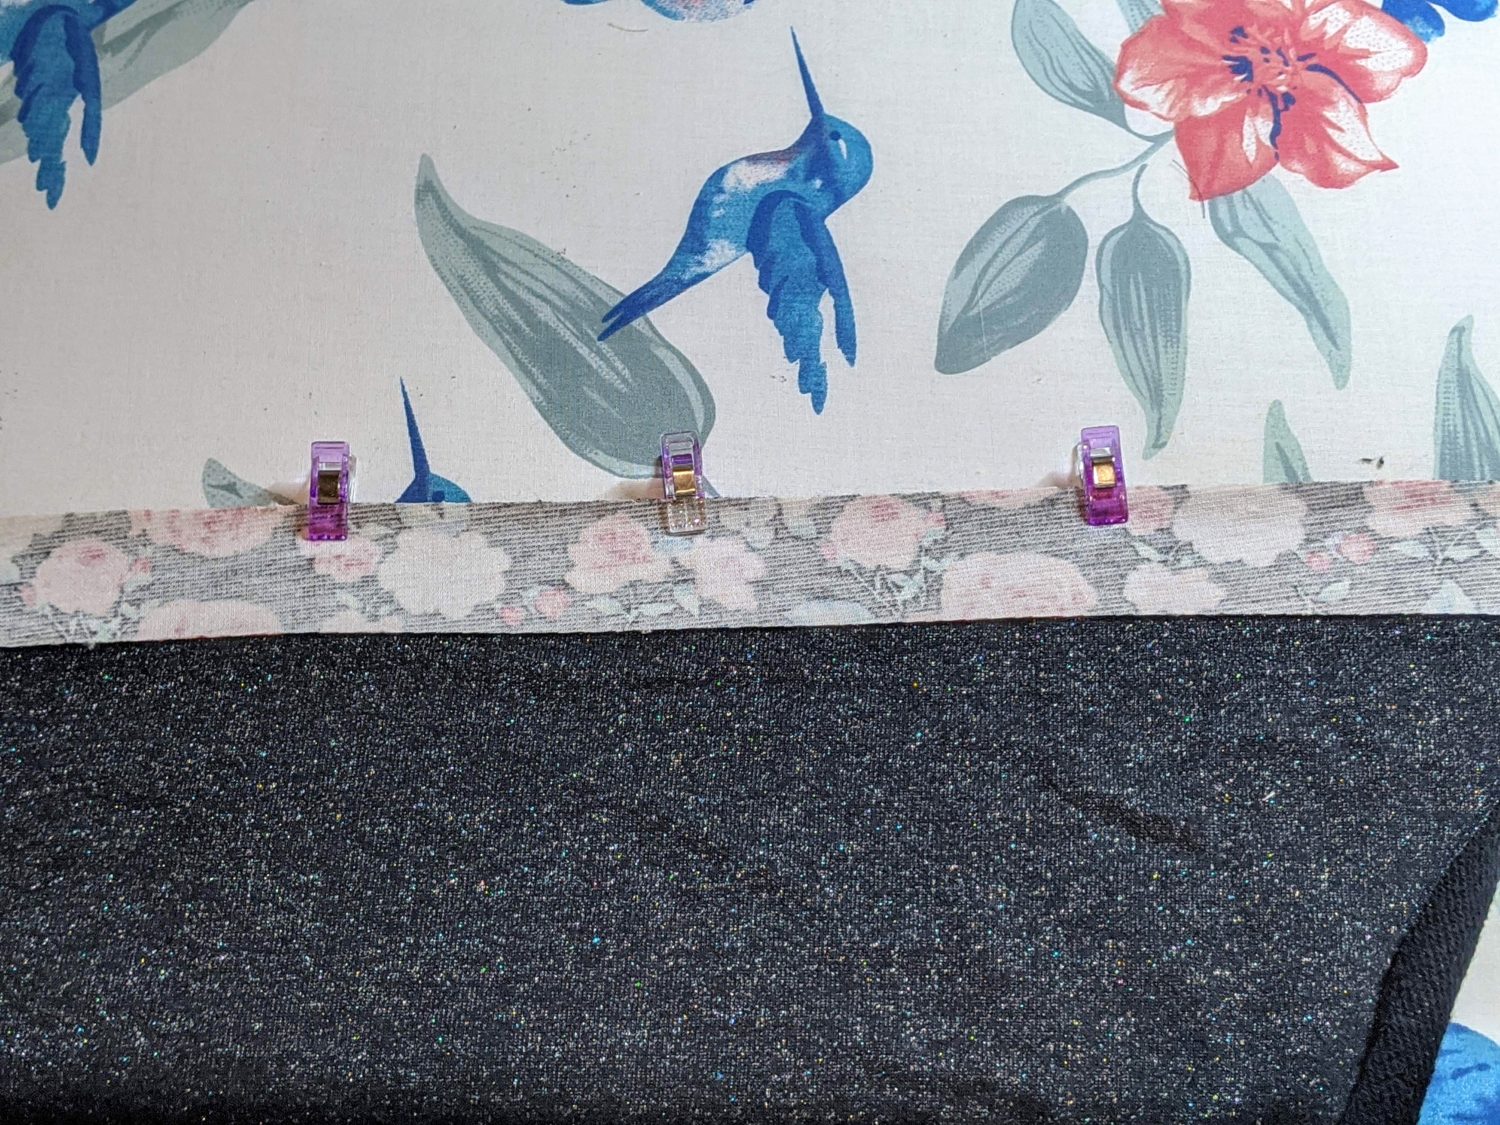
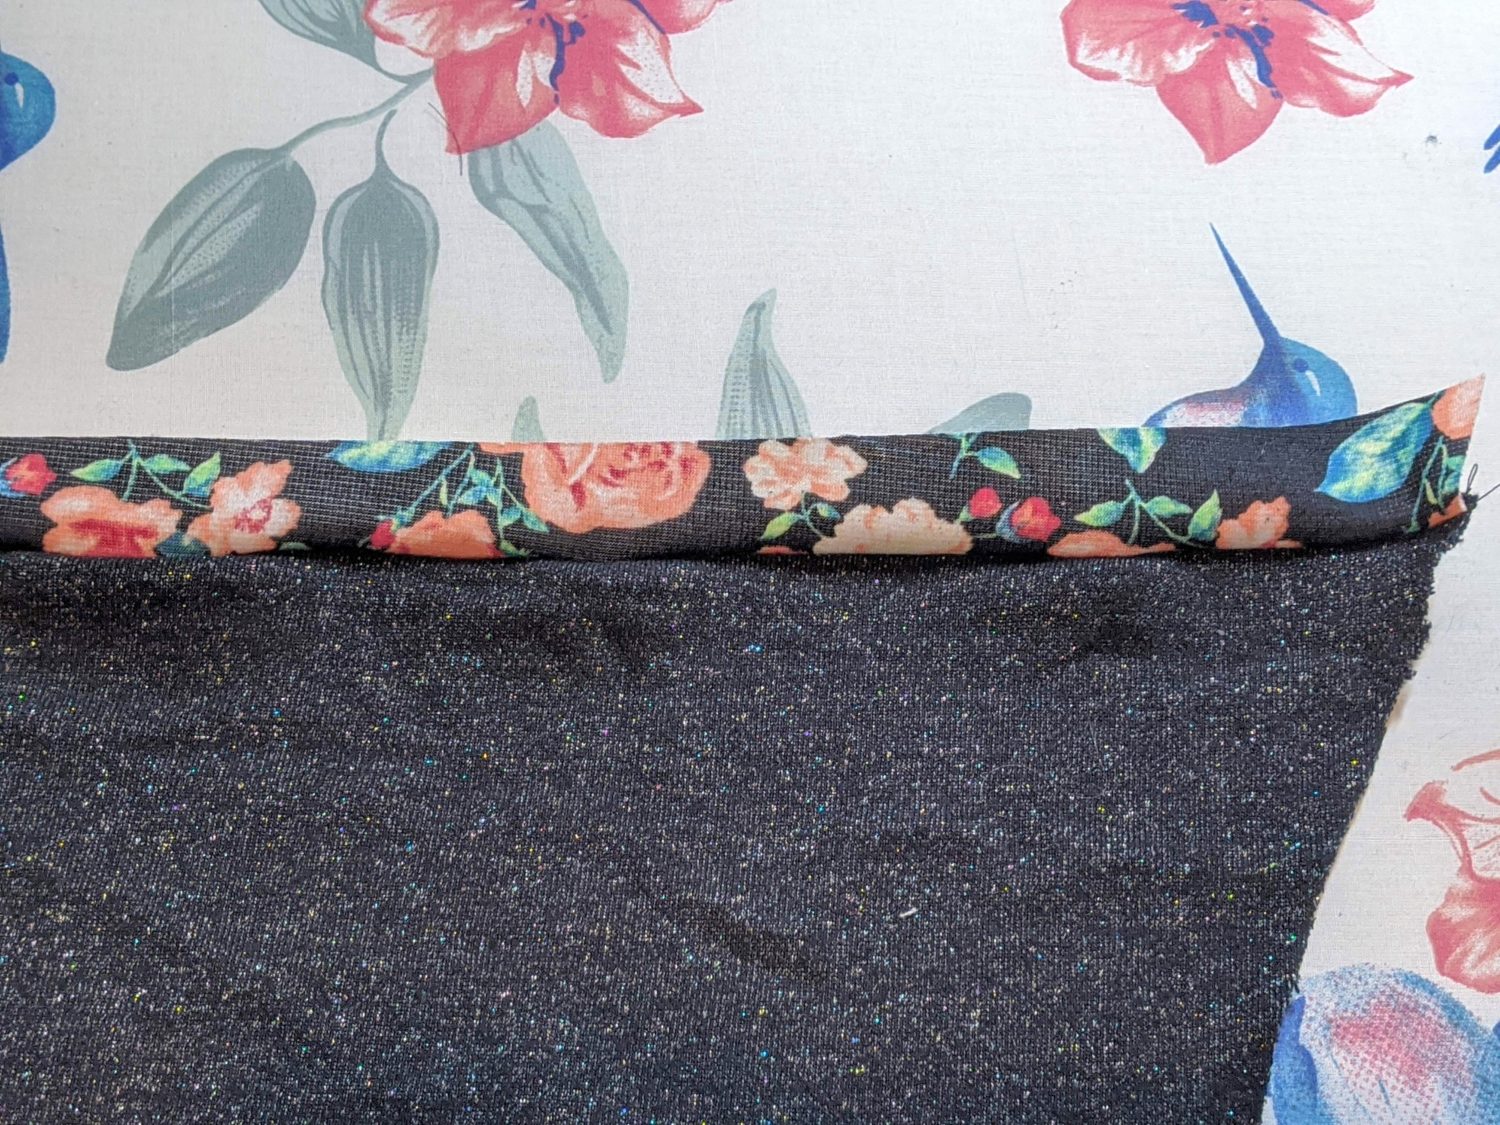
- Take the bottom portion of the sleeve and the bottom stripe and line them up right sides together and pin or clip
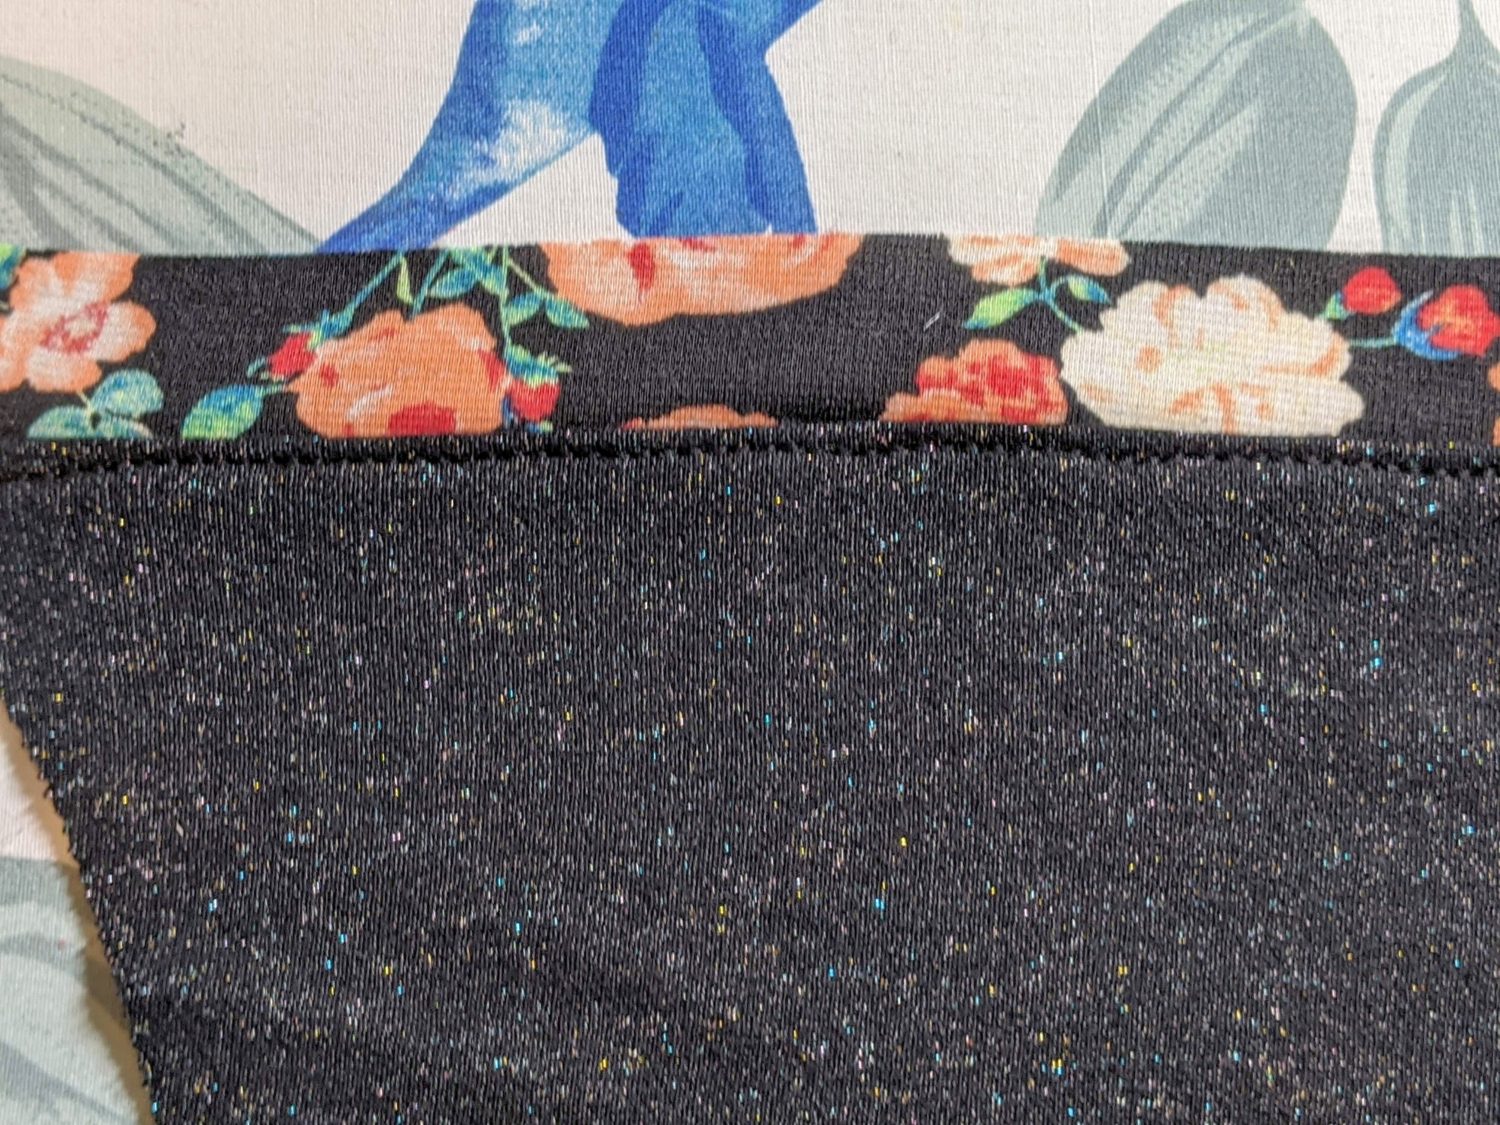
- Serge together, press the seam towards the main fabric and topstitch
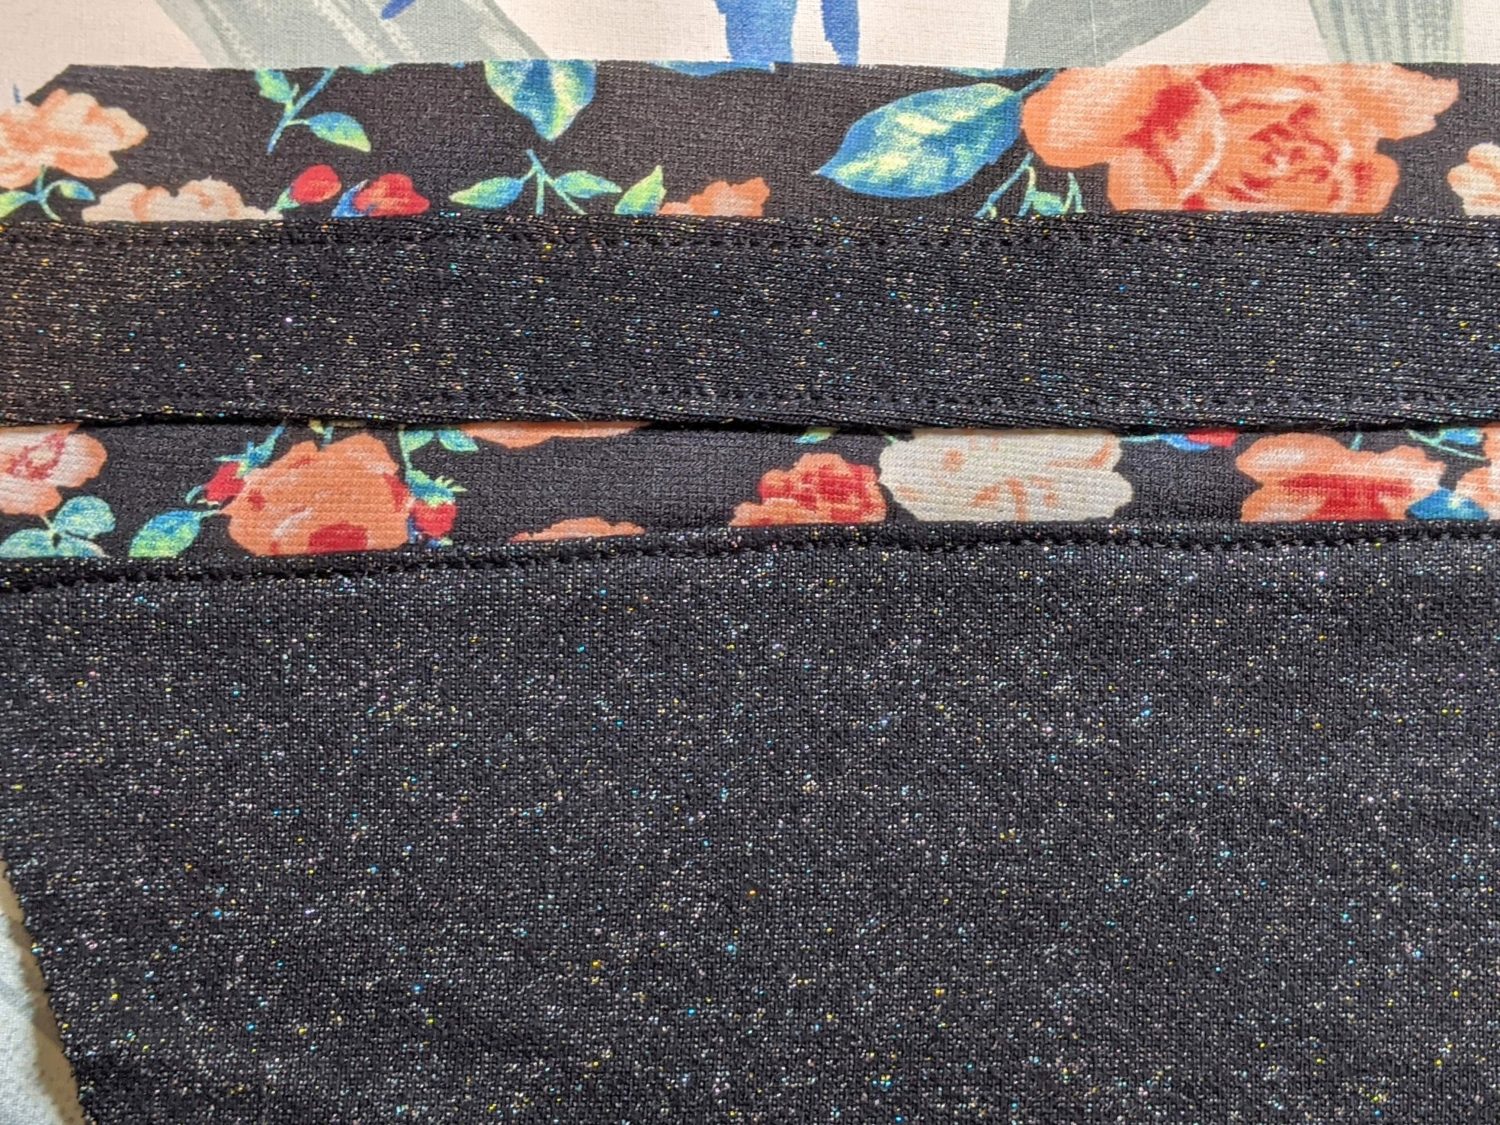
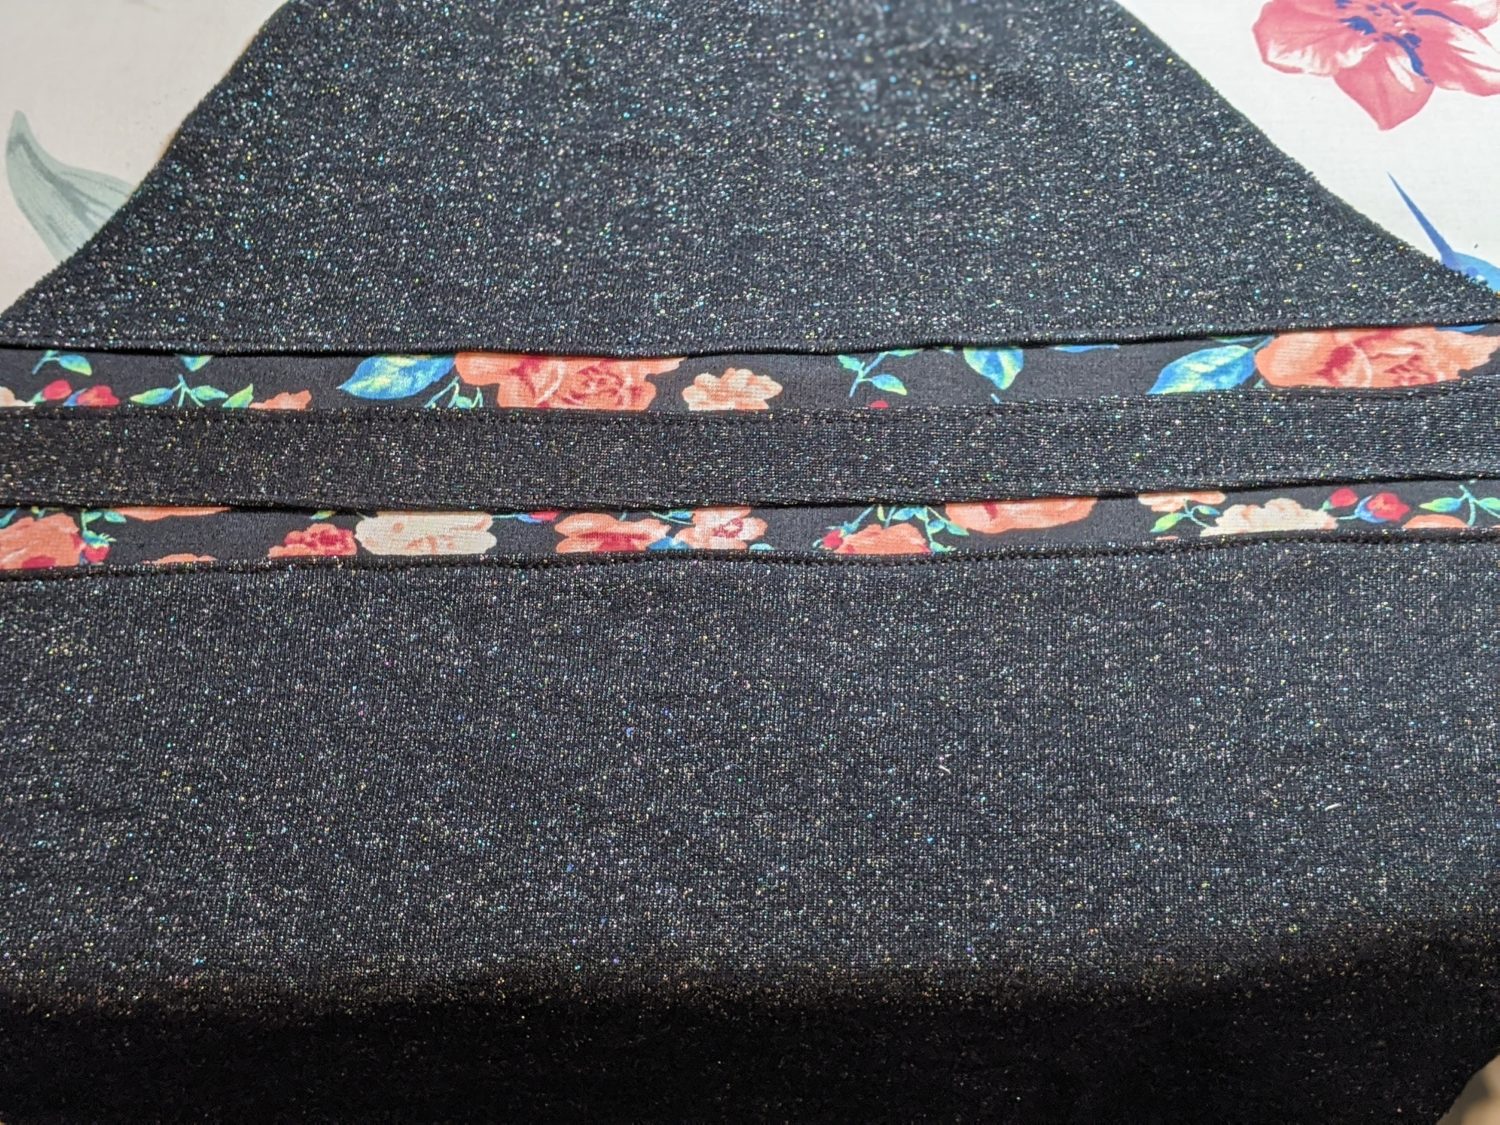
- Repeat these steps for the remaining sleeve portions, always pressing the seam allowance towards the main fabric and topstitching
- Repeat the same steps on the other arm

A little added bonus!
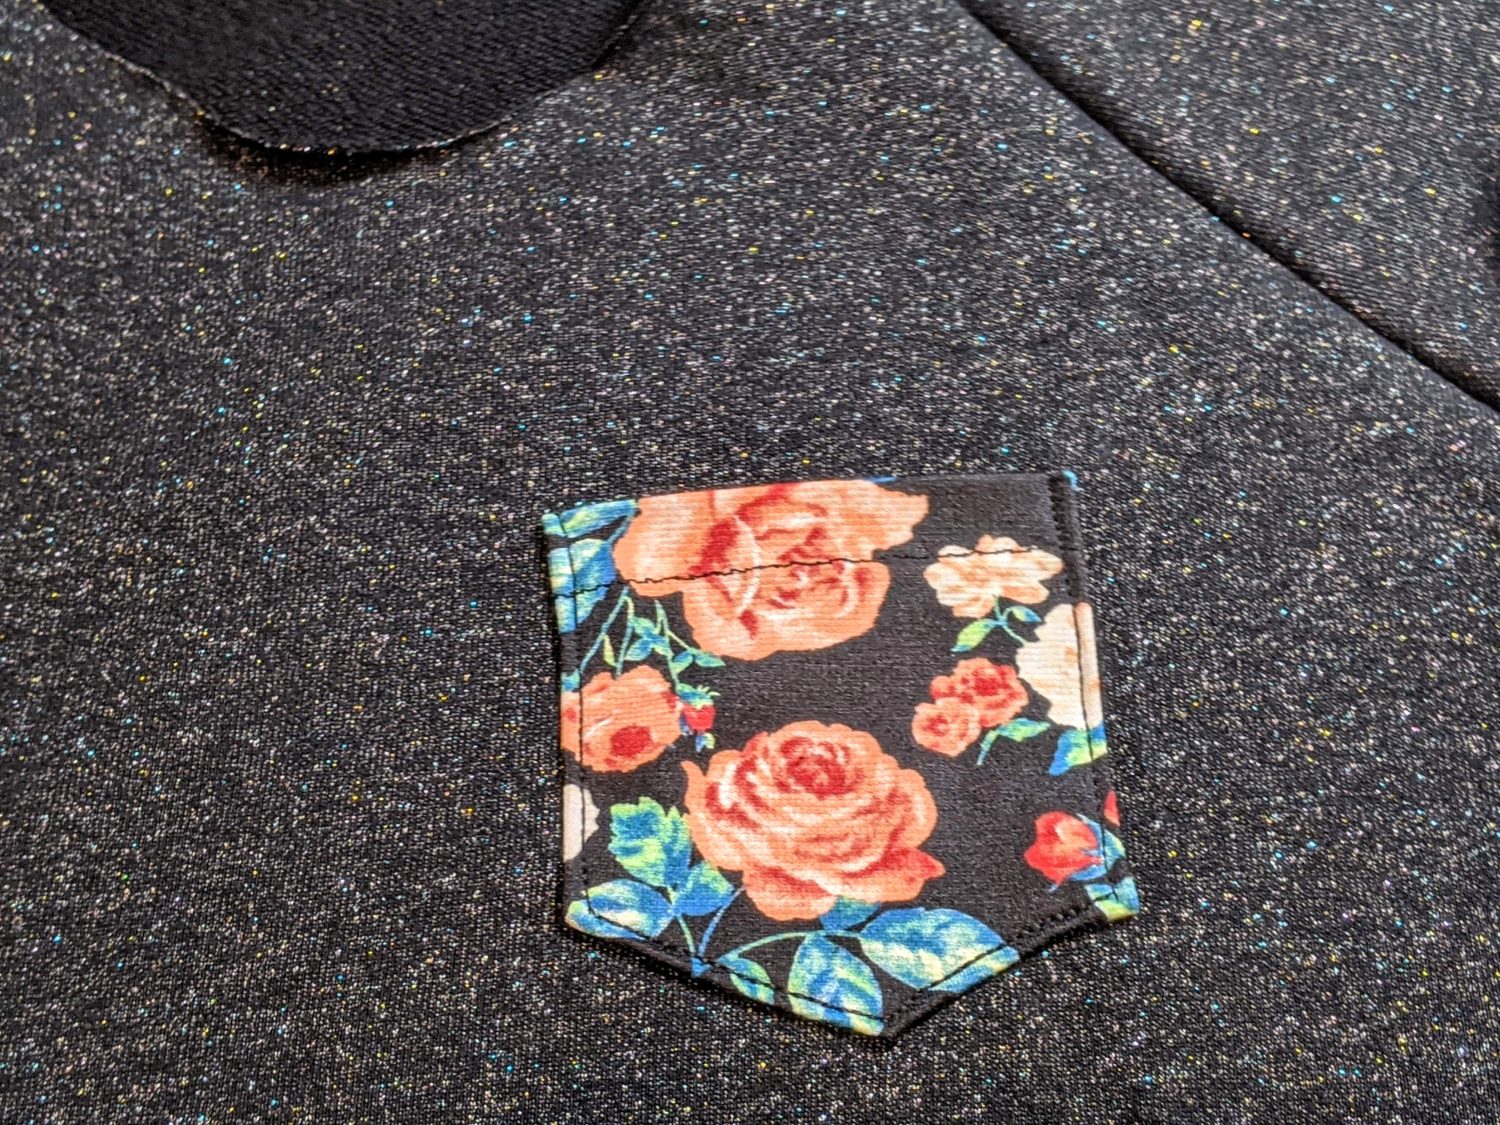
I wanted to add a little bit more to my shirt. A pocket piece is not included in the Nancy Raglan pattern. I used the pocket piece from the Women’s Easy Tee, but you can use any pocket pattern piece you have. You can also do a search for a free printable shirt pocket piece and several options will come up.
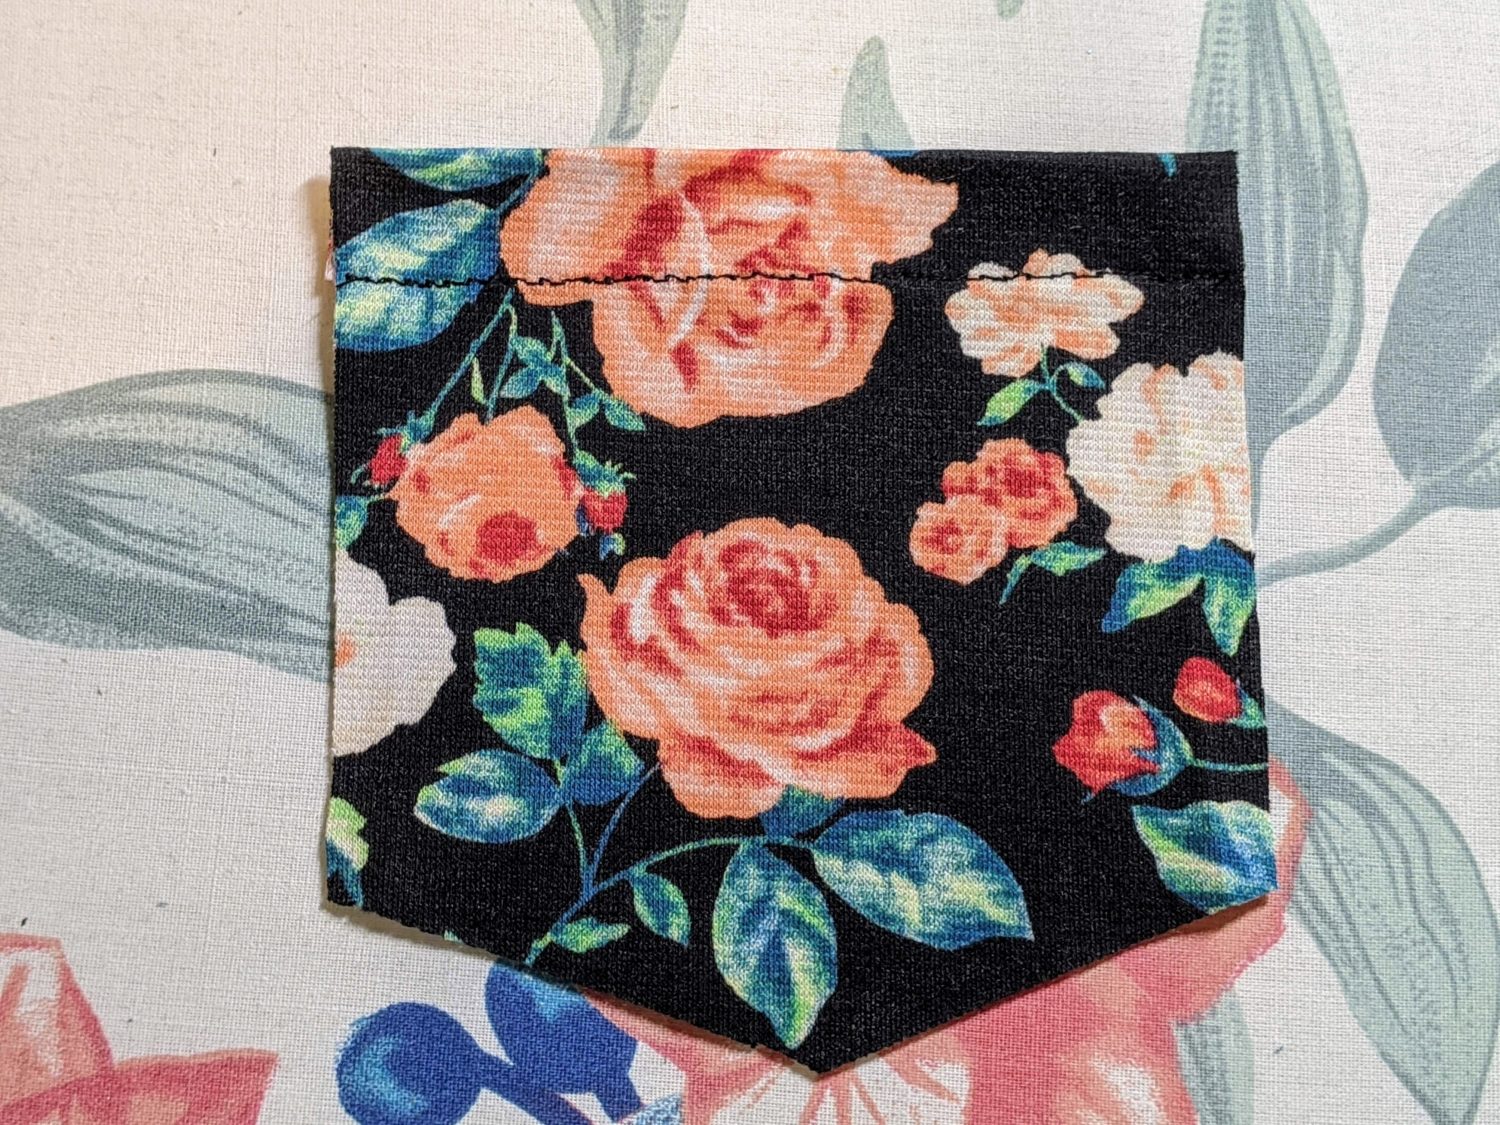
- Cut out your pocket piece
- Fold down the top 1/2″, press and topstitch
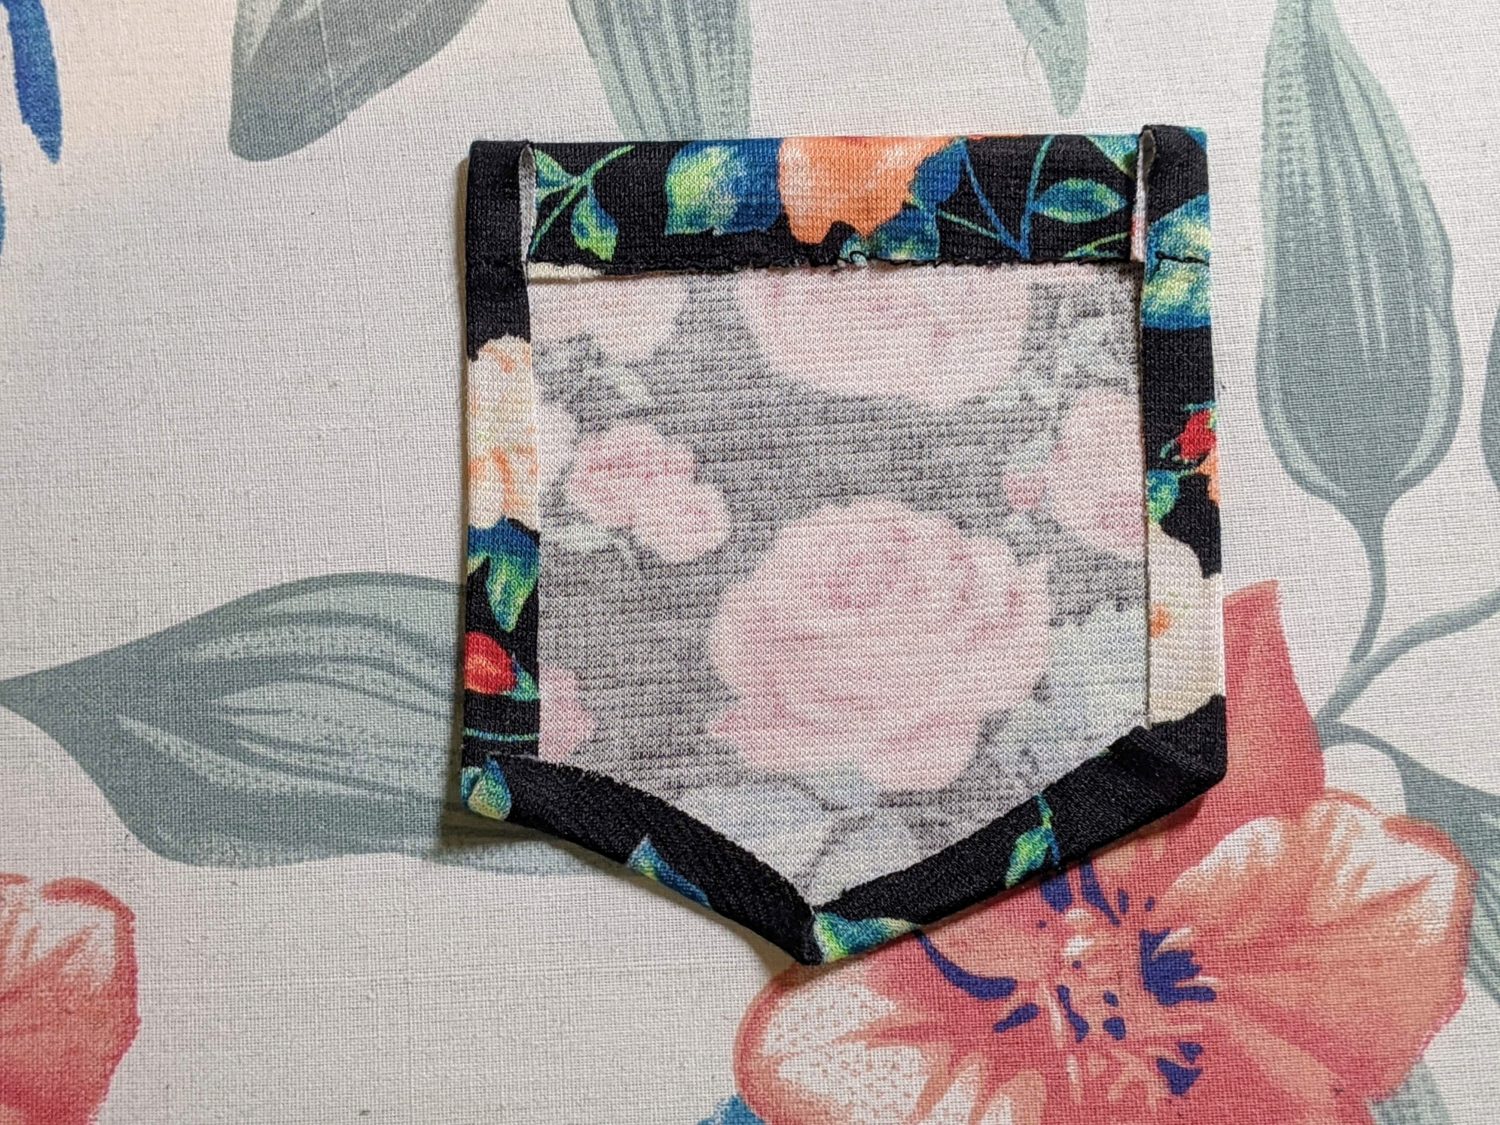
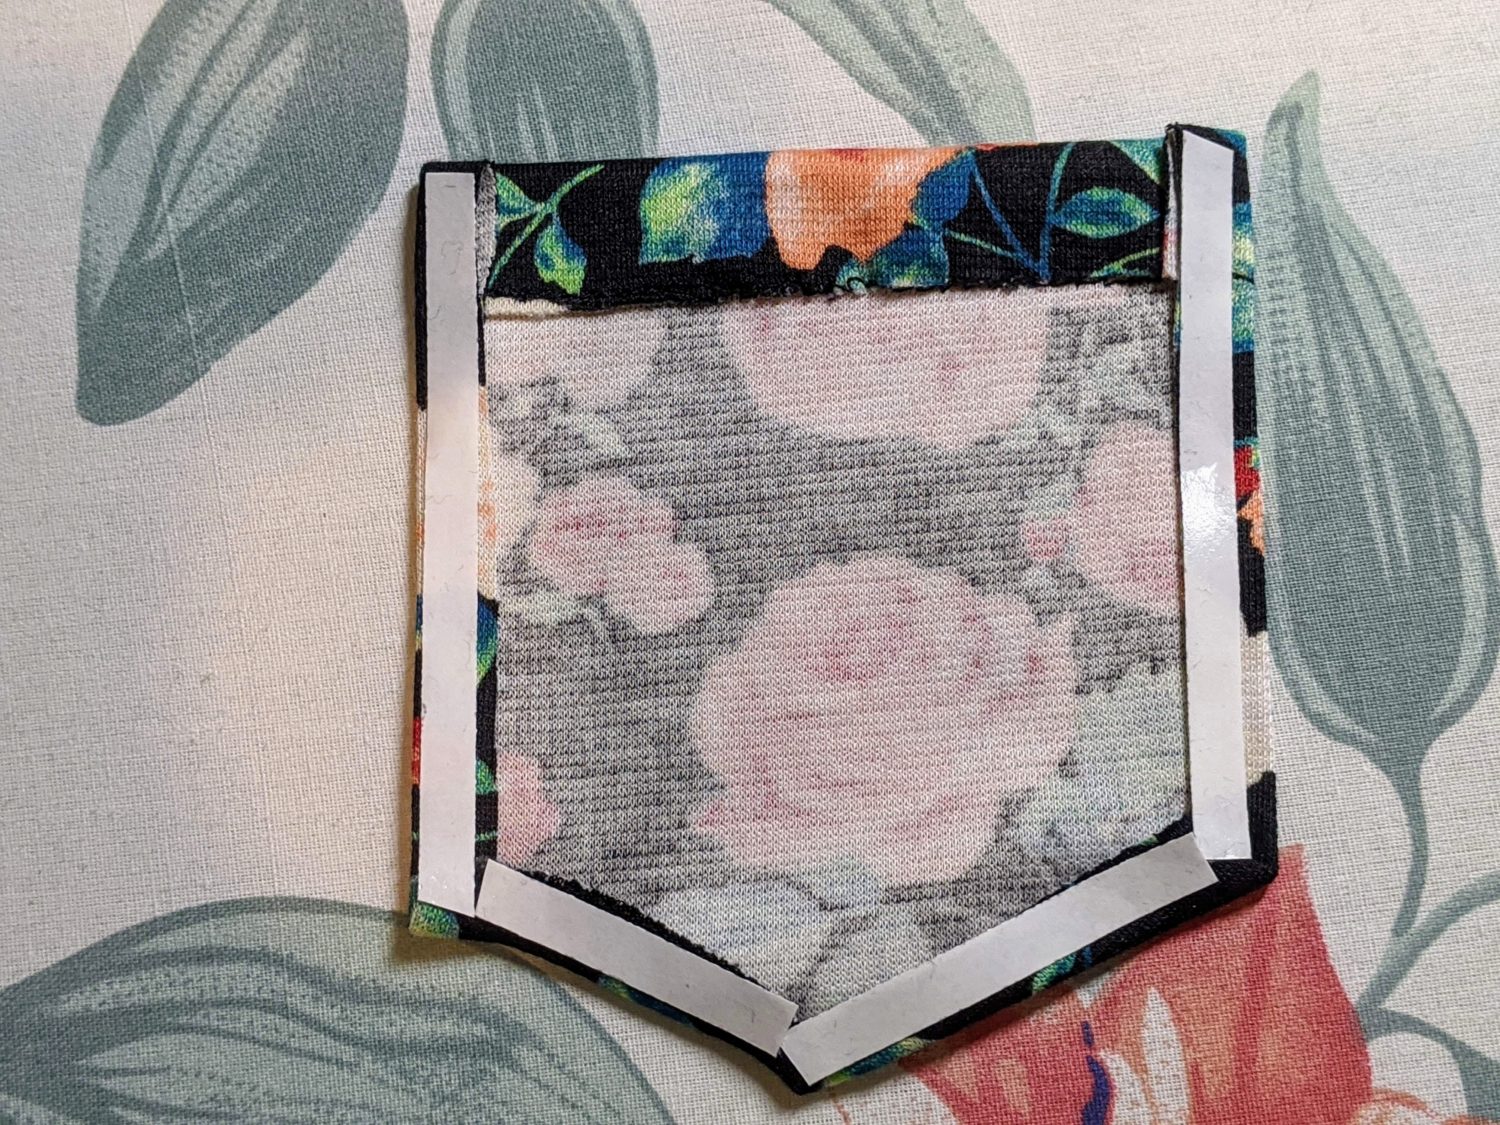
- Fold in the sides and hold in place with wonder tape
- Stick wonder tape on the back edges of the pocket
To determine placement, I sewed my sleeves onto the bodice and put it on like a poncho. Looking in a mirror, I positioned the pocket where I thought it looked best. I made sure it was level and then held it in place with wonder tape. To finish up the pocket, topstitch around the sides and bottom to attach and you’re set!
Finishing up
Now that your sleeves are looking fabulous with your new arm stripes and you may have decided to put a pocket on, go to your tutorial to finish putting it all together per the pattern instructions. Yay! You did it!

As always, we’re here to help if you need it! Join us HERE and on Facebook, Instagram, Twitter, Youtube, and Pinterest. We’re everywhere you are.
This shirt is so cute! Thanks for the how-to 😊