
The Sherry dress is one of those patterns that looks like it was difficult to make but is actually pretty simple. It’s gorgeous, yet comfortable at the same time. One problem I’ve had when it comes to making Sherry is that I often don’t have fabric that is wide enough for the whole pattern. The ties make it a little wider than I normally have enough fabric for. So, instead of being bummed that I didn’t have quite enough fabric to make it, I decided to make the ties out of an accent fabric instead and I am loving it!
Get Ready for Some Accent Ties!
The first thing you will need to do is print out and assemble your pattern. If you don’t have the Sherry Top and Dress pattern yet, you can get it HERE. You can also do this hack on the kid’s version which you can find HERE. I chose to make the shirt version for mine, but you can choose whichever options you’d like.
Making the Adjustments
Once your pattern is ready to go, you are going to make a few small changes to it before you cut out your fabric.
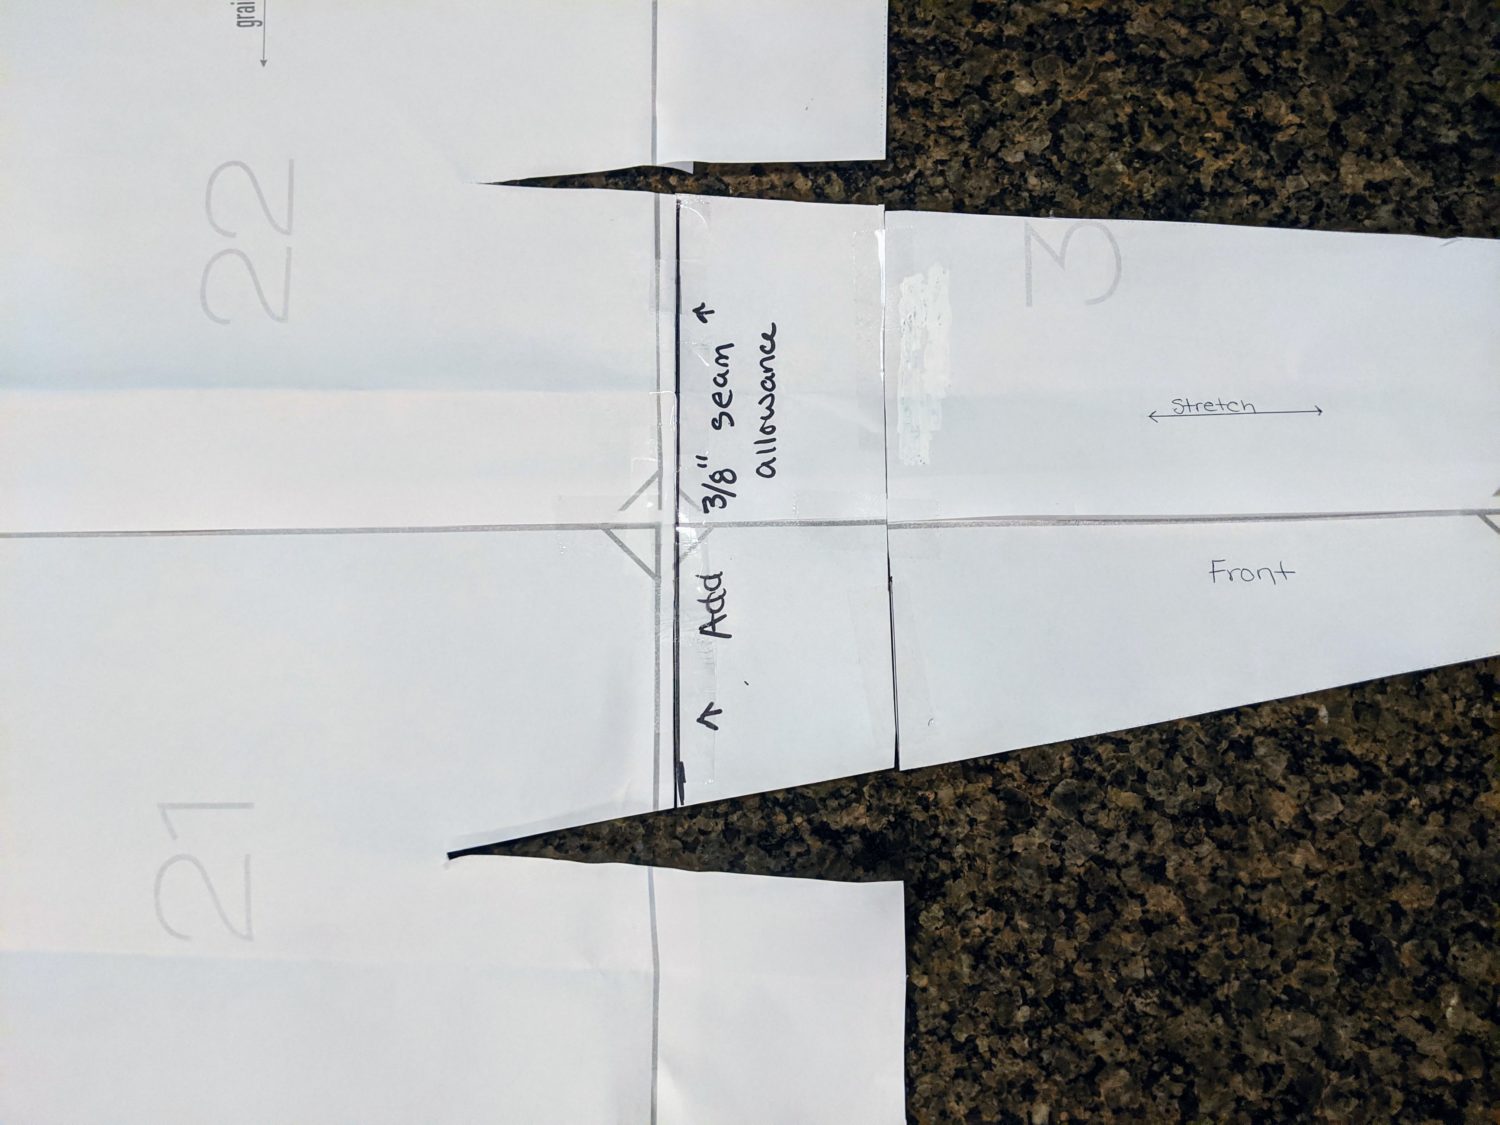
- Starting with your front bodice piece: On the tie section, measure the halfway point along the top and bottom of the “v” and mark that spot
- Draw a line across the piece to connect the points
- Write yourself a reminder on the tie portion of the pattern to add your 3/8″ seam allowance on when you cut out the fabric. It is also helpful to label the direction of the stretch and that it is the front piece
- Cut along your marked line
Front bodice 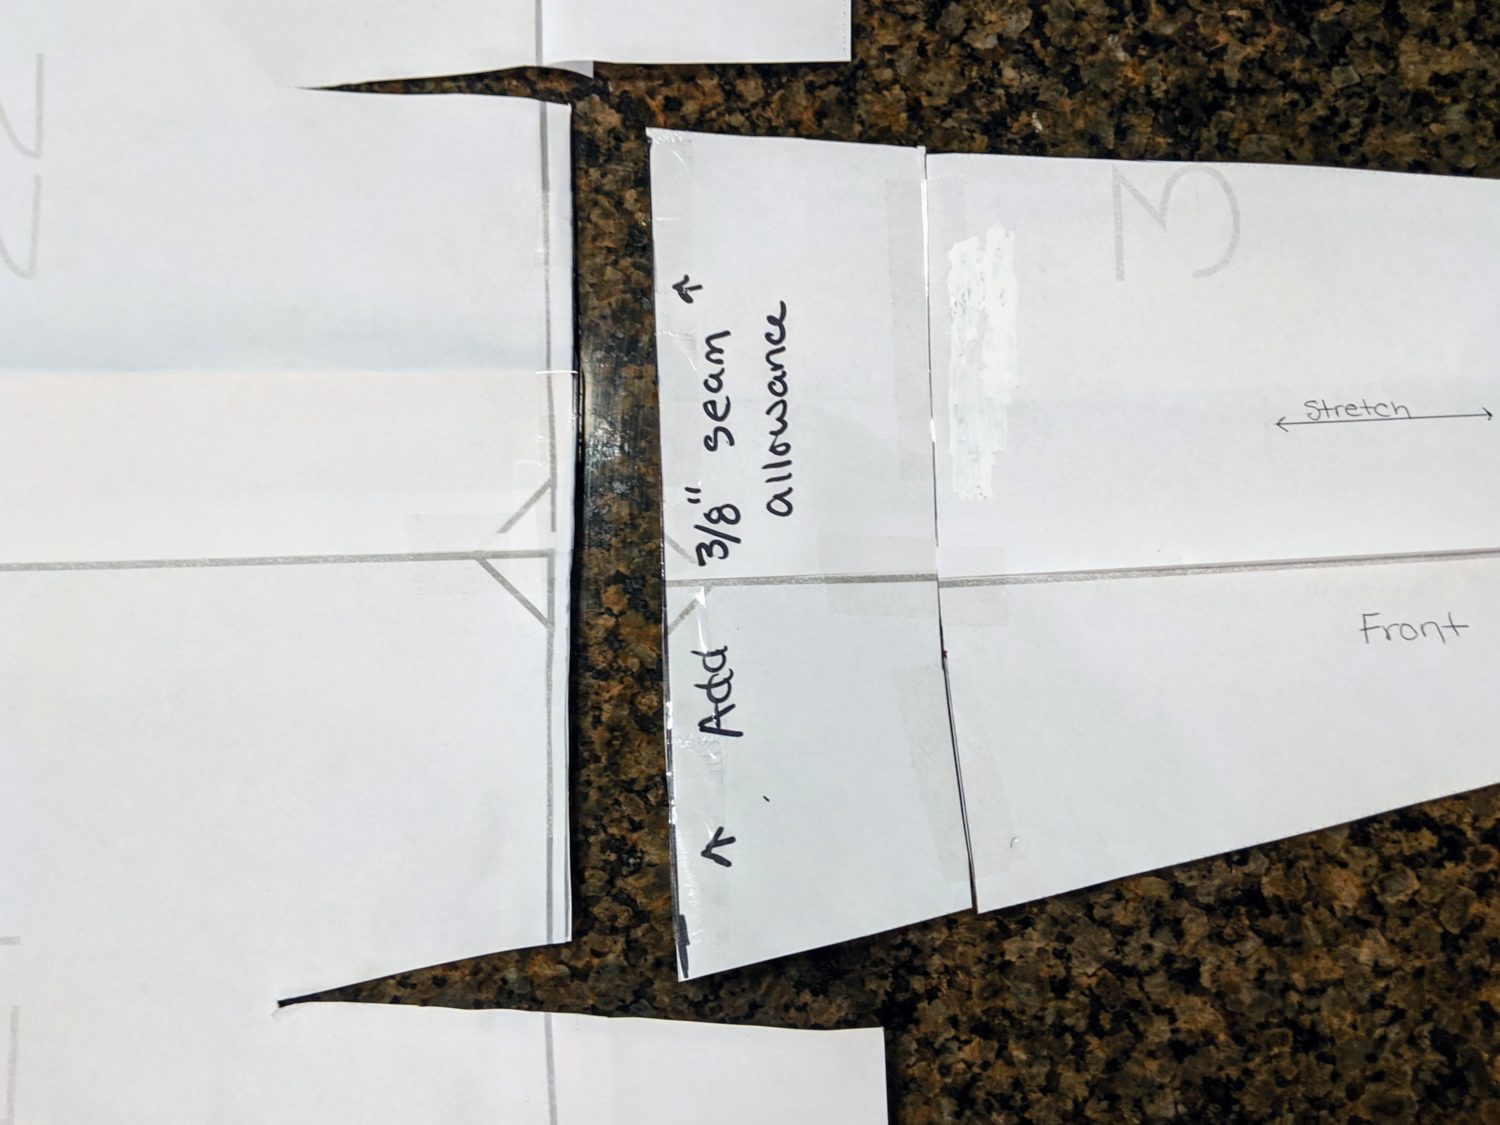
Cut off tie 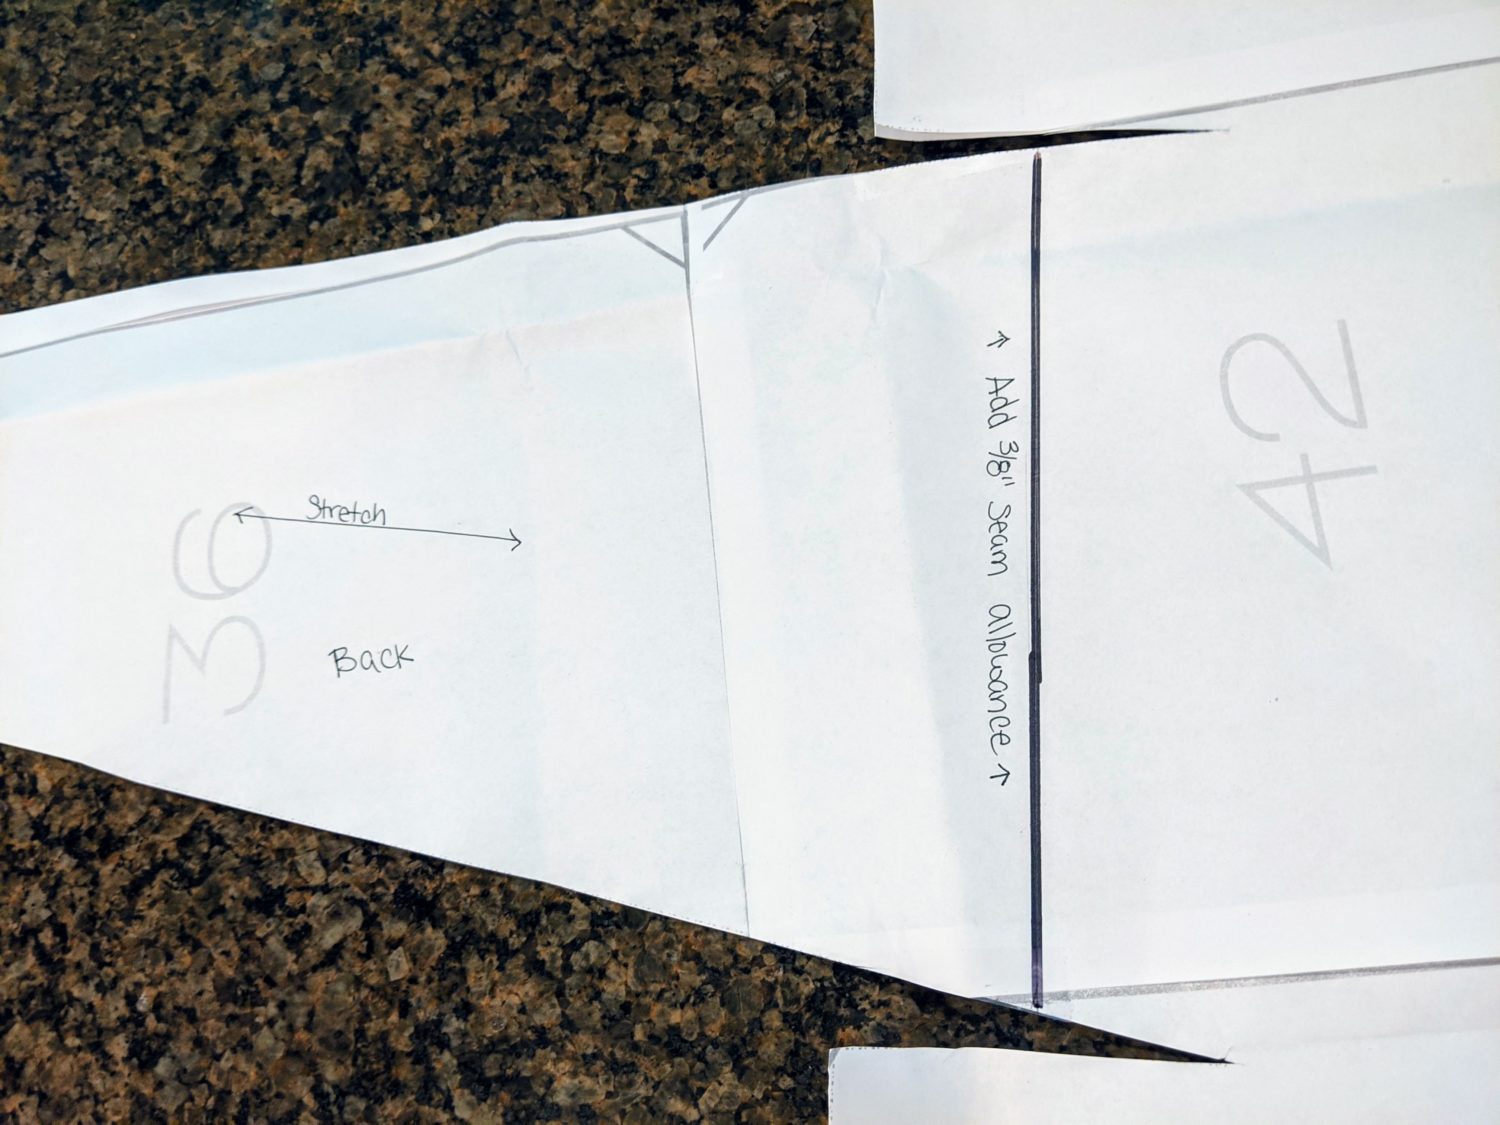
Back bodice
- Moving onto the back bodice: Repeat all the same steps as the front bodice. The tie is angled on the back bodice, but the measuring and labeling will be the same as the front
Cutting Out Your Fabric
- Follow the tutorial in the pattern to cut out the front and back bodice pieces, minus the tie portion
- Cut out both of your accent tie pieces from your accent fabric
- Make sure:
- The direction of stretch matches up with the pattern markings
- You add in your 3/8″ seam allowance to the tie piece
- The correct side of the fabric matches up with the bodice pieces
Putting it Together
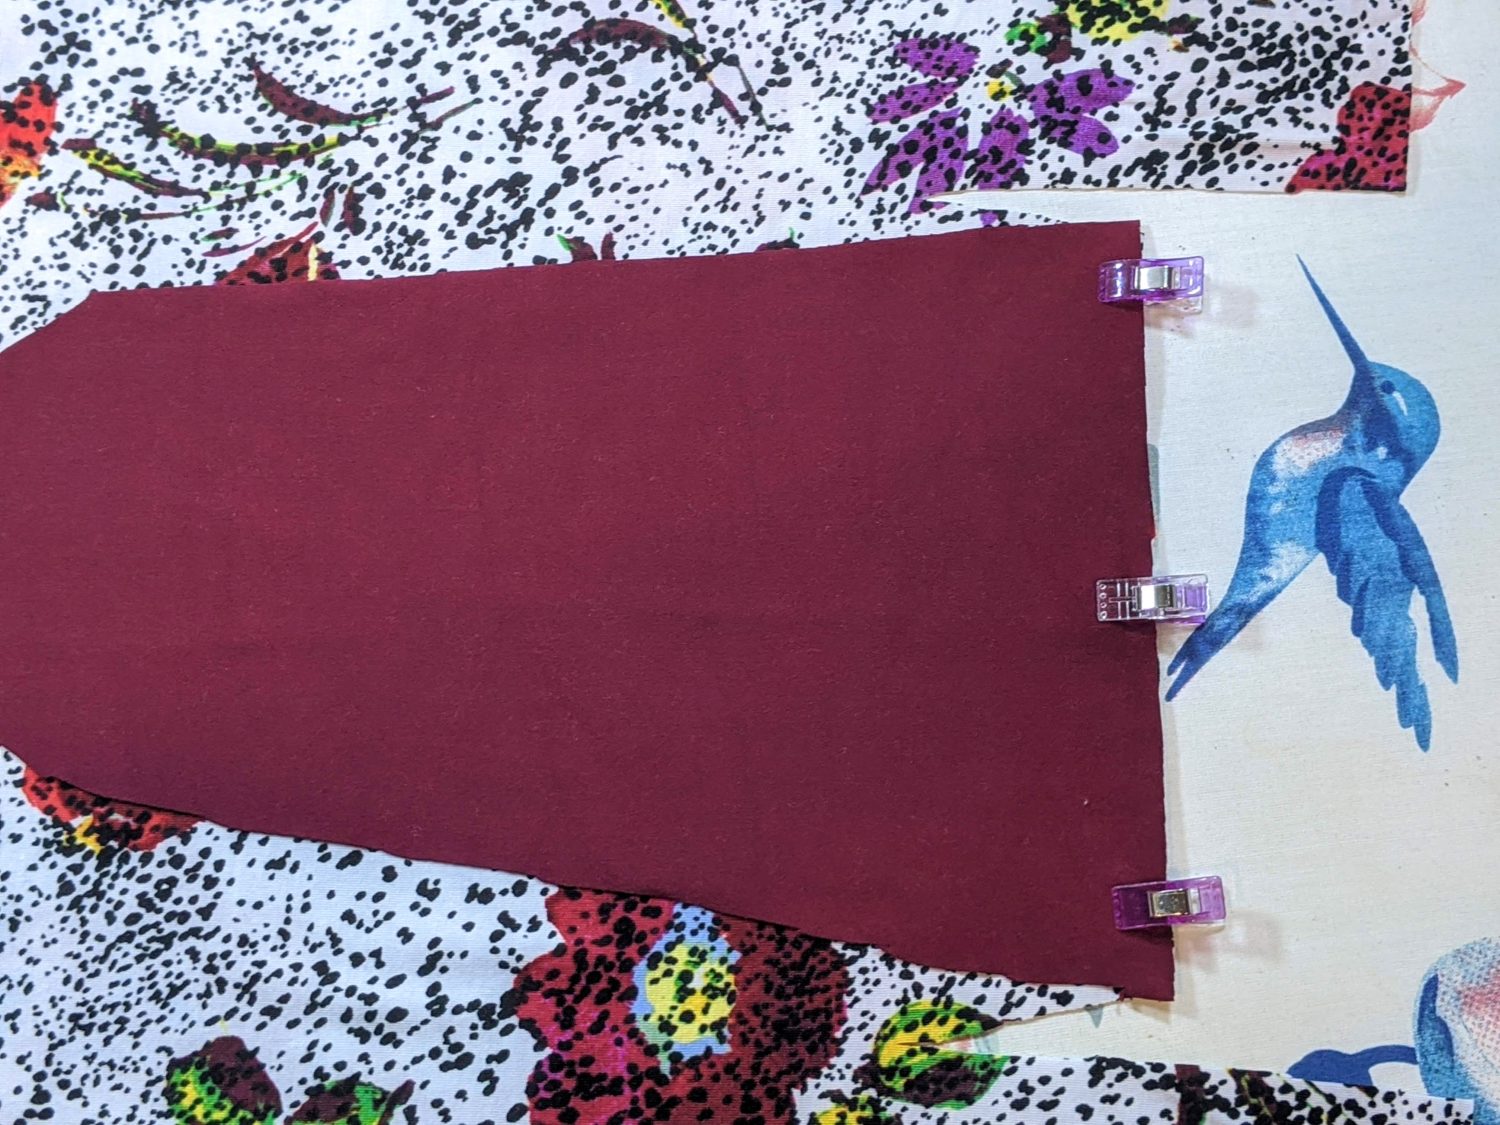
- Lay the front bodice piece right side up, and the accent tie piece right side down lining up the raw edges. Pin or clip in place
- Using a stretch stitch, sew along the edge with a 3/8″ seam allowance
- Open up the fabric and press the seam allowance open
- Repeat the same steps with the back bodice and accent tie
Pin and sew 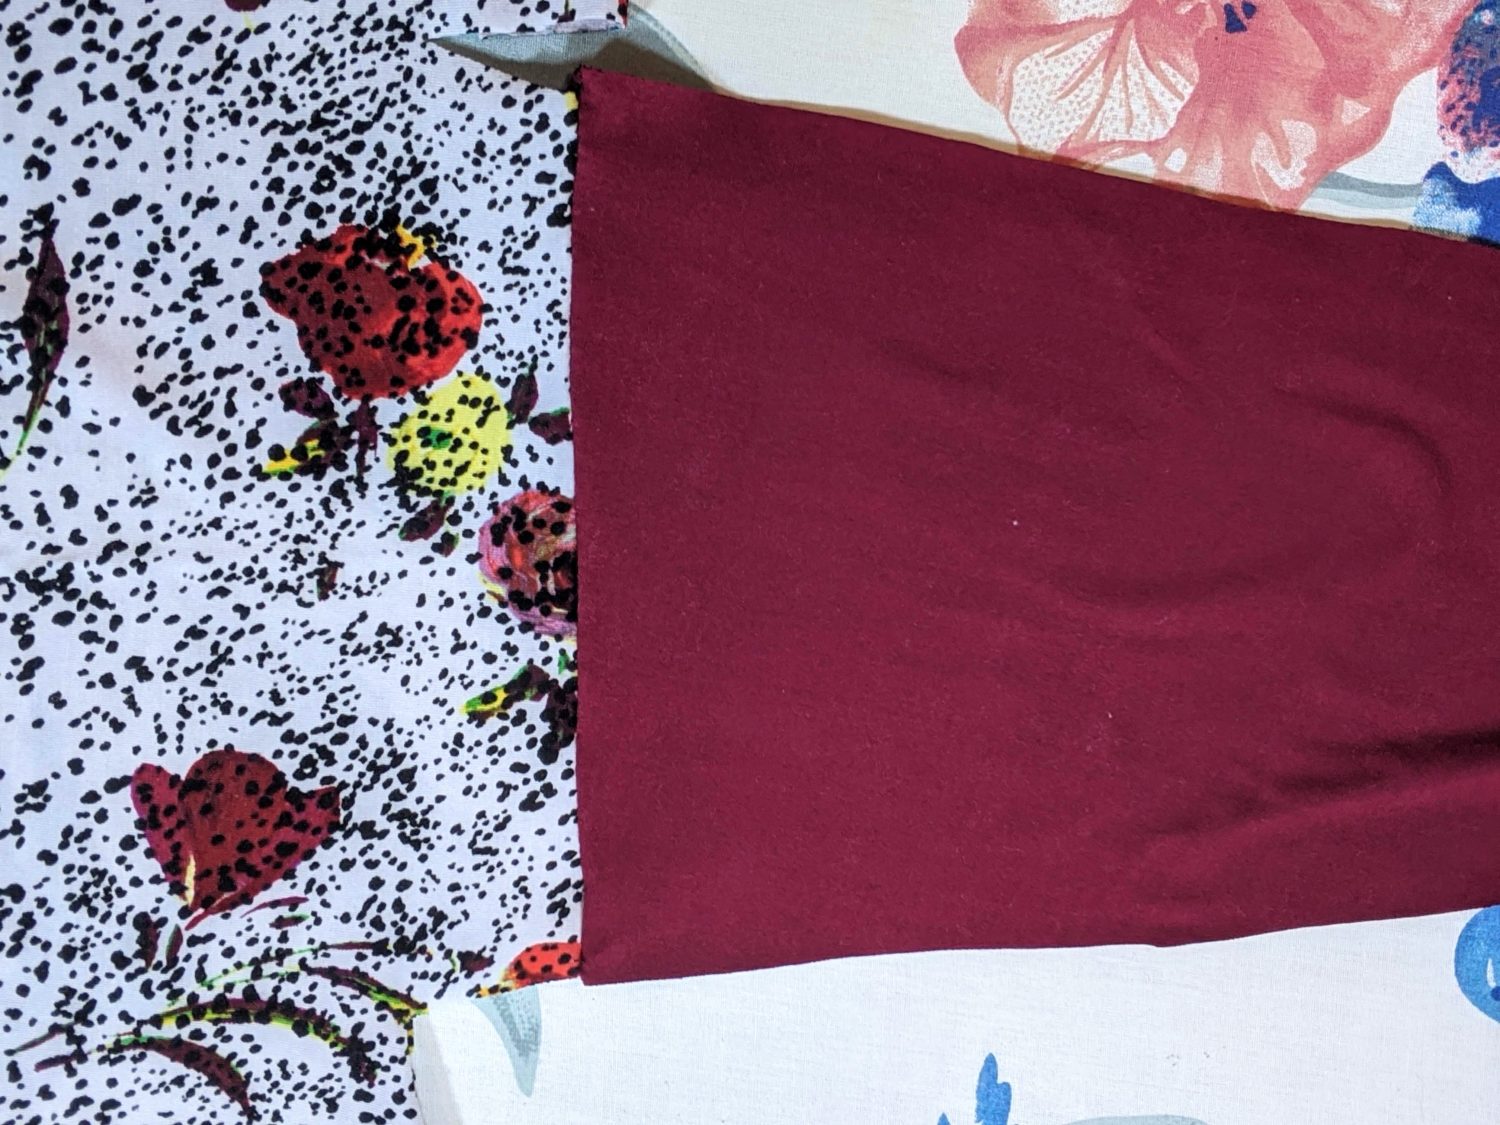
Open the tie 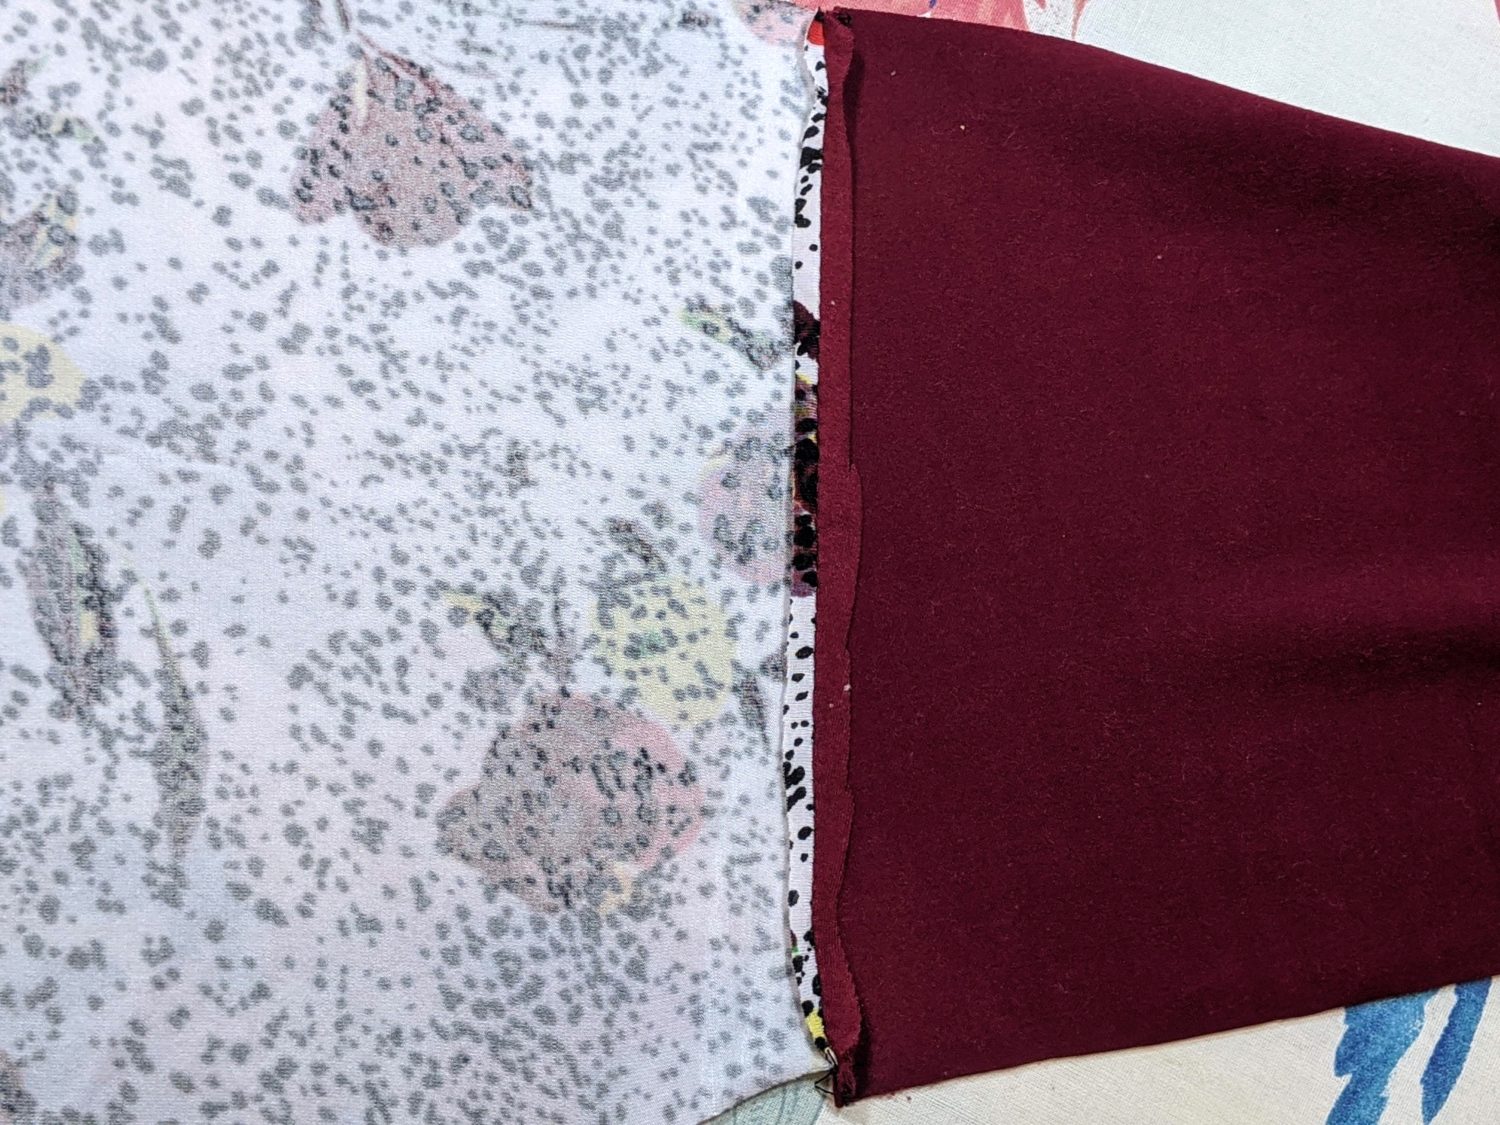
Press seam open
From this point on, you will follow the tutorial for the rest of the construction. Additionally, I added bands onto my sleeves instead of the facing. If you choose to do this, you will cut out the bands using the length of the facing pattern piece, but make it 1 1/2″ wide instead. To attach, you will follow the same steps as attaching the neckband.
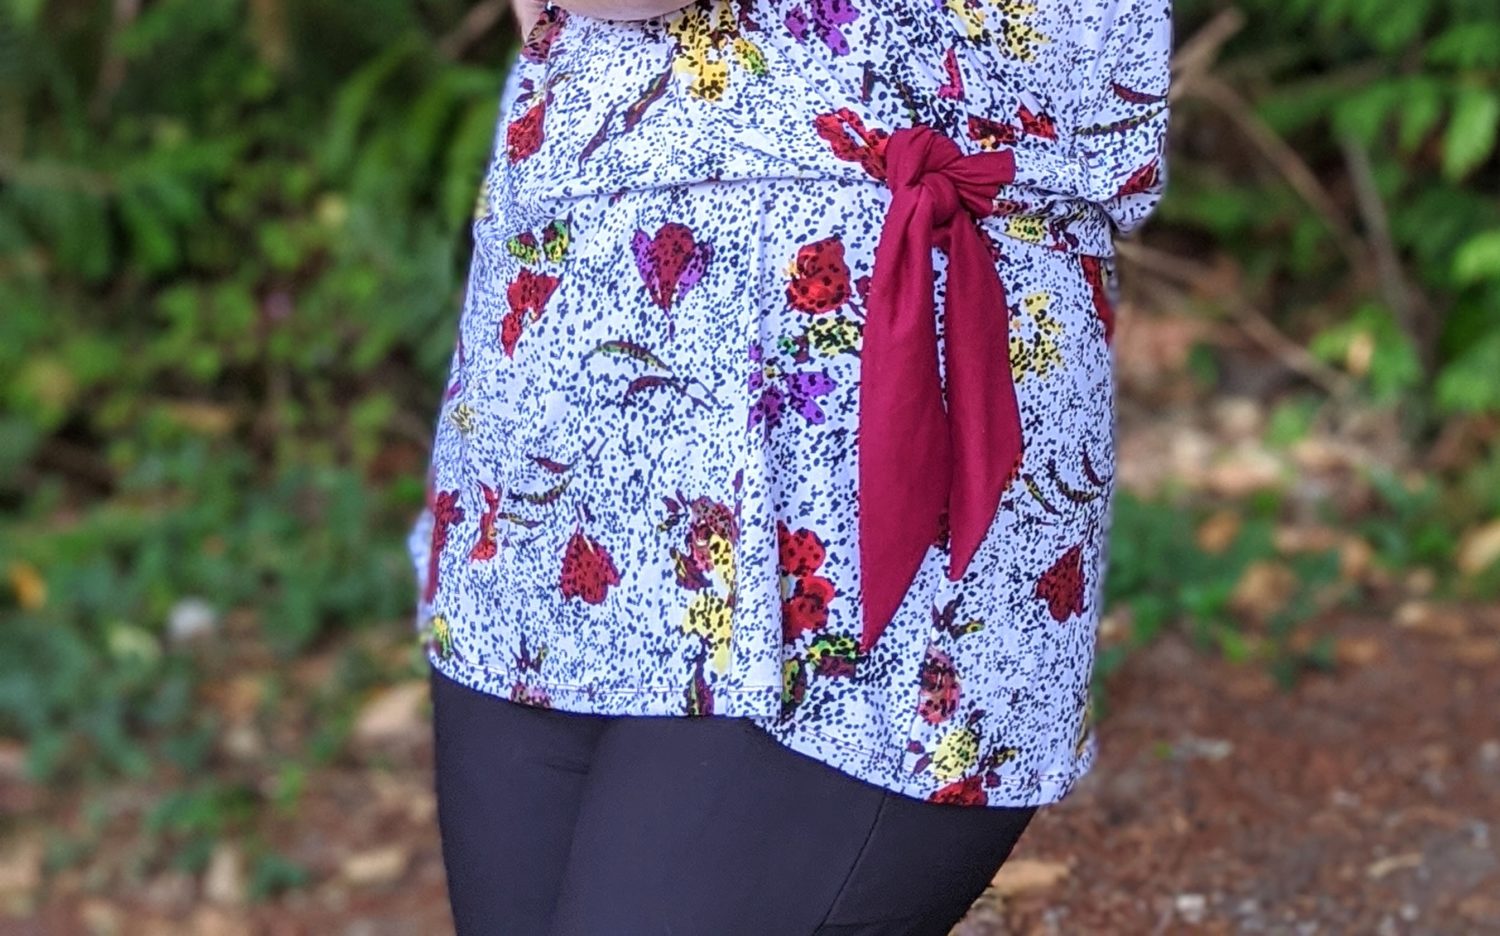
Now go rock that fabulous new top with accent ties! Go you!
As always, we’re here to help if you need it! Join us HERE and on Facebook, Instagram, Twitter, Youtube, and Pinterest. We’re everywhere you are.
Leave a Reply