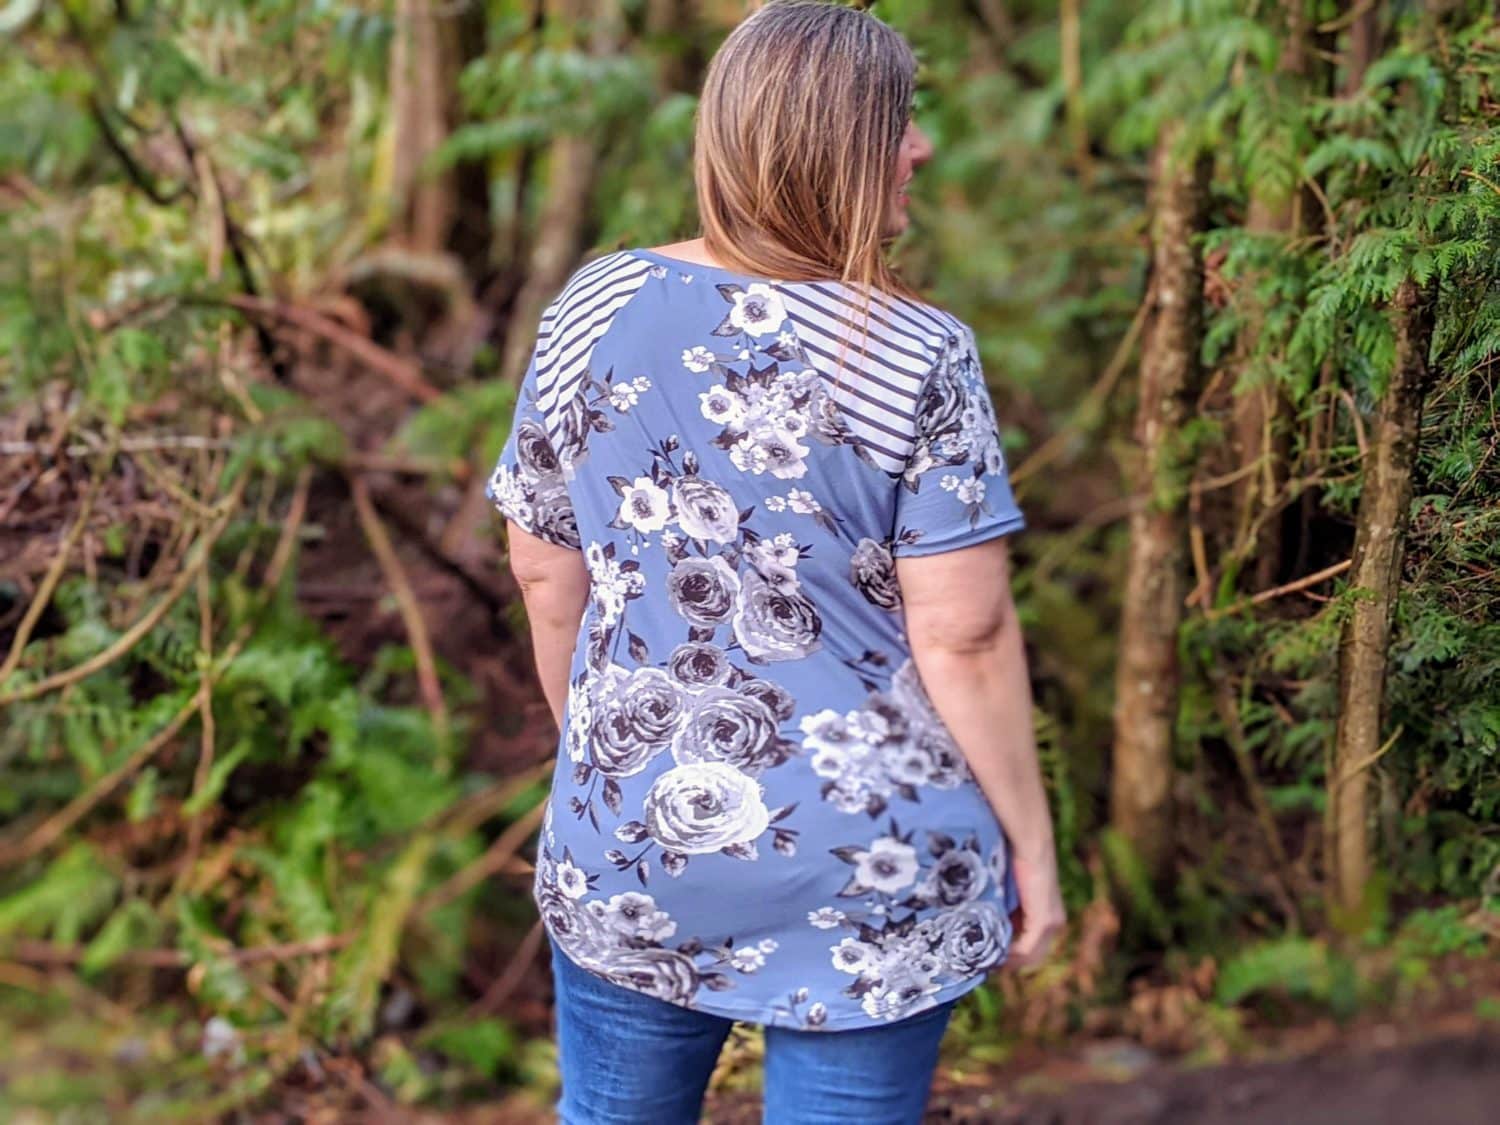
My 2 most used patterns are the Nancy Raglan and Women’s Easy Tee. Without question. This hack lets me use both of them together! It just jazzes up a basic tee a little bit and also is a good way to use some of those favorite fabric scraps you have laying around that you just can’t bear to let go of. If you are wanting to make kid’s version, this will also work with the Kid’s Rocket Raglan and Kid’s Easy Tee.
Before you start in on this hack, you will need to have both the Nancy Raglan and Women’s Easy Tee printed, cut and ready to go in your normal size per the size charts in the patterns.
For the next part, I taped together blank paper to trace onto so I didn’t have to cut up my most used patterns. If you’d prefer, you can just use the easy tee pattern that you printed to trace onto. If you’re going with the tracing, just lay your Easy Tee pattern down and trace around the whole piece for the front and back bodices.
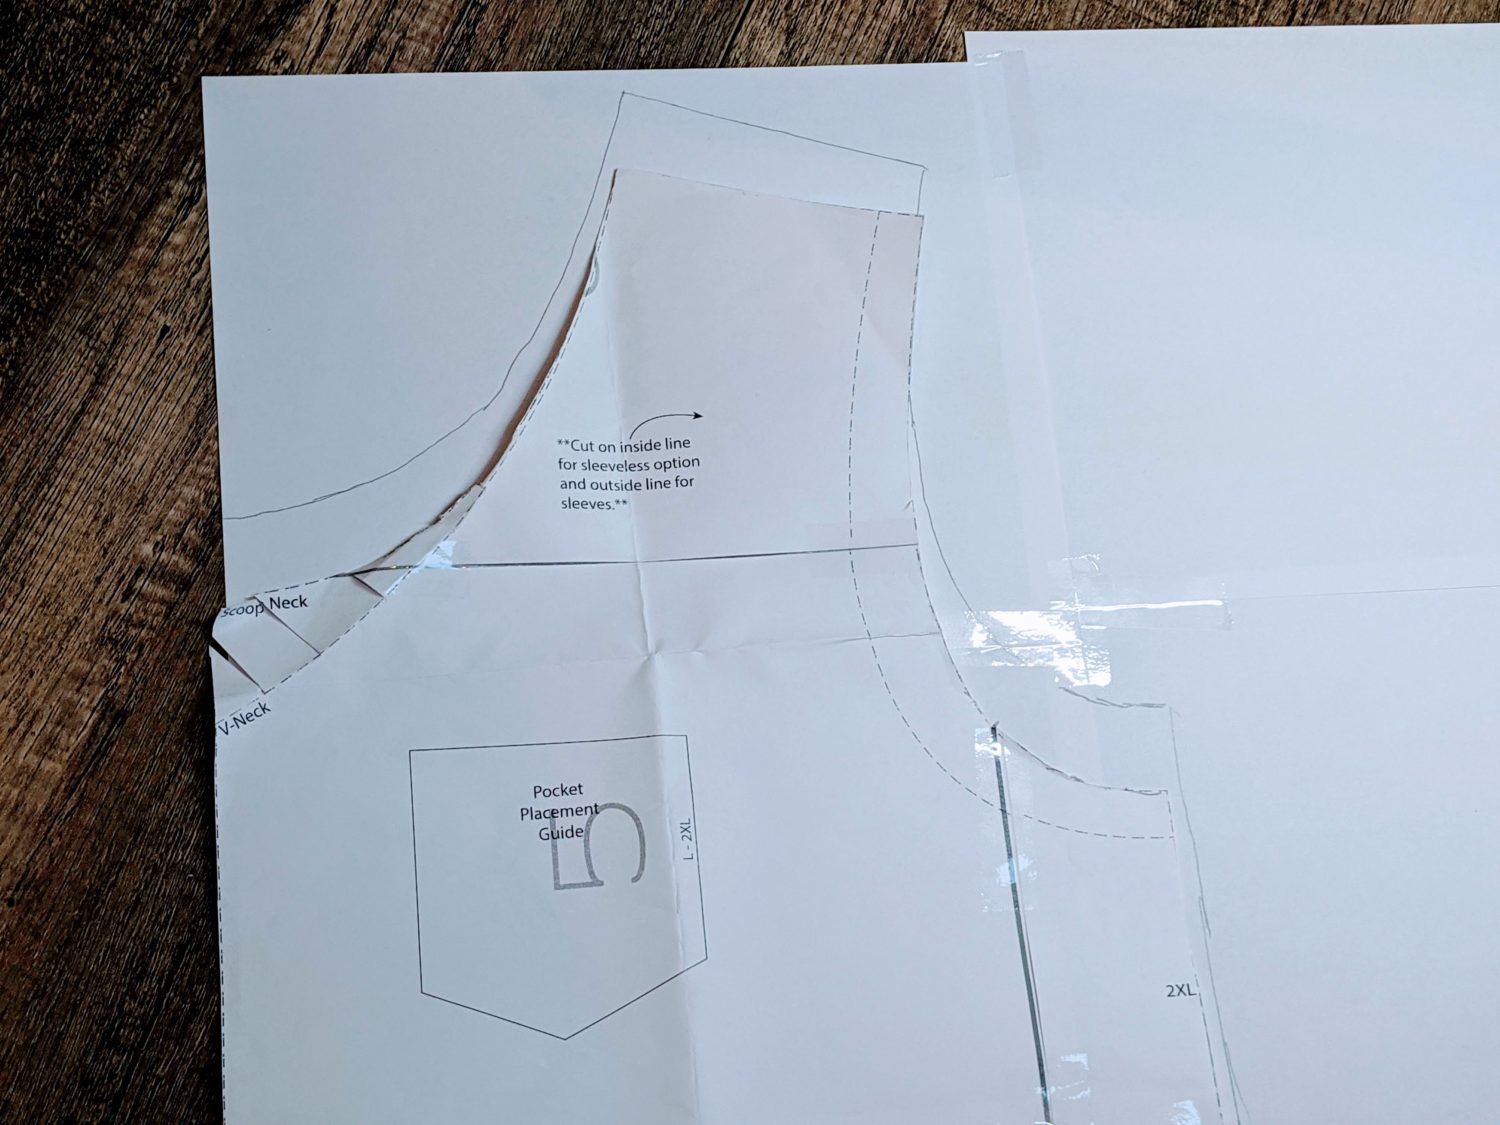
Now that I have traced both the front and back bodices of the Easy Tee pattern onto my paper I’m ready for my Nancy pattern.
Lay your Nancy front bodice on top of your easy tee front bodice. You will line up your center fold line and you’ll want the bottom of the Nancy armscye to be about 1” below the armscye of the Easy Tee.
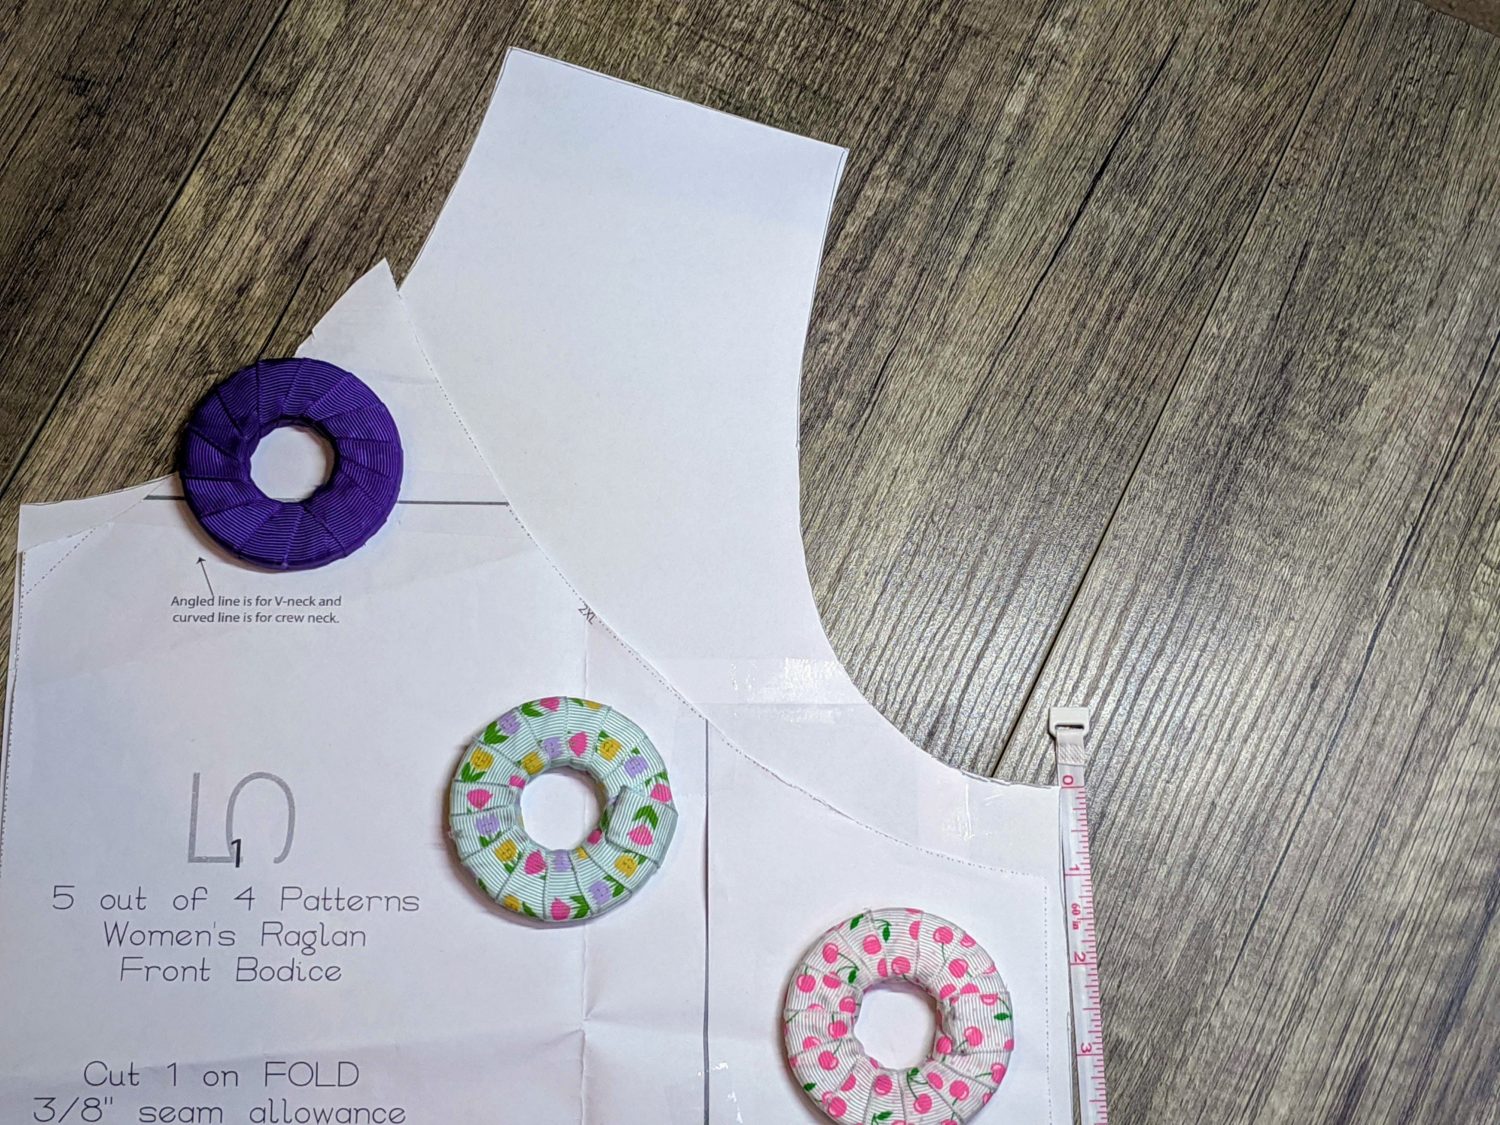
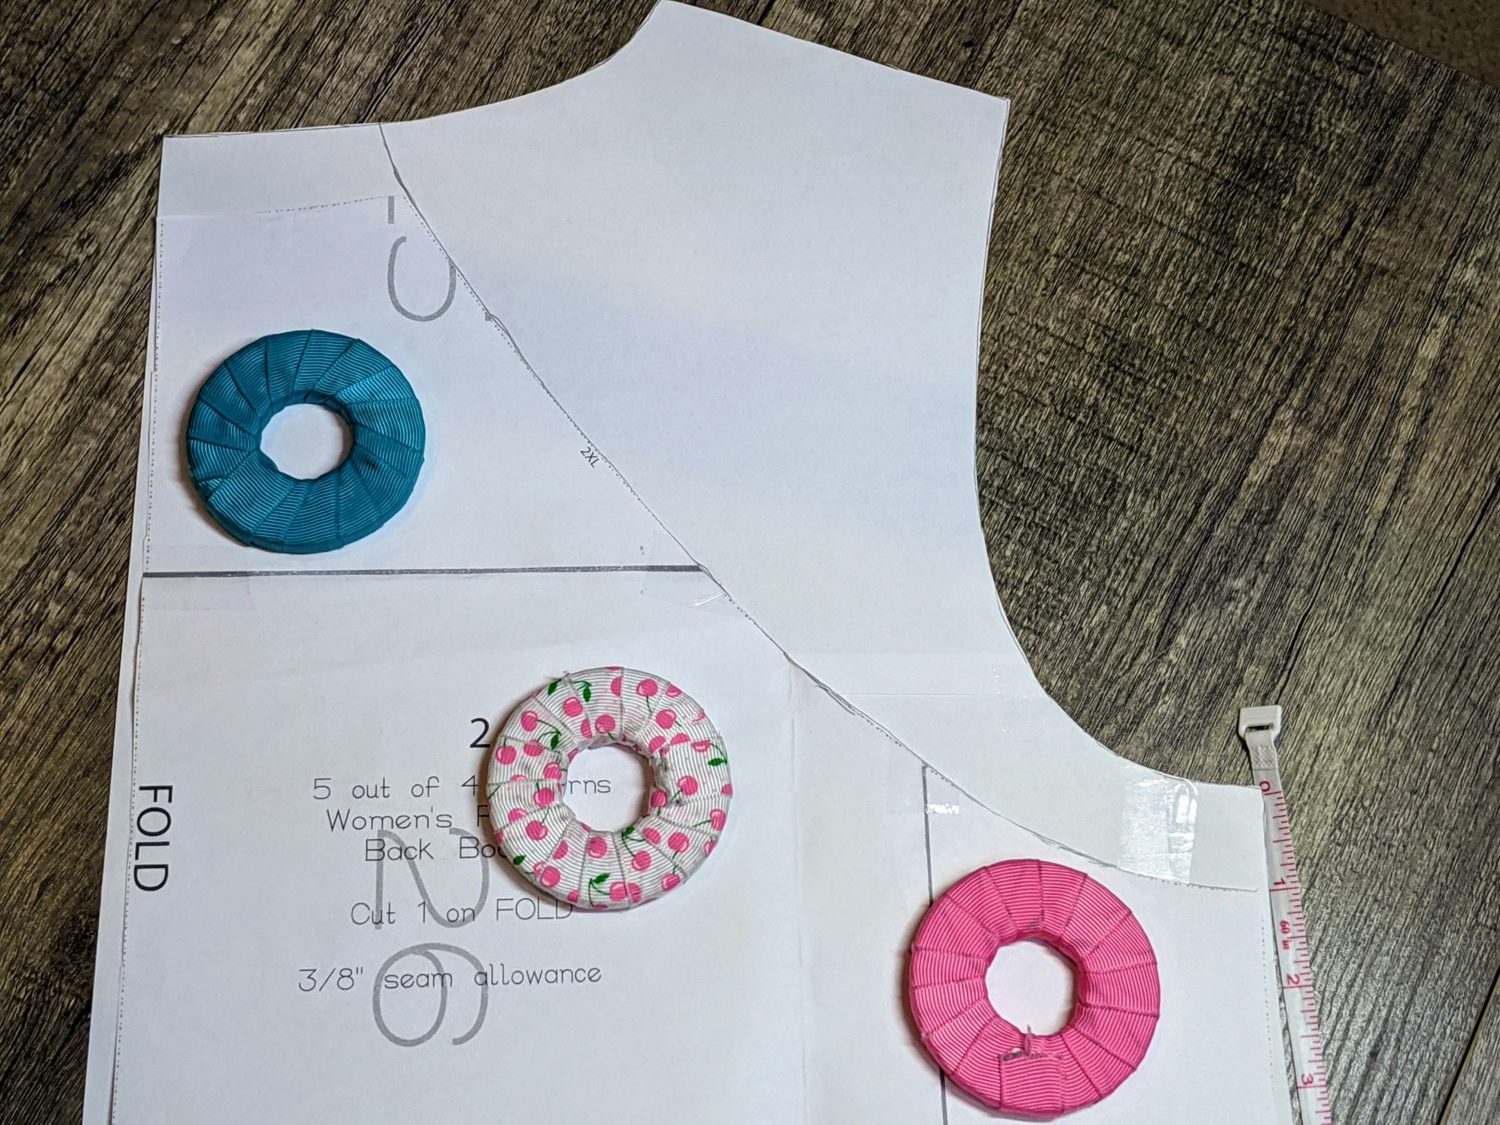
Trace the Nancy armscye on top of the easy tee all the way up to meet the neckline of the Easy Tee. Repeat this for the back bodice as well. On the back bodice you will need to extend the Nancy neckline all the way up to meet the Easy Tee neckline.
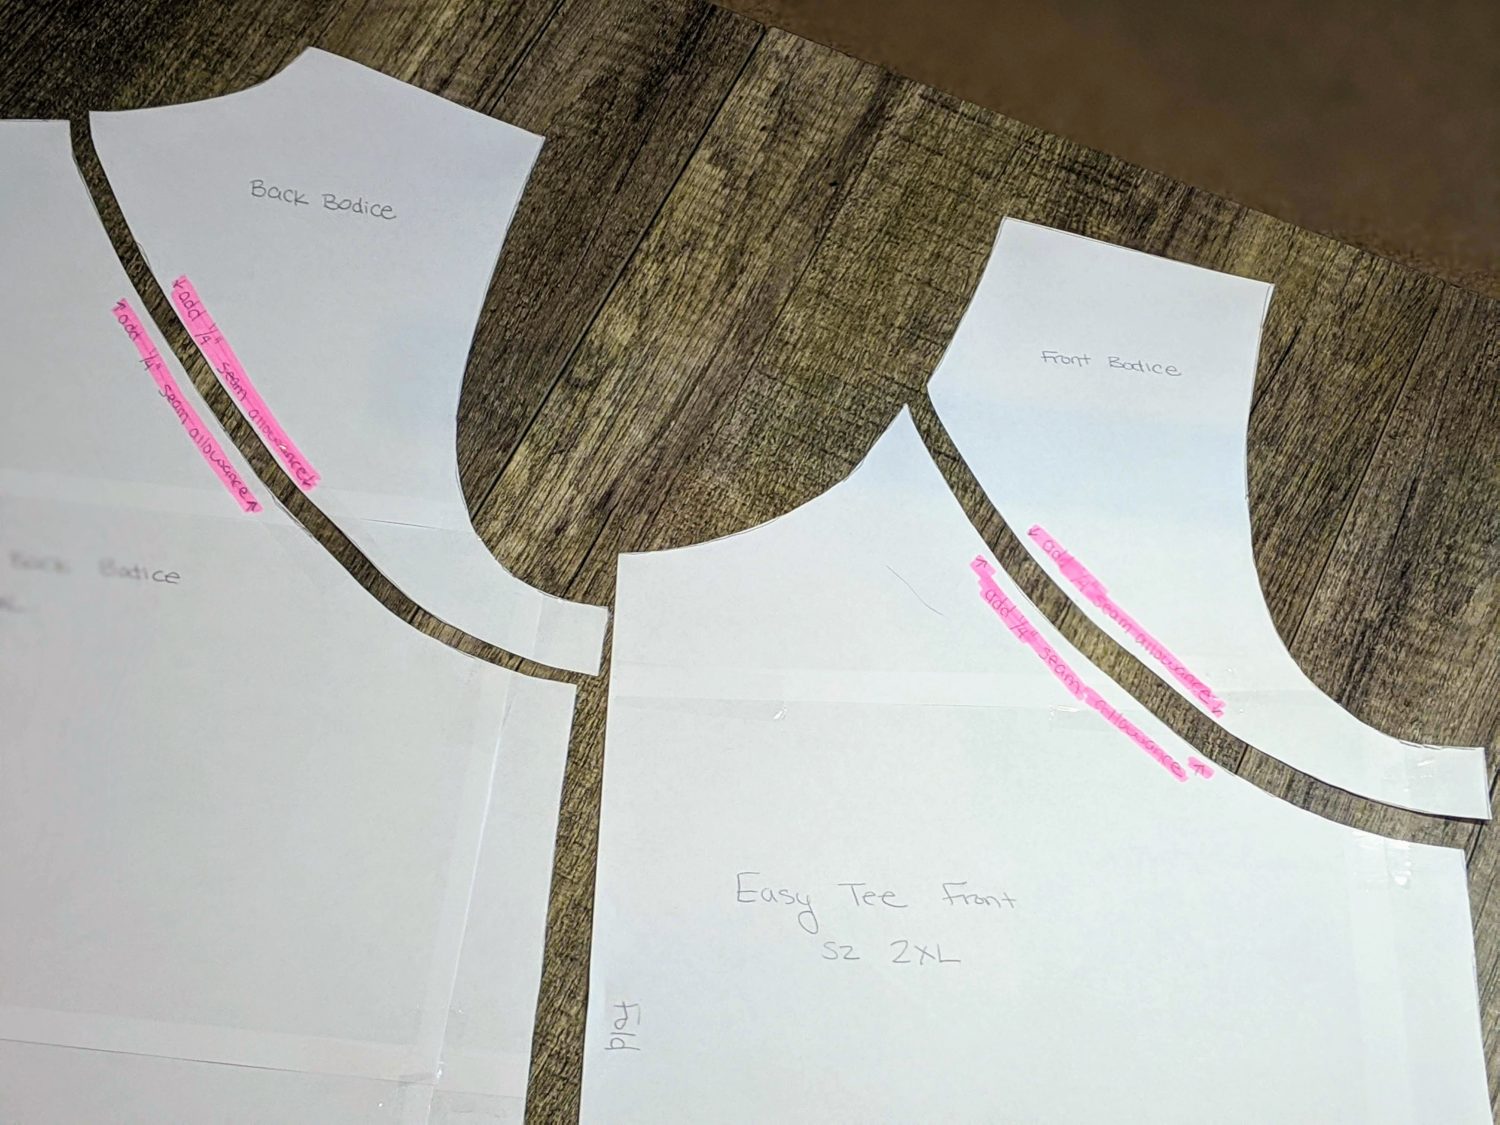
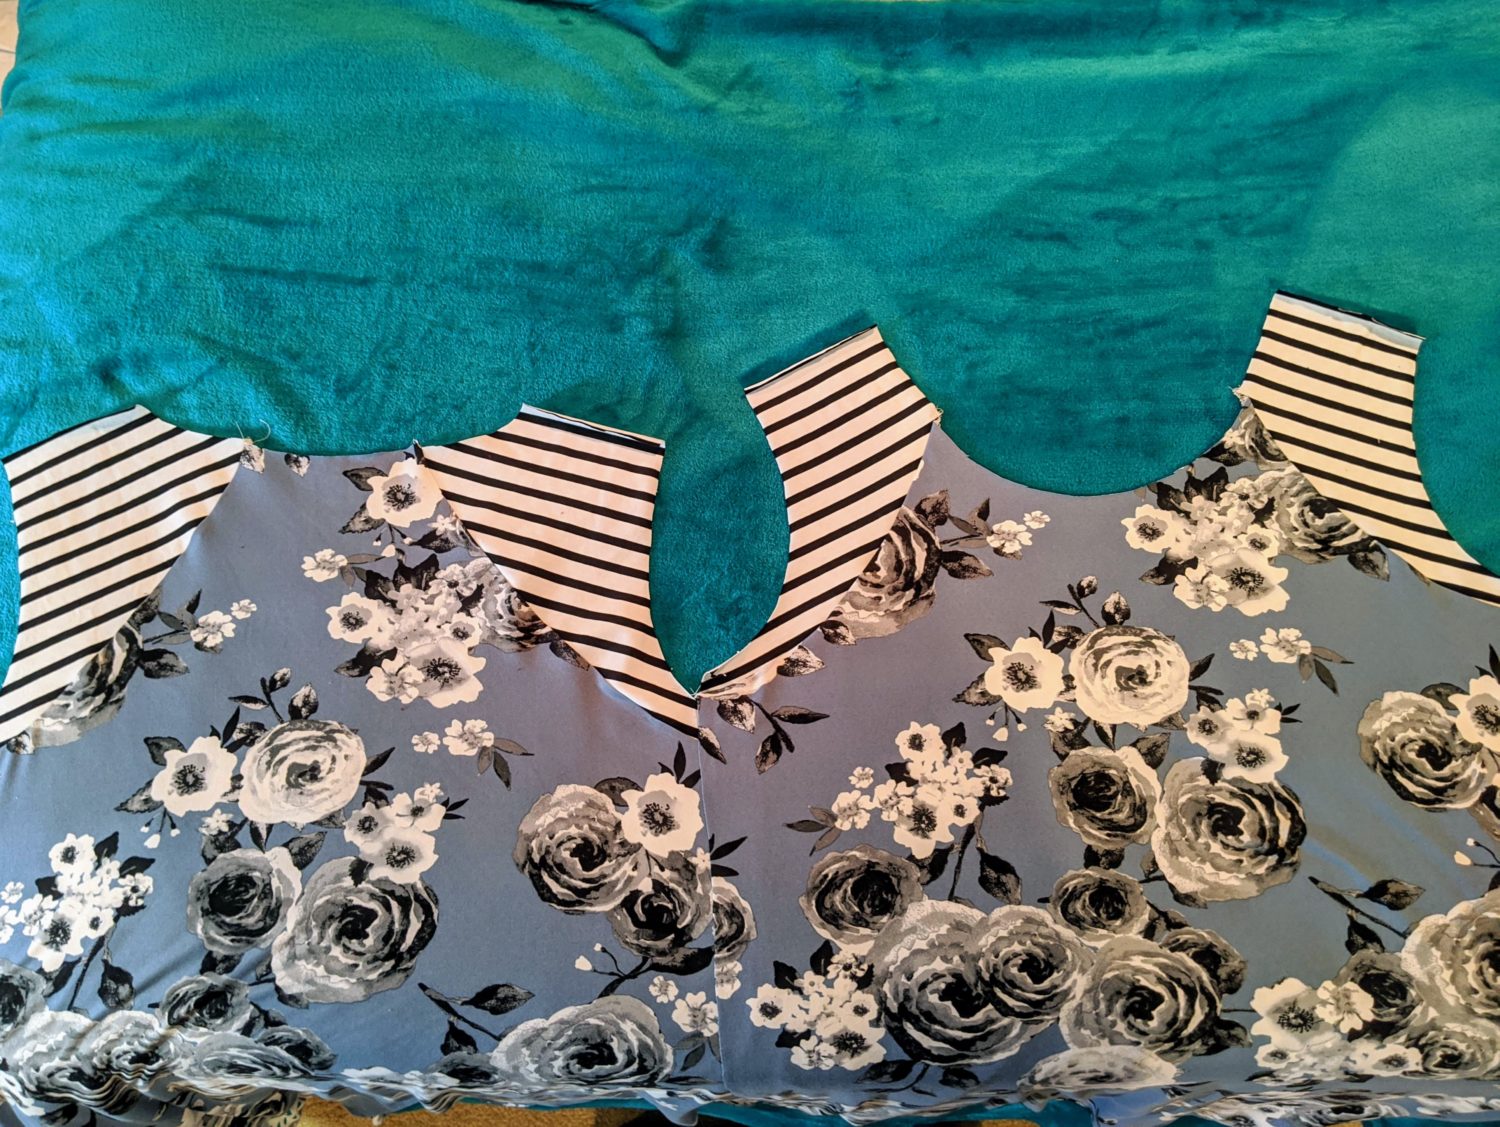
You will now have a front and back bodice.
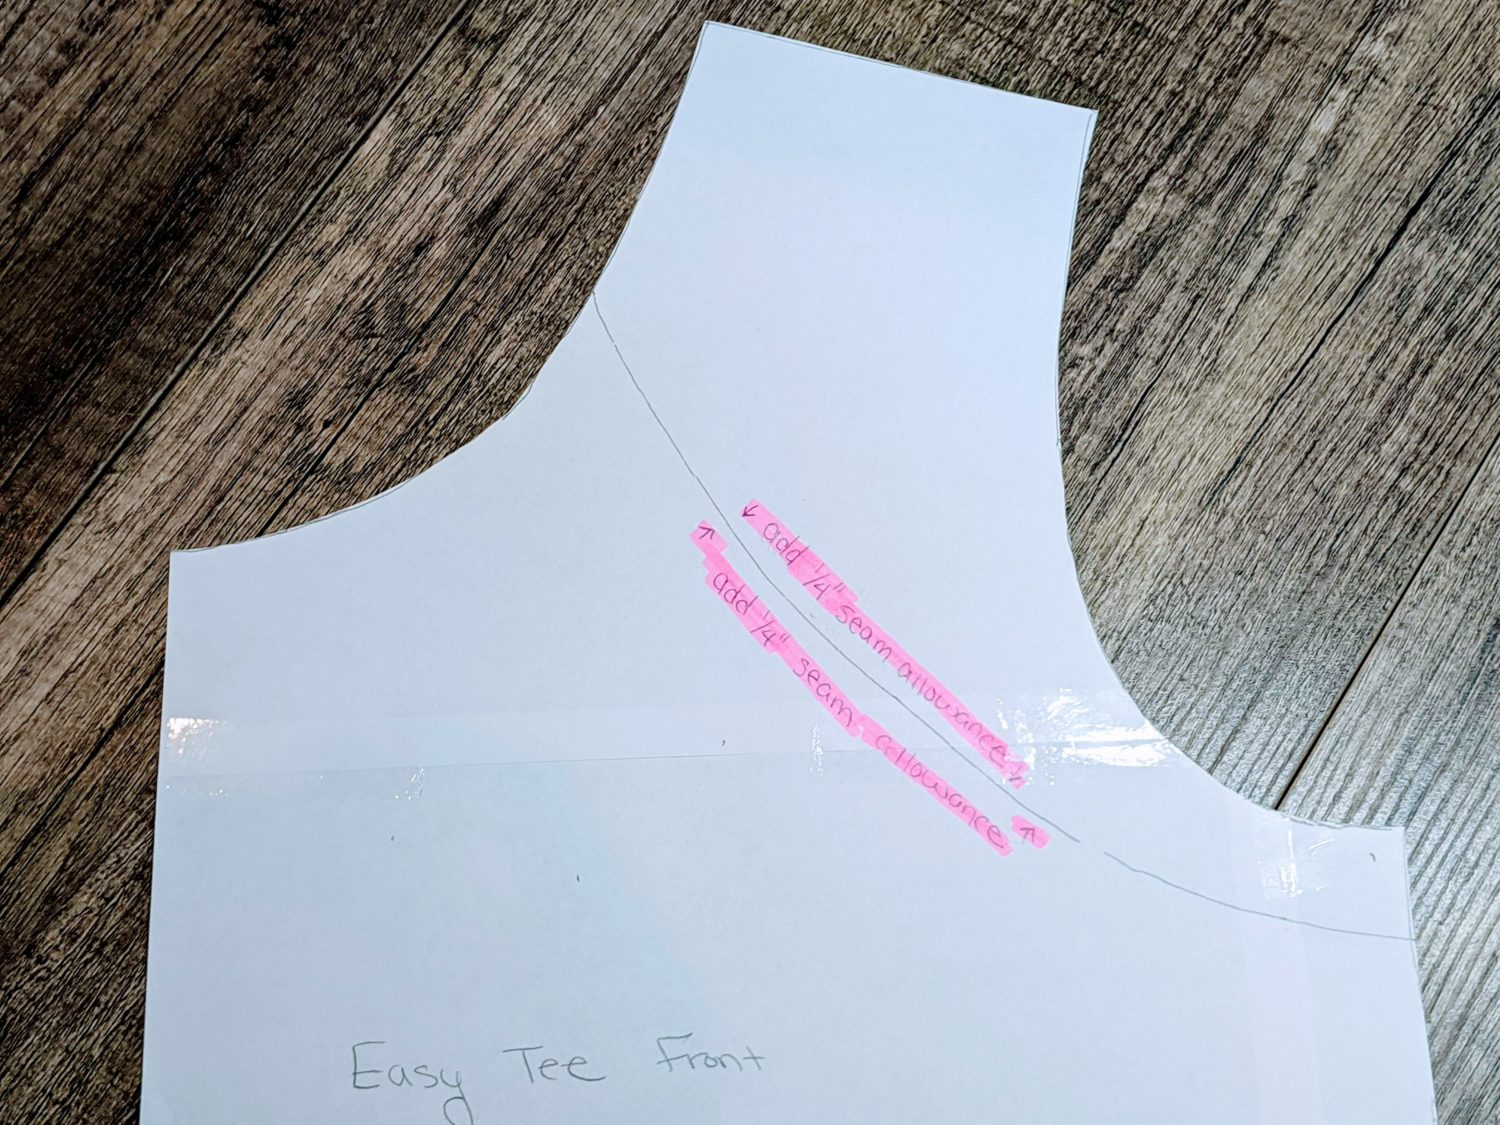
Because Nancy is traced onto the easy tee, you will need to add your seam allowance into the armscye of the pieces when you cut them out. Add a ¼” seam allowance to both the bodice and accent pieces.
I recommend CLEARLY labeling your pattern pieces as to where you need to add the seam allowance to make it obvious so you won’t miss it when you’re cutting out your fabric.
I highlighted mine and put arrows so I would be sure to remember. Then you will cut along the Nancy armscye line you traced onto the easy tee to create your accent pieces. Be sure to label your pieces for the front and back so you don’t mix them up.
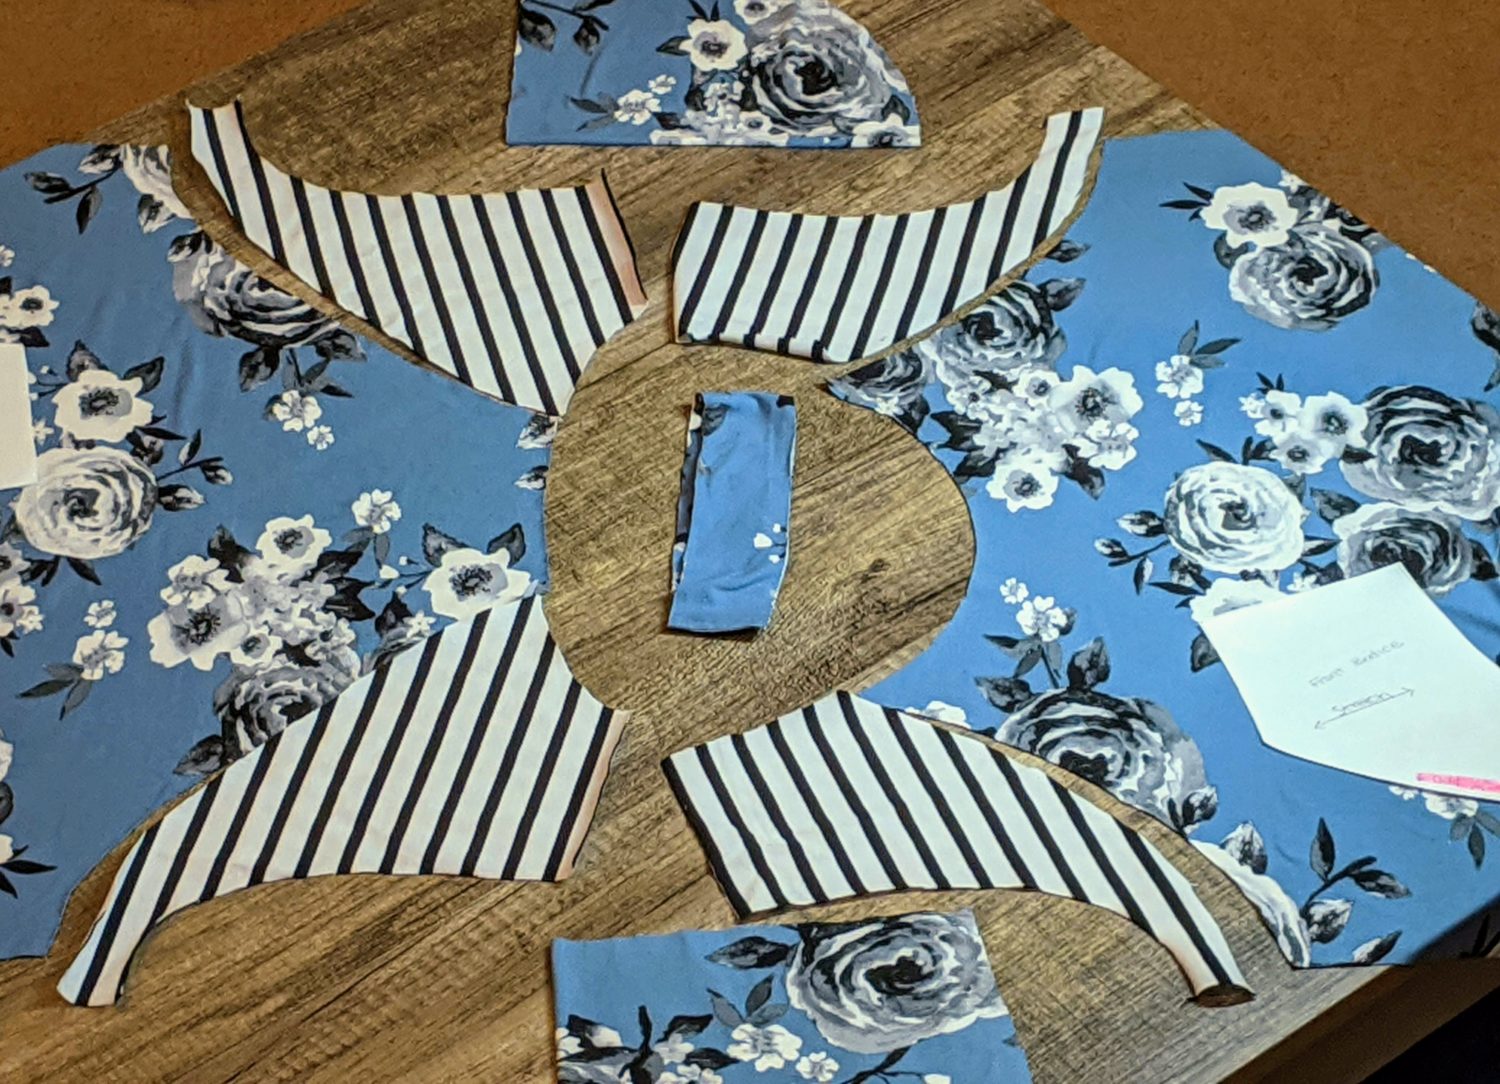
You are ready to cut out your fabric!
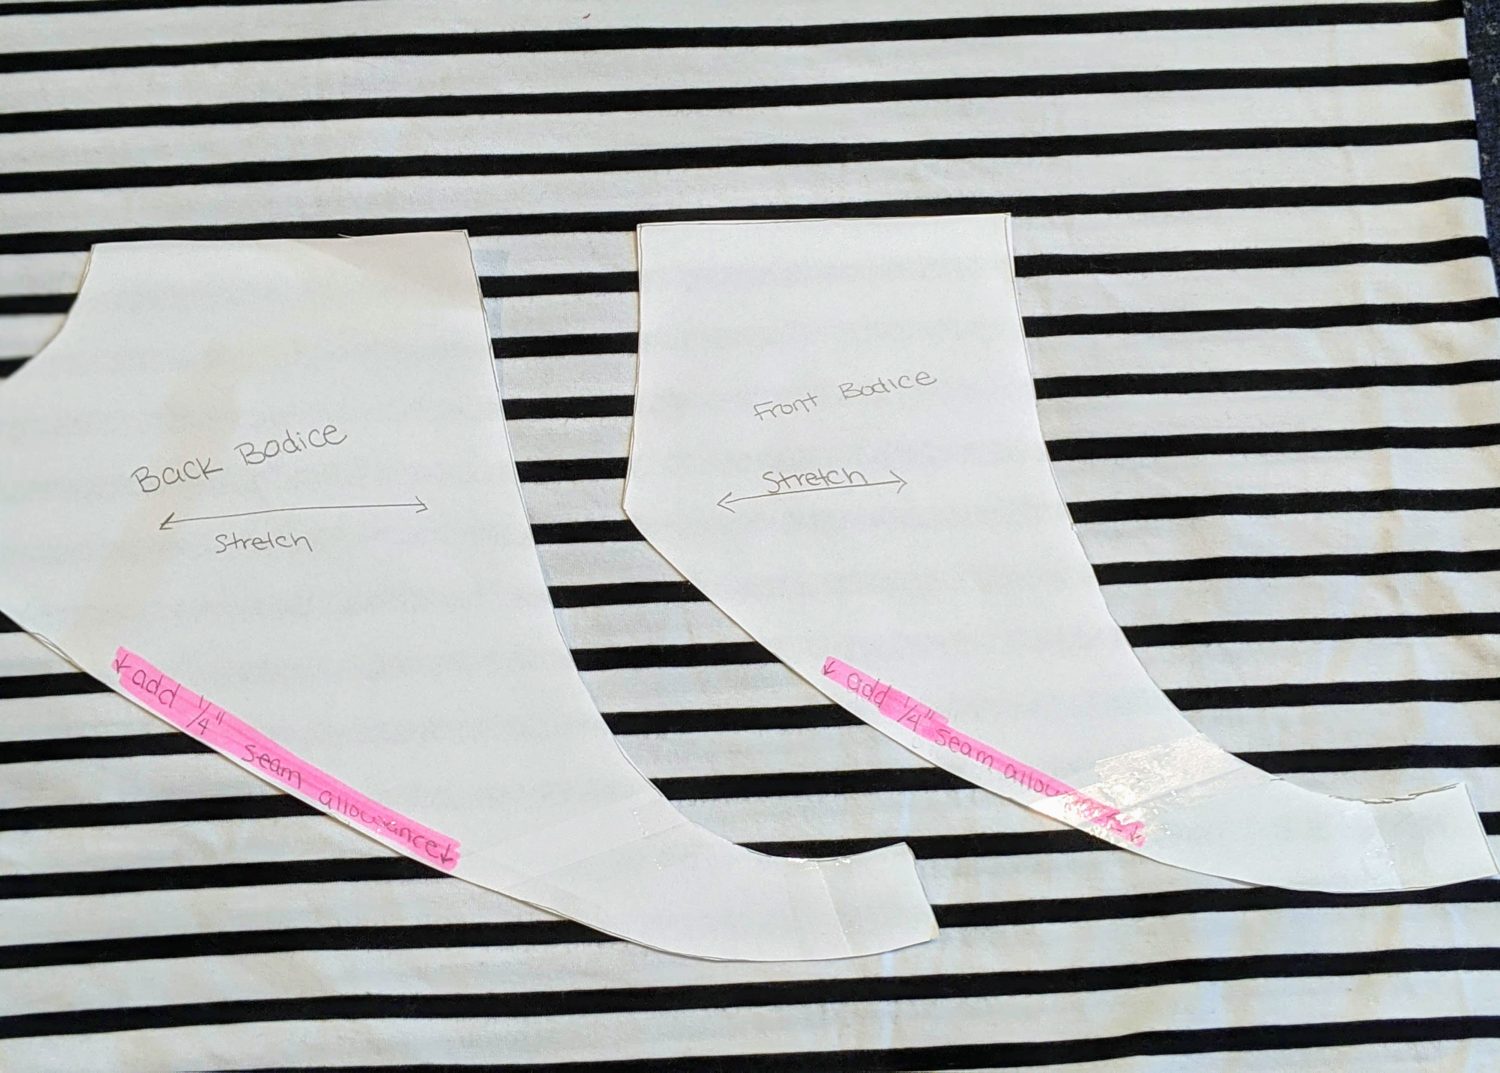
Cut both the main bodice sections on the fold as instructed in the pattern. For the accents, you will cut 2 mirrored images of both the front and back pieces. (Remember to pay attention to direction of stretch when laying out the accent pieces) You will also need to cut out your sleeves and neckband using the pattern pieces from the Easy Tee pattern.
It’s time to assemble!
Pin the accent pieces along the Nancy arm scythe. You will need to turn your fabric as you pin the accent piece to work it around the curved edge.
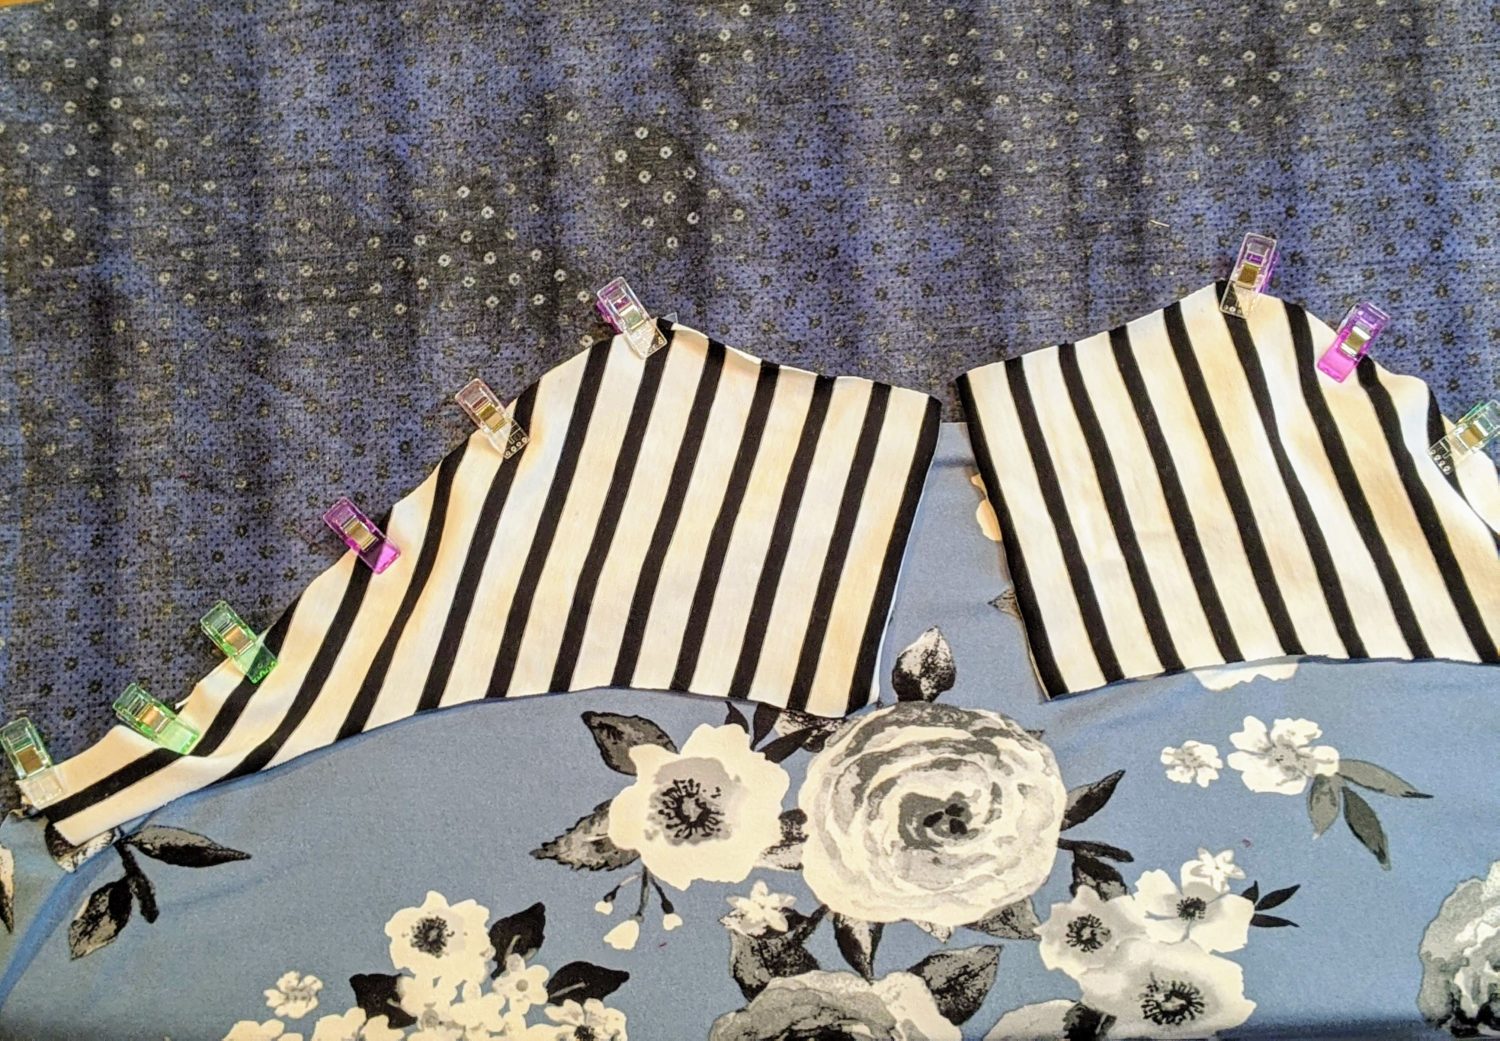
Sew together with a 1/4″ seam allowance using stretch stitch or serger. Press seam allowance towards bodice. Repeat this to attach all 4 accent pieces to the bodice.
From this point on, you can follow the Easy Tee tutorial to finish the construction. And you’re ready to show off your beautiful creation!

As always, we’re here to help if you need it! Join us HERE and on Facebook, Instagram, Twitter, Youtube, and Pinterest. We’re everywhere you are.
Leave a Reply