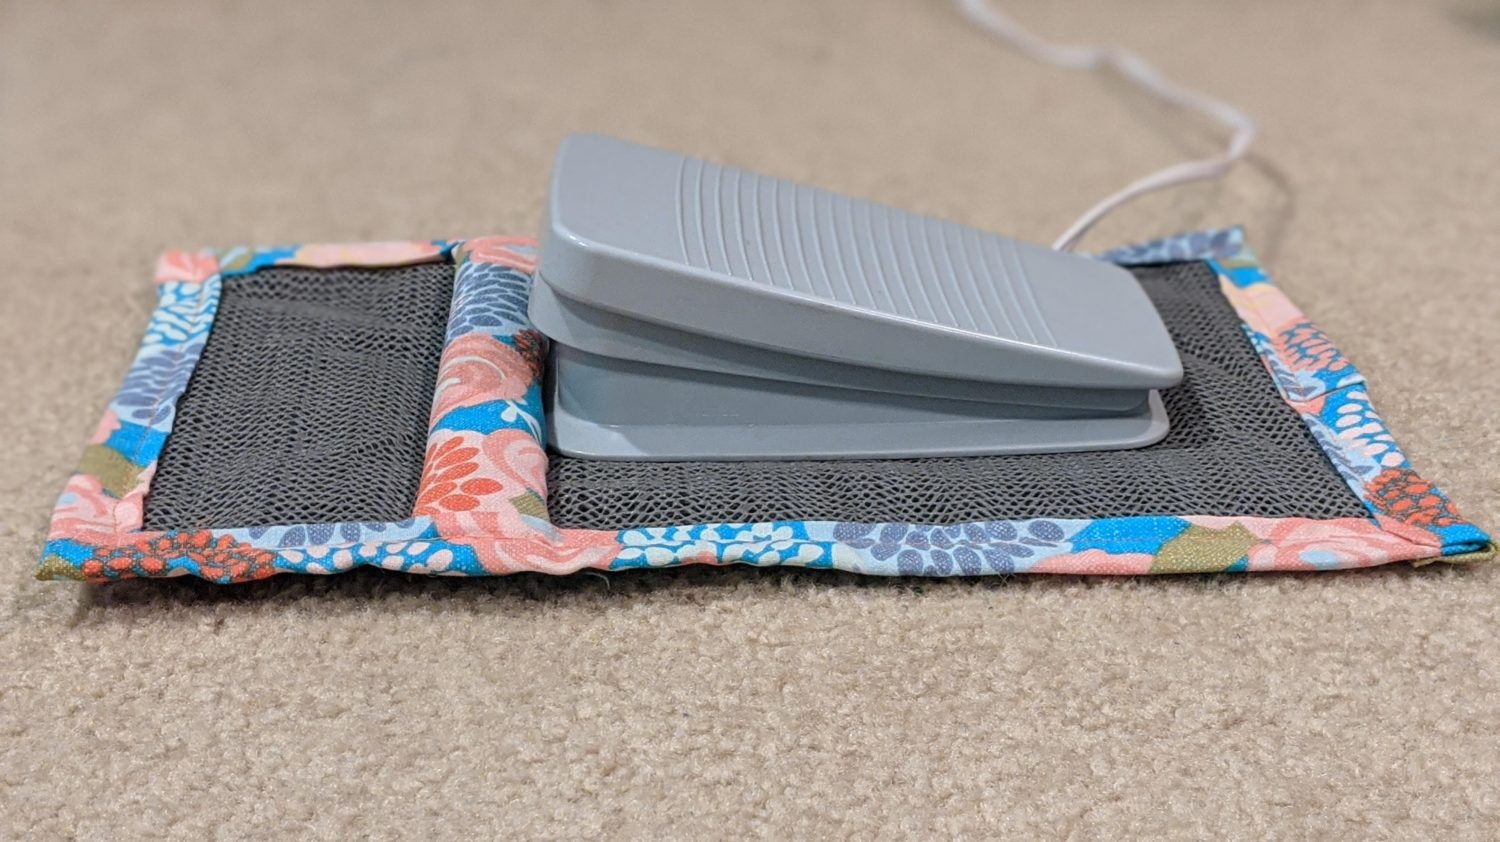
I don’t know about you, but every time I sew I end up pushing my foot pedal all the way back against the wall where I can barely reach it anymore. It’s a constant battle of trying to keep it in one place. To solve that problem, I made a non-slip pedal pad and it has not disappointed!
Materials Needed
- Shelf liner, or some other type of non-slip rubbery material
- Fabric for the stopper and binding (I used quilter’s cotton)
- Hot glue gun
- Sewing machine
- Optional: needle and thread
Get everything ready for you new pedal pad
You will need to start by cutting your non-slip material and fabric to size.
Measurements:
- Non-slip shelf liner: 12” X 8” (I used 4 layers of thin shelf liner from the dollar store)
- Bumper: shelf liner: approx 4” X 30” folded to make it 4” X 7”
- Fabric to cover the bumper: 9” X 9”
- Binding fabric: 3” X 45”
- Strips of tracing paper or parchment paper to help with sewing through the rubber pad

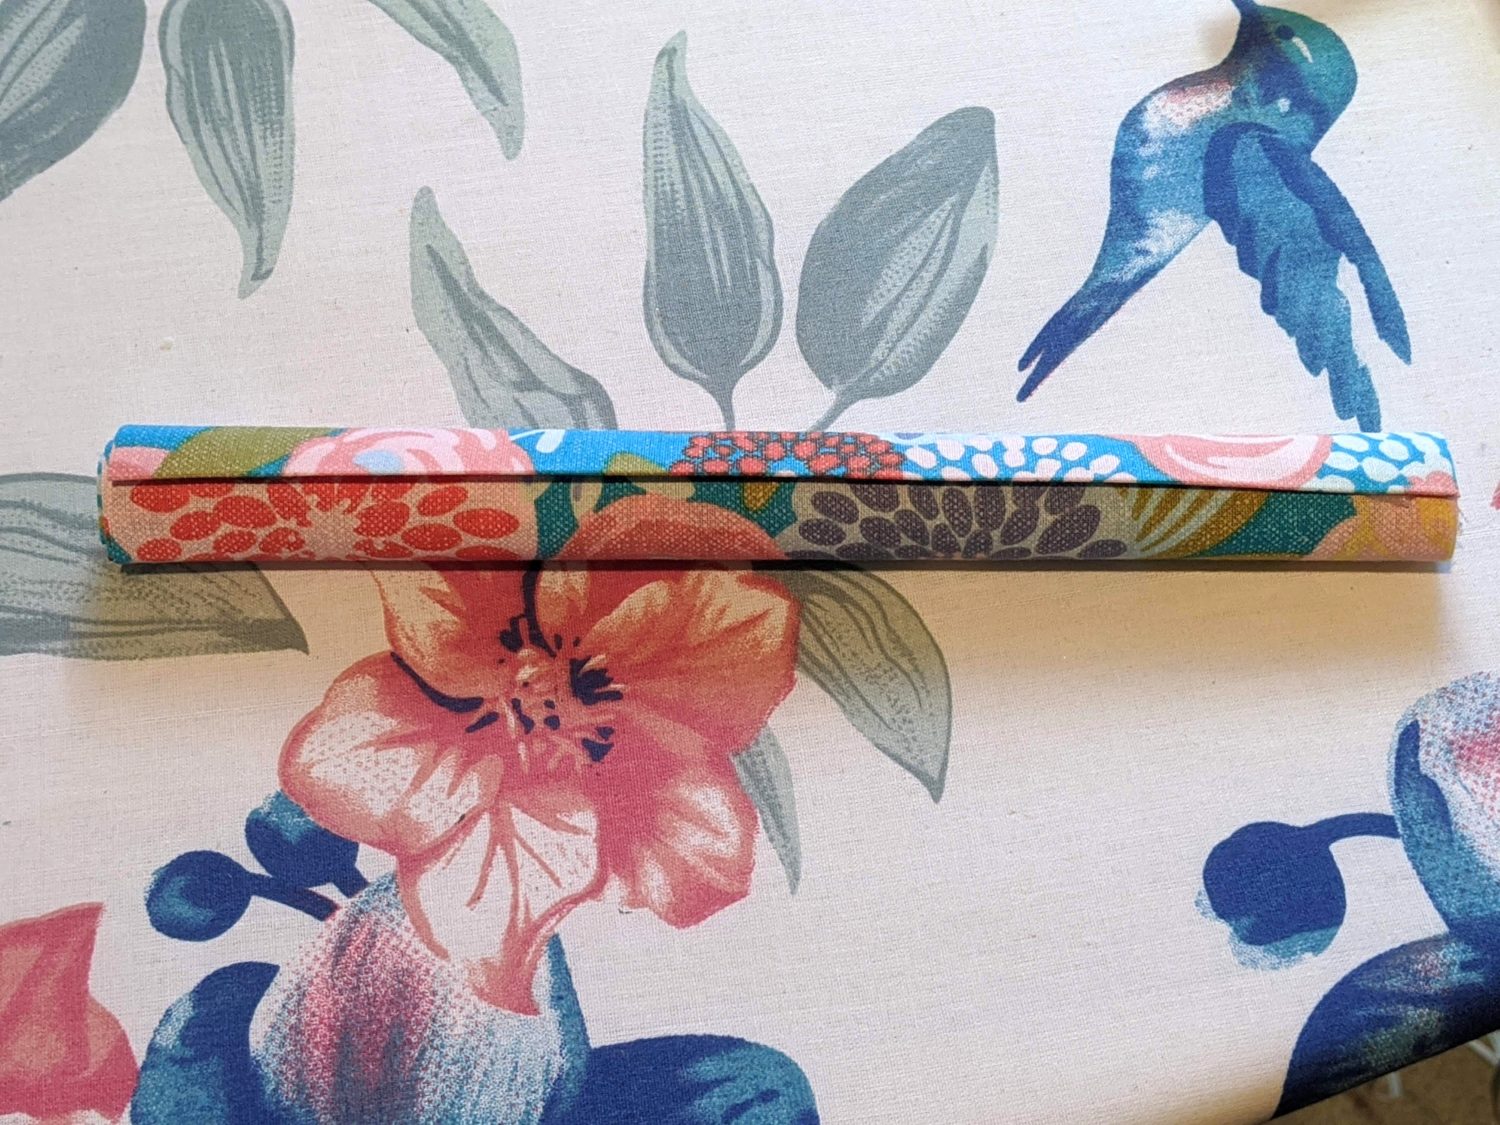
Making the bumper
- Fold the 4″ X 30″ piece of shelf liner to create a 4” X 7” rectangle
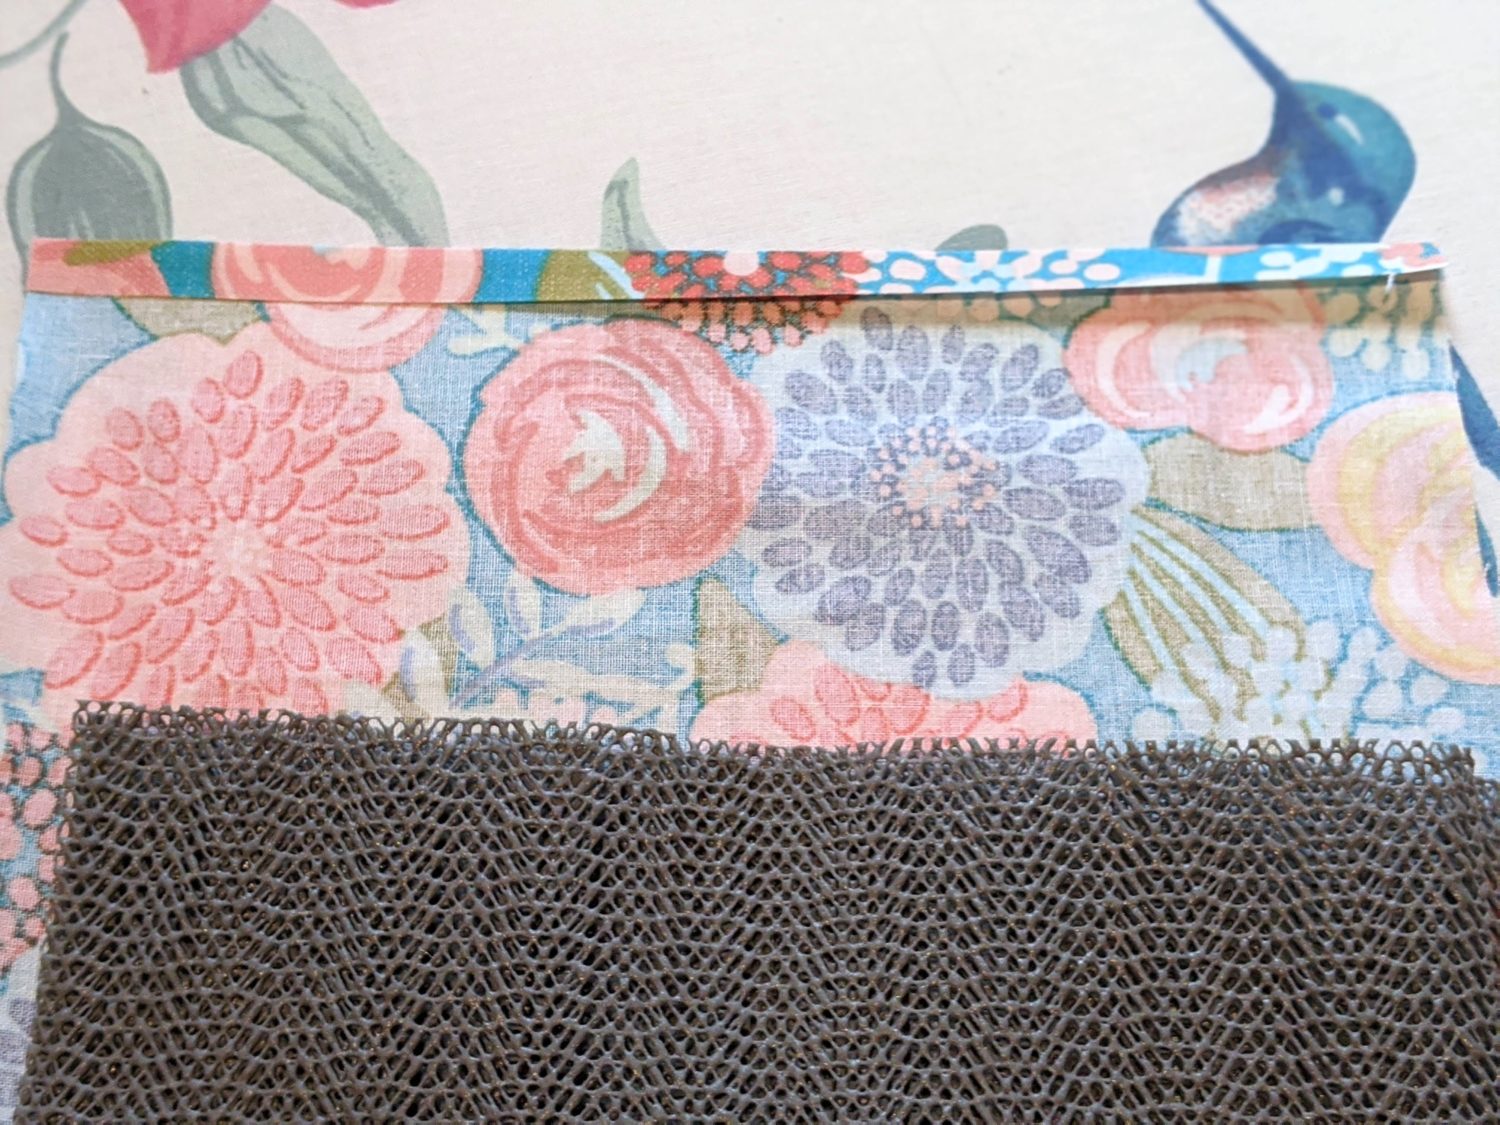
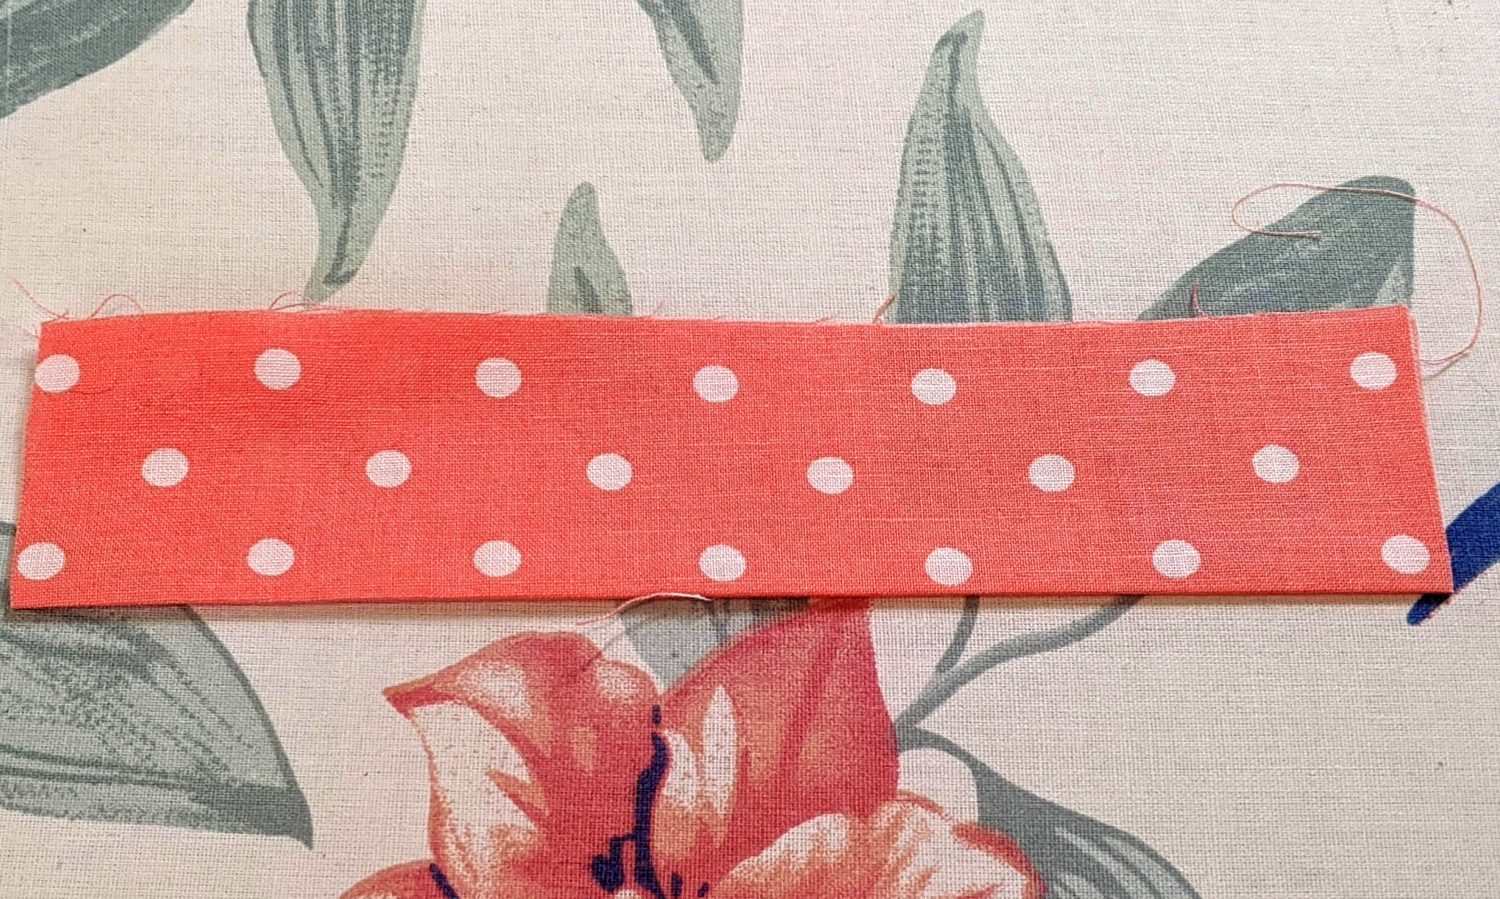
- Take the fabric for the bumper and press one end in ¼”
- At the other end of the bumper fabric, lay the bumper gripper long way across with approx 1” extra fabric on either side
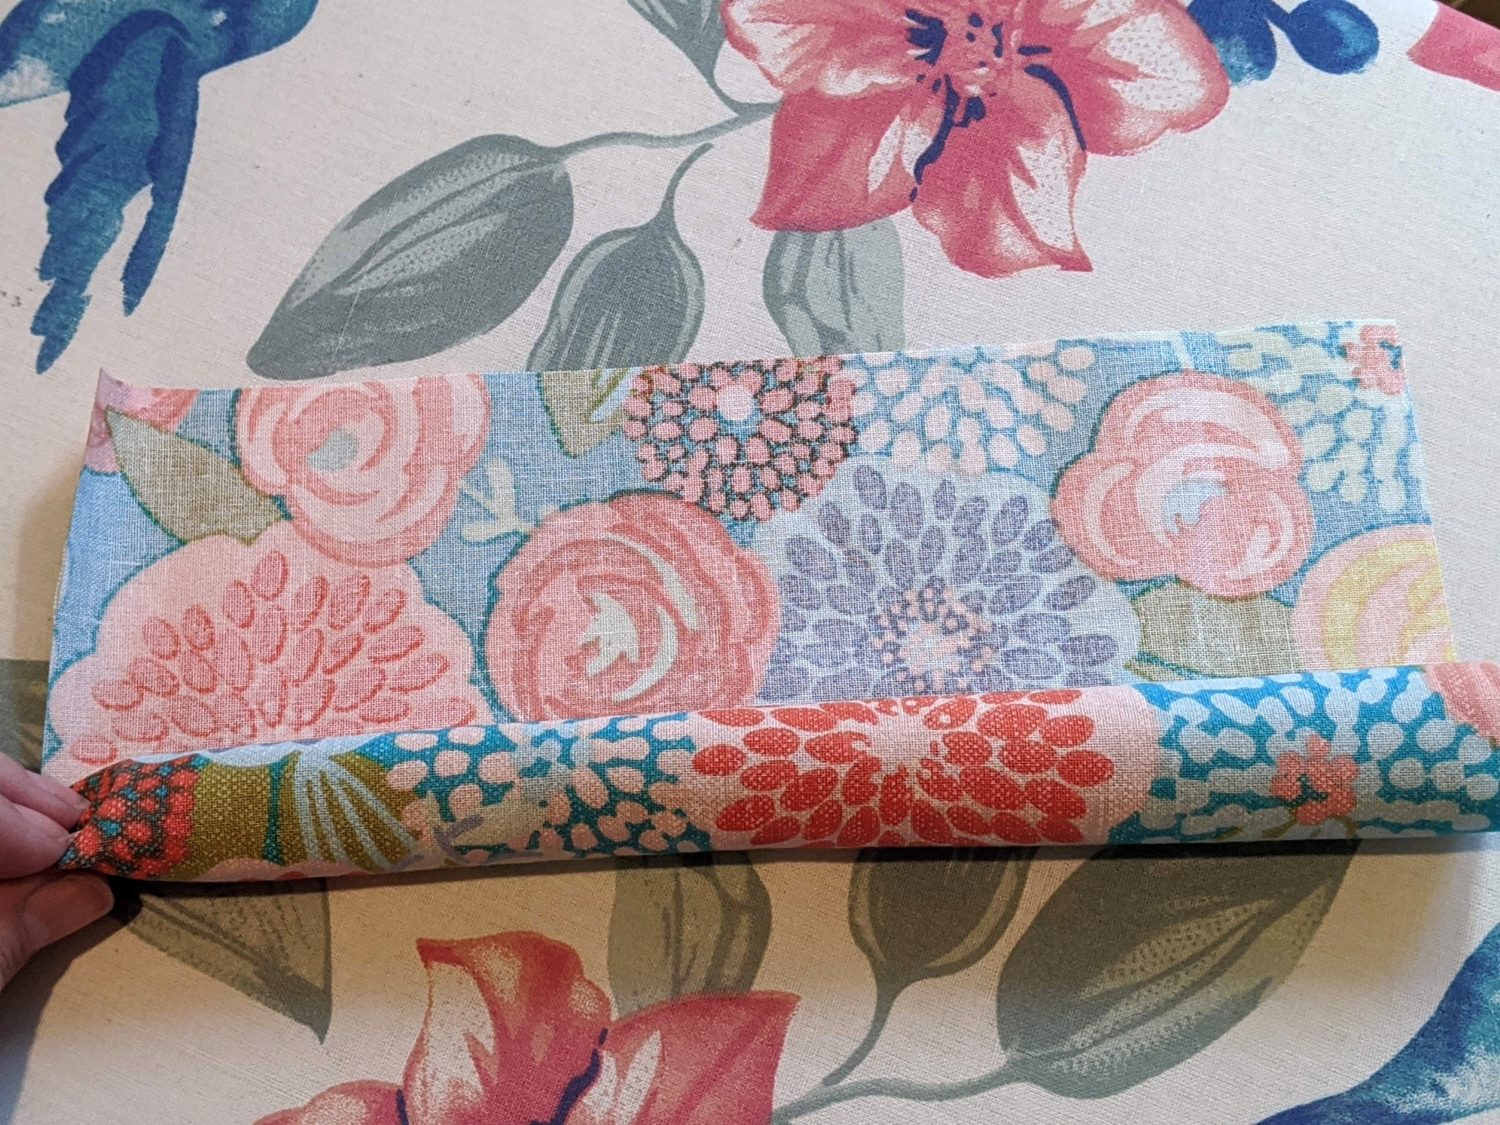
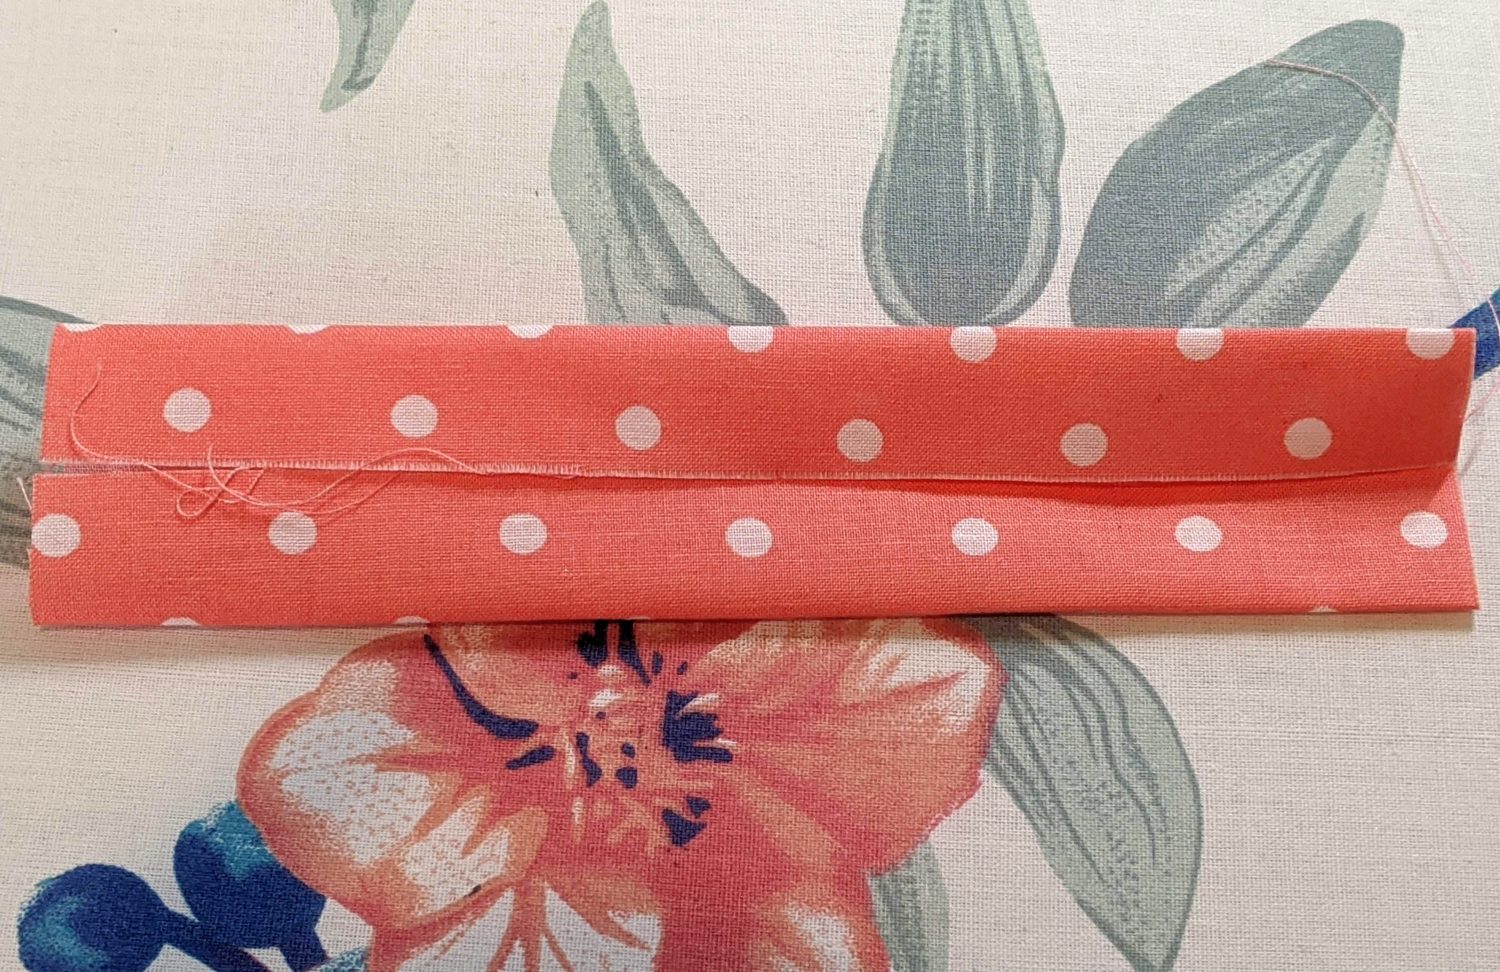
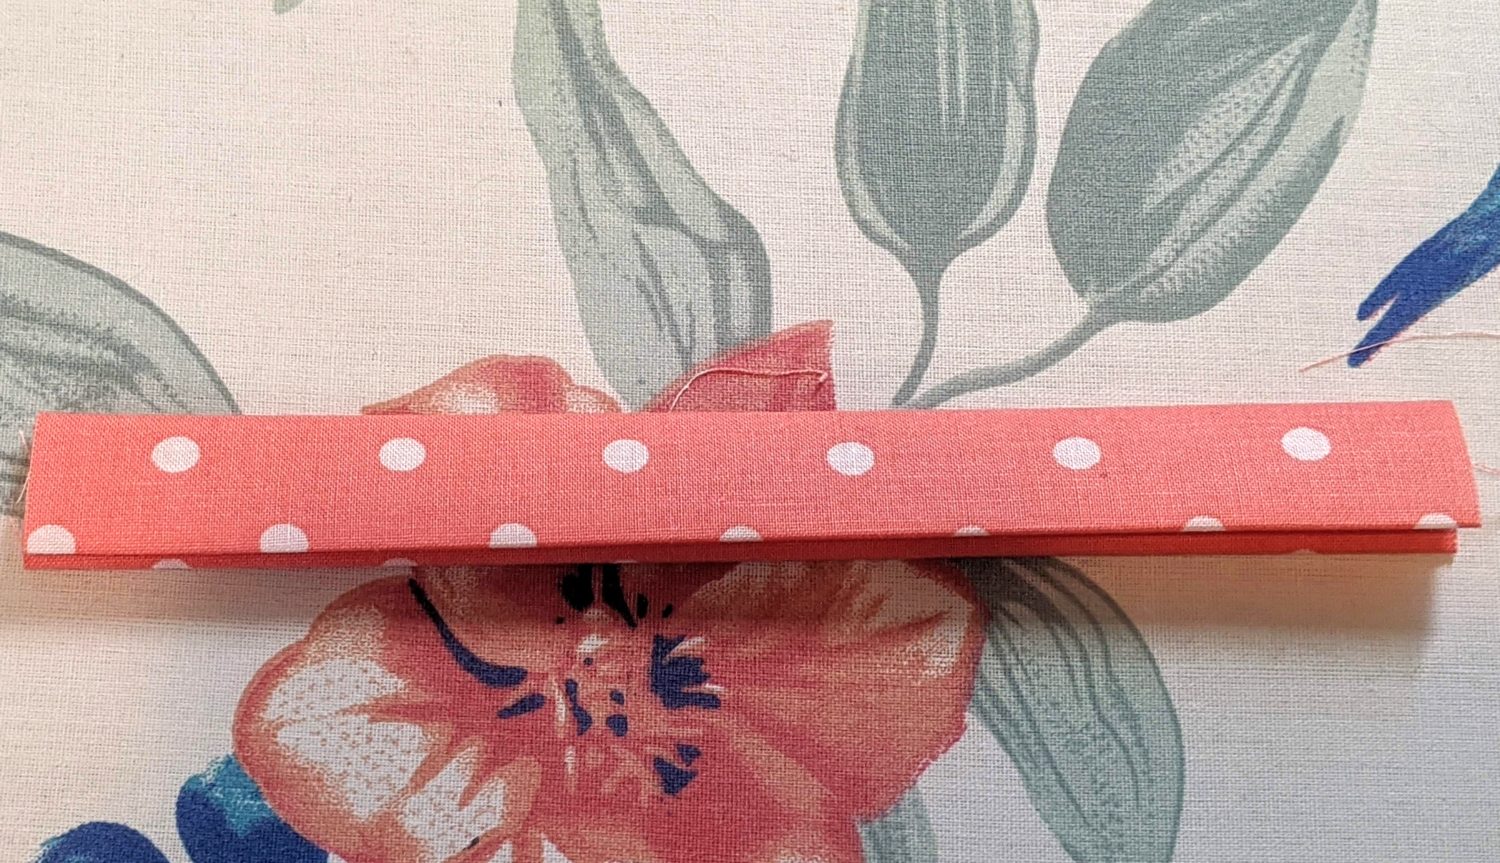
- Roll up the gripper into the fabric to make a burrito and hot glue along the end to hold in place and set aside for now
Let’s put it together
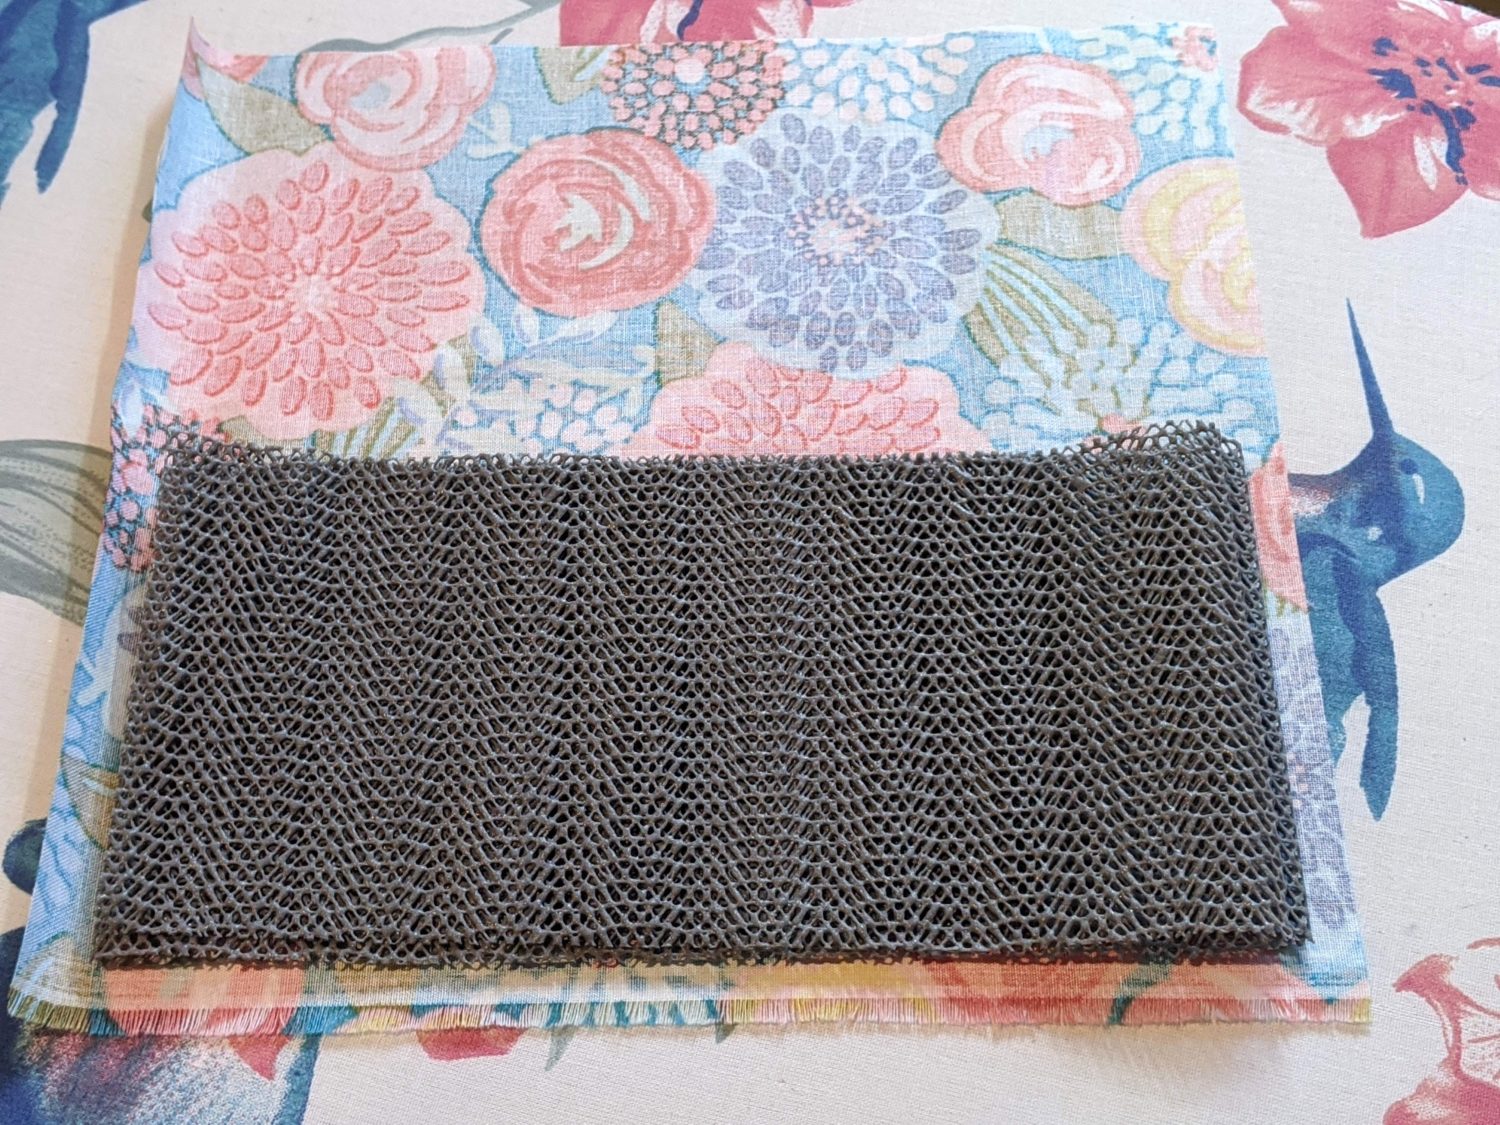
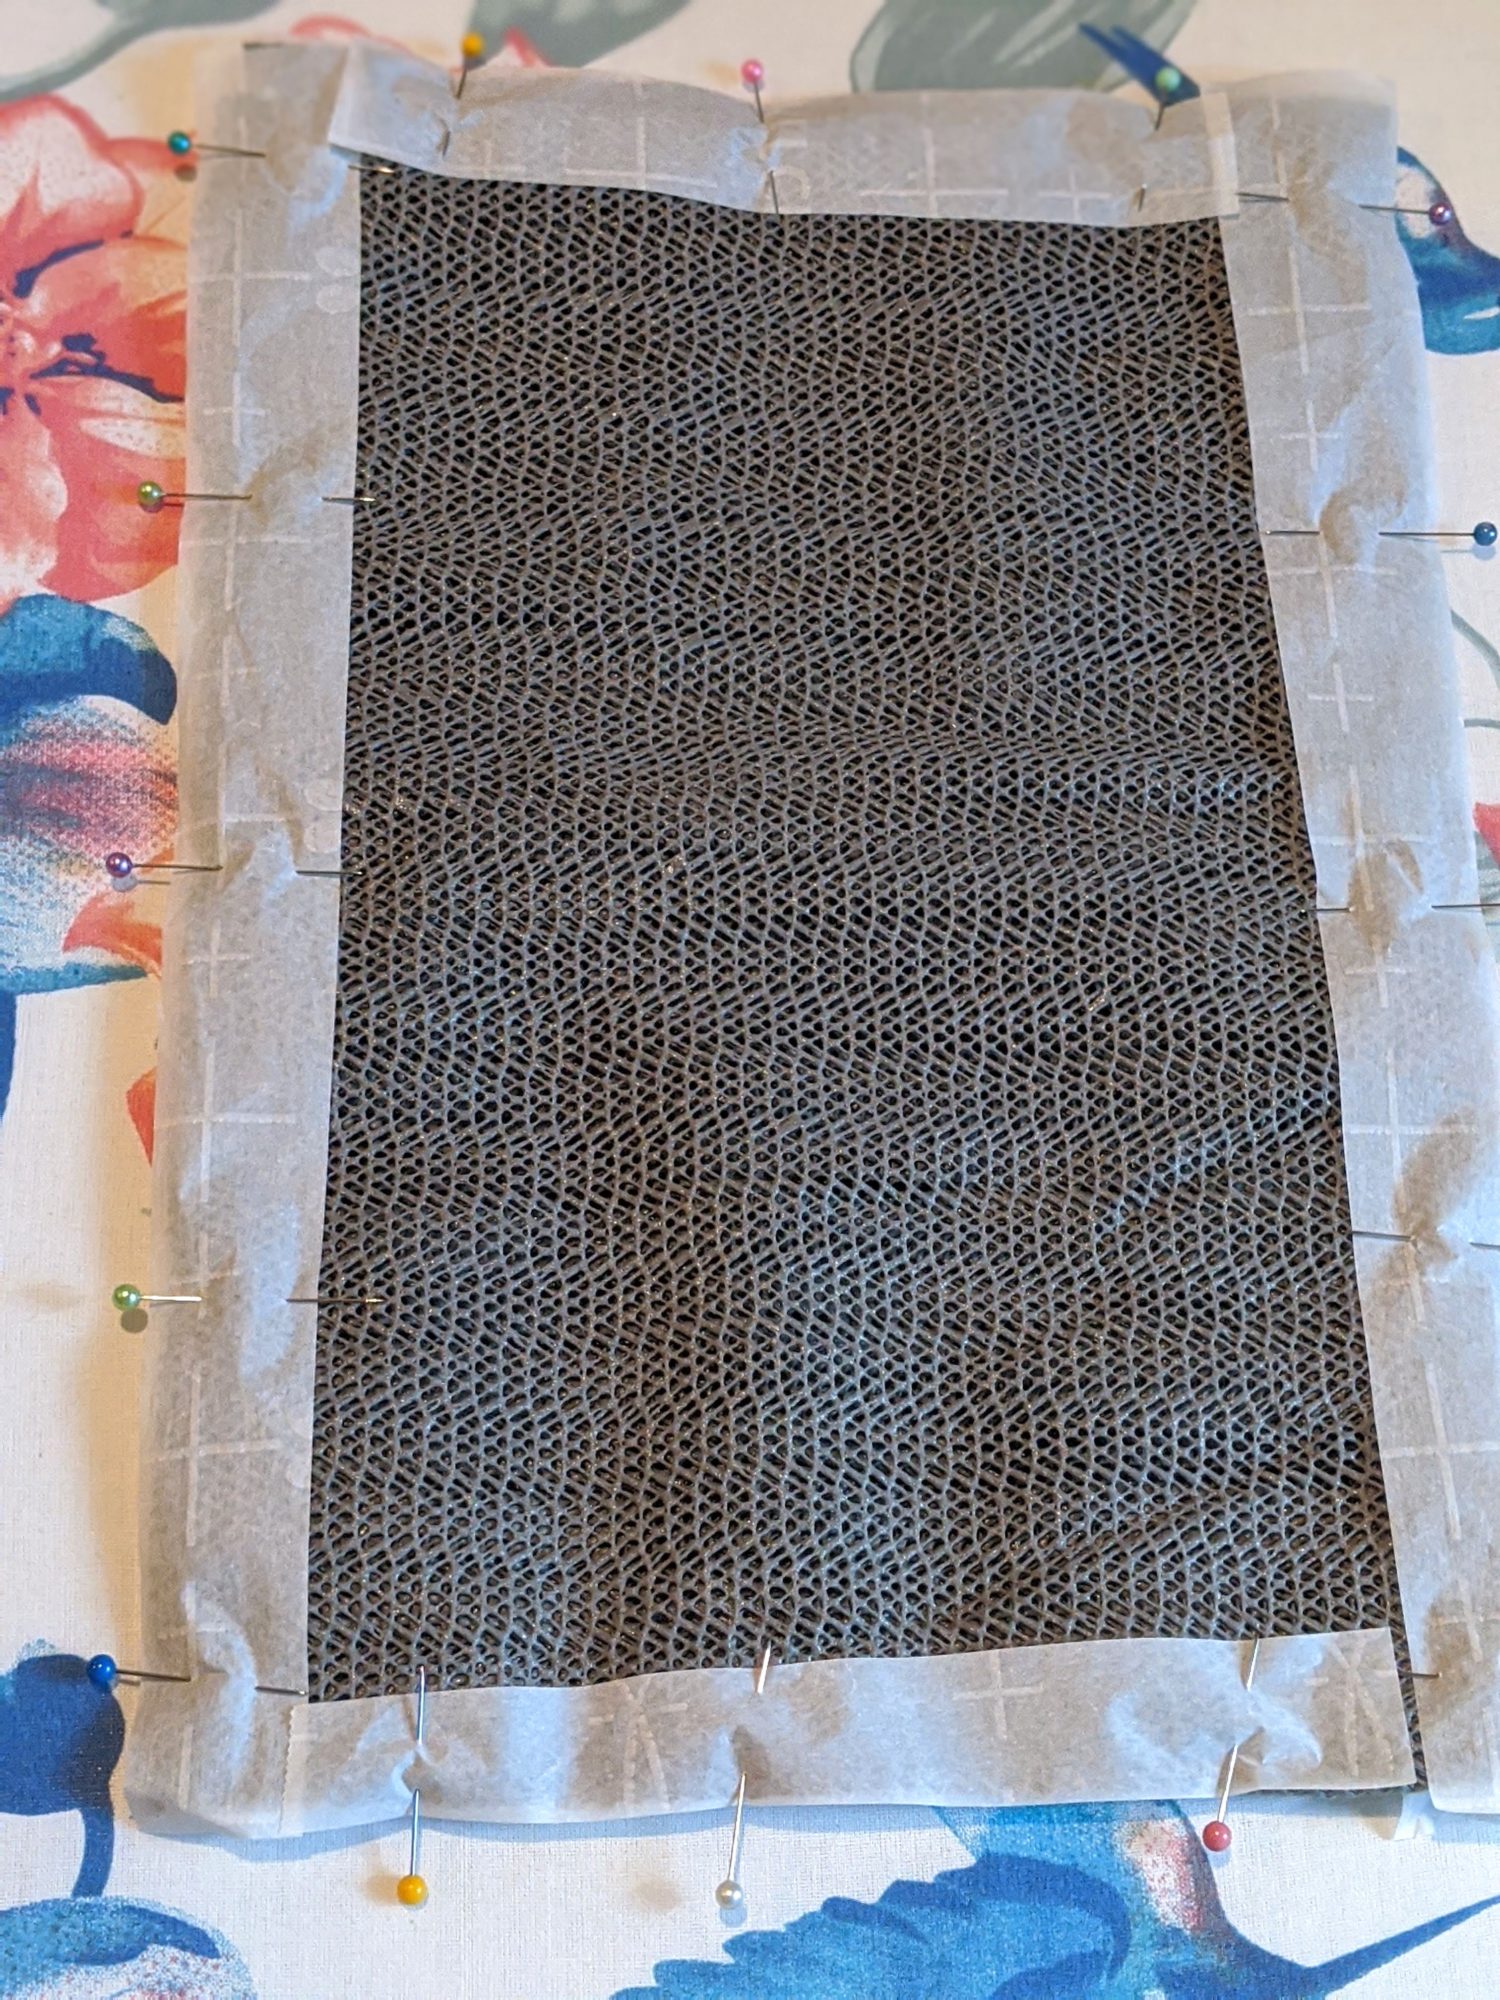
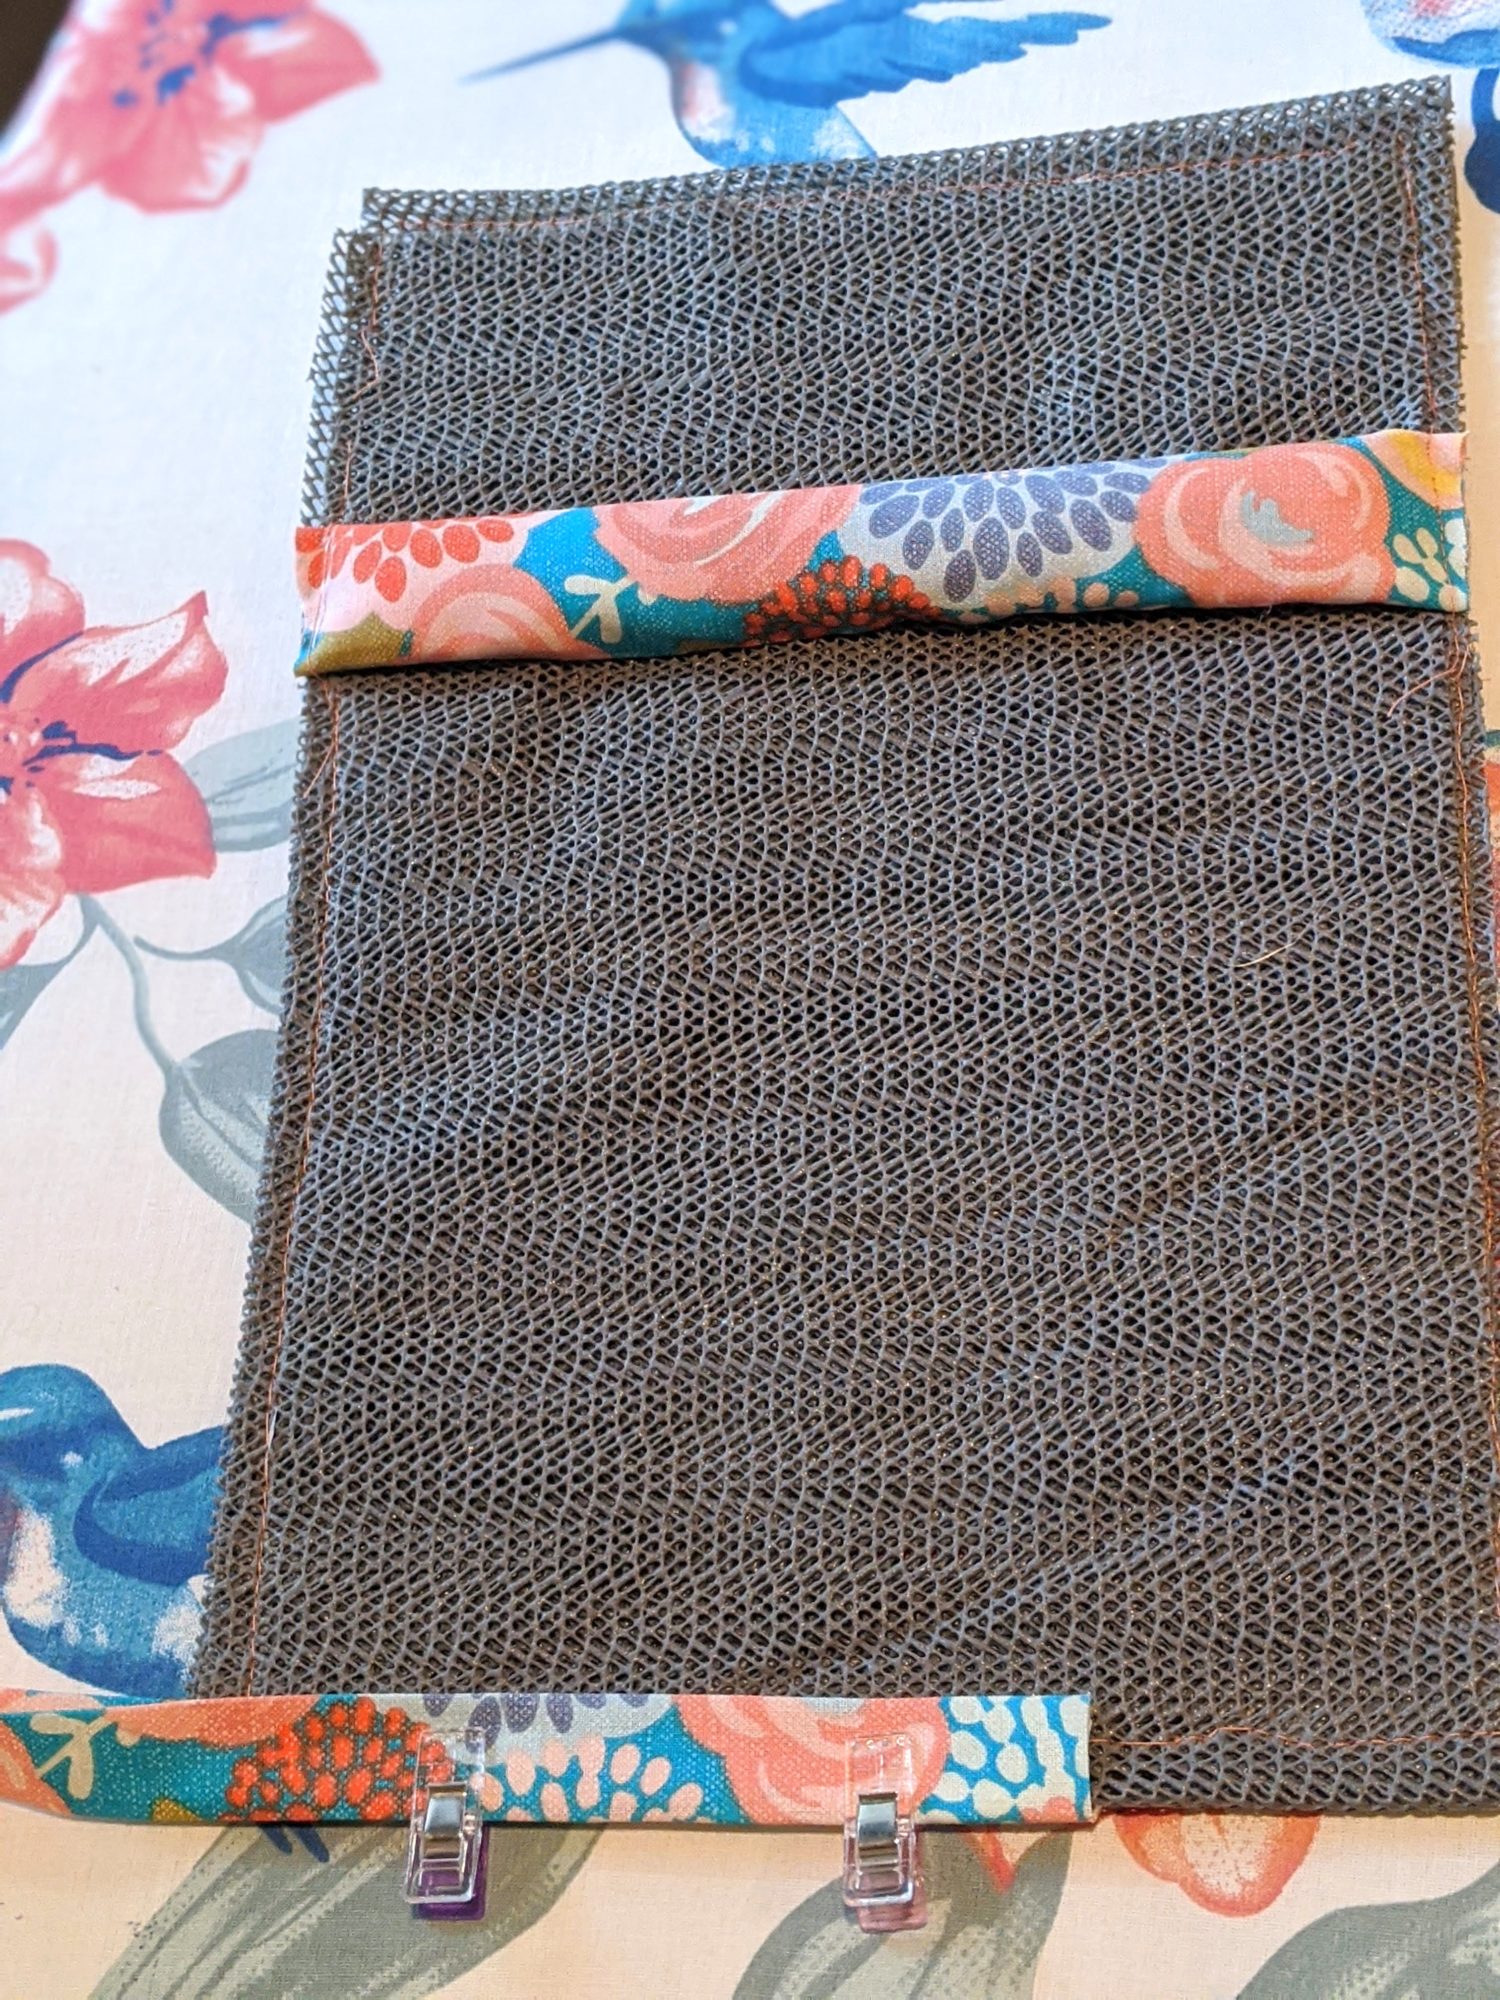
- Take your gripper shelf liner and lay it out into a 12” X 8” rectangle (Mine is a roll of very thin gripper shelf liner from the dollar store, so I made it 4 layers thick. You may not need as much if your non-slip piece is a heavier duty style than what I used.)
- In a few steps, you are going to baste around the outside of all the layers to hold them together. Gripper fabric is sticky and doesn’t like to go through a sewing machine easily. To help with this, use tracing paper or parchment paper and make a border around the edges on both sides of the gripper that you will sew over and remove later. Pin the paper in place
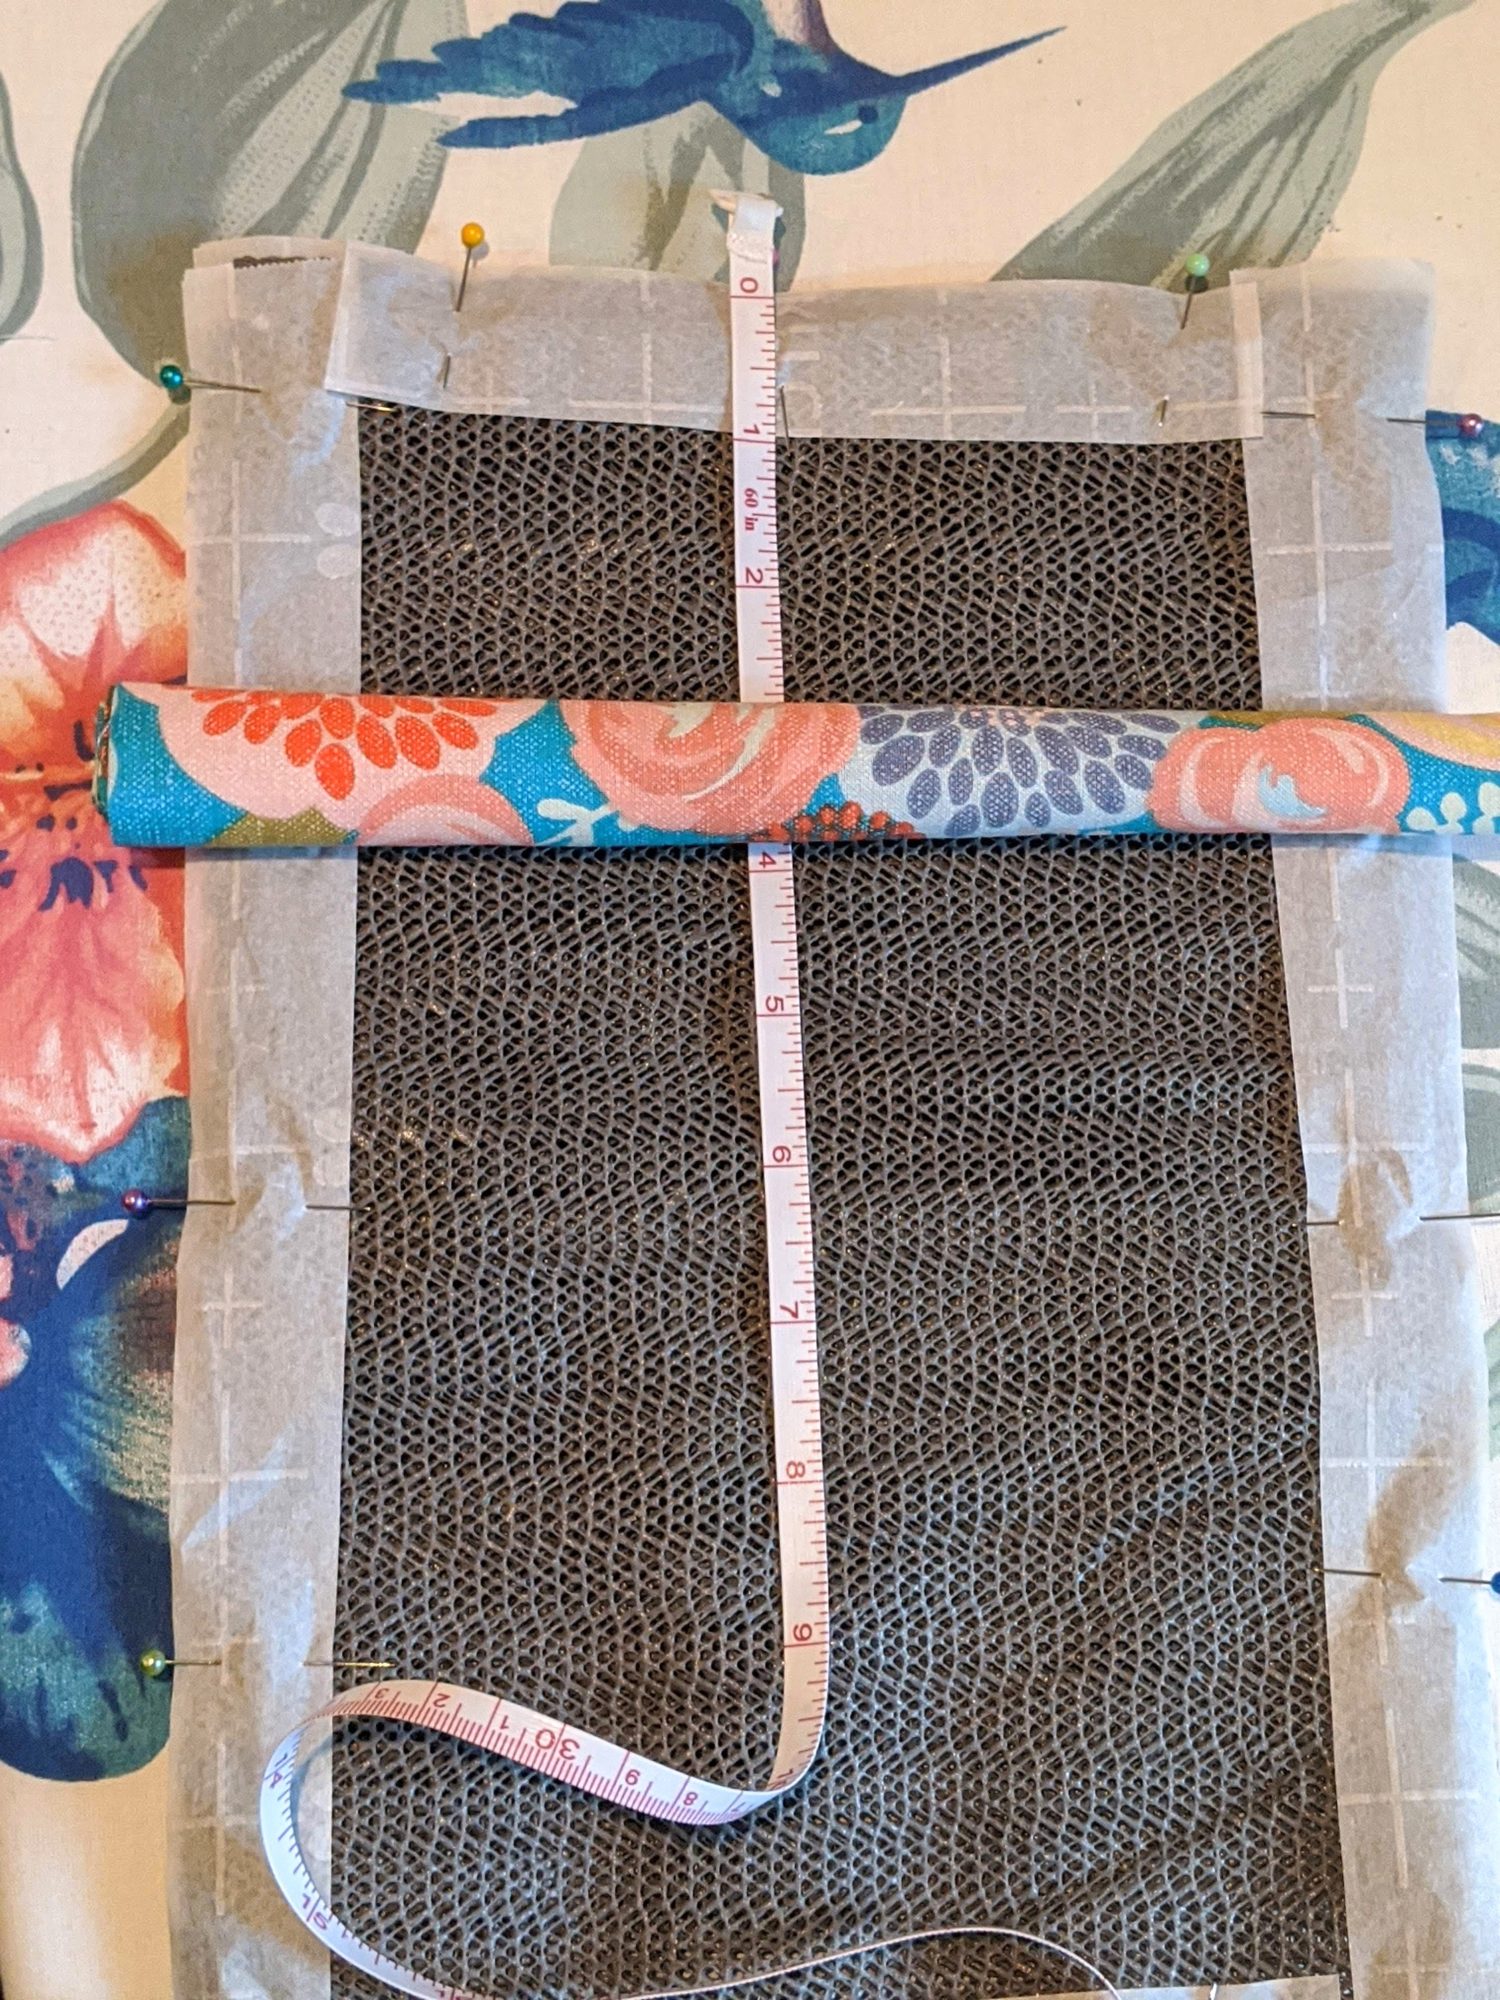
- Measure down 3” from the top of your gripper pad, and hot glue your bumper to the gripper pad with the seam side down and pin the edges down
- Baste around the entire piece (go slowly over the bumper portion)
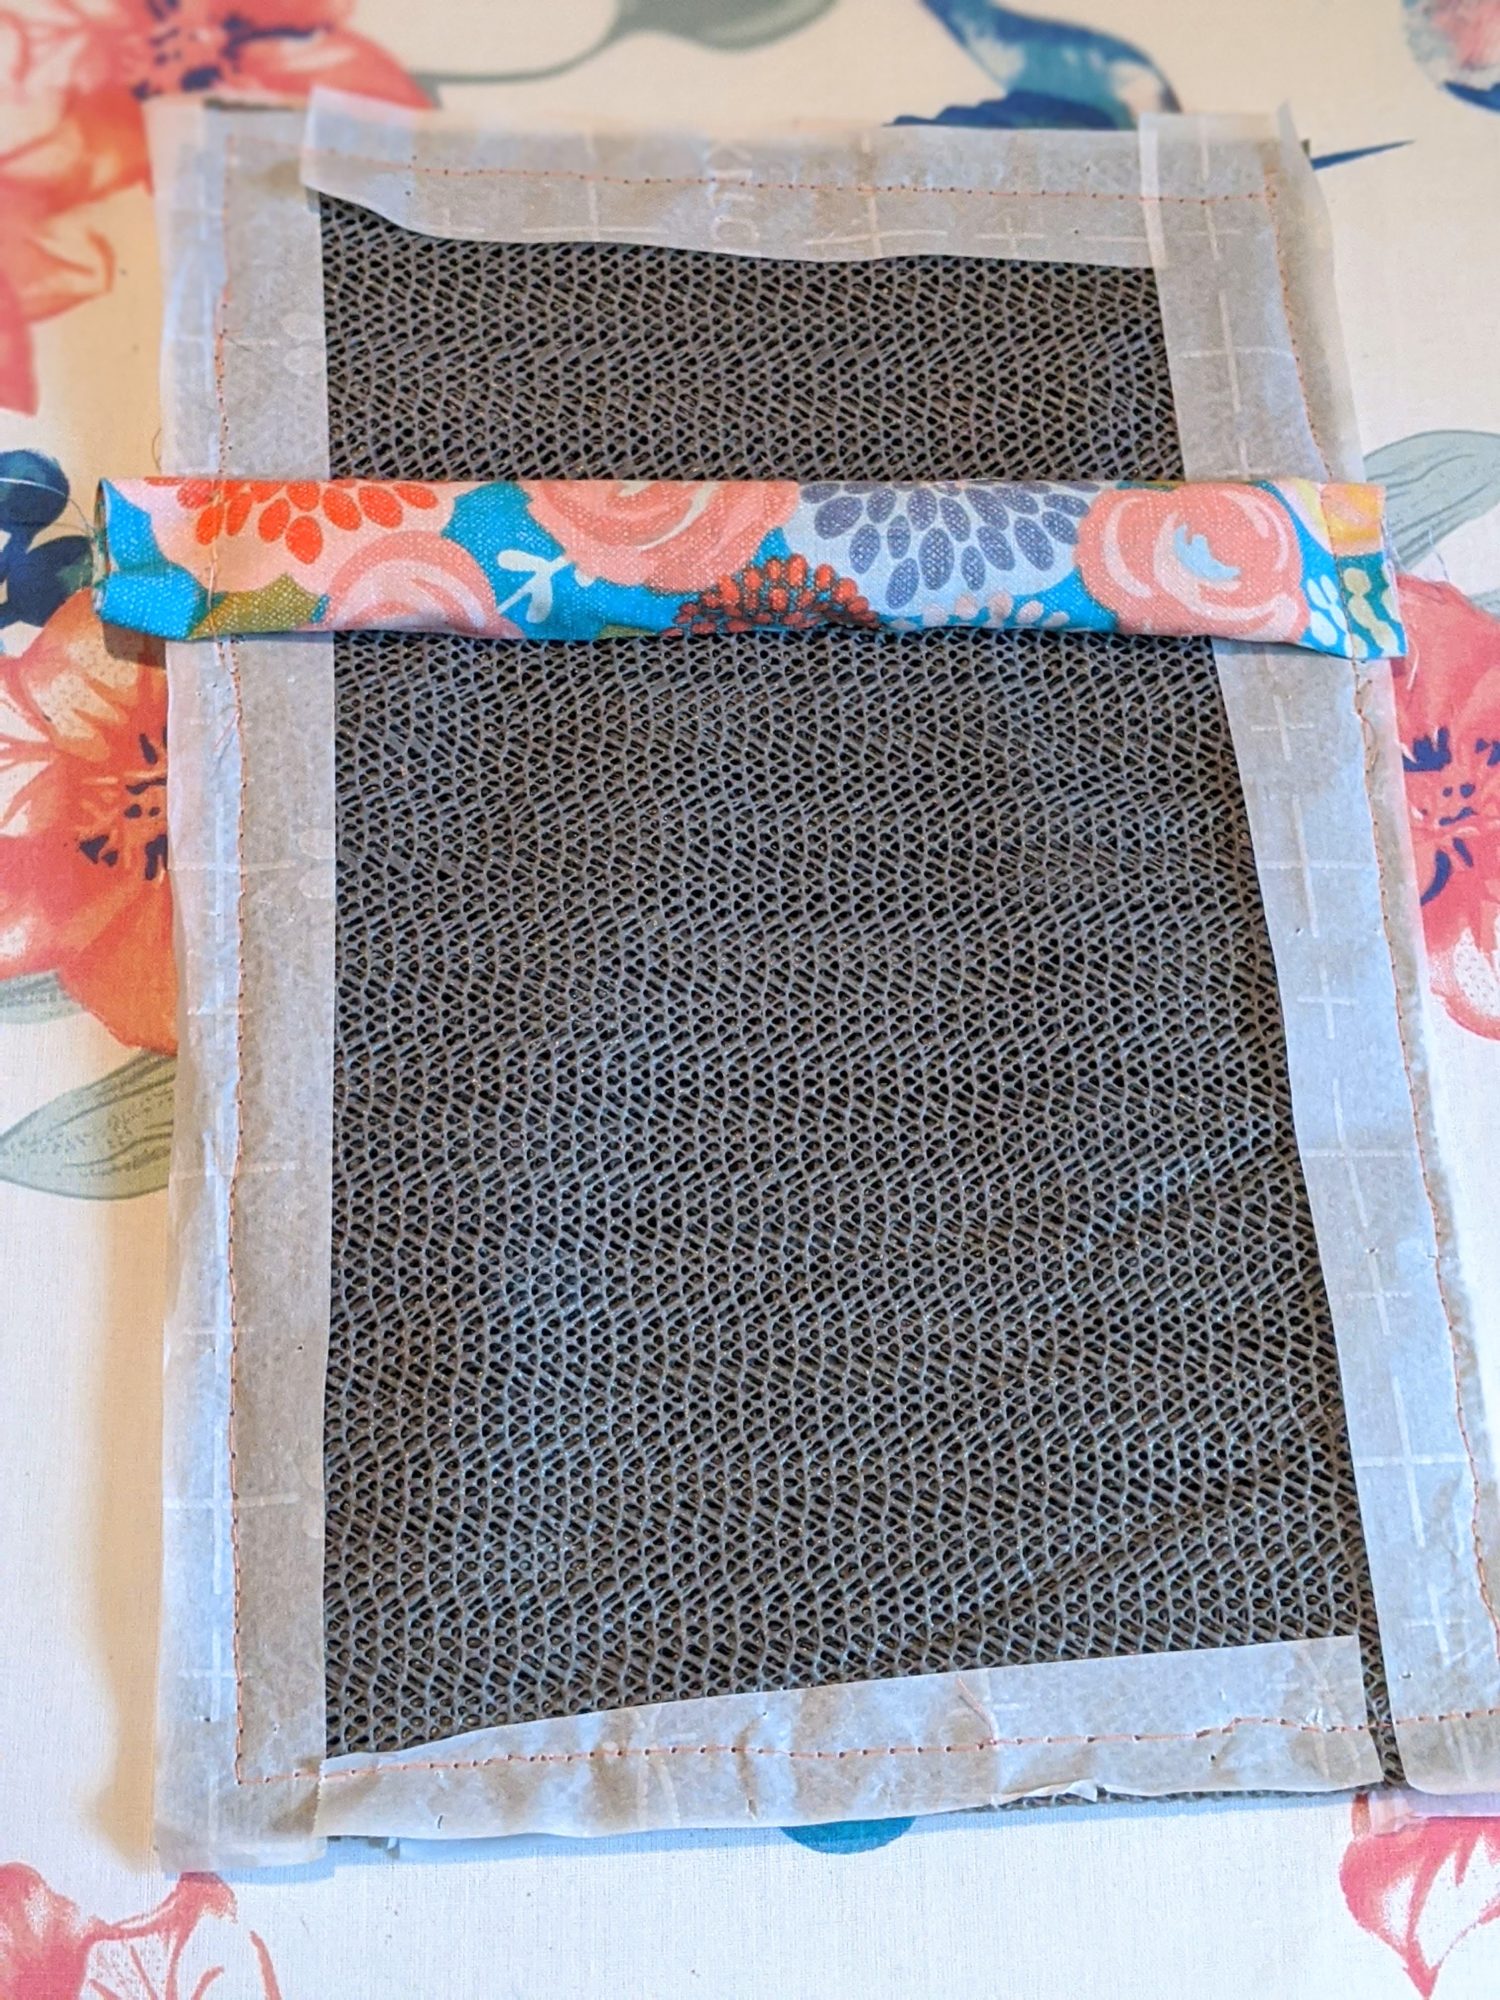
Time to get binding!
- Pull off all of the paper that is visible and trim any overhanging fabric from your bumper
- Make your binding for the perimeter. To do this, fold the binding fabric in half lengthwise and press. Next, fold each side in towards the center fold line you just made and press both sides. Fold it in half lengthwise again with both the sides folded in.
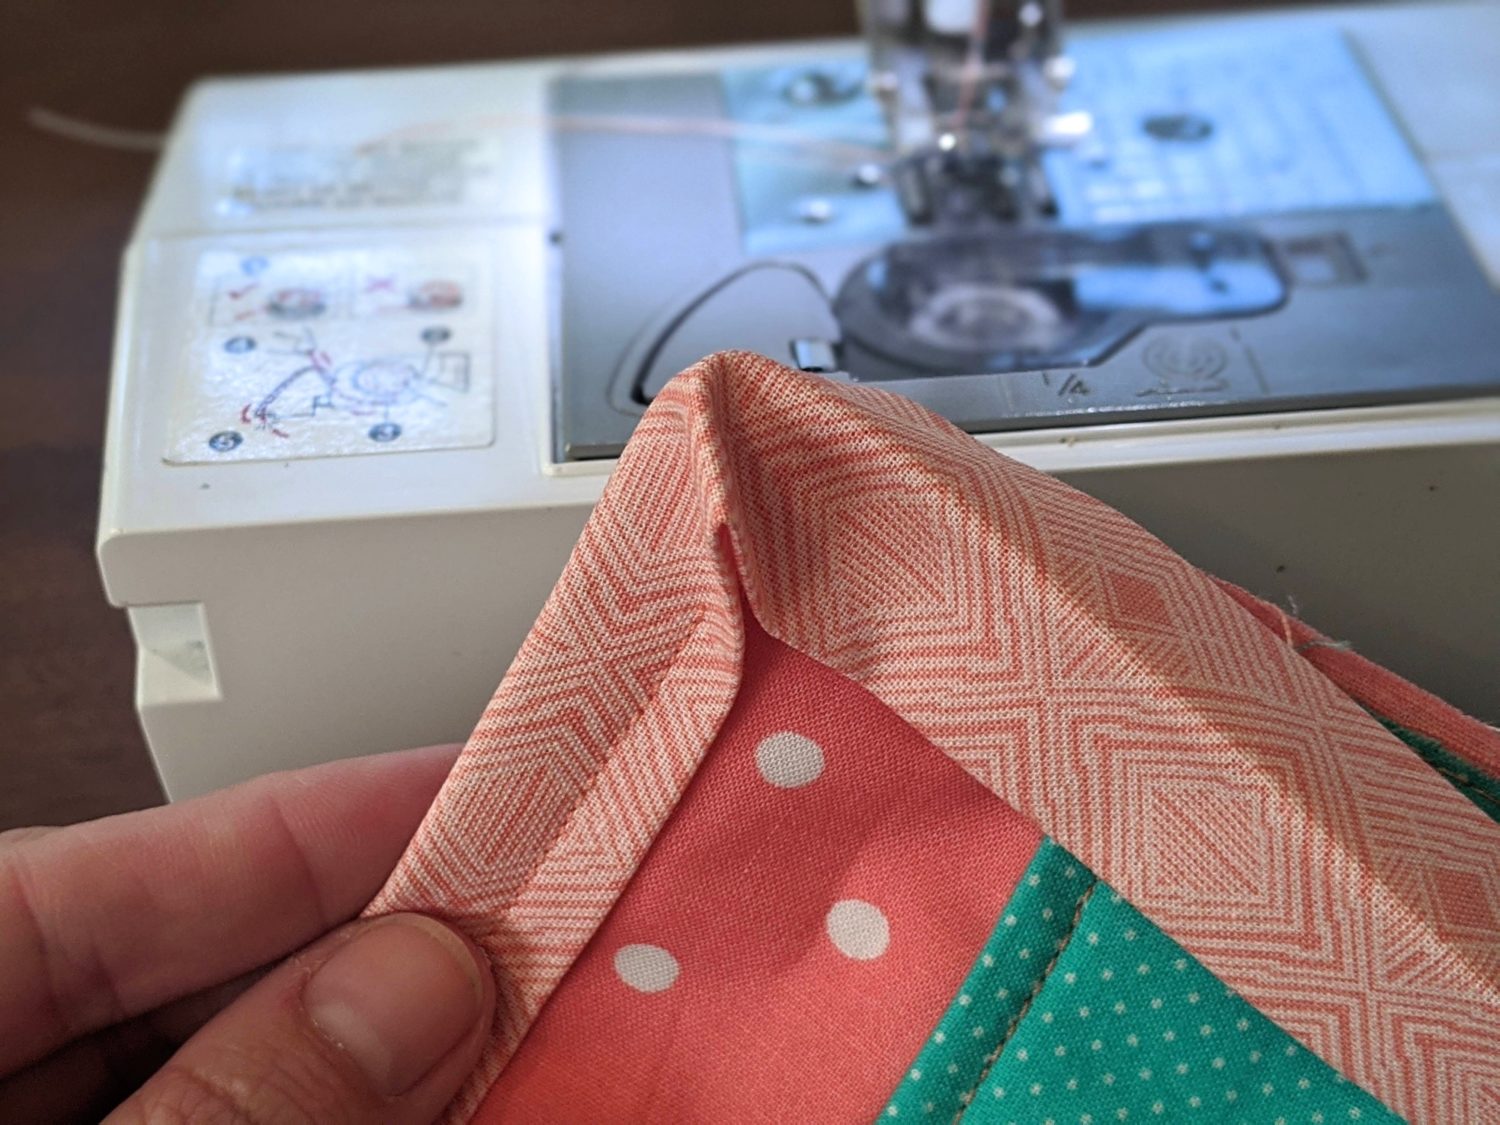
- Attach your binding by sandwiching the gripper pad between the fold of the binding fabric and pin in place
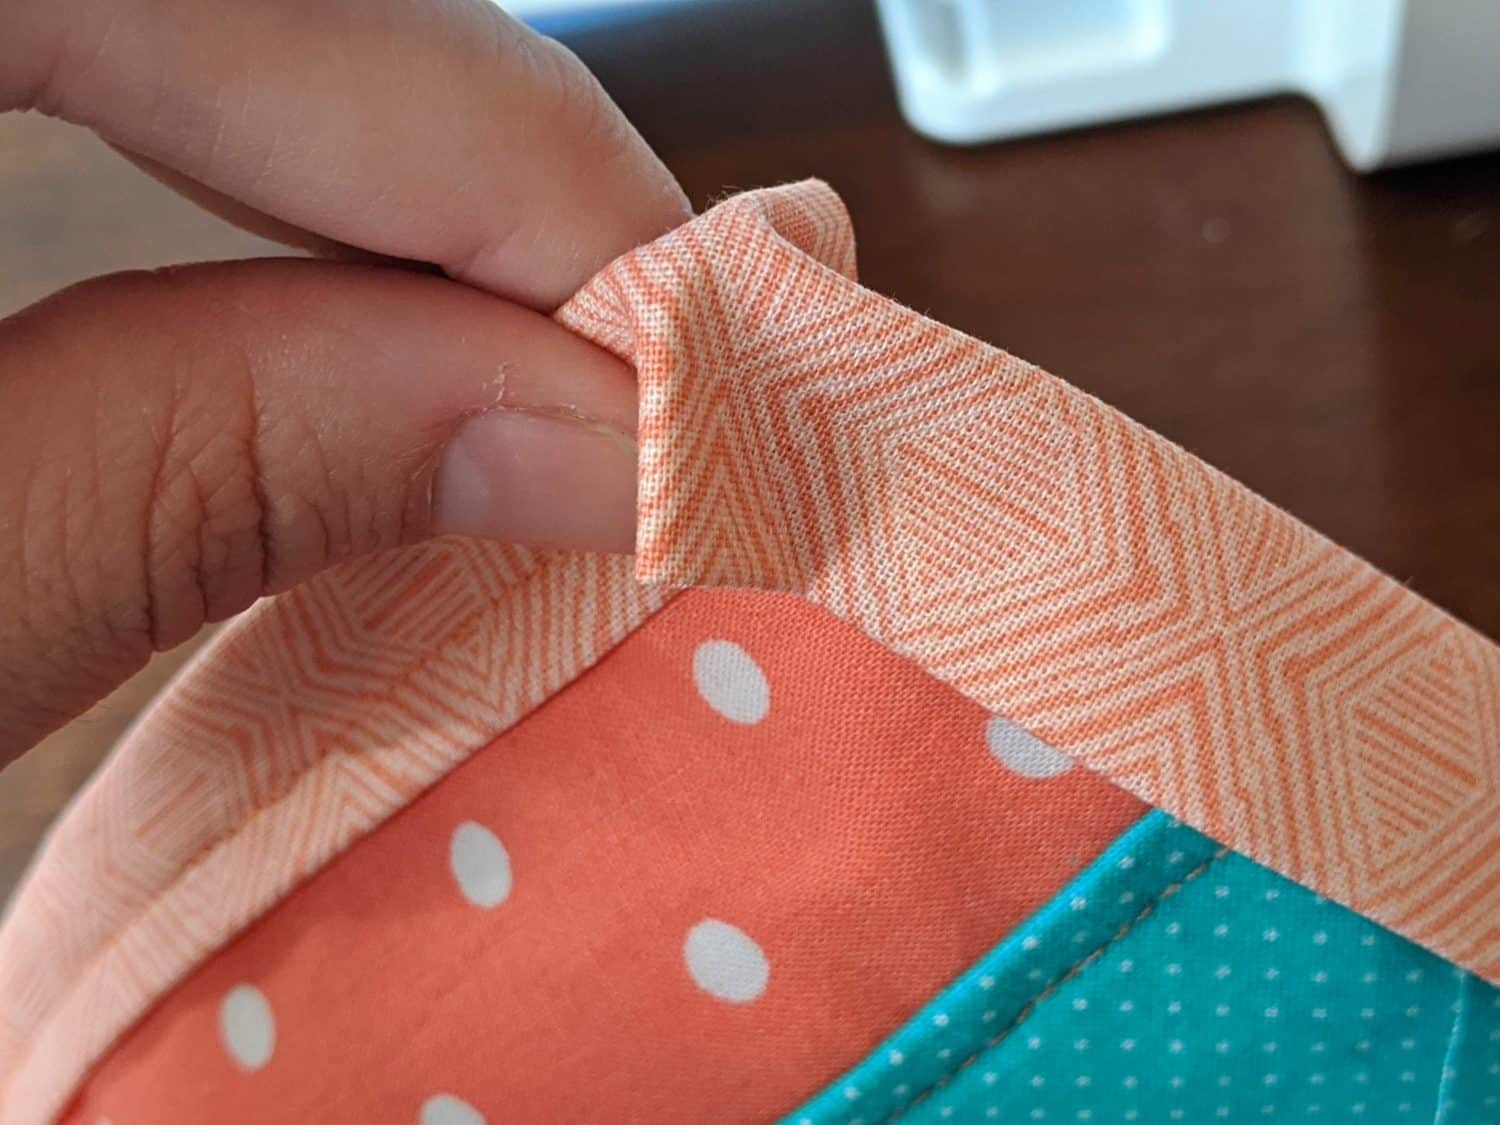
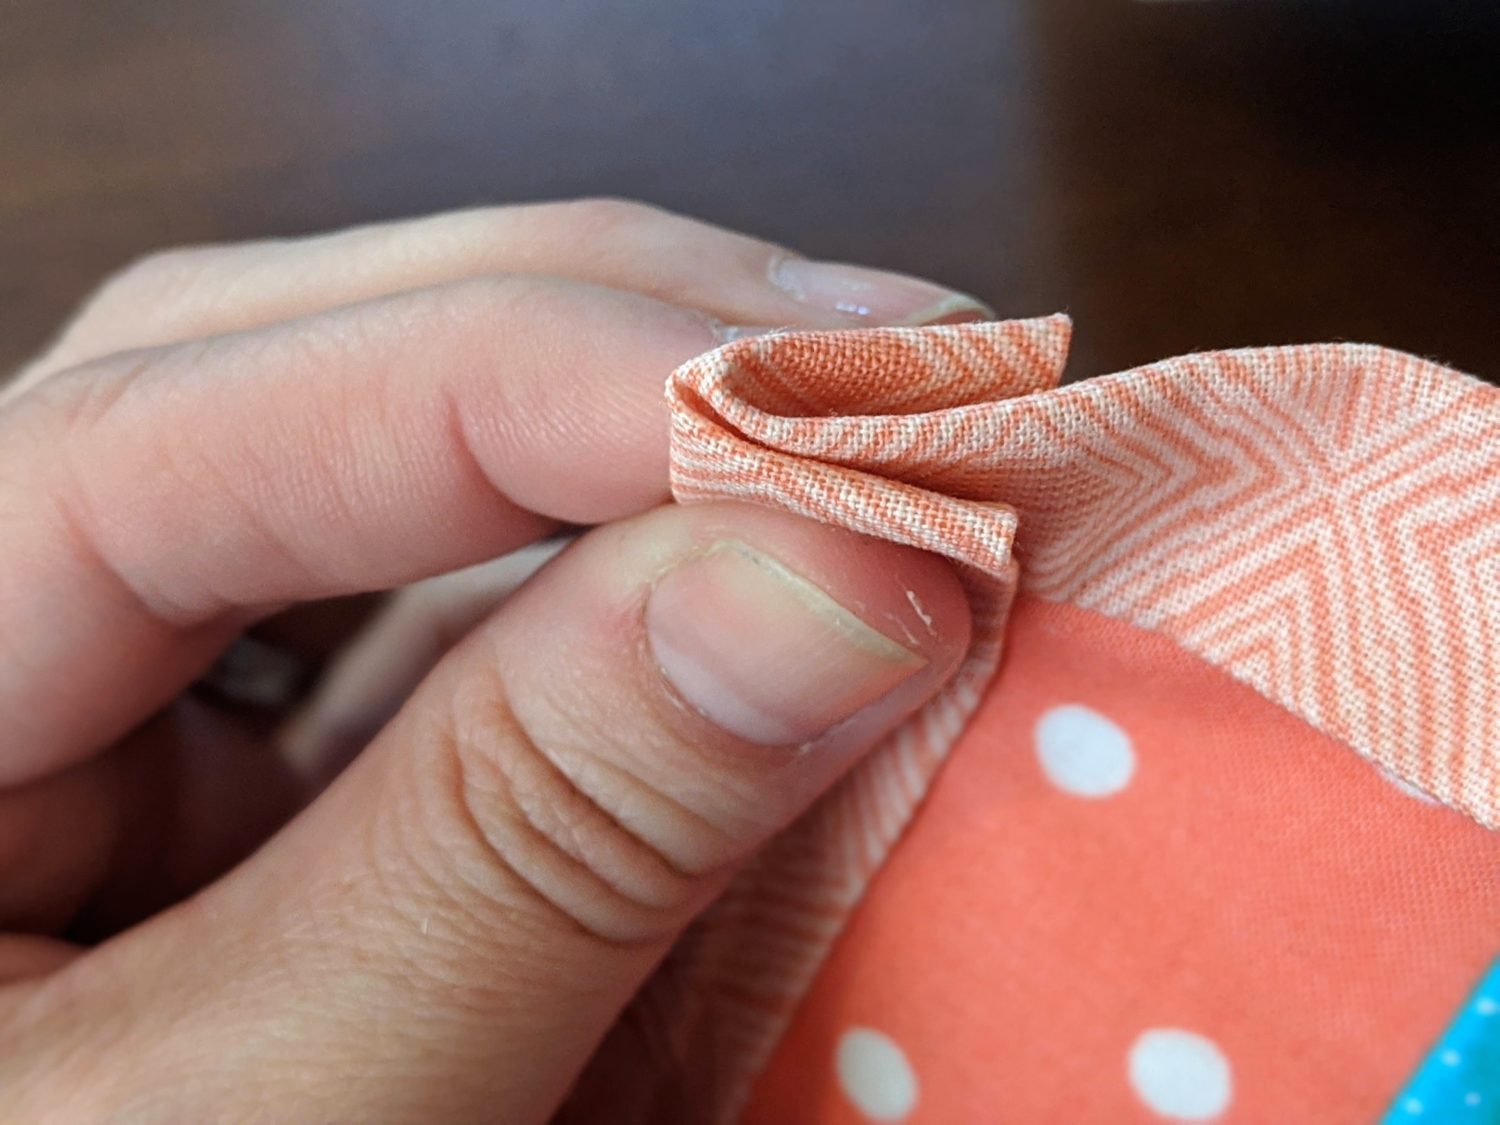
- As you get to each corner, push the binding into the corner and fold over (see pics)
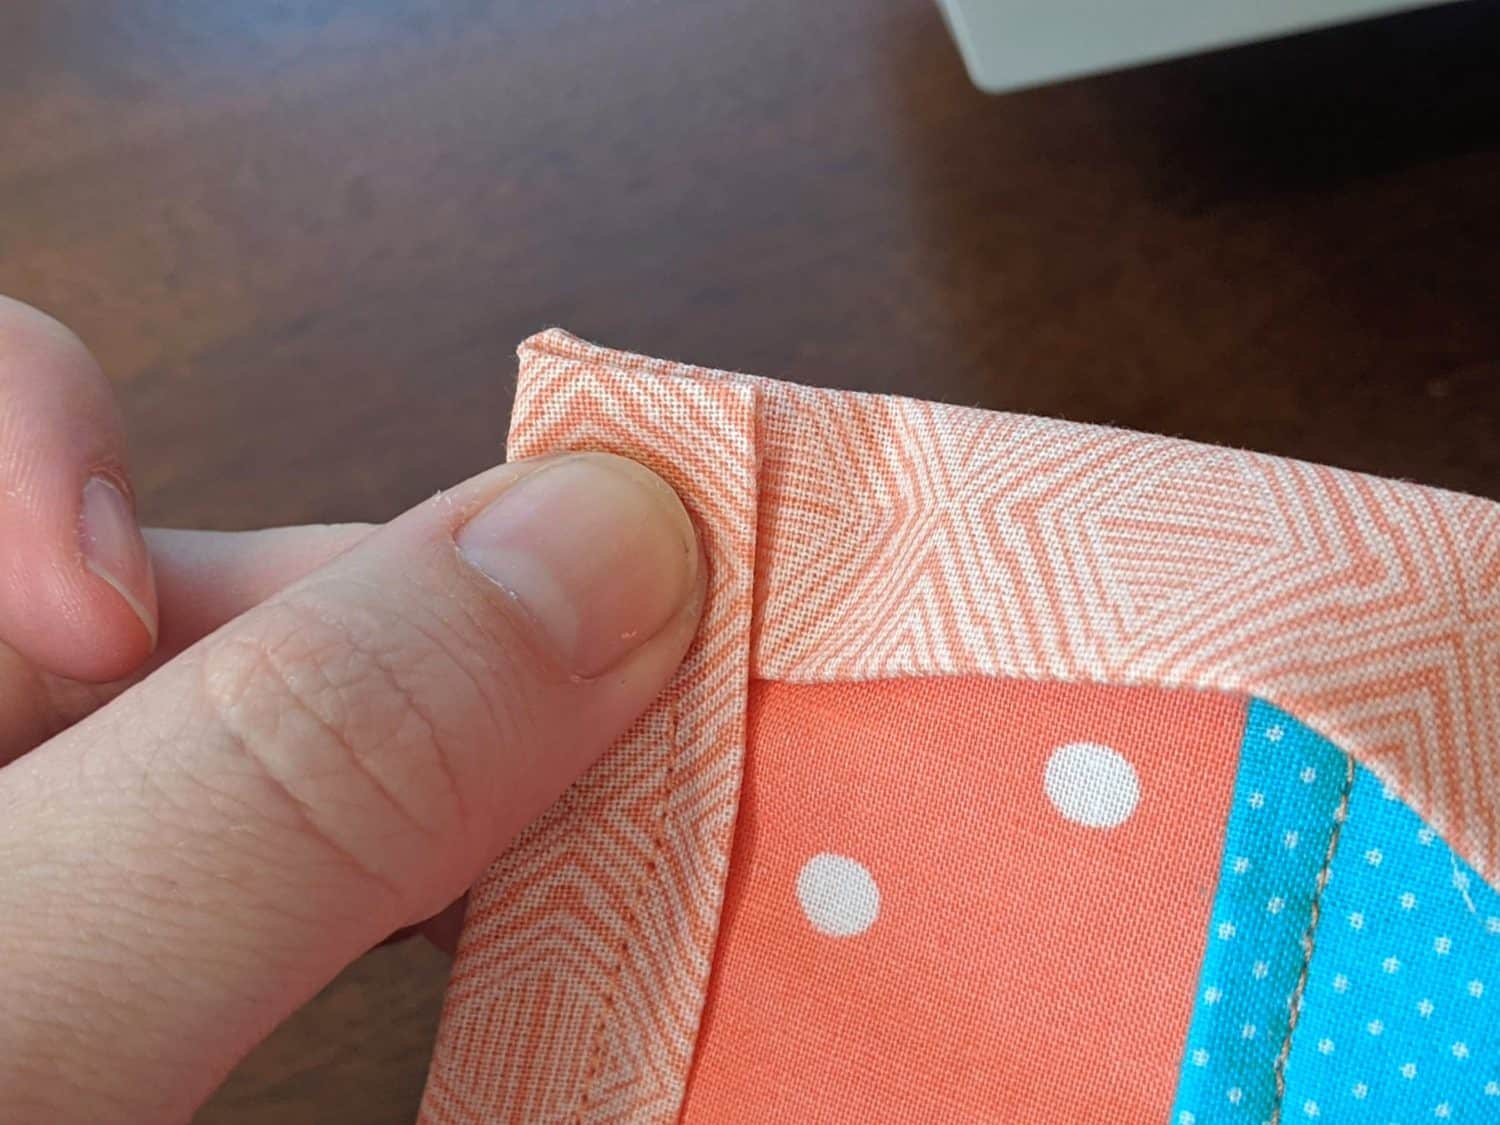
- Continue to sew all the way around the pad making sure to go very slow over the bumper piece
- My sewing machine did not like sewing over the bumper, so I went back with a needle and thread and hand stitched over each end to secure it in place
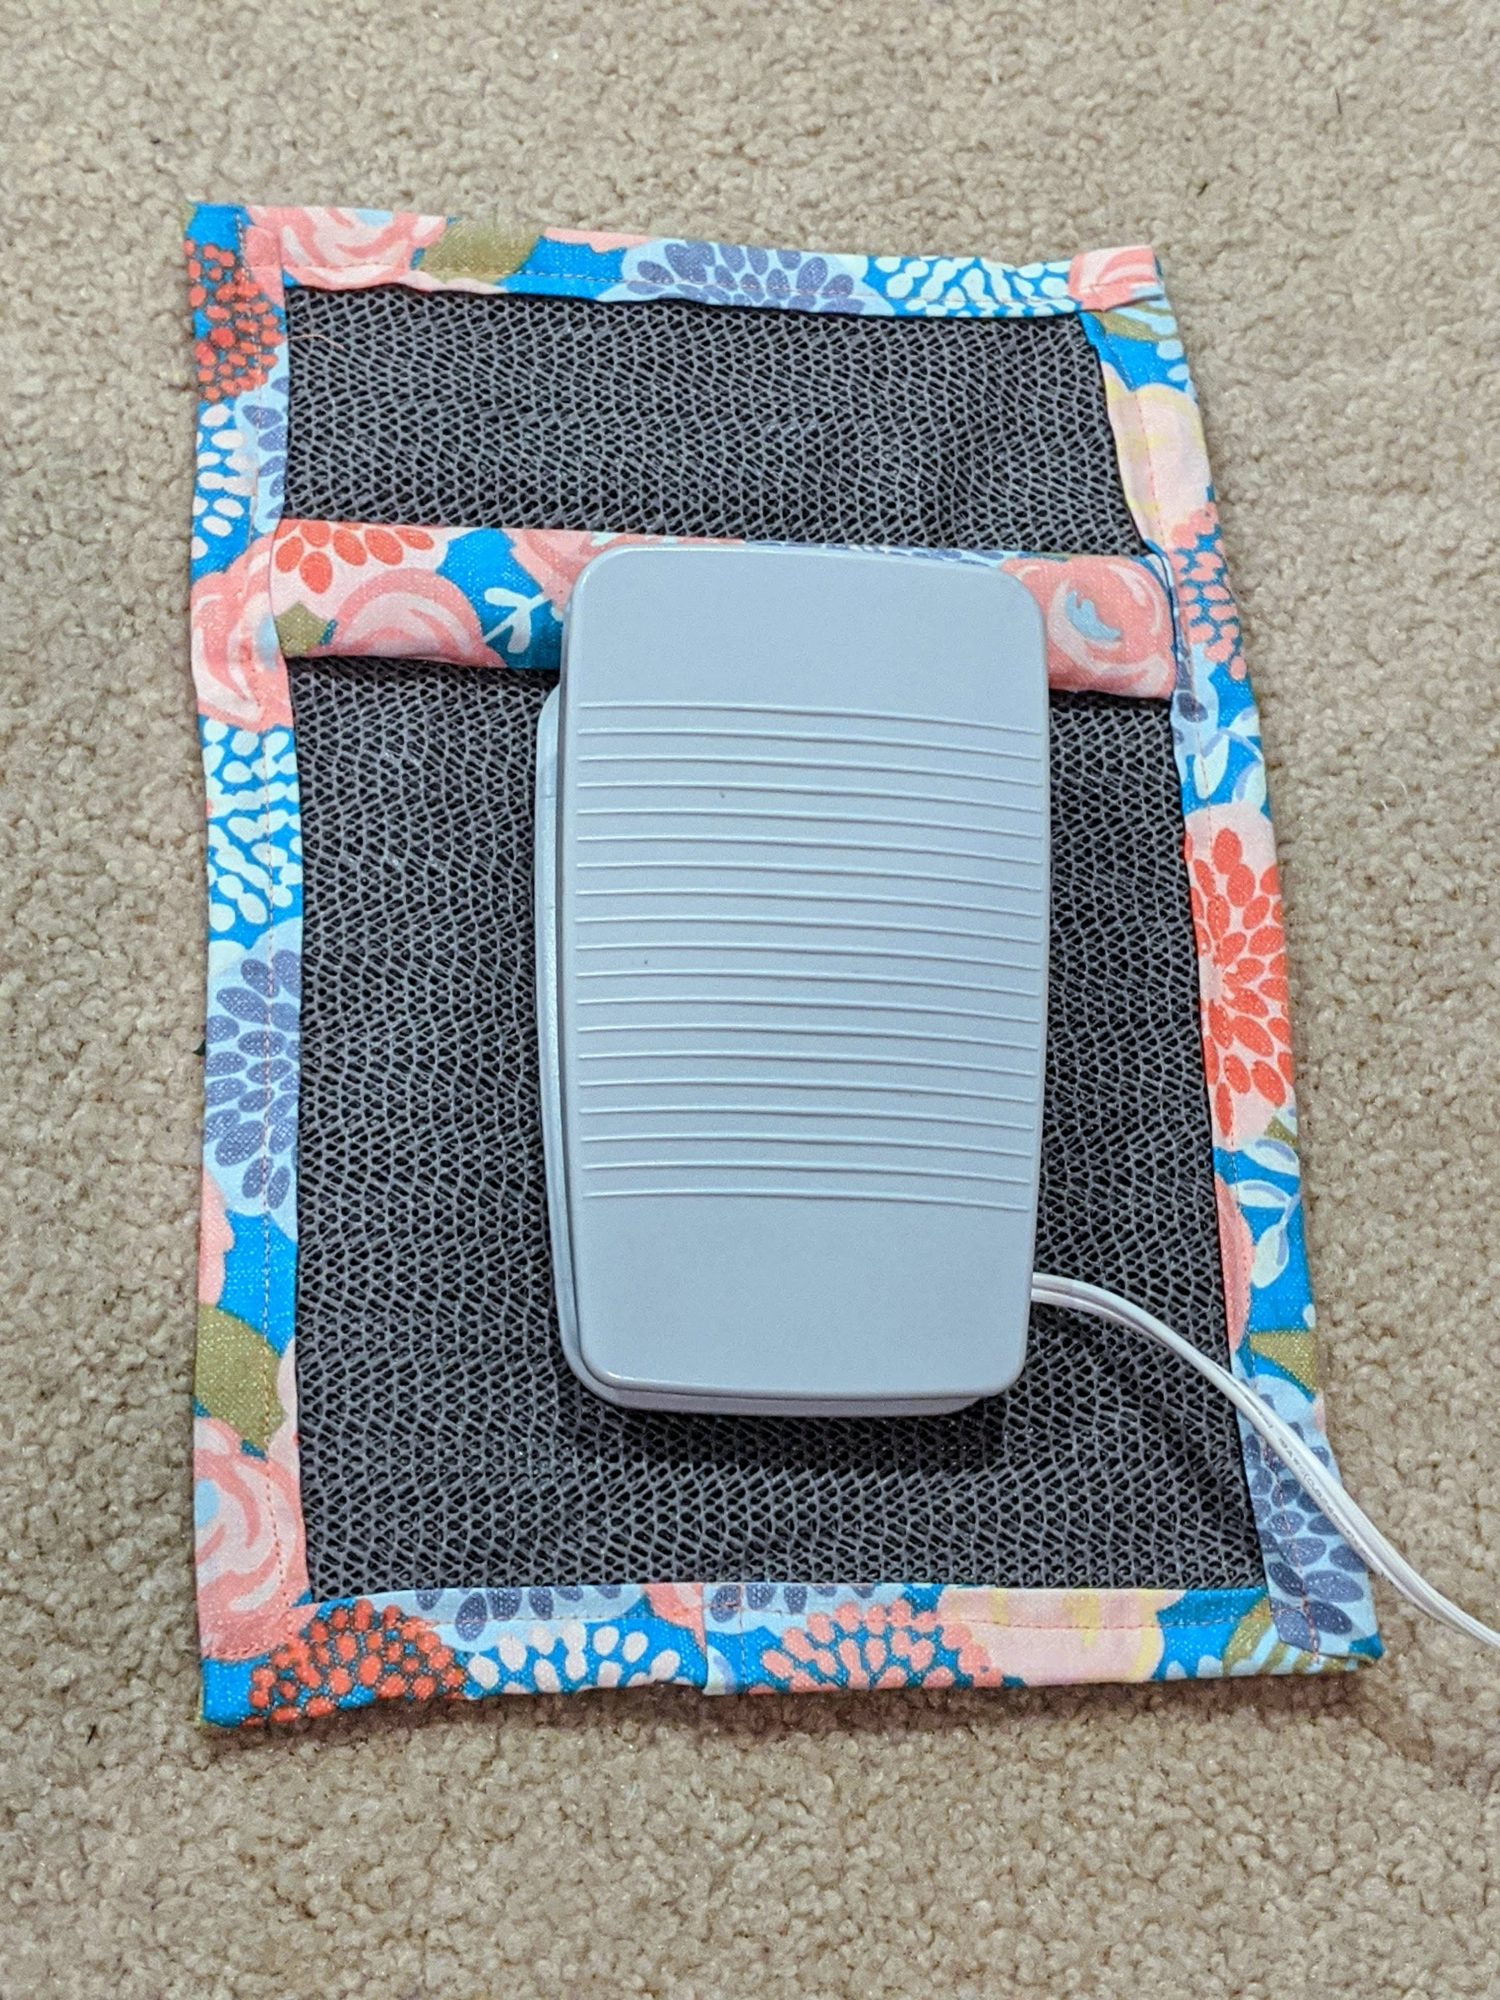
- You’ve got your very own non-slip pedal pad!
Go sew with a feeling of accomplishment and the knowledge that your foot pedal will finally stay where you put it!

As always, we’re here to help if you need it! Join us HERE and on Facebook, Instagram, Twitter, Youtube, and Pinterest. We’re everywhere you are.
Very clever. I am so frustrated with my foot pedals always shifting. I will certainly use your idea.
Very clever! Love all the organization ideas you are posting.