Guest Blogger: Cindy Giesbrecht
This pocket hack is for the color-blocked version of the Annabeth, using the usual 3/8″ seam allowance.
You will need:
- All of the required pieces except for the included pocket pieces.
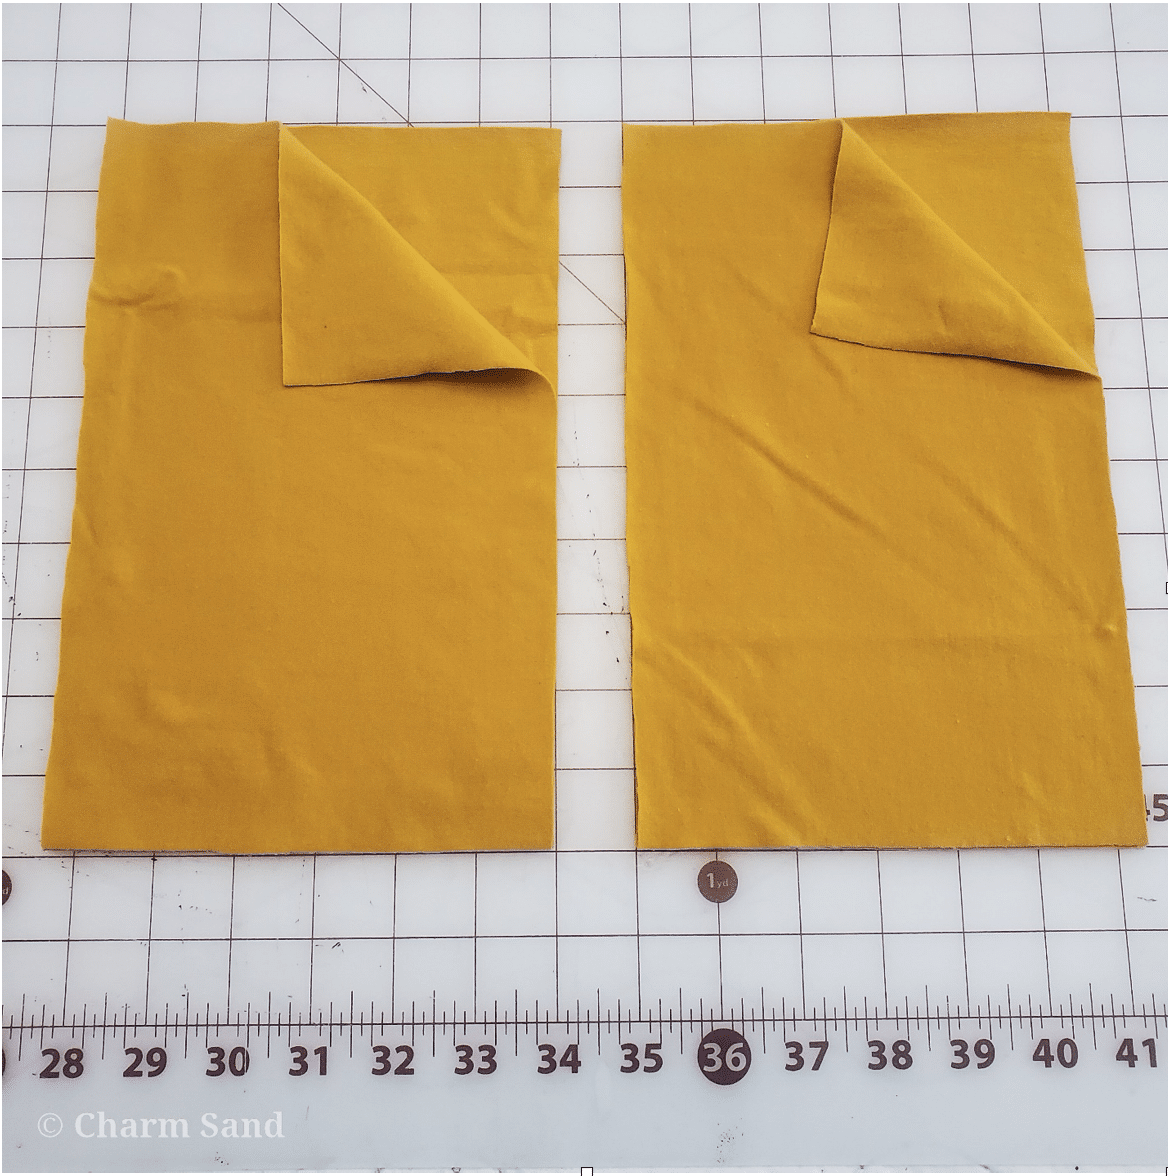
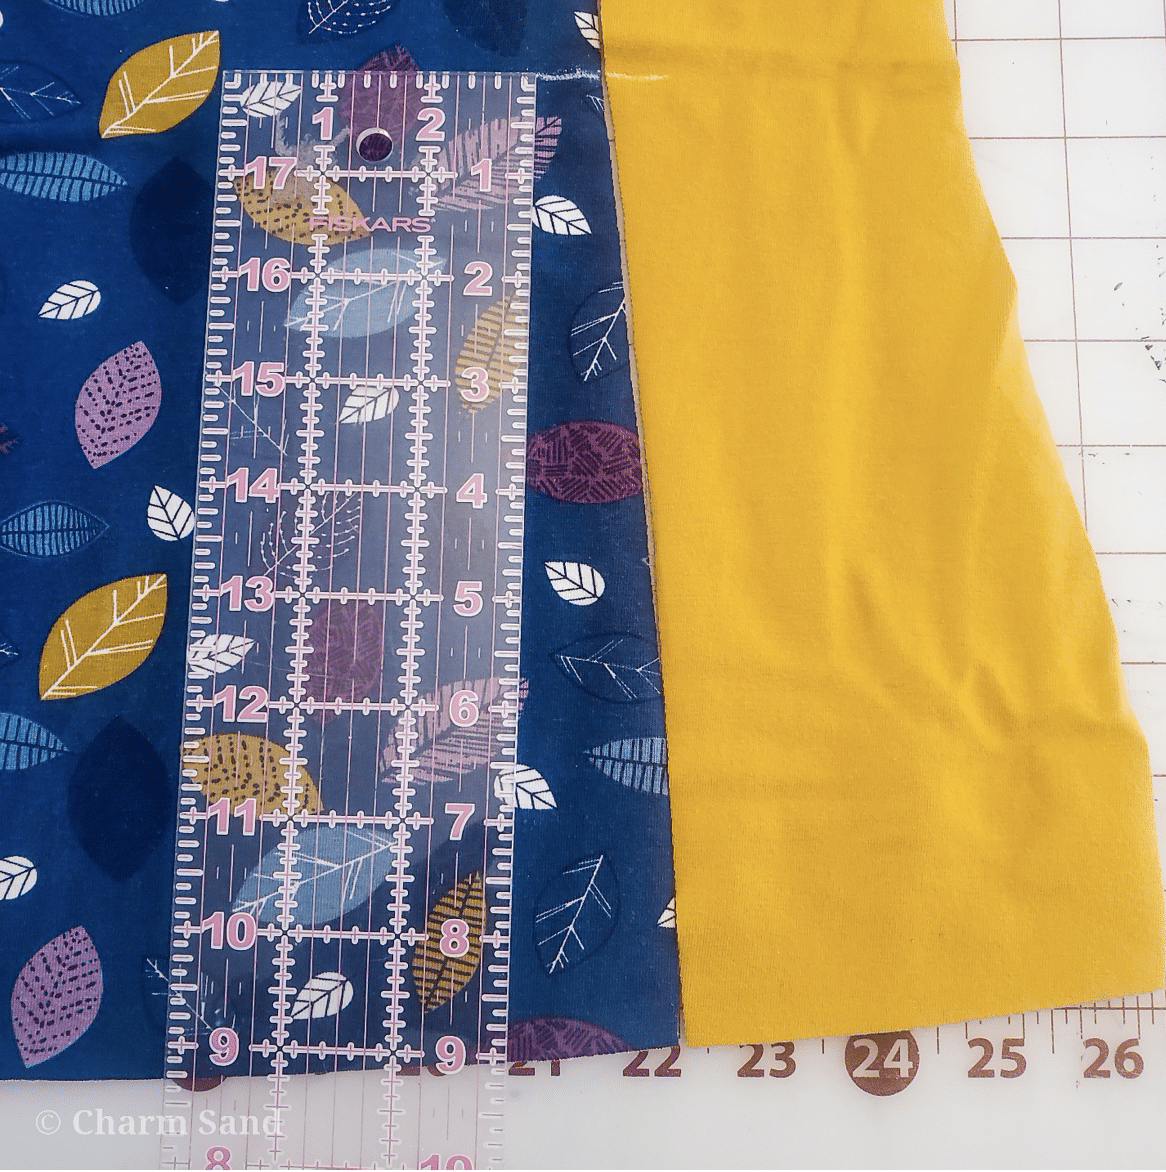
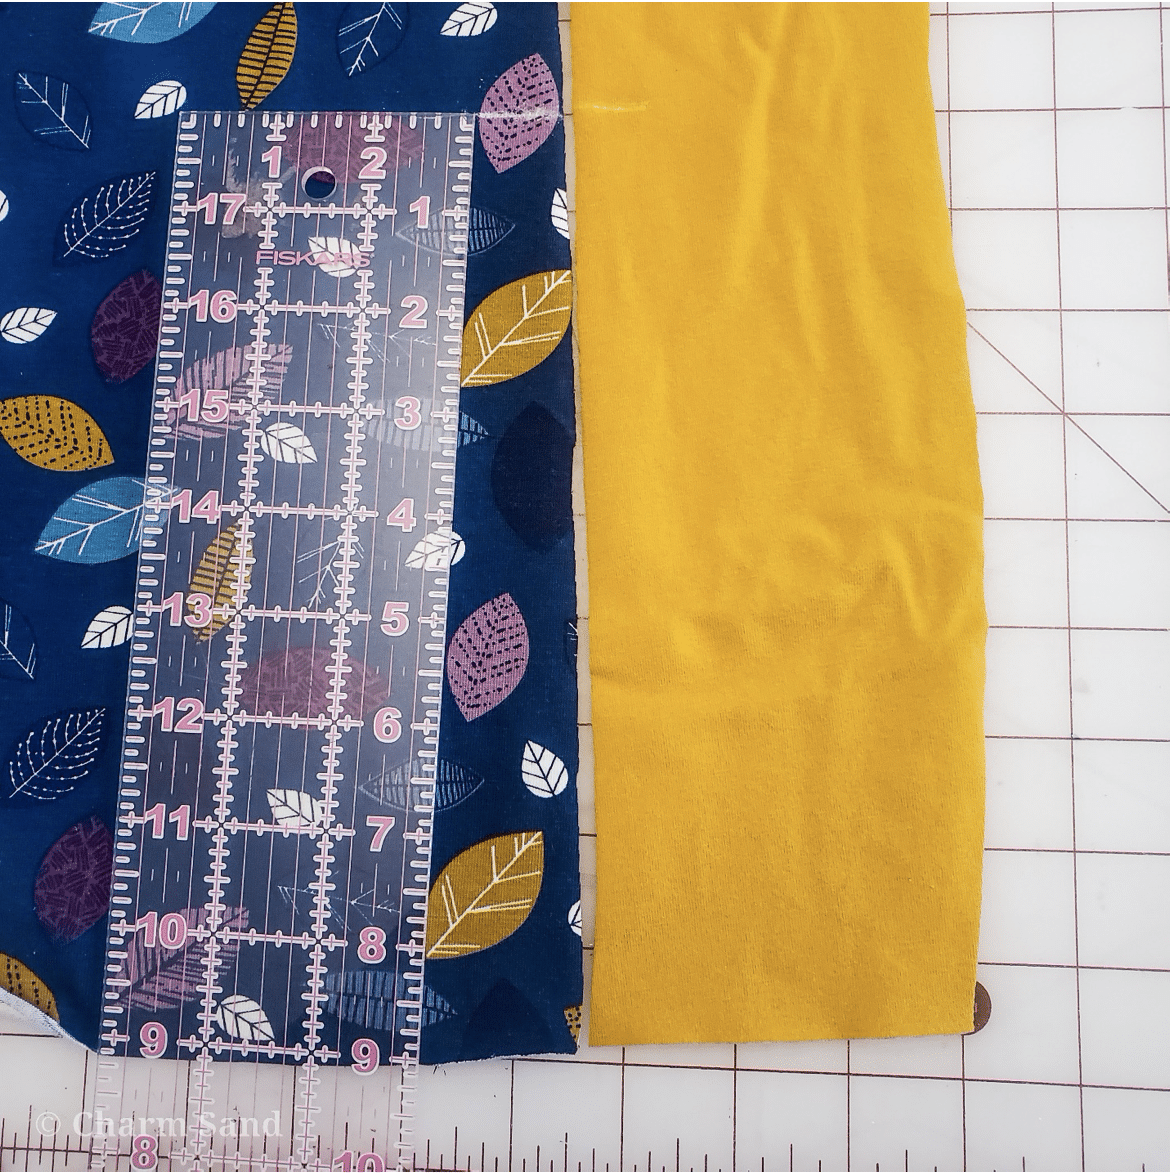
- Cut 4 pieces at 9.75 inches tall and 6.25 inches wide. You may need to adjust the width of the pattern piece depending on your Annabeth size; this pocket size is good for the 2x. Be mindful if using directional fabric! One of the short edges will be the top of your pocket.
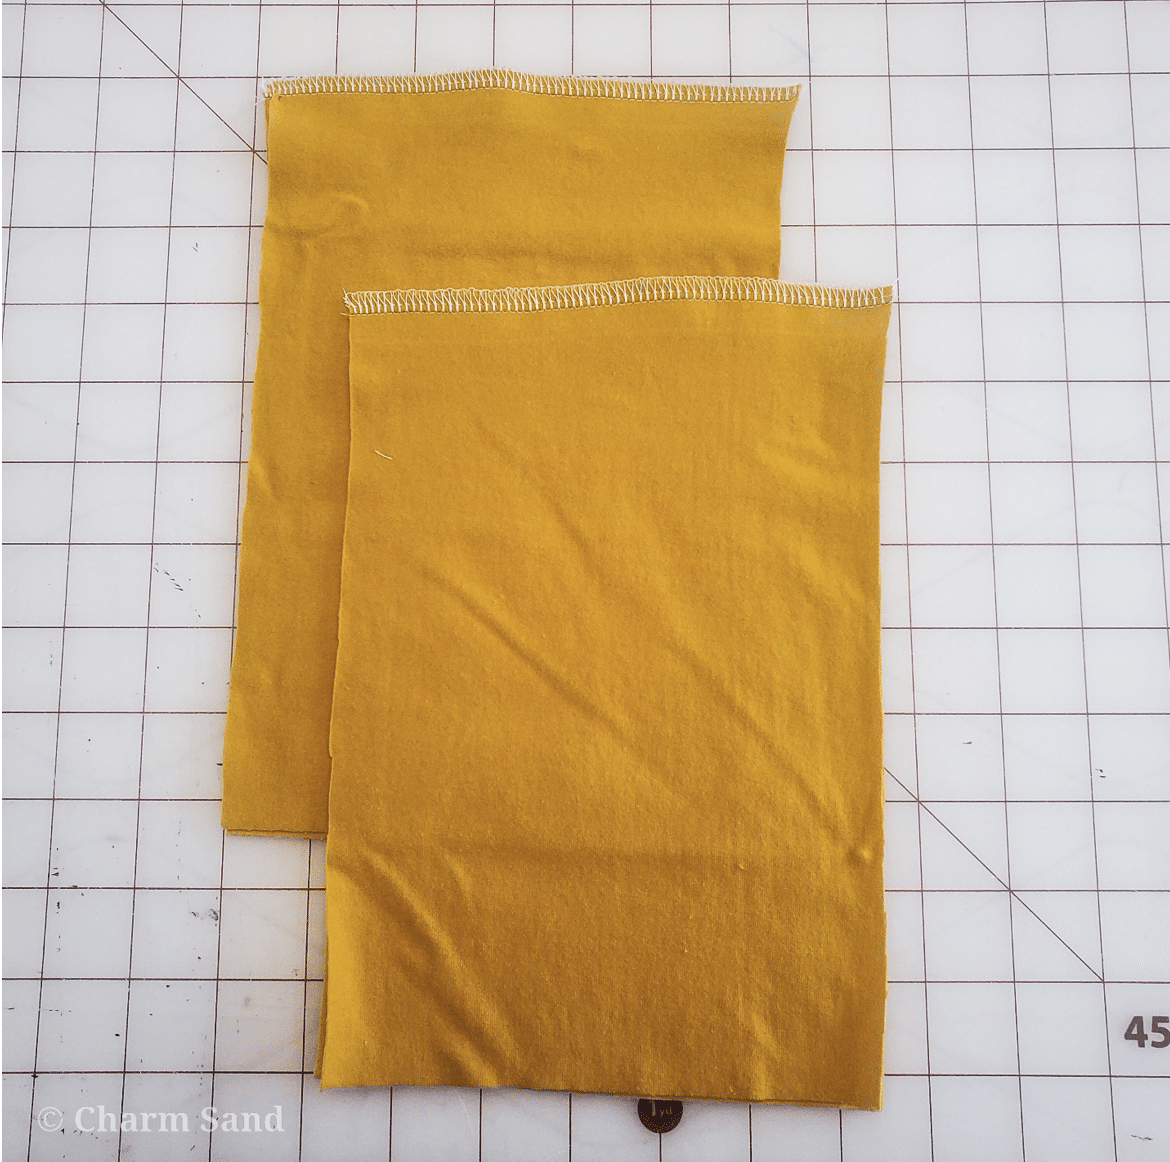
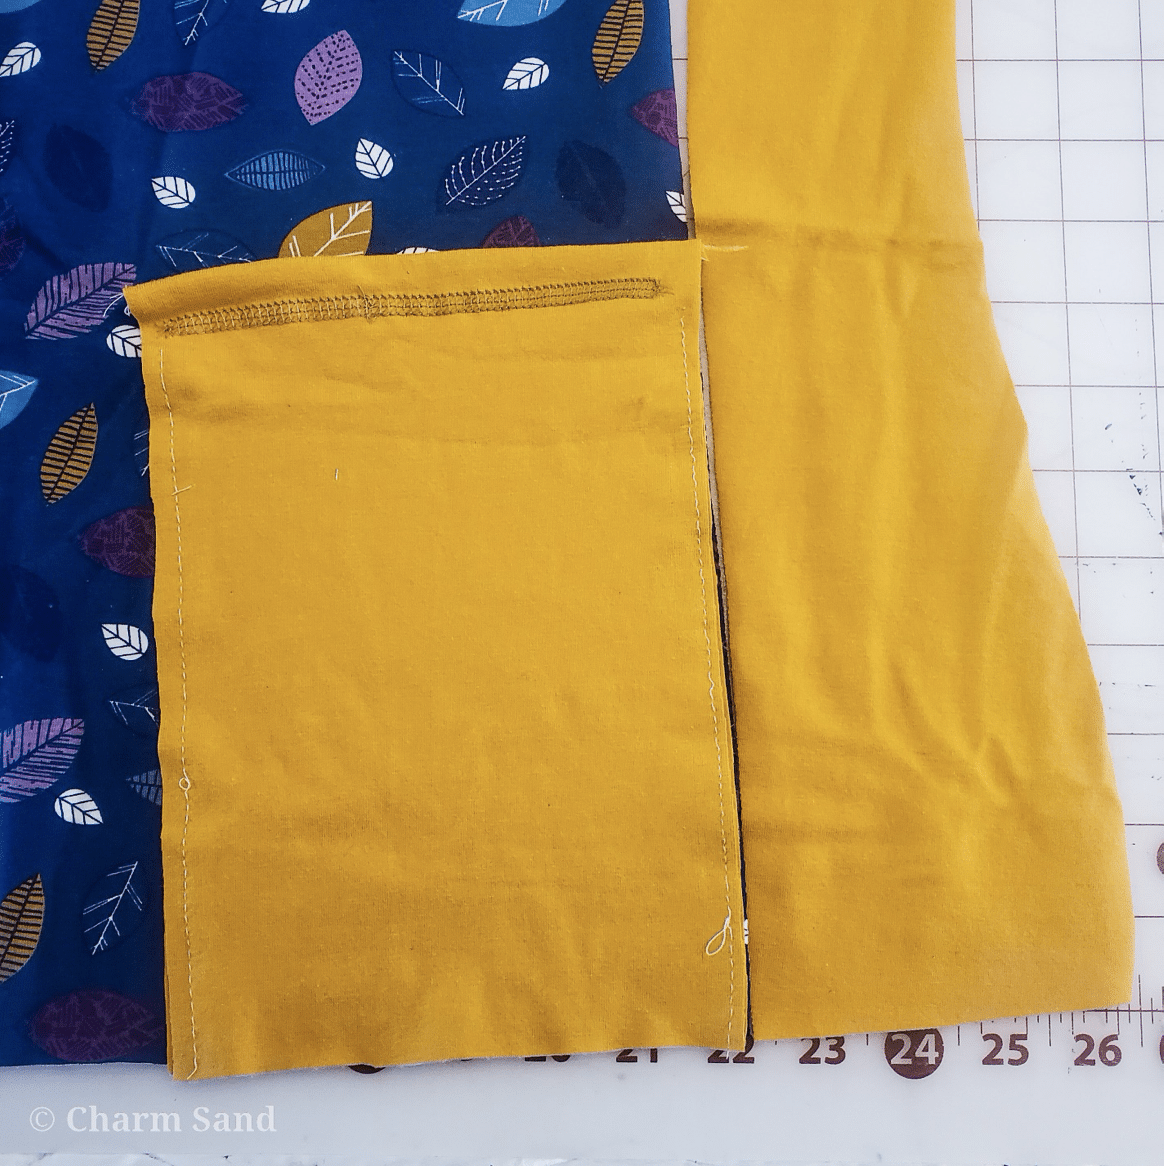
- Place 2 pocket pieces Right Sides Together, then do the same for the other 2 pieces. Sew across the top using a stretch stitch or a serger.
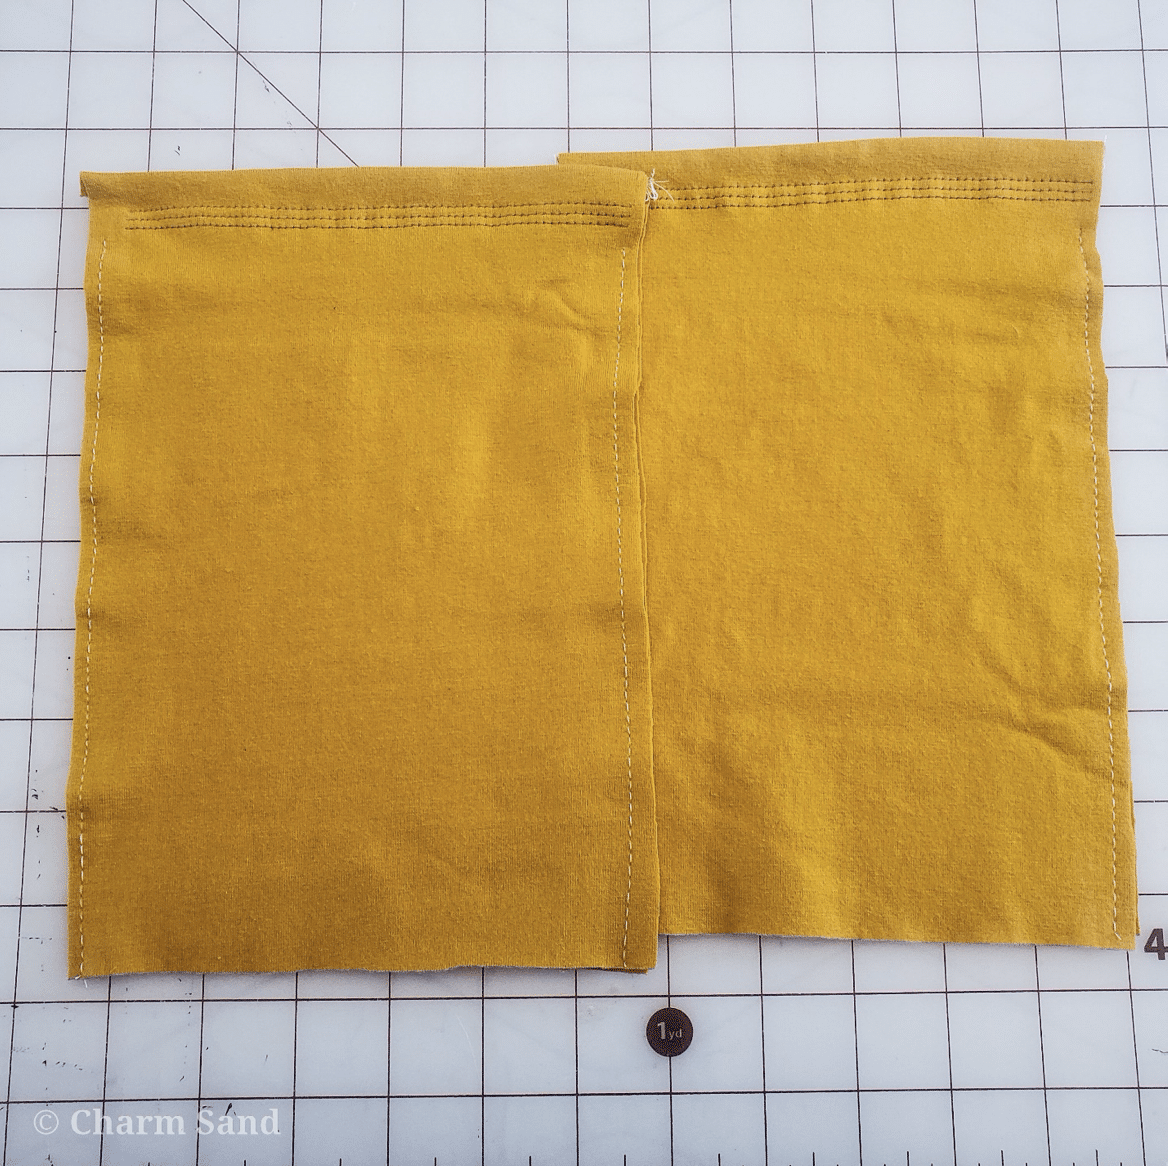
- Turn right side out, press the seam, and top stitch across the top or use a coverstitch. I also like to baste the long edges together to keep them from shifting during the next step.
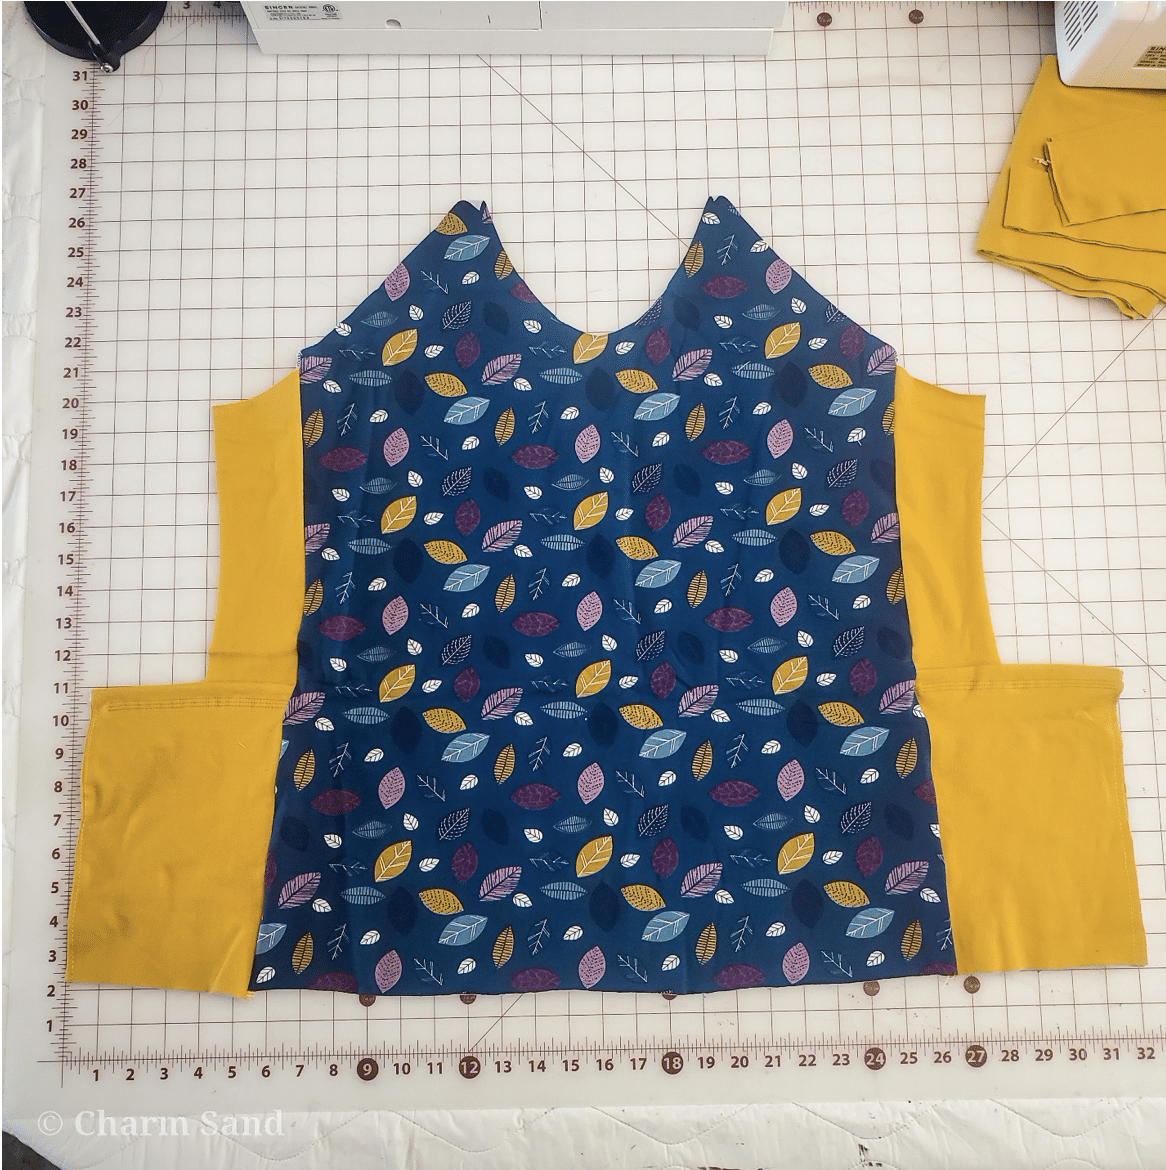
- Lay your front bodice piece right side up. On one side, measure 9 inches up from the bottom and mark it. Do the same for the other side of the bodice and on the front side panels.
- Using the placement mark, lay your pocket piece RIGHT SIDE DOWN on top of the front bodice that is RIGHT SIDE UP. You can baste your pocket in place here if you’d like.
- Next, lay the front side panel RIGHT SIDE DOWN on top of the bodice. Your pocket piece should now be sandwiched between the two bodice pieces. Pin or clip in place and sew with a stretch stitch or serge.
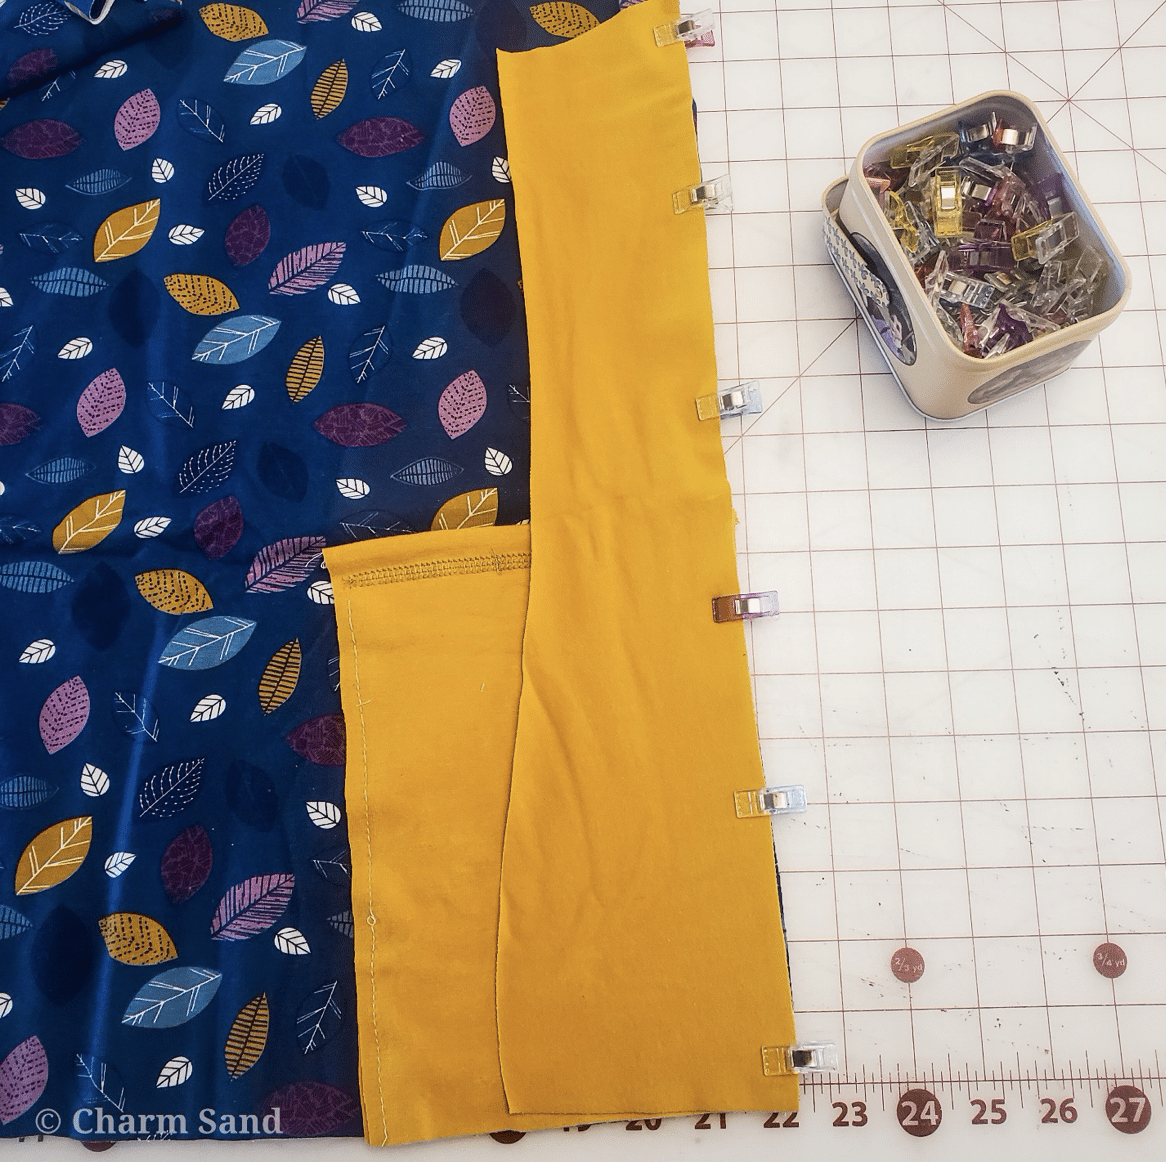
Do the same for the other side.
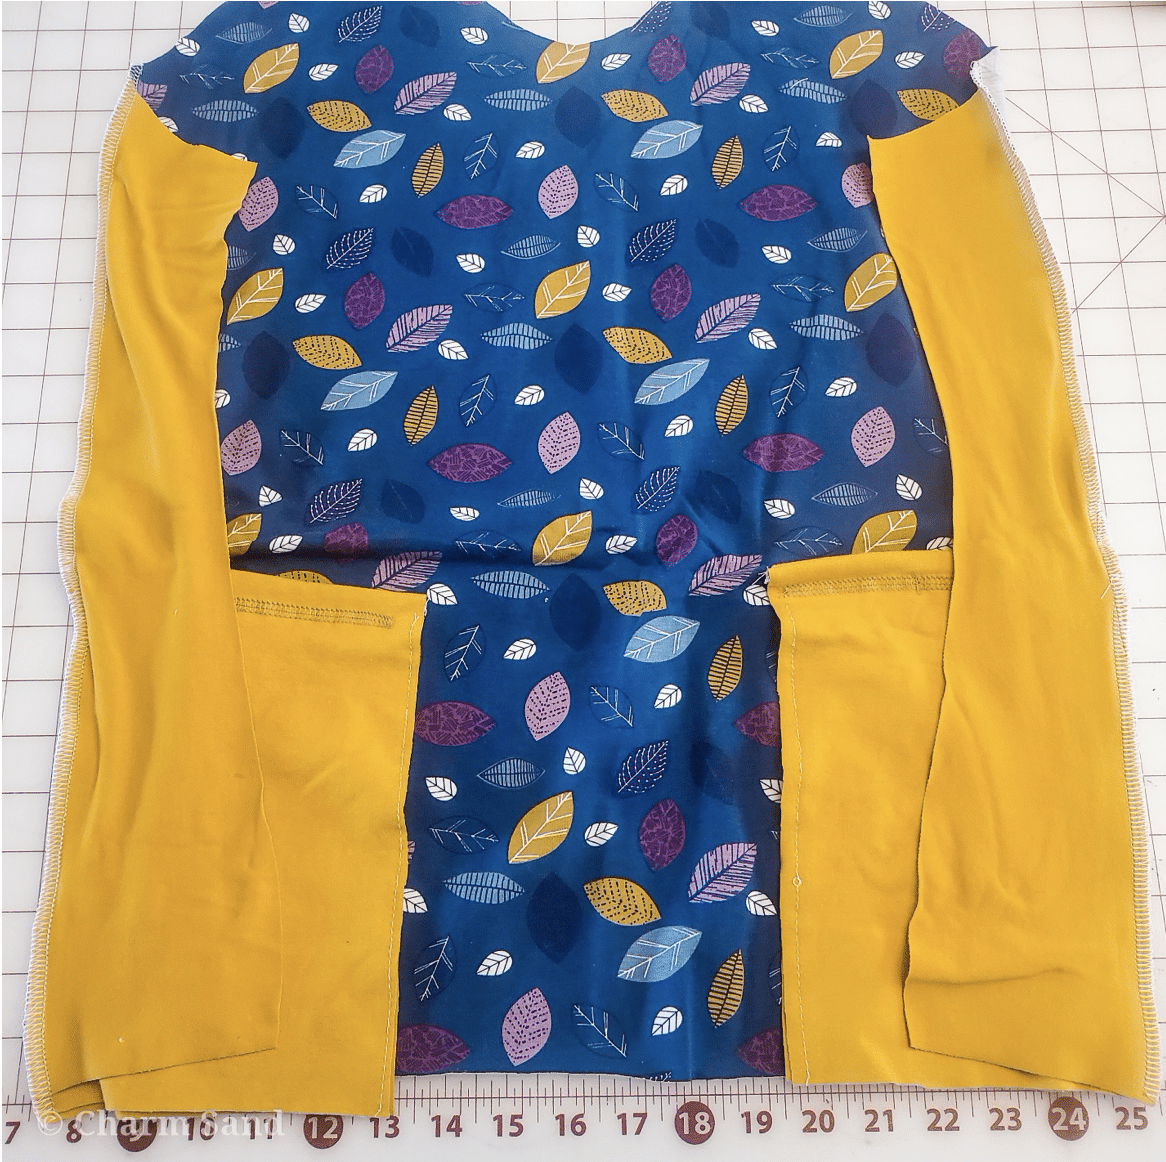
- Your bodice should now look like this:
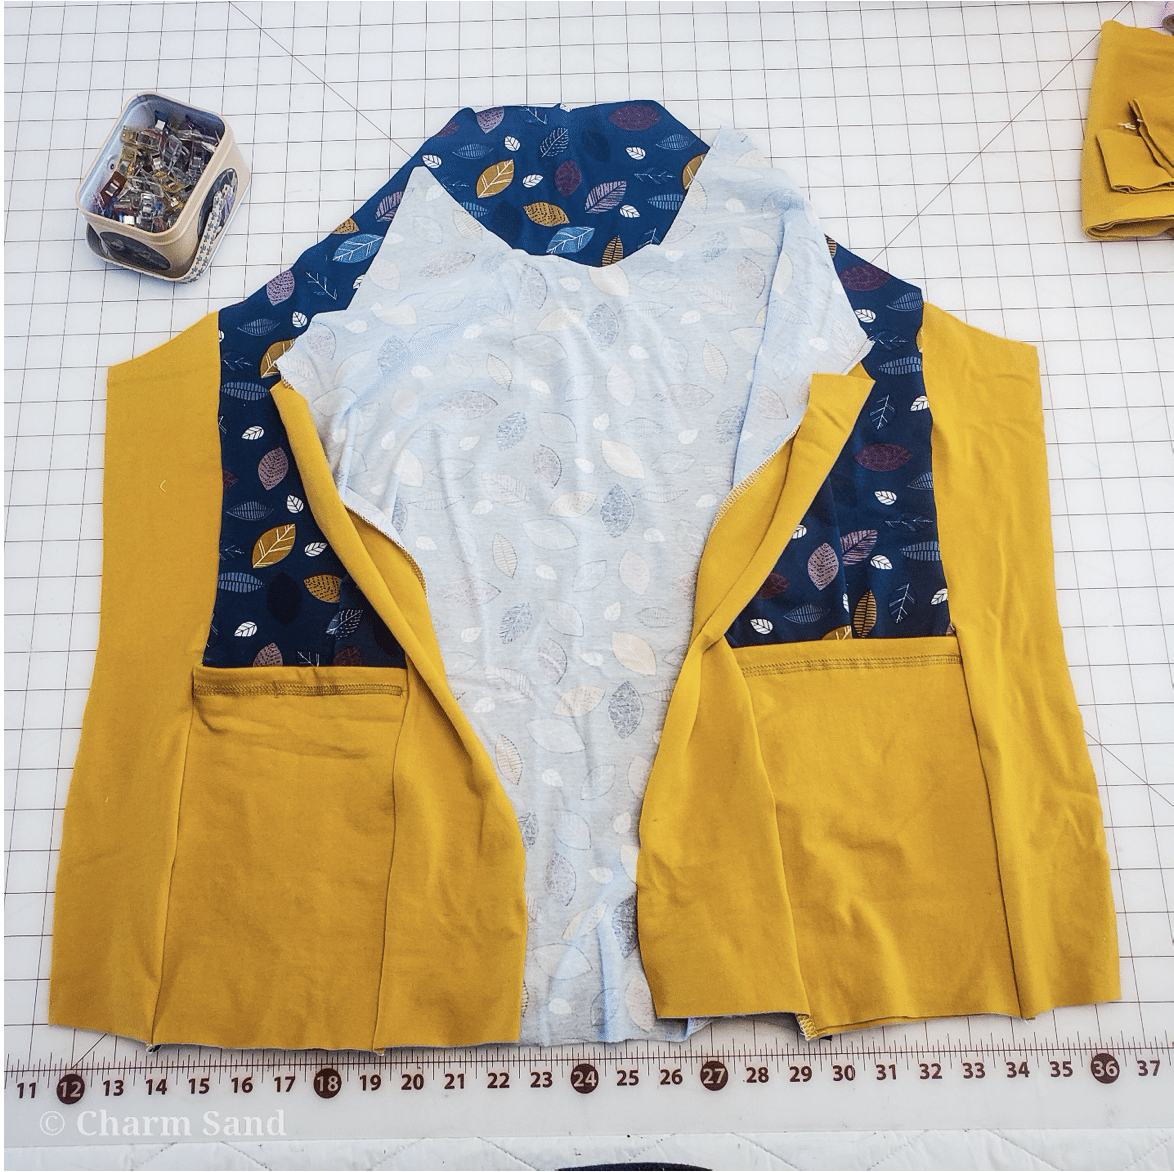
- Lay your back bodice right side up. On one side, measure 9 inches up from the bottom and mark it. Do the same for the other side of the bodice and on the back side panels.
- Lay your front bodice RIGHT SIDE DOWN on top of the back bodice. Line up the pocket with the placement mark. Pocket should also be RIGHT SIDE DOWN. You can baste the pocket in place if you’d like.

- Place your back side panel piece RIGHT SIDE DOWN on top of the back bodice piece. Your pocket piece should now be sandwiched in between the two back bodice pieces. Pin or clip in place and sew with a stretch stitch or a serger, making sure to keep the front bodice out of your stitching. You will be sewing through ONLY the back bodice pieces and the pocket.

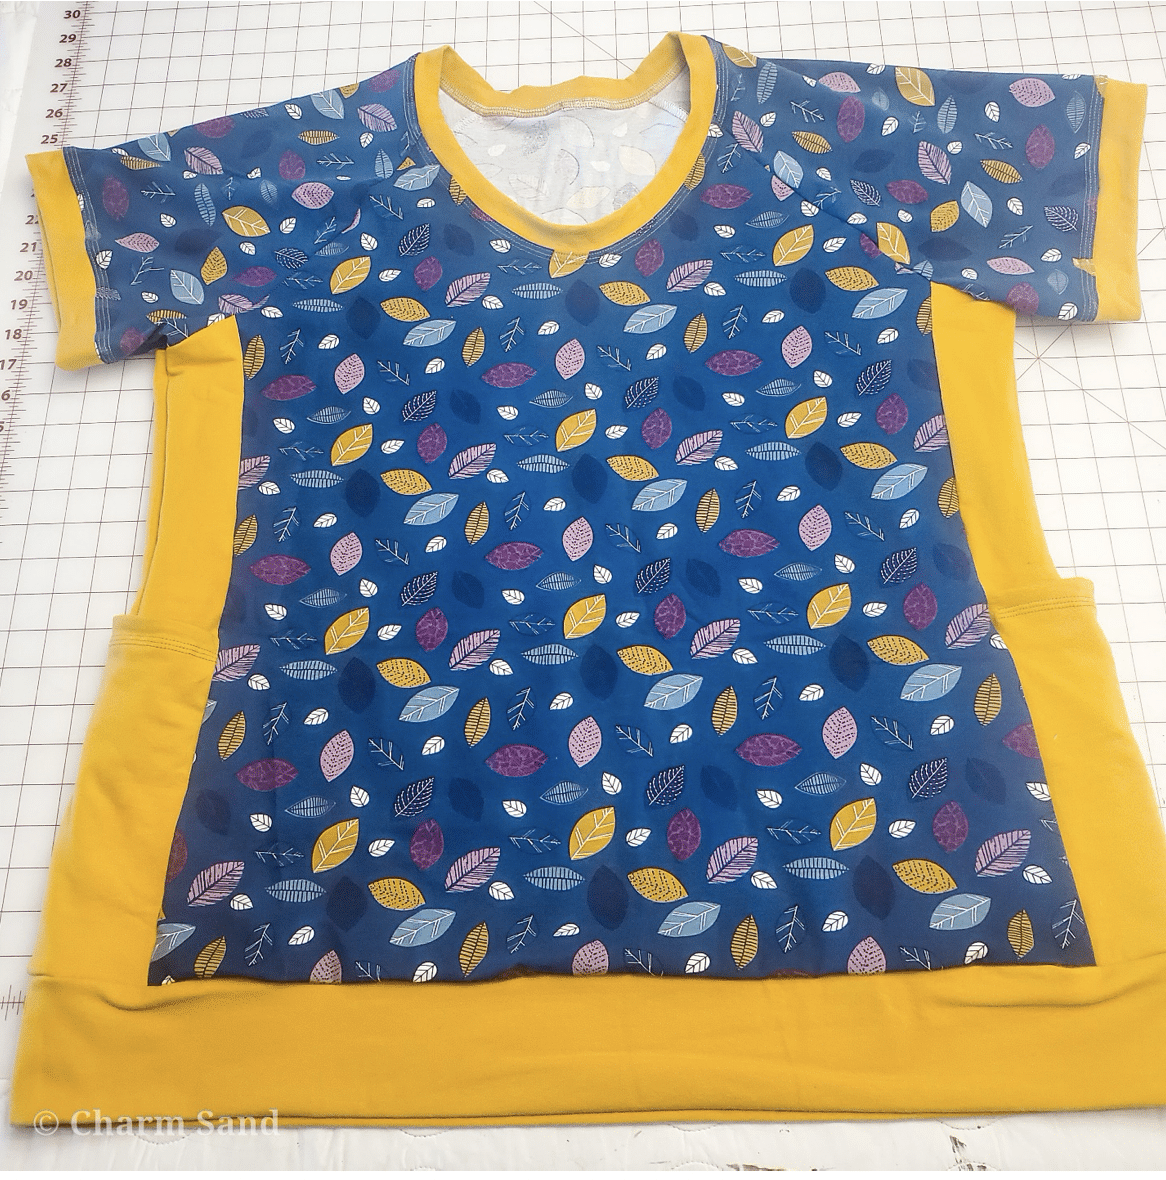
- Do the same for the other side. Your work should now look like this, with the pockets sewn into the side panels.
- Sew your sleeves on normally, according to the instructions. Pin or clip the side seams right sides together as you normally would, making sure NOT to sew through either of the pockets. Tuck them further into the shirt and out of the way. Sew with a stretch stitch or serger.
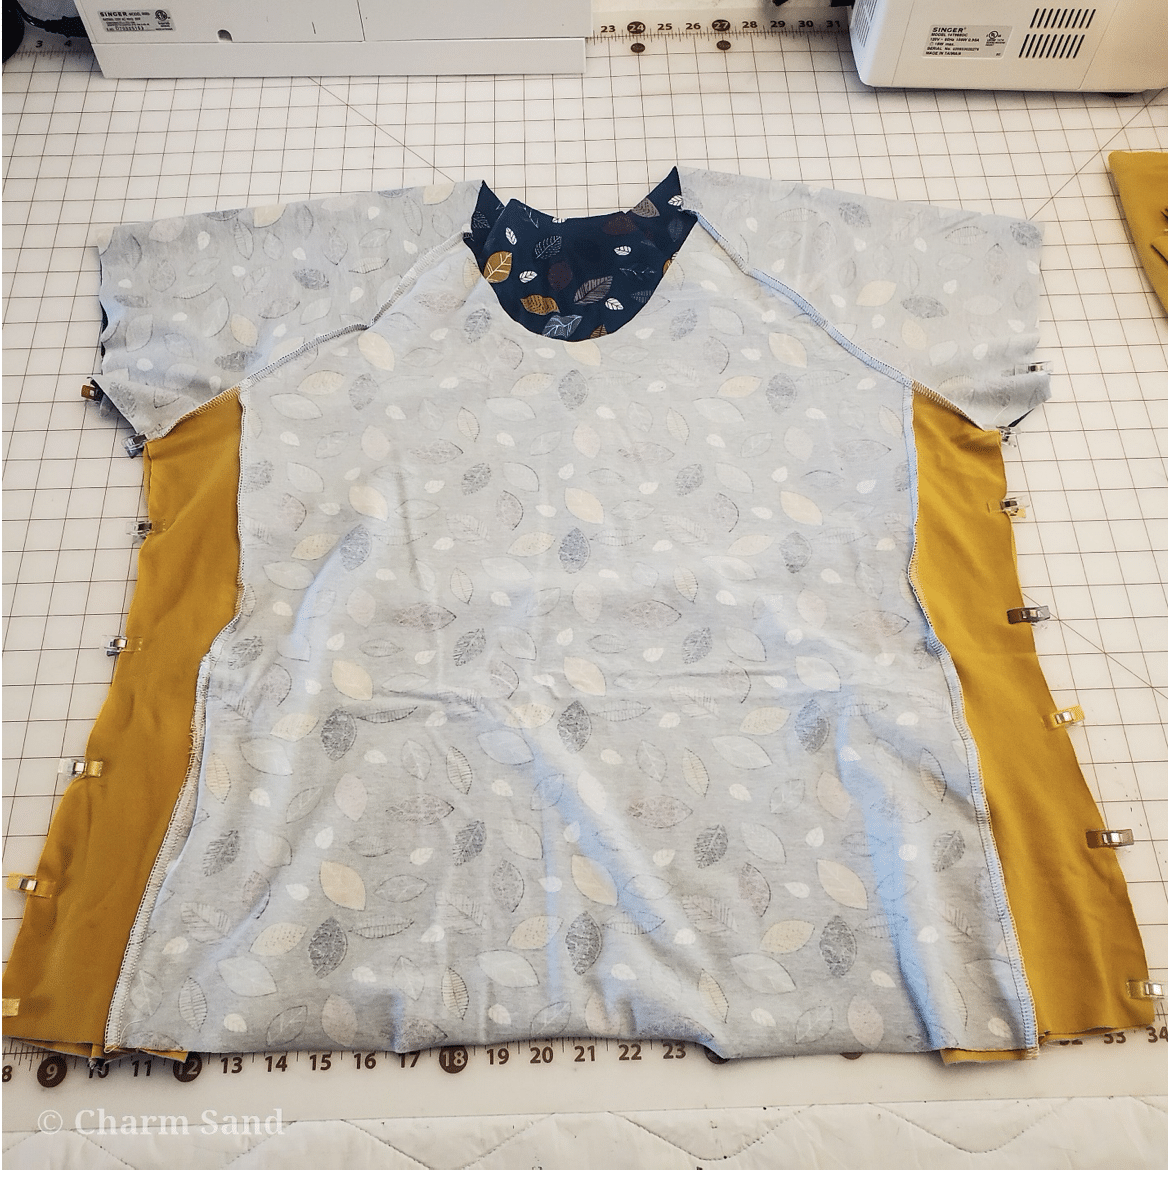
- Sew on your hood or neckband and finish off your hems as you normally would. All done!
Now we can all have some awesome extra pockets for our next Annabeth make!
As always, we’re here to help if you need it! Join us HERE and on Facebook, Instagram, Twitter, Youtube, and Pinterest. We’re everywhere you are.
Great hack! I don’t own the pattern yet, but this side pocket would be nice in an athletic top.
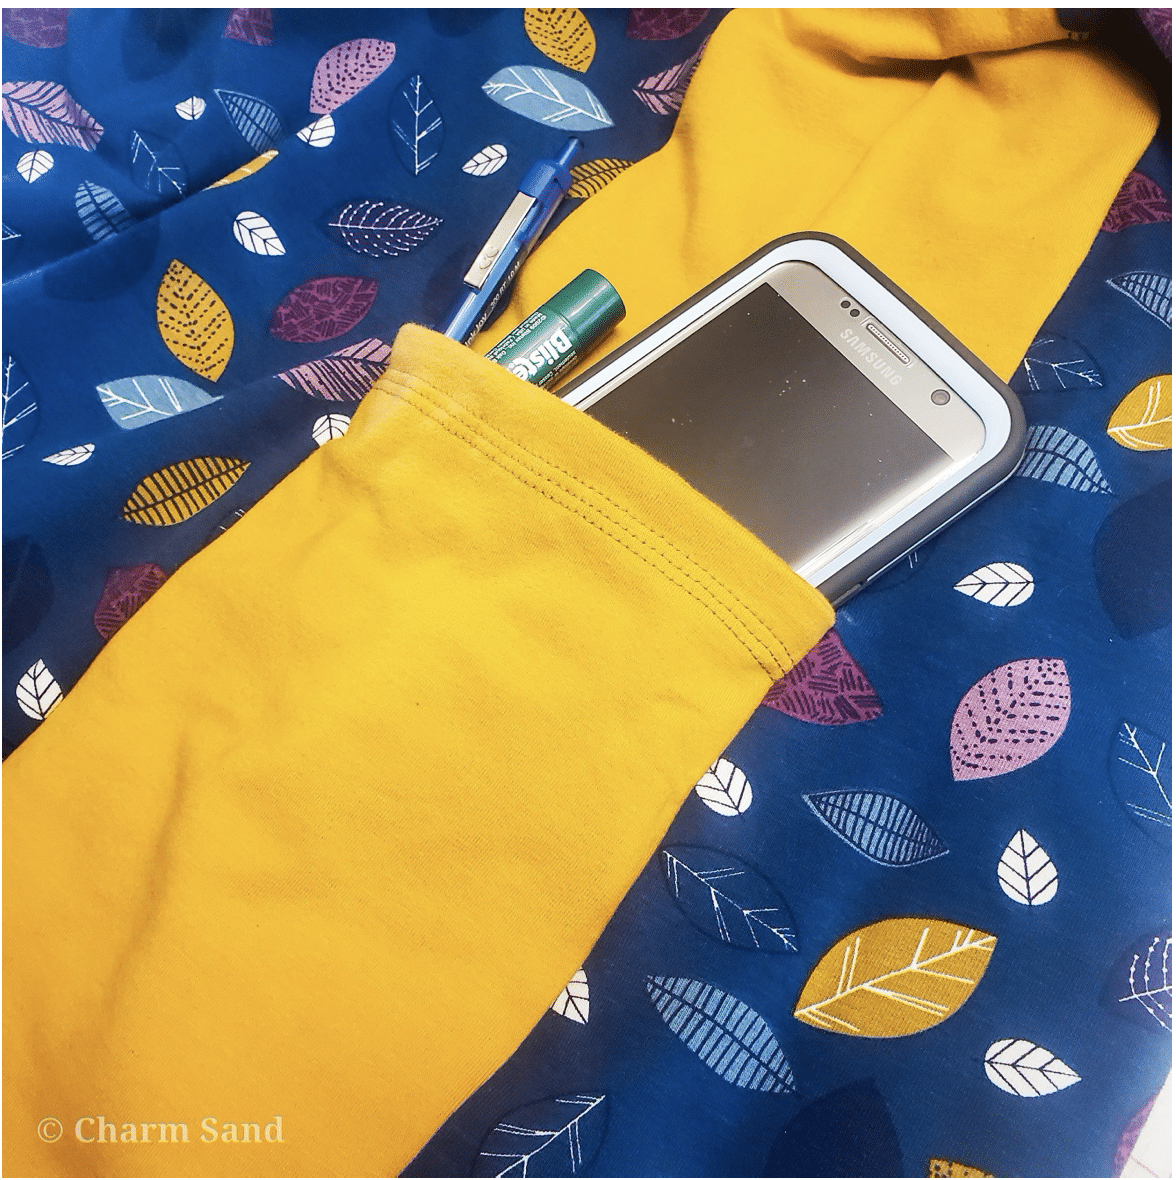
Love this pocket. Since I mostly want it for my phone this will be more functional and will hang better than the hidden pocket option.