Women’s Annabeth Sweatshirt Piping and Buttons Hack! Clearly you’ve seen the Annabeth Sweatshirt by now. If you haven’t, OMG you’d better go check it out. Like RIGHT NOW. It’s pretty incredible AND you’re going to need it for this quick and easy hack! I’m going to show you how to add piping and buttons. Don’t worry – you can totally do it.

GET YOUR ANNABETH PATTERN RIGHT HERE!
Ok, ready to go? Let’s do this.
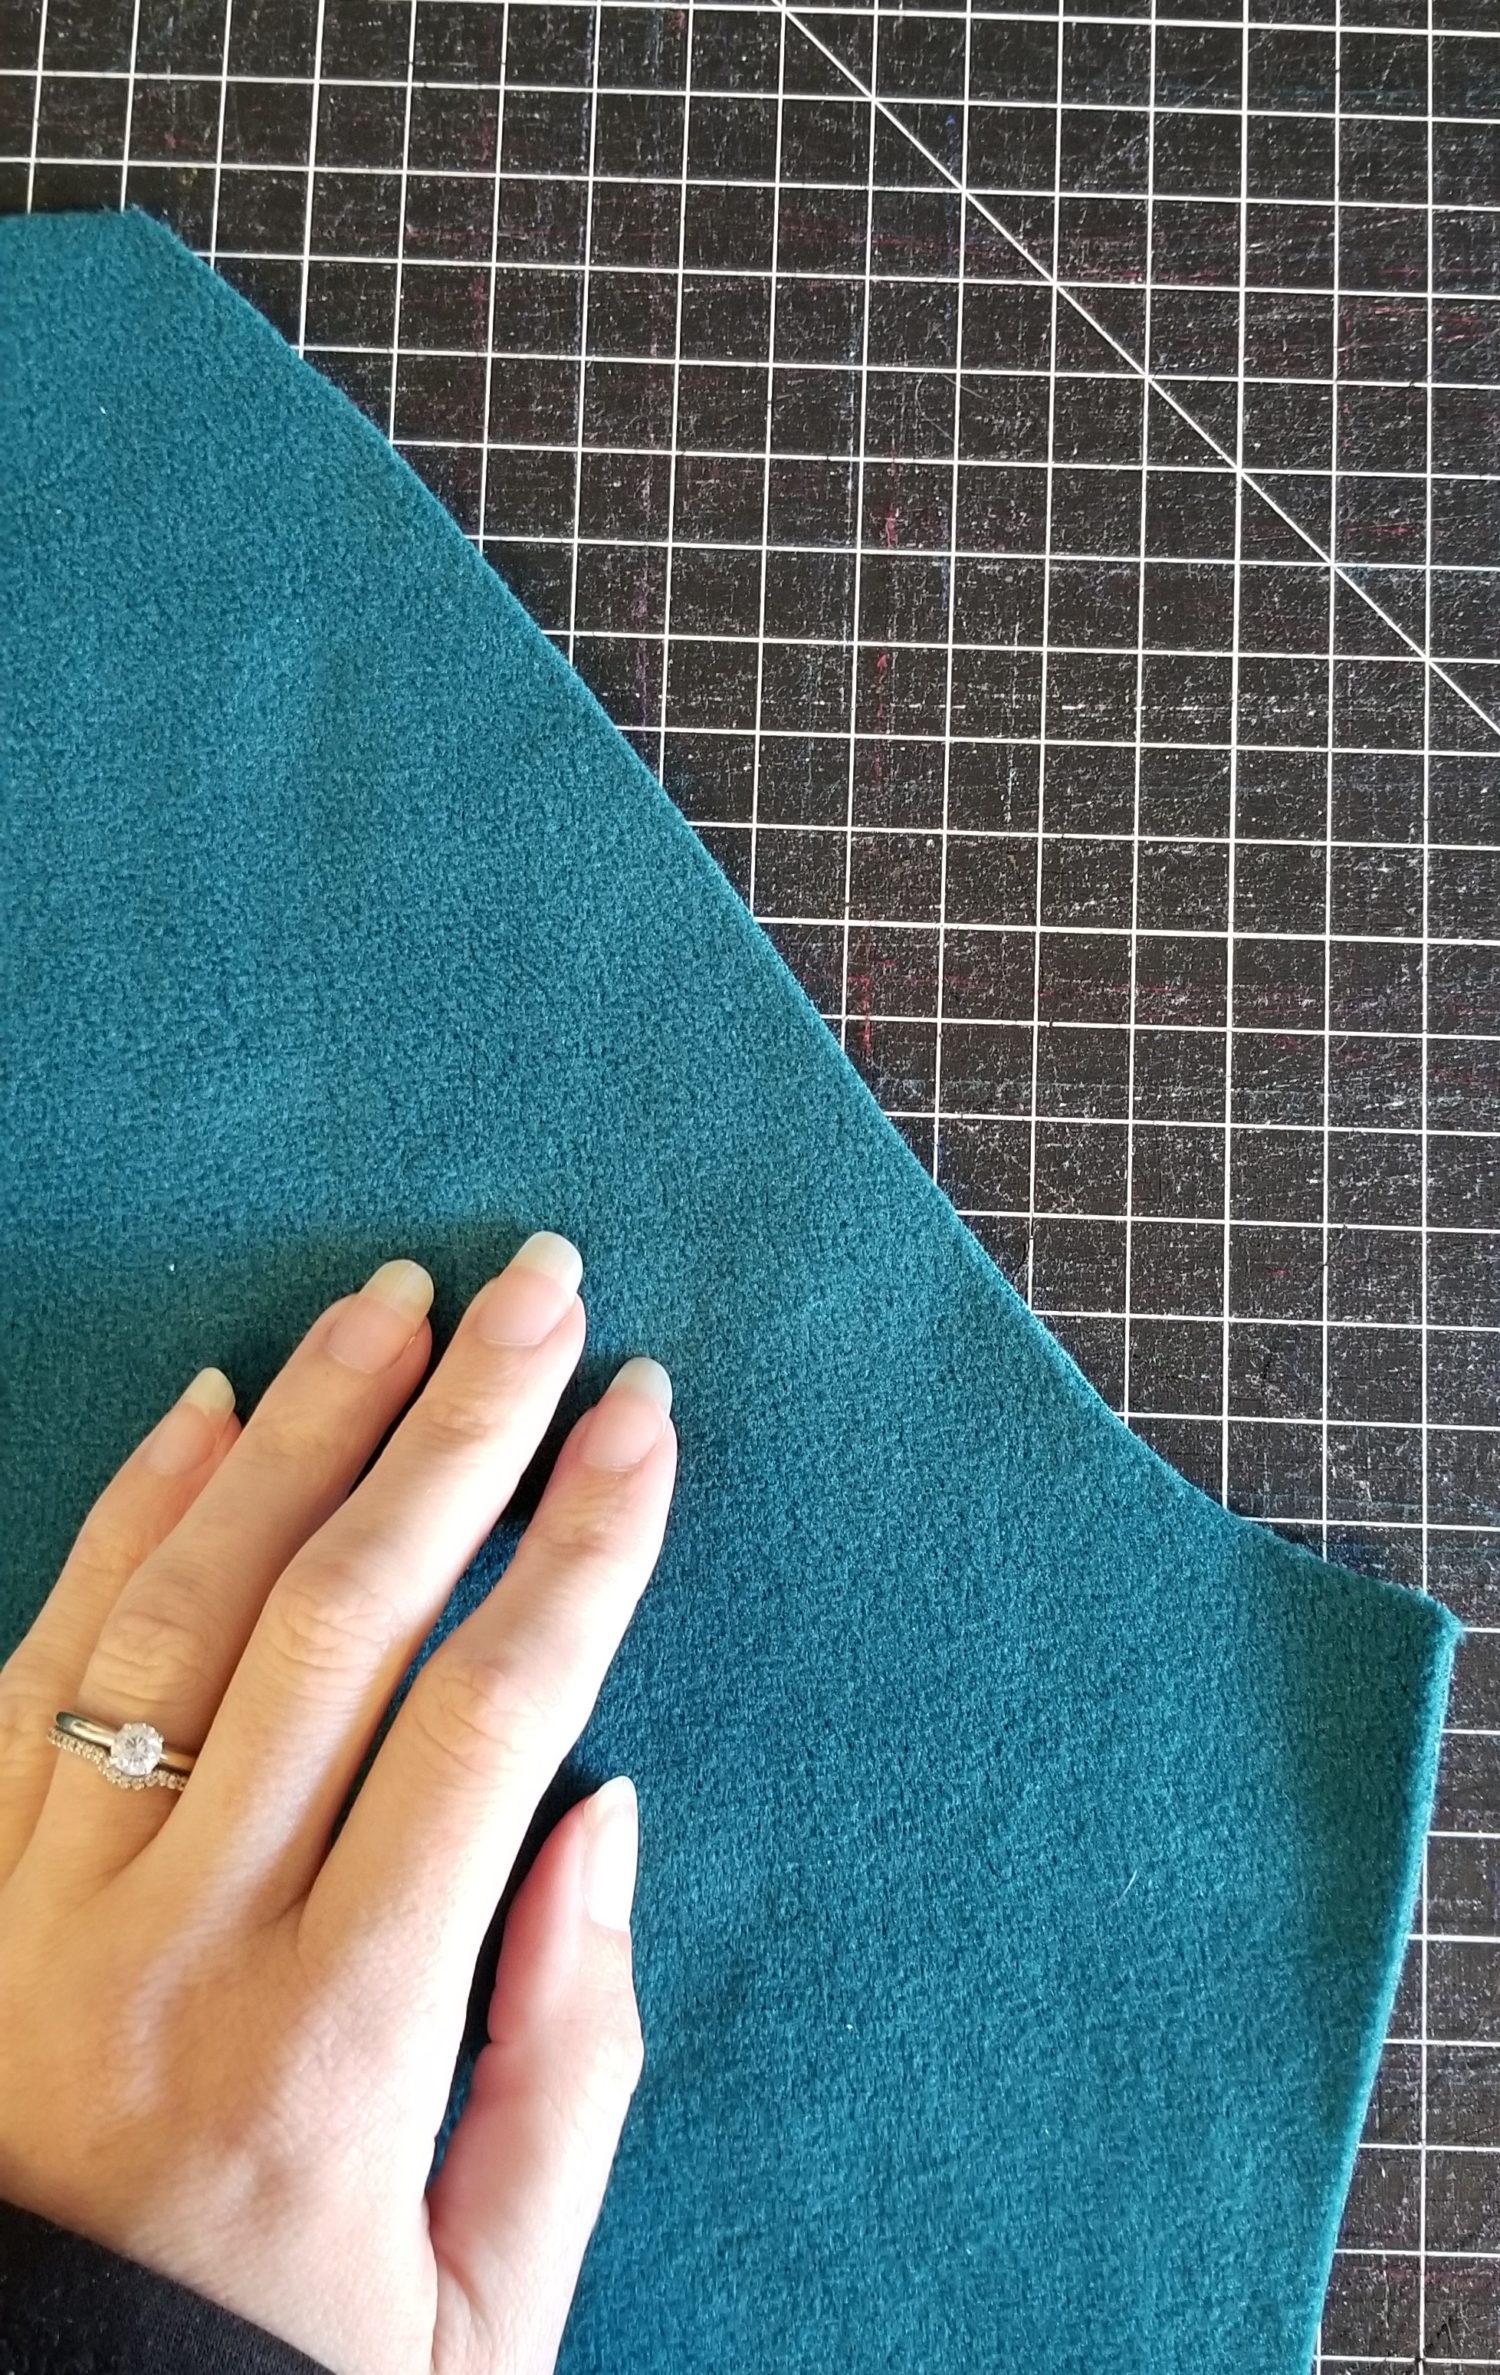
First things first, measure the FRONT sleeve edge. Mine measured about 10″ (I am making the Size Medium – measure your size).
That is the WIDTH measurement you will need for the piping – the measurement that will go with the greatest STRETCH. You will also need a length. How thick do you want it? I measured my intended buttons at 3/4″ so I decided 1″ would be about perfect so that the piping showed a tiny bit on each side of the button. To figure out my length, I multiplied my measurement by 2 (since we’ll be folding it in half) and added my seam allowance (3/4″): (1″x2) + .75= 2.75″. I should add here that you don’t HAVE to have buttons. It’s not a requirement, just a fun detail.
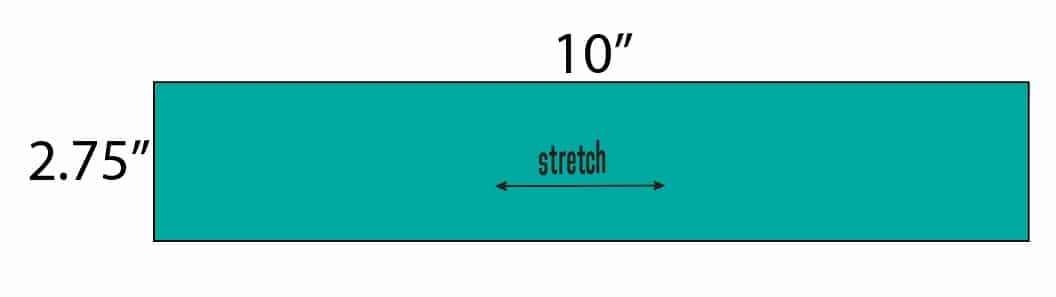
You will need to CUT TWO of these piping pieces. Fold each one in half lengthwise (hot dog) and press them.
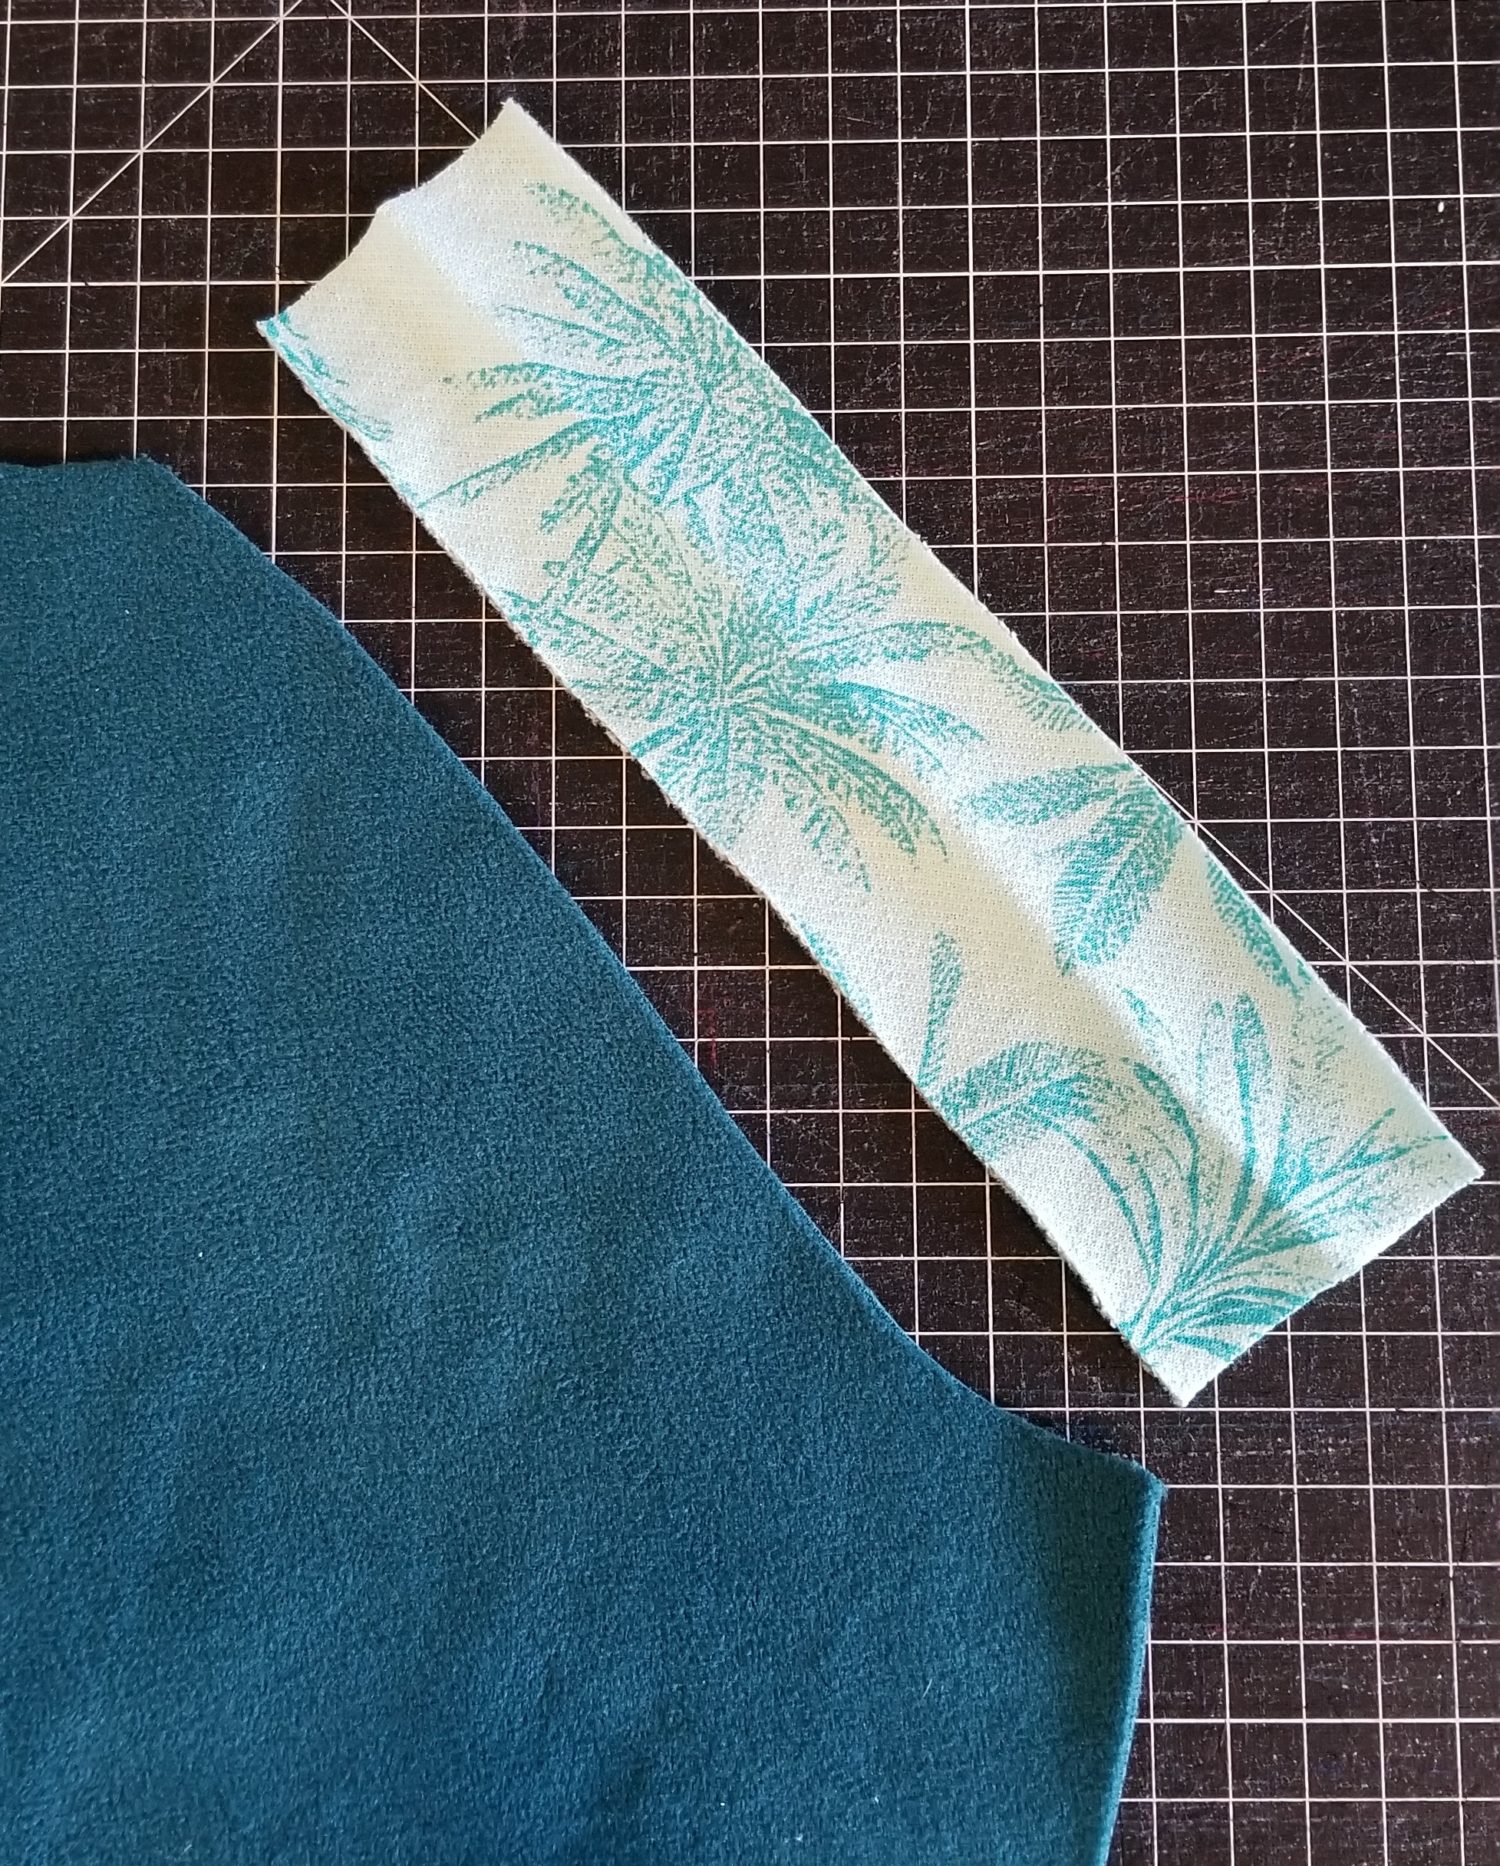
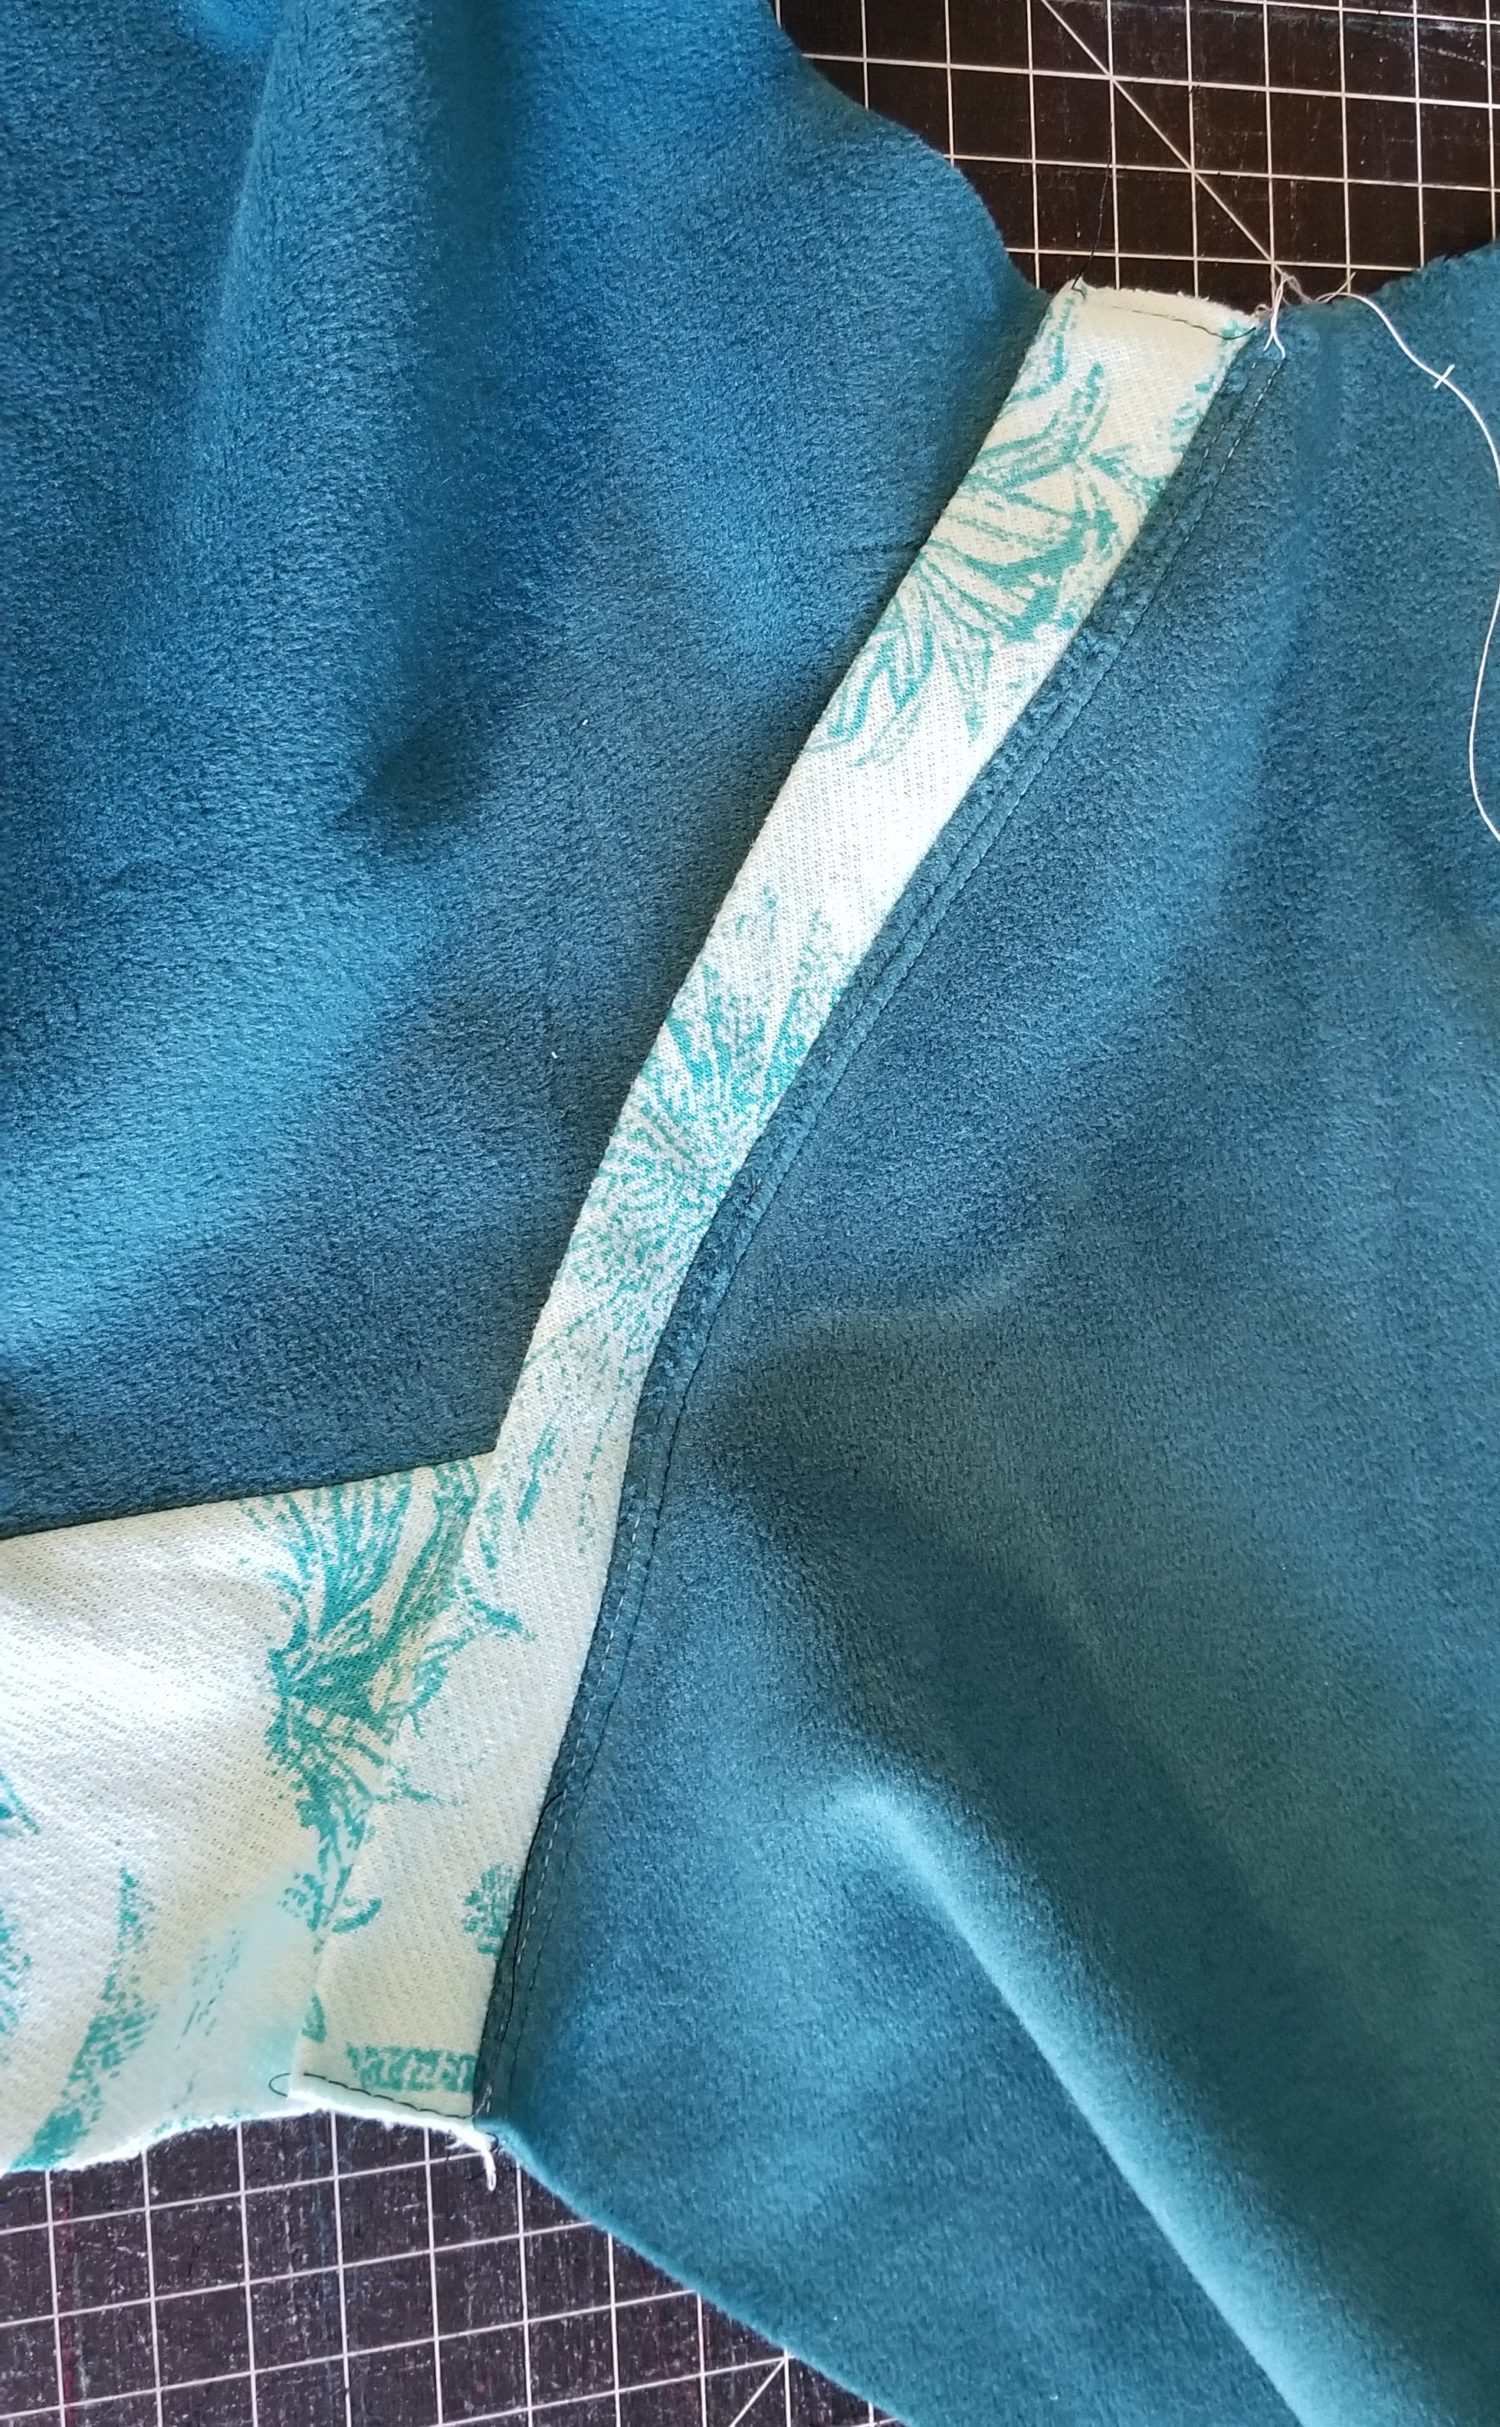
Take one sleeve RIGHT SIDES UP and one piping piece and match up the raw edges. Baste the piping piece to the front sleeve edge. I also suggest basting at the top neck and the bottom armscye. That will help to keep the piping in place and secure as you sew the rest of your sweatshirt together.
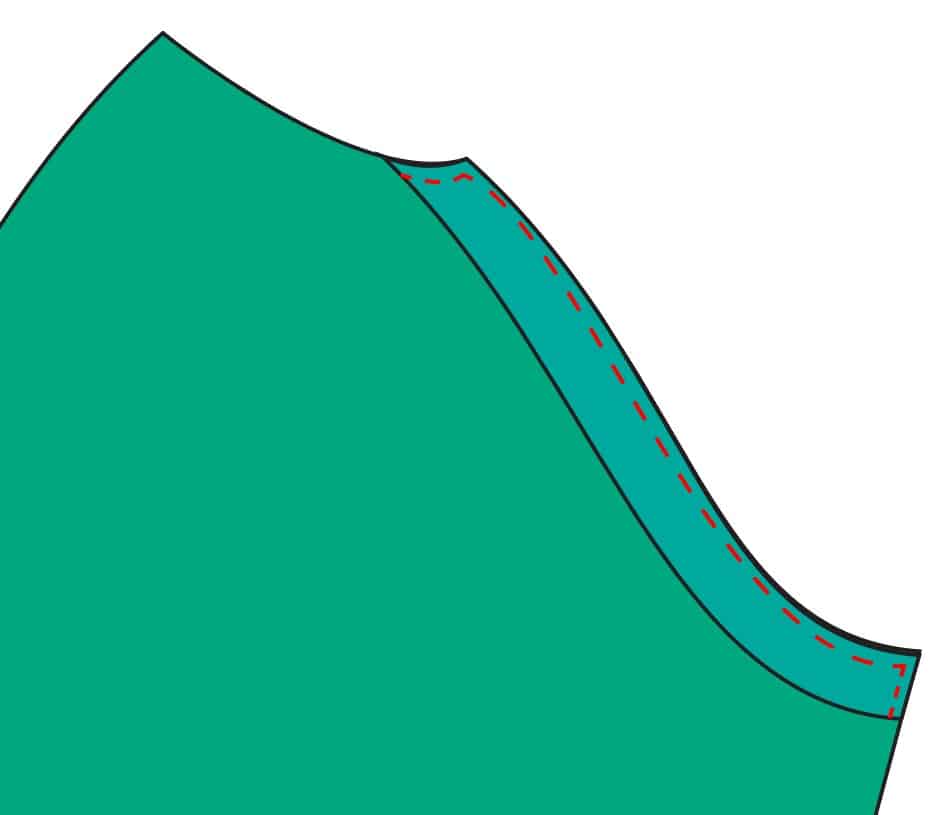
Continue with construction per instructions. You will treat the sleeve and piping as one piece. When you sew the sleeve to your Front Bodice, I highly recommend pressing the seam allowance towards the Sleeve and topstitching.
When you have completed sewing your sweatshirt, try it on and determine where you want the buttons to go. I clipped mine on and then took my sweatshirt off and used a ruler to make sure they were spaced evenly.
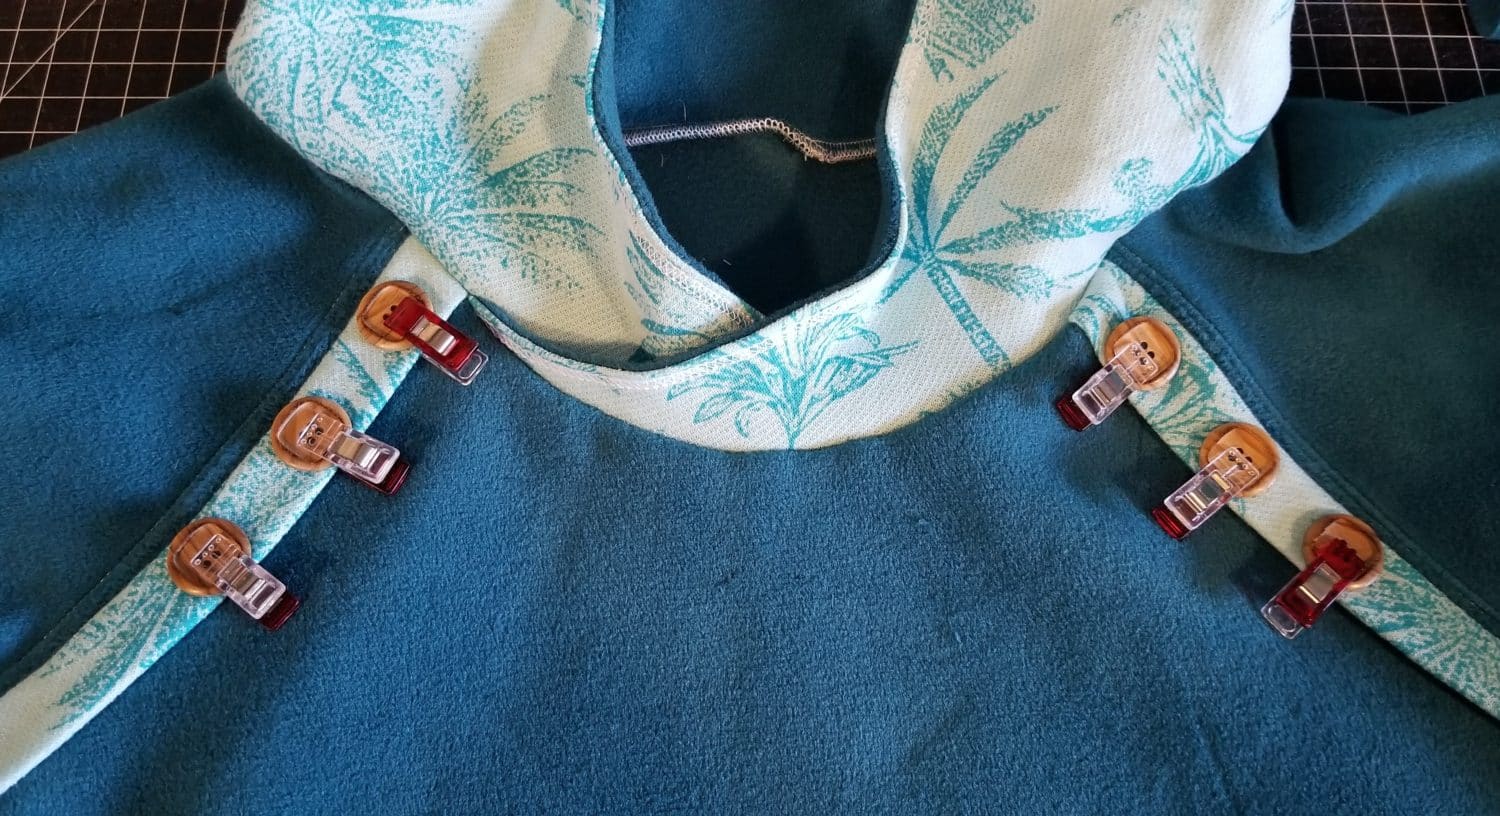
Sew on your buttons and you’re ready to go! See? Piece of cake! Enjoy your Annabeth Sweatshirt Piping and Buttons Hack.

As always, we’re here to help if you need it! Join us HERE and on Facebook, Instagram, Twitter, Youtube, and Pinterest. We’re everywhere you are.
Leave a Reply