
Here in the Pacific Northwest we’re finally starting to emerge from the rain and have been seeing some sun! As it is not particularly warm here 9 months out of the year, my warm weather wardrobe is lacking. Time to grab my Taylor Tank and spruce it up a bit!
It’s the small details…
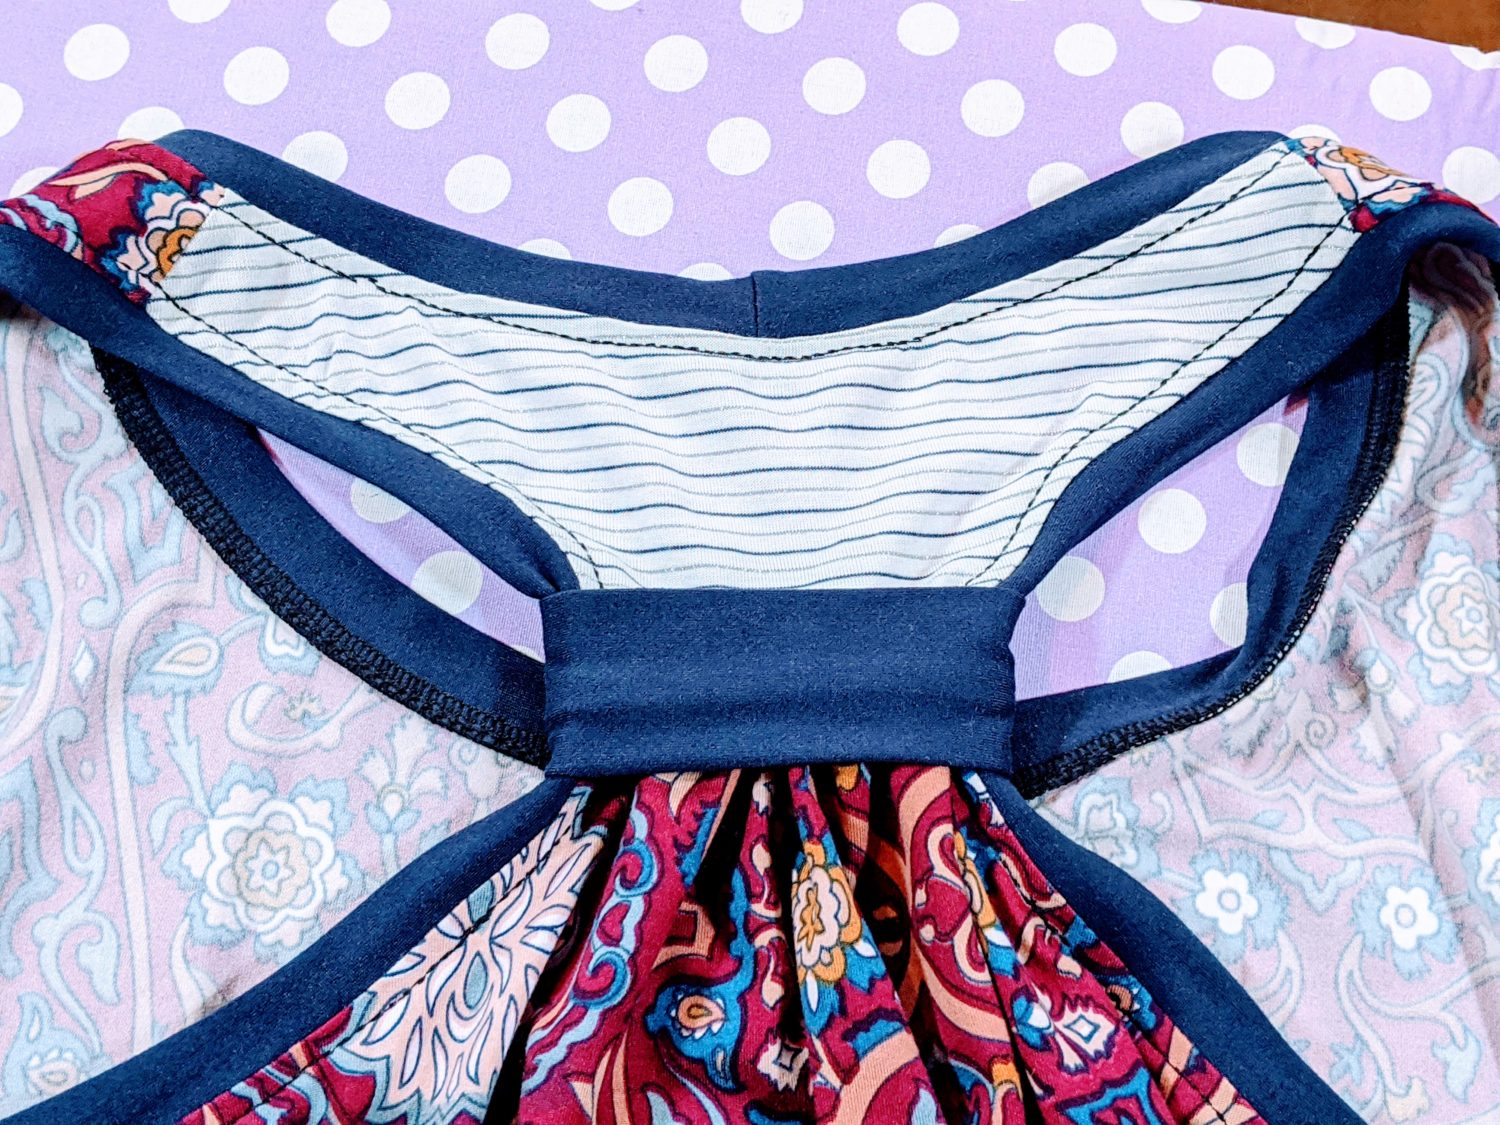
Sometimes, just adding a small thing can set your garment apart from the crowd and take it up a notch. I’m just adding a band to the back of my Taylor Tank, but I think it adds so much more.
Before you begin, you will need to print out and assemble your Taylor Tank pattern. This hack uses the ruched back version, so be sure you print those options. If you don’t have it already, you can grab it here. This will also work for the Kid’s Taylor Tank, but your adjustments will be different as it is a smaller pattern than the adult version.
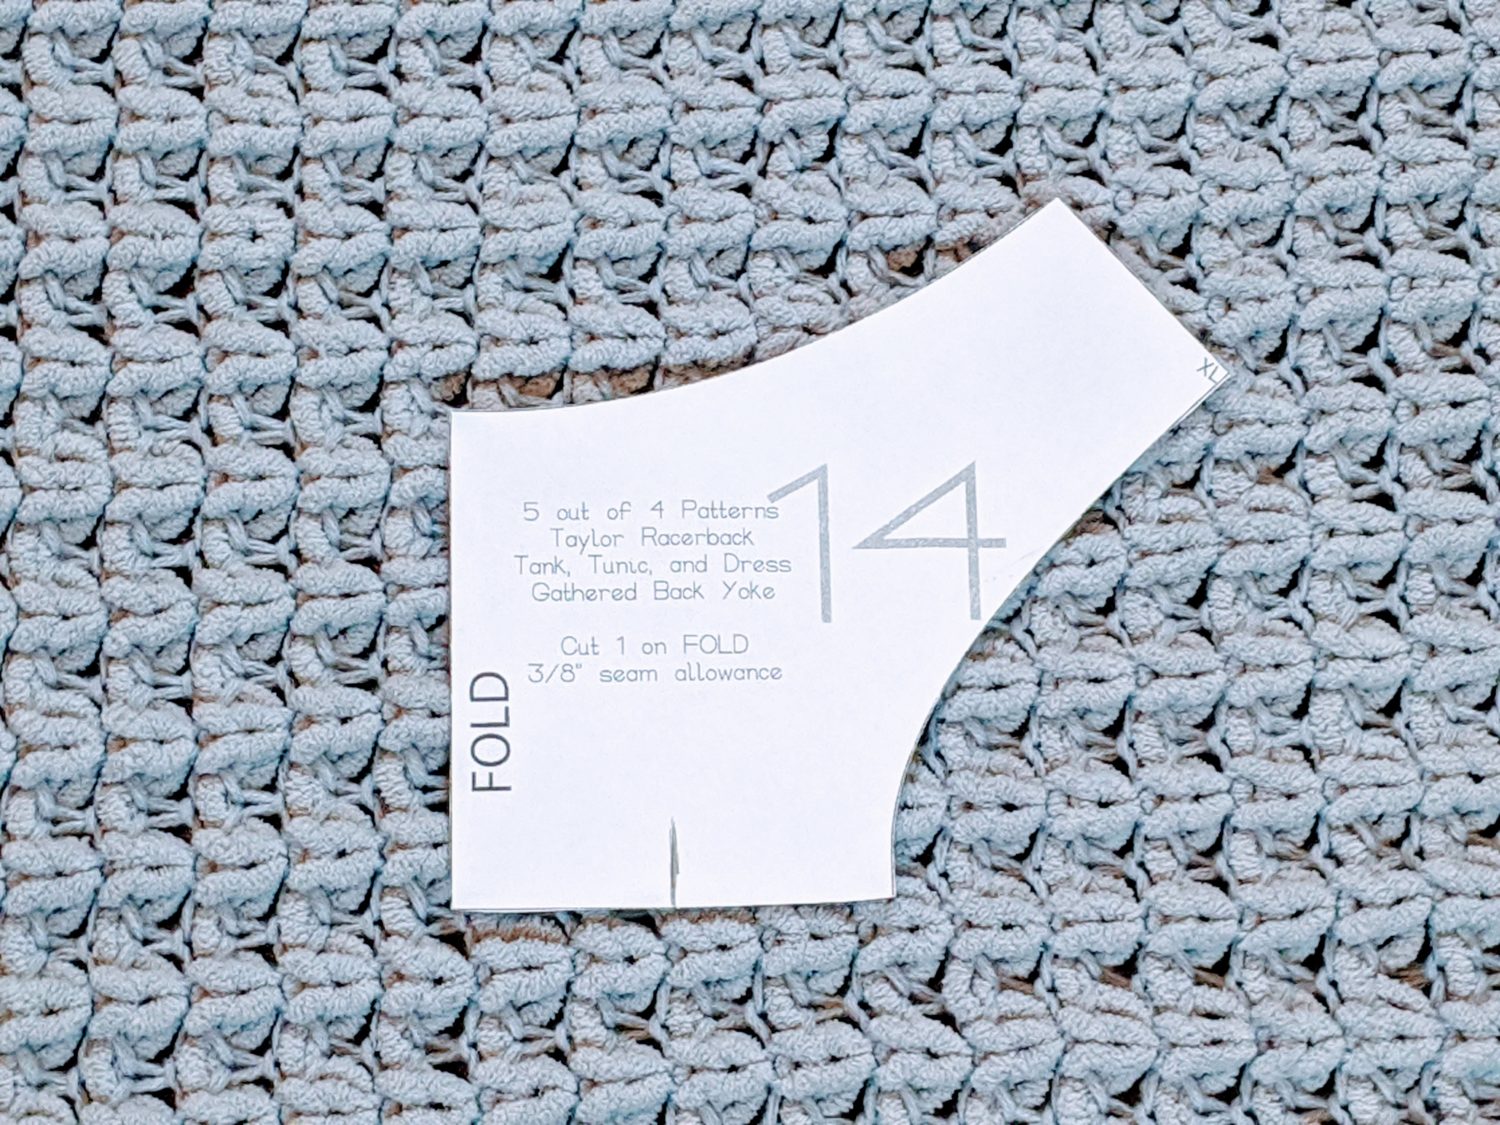
We are going to be making some adjustments to the back bodice and yoke, so grab those 2 pieces and set the others to the side for now. I am making mine in a size XL, you may need to adjust slightly for your size. I tried doing this without adjusting the pattern pieces, and the original version was just too wide for it to lay nicely. I ended up with a big blob of fabric with a band around it. Not exactly the look I was going for.
Let’s get altering!
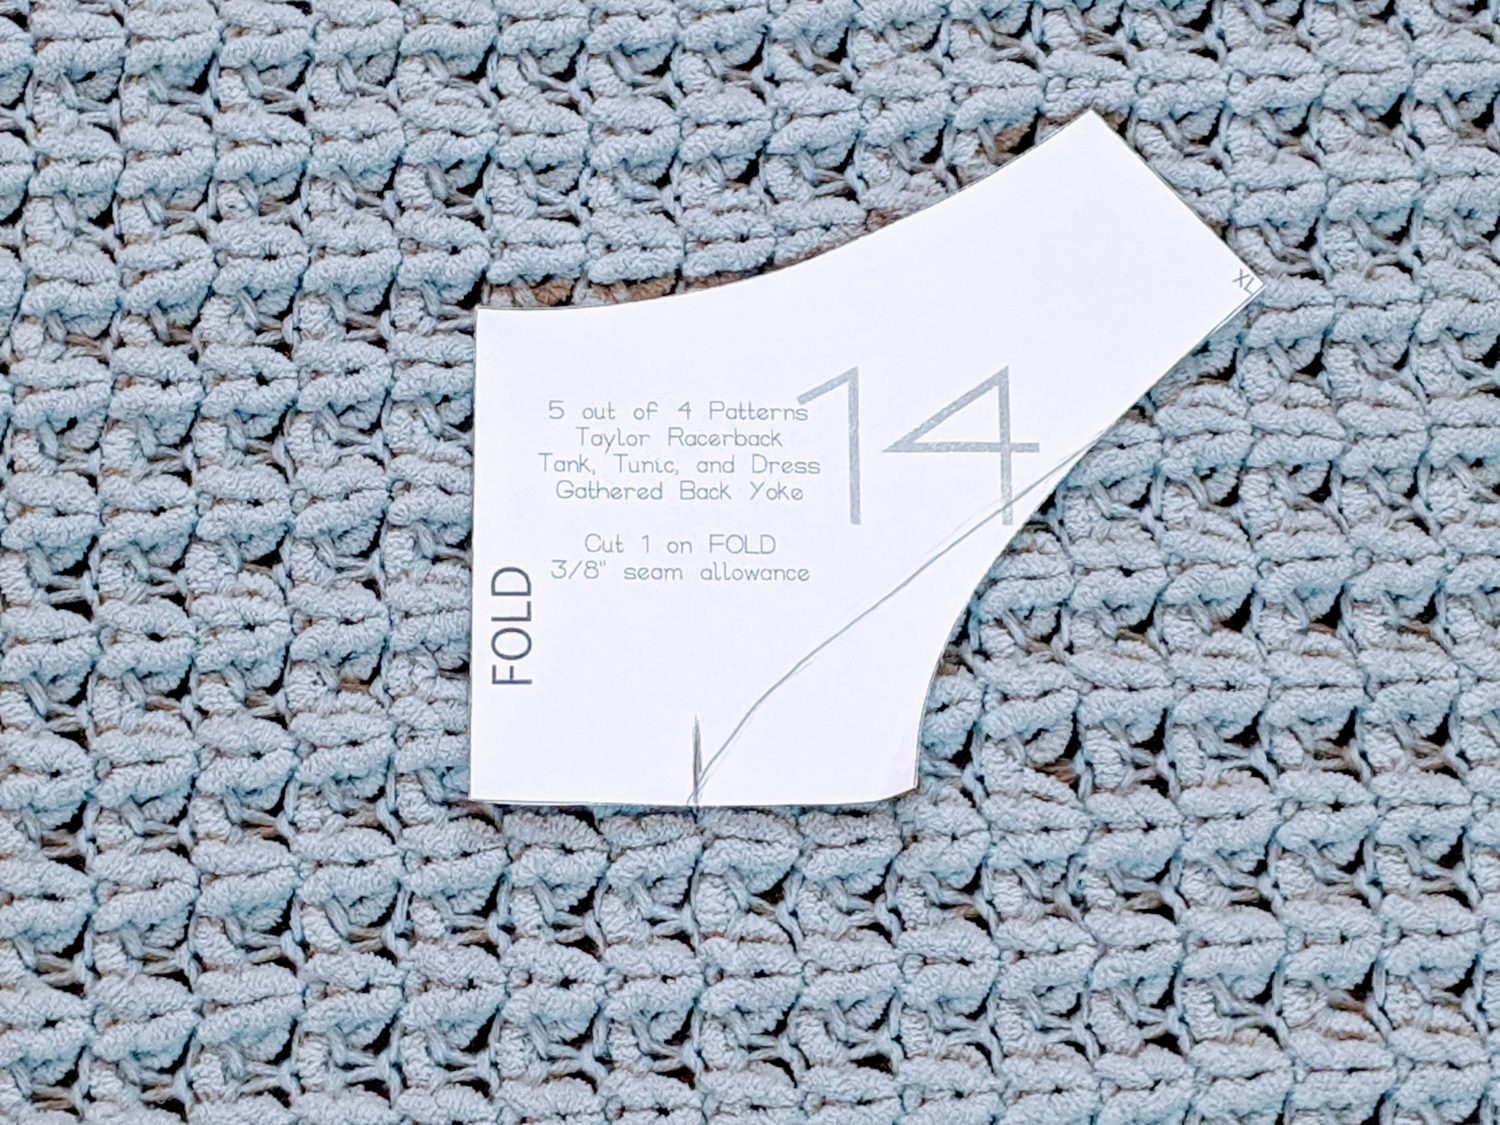
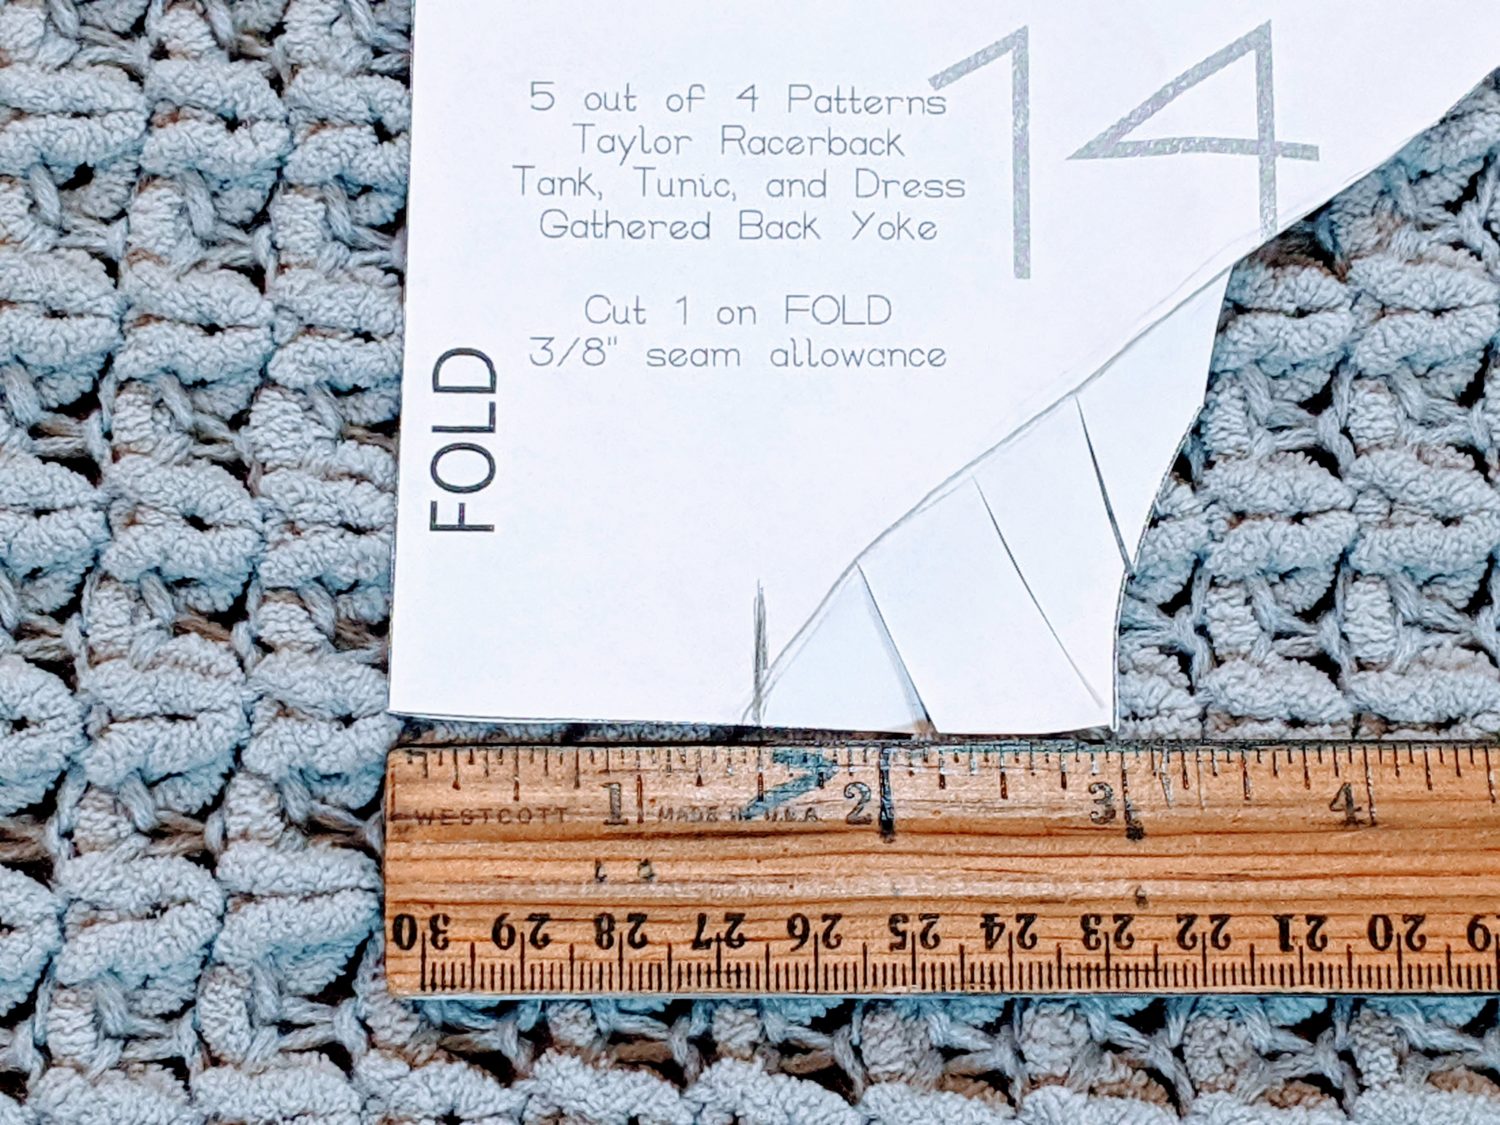
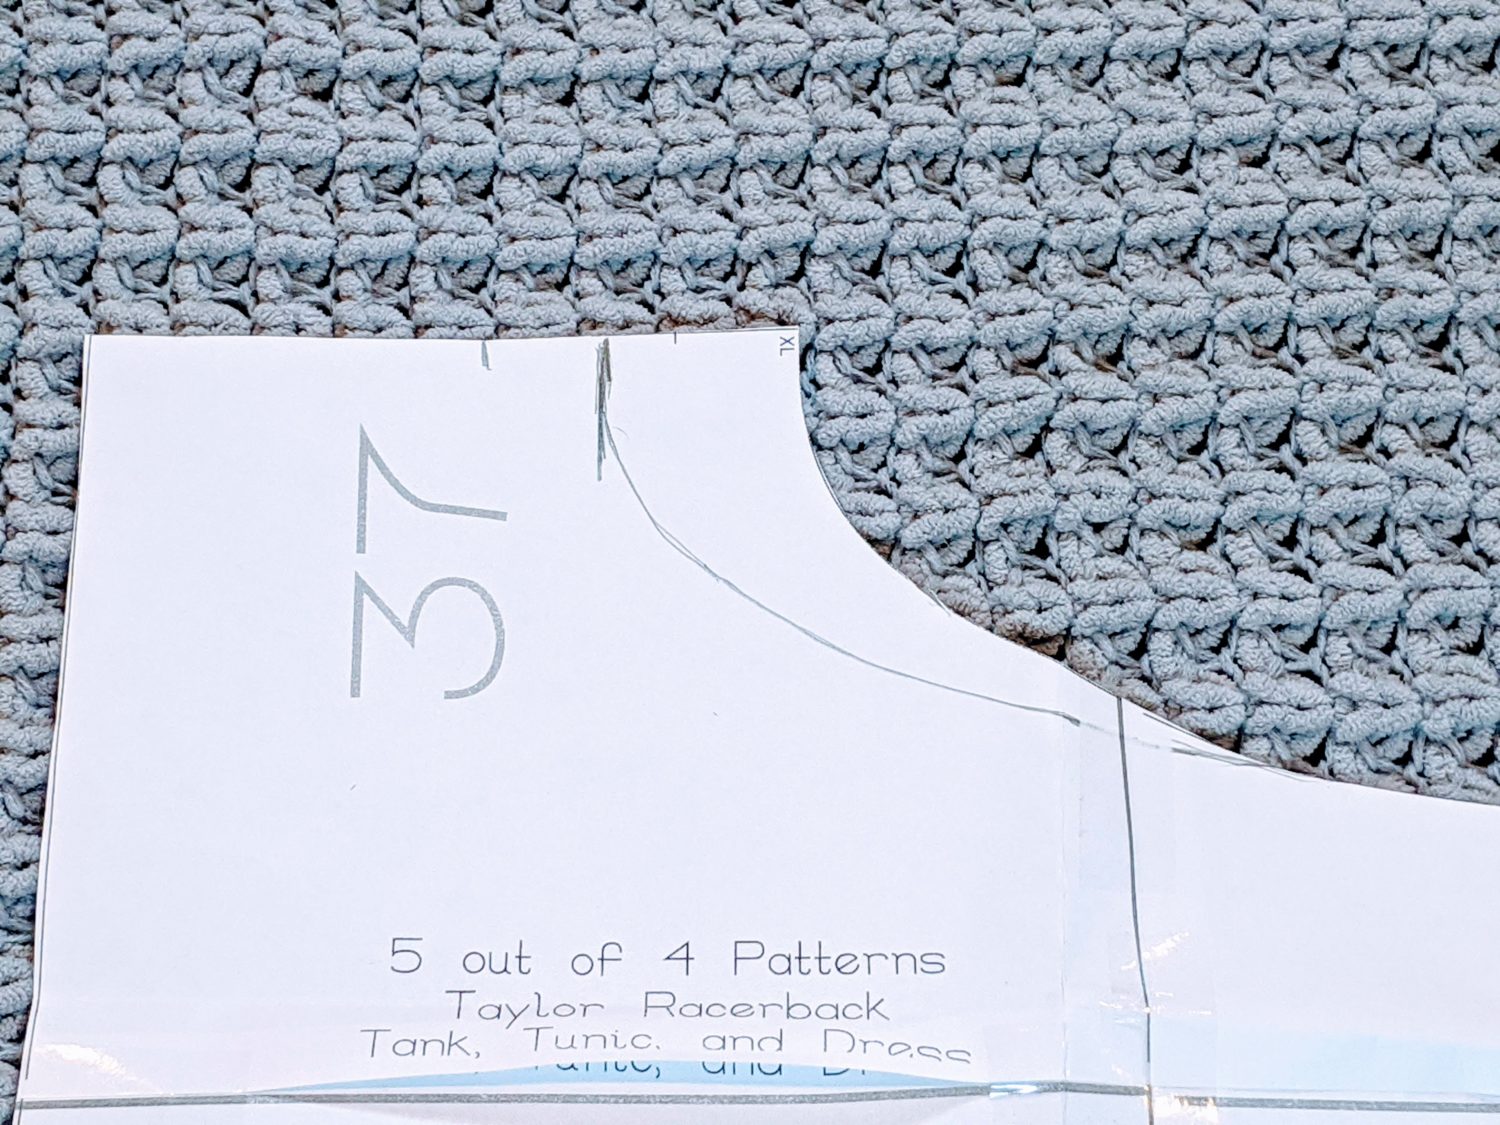
Taking my yoke piece first, I’m measuring the total width across. Since it is cut on the fold, it will be a total of 6” wide as is. I want to adjust that so that the finished width will be 3” wide. I’m going to measure over 1 ½” from the fold and mark that point.
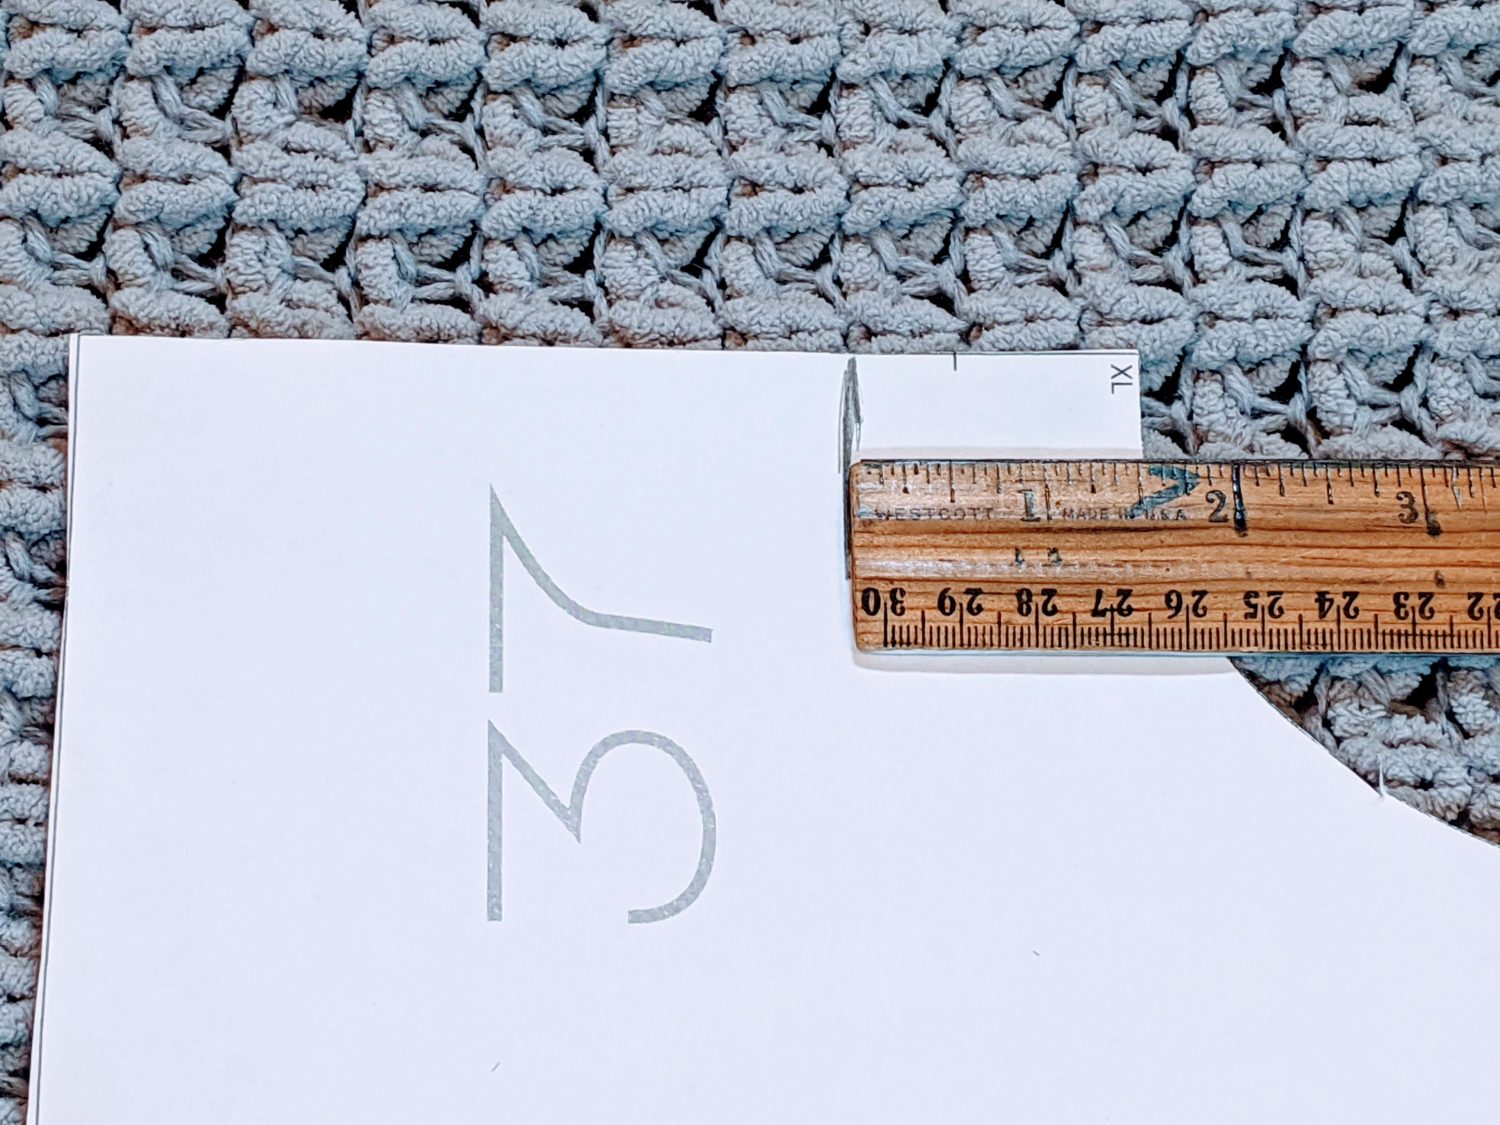
At the same time, measure how much you are cutting off of the armscye side. I am removing 1 ½”, so I am going to make a note of that for when I move onto the bodice piece. You don’t want to change the angle of the strap portion, so starting from the top band, I found the point that it started to straighten out (about ¼ of the way down from the top) and started drawing a gradual curved line from there that continues down to connect with the place I marked previously. You don’t want to have any sharp corners or angles in the armscye, so make sure you make it a smooth transition.
Moving onto the bodice piece, I am going to remove the same amount from the armscye as I did for the yoke piece.
At the top section, I measured over 1 ½” from the outside edge and marked that. You’re going to repeat drawing your gradual curved line from the 1 ½” mark out to the armscye. You will also notice there is already a mark on the pattern piece to indicate where you will sew your gathering stitches later. Mine is 1” in from the outside edge, so I will need to add that back onto my altered pattern piece also. Once you have both these pieces adjusted, trim off the portion of the pattern you are adjusting.
Lastly, before we move onto construction, you need to make a pattern piece for the back band portion, and you will also need to adjust the length of your armbands. Honestly, I didn’t measure exactly how much I added onto the arm bands. I doubled my pattern piece, and then just used the pieces to measure around before sewing them on. For the band piece, I made a 9”x 3 ½” rectangle.

Cut out your fabric!
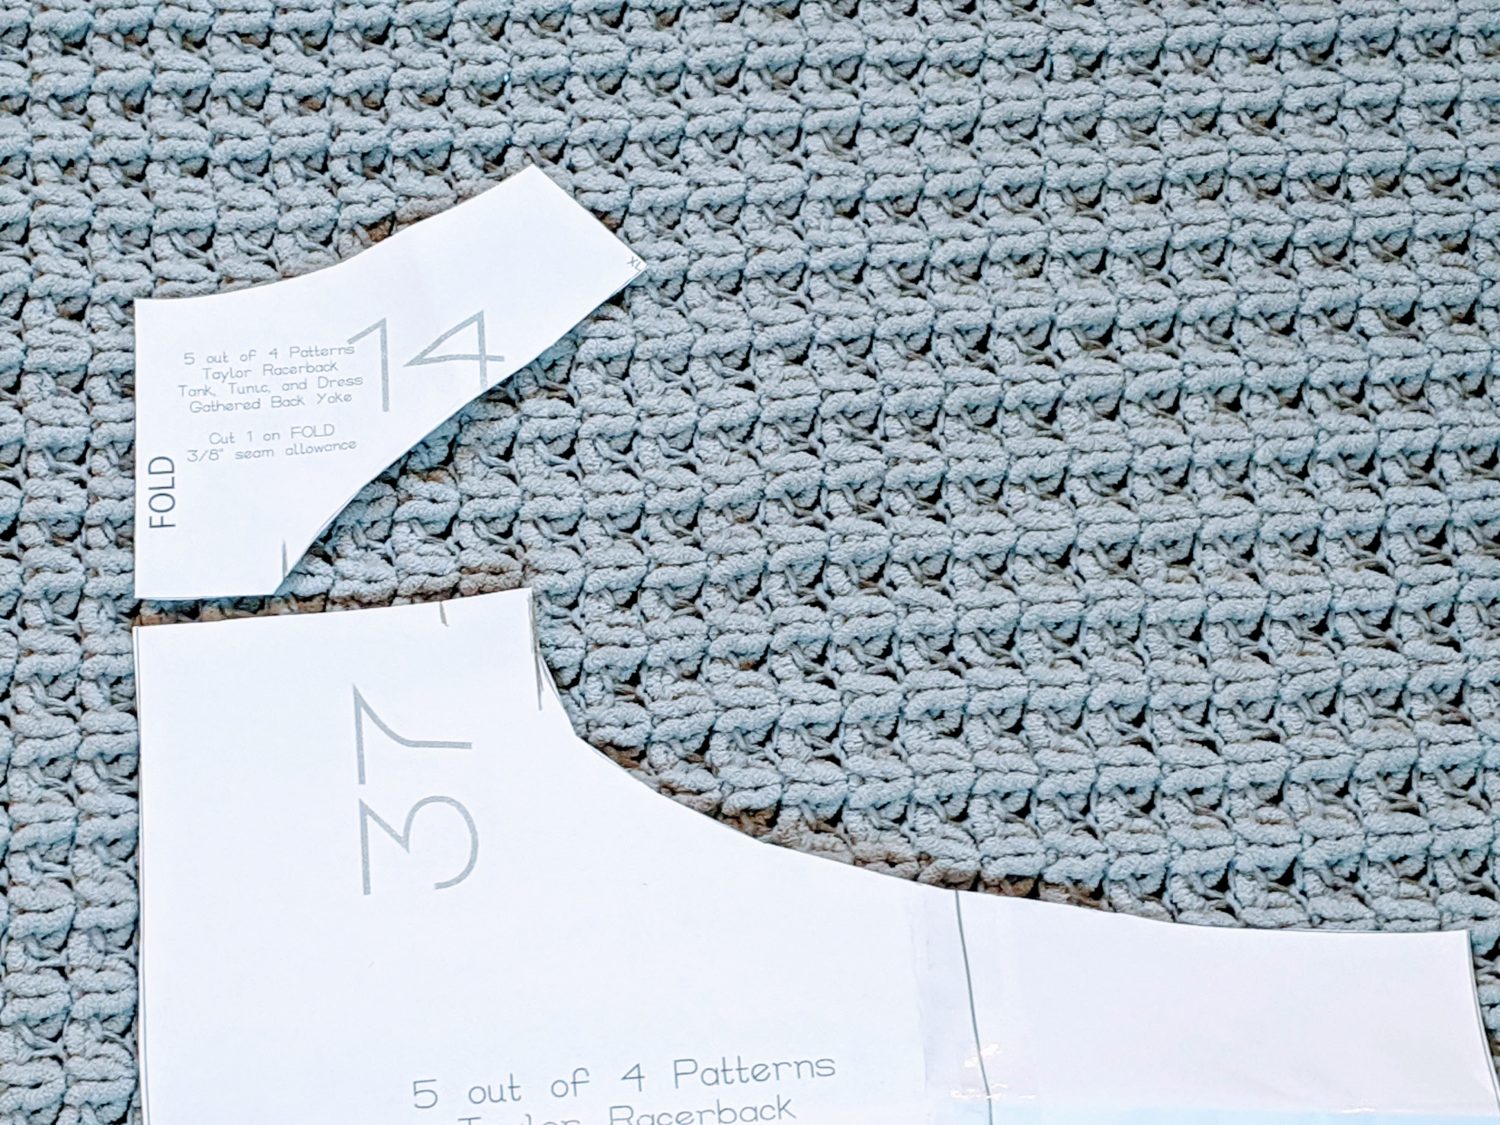
Finally, we’re ready to cut out our fabric. Your front bodice and neckband will remain the same. For everything else, you will use your altered pattern pieces. This is what you should have when you’re done:

Construction time!
You will construct your entire top per the pattern instructions for the ruched back option. Once that is all done and ready to go, we will move onto adding on the back band.
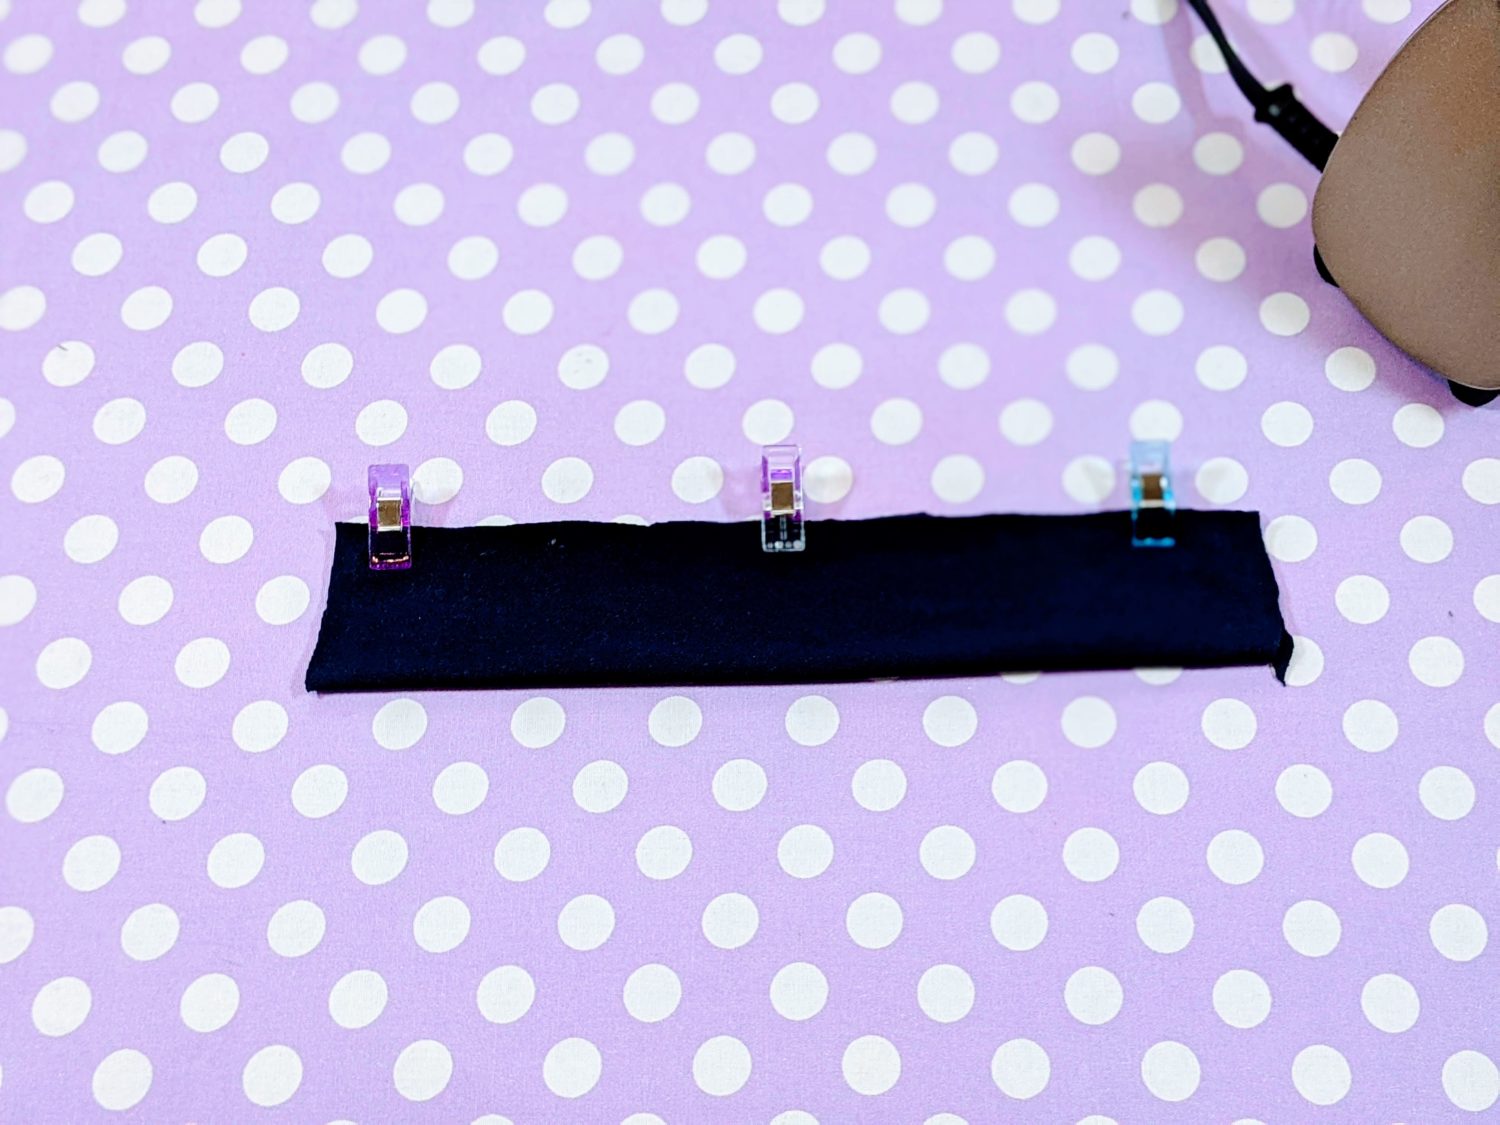
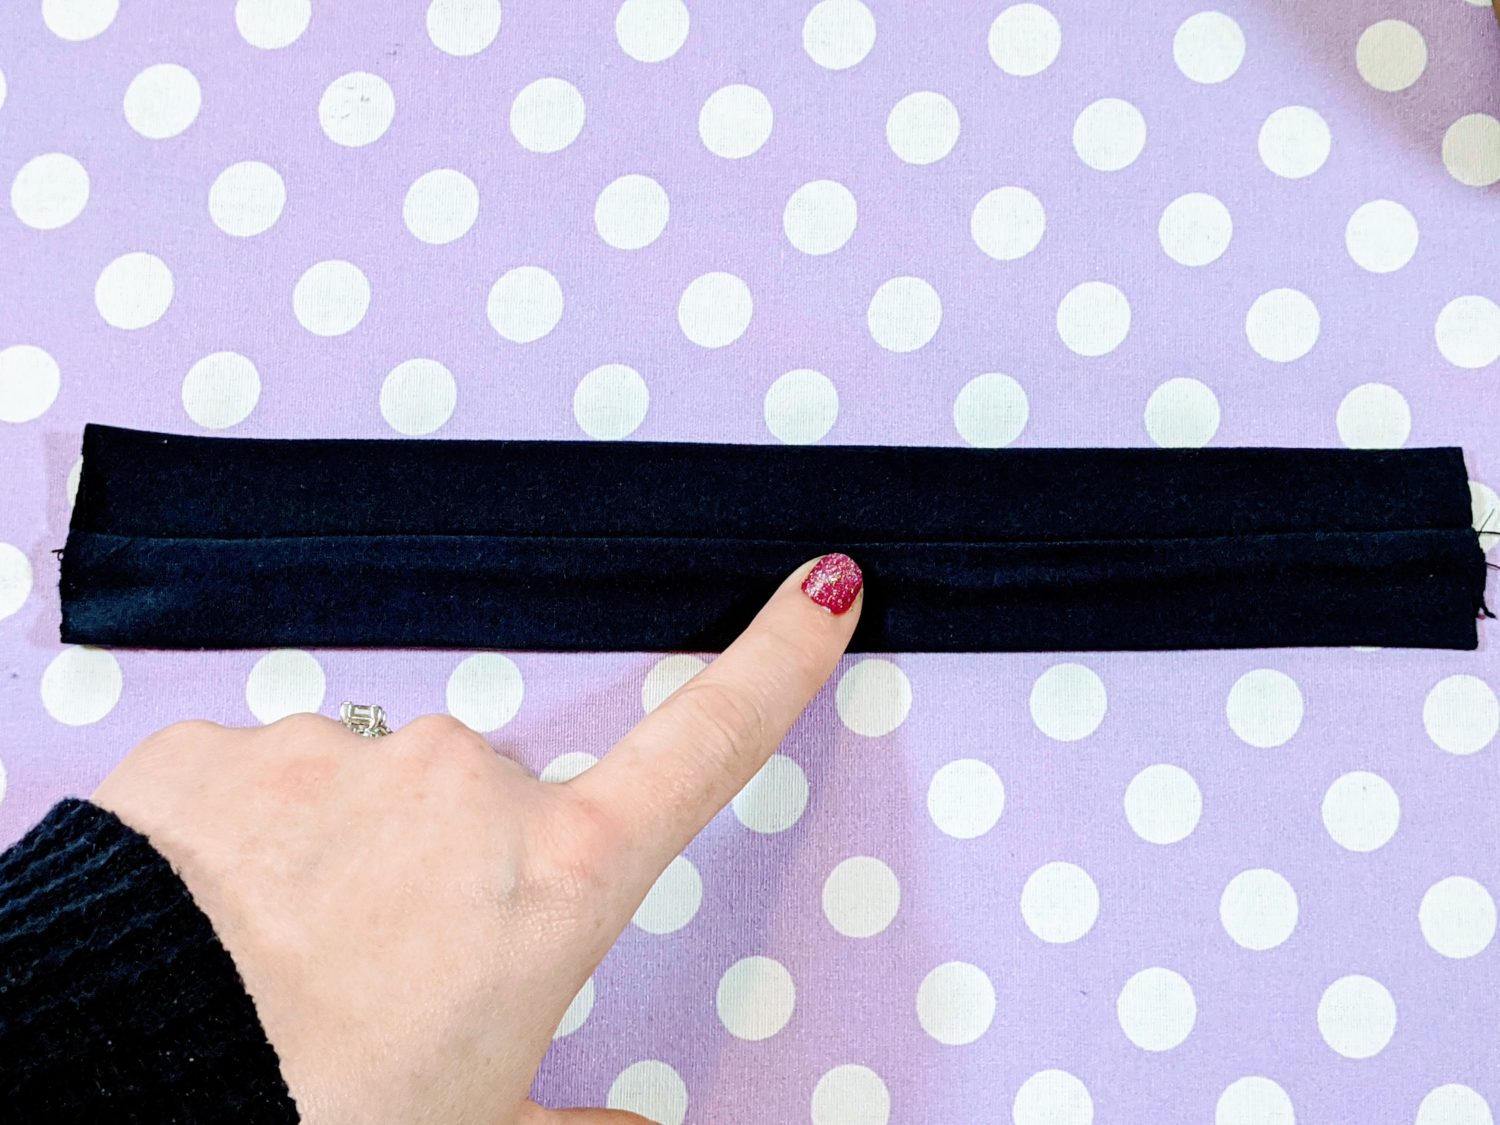
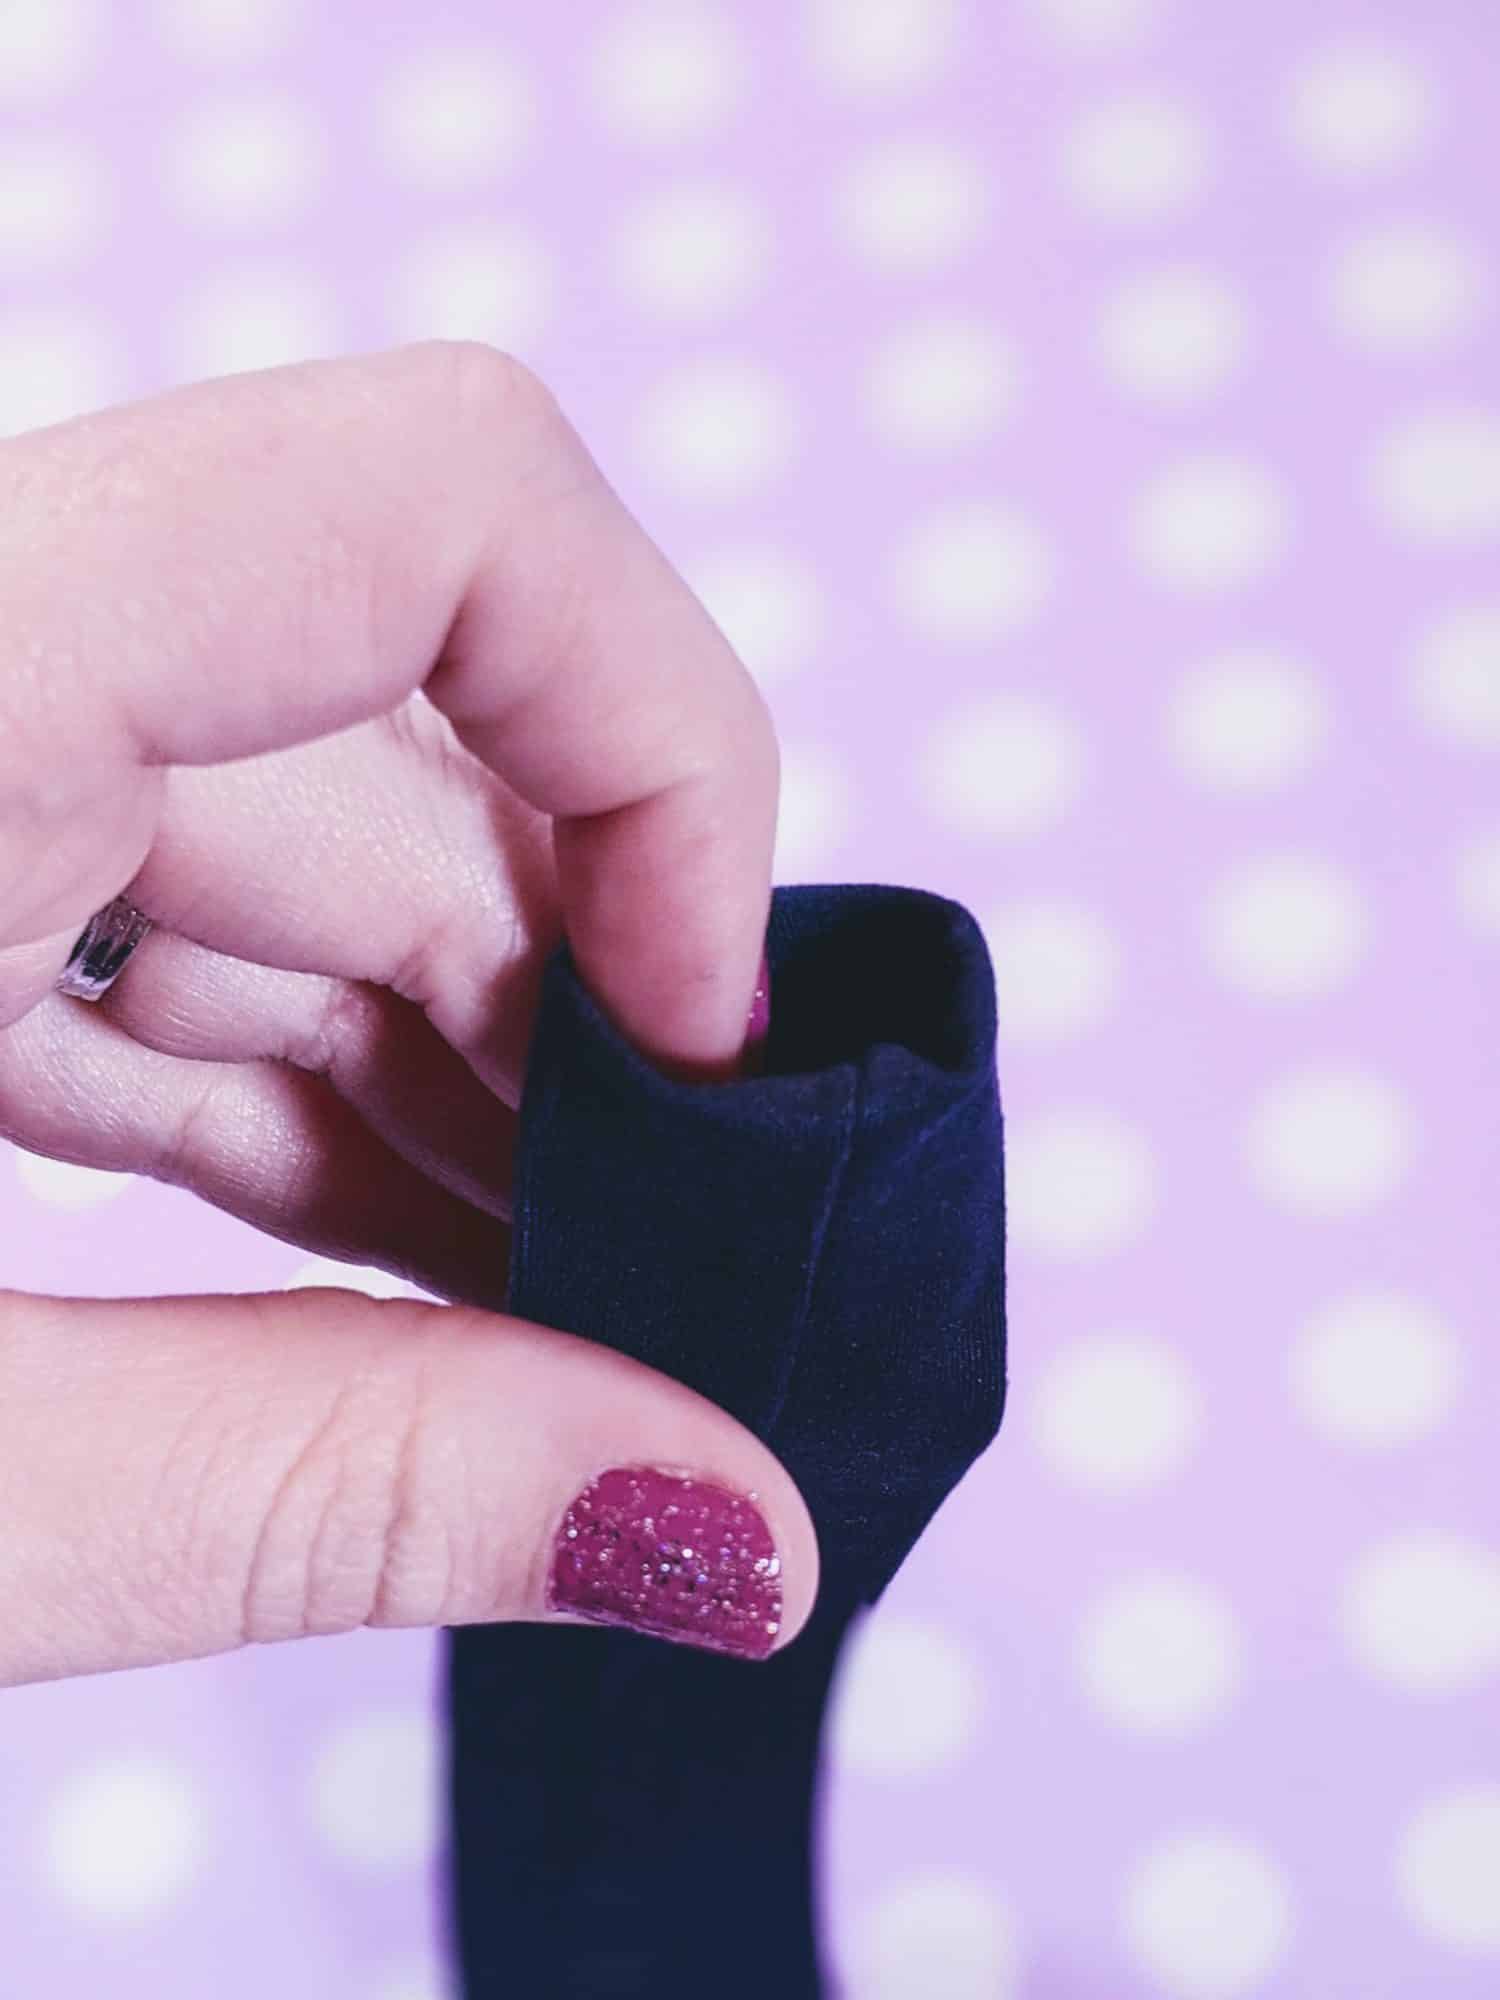
Fold your rectangle band in half hot dog way and serge along the raw edge. Turn the piece right side out and flatten it with the seam down the center. Press with your iron.
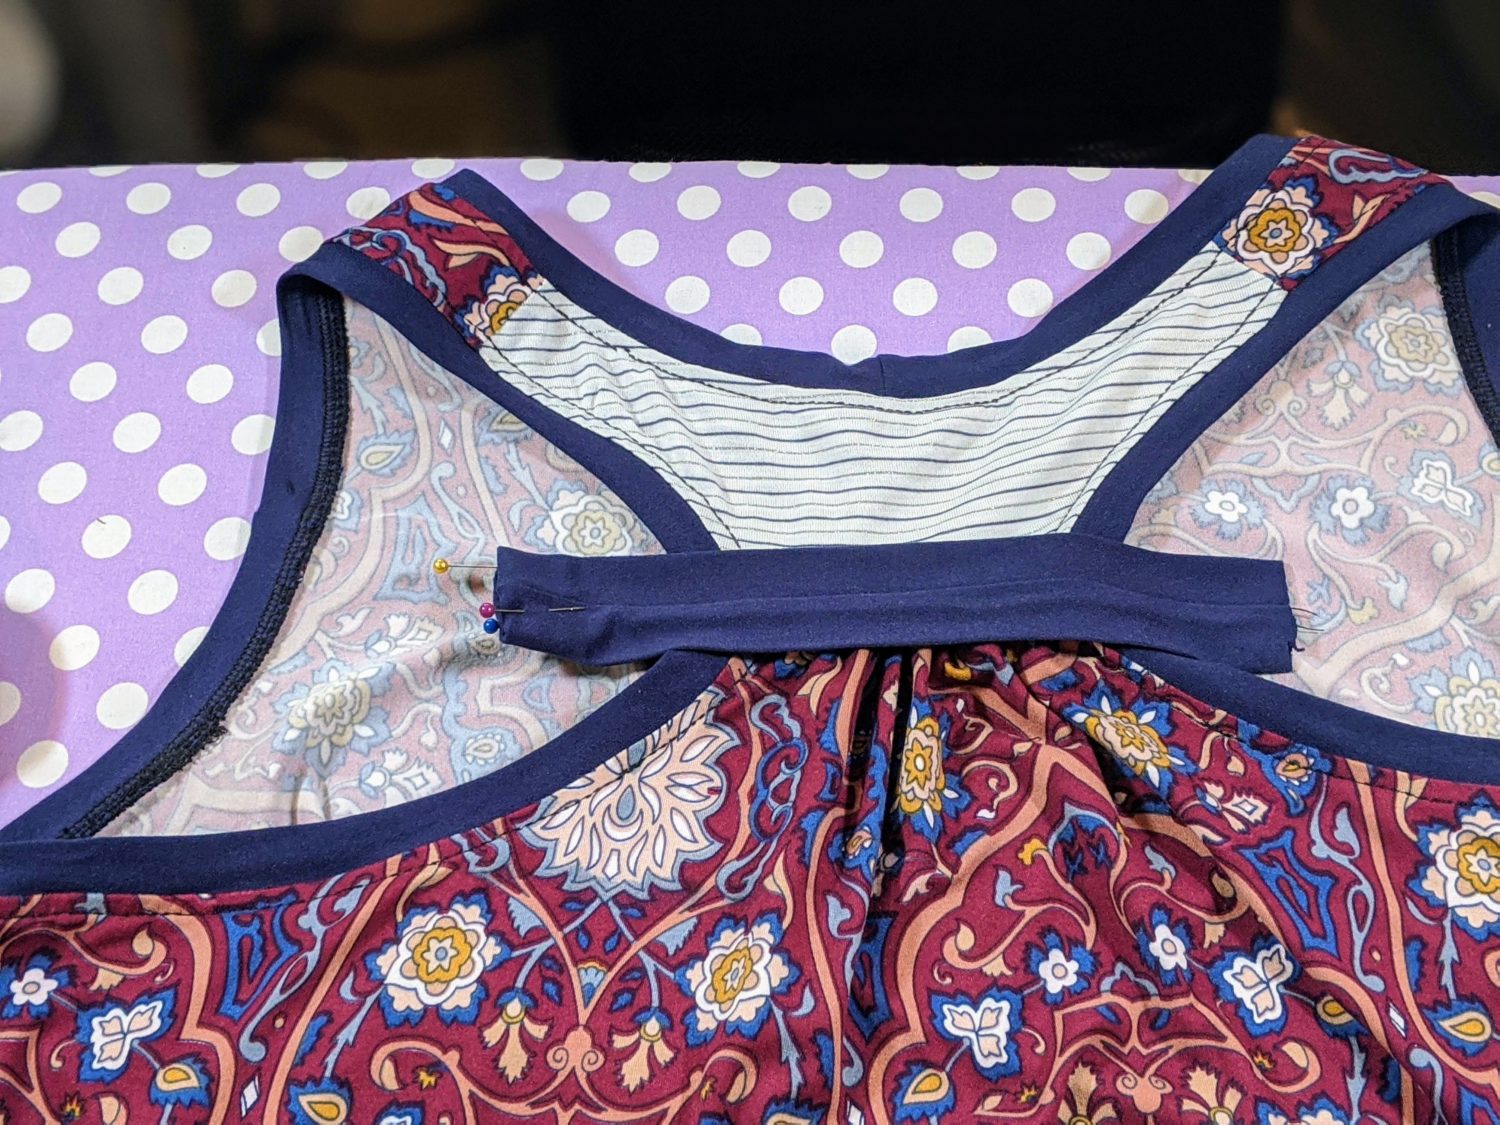
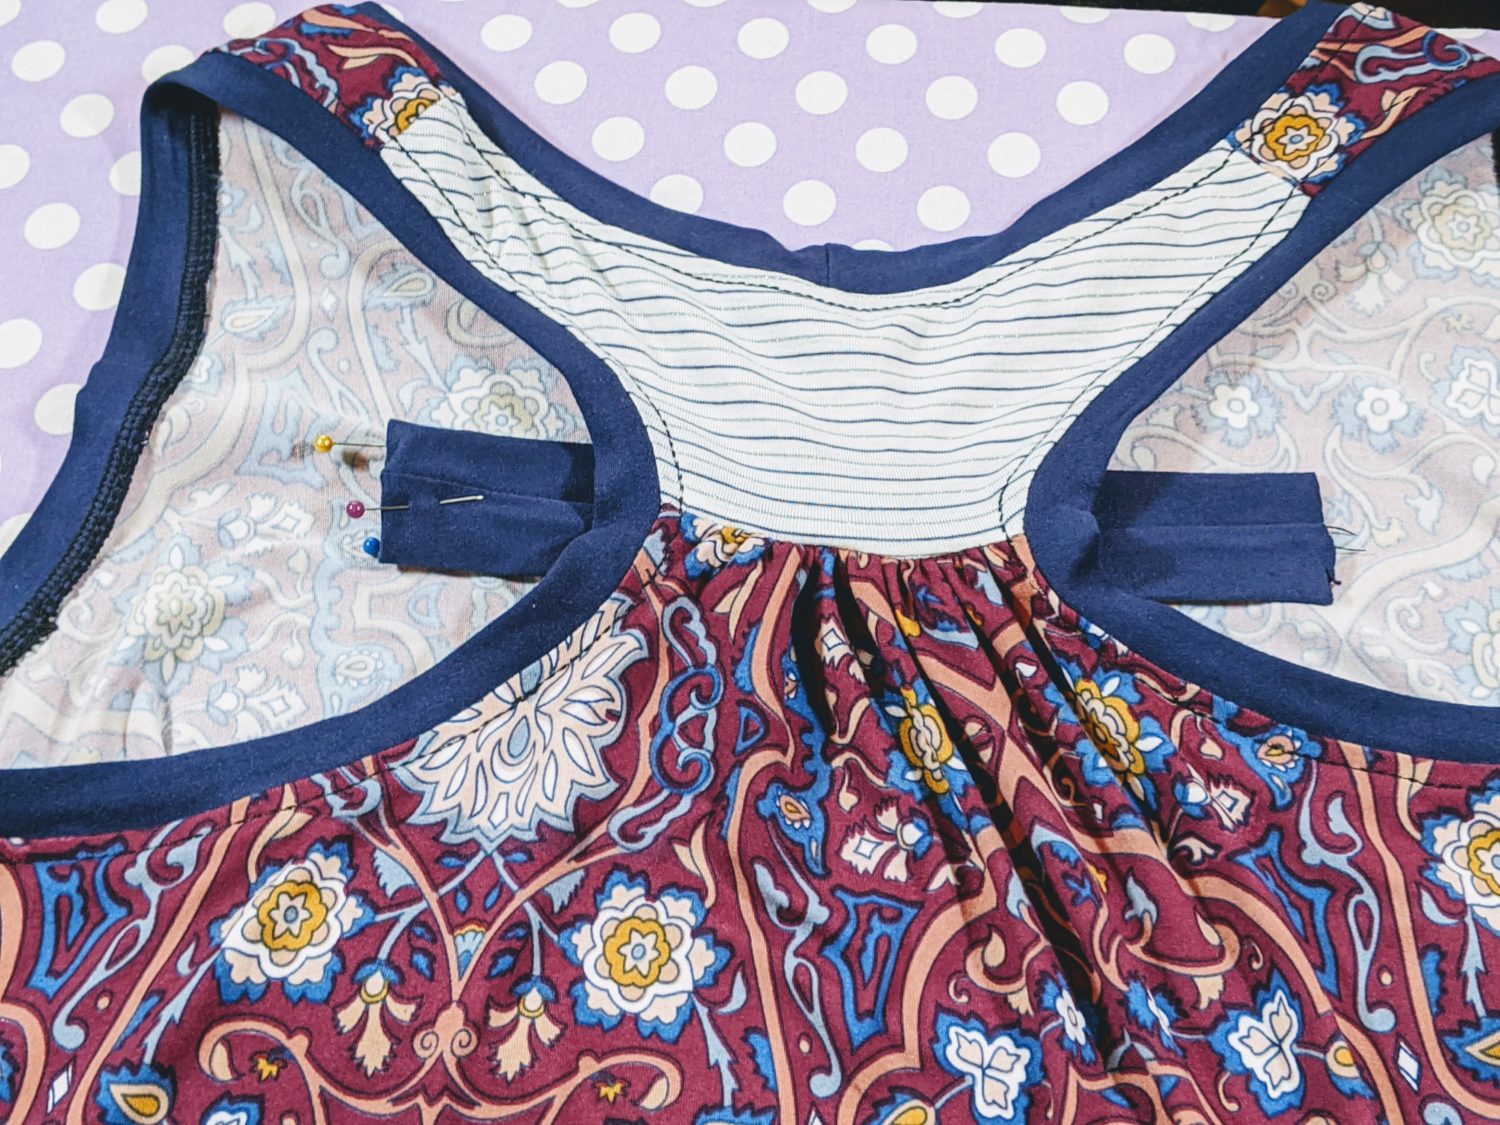
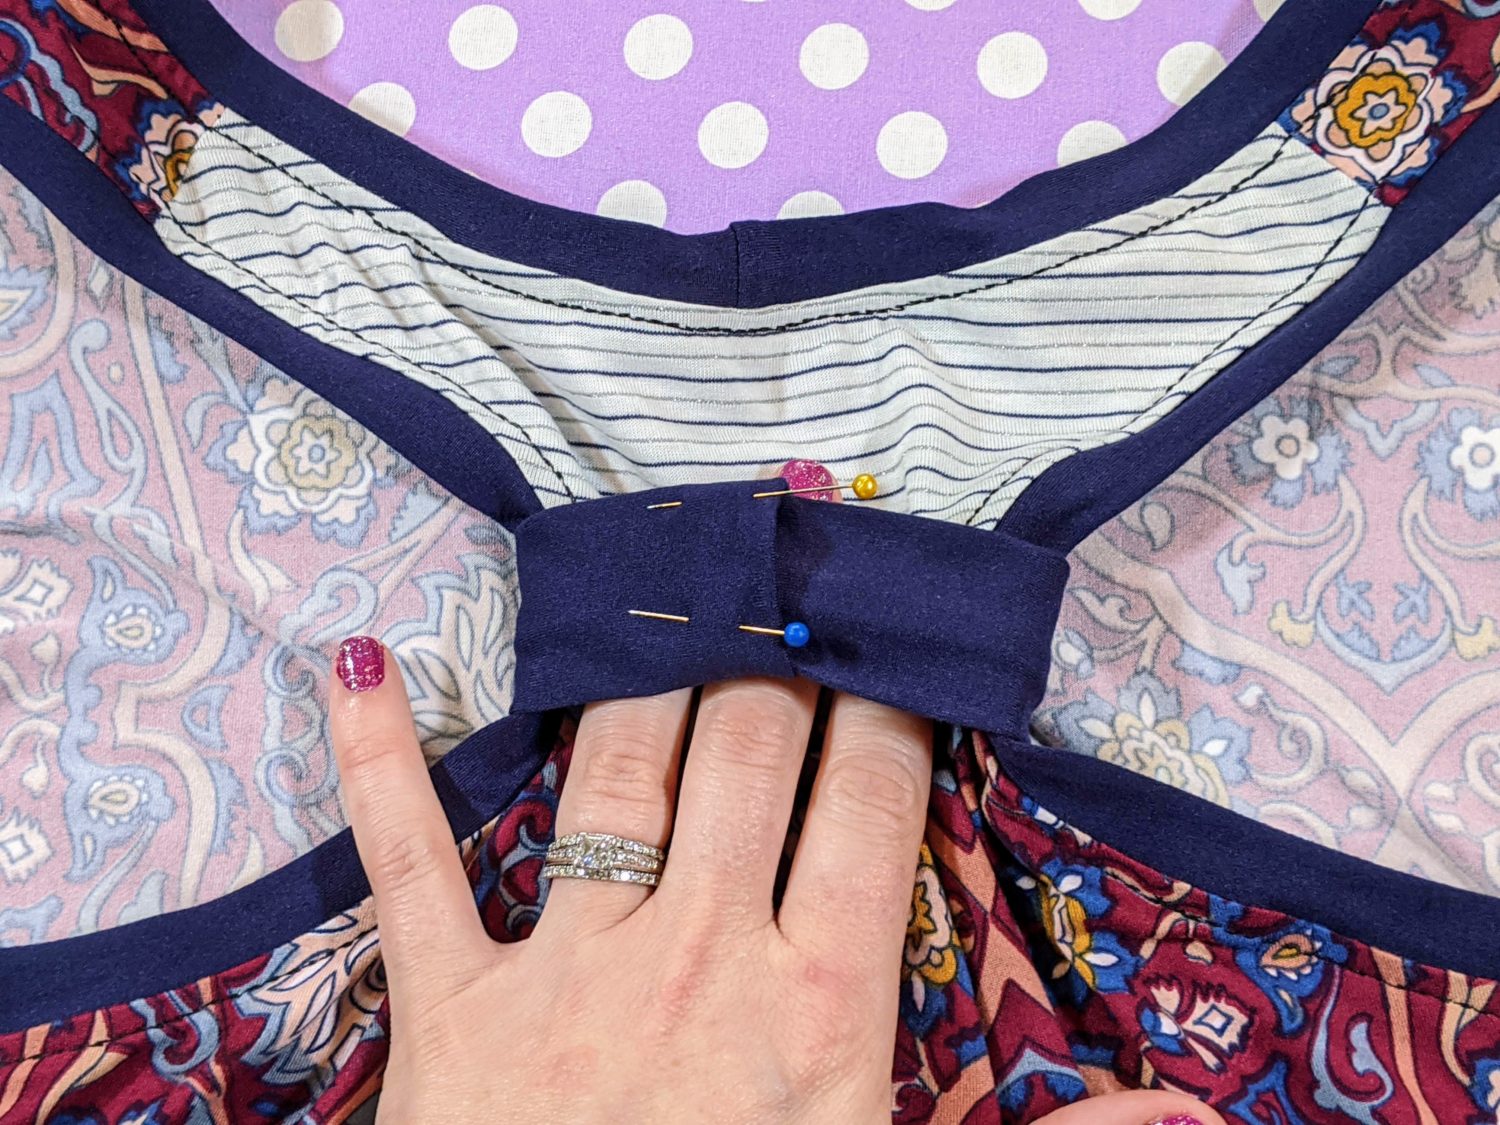
Turn one end in about ¾” and pin. Lay your top down back side up and lay your strip down right side up. Slide the stip under the area that the ruched back bodice and yoke connect.
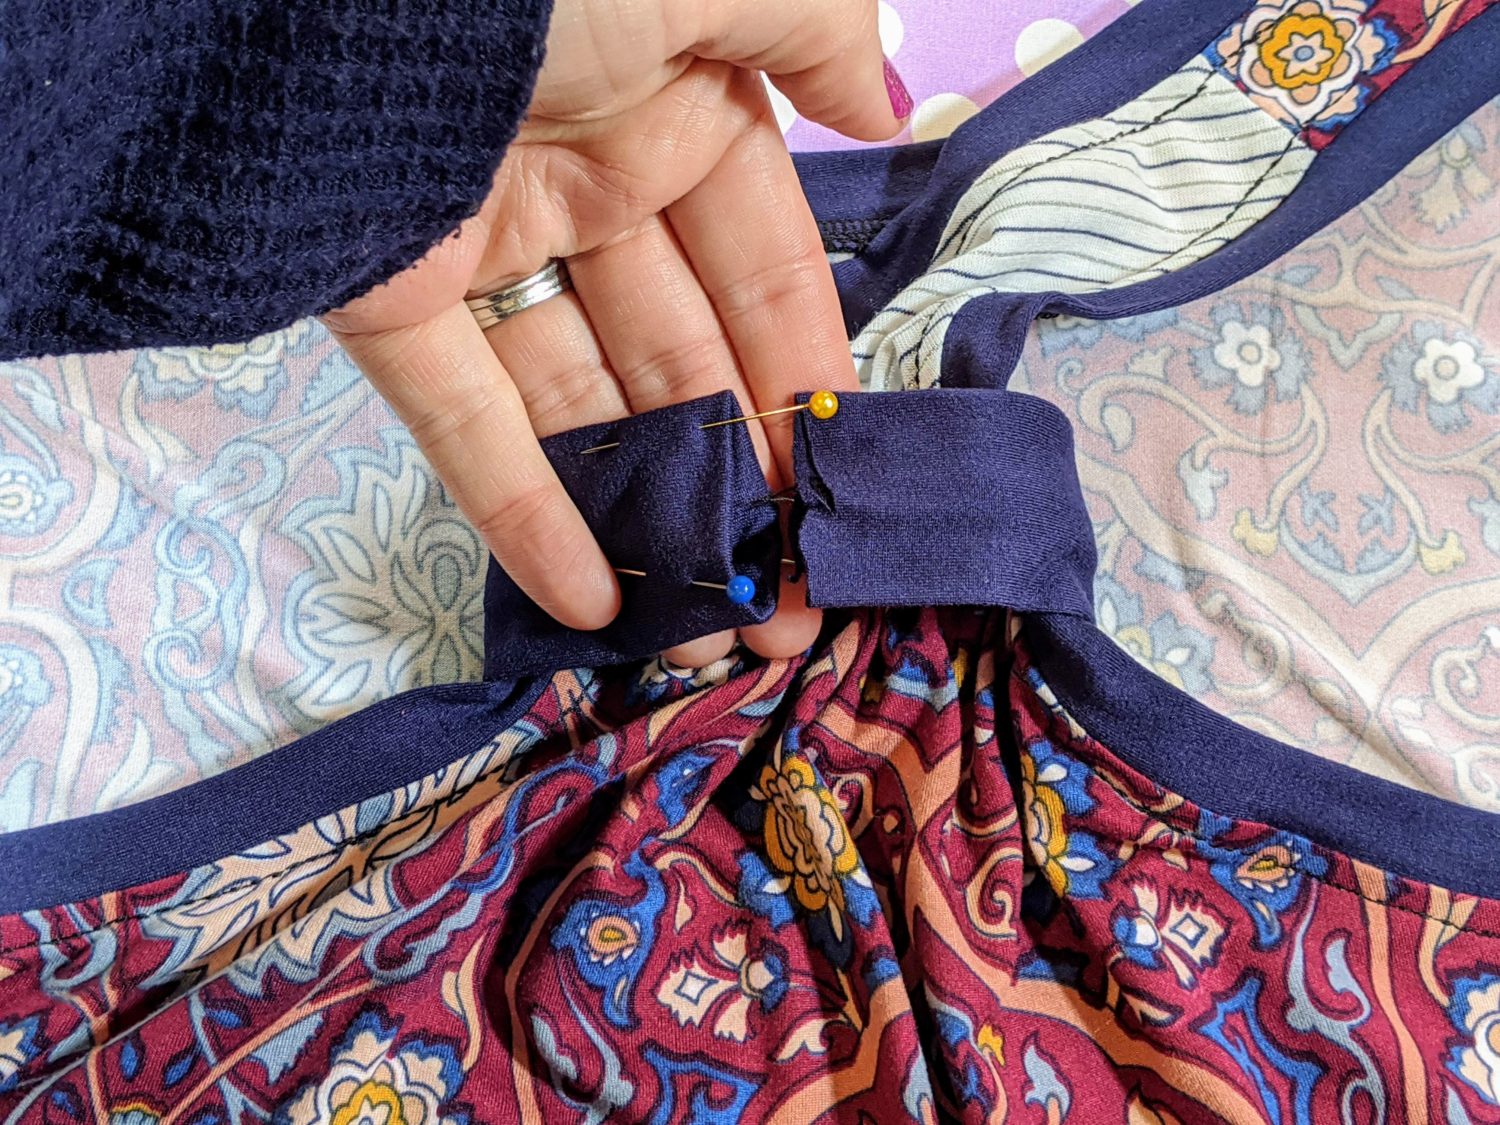
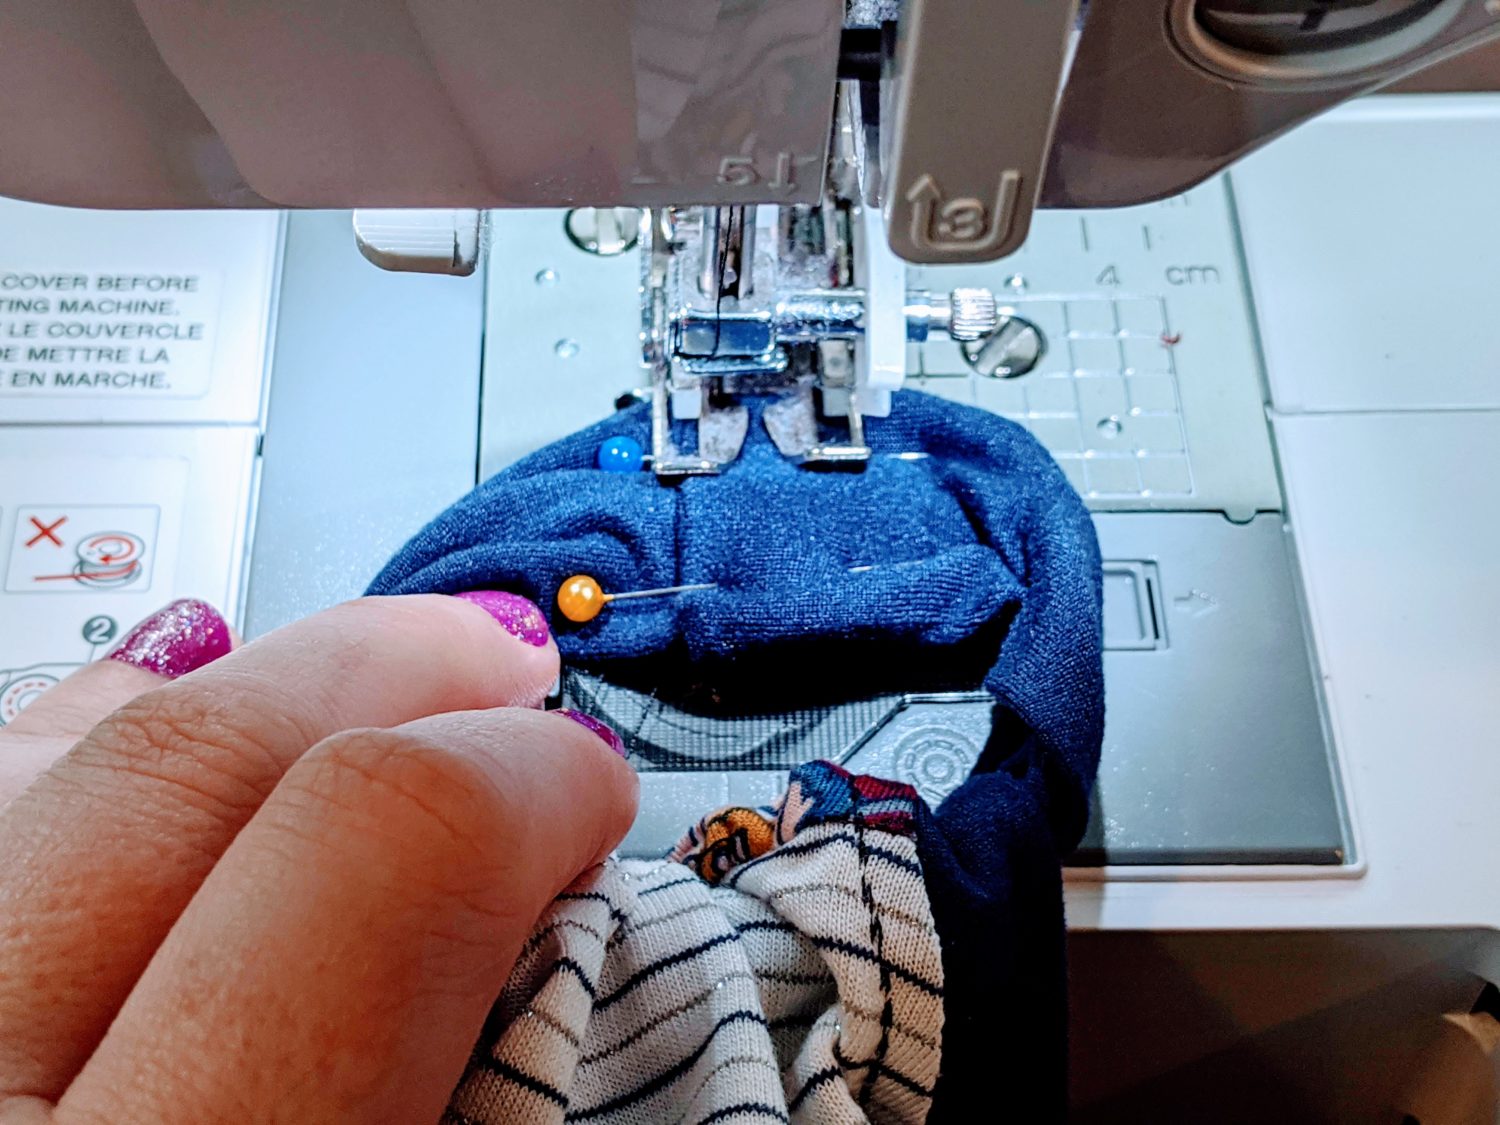
Loop the two ends around and tuck the side with the raw edge into the side that’s been turned in and Pin together. Sew along the pinned area to secure the loop, making sure to keep the rest of the fabric out of the way. Slide the seam to the inside of the top to hide it.
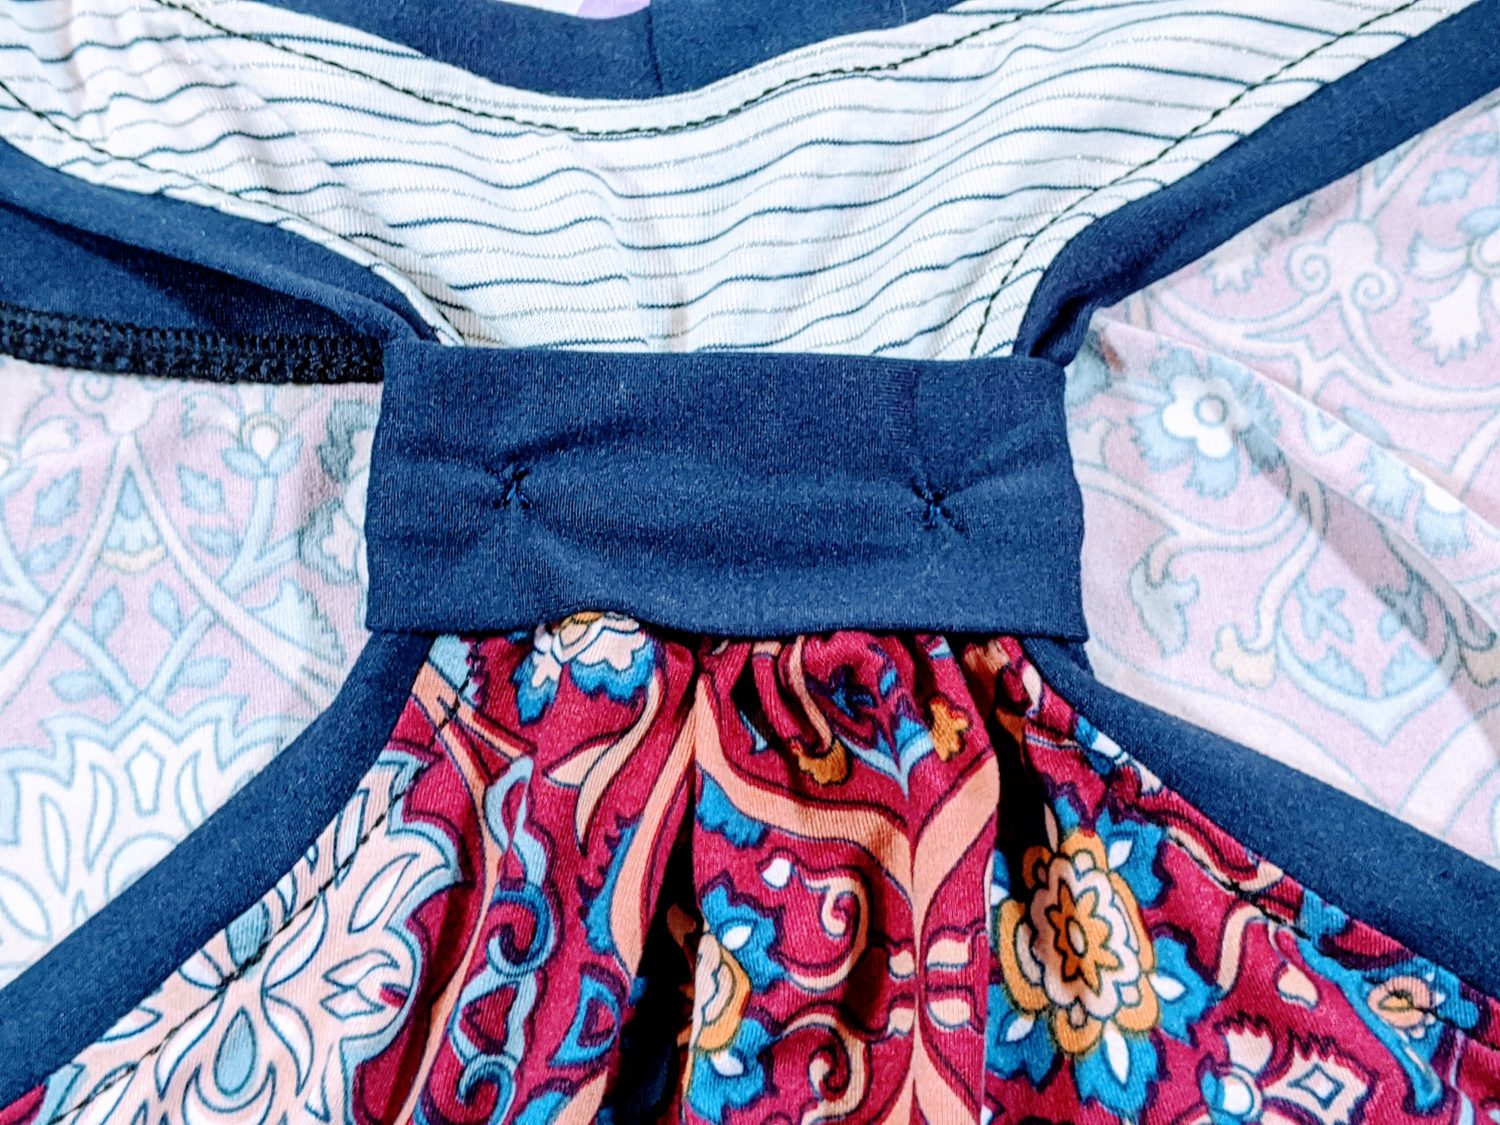
Finally, you’ll want to tack the band to the top to keep it from sliding down. I hand sewed a small x on either side of the band to keep it in place. You could also use a stretch stitch down the center, or add some decorative buttons to give it some pizazz!
Now, it’s just time to hope for some sunny weather!
Or, just wear it rain or shine and throw an Eleanor Cardigan over it!


As always, we’re here to help if you need it! Join us HERE and on Facebook, Instagram, Twitter, Youtube, and Pinterest. We’re everywhere you are.
Leave a Reply