
I wanted to get one last Easter craft in this year and it needed to be fast since Easter is Sunday! What goes better with bunnies than carrots?? This little stuffed carrot decoration is fast, adorable, and fun to make! The carrots also pair wonderfully the Farmhouse Bunnies tutorial! Go check that post out if you haven’t already, those bunnies are adorable! My kids are obsessed with these carrots!! They think that these are the coolest little things ever! I have a feeling that my stuffed carrot decoration is going to turn into a stuffed carrot toy for our play kitchen! I am slightly afraid that I will be asked to make tons more stuffed food options for the kitchen haha! Ready to make some carrots?? Let’s go!
Materials
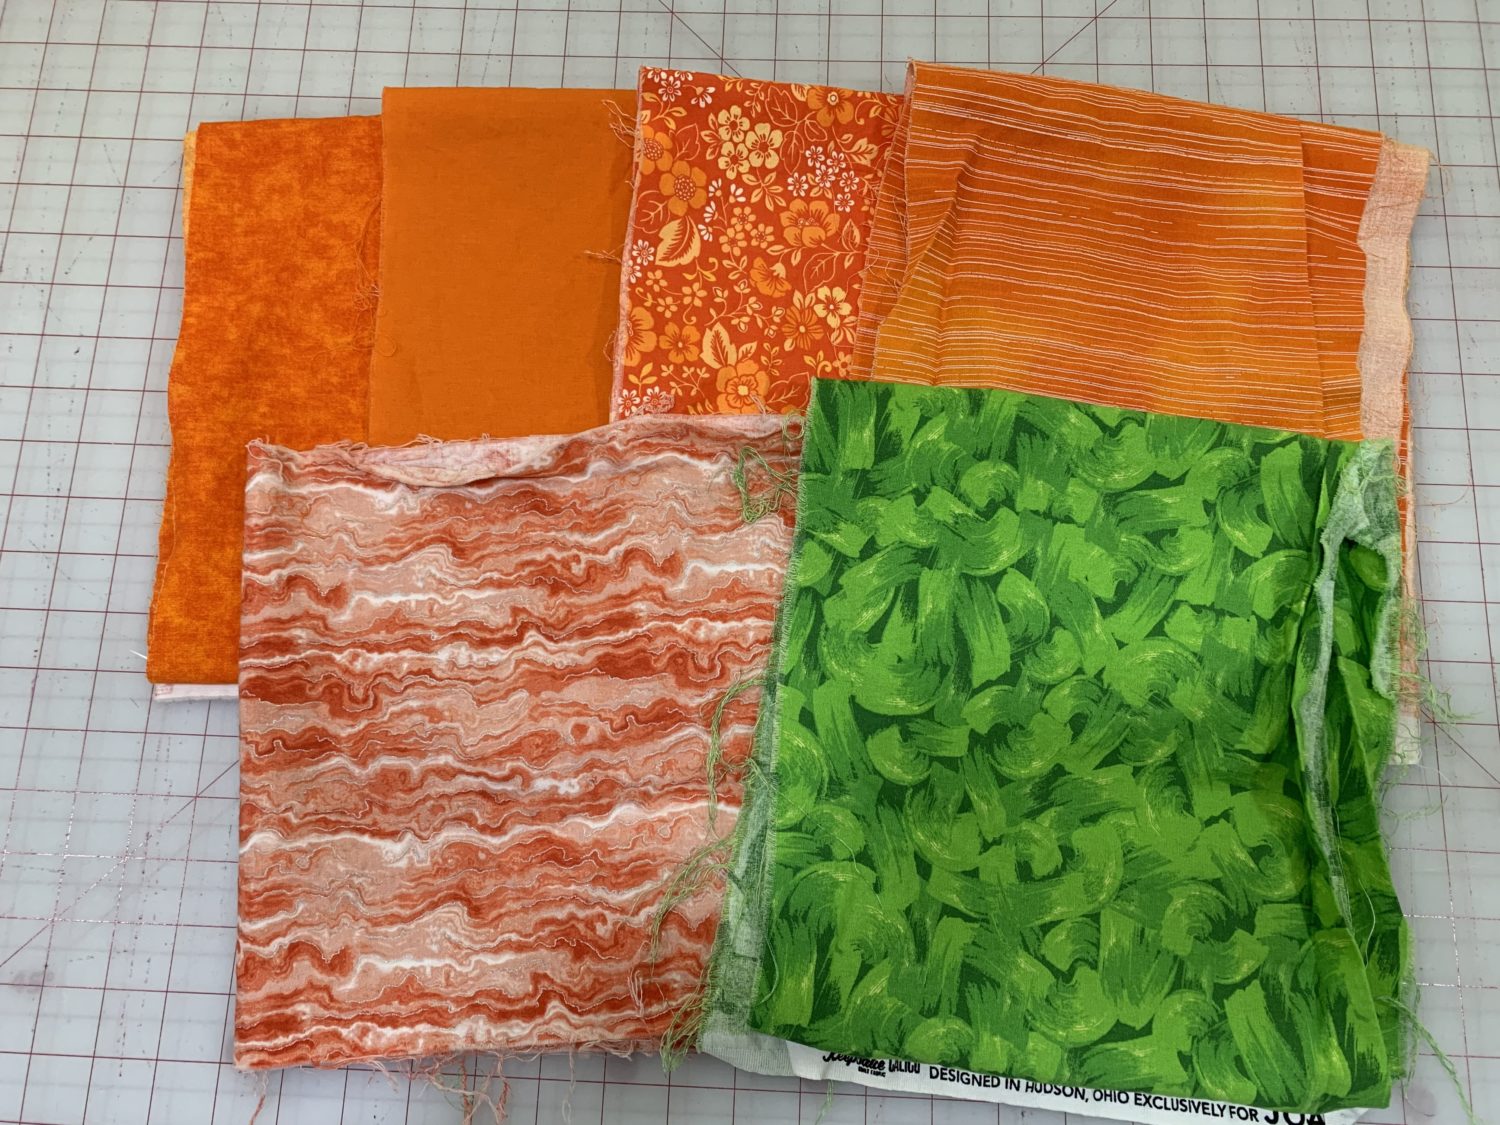
- Fabric for carrots and carrot tops
- Scraps are great for these carrots! You don’t need much at all to make carrots and you need even less fabric to make the tops. I didn’t have any orange fabric so I bought a few different orange quilting cottons. I was able to get multiple carrots out of a 1/4 of a yard!
- My favorite material for the tops was felt. I tried some quilting cotton and it was a little tedious (since I have to finish the edges), but it still turned out cute! I also tried a French Terry and Fleece (those are the only two knits that I have in green) and I really like how they turned out, too! So, really, you can use any kind of fabric that you want!
- Stuffing
- Paper, pencil, ribbon, and ruler to make your carrot template
- Needle and thread for hand sewing
Making your carrot template
- I am going to show you how I made my template for my carrot. It is really easy and then you can make any size carrot that you want! I ended up doing 3 or 4 different sizes. It was fun to mix it up!
- Grab a piece of paper and fold it in half, crease it, and open it back up. (This is just so you know where the middle is)
- Put a dot at the top of your paper along that crease. This will be the tip of your carrot.
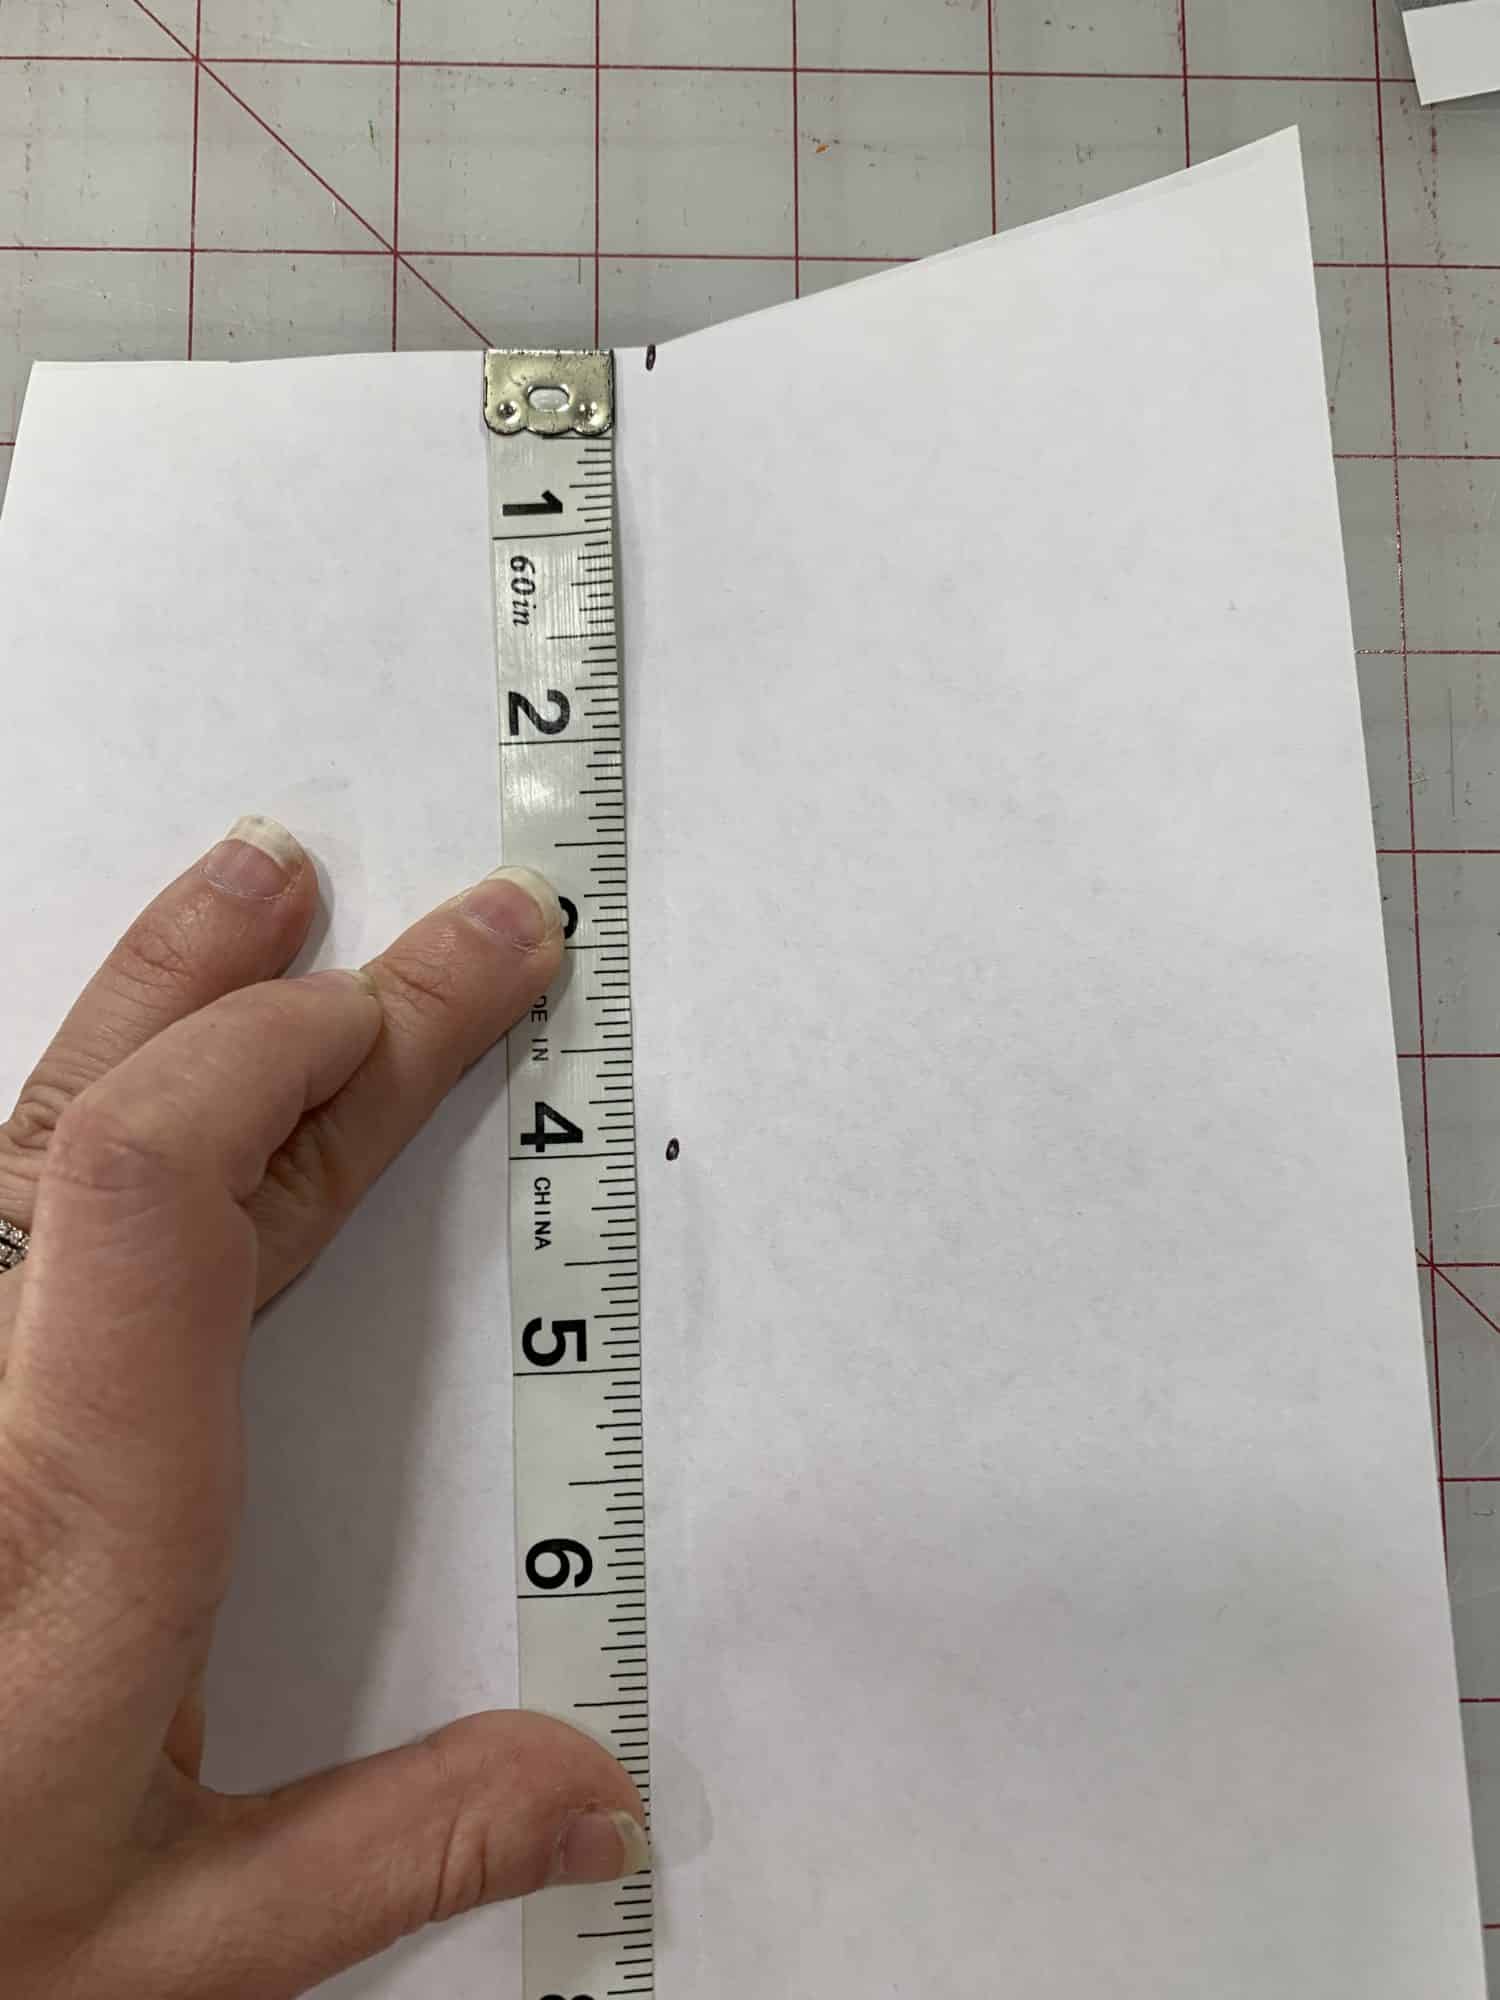
Length
- Decide how long you want your carrots to be. My biggest was about 8.5 inches long and my smallest carrot was 4 inches long.
- Measure down from the dot and put another dot to mark the bottom (still along the crease.)
Width
- Now, decide how wide you want the carrots to be. My biggest carrot was 12 inches wide (I actually think that was too big) and my smallest carrots were 5 inches wide. For reference, my favorite carrots are 8.5 inches long and 6.5 inches wide.
- Divide your width measurement in half (so if your width is 5 inches, 2.5 inches is the middle). You divide it in half so that the tip of the carrot stays in the middle.
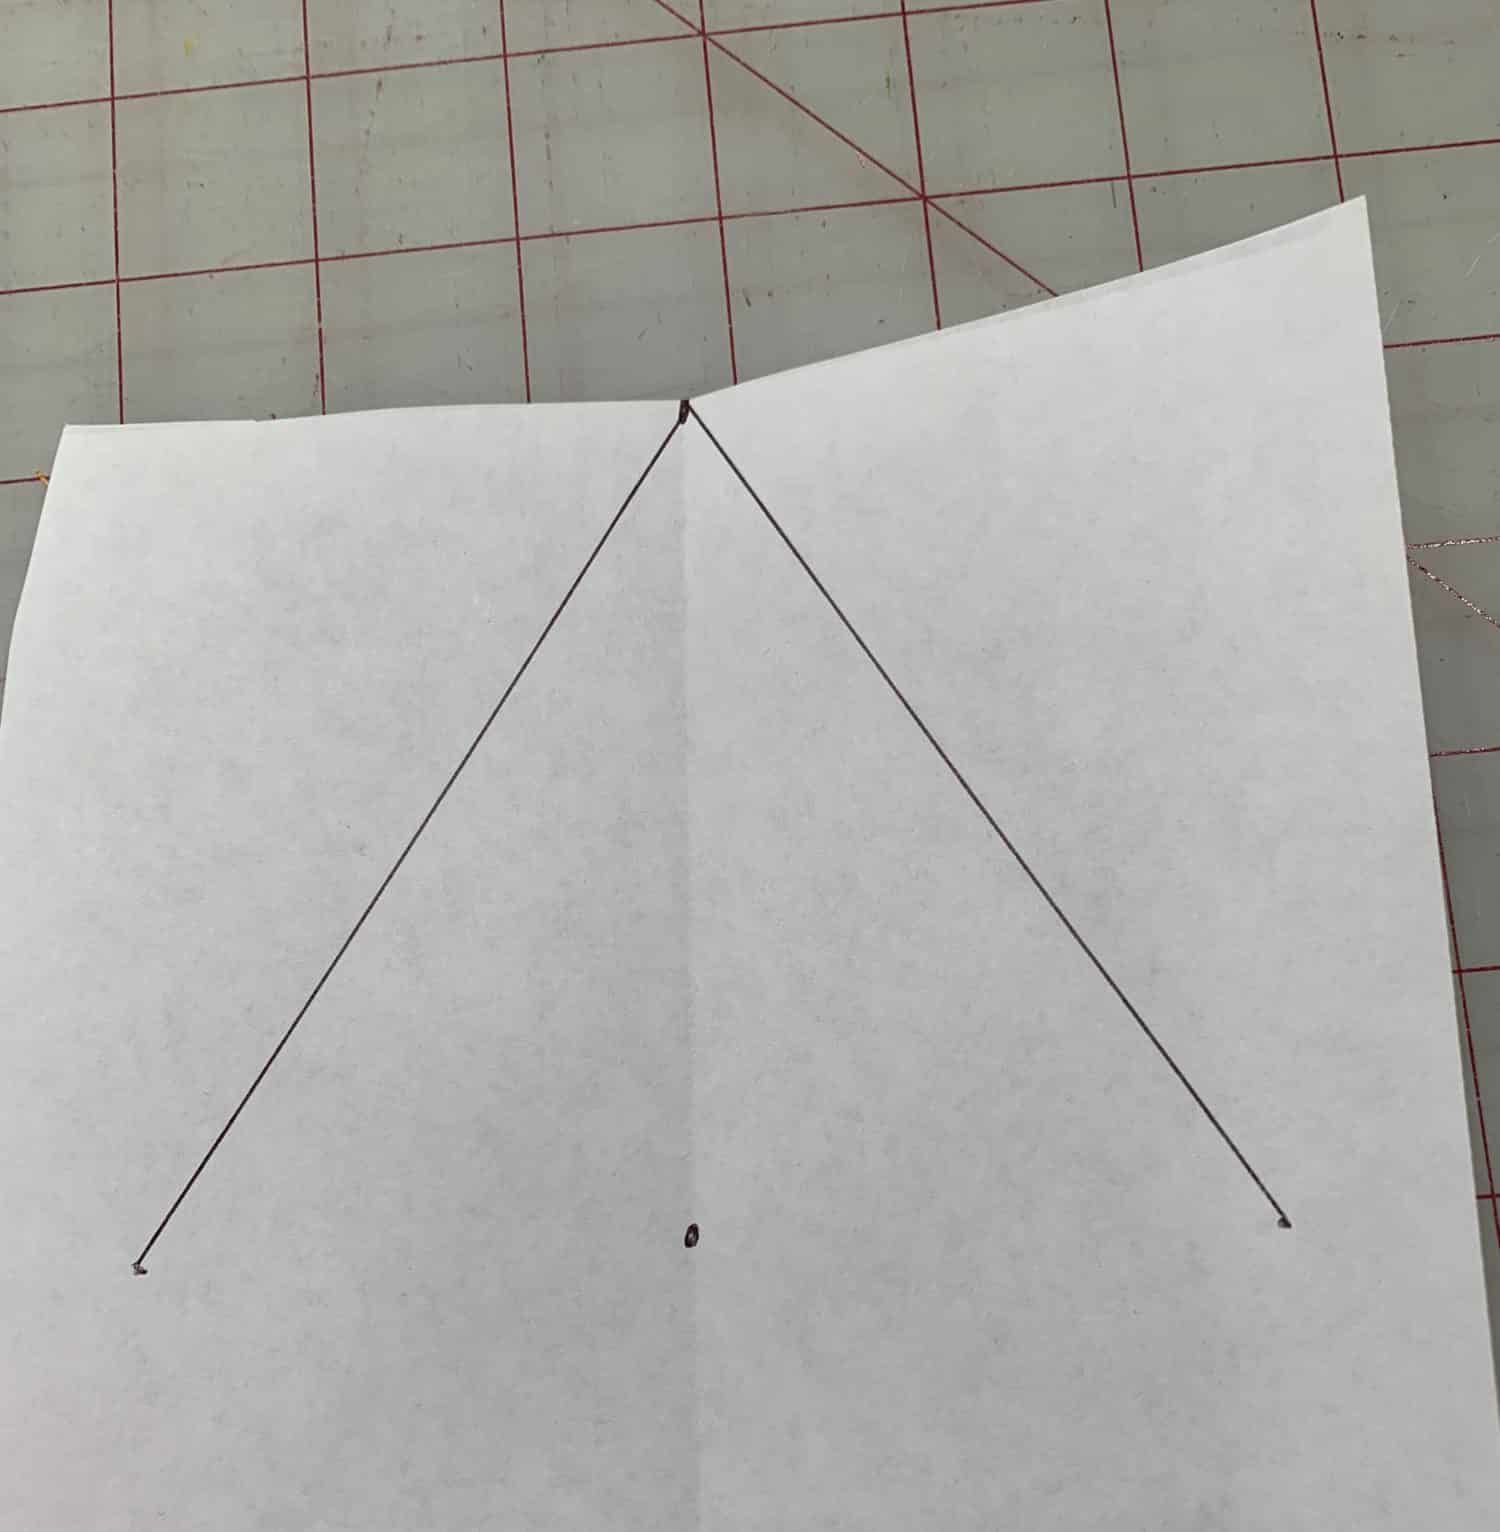
- Measure out your width measurement (with the middle landing right at the bottom dot) and put a dot at each end.

- Draw a straight line from the top dot to the bottom dot and repeat on the other side
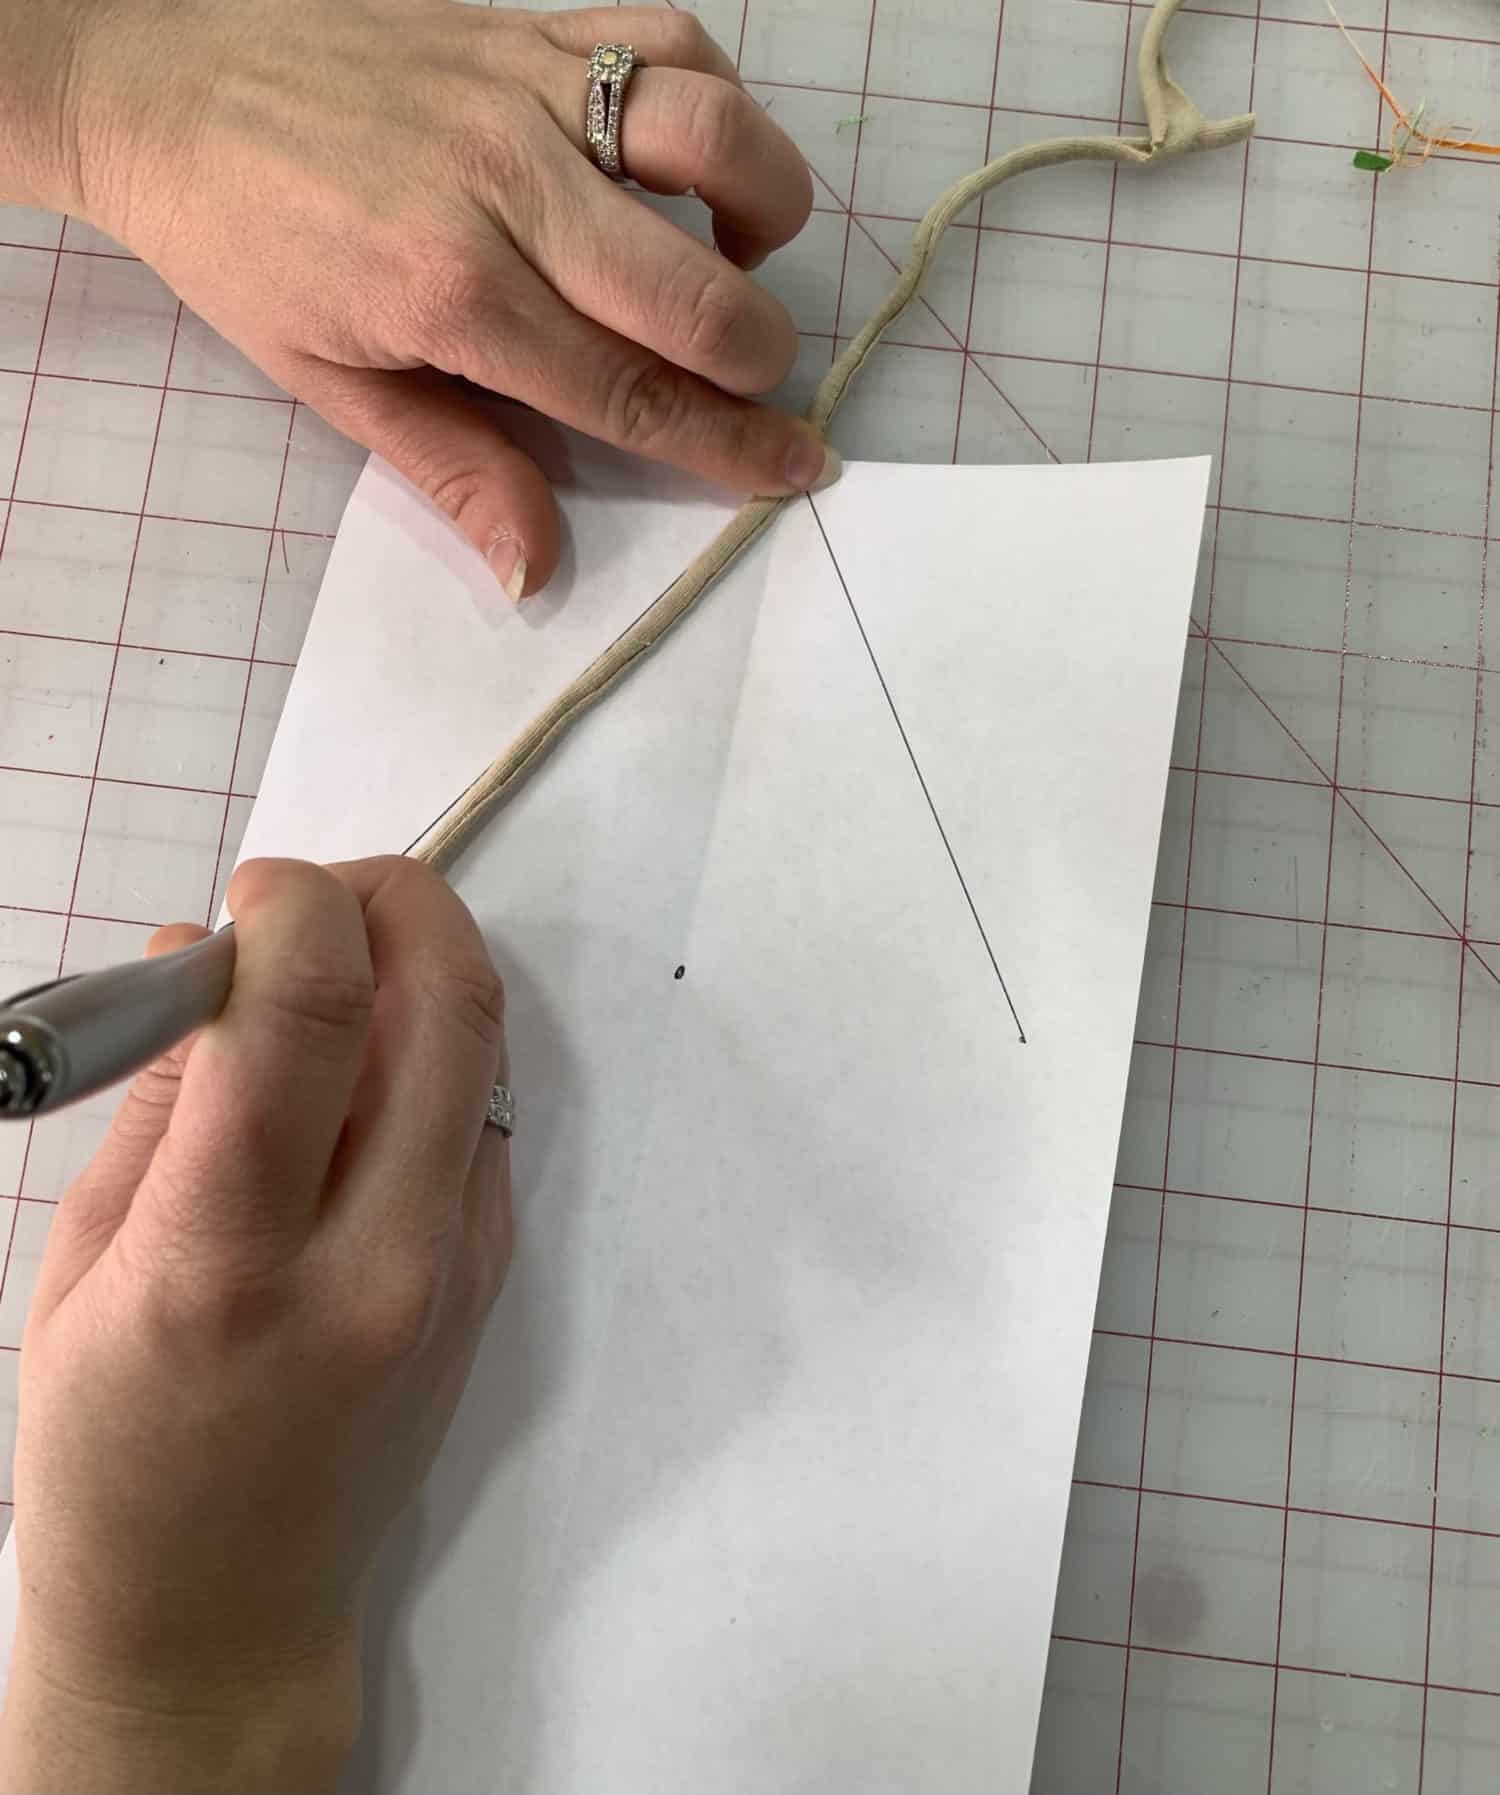
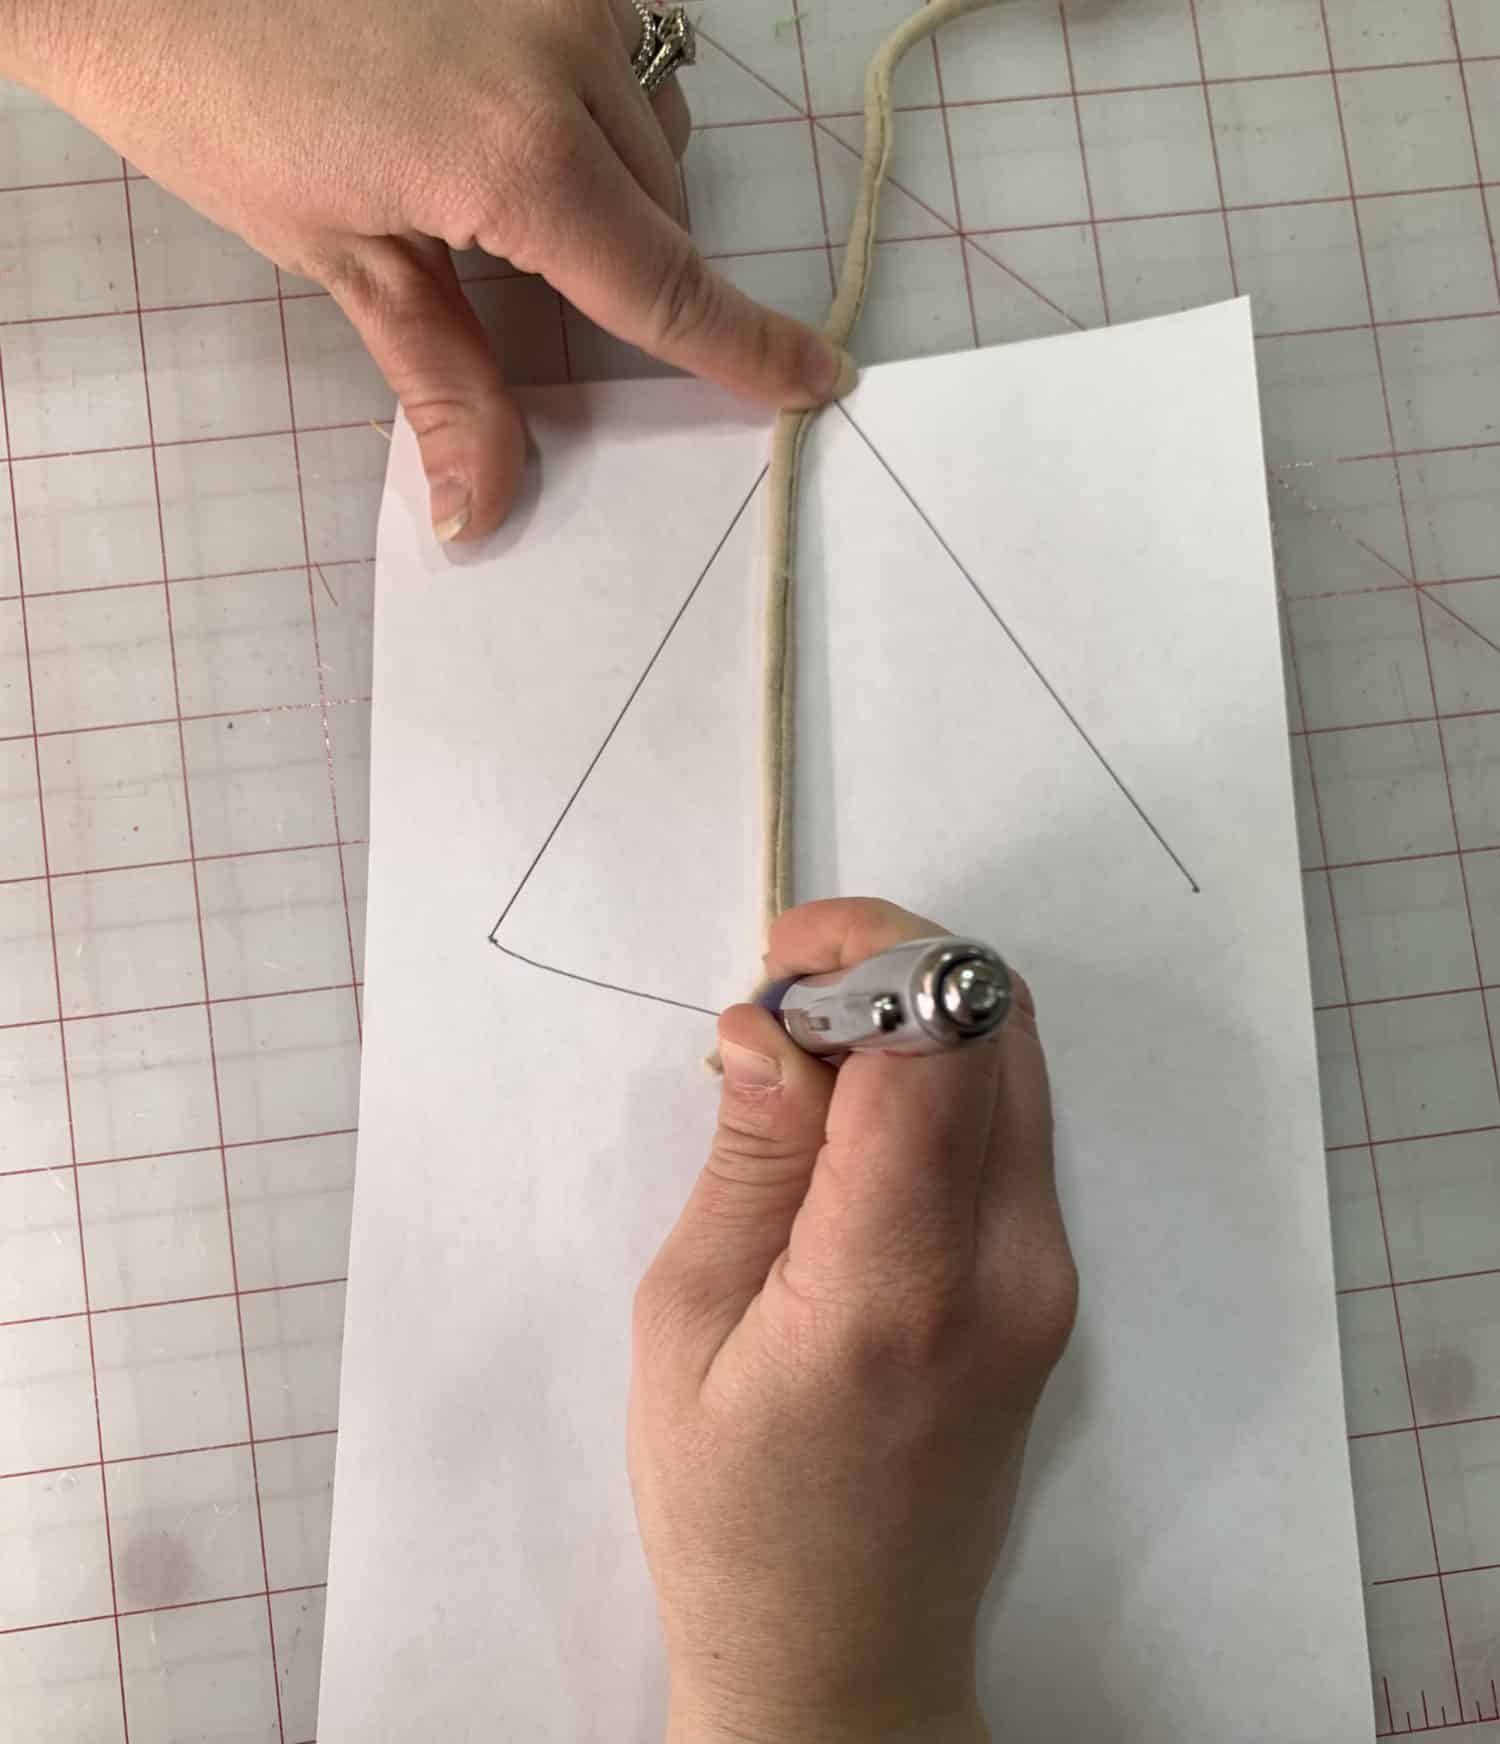
- Now, we are going to use a ribbon and a pen to draw a curved line at the bottom. The curve will make the top of the carrot even after it is sewn. You don’t HAVE to make a curve if you don’t want. A normal triangle shape will work just fine. The top will be uneven (one side will be higher than the other) when the carrot is sewn, but we are going to fold the tops into the carrot before adding the green top. So, it won’t really matter in the long run. Do whatever makes you happy!
- To make the curve, I used a thin scrap of fabric and pushed my pen through one end and put that on the bottom dot.
- Hold the other end of the fabric on the top dot
- Draw a line from bottom dot to bottom dot. The string or ribbon will keep the measurement the same and a curved line will be drawn.
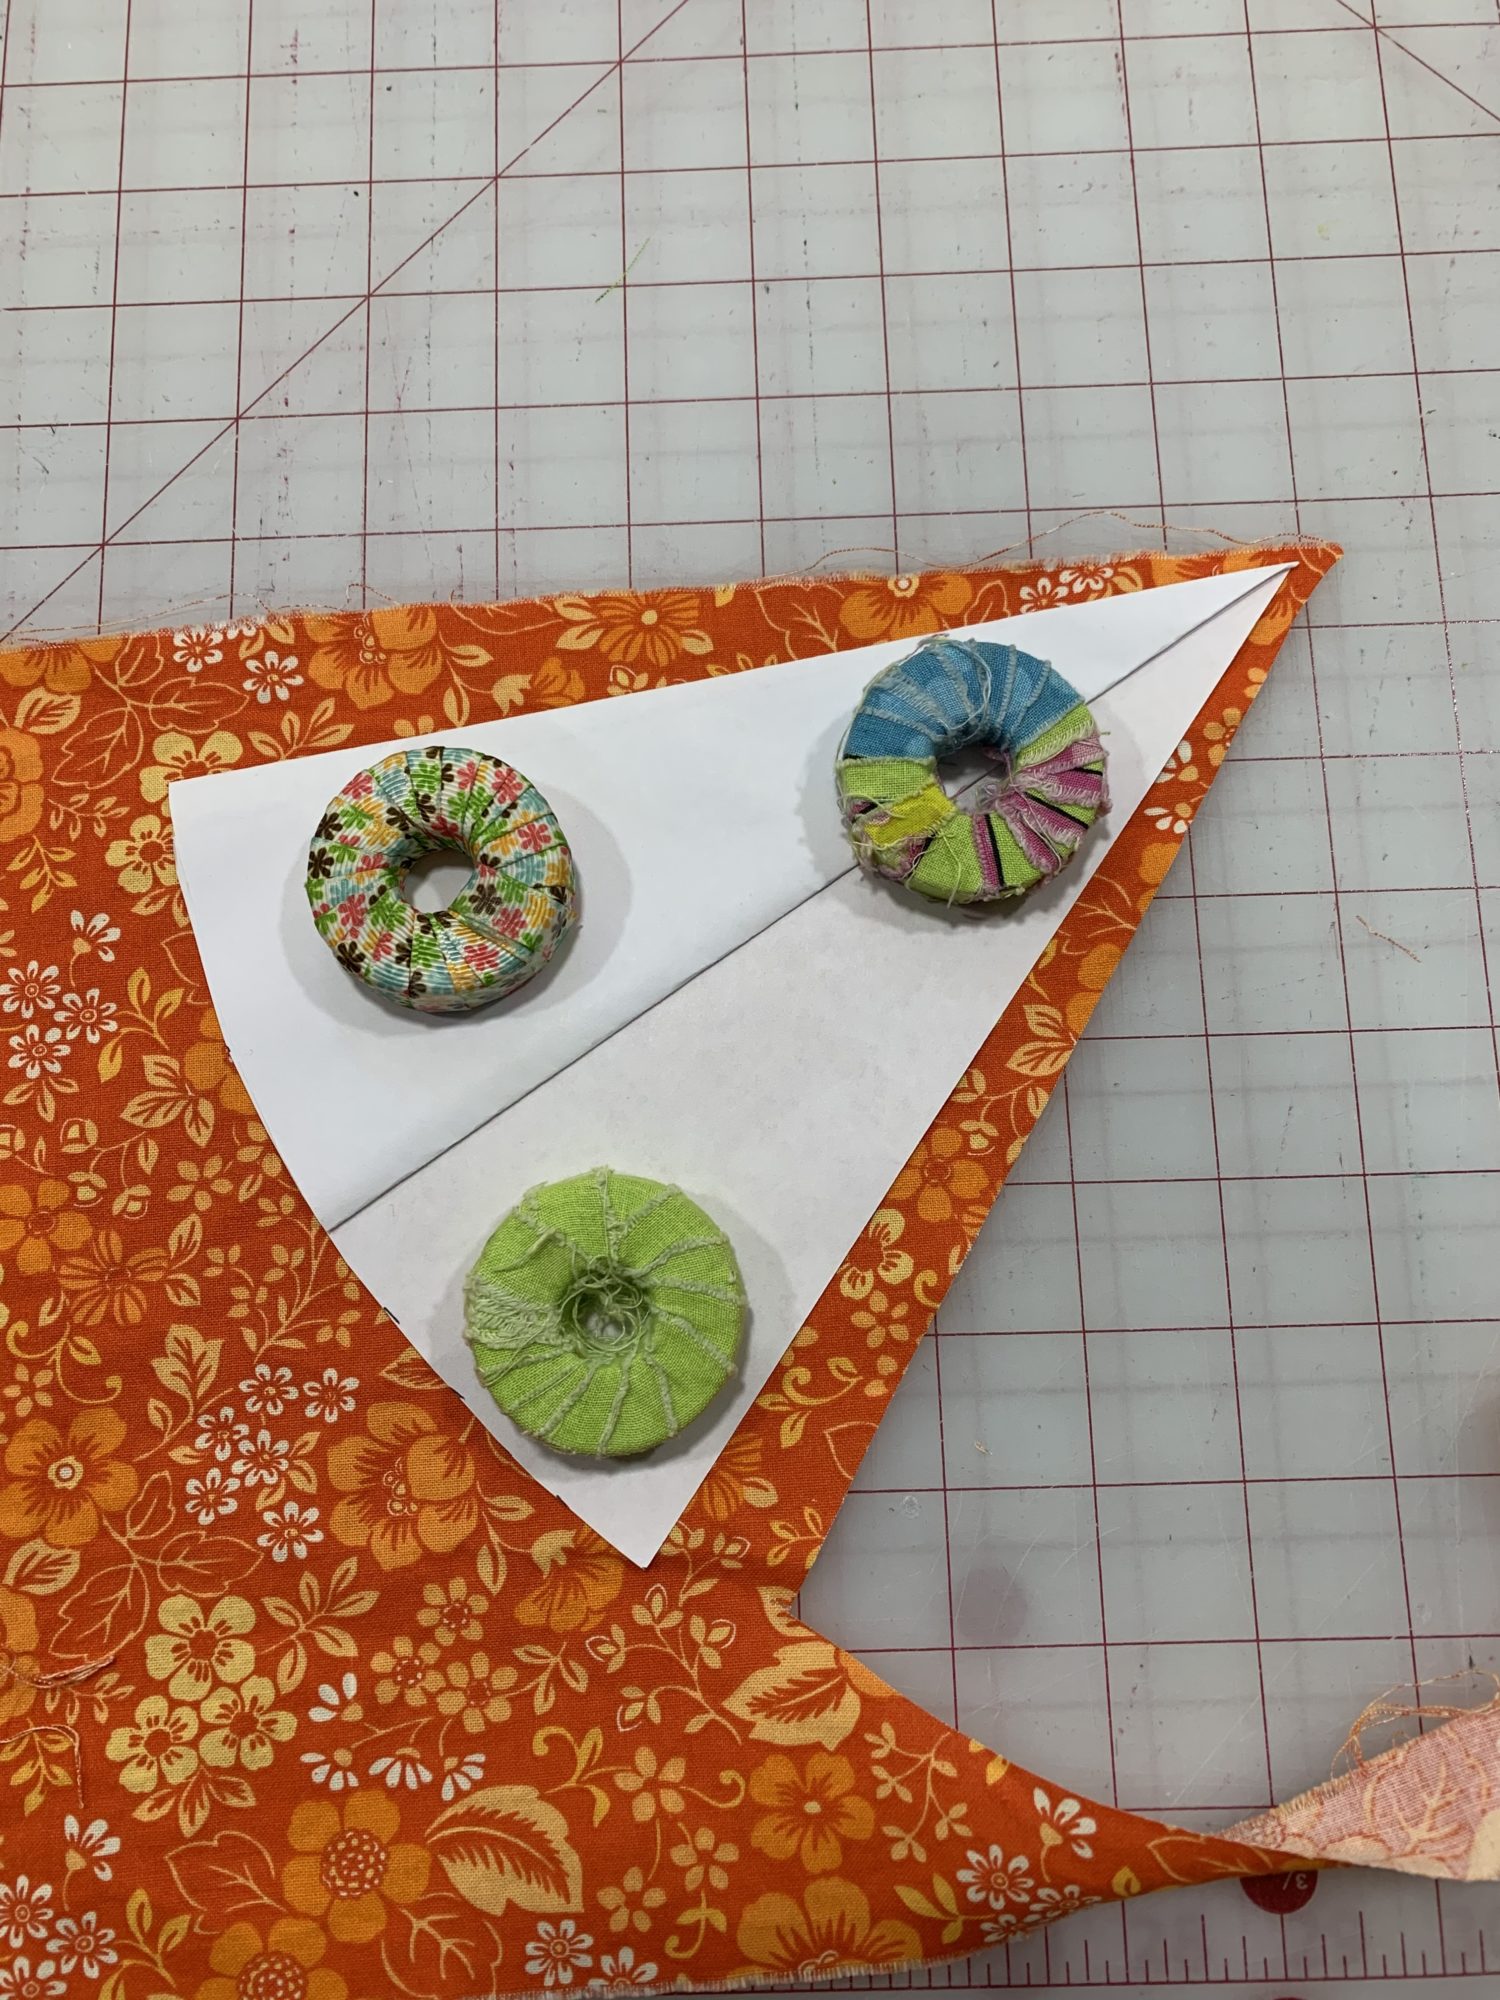
Now that you have your template, time for fabric!
- Use the template that you made (triangle or cone) and cut 1 piece for the carrot
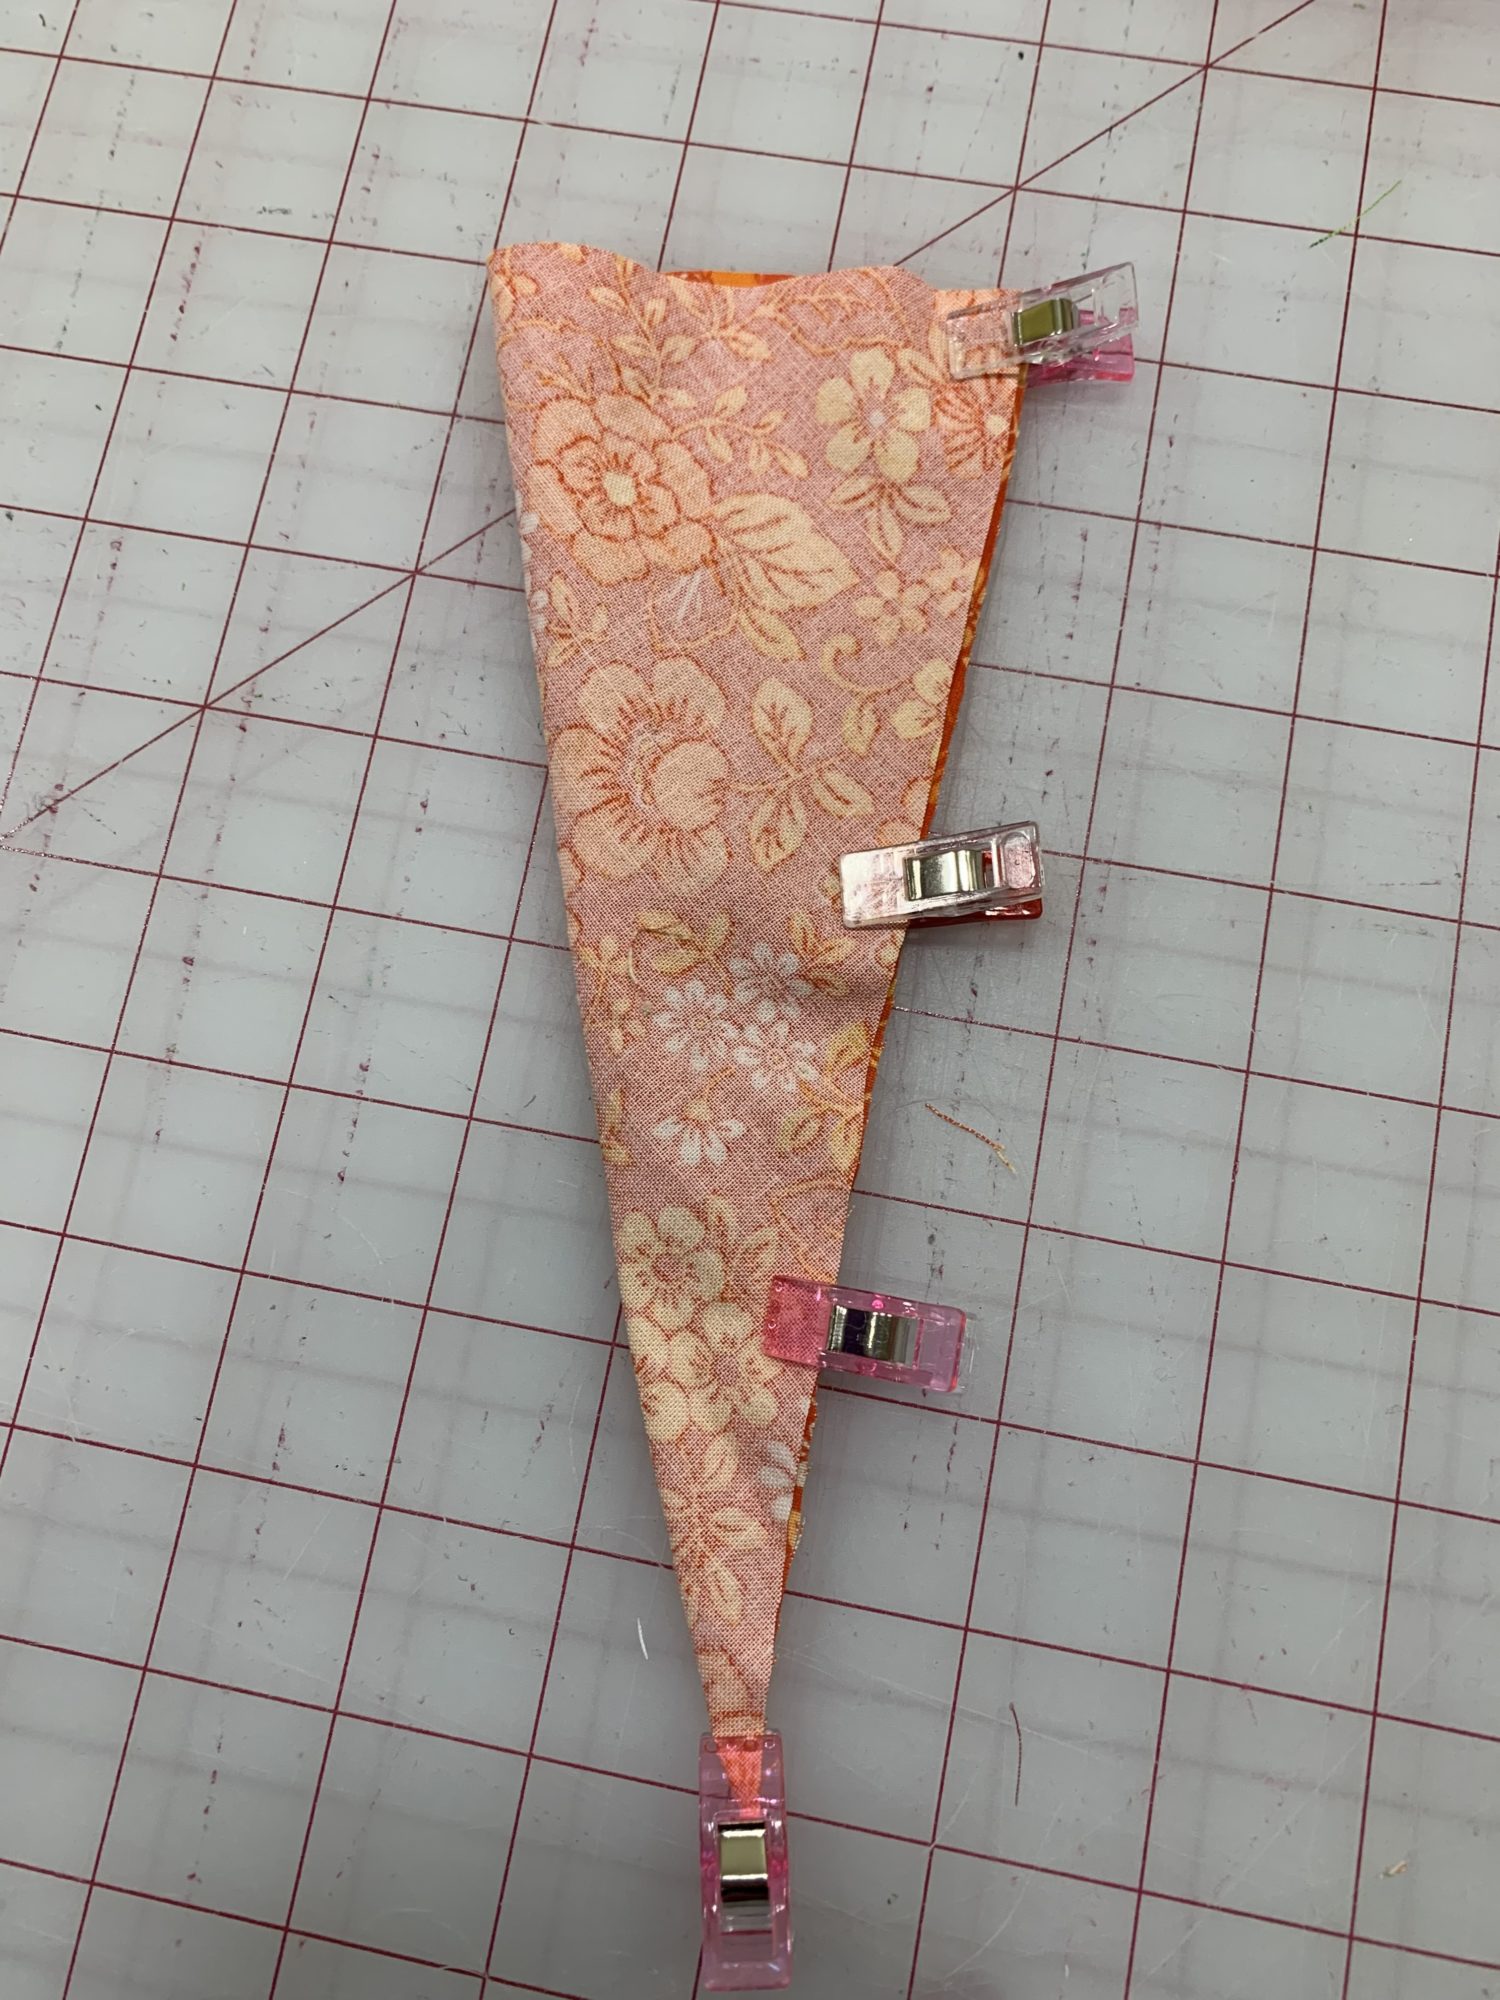
- Fold the carrot piece in half, right sides together
- Sew along the diagonal side
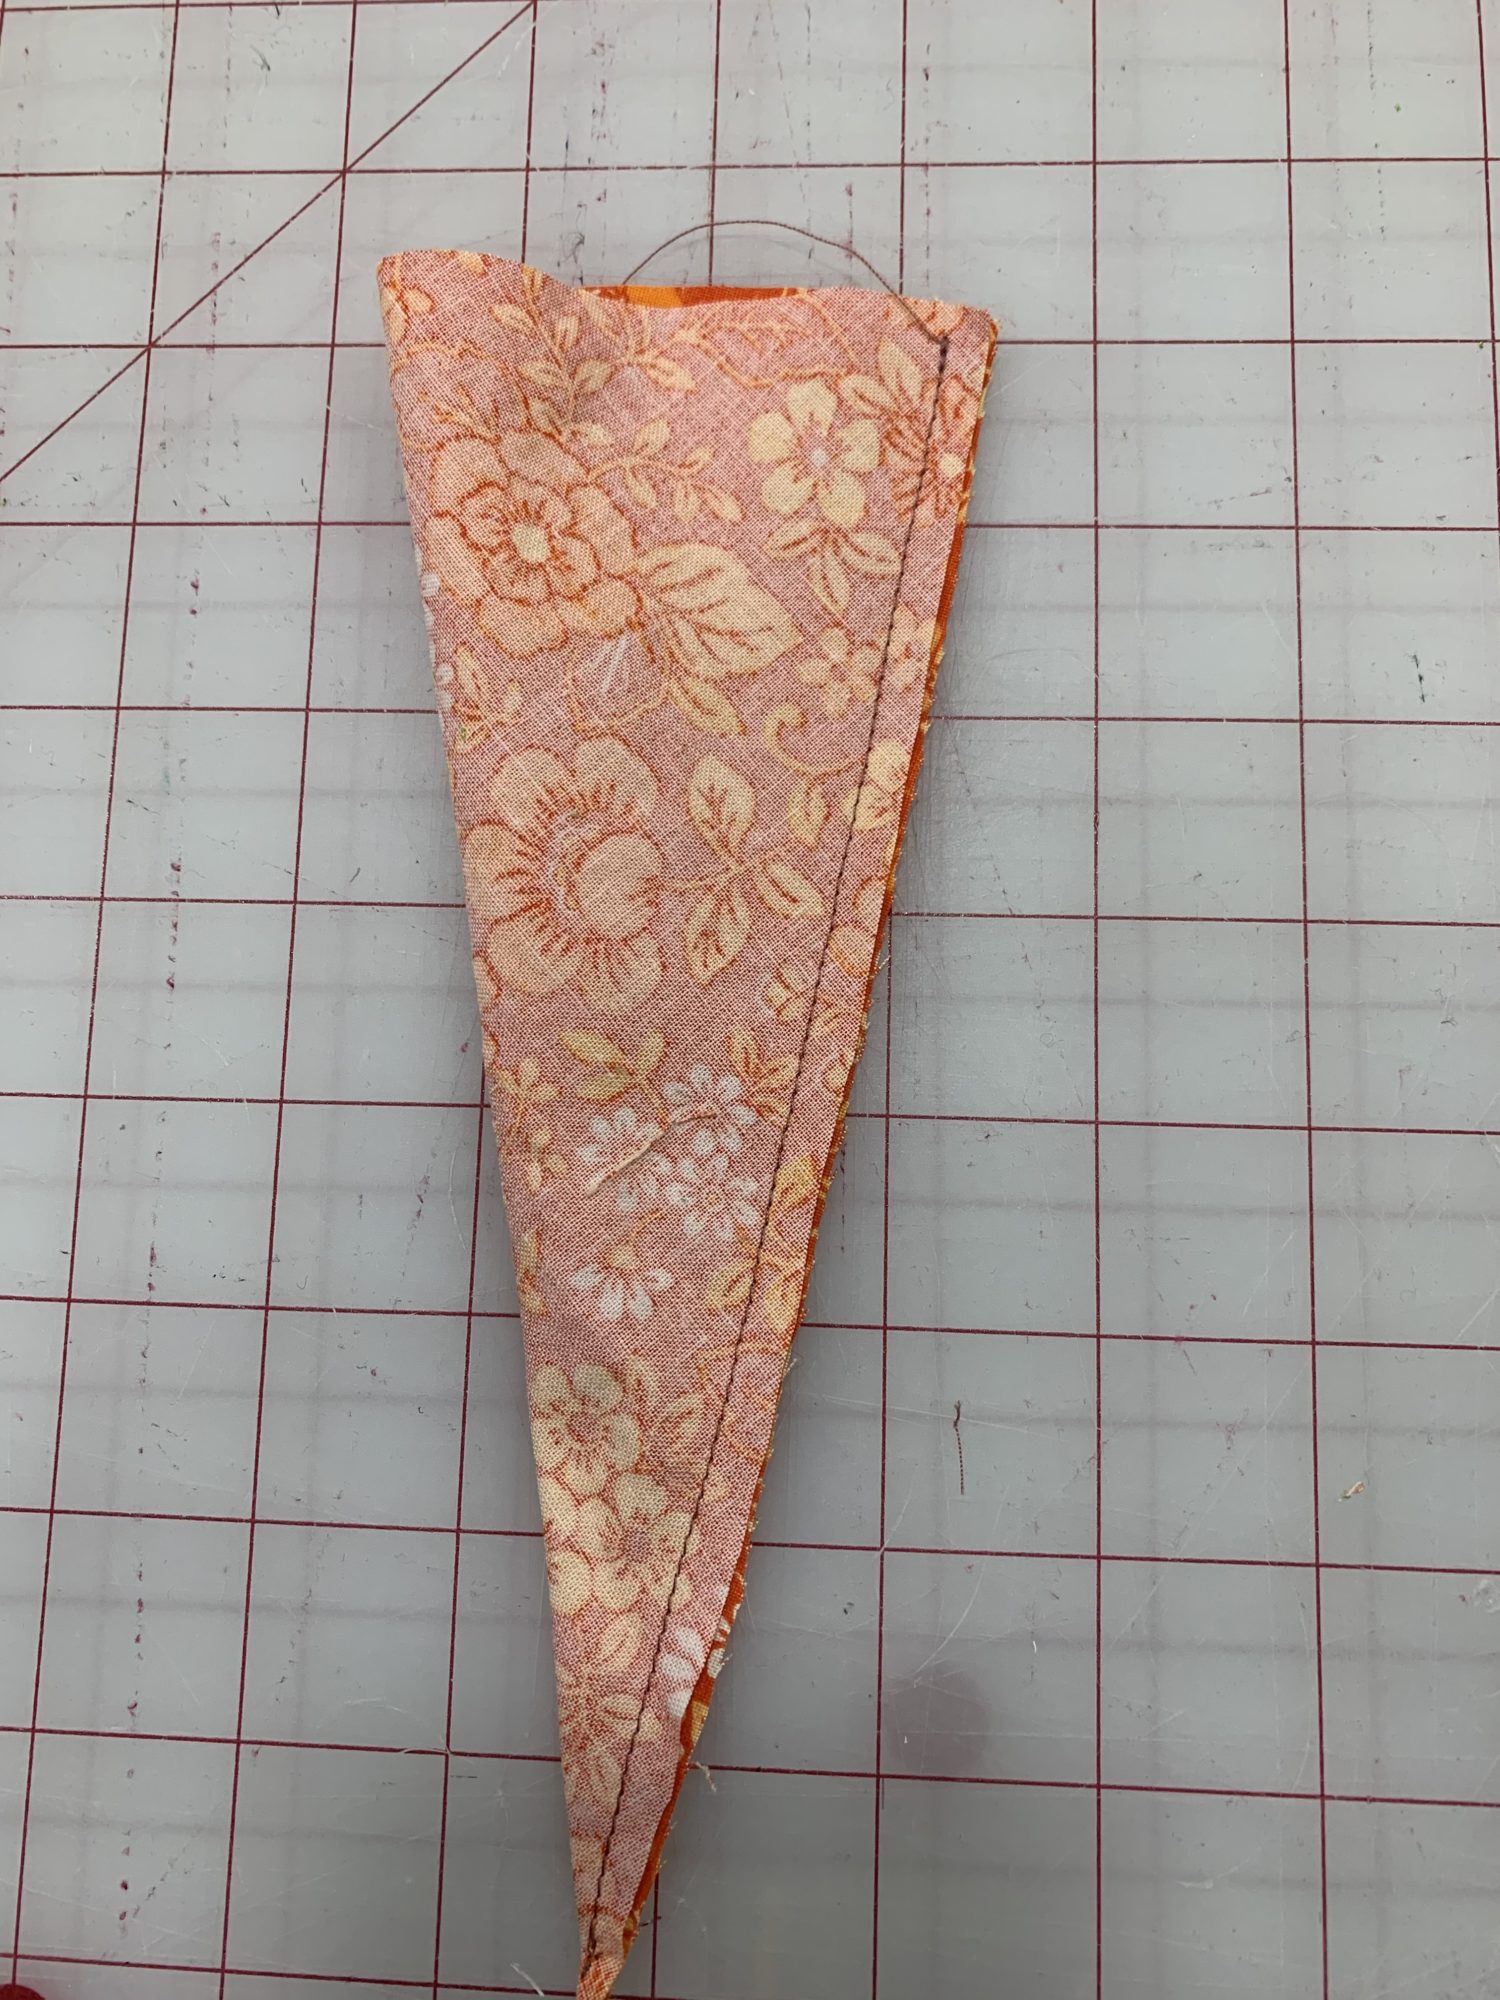
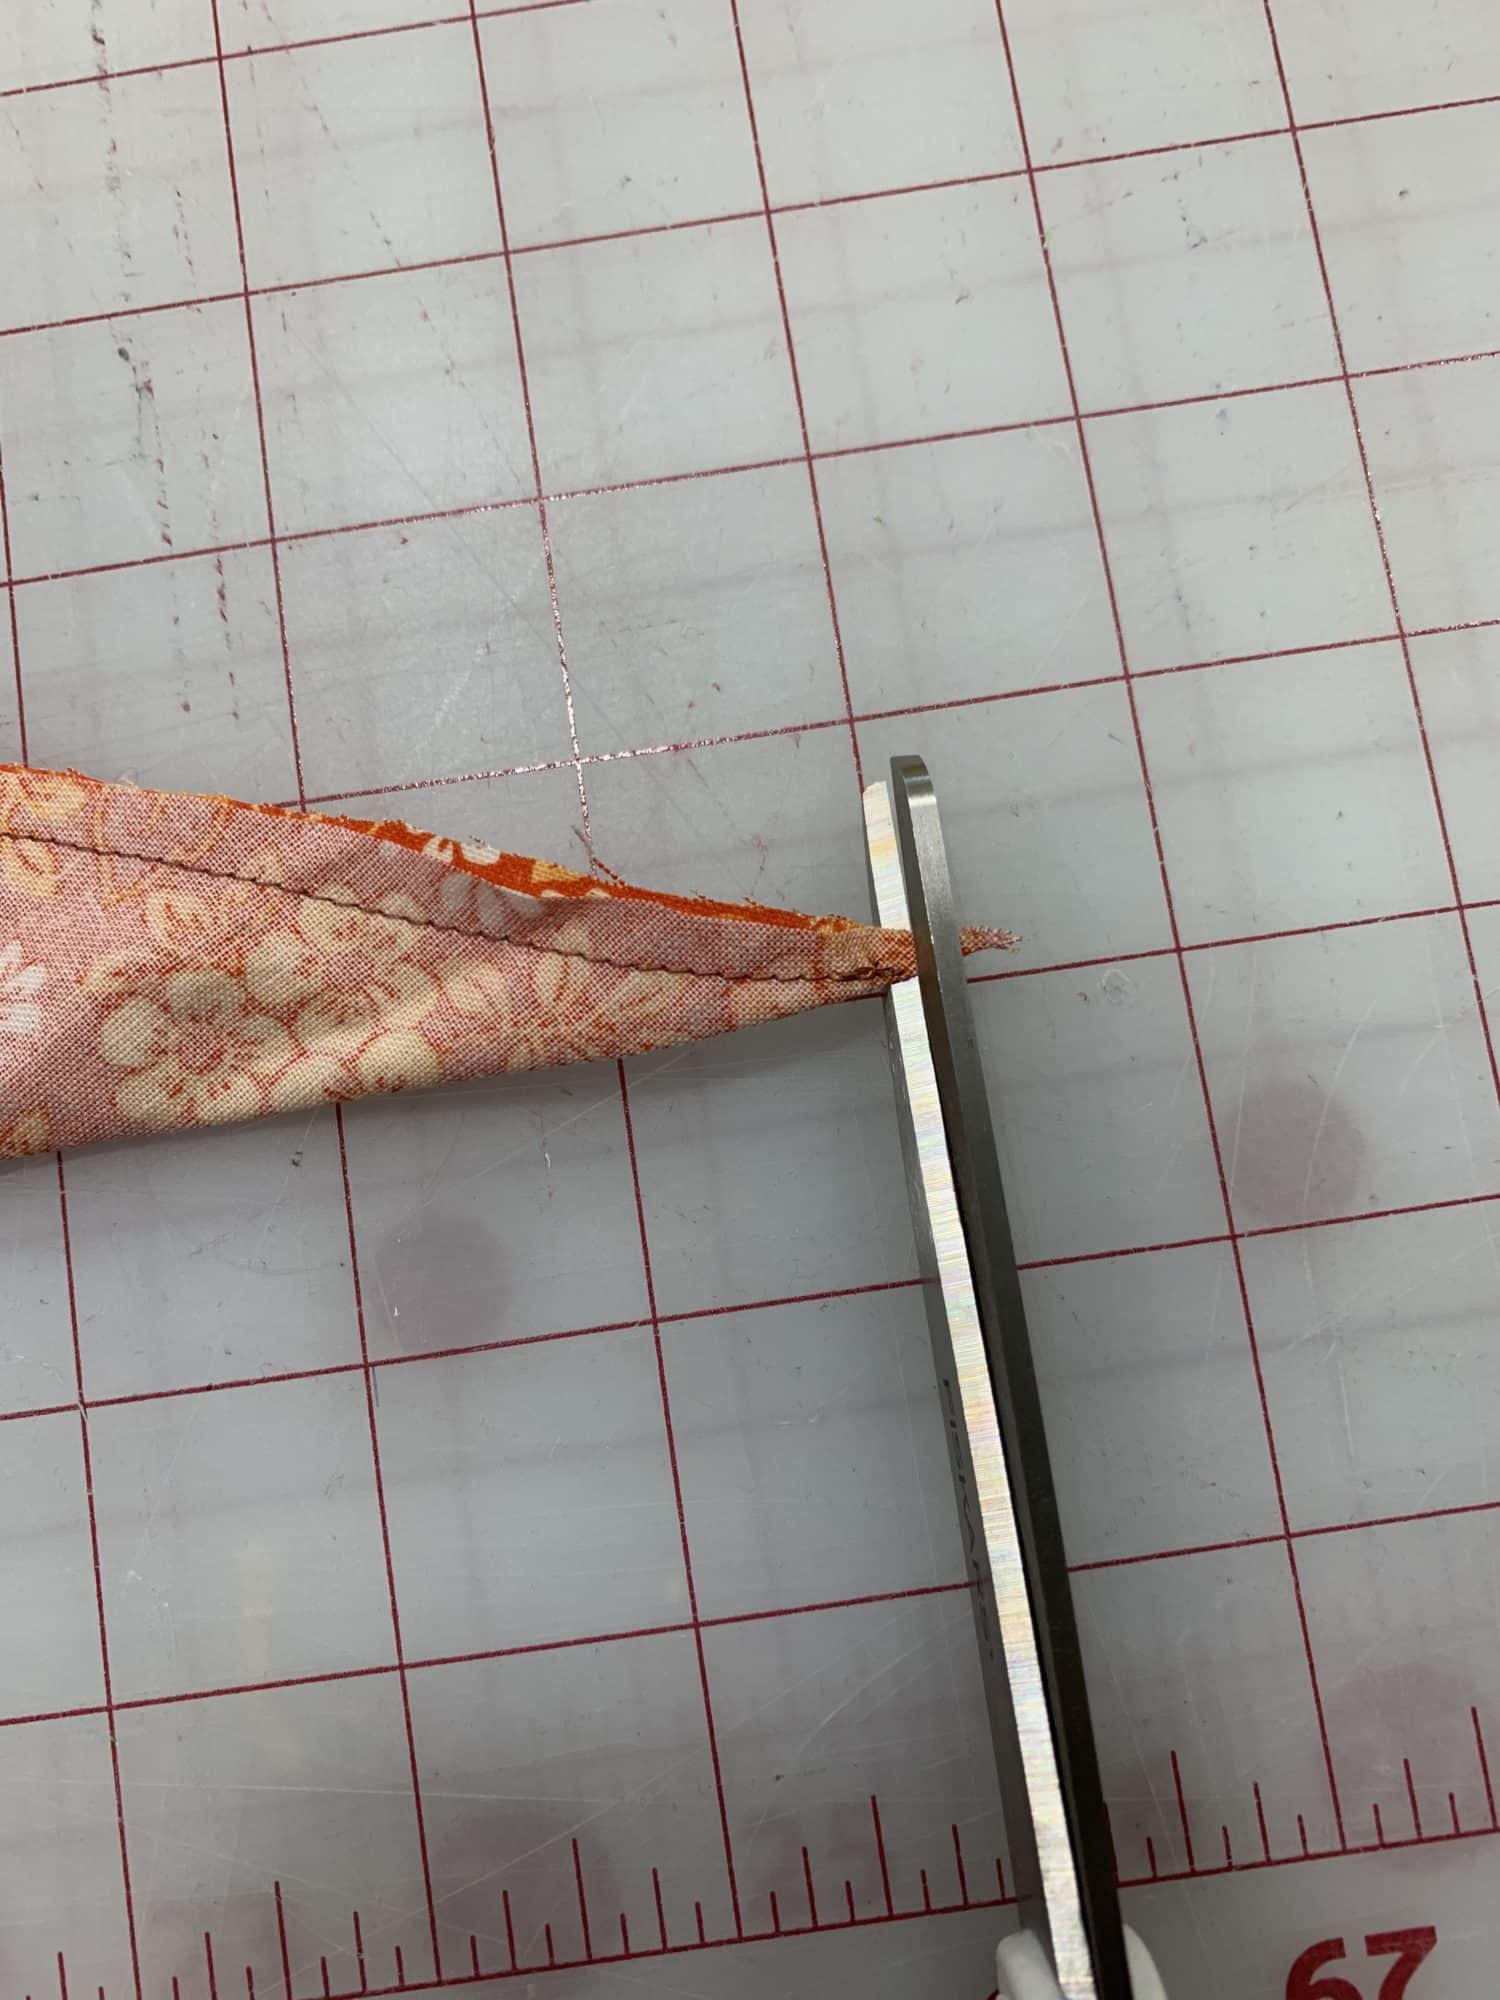
- Trim off the tip of the triangle-don’t cut through your stitches!
- This will help the point stay nice and pointy when you turn the carrot right sides out
- Turn your carrot right sides out
- Use a pencil or a point turner to really push that corner out-don’t push through the fabric though!

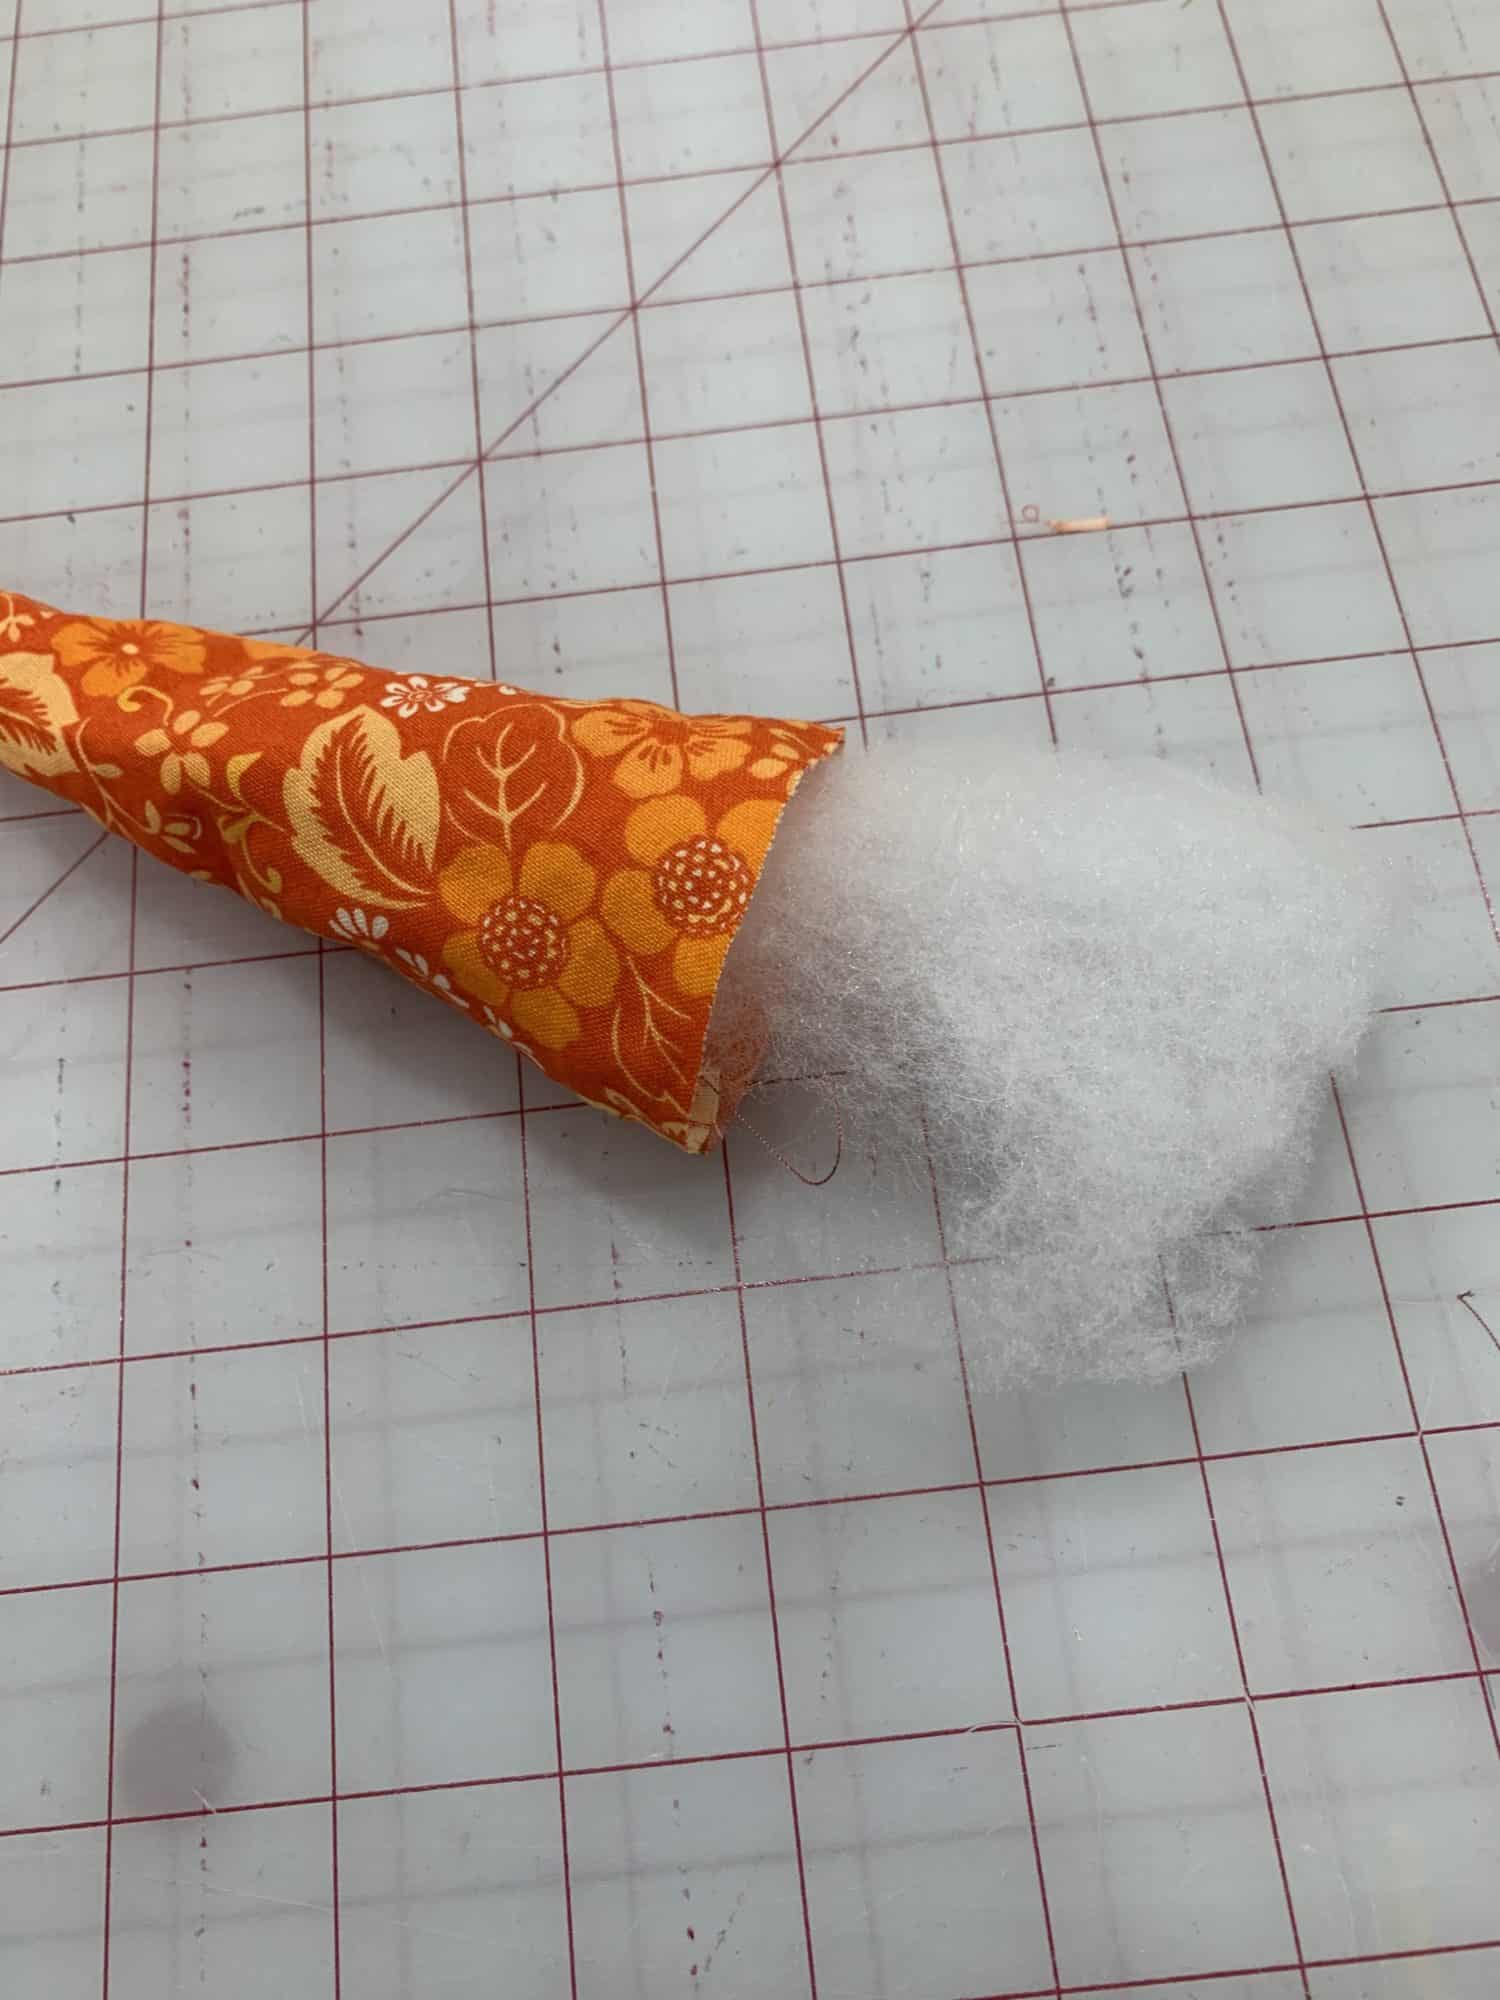
Adding the stuffing to your stuffed carrot decoration!
- Add a small amount of stuffing at a time to avoid a lumpy carrot.
- Fill your carrot with stuffing. You could also use fabric scraps if you have a bunch of unused scraps!
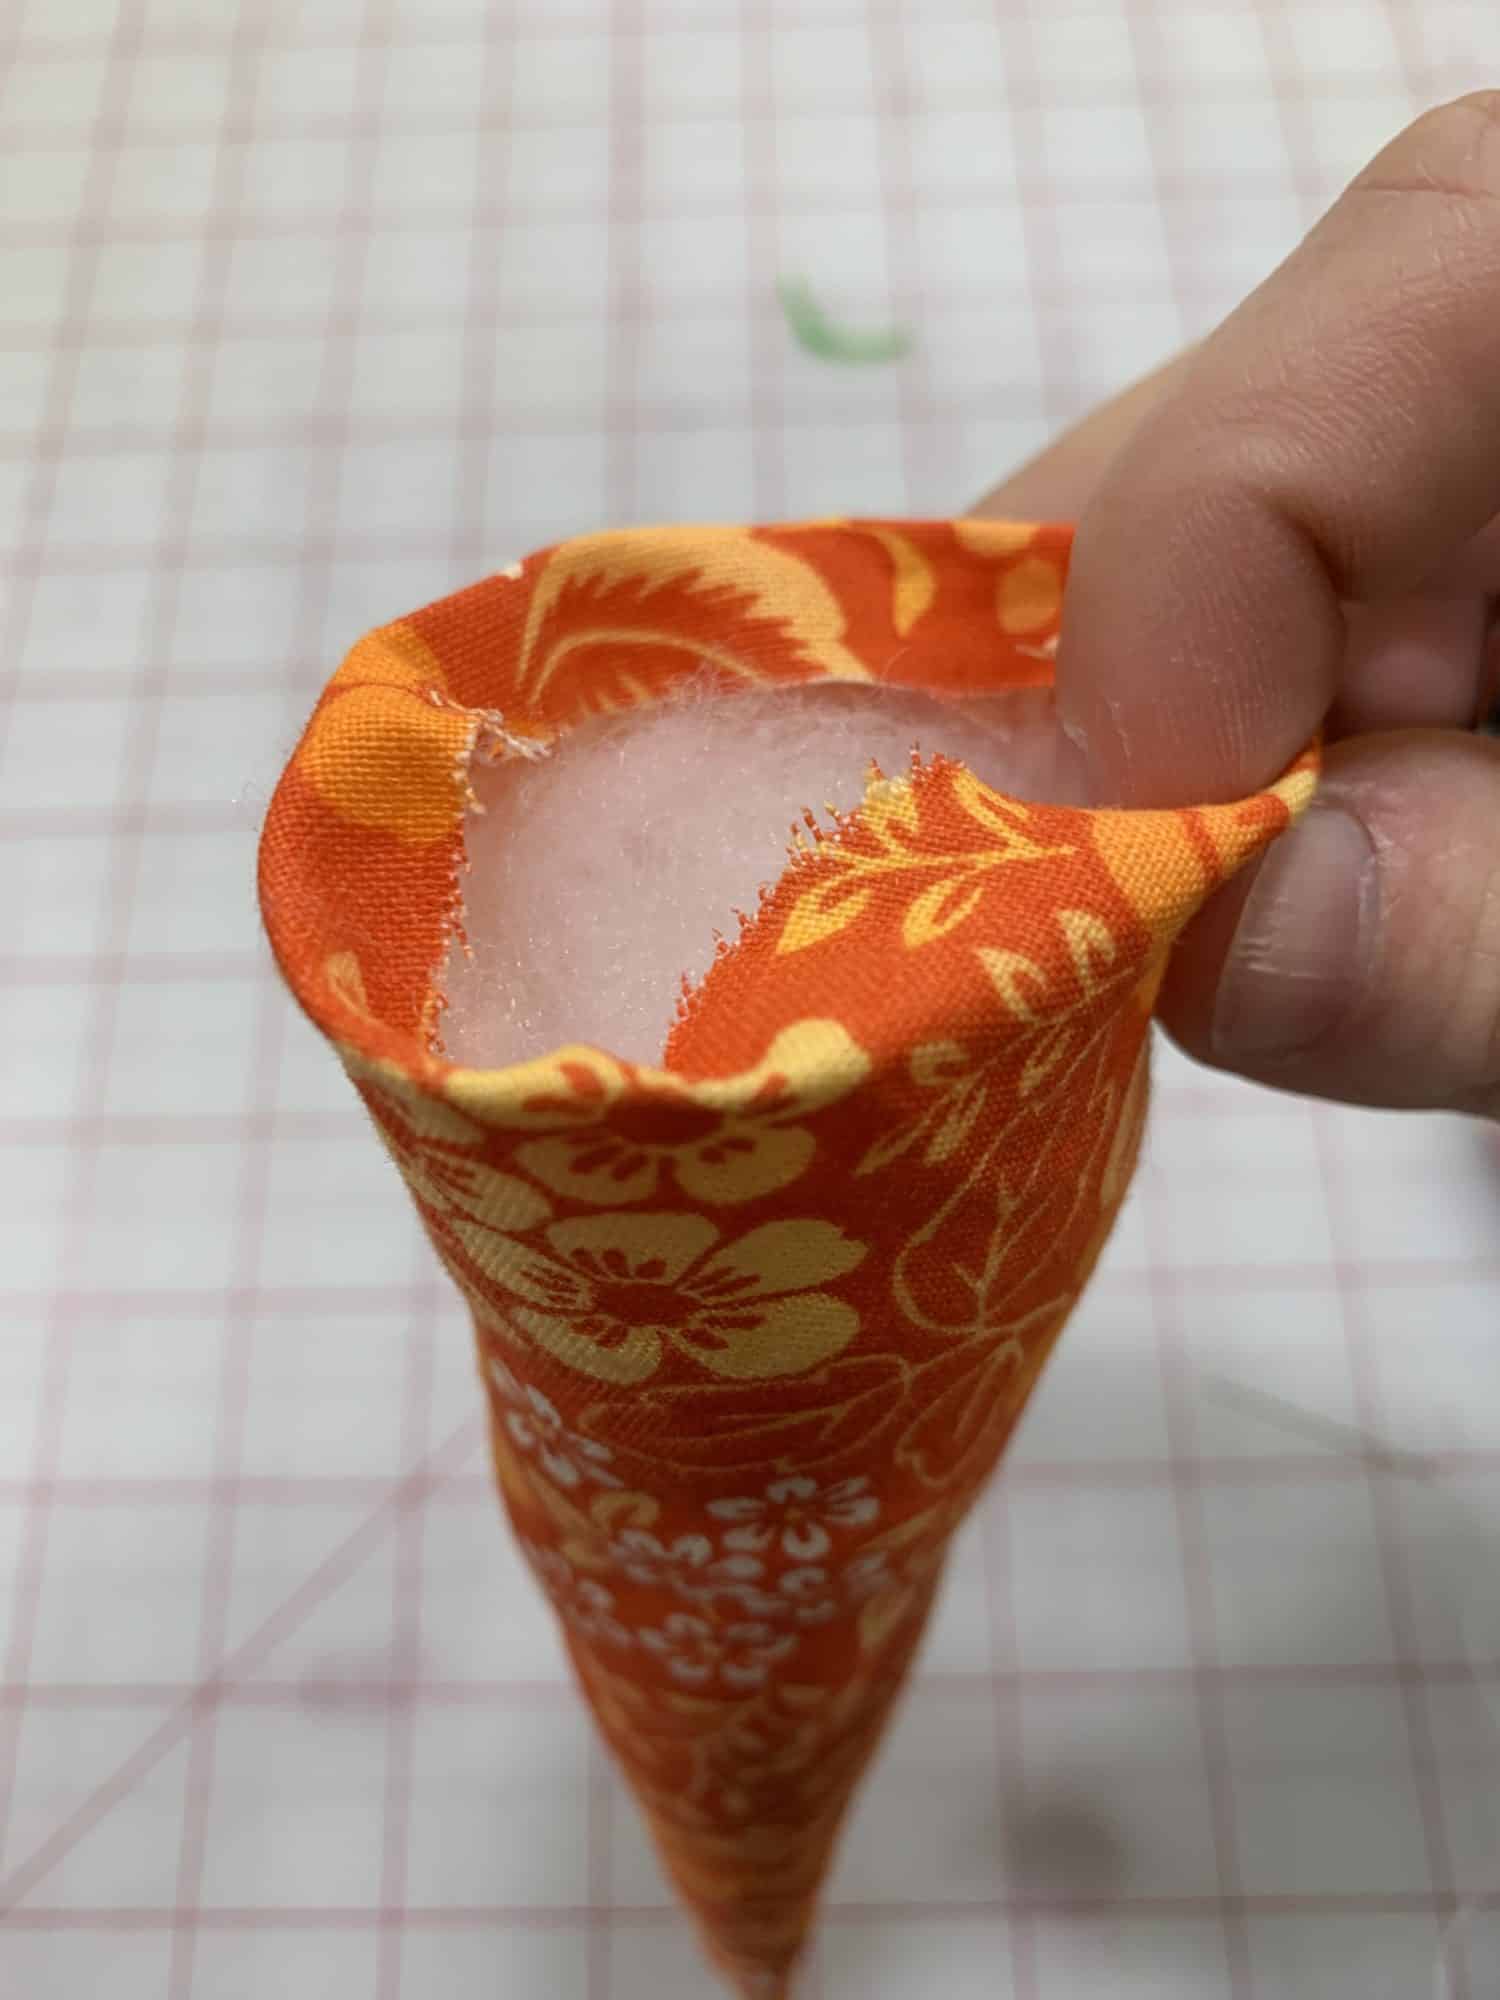
- Leave a small amount of space at the top of the carrot.
I left about 1/2 an inch unstuffed
- After stuffing, fold the top edge down to conceal the raw edges. Pressing here will make the edges stay put and will make adding the green fabric easier. I’ll be honest, though, I was feeling a bit lazy and didn’t want to pull my iron out. So, I didn’t press. Shhh!
Time for the green top!
- I made a few different styles of tops. I’ll show you some examples of what I did and you can decide for yourself which one you like best! Or you can be like me and have a variety of carrots with all sorts of different leafy green tops!
Felt or knit leaves
- Cut a rectangle of fabric. The longer the rectangle, the fuller your leaves will look. The taller the rectangle, the longer the leaves will be. I’ll be honest, I didn’t measure how big my rectangles were. Each one is different depending on how big you made your carrots! Plus it is completely personal preference!
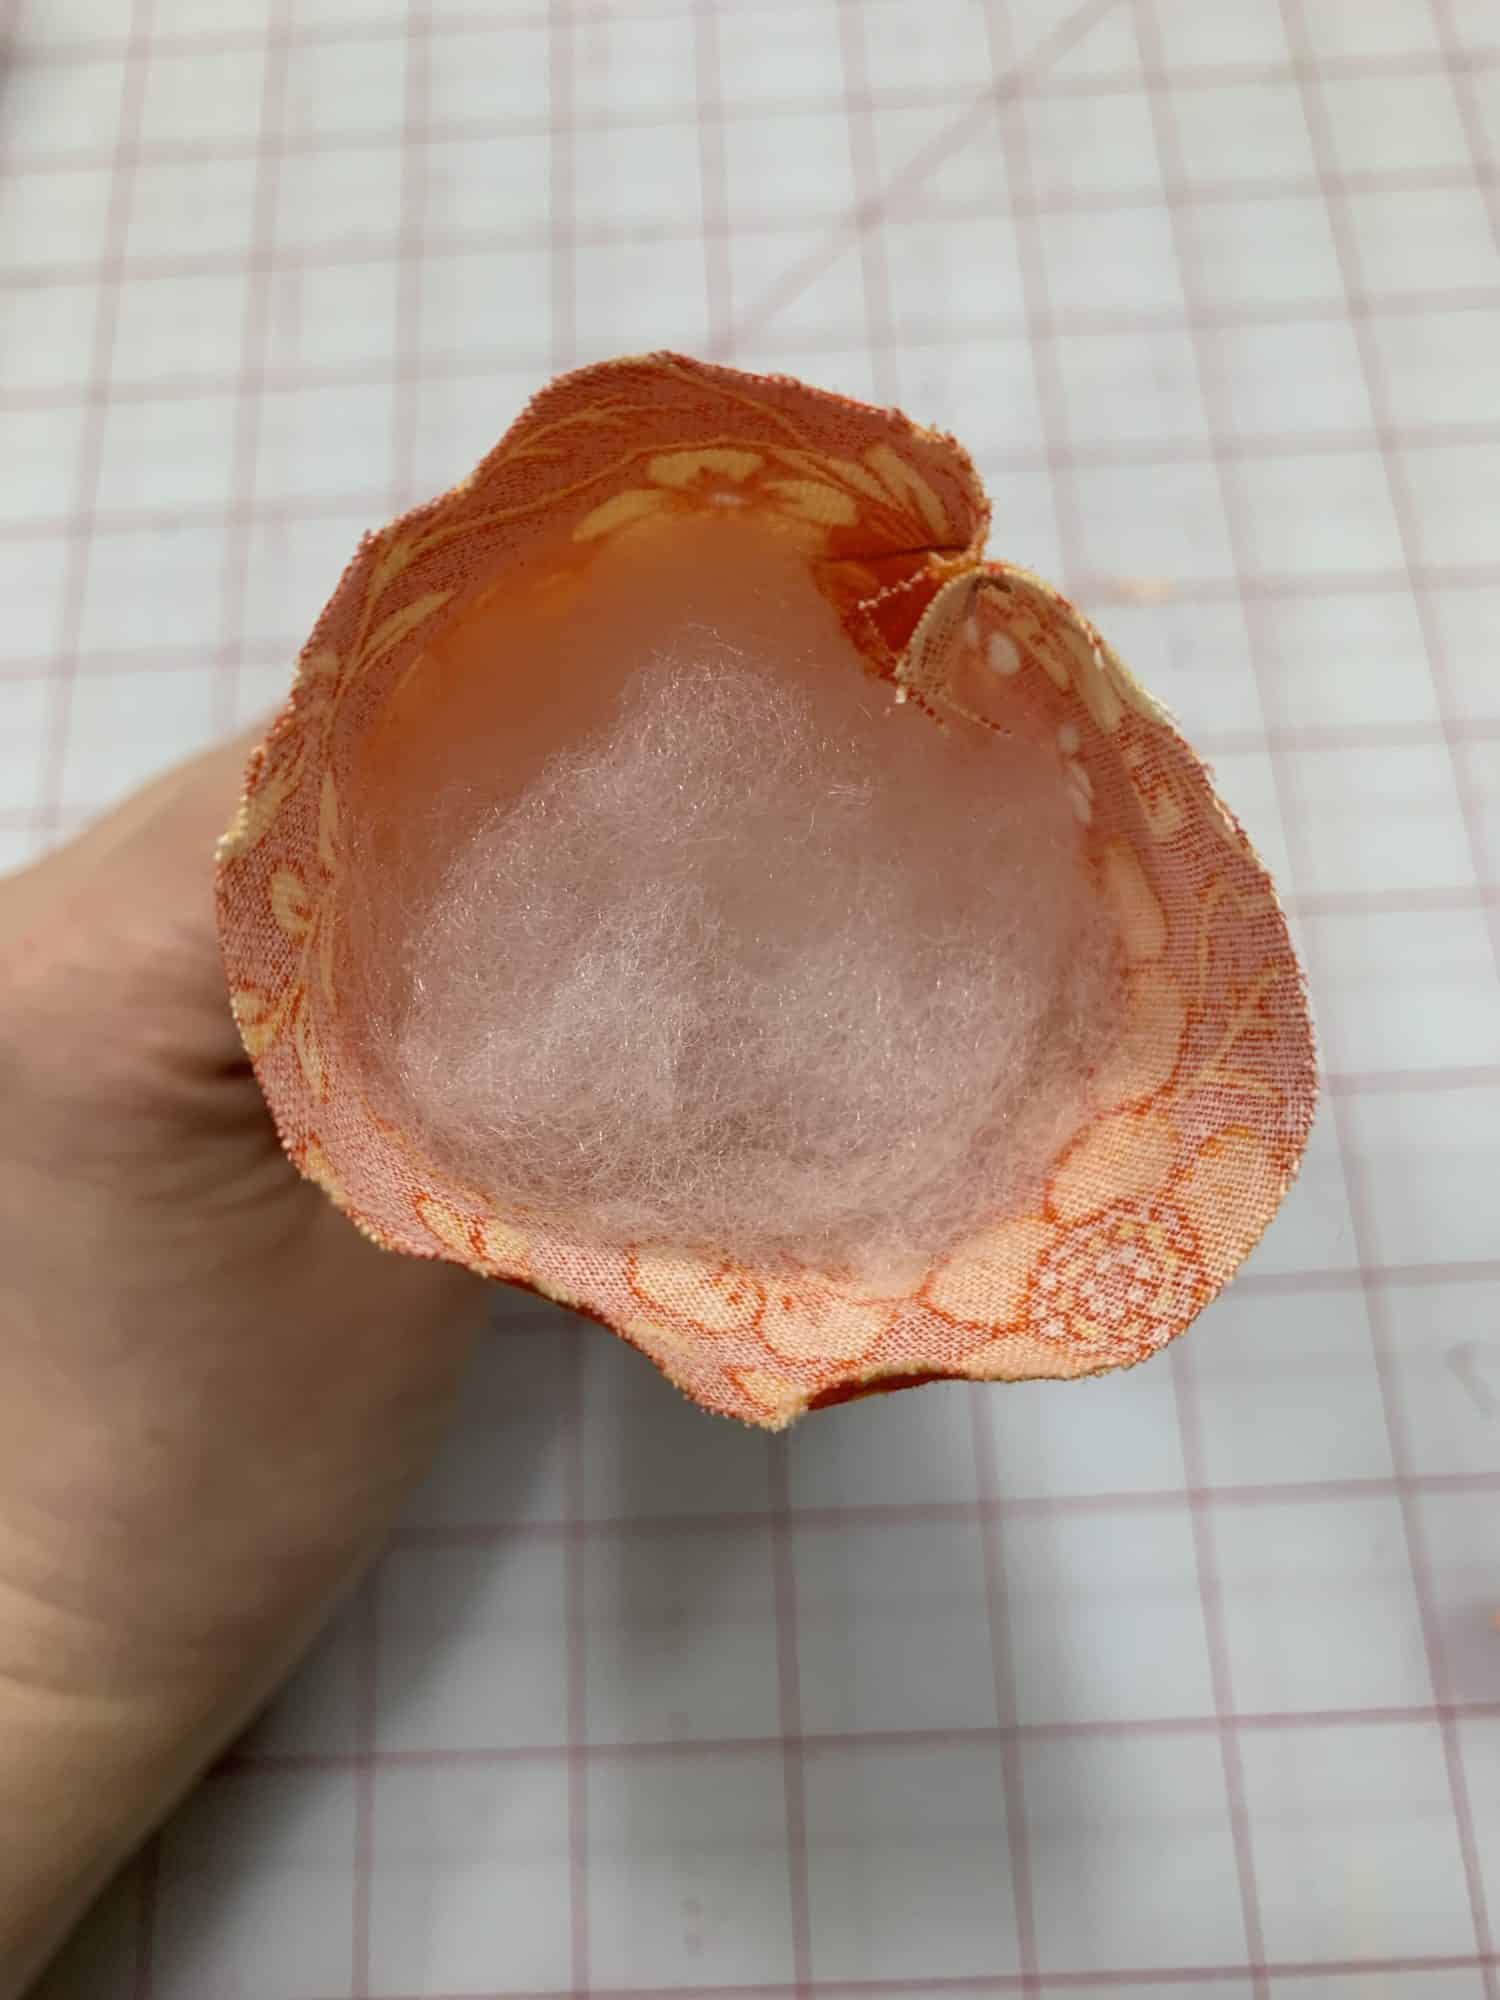
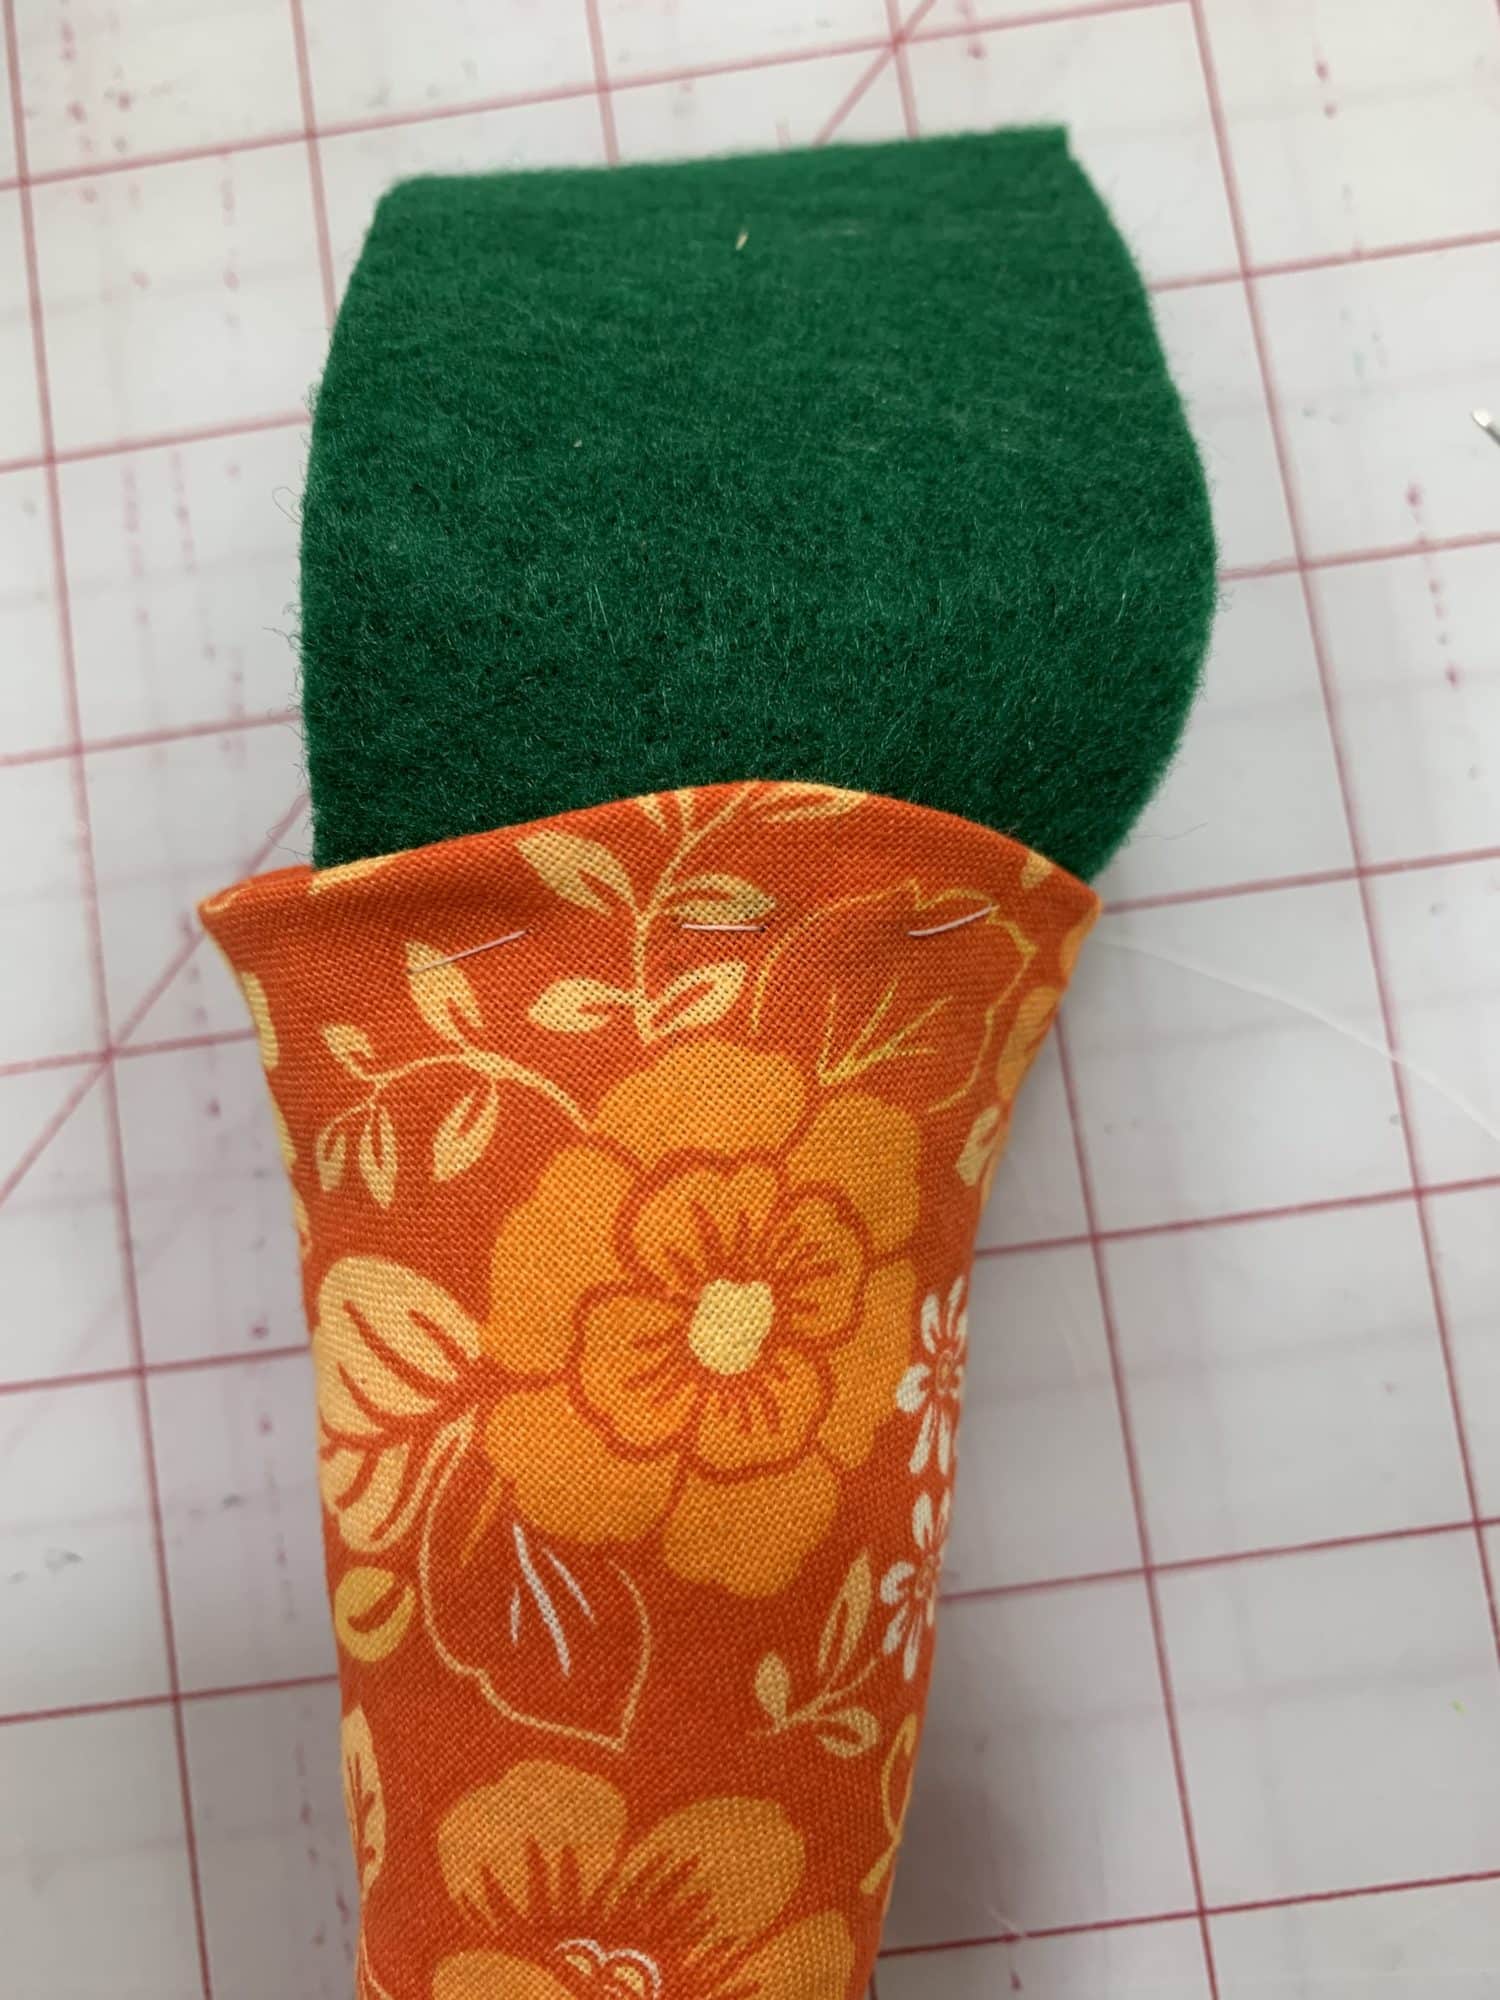
- To attach the leaves, you will place the rectangle inside the carrot (making sure to keep the top edge of the carrot folded down)
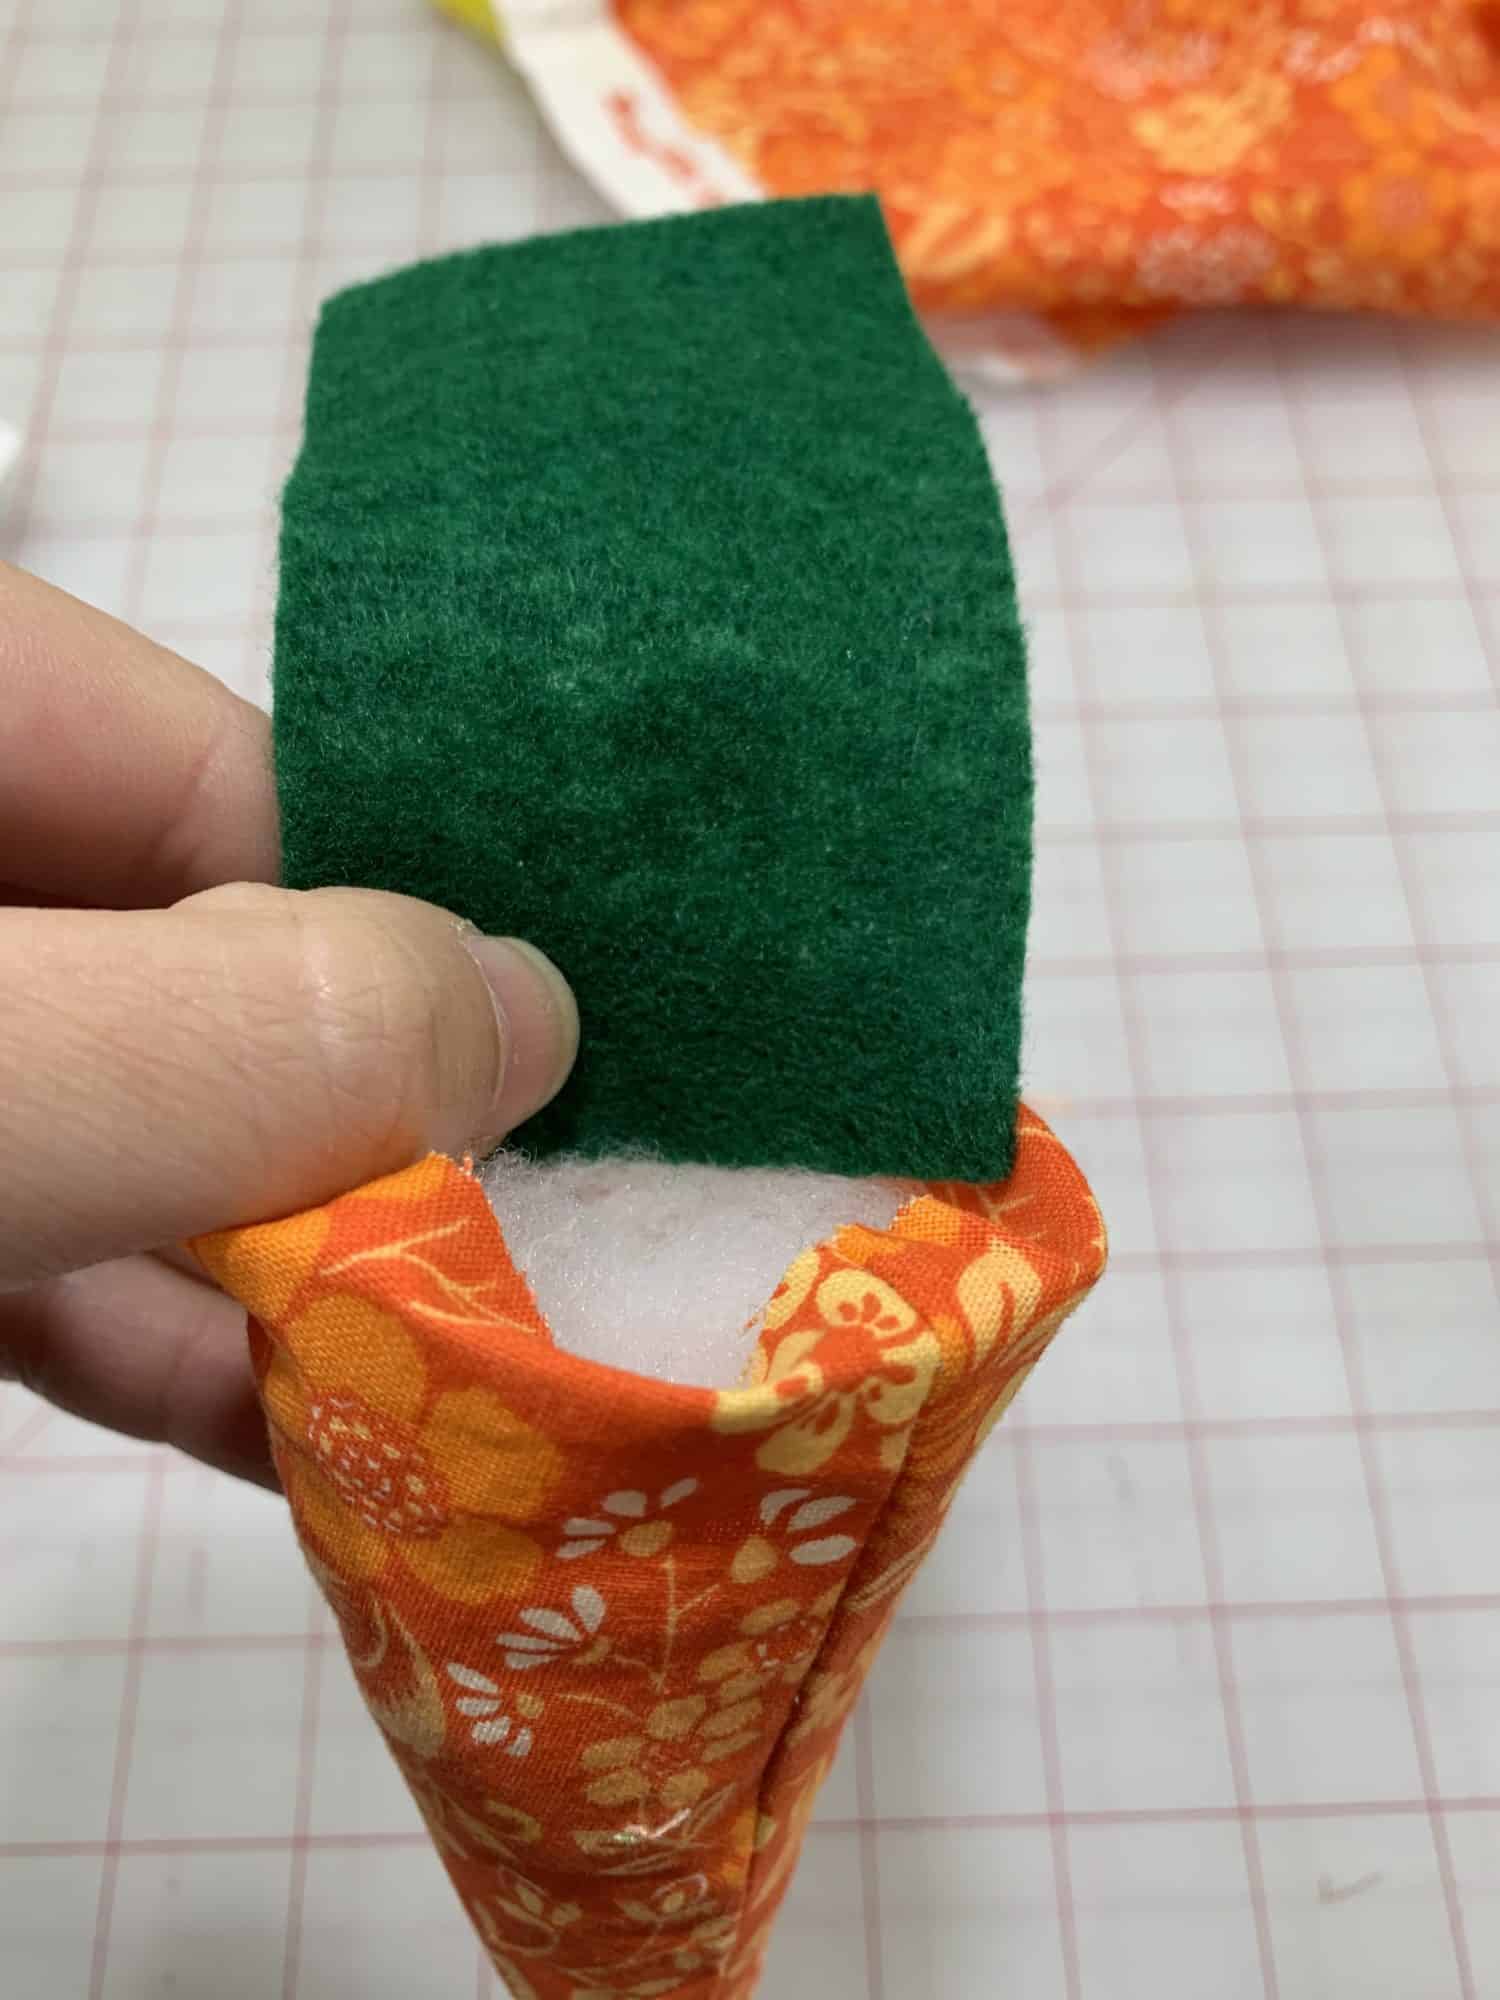
Inside view 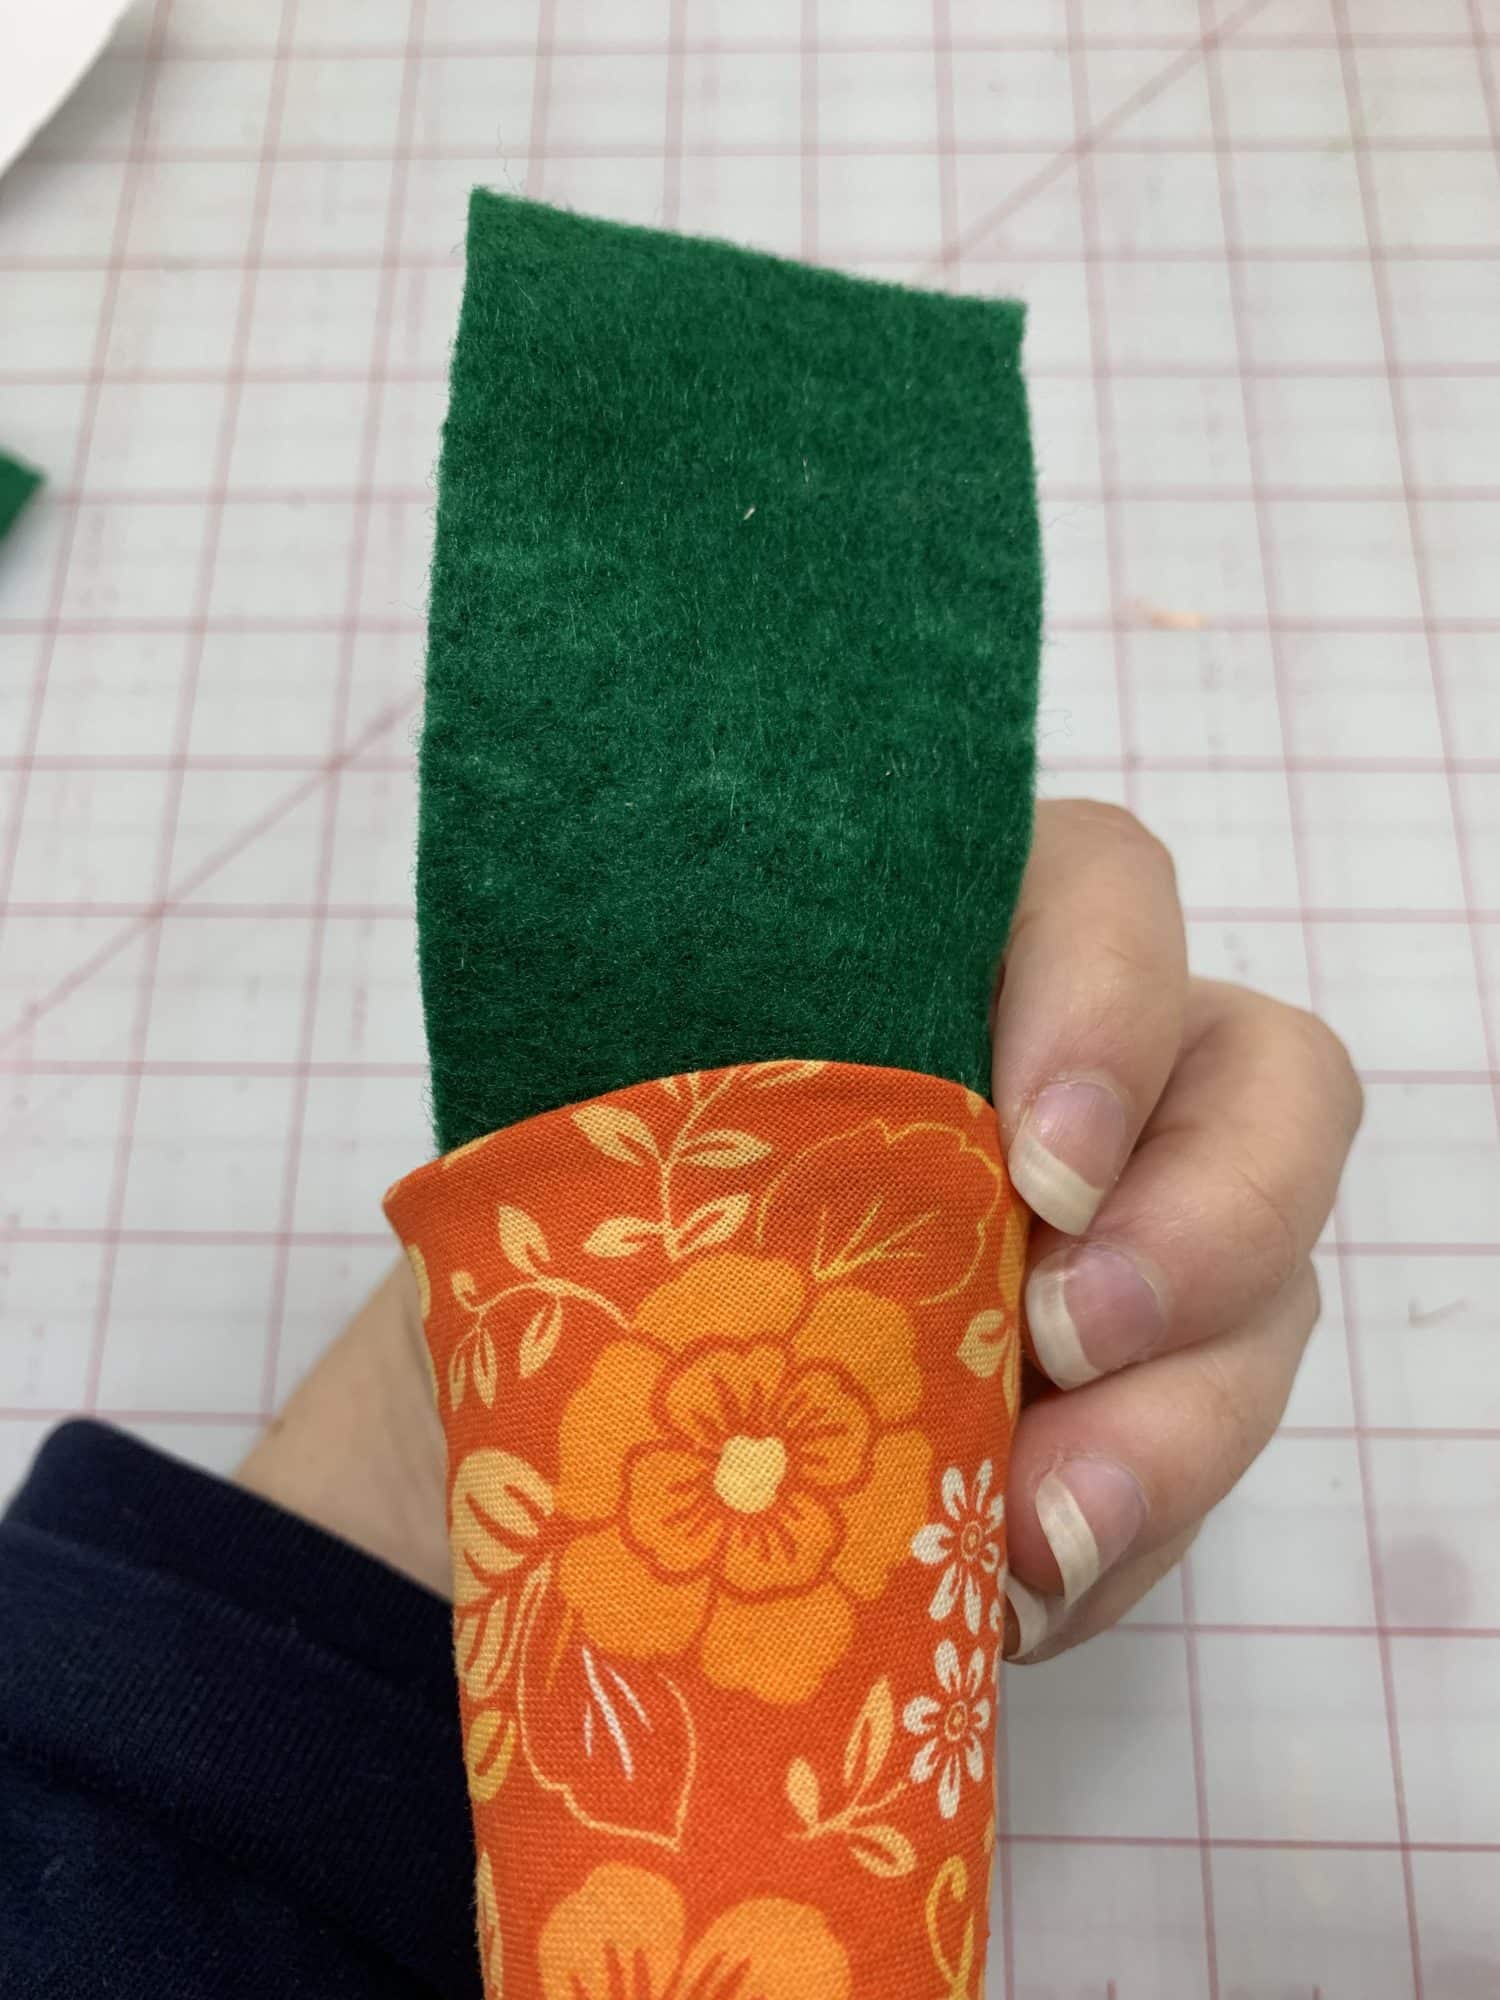
Outside view
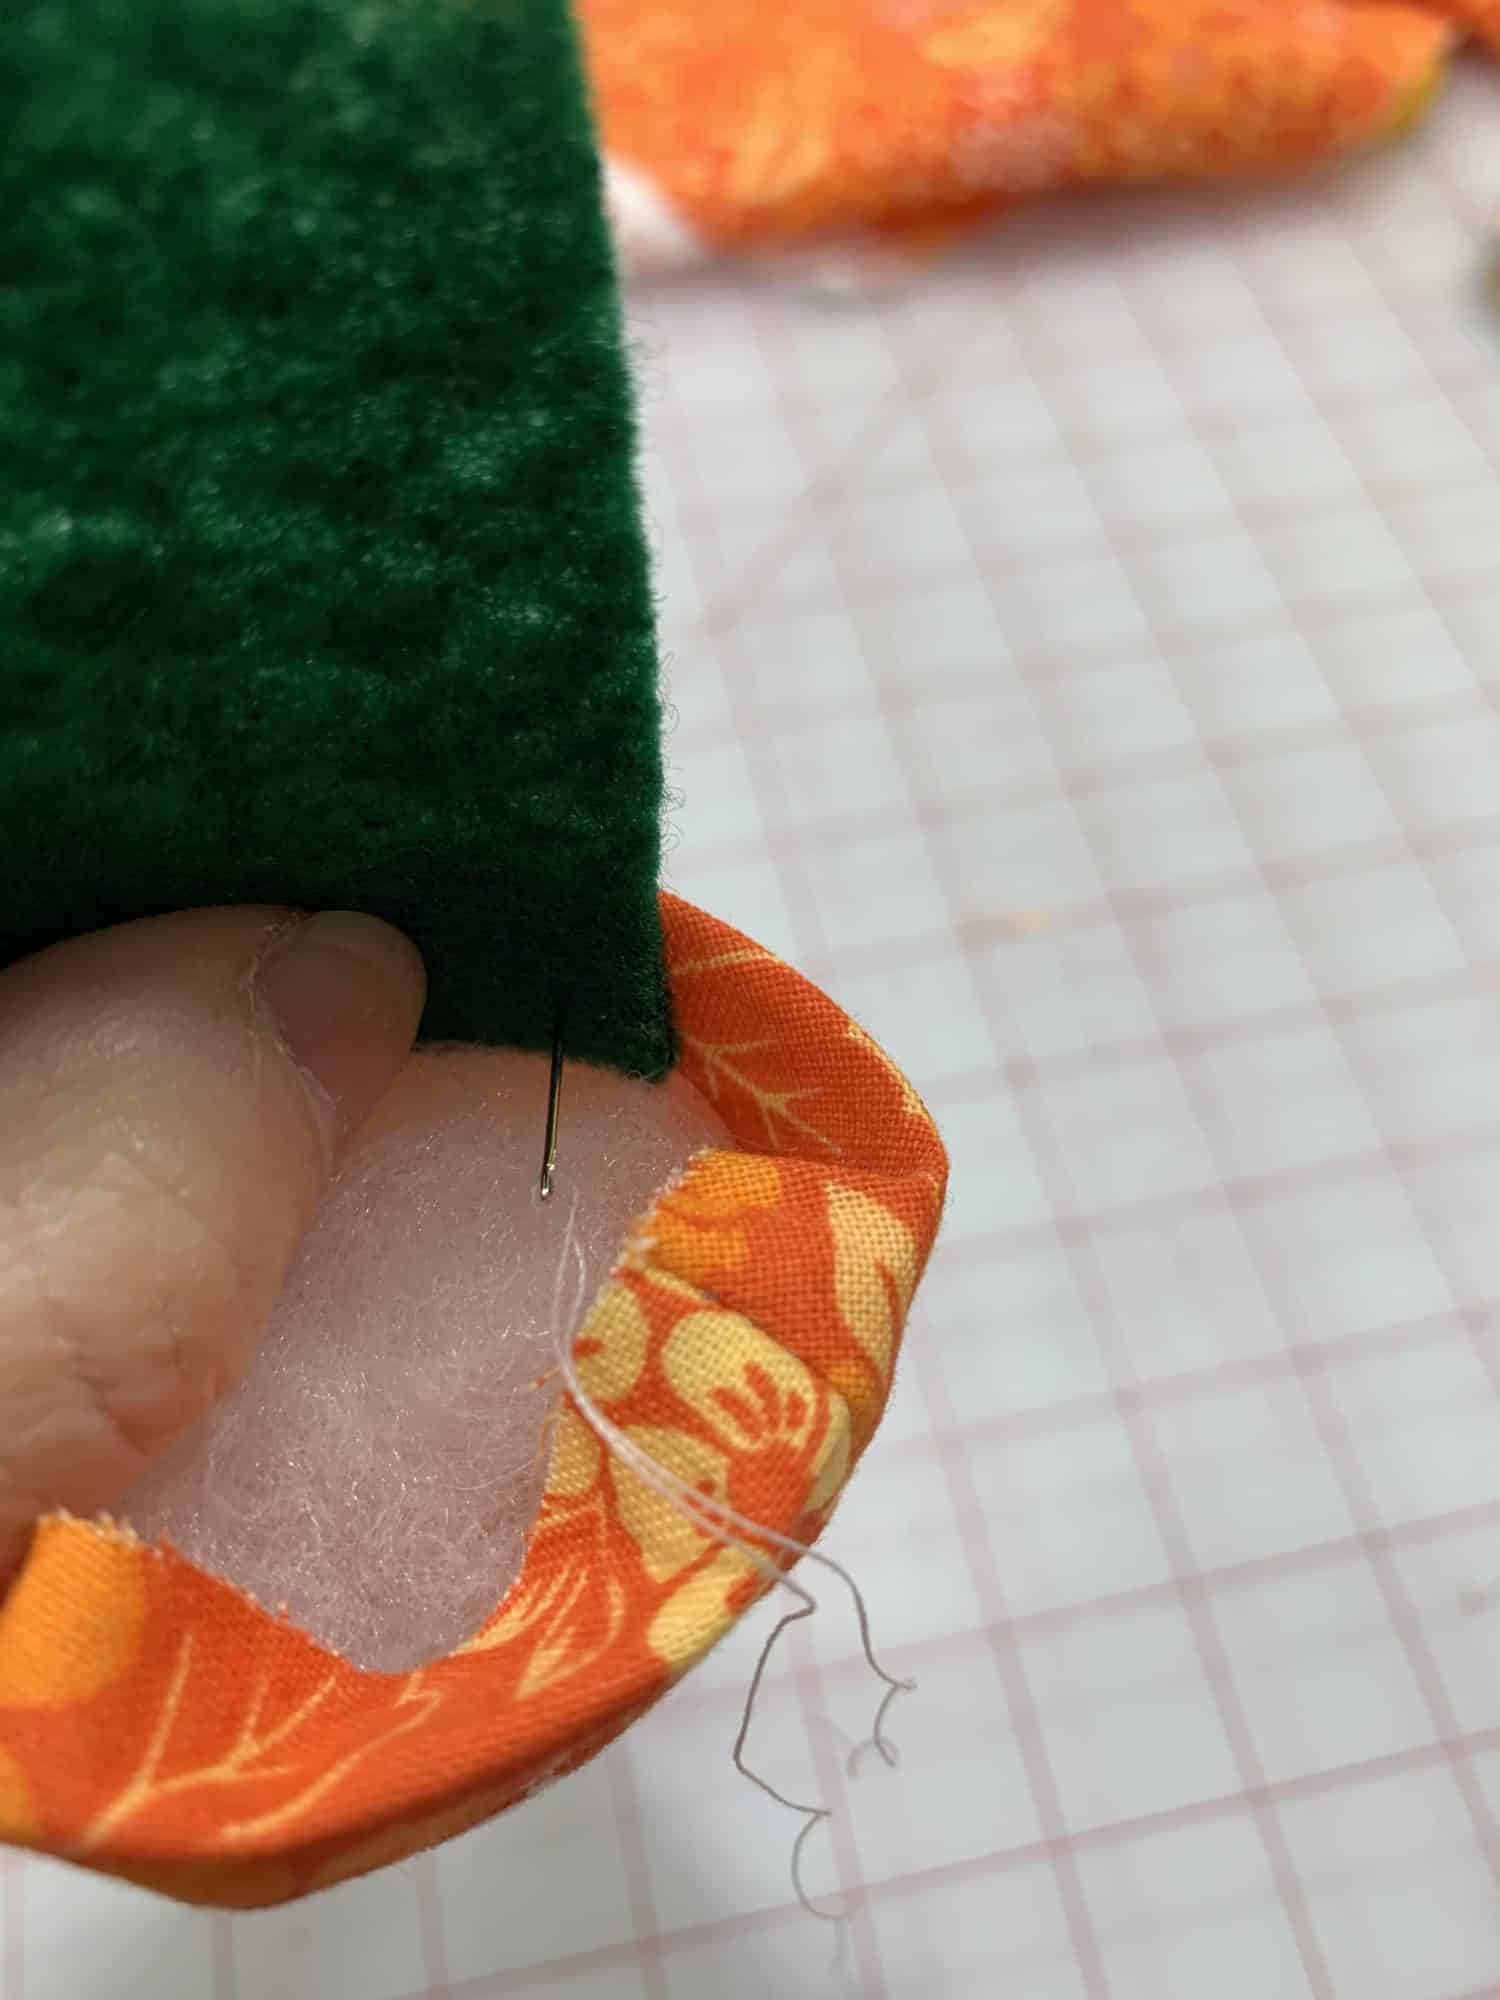
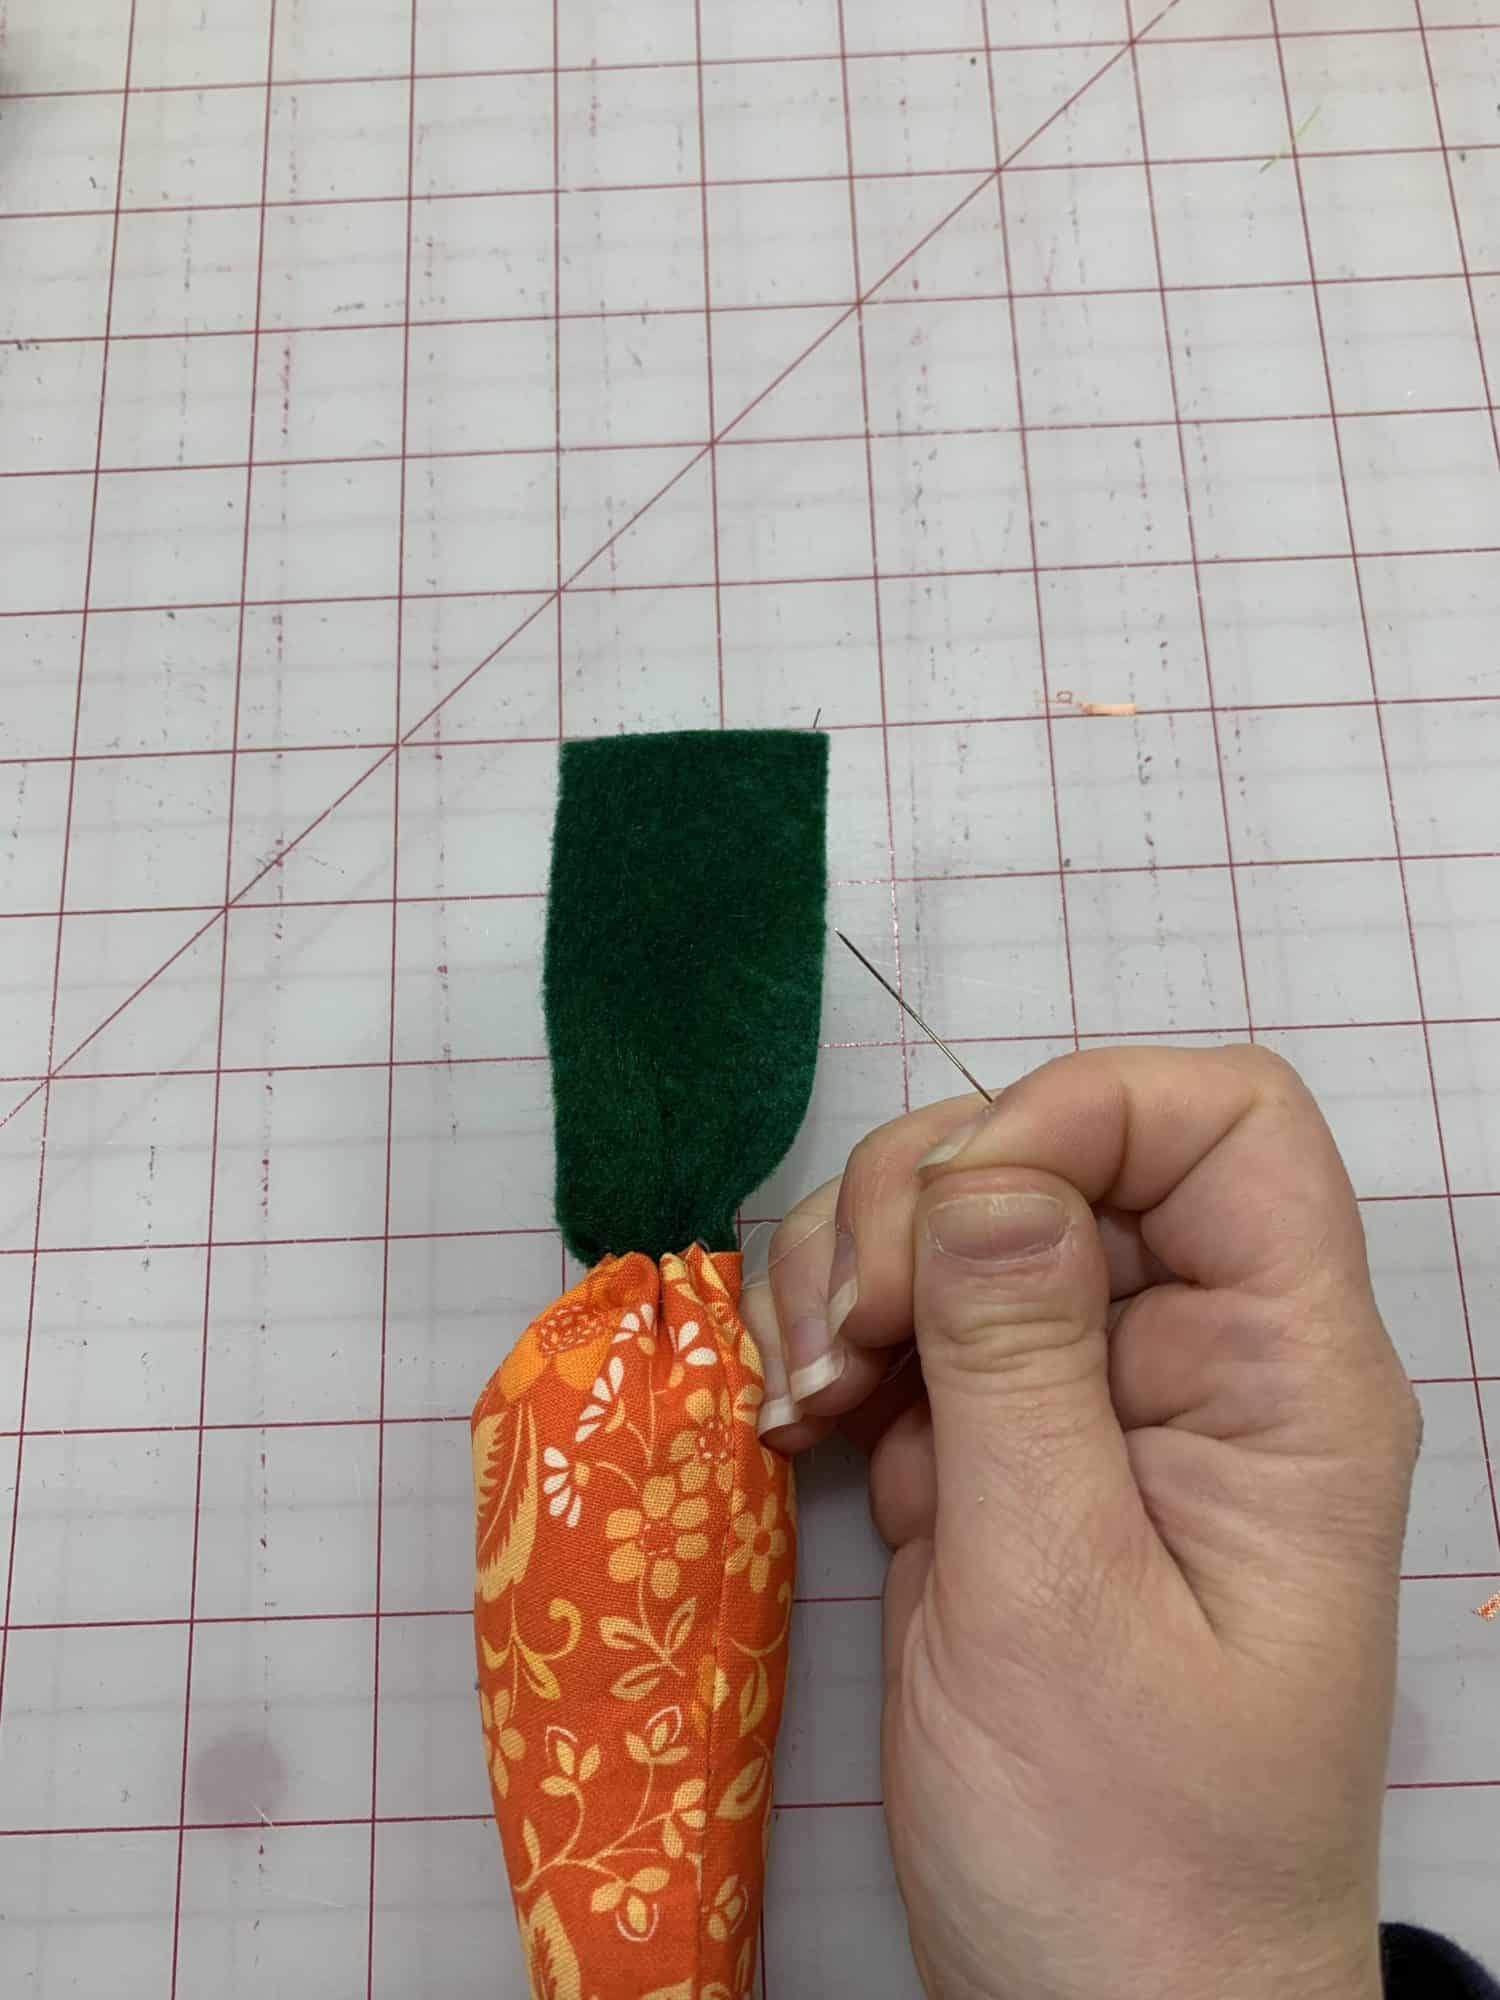
- Now, get your needle and thread, it’s time to do some hand sewing!
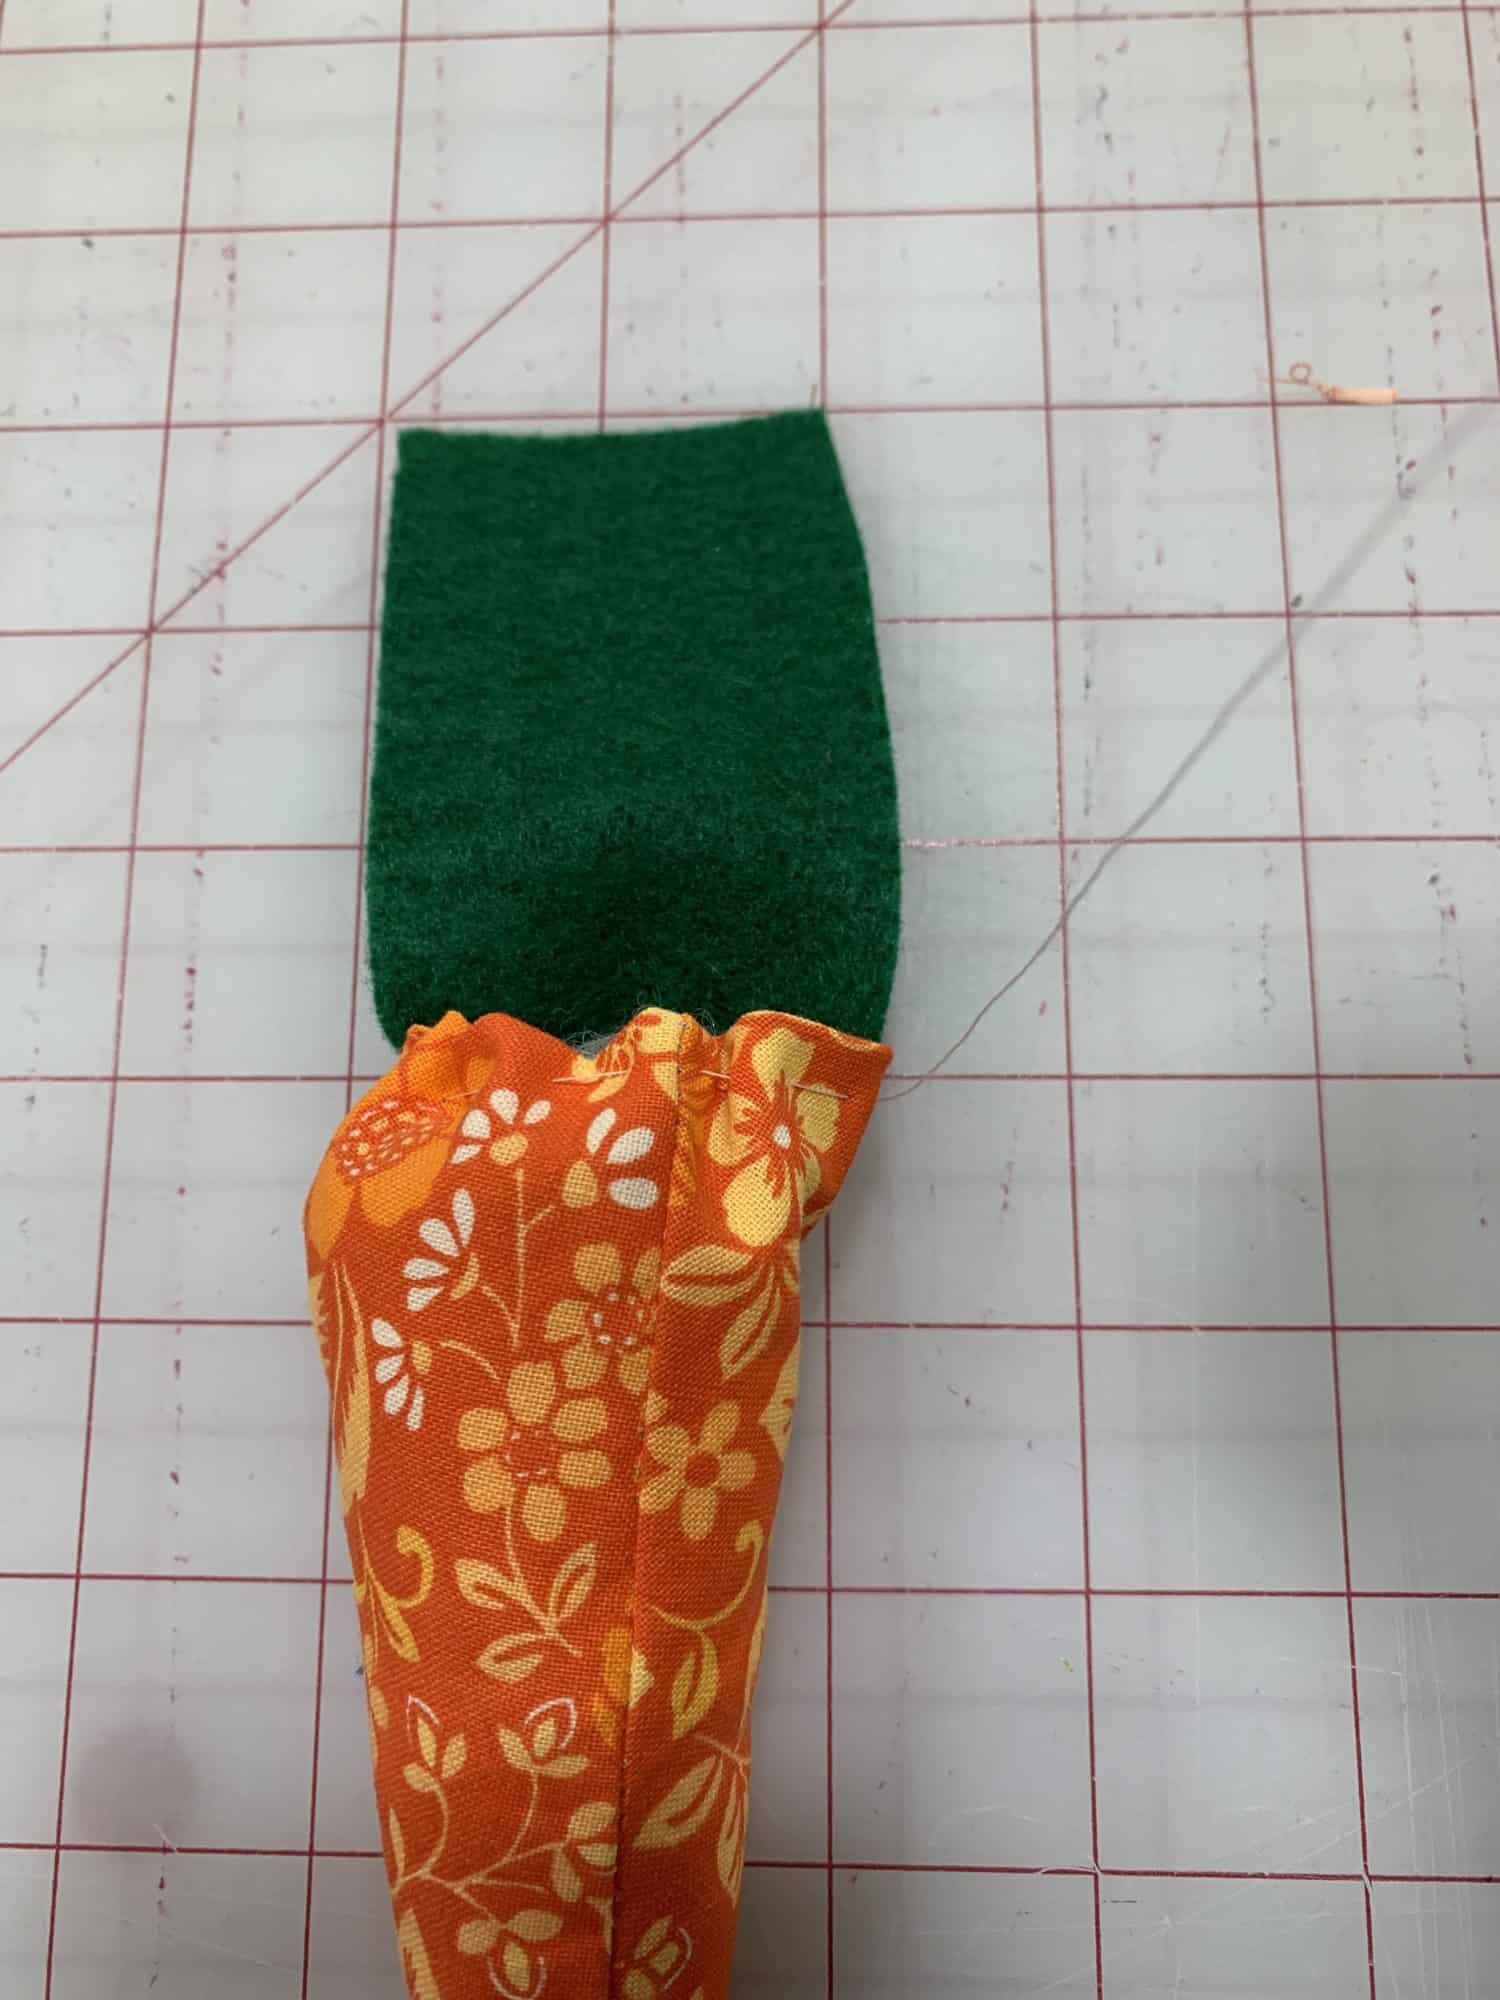
- We are going to sew a gathering stitch all around the carrot.
- Start by putting your needle through both the green rectangle and the folded edge of the carrot from the back.
- Pull the thread all the through.
- Then, put the needle into fabric from the front and pull all the way through.
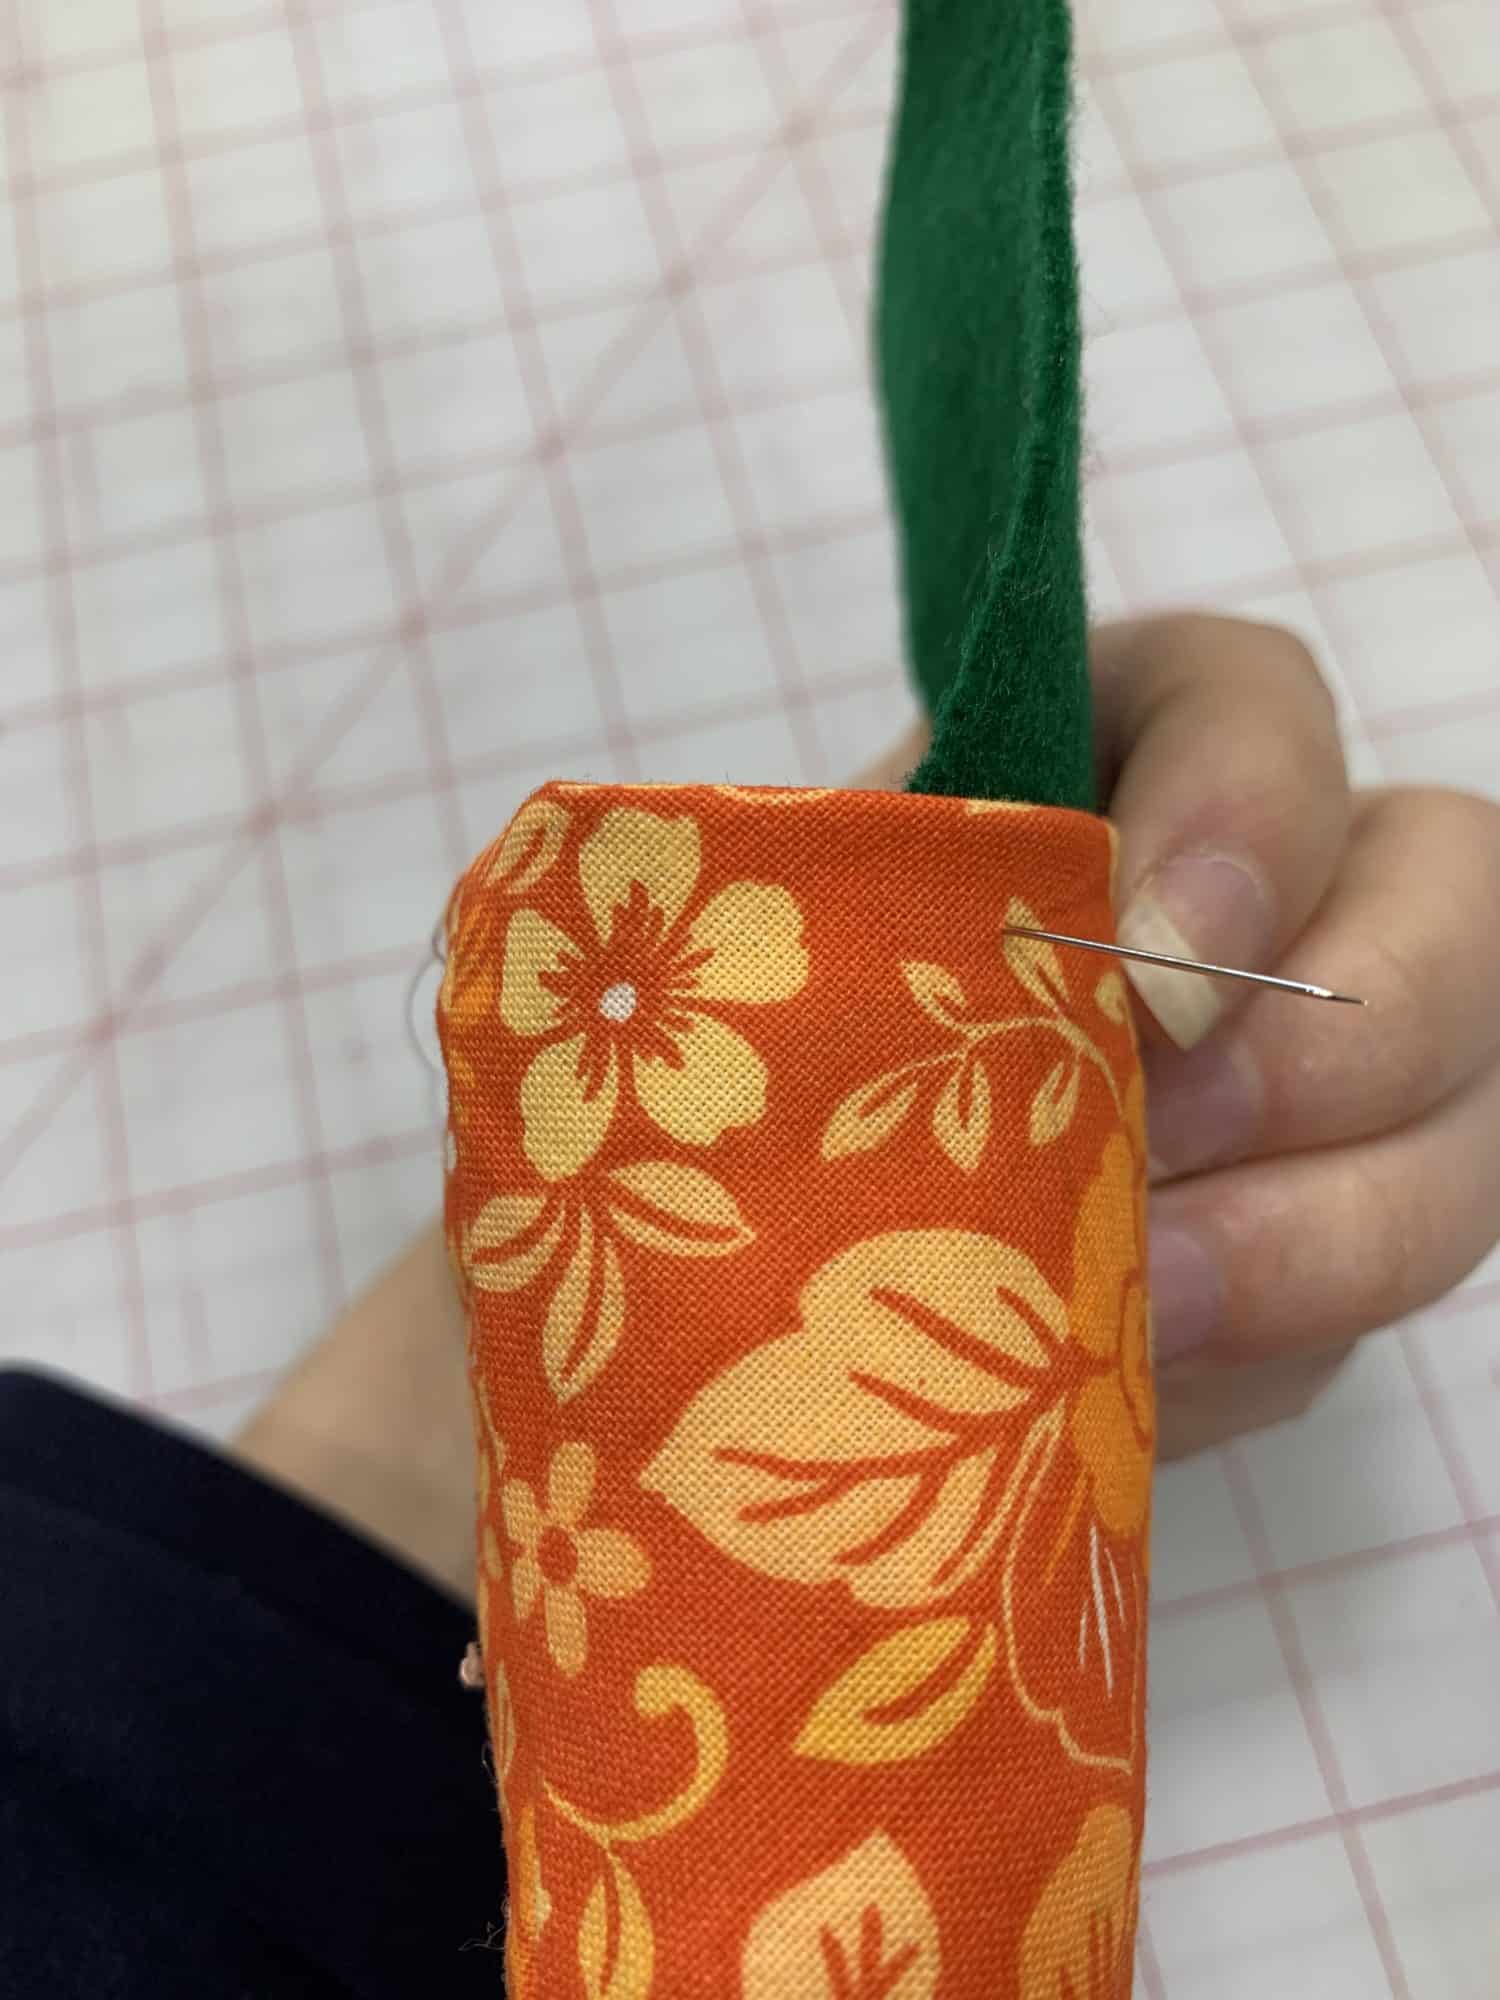
- Keep sewing this way all around the carrot.
- Keep that top edge folded down.
- You can keep your stitches pretty long, these are gathering stitches so wider is better.
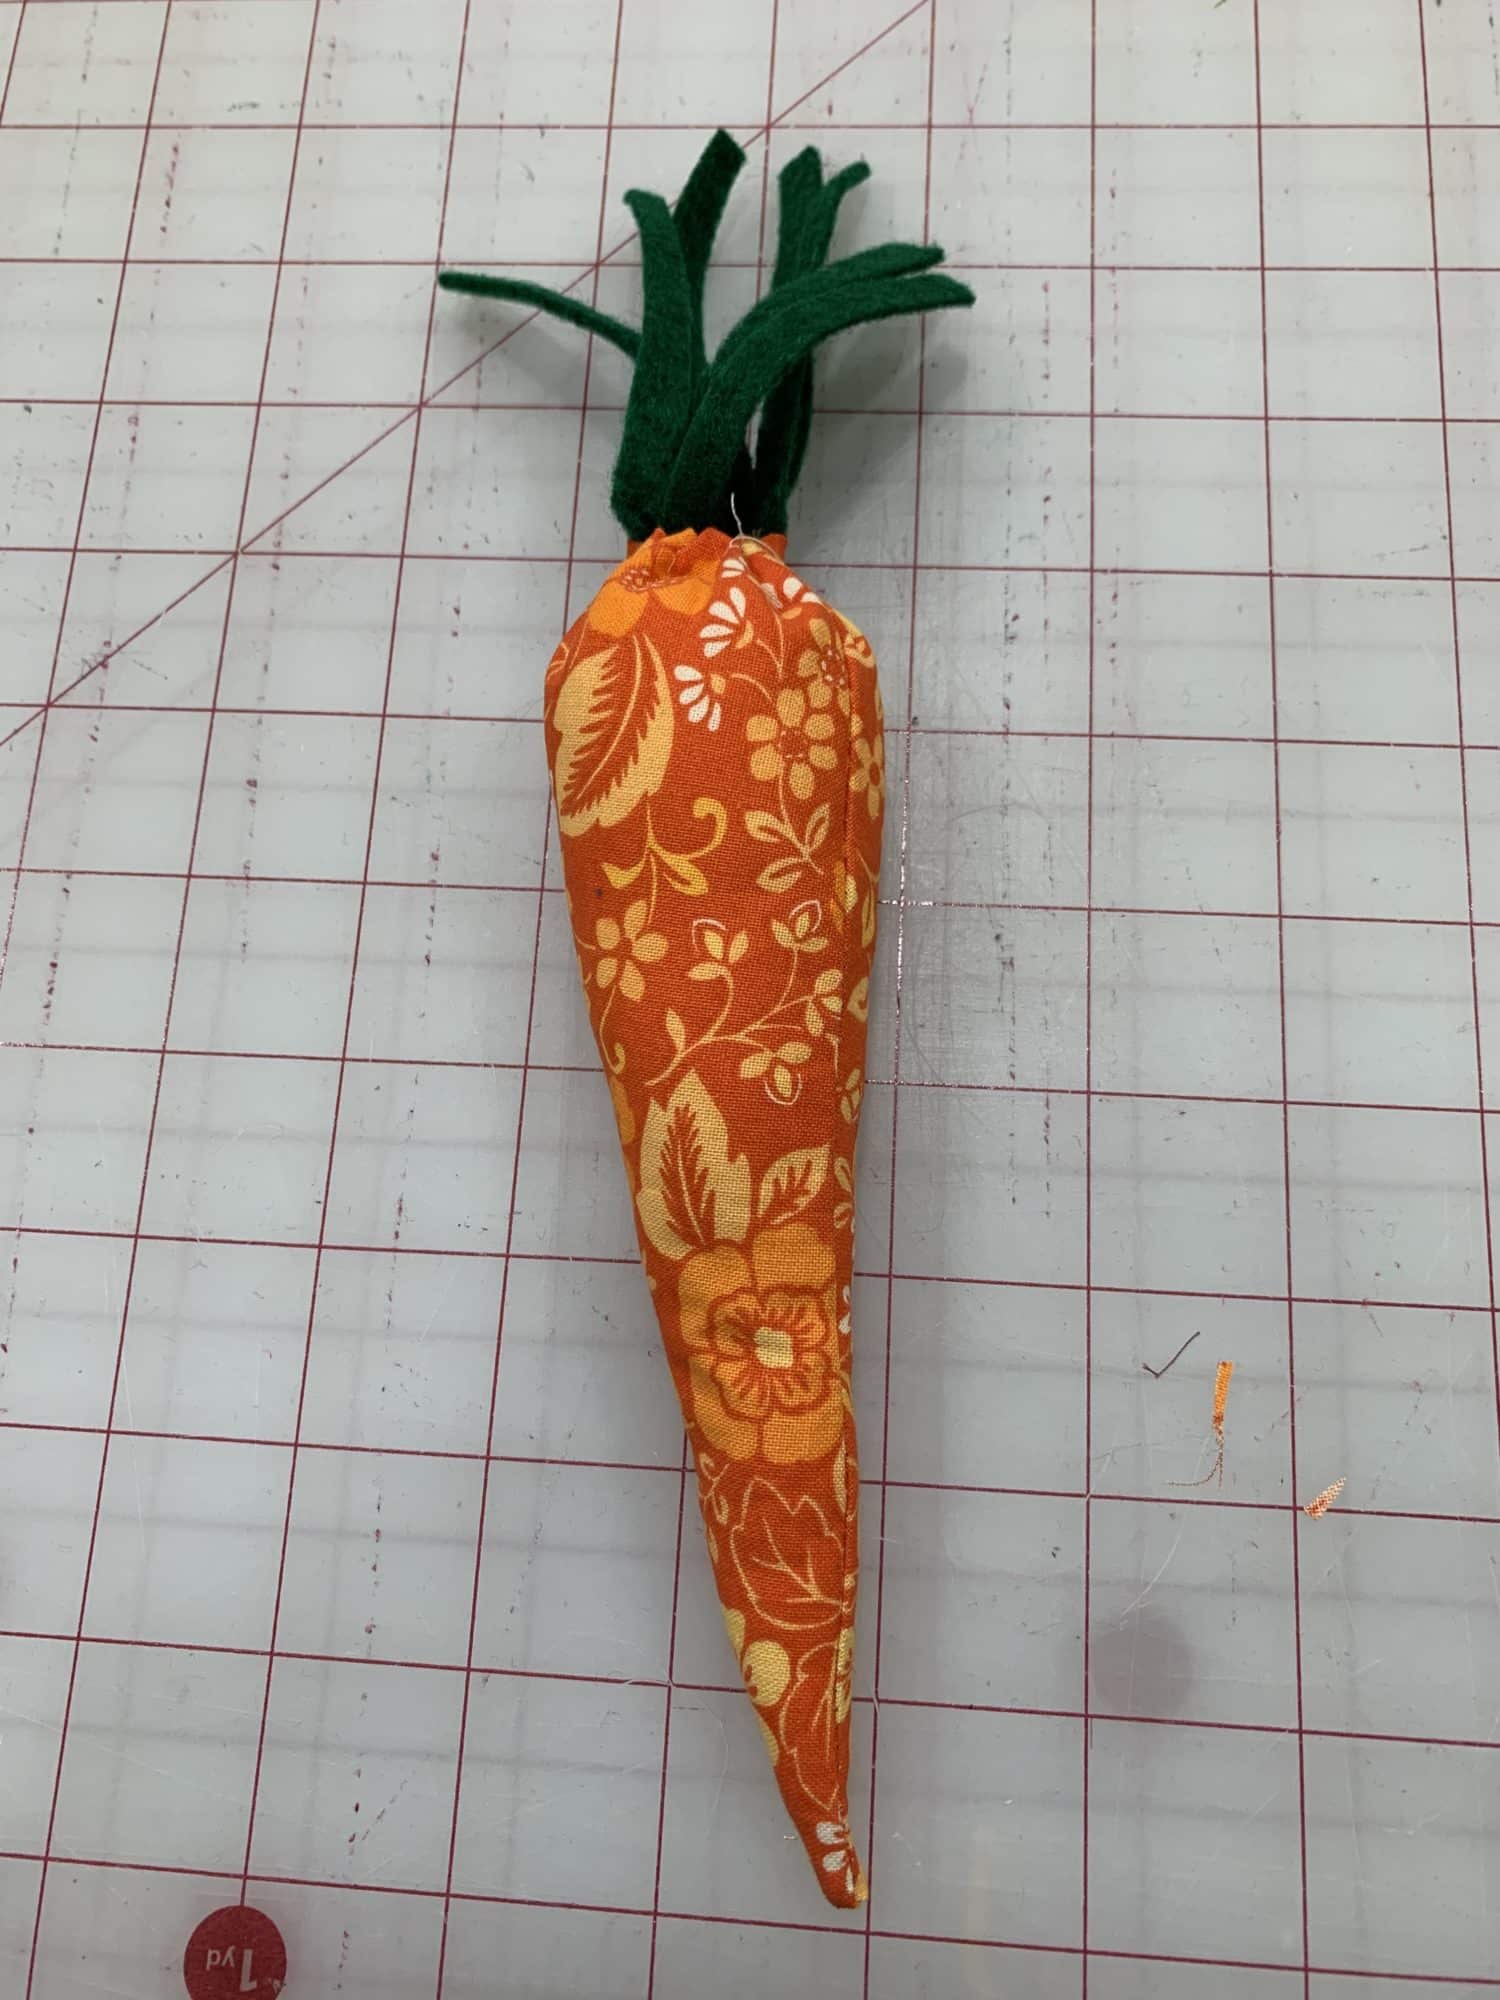
It’s going to look like a stuffed carrot decoration soon!!
- Once you hand stitch all the way around, you are going to pull your thread tightly.
- This will gather the top of the carrot and the green leaves.
- Keep pushing your stuffing down as you pull on your thread to keep it inside the carrot.
- Once it’s pulled tightly and closed completely, you can knot your thread.
- Finally, cut little strips into the rectangle to make your leaves.
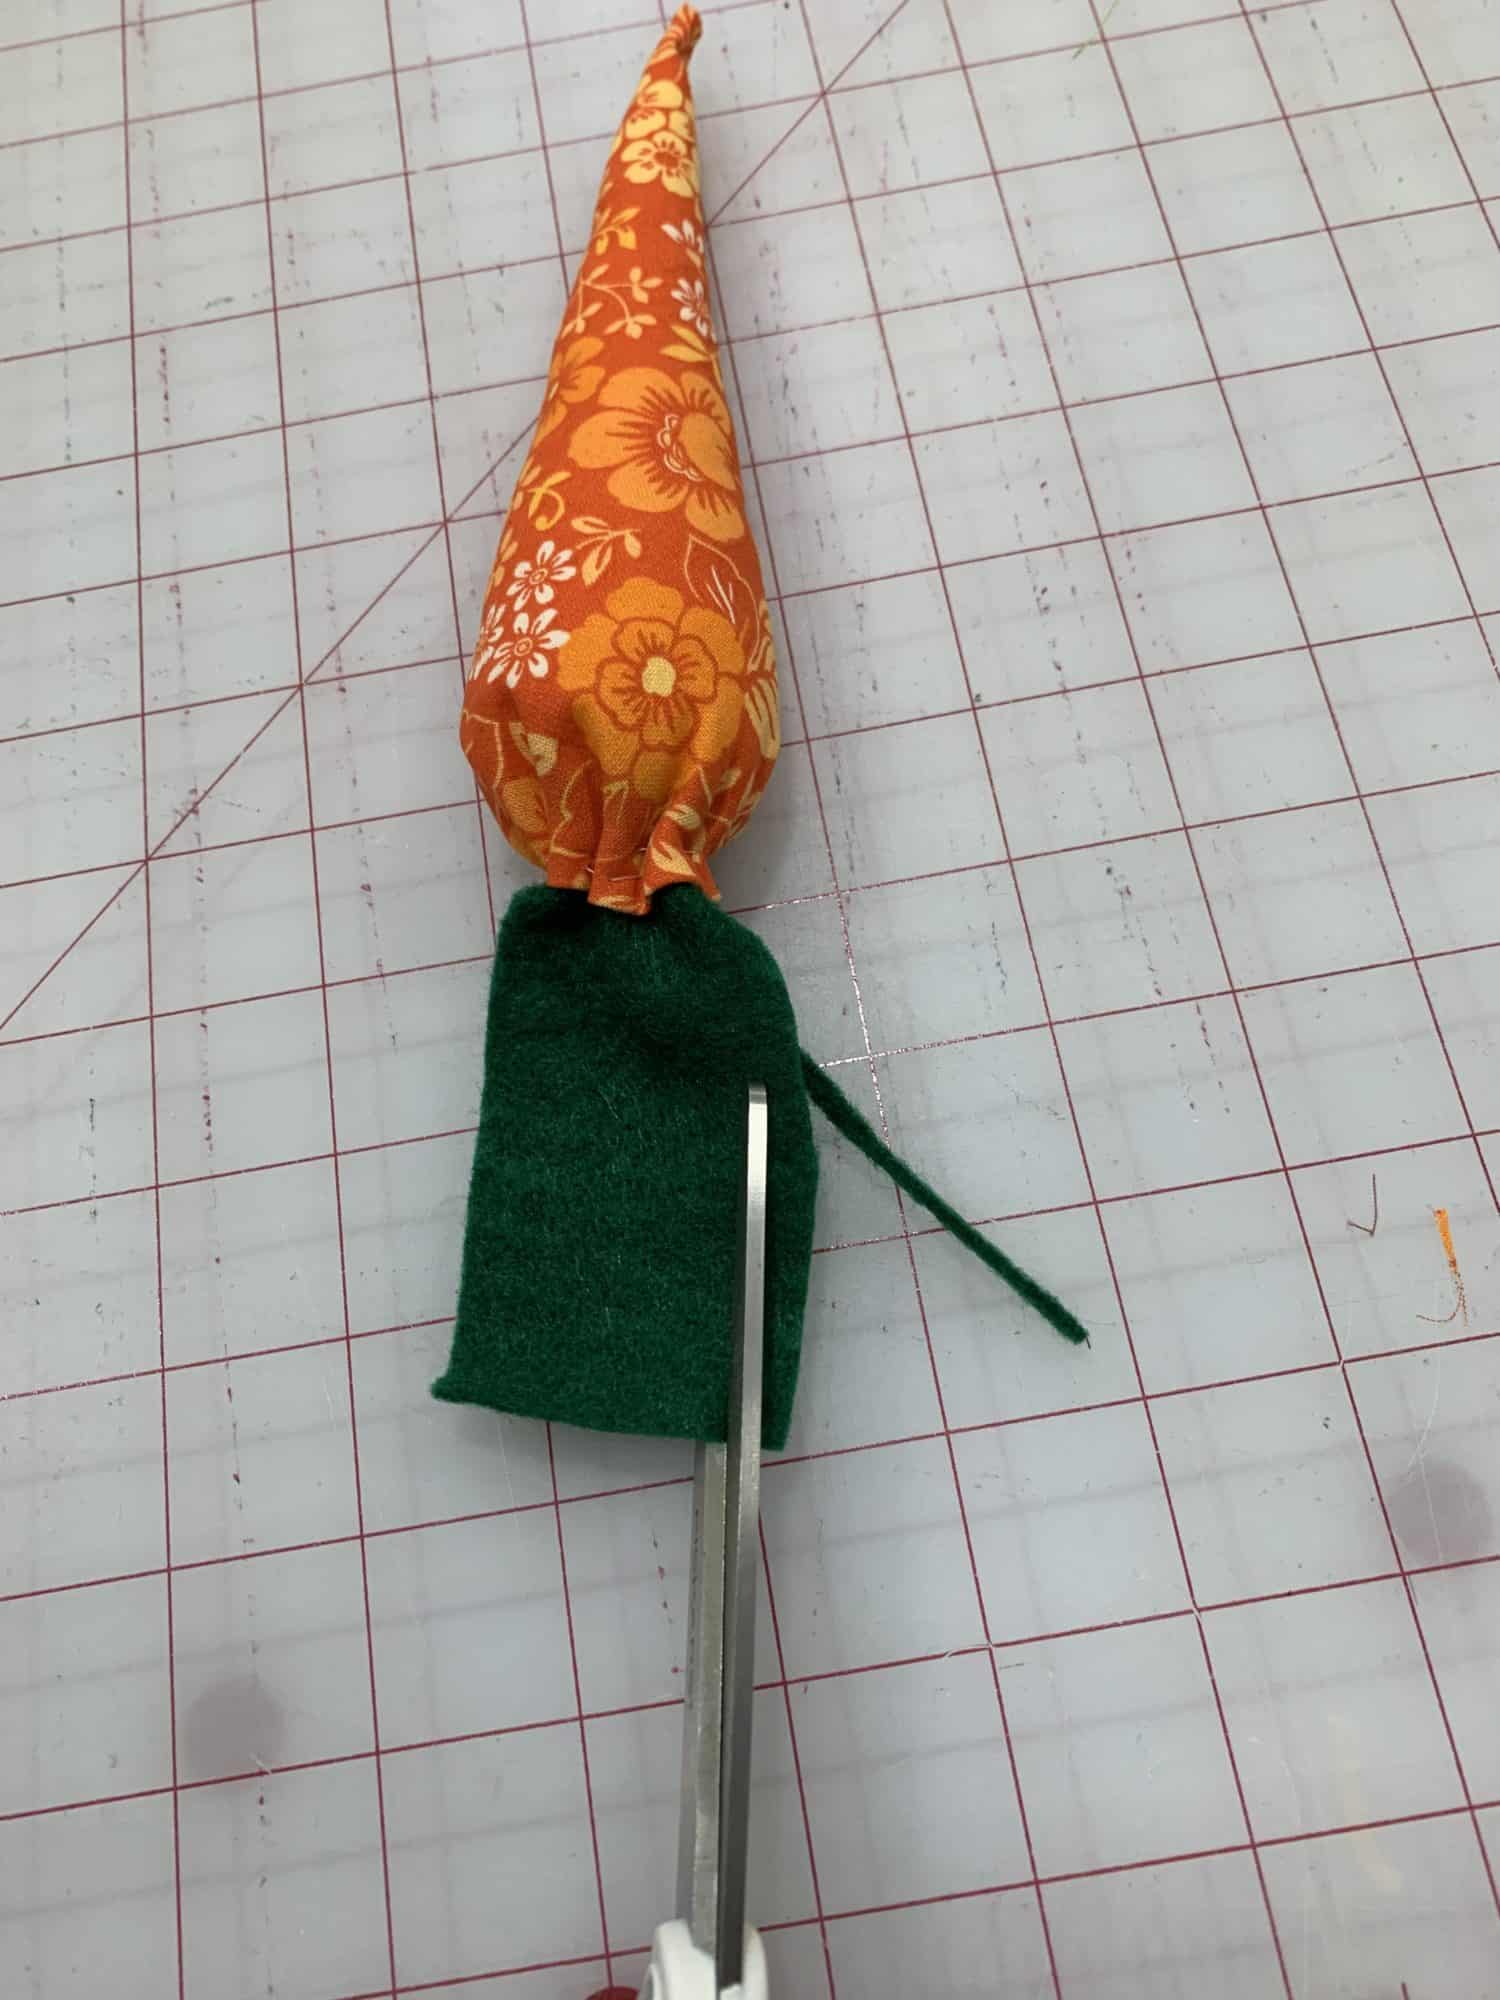
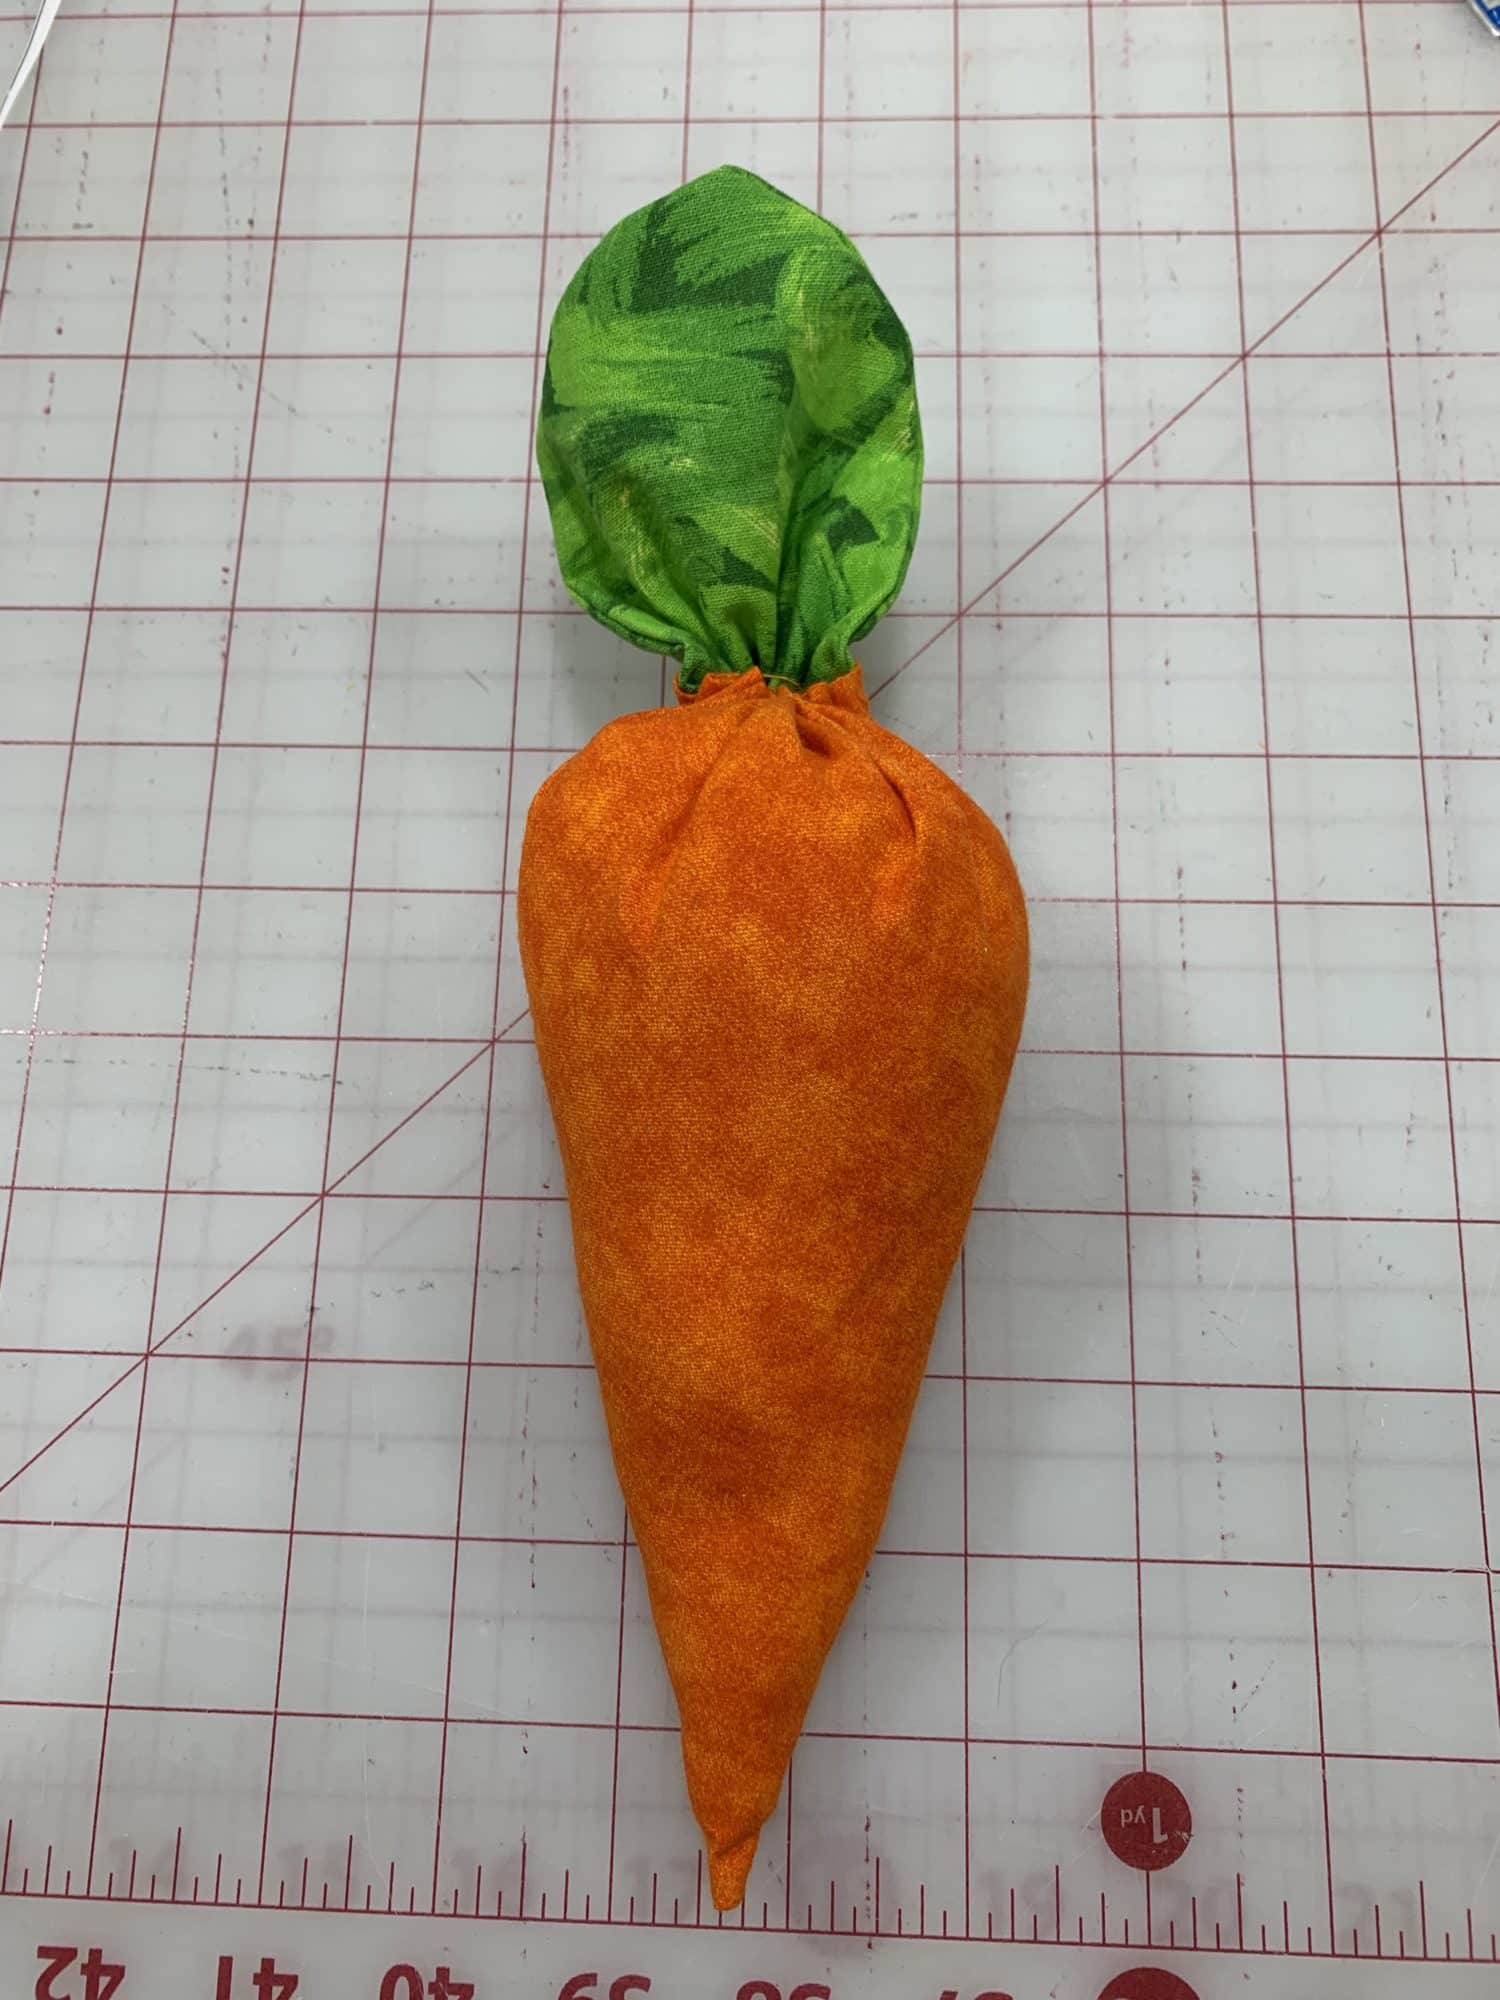
All Done! You made an awesome stuffed carrot decoration!
Quilting Cotton Leaf
- If you want to use quilting cotton to make the leaves, you may want to finish the edges so that they don’t fray.
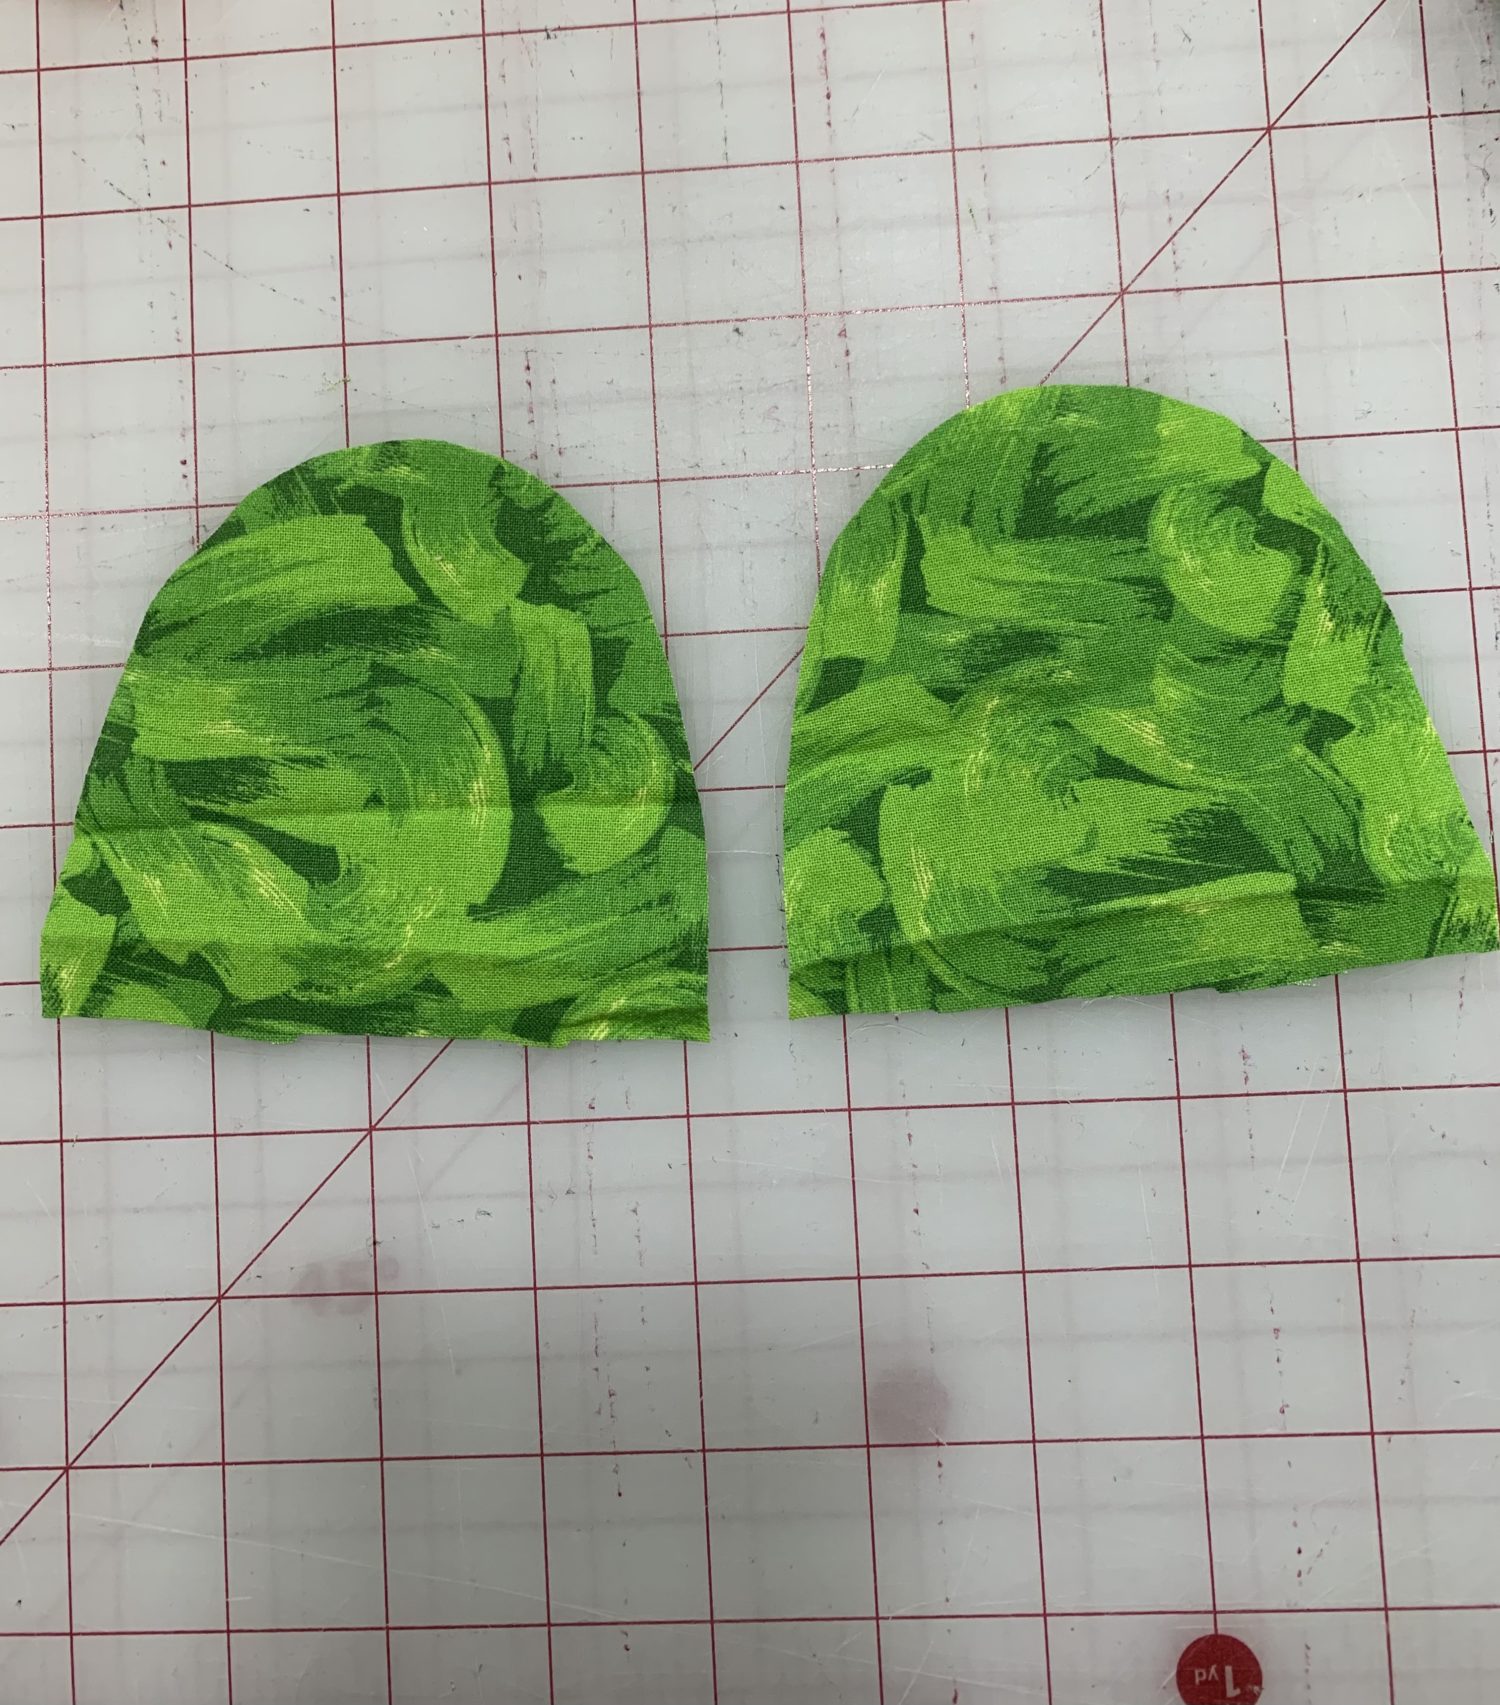
- I cut out 2 U shapes that are about as wide as my carrot top
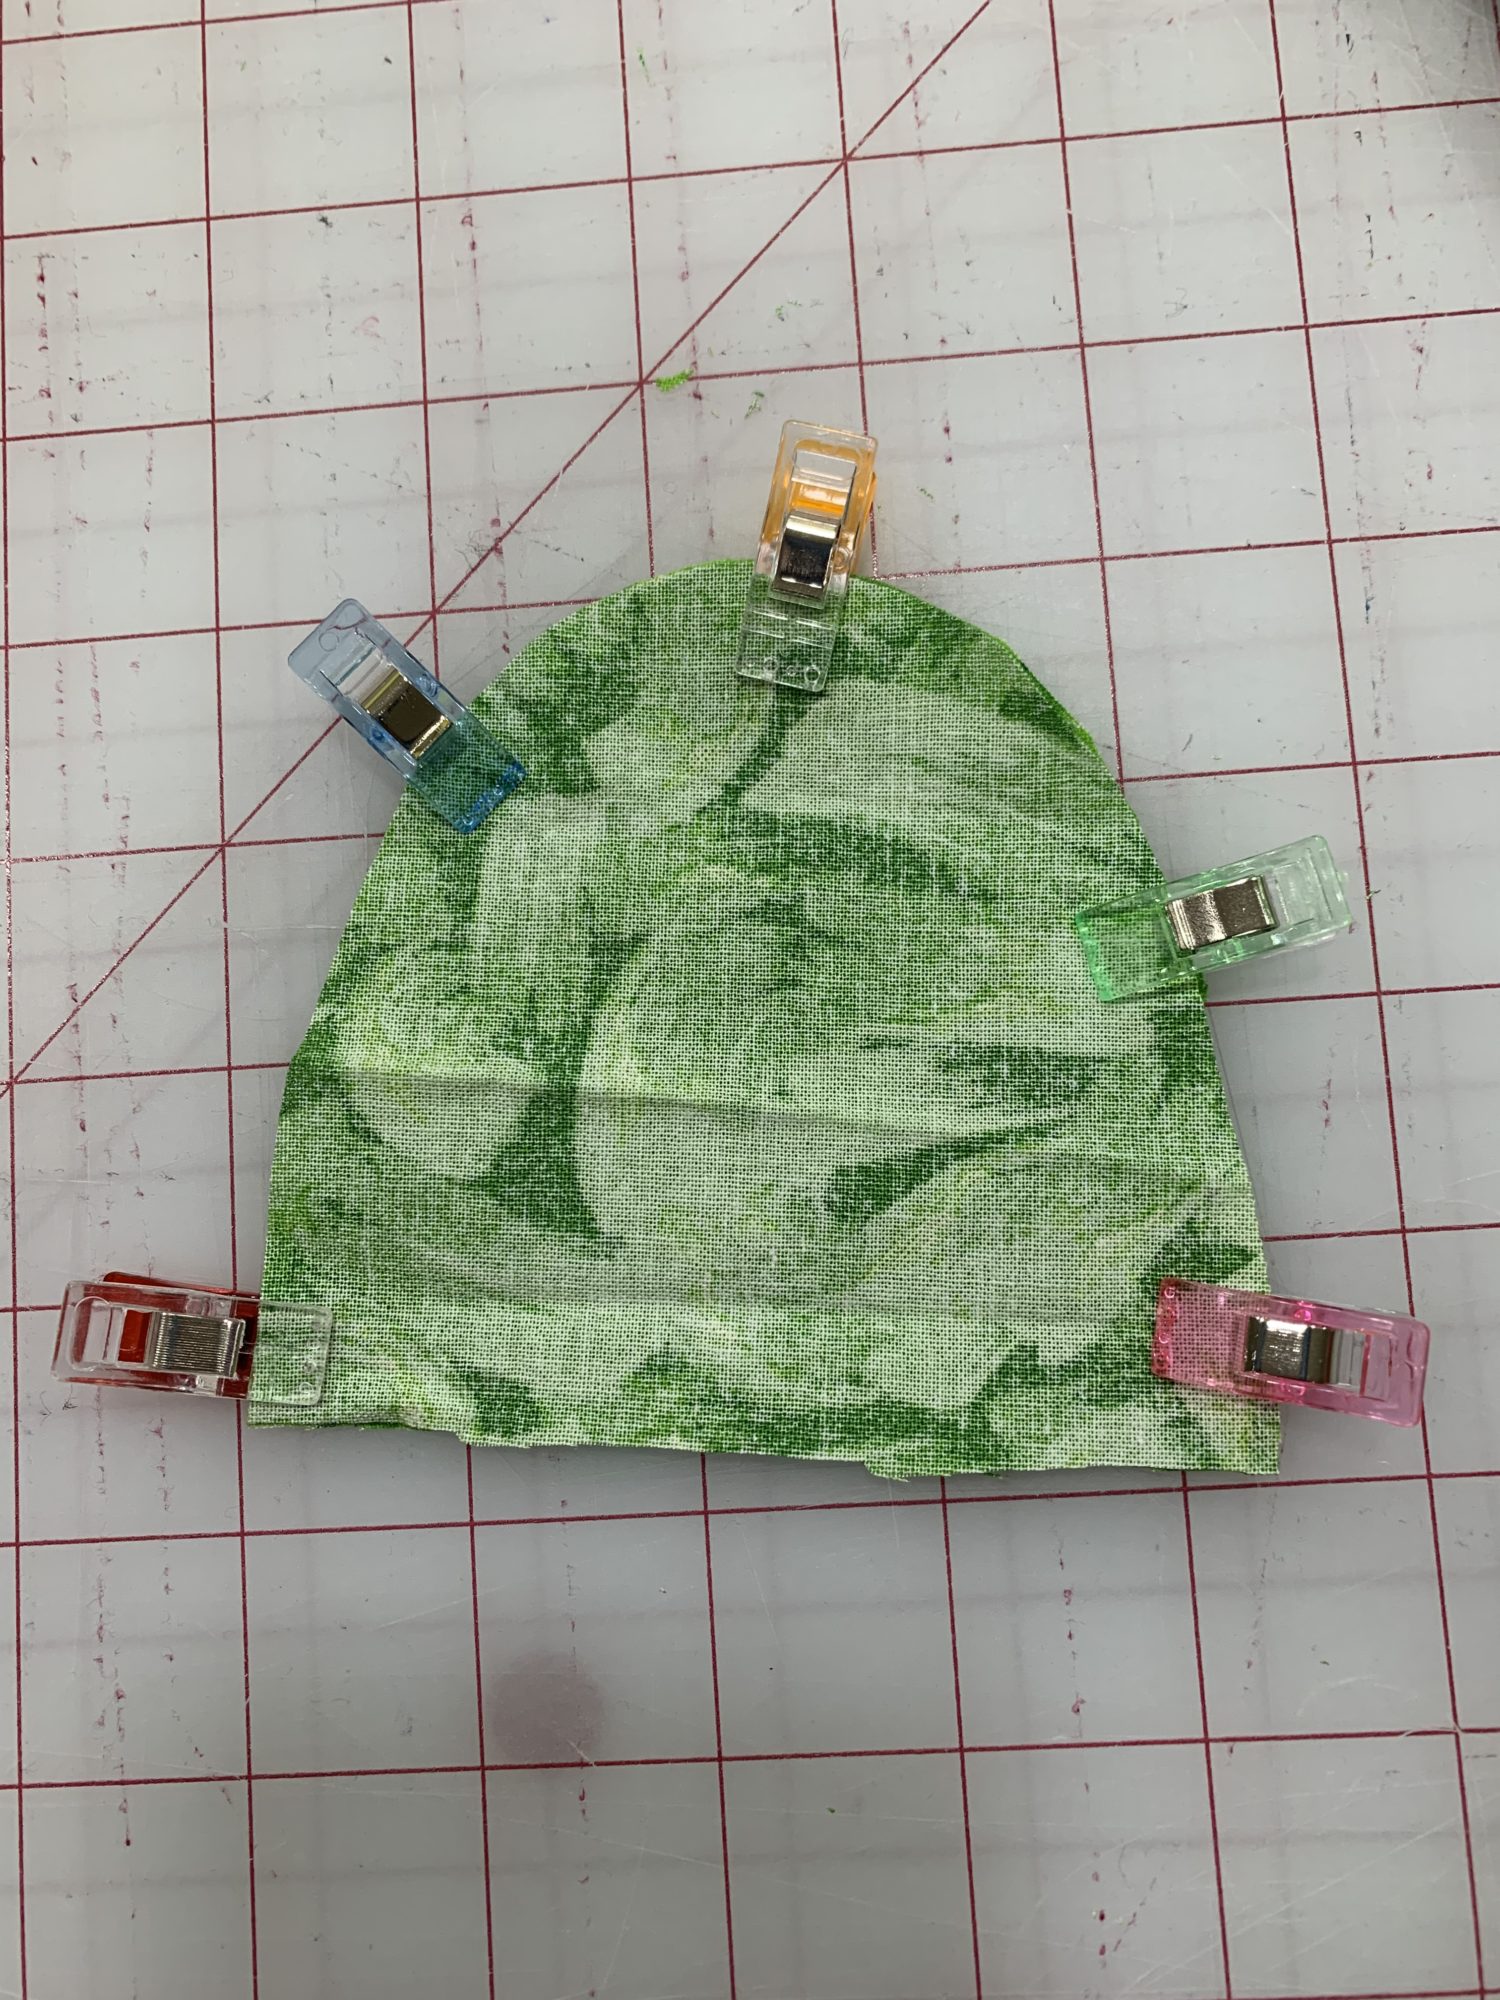
- Put the 2 pieces right sides together
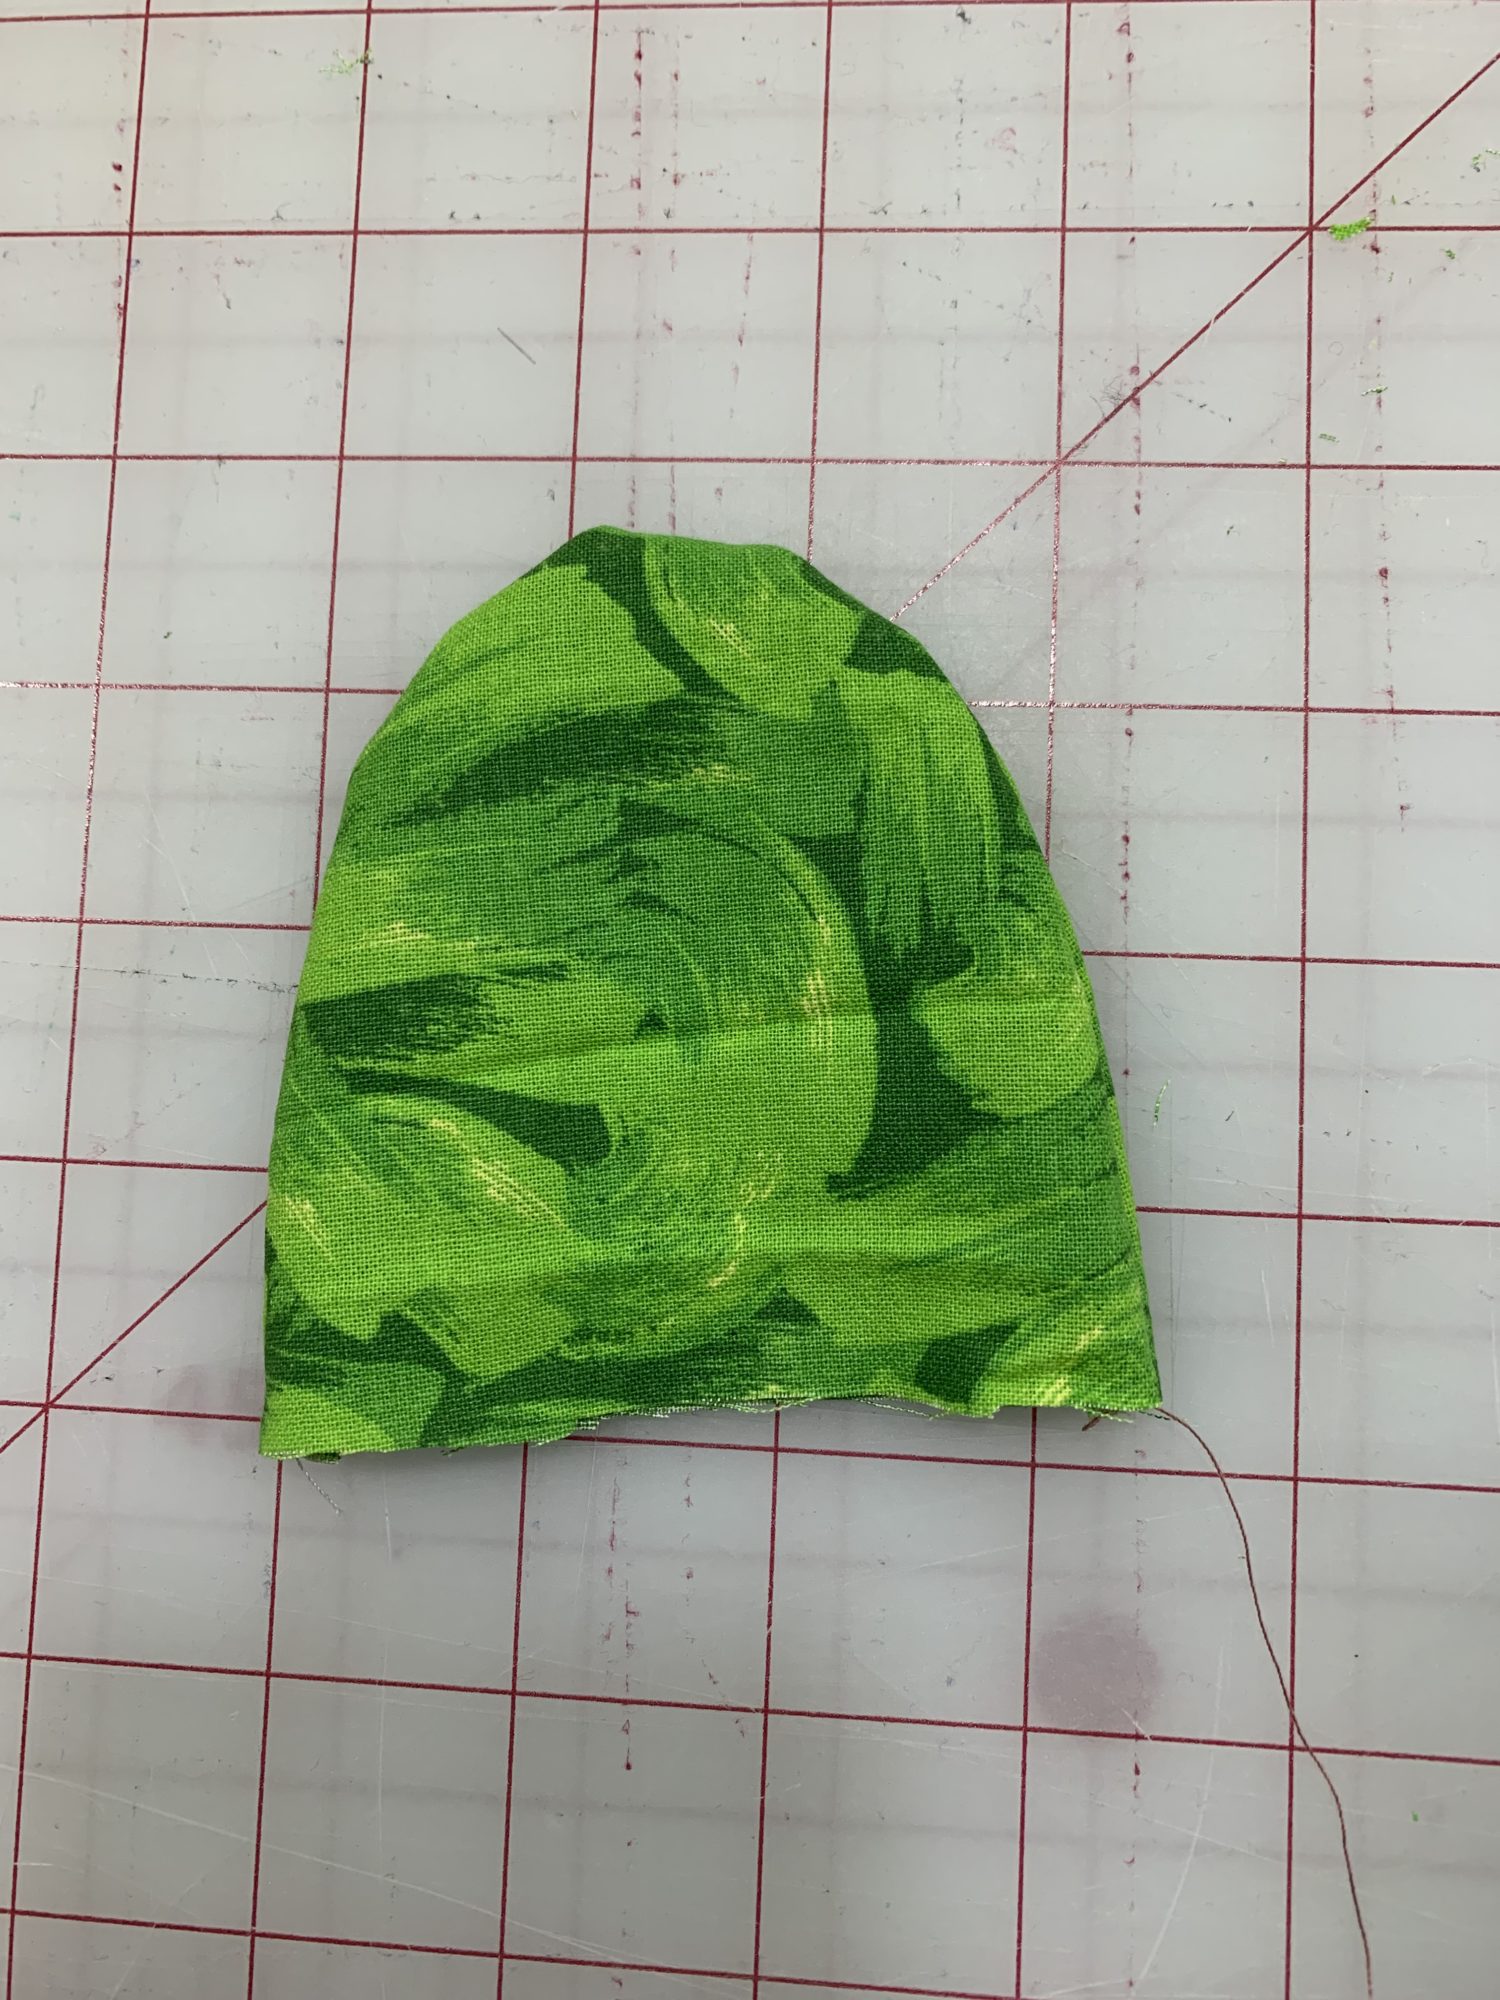
- Sew around the curve, leave the bottom straight edge open
- Turn right sides out
- You will attach the leave the same way as above! Keep the top edge of the carrot folded to hide the raw edges.
- Place the leaf inside the carrot.
- Sew a gathering stitch all the way around the carrot.
- Pull the threads tightly and knot them off.
That’s all there is to it! Easy, right?
- Now go make a bunch of carrots! 🙂

Want more FUN DIY Freebies? Check out the FREEBIE TUTORIALS and the FREEBIE PATTERNS!
As always, we’re here to help if you need it! Join us HERE and on Facebook, Instagram, Twitter, Youtube, and Pinterest. We’re everywhere you are.
Leave a Reply