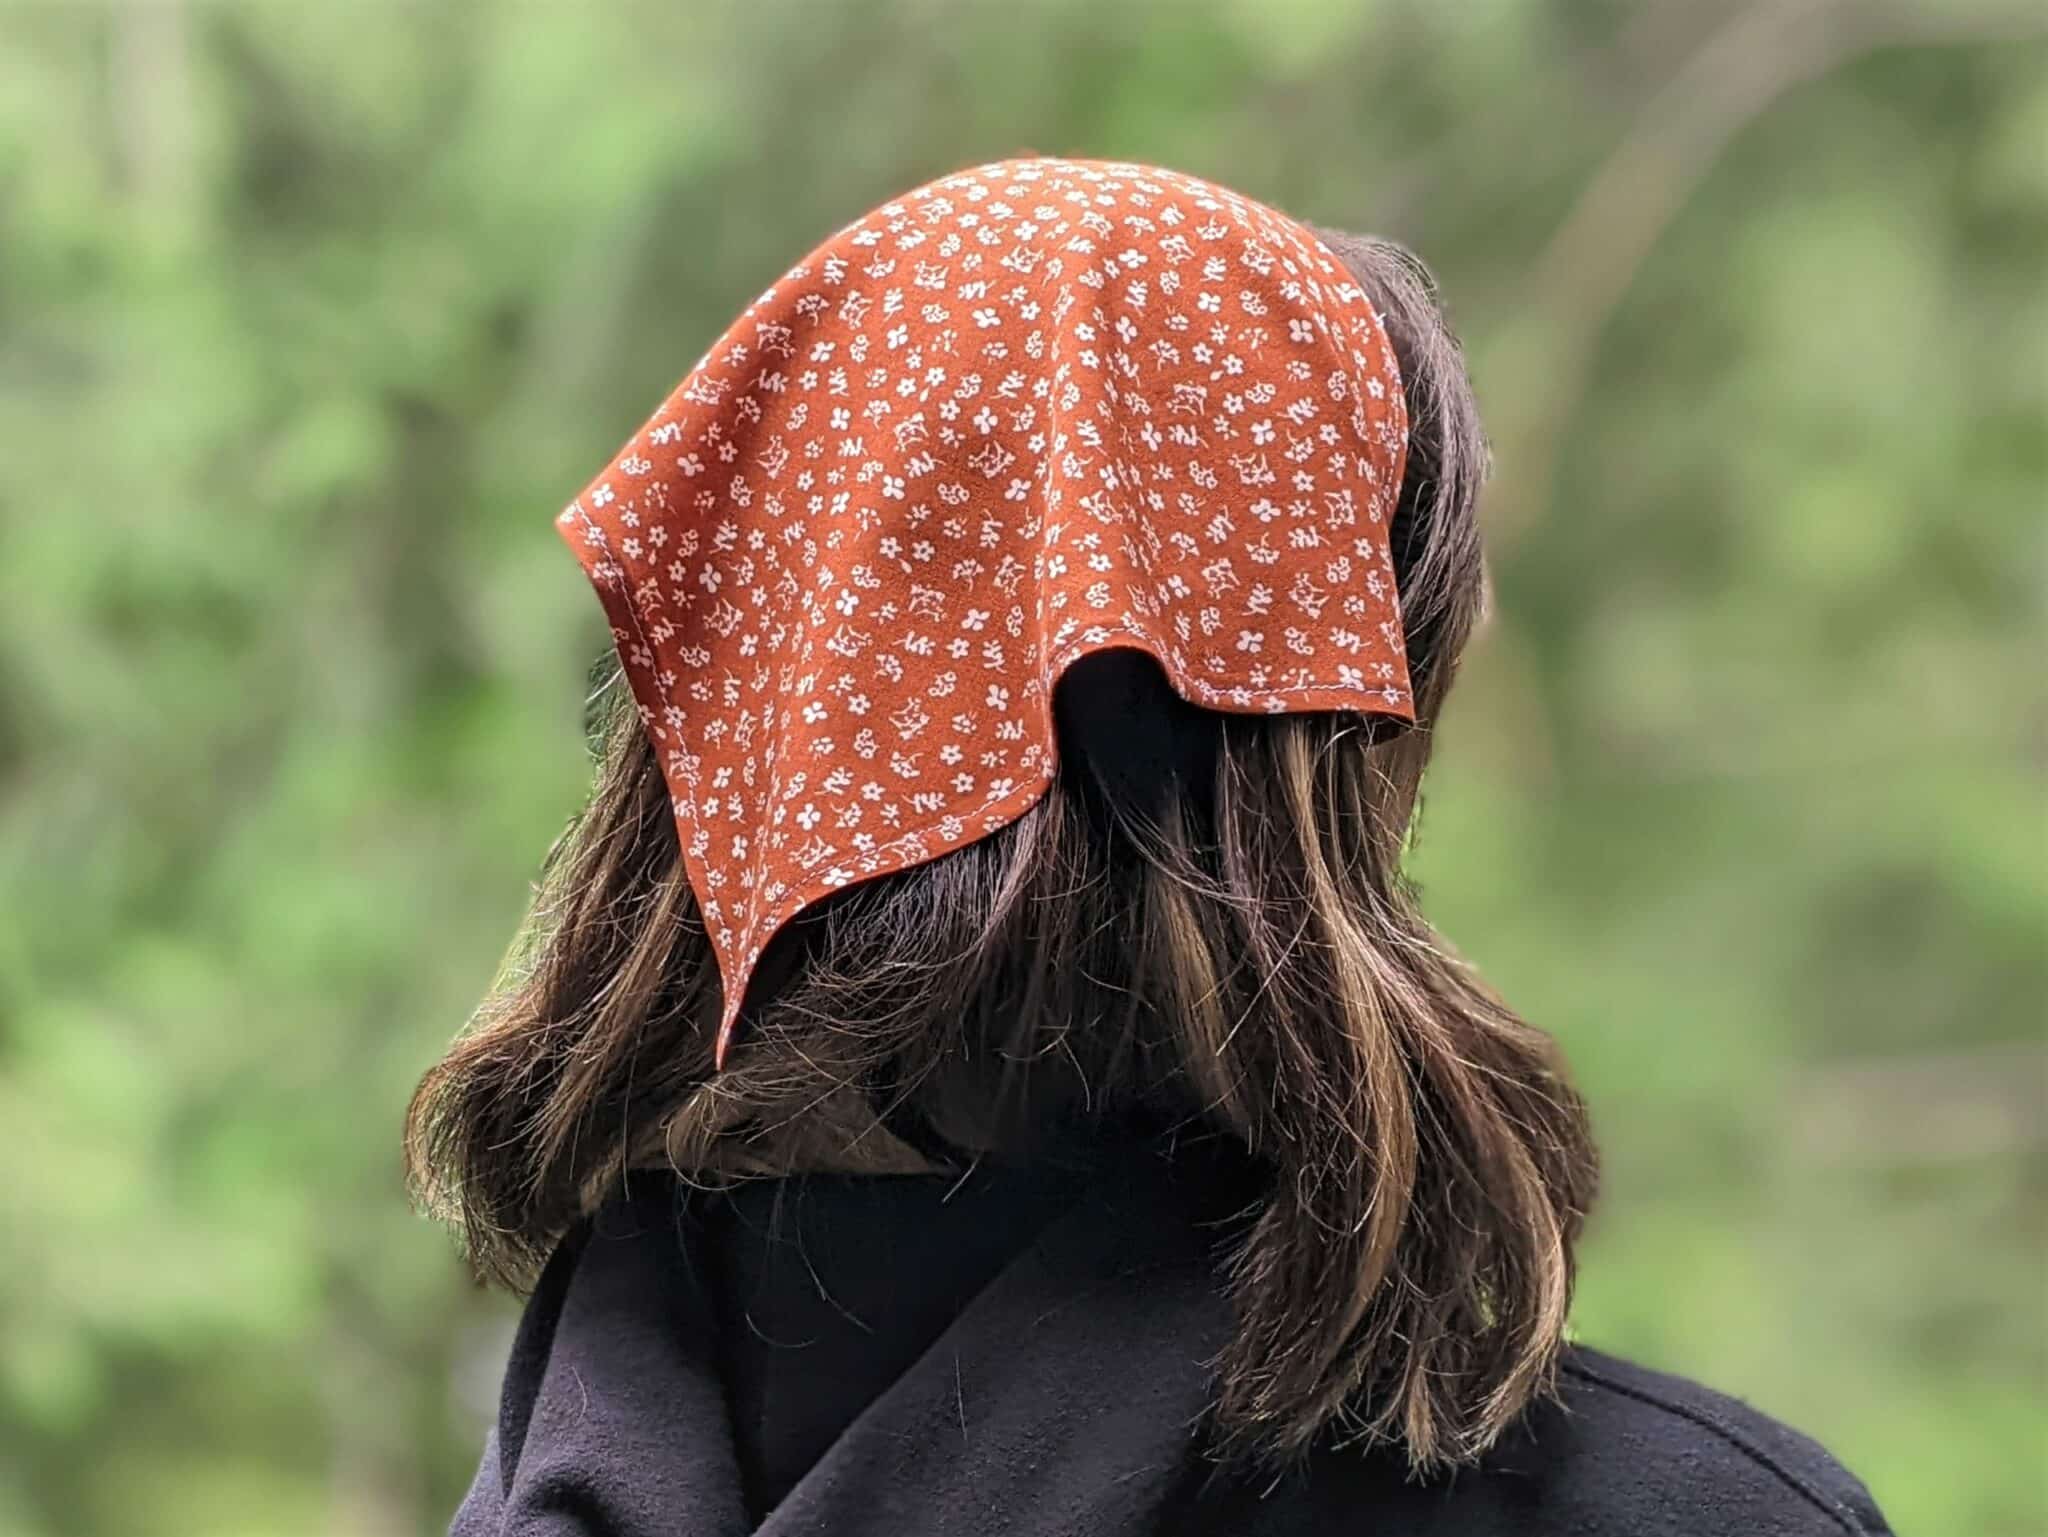
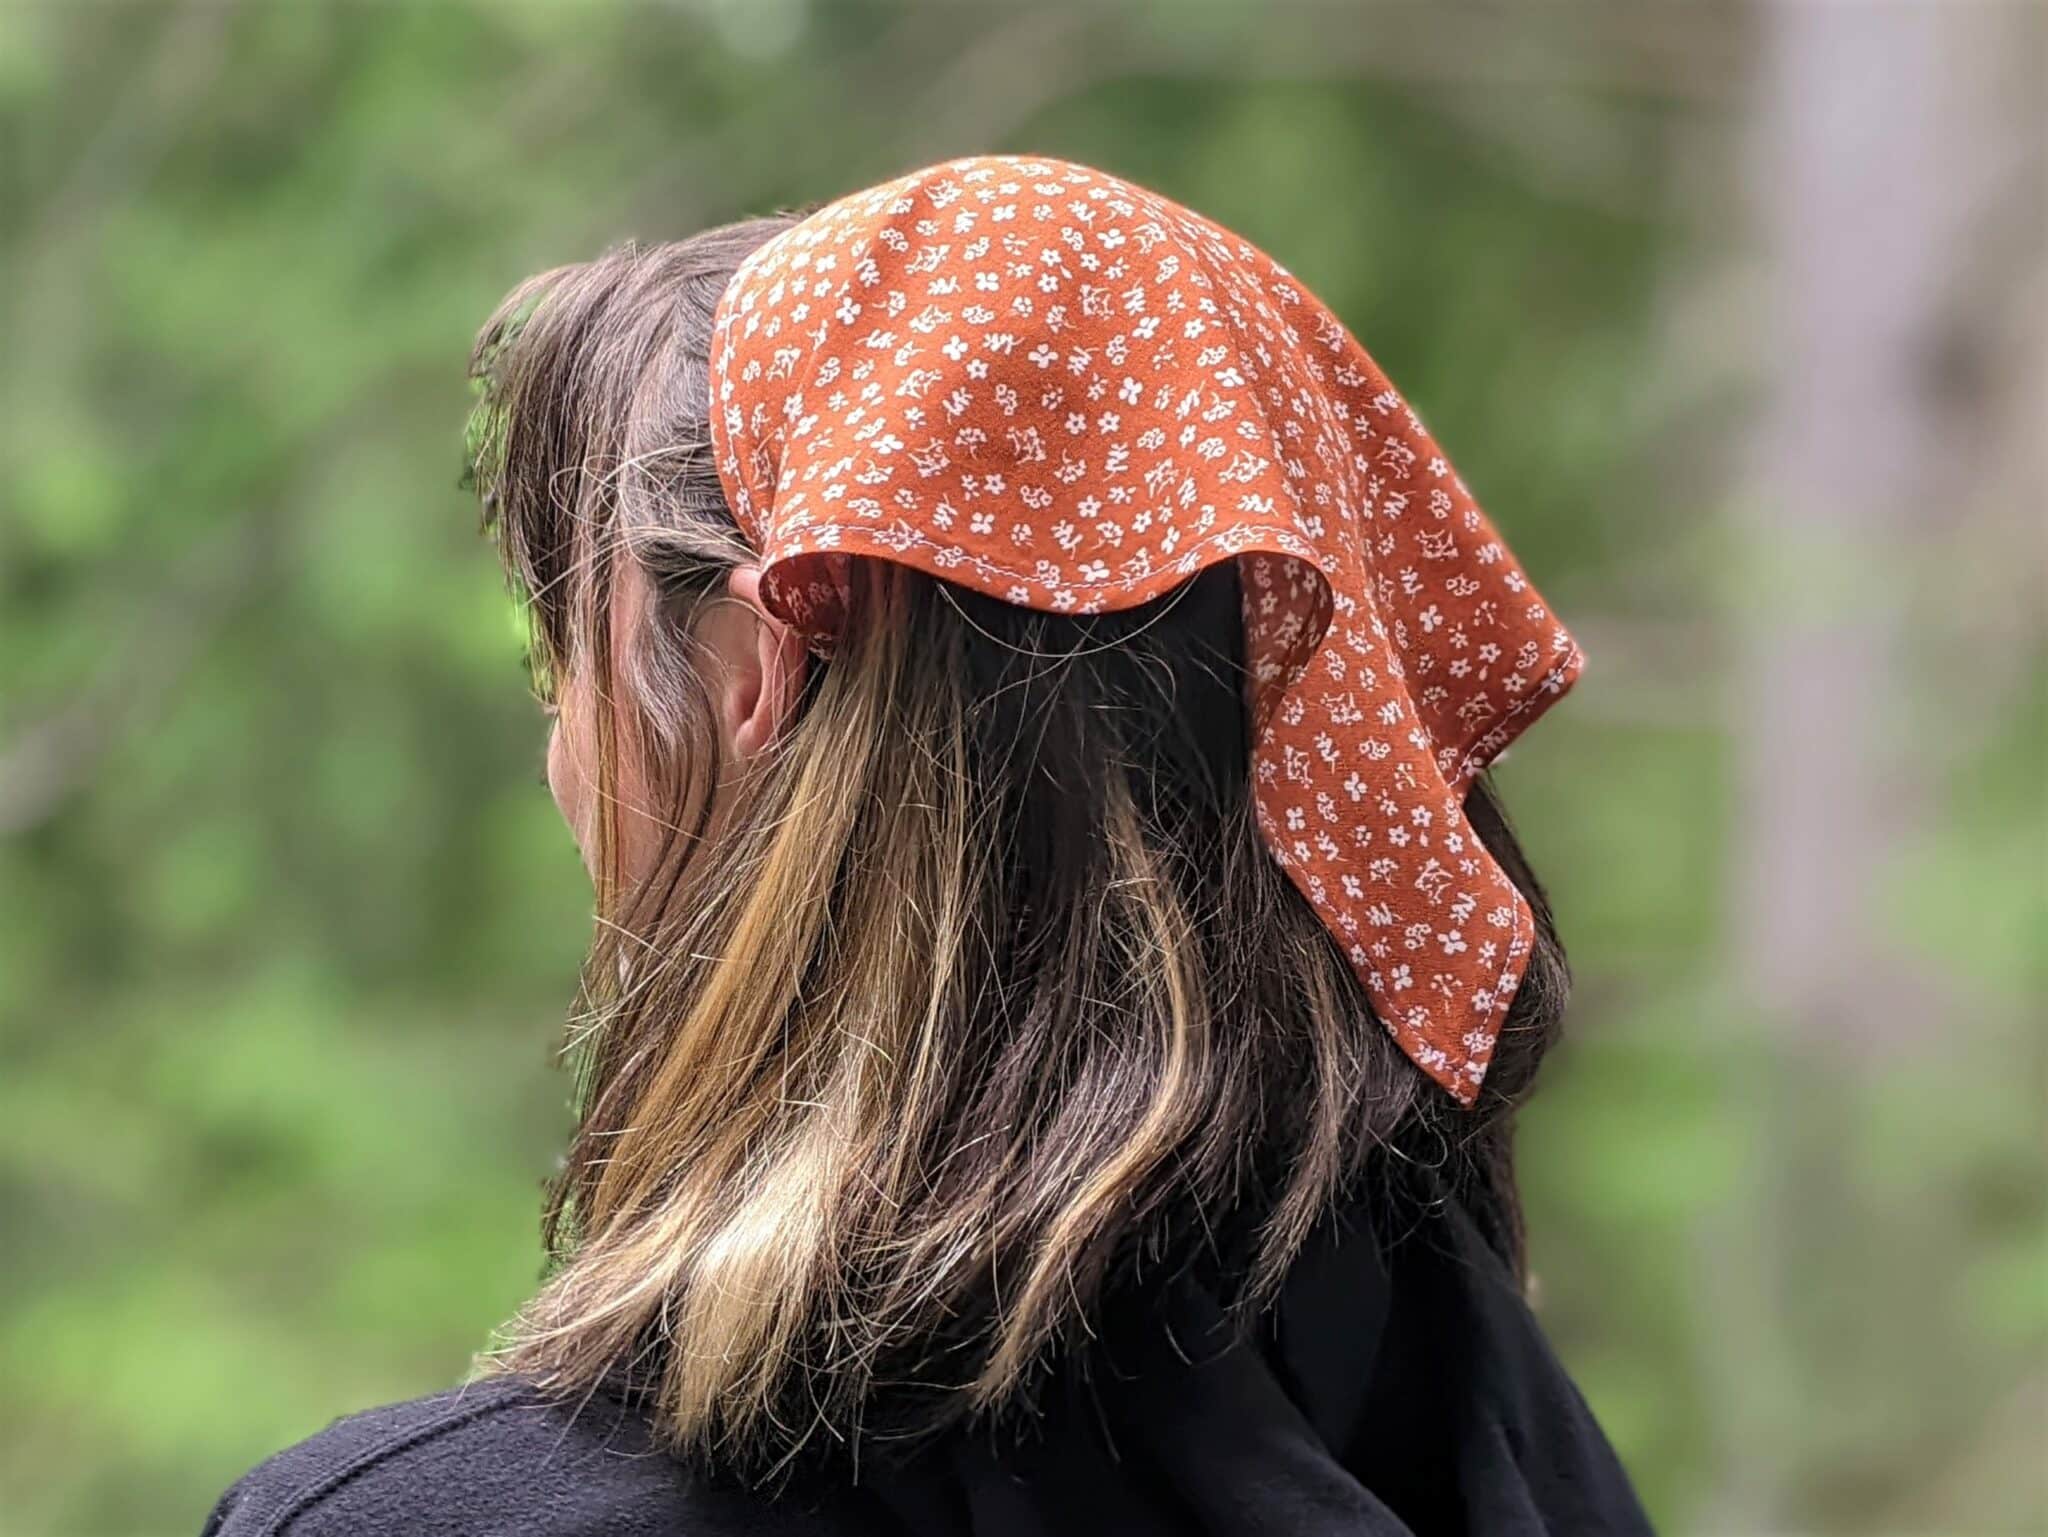
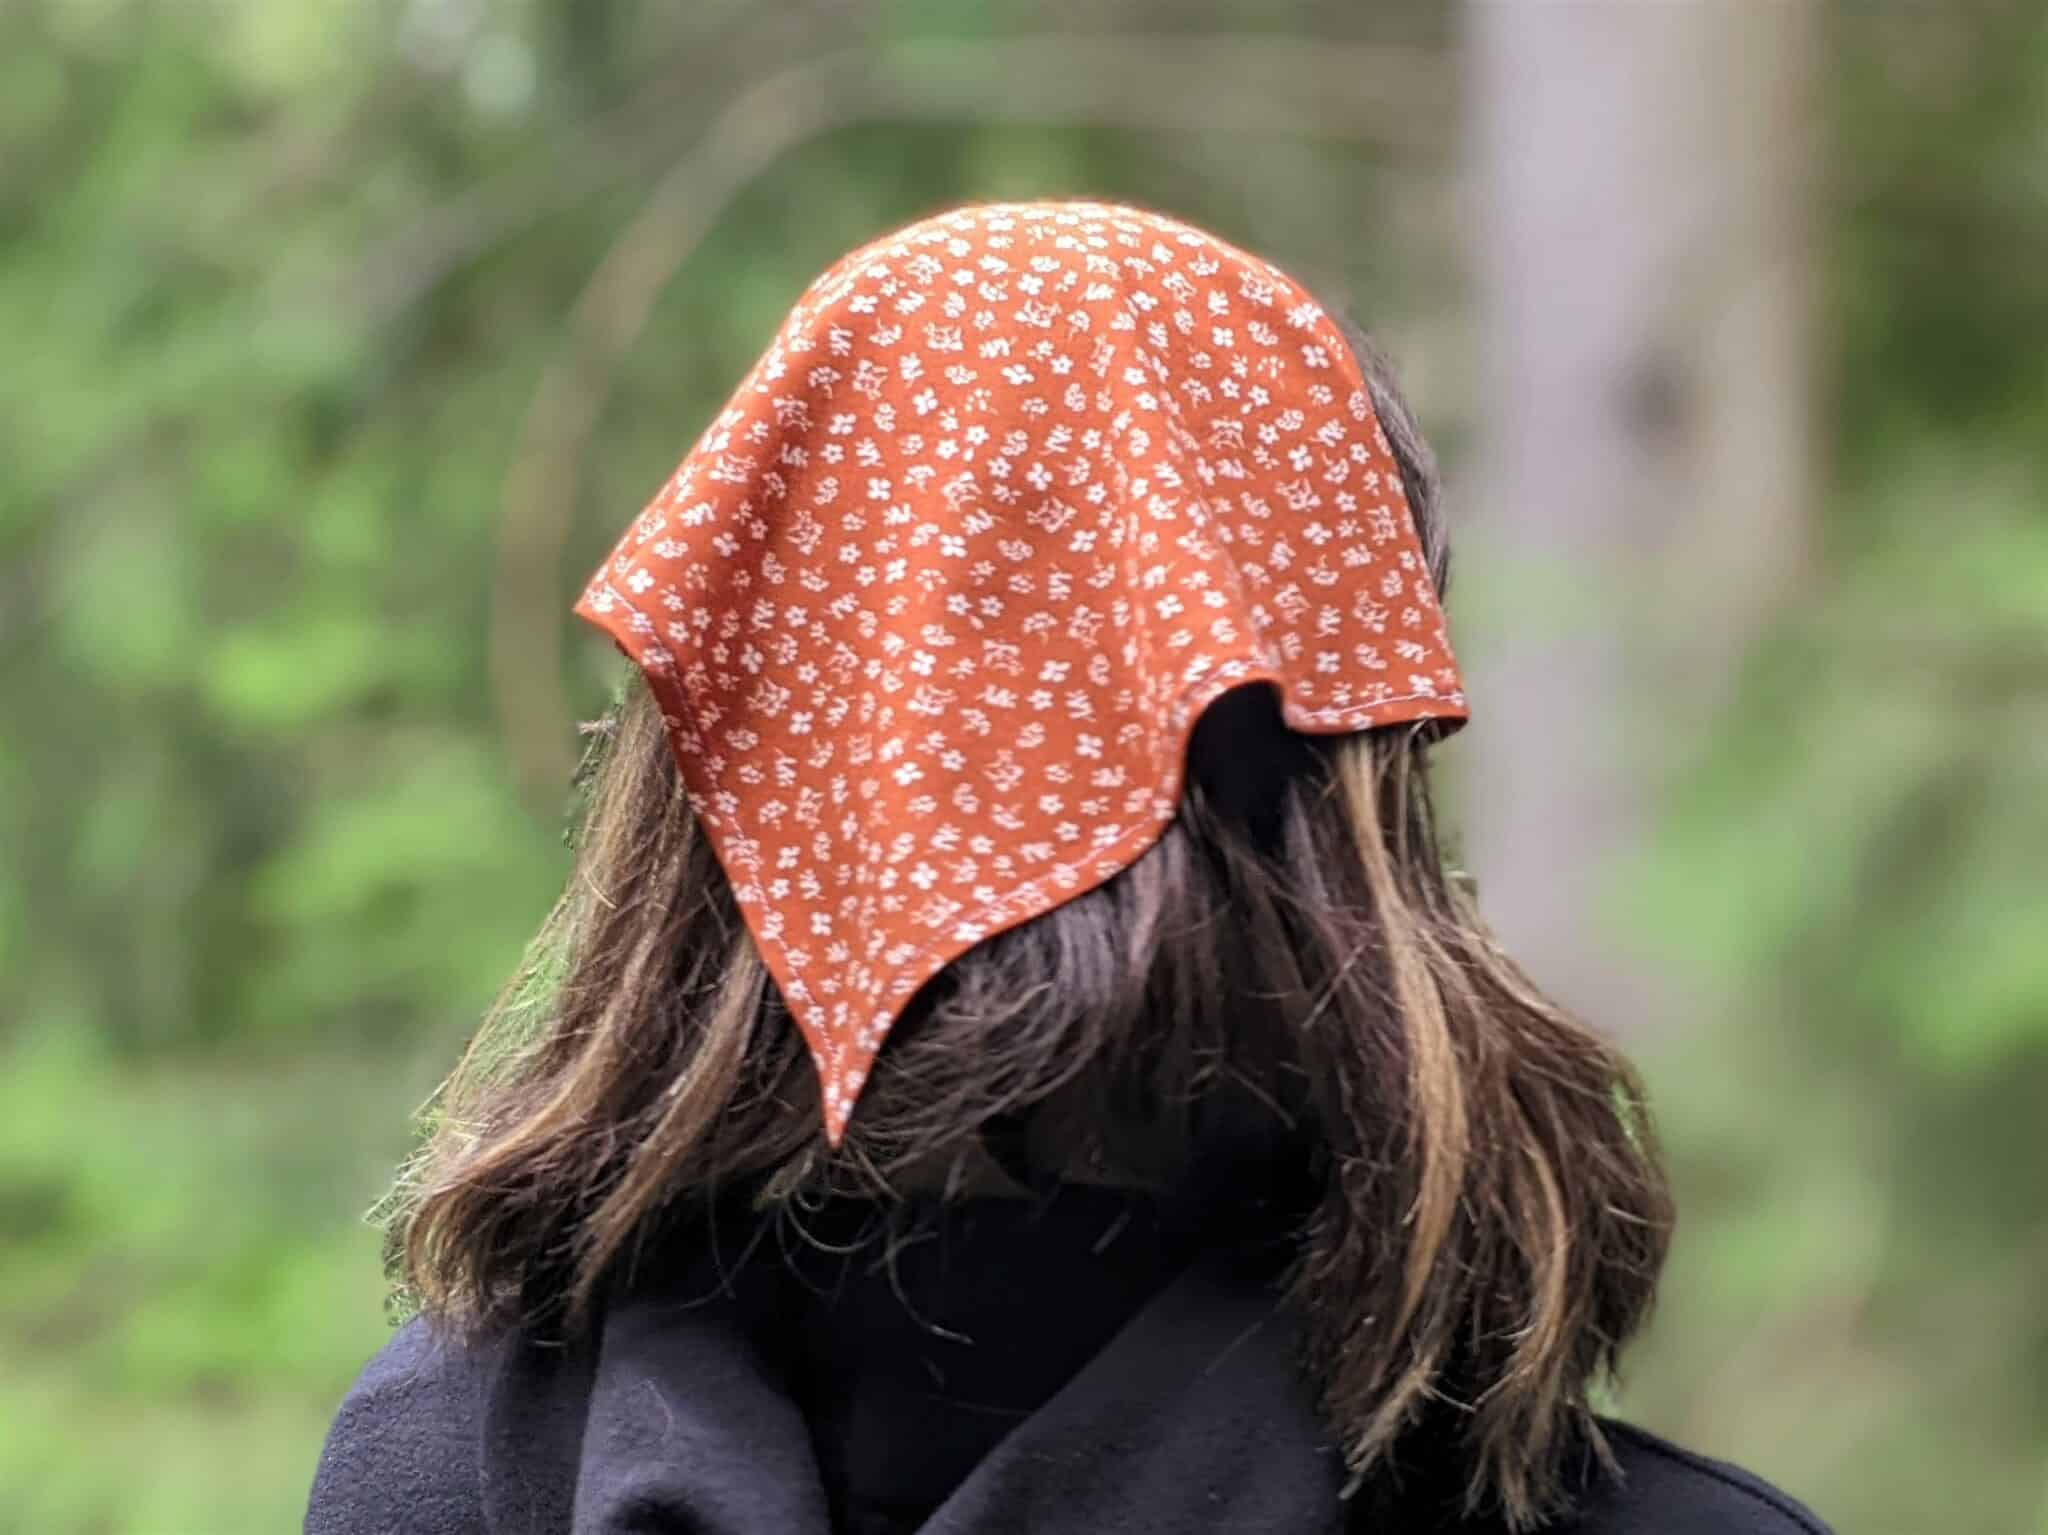
My oldest daughter specifically requested a bandana headscarf that stretched around her head so I decided to give it a try and she was so happy with how it turned out.
Supplies
- Woven fabric
- 1″ elastic
- Optional: 1/4″ elastic
- Sewing machine and basic sewing supplies
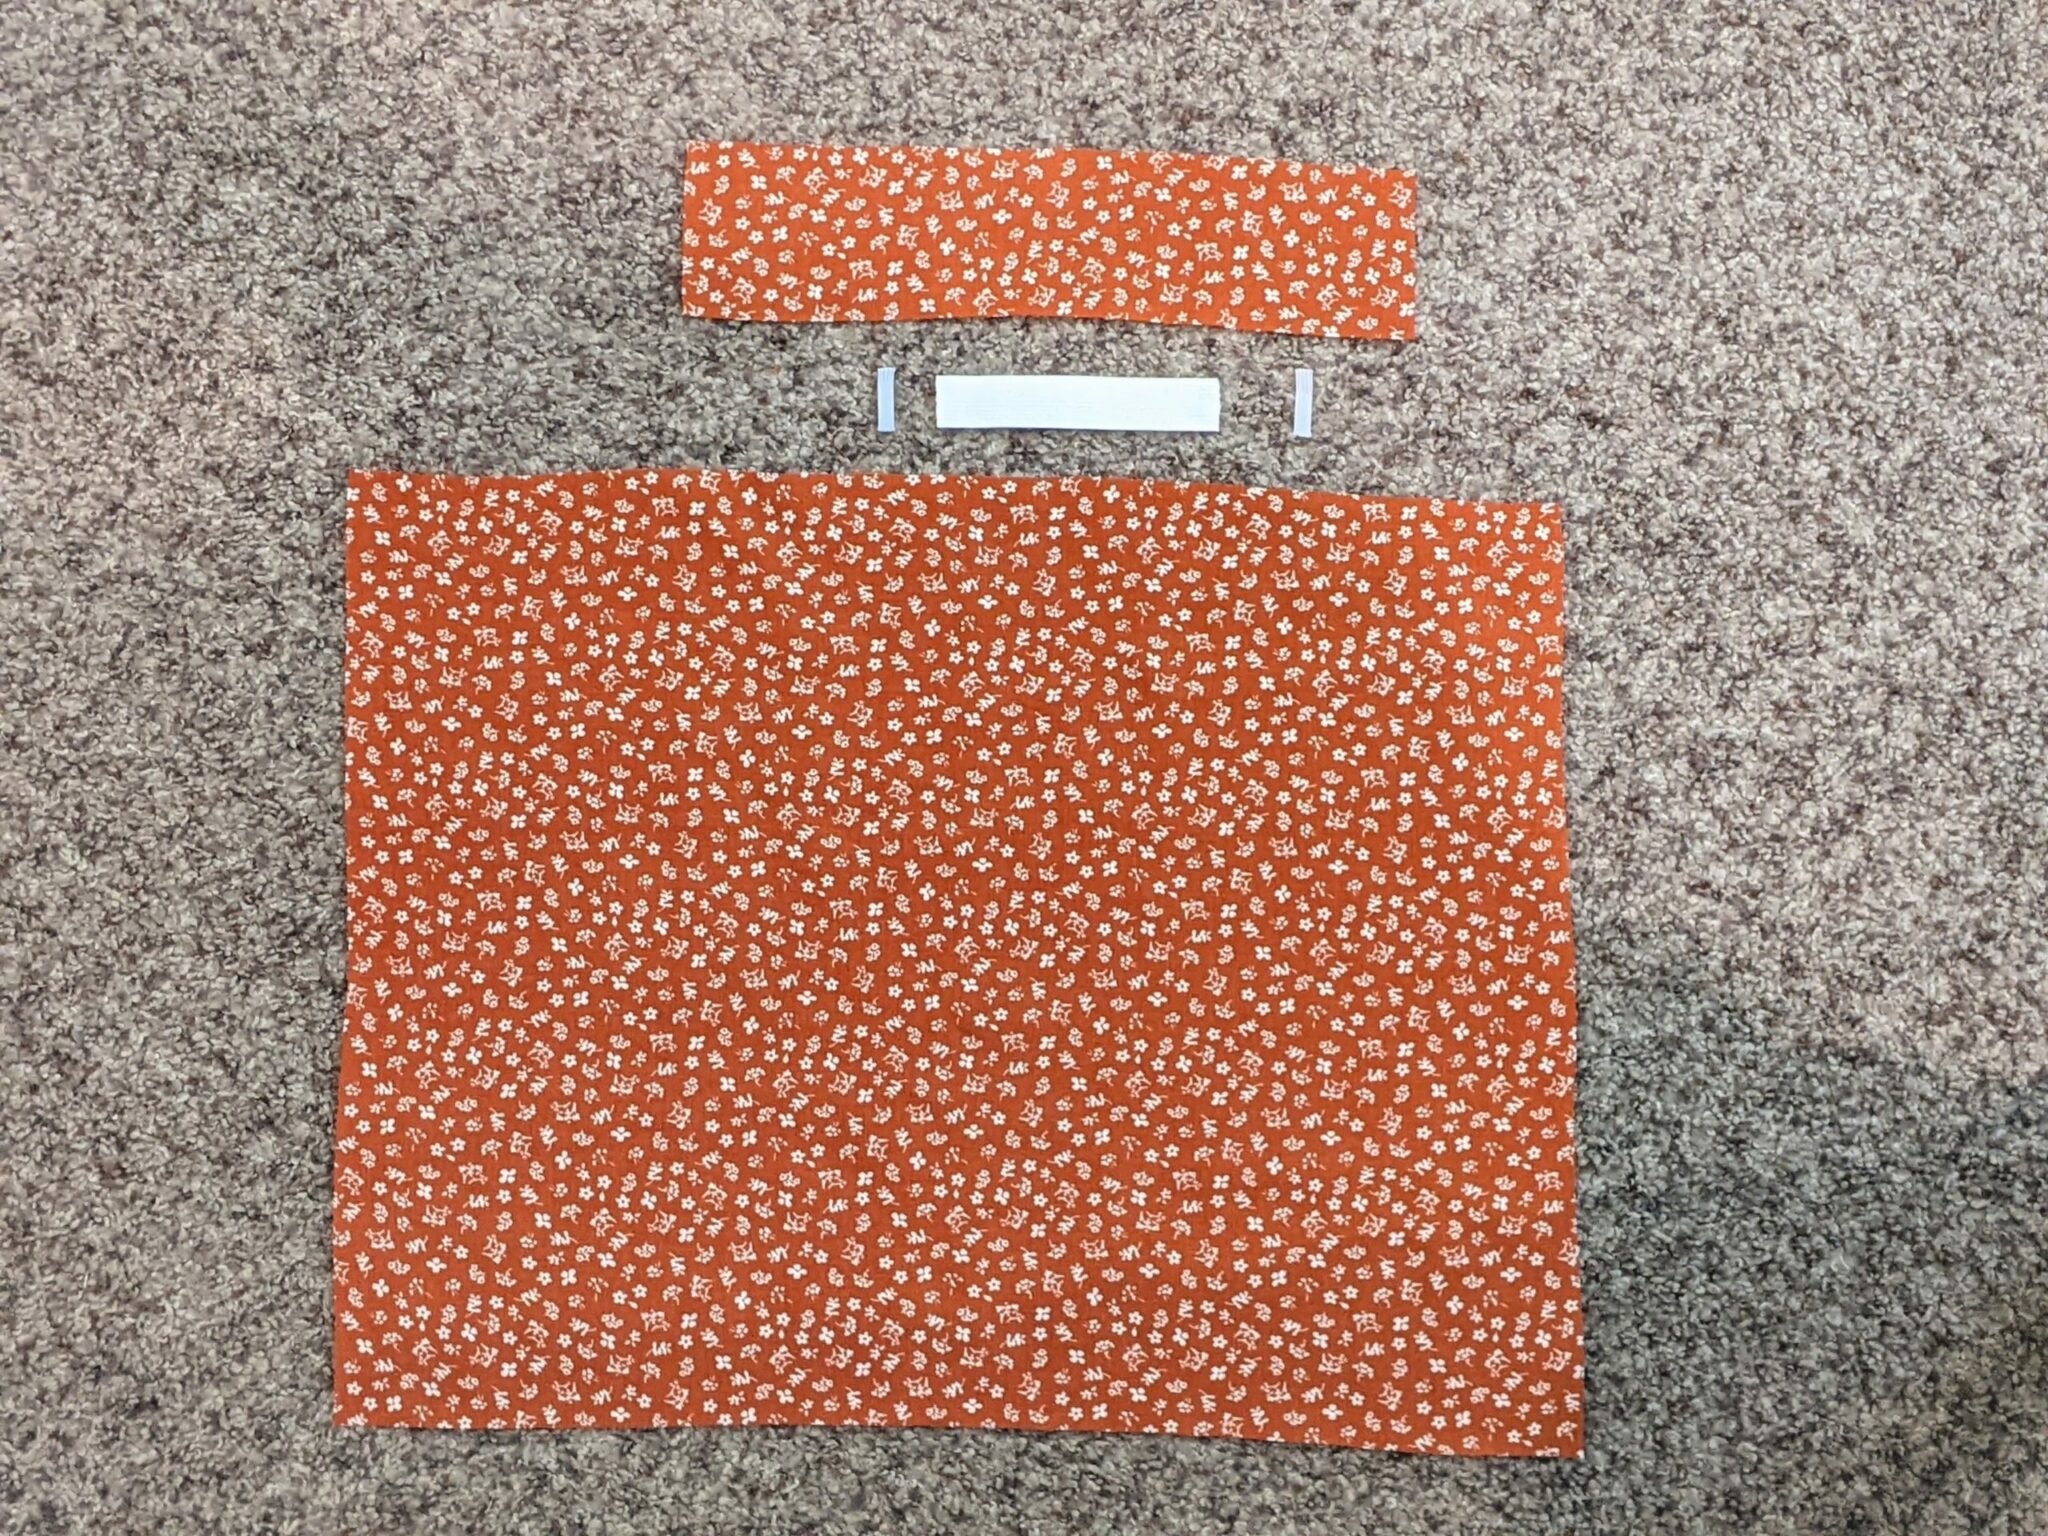
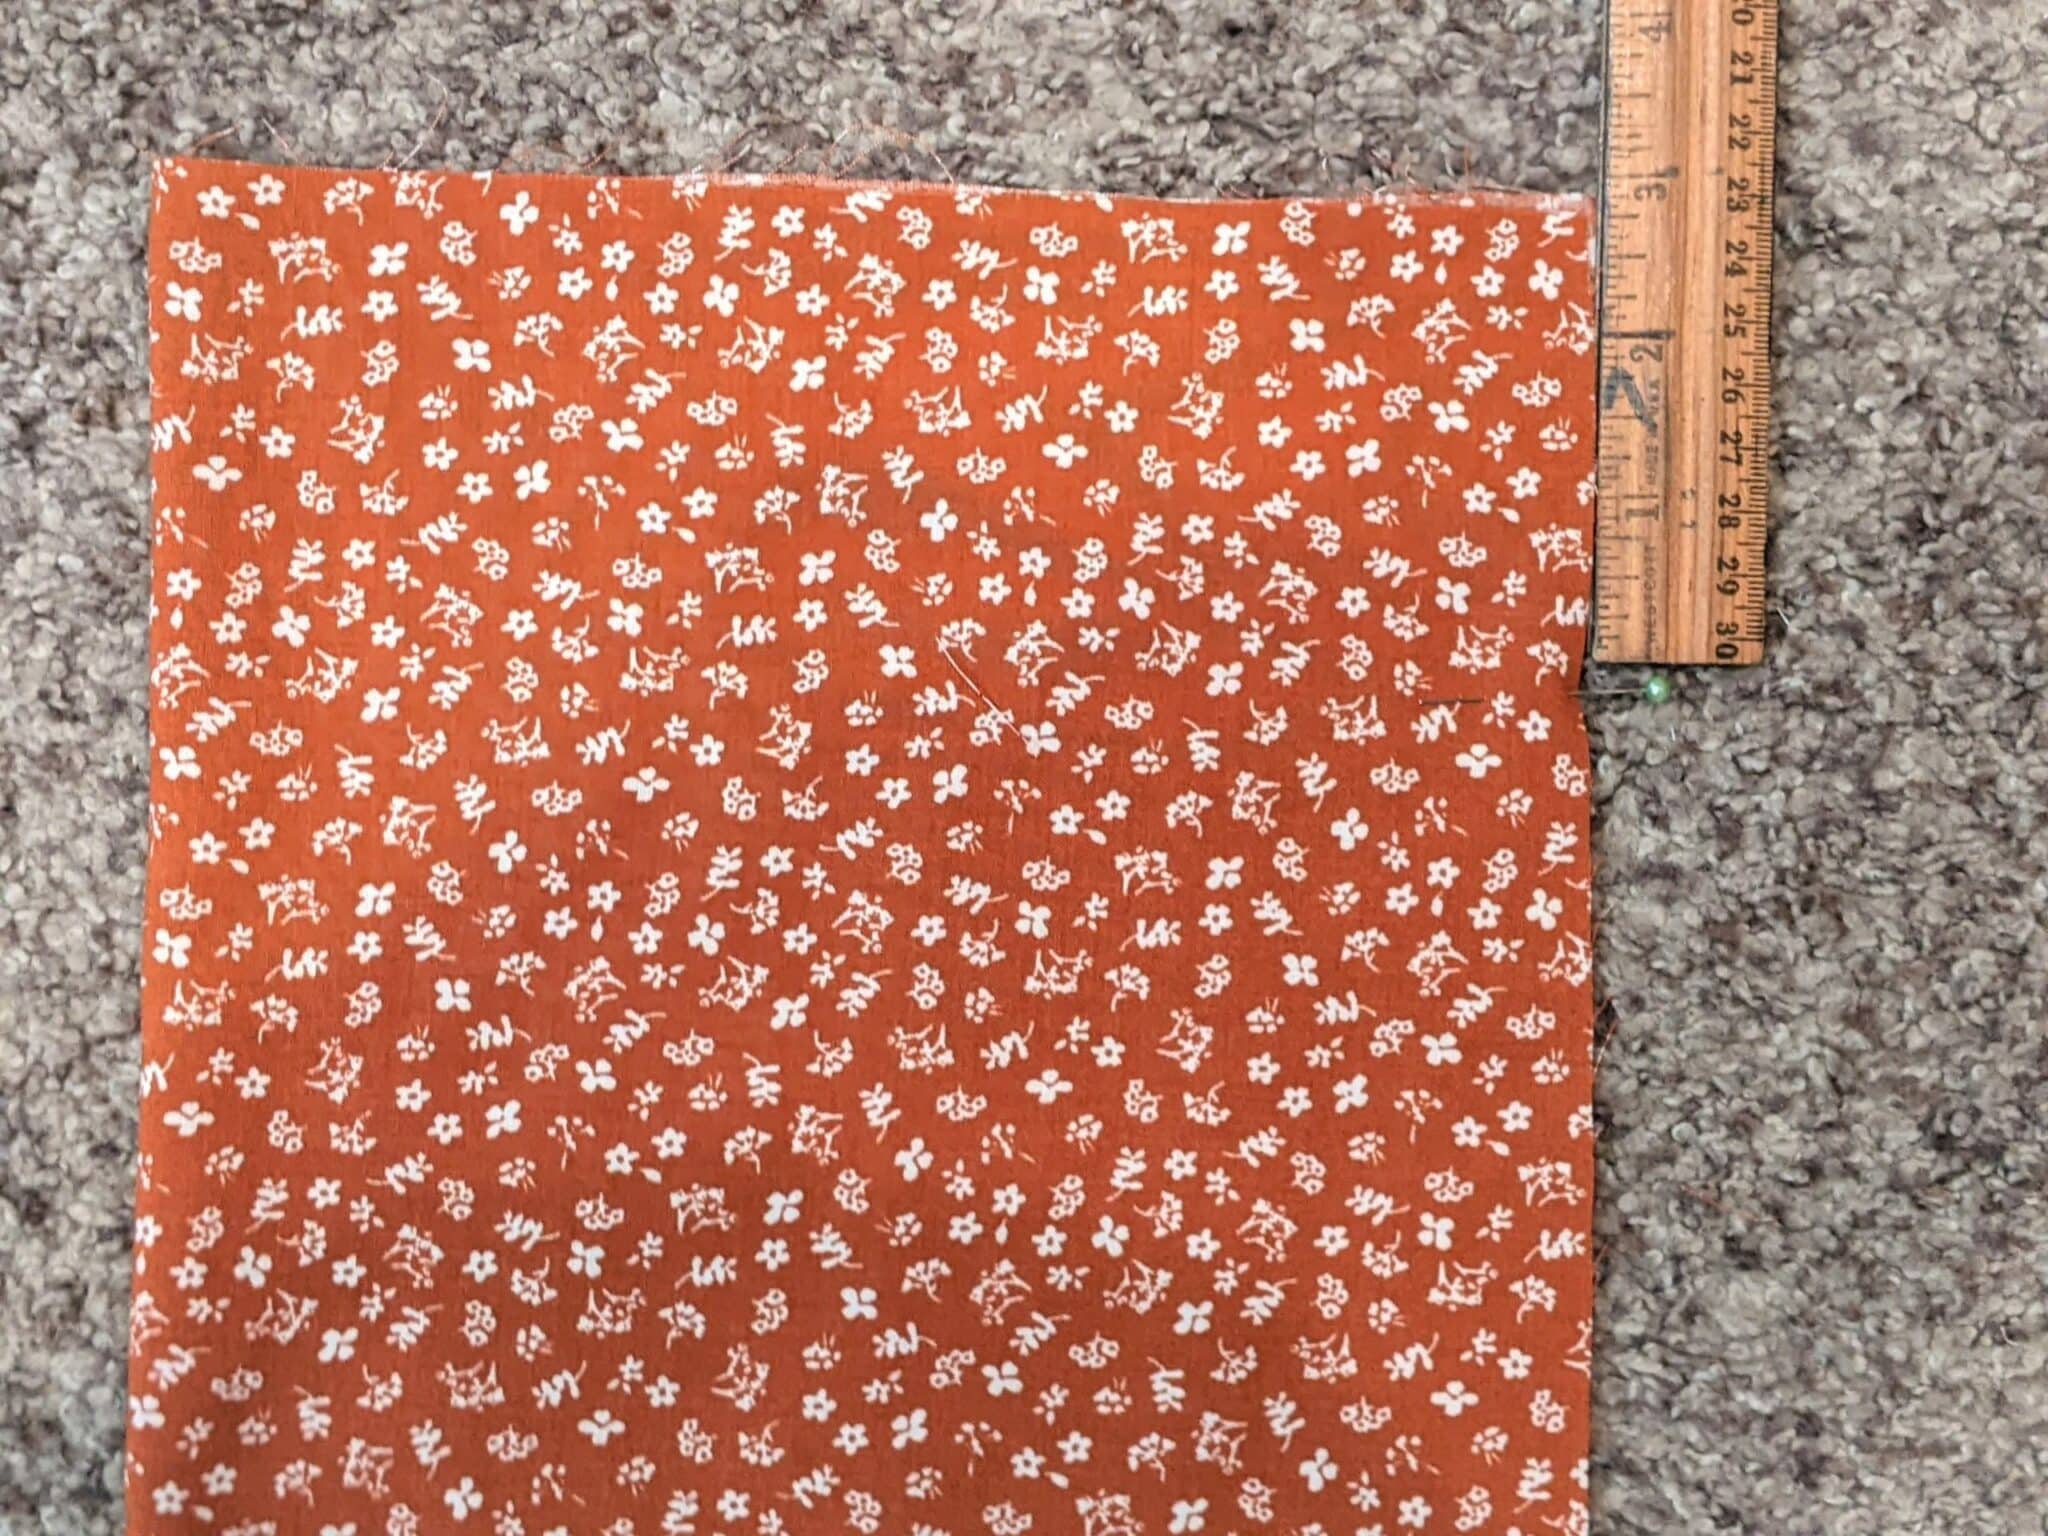
Measure and Cut
- Large rectangle (main bandana piece): 16.5″ x 14″
- Small rectangle (strap): 11″ x 2.5″
- 1″ elastic: 4″ long
- Optional 1/4″ elastic: two 1″ pieces
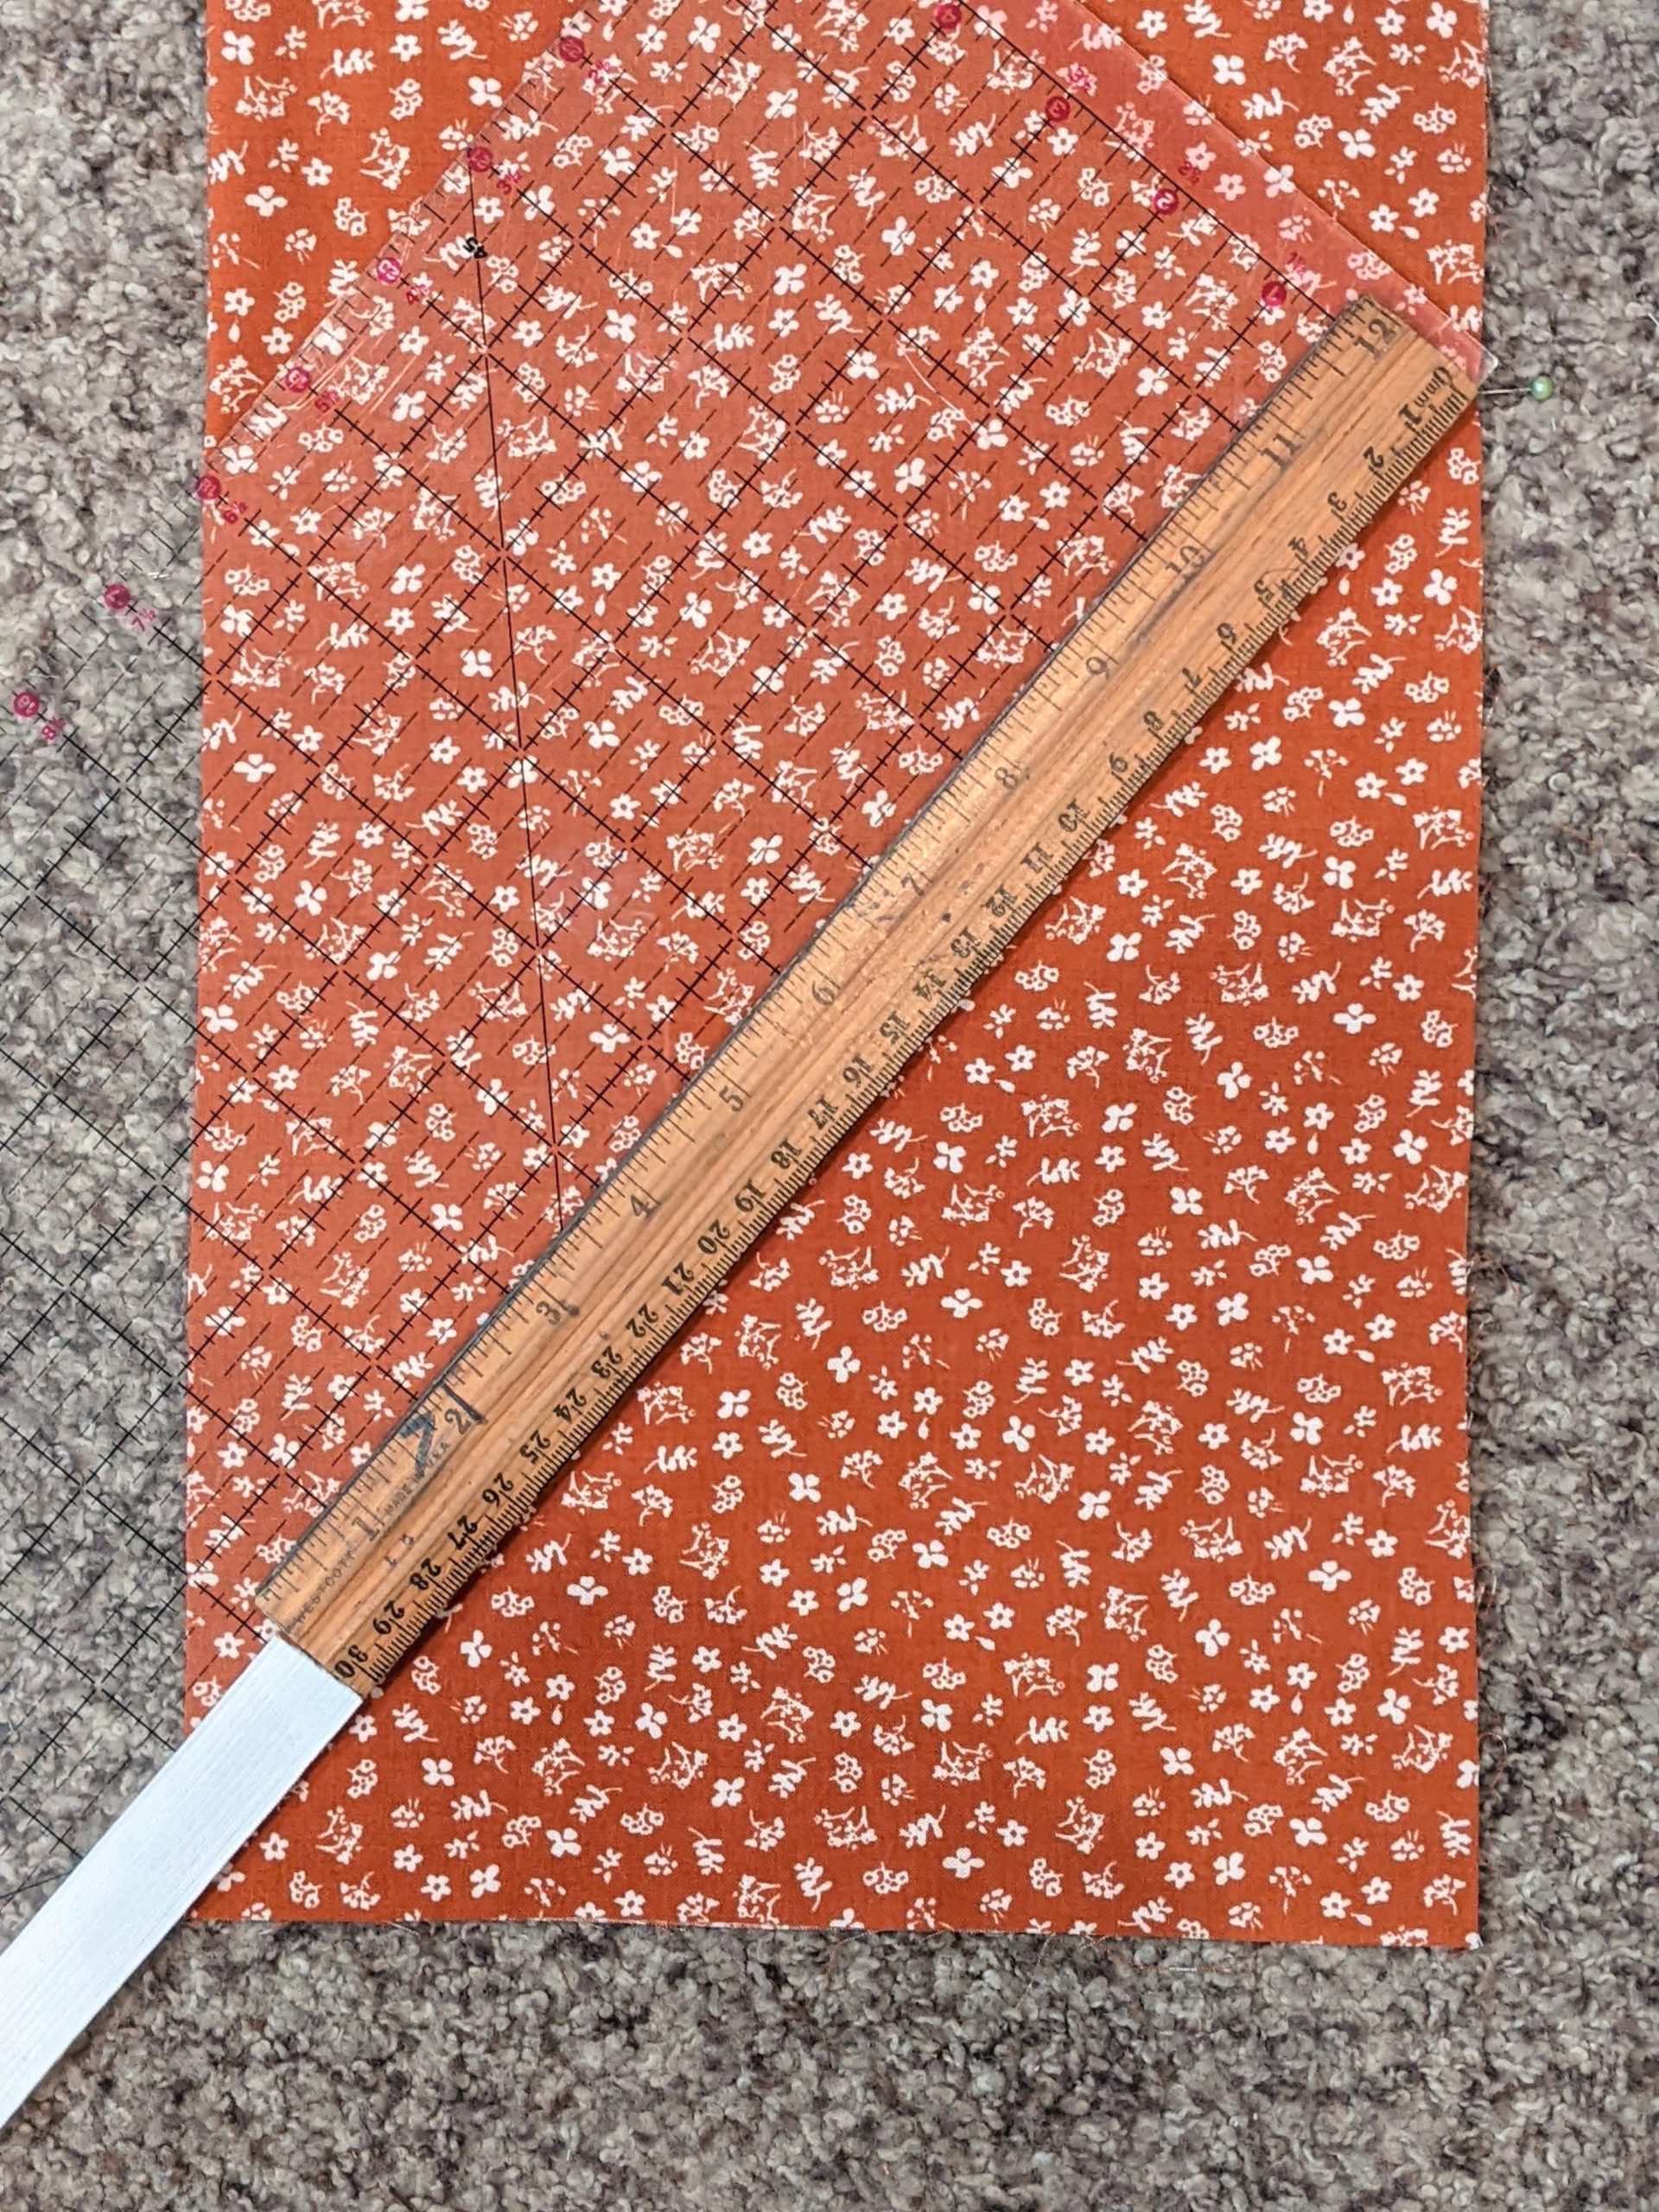
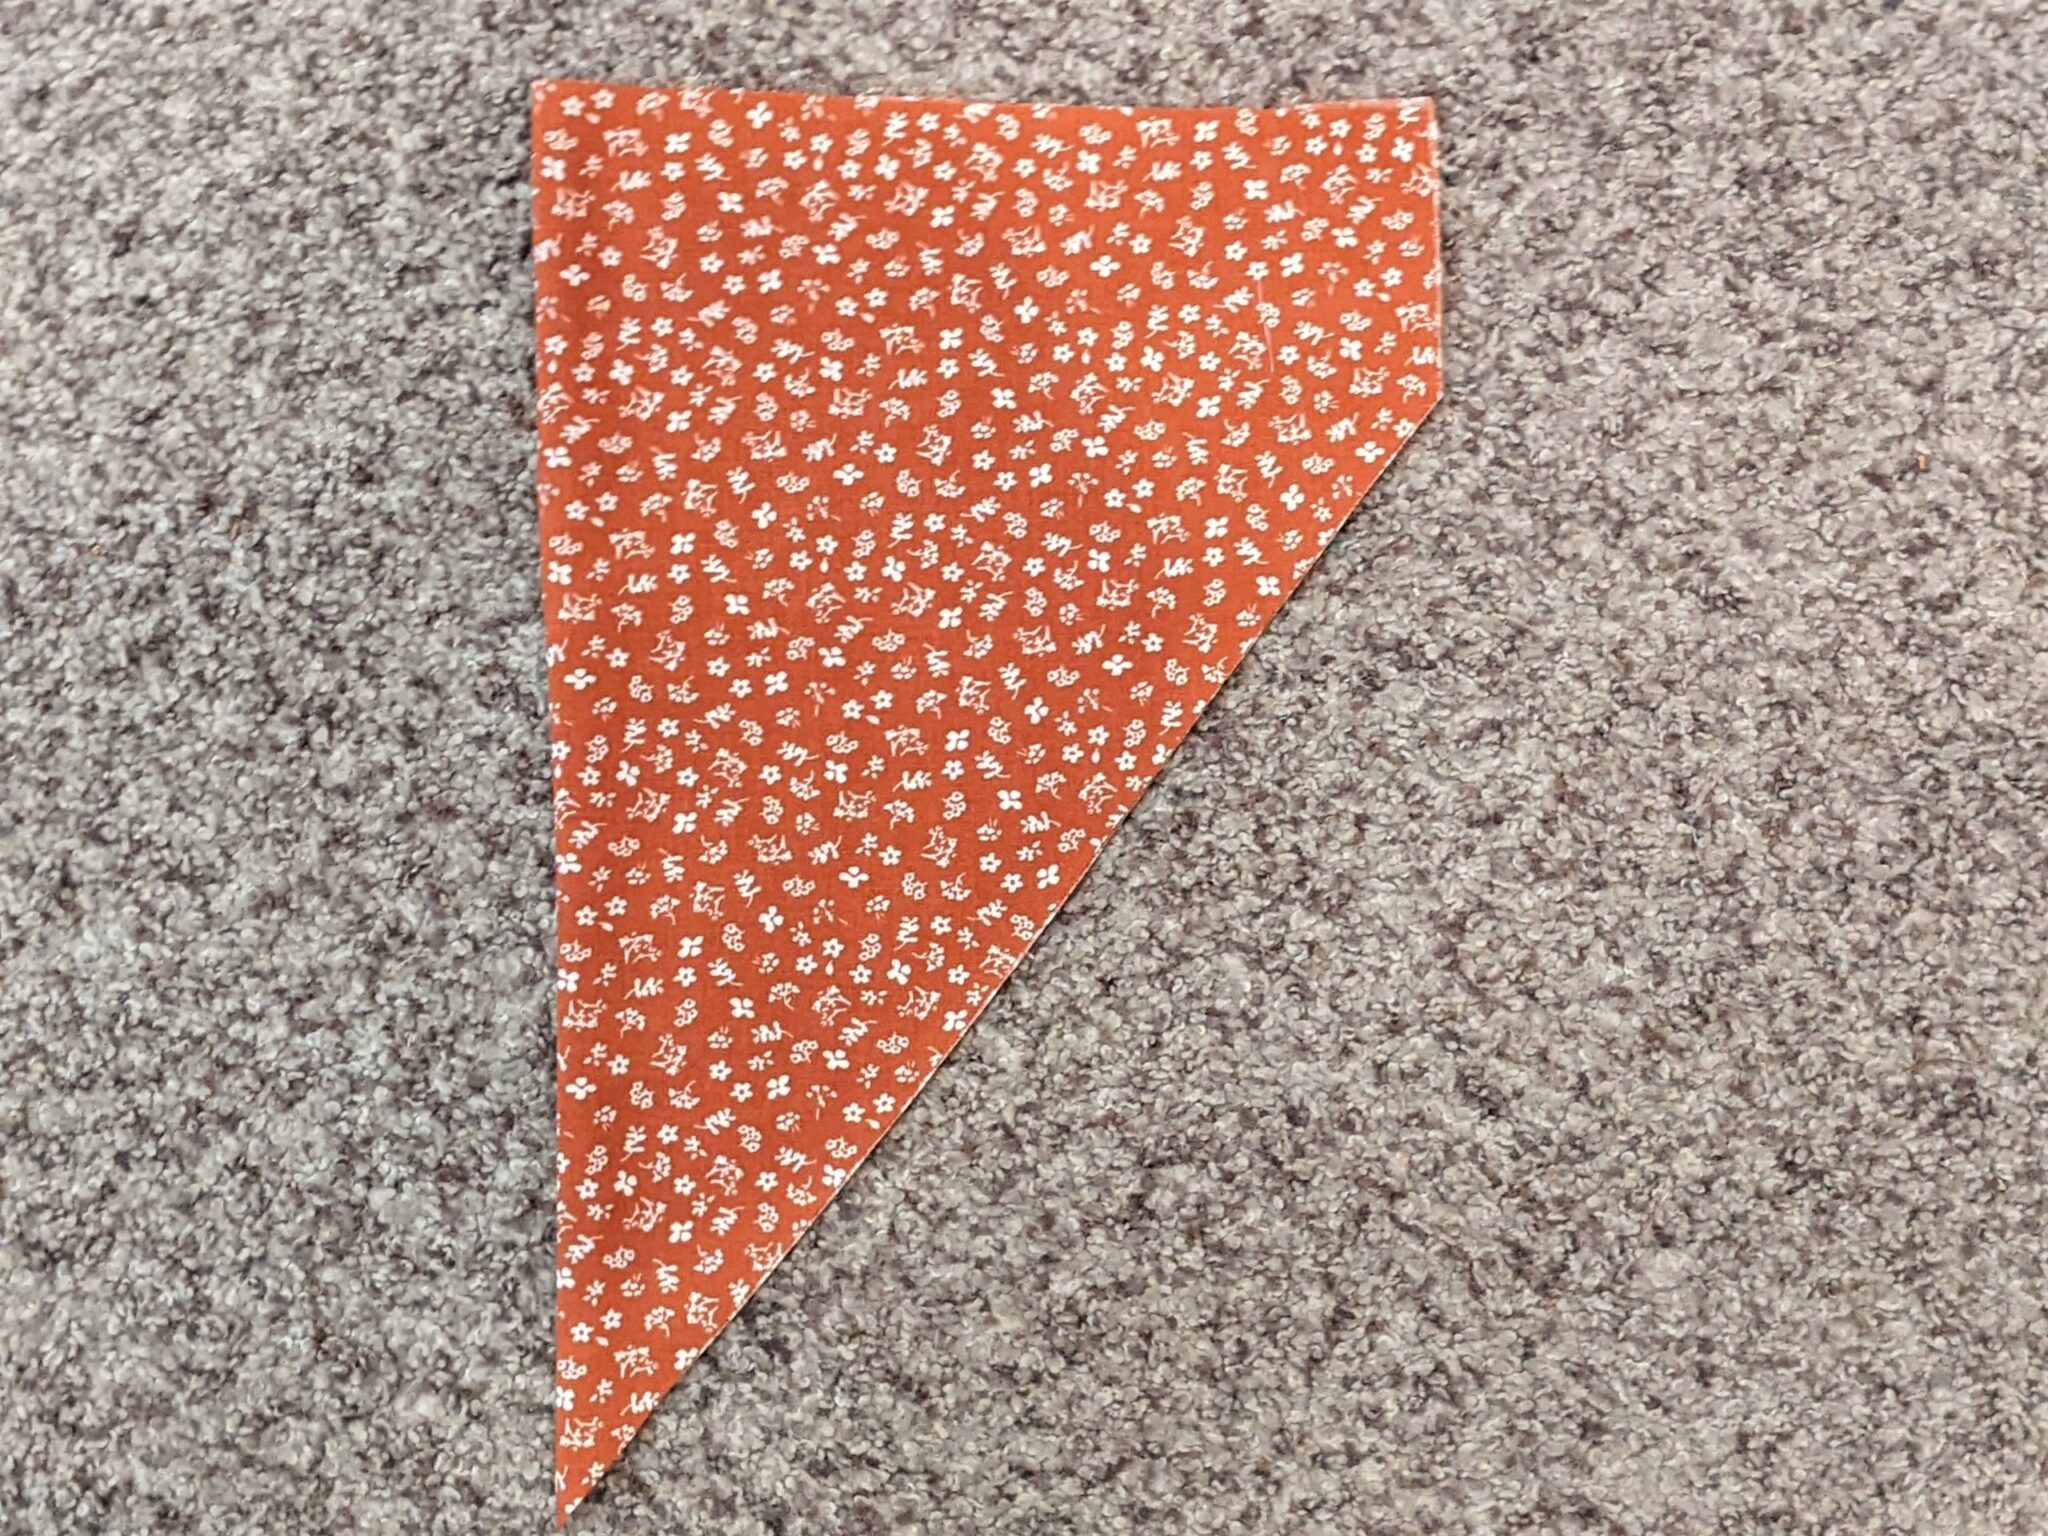
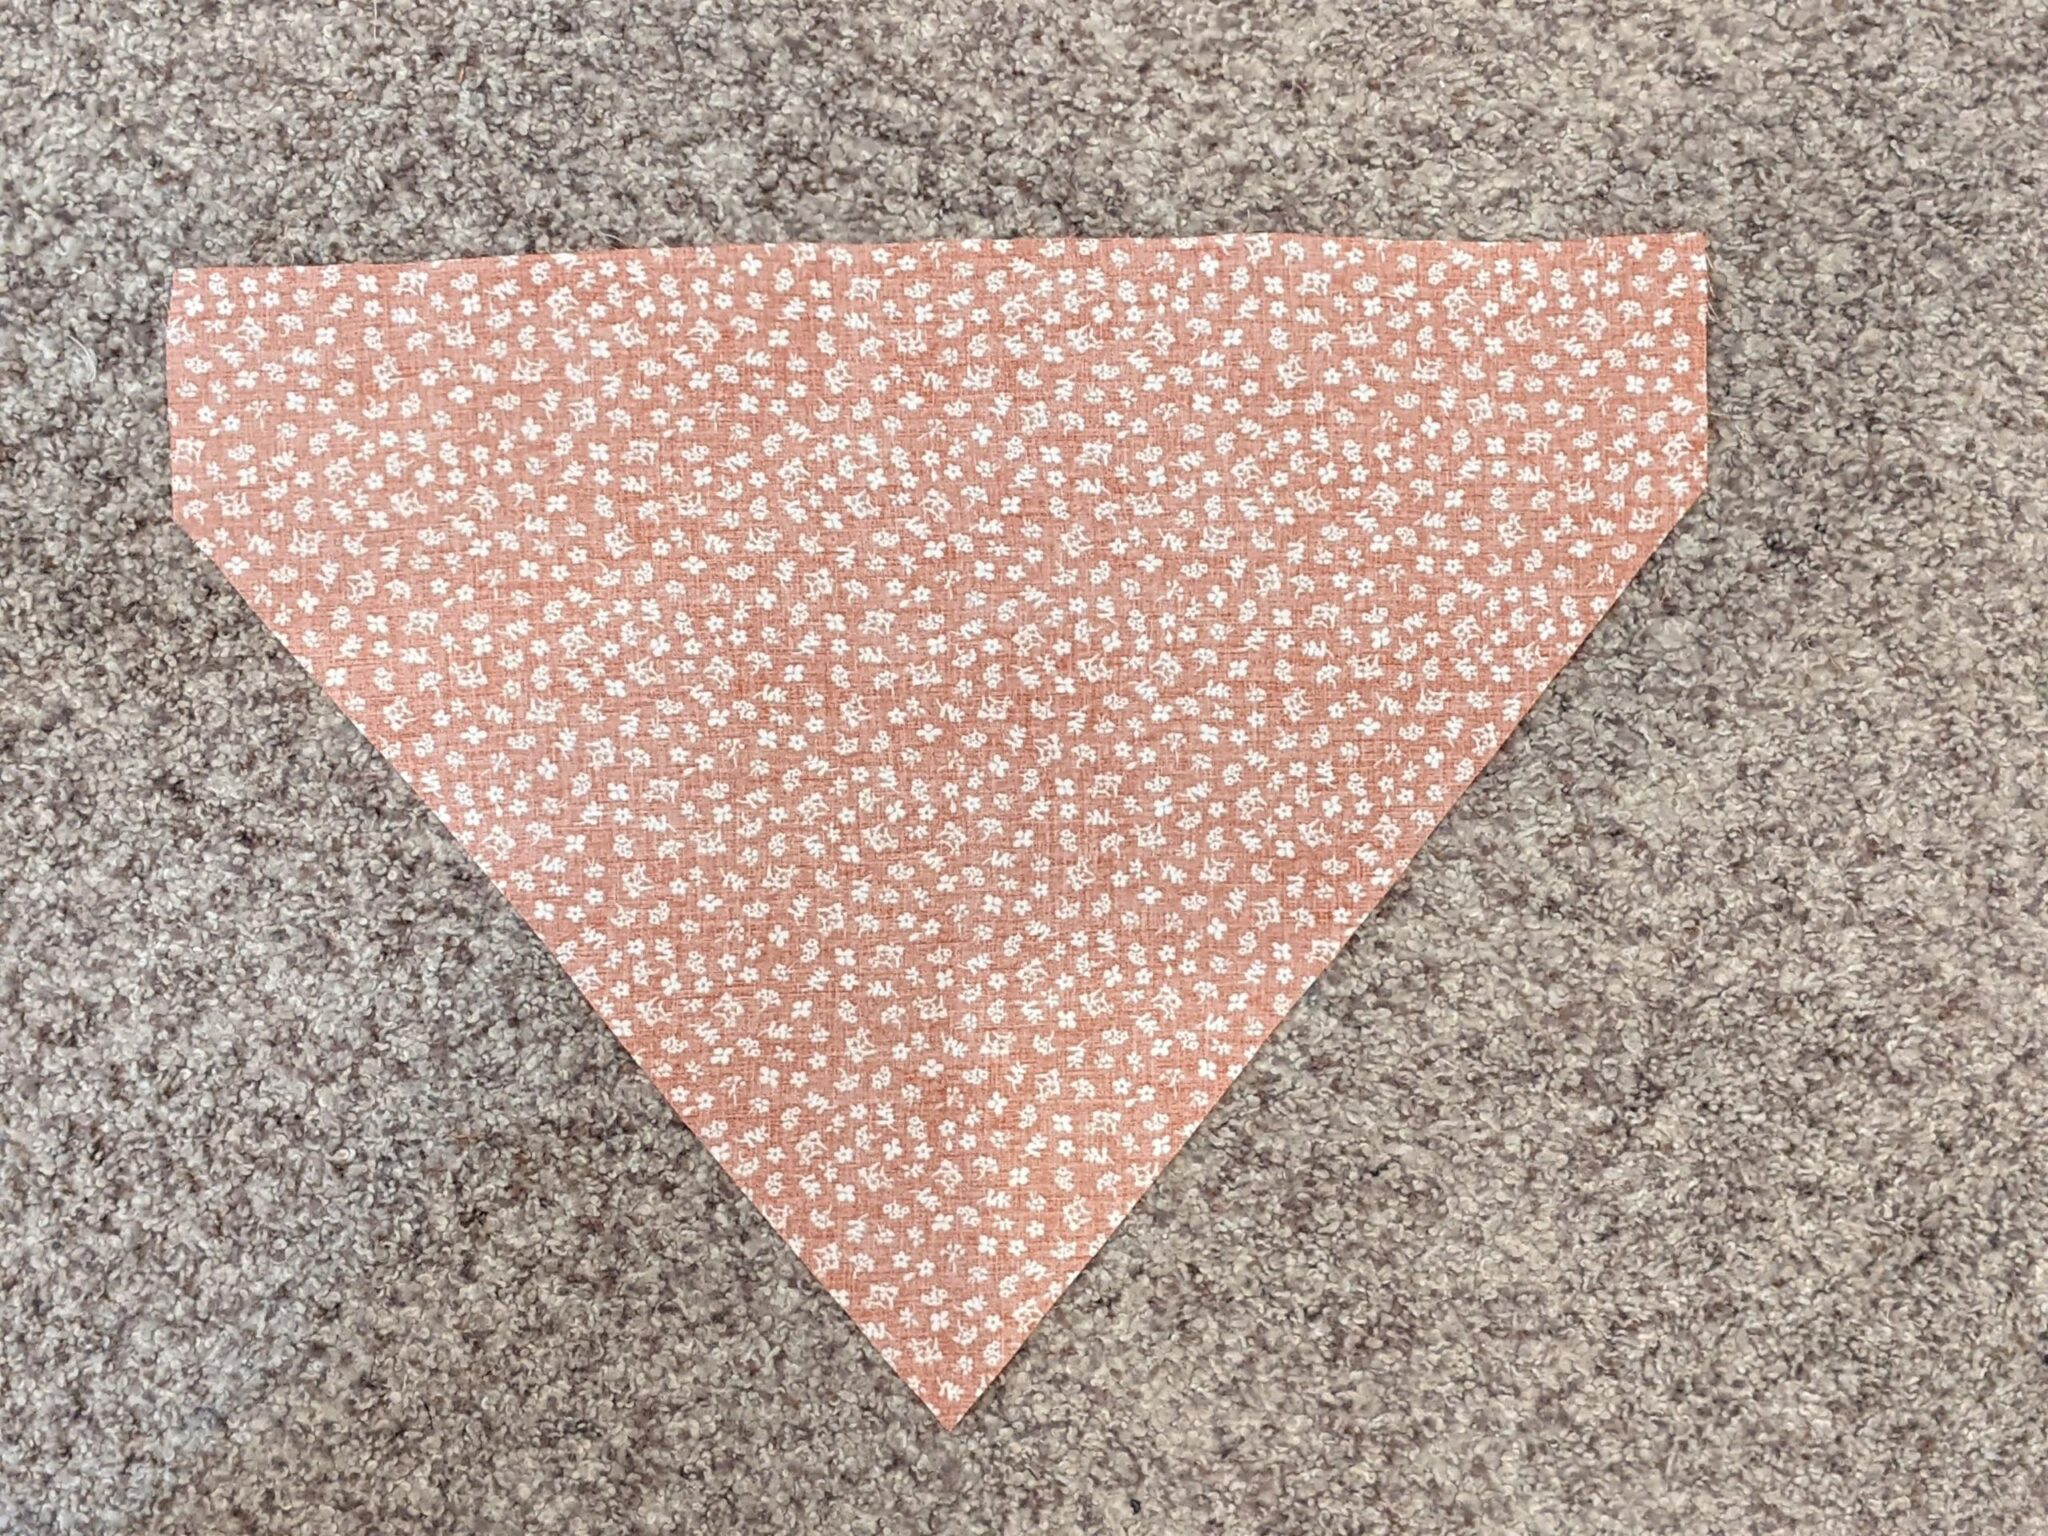
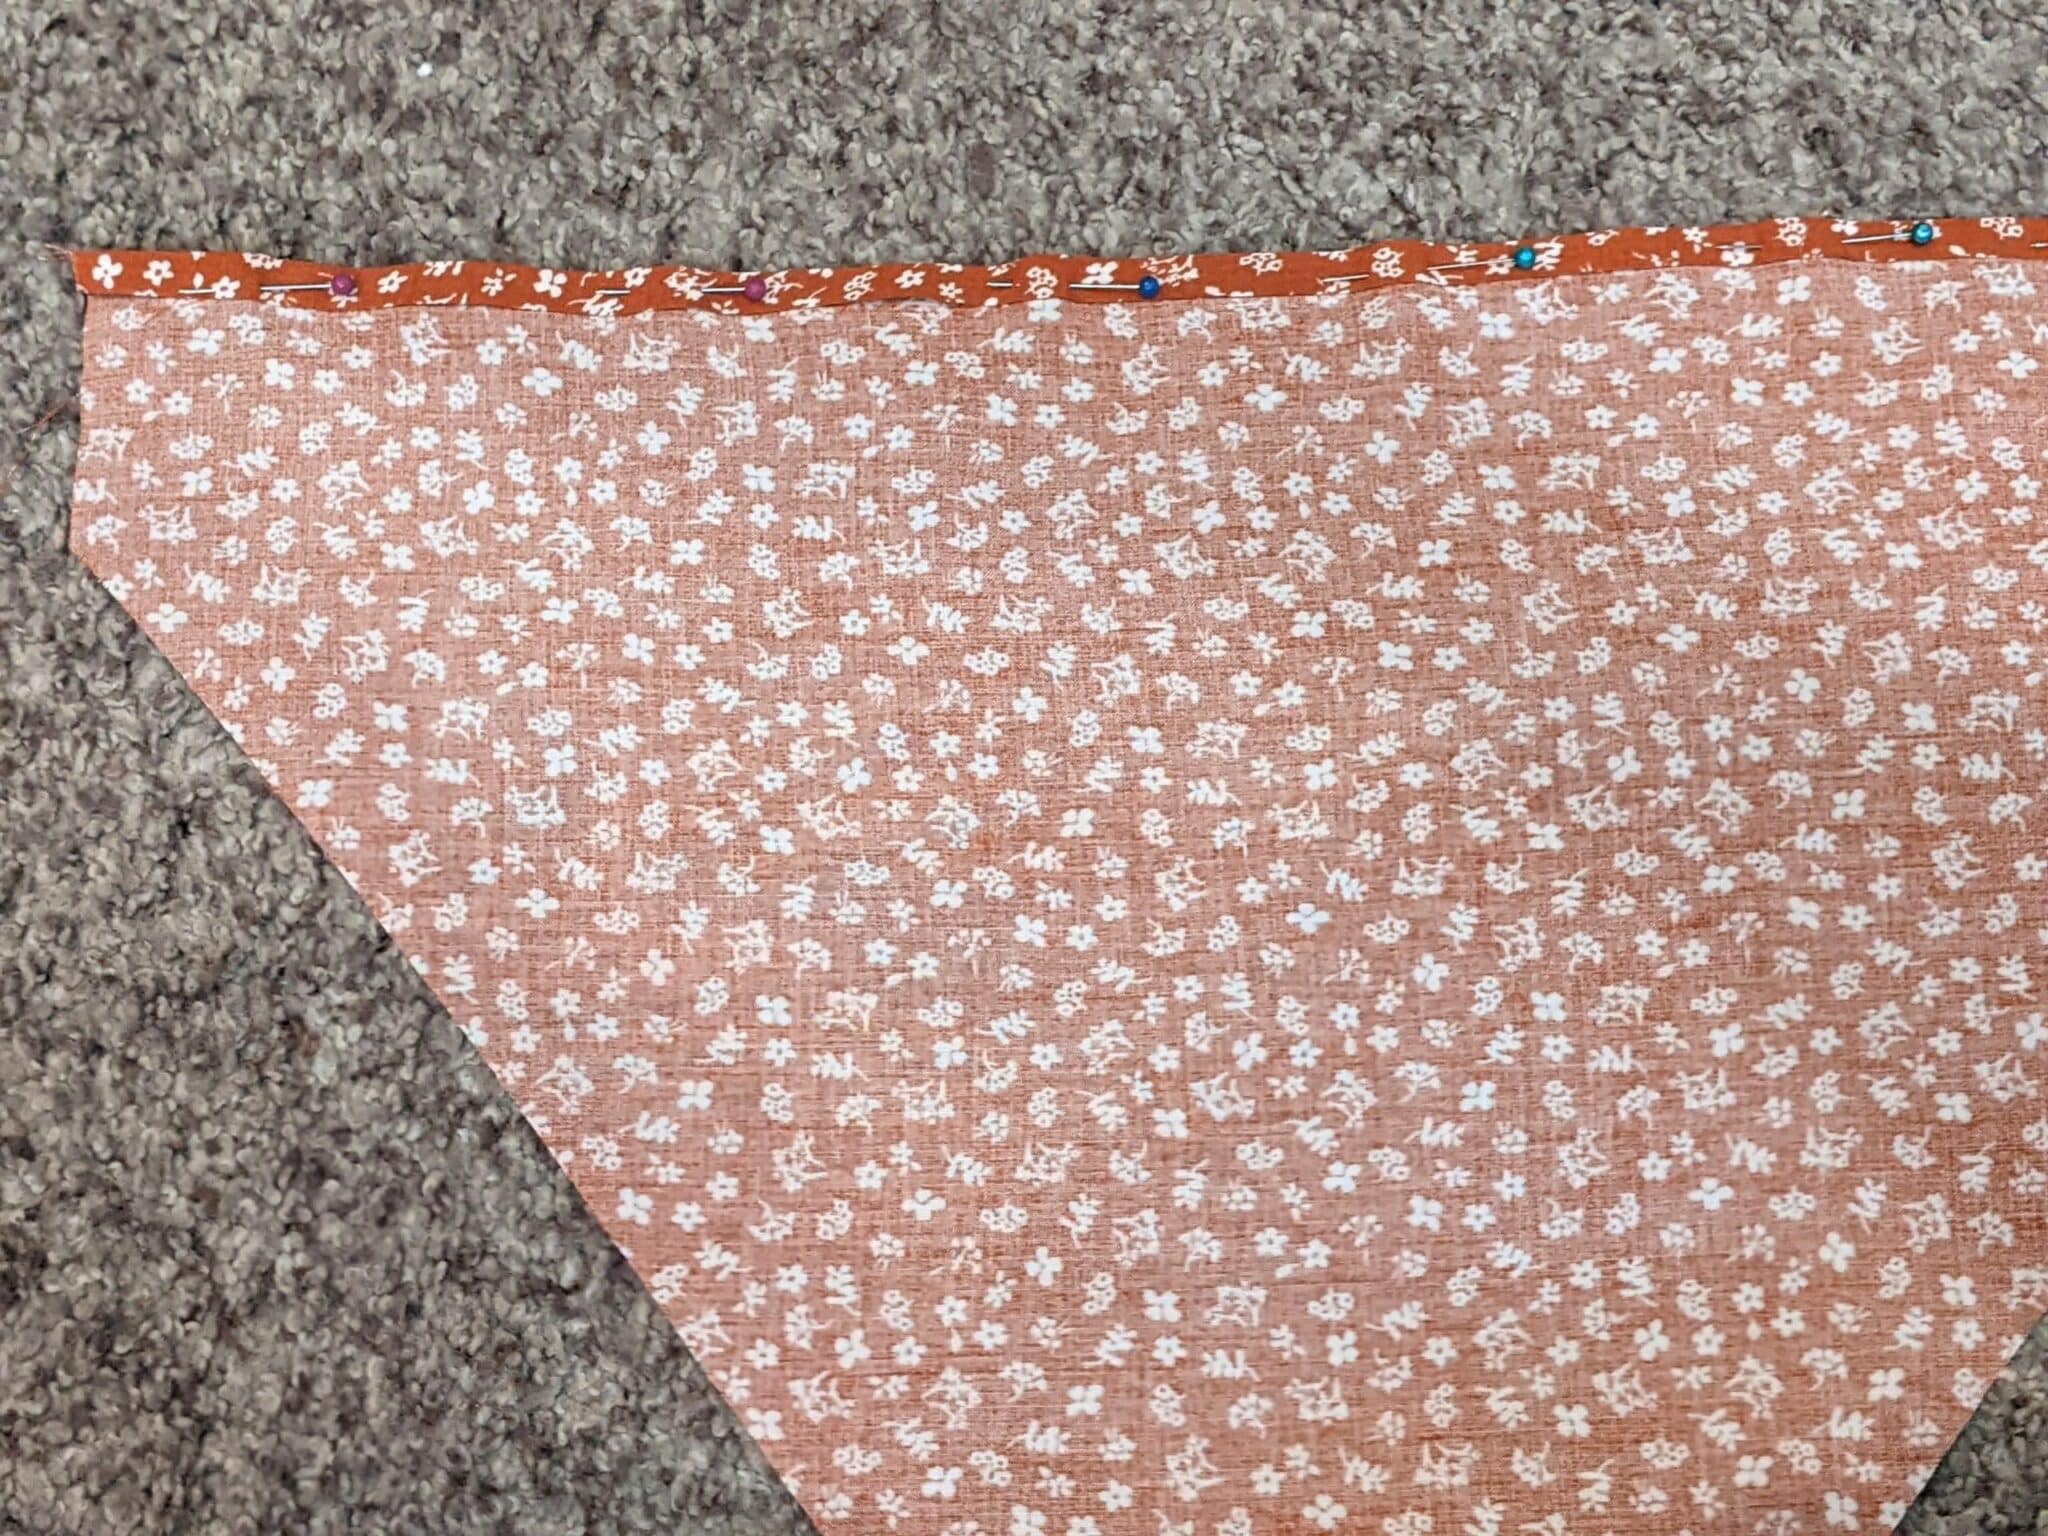
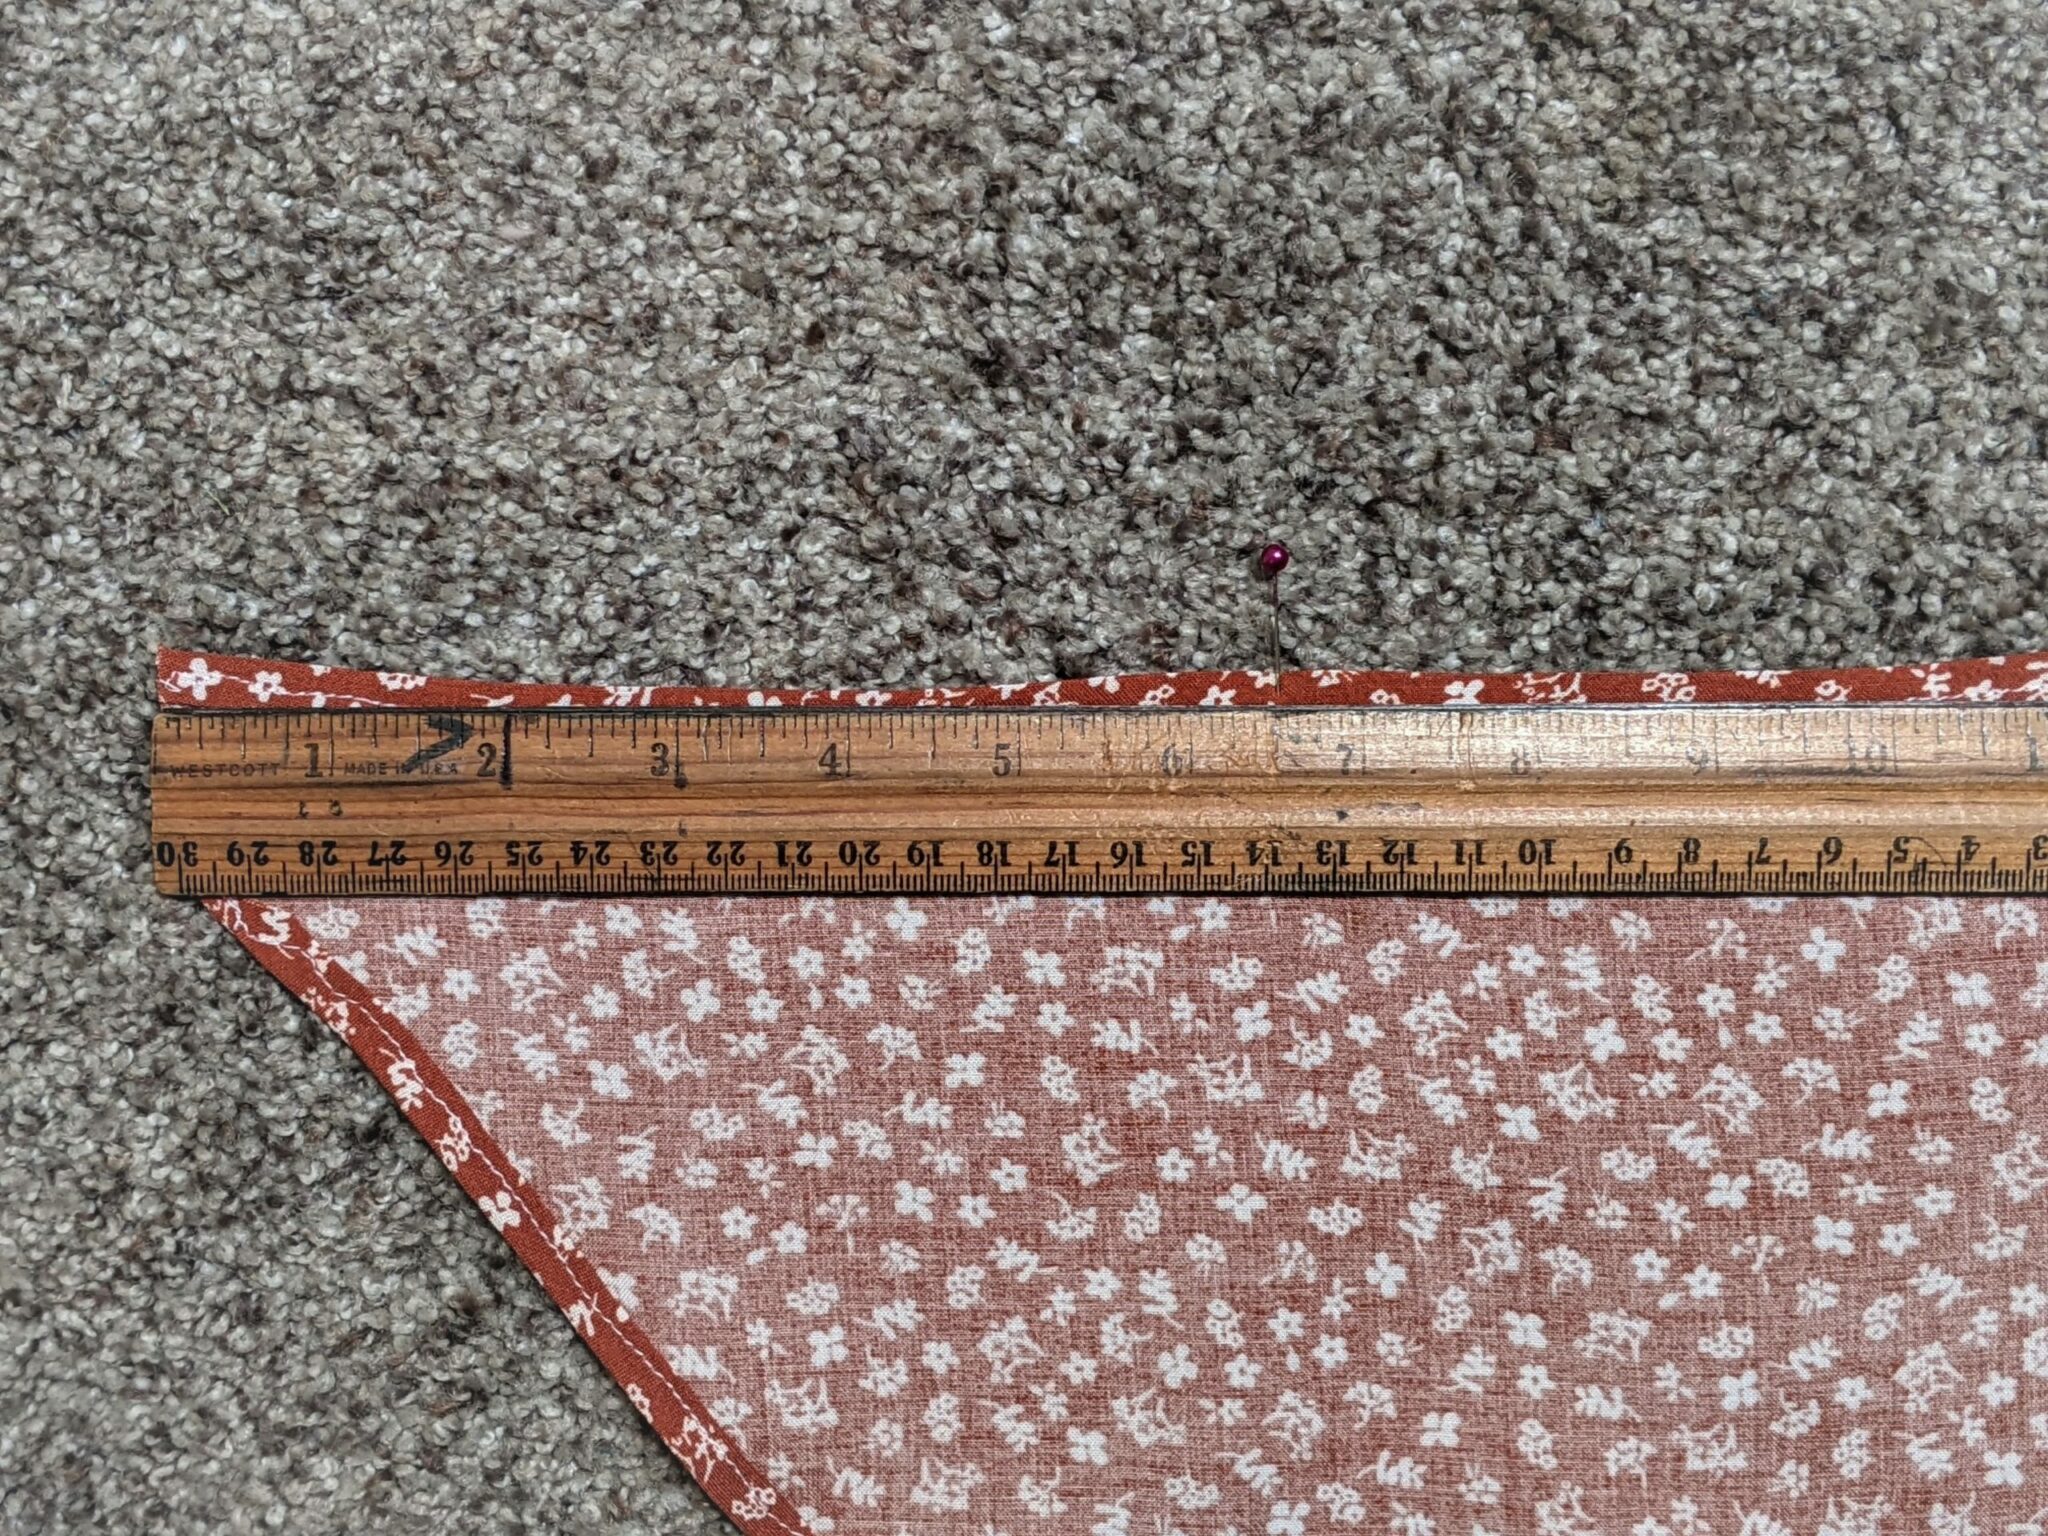
Shaping the Bandana
- Fold your larger rectangle in half vertically.
- Measure down 3″ from the top edge along the open side and mark it with a pen or needle.
- Lay a straight edge from the top 3″ mark down to the bottom corner of the folded side.
- Use an air soluble pen to draw along the straight edge, then cut along the line to remove the bottom portion. (Or use a rotary cutter, ruler, and mat)
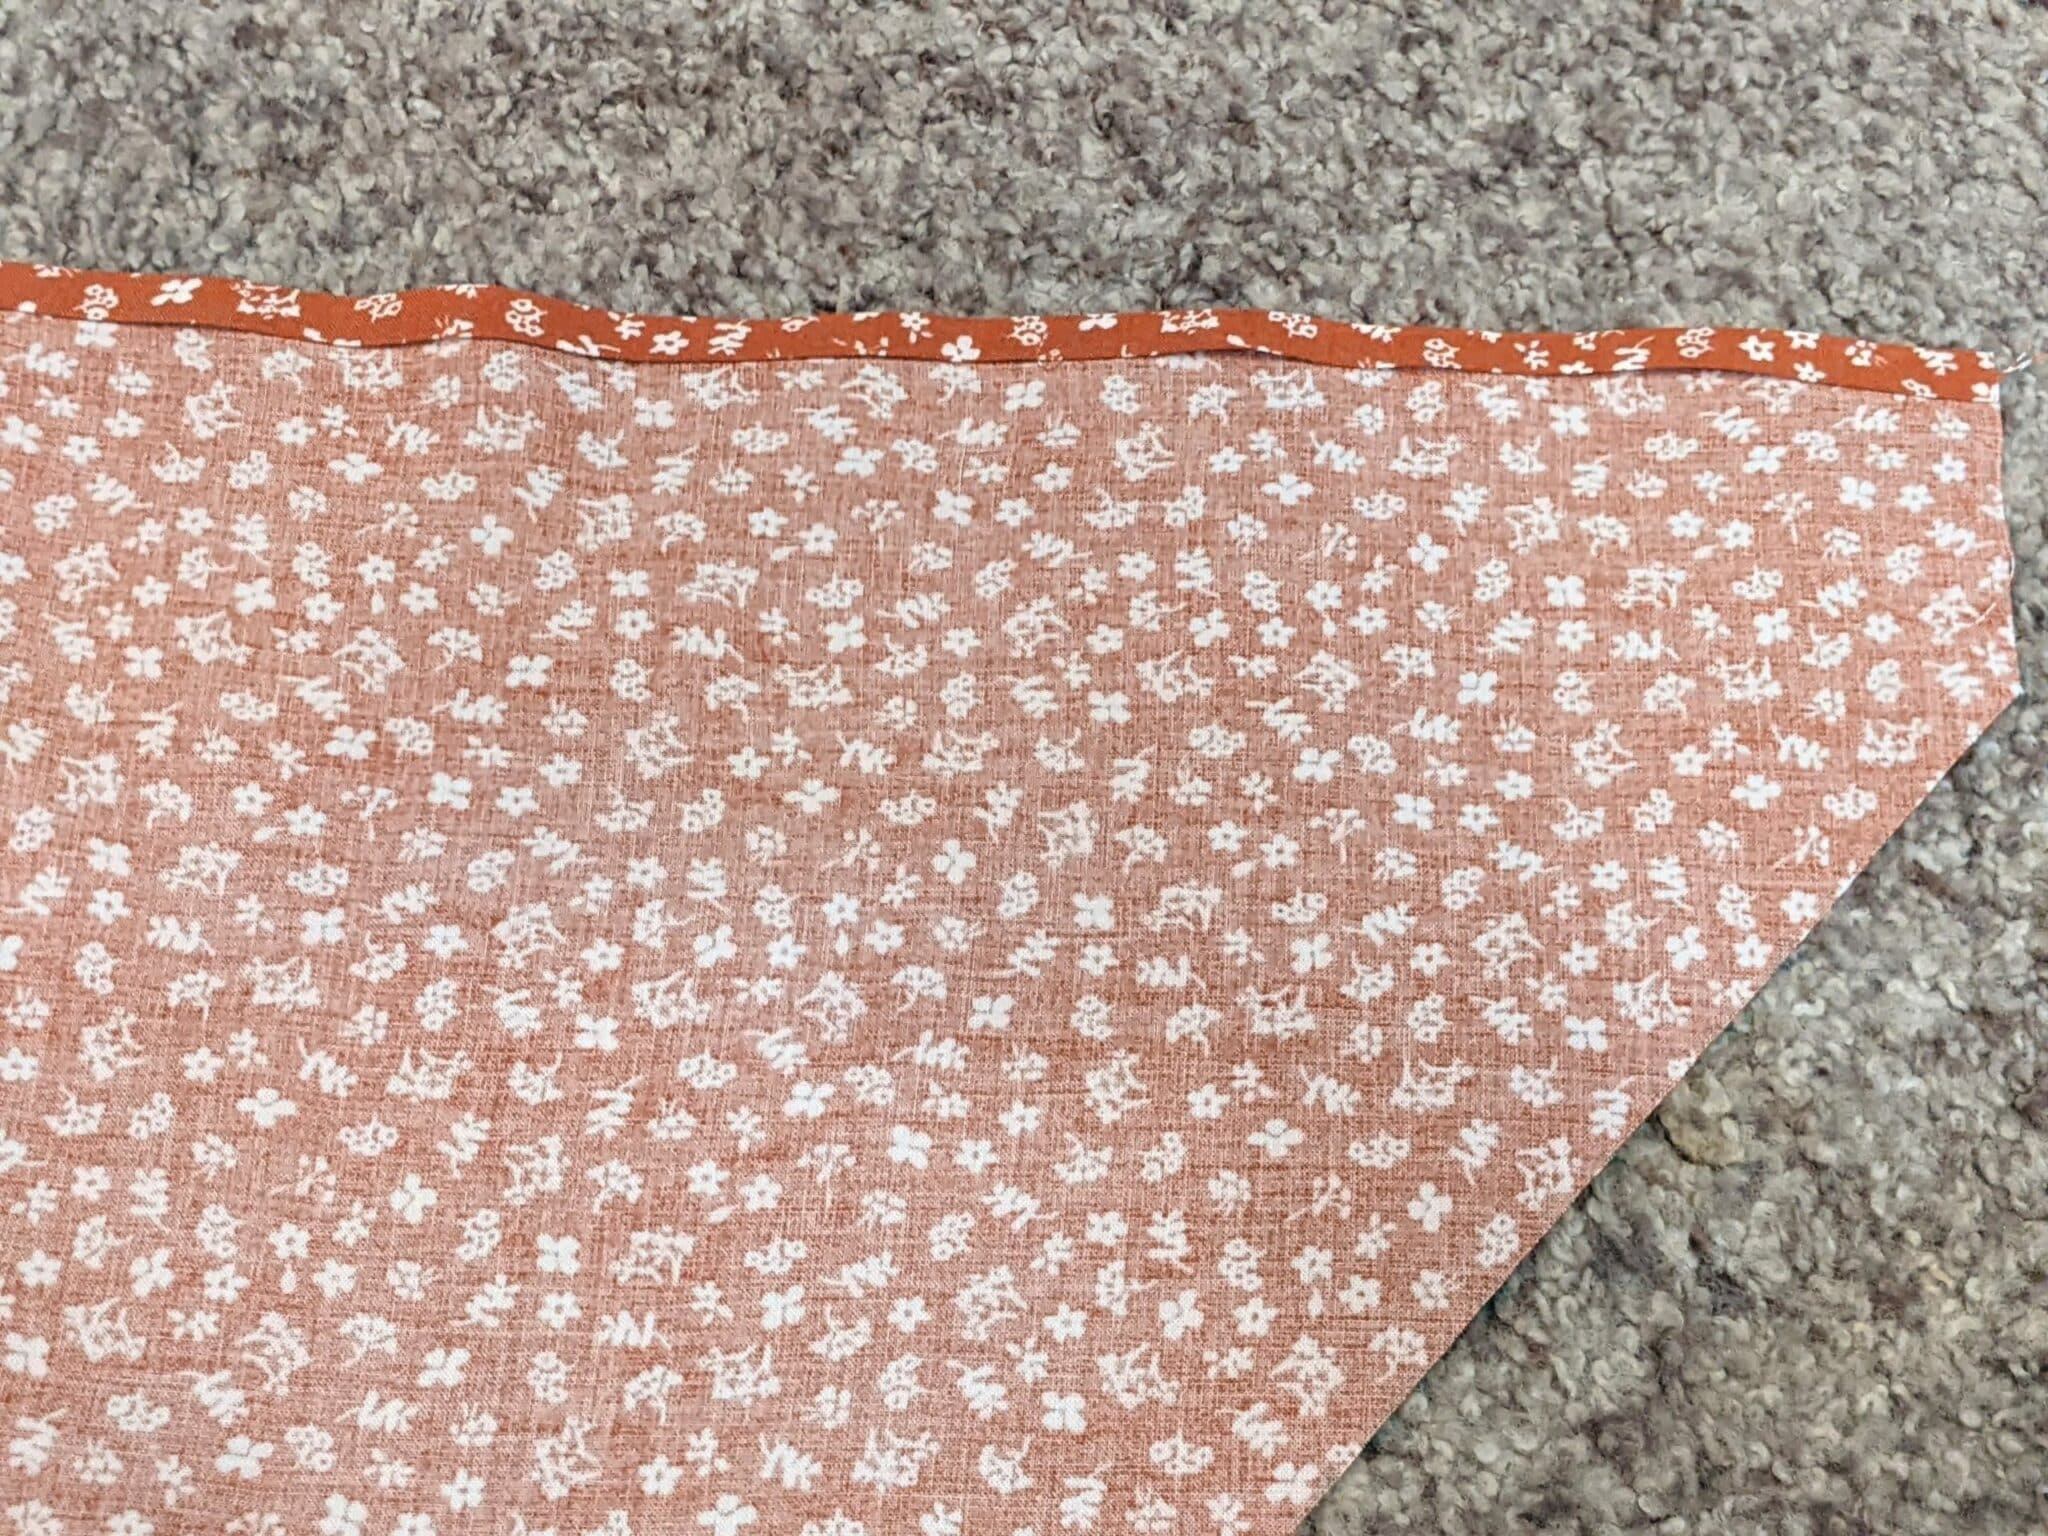
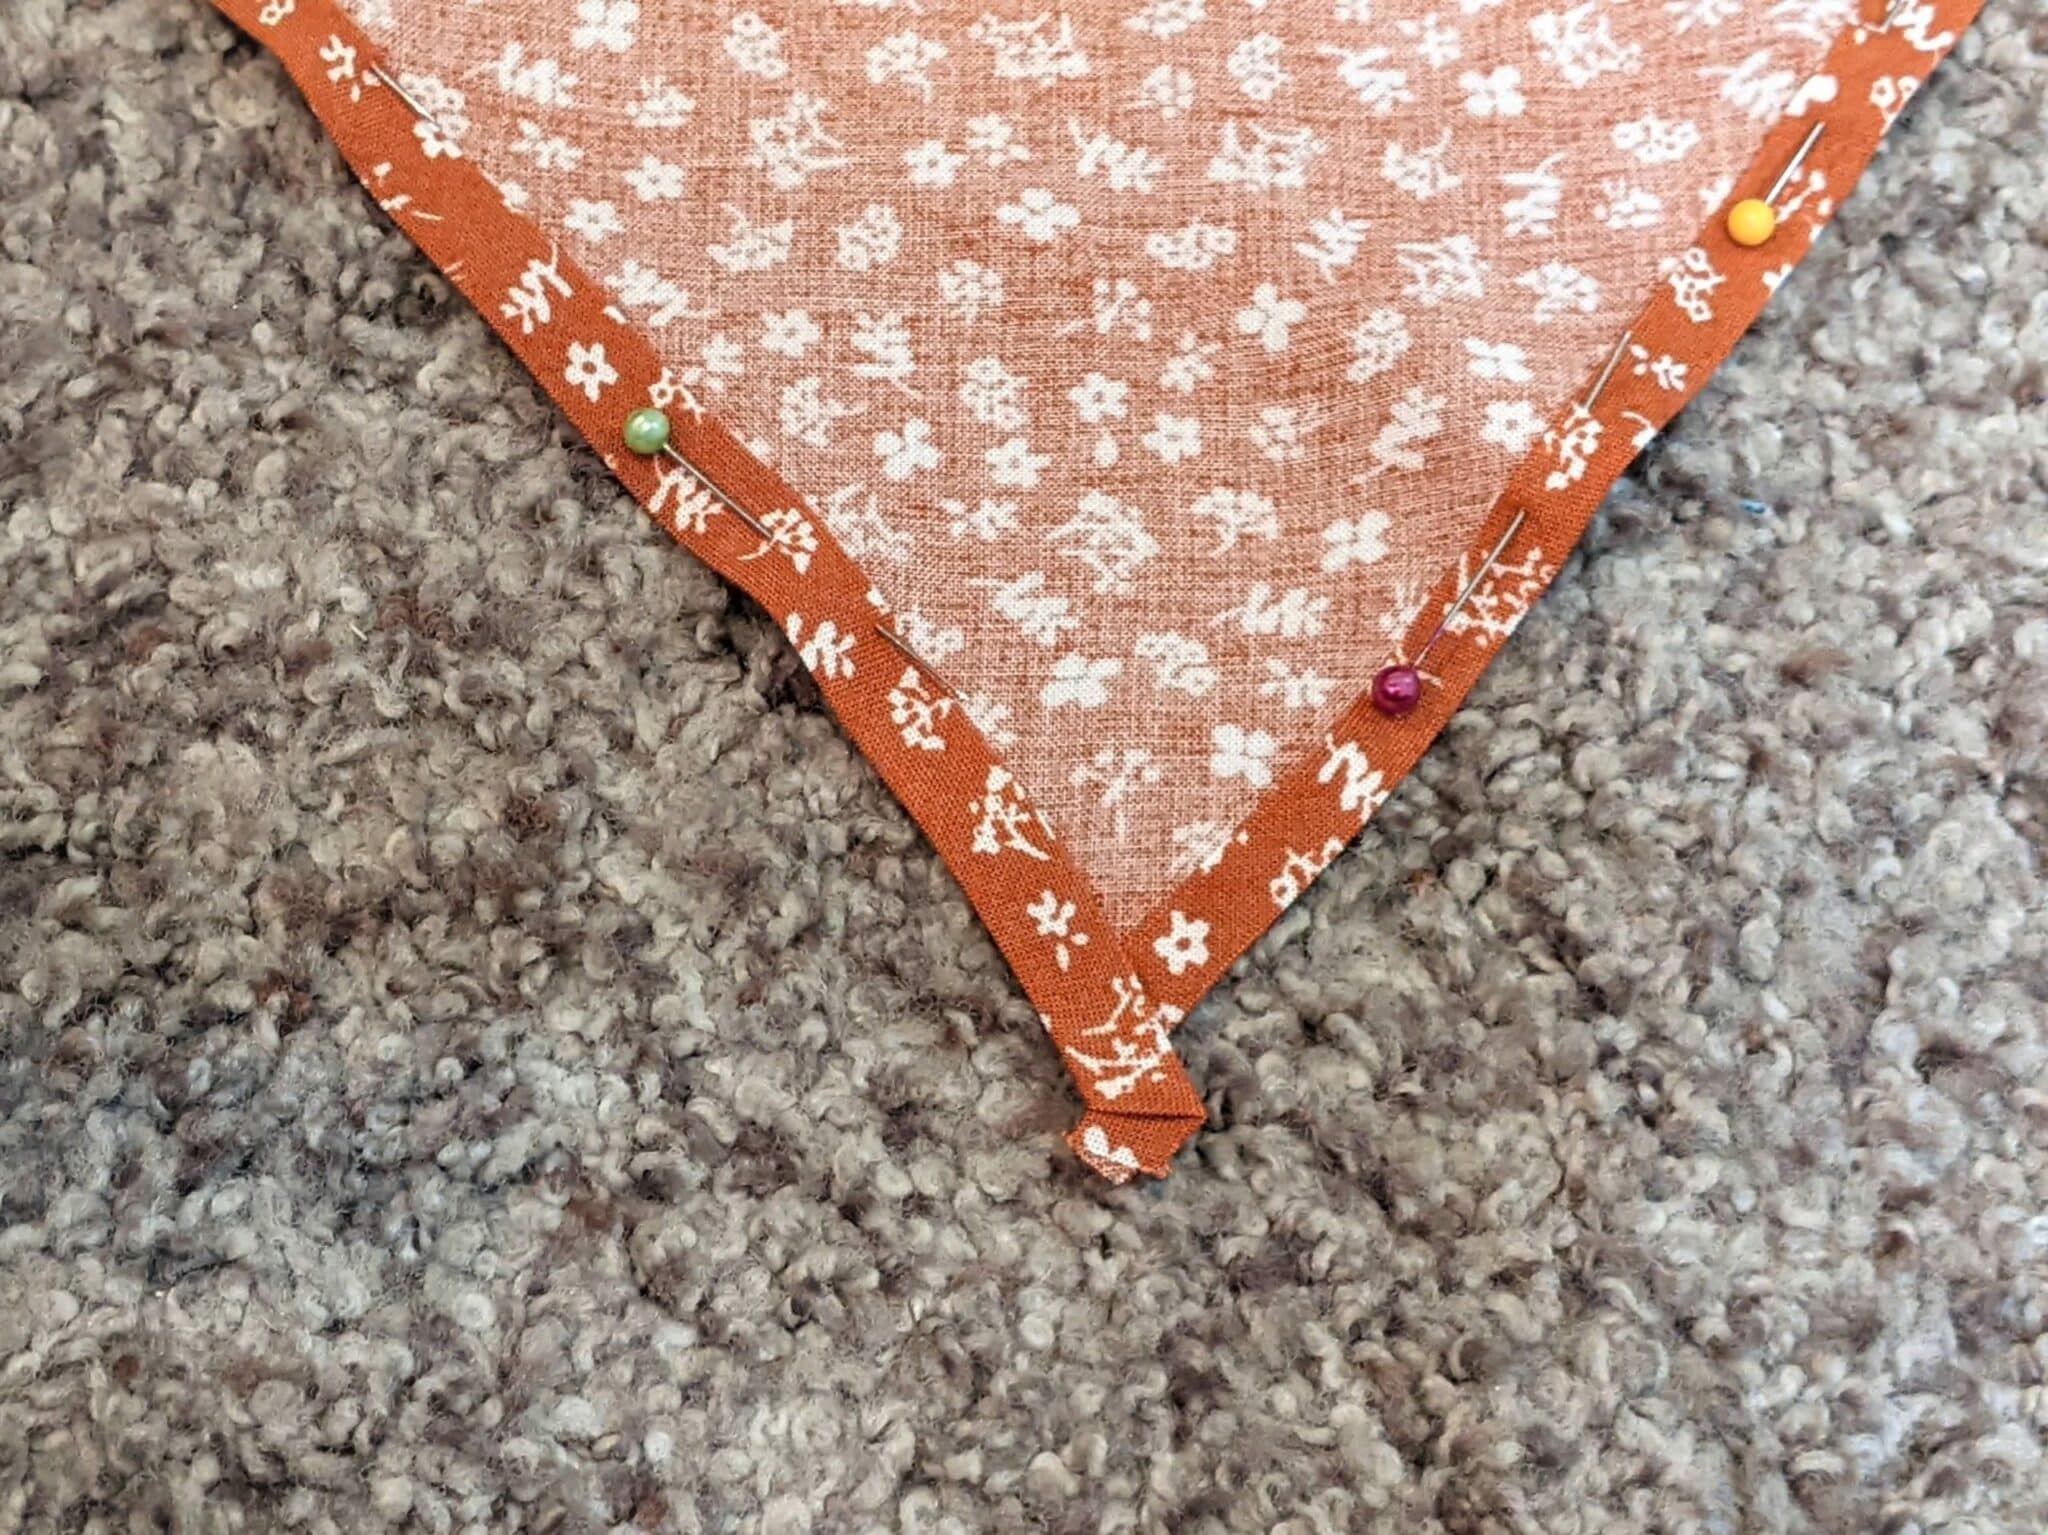
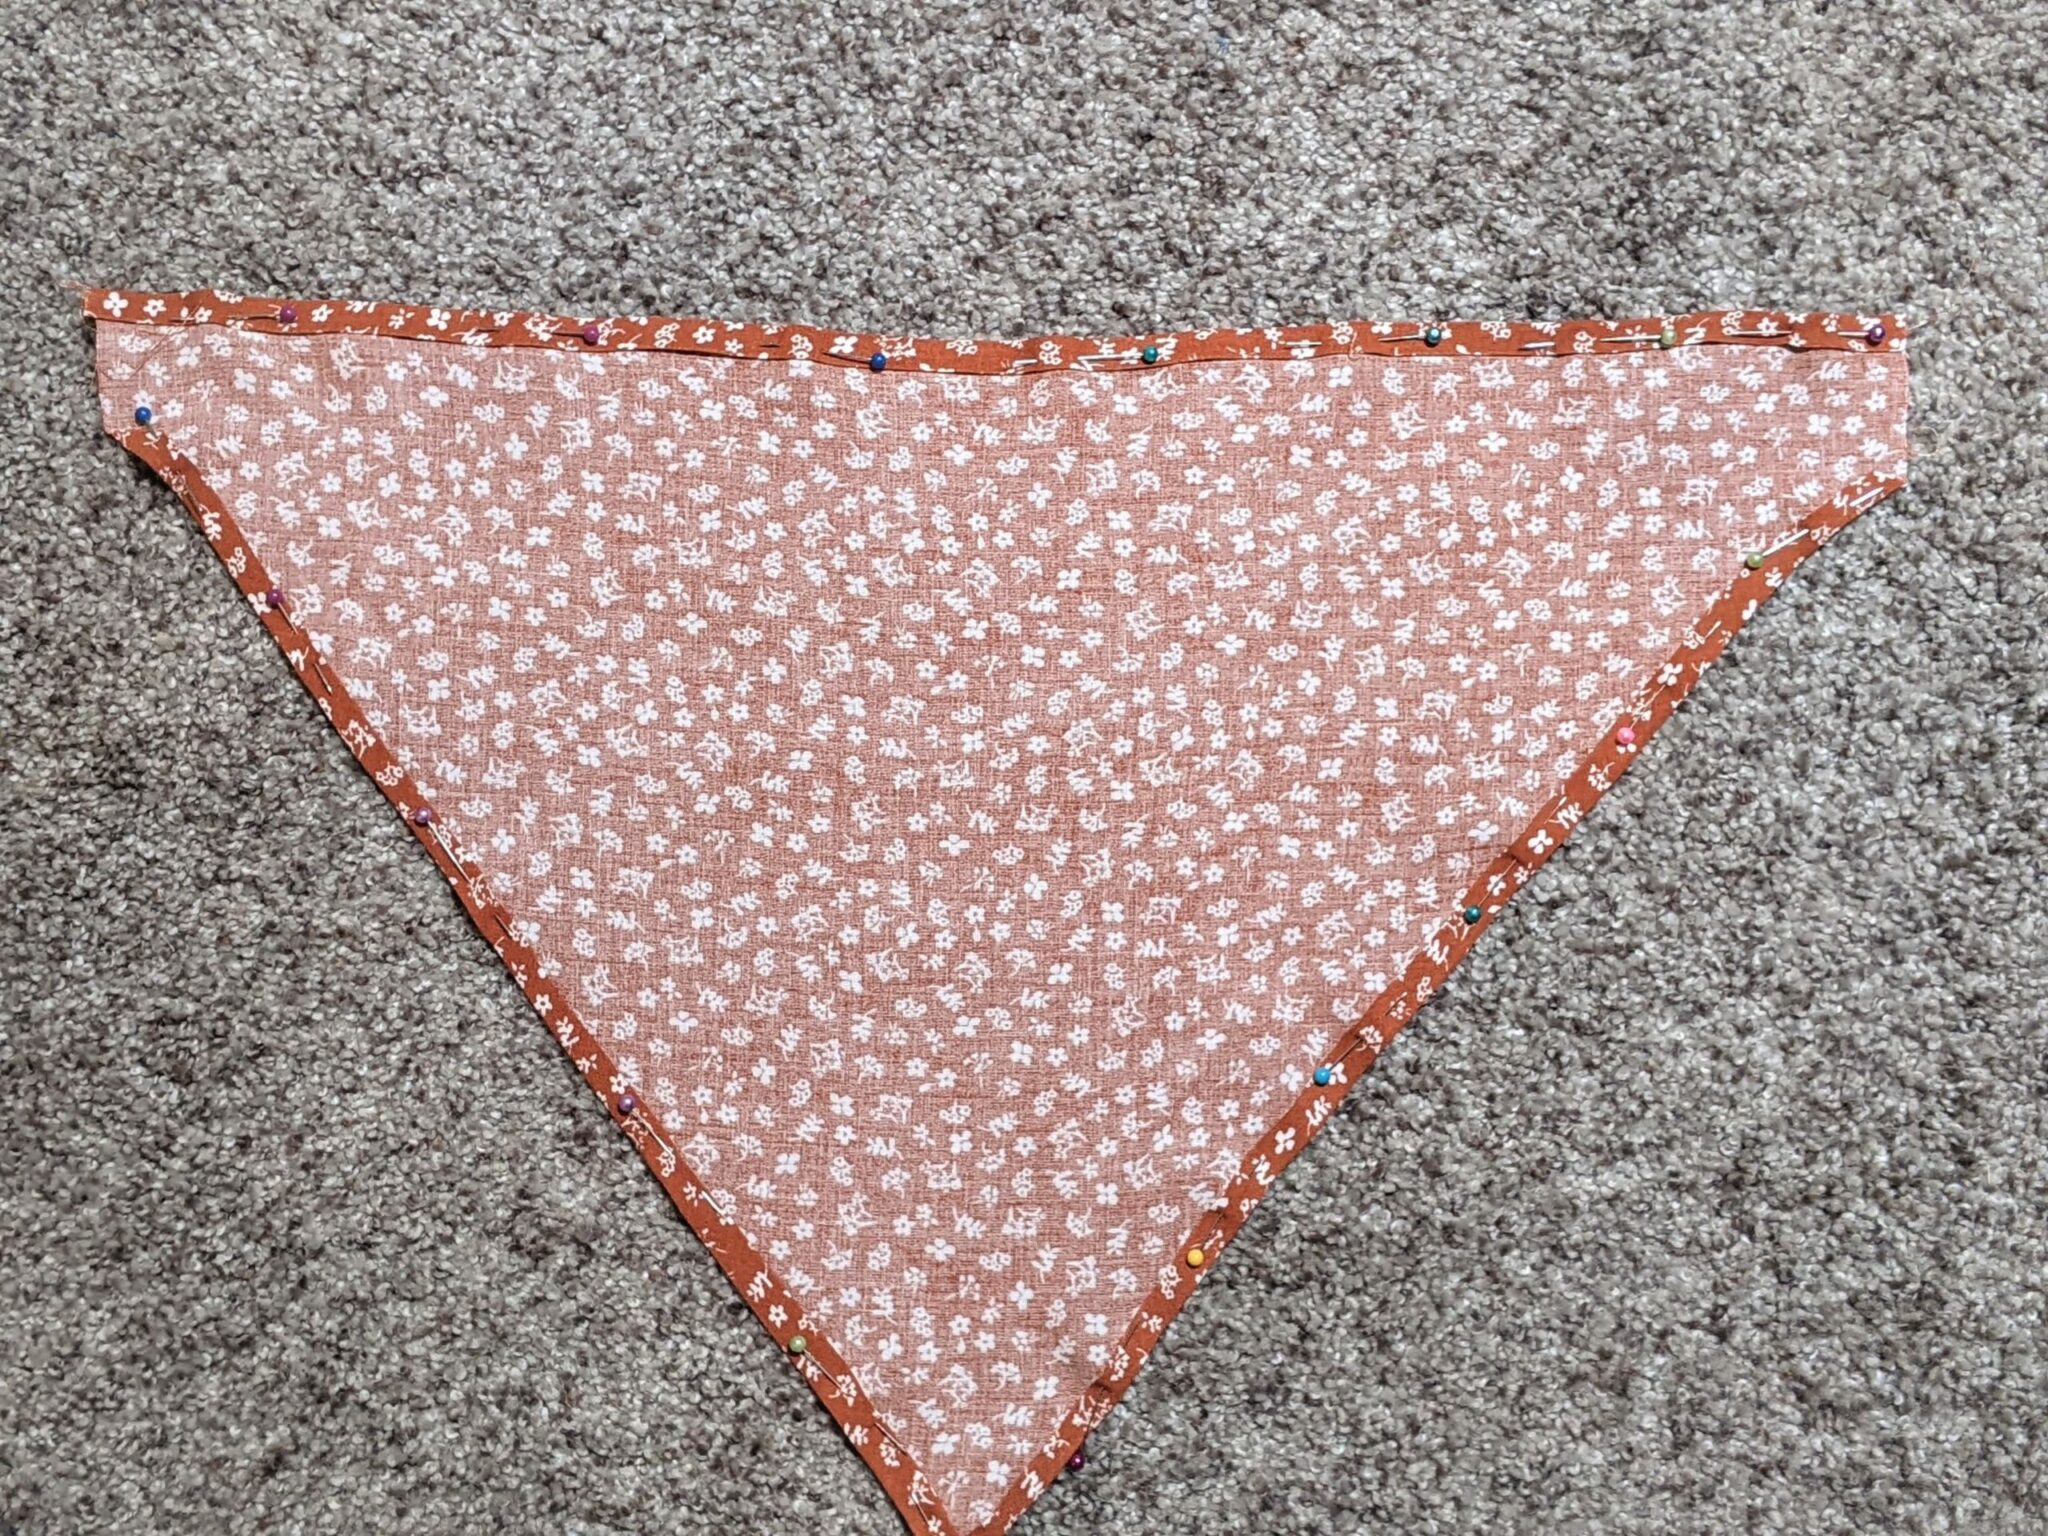
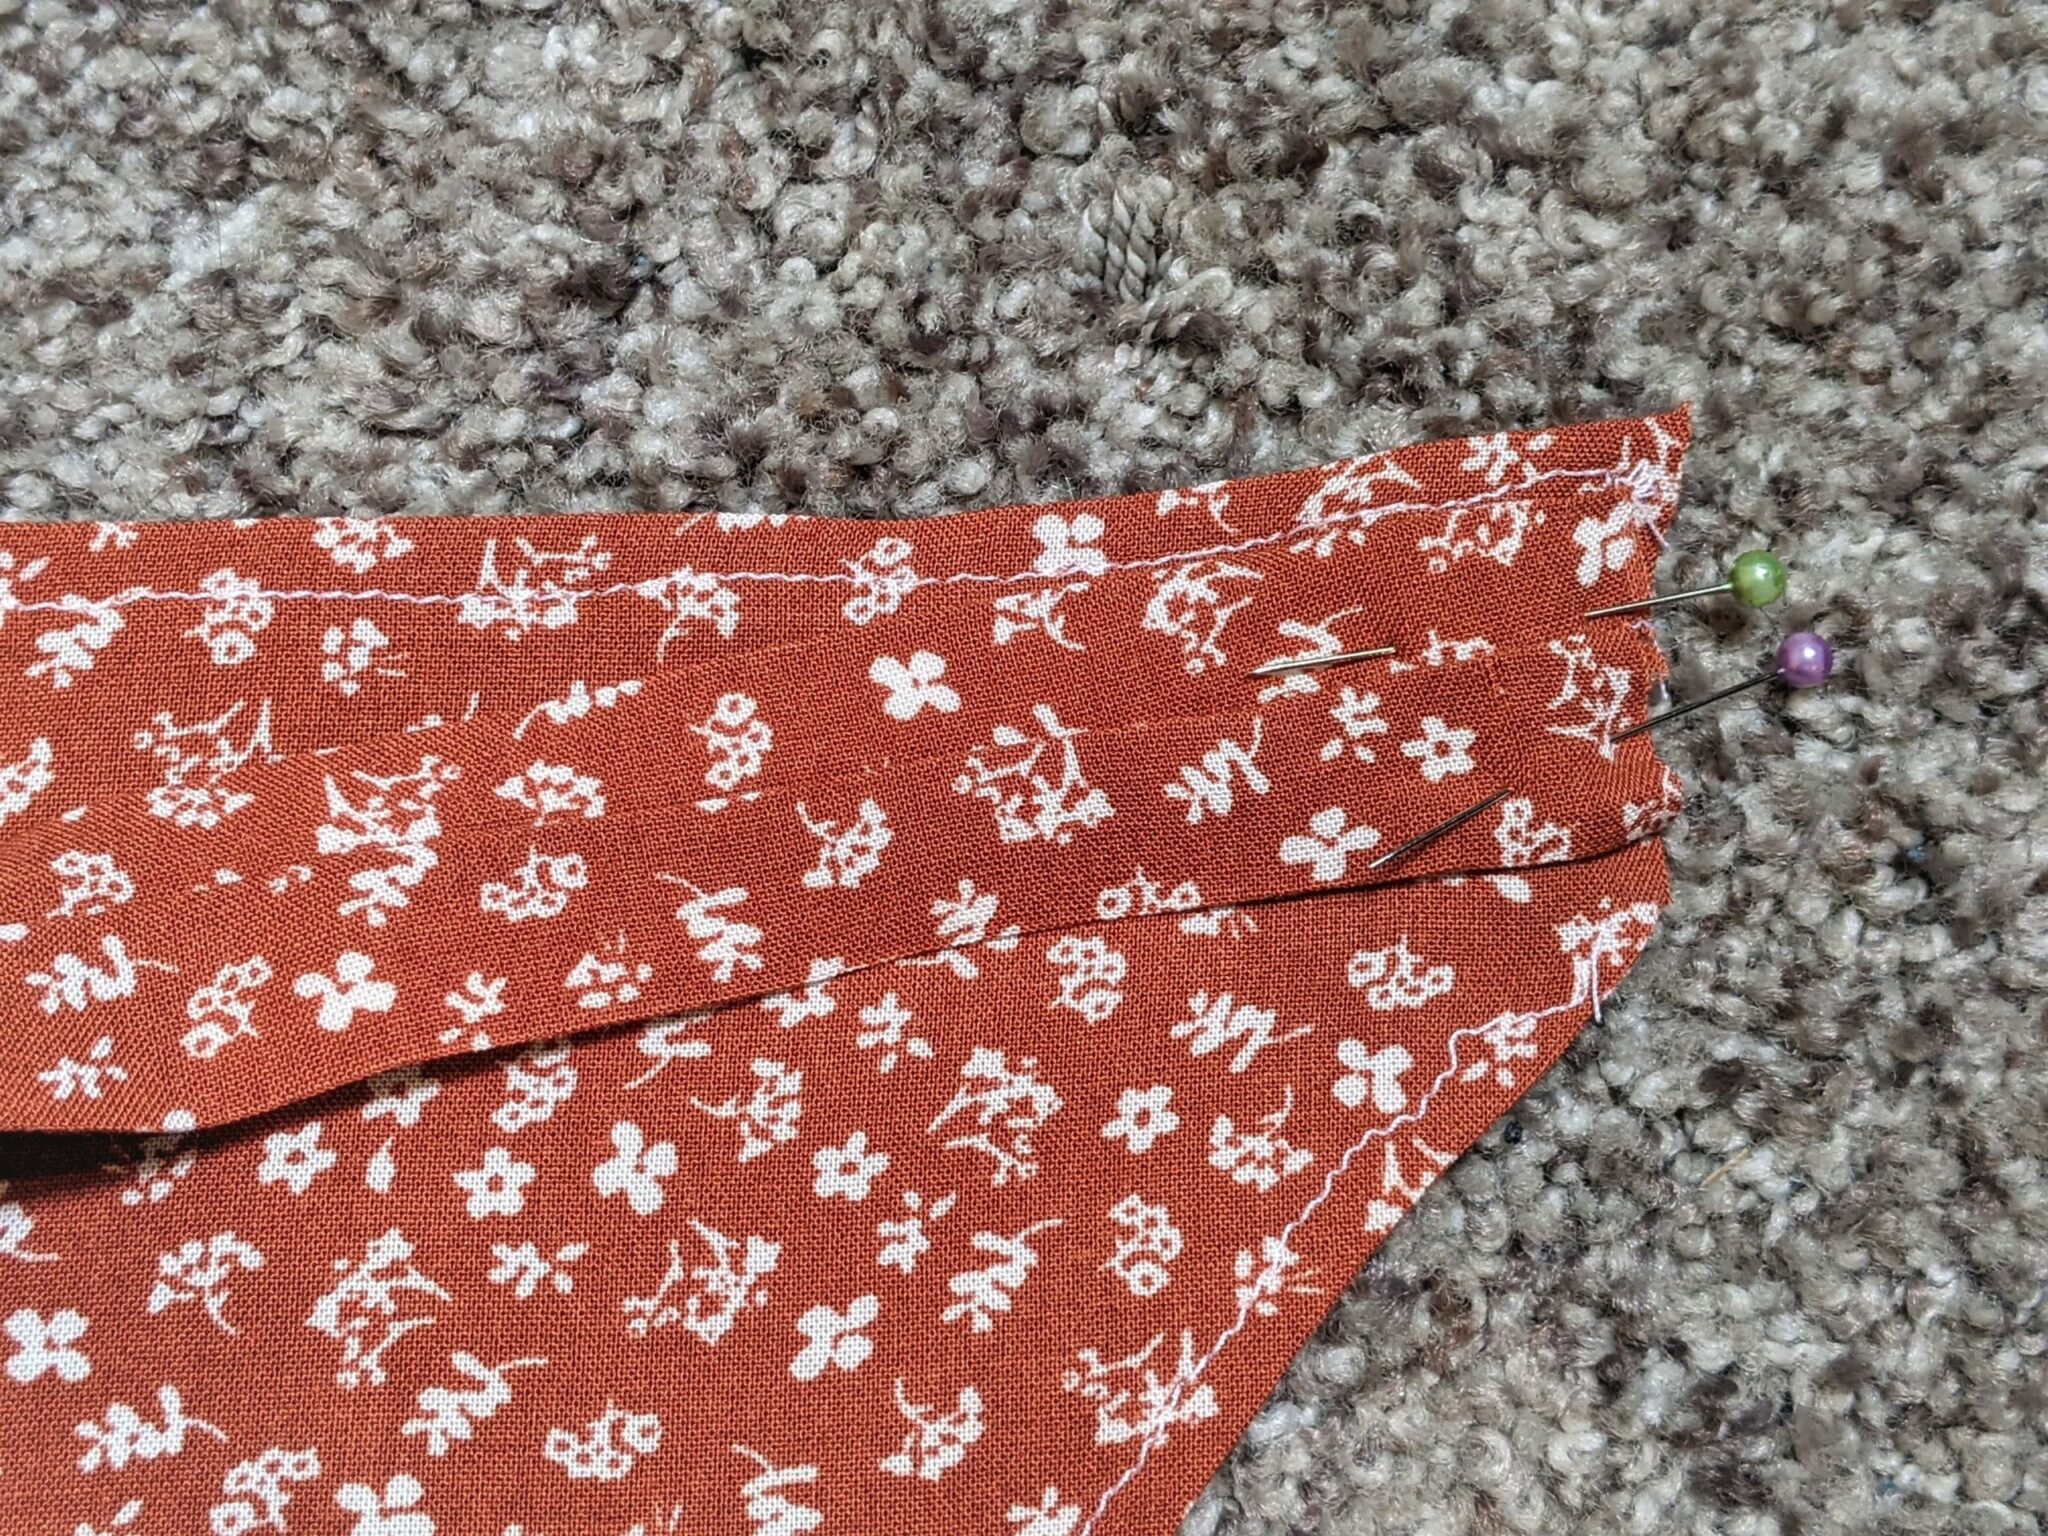
Hem the Edges
- Fold the top edge down 1/4″ and press.
- Fold it down one more time 1/4″ and press then pin in place.
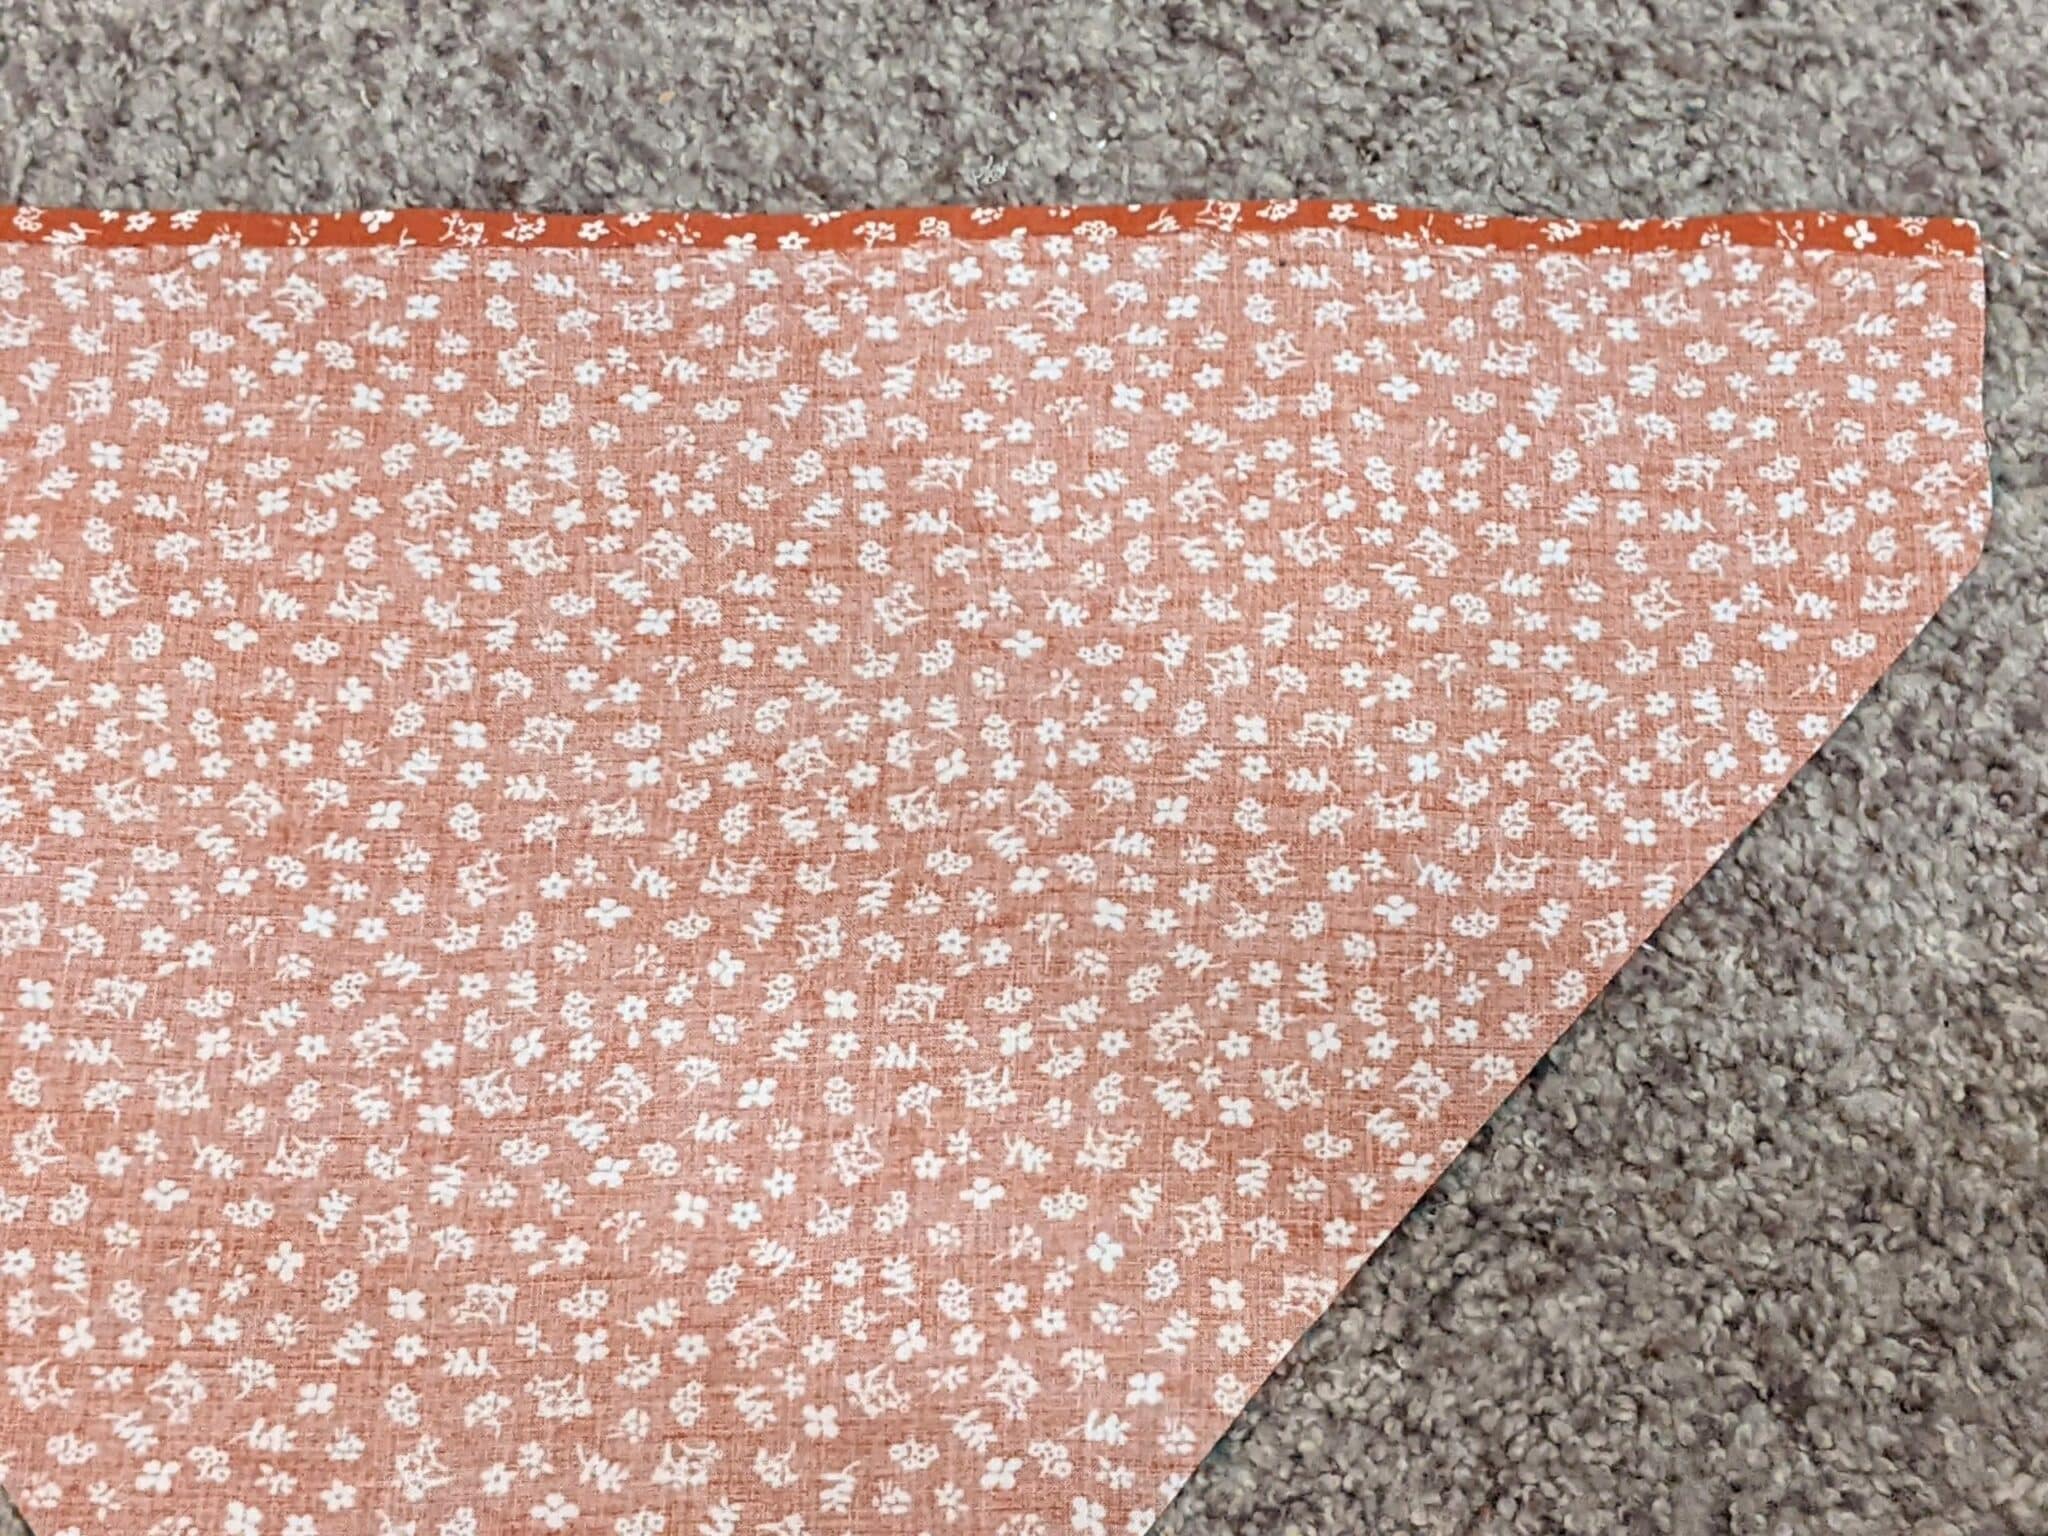
- Repeat the same steps with both of the angled edges, but not the two vertical edges at the top.
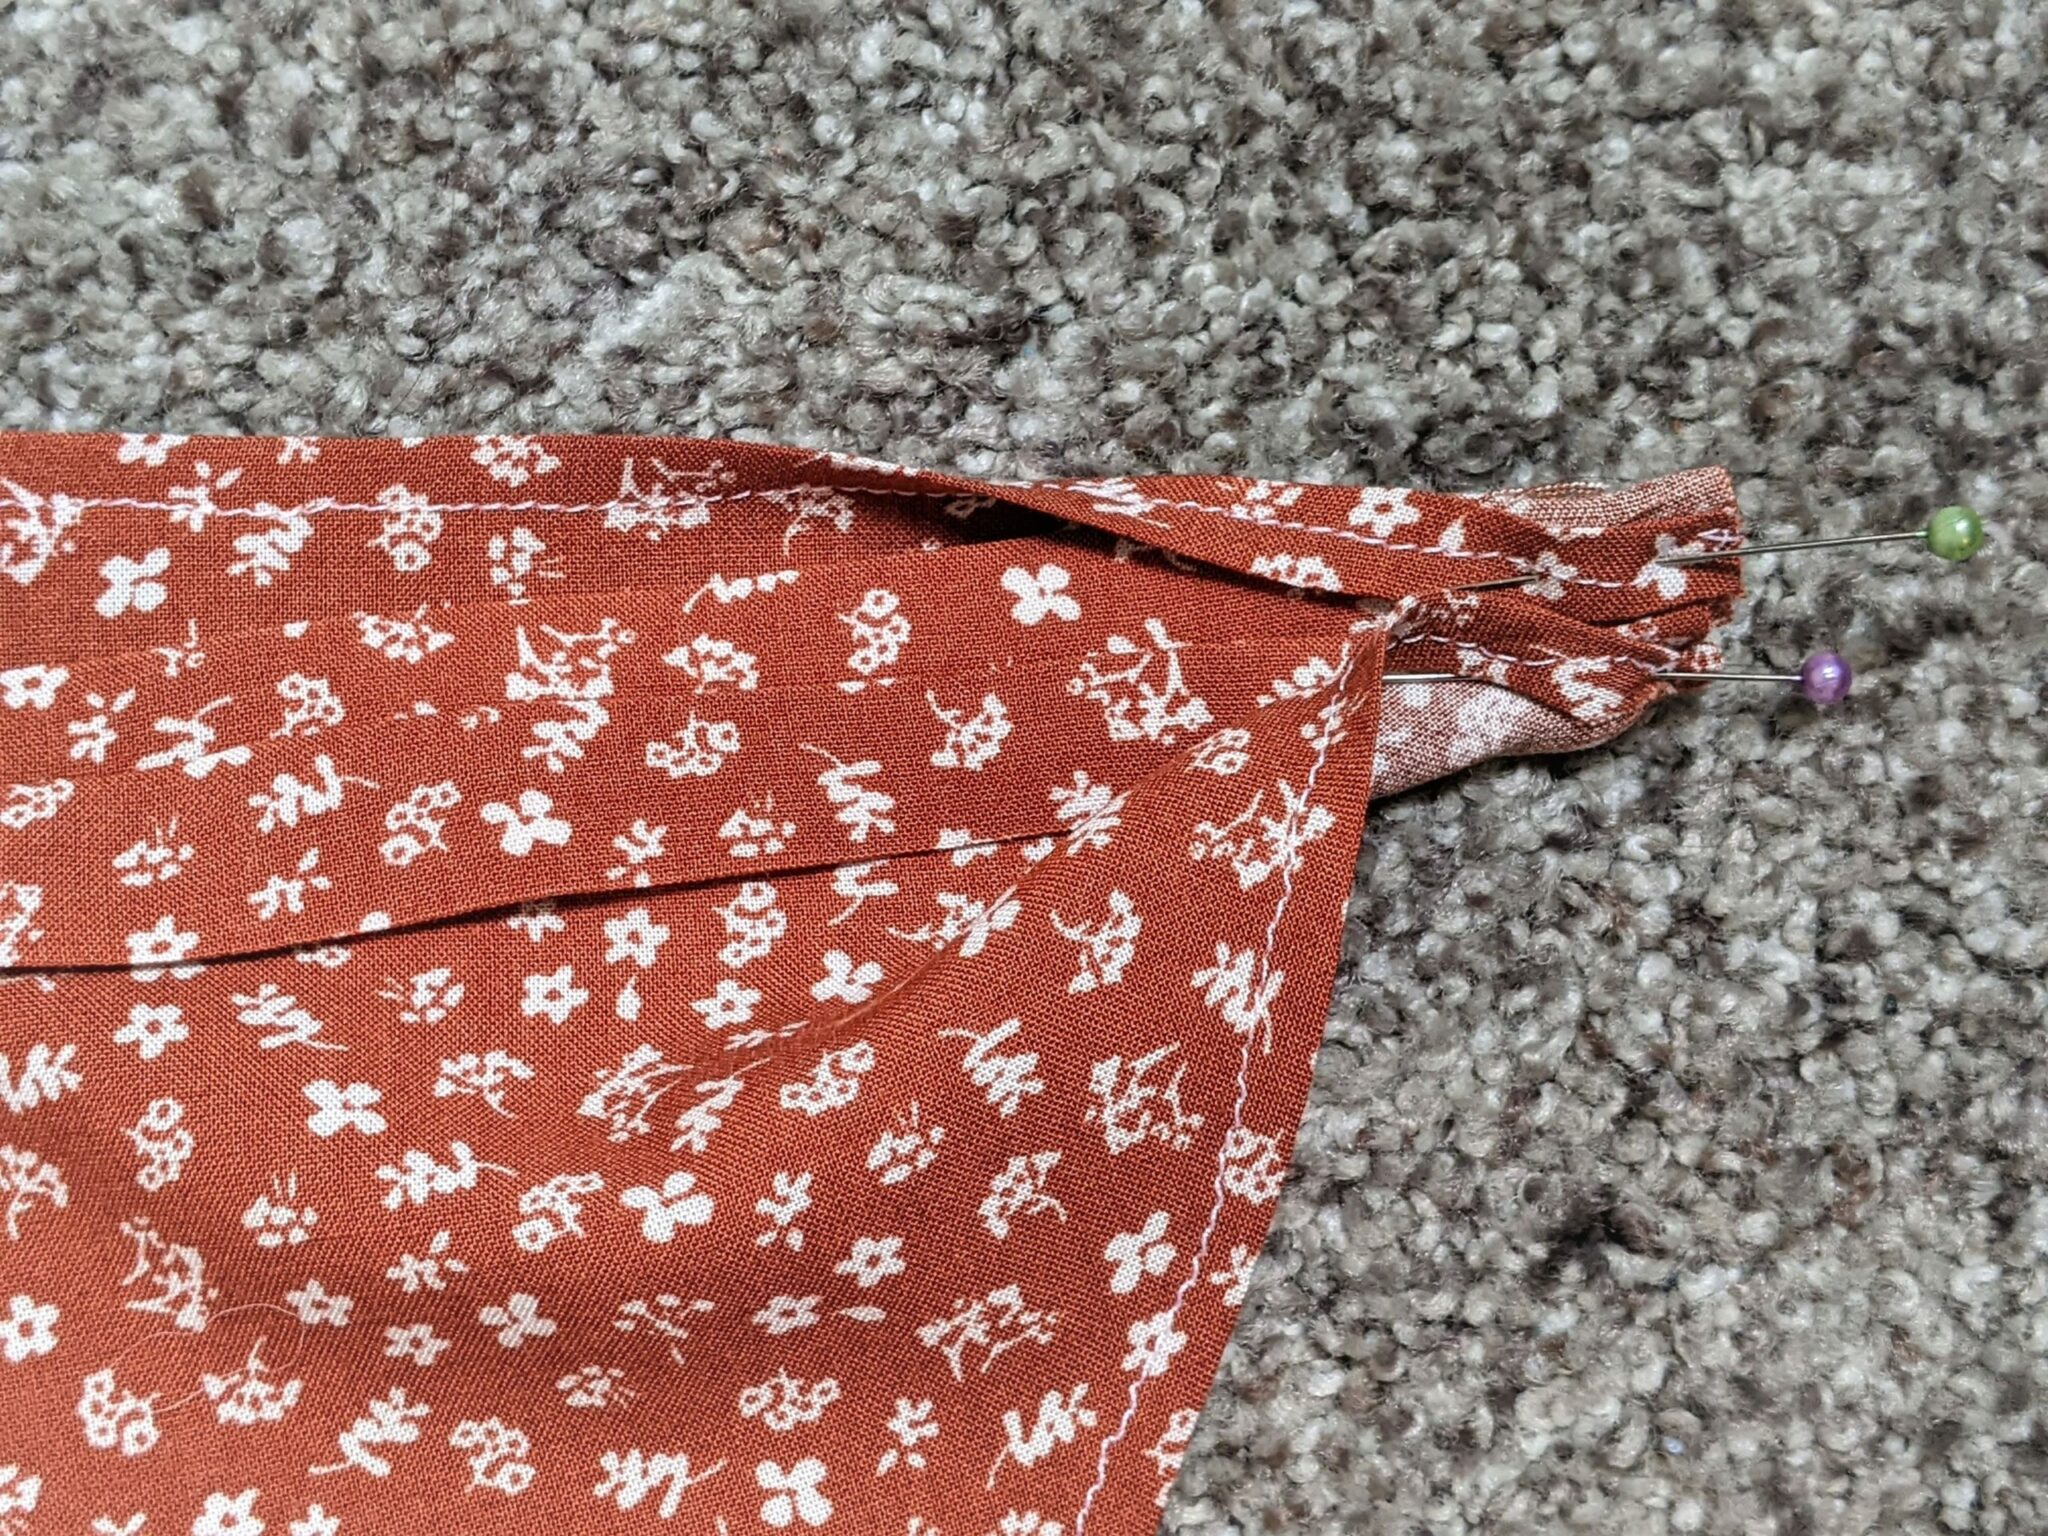
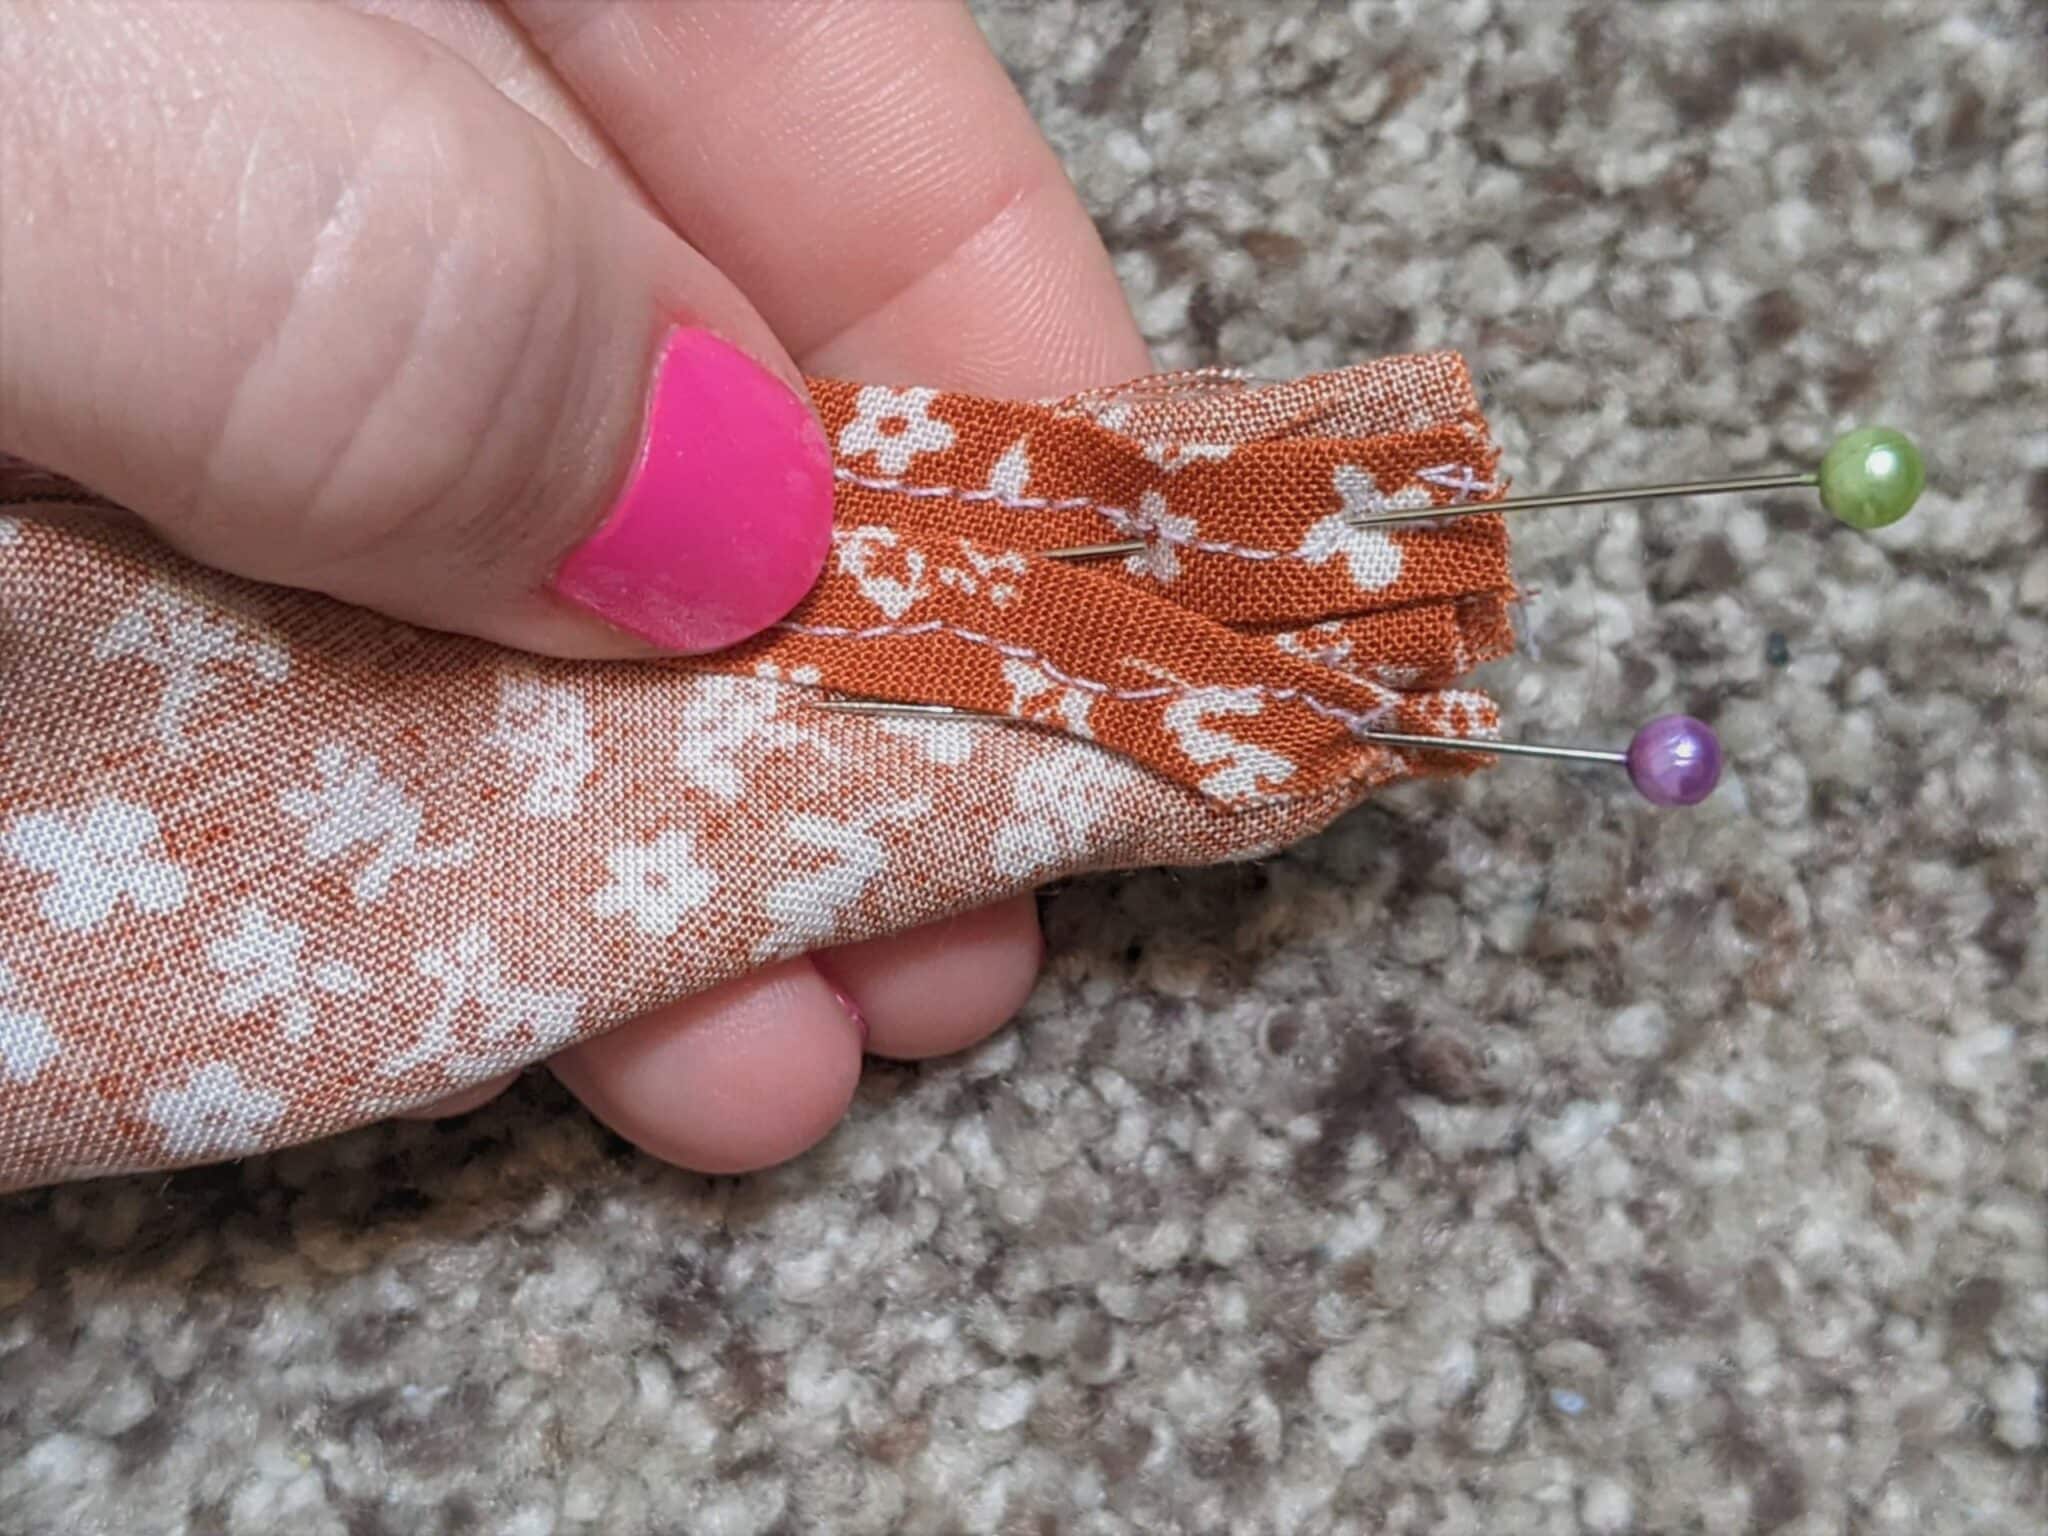
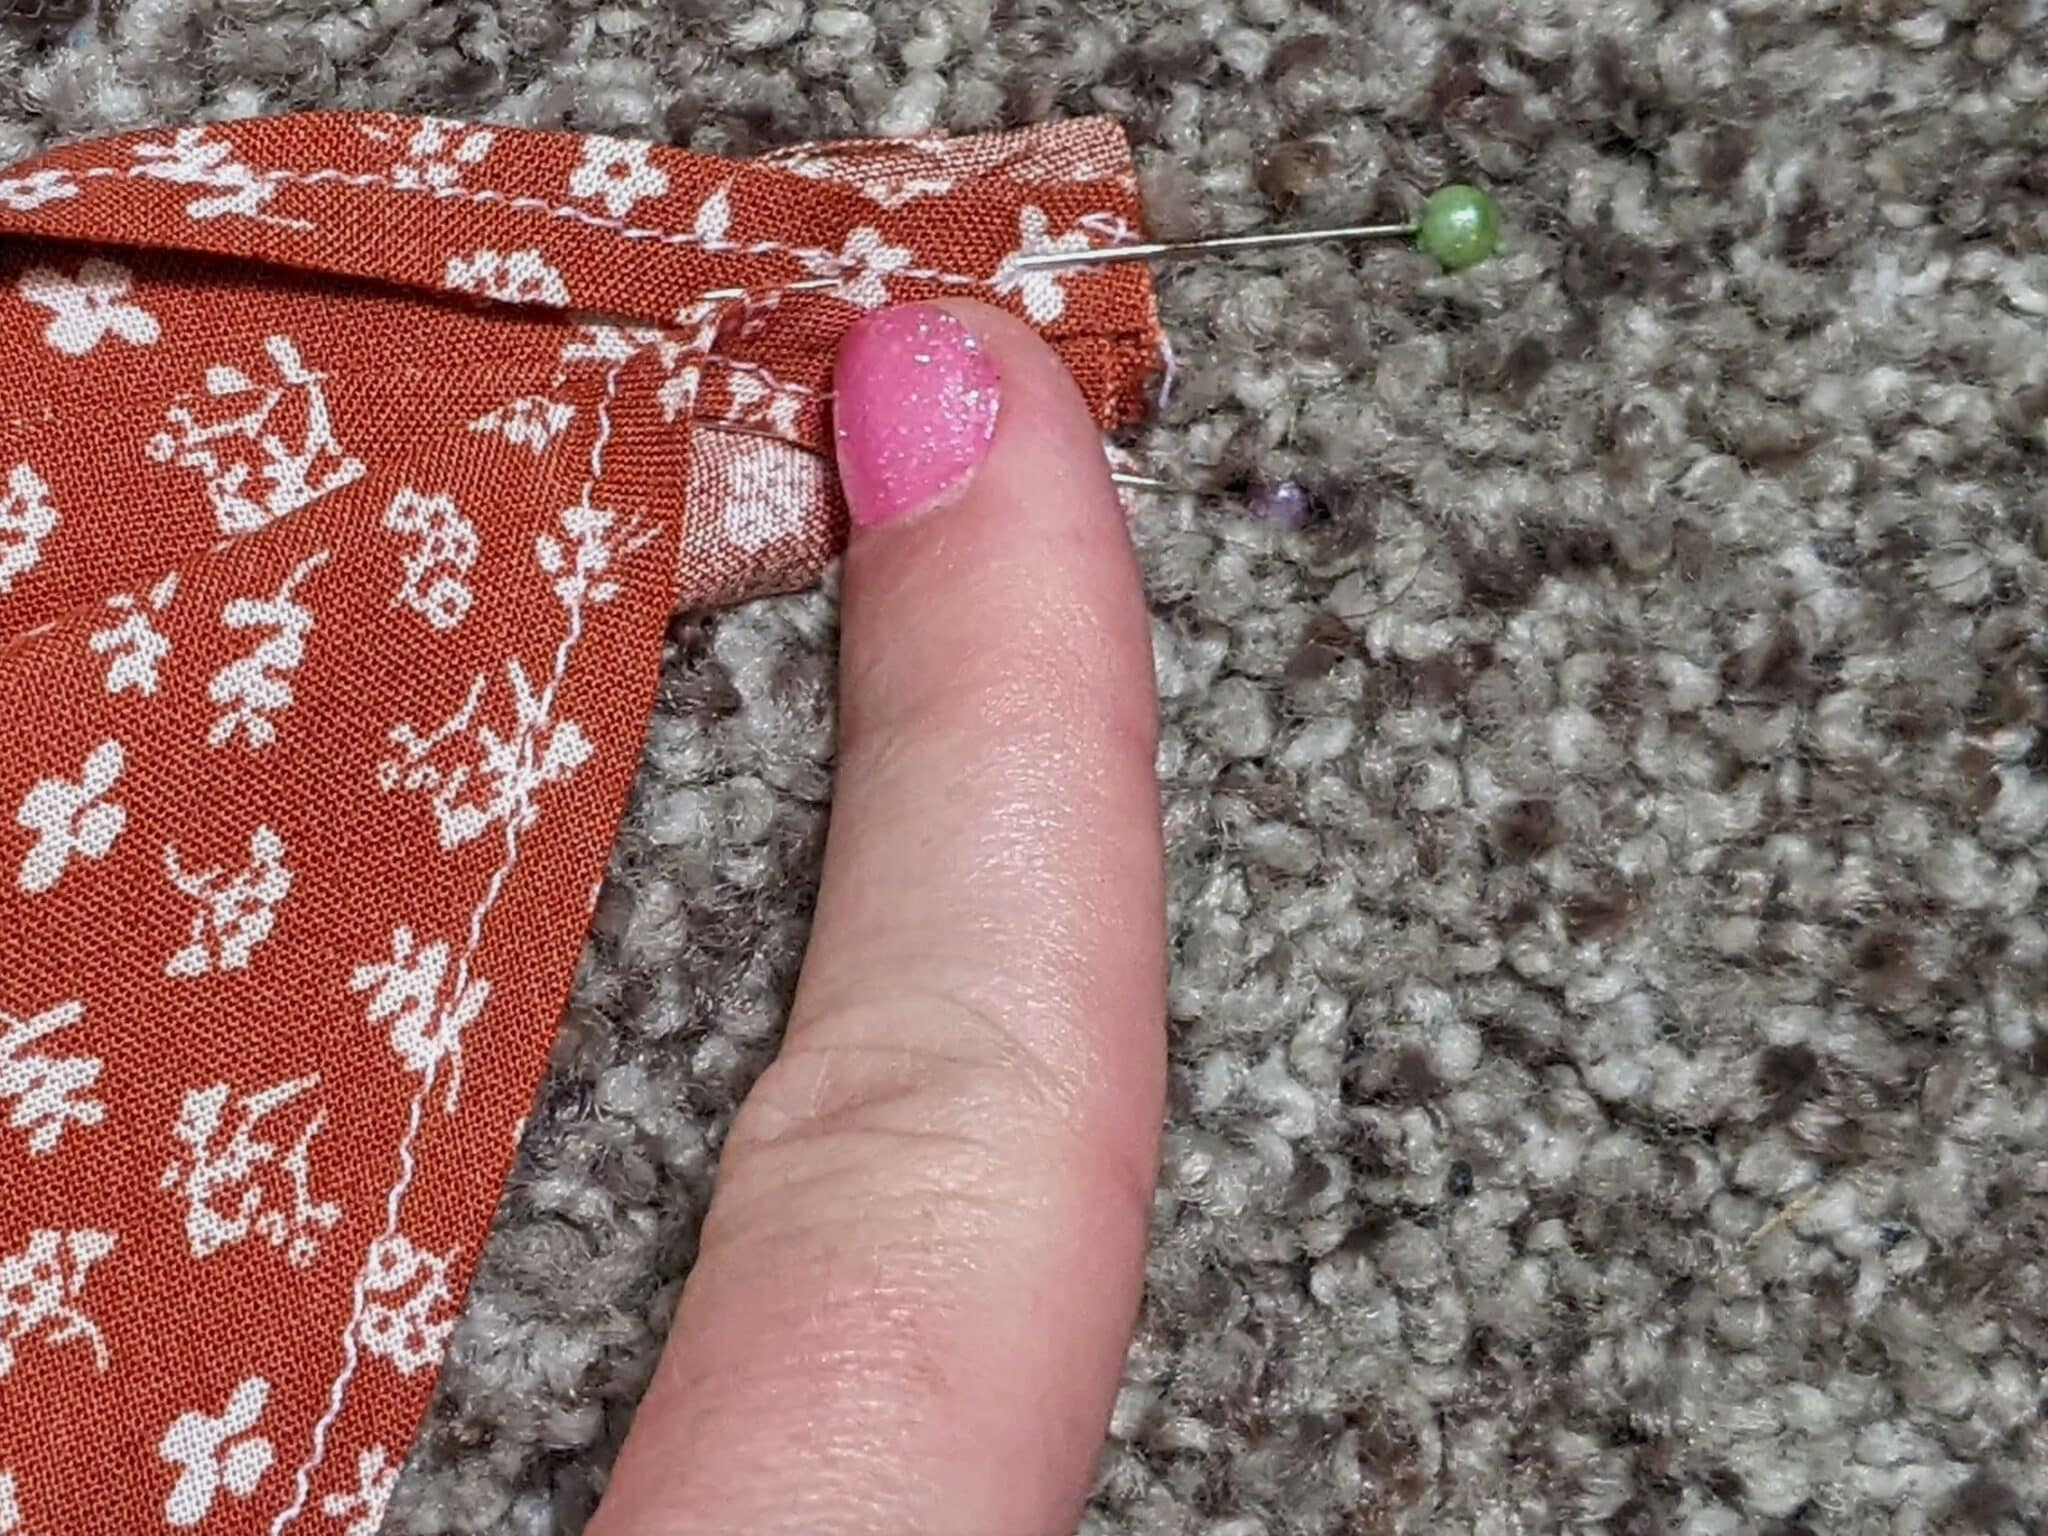
- Once they are both folded, you will have a bit of extra fabric at the point. Trim off the extra, tuck the raw edge under, and pin.
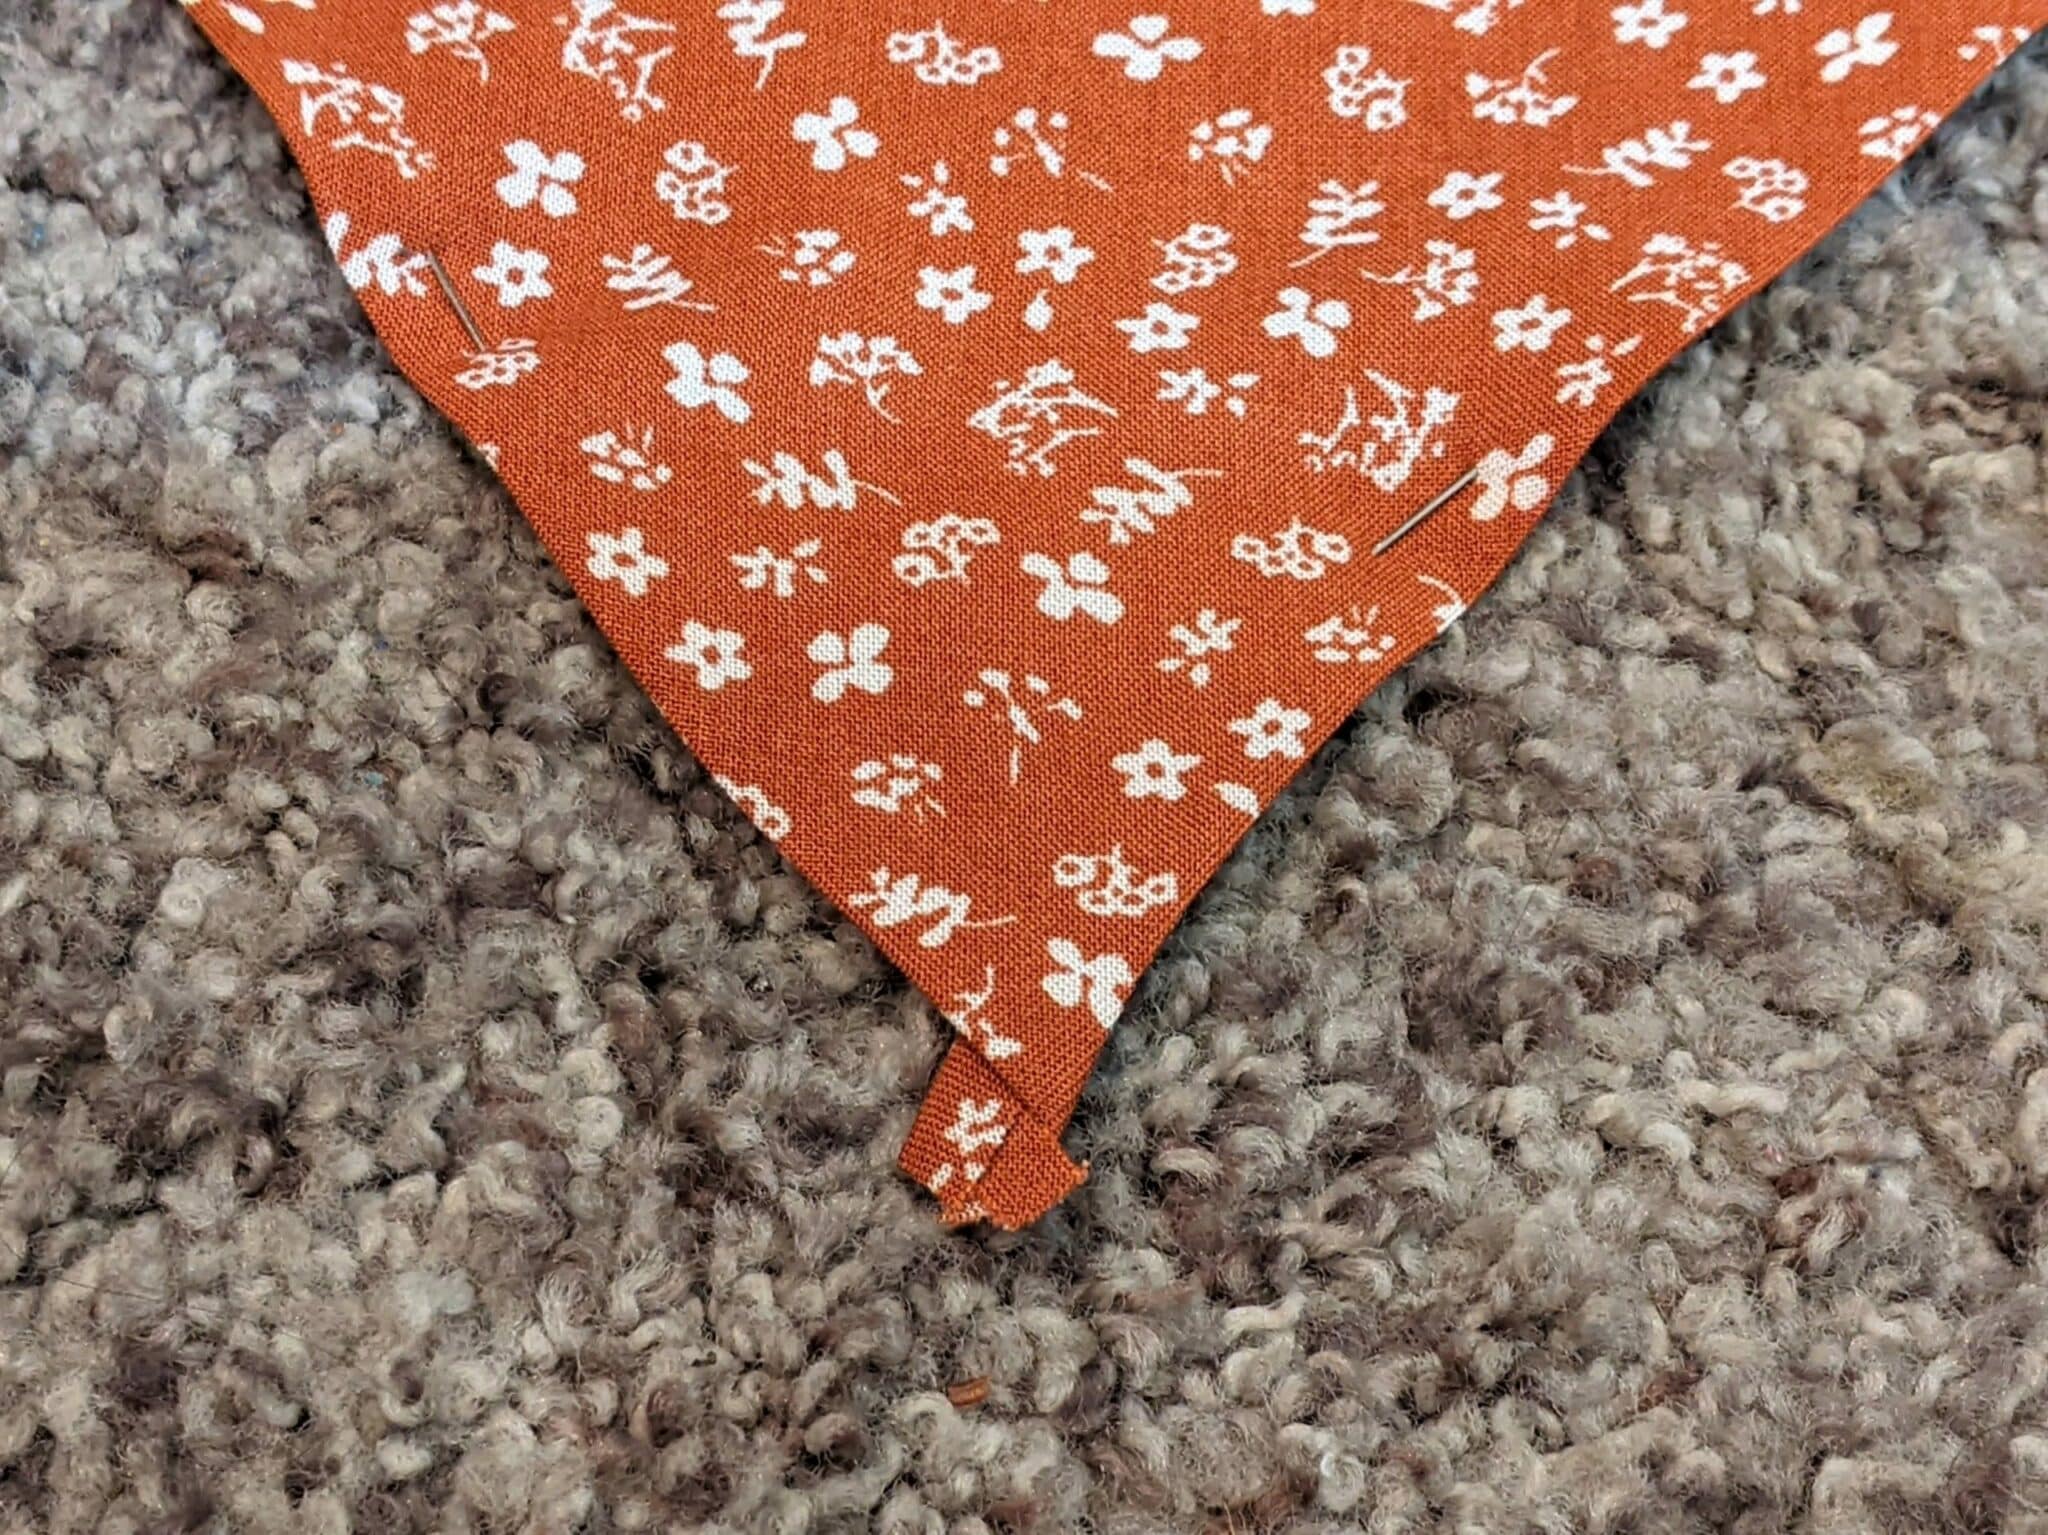
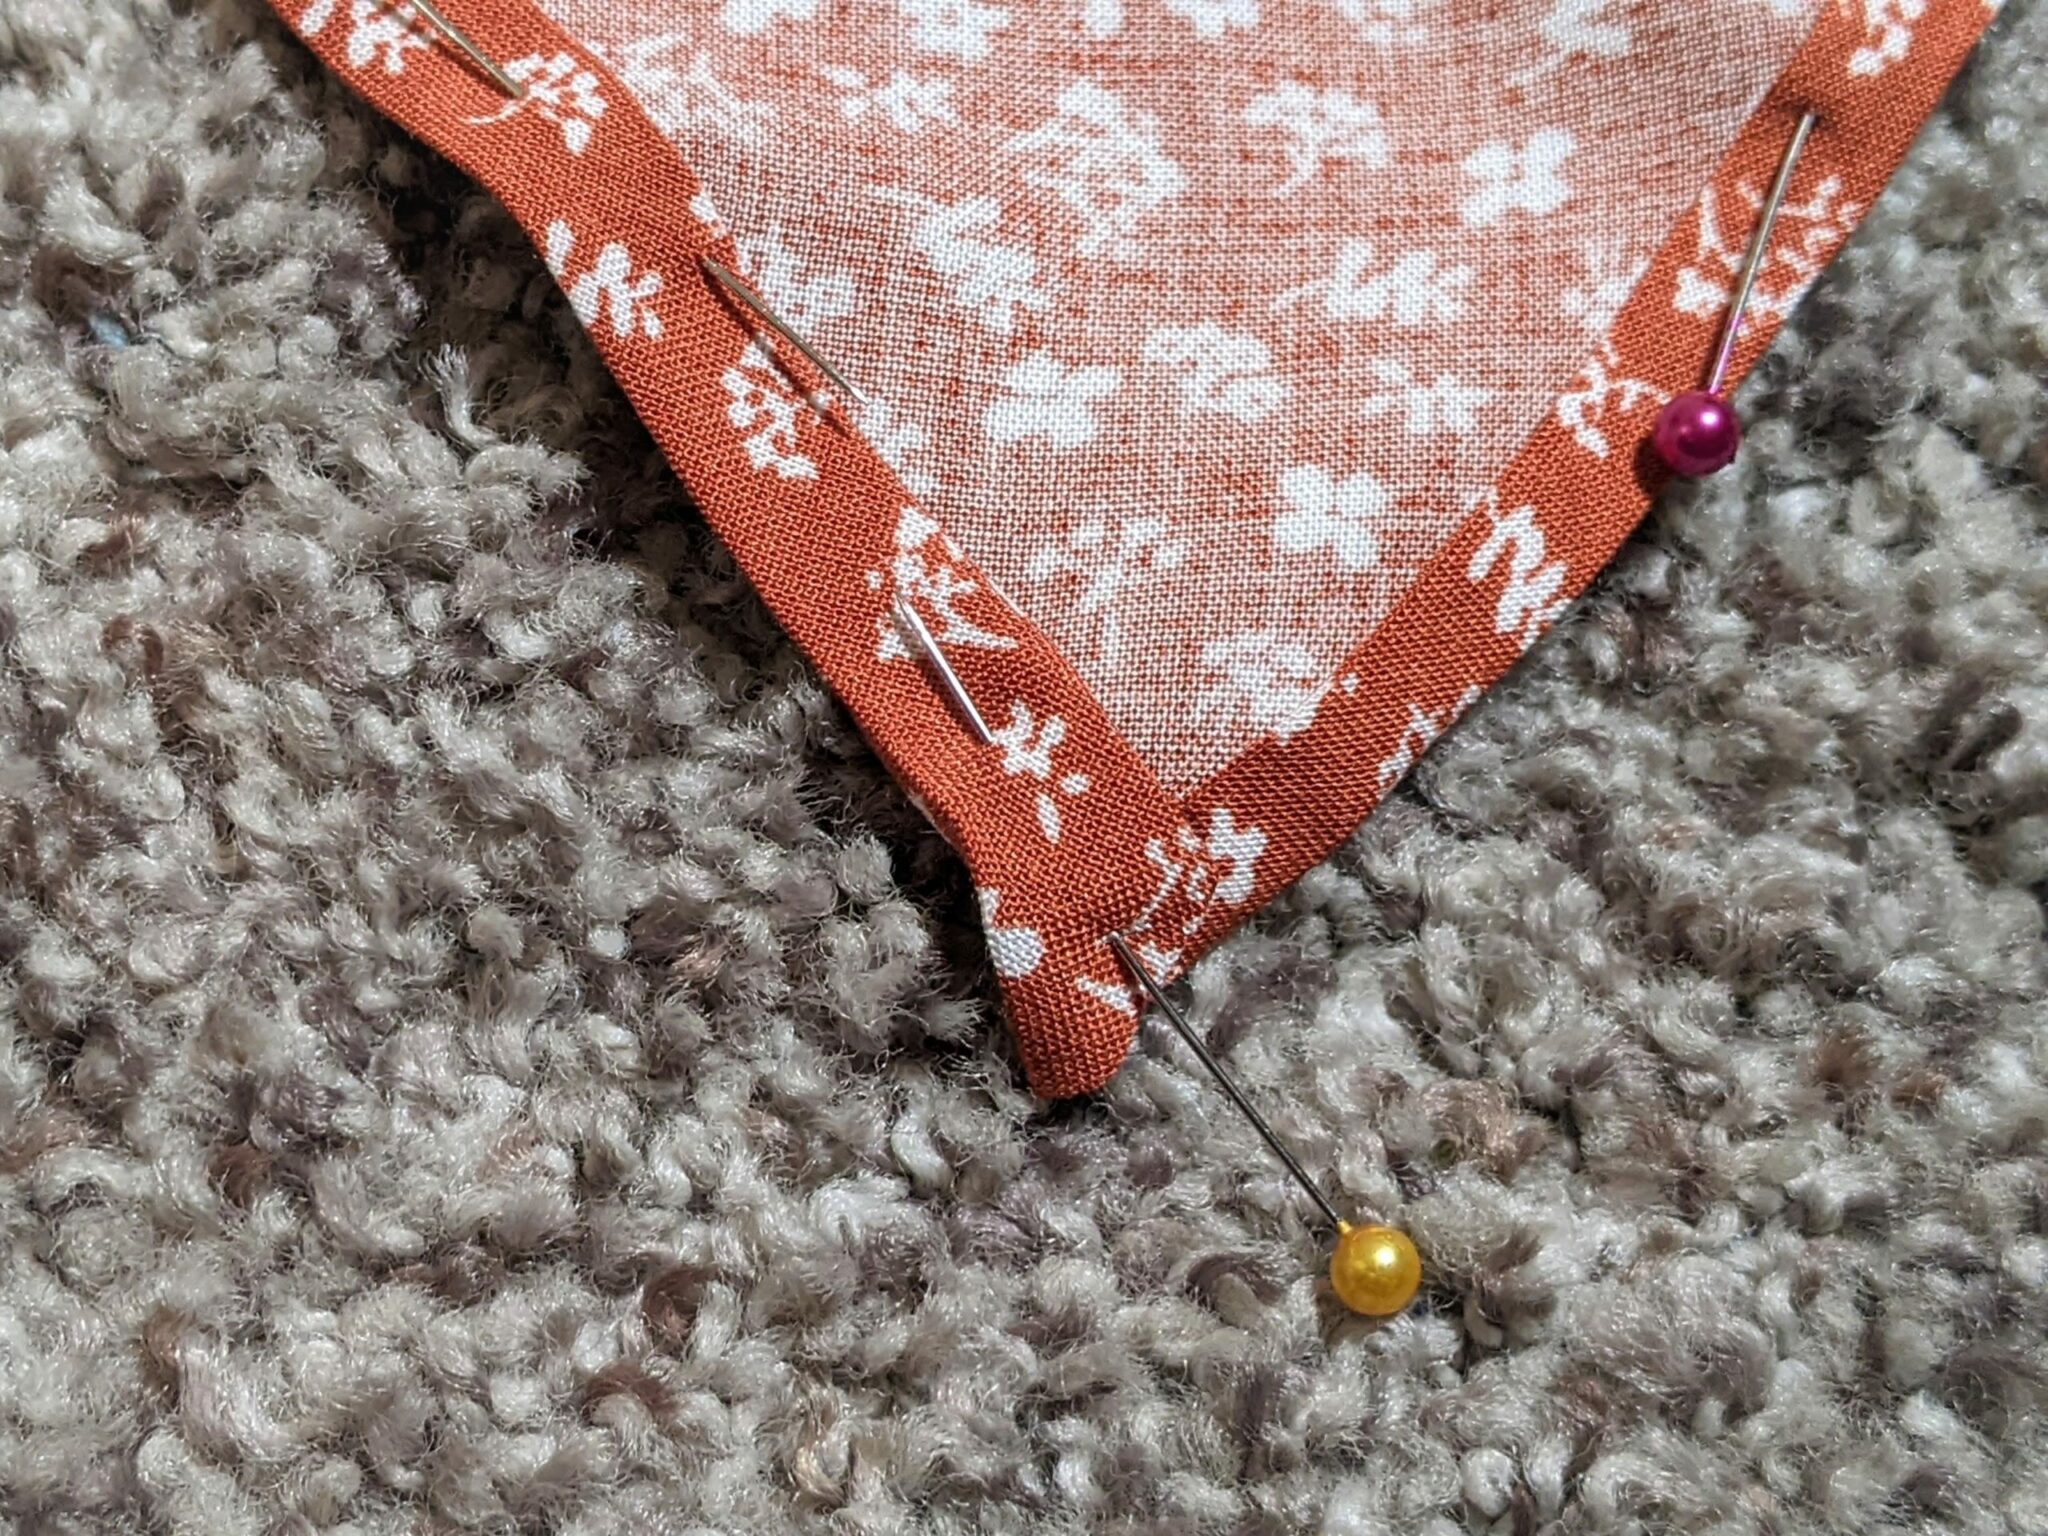
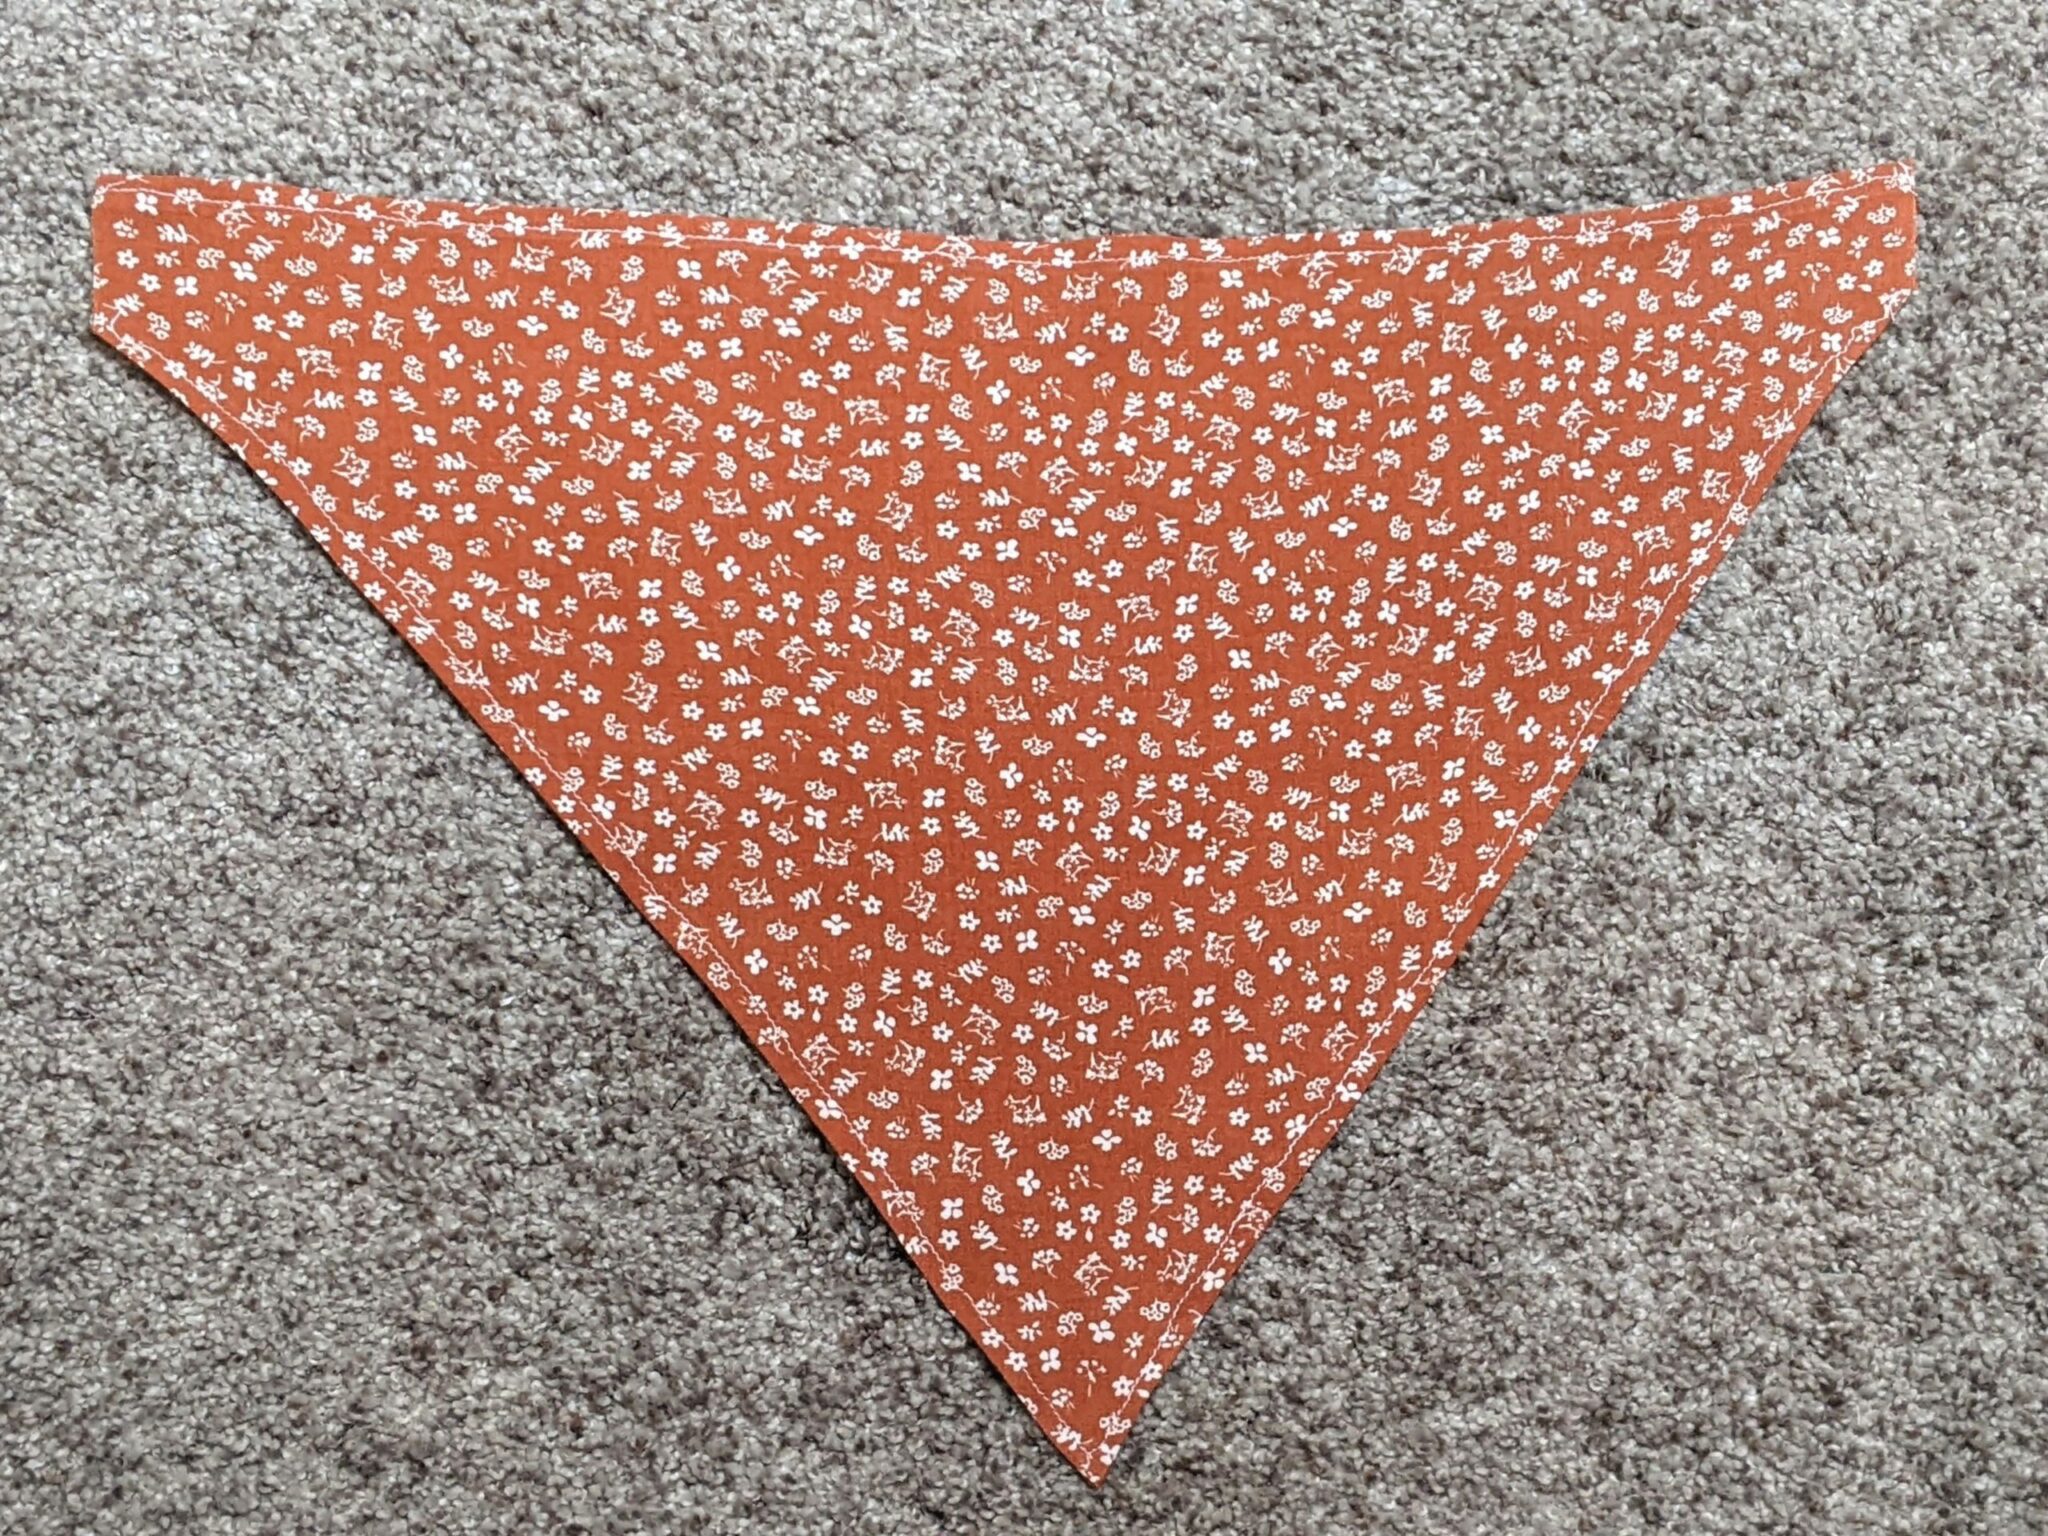
- Topstitch the three pinned sides with a 1/8″ seam allowance, then press.
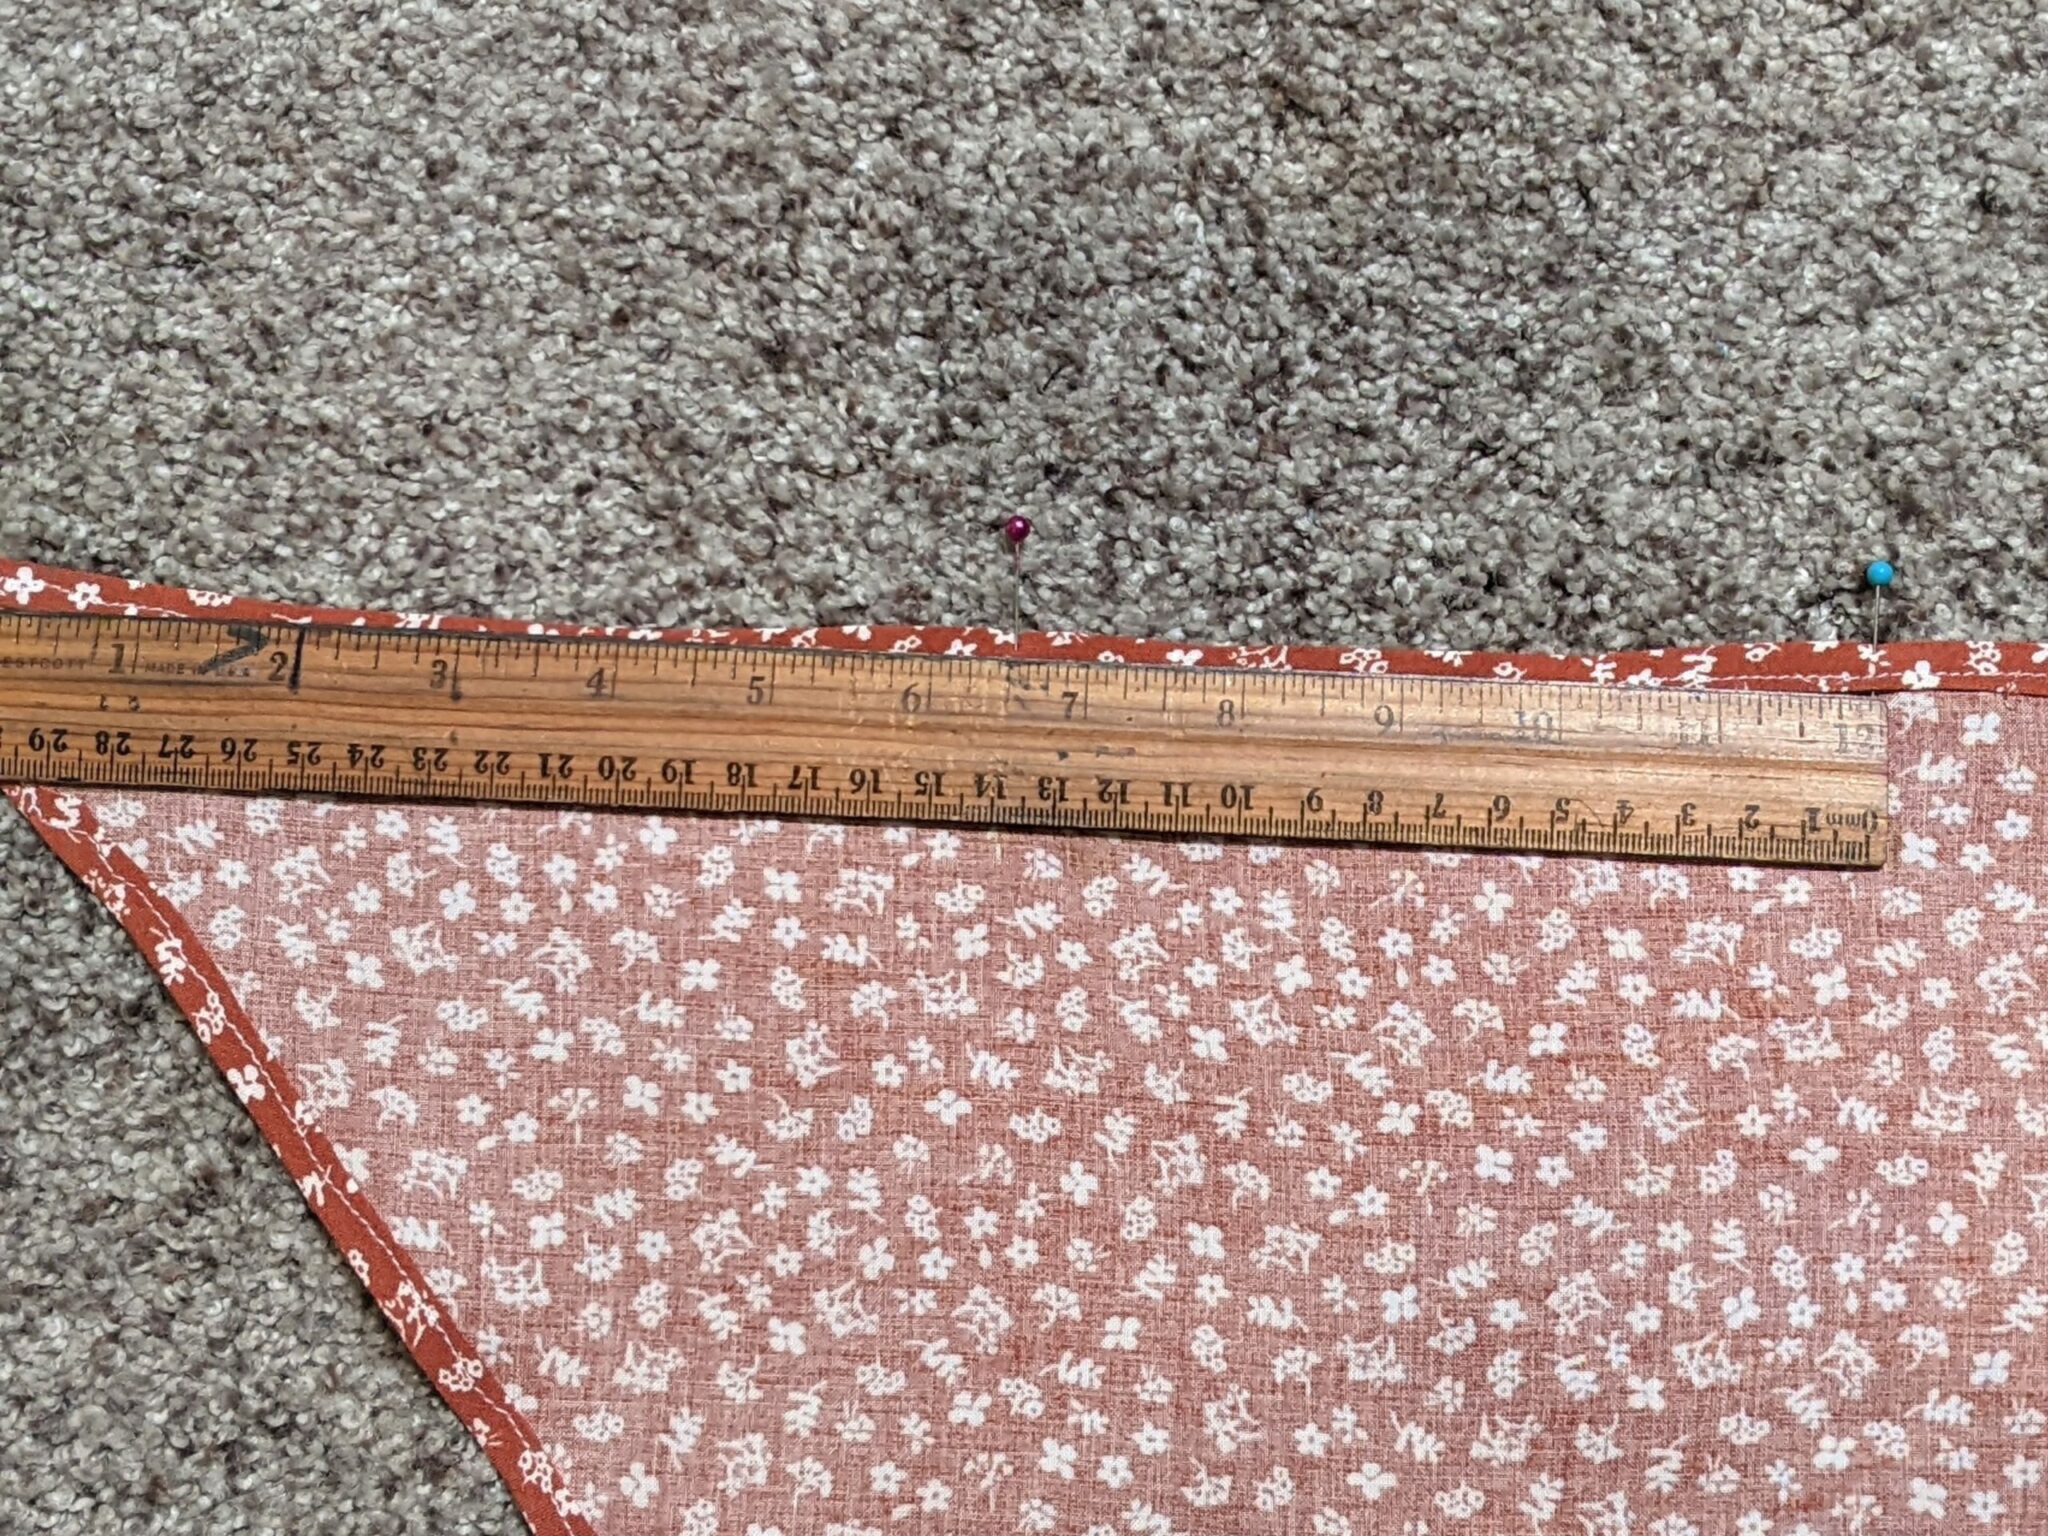
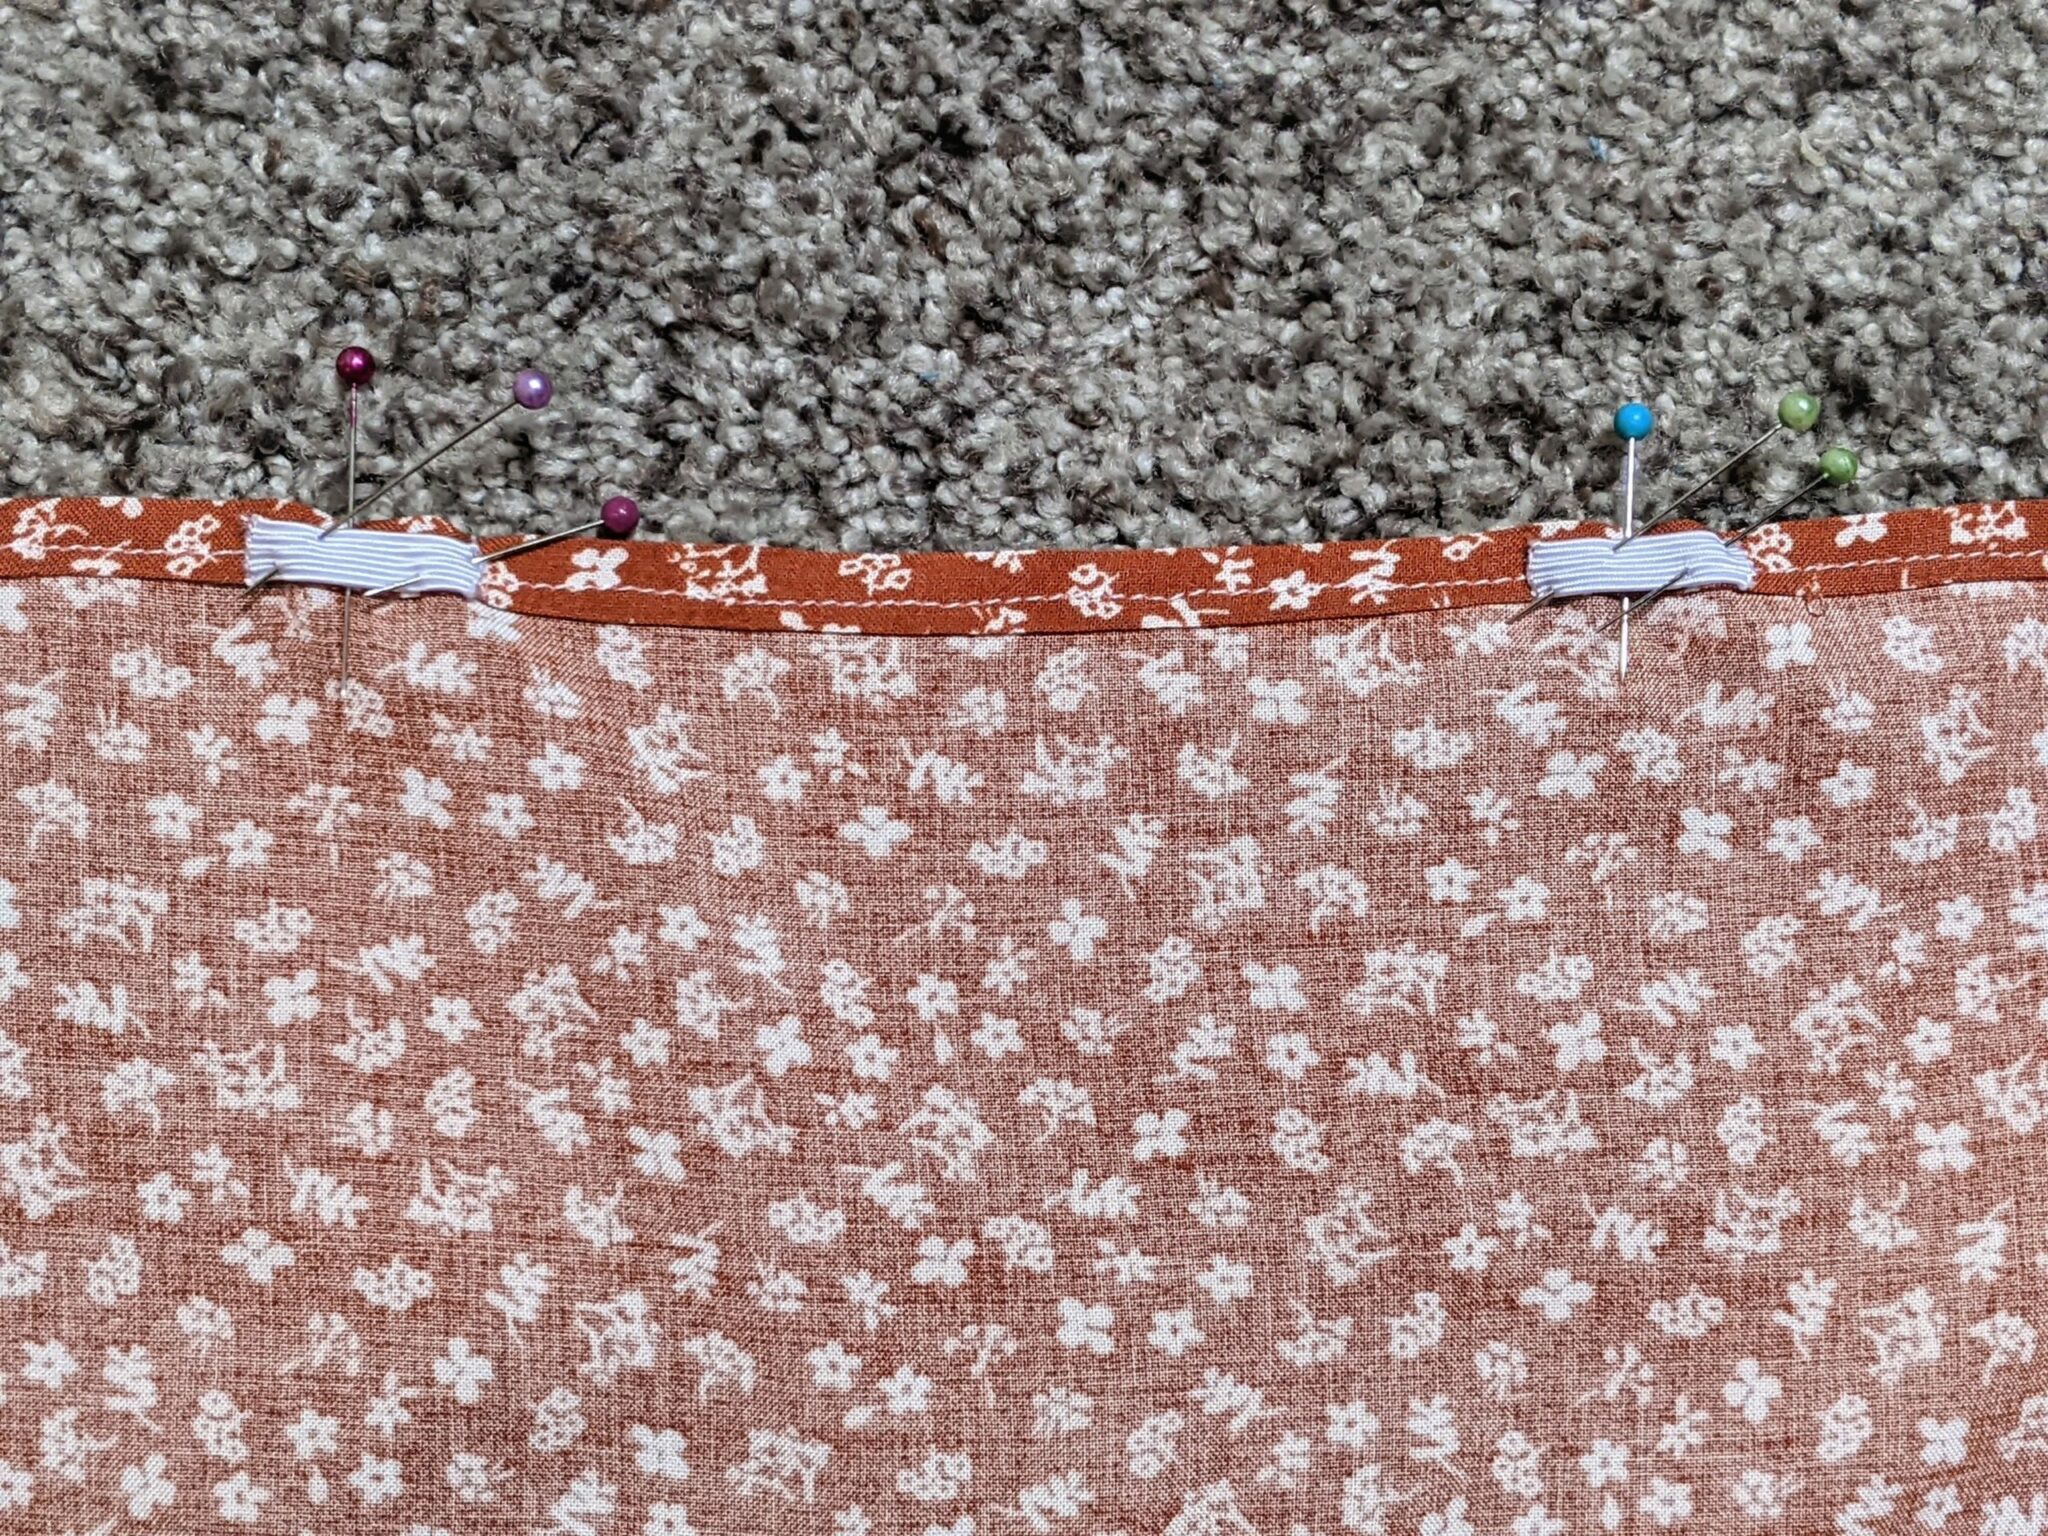
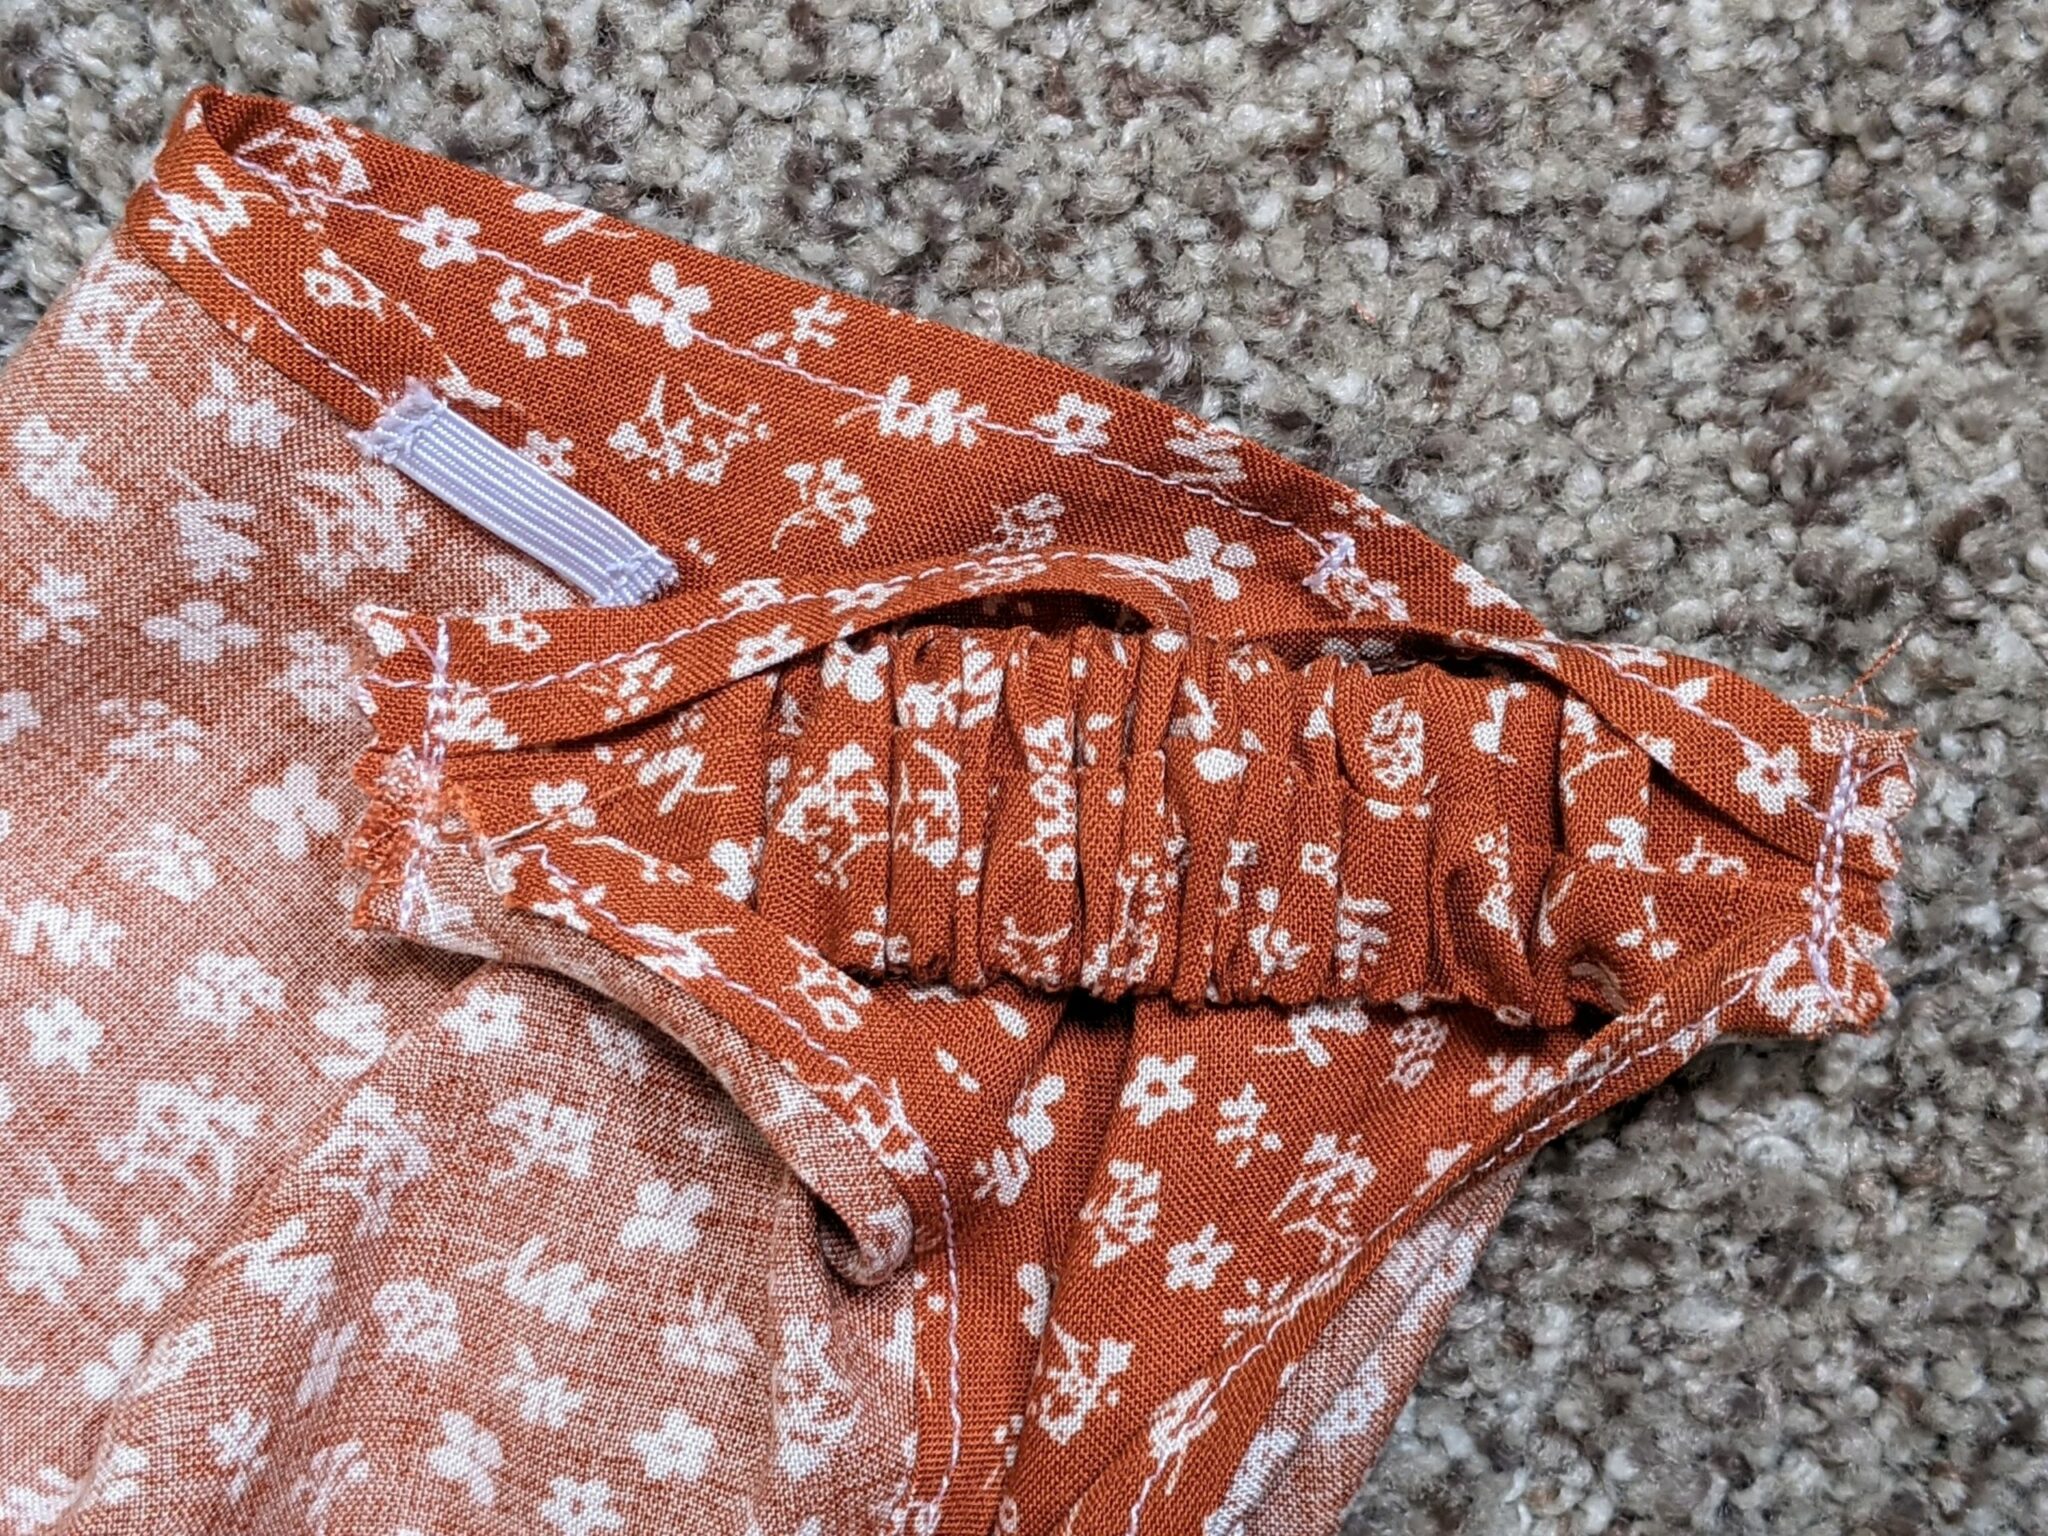
Optional 1/4″ Elastic
These small pieces of elastic are sewn along the underside of the front edge to be able to secure the front of the bandana with bobby pins where you won’t see them.
- On the wrong side of the bandana, measure 6.5″ in from the outside edge along the top.
- Place pins on both sides.
- Take your 1/4″ elastic pieces, center them on your pinned points then pin them in place.
- Sew vertically along each outer edge of the elastic pieces. (Cut off any excess elastic if needed.)
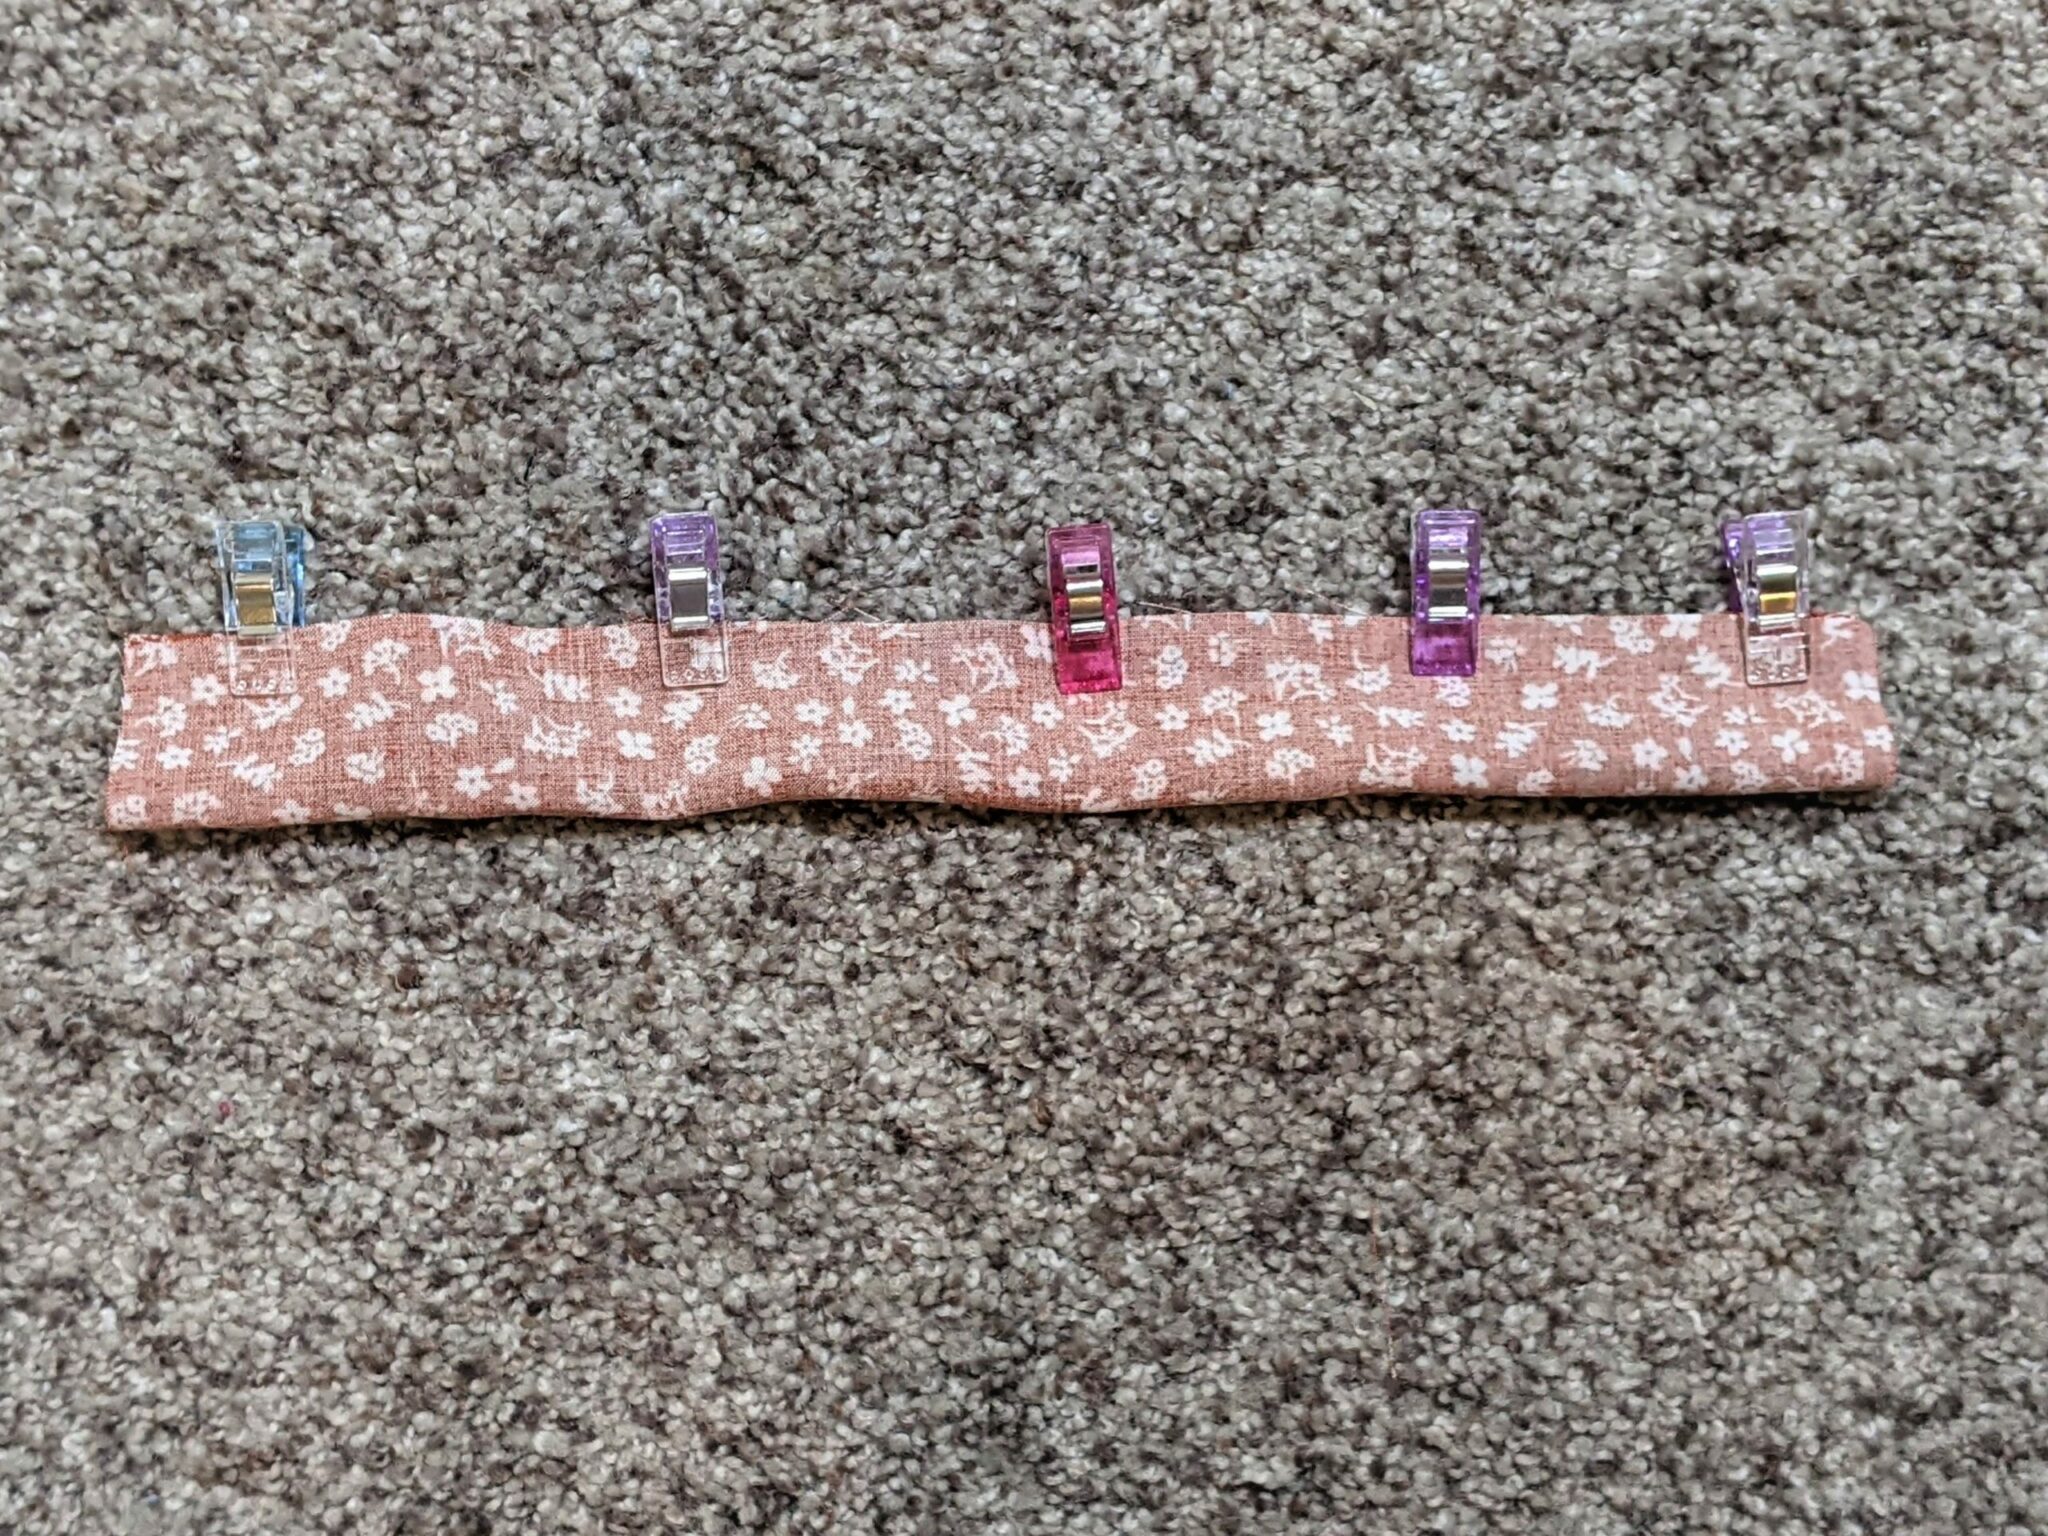
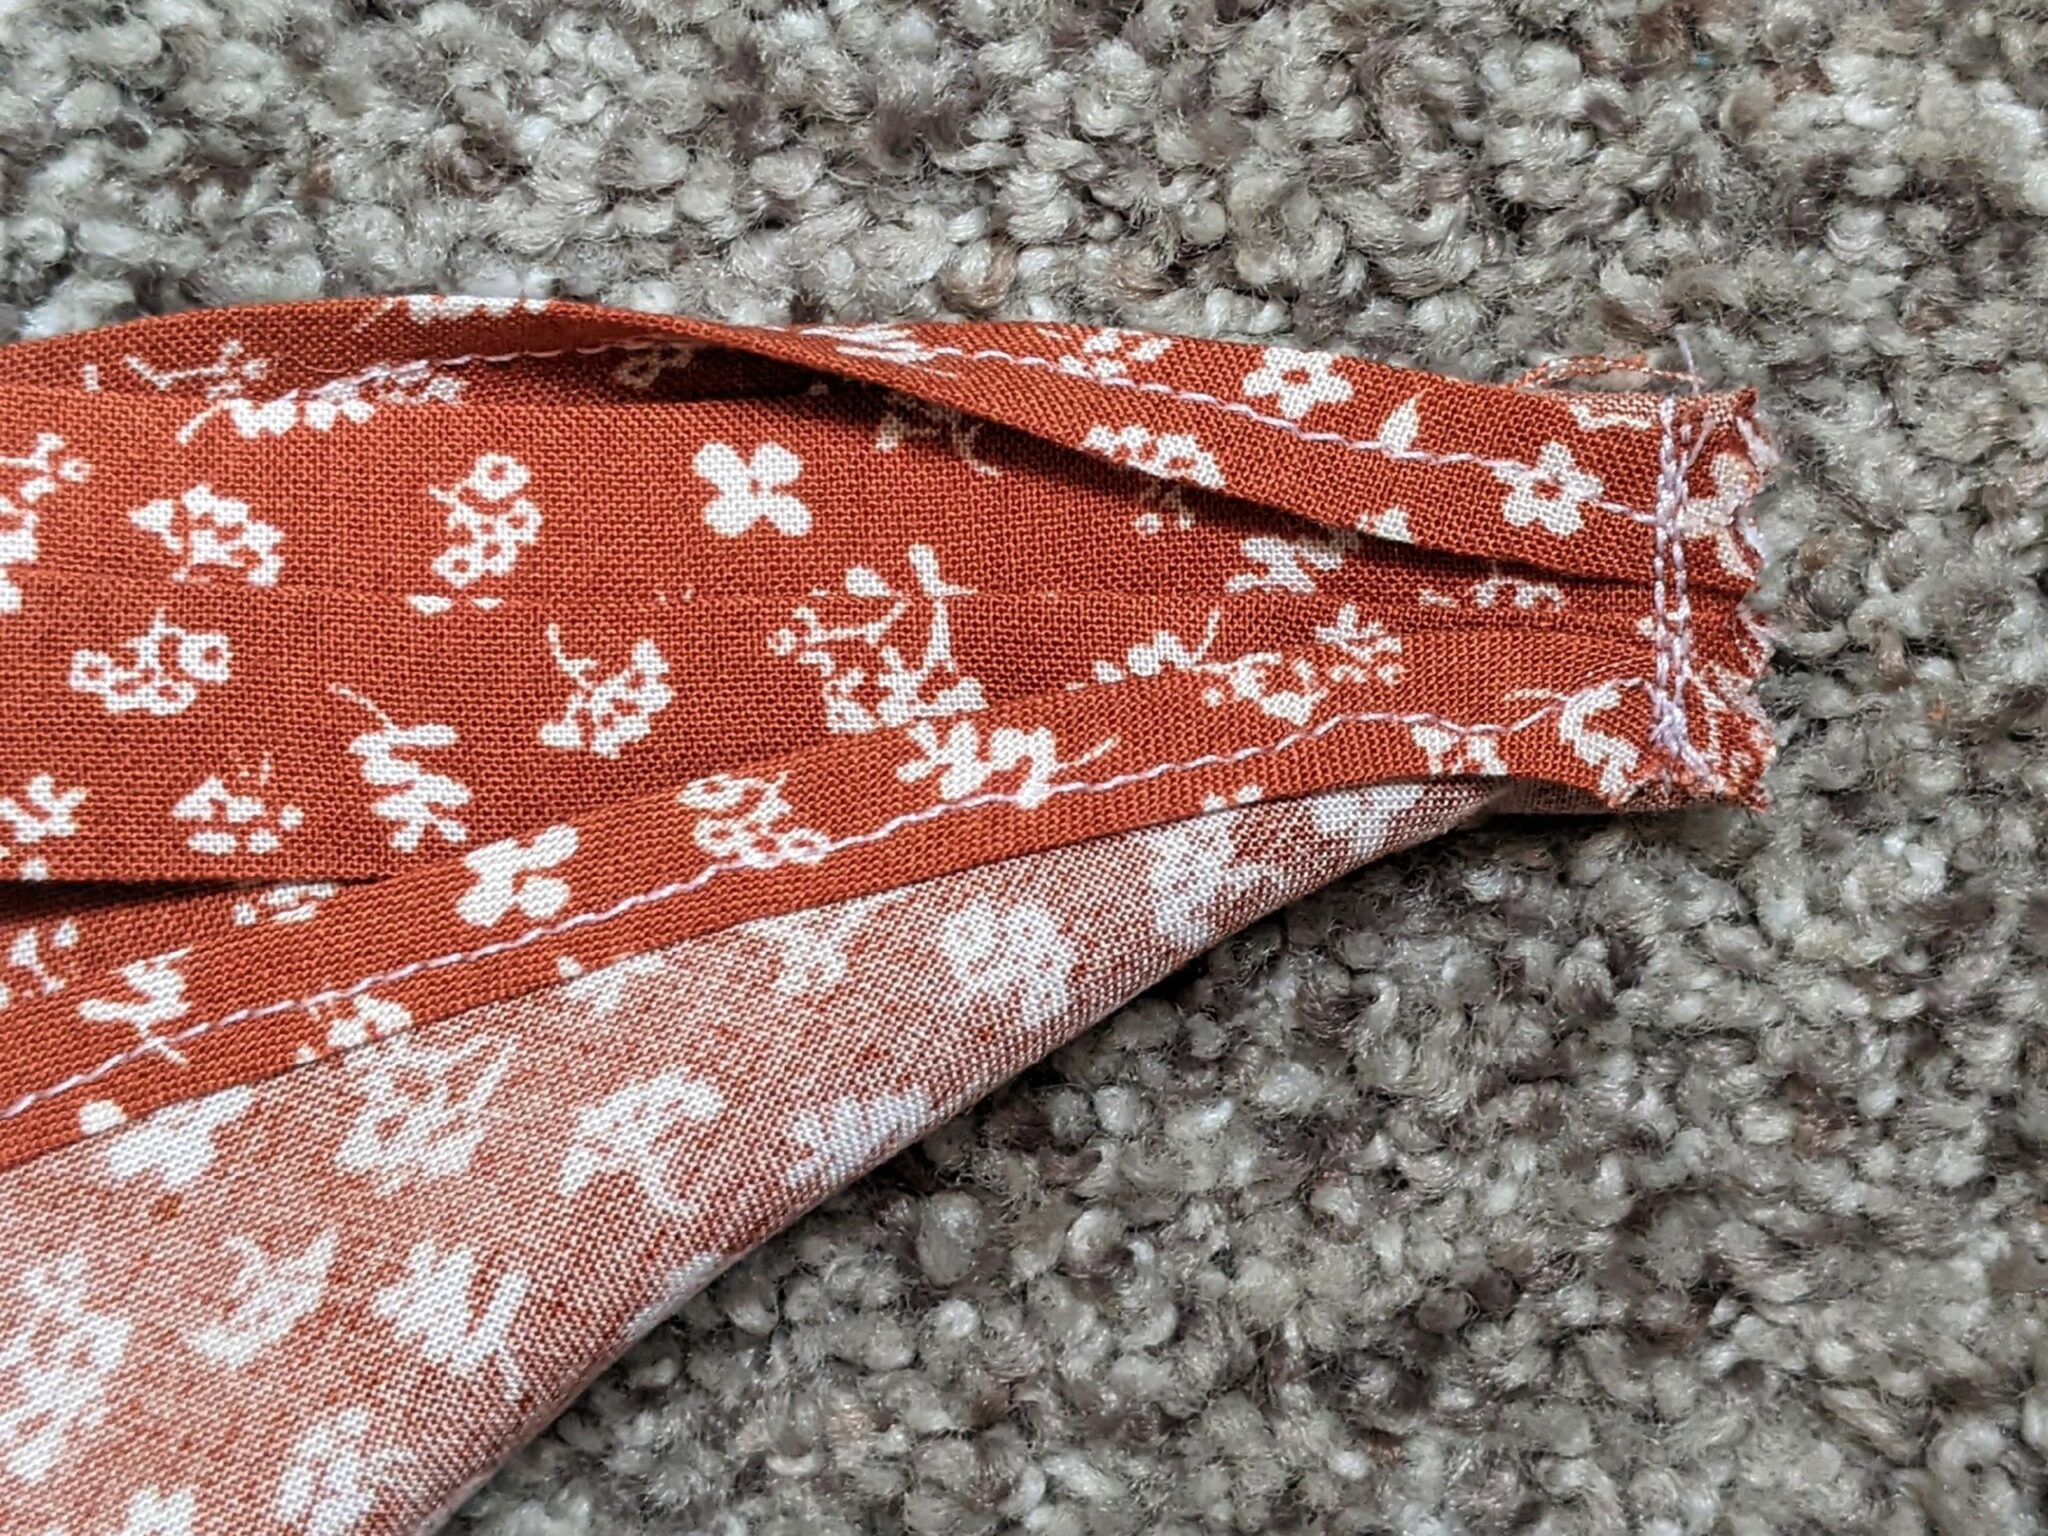
Time to Make the Strap
- Take your smaller rectangle and fold it in half lengthwise right sides together and pin.
- Sew along the pinned edge with a 1/4″ seam allowance.
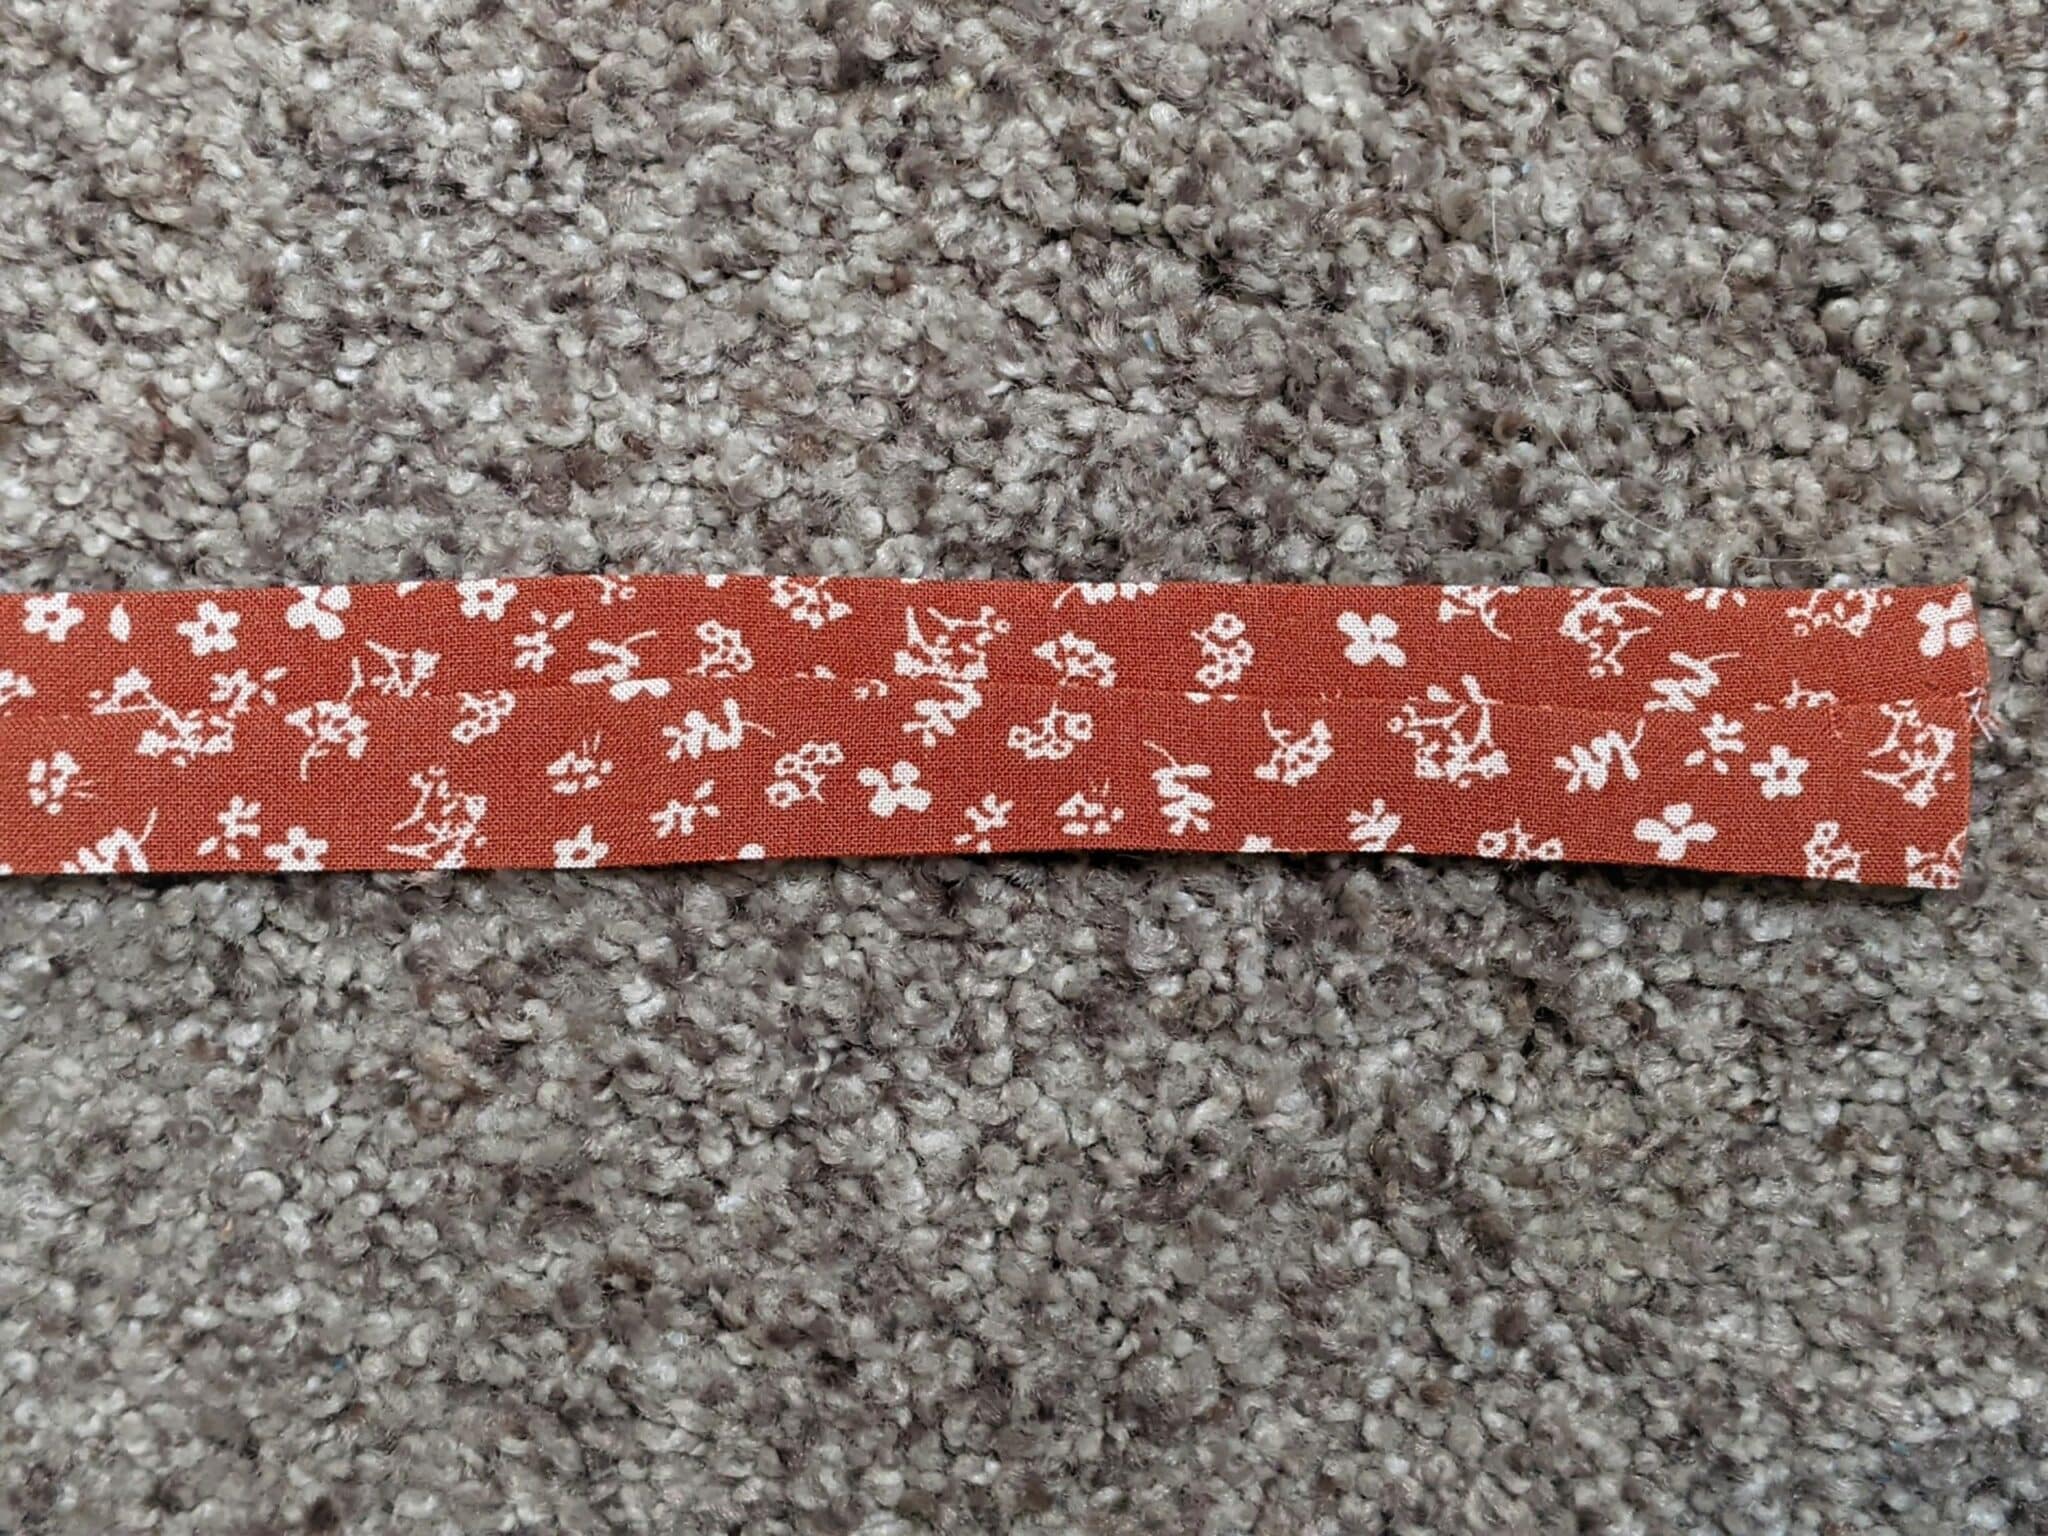
- Turn the strap right side out and press.
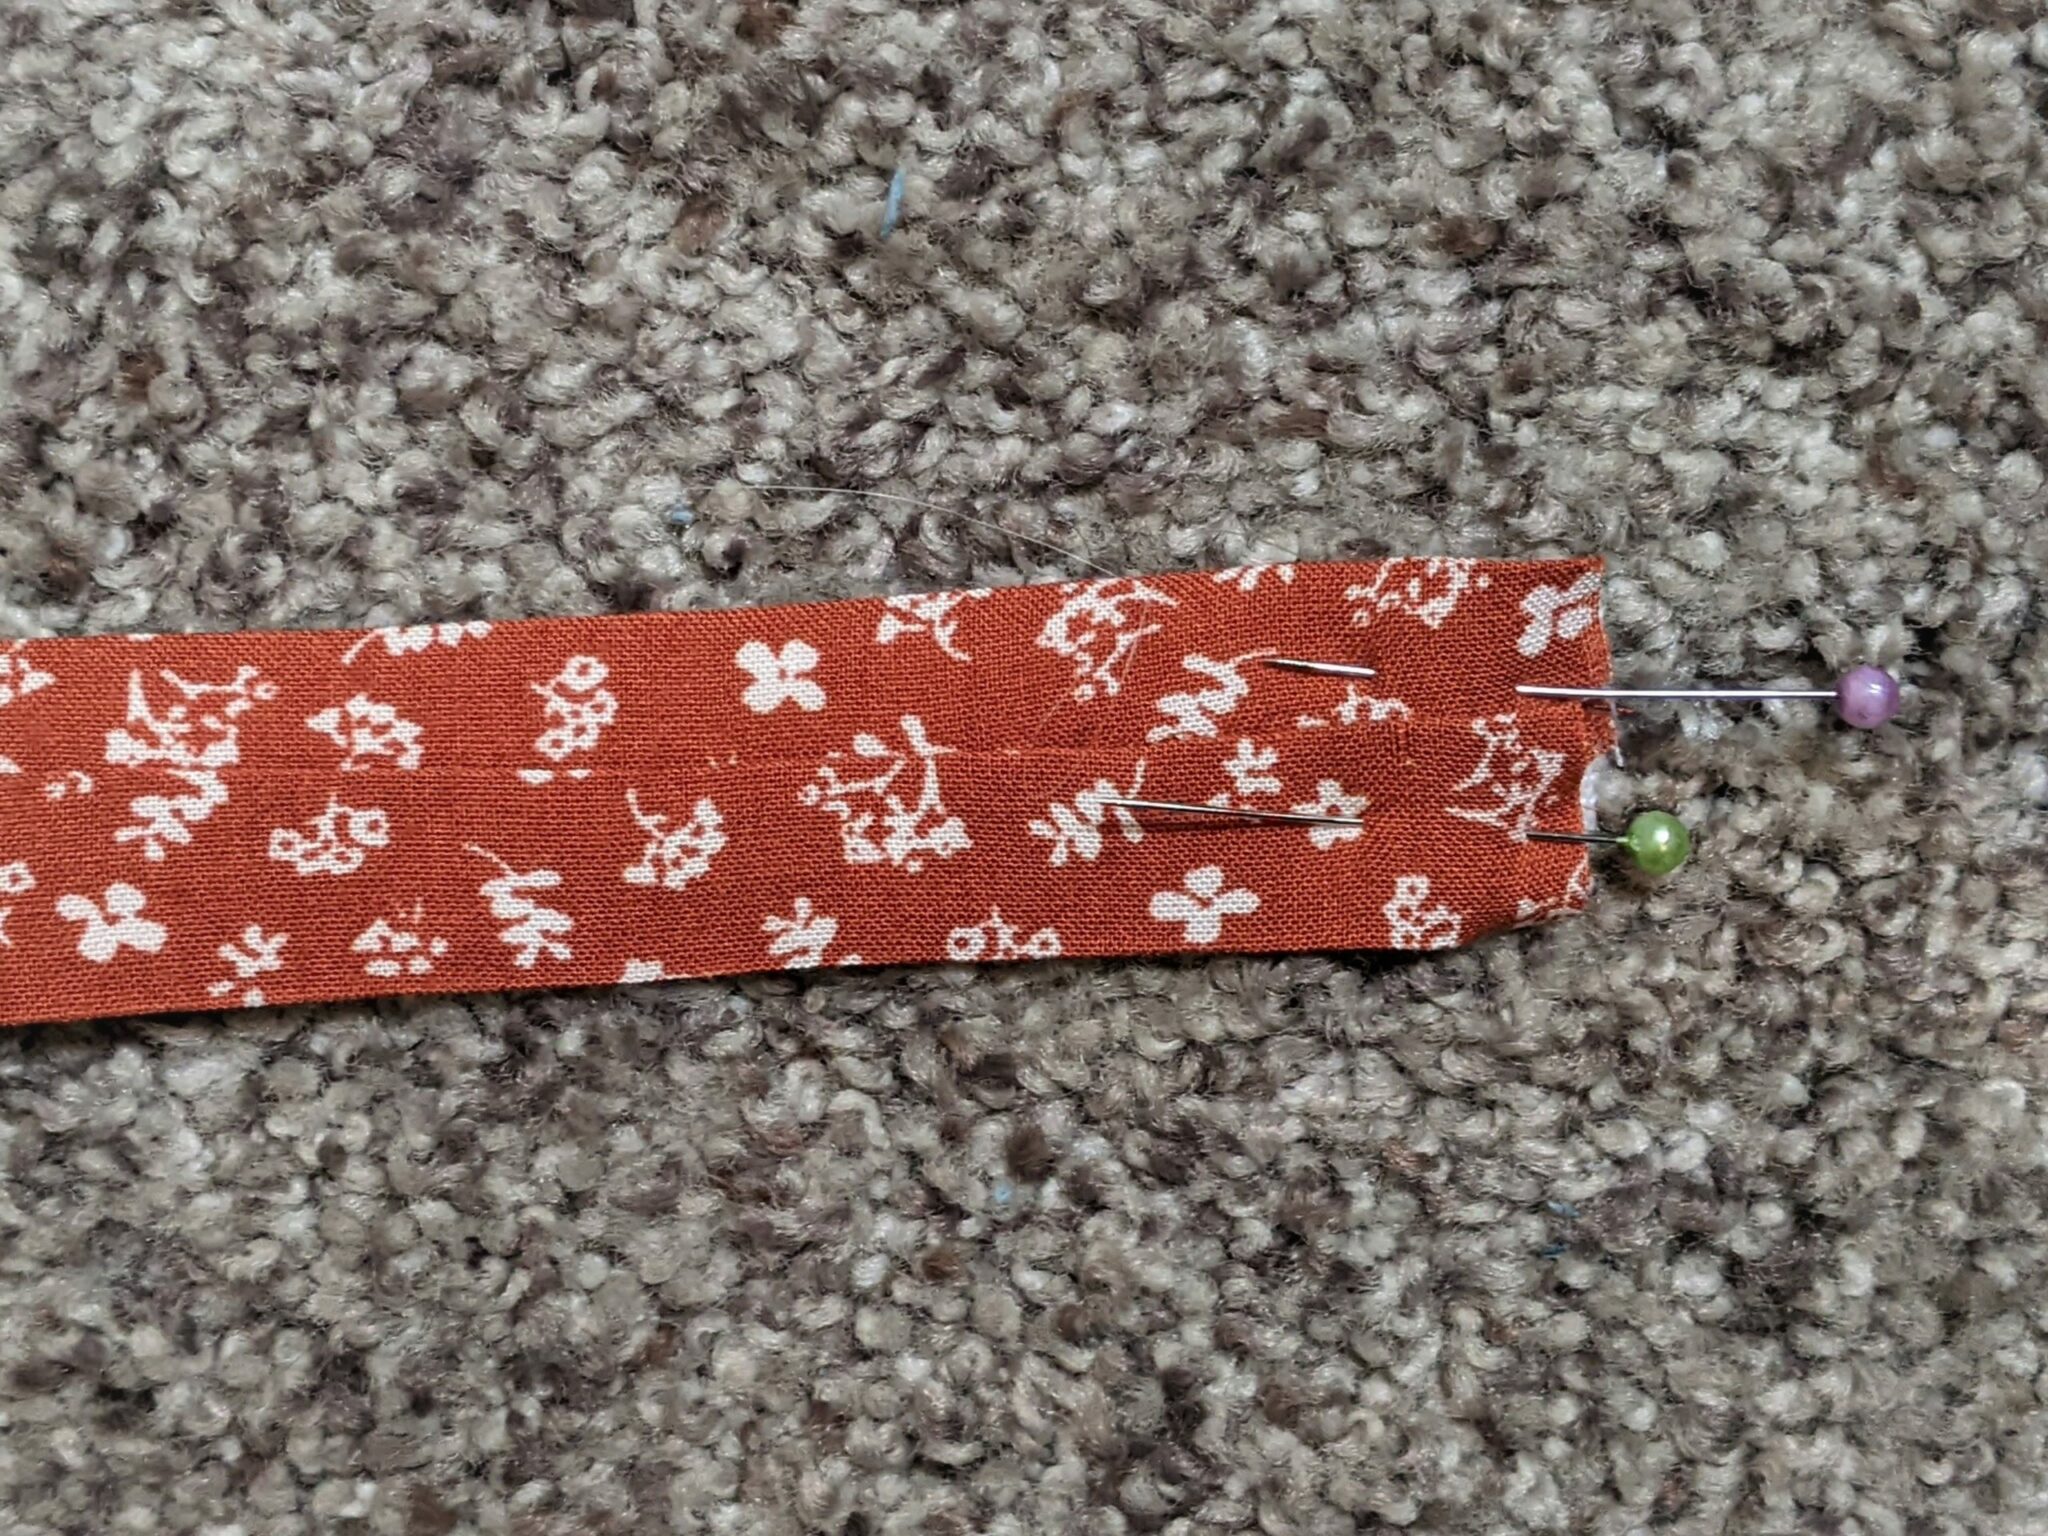
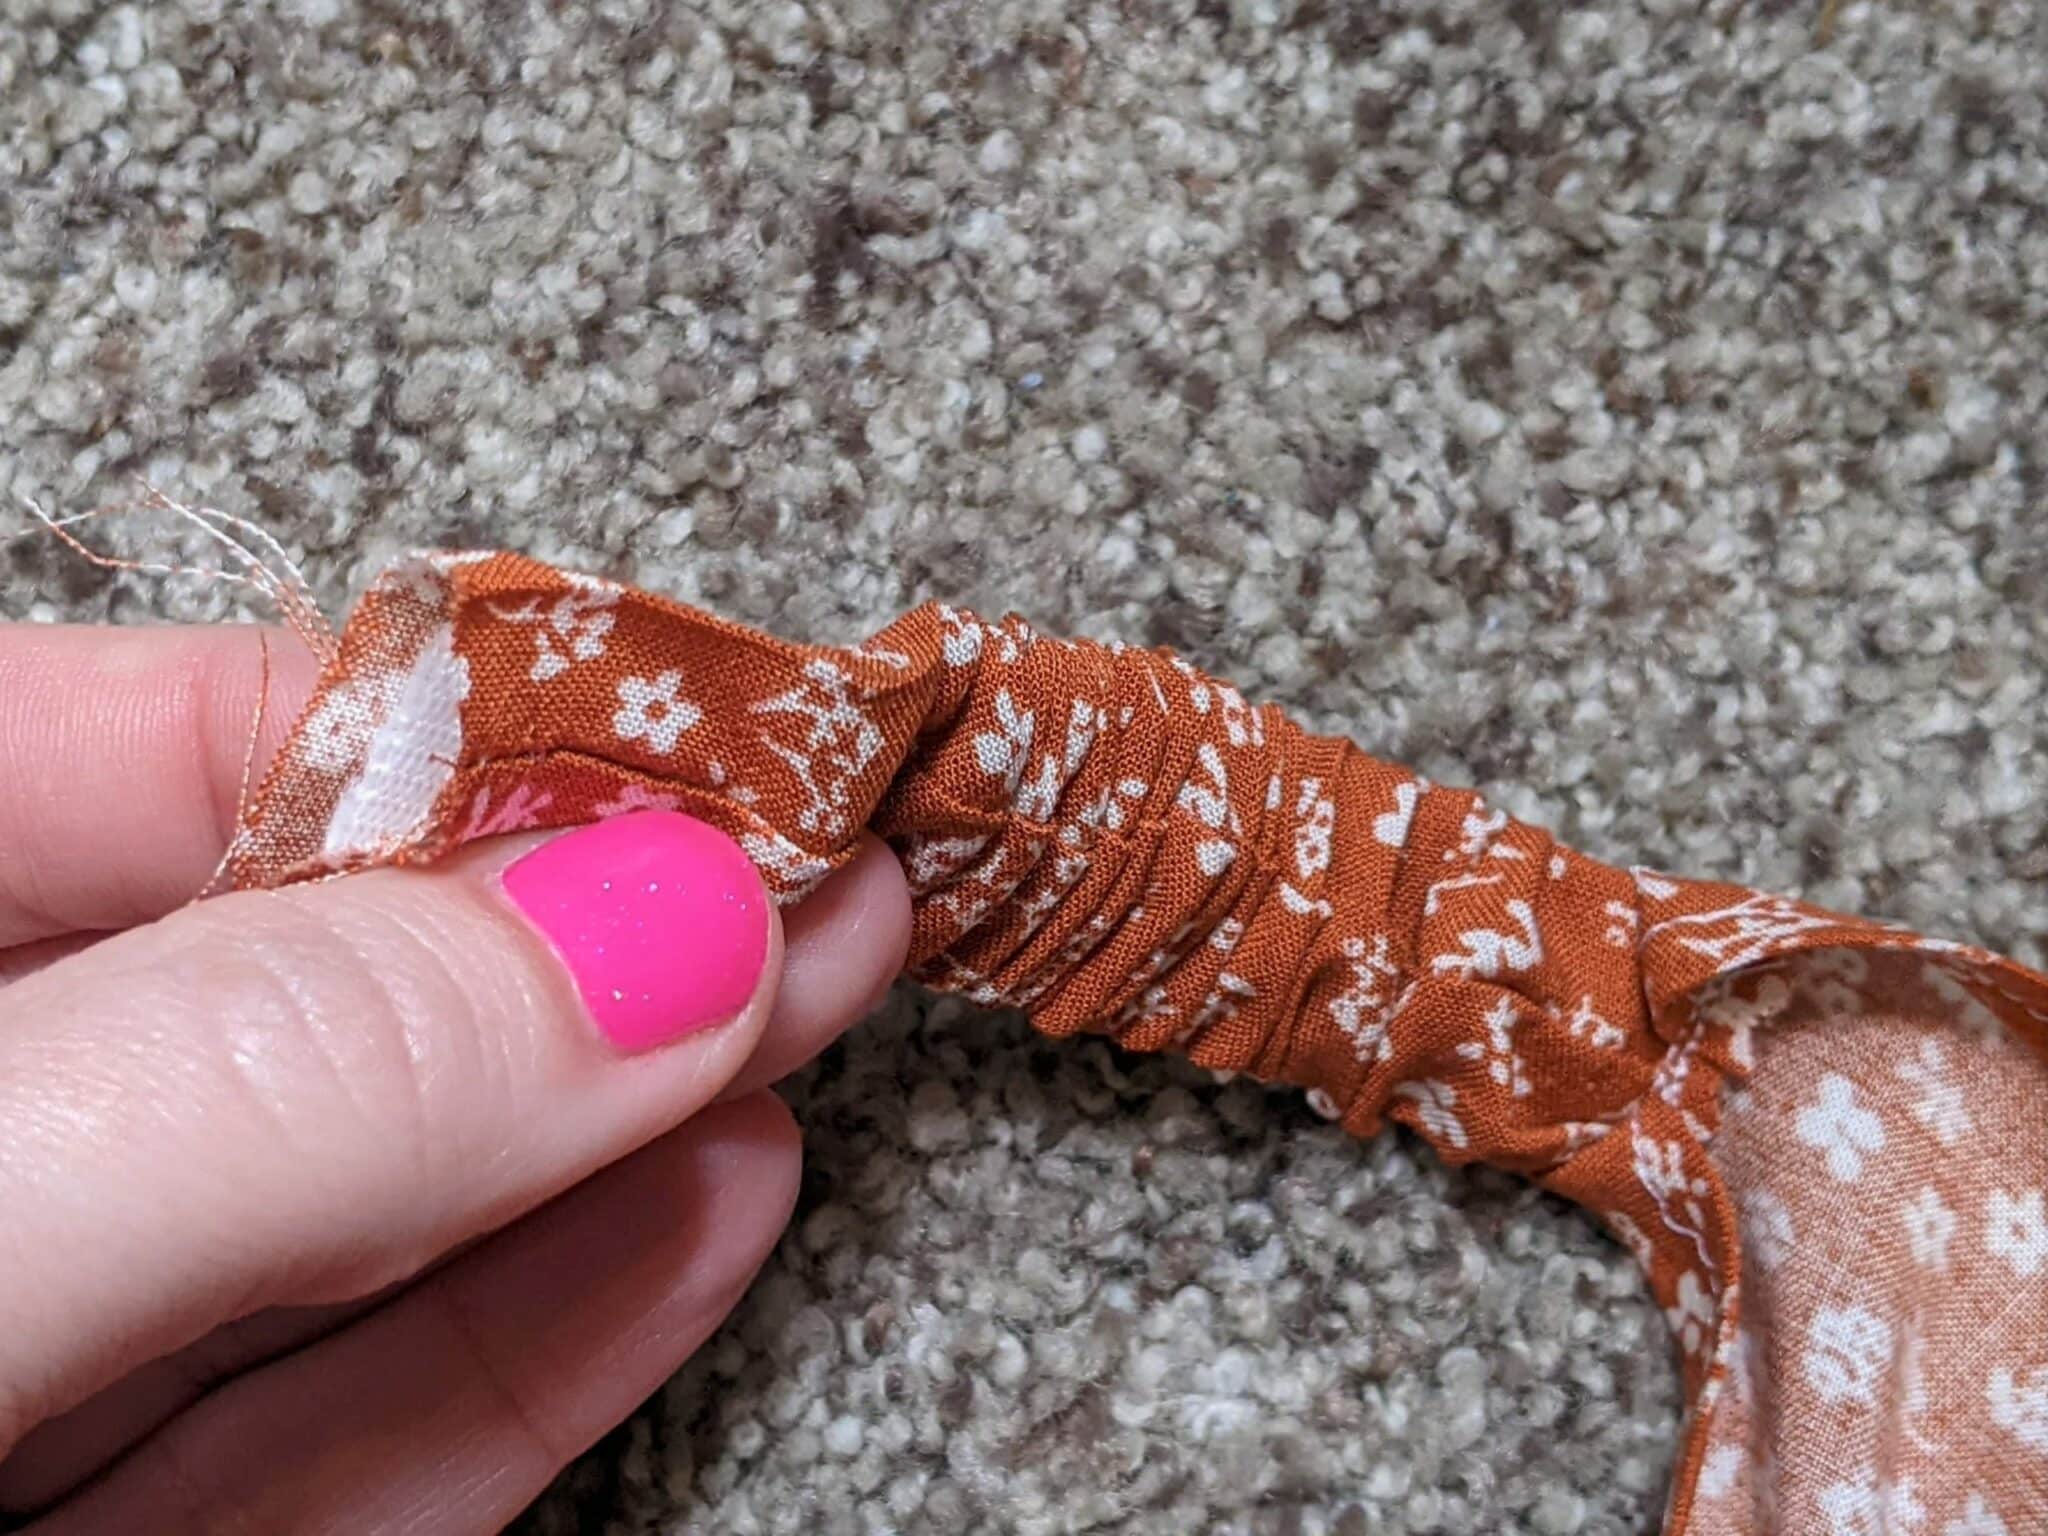
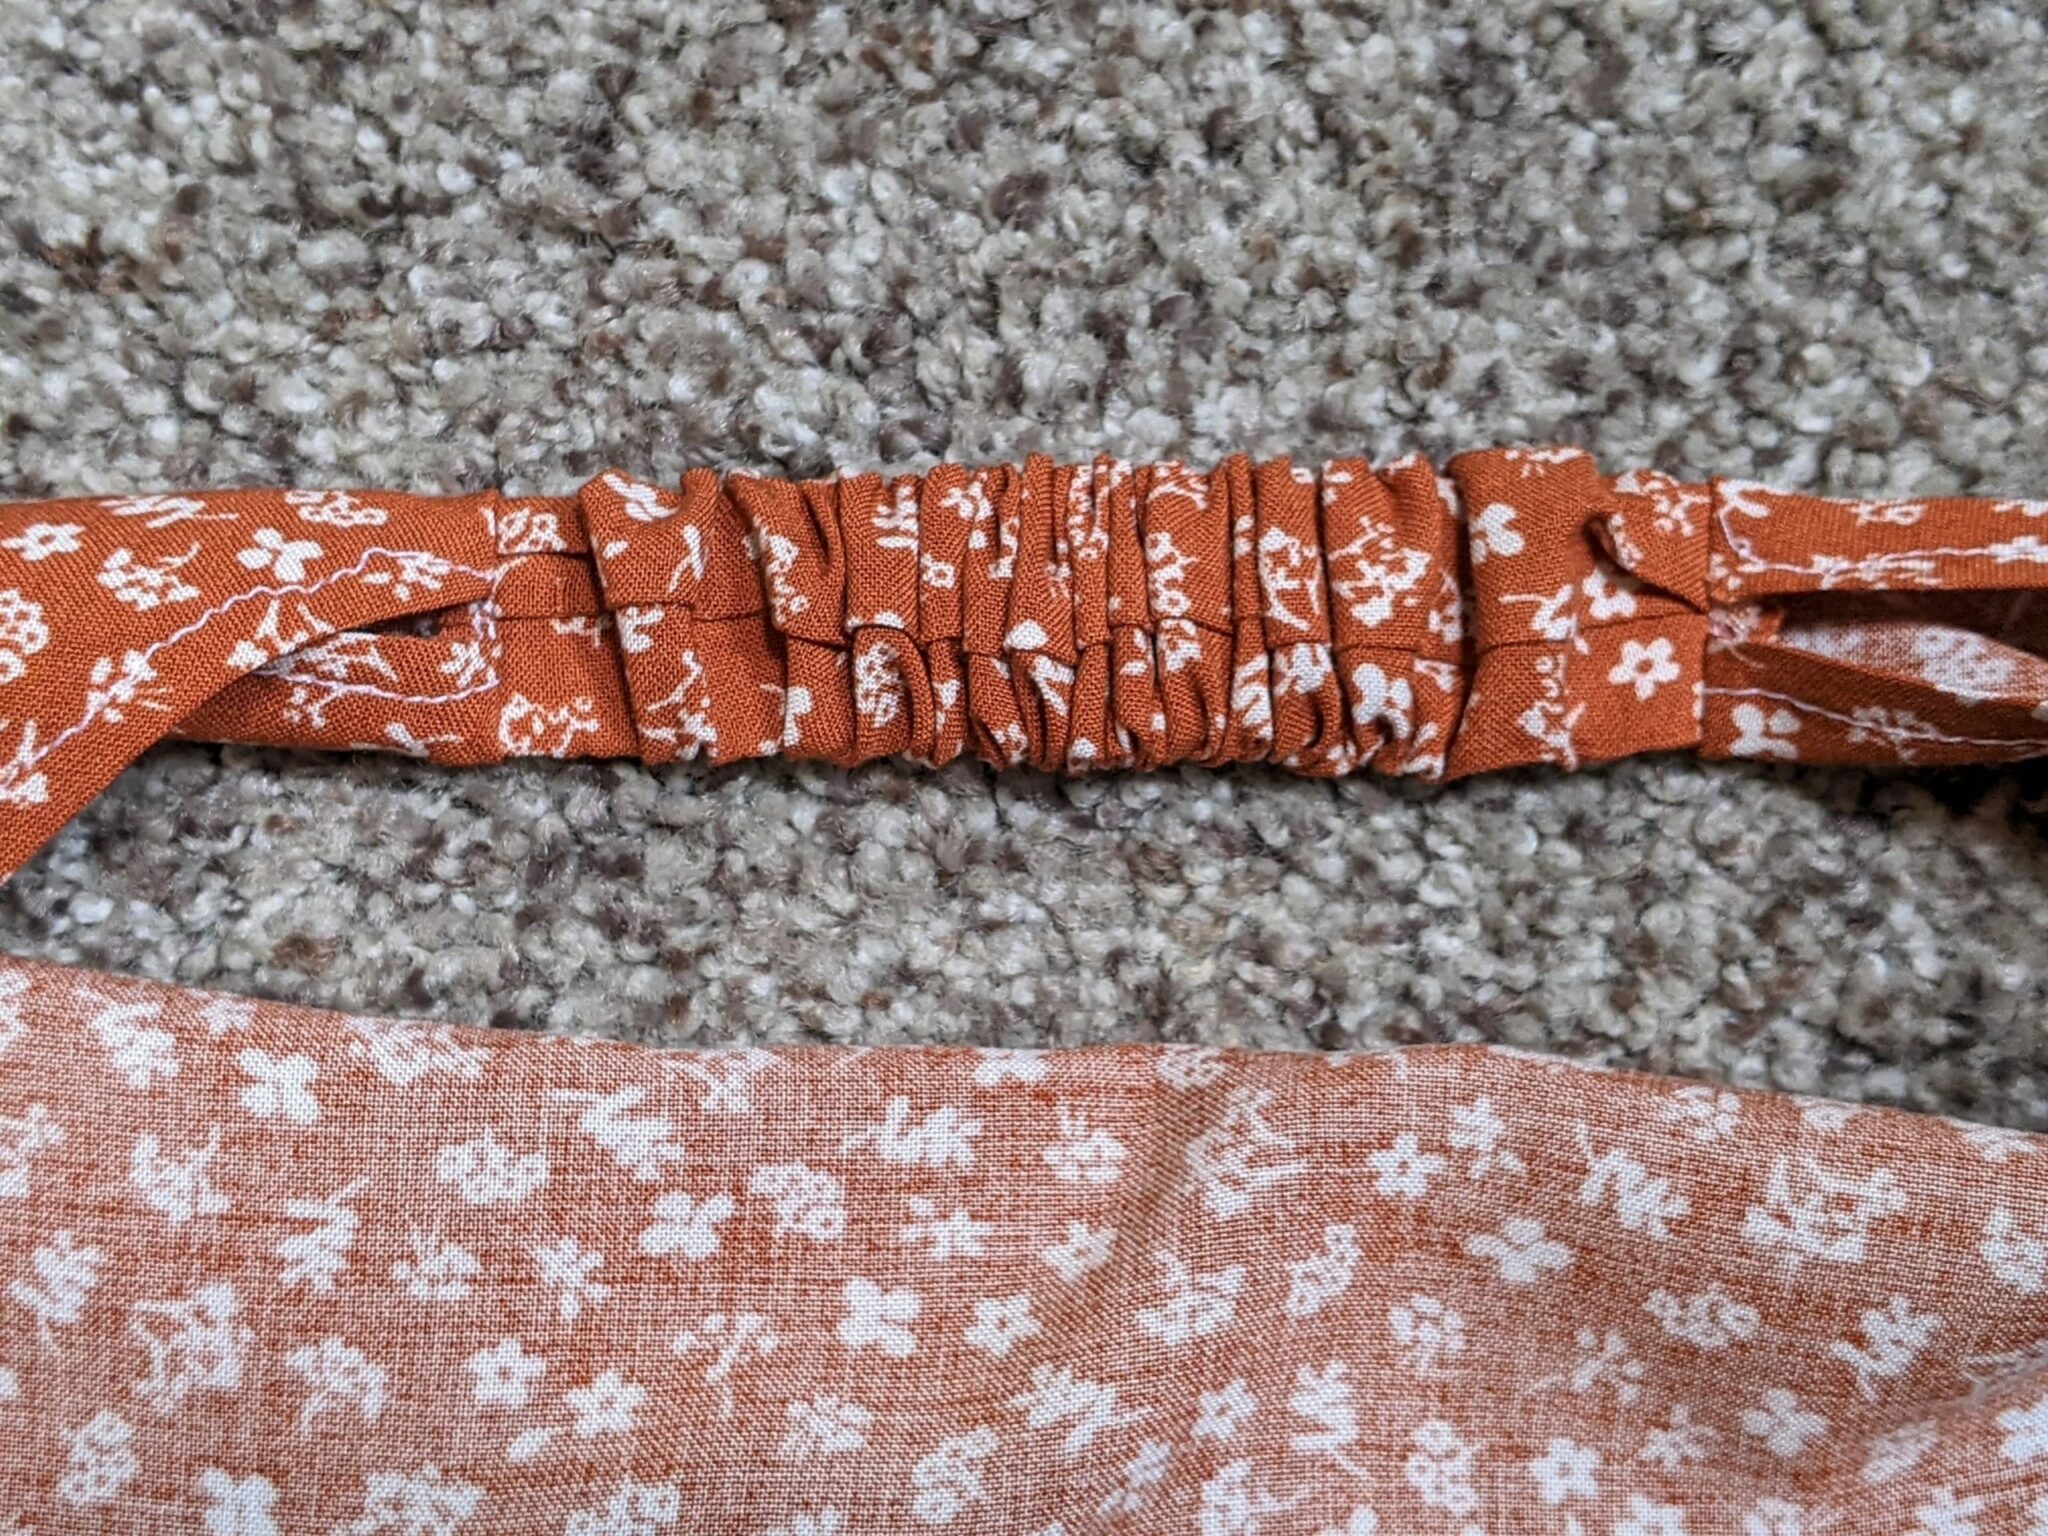
- Insert the piece of 1″ elastic into one end of the strap and push it in until the elastic and fabric ends line up with each other and pin them together.

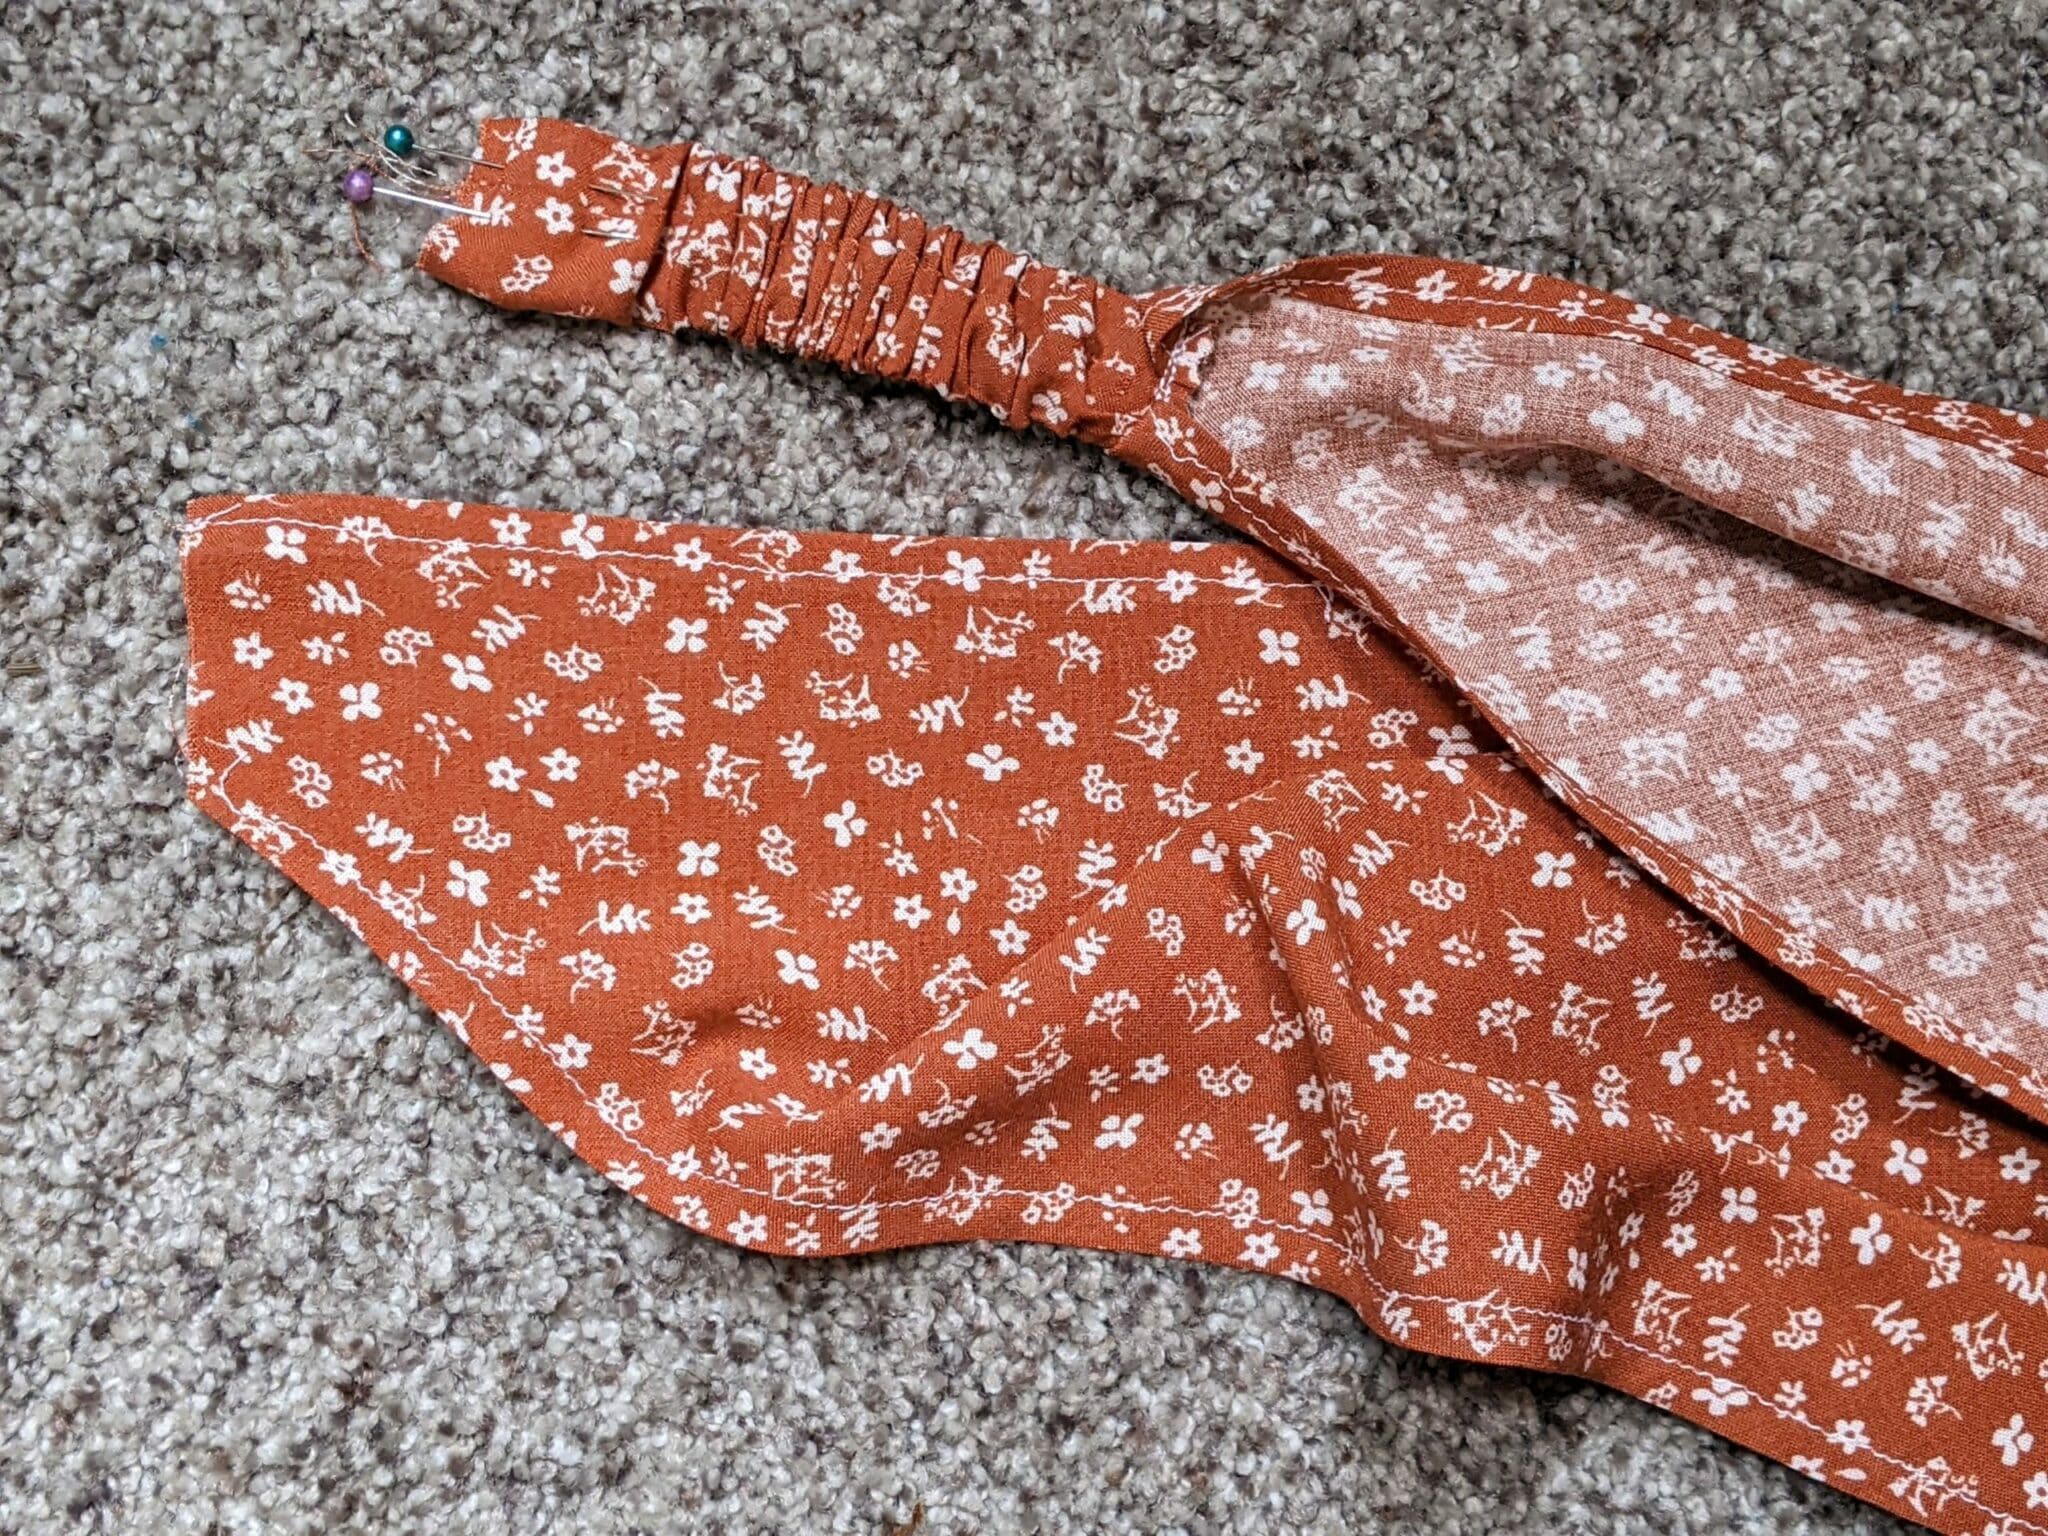
- With your bandana right side up and the strap right side down, center the strap on one side of the top unhemmed section.
- Fold the top edge of the bandana down and the small section below the strap up to encase the end of the strap and pin it all together.
- Sew back and forth several times vertically to secure the strap in place.
- Optional: trim off the seam allowance with scissors or pinking shears.
- Push the elastic the rest of the way through the strap until the end of it comes out the other side and lines up with the end of the strap.
- Pin it in place.
- Repeat the same steps on the opposite side to center the strap and fold in the top and bottom edges to encase the strap end.
- Sew and trim off the seam allowance just as before on the other side.

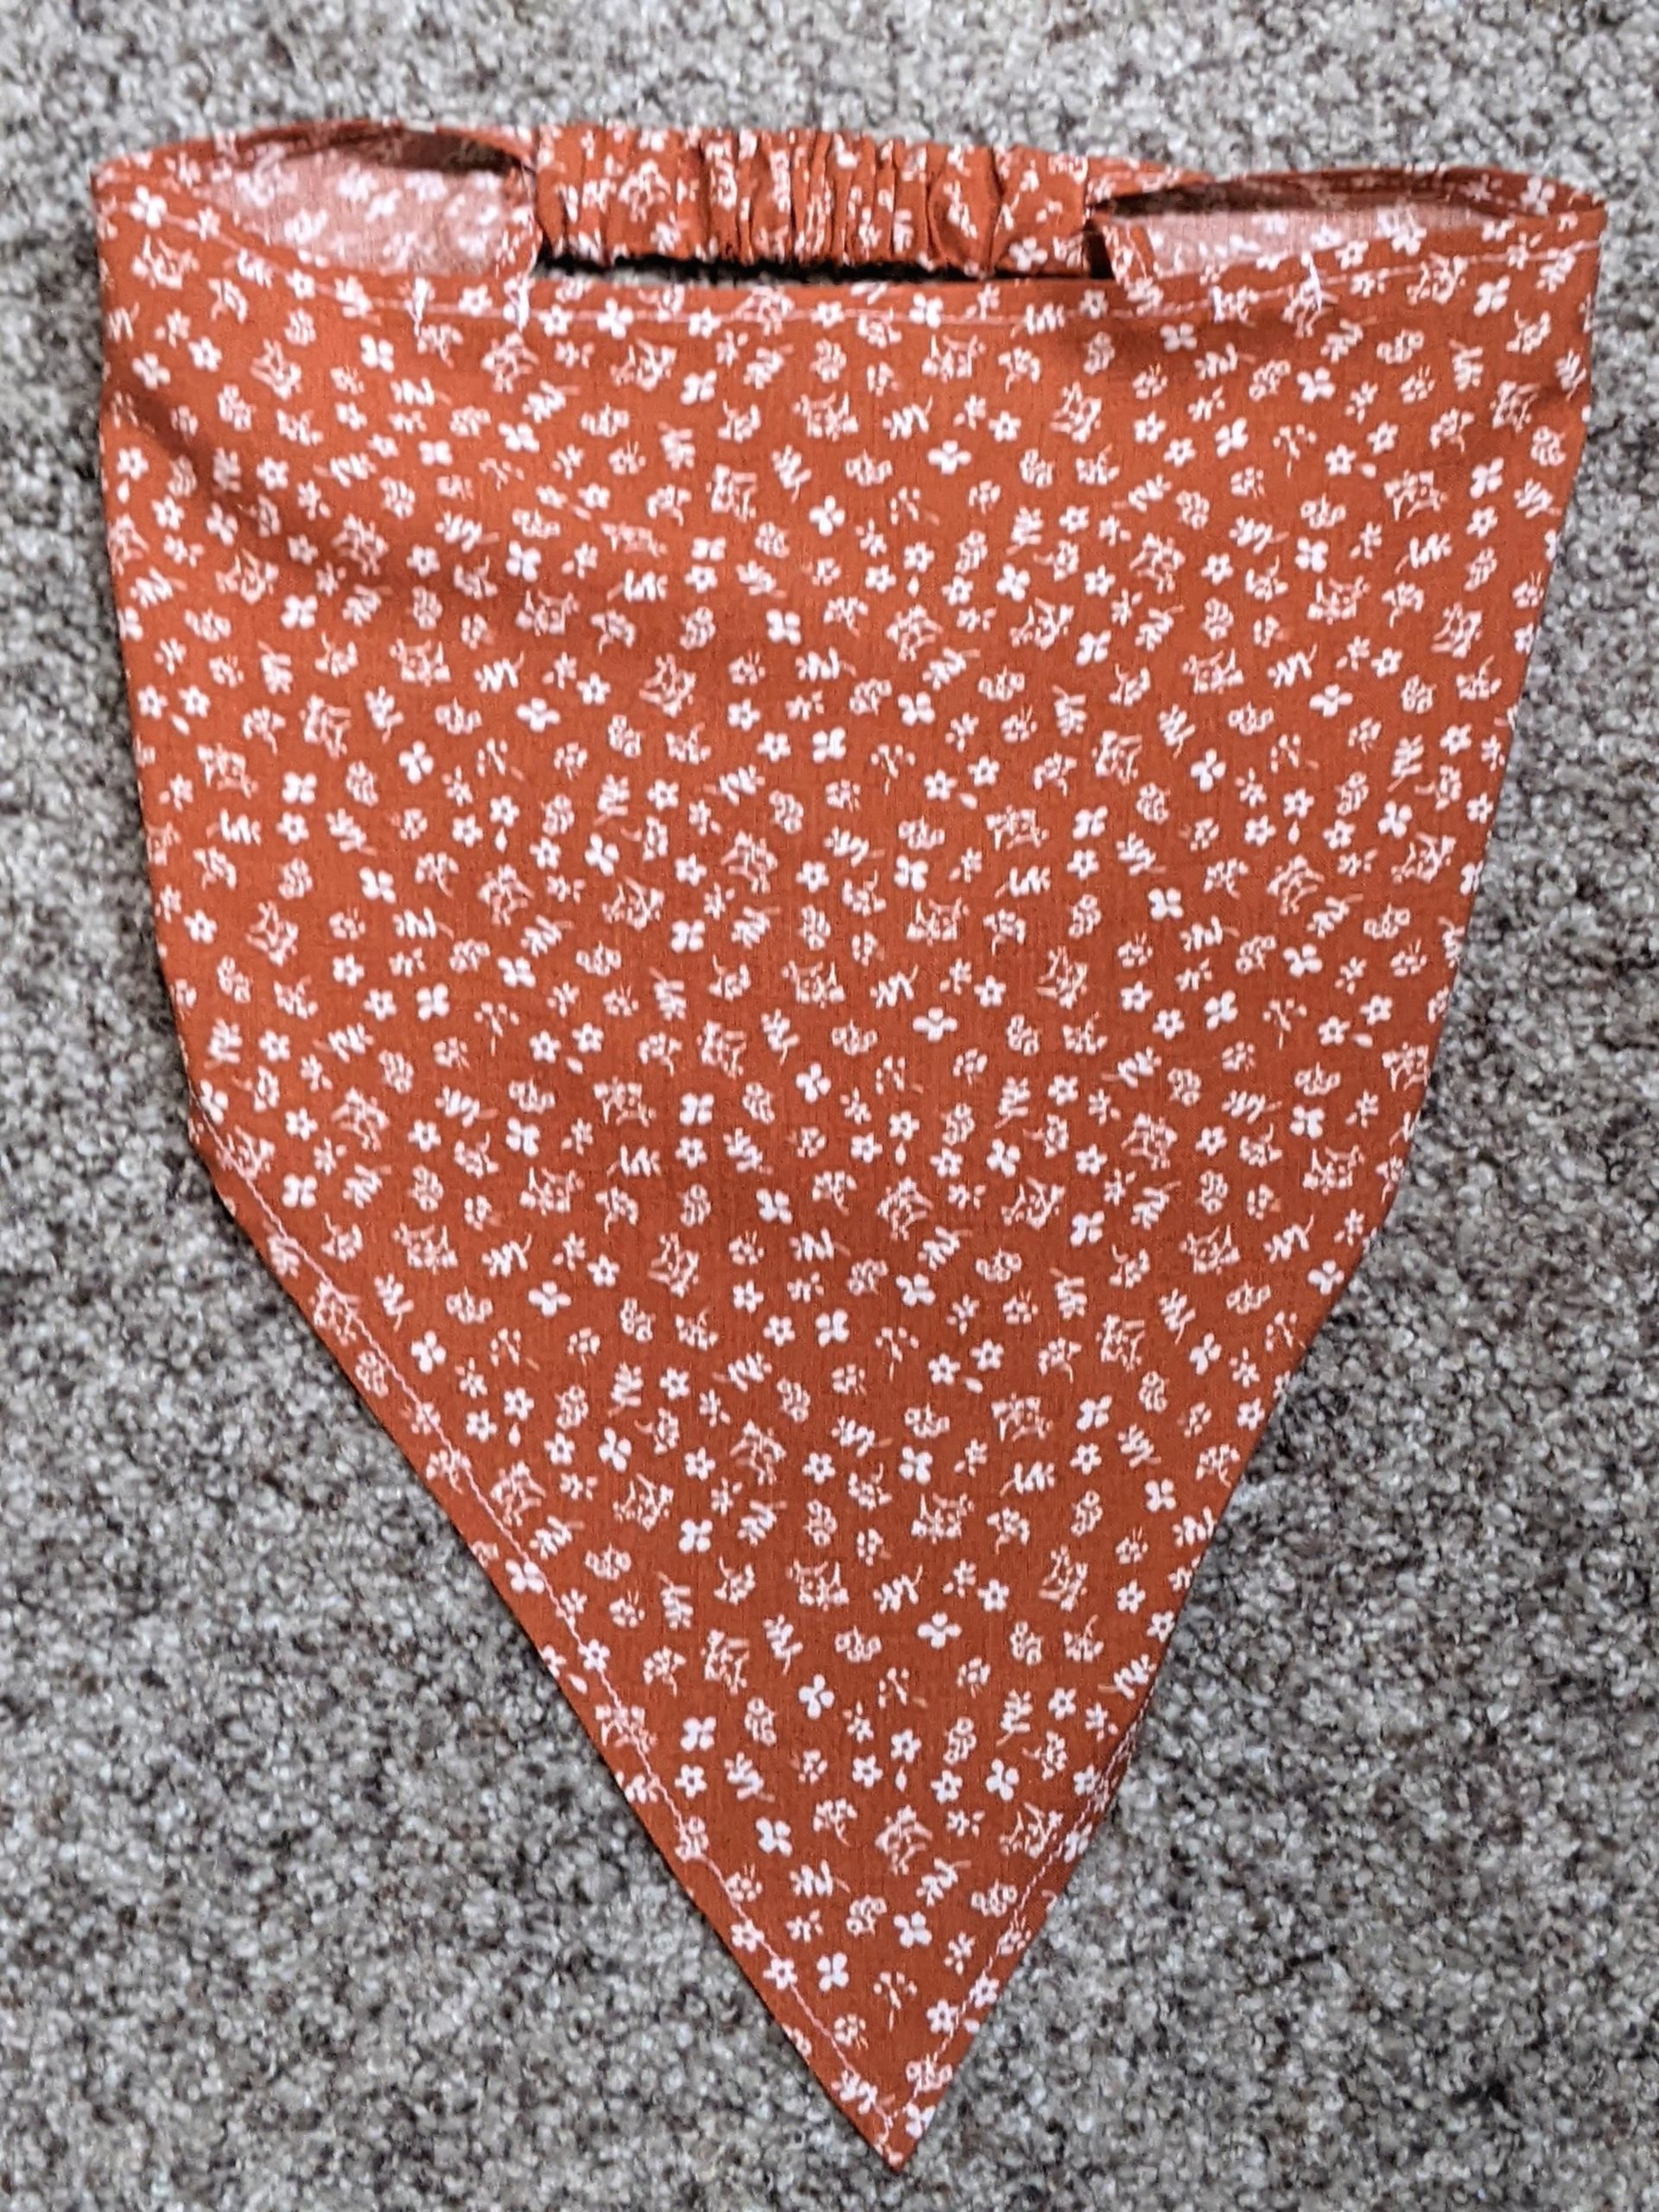
- Turn the bandana right side out and you’re ready to go!
Go Rock Your New Bandana Headscarf!

Want more FUN DIY Freebies? Check out the FREEBIE TUTORIALS and the FREEBIE PATTERNS!
As always, we’re here to help if you need it! Join us HERE and on Facebook, Instagram, Twitter, Youtube, and Pinterest. We’re everywhere you are.
Can this be made with fat quarters? *Slightly Urgent*
Probably, but it depends on the measurements of the fat quarter. You will need a piece that is 16.5″x14″ and another that is 11″x2.5″