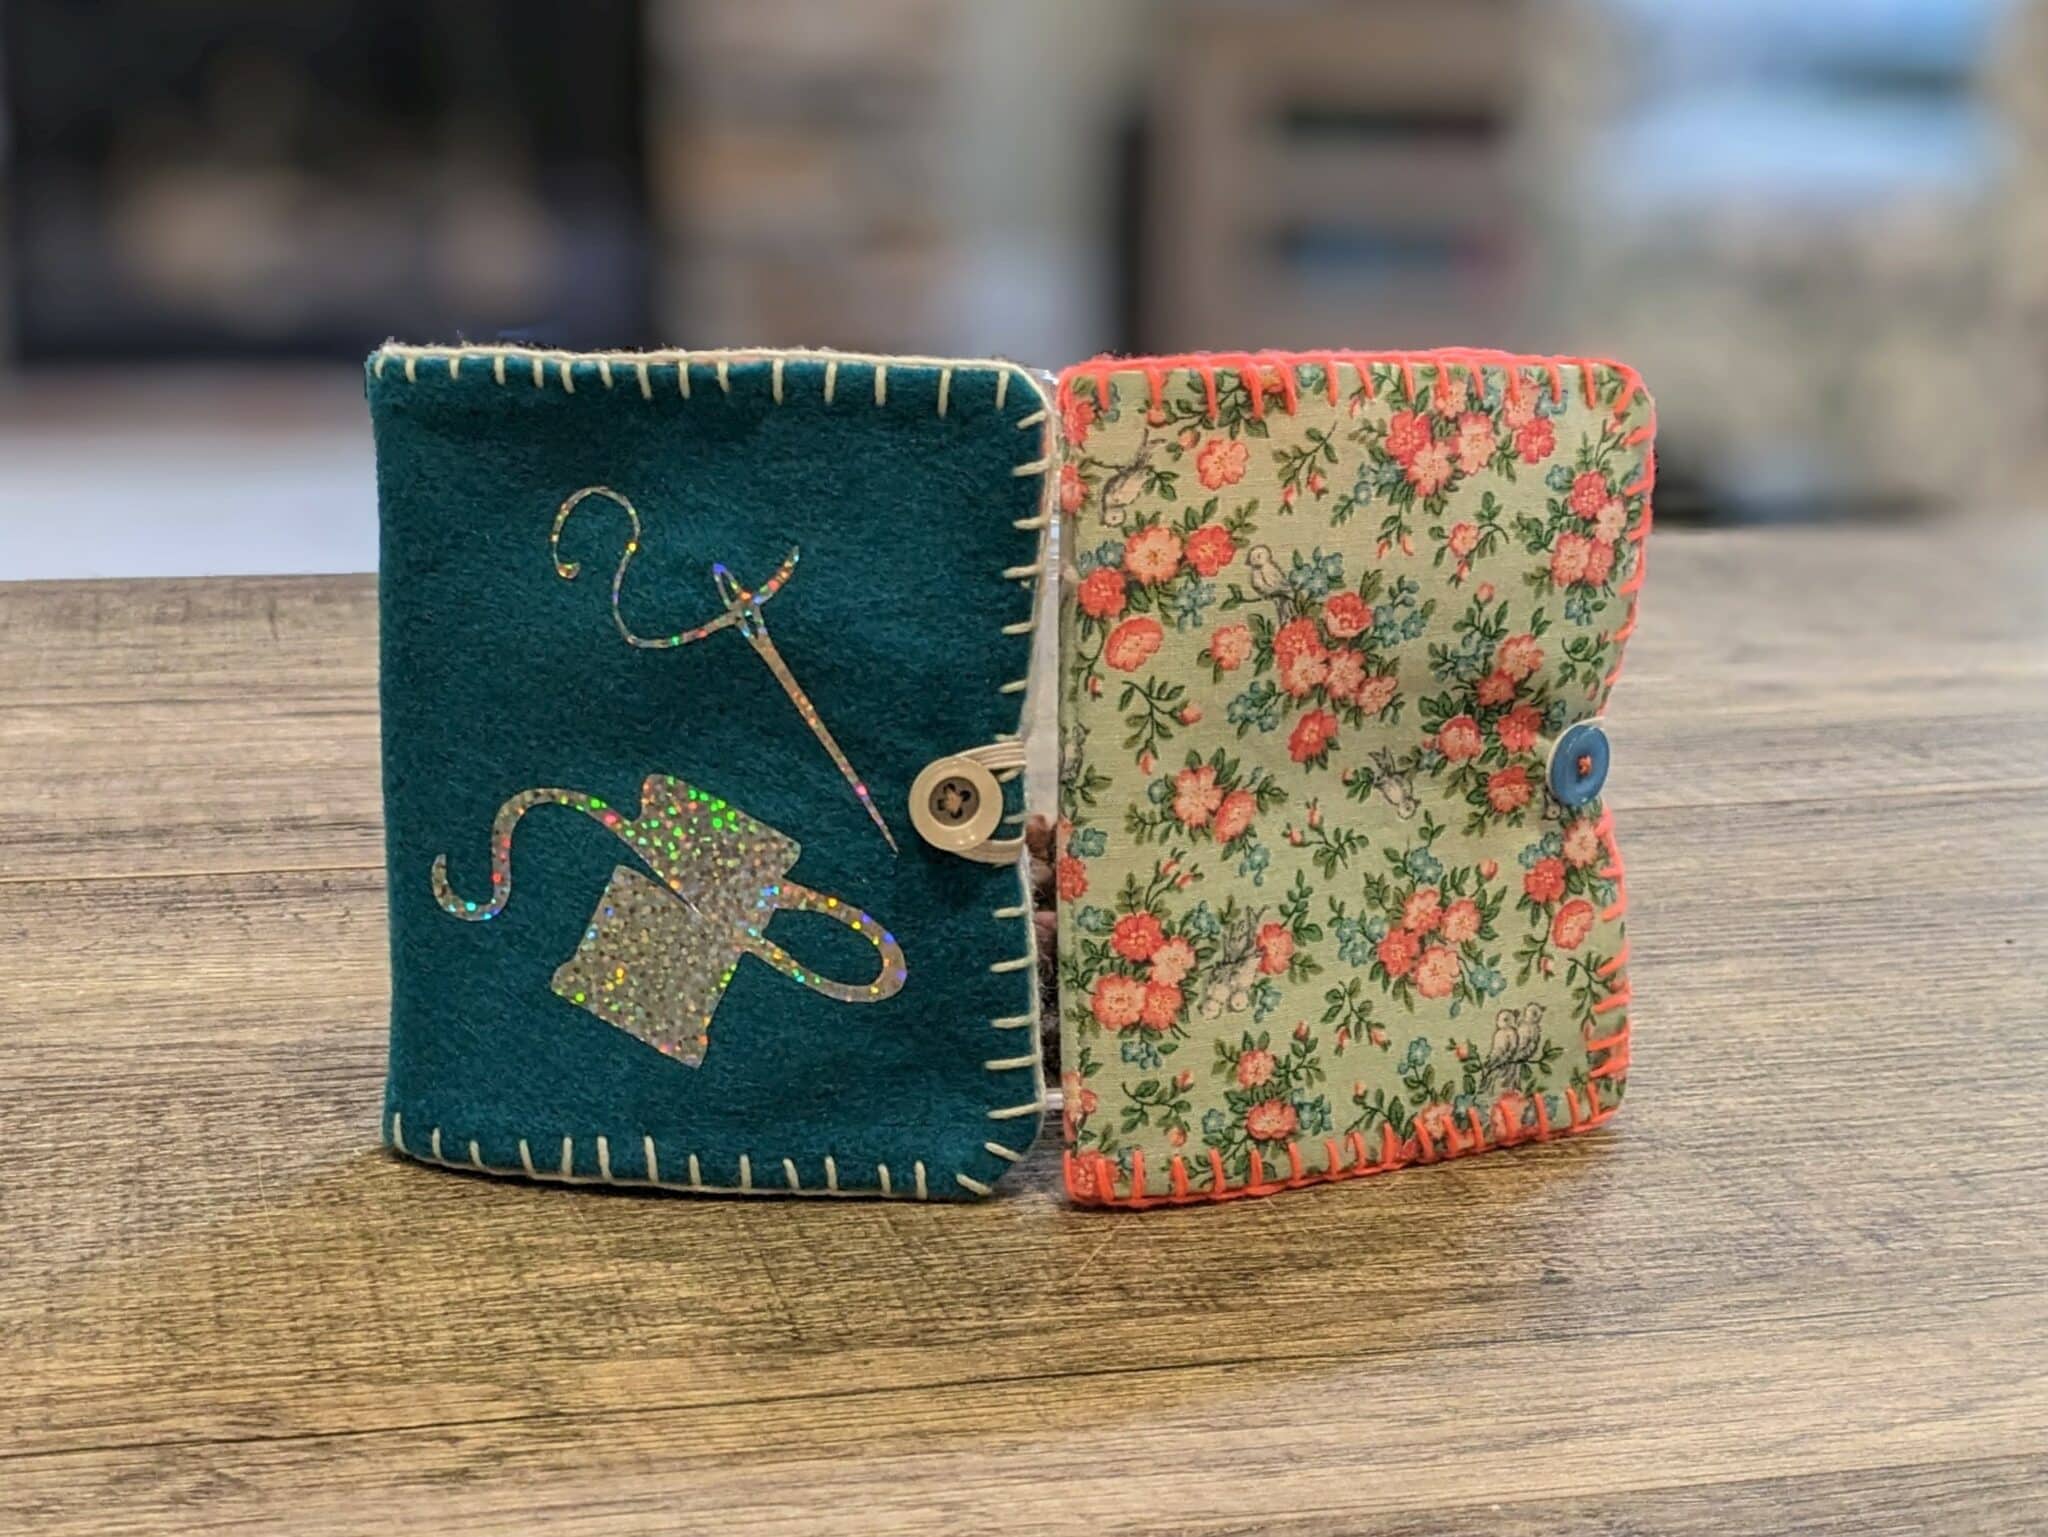
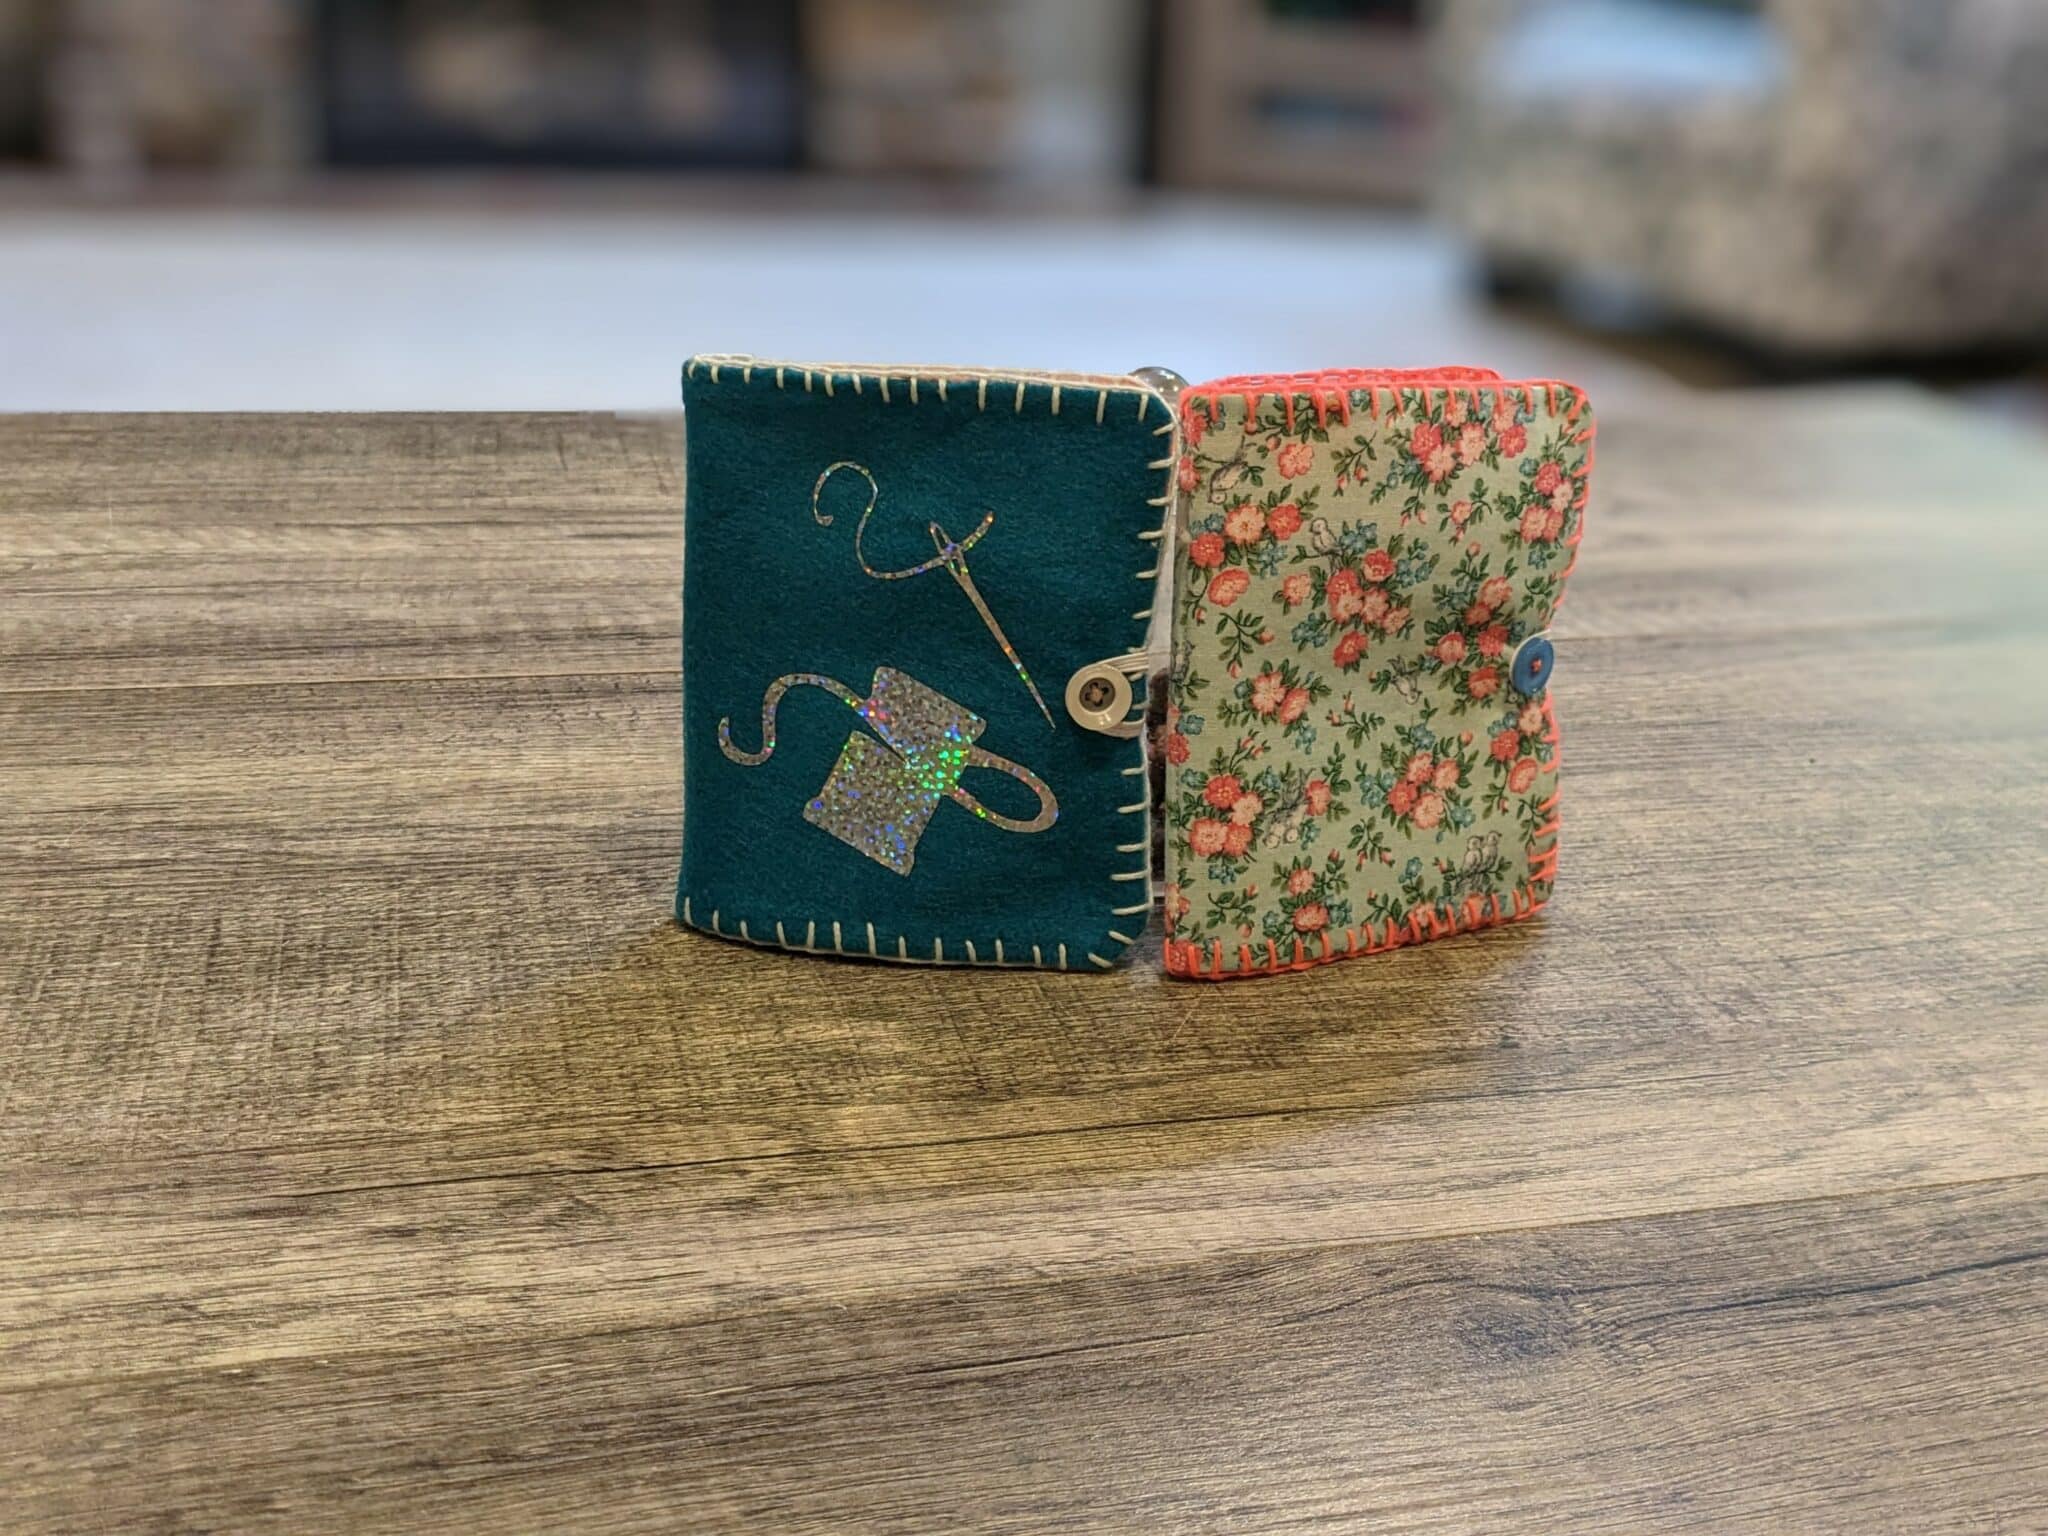
Somehow, I can never find my sewing needles. I have a magnetic pin holder for my regular straight pins, but anytime I put my sewing needles in there I have to dig to find them. I really have no idea where they all go. To help myself be able to find easily find my sewing needles, I decided to make a cute little book just for them.
Supplies:
- Woven fabric or felt for the cover
- Felt for the pages
- 2″-3″ piece of thin elastic
- Button
- Basic sewing supplies
- Optional:
- Fusible interfacing
- Sewing machine
- Embroidery needle and thread
- Other items to decorate and make it pretty
Cut out the Pieces
- Cover:
- (2) 5″X8″ pieces of woven fabric or fleece -1 main and 1 lining
- Pages:
- (2-3) 4″X6.5″ -You can have as many pages as you’d like. I originally made 3, but only used 2.
- Needle Holders:
- 3/8″X 2.5″ (1-2 per page front and back)
- Optional Interfacing:
- (1) 4.5″X7.5″
- Thin Elastic:(1) 2″-3″ piece
Make the Cover
- If you are using fusible interfacing, iron it onto the back side of your outer piece of fabric.
- My fabric was on the thin side so I chose to use interfacing. I did not use it on the one I made out of all felt.
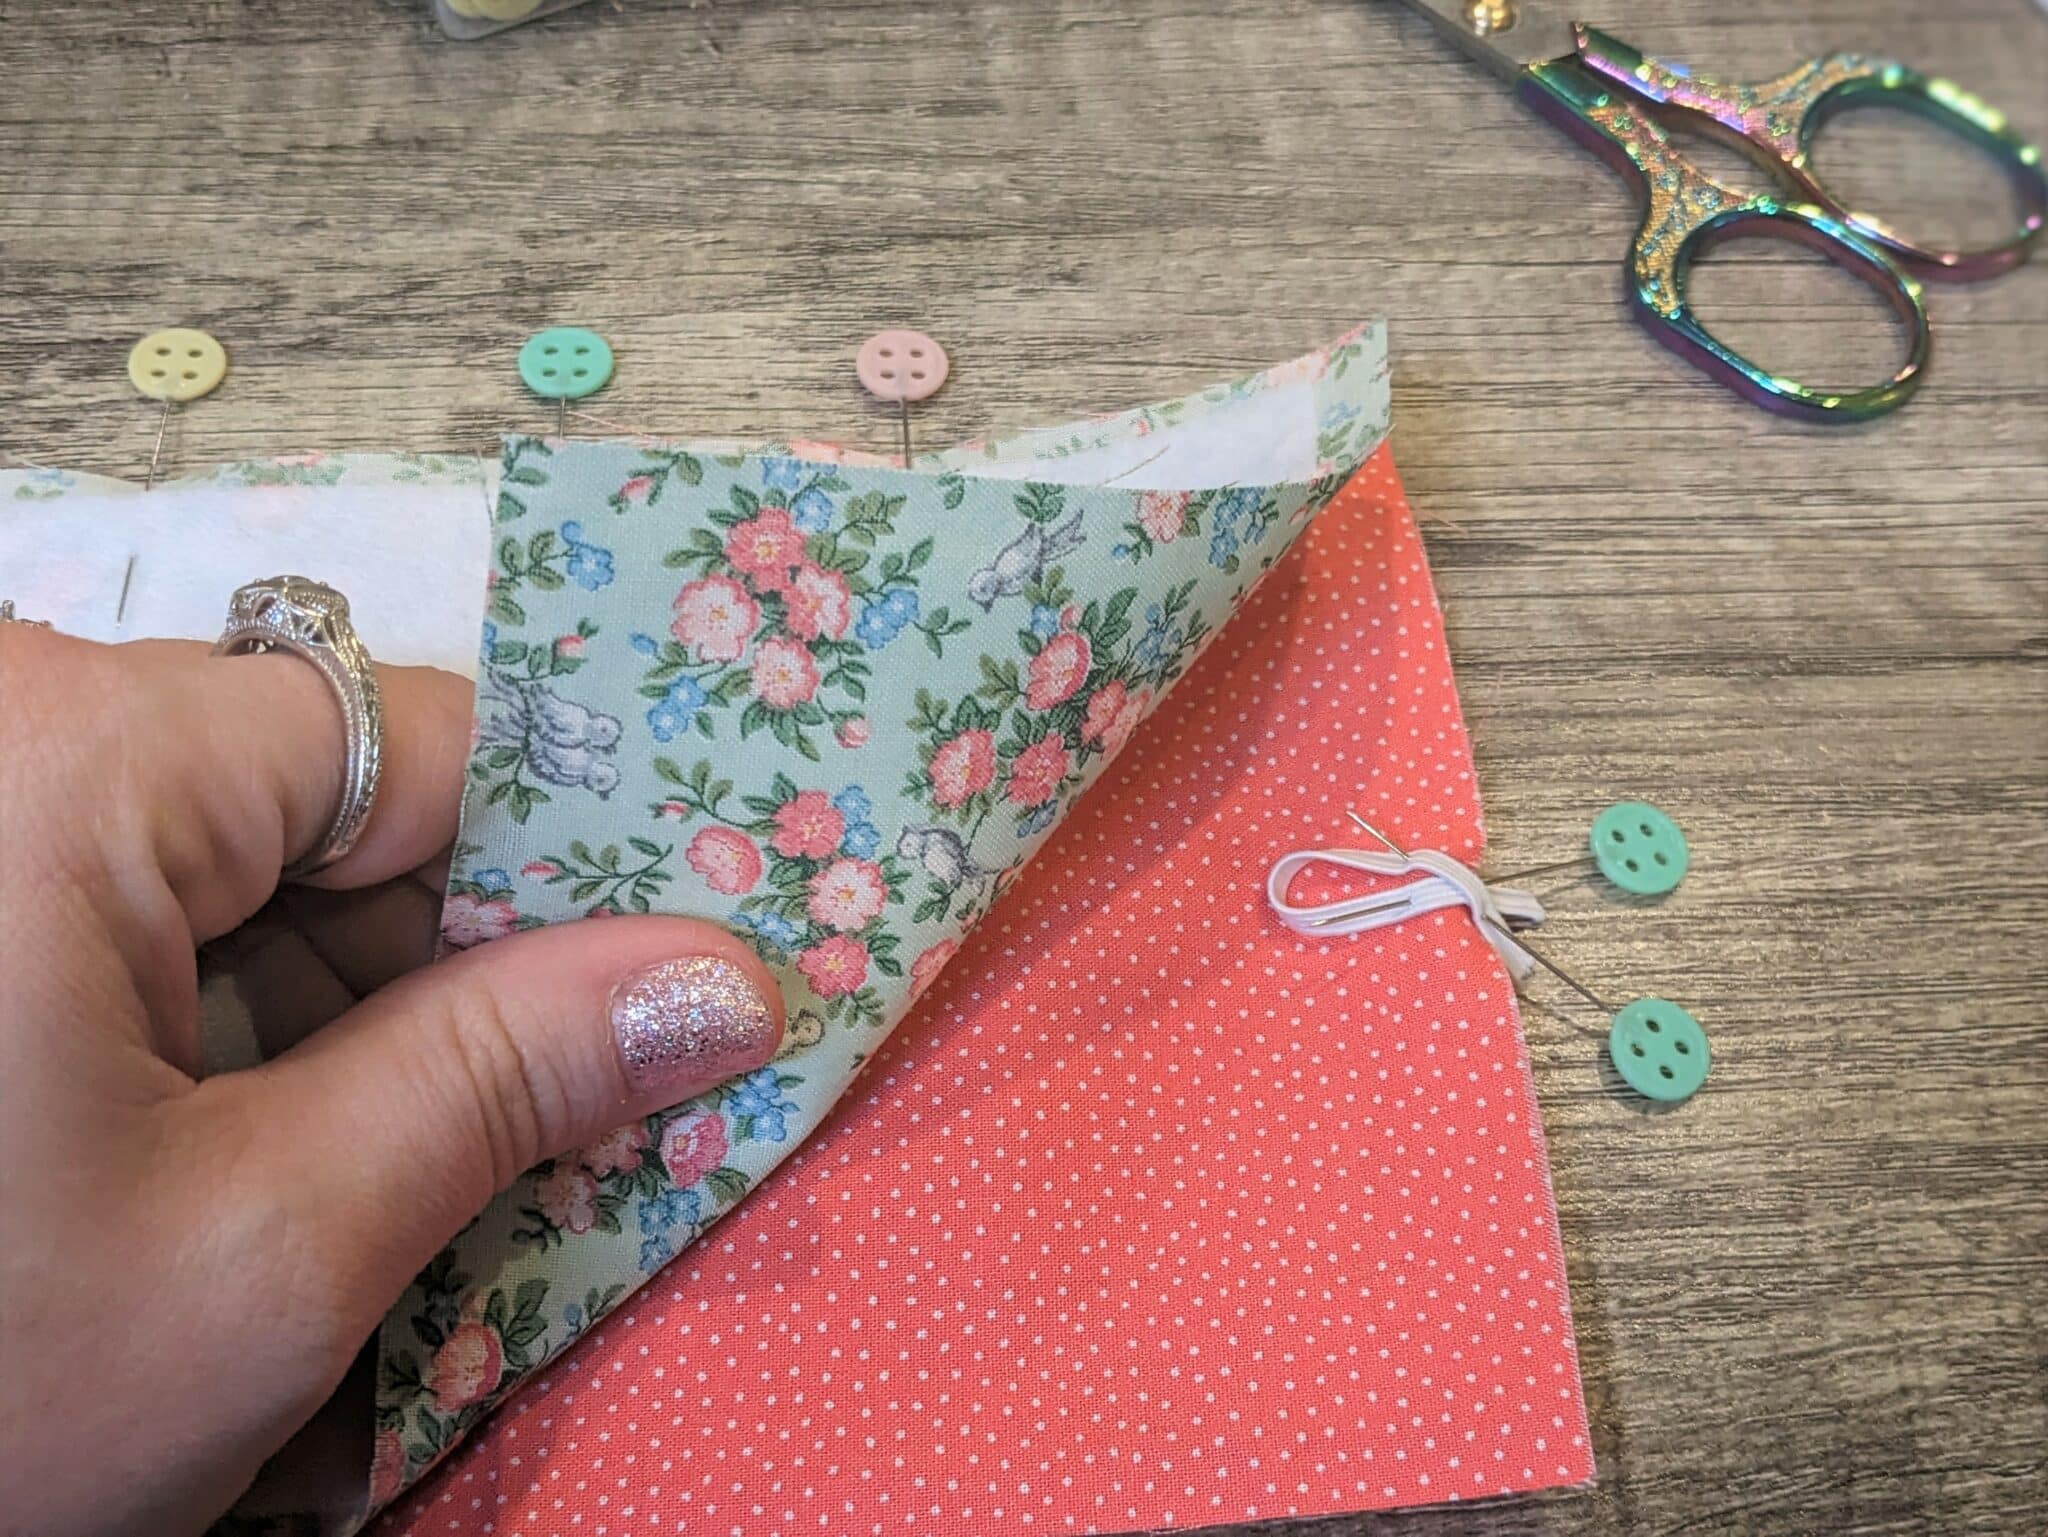
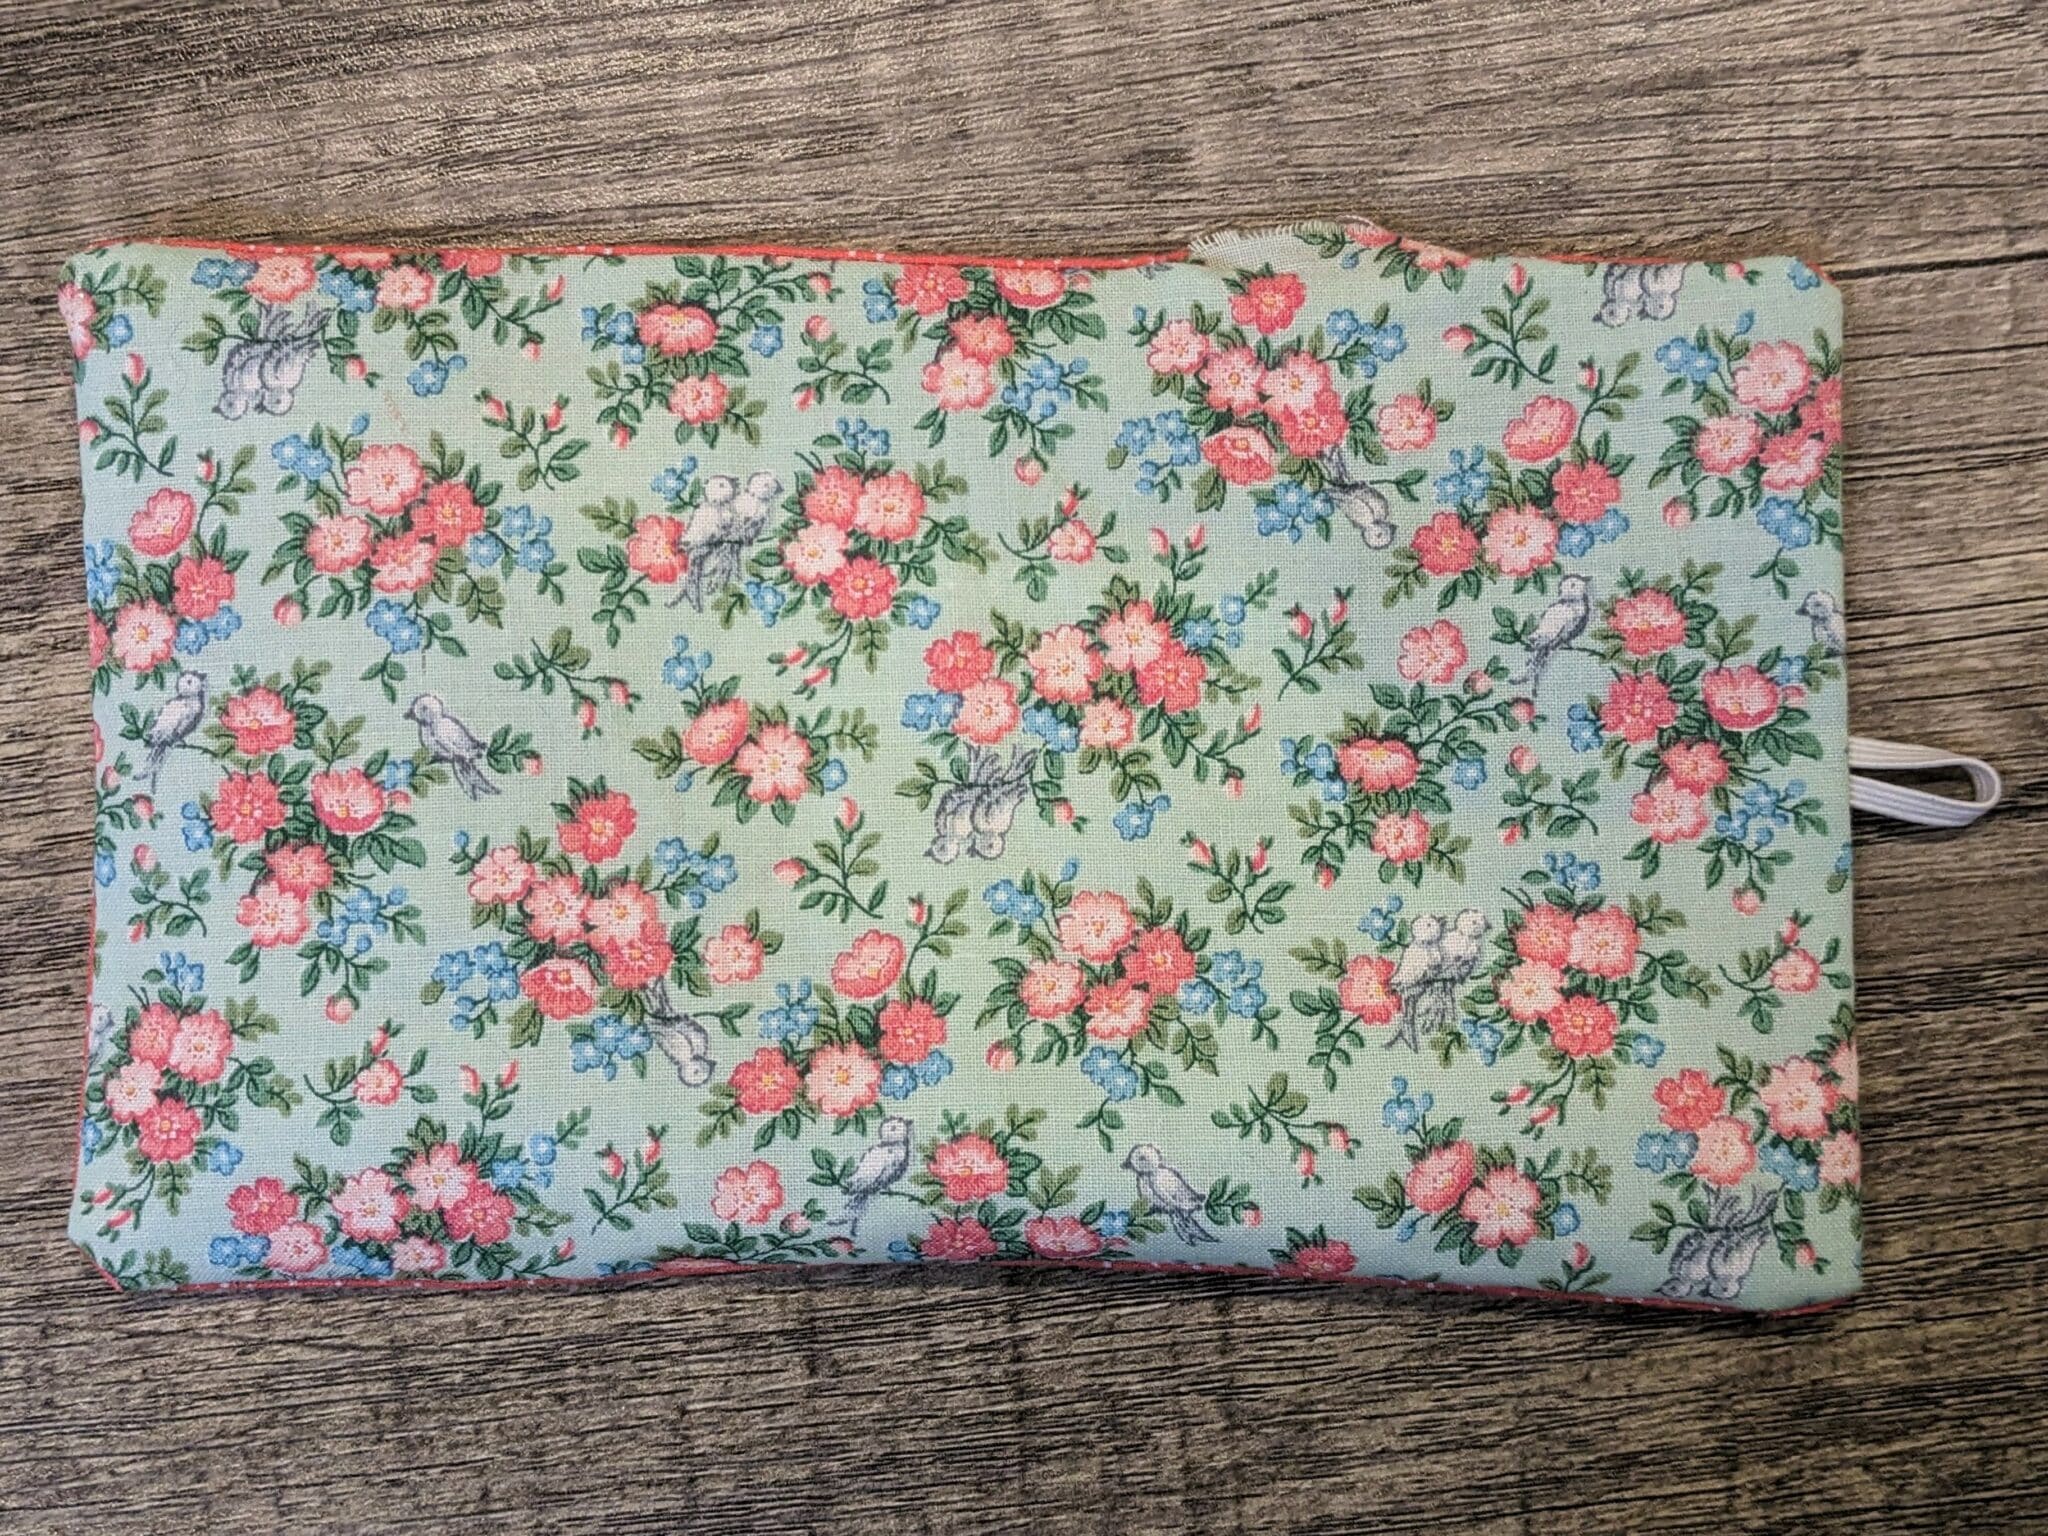
- Fold your elastic to make a loop and center it along one short side of your fabric and pin it with the loop facing inward and the ends sticking out over the edge of the fabric.
- Note: The elastic should be on the back page of the cover when turned right side out. If you are using a directional print, make sure everything is facing the correct way.

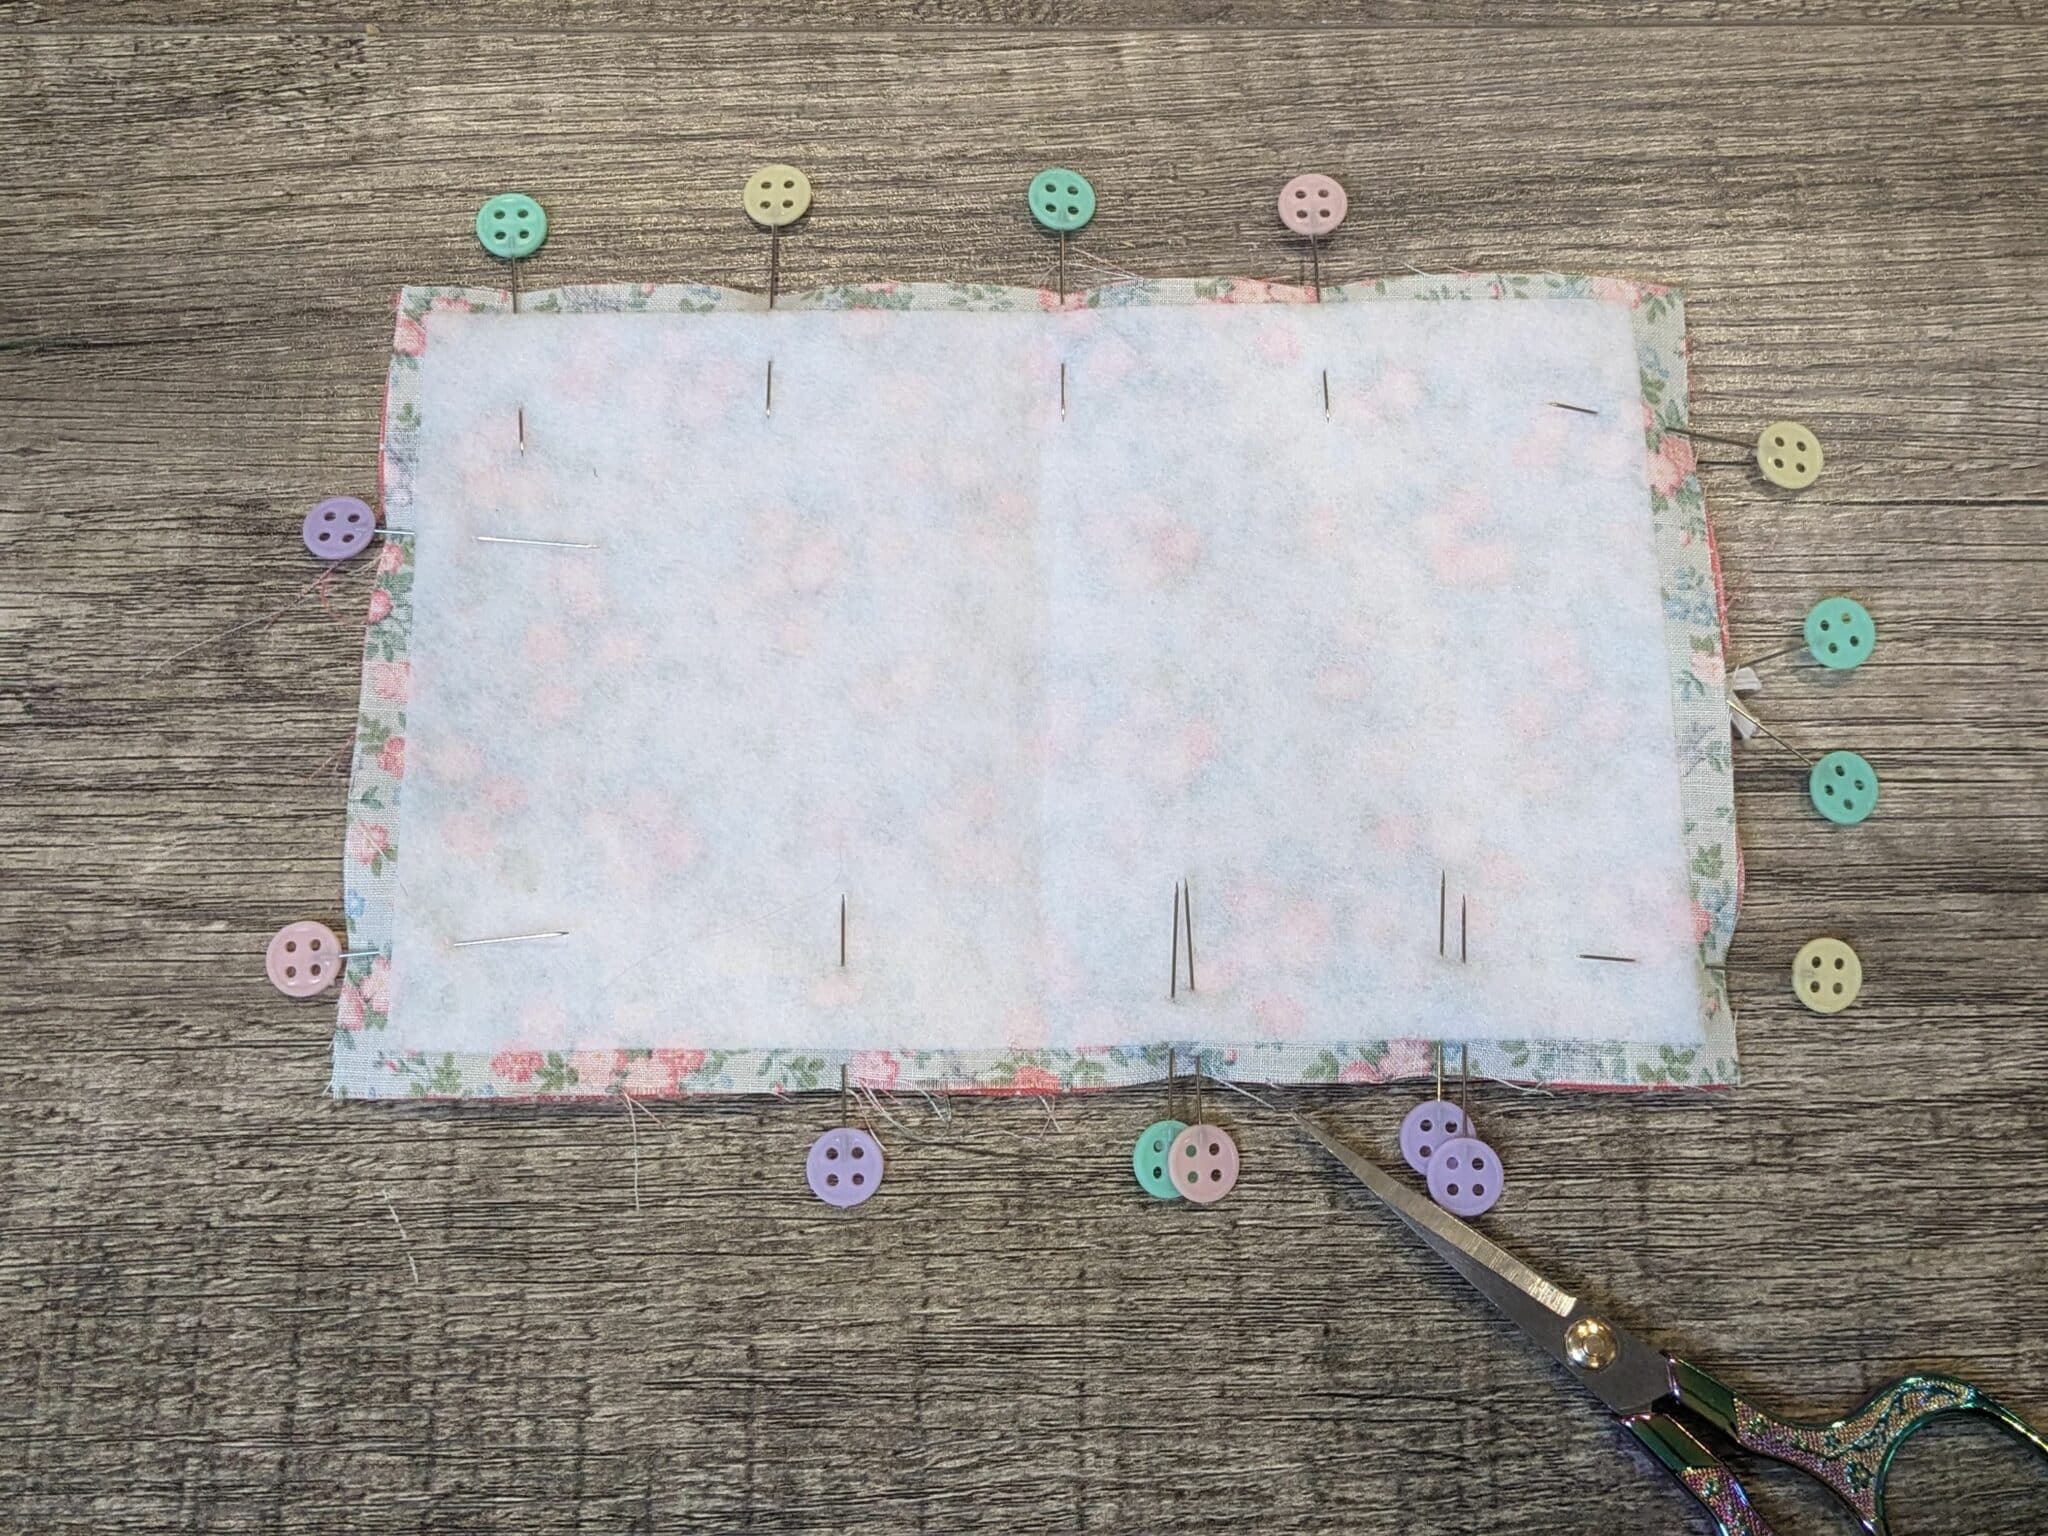
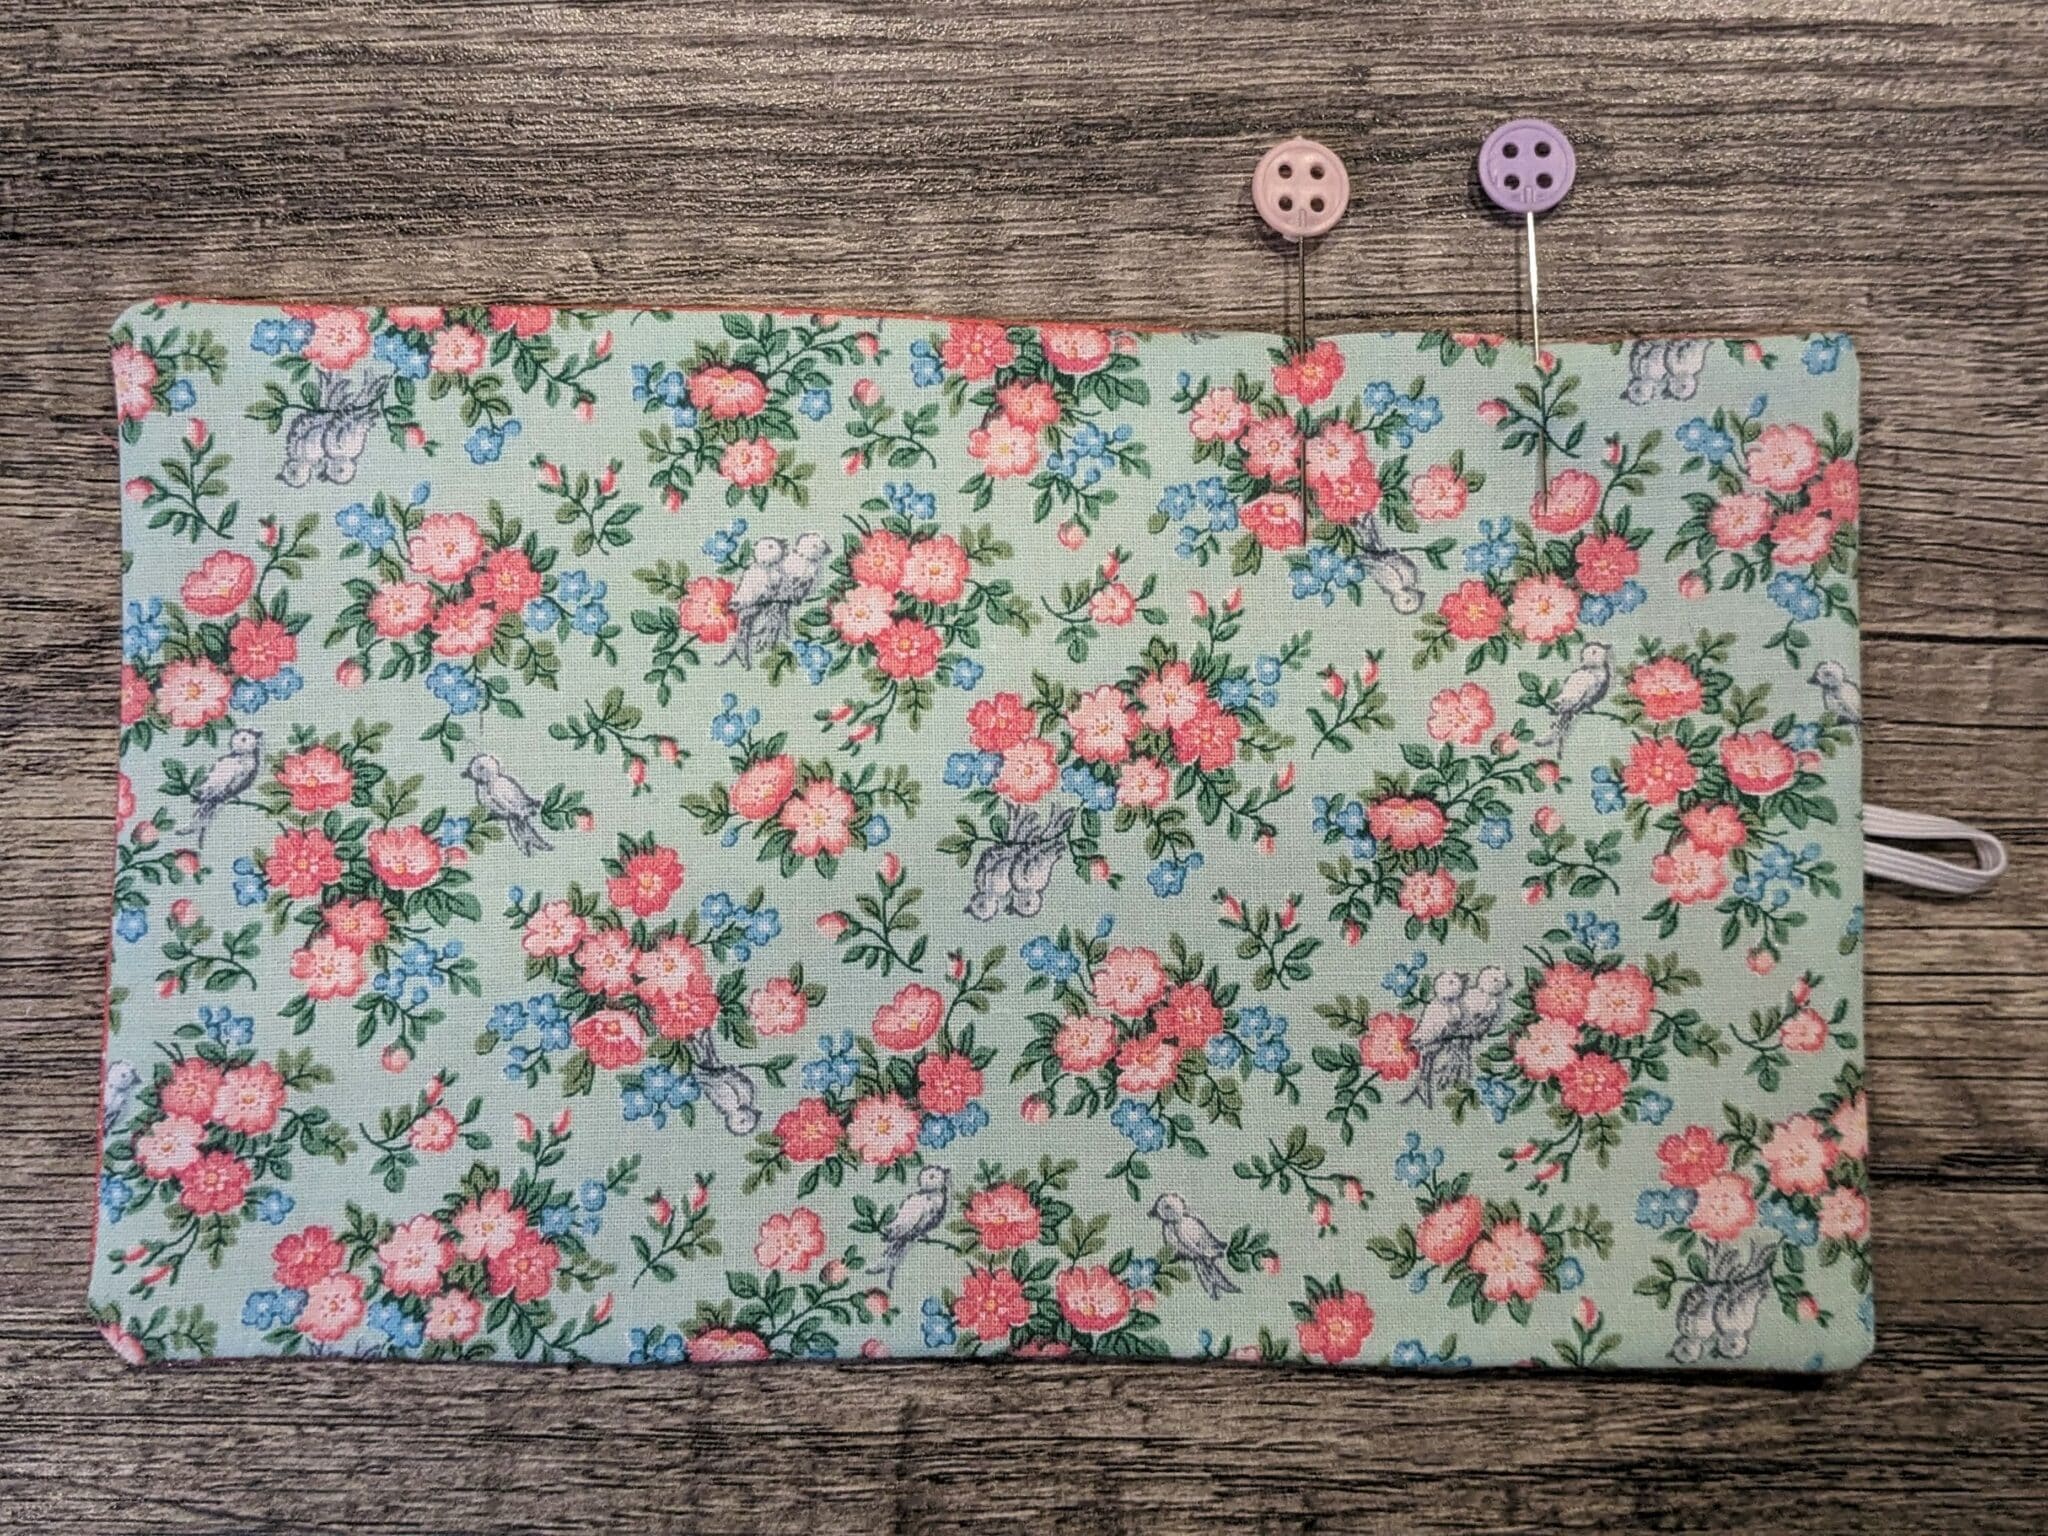
- Pin around the rest of your fabric leaving a 2″ section open for turning.
- Sew around the edges using a 1/4″ seam allowance. Make sure to go over the elastic several times and backstitch at the beginning and end of the opening.
- Trim off the corners.
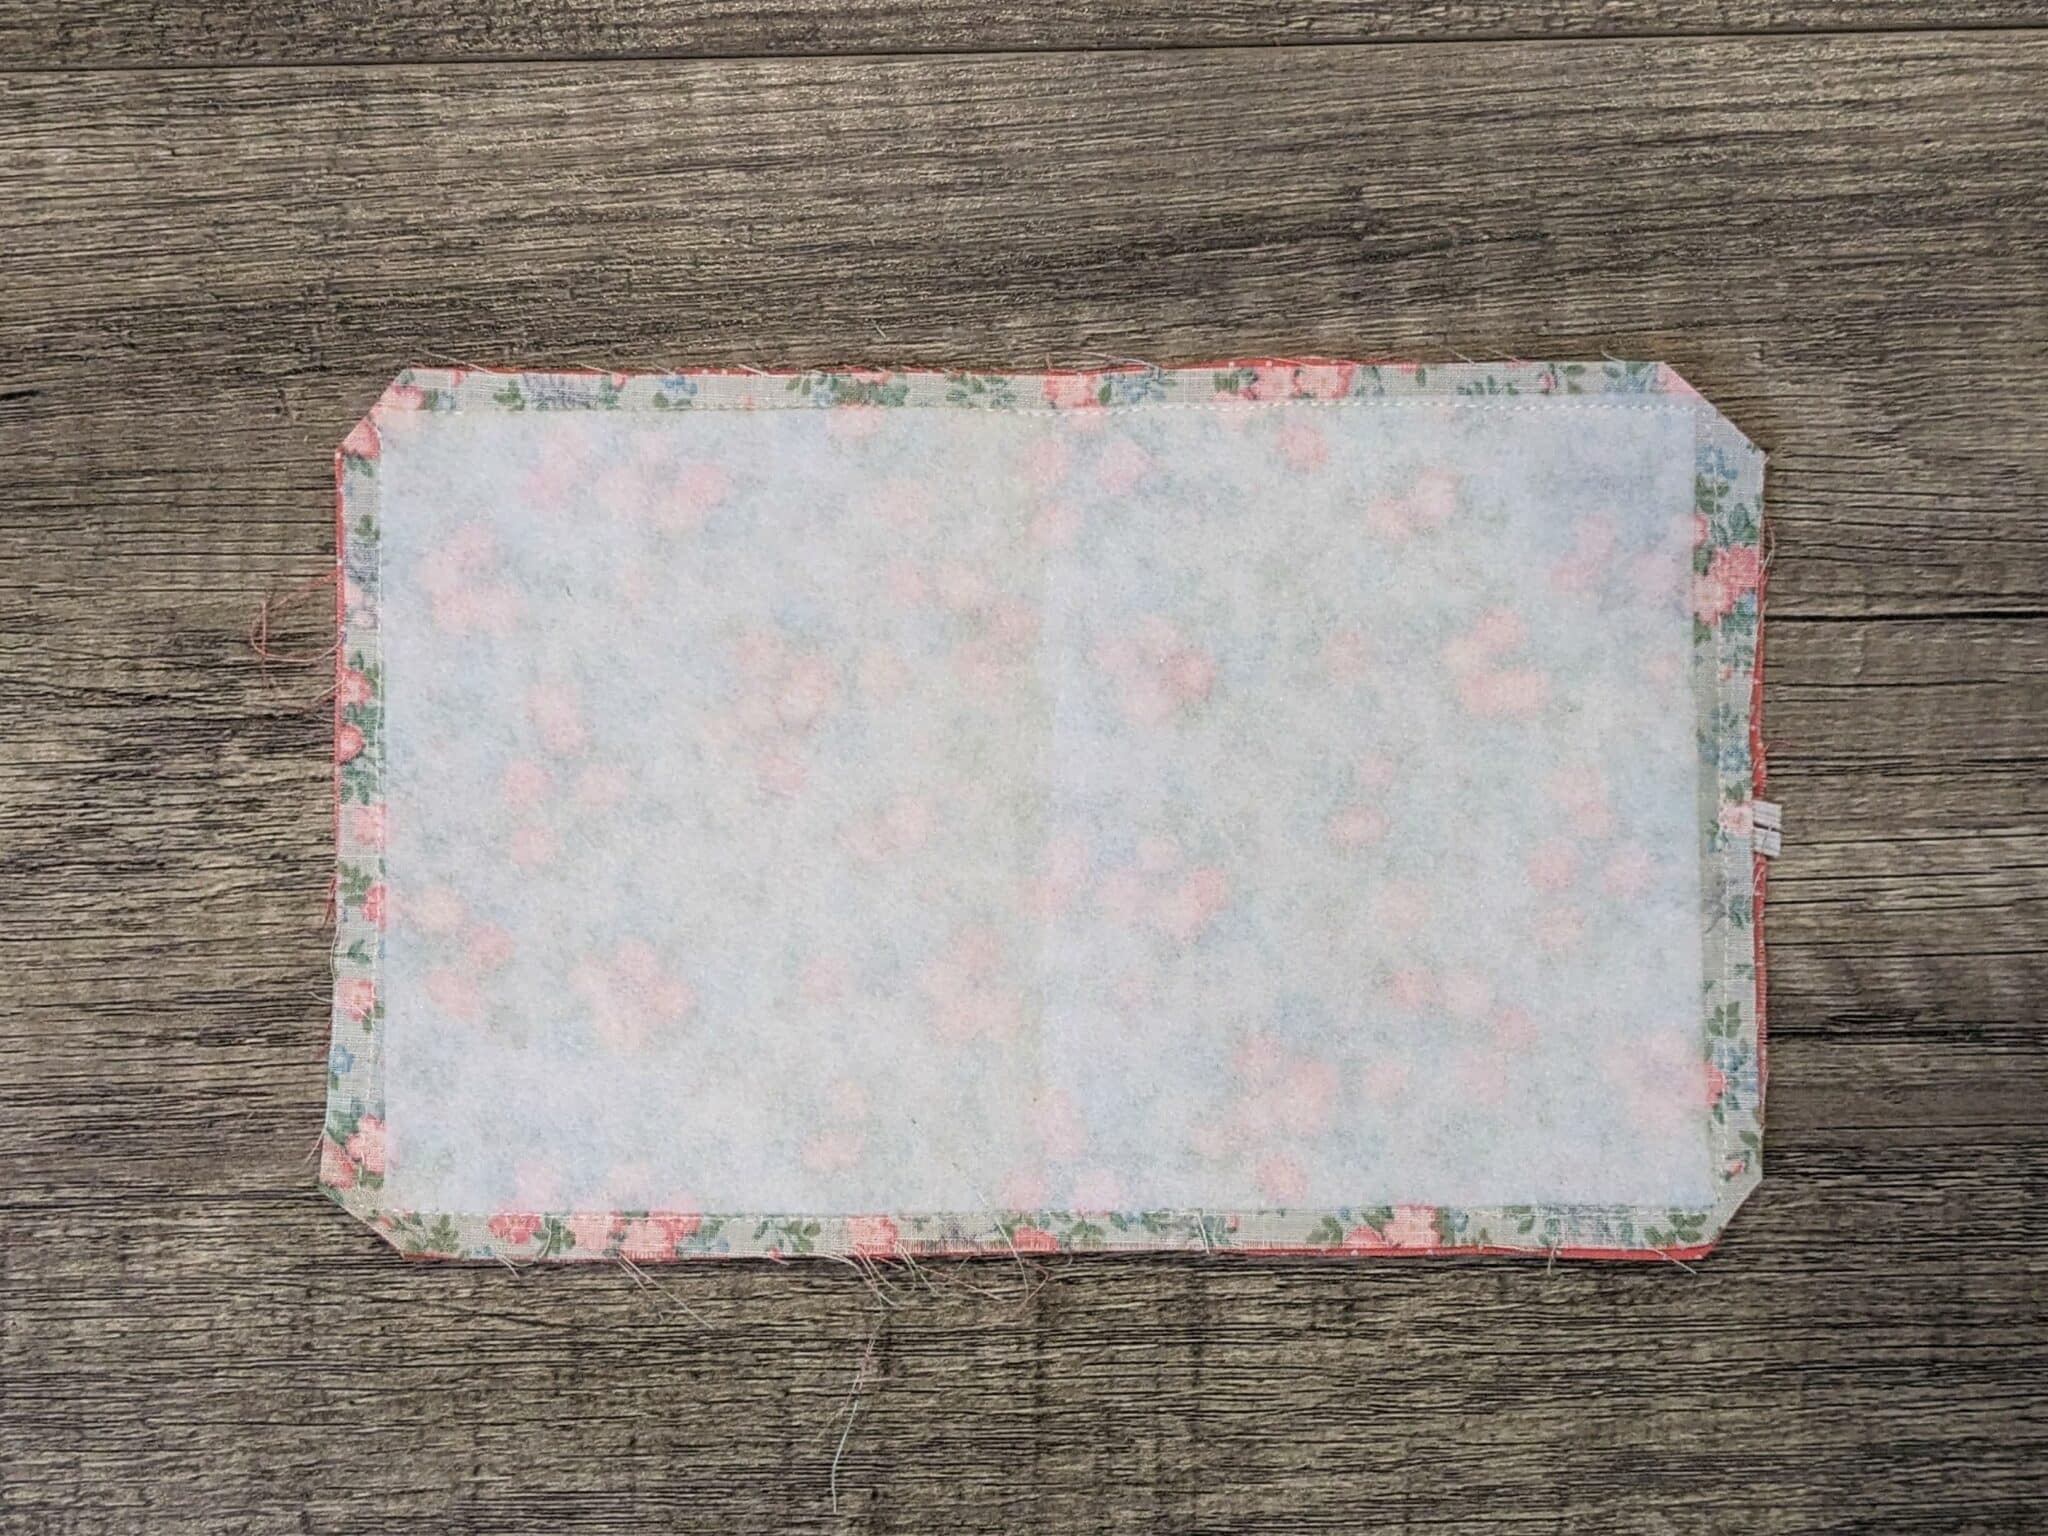
- Pull the fabric through the opening and push out the corners.
- Turn the edges of the opening in and press. Press the rest of the cover as well.
- Pin the opening together then use a ladder stitch to sew it closed.
- If you’re not sure how to do a ladder stitch, you can find a sewing school video for that HERE.
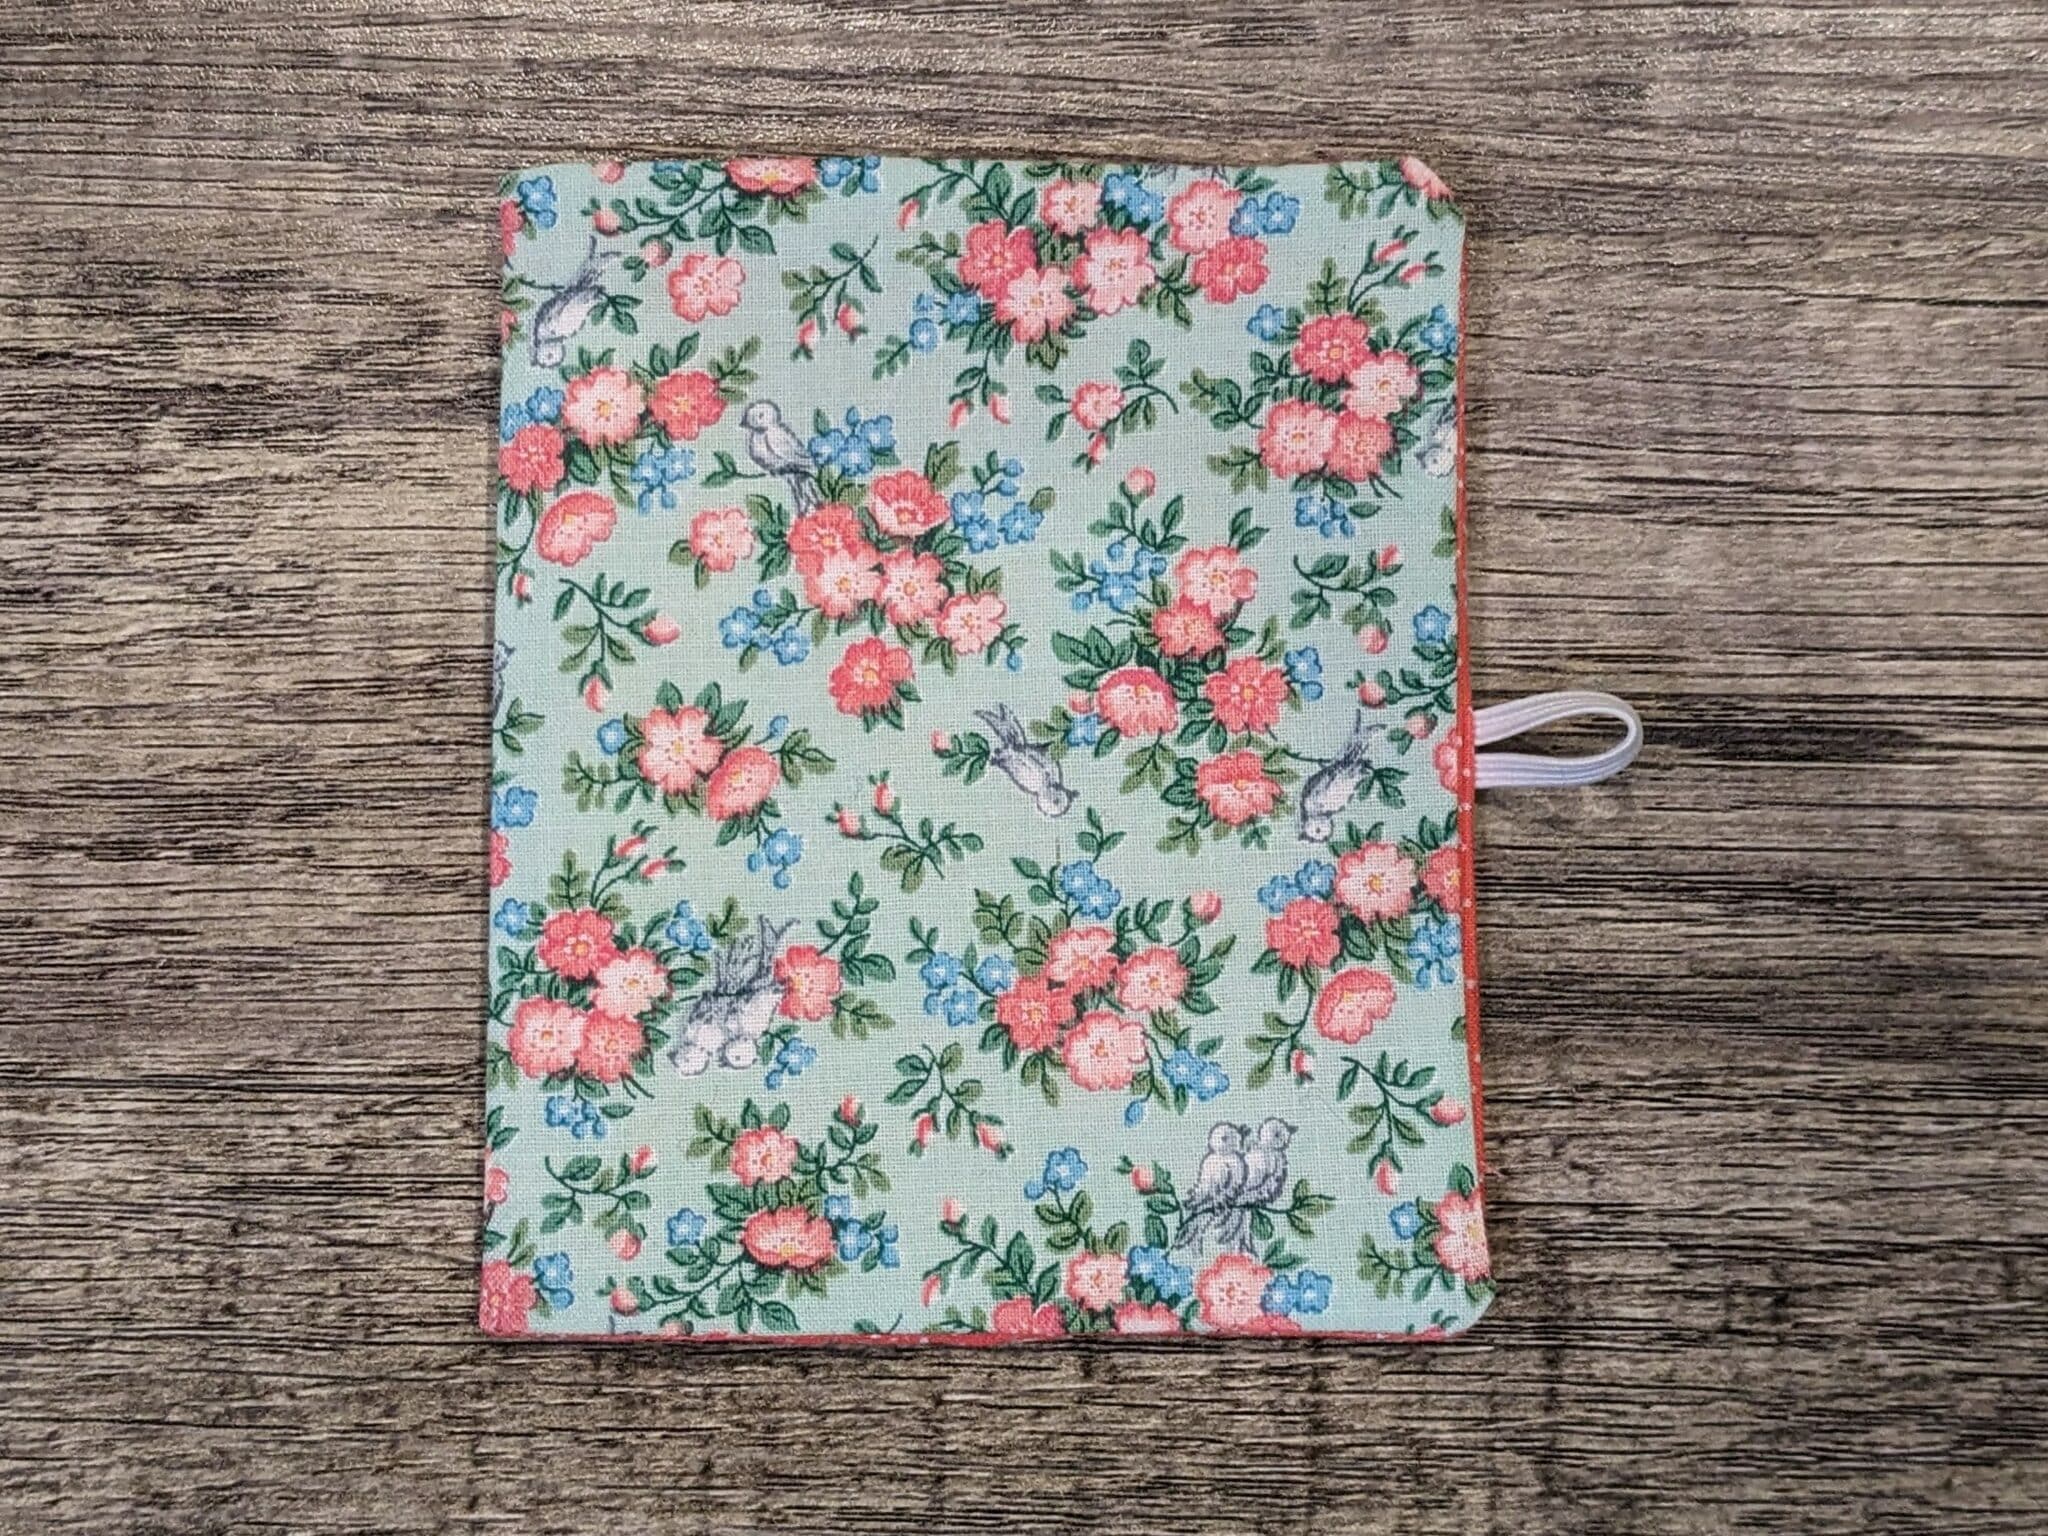
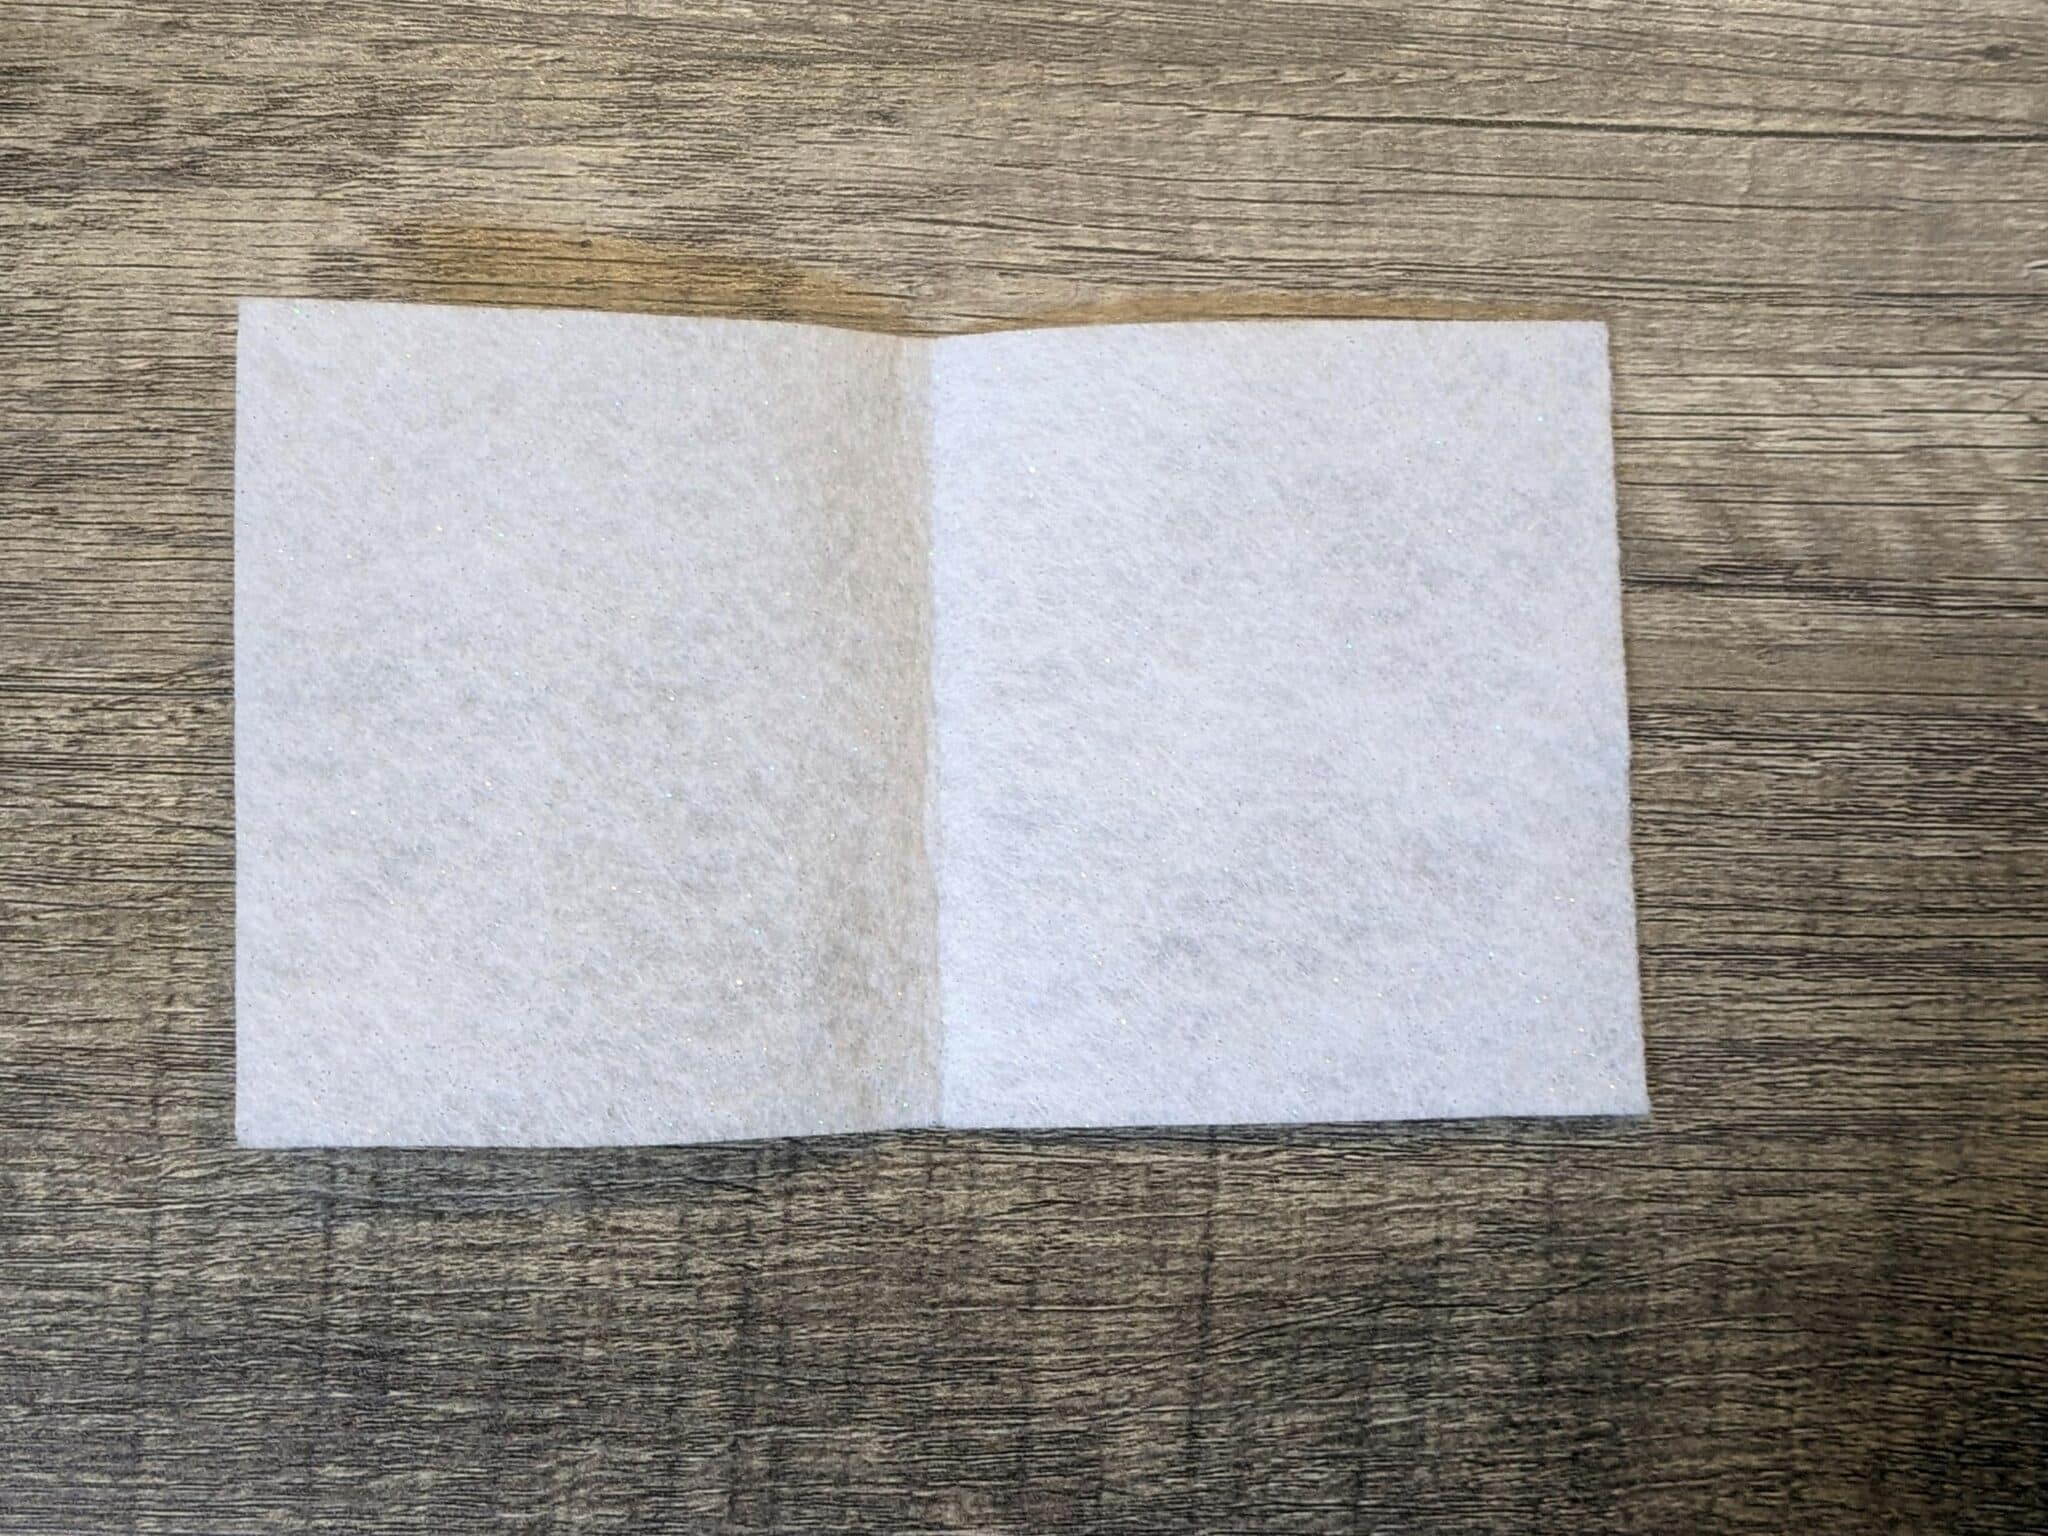
- Fold the cover in half and press to create the seam.
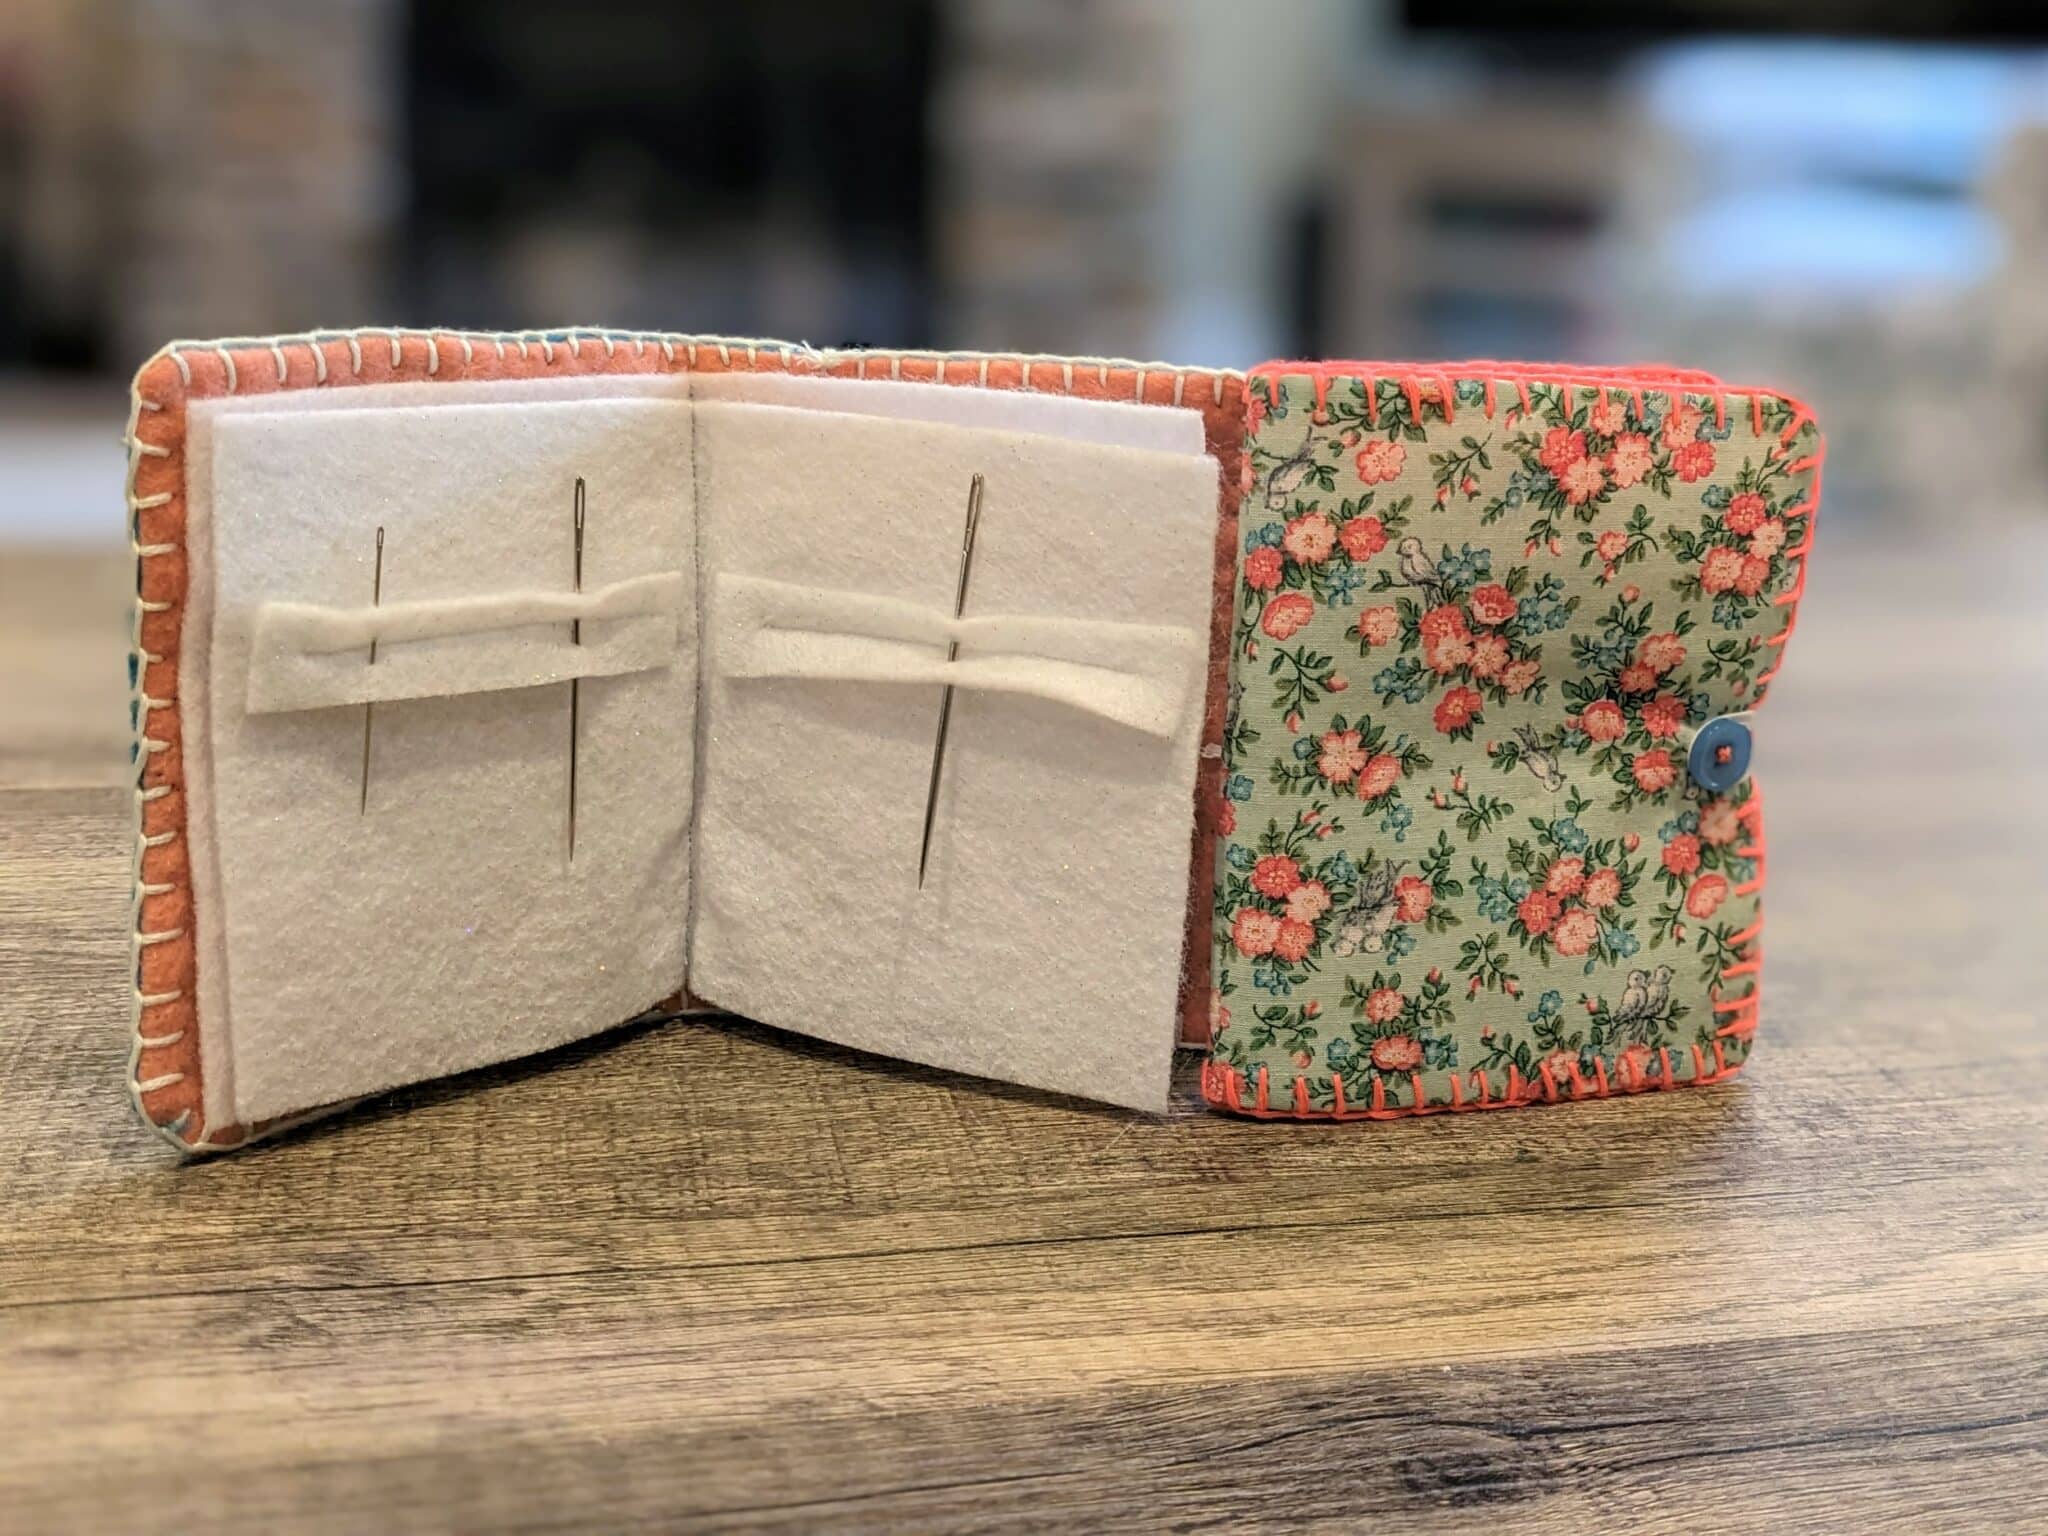
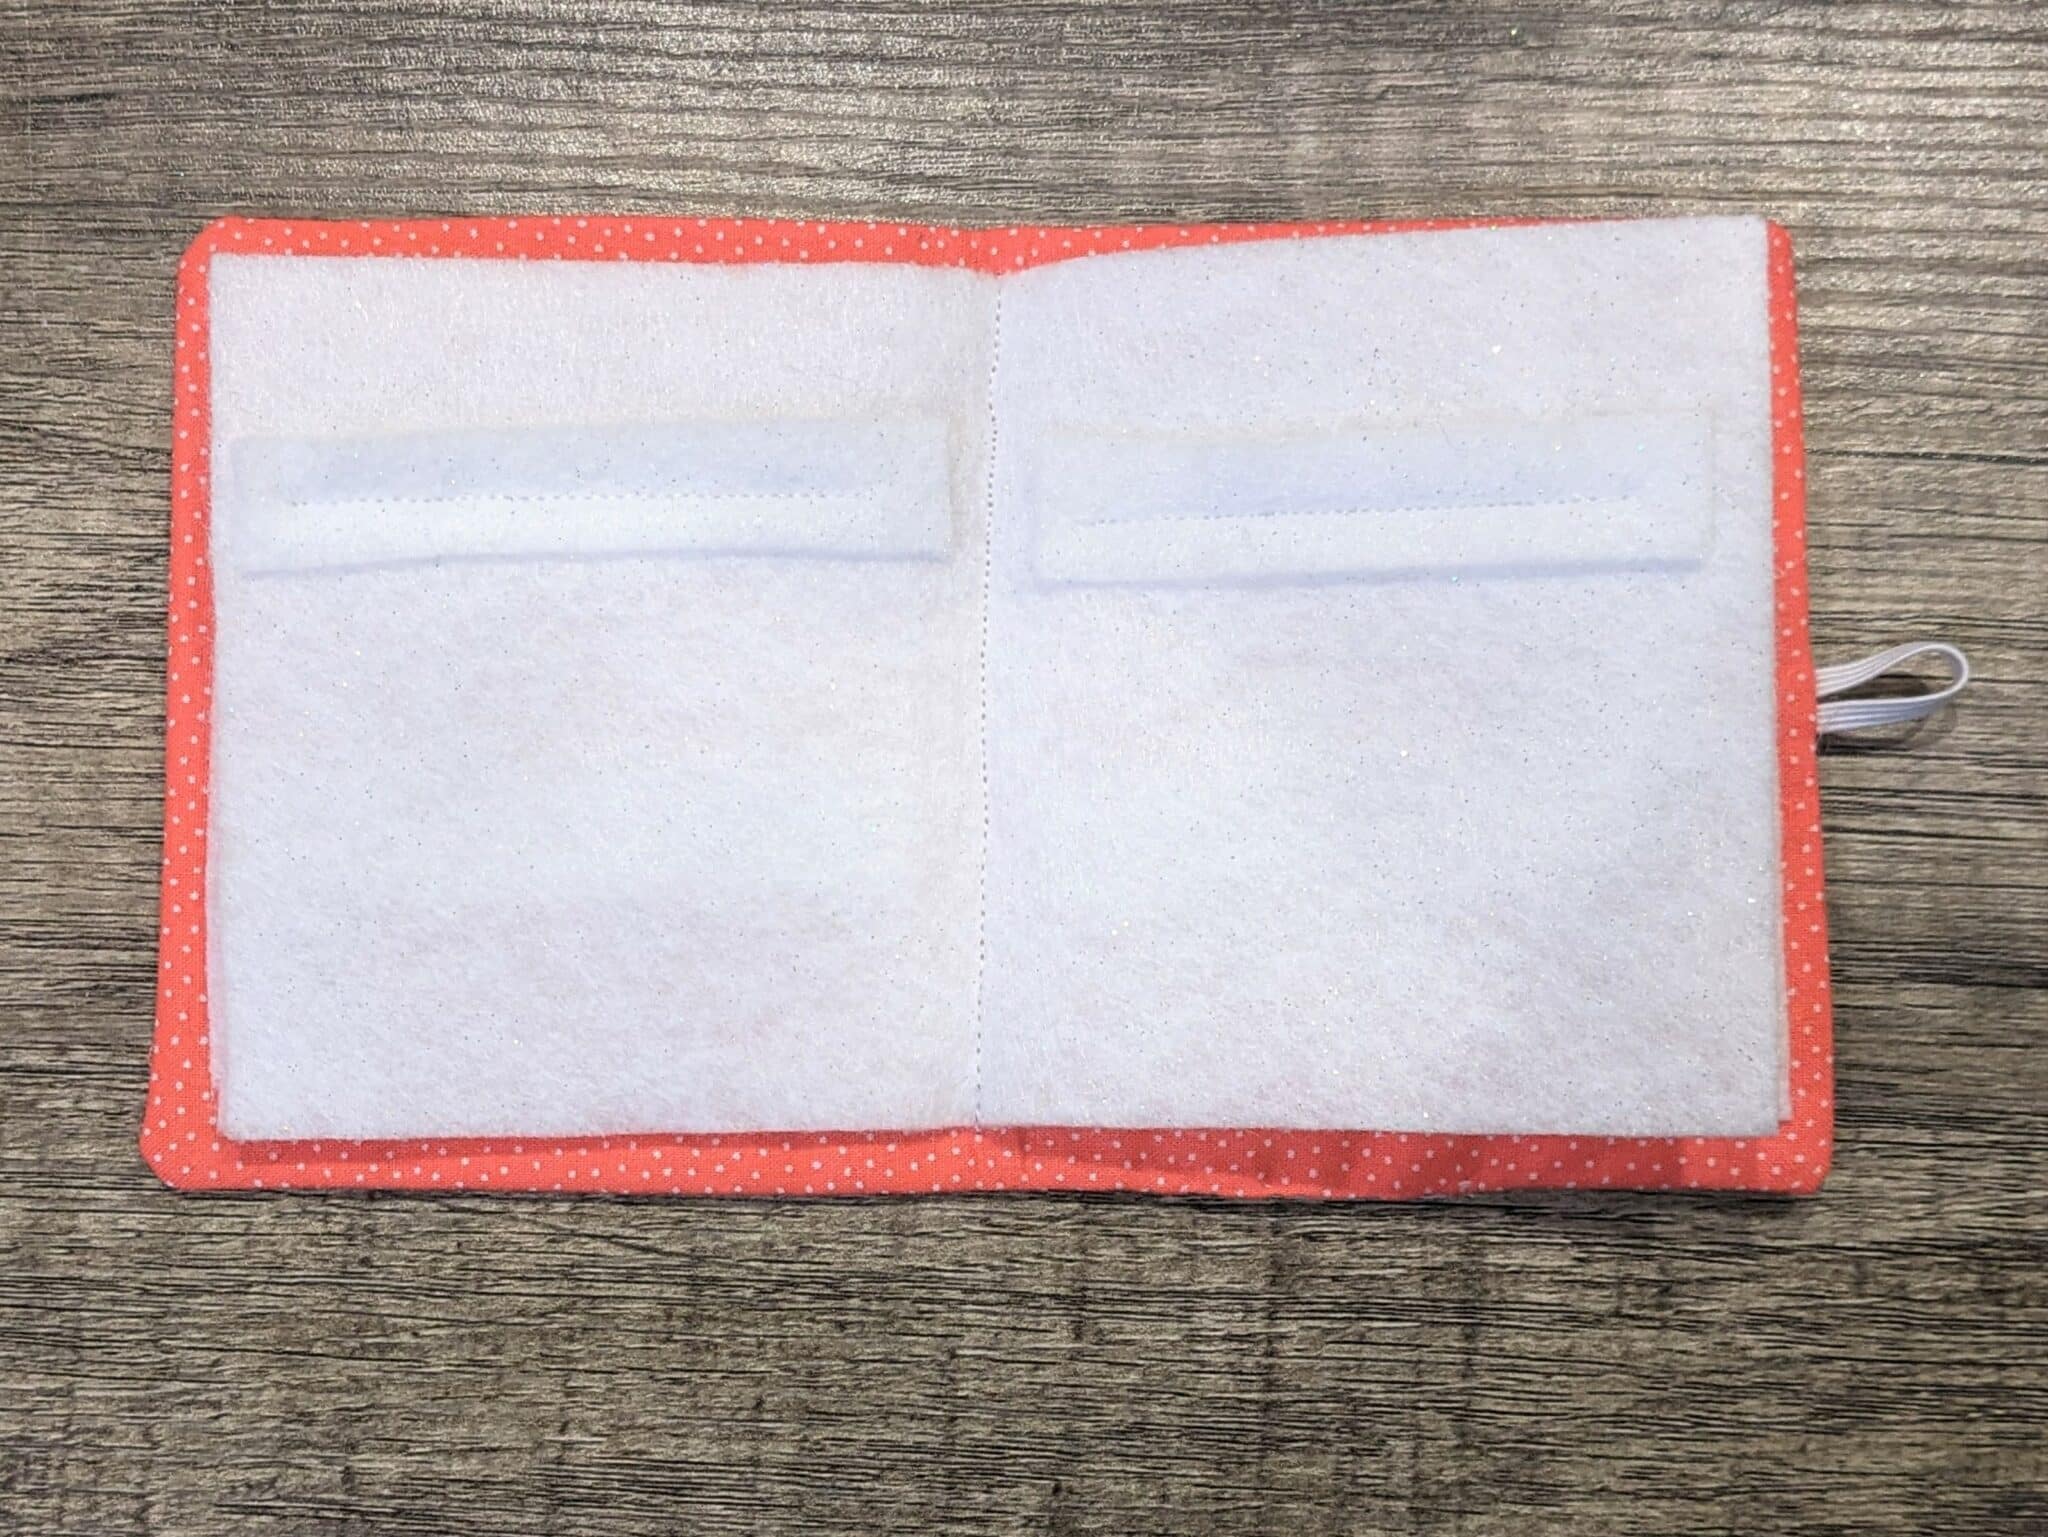
Finish the Pages
- Fold each of your pages in half and press along the fold to mark the center.
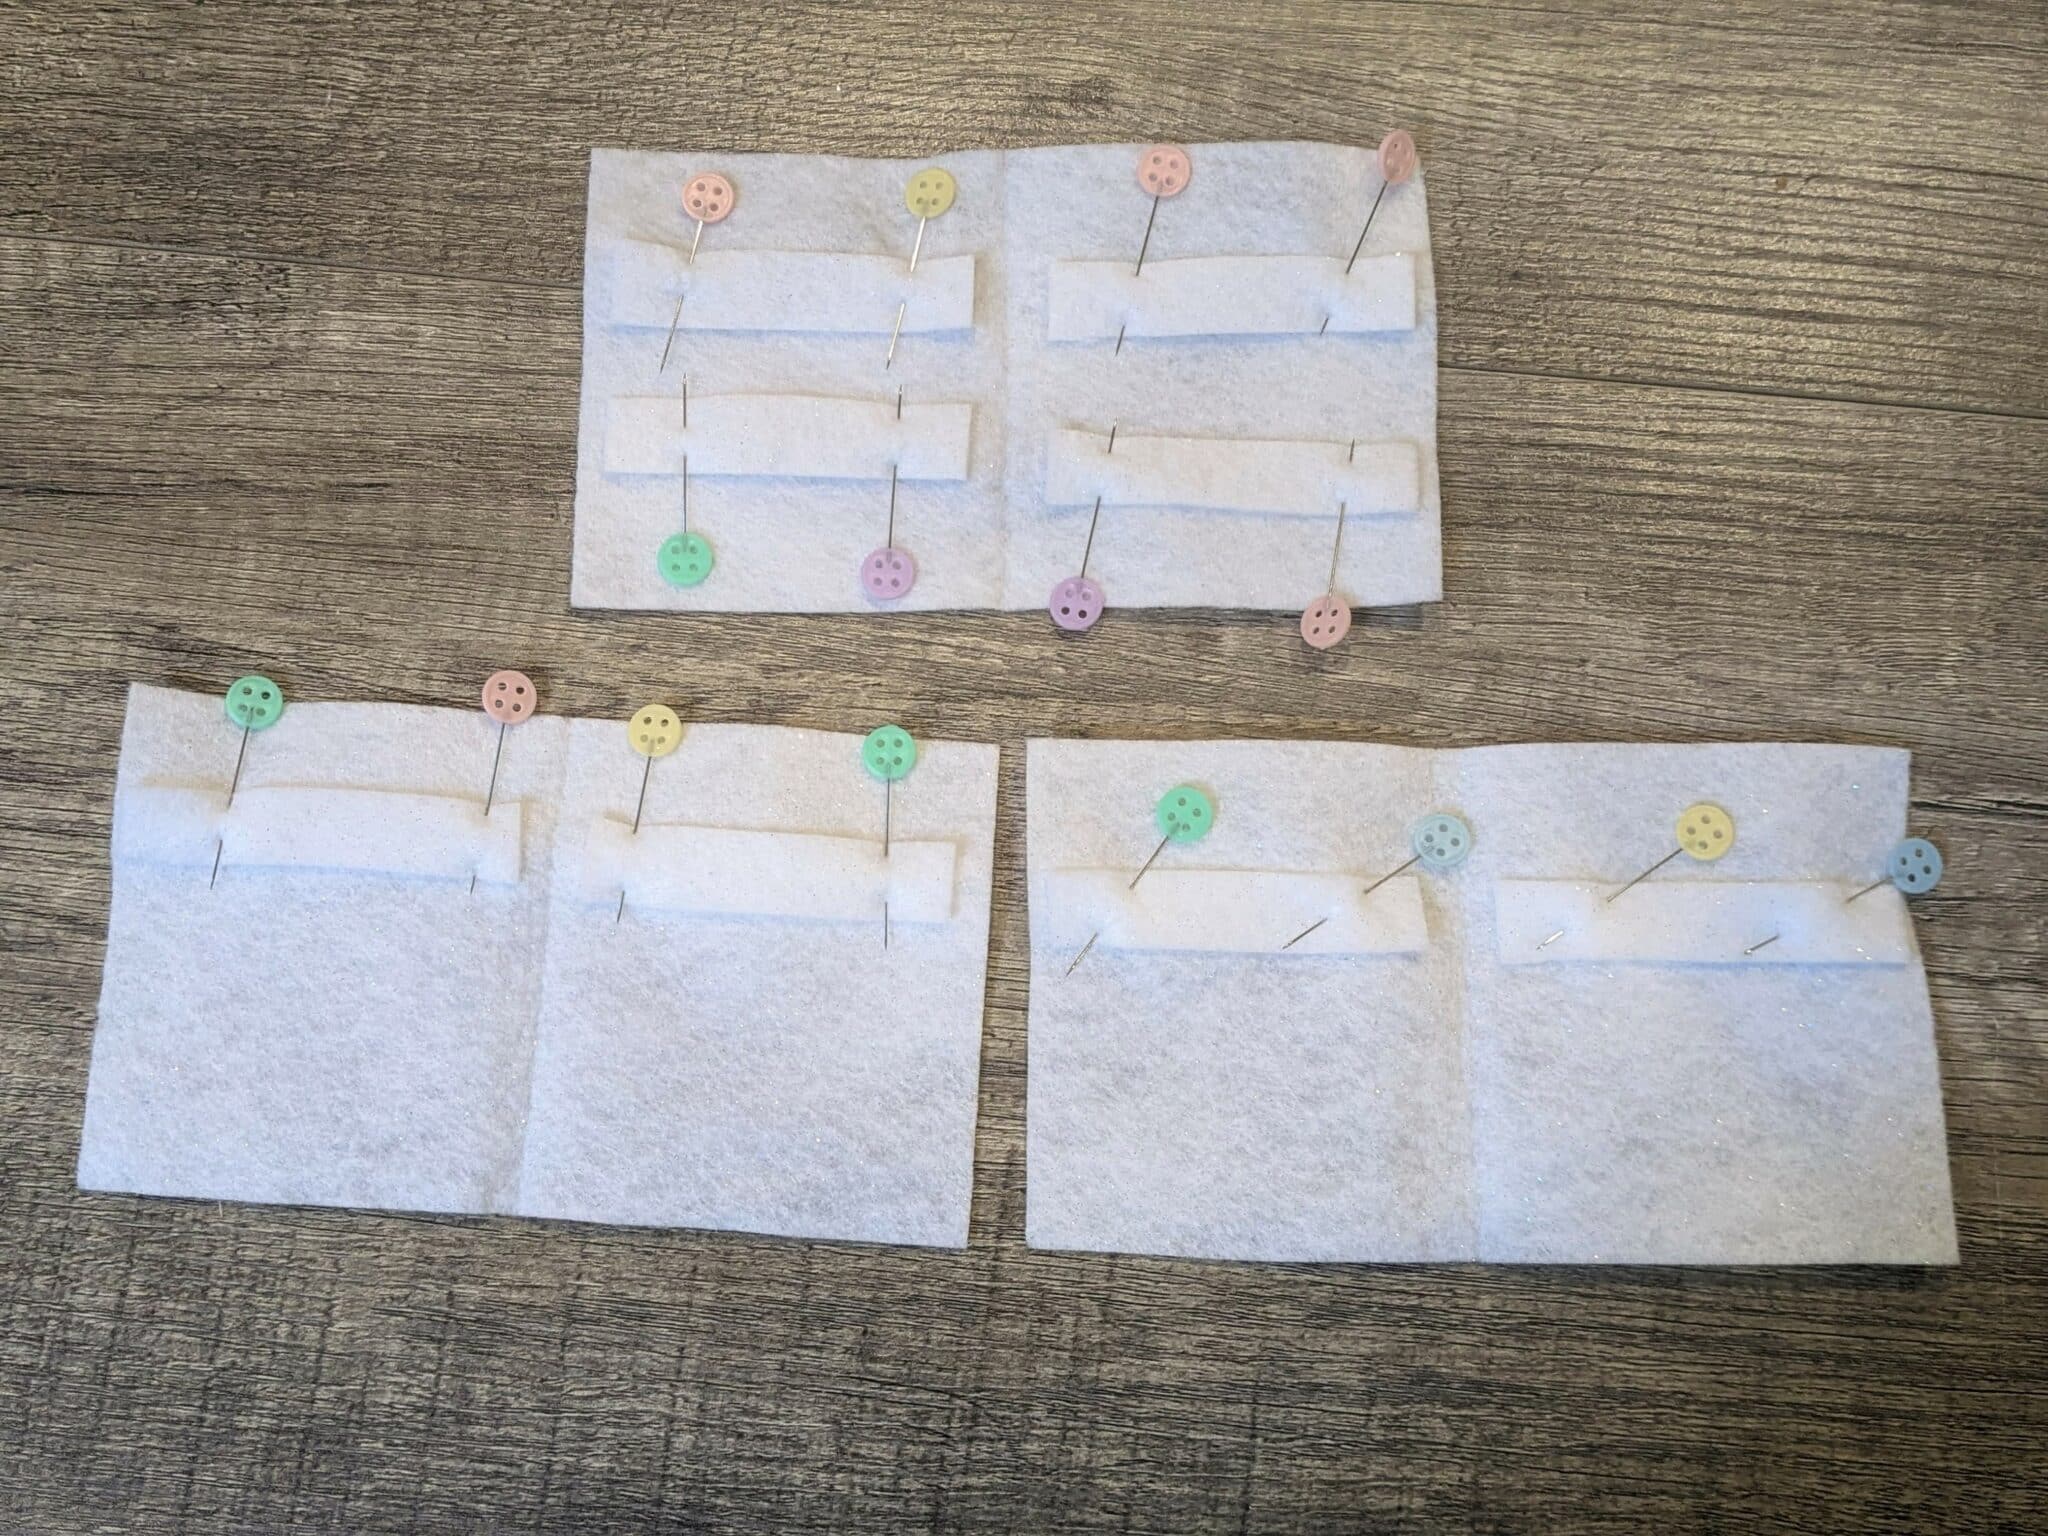
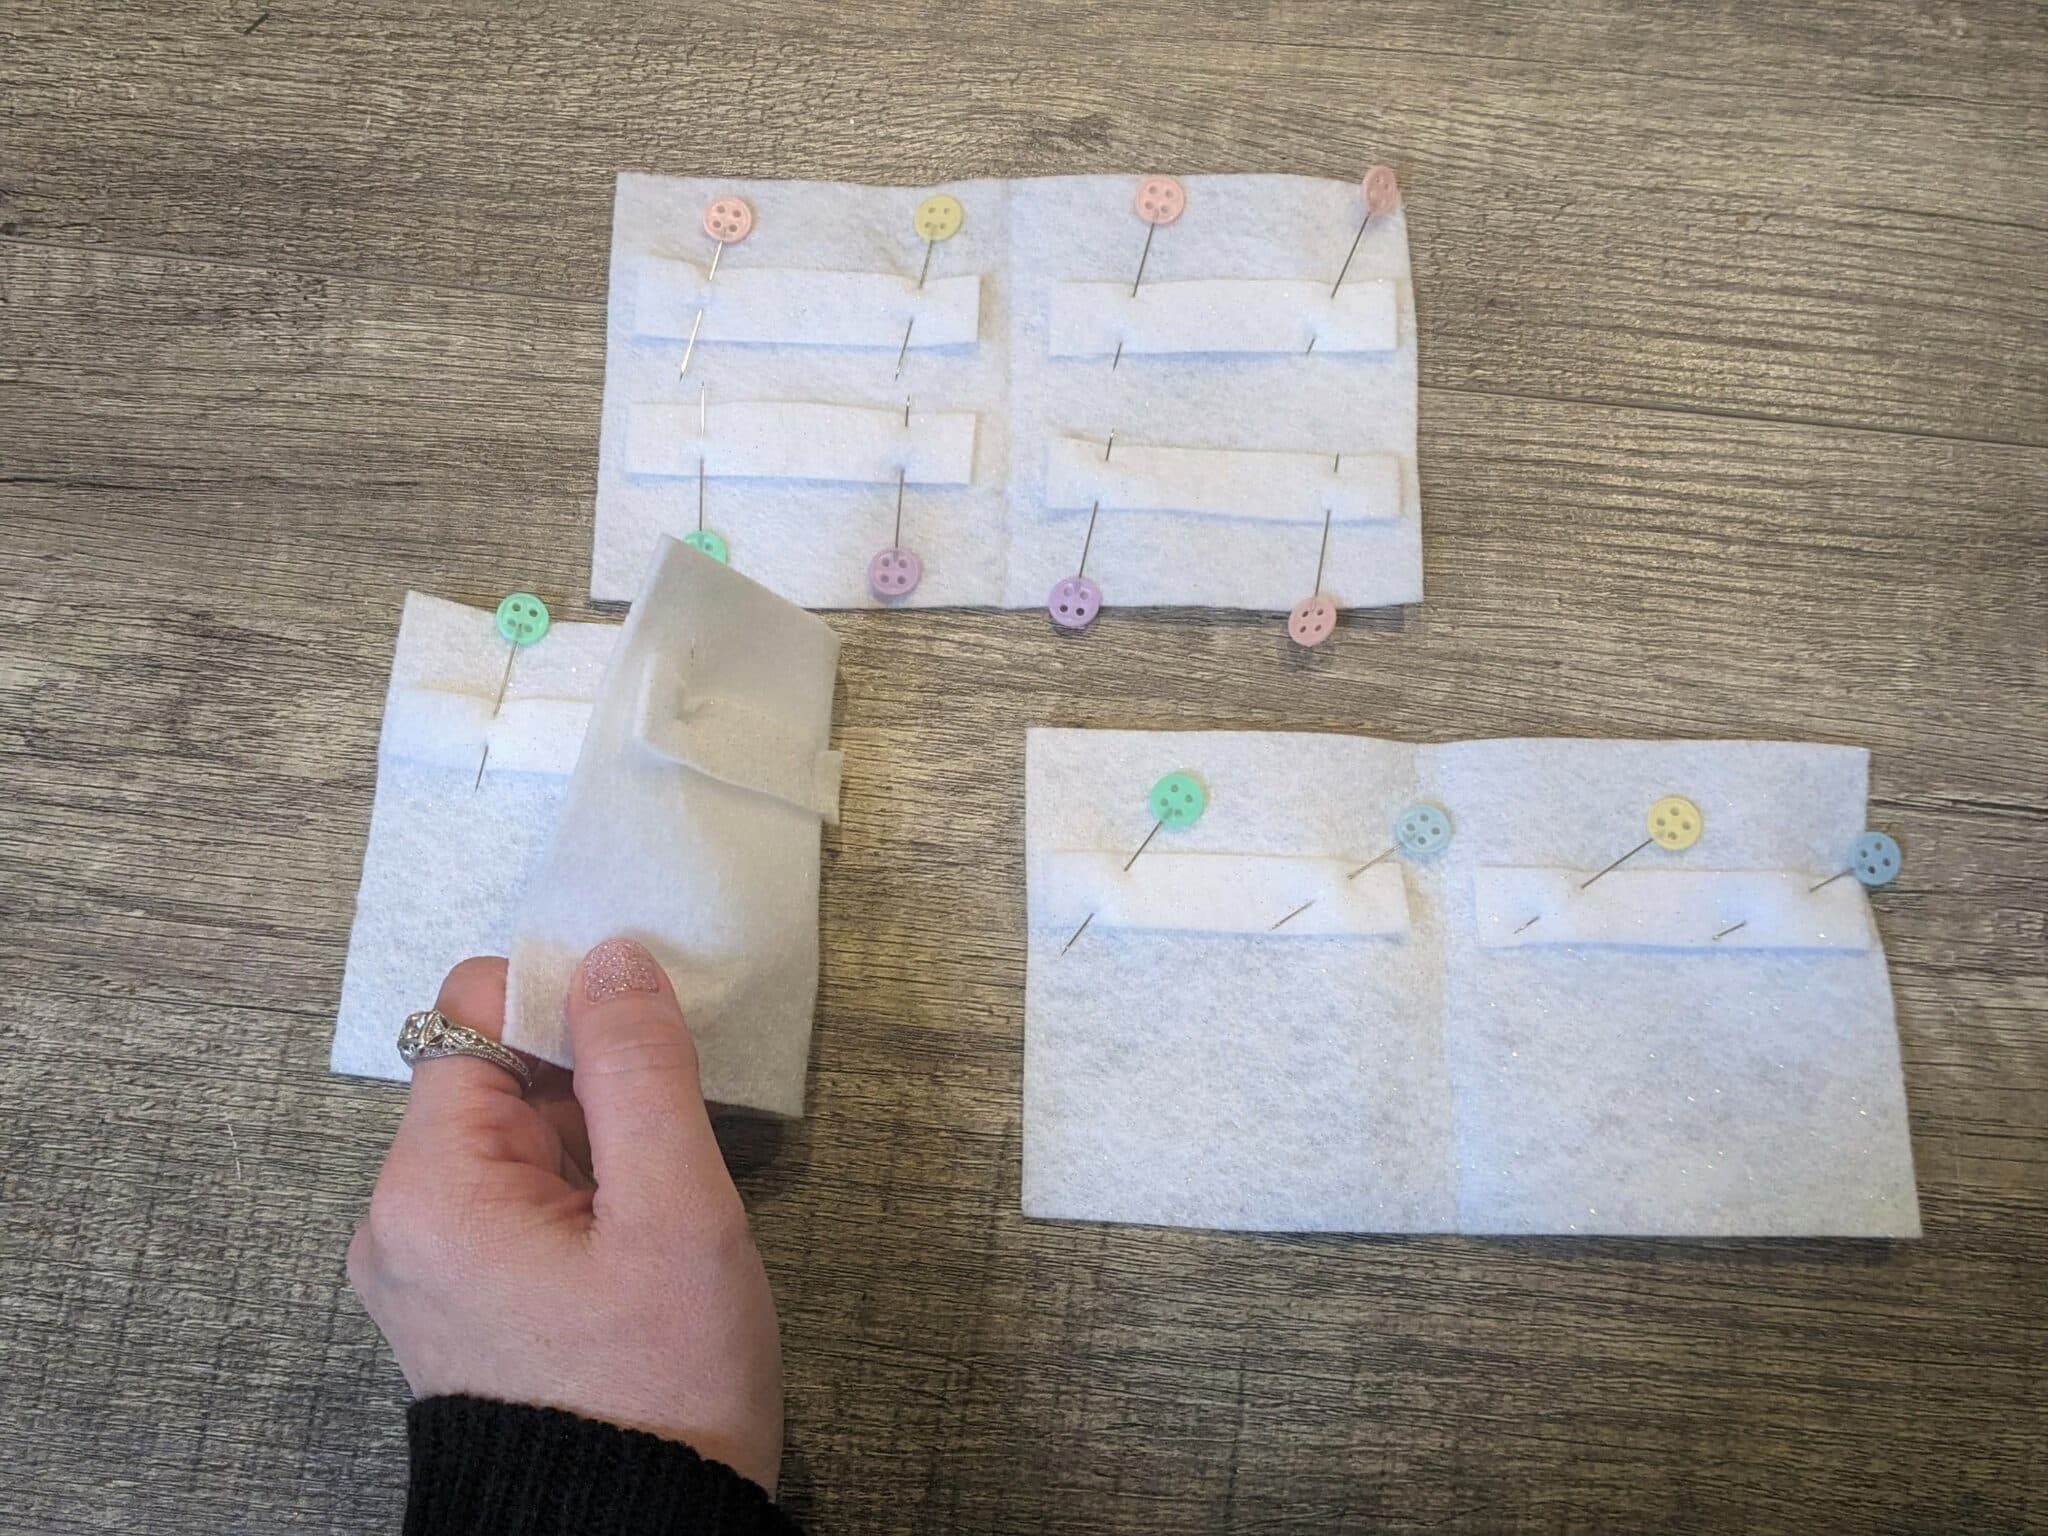
- Pin each of your needle holder strips to each page.
- You can do 1 or 2 strips per page and on just one side or both. It’s up to you and what you think you’ll need.
- Sew across the length of each strip down the center. If you have a strip on each side, make sure they are lined up so you can just sew one line to attach them both.
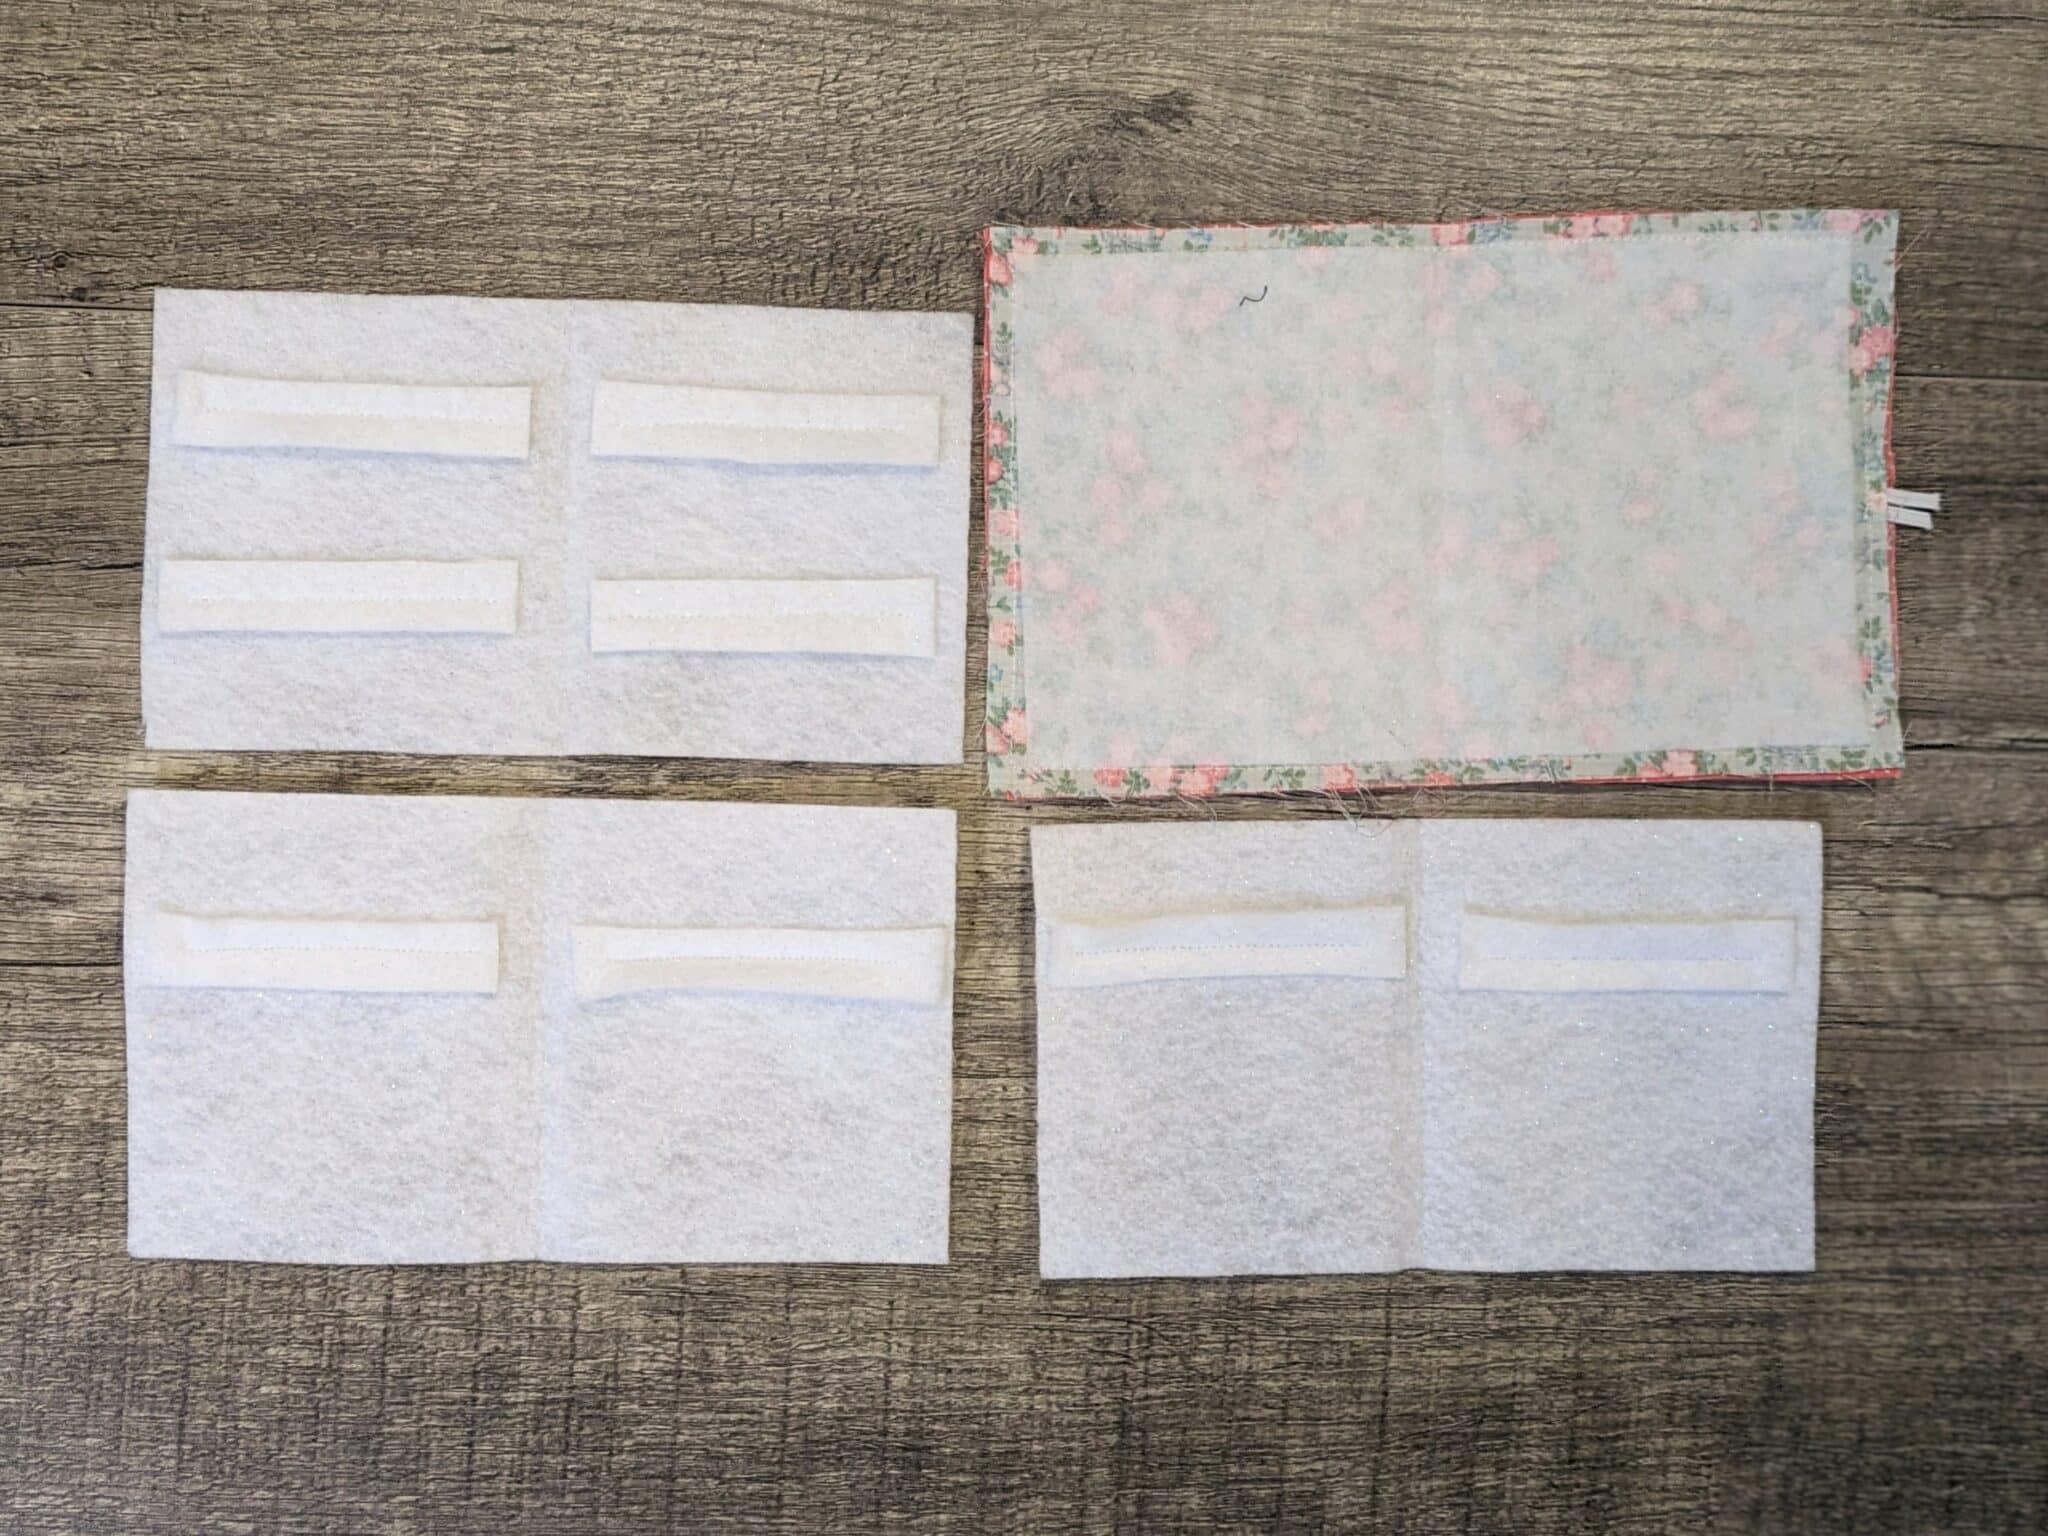
Put it all Together
- Line up the center “seams” of your cover and all of your pages and pin down the crease.
- Sew a straight line through all of the layers down the center crease.
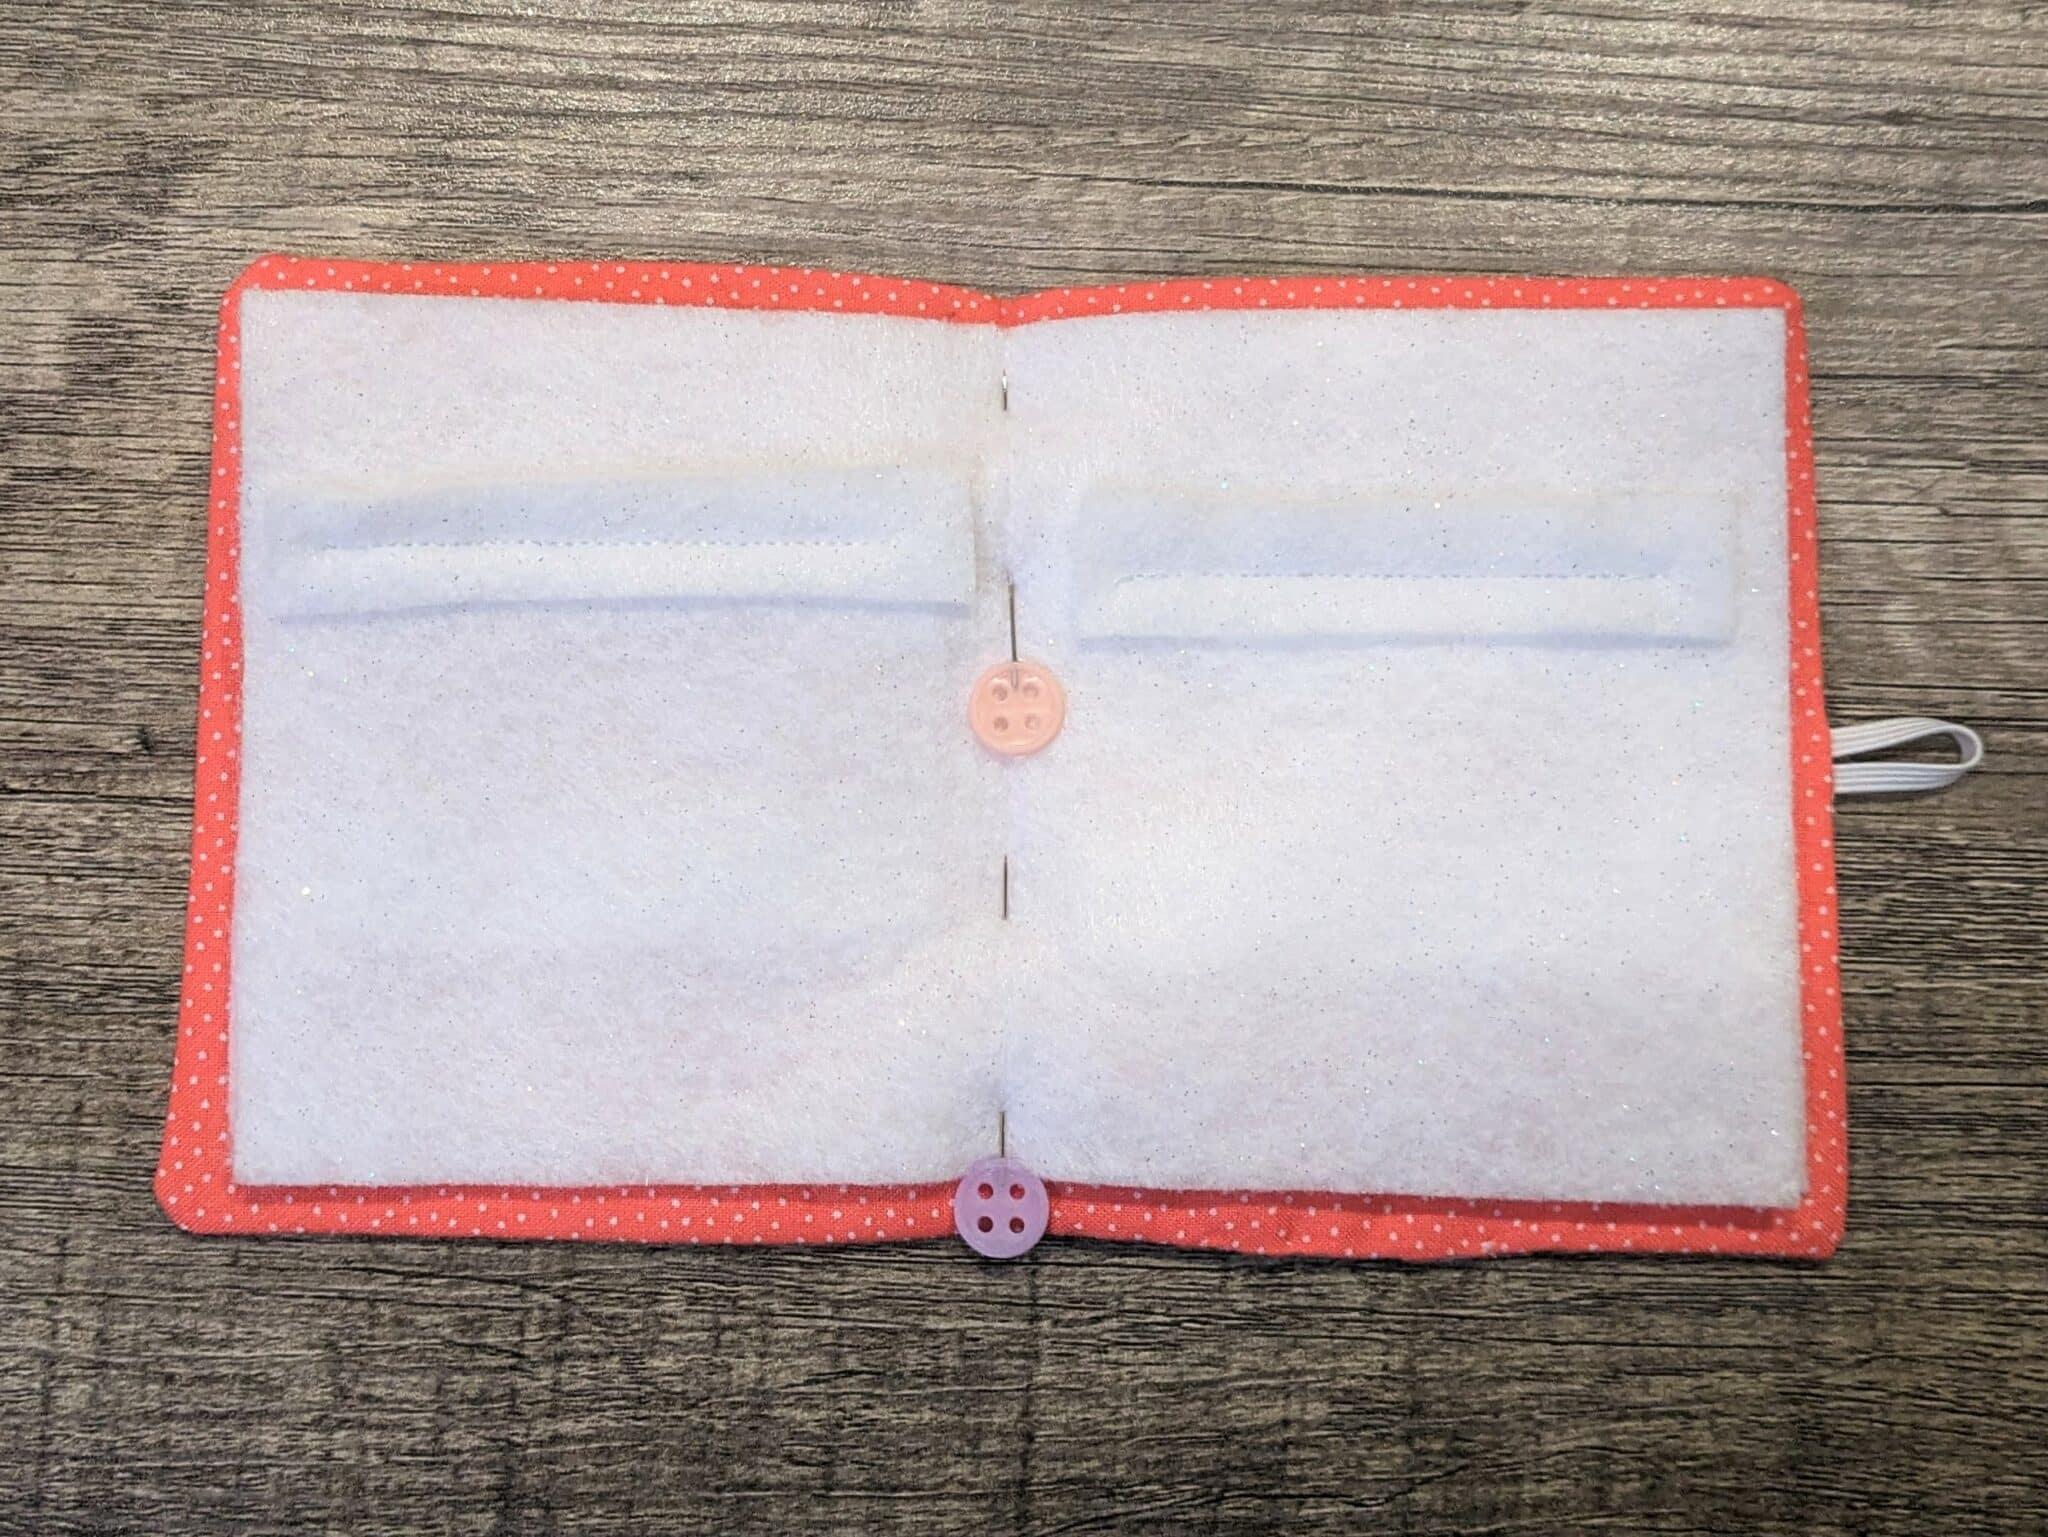
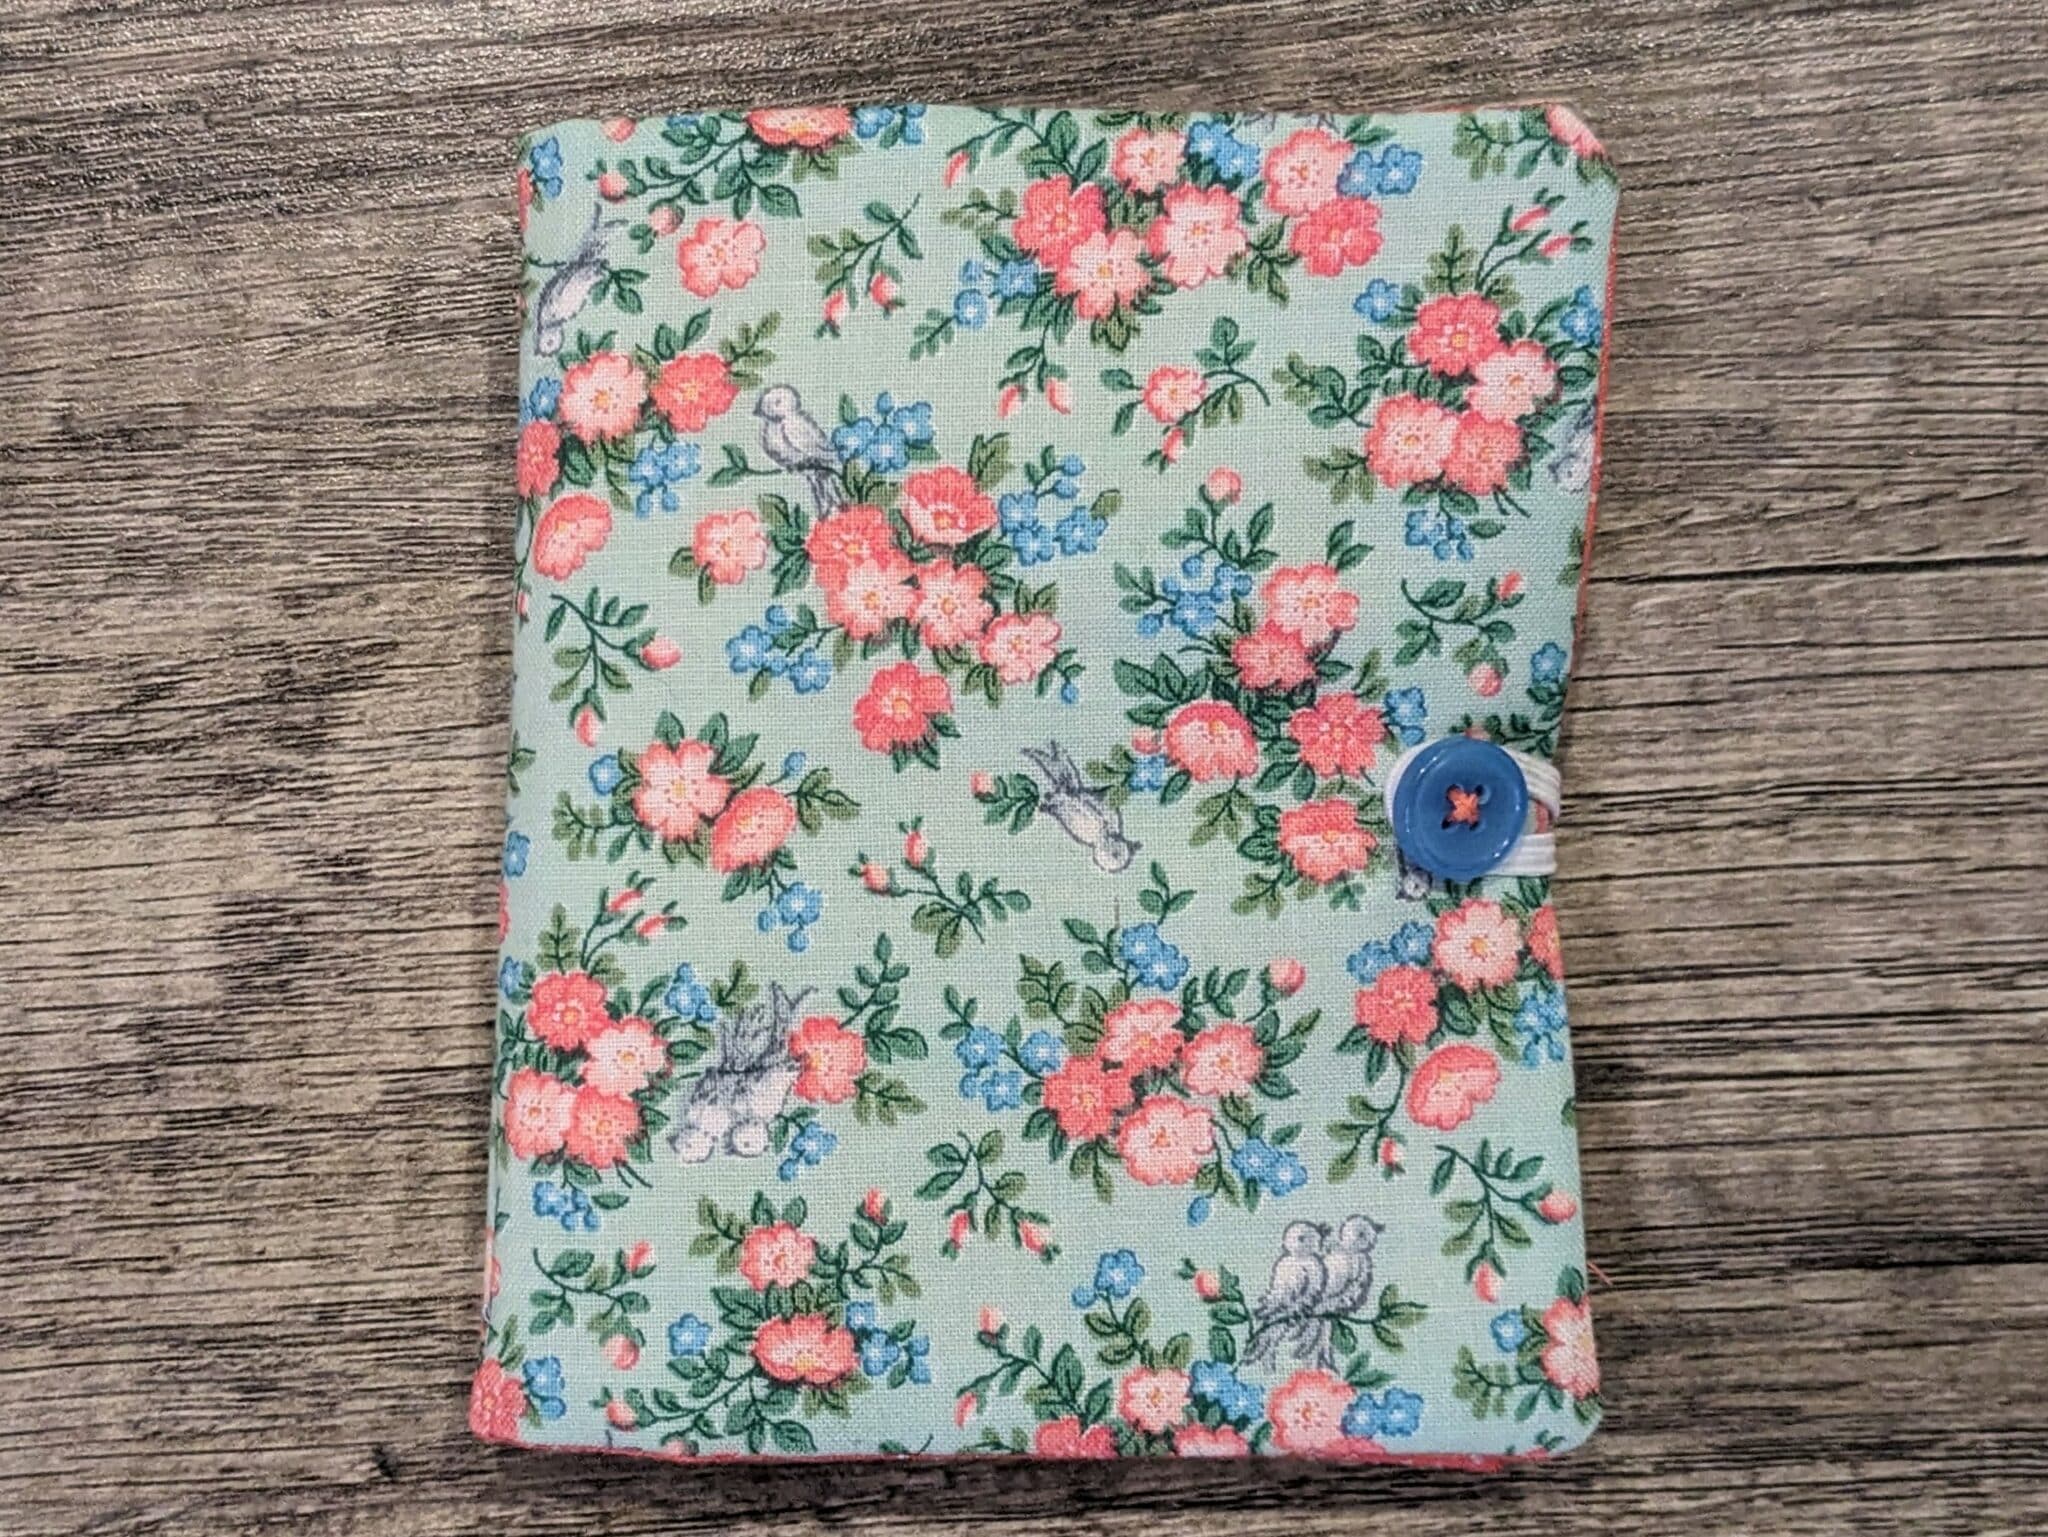
- Sew the button onto the front cover.
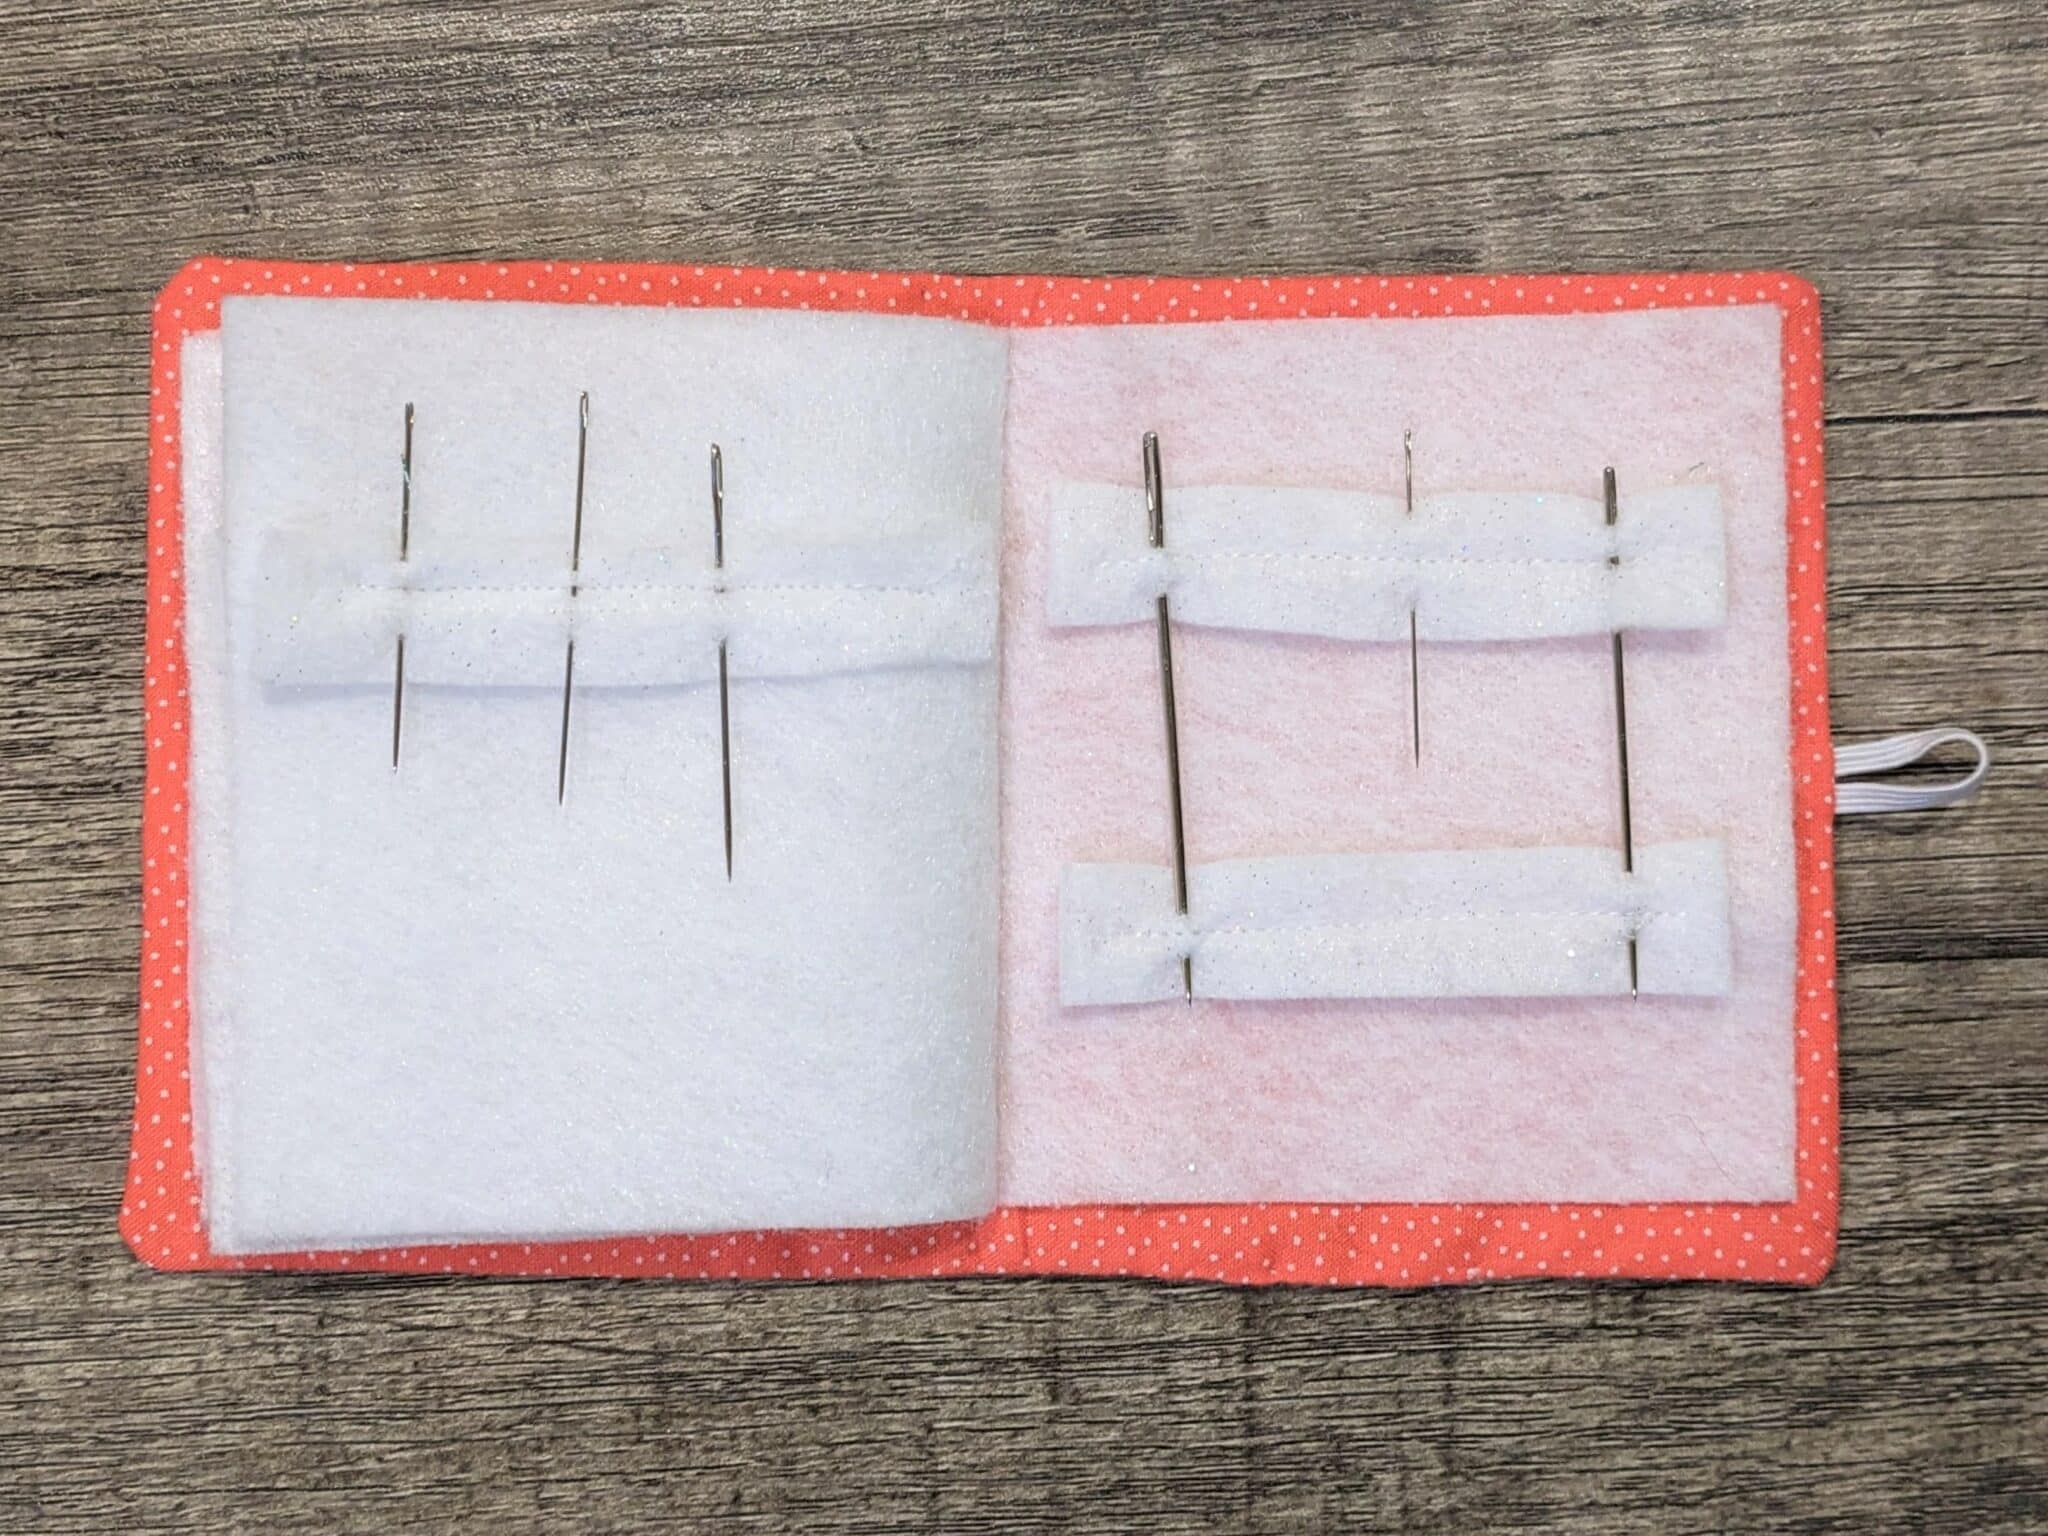
- Store all of your sewing needles.
Extras:
- You can embellish your little book as much or as little as you’d like.
- I used my vinyl cutter to make a needle and thread for one and also chose to use embroidery thread to sew a blanket stitch around the outer edges of the cover.
- If you like the look of the blanket stitch, there are instructions on how to do that in a previous blog post you can find HERE. There are also many videos you can find if that’s easier for you.
Store all of your sewing needles in your new little book and you’ll never have wonder where they went!
Want more FUN DIY Freebies? Check out the FREEBIE TUTORIALS and the FREEBIE PATTERNS!
As always, we’re here to help if you need it! Join us HERE and on Facebook, Instagram, Twitter, Youtube, and Pinterest. We’re everywhere you are.
OMG, I’m obsessed with this. I’m making one this weekend, but I’ll use mine to track my machine needles, with a different page for each type of needle. I’m going to add some vertical column markings (maybe just with a fine point Micron pen) to indicate hours of use, so I can reuse but not overuse my machine needles across projects. Thank you for these great instructions and photos!
If you have a vinyl cutter, there’s a previous tutorial for a sewing machine needle pillow that has a free cut file for the labels!
https://5outof4.com/diy-needle-pillow/
That is a fantastic idea. Just blows my mind!