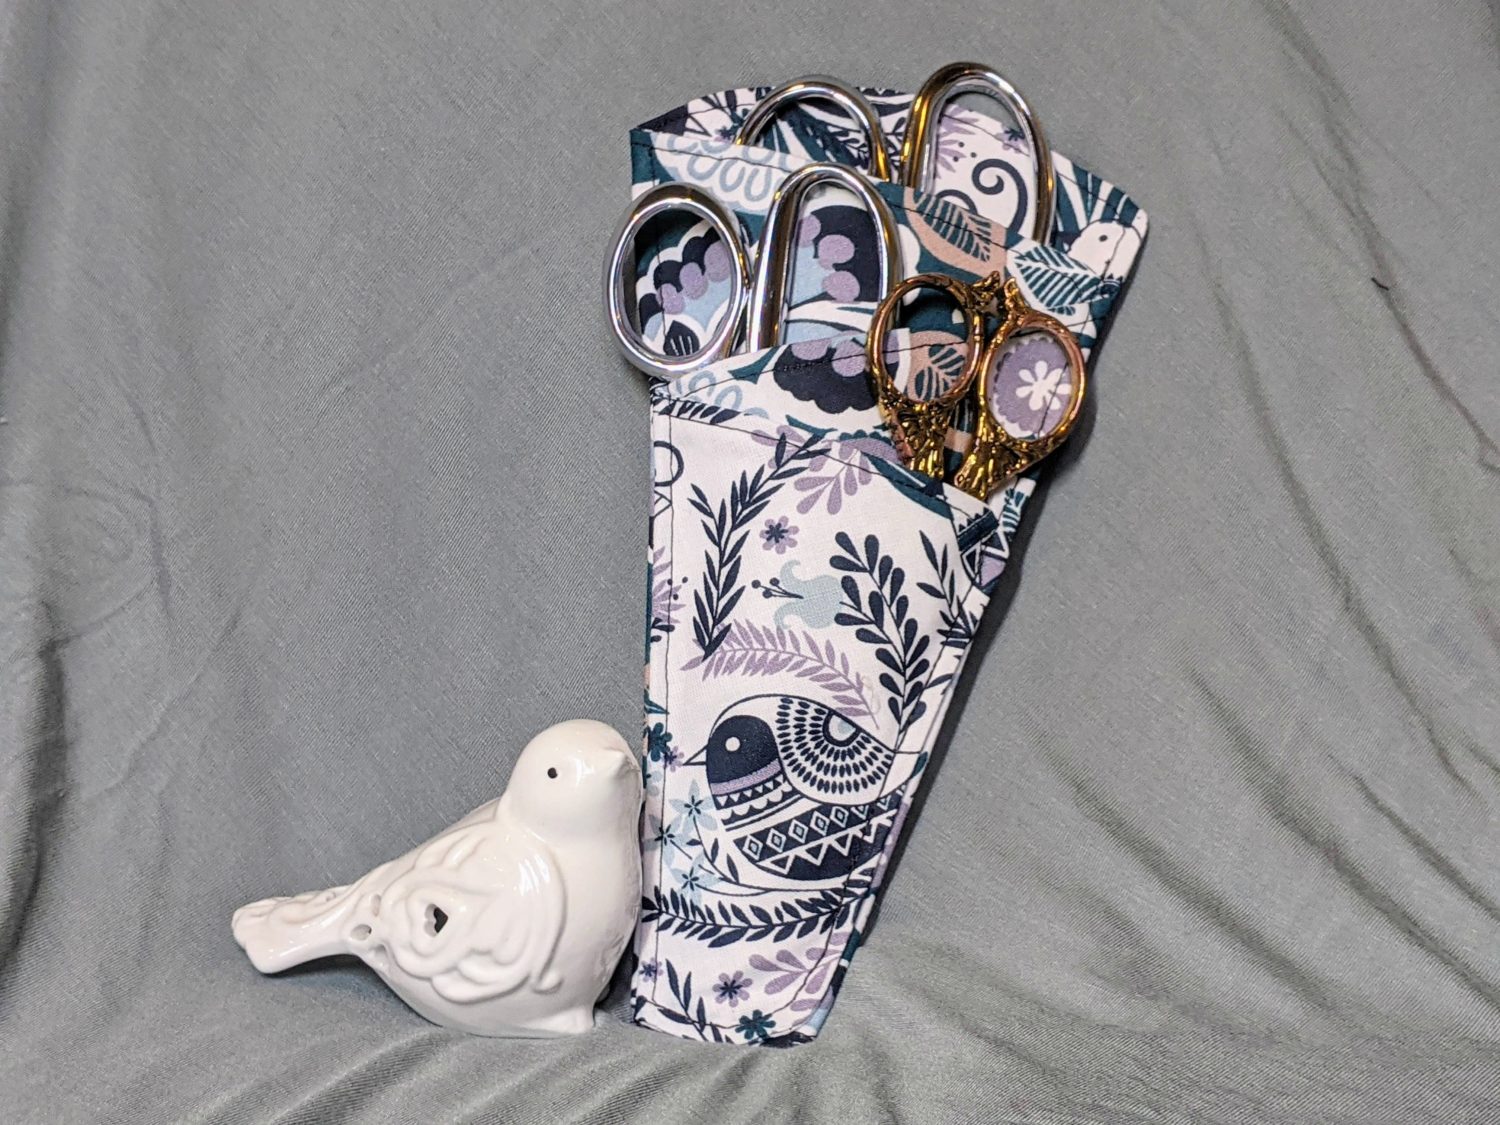
I’m always searching for my scissors or throwing them all in a basket together. I’m sure that can’t be the best way to take care of them, so I made a handy dandy scissor case to keep them all together and safe. There’s even a printable pattern to make it easy for you!
Supplies:
- Pattern printed and assembled. Download it here:
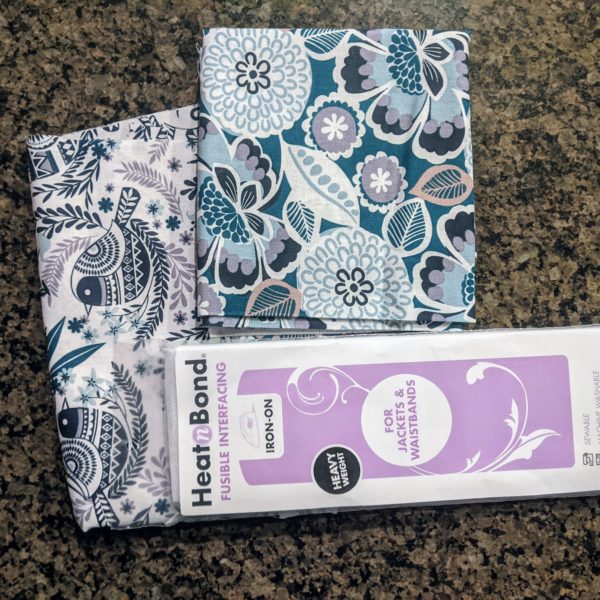
- 2 coordinating woven fabrics
- sewing machine and thread
- Fusible interfacing
- Iron
Cut out the Pieces:
- Print, assemble and cut out your pattern
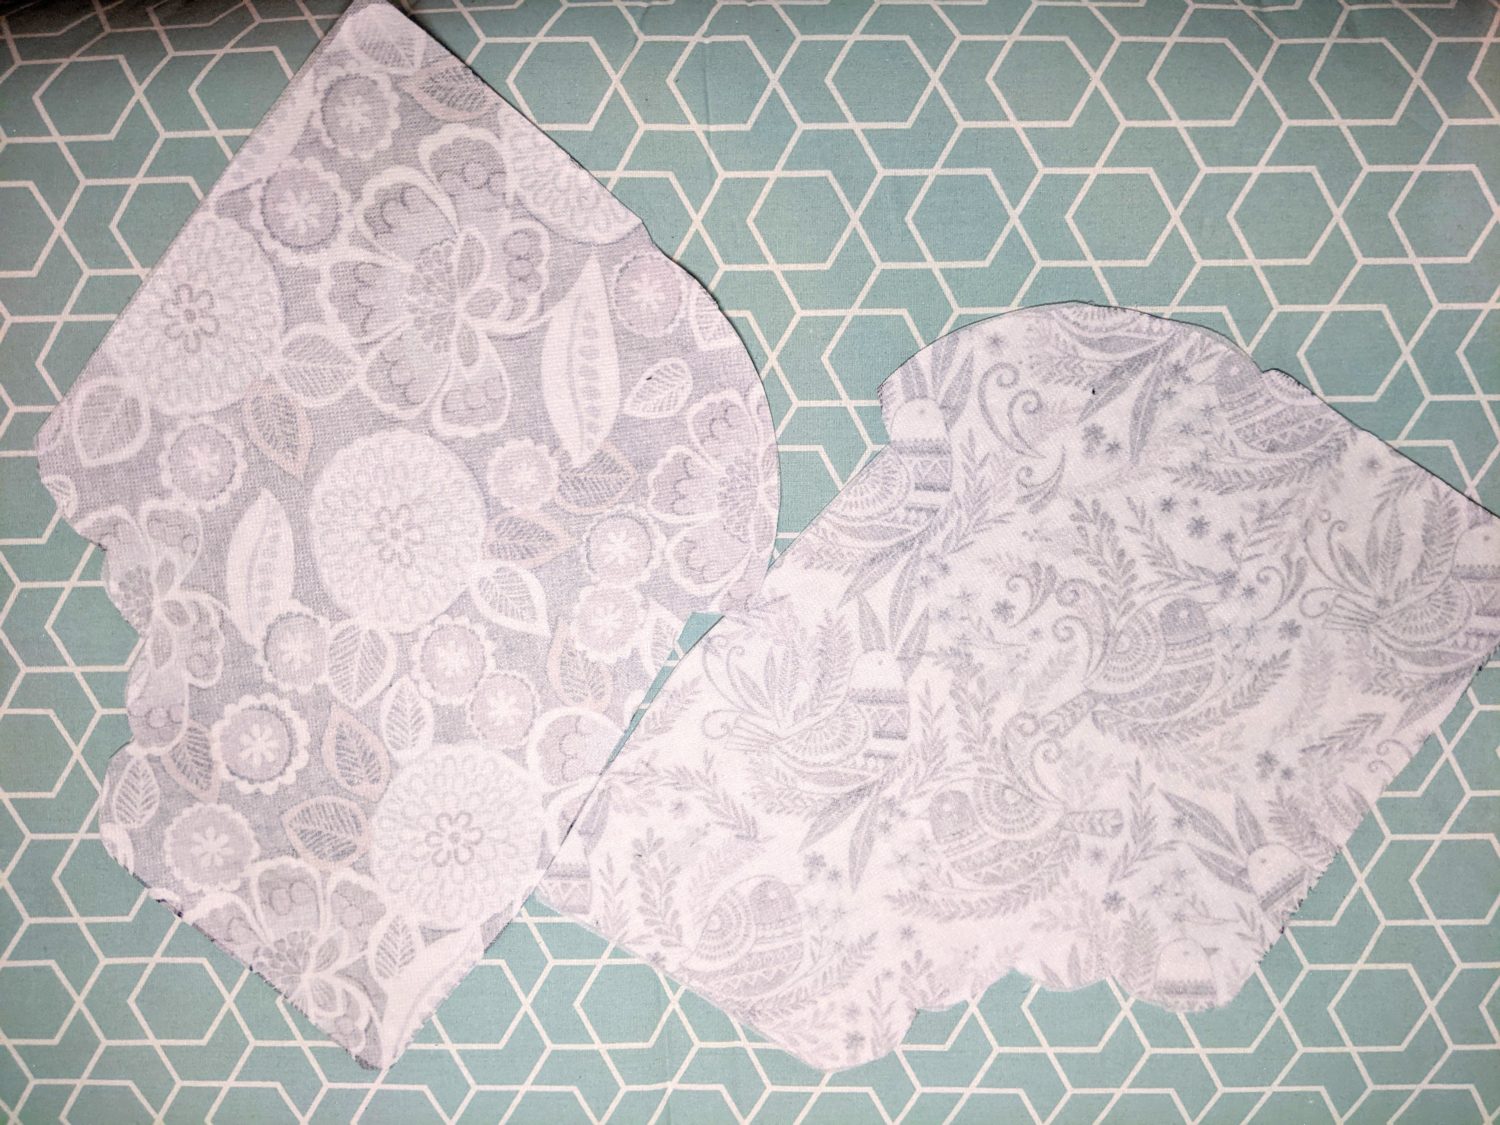
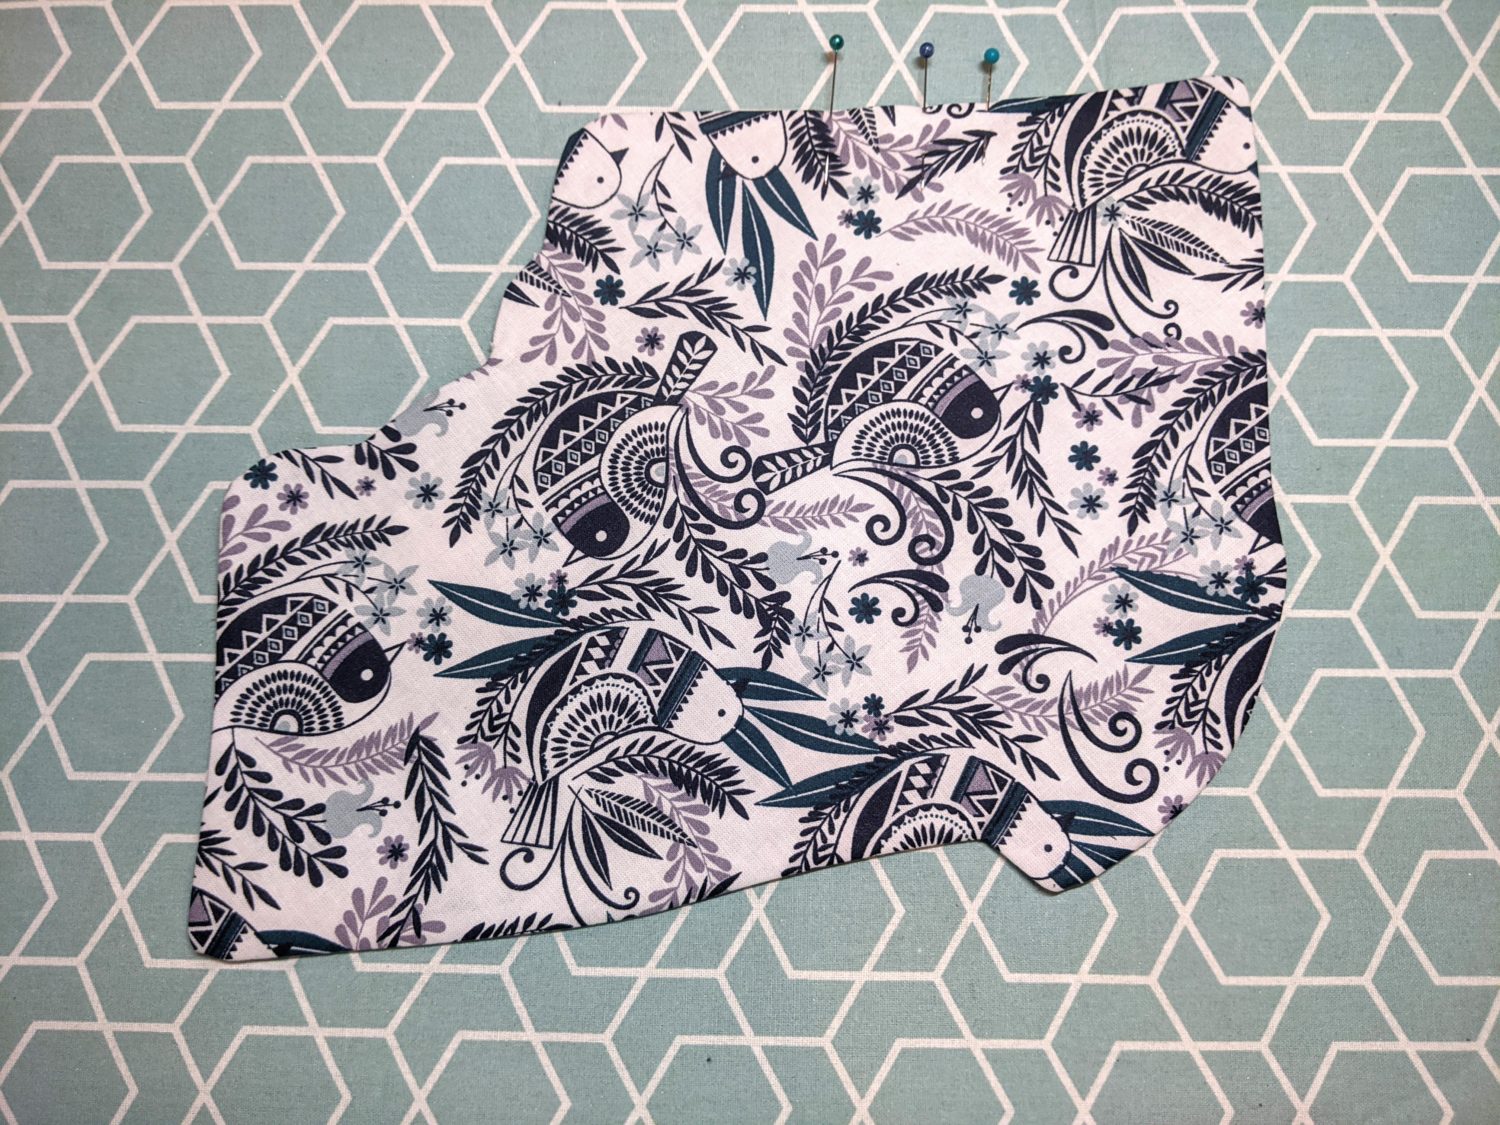
- Cut 2 mirrored images of fabric – one of each fabric
- Cut 2 mirrored images of fusible interfacing
Putting it Together:
- Lay out both fabric pieces wrong sides up and iron your fusible interfacing onto the wrong sides of each piece per the instructions for your interfacing.
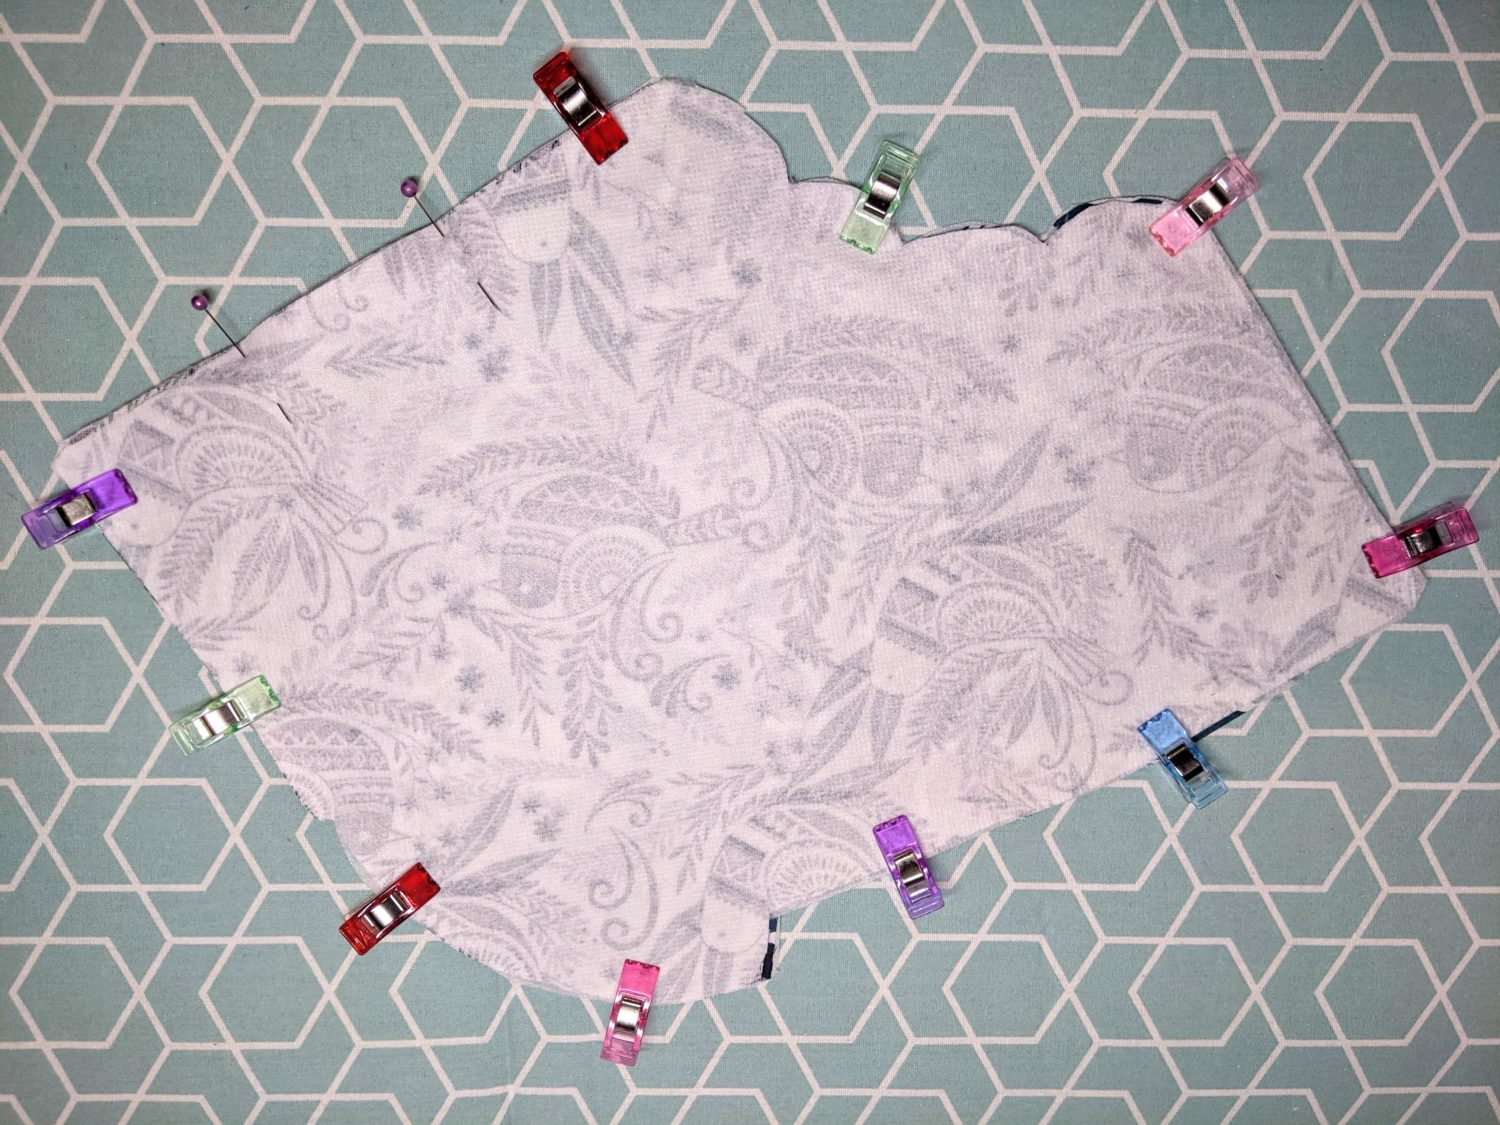
- Place your pattern pieces right sides together lining up all edges.
- Pin together leaving a 2″ opening for turning it right side out.
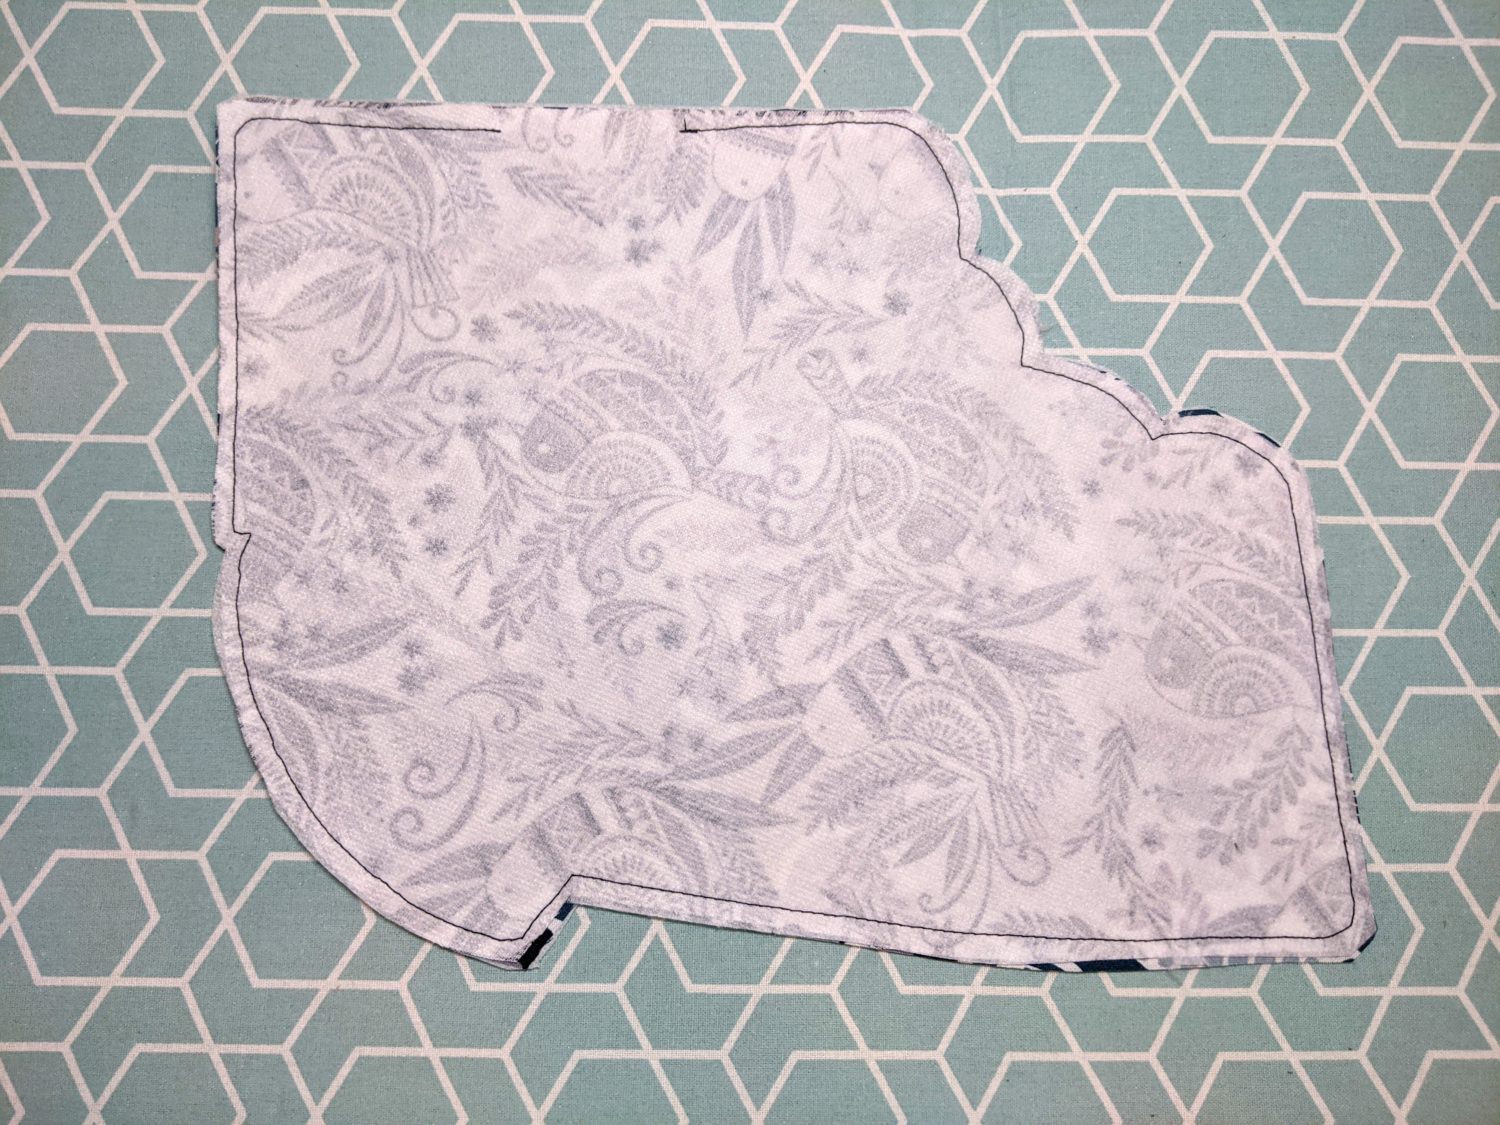
- Starting on one side of your opening, using a 1/4″ seam allowance, backstitch a couple of times then sew around the entire perimeter until you get back to 2″ away from your starting point and backstitch again.
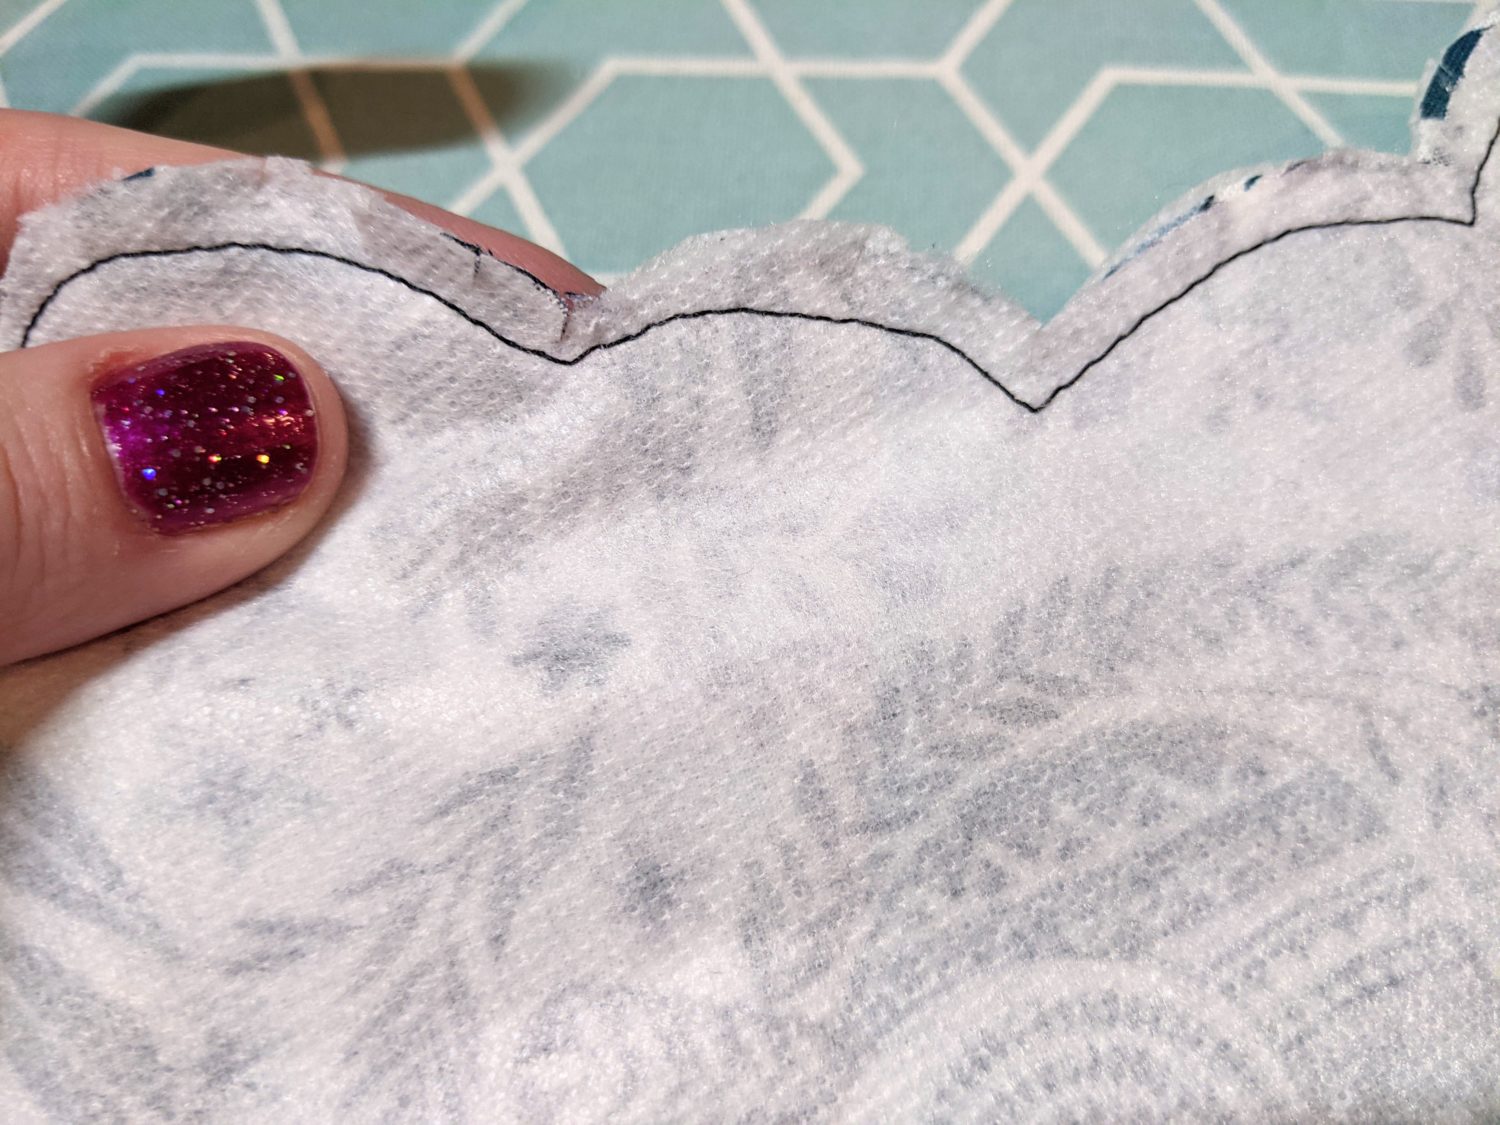
- Clip around the curves and “v’s” and trim off corners making sure not to cut any stitching.
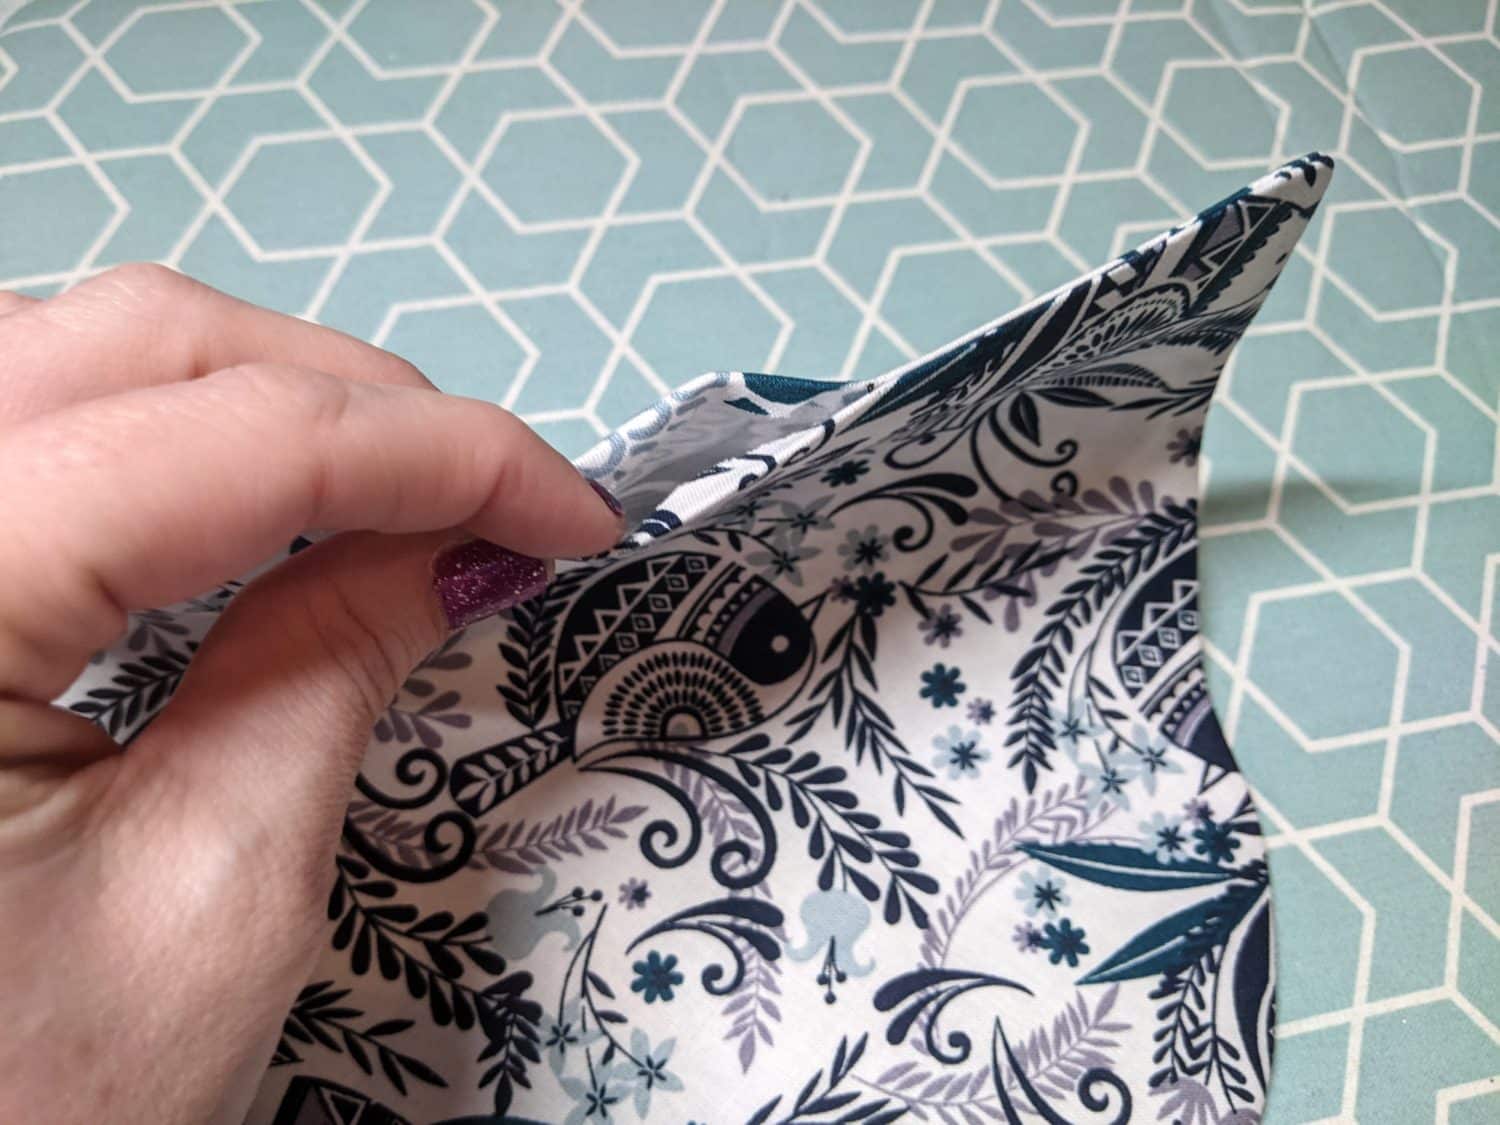
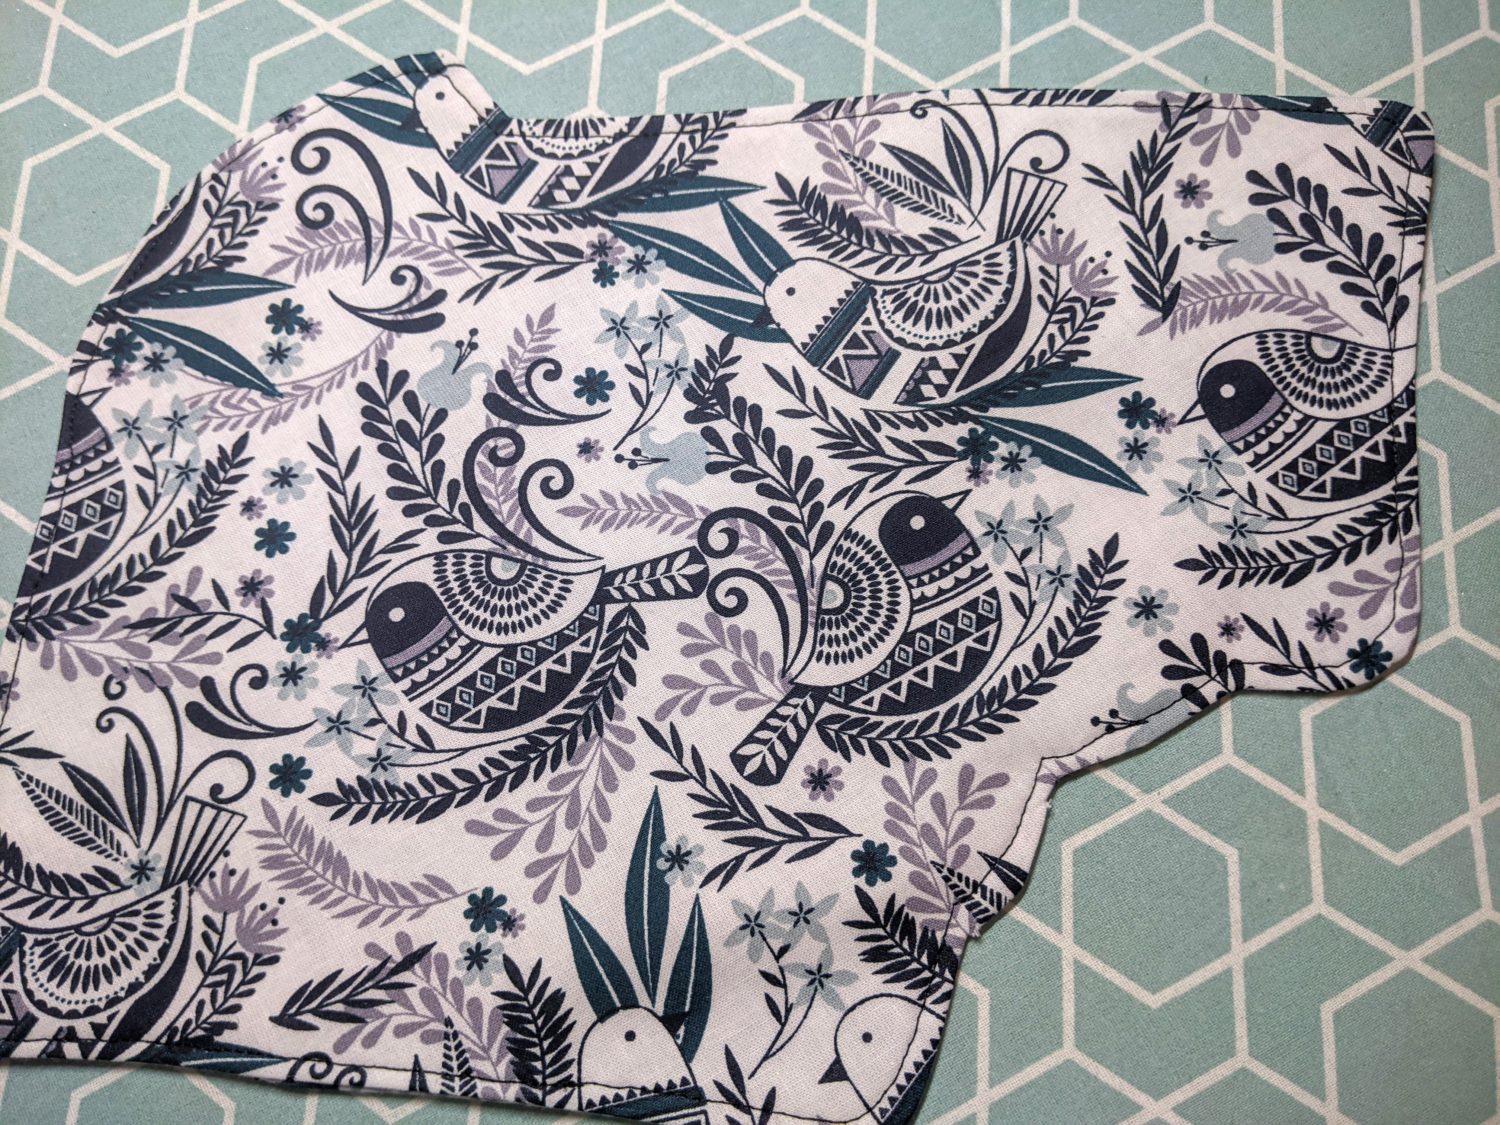
- Pull the fabric through the opening and turn right side out.
- Push out all corners and edges.
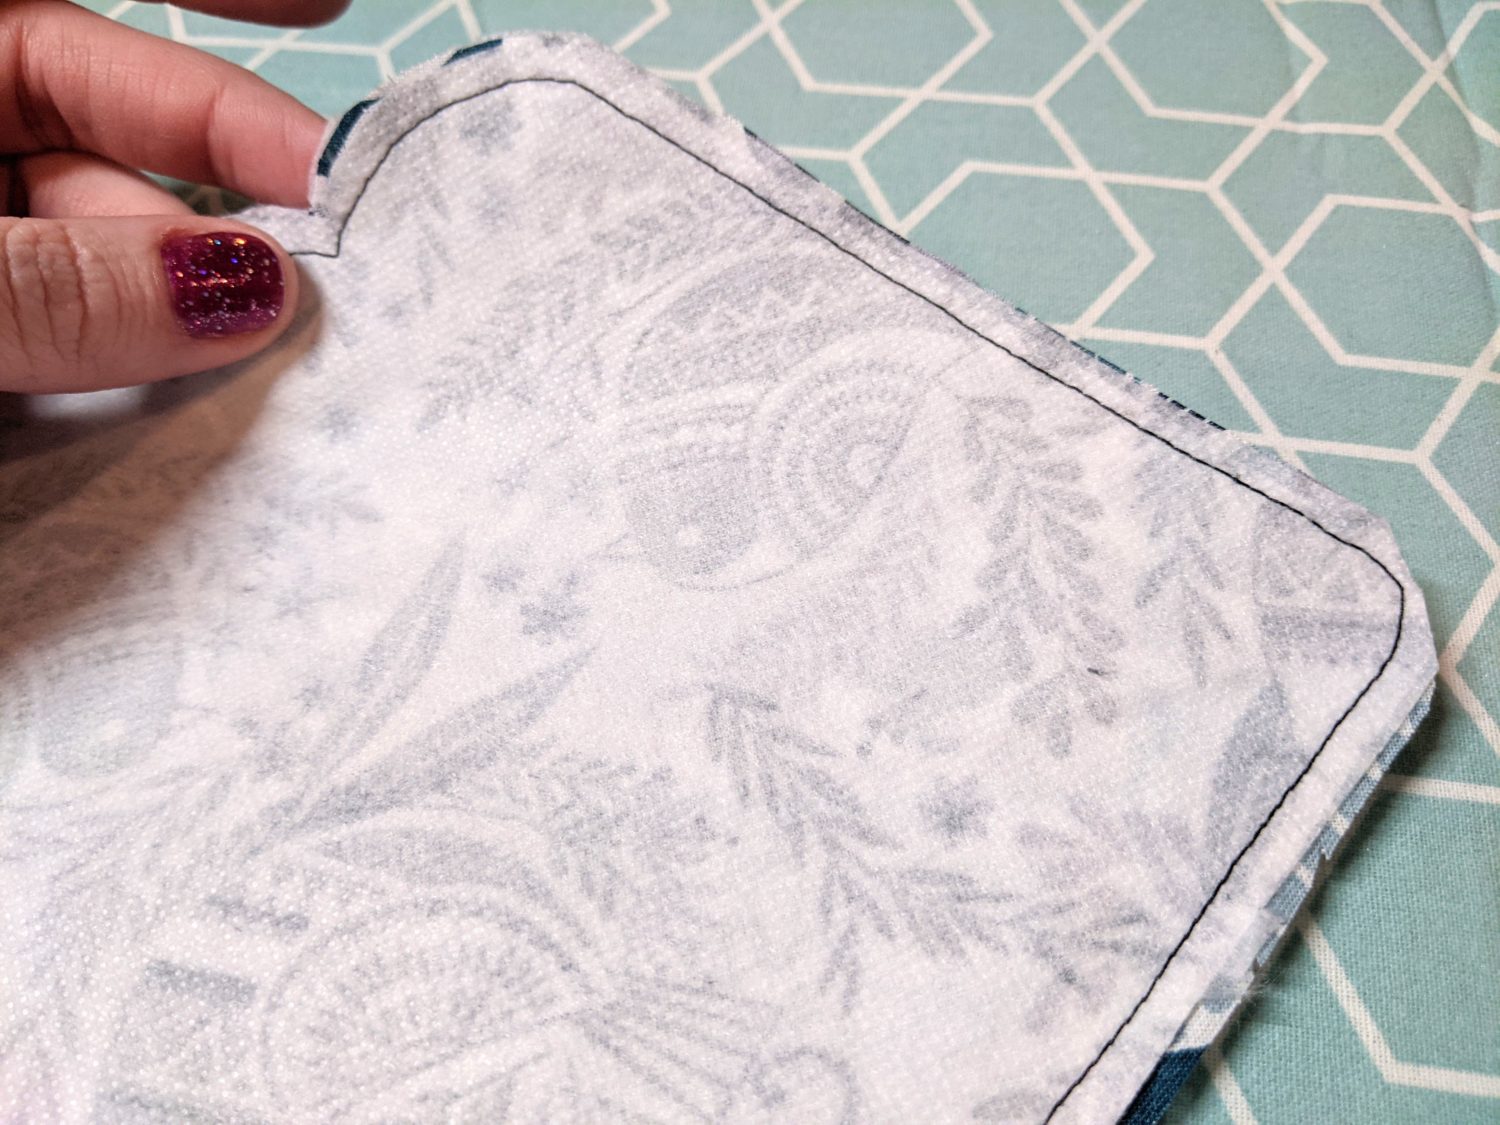
- Turn the edges of the opening in and press, then continue around the entire piece pressing all edges.
- Pin the opening closed, then topstitch along the opening with a scant 1/4″ seam allowance.
- Continue to topstitch all the way around the perimeter.
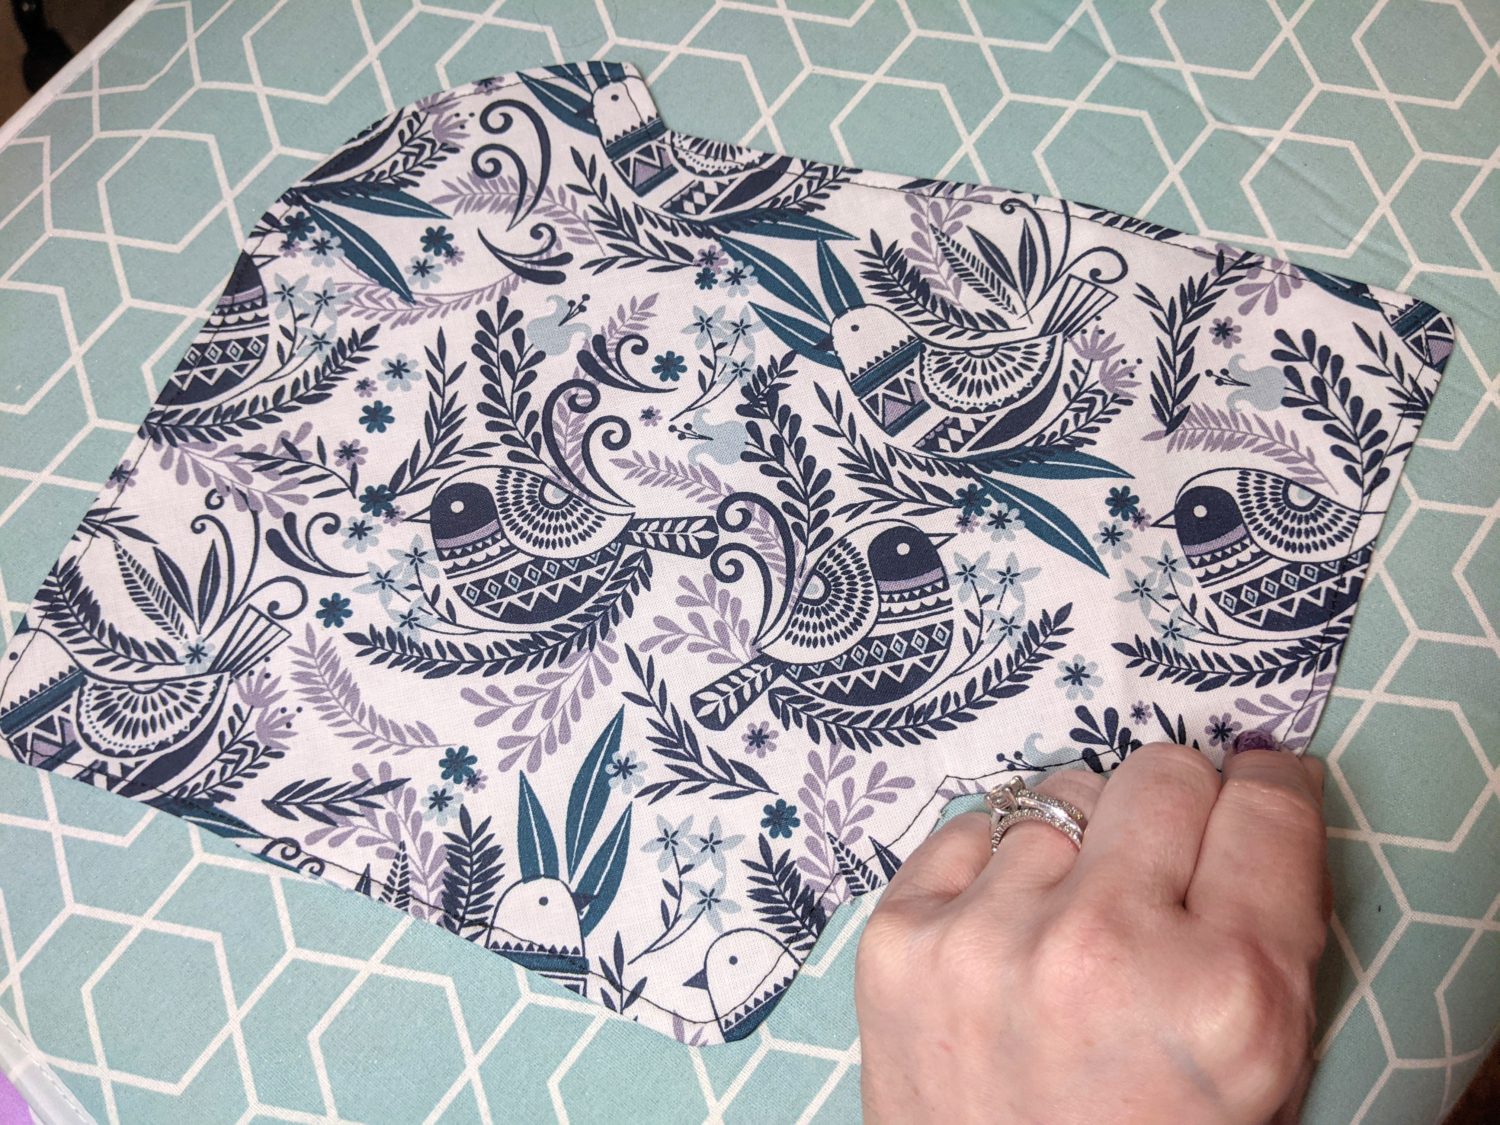
Fold it up:
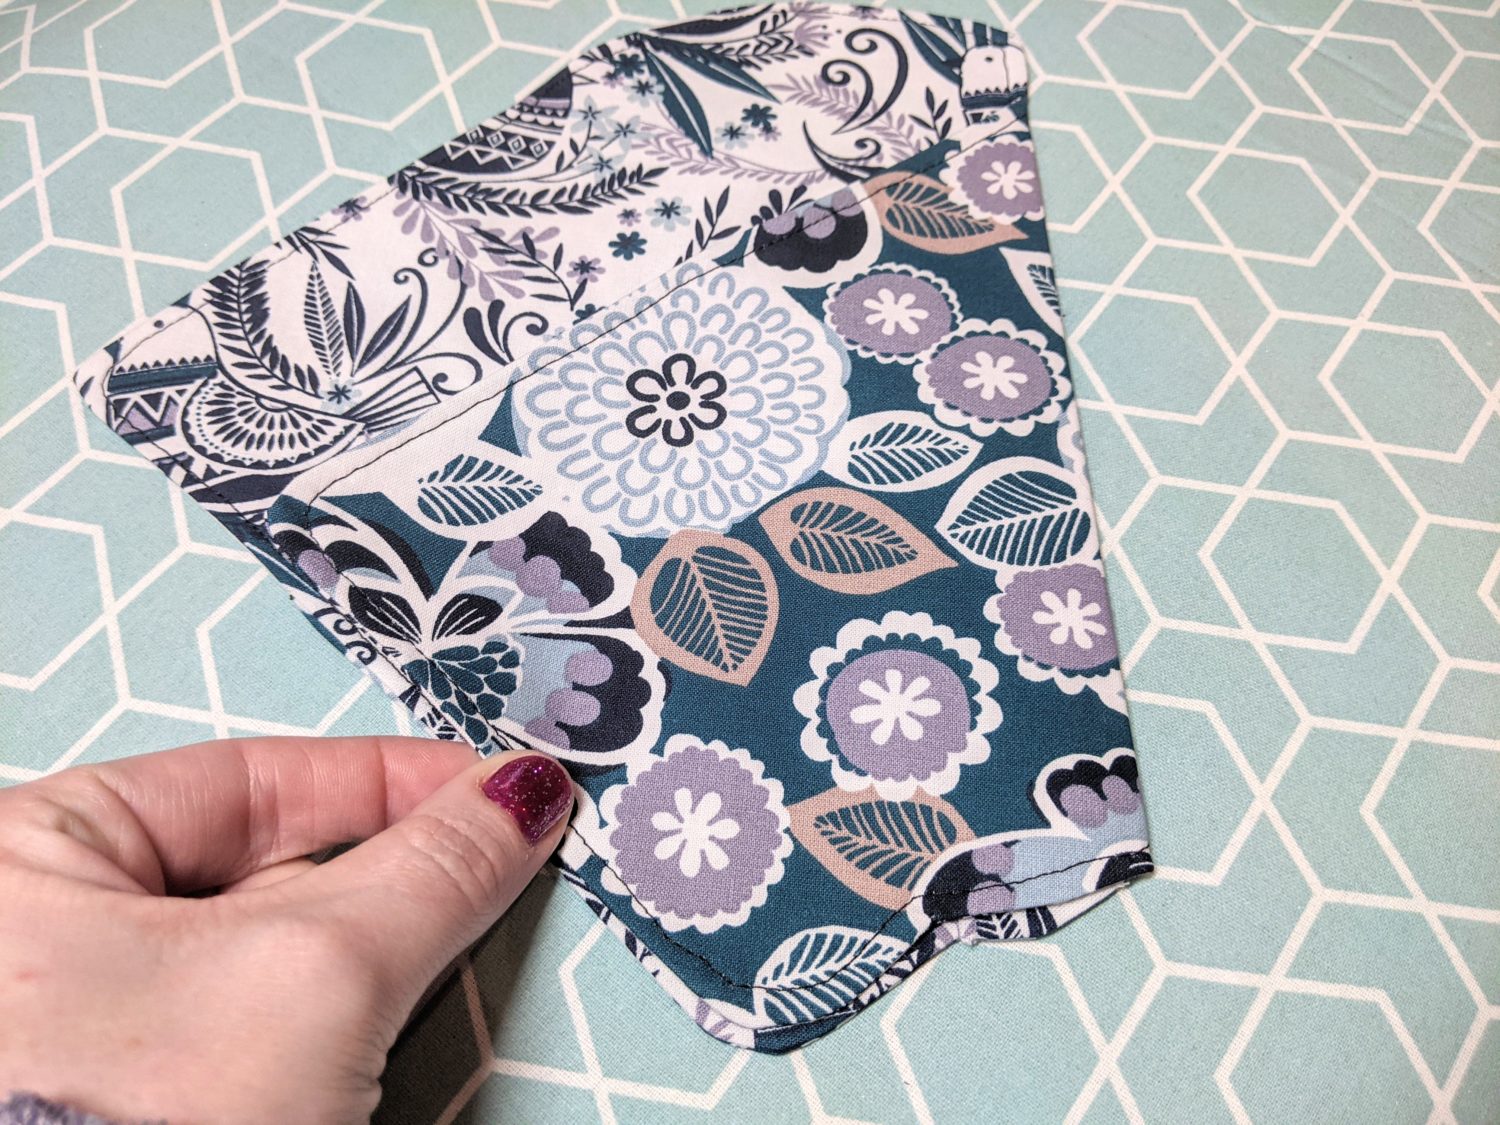
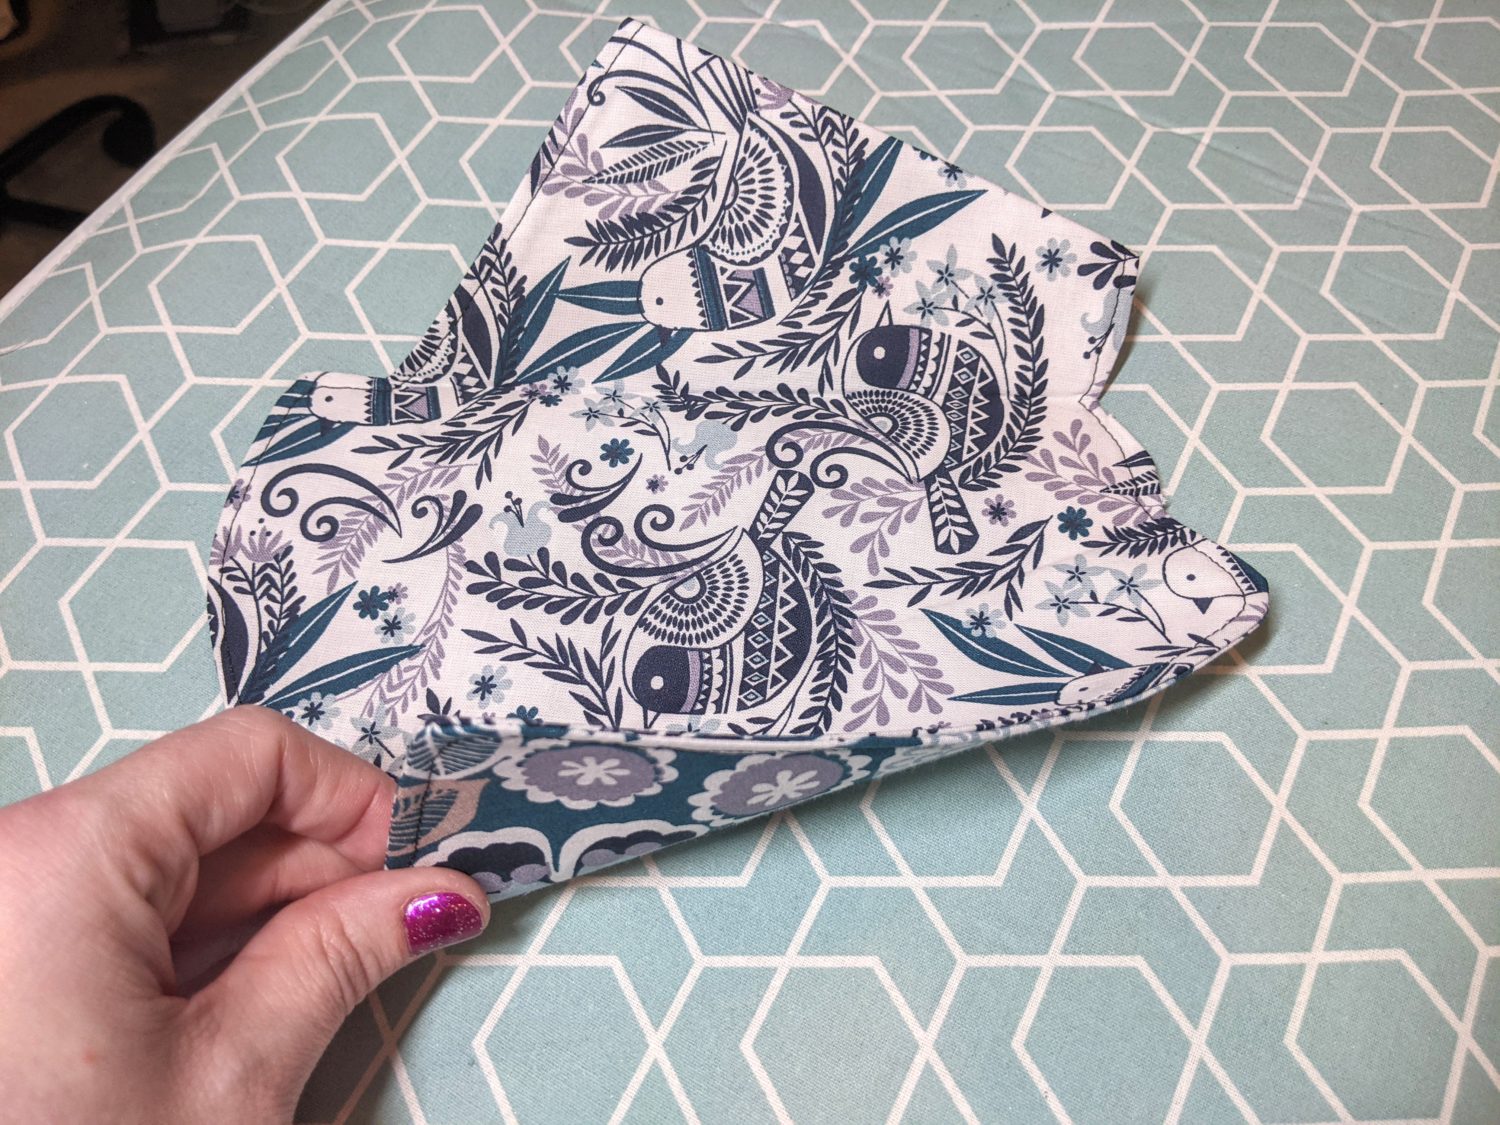
- Set out your pattern piece with the taller side on the left and the shorter side on the right. (fig. a.)
- Pick up the right (shortest) side and fold it over to meet the left side. Press. (fig a. and b.)
- Still working with the shorter side, fold it back over to the right and line up the edges. Press. (fig c. and d.)
a.) Fold the right flap to the left edge 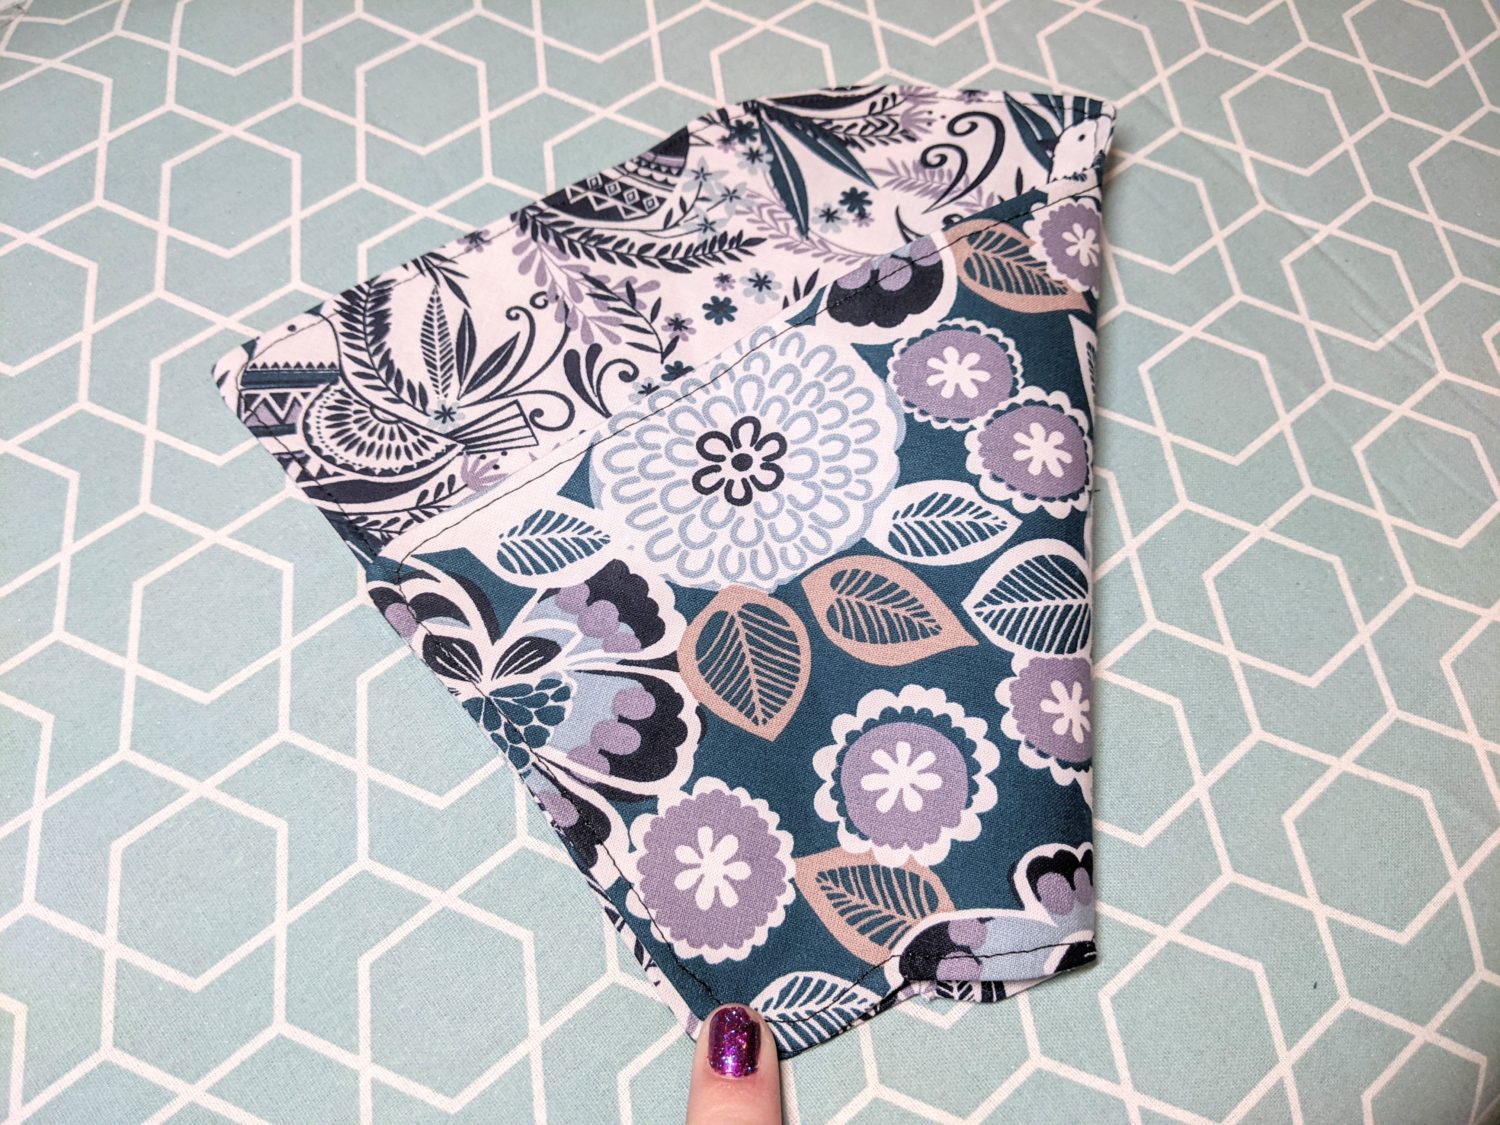
b.) Press
c.) Fold the same flap back to meet the right edge 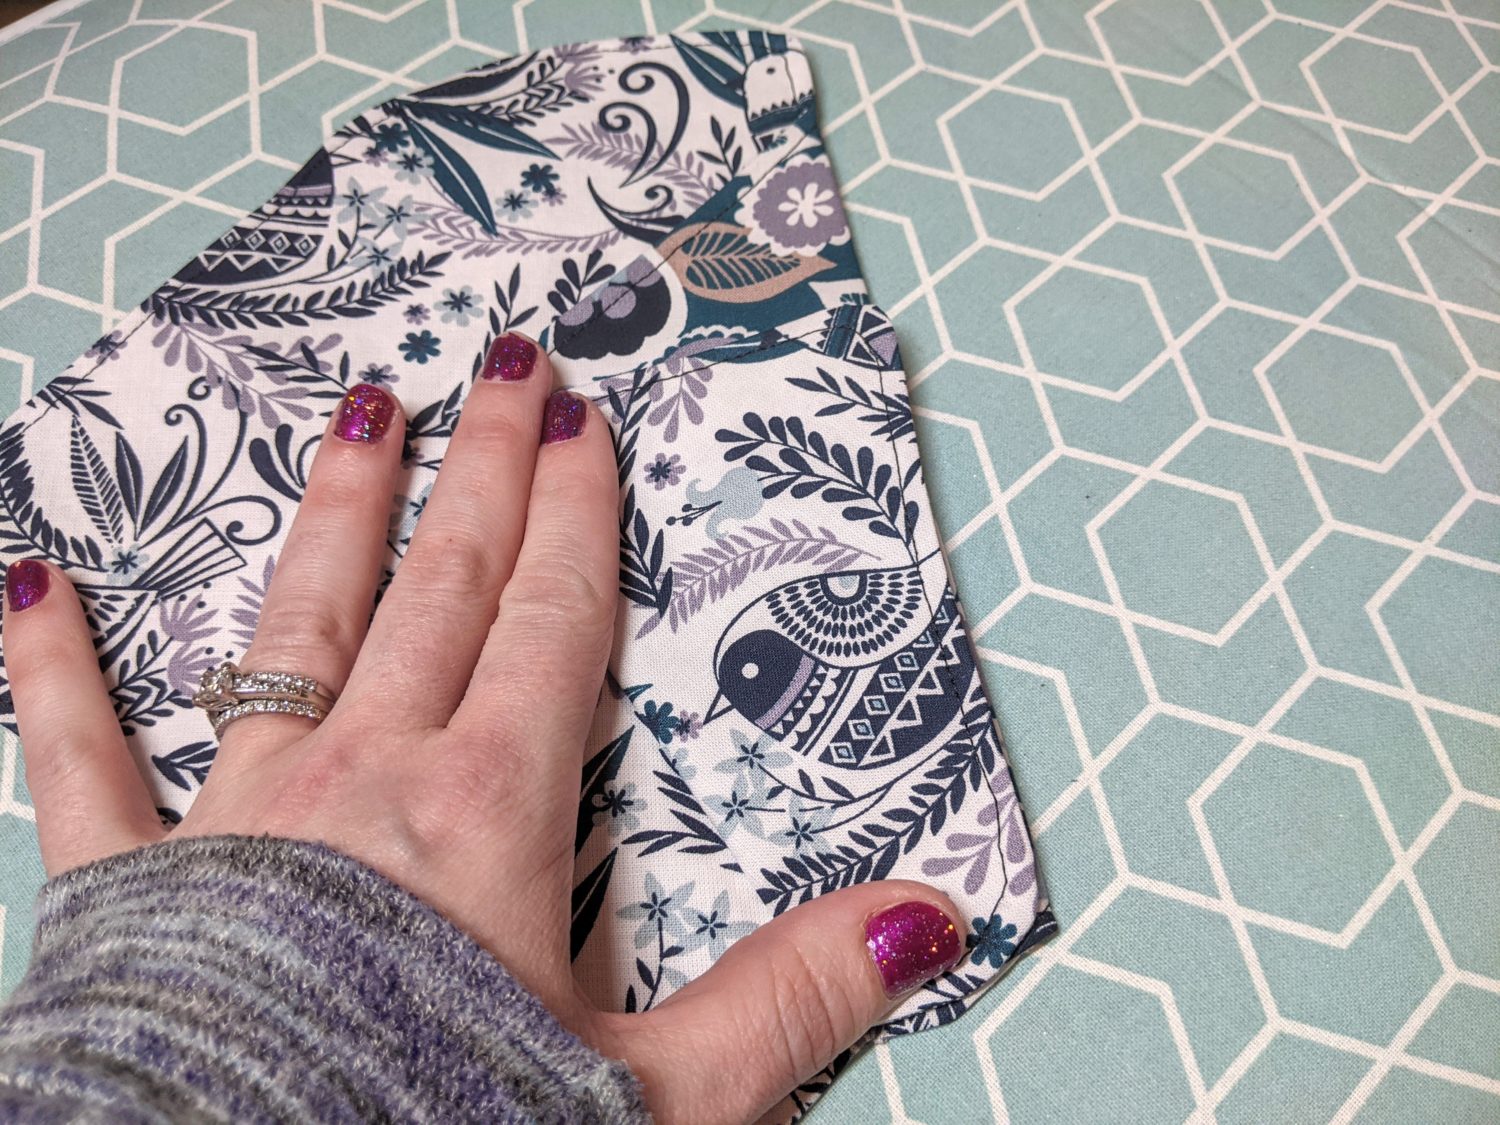
d.) Press
- Lift up the right side flaps and fold the left side (taller) flap under the right and line the edge up with the crease. Press. (fig e.- i.)
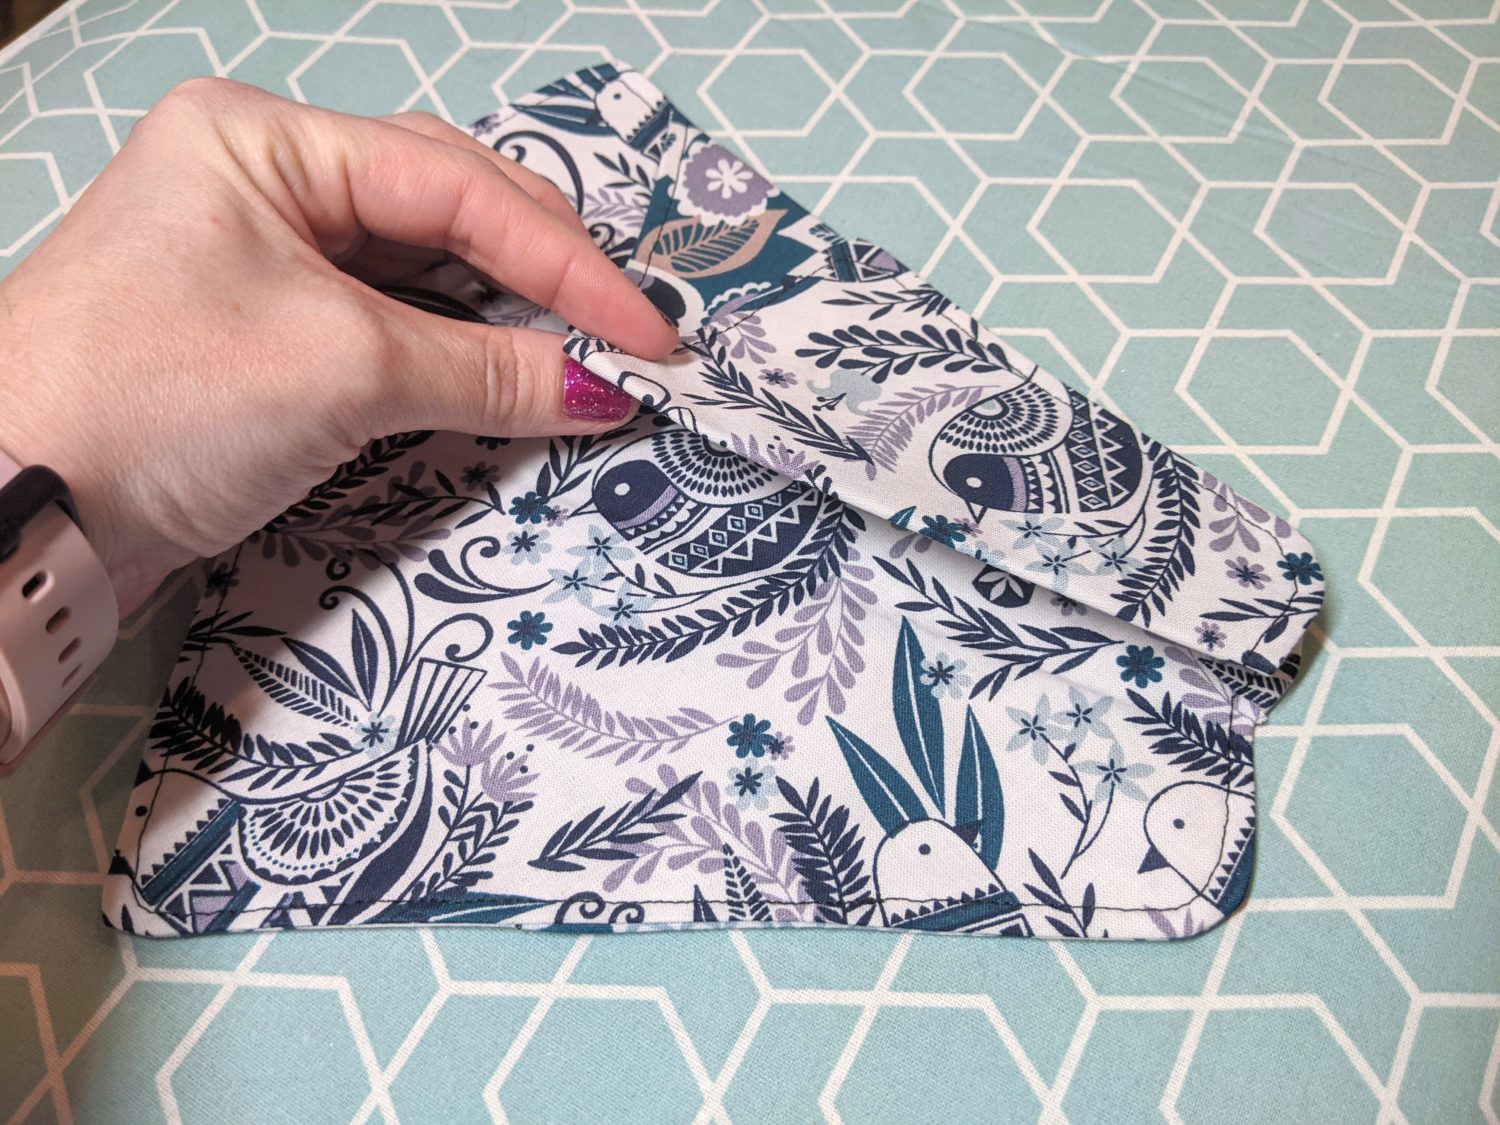
e.) Lift up the right flap 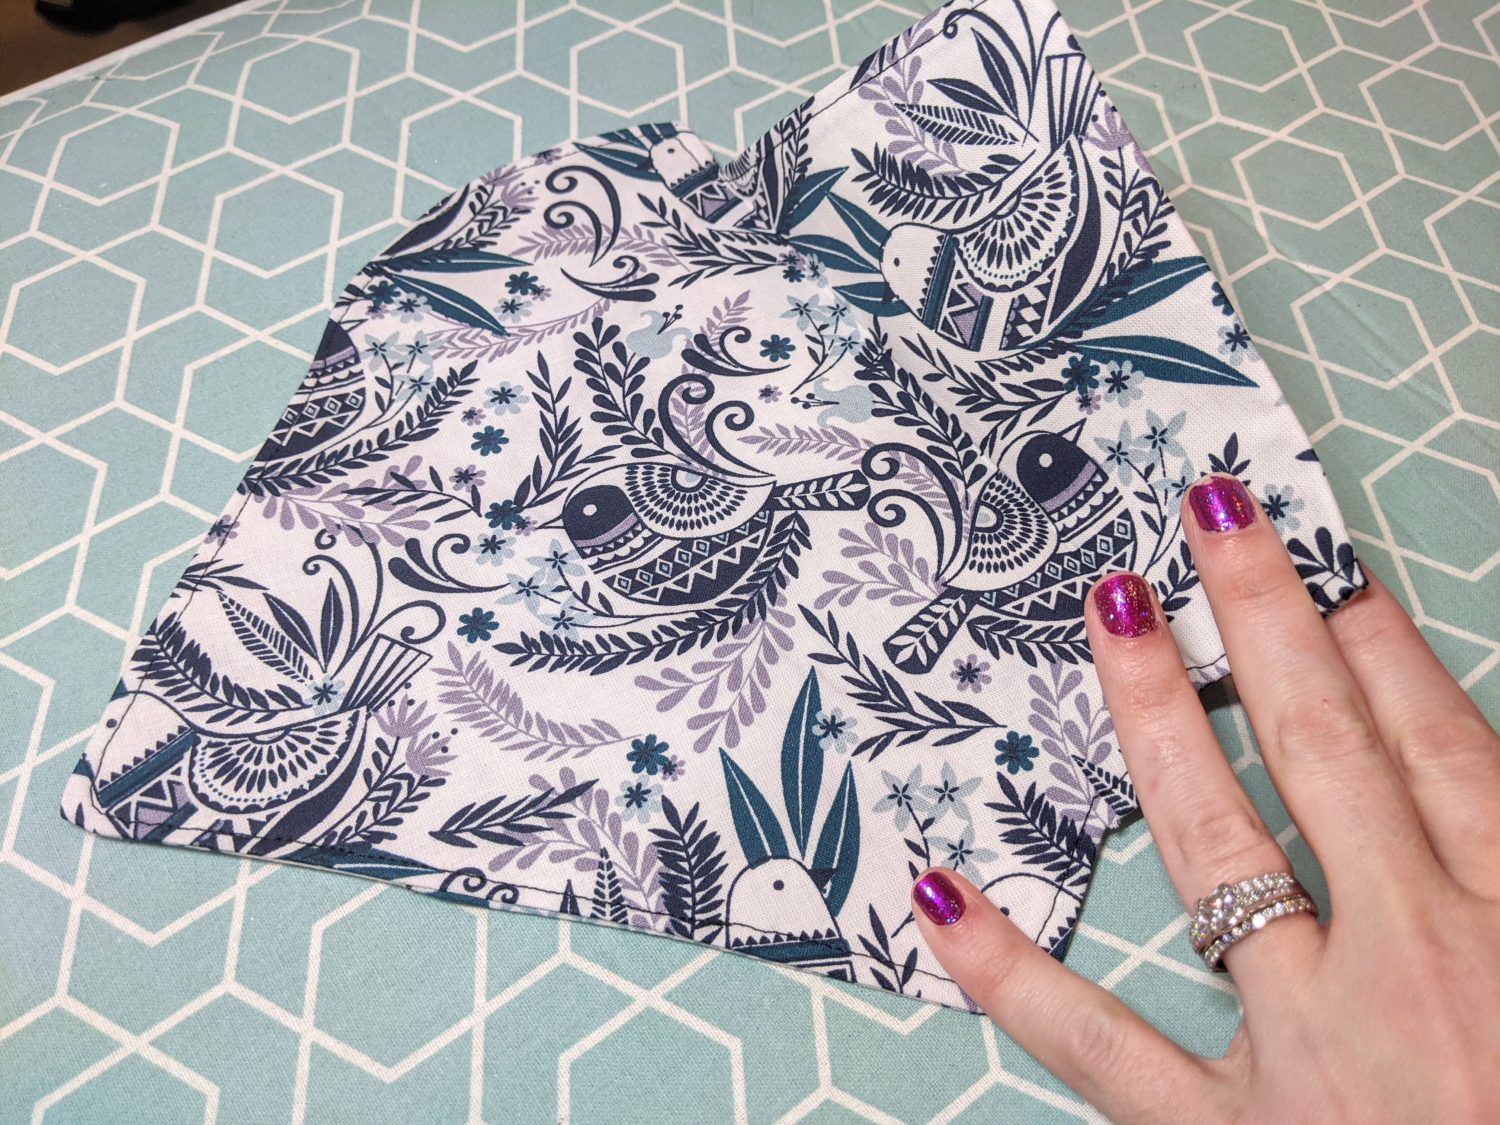
f.)
g.) Fold left flap over 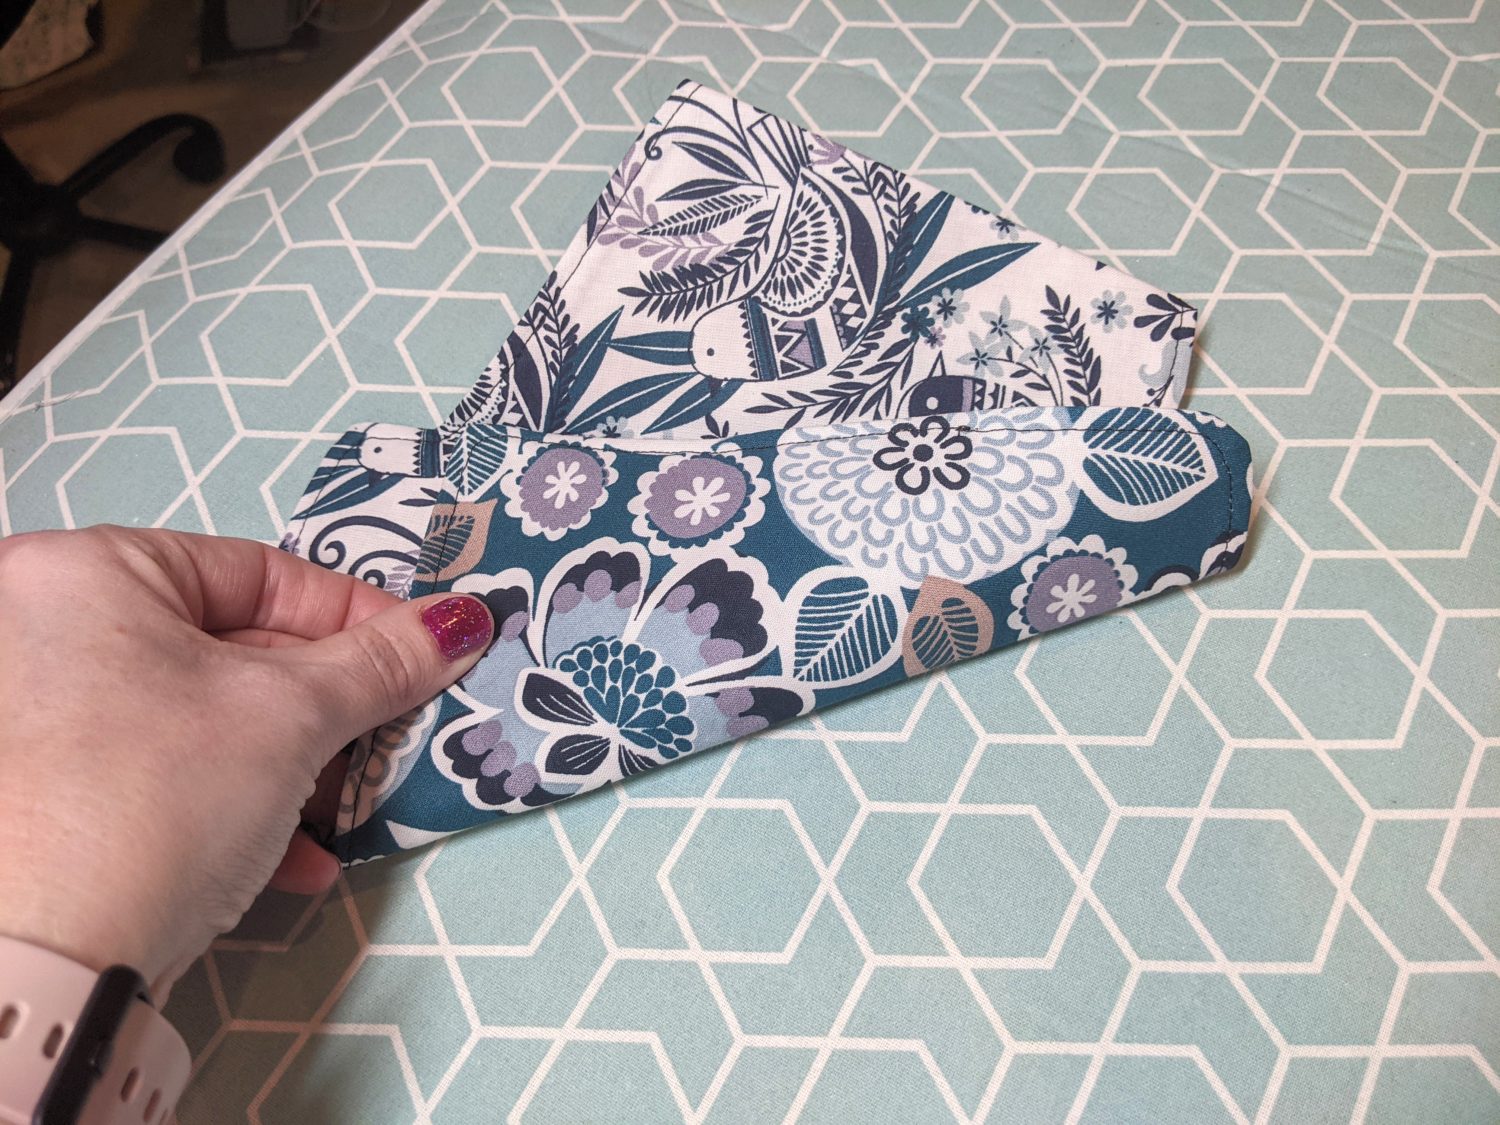
h.) Line the edge up with the crease
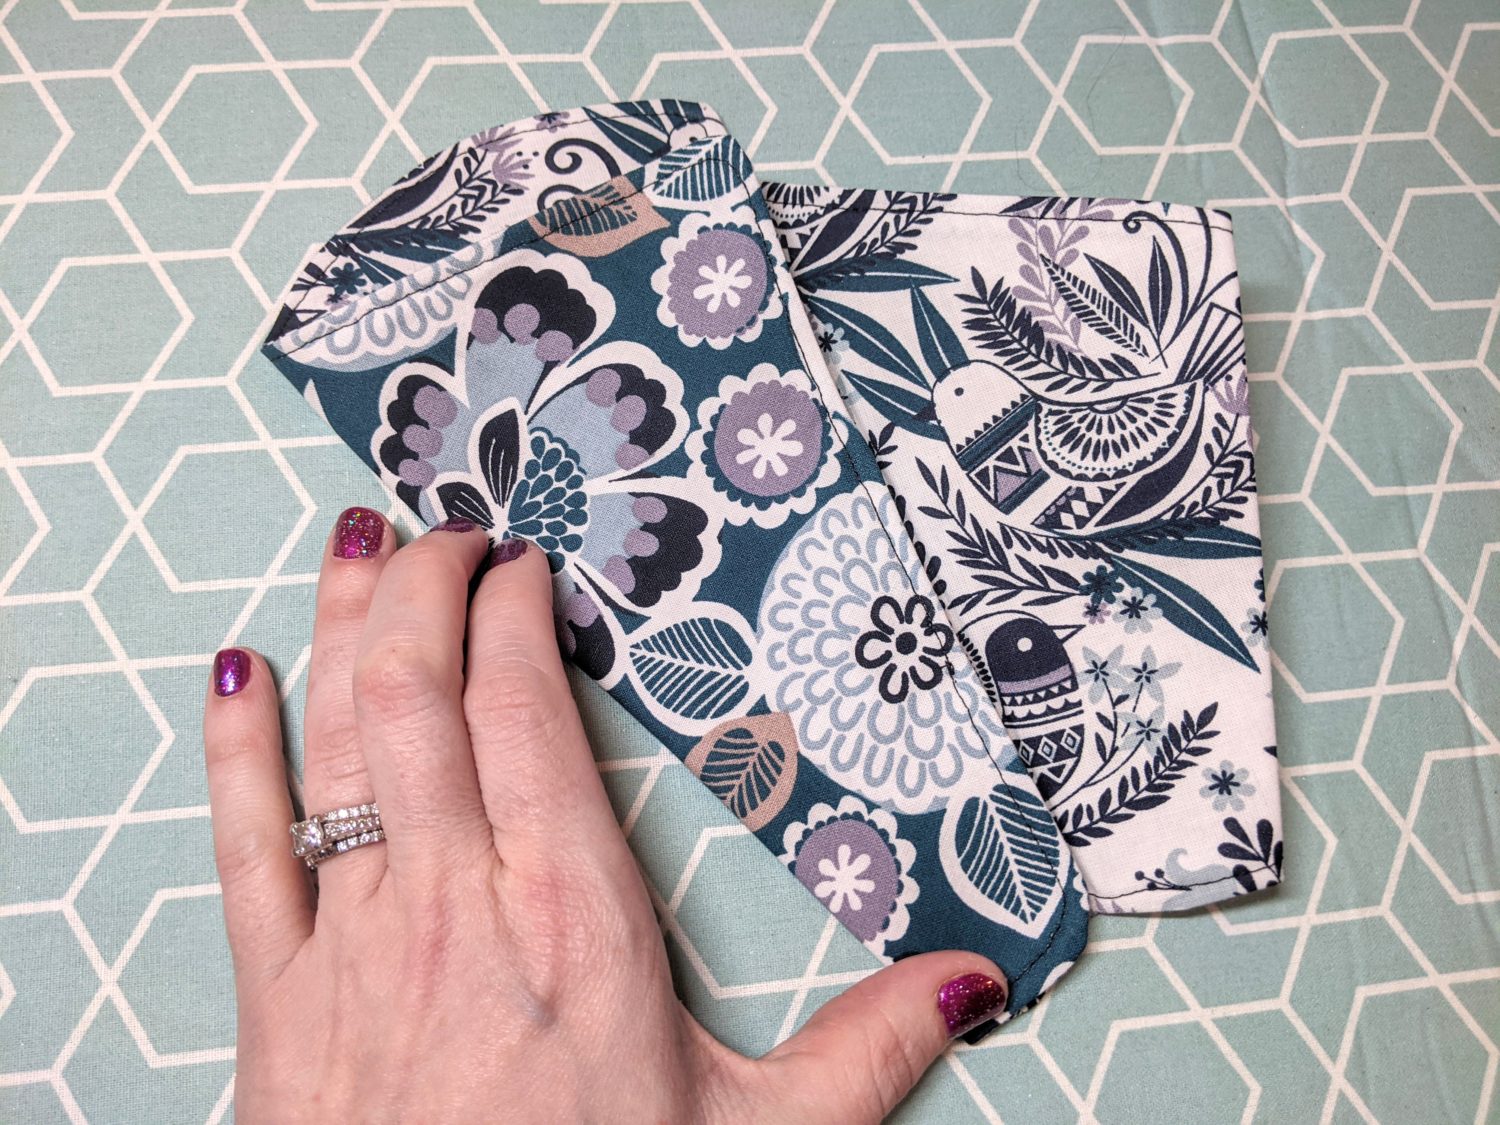
i.) Press
- Lay the right flap back over on top and press. (fig j. – k.)
- Pin along both sides from the top edge of the pockets down and along the bottom. (fig. l.)
- Sew around the 3 sides with a 1/4″ seam allowance trying to sew along the previous stitching. (fig. l.)
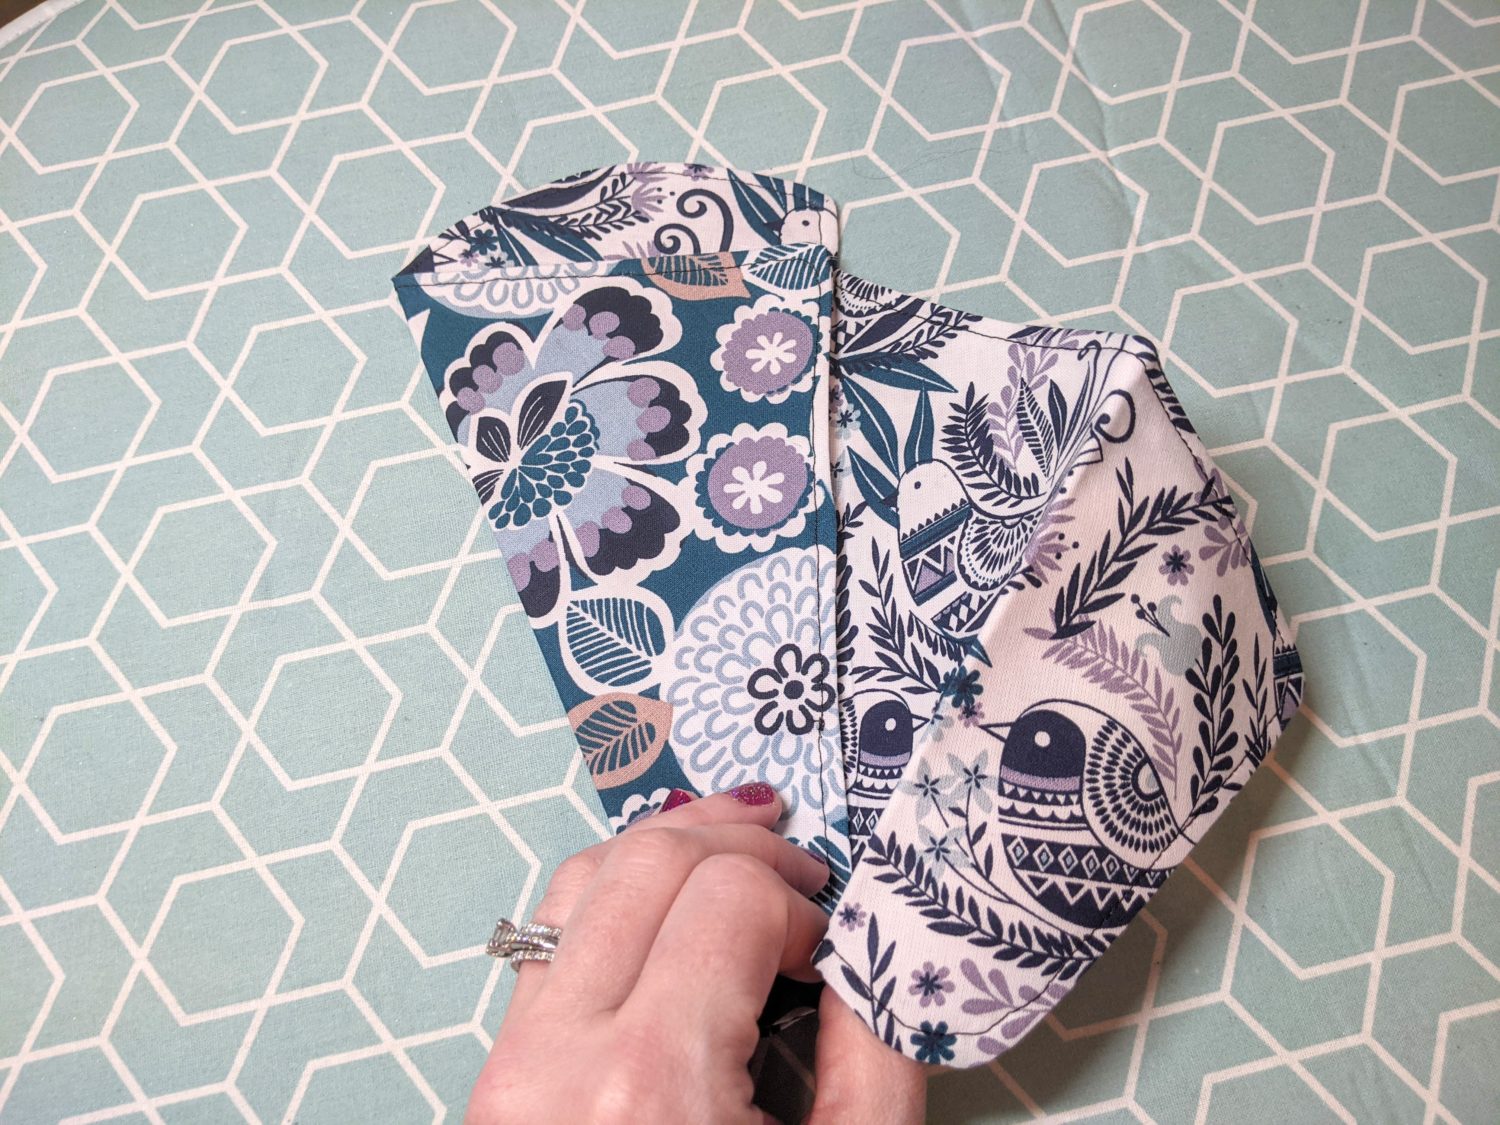
j.) 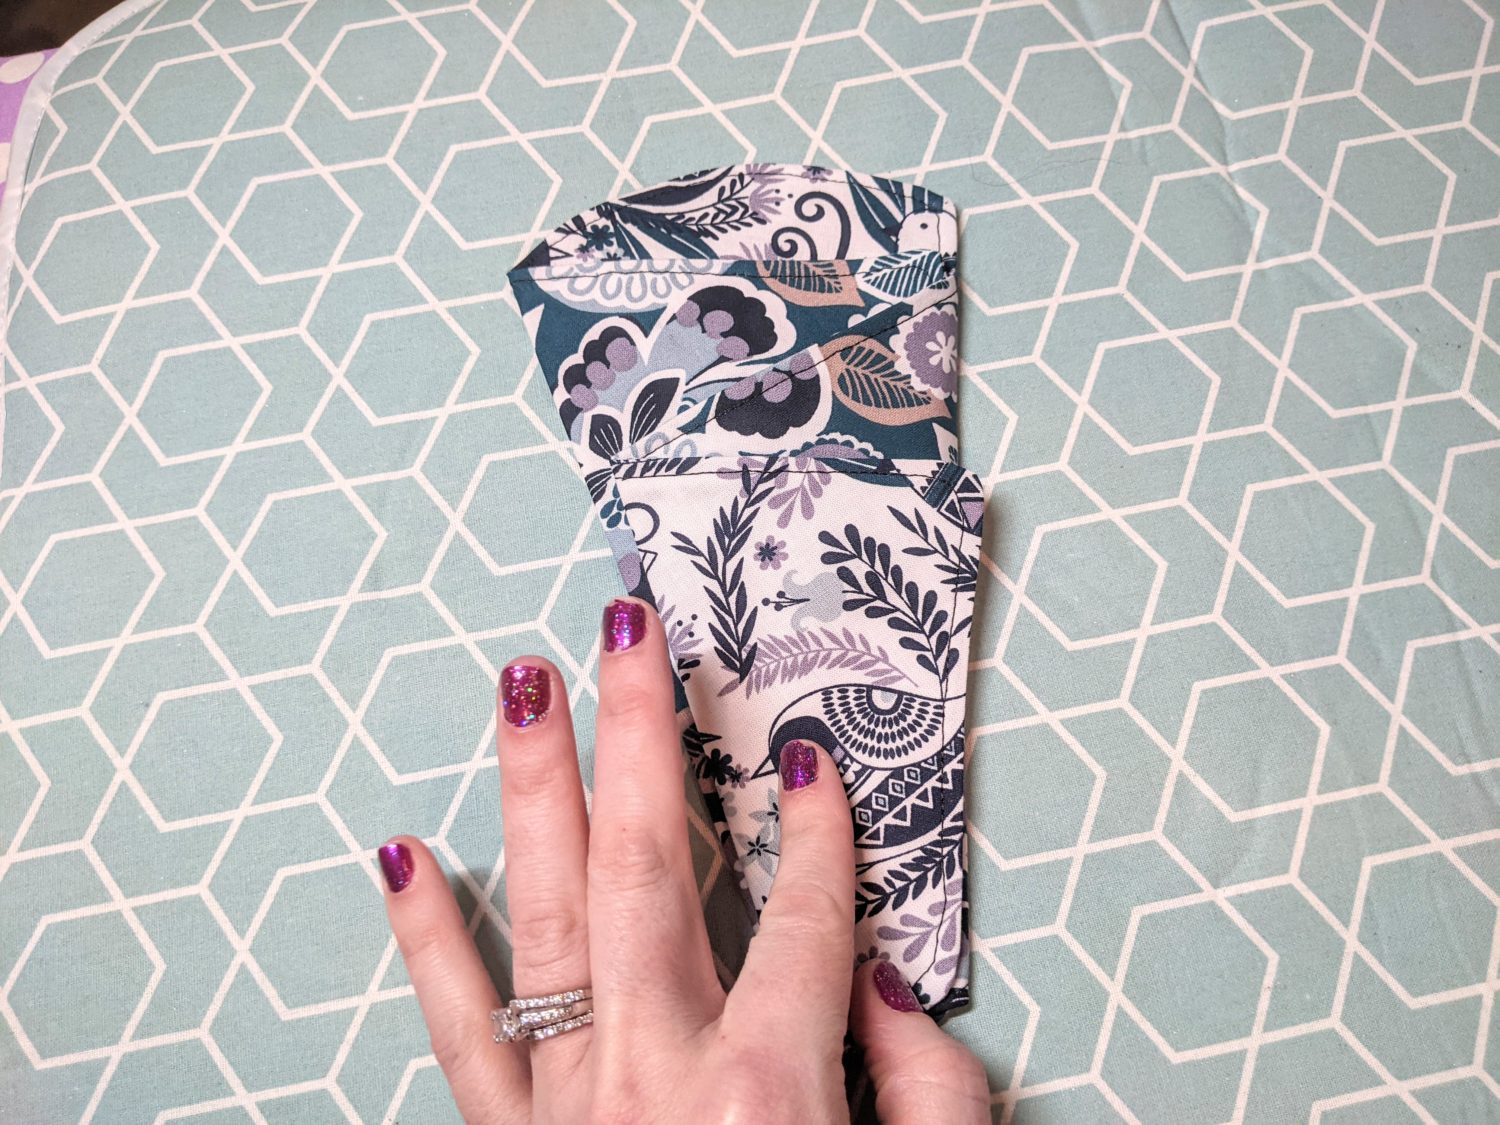
k.)
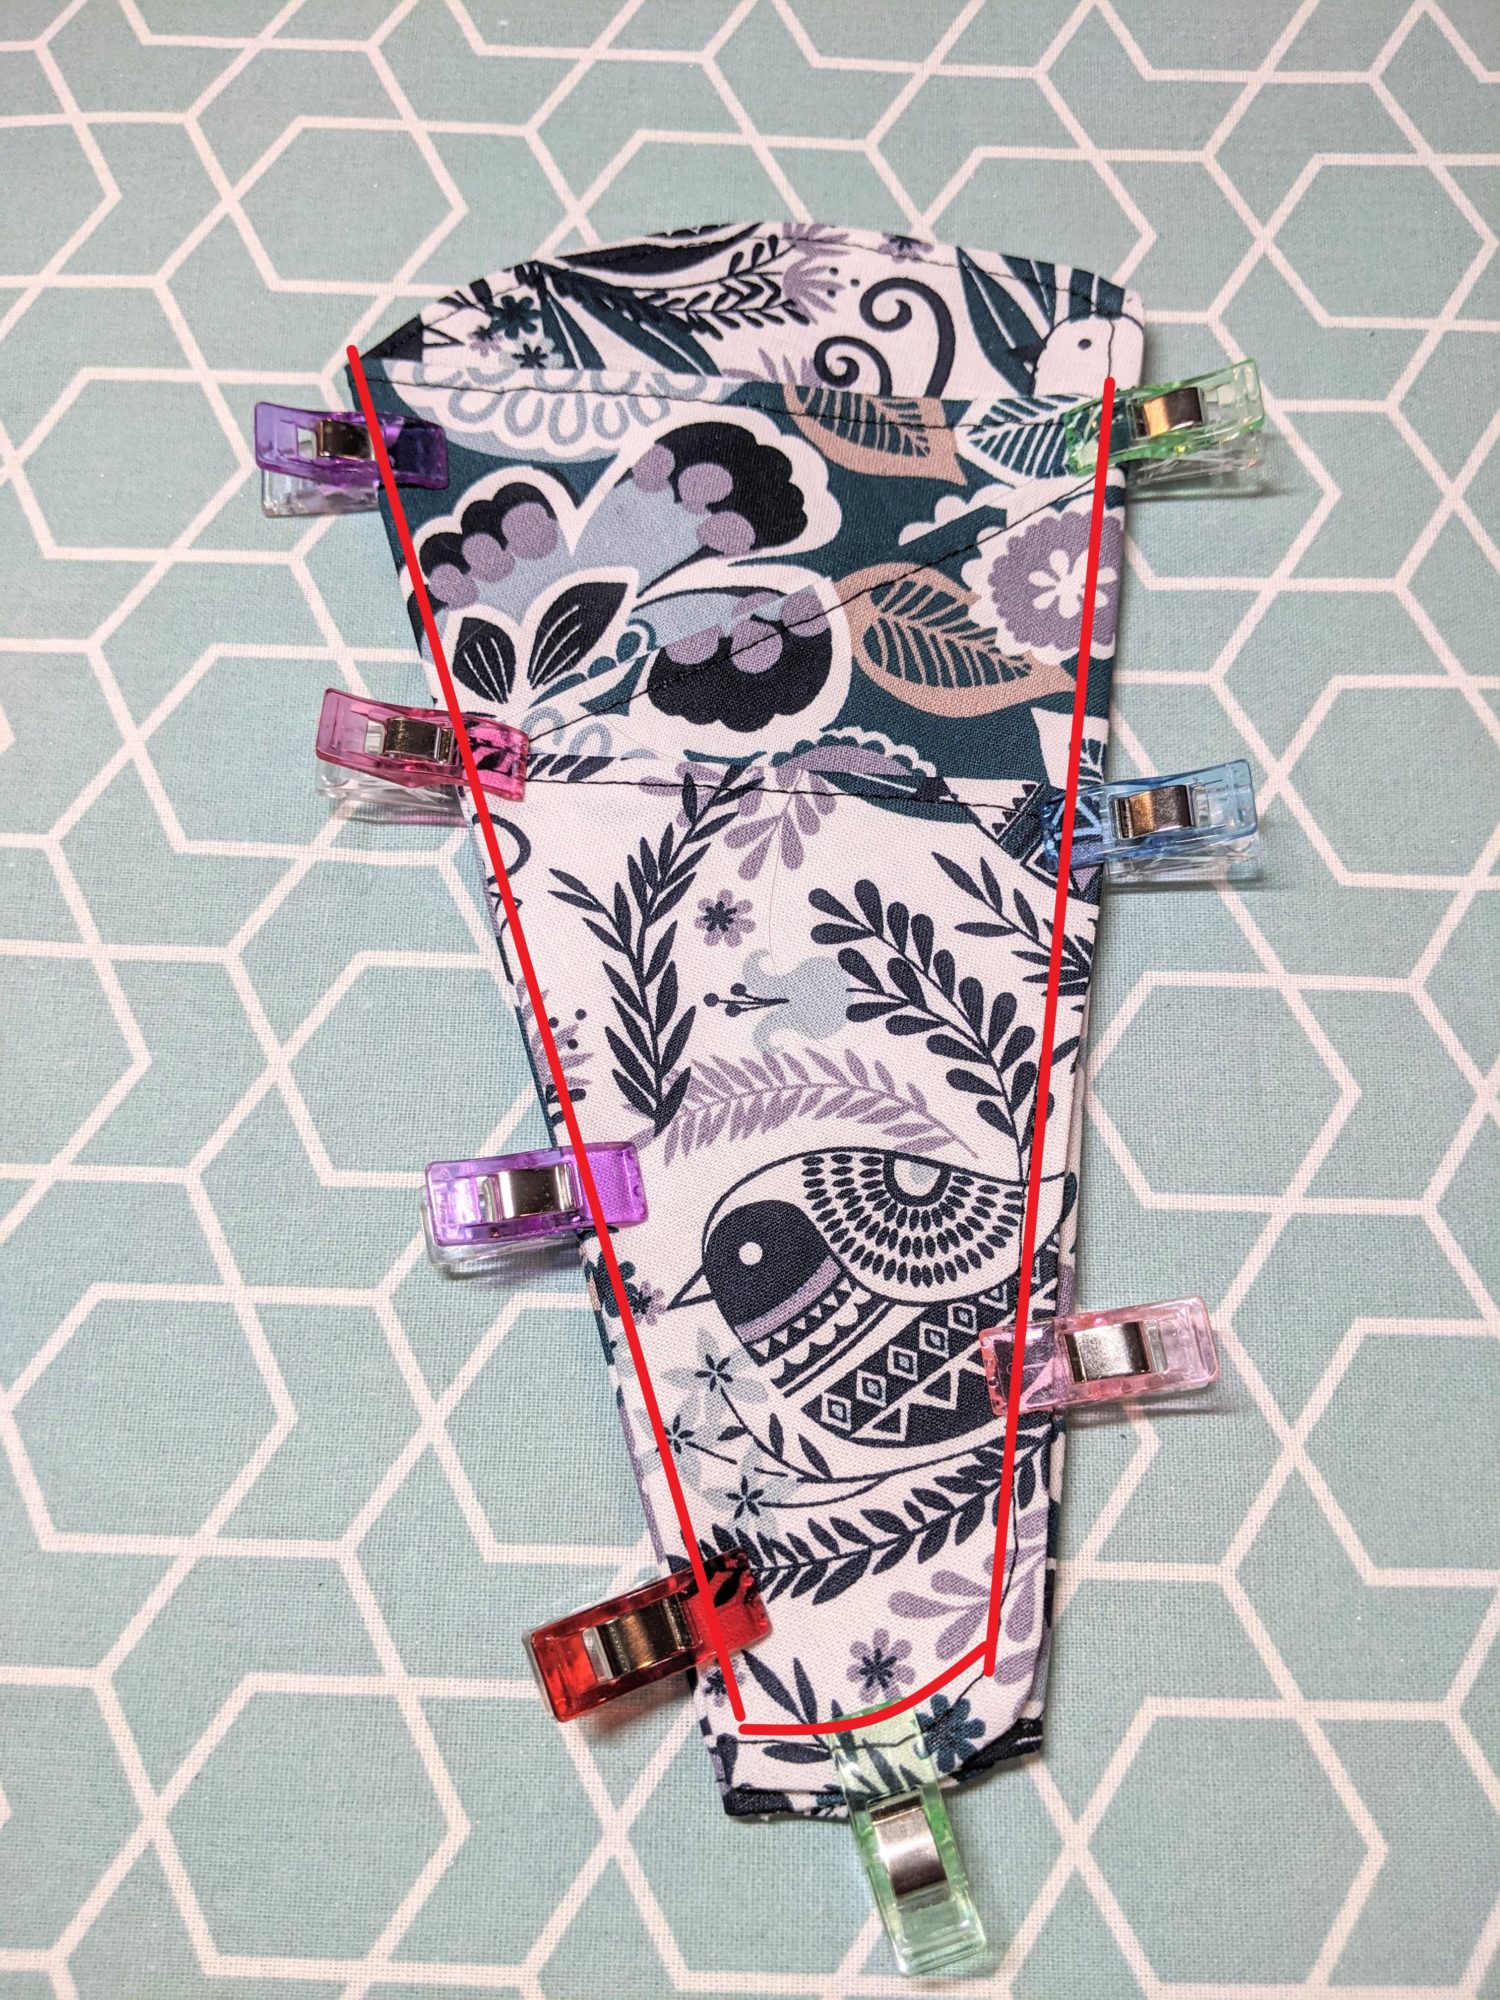
l.)
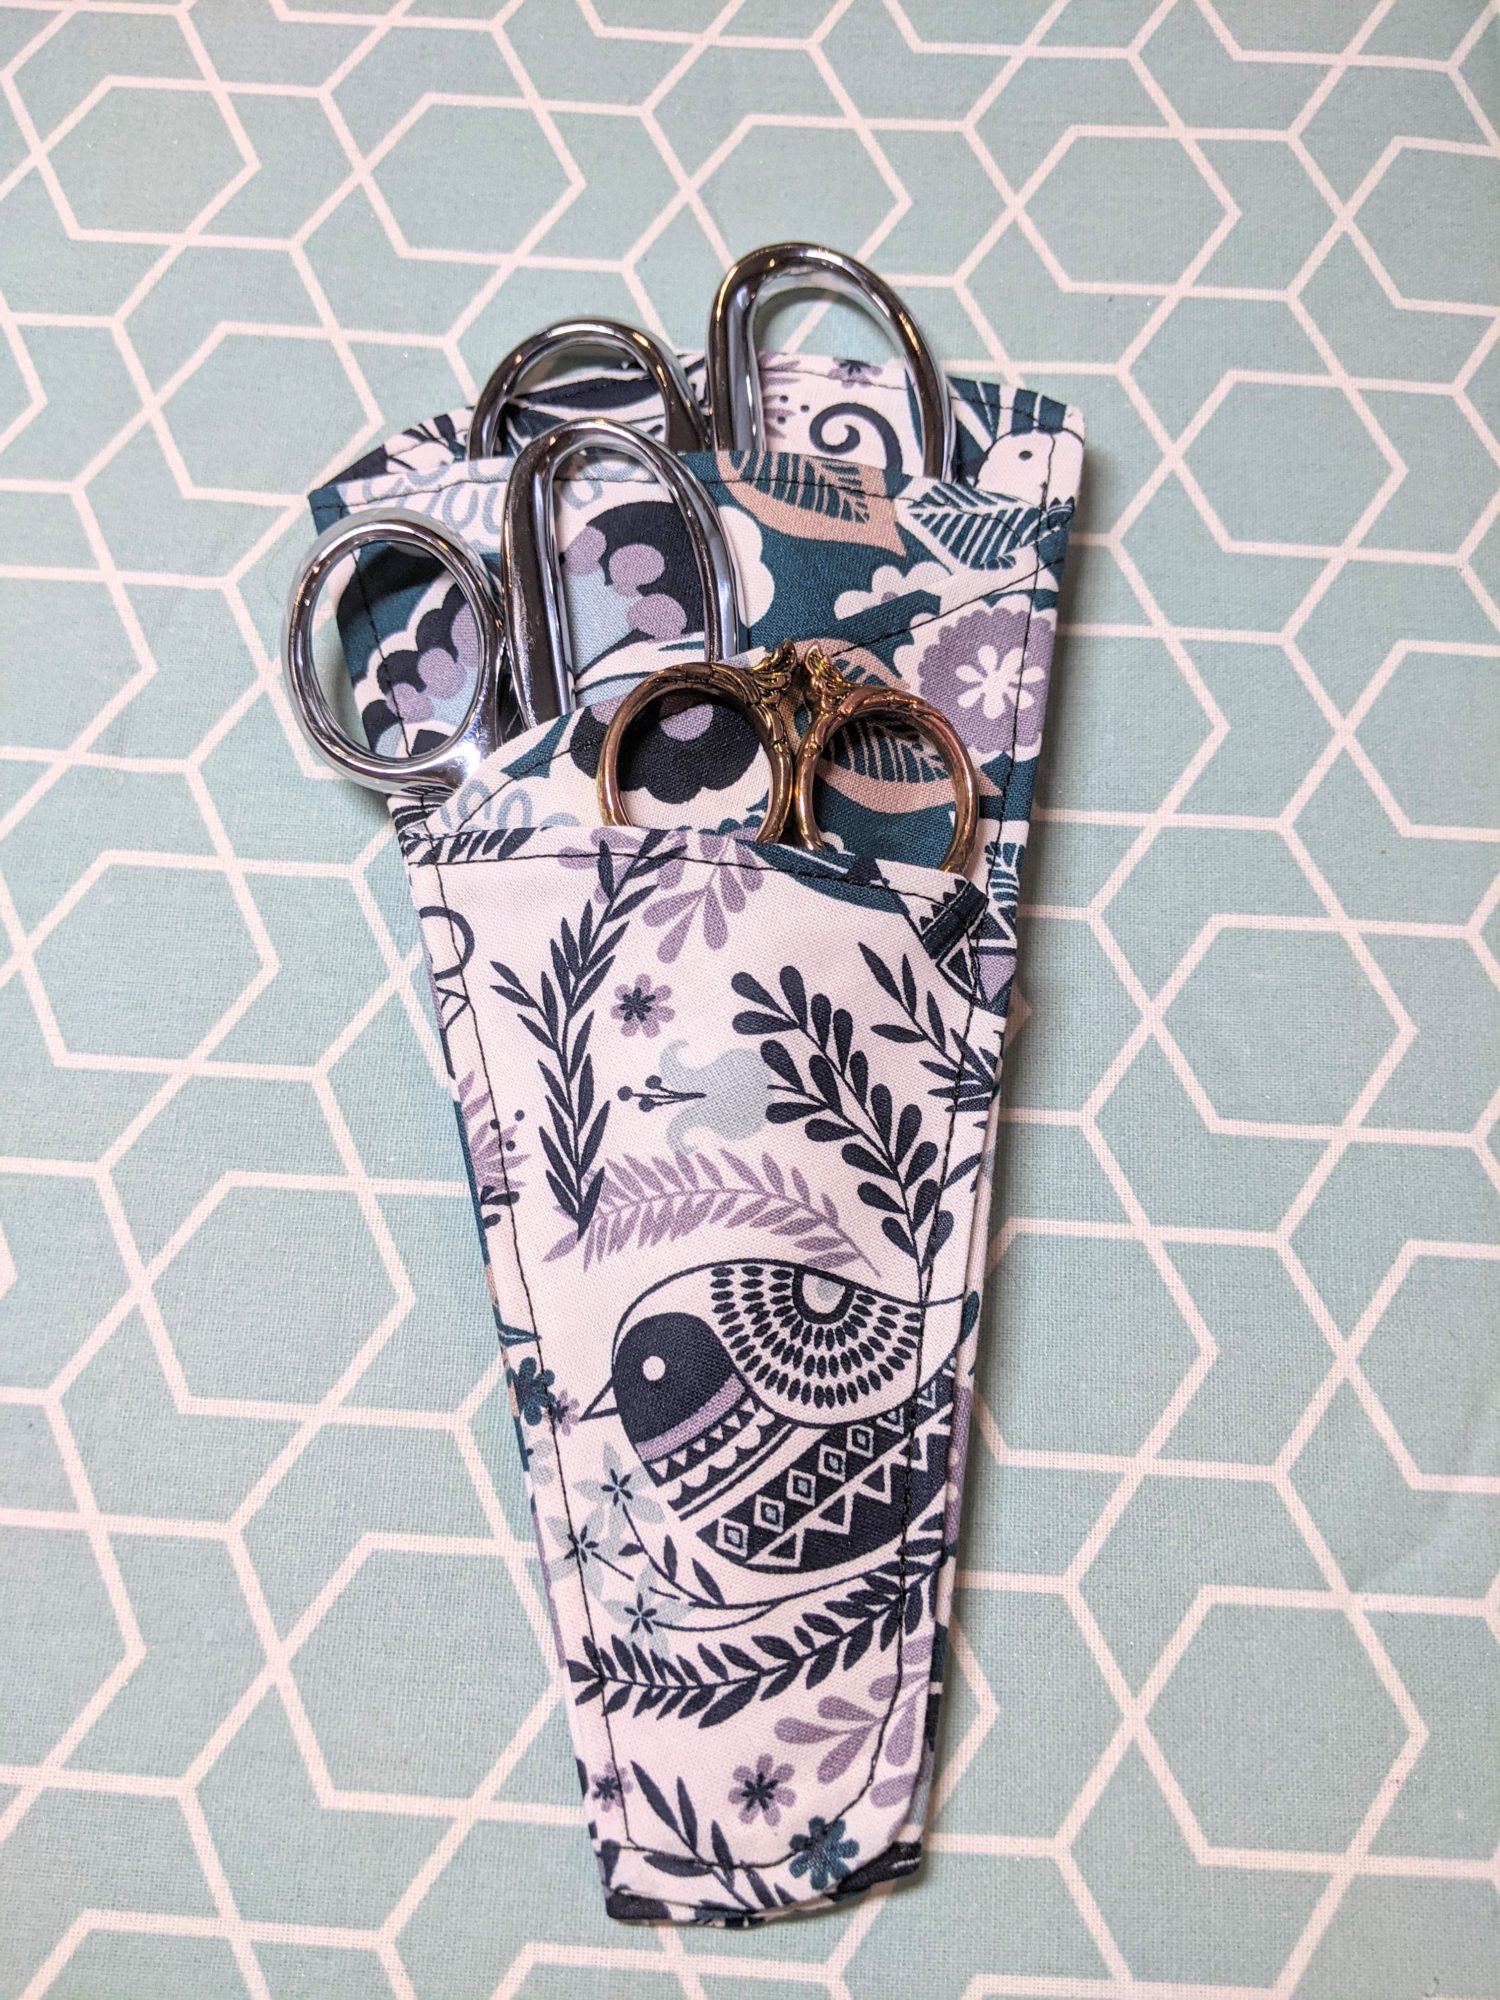
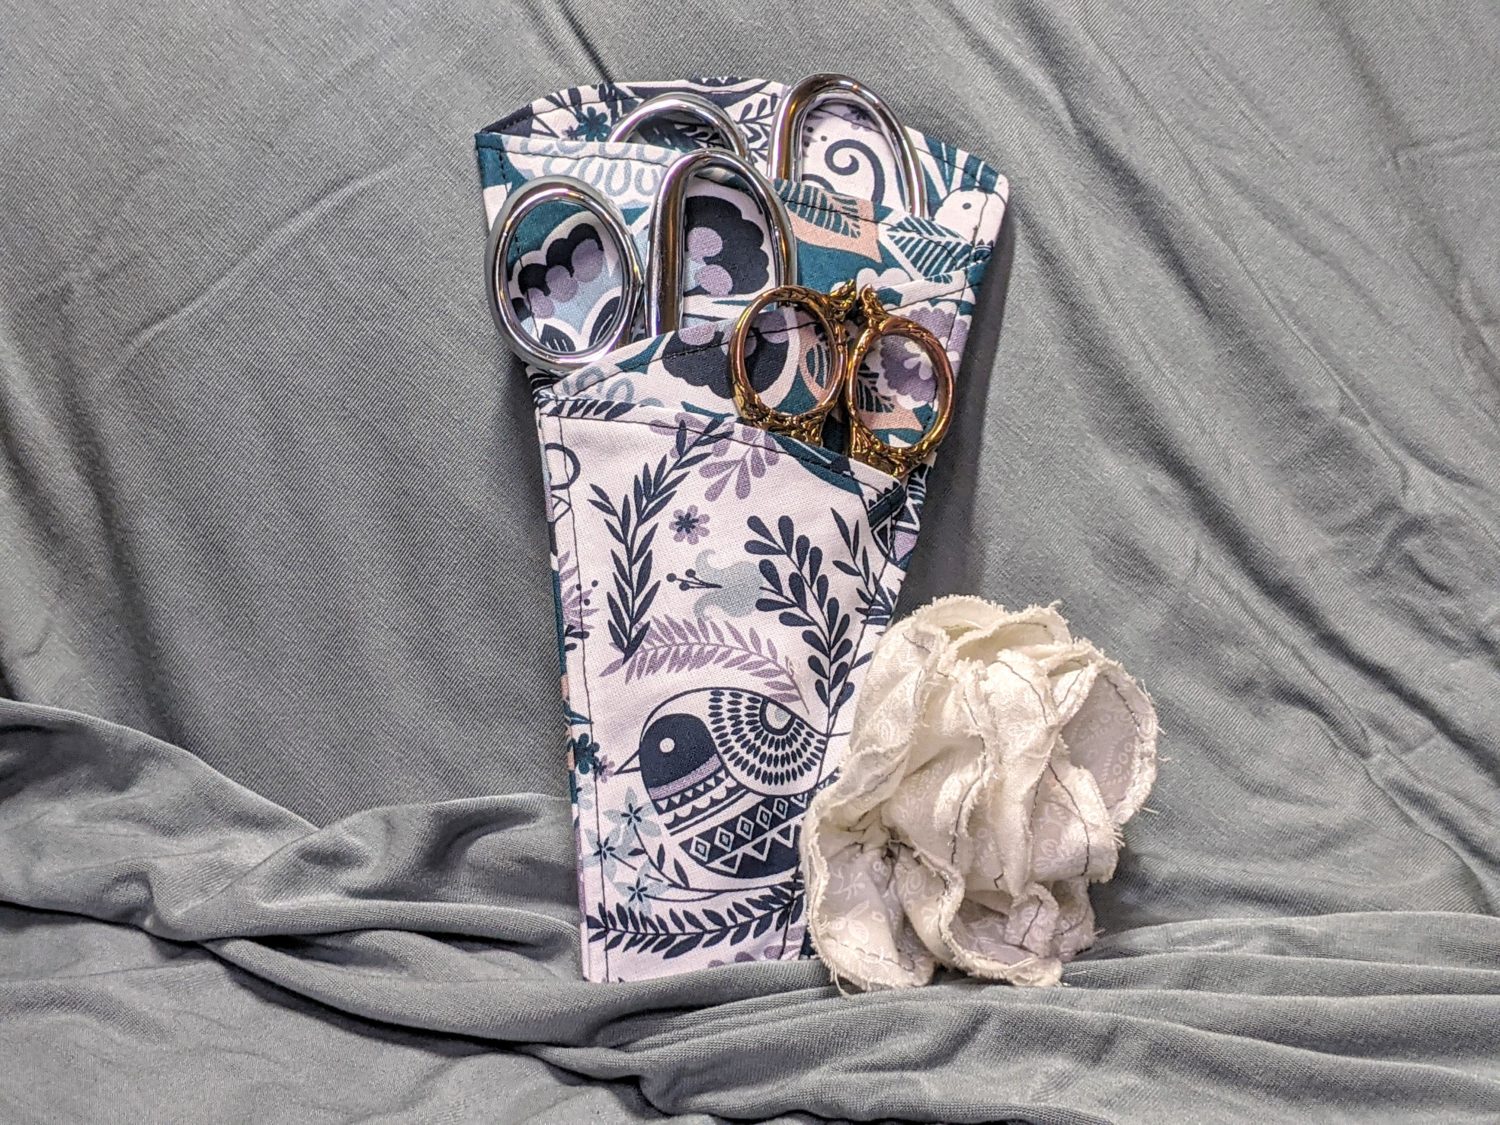
You are Ready to Store your Scissors!
Want more FUN DIY Freebies? Check out the FREEBIE TUTORIALS and the FREEBIE PATTERNS!
As always, we’re here to help if you need it! Join us HERE and on Facebook, Instagram, Twitter, Youtube, and Pinterest. We’re everywhere you are.
thanks for this pattern. i hope it will protect my favorite scissors. as long as i remember to use them ..thanks again hugs margie cook
Just made two. These are easy, nice & stiff & great for traveling or organizing drawers – THANK YOU for free and easy pattern!