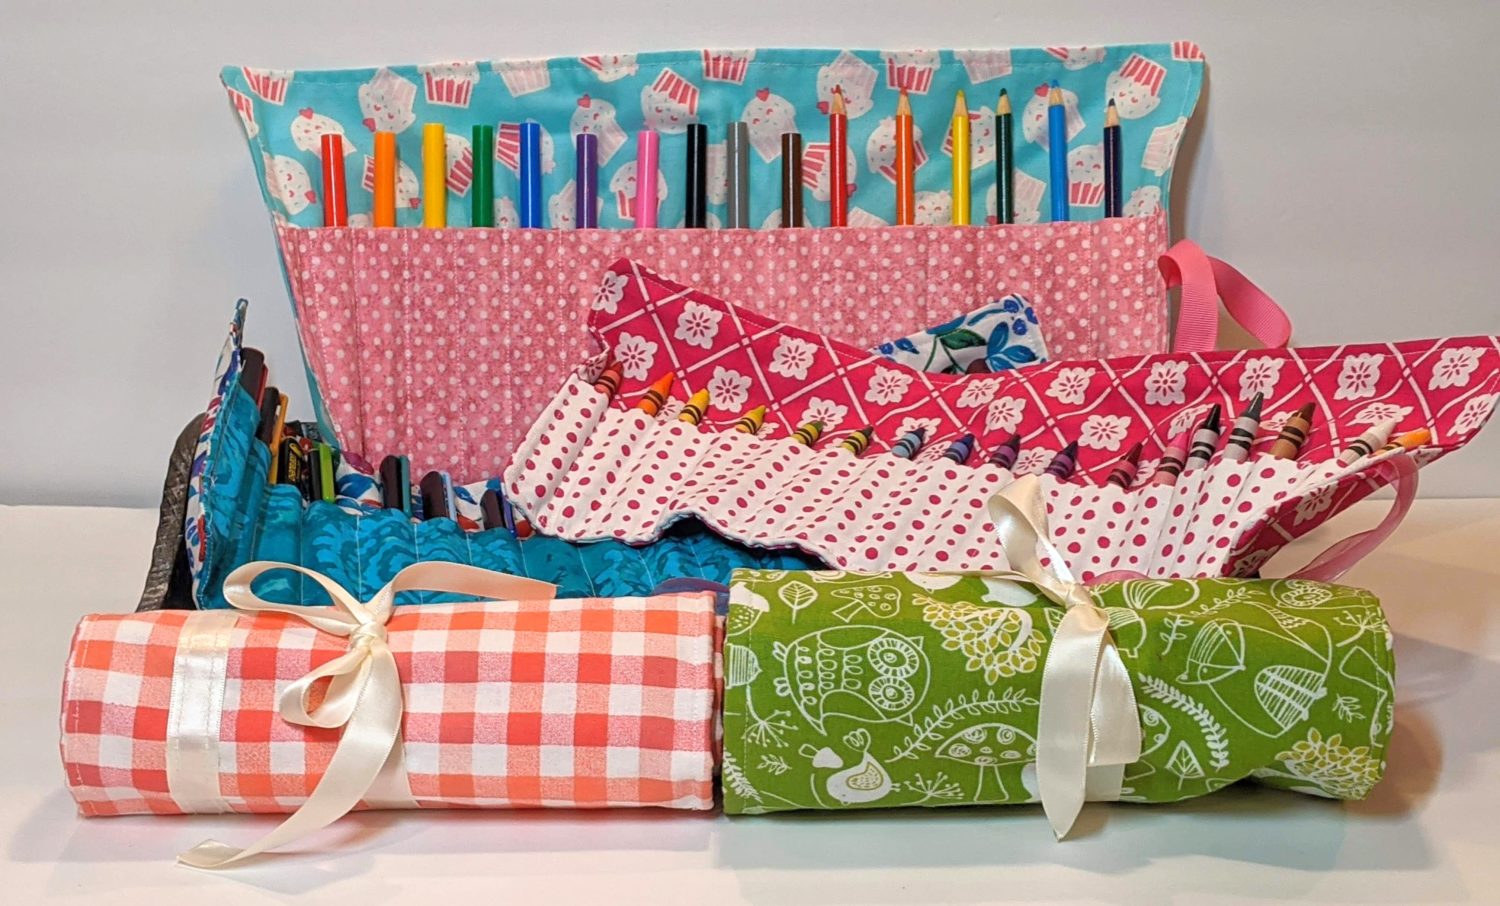
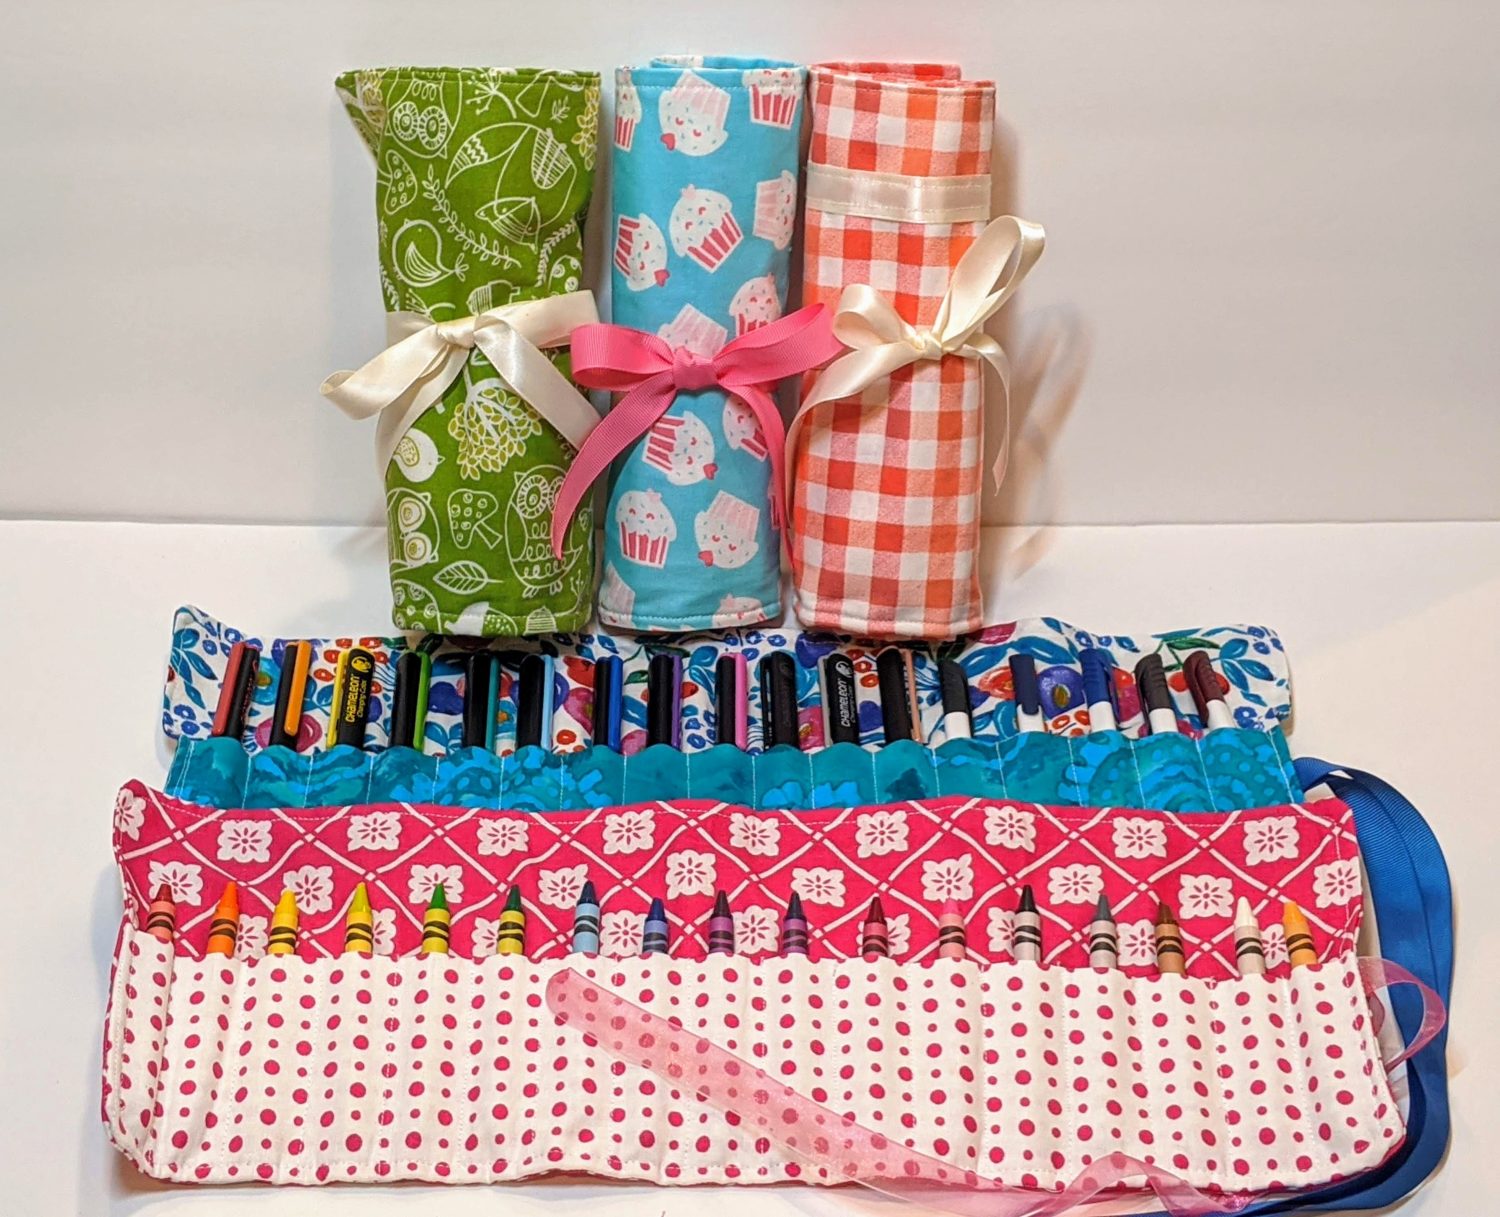
In an effort to combine and organize some of my girls’ crayons and pens, I decided to make some roll-up holders for all of them. I love how easy it is to customize these using fun fabric combinations. They make great gifts and you could even use the fabric-covered notebook tutorial and make a matching set!
Gather your supplies:
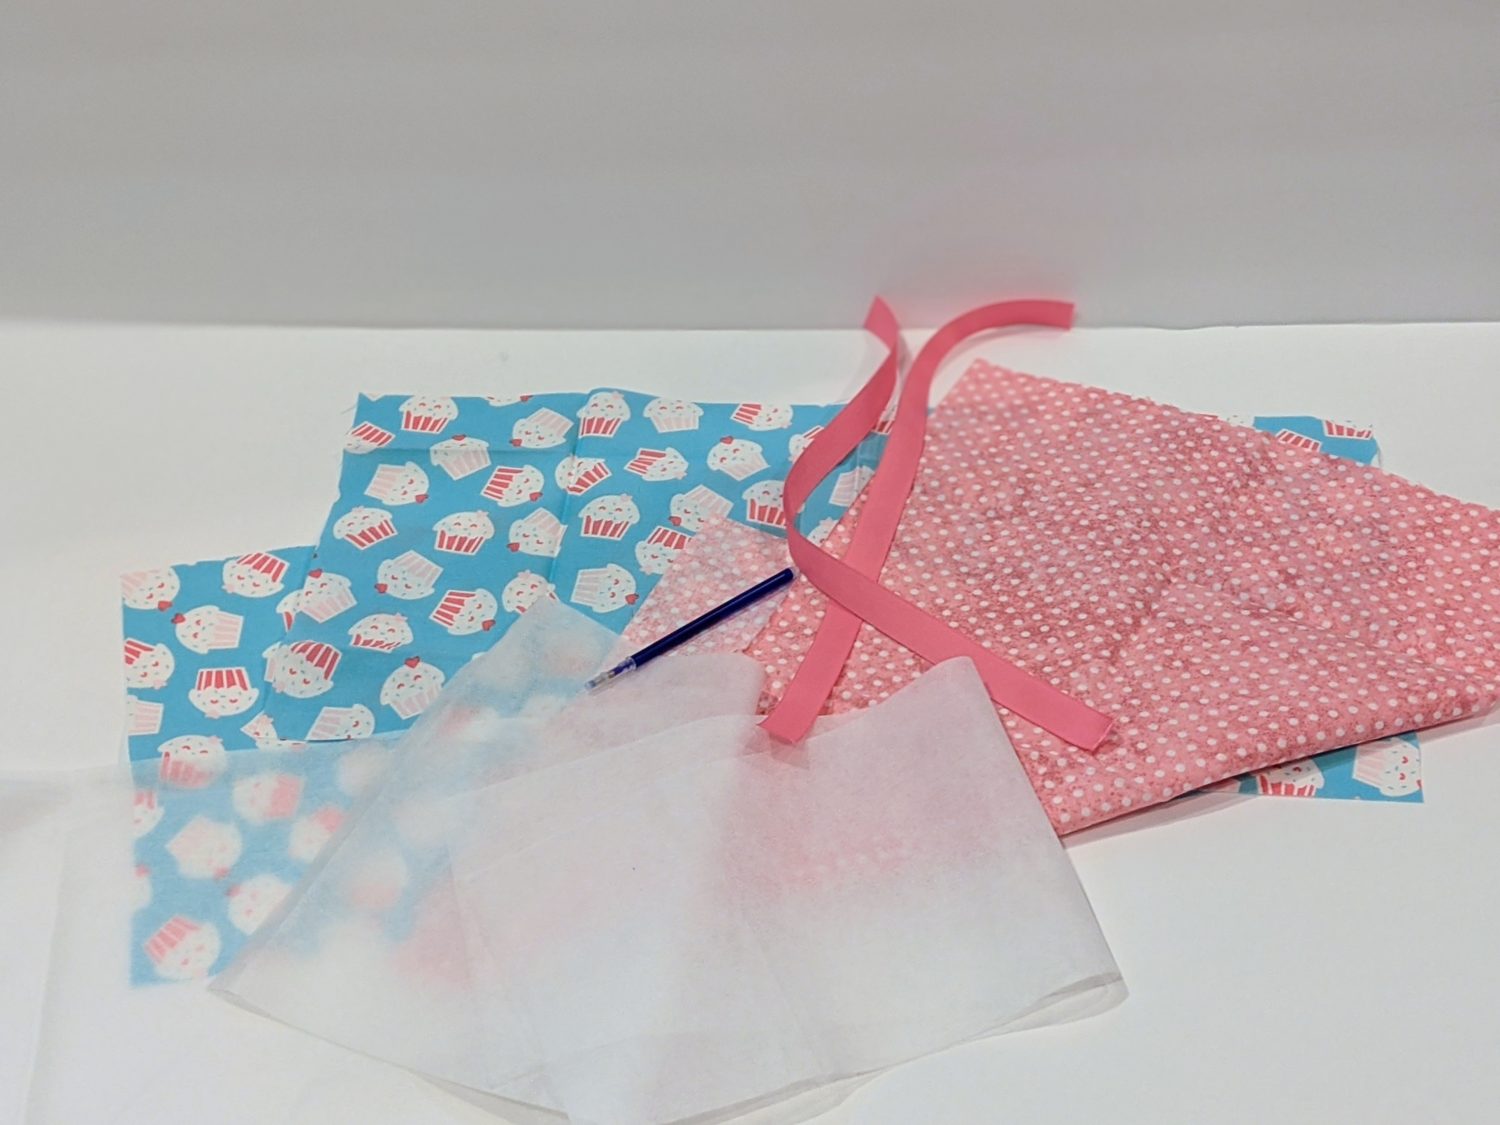
- A woven fabric such as quilter’s cotton or flannel (There are 3 pieces to this you can use all the same fabric or make some fun combinations)
- Interfacing
- Ribbon
- Sewing machine
- Ruler
- Heat or air erasable marker or chalk
Preparing your pieces:
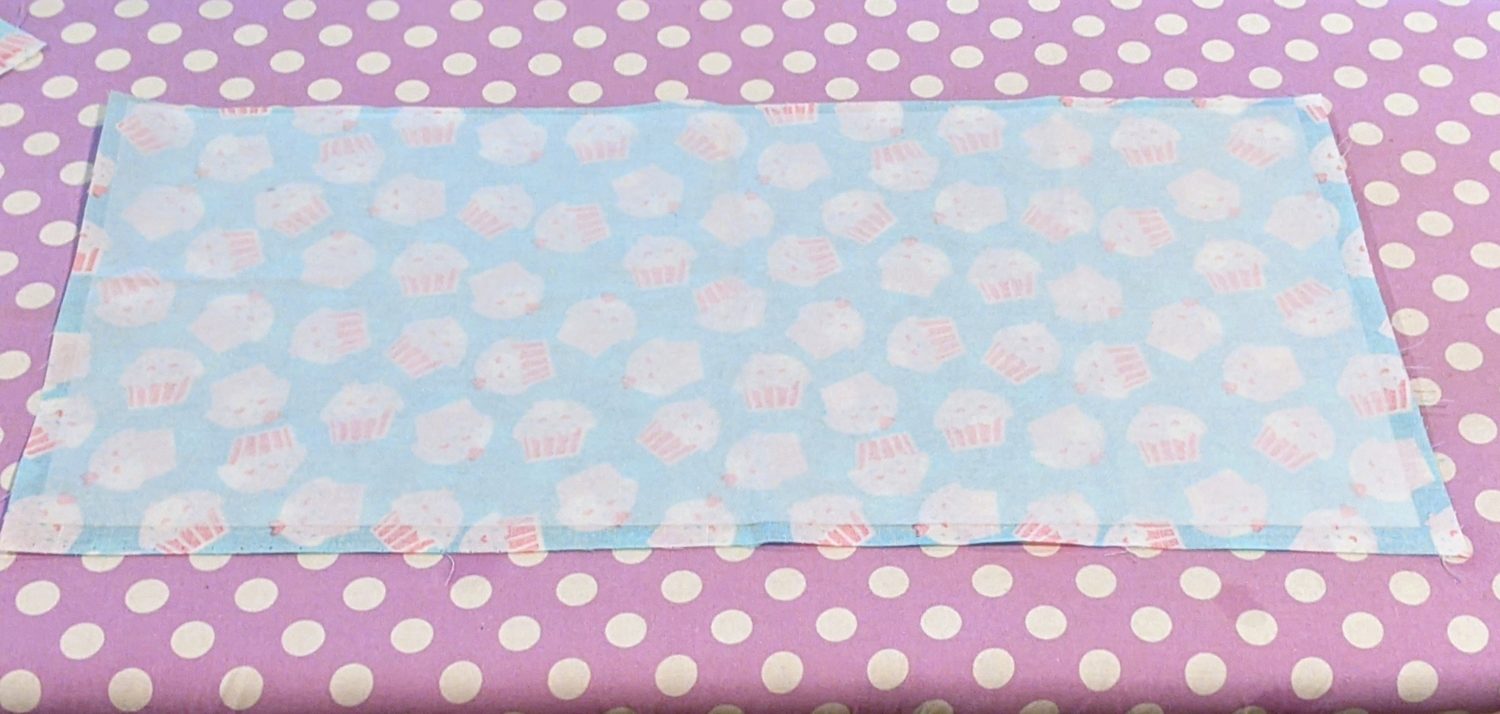
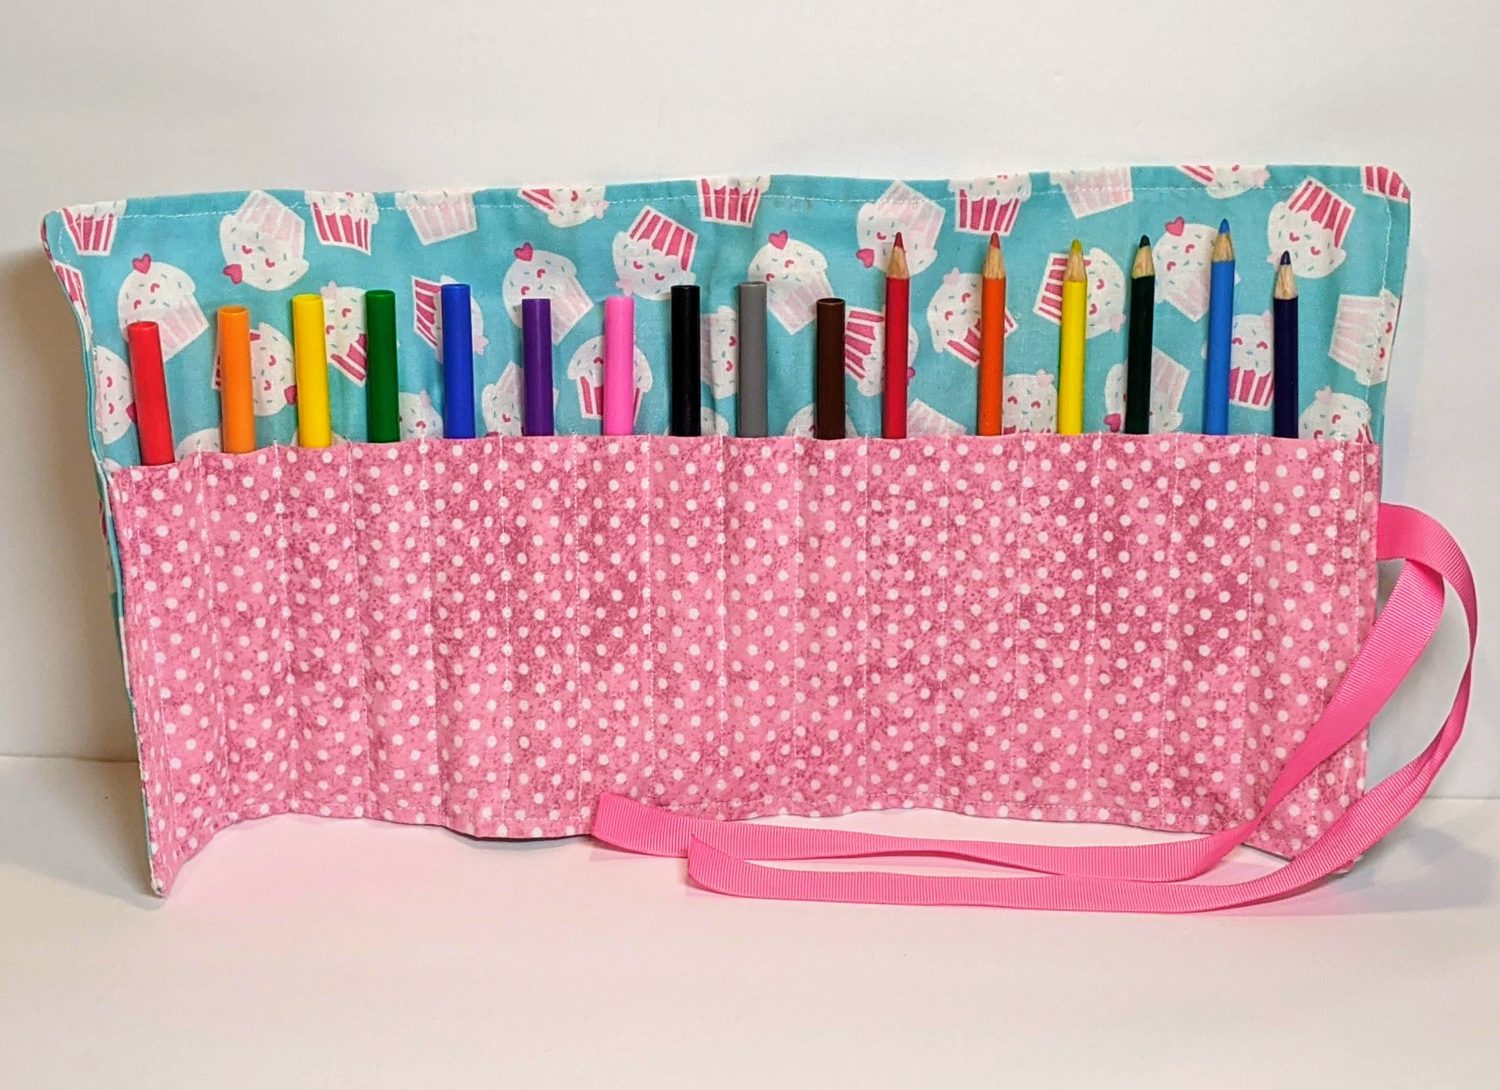
I made two different sizes for this. The larger one is taller with a taller pocket that works great for pens, colored pencils and markers. The smaller one is shorter and works best for crayons. Decide which option you’d like and cut your pieces according to the cut chart.

The interfacing
- Take your main outer piece of fabric and iron the larger piece of interfacing onto the back of it
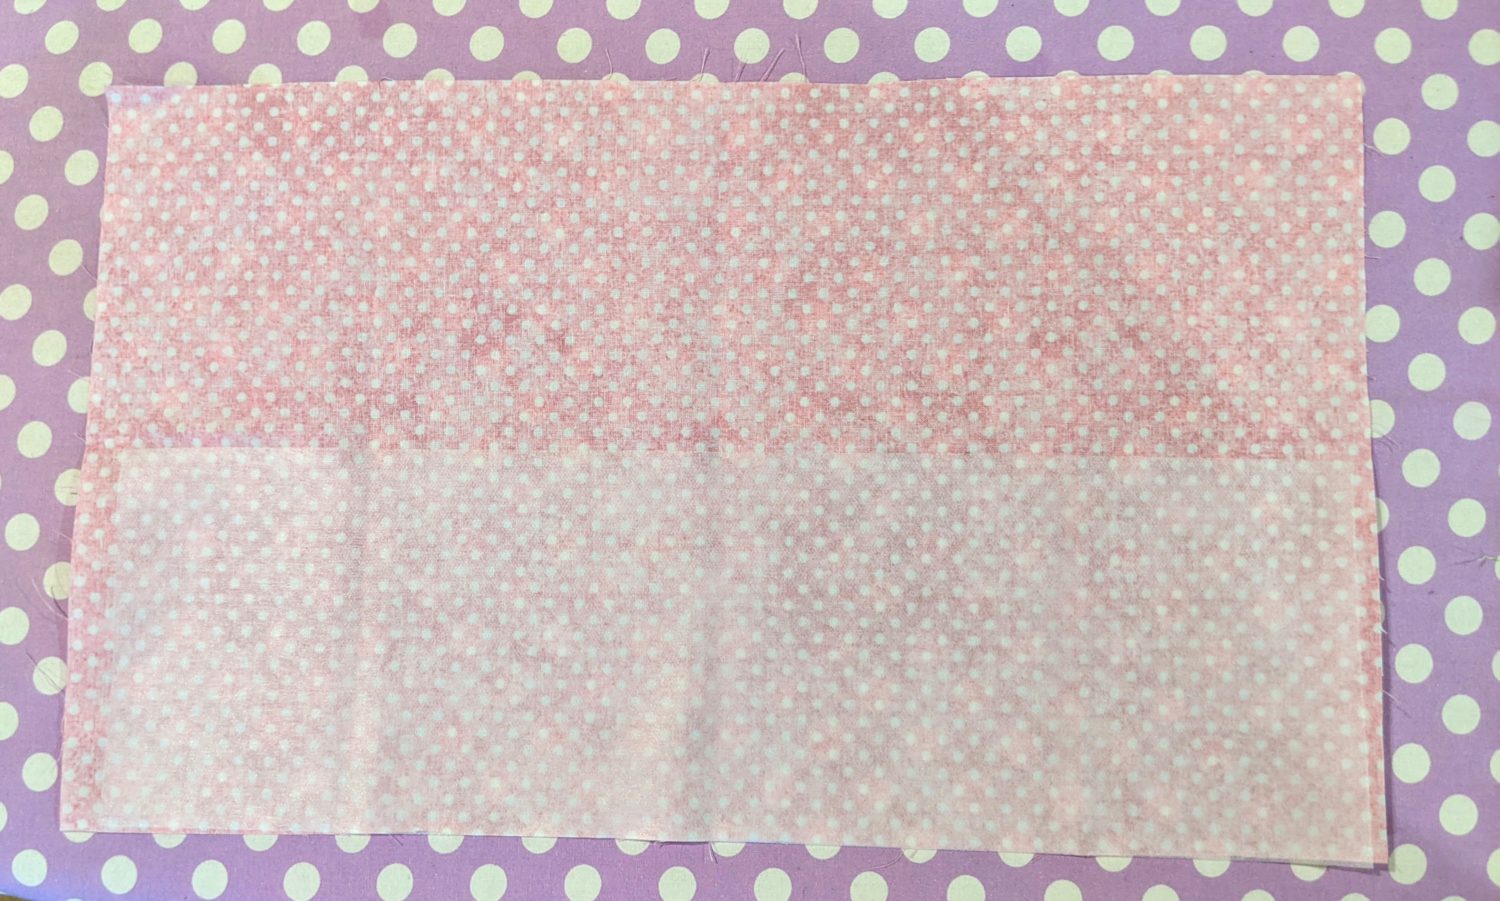
- Fold your pocket piece in half lengthwise and press
- Place interfacing onto the wrong side of half of the pocket lengthwise and iron it on
Attach the pocket
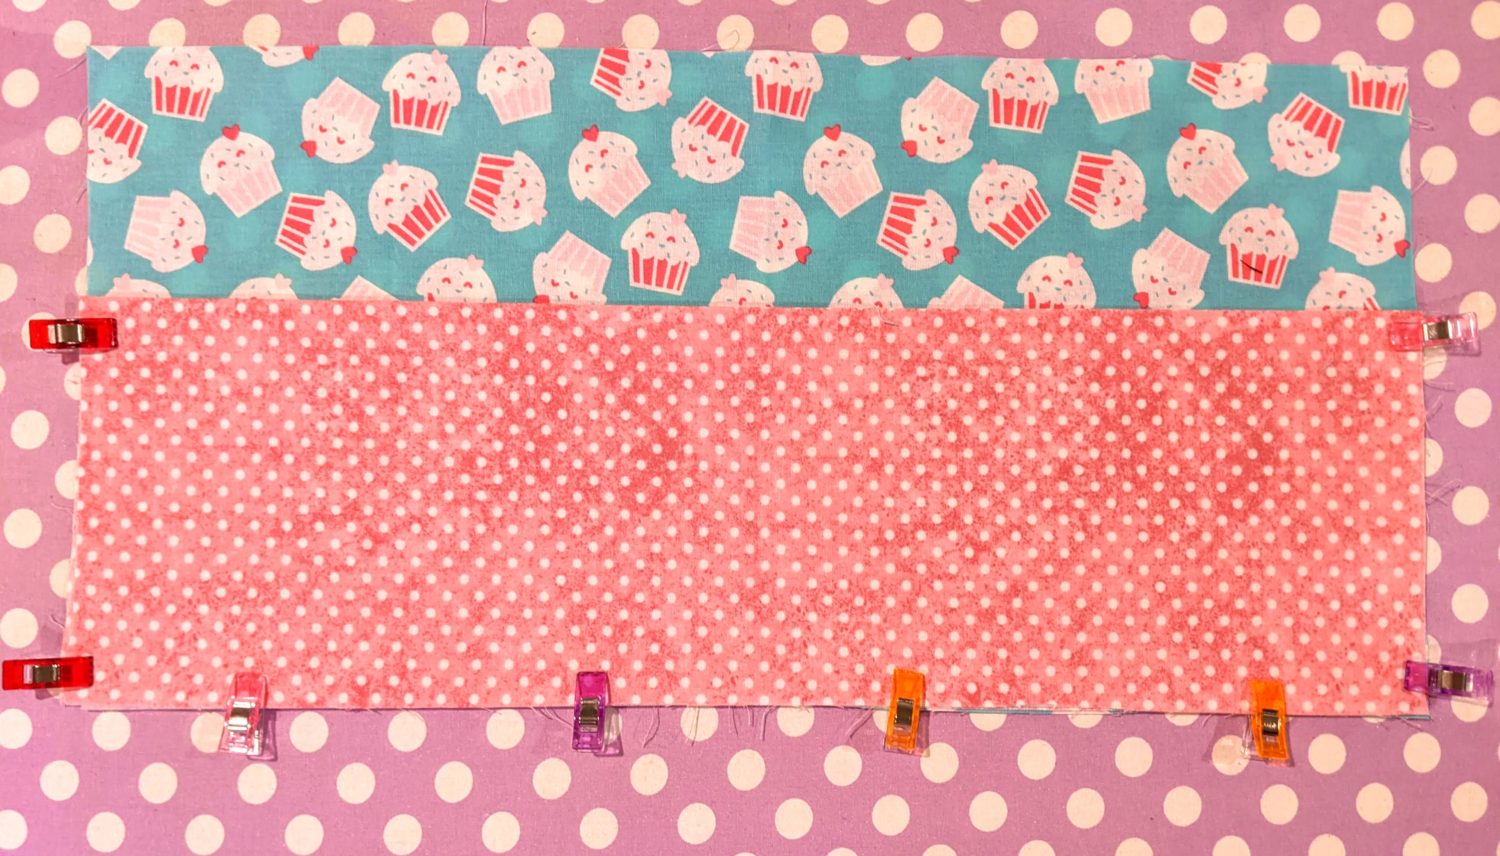
- Get your large main inner fabric (the one without interfacing) and lay it right side up
- Fold the pocket piece back in half and have the side without interfacing on the top when you set it down on the larger main piece
- Line up the bottom and side edges and pin together
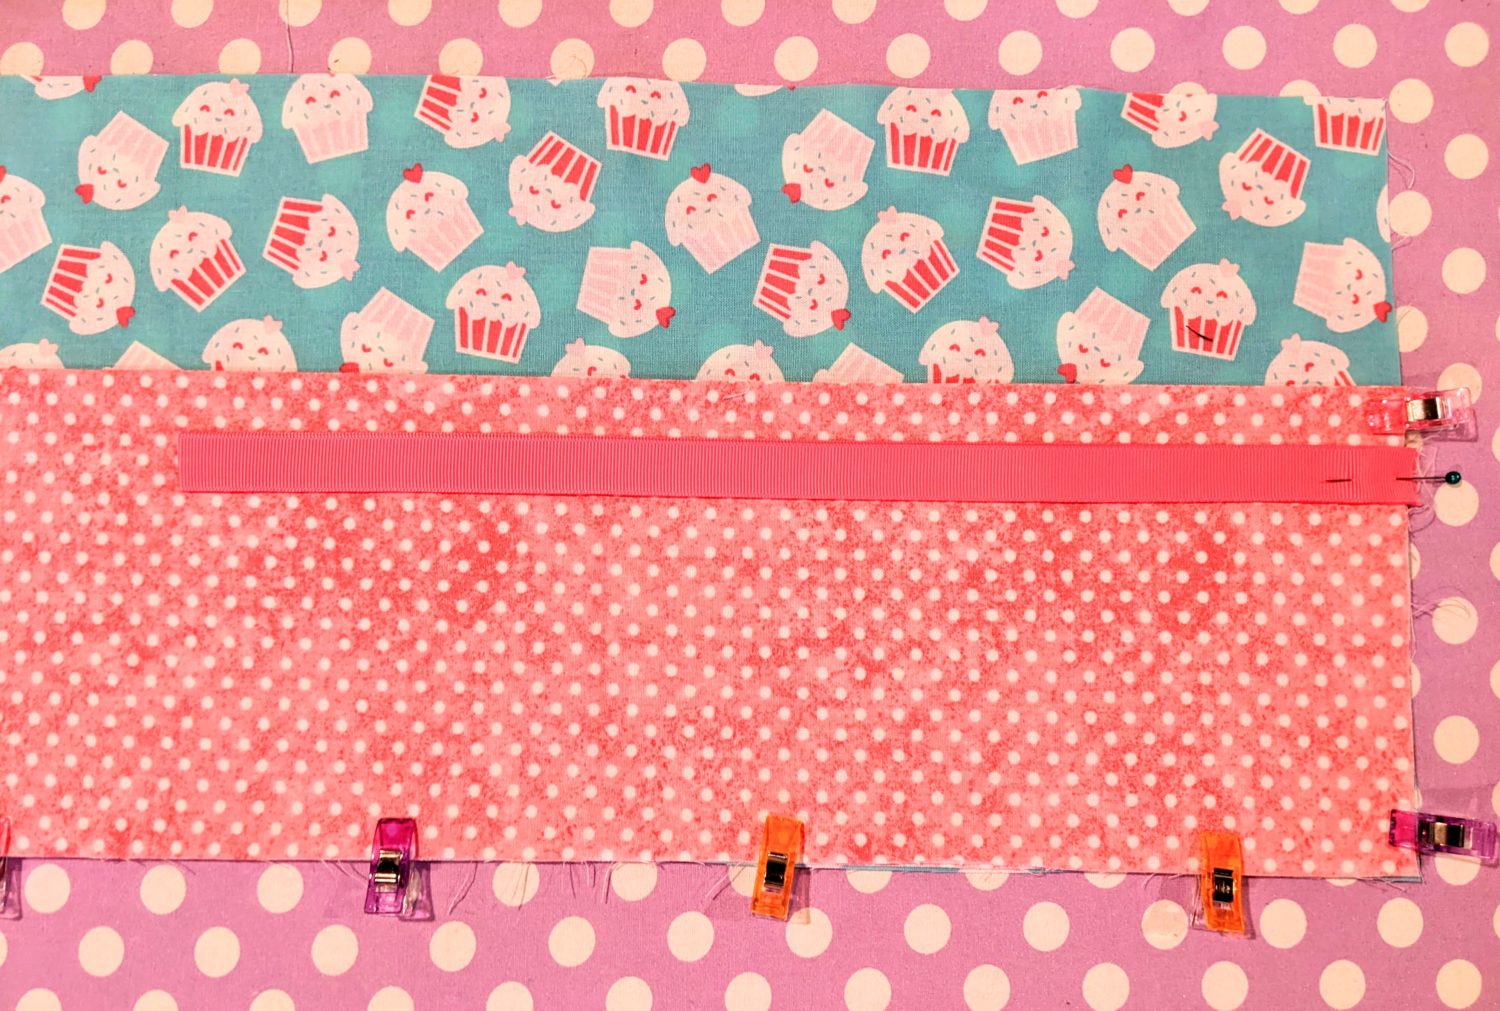
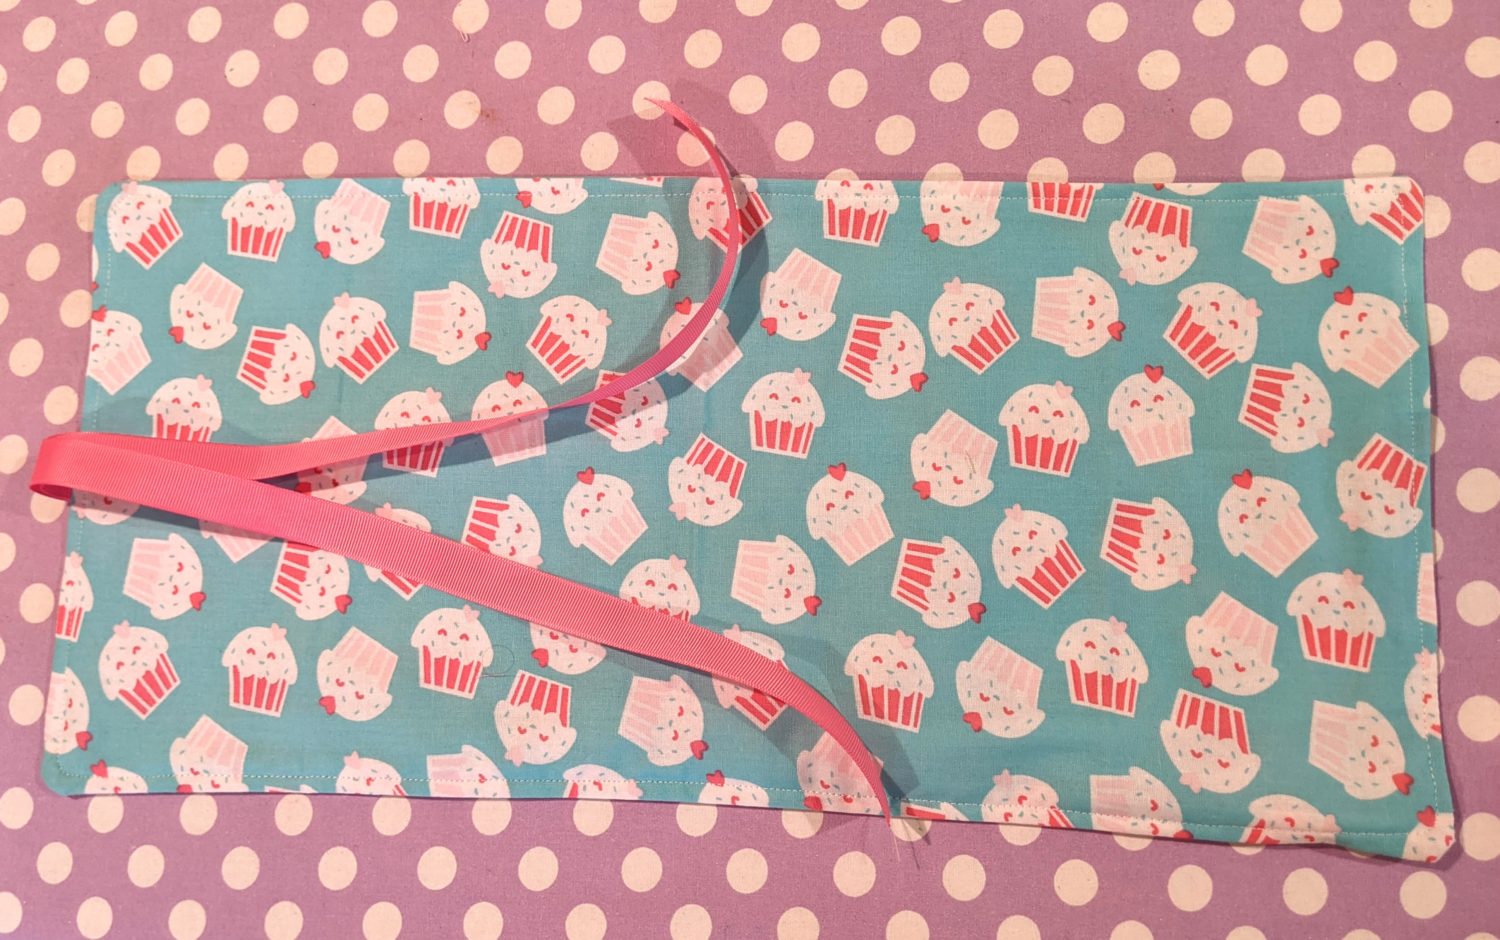
- Stack your ribbons on top of each other and place them on top of your fabric pieces near the middle of the larger piece of fabric. The tails should be in towards the center, and the edges lined up along the fabric edge and pinned.
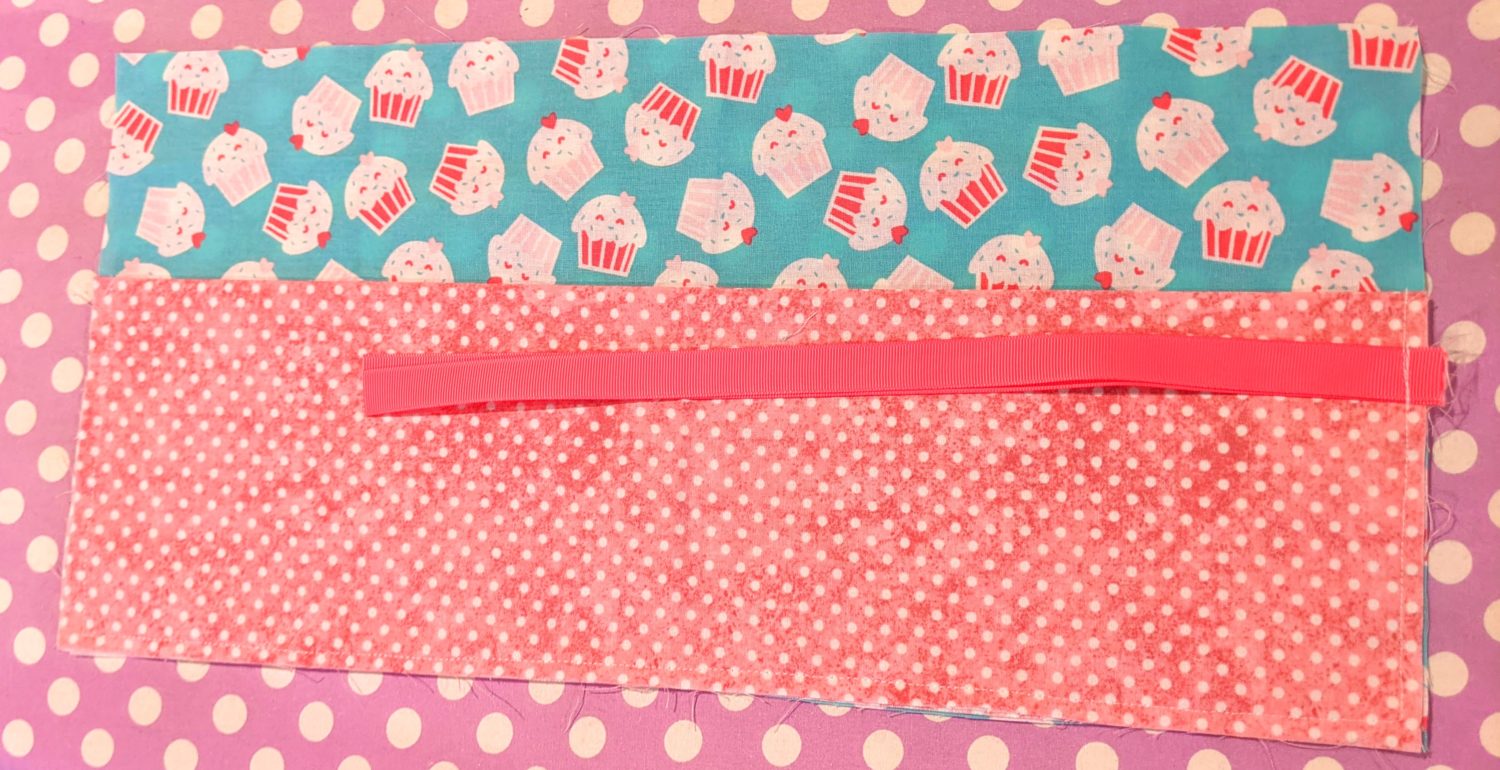
- Baste around the pocket edge and ribbon using a 1/2″ seam allowance
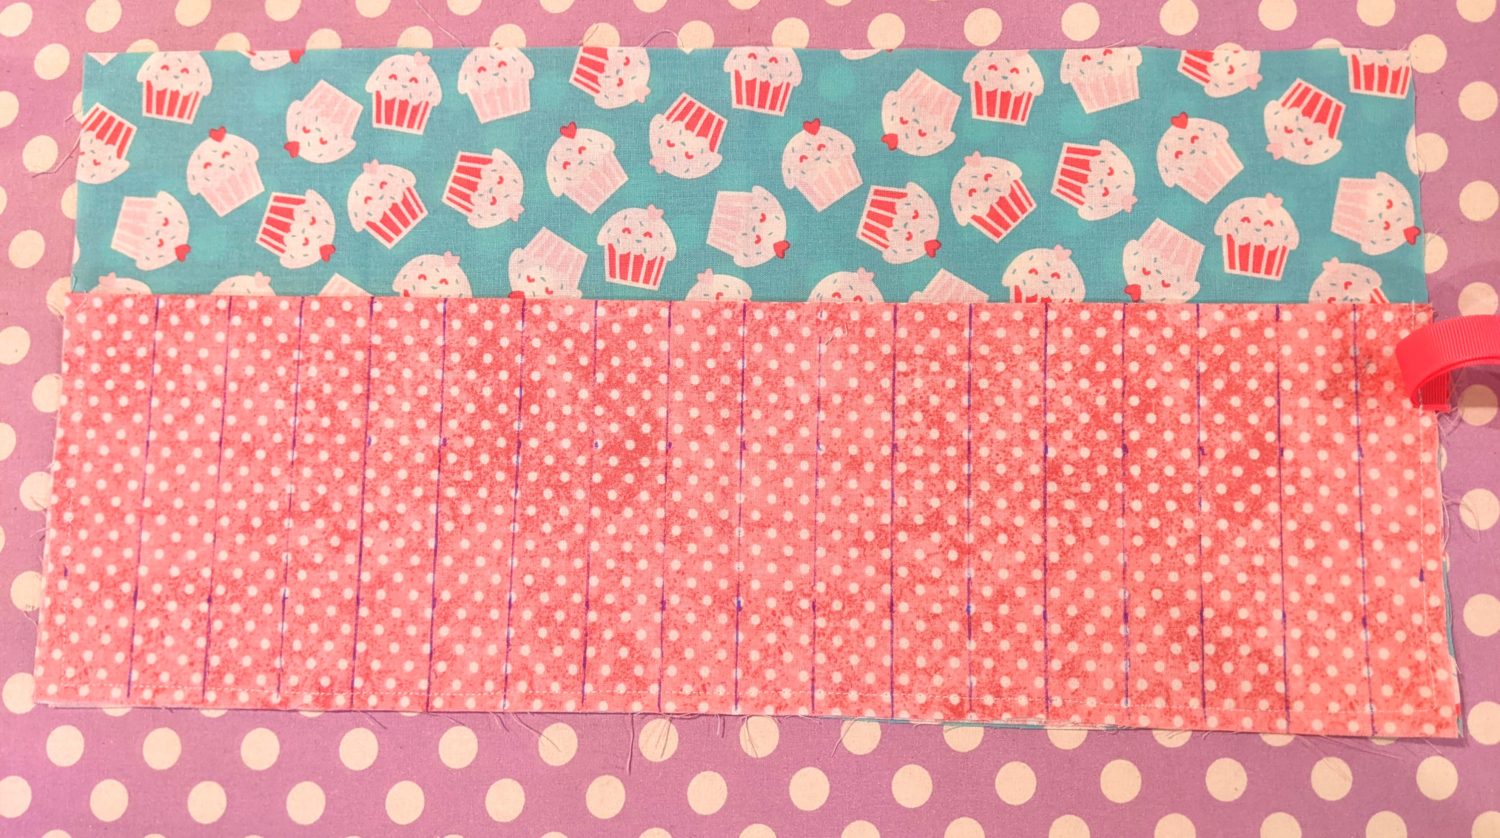
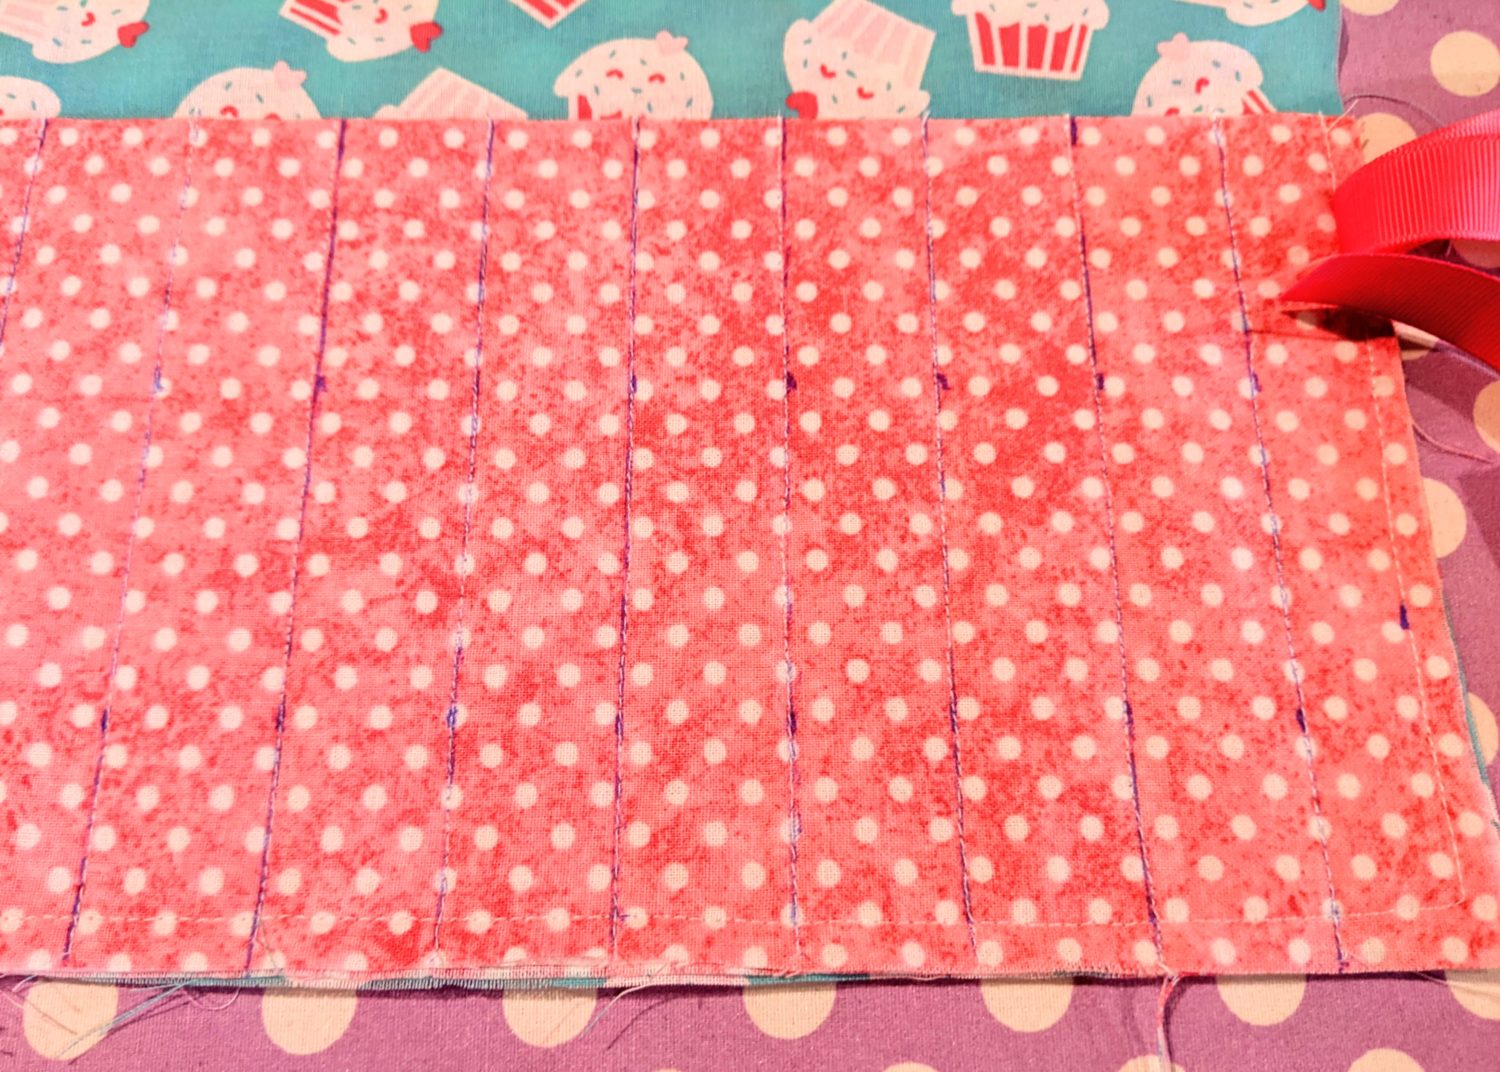
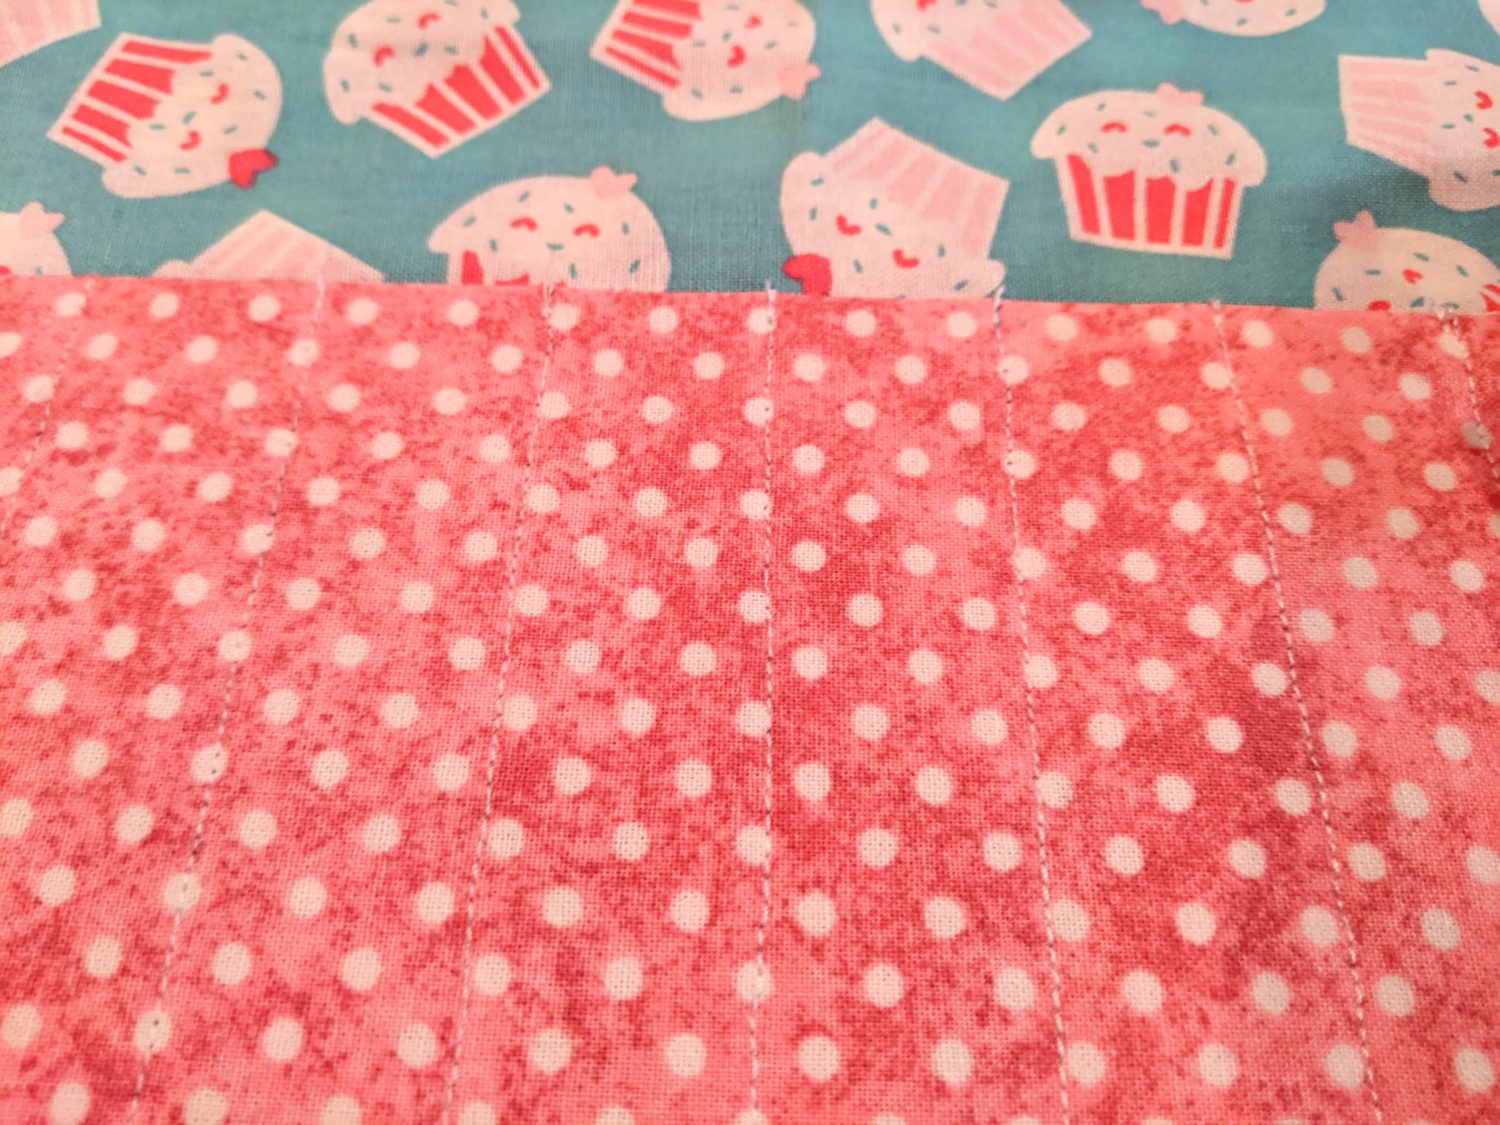
Create the pencil slots
- Your basted seam allowance should be 1/2″ in from the edge. If it’s not, measure over 1/2″ from each edge and mark it
- Starting at your 1/2″ seam allowance (or mark), measure and mark at 1″ intervals to the other side seam allowance
- Draw vertical lines with your heat erasable pen (or air soluble marker or chalk) at each of your marked 1″ spots
- Topstitch along each line sewing from the bottom edge to the top of the pocket and backstitch a couple of times at the top of the pocket to keep the stitches secured
- If you used a heat erasable pen, iron over the pocket to remove your lines
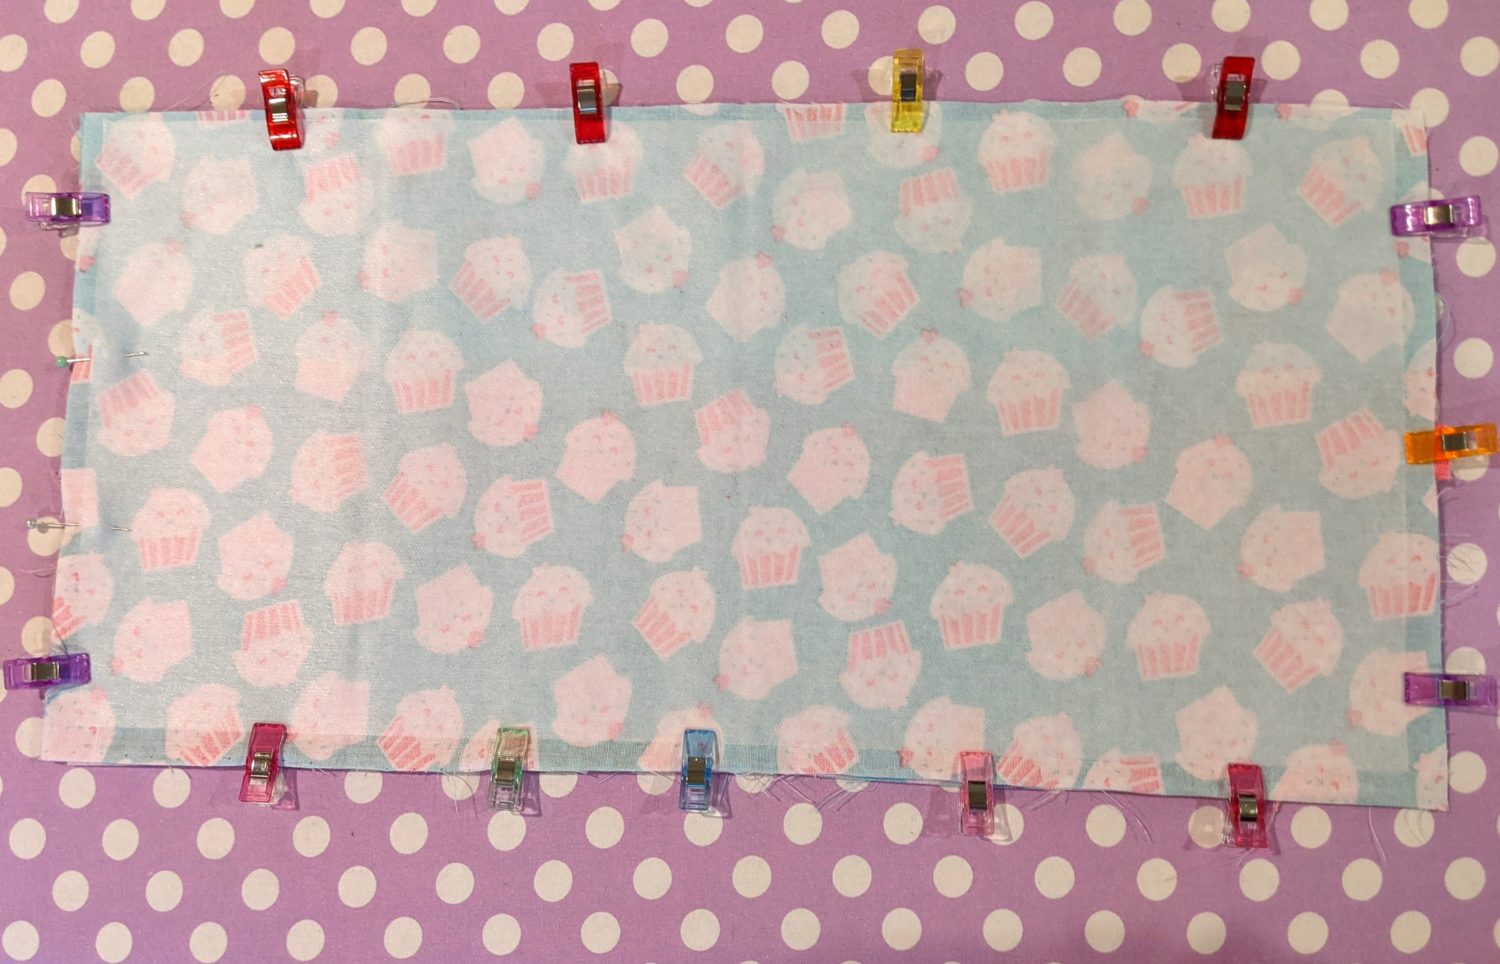
Now that you have slots for all of your writitng utensils, it’s time to add the main outer piece.
- Lay your outer main piece (with the interfacing) ontop of the previously sewn pocket piece with right sides together (Your interfacing will be facing out on top)
- Line up and pin around all the edges leaving a 2″-3″ section open for turning it right side out
- Make sure the tails of your ribbon are still tucked in so you don’t sew over them
- Sew around your pinned edges making sure to backstitch a couple of times at the beginning and end of your opening
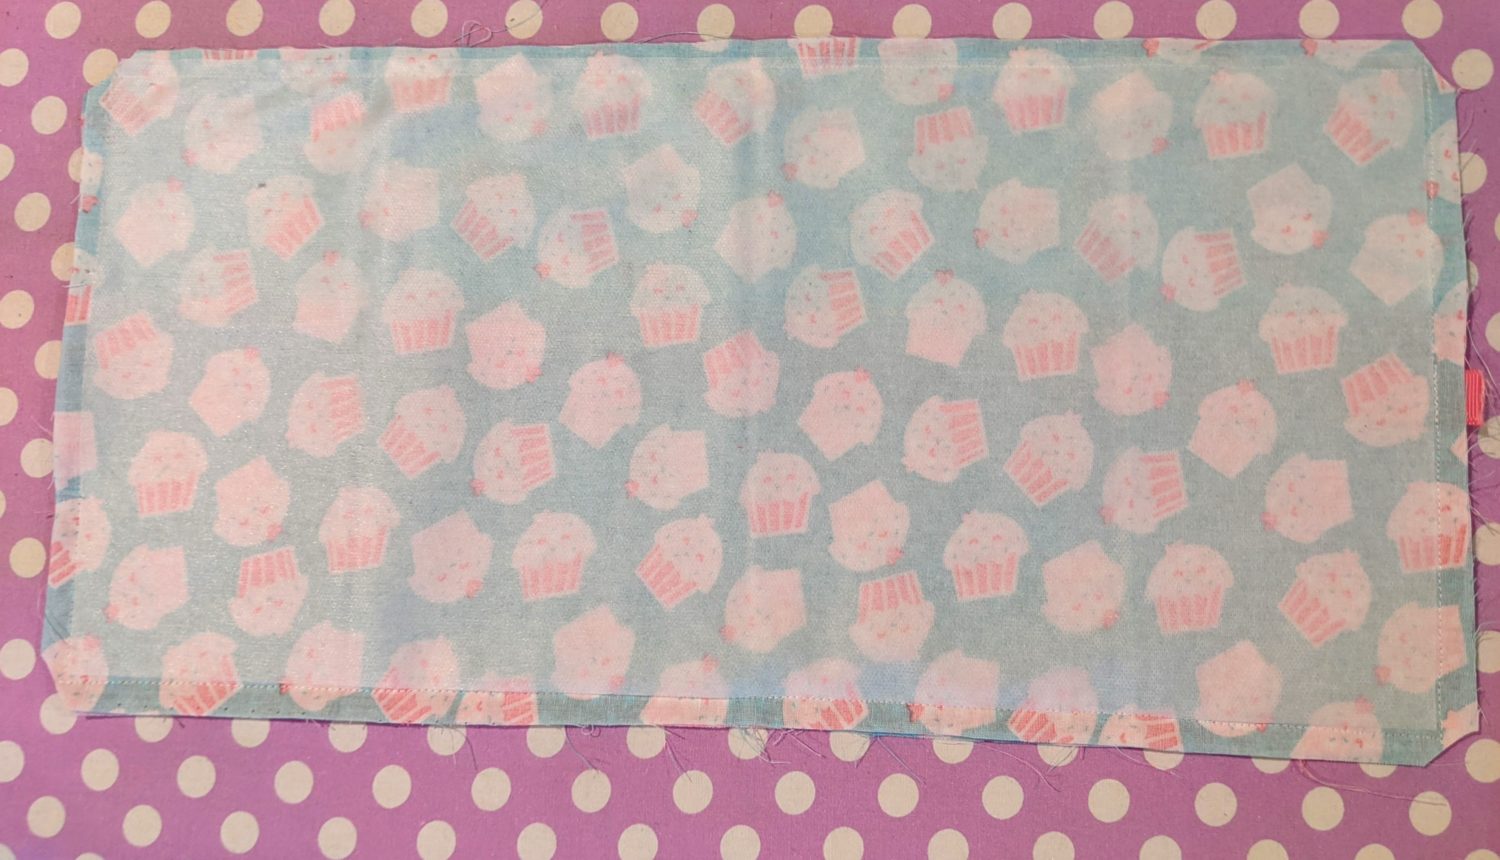
- Clip your corners
- Turn the whole thing right side out and press
- Pin around the opening and topstitch it closed, then continue to topstitch all the way around with a 1/4″ seam allowance
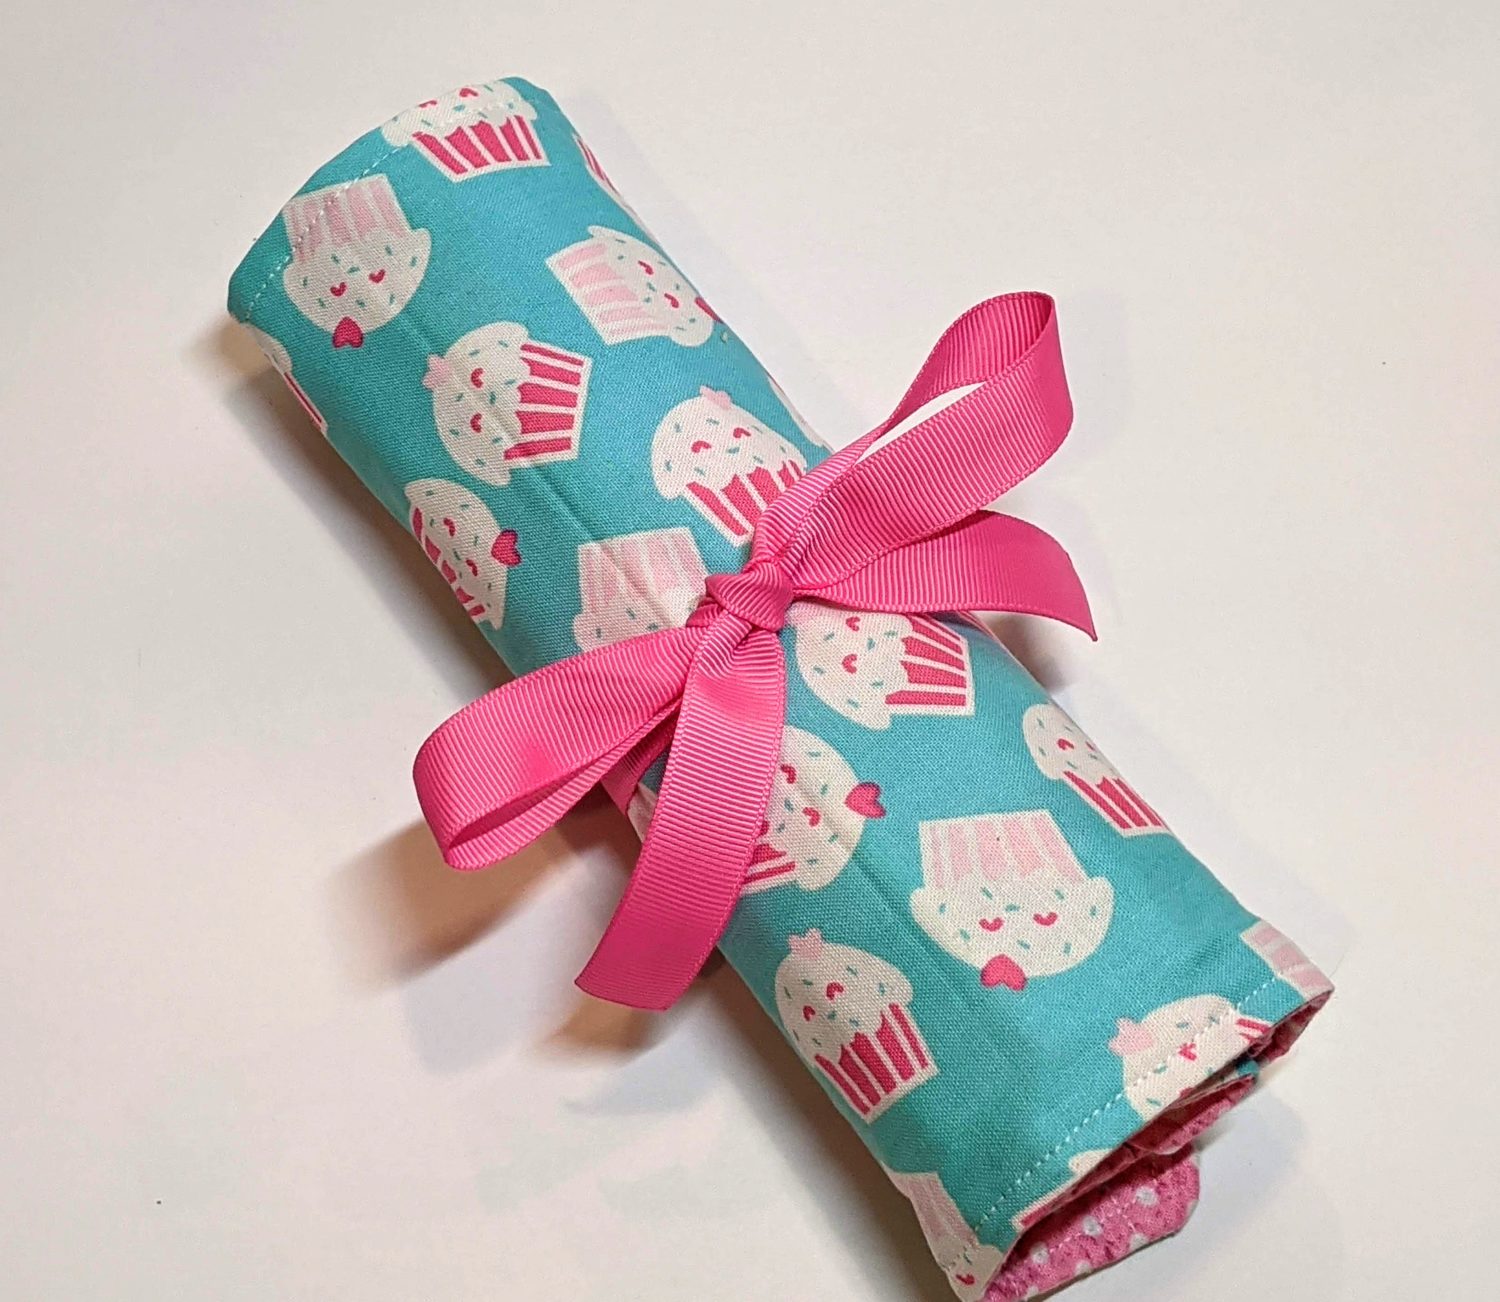
Now go round up all those pens, crayons and colored pencils and get organized!
As always, we’re here to help if you need it! Join us HERE and on Facebook, Instagram, Twitter, Youtube, and Pinterest. We’re everywhere you are.
Leave a Reply