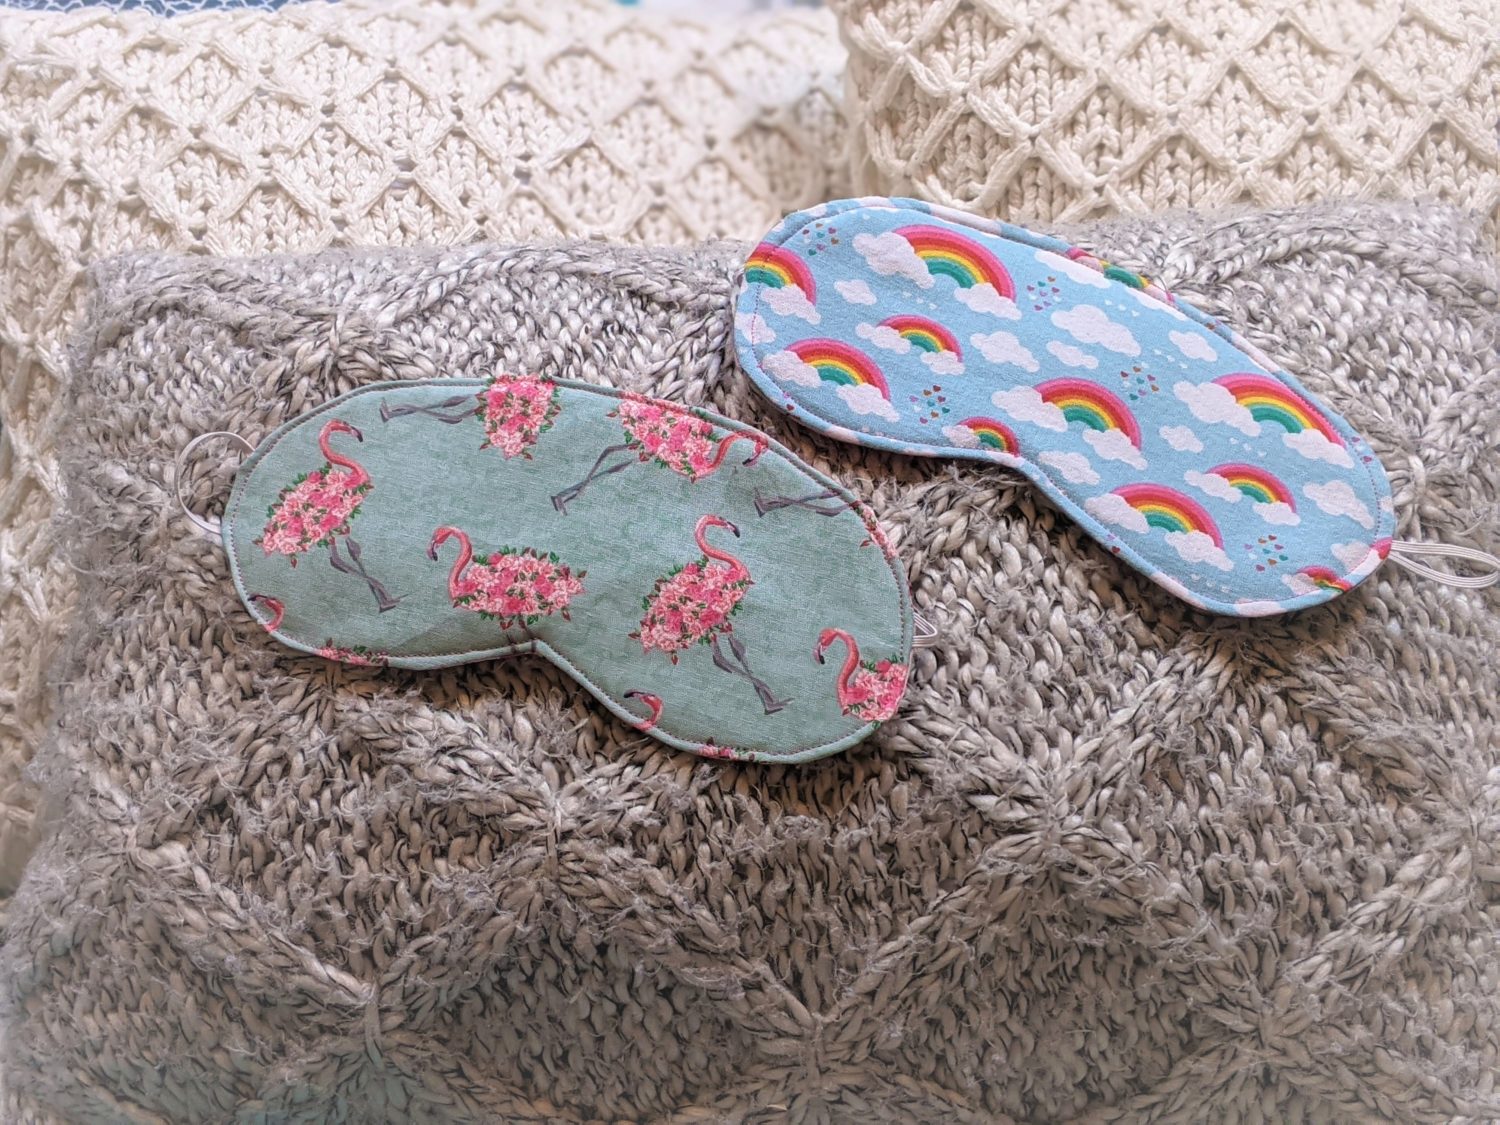
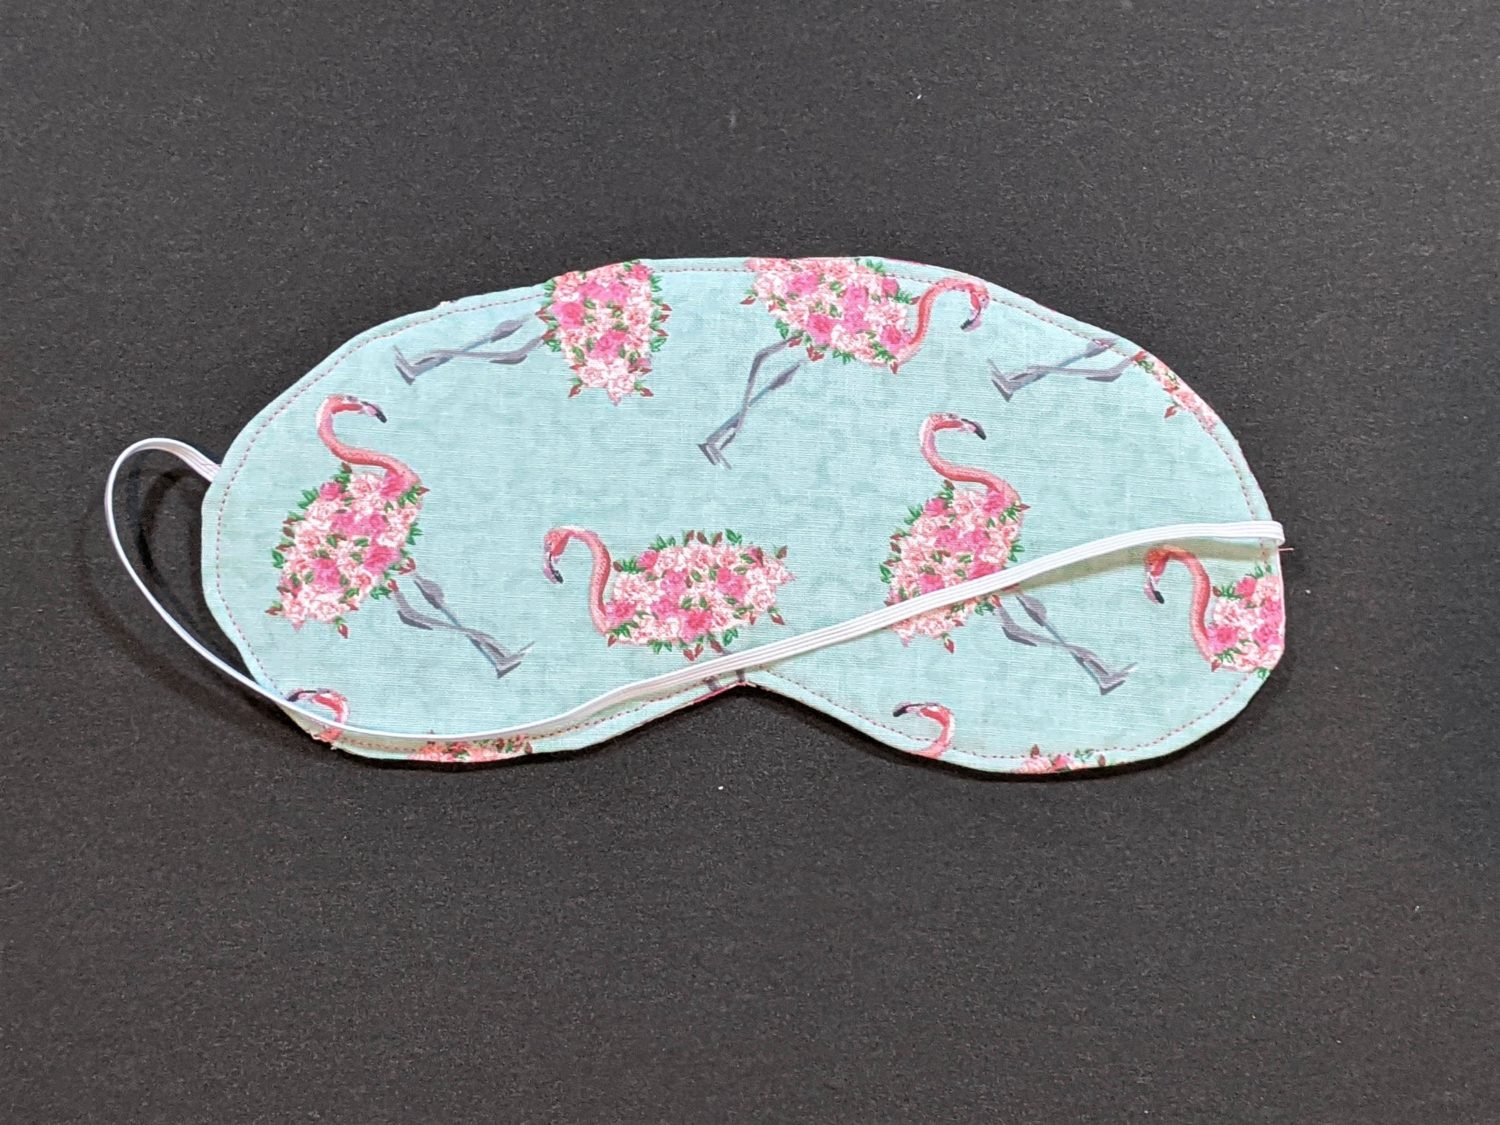
I am always stealing my girls’ sleep masks in the summer to help me to be able to sleep past sunrise, so I finally decided to make some for myself. There is an included template you can download to make it nice and easy.
Supplies:
- 2 coordinating woven fabrics
- Elastic – approximately 12″
- Sewing machine and basic sewing supplies
- Mask template:
- Optional:
- quilt batting (If you do not use quilt batting, it would be best to use darker fabric, or put a layer of felt in place of the batting to block some of the light.)
- parchment paper/freezer paper
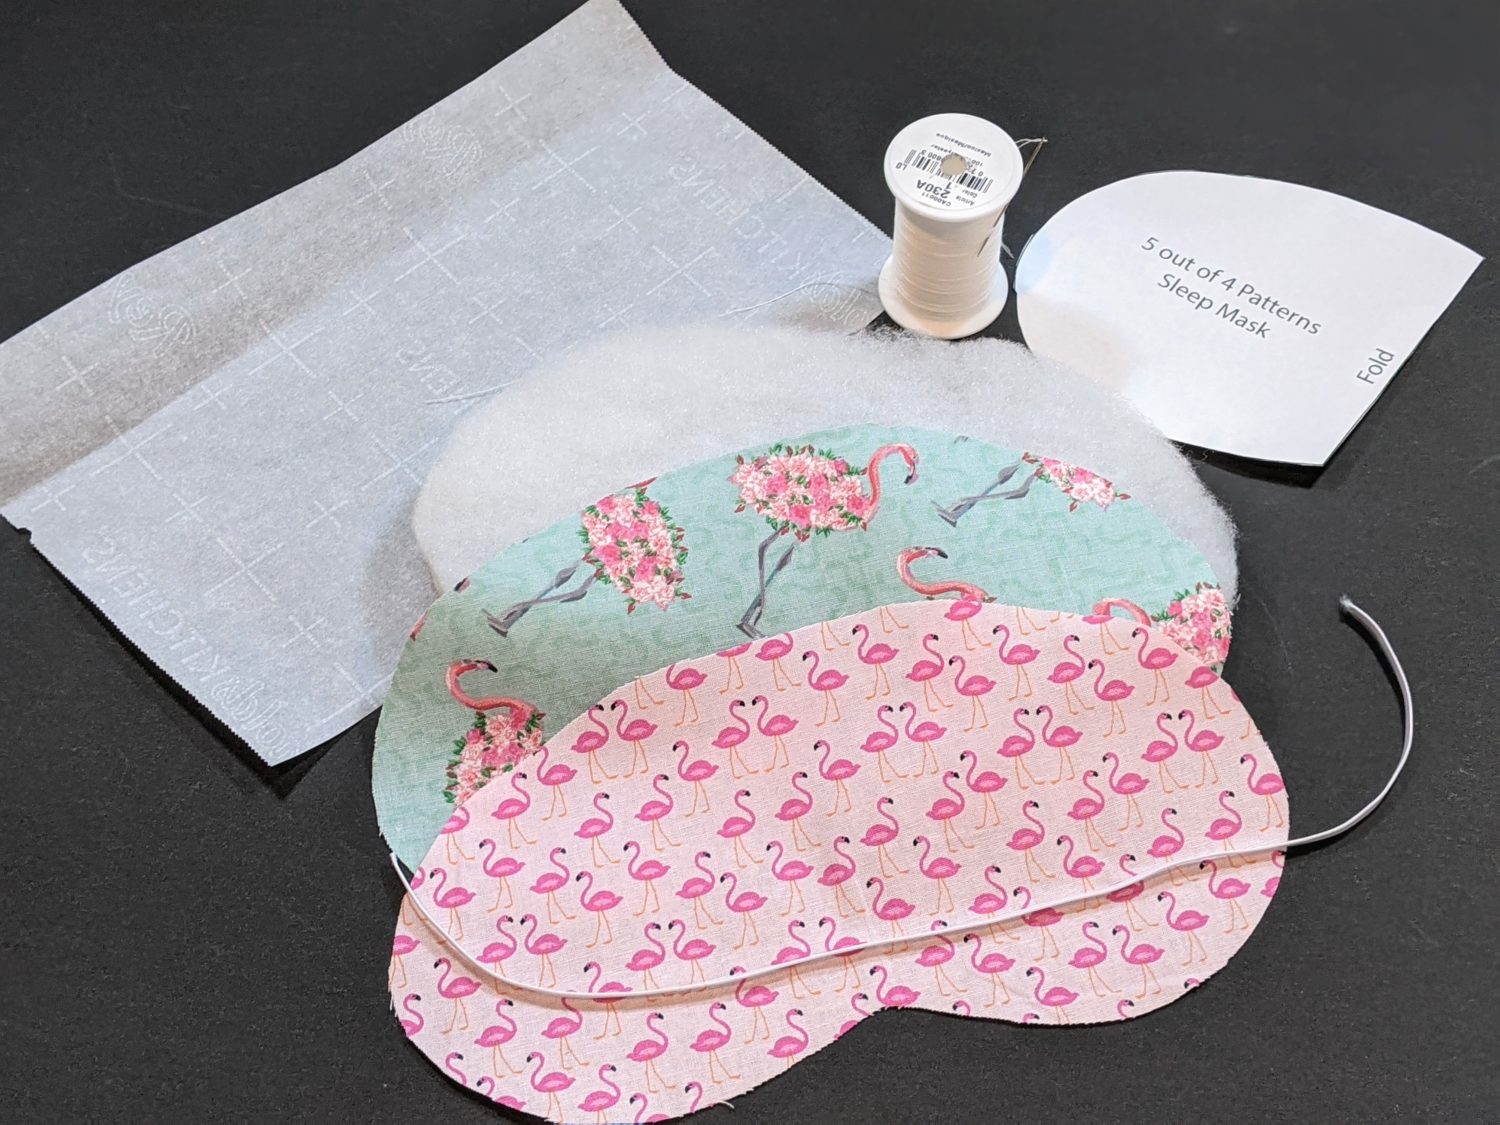
Pieces to Cut
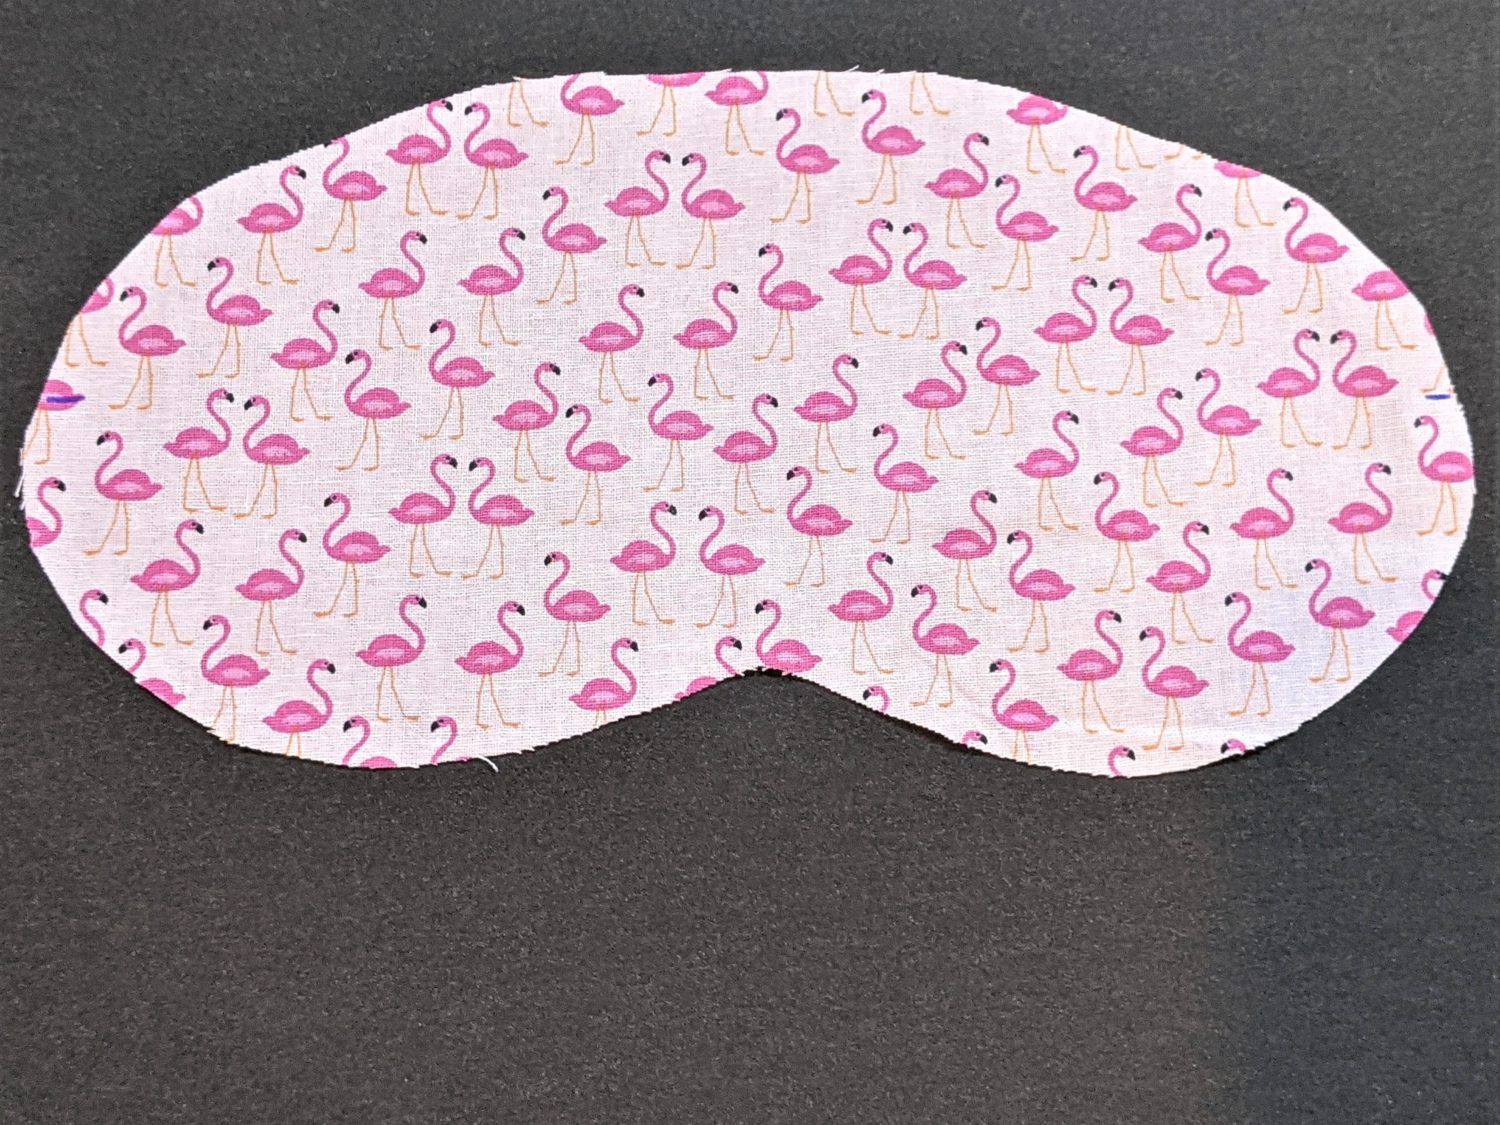
- 2 mask pieces cut on the fold
- elastic to fit your head (approximately 12″ for average adult)
- I used 1/8″ wide elastic for mine. Use any width that is comfortable for you.
- Optional: 1 mask piece from quilt batting
Sewing Time
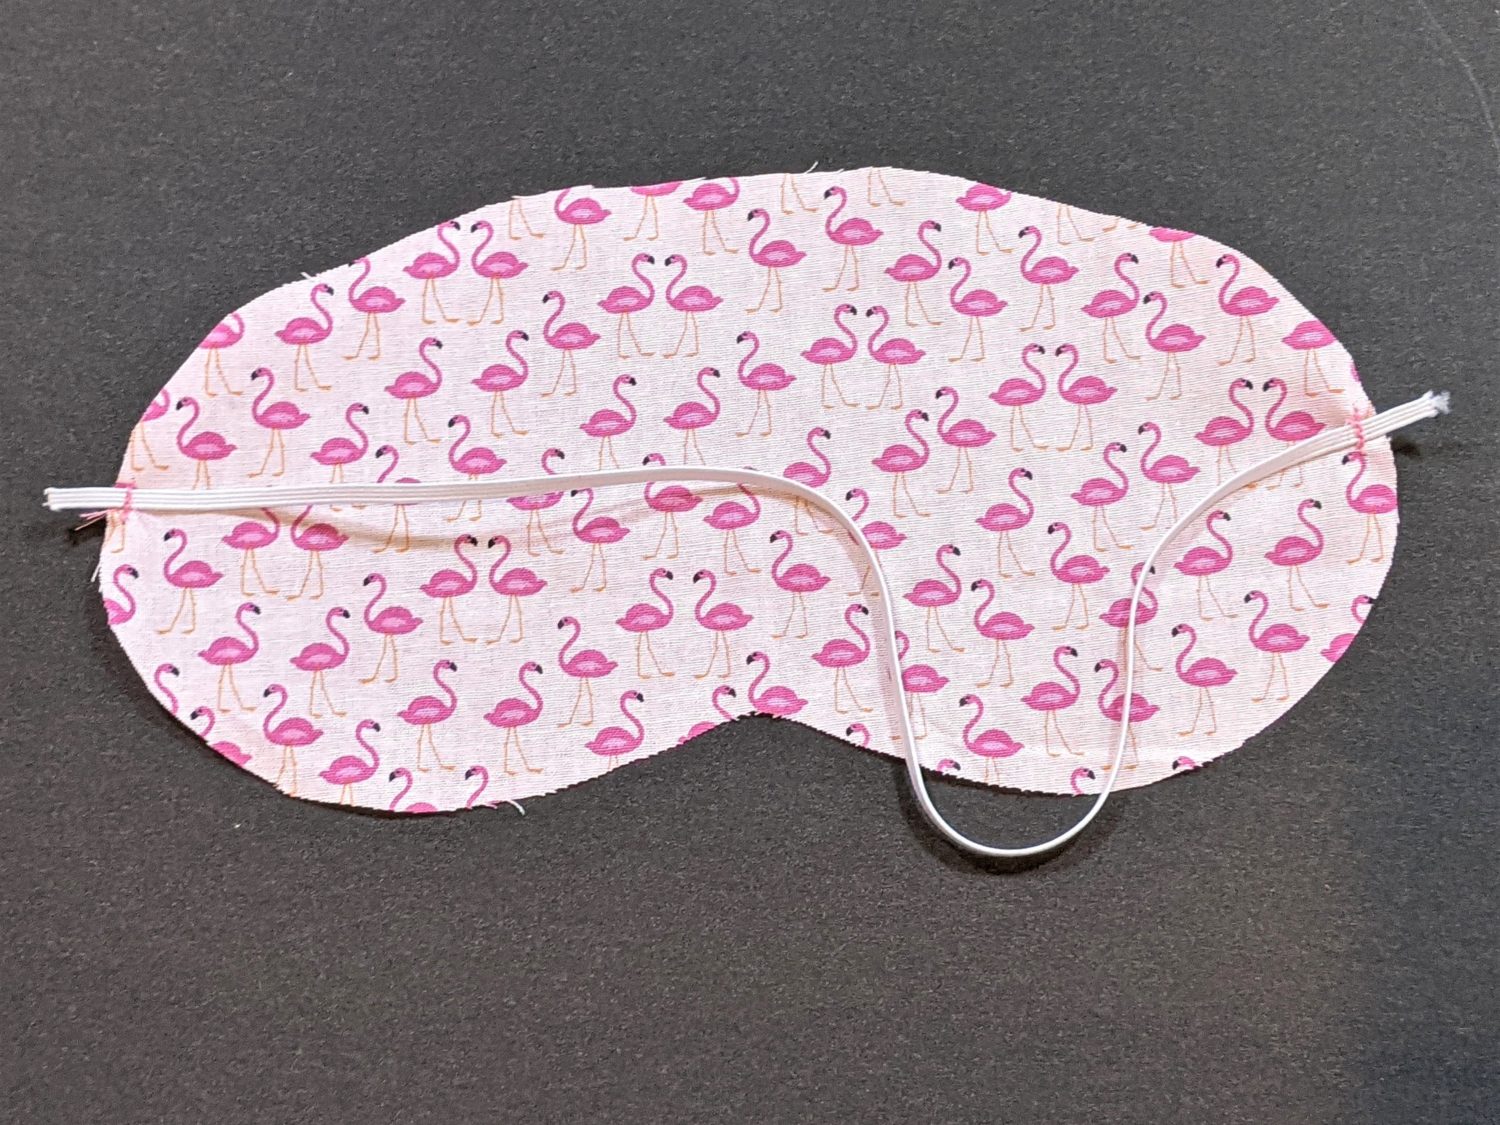
- On the right side of one mask piece, mark the approximate center of the outer edge on one side, then mark the same point on the opposite side.
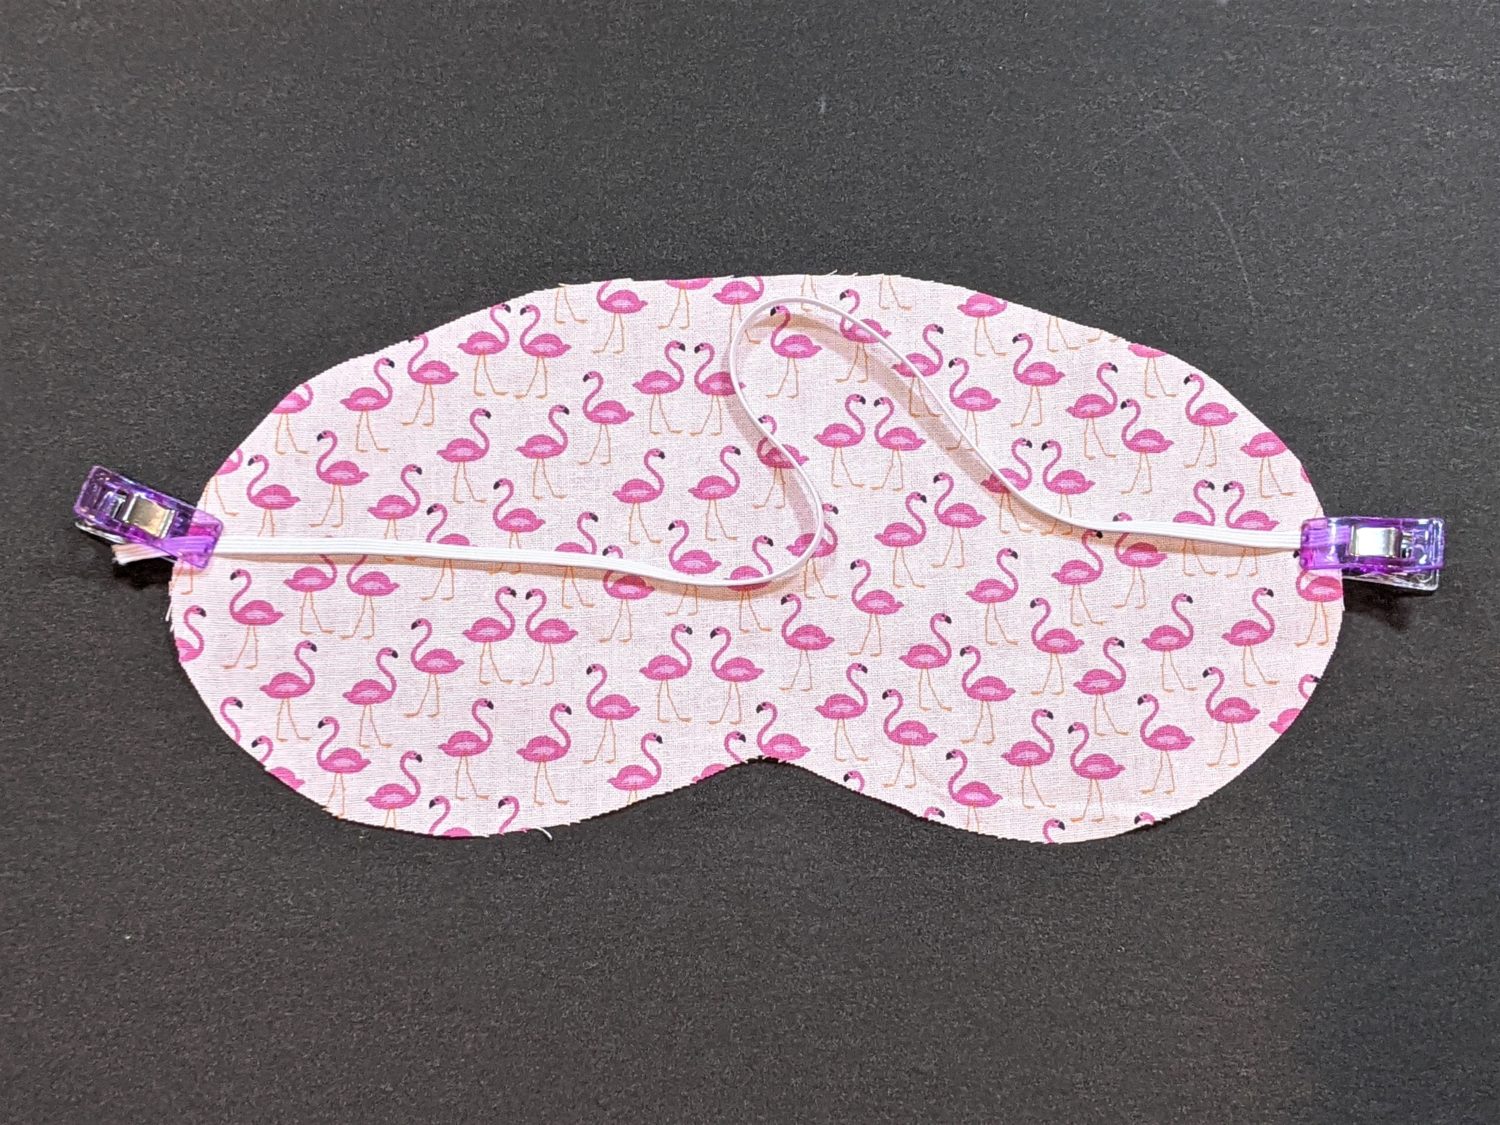
- Pin the elastic at your markings on the right side of the fabric with the raw edges extending over the fabric slightly.
- Sew back and forth over each side of the elastic with a 1/4″ seam allowance. Go over this multiple times to reinforce the stitches.
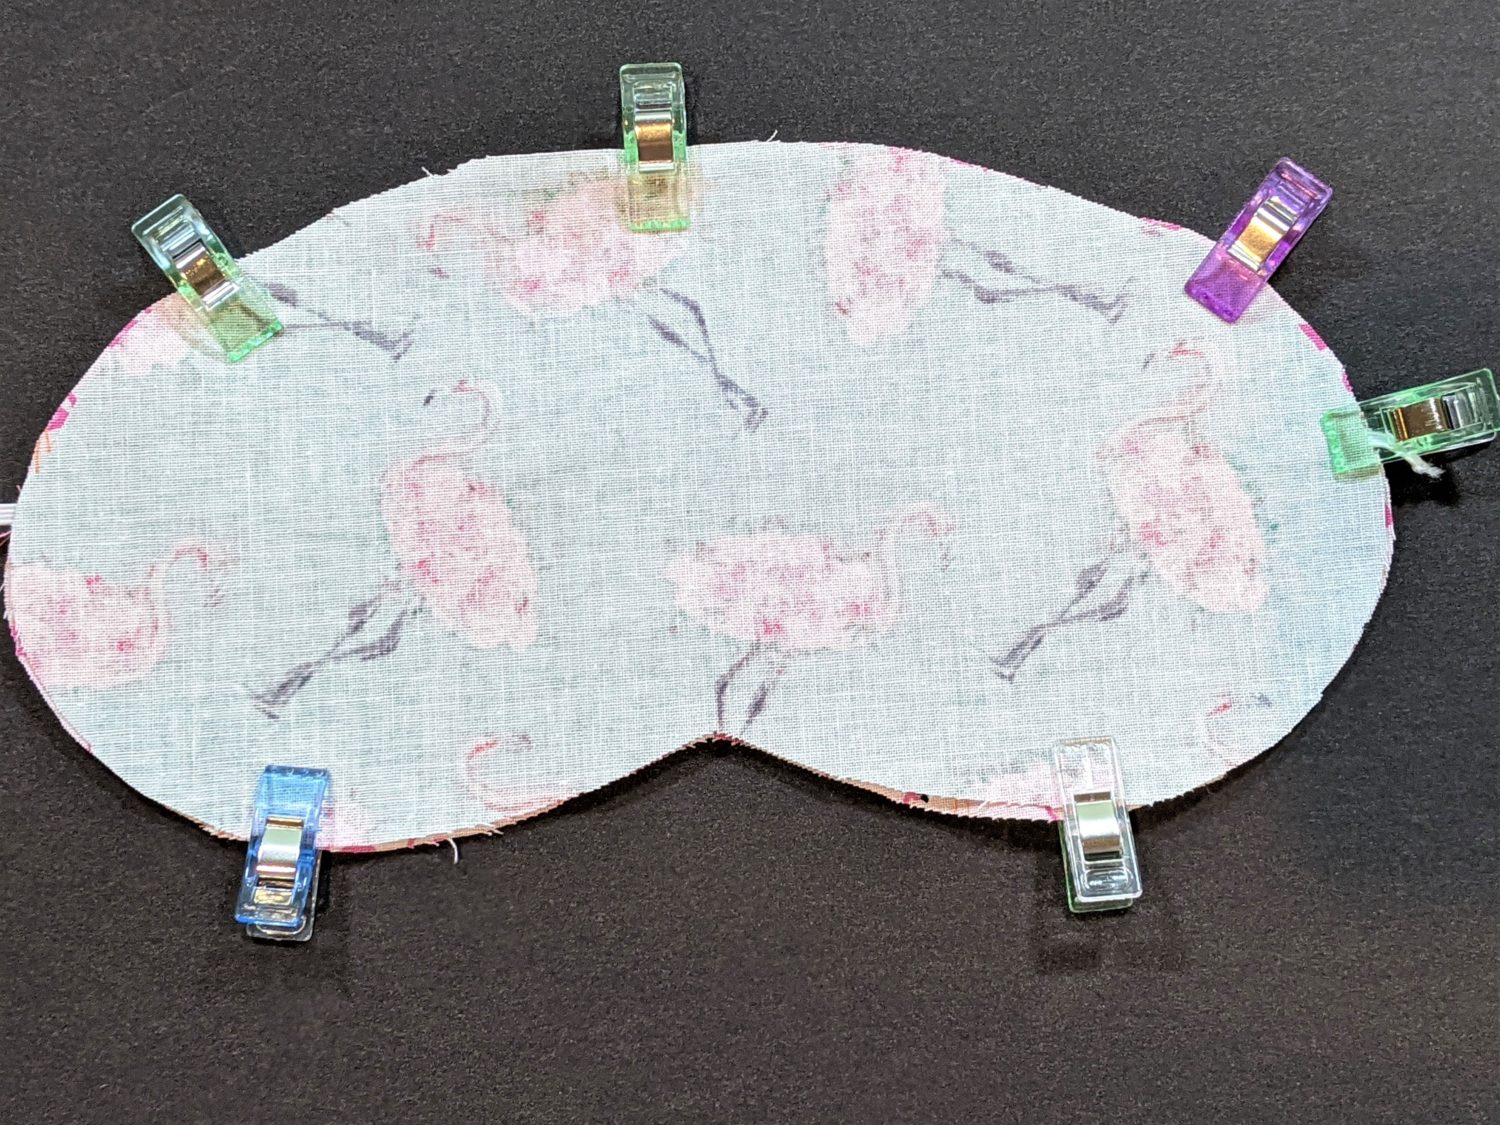
- Stack you pieces together:
- Piece with elastic right side up
- Second mask piece right side down
- Optional batting ontop of the wrong side of the second piece
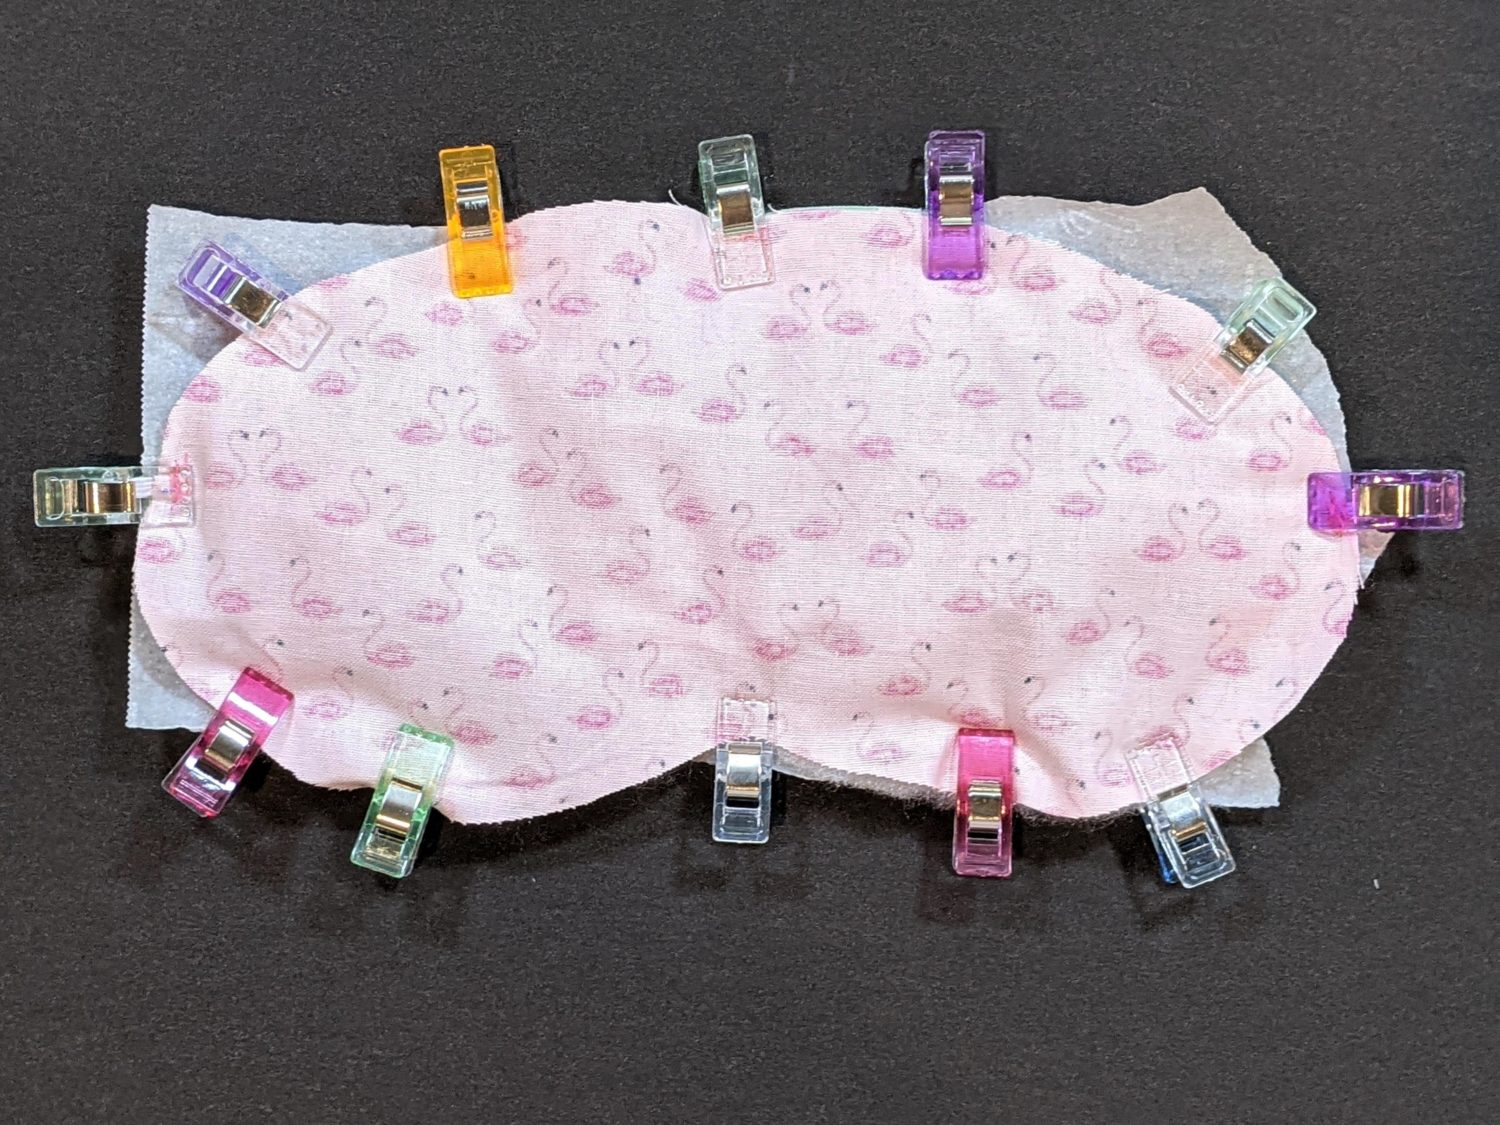
- Pin all around the edge.
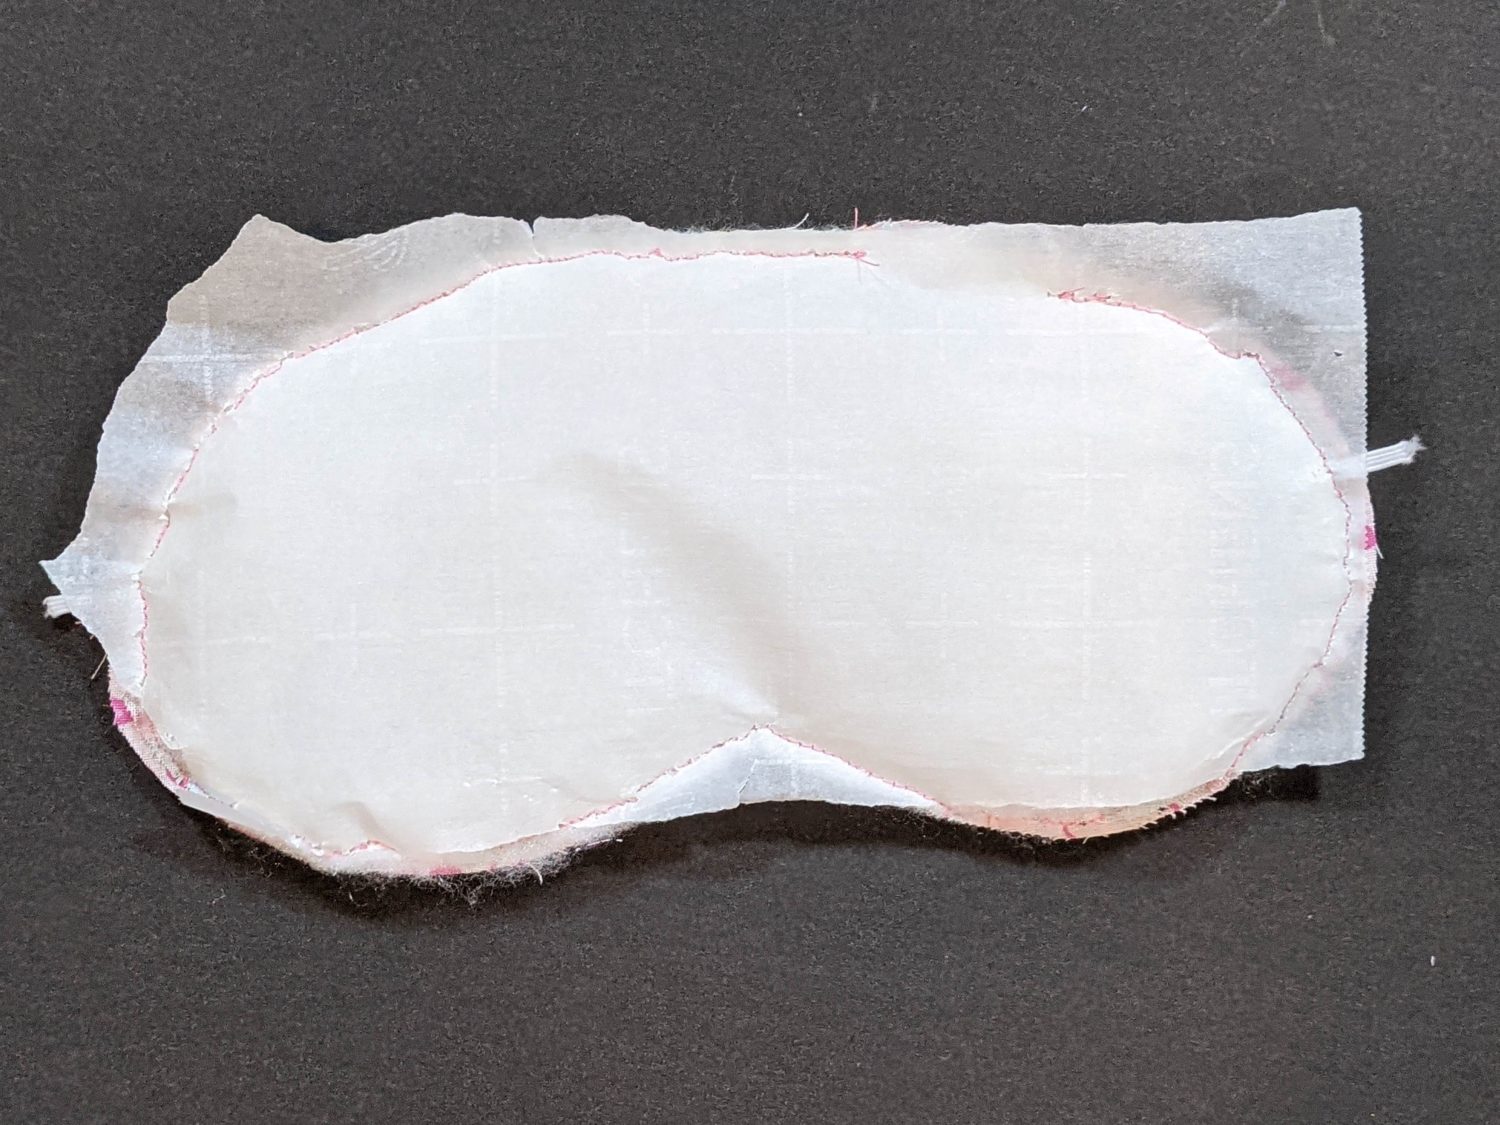
- Optionally, cut a piece of parchment paper to the approximate size of the mask and stack it ontop of the batting. This helps it slide more smoothly through your sewing machine and is easily removed after.

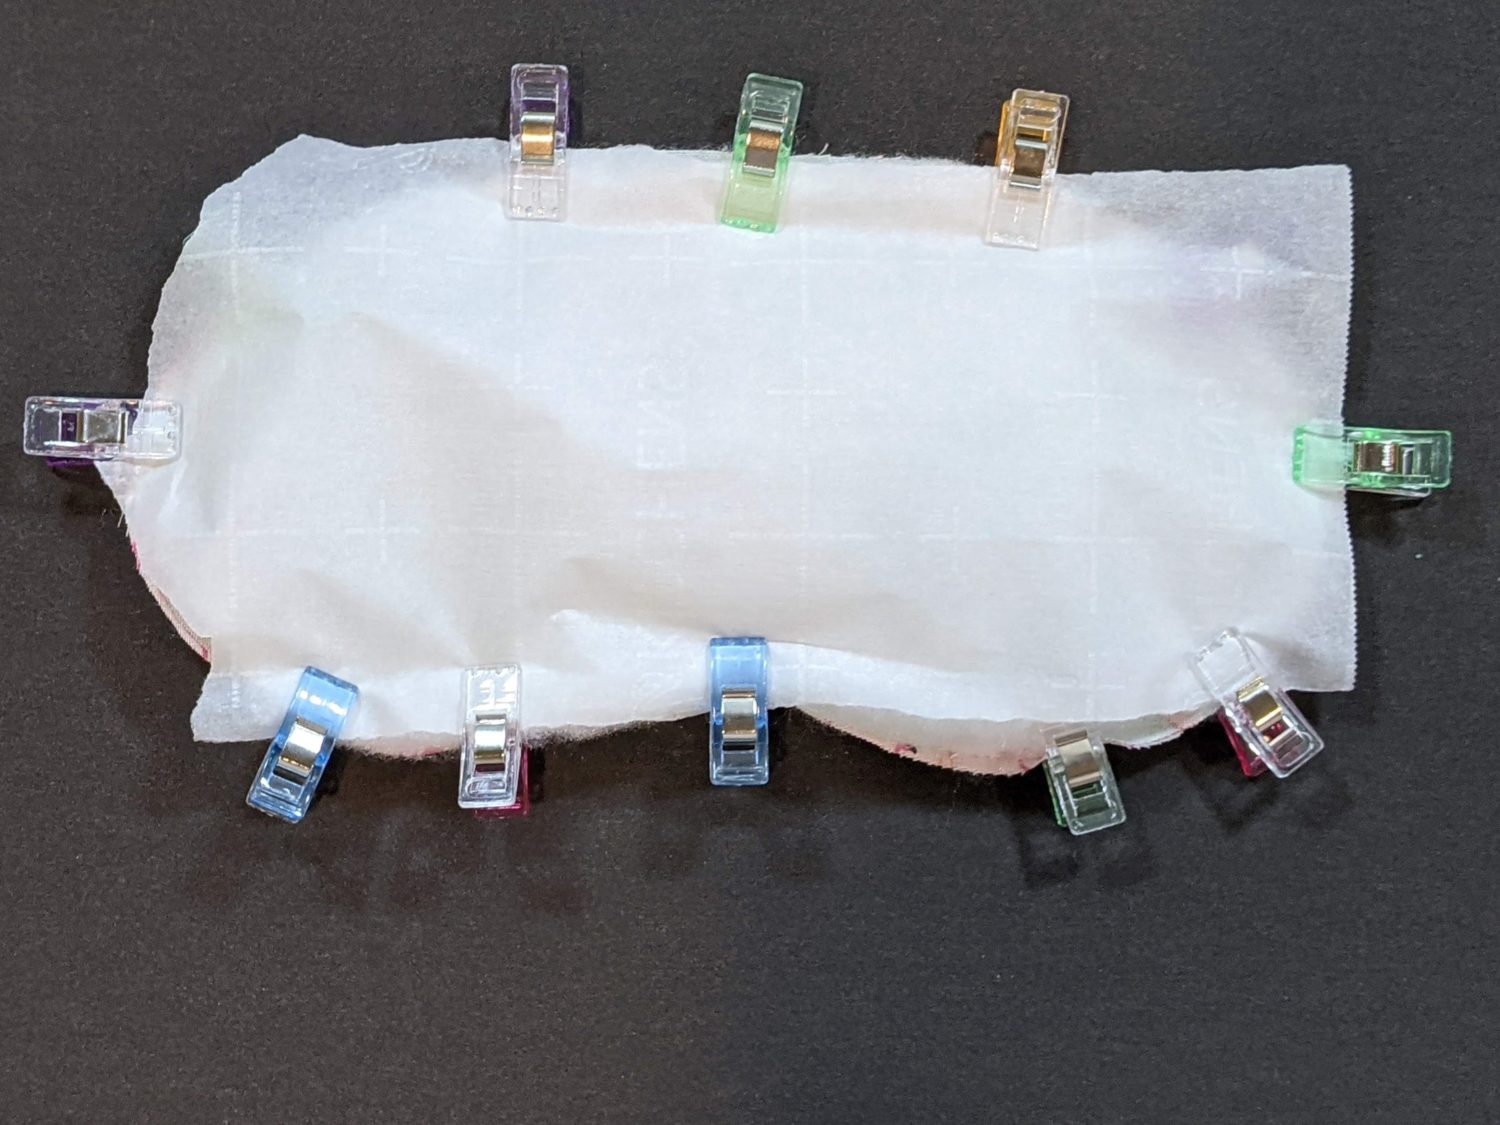
- Sew around the edge with the freezer paper side down using a 1/4″ seam allowance. Leave a 1″ – 2″ opening for turning.
- When you reach the center-point of the nose part, leave your needle down, lift the presser foot, turn the mask, then put the presser foot back down and continue sewing.
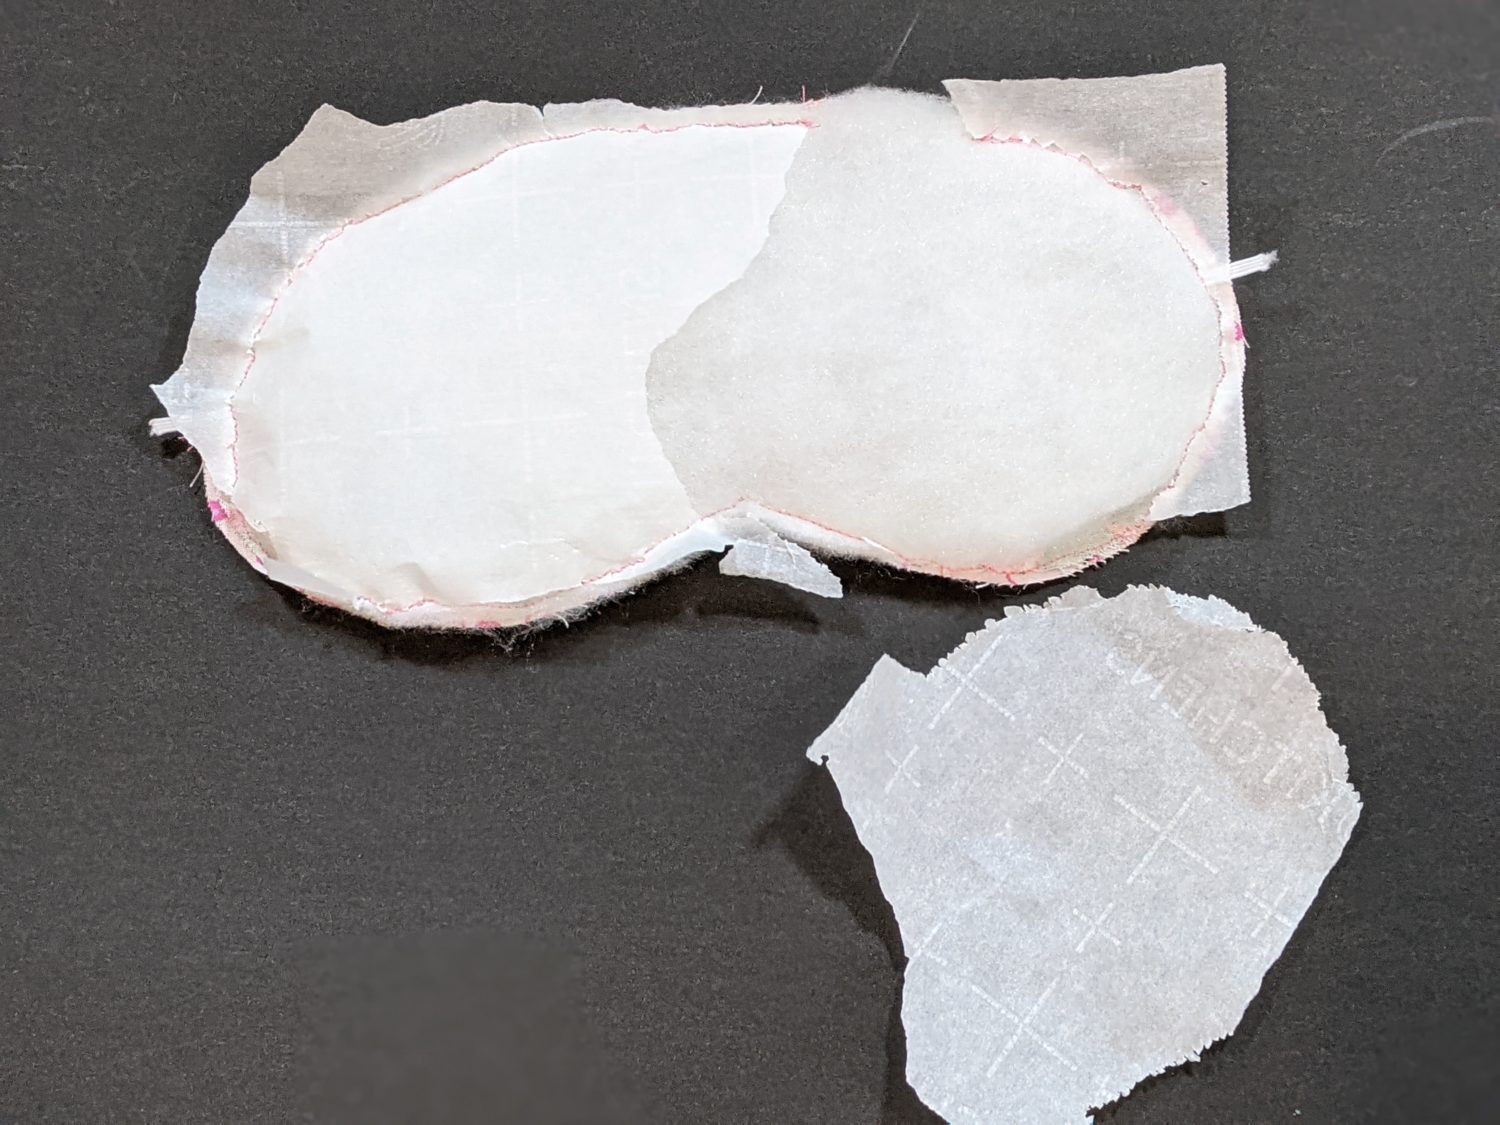
- Tear off the parchement paper.
- Snip the fabric at the nose v and around curves making sure to not cut the stitching.

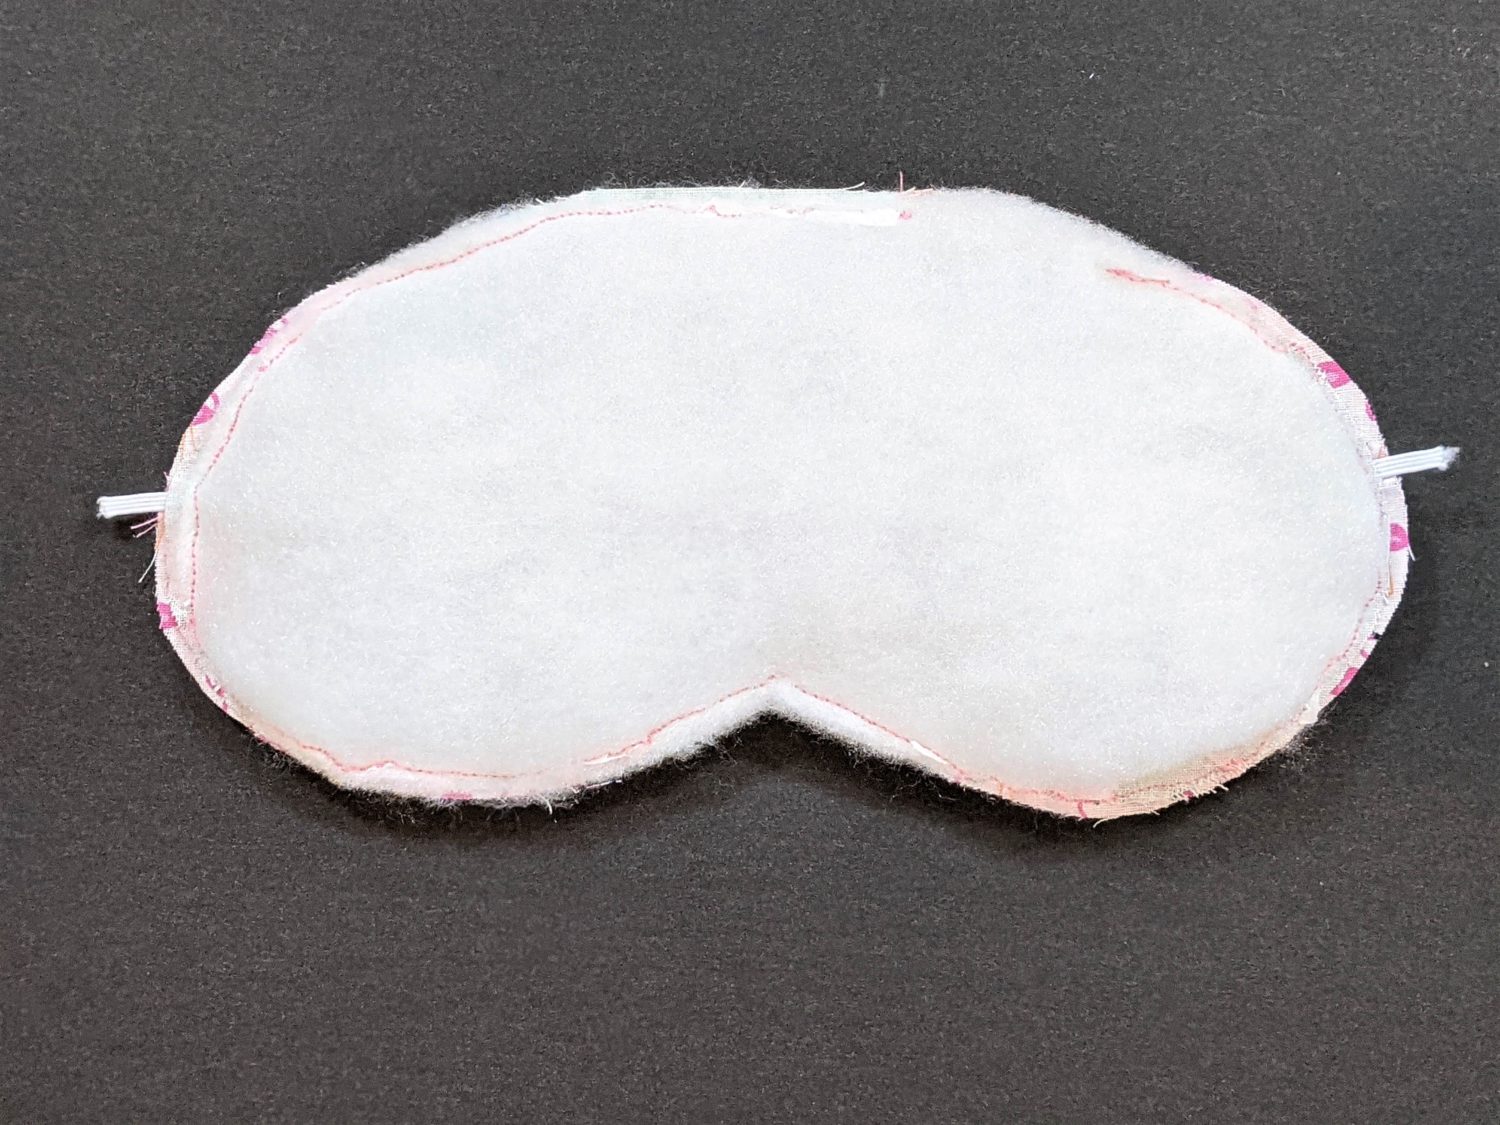
- Turn the mask right side out.
- Optional: Press the mask.
- If you choose to press it, it will compress the batting permanently flattening it. You can also leave it fluffy if you prefer.
- Use a ladder stitch and matching thread to hand sew the hole for turning closed.
- Optional: Topstitch around the edge with a 1/4″ seam allowance.
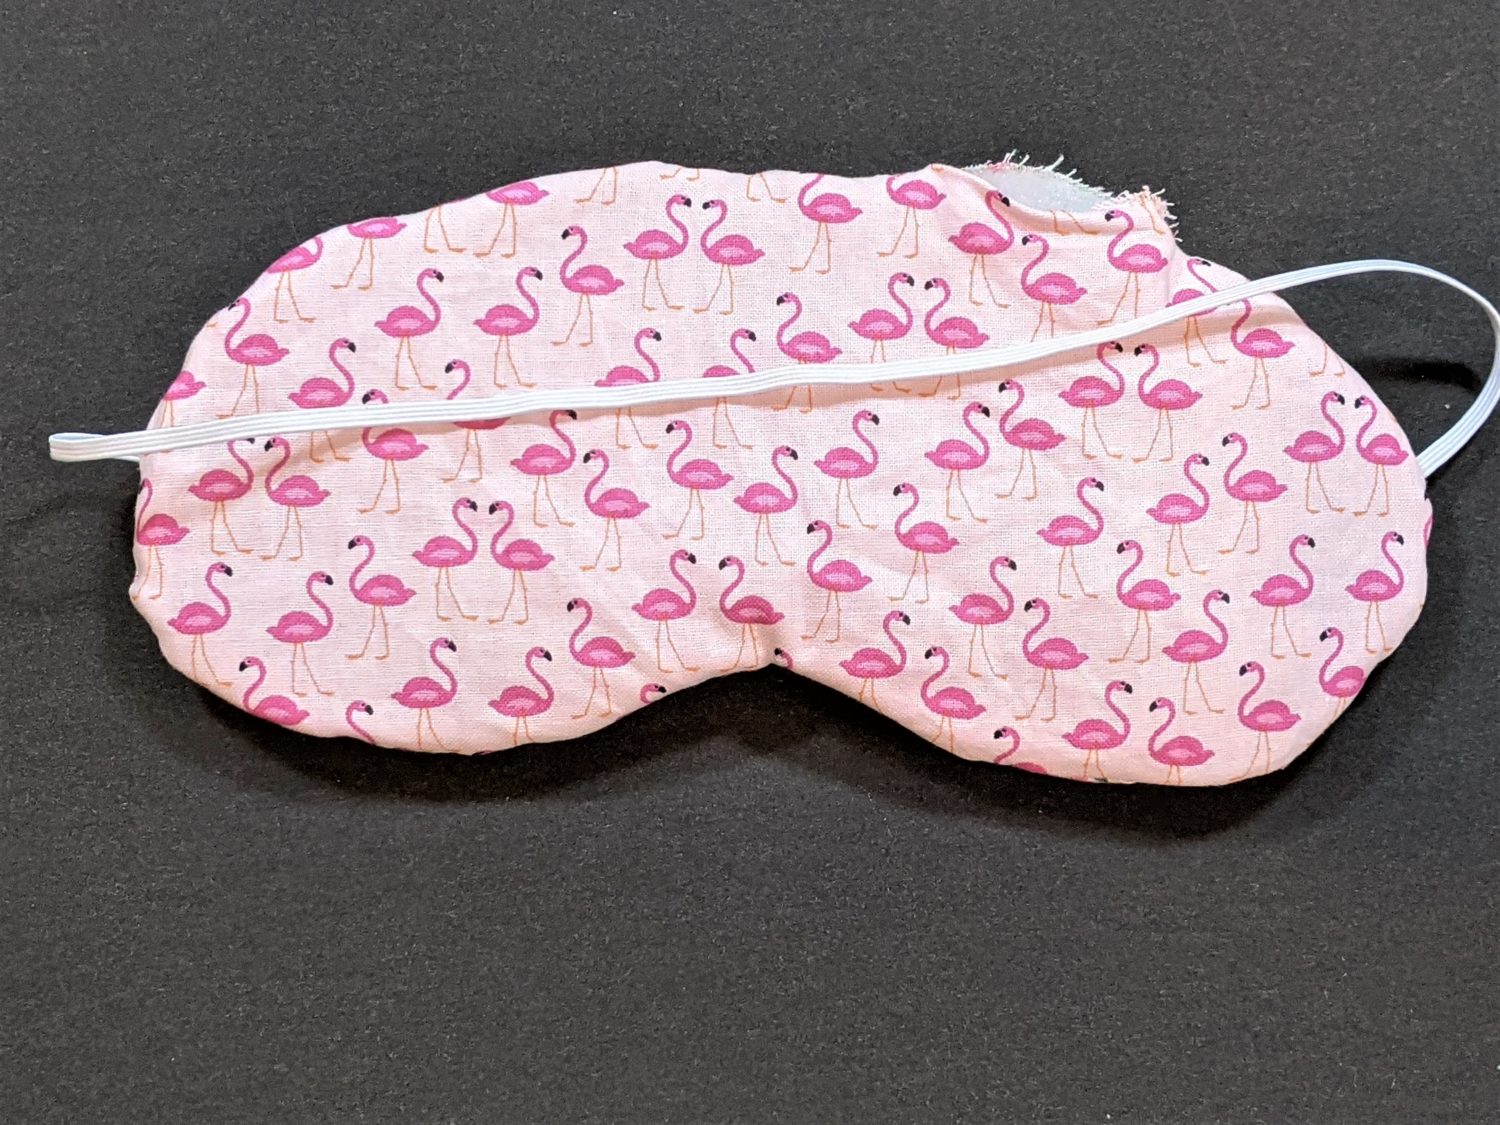

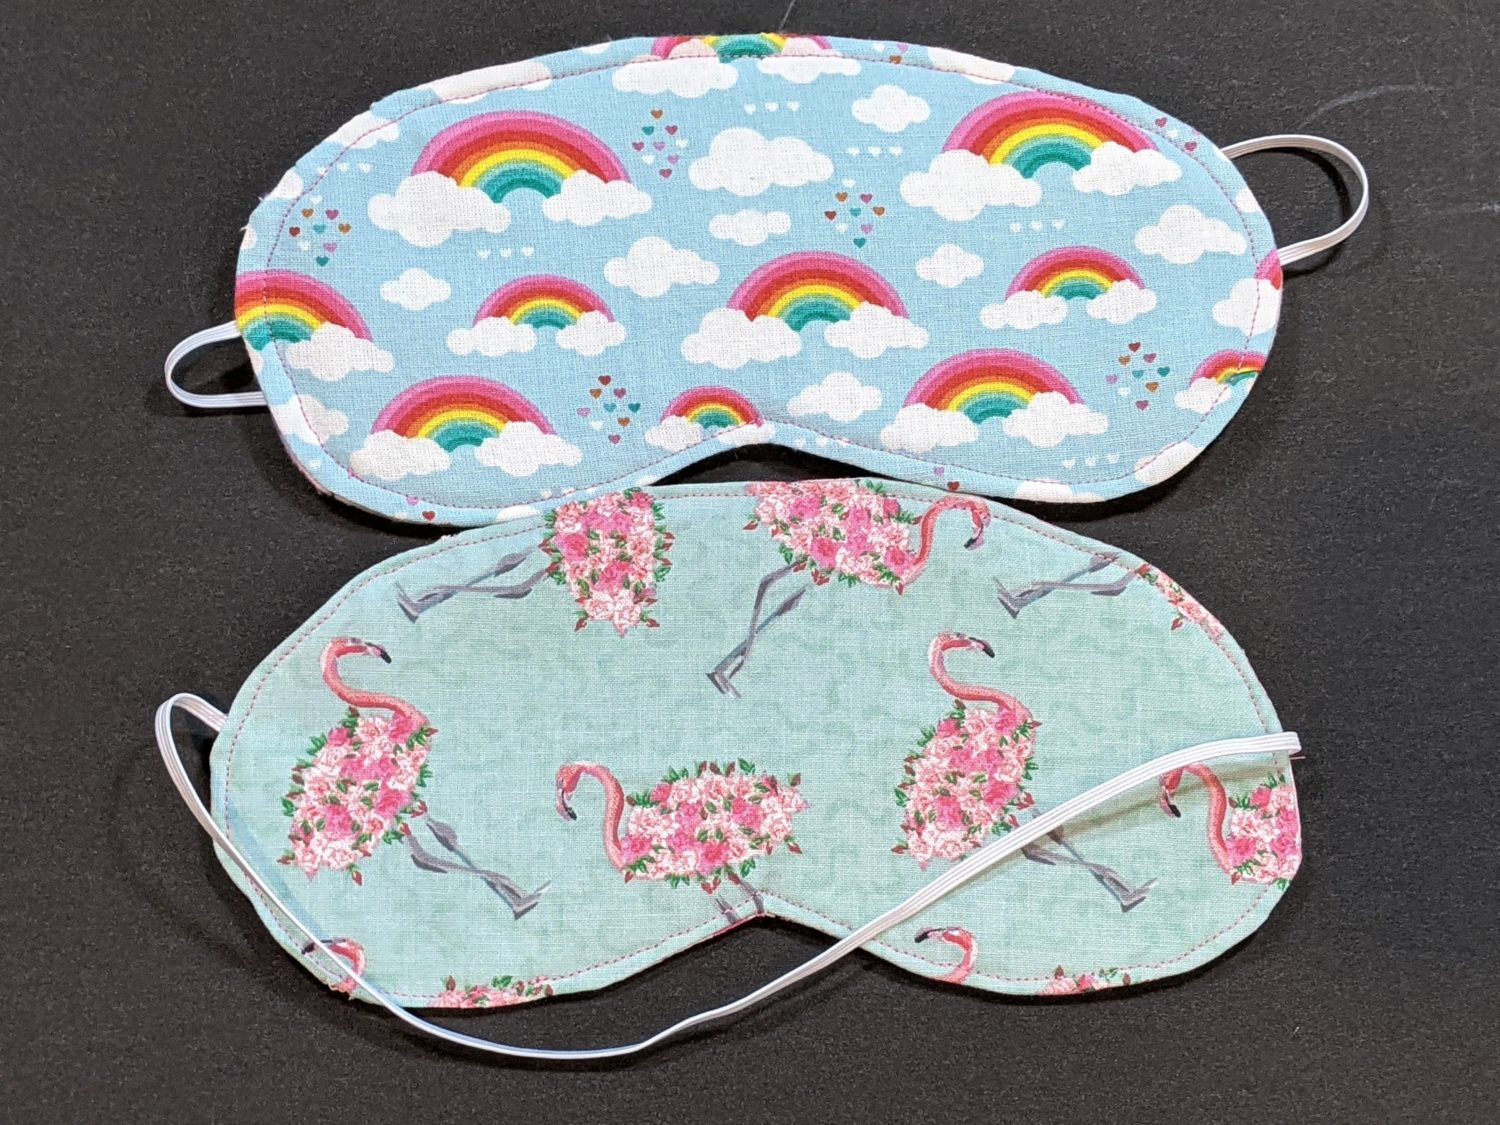
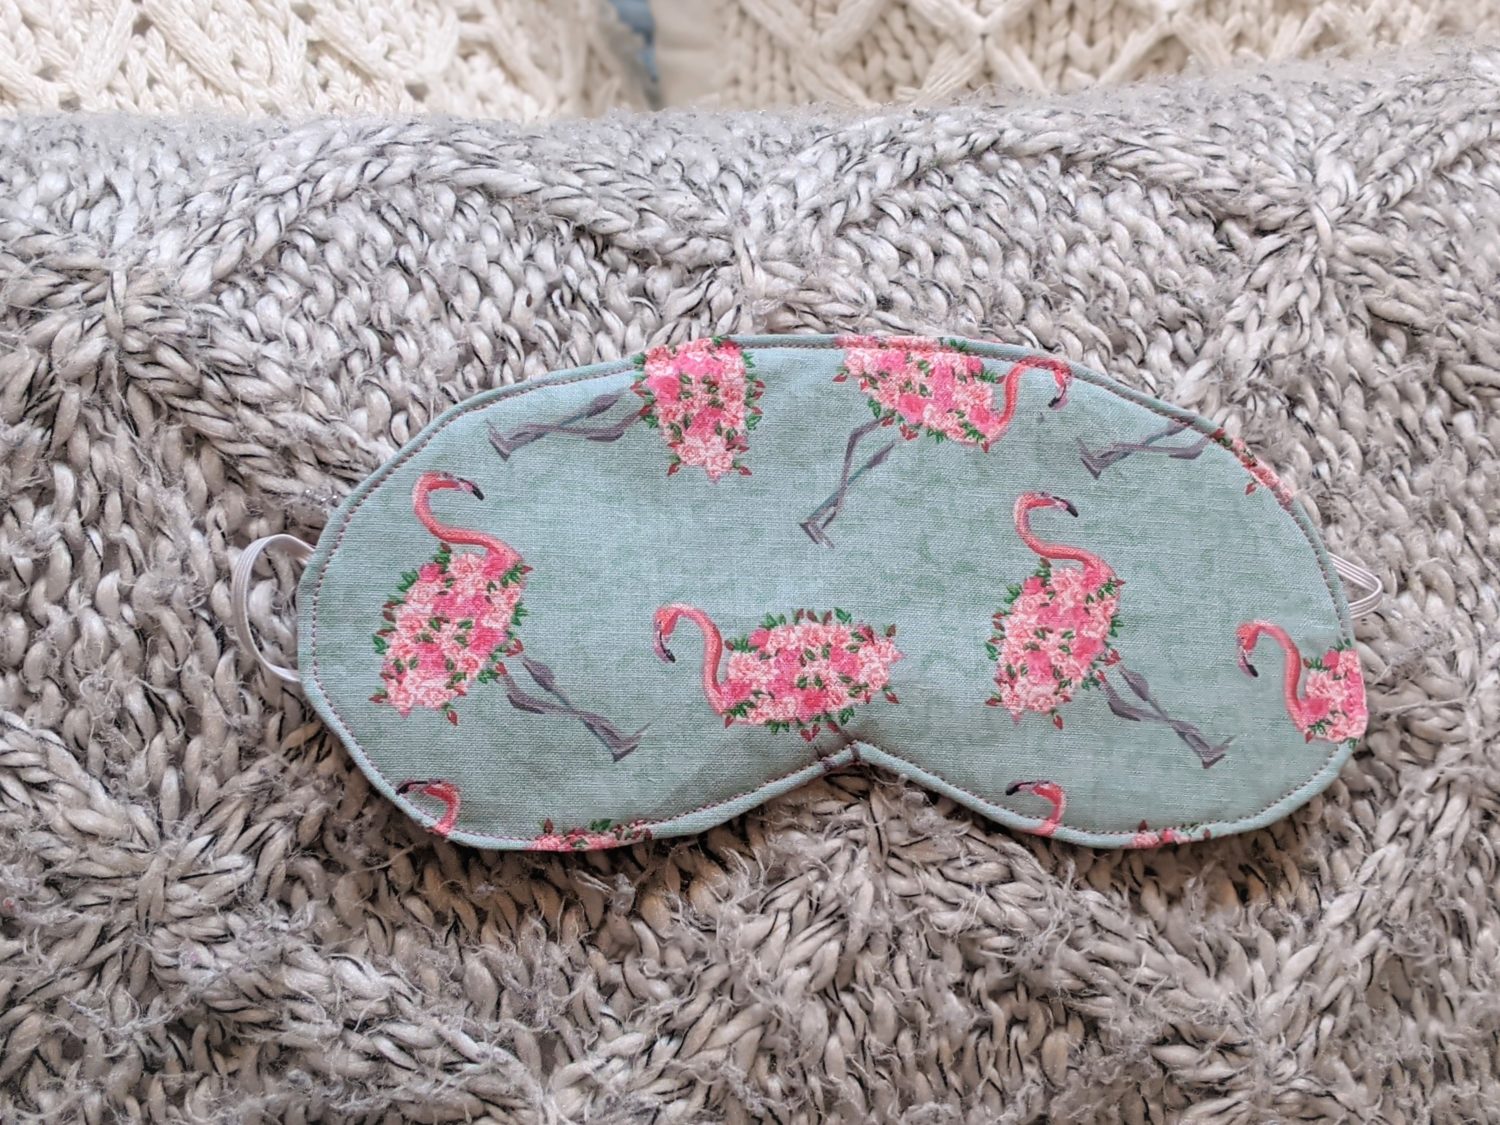
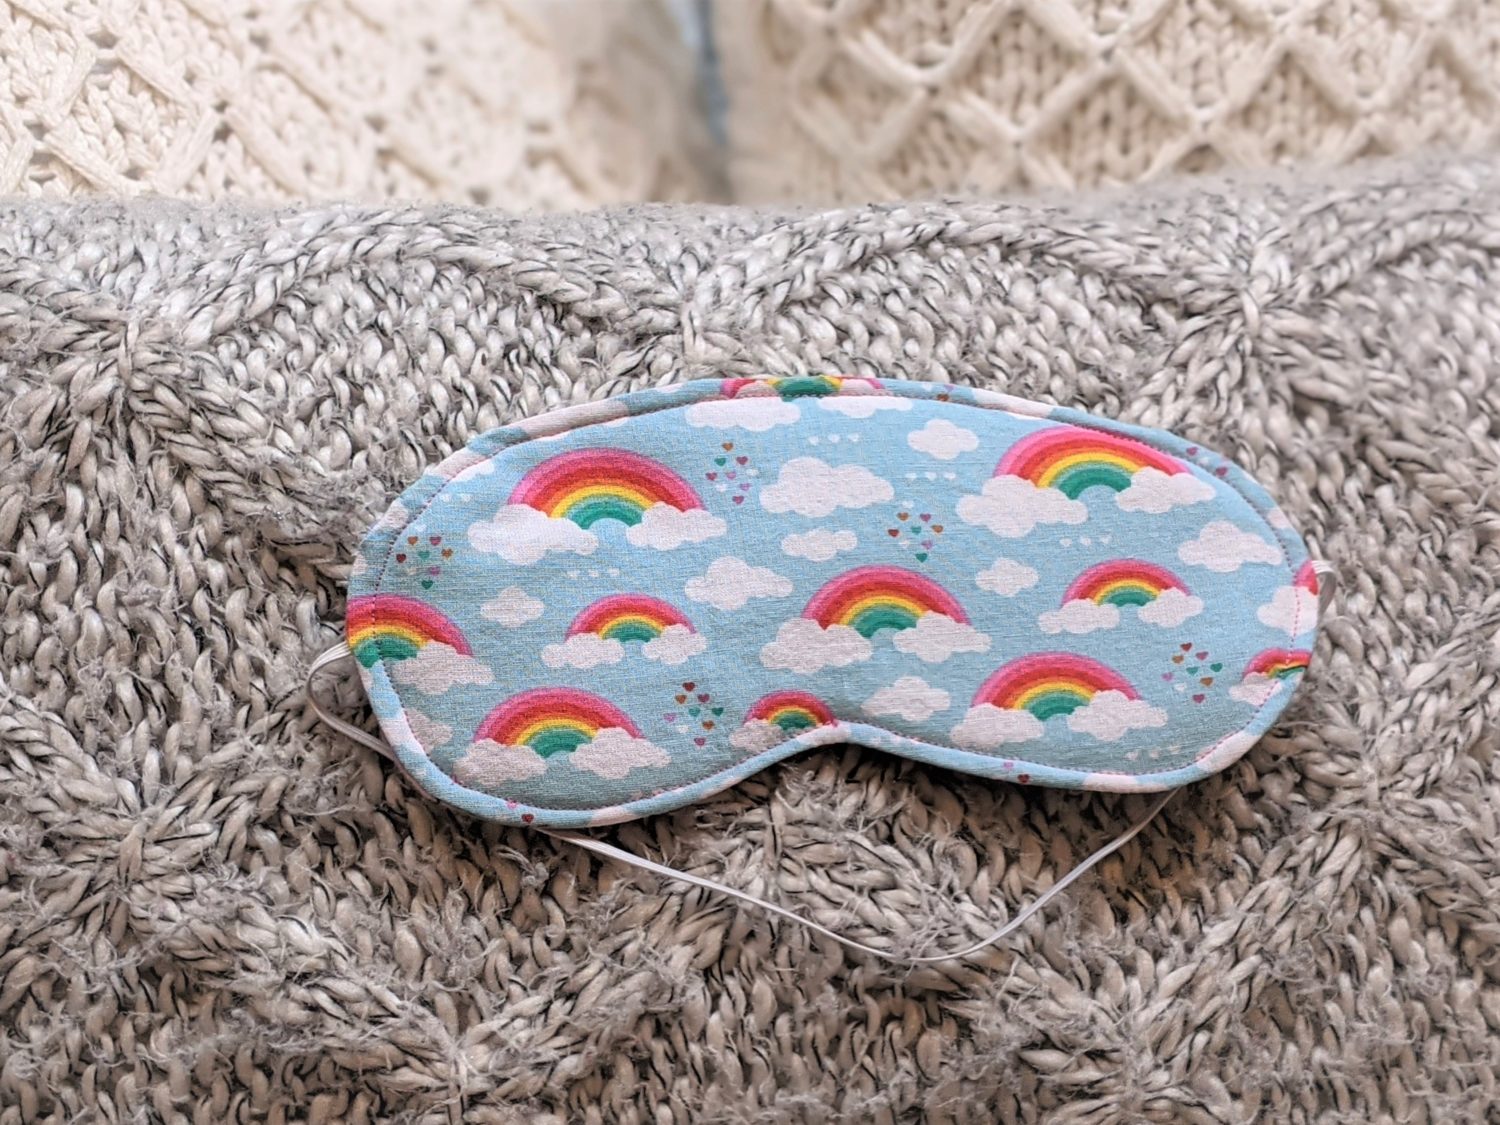
Put on your mask and sleep the day away!
Want more FUN DIY Freebies? Check out the FREEBIE TUTORIALS and the FREEBIE PATTERNS!
As always, we’re here to help if you need it! Join us HERE and on Facebook, Instagram, Twitter, Youtube, and Pinterest. We’re everywhere you are.
Leave a Reply