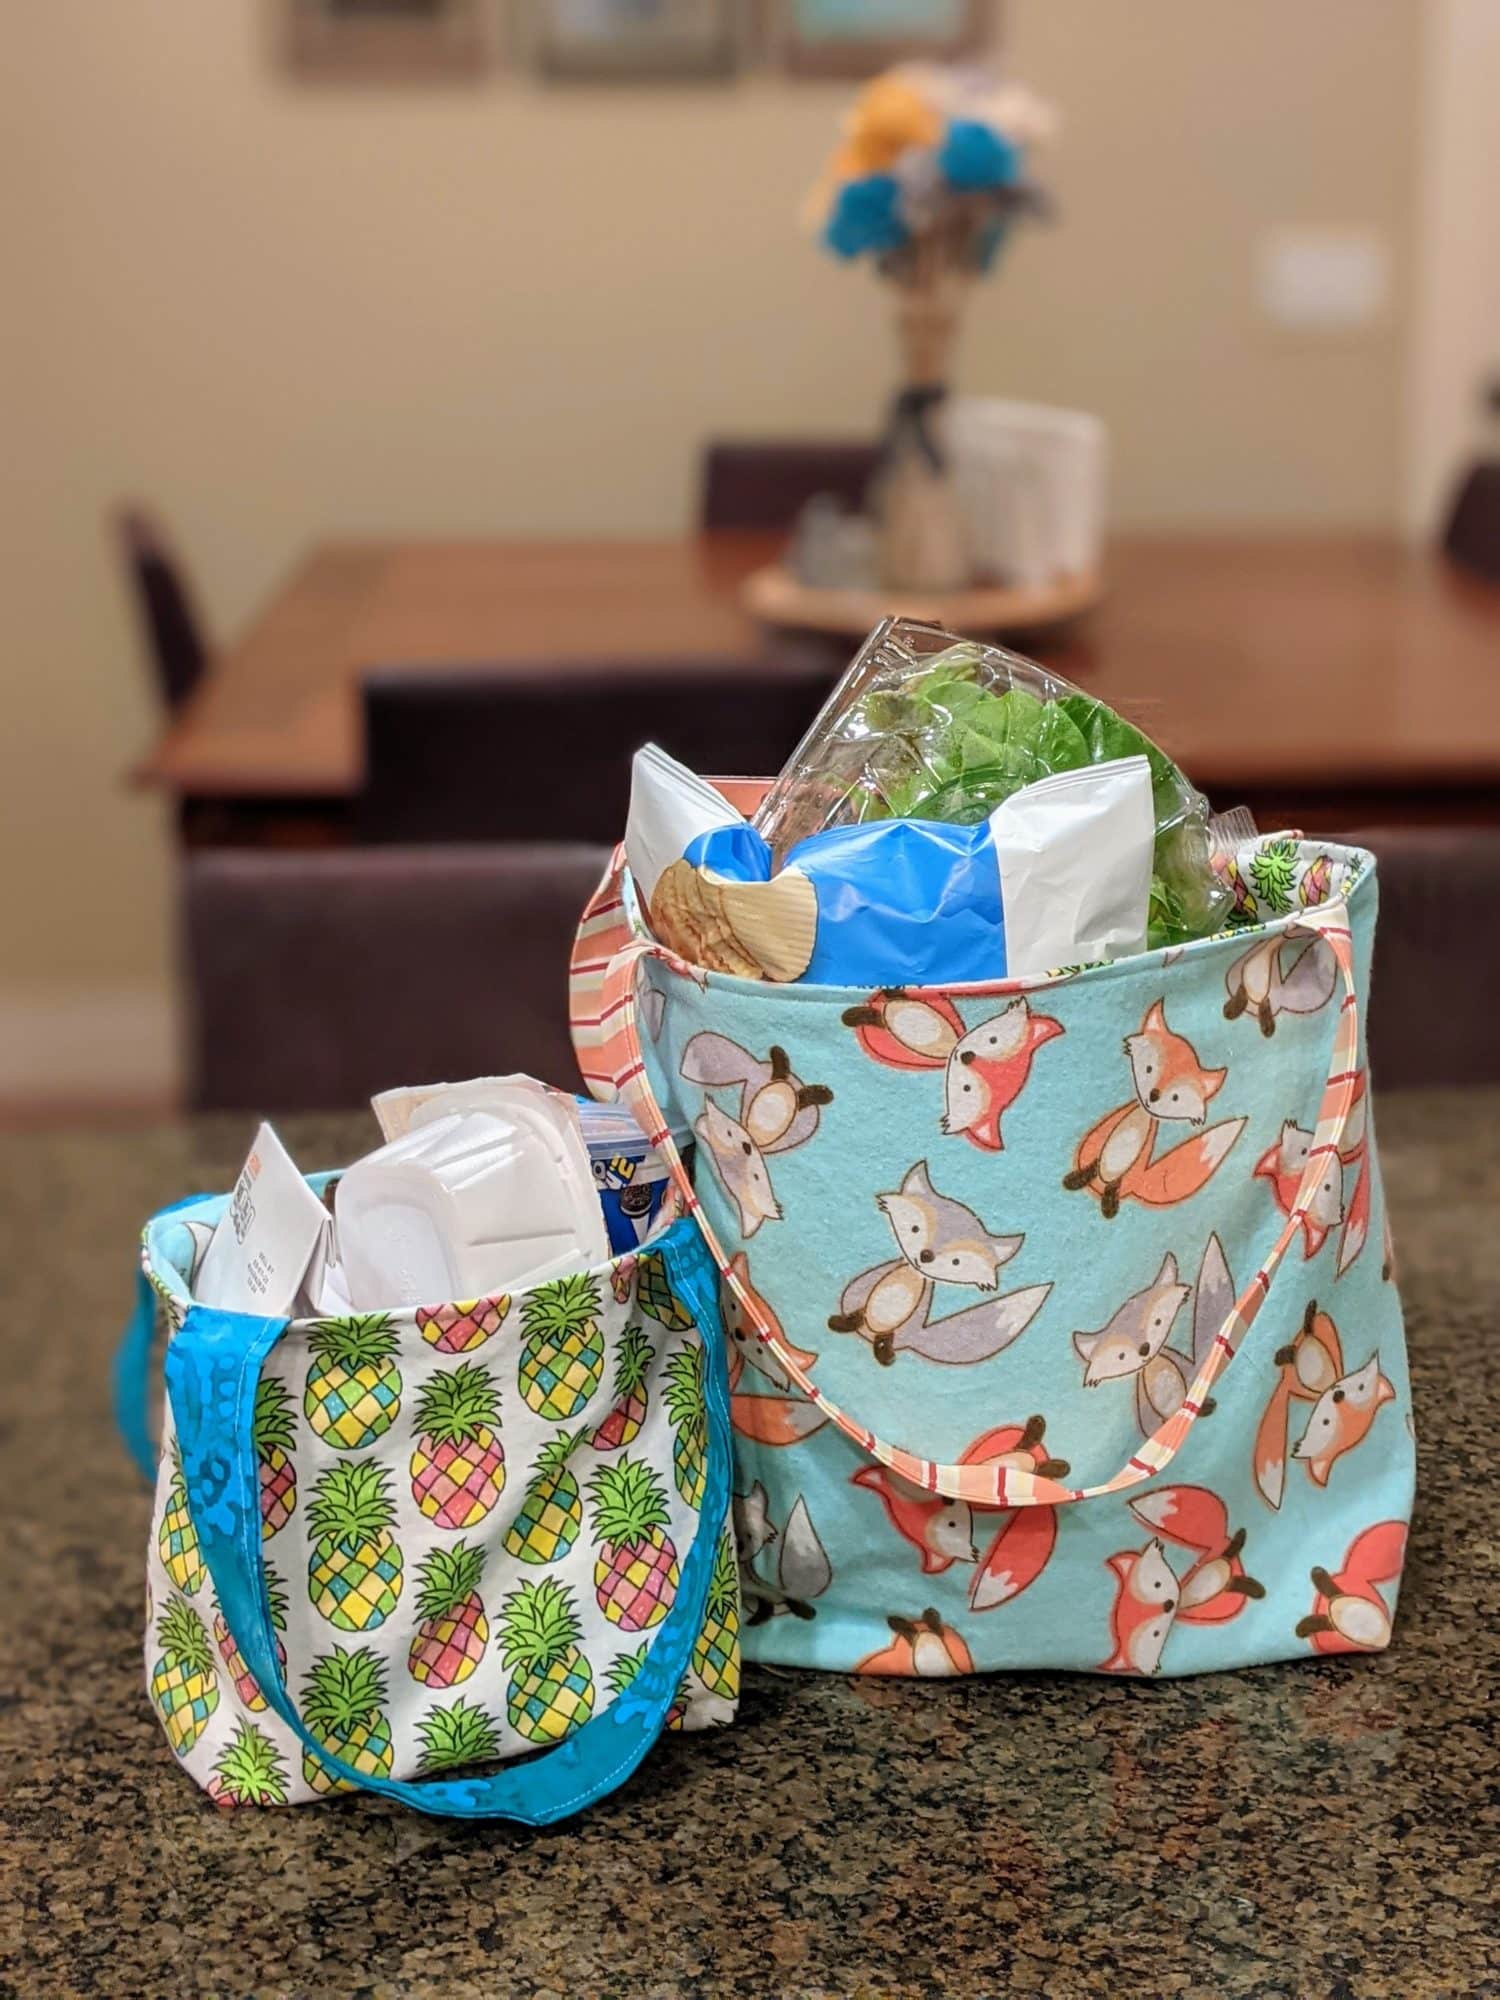
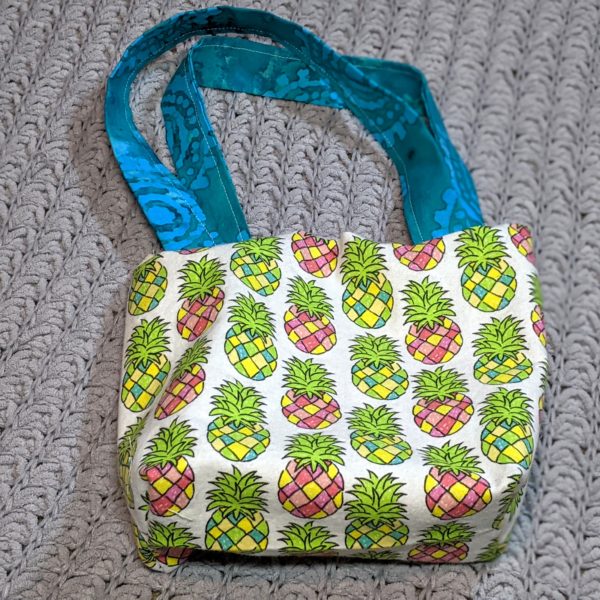
You can never have too many reusable shopping bags. I live in a city where plastic bags are banned from stores, so we keep our reusable ones in our cars because I know we’ll forget to bring them with us otherwise. I made these ones reversible so I can switch up the print when I’m in the mood for a change.
Supplies you will need:
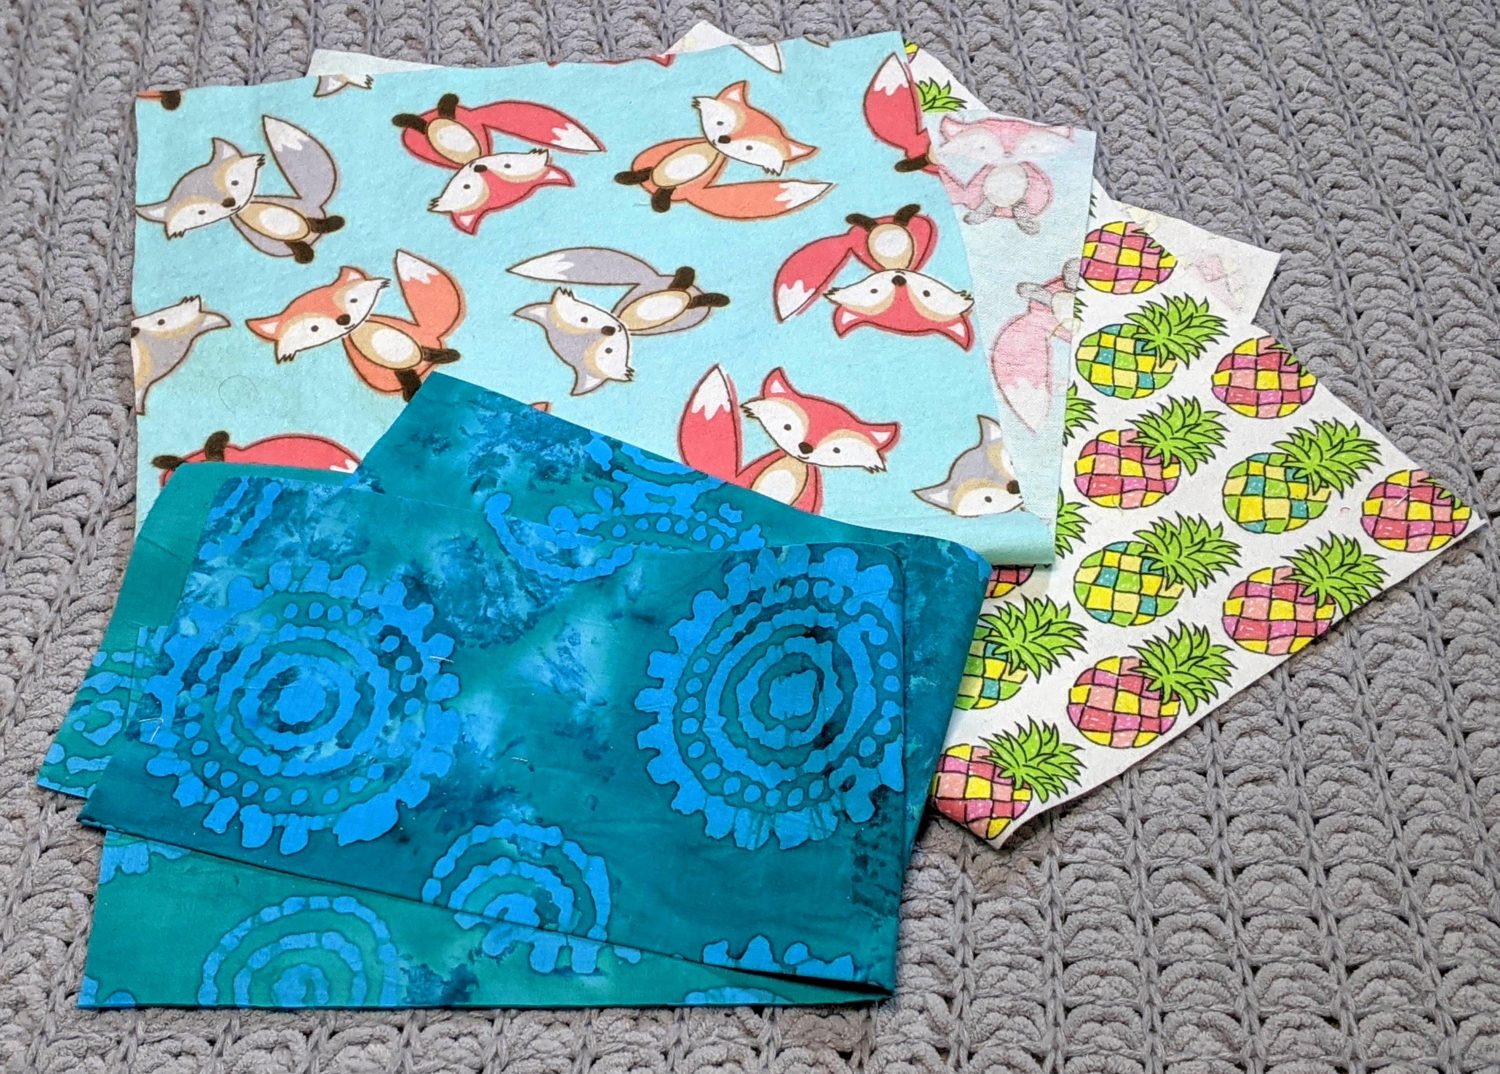
- Woven fabrics: outer bag, inner bag, and straps
- Optional fusible interfacing
- Iron and ironing board
- Sewing machine
*Because bags come in all sizes, there is not specific size needed for this bag. I measured a few of my most used ones and made them approximately the same size.*
Cutting Your Fabric
- Decide on the size you want your bag to be when finished: You will be folding each bag piece in half, so you will double the length. For the larger bag, I cut two 30″ X 18″ rectangles, one for the main, and one for the lining. For the smaller one, I cut two 20″ X 12″ rectangles.
- Cut your straps: Again, this is really personal preference. (Or, if you’re like me, it’s what fabric you have in your house that coordinates and is wide and long enough to make two straps.) You probably don’t want them to be super skinny, or wide, but do what makes you happy. For the bag with the blue straps, I cut two 18″ X 4″ pieces, and for the orange ones they were 21″ X 3.”
- Interfacing: This is optional for all of your pieces. It really depends on your fabric thickness, and how sturdy you want the final bag to be. For mine, the only place I used interfacing was on the orange straps because it was very floppy fabric. Any pieces you want to add interfacing to, cut the interfacing to the same size as the fabric piece, and adhere them to the back sides of the fabric before beginning.
Preparing the Straps:
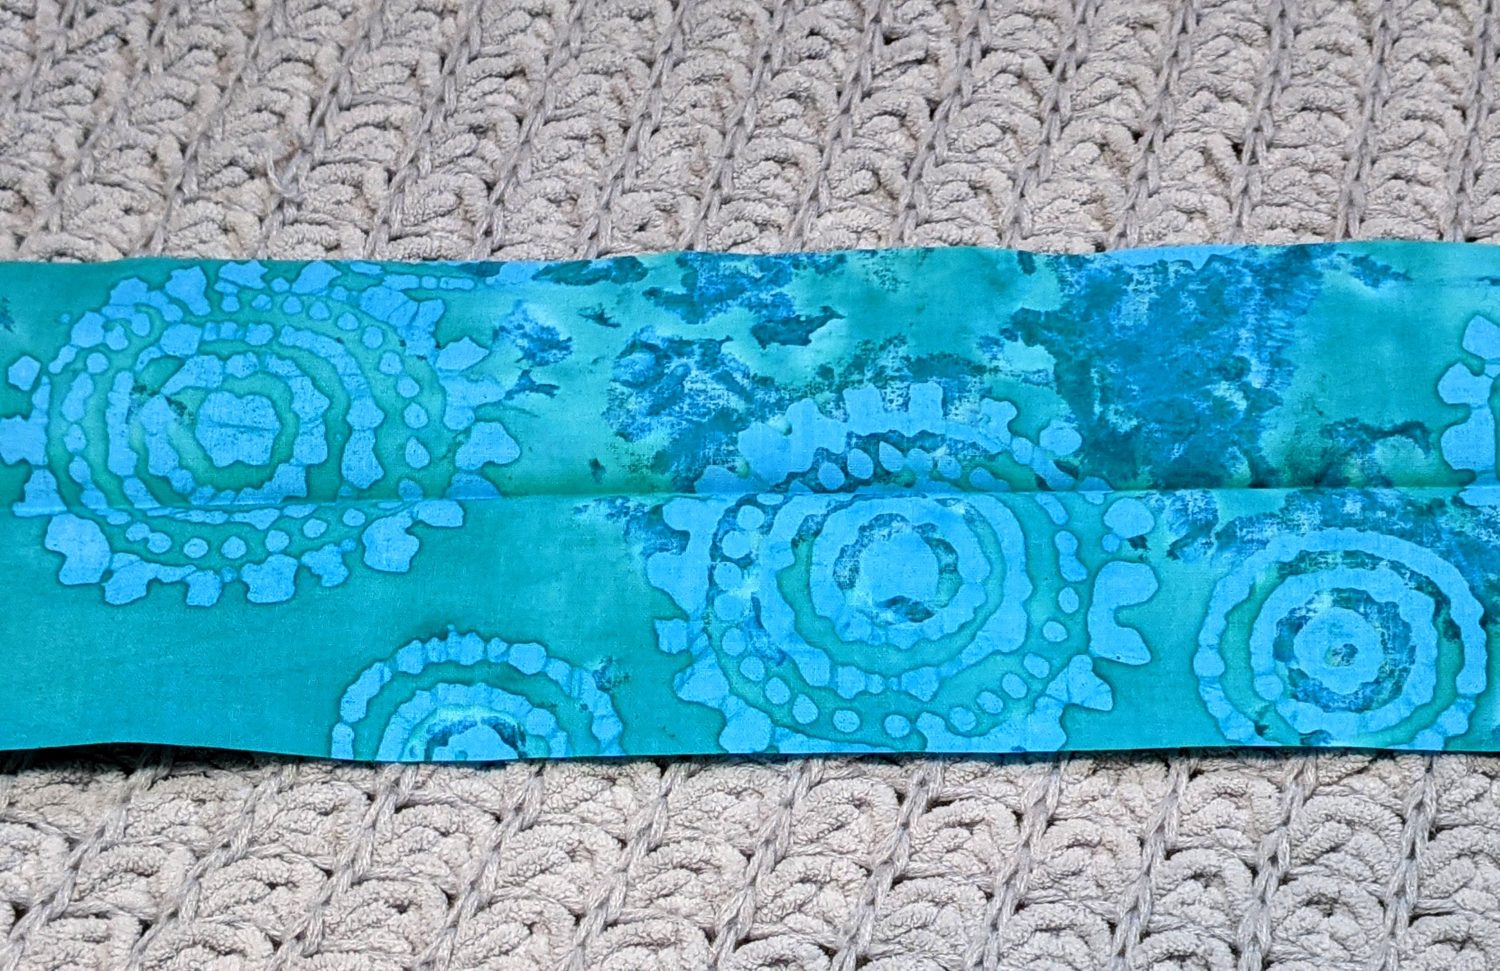
- Take one fabric strap, fold it in half lengthwise and press
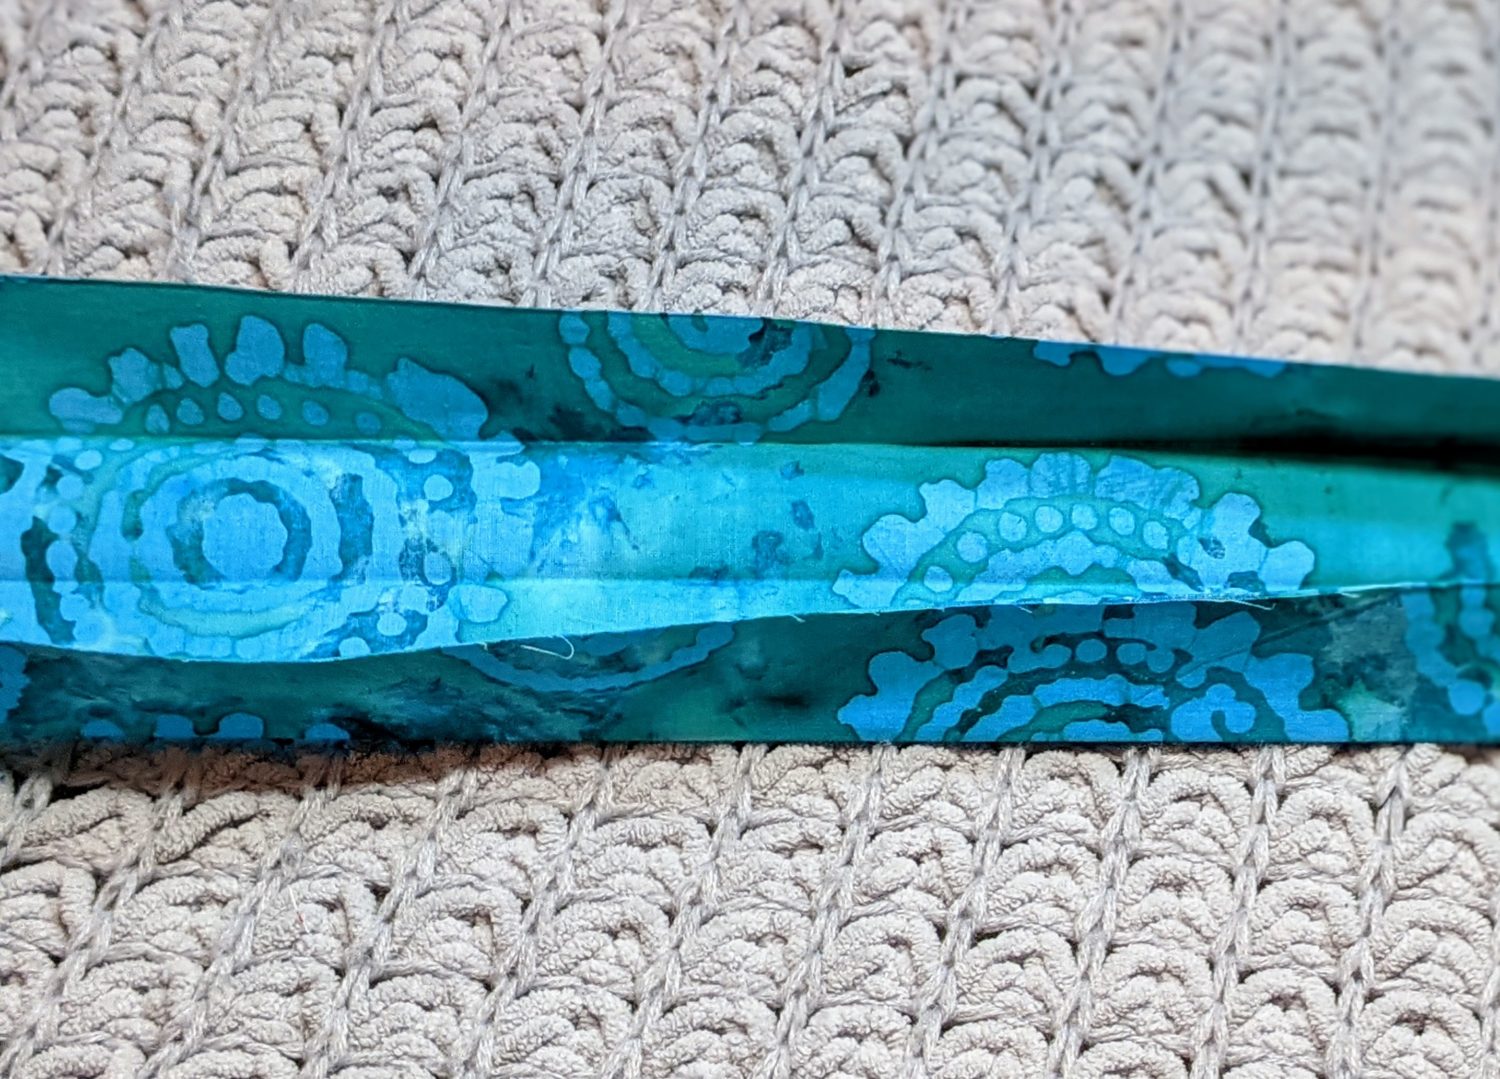
- Fold each long side in towards the center and press
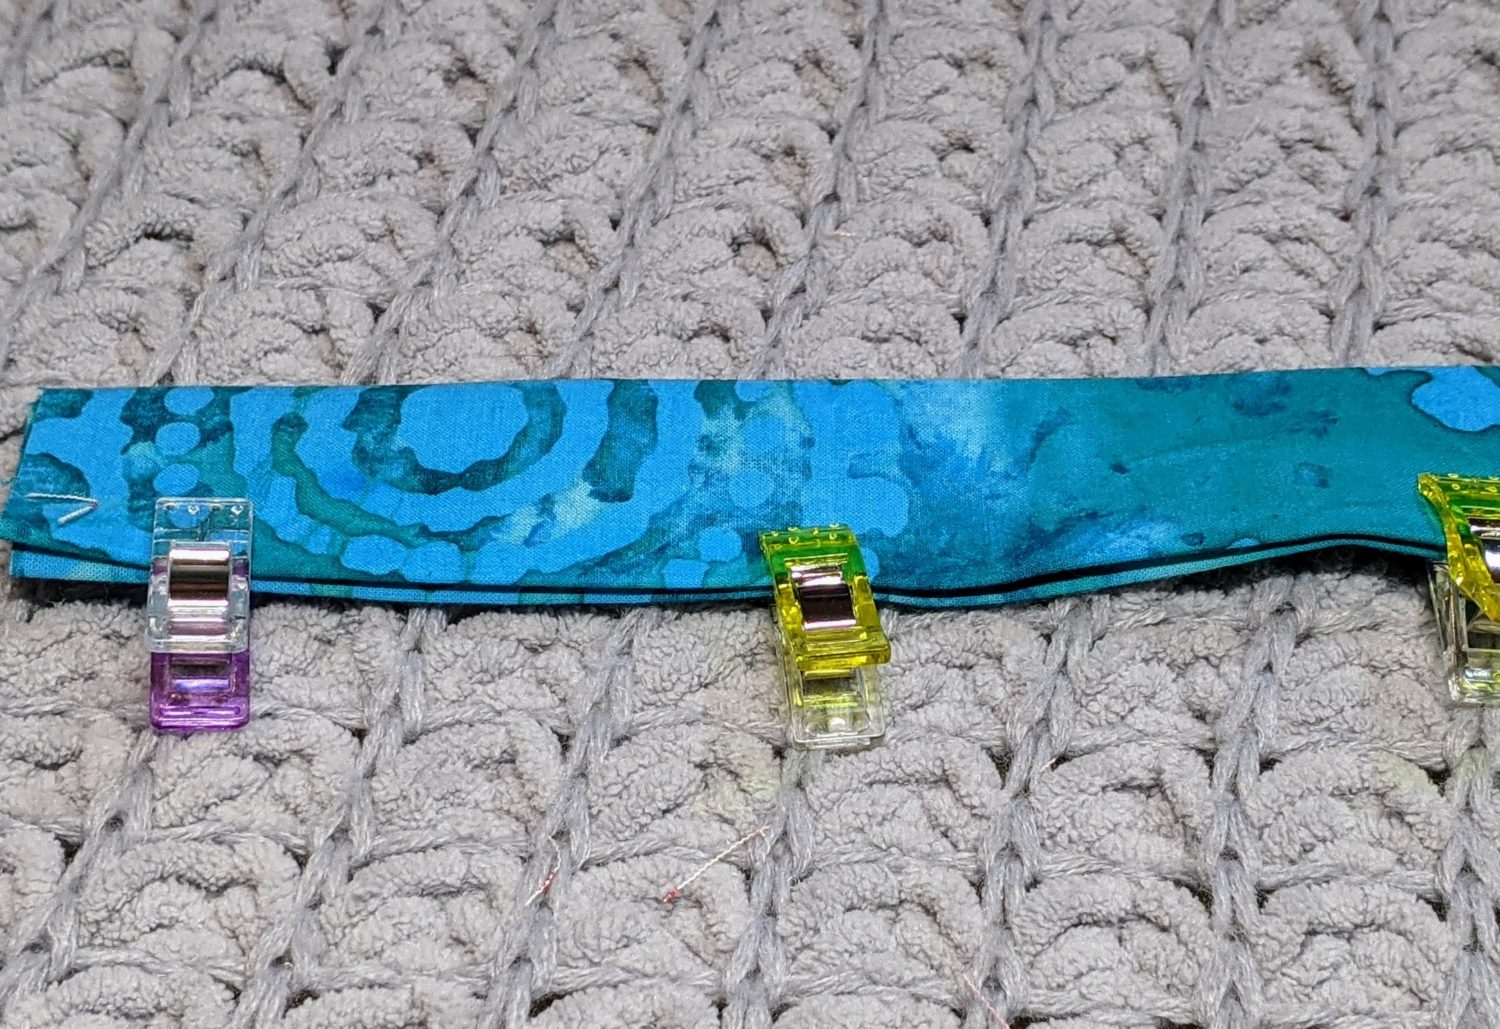
- Fold everything back in half and pin together along the open side
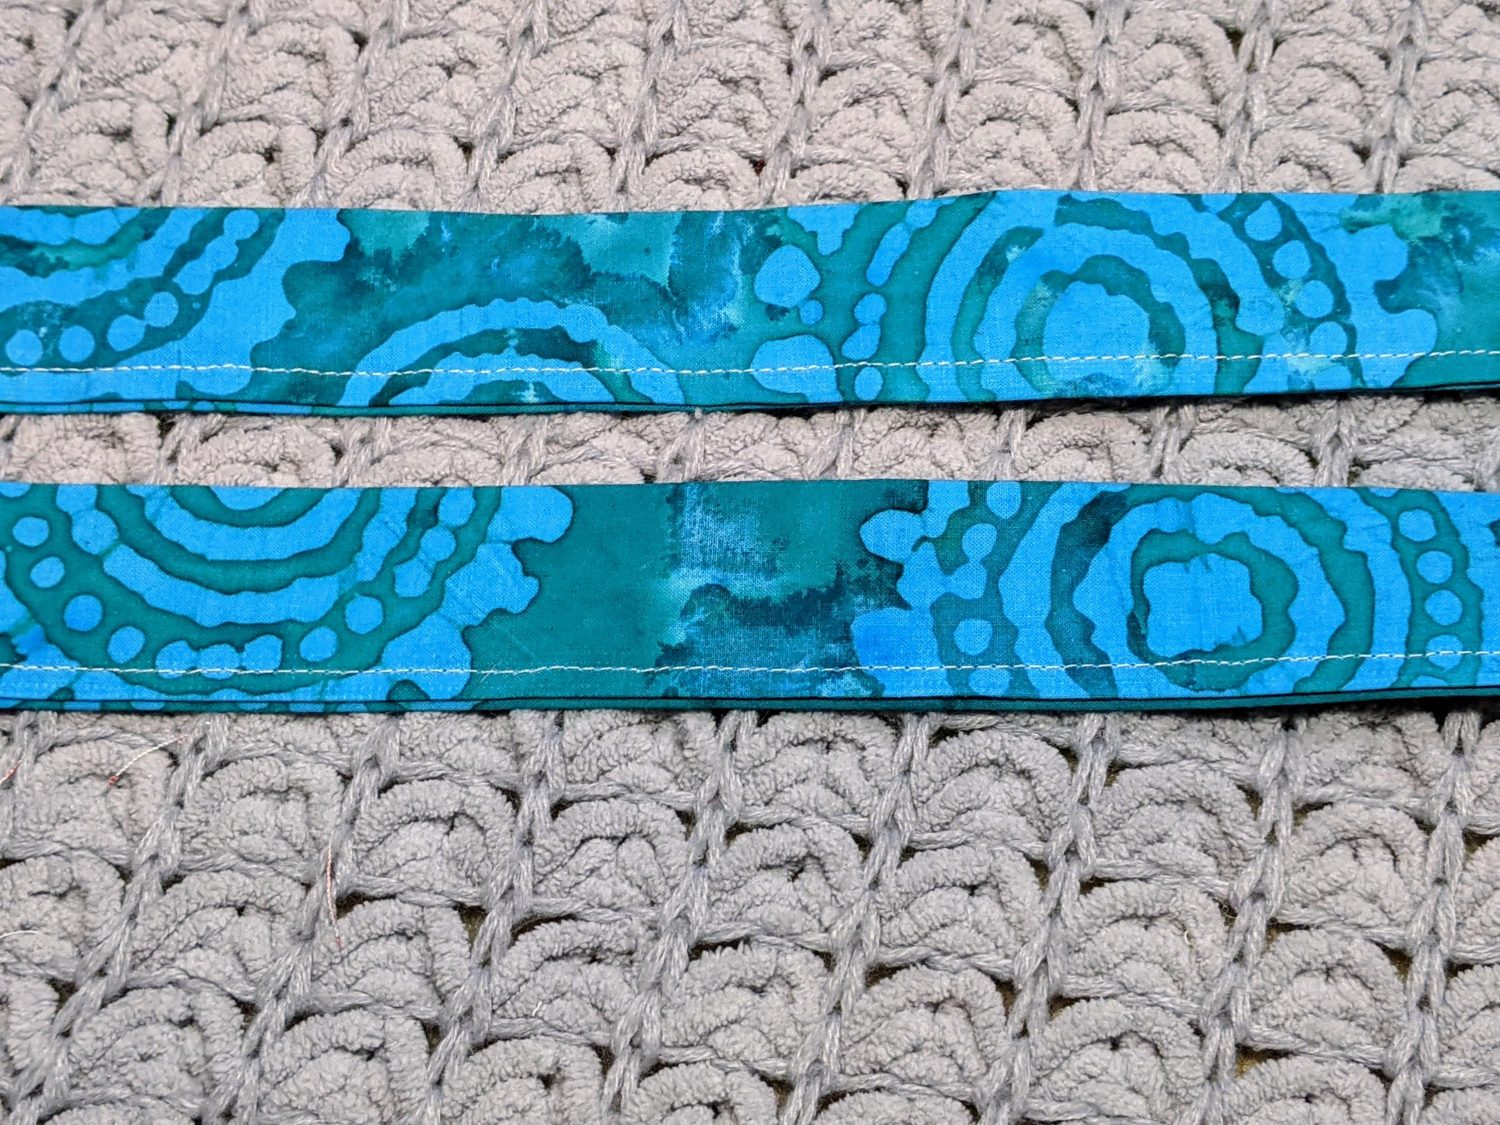
- Sew along open edge with a 1/4″ seam allowance
- Repeat with other strap
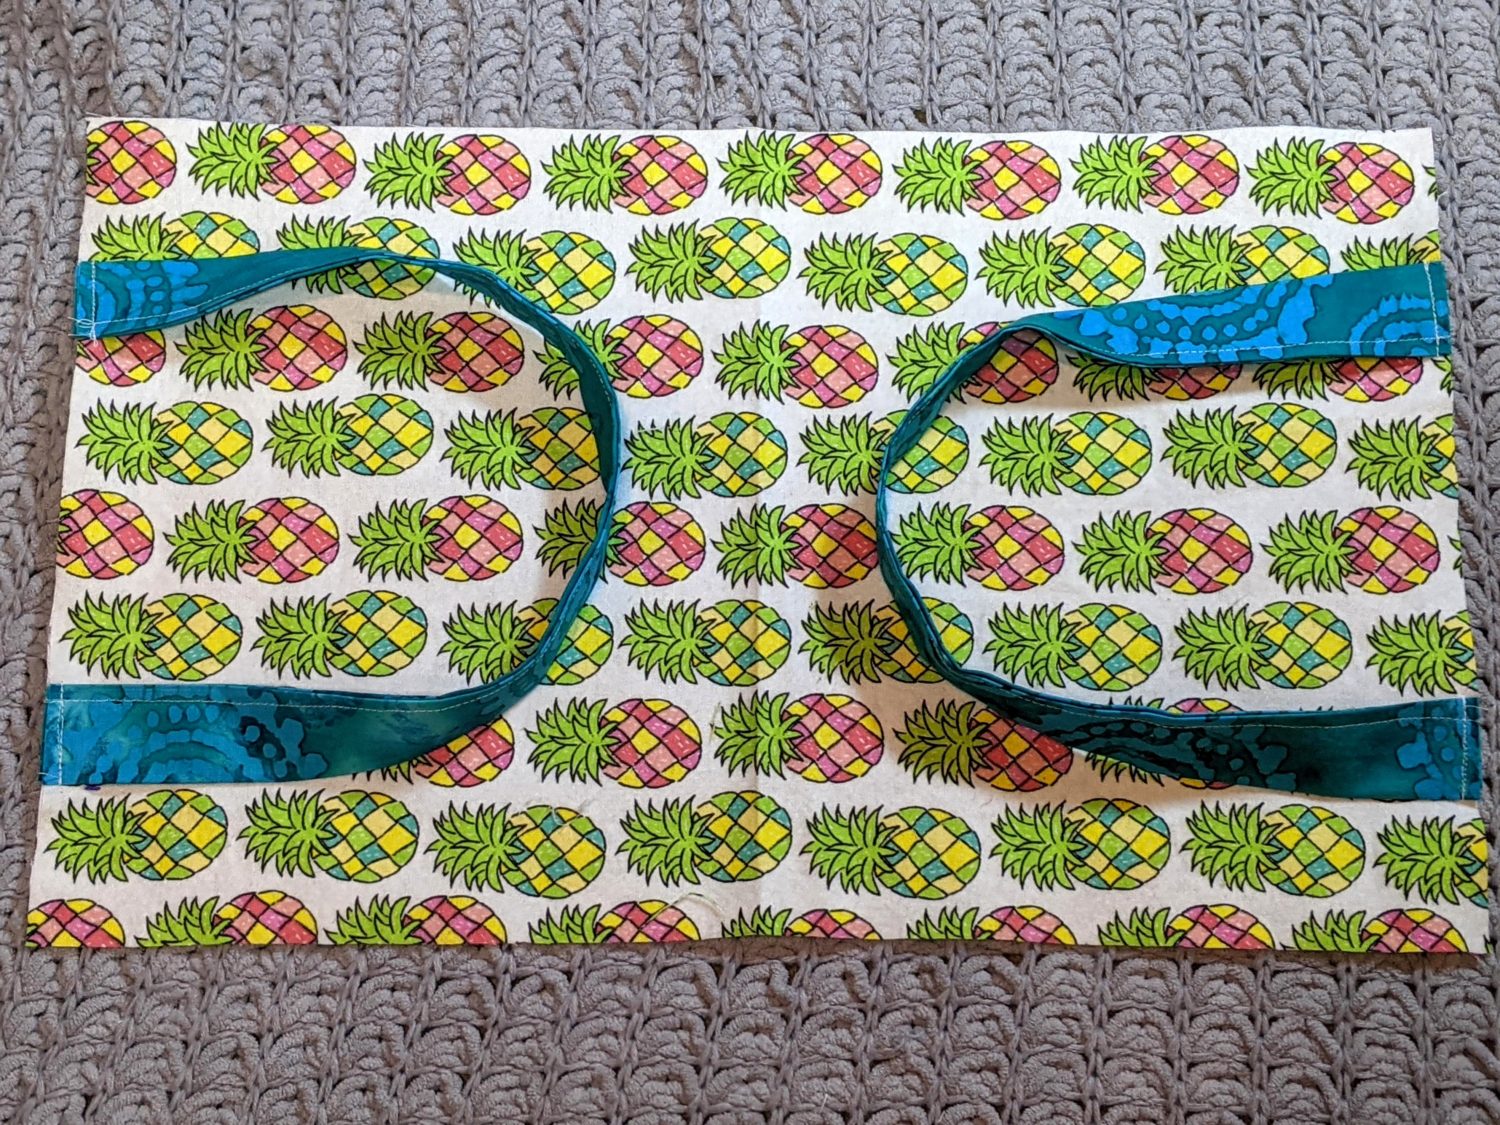
Attaching the Straps:
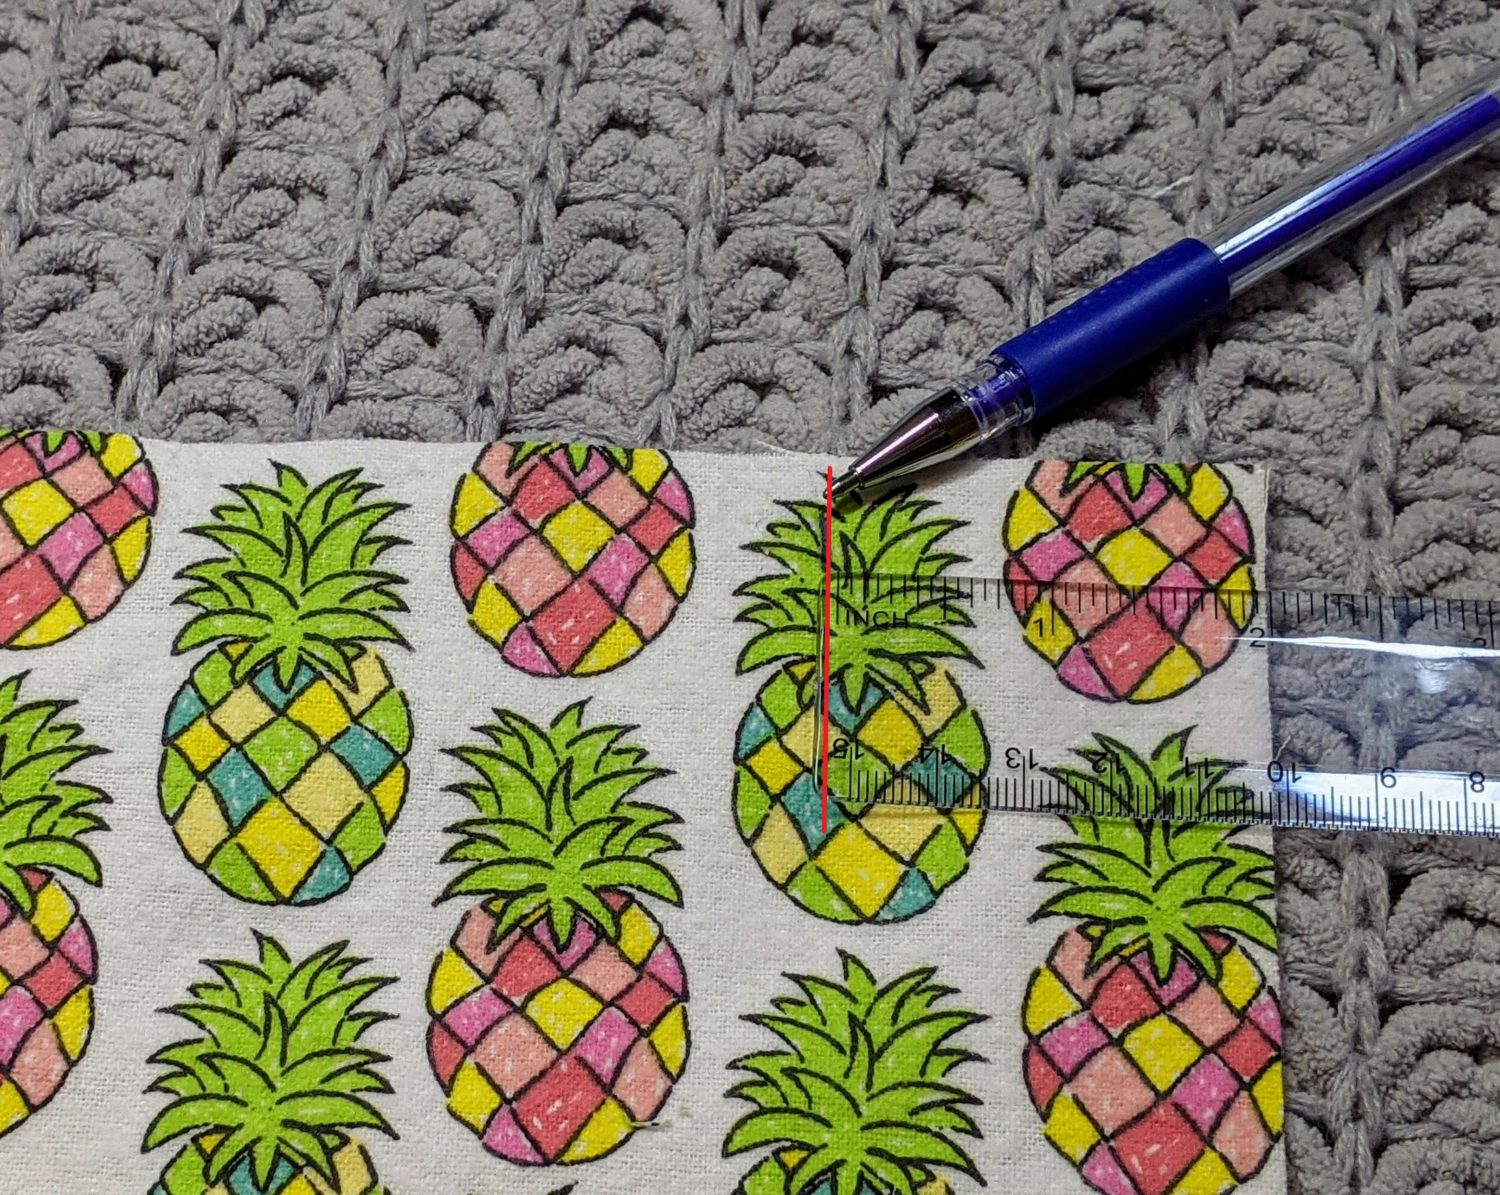
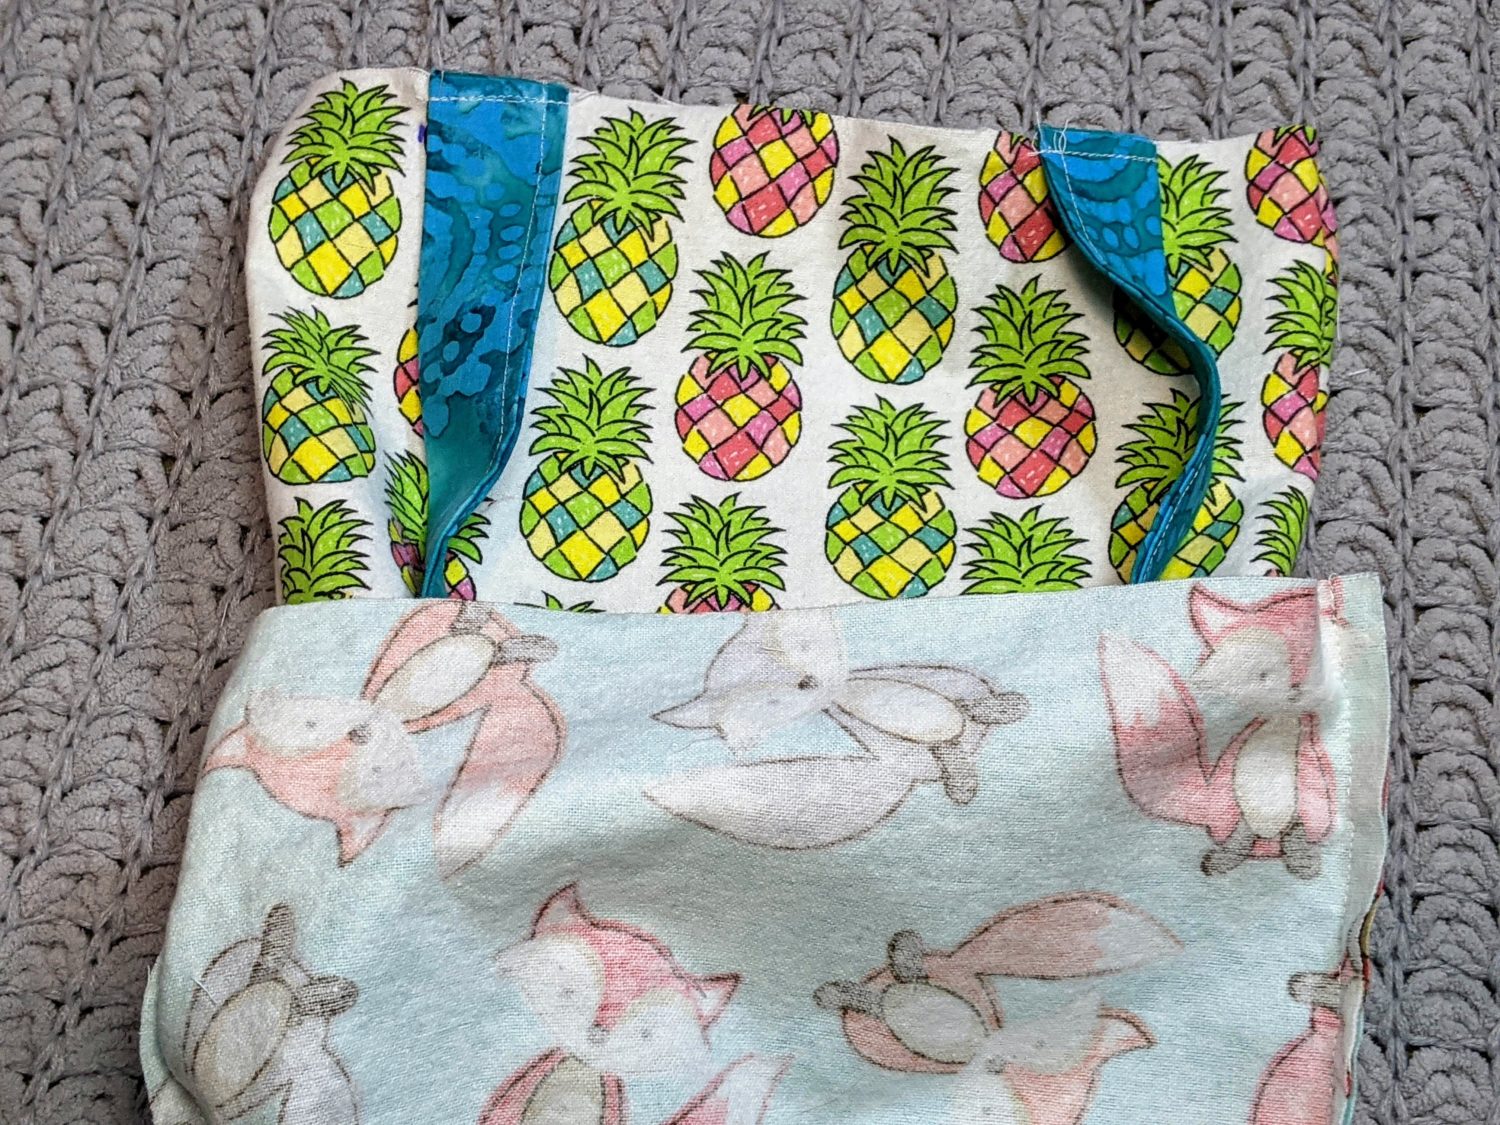
- Take one bag piece (it doesn’t matter which one) and measure in from the top outside edge 2″-3″ depending on the size of your bag and make a mark, repeat on the other side of the top edge (Bigger bags, measure further in, smaller bags closer to the outside edge.)
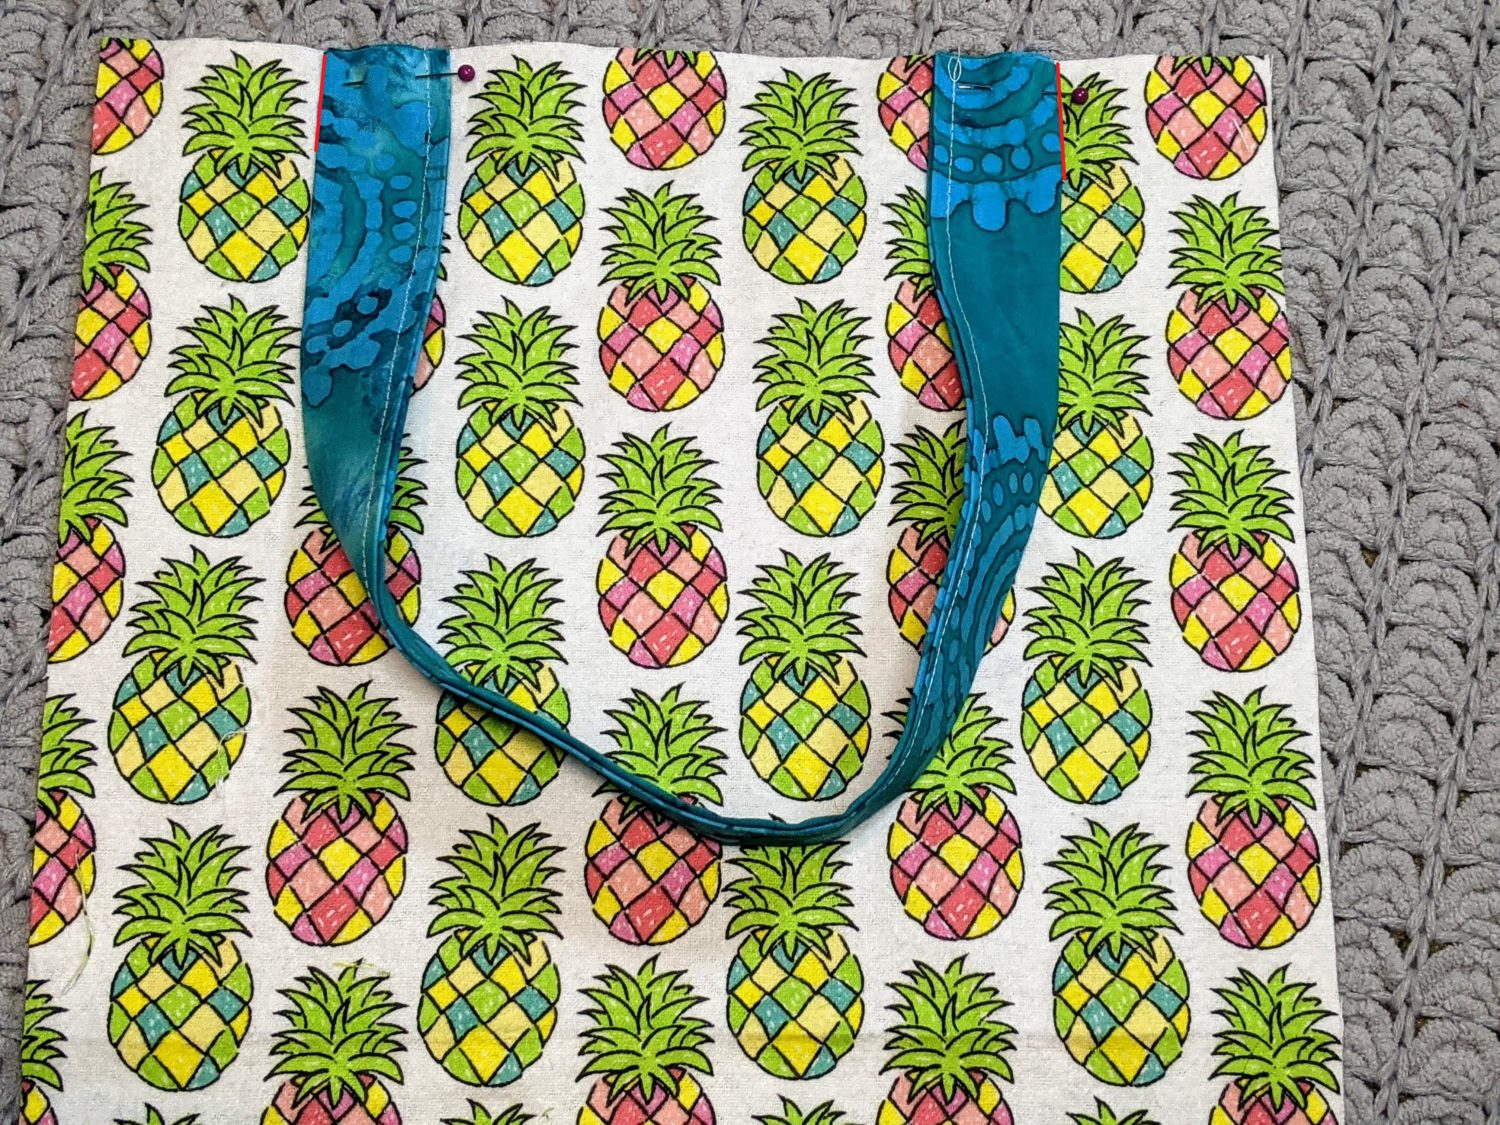
- With the raw edge of the strap lined up along the top raw edge, match up the outer edges of the straps with the marks you made and pin in place
- Sew across the top edge of each side of the strap with a 1/4″ seam allowance going over it a few times to reinforce it
- Repeat on the other end with the other strap (ignore the fact that I forgot that this was a directional print so one side of my bag will have upside-down pineapples, I’m going with it)
Creating the Bag:
- Take the bag piece with the straps and fold it in half horizontally lining up all of the edges
- Tuck the straps inside the bag and pin along both outer edges
- Sew the sides with a 1/2″ seam allowance
- Repeat with the other bag piece
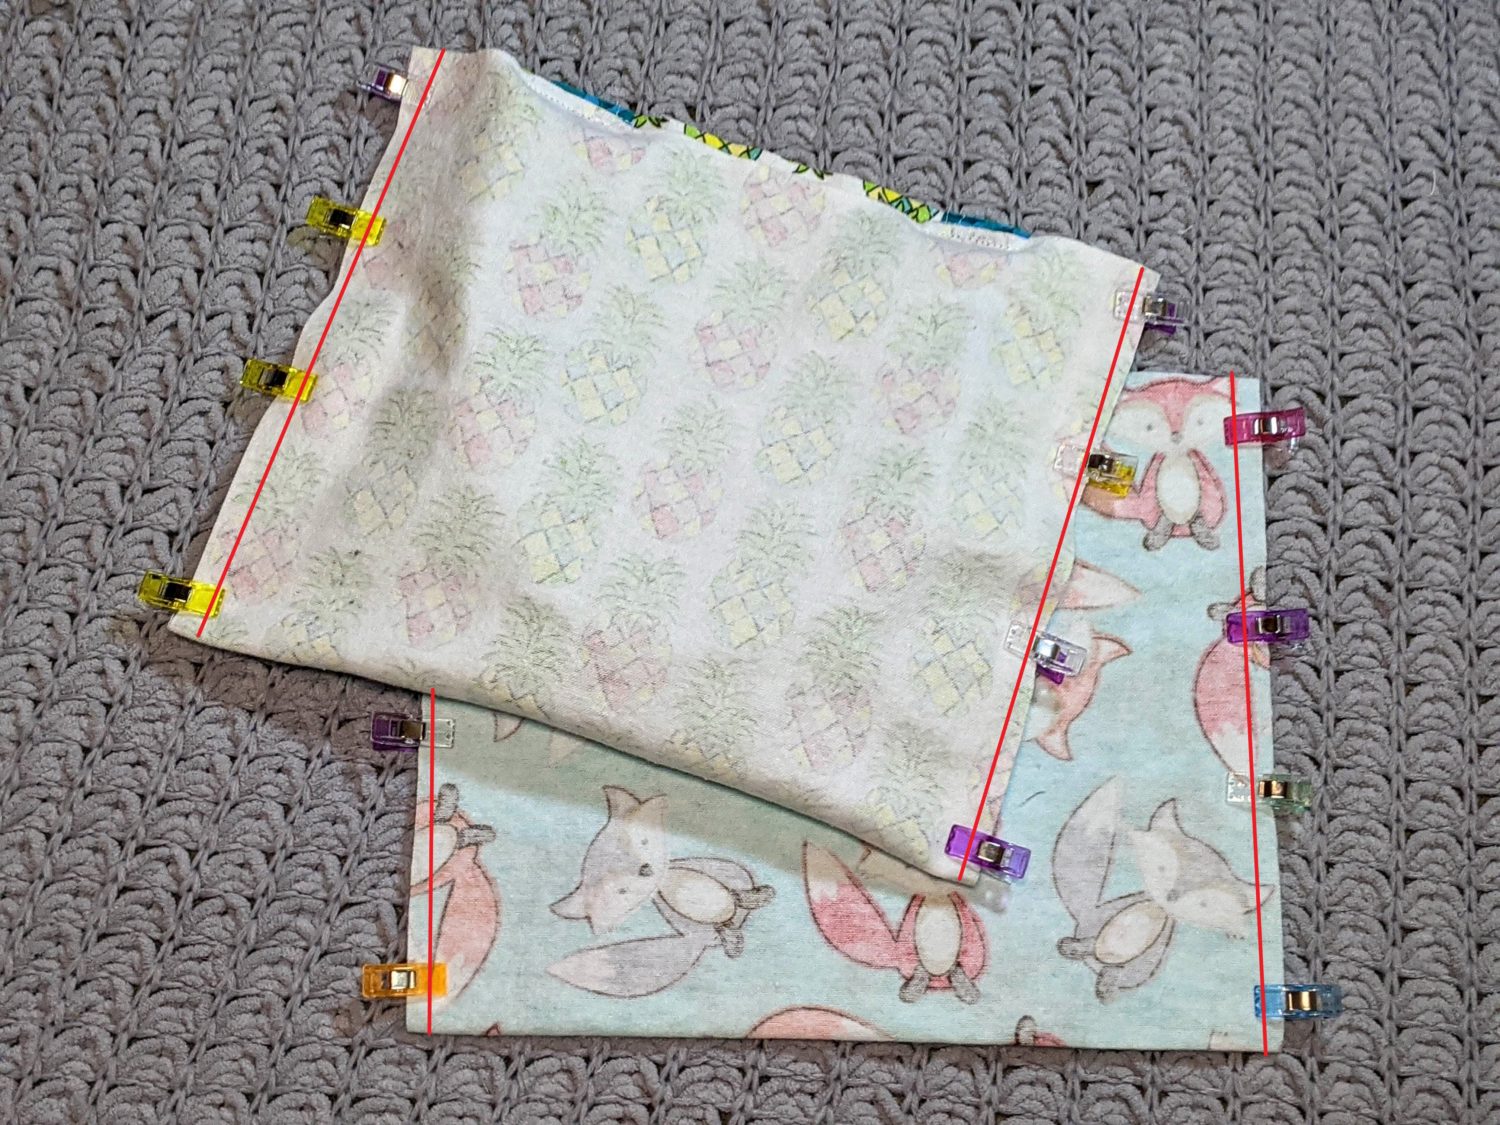
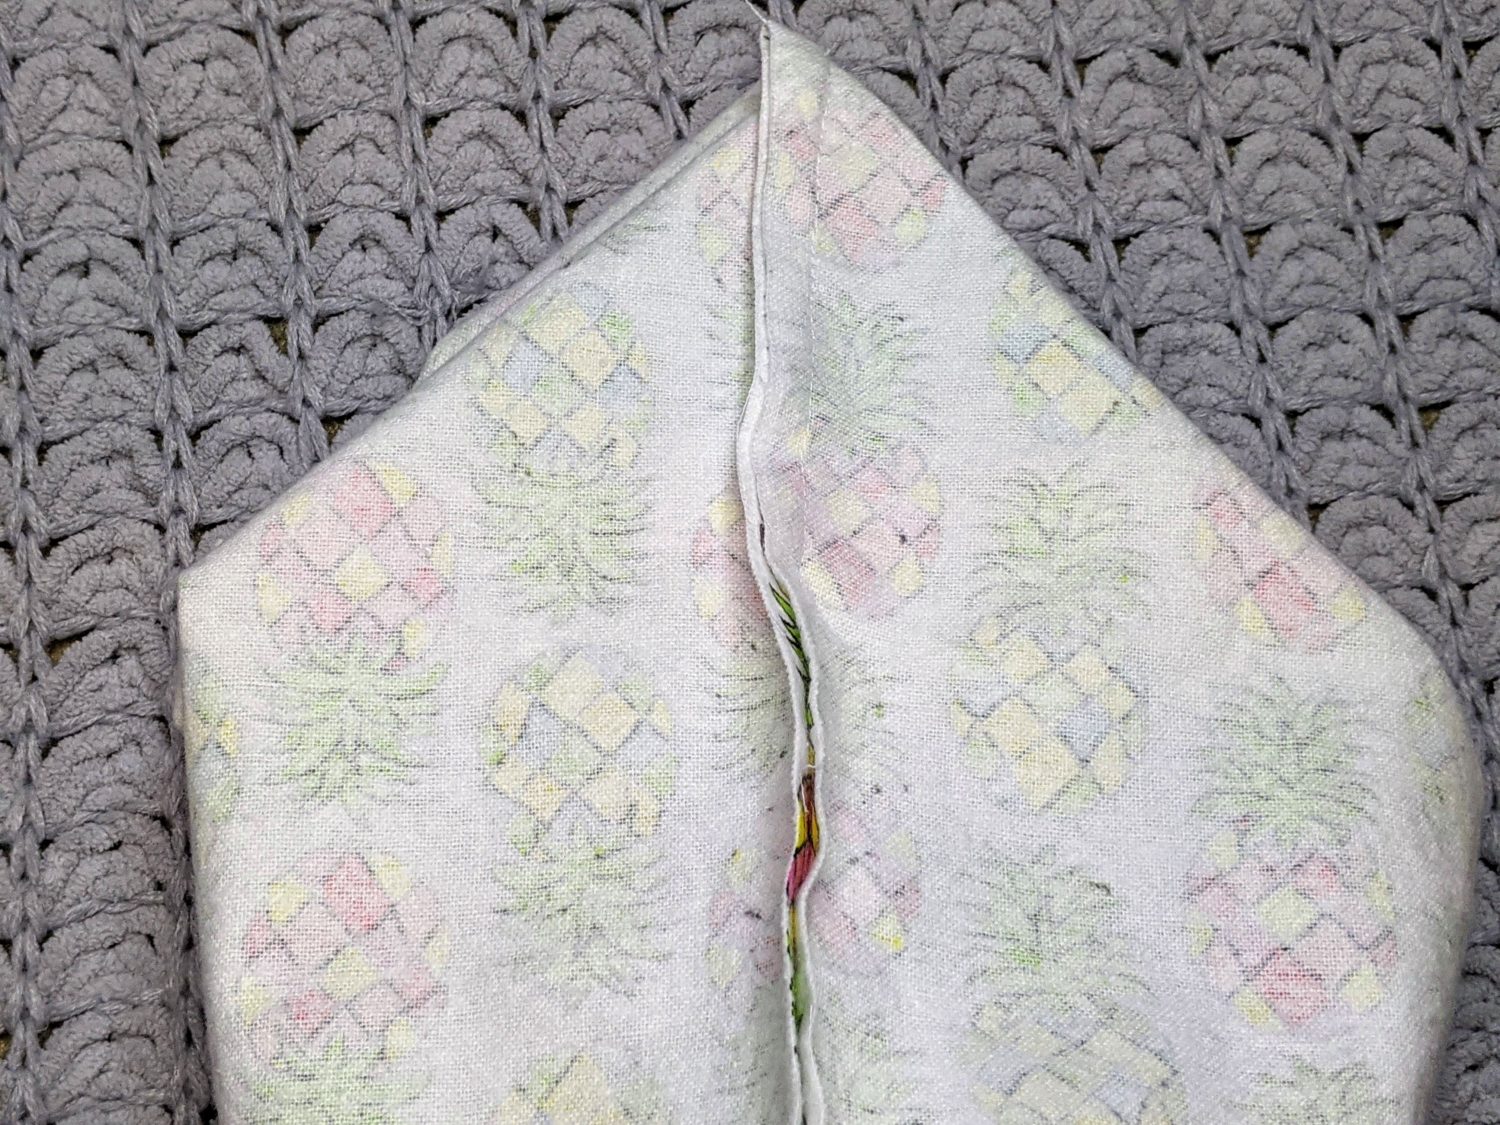
Box the Corners:
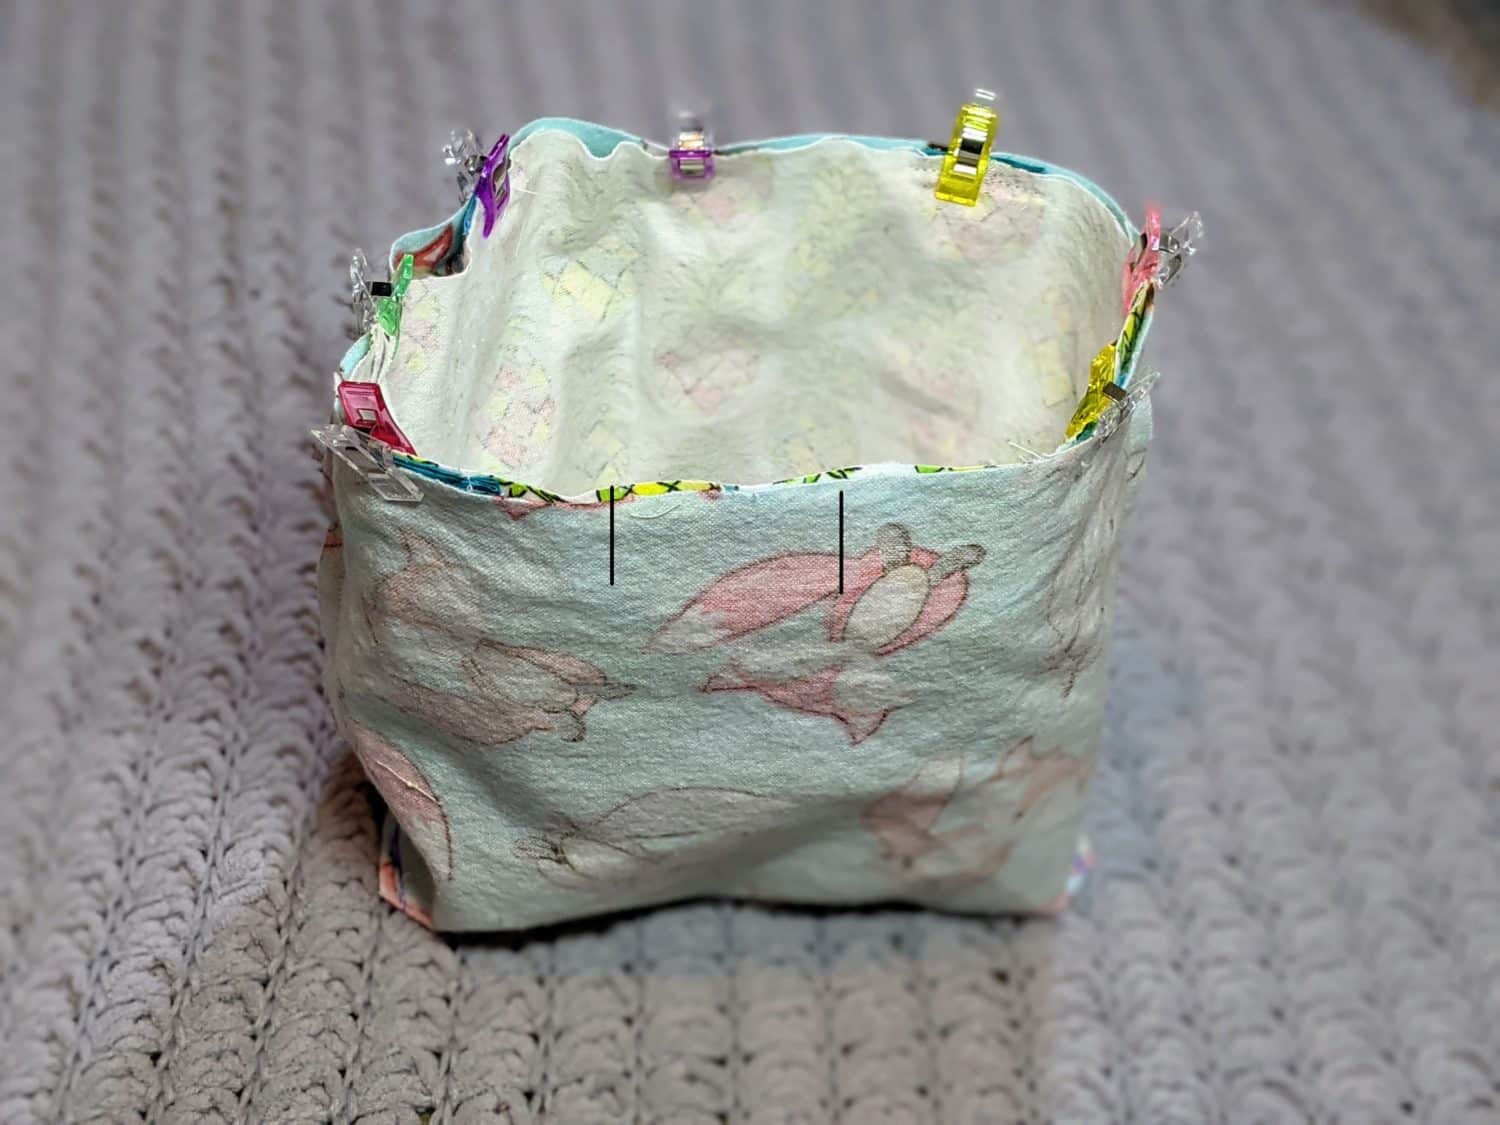
- With the bag pieces still turned inside out, take 1 corner and pinch it against the bottom of the bag creating a flat triangle then flip it seam side up
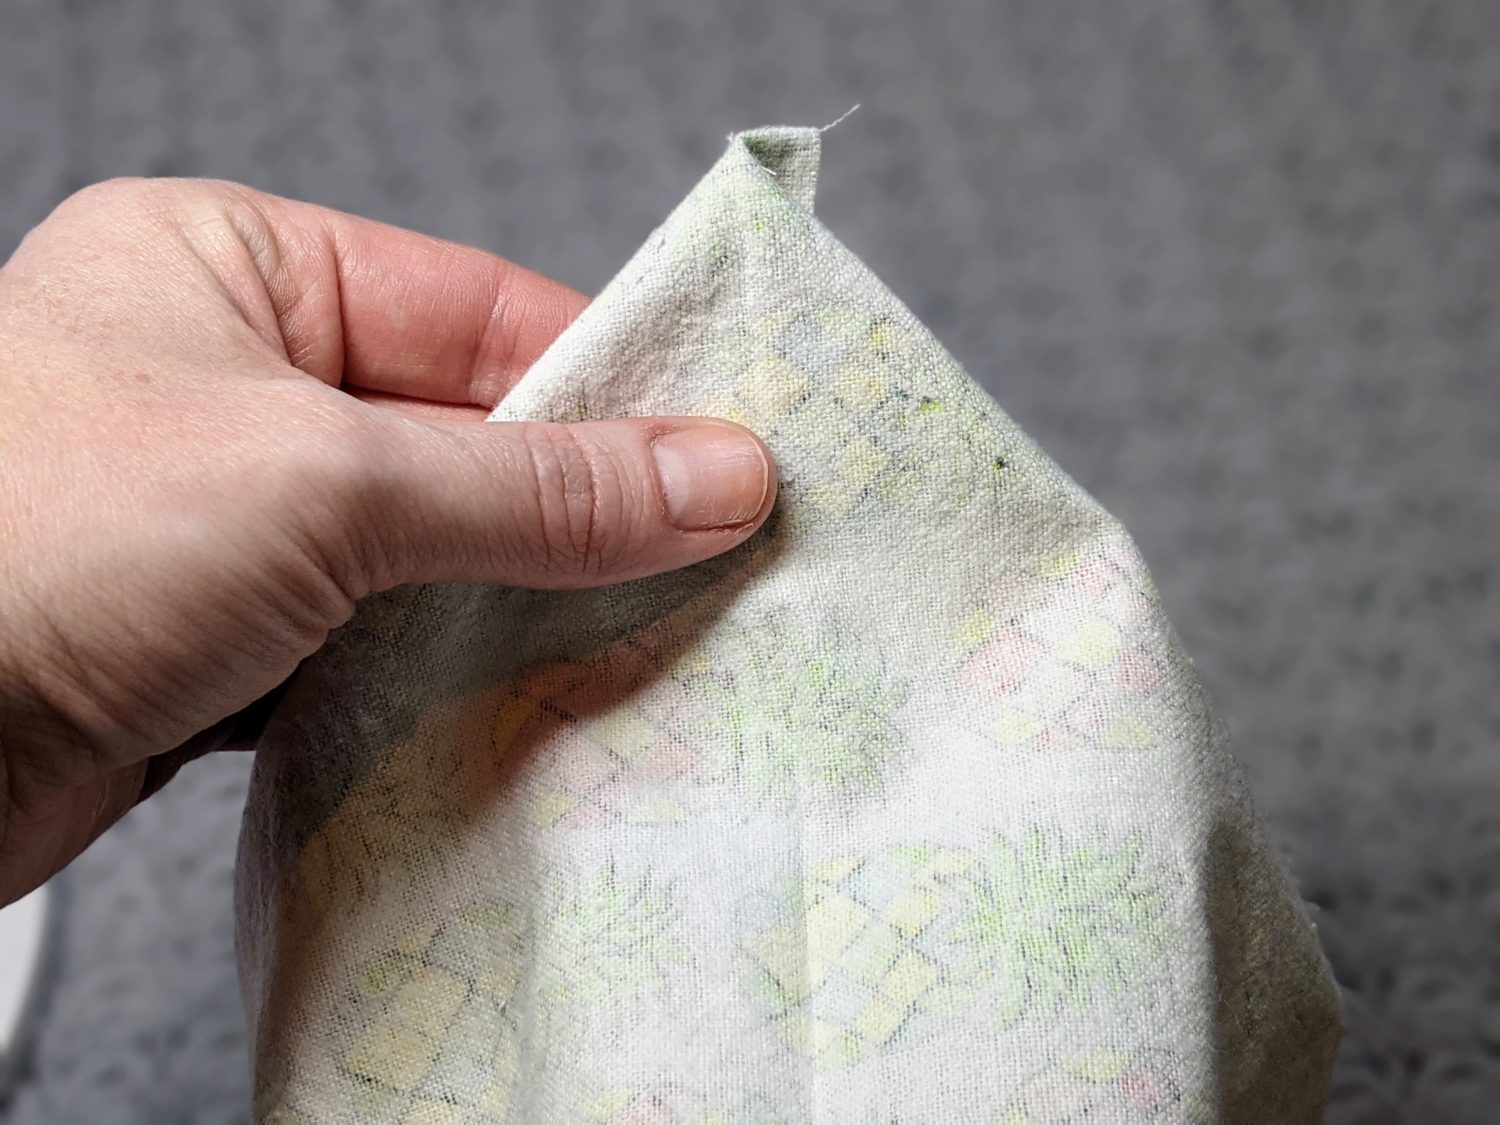
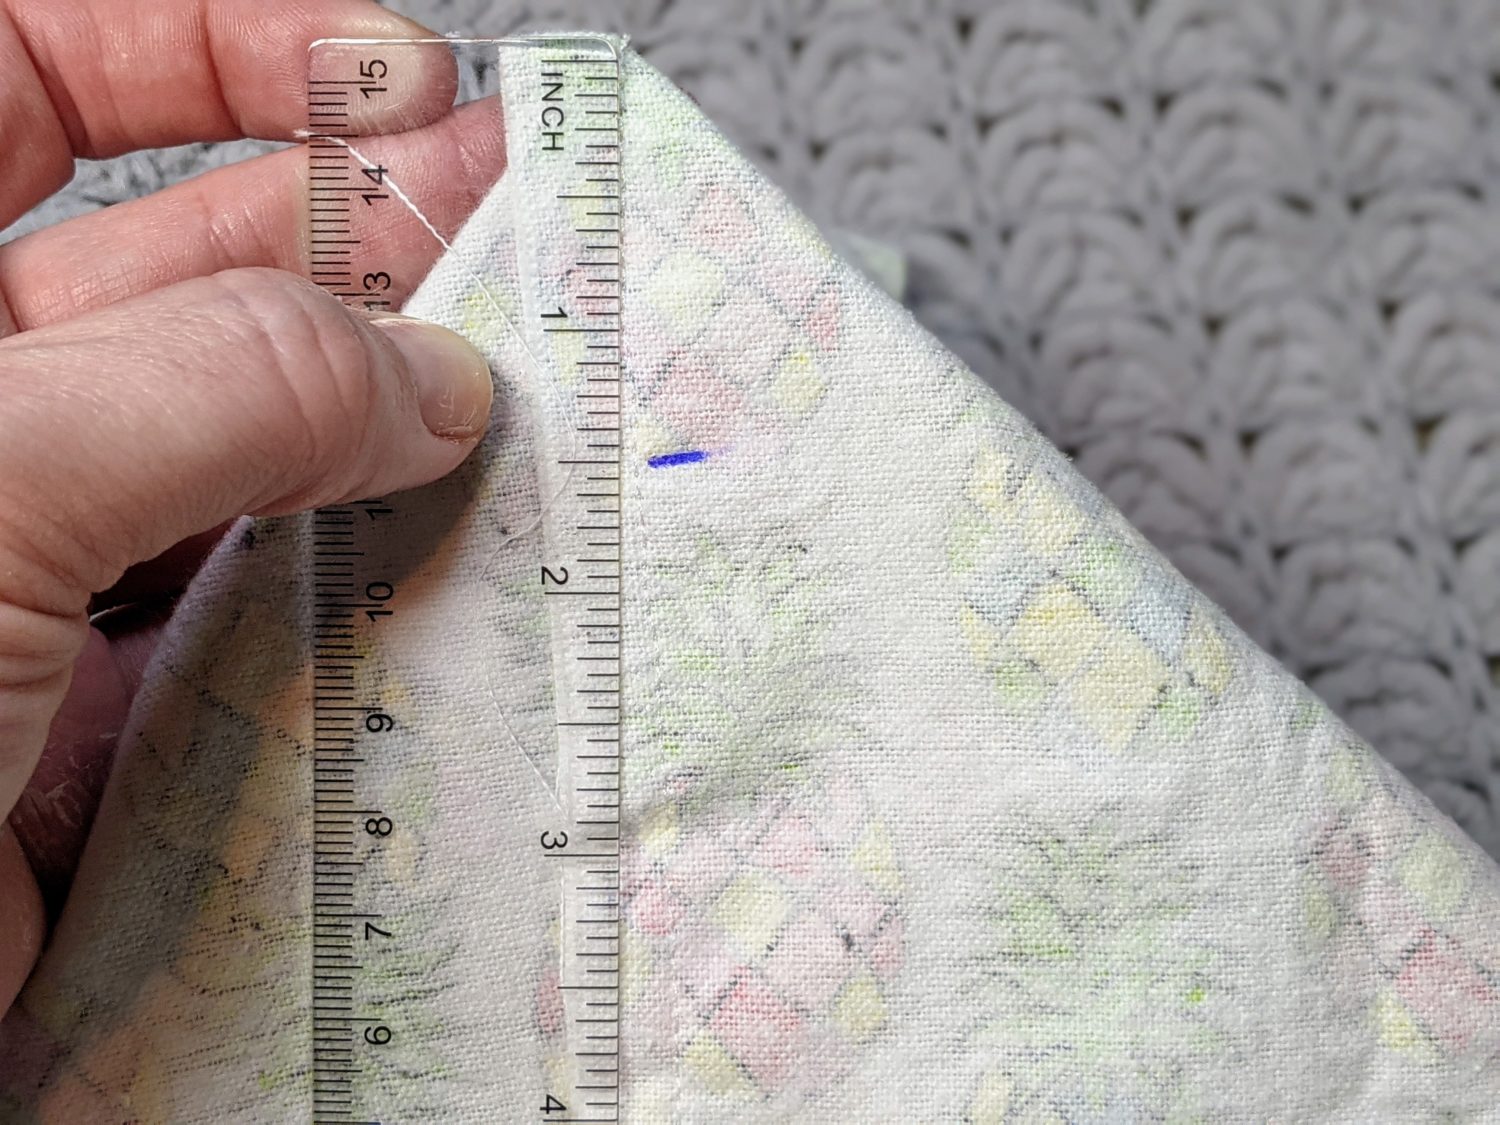
- Measure down from the tip of the triangle to about the midpoint of the triangle and draw a line. The length will depend on how big your bag is. The bigger the bag, the farther in you will measure.
- At the marked point, draw a horizontal line across

- Pin in place and sew along the horizontal line
- Cut off the top of the triangle 1/4″ from your stitching
- Repeat the same steps on the other corner as well as the other bag piece making sure you measure the same distance from the point on all corners
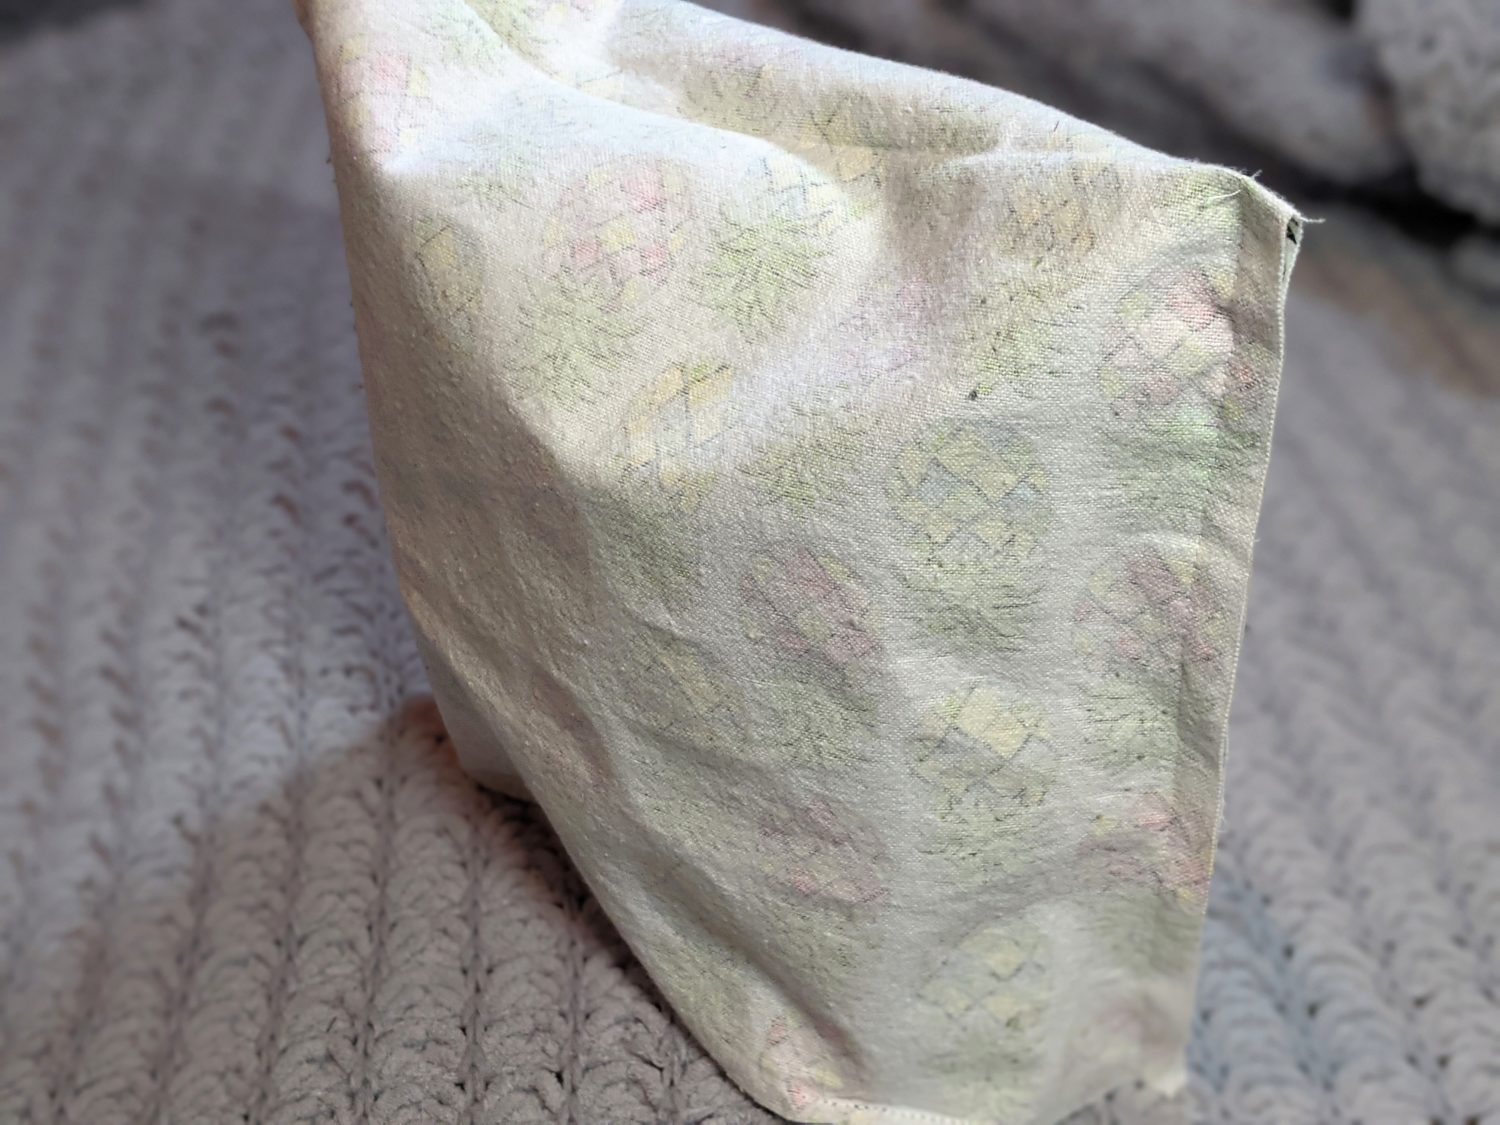
- Turn one bag right side out
Putting it all Together:
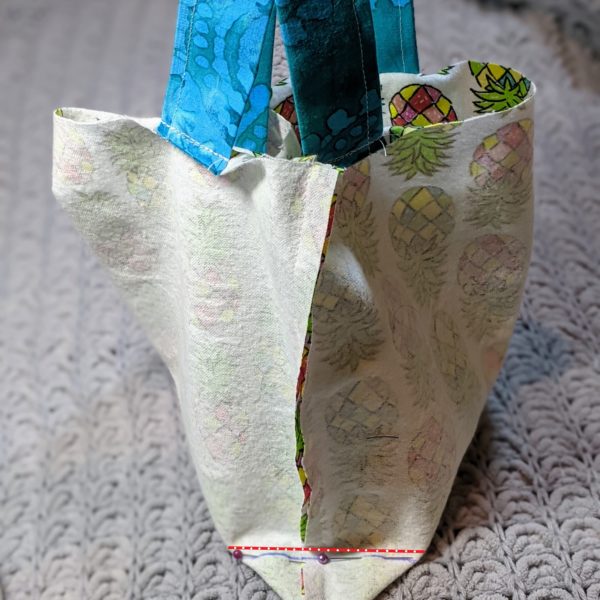
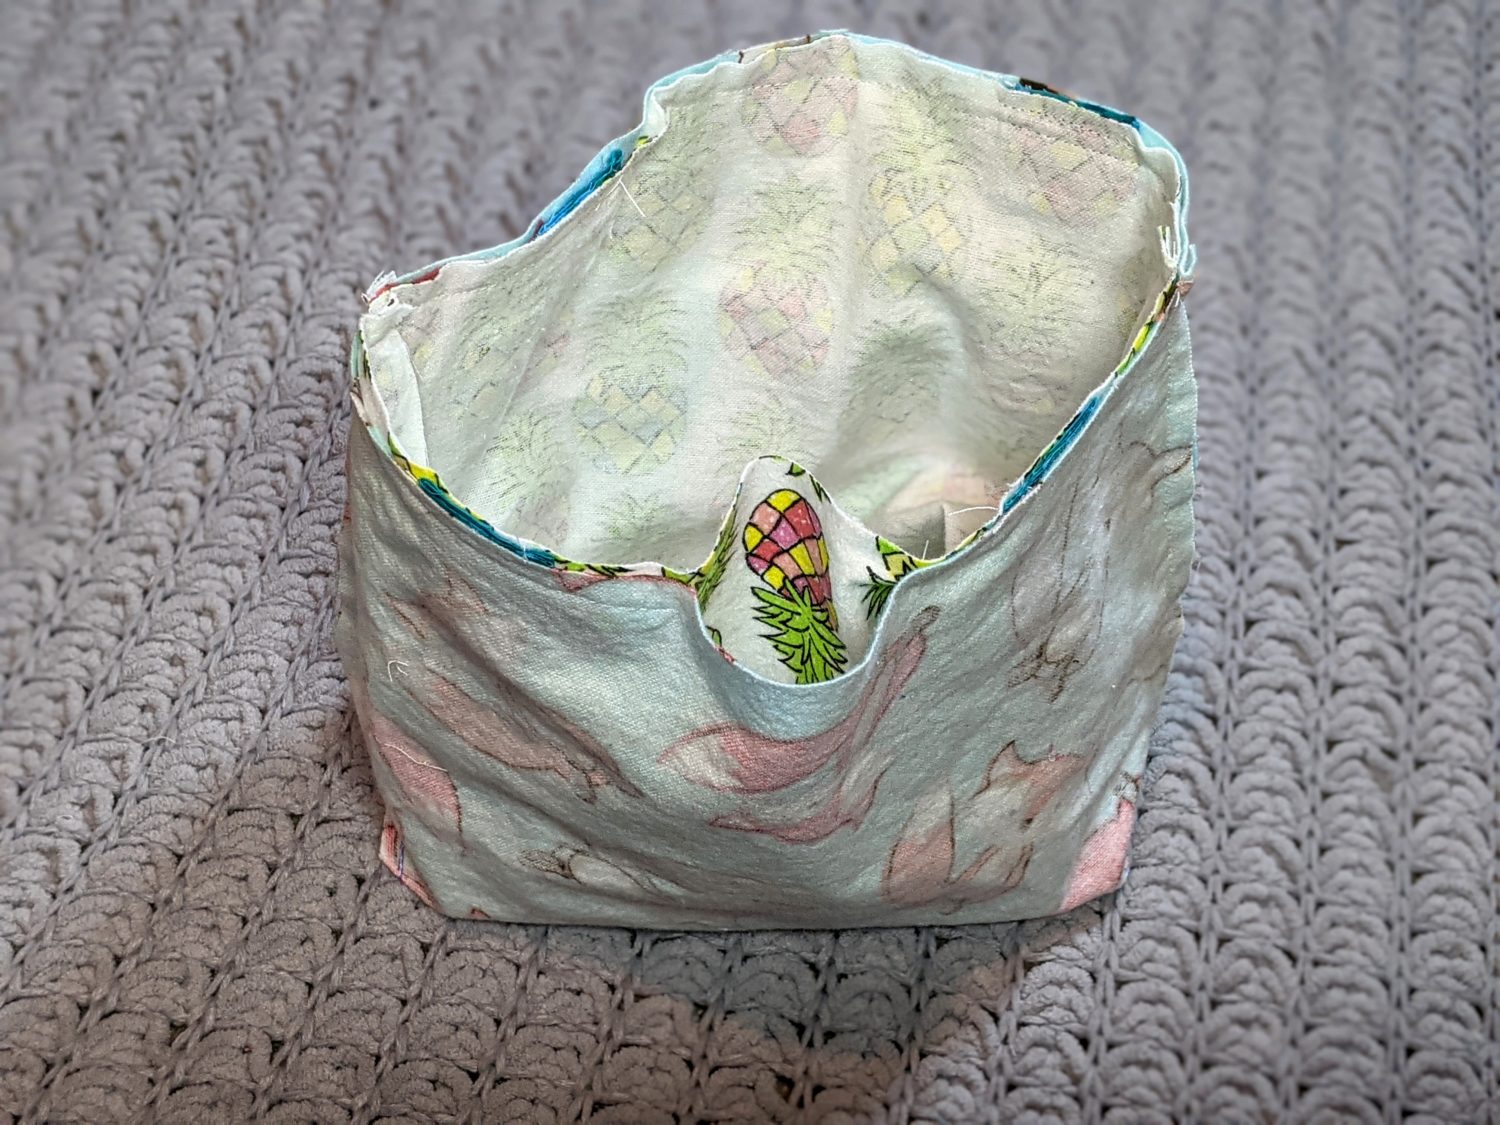
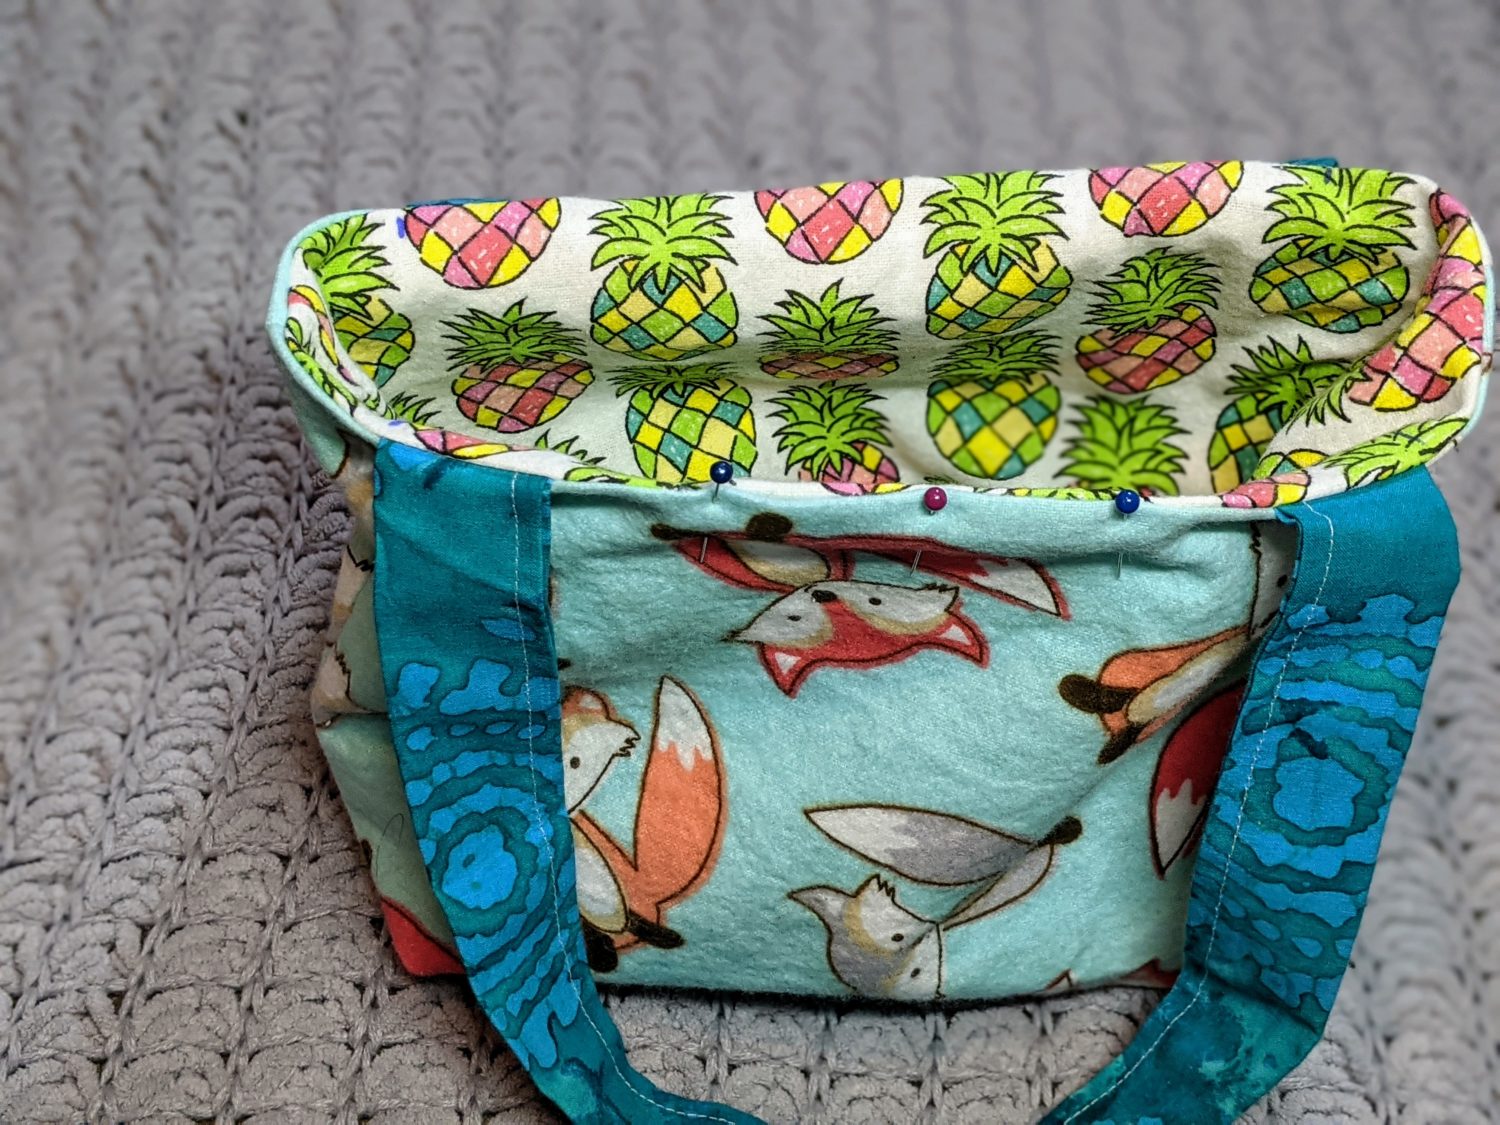
- Slip one bag inside the other with right sides together and the straps flipped down and sandwiched between the two bag pieces
- Pin along the top edge leaving a 3″ opening for turning
- Sew along the top edge with a 1/2″ seam allowance being sure to backstitch and the beginning and end of your opening
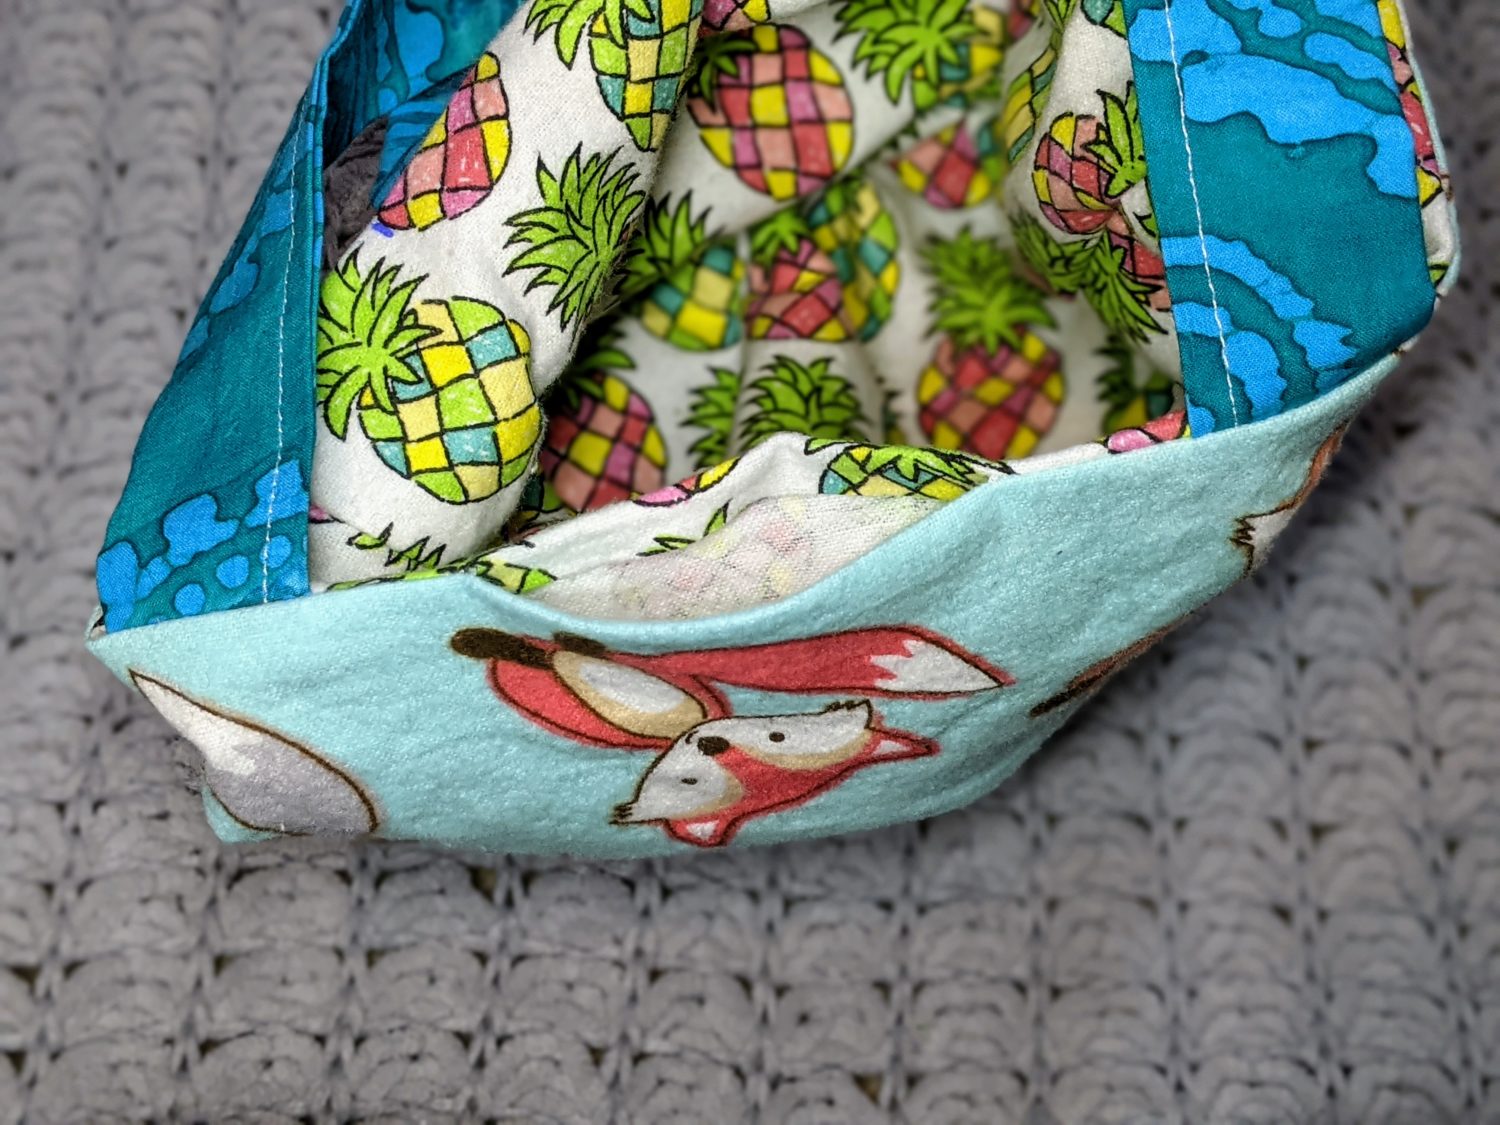
- Pull the bag through the opening turning it right side out then tuck one bag into the other
- Fold in the seam allowance and press then pin in place
- Sew around the opening with a 1/4″ seam allowance then continue to topstitch all the way around the top of the bag

Now you can help the environment and have cute bags too!
Want more FUN DIY Freebies? Check out the FREEBIE TUTORIALS and the FREEBIE PATTERNS!
As always, we’re here to help if you need it! Join us HERE and on Facebook, Instagram, Twitter, Youtube, and Pinterest. We’re everywhere you are.
Leave a Reply