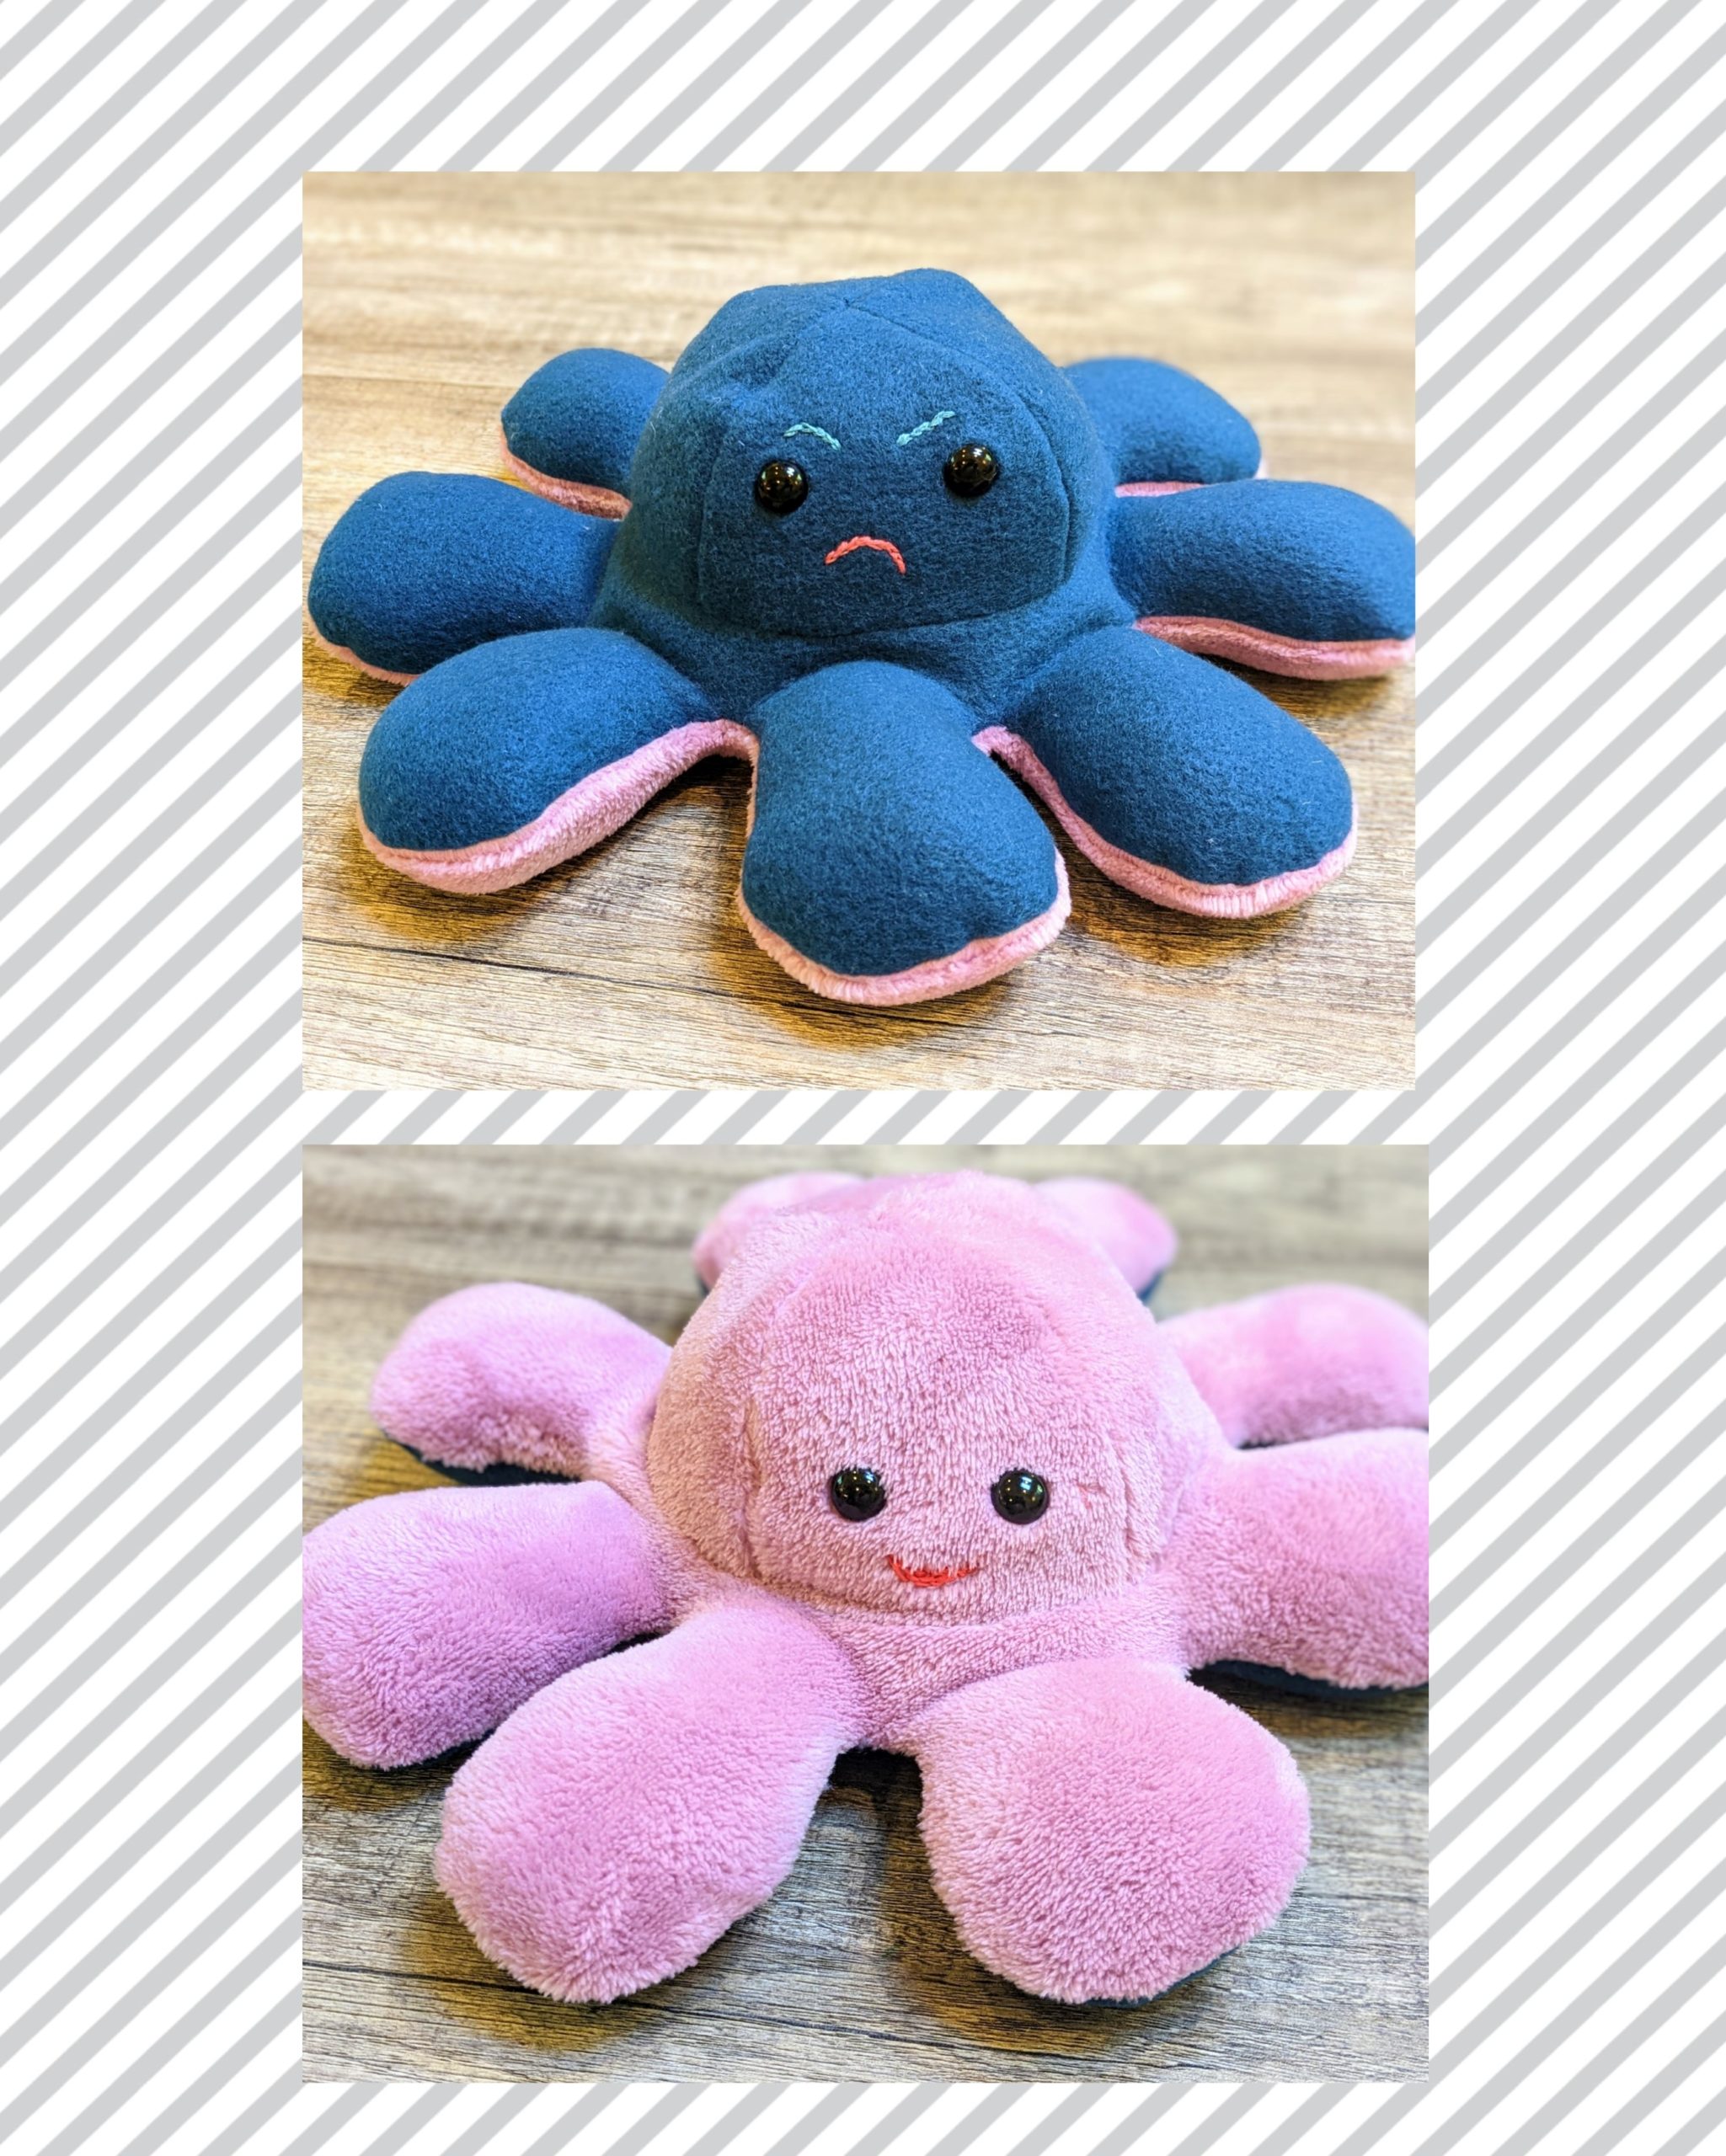
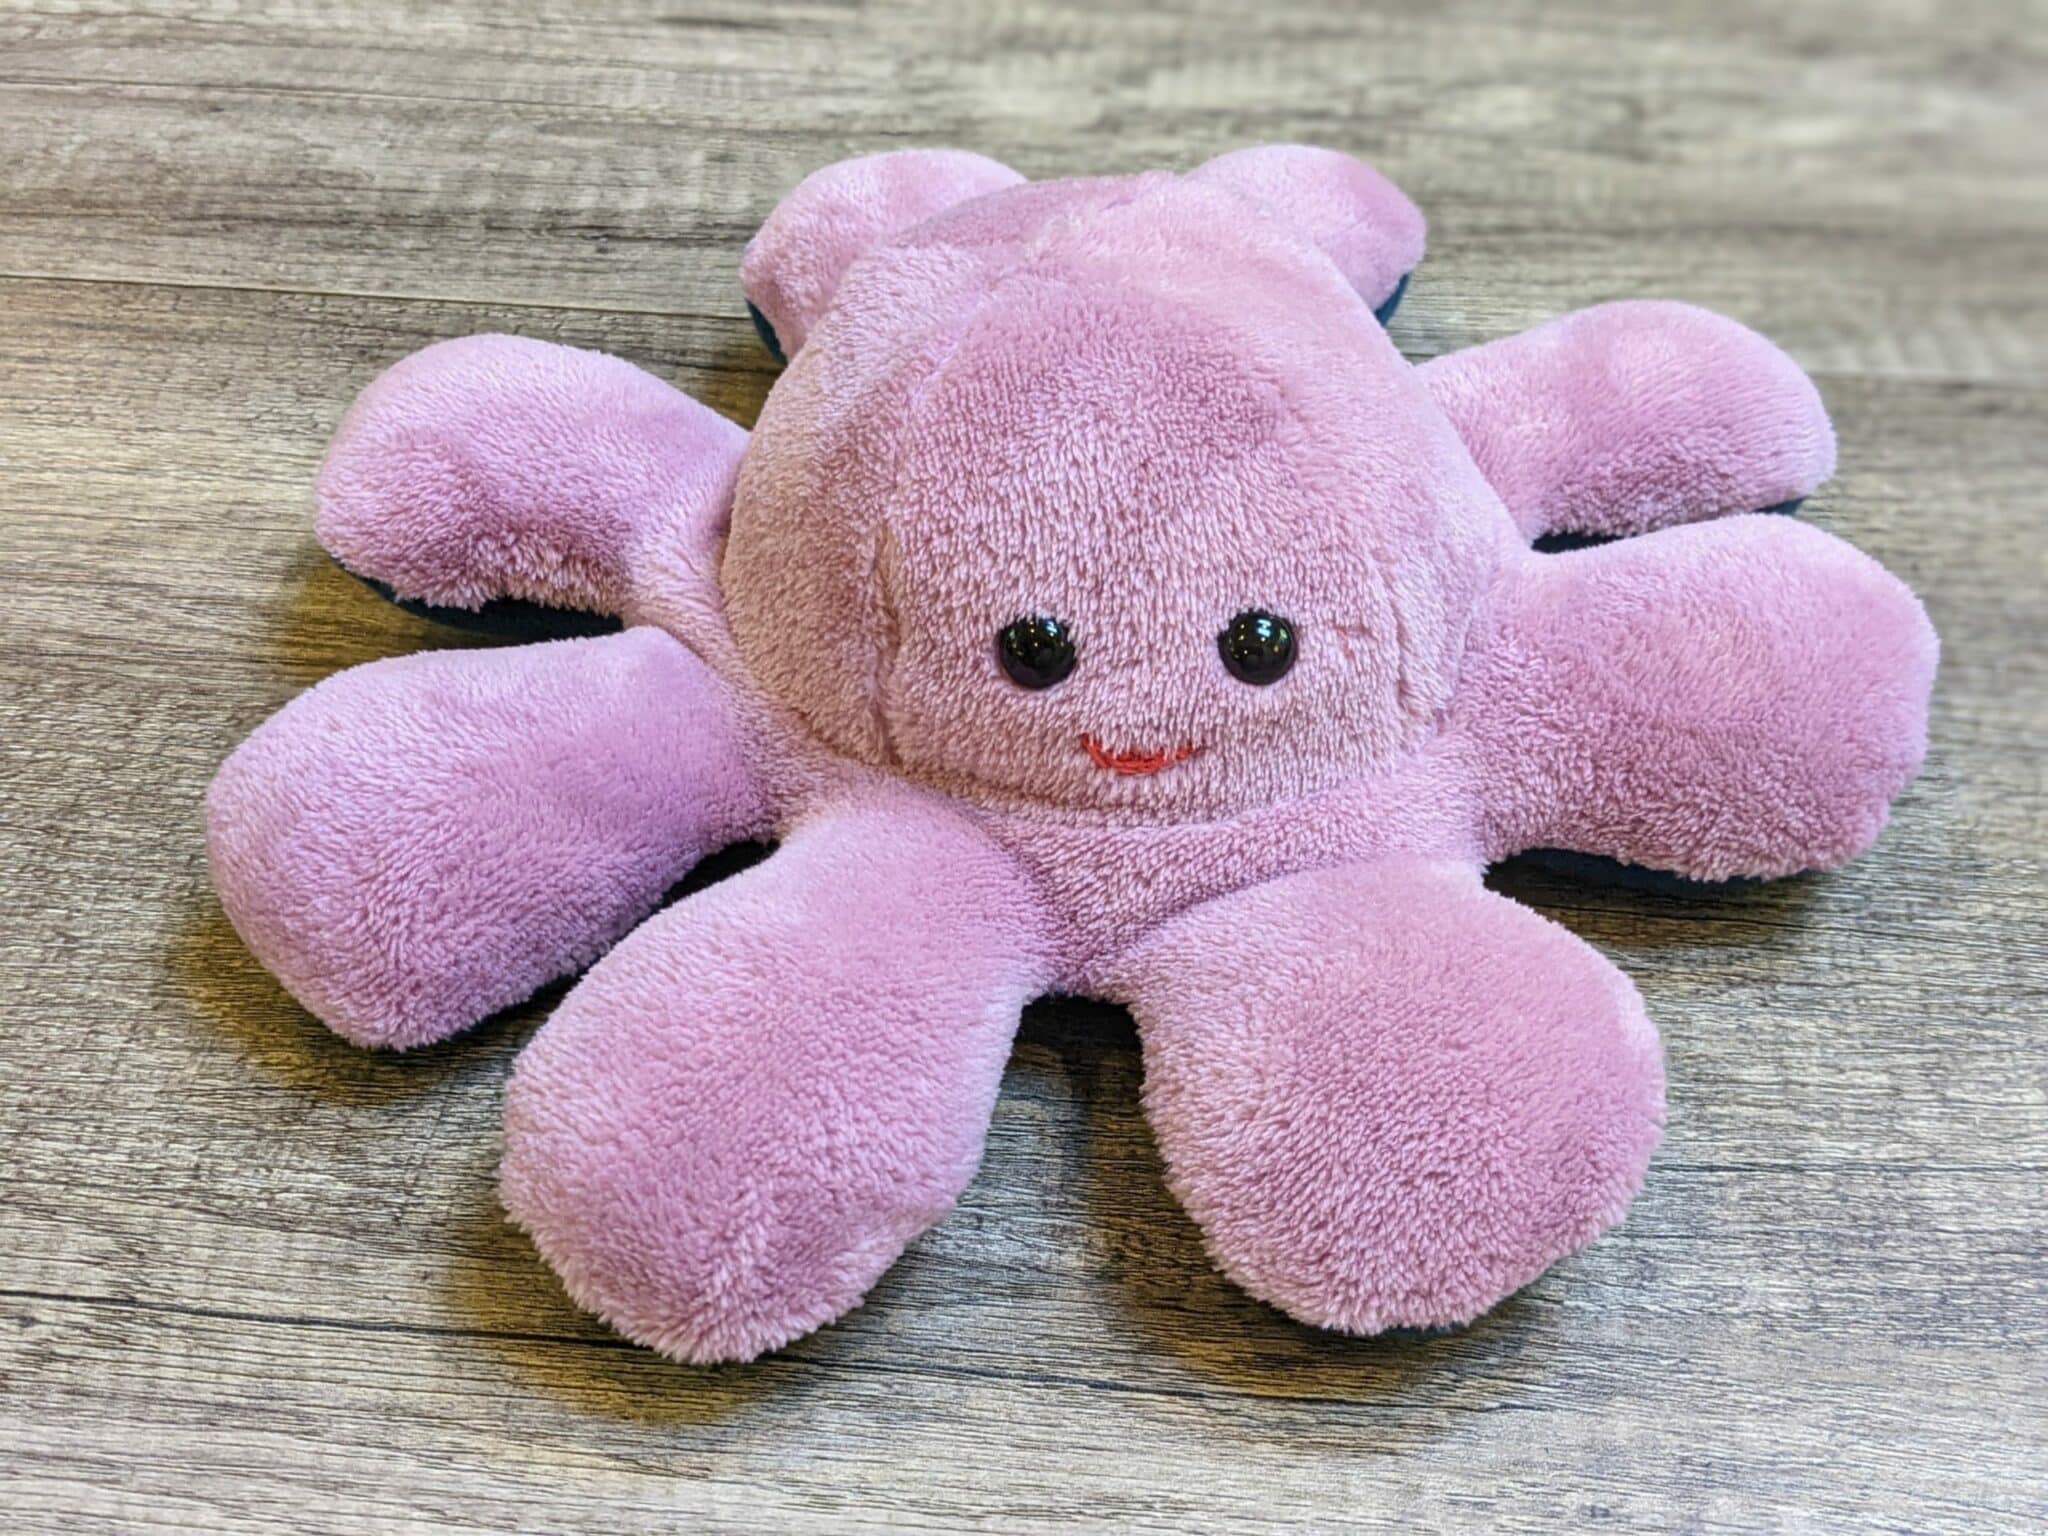
While listening to the radio last week I heard that there are just about 100 days left until Christmas. I try to make some handmade gifts every year and thought it could be fun to make some type of stuffed animal. I decided on a reversible octopus because it seems like something most people would find cute, and I love that you can flip it back and forth to give it different facial expressions. There is also a template provided for you to download and print.
Supplies:
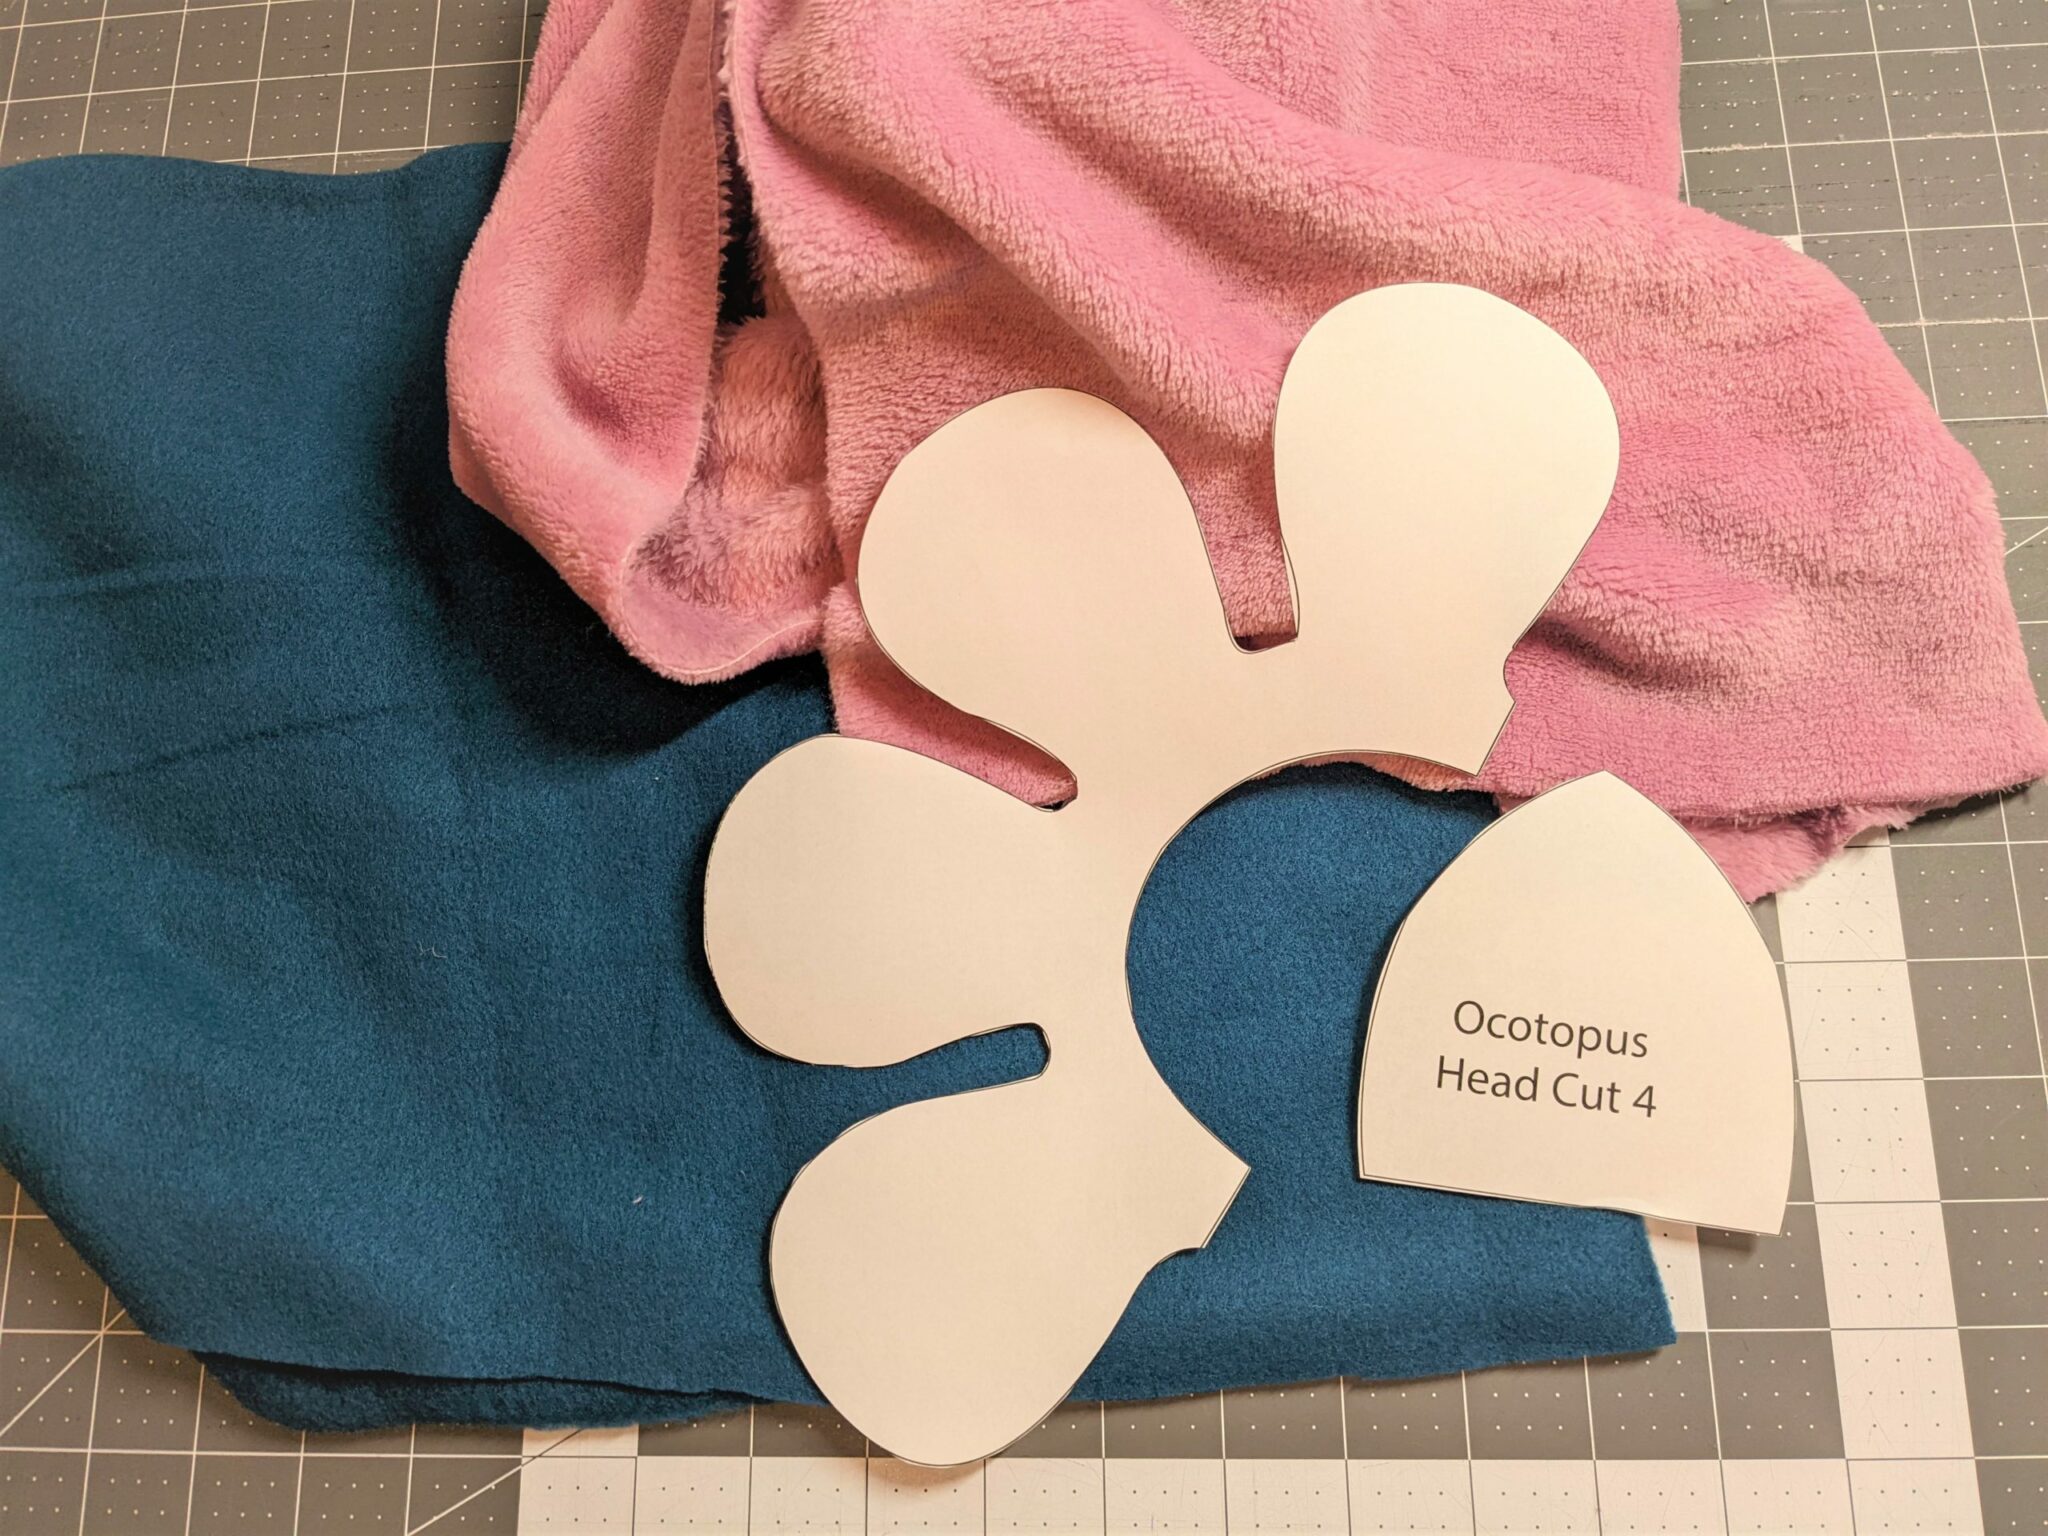
- Download and print, and cut the octopus body and head templates
- Two colors of fleece
- Sewing machine and basic sewing supplies
- Fiber-fil stuffing
- Facial feature options: safety eyes, embroidery floss, fabric paint, etc.
- Note: If you are making this as a gift for a young child be sure to research safety guidelines regarding stuffed toys.
Octopus Body
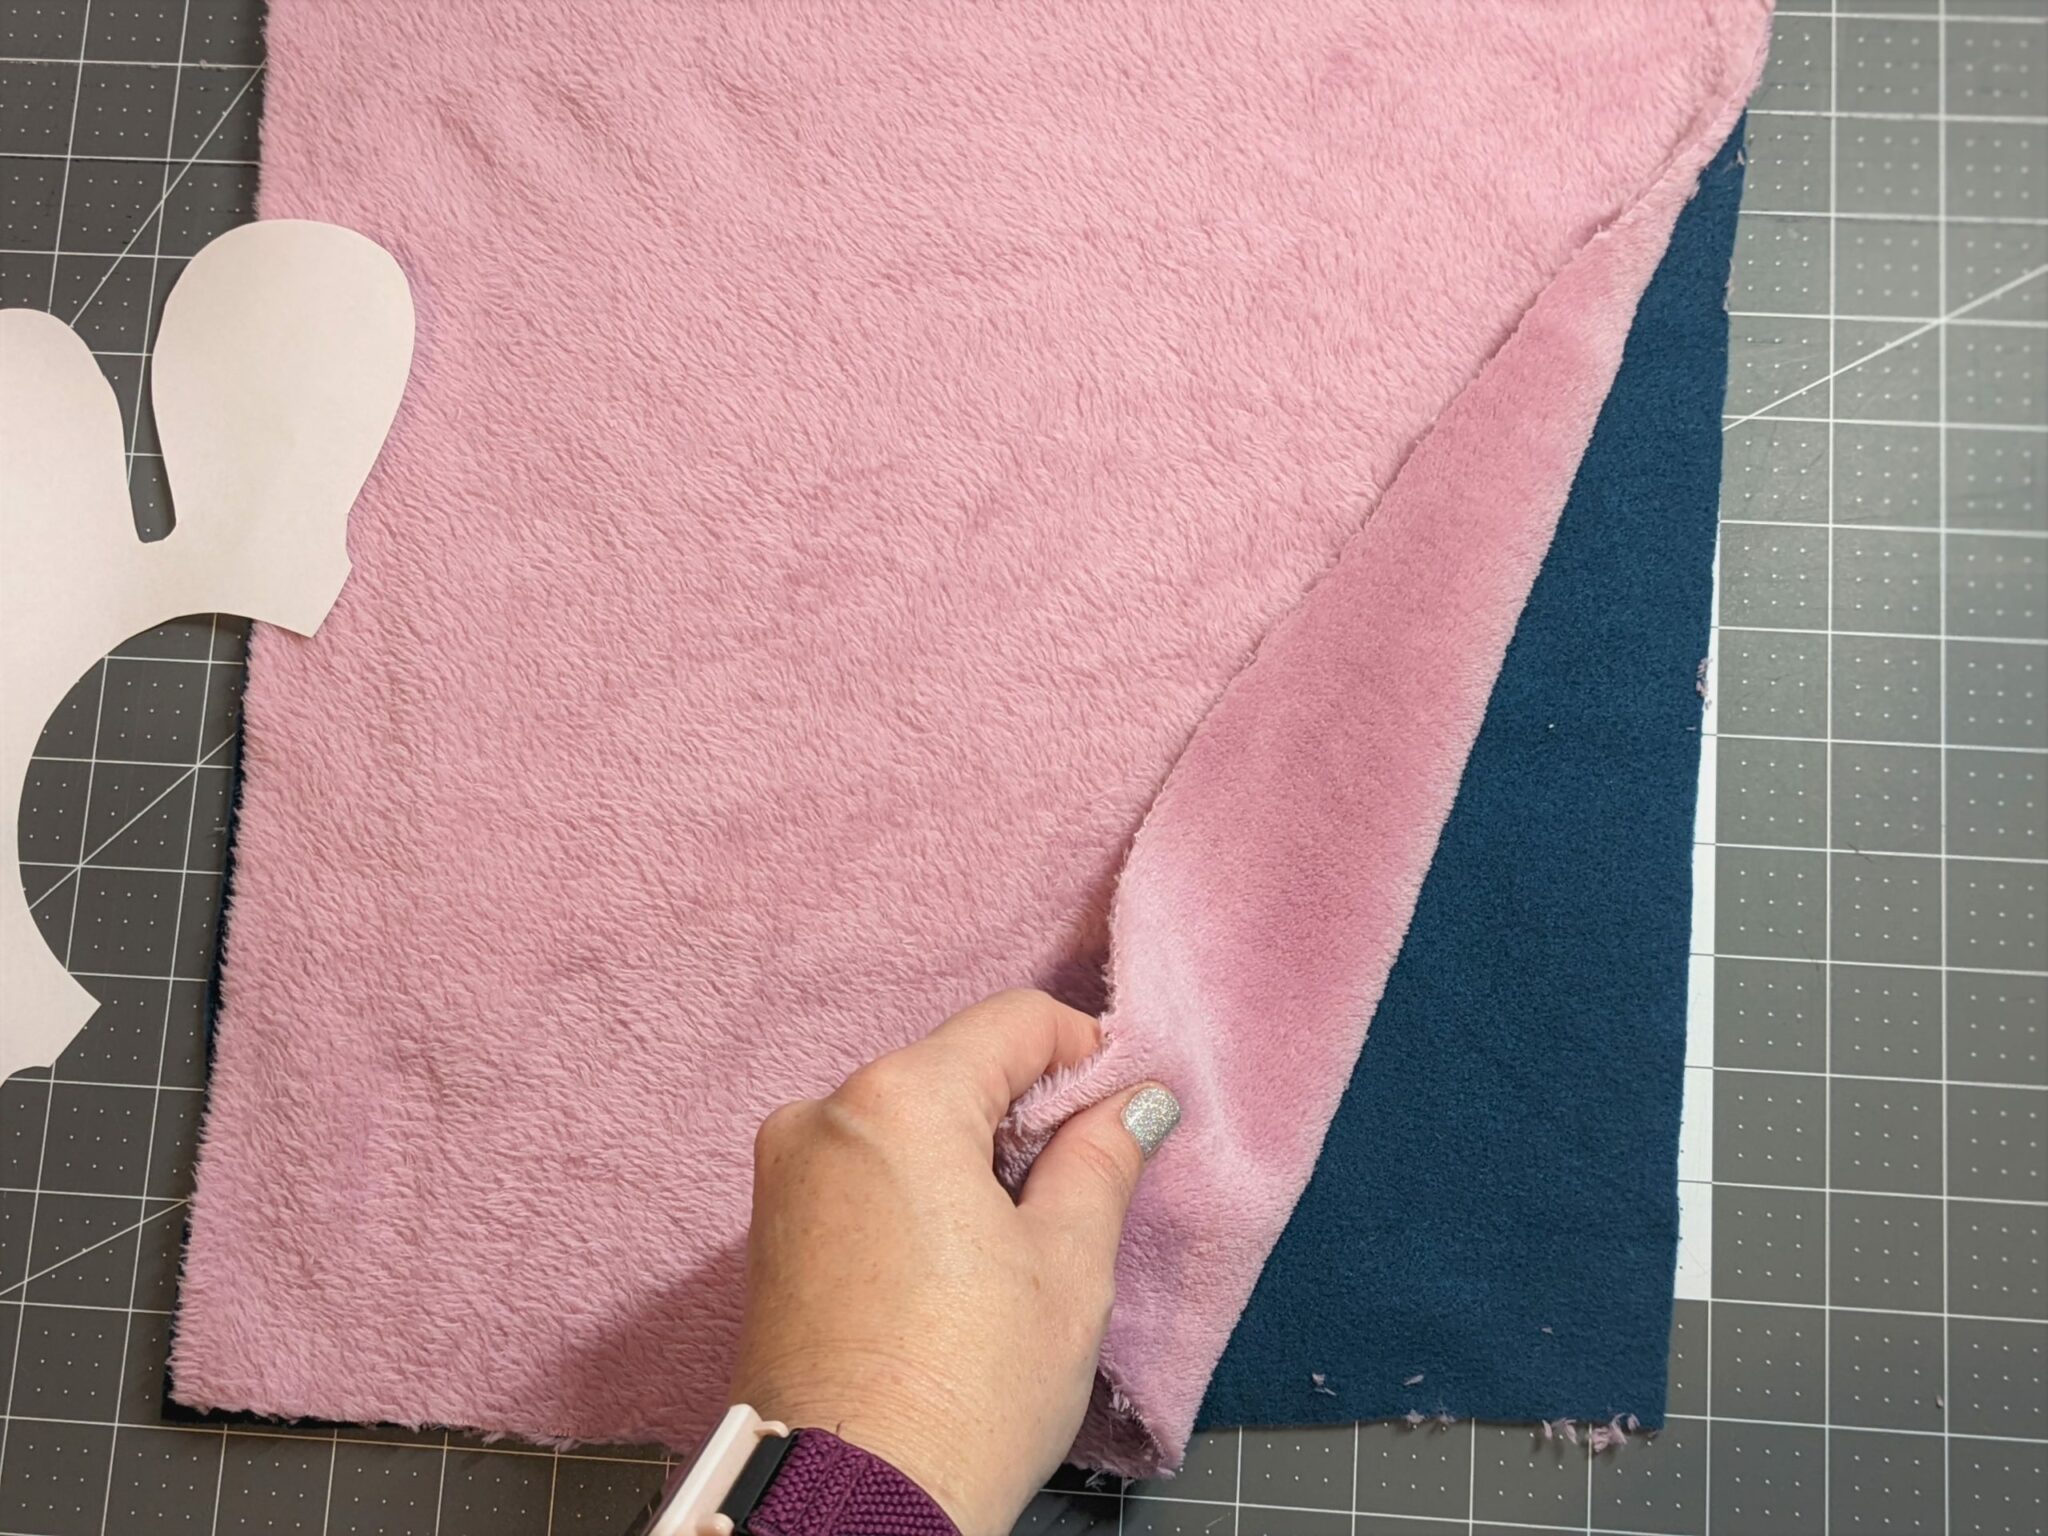
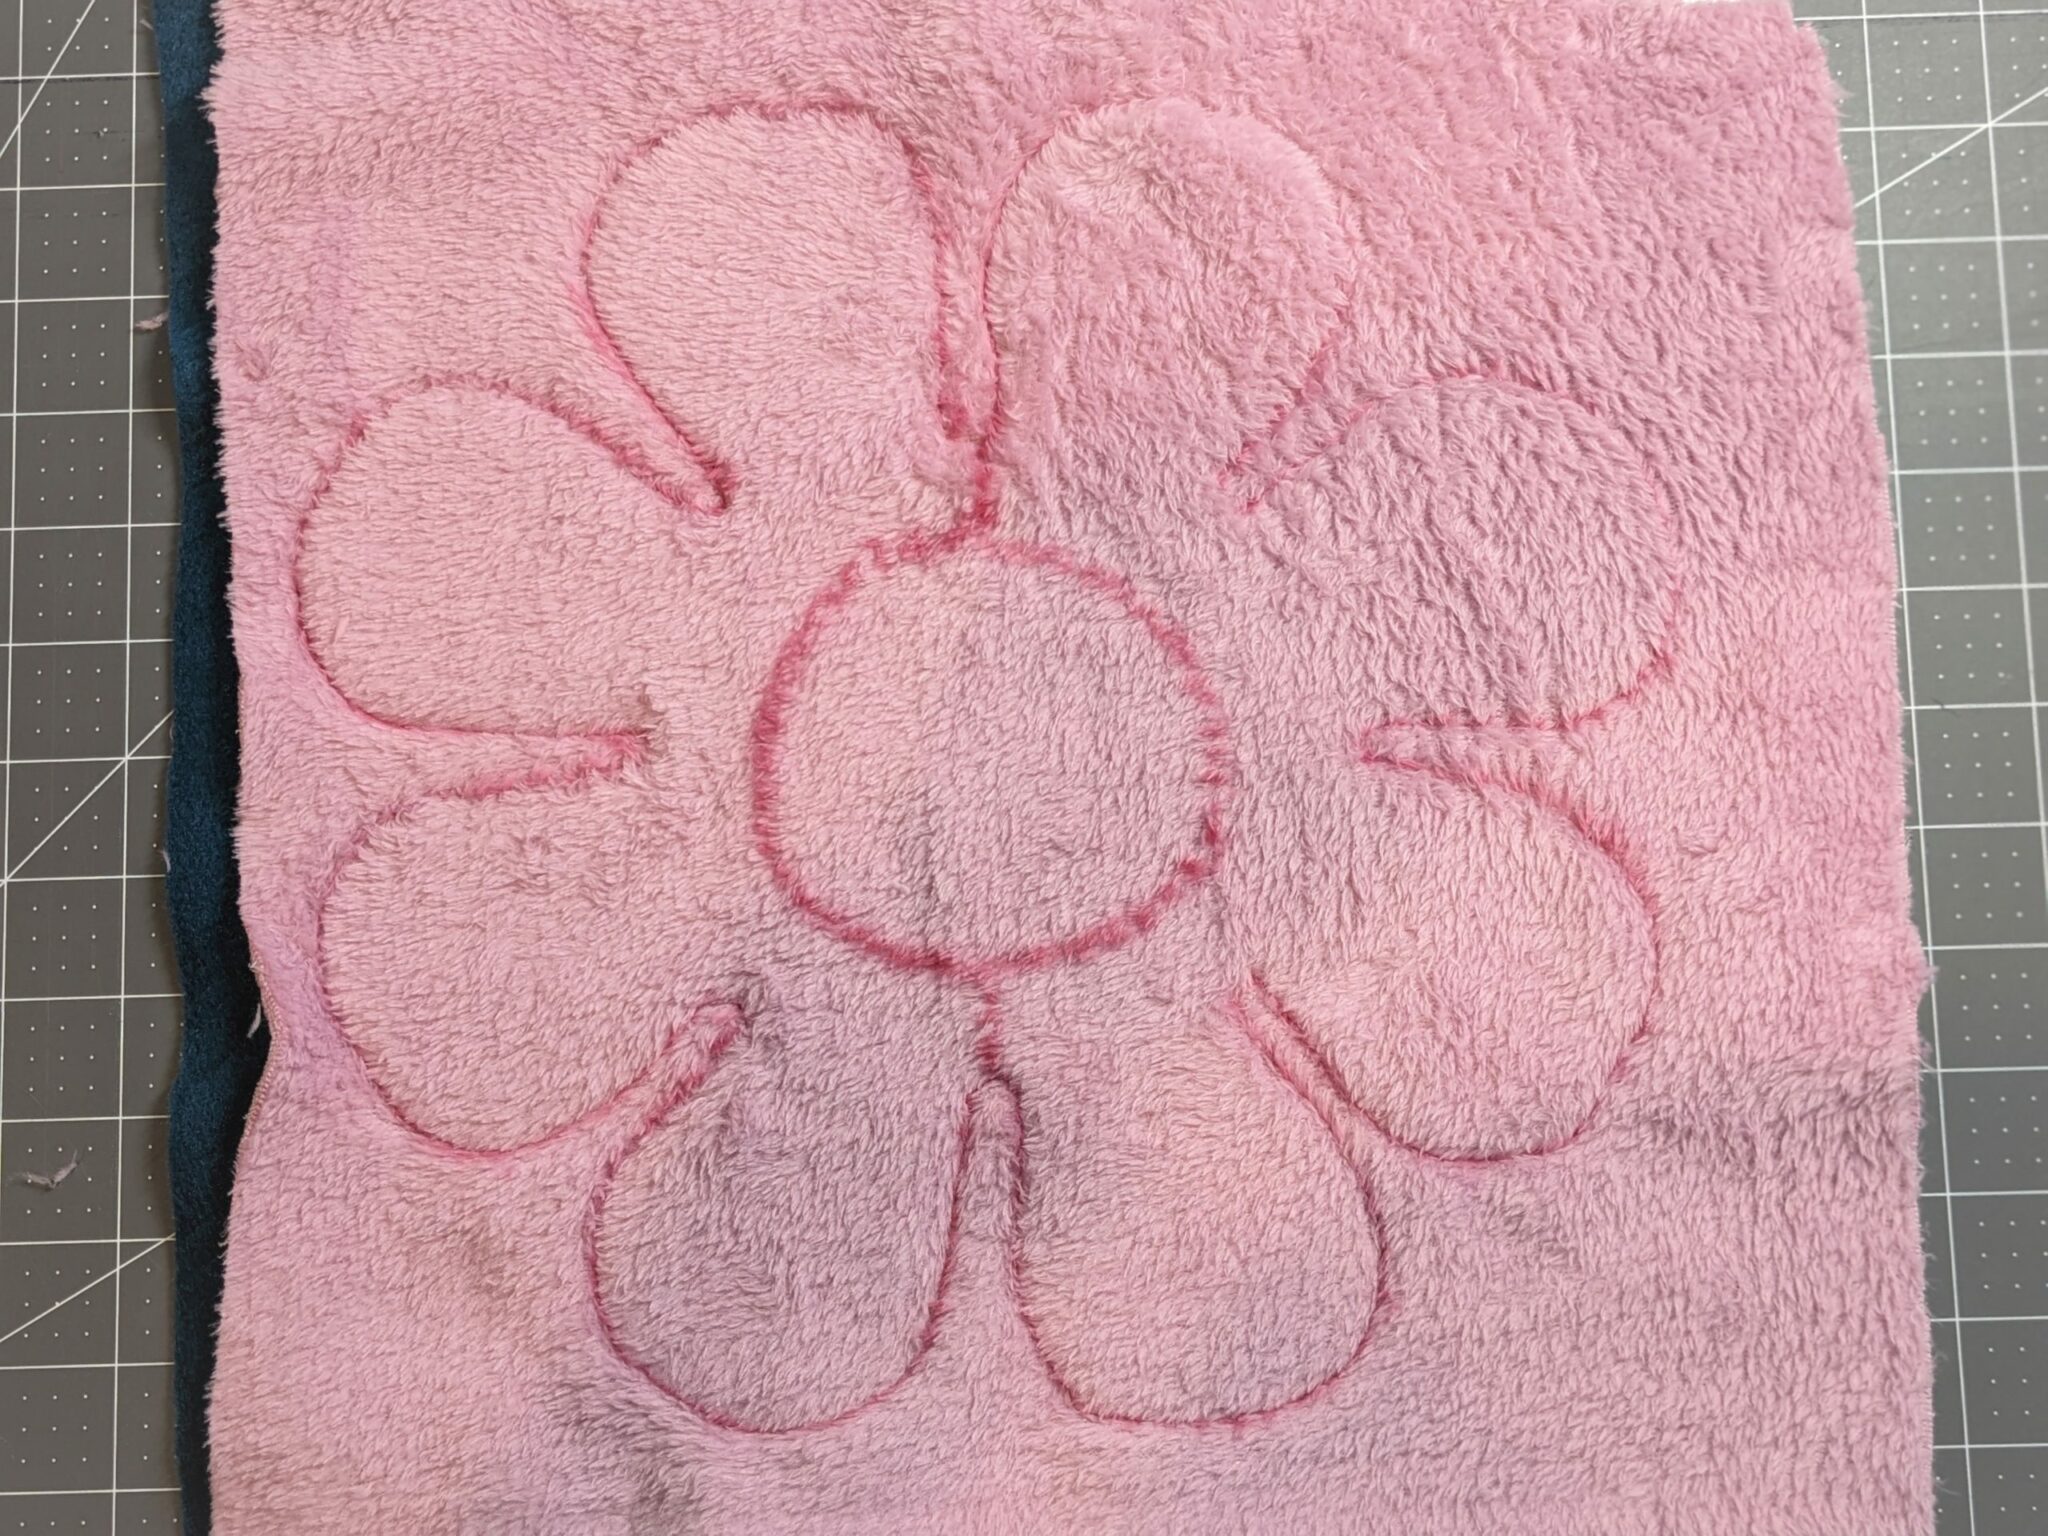
- Cut out a square of each of your colors of fleece large enough for 2 mirrored pieces of the octopus body.
- Stack them right sides together and pin them in a few places around the edges.
- Place the octopus body template on top of one side of your fleece and pin it in place.
- Trace around the entire template with a pen. It does not have to be washable since you are only drawing on the inside and it won’t be seen later.
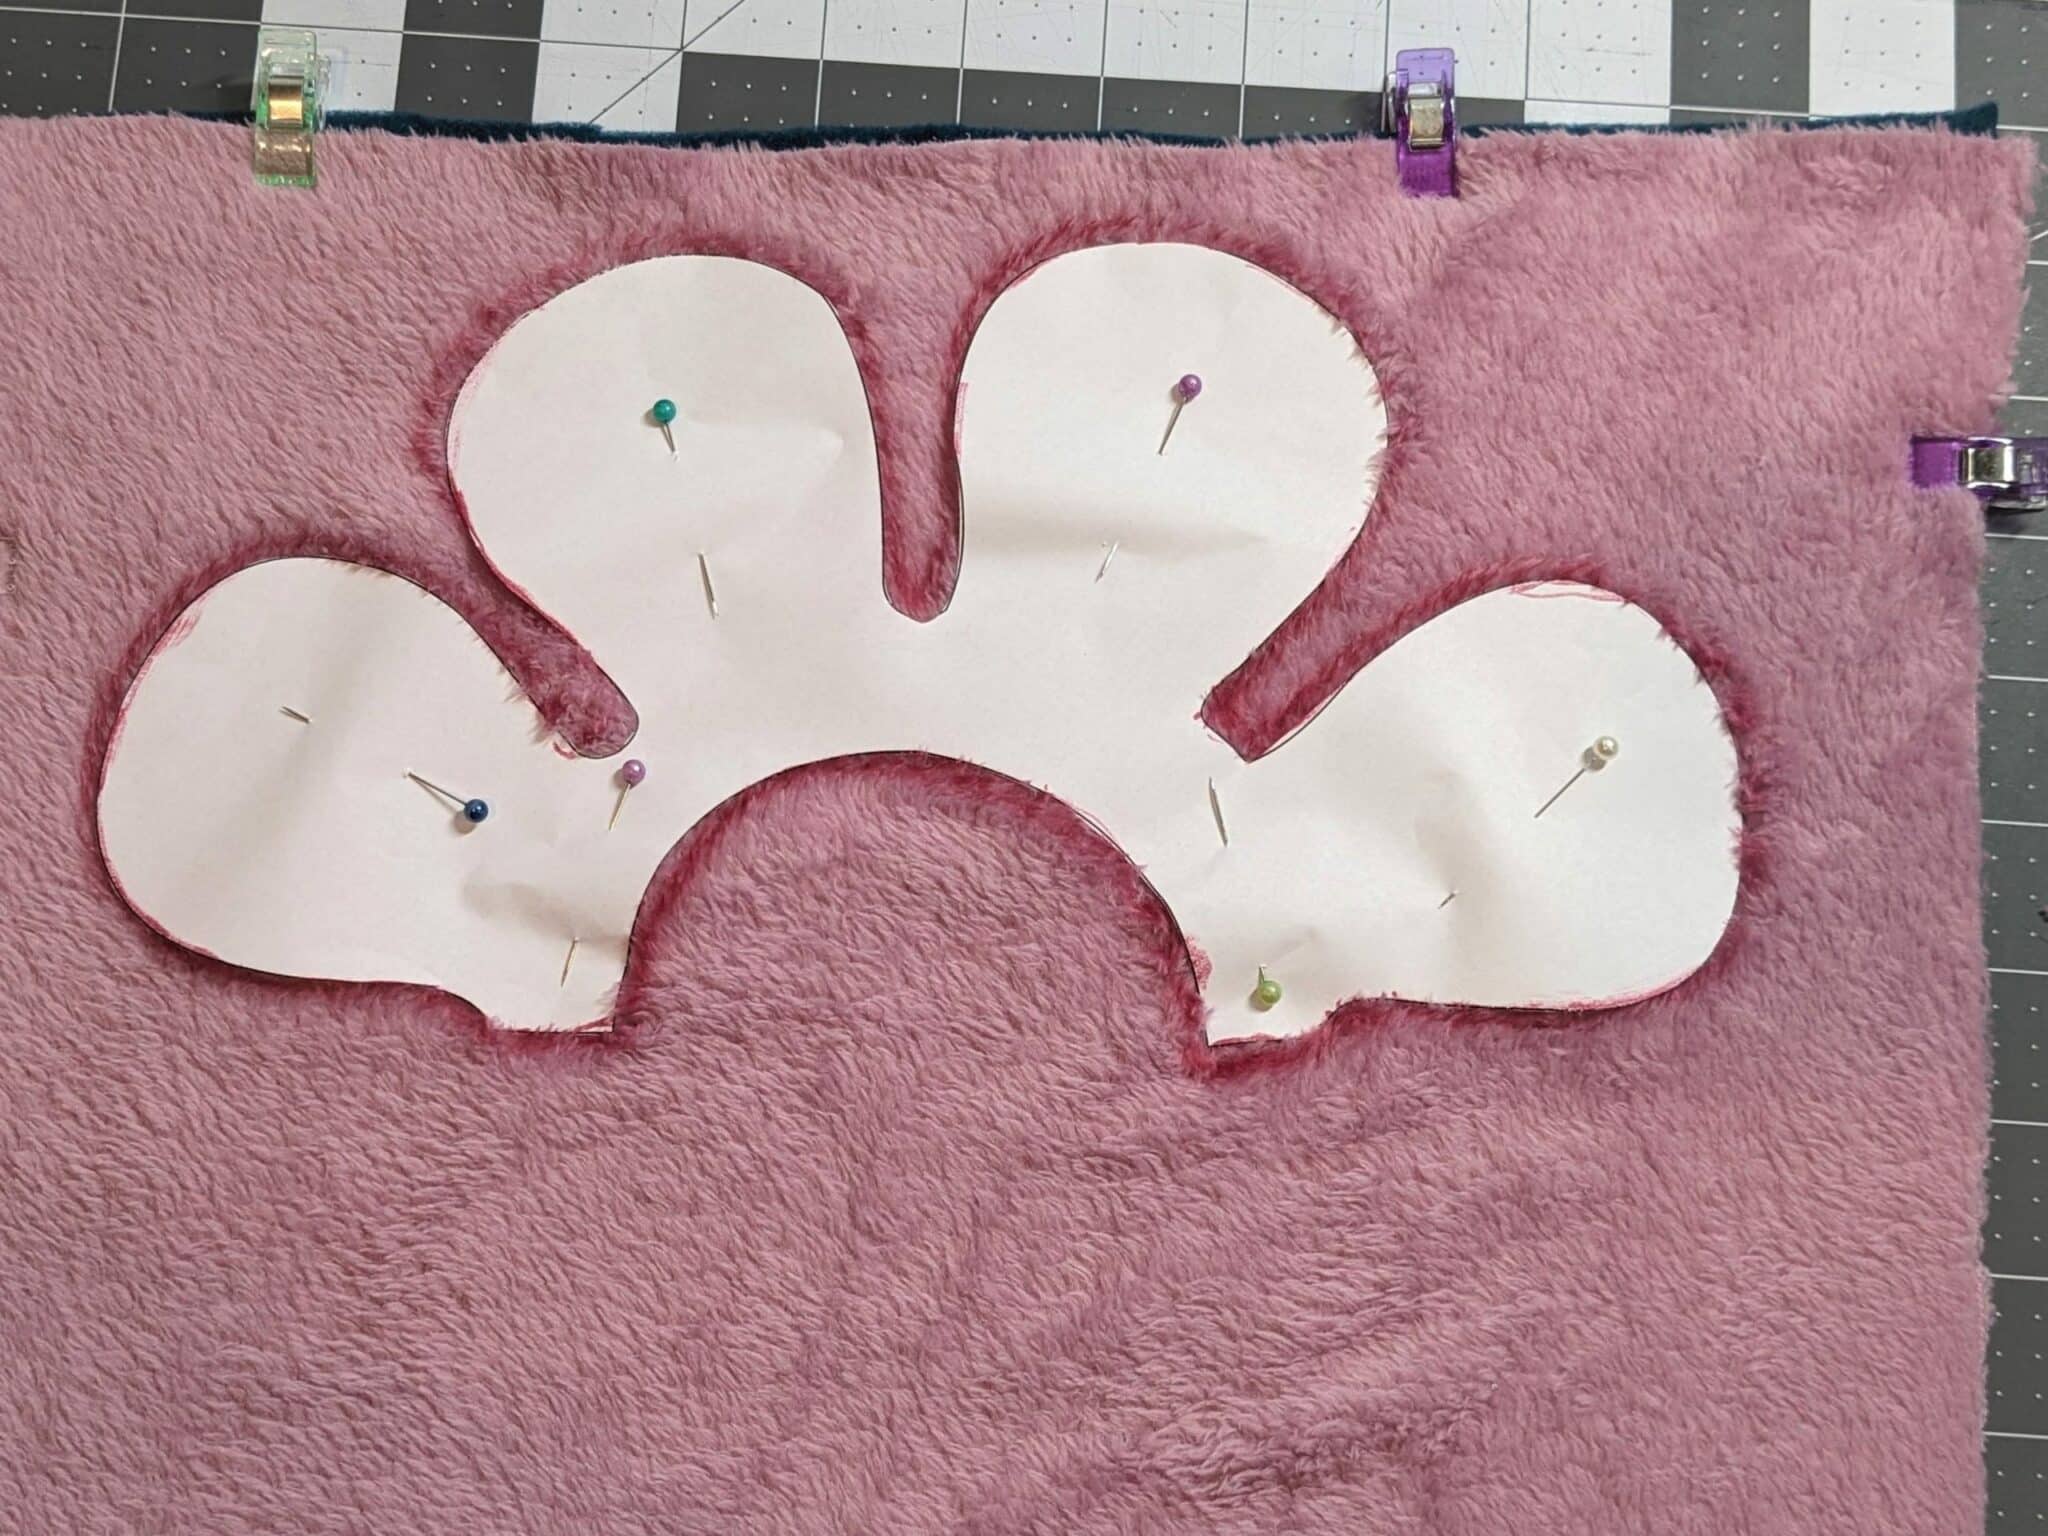
- Pick up the template, flip it over so it mirrors the first half, and line up the edge of the paper with the traced edge.
- Pin the template in place and trace around the full piece.
- Remove the template and set it aside.
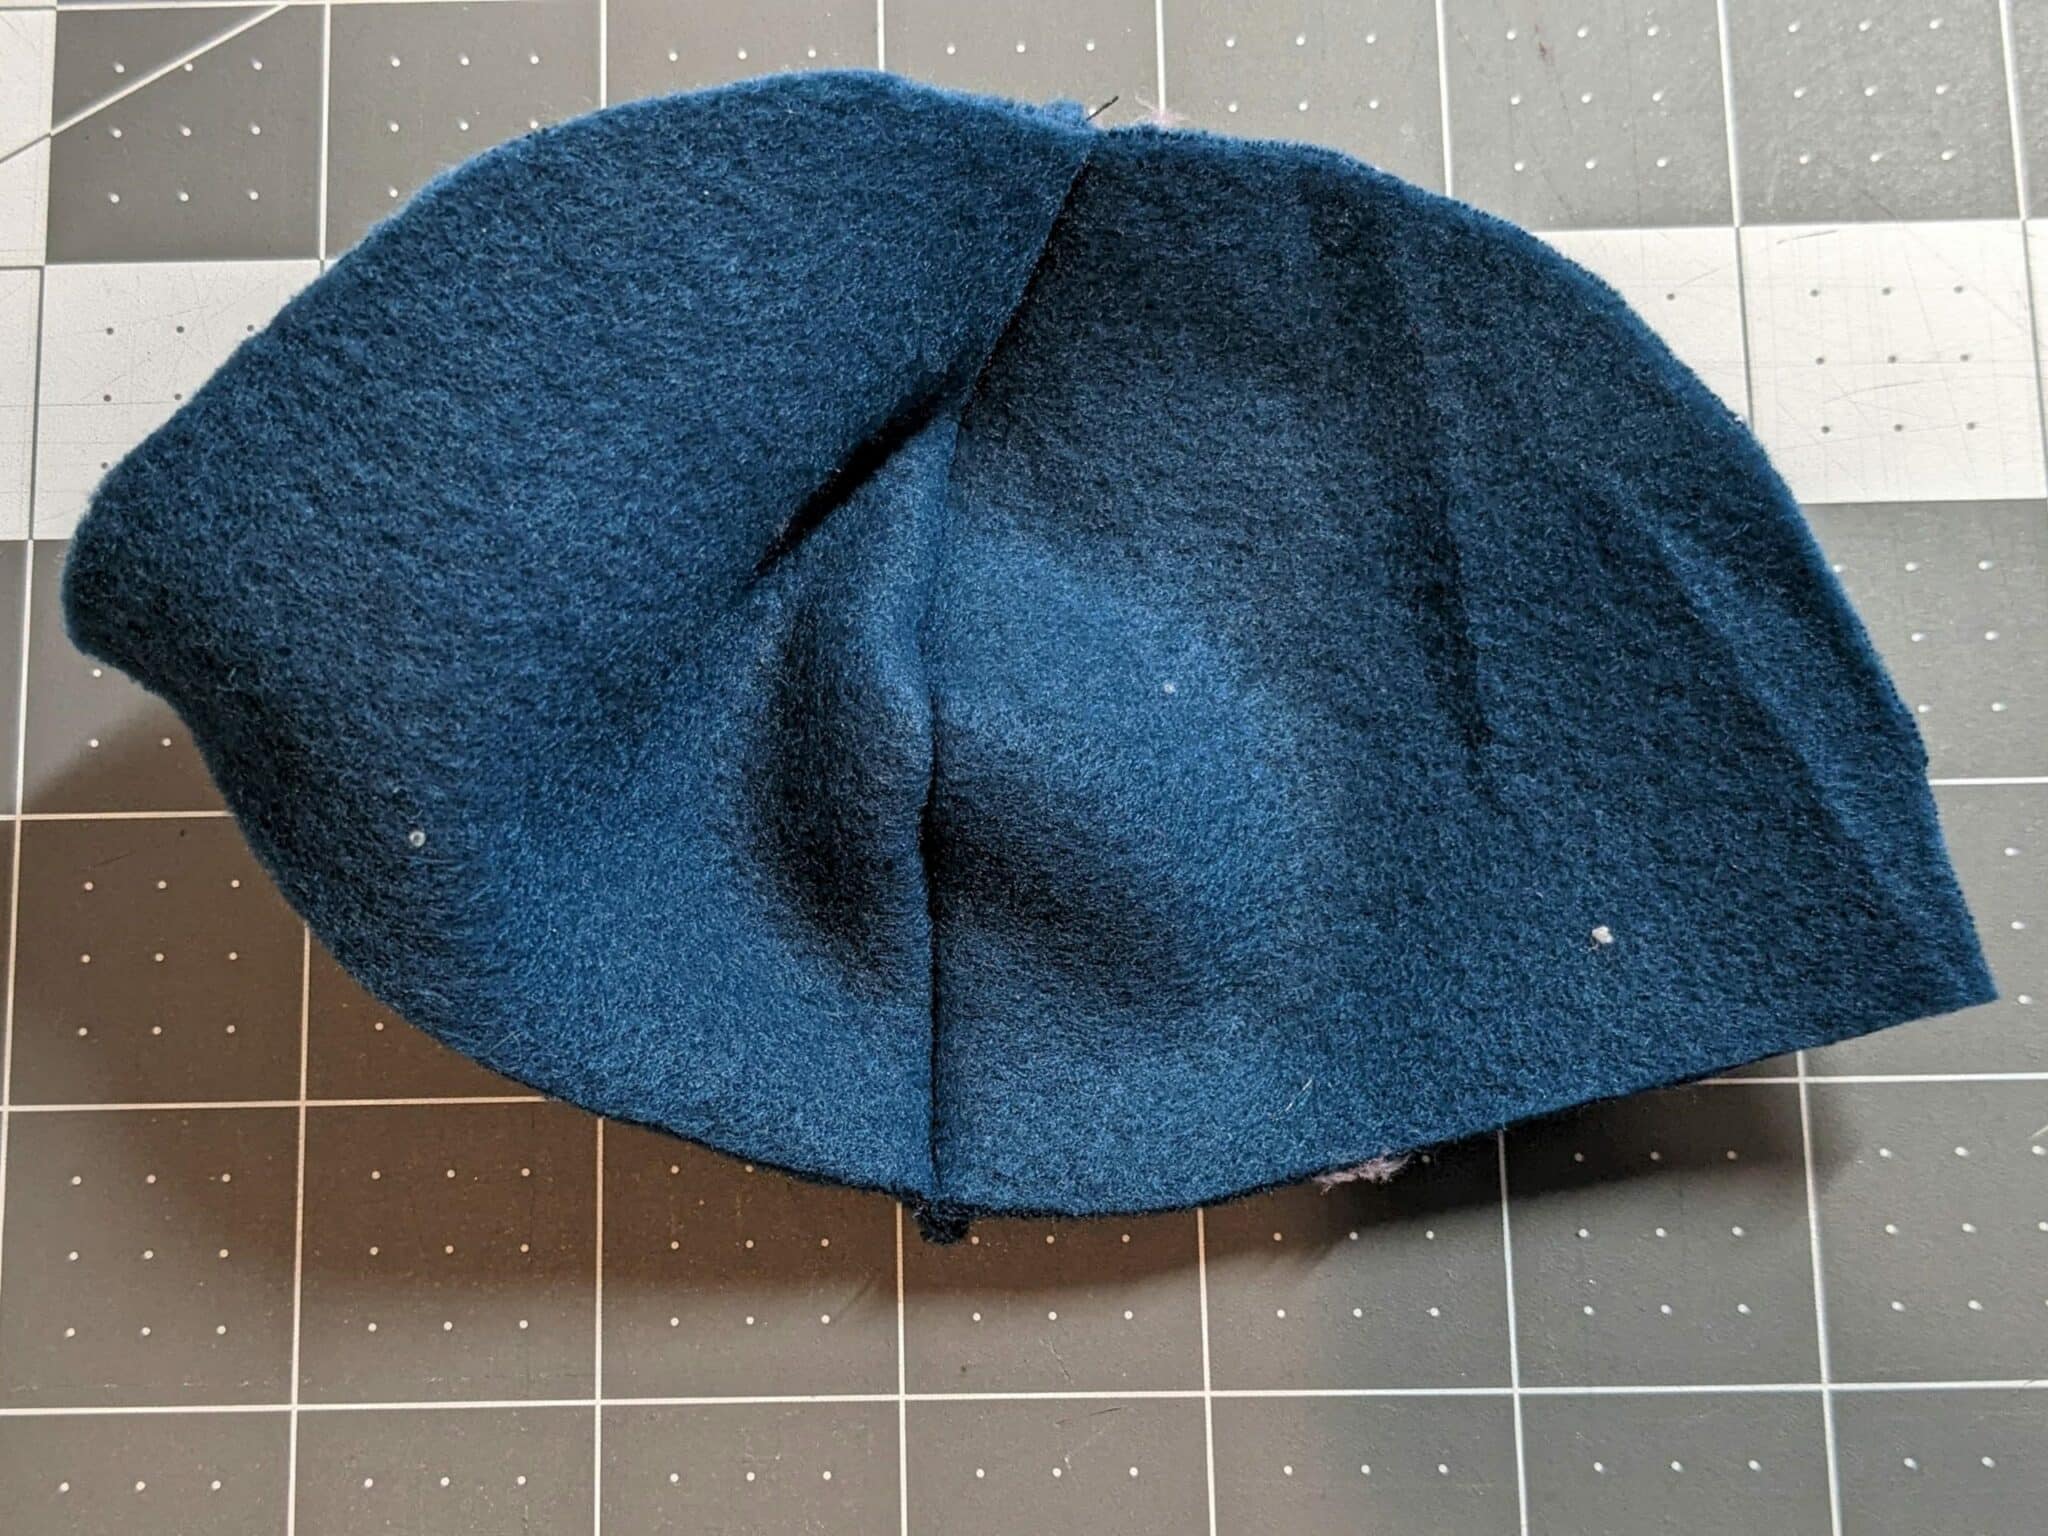
- Pin along the legs through both layers of fleece to secure them together.
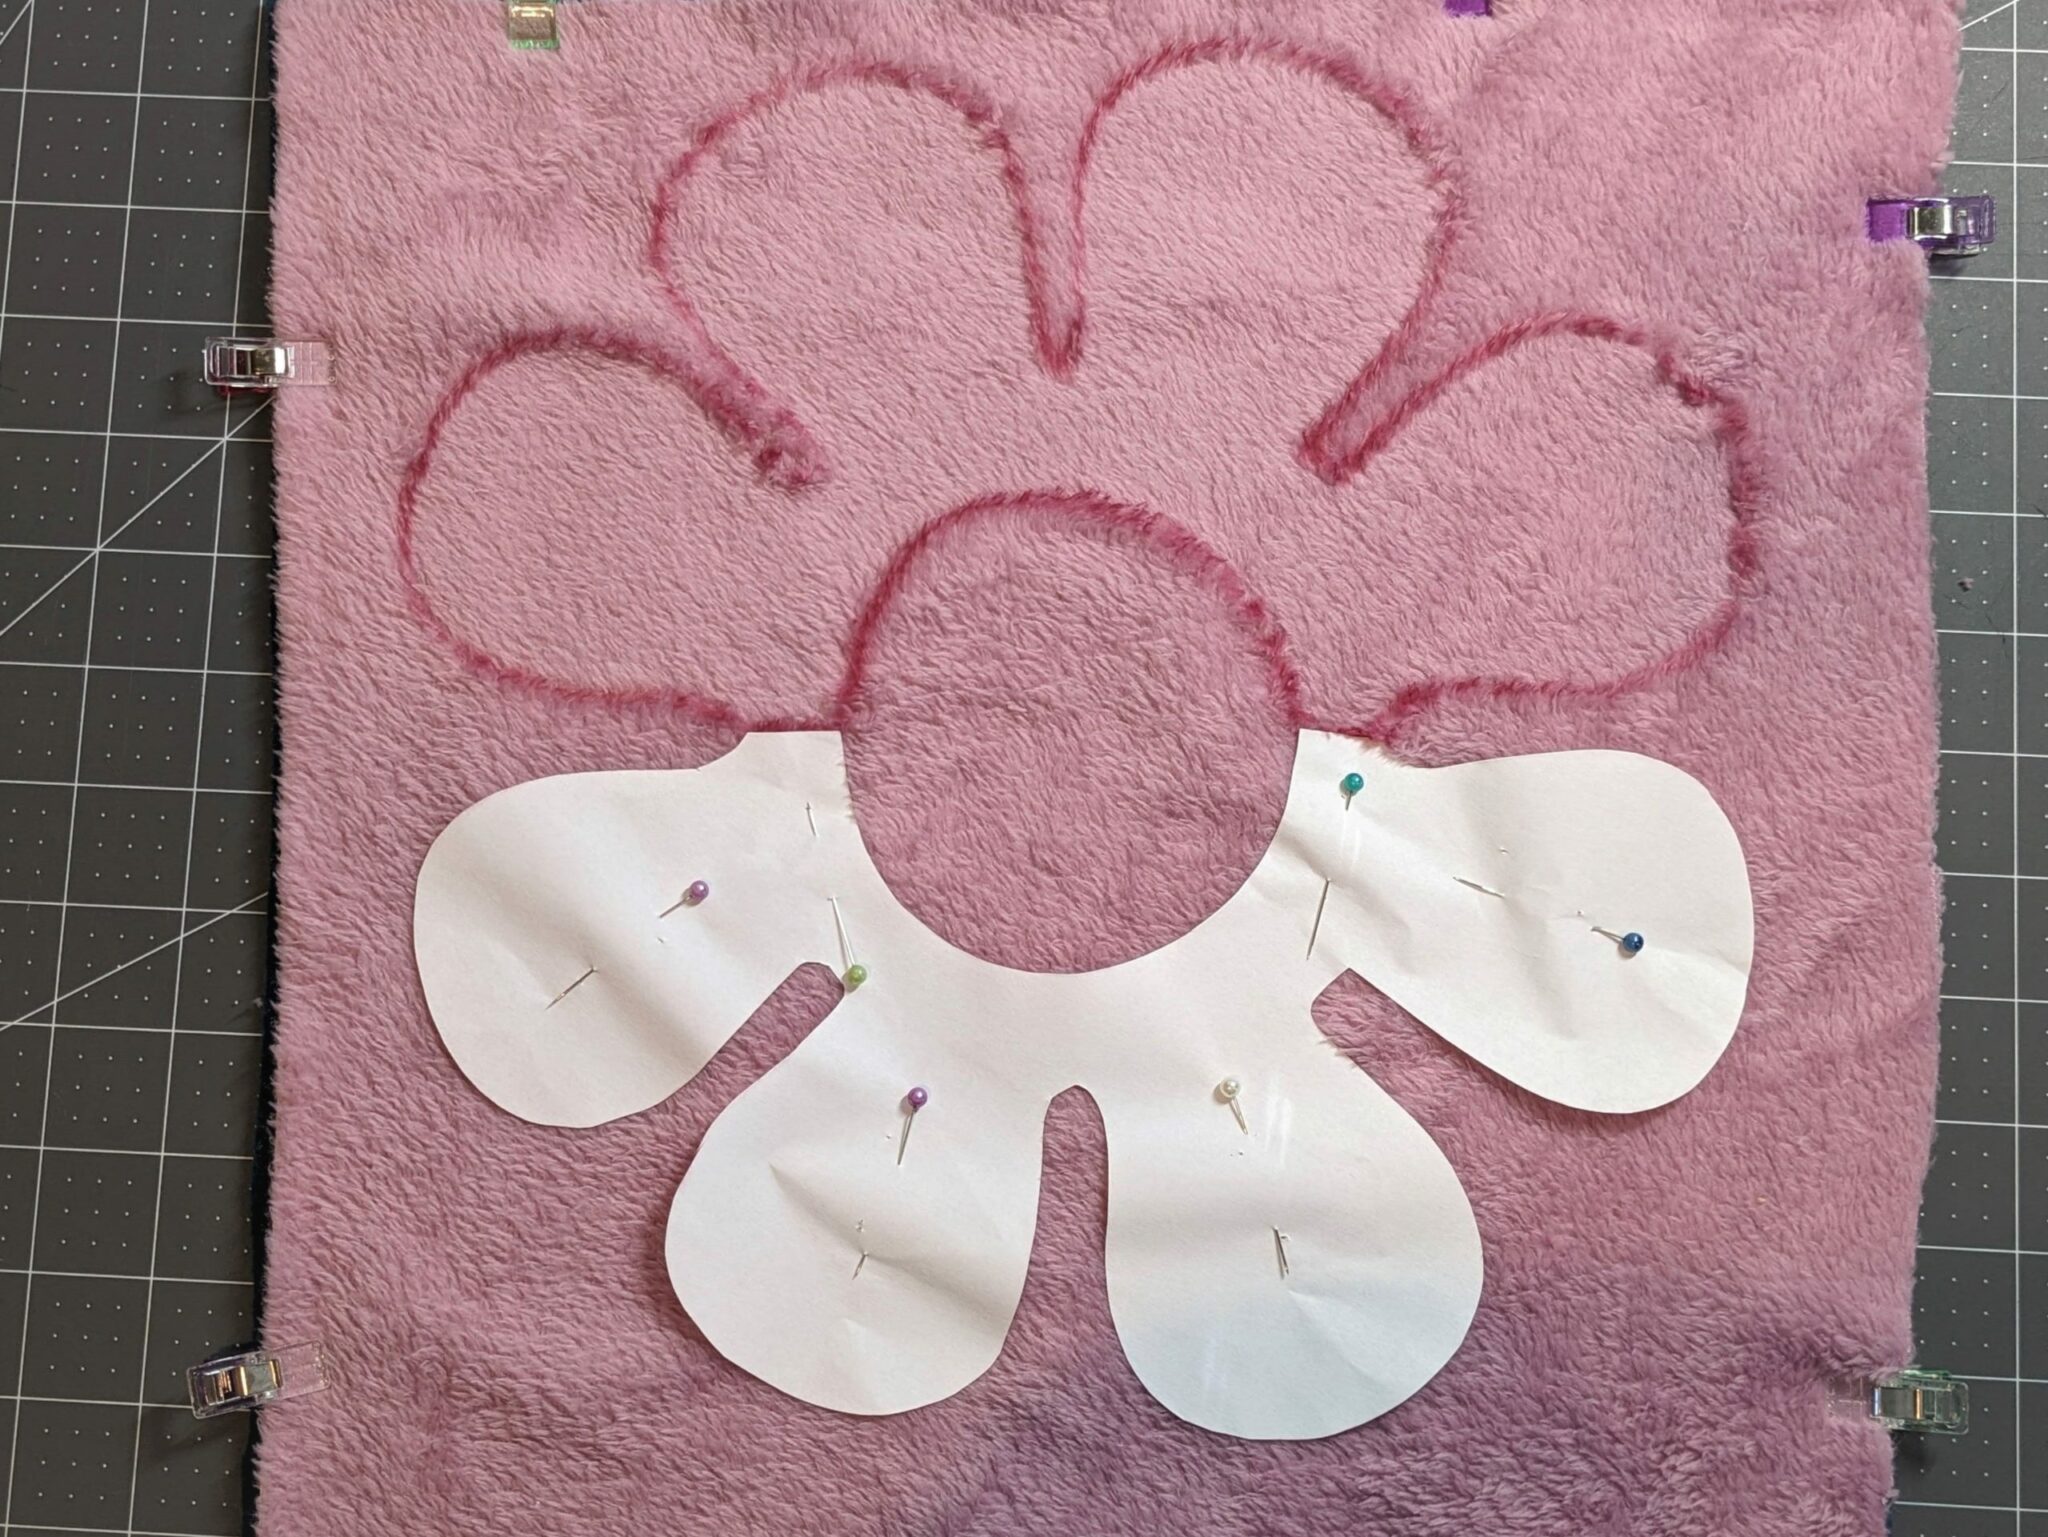
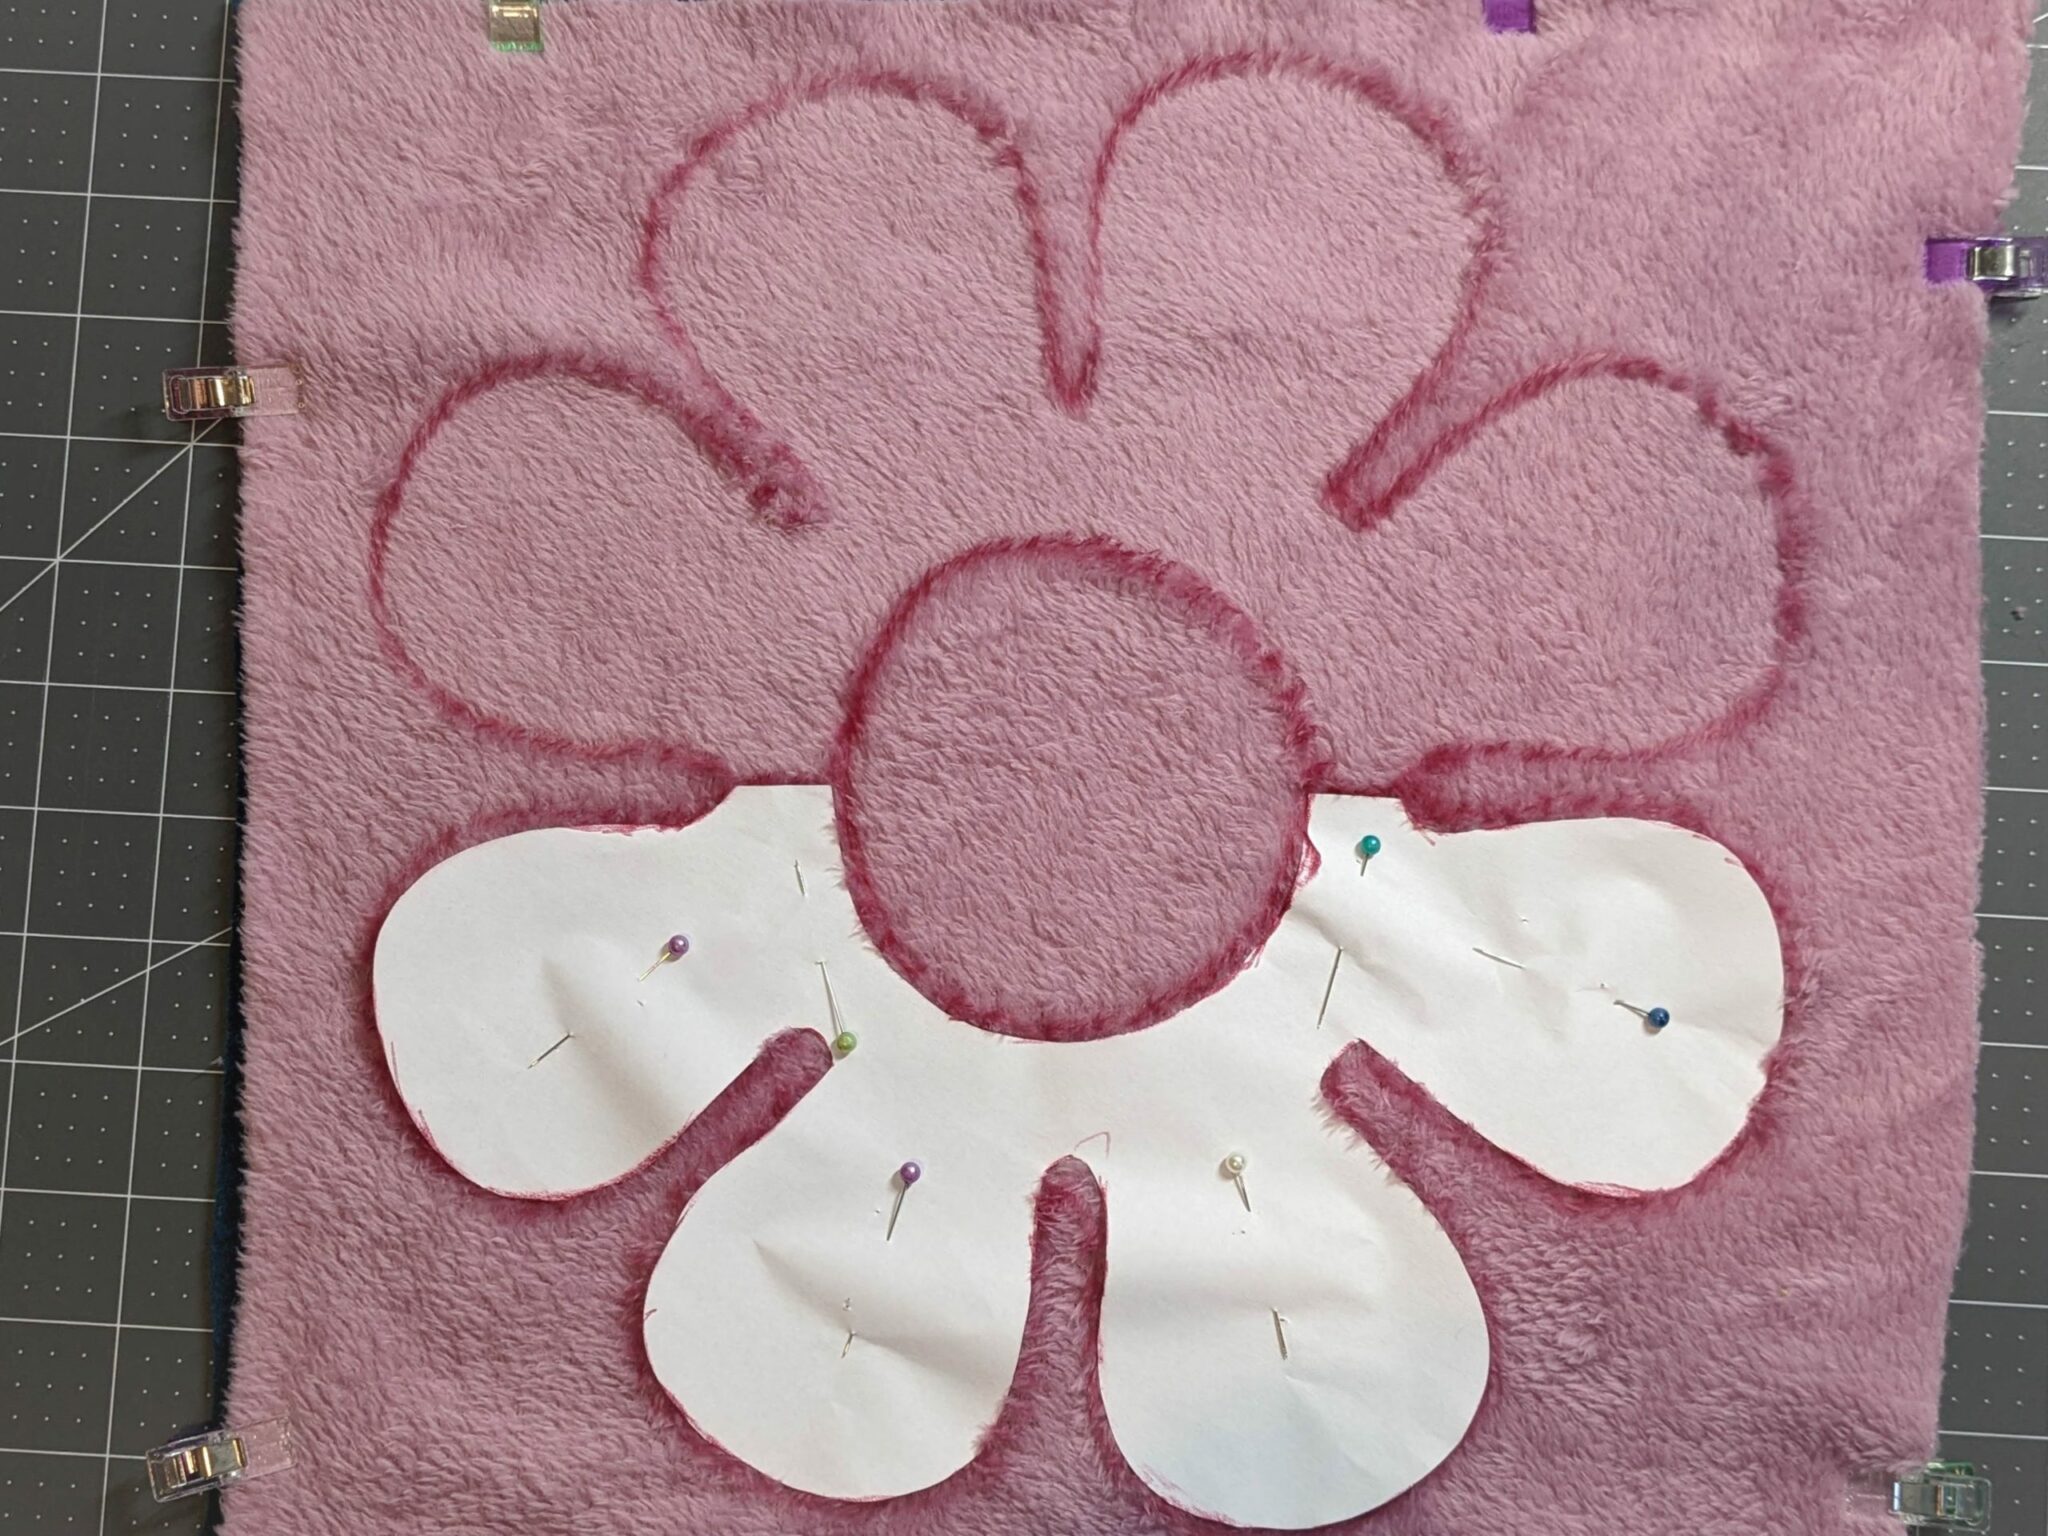
- Sew with a straight stitch along your traced lines ONLY around the outside of the legs. DO NOT sew around the inner circle or the lines where the two halves line up.
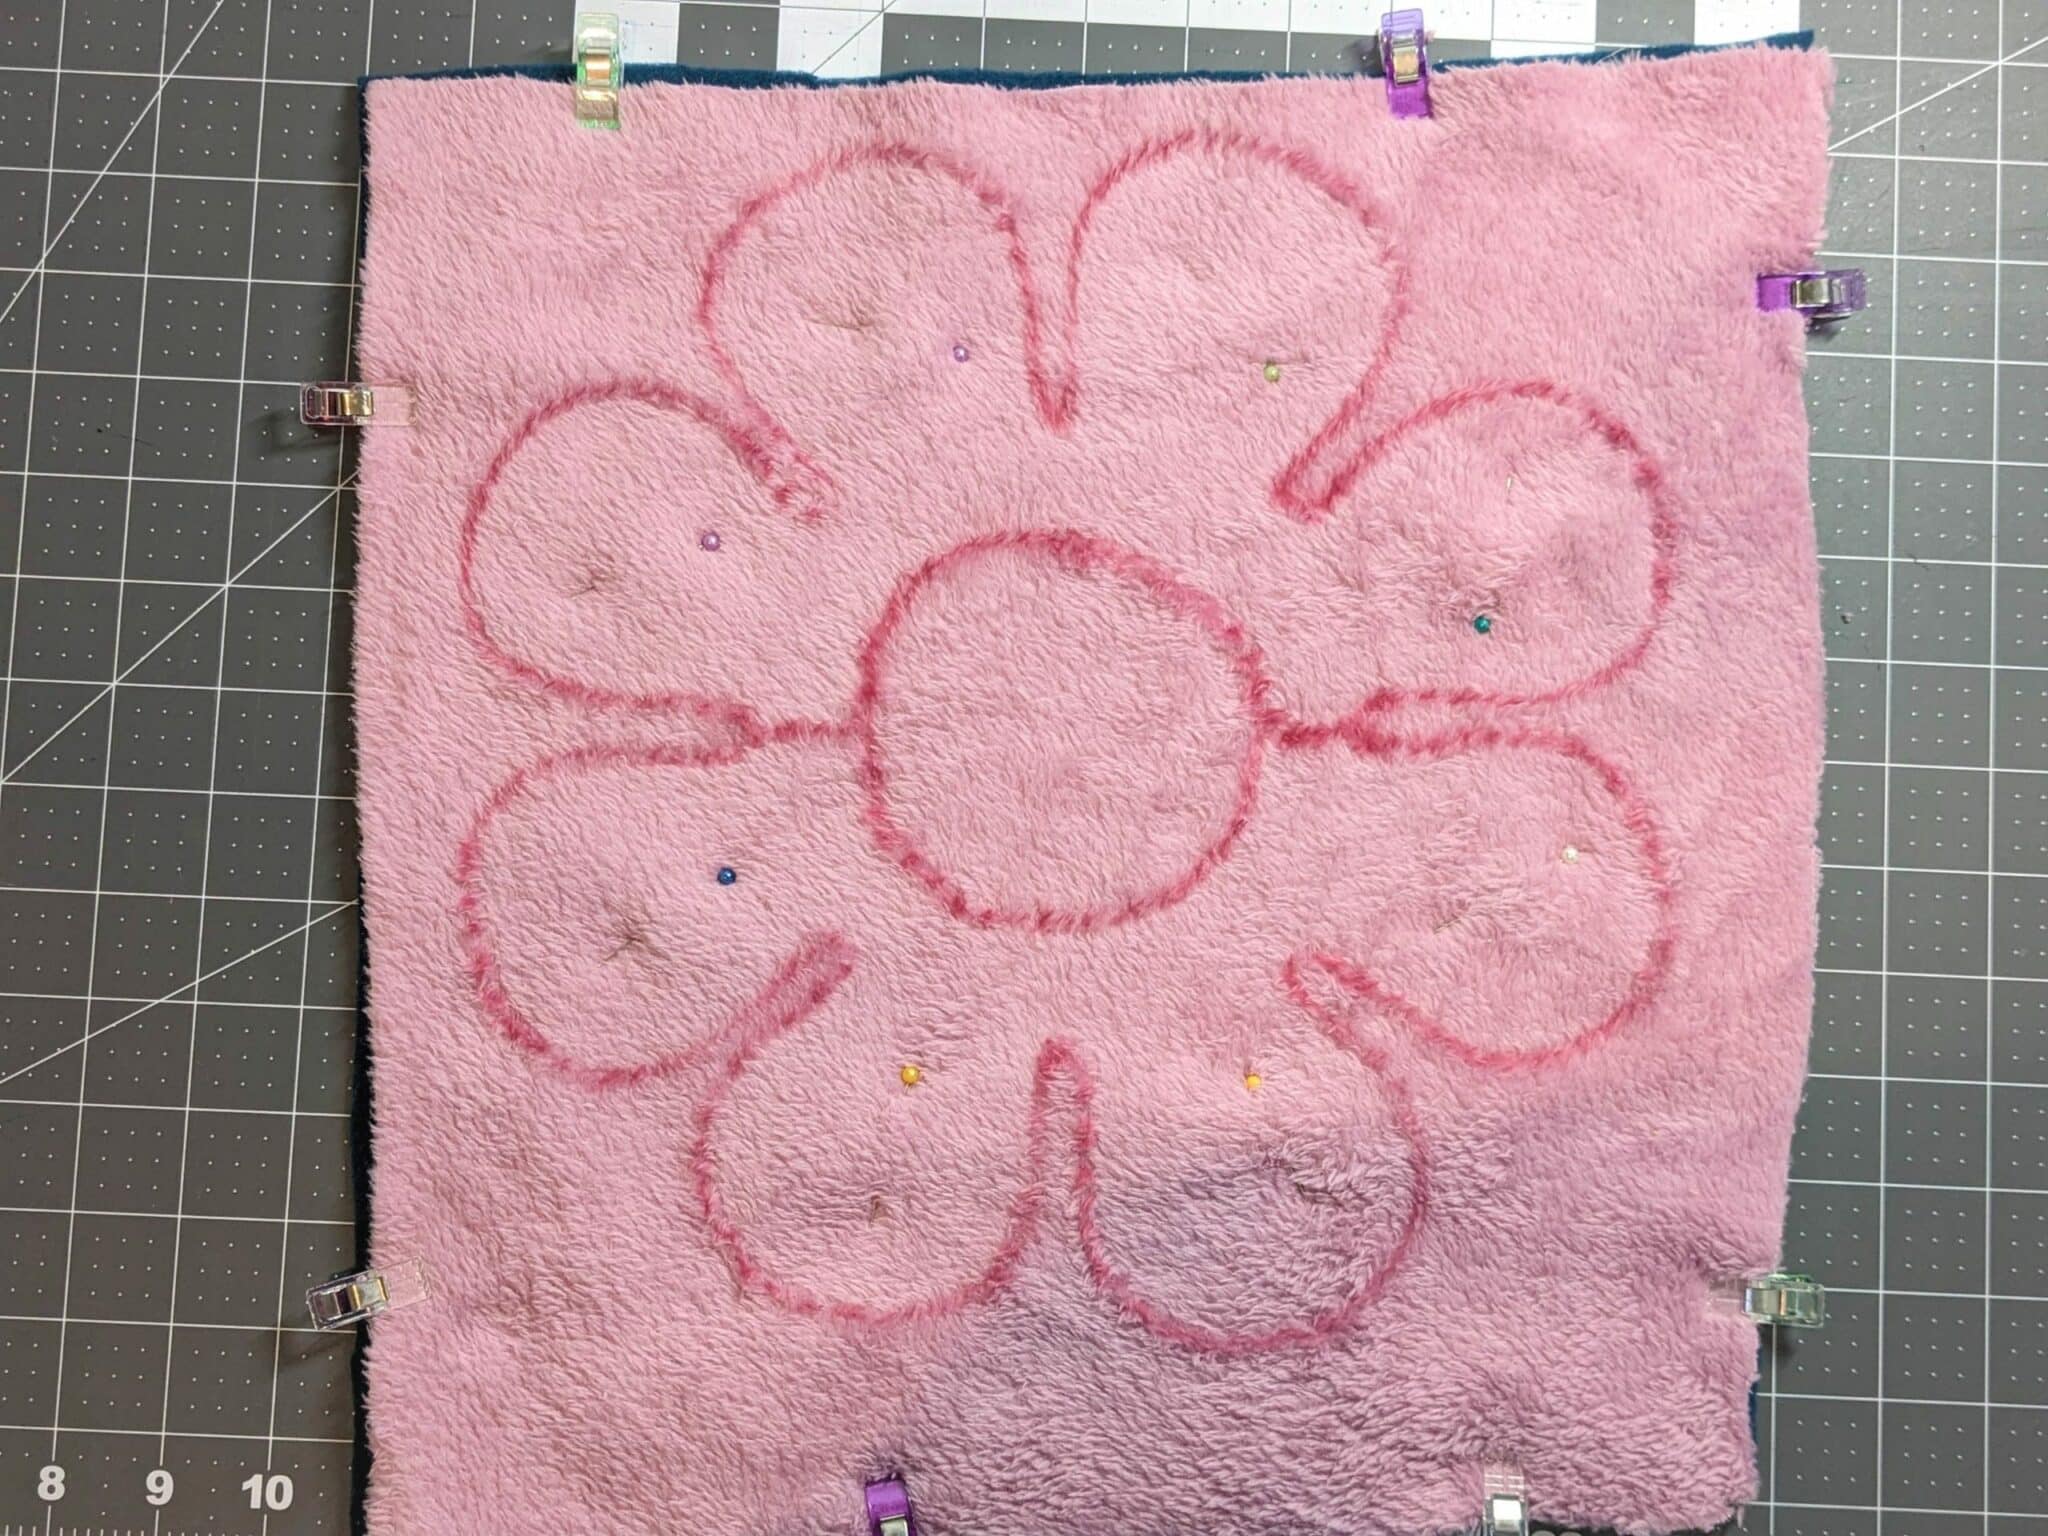
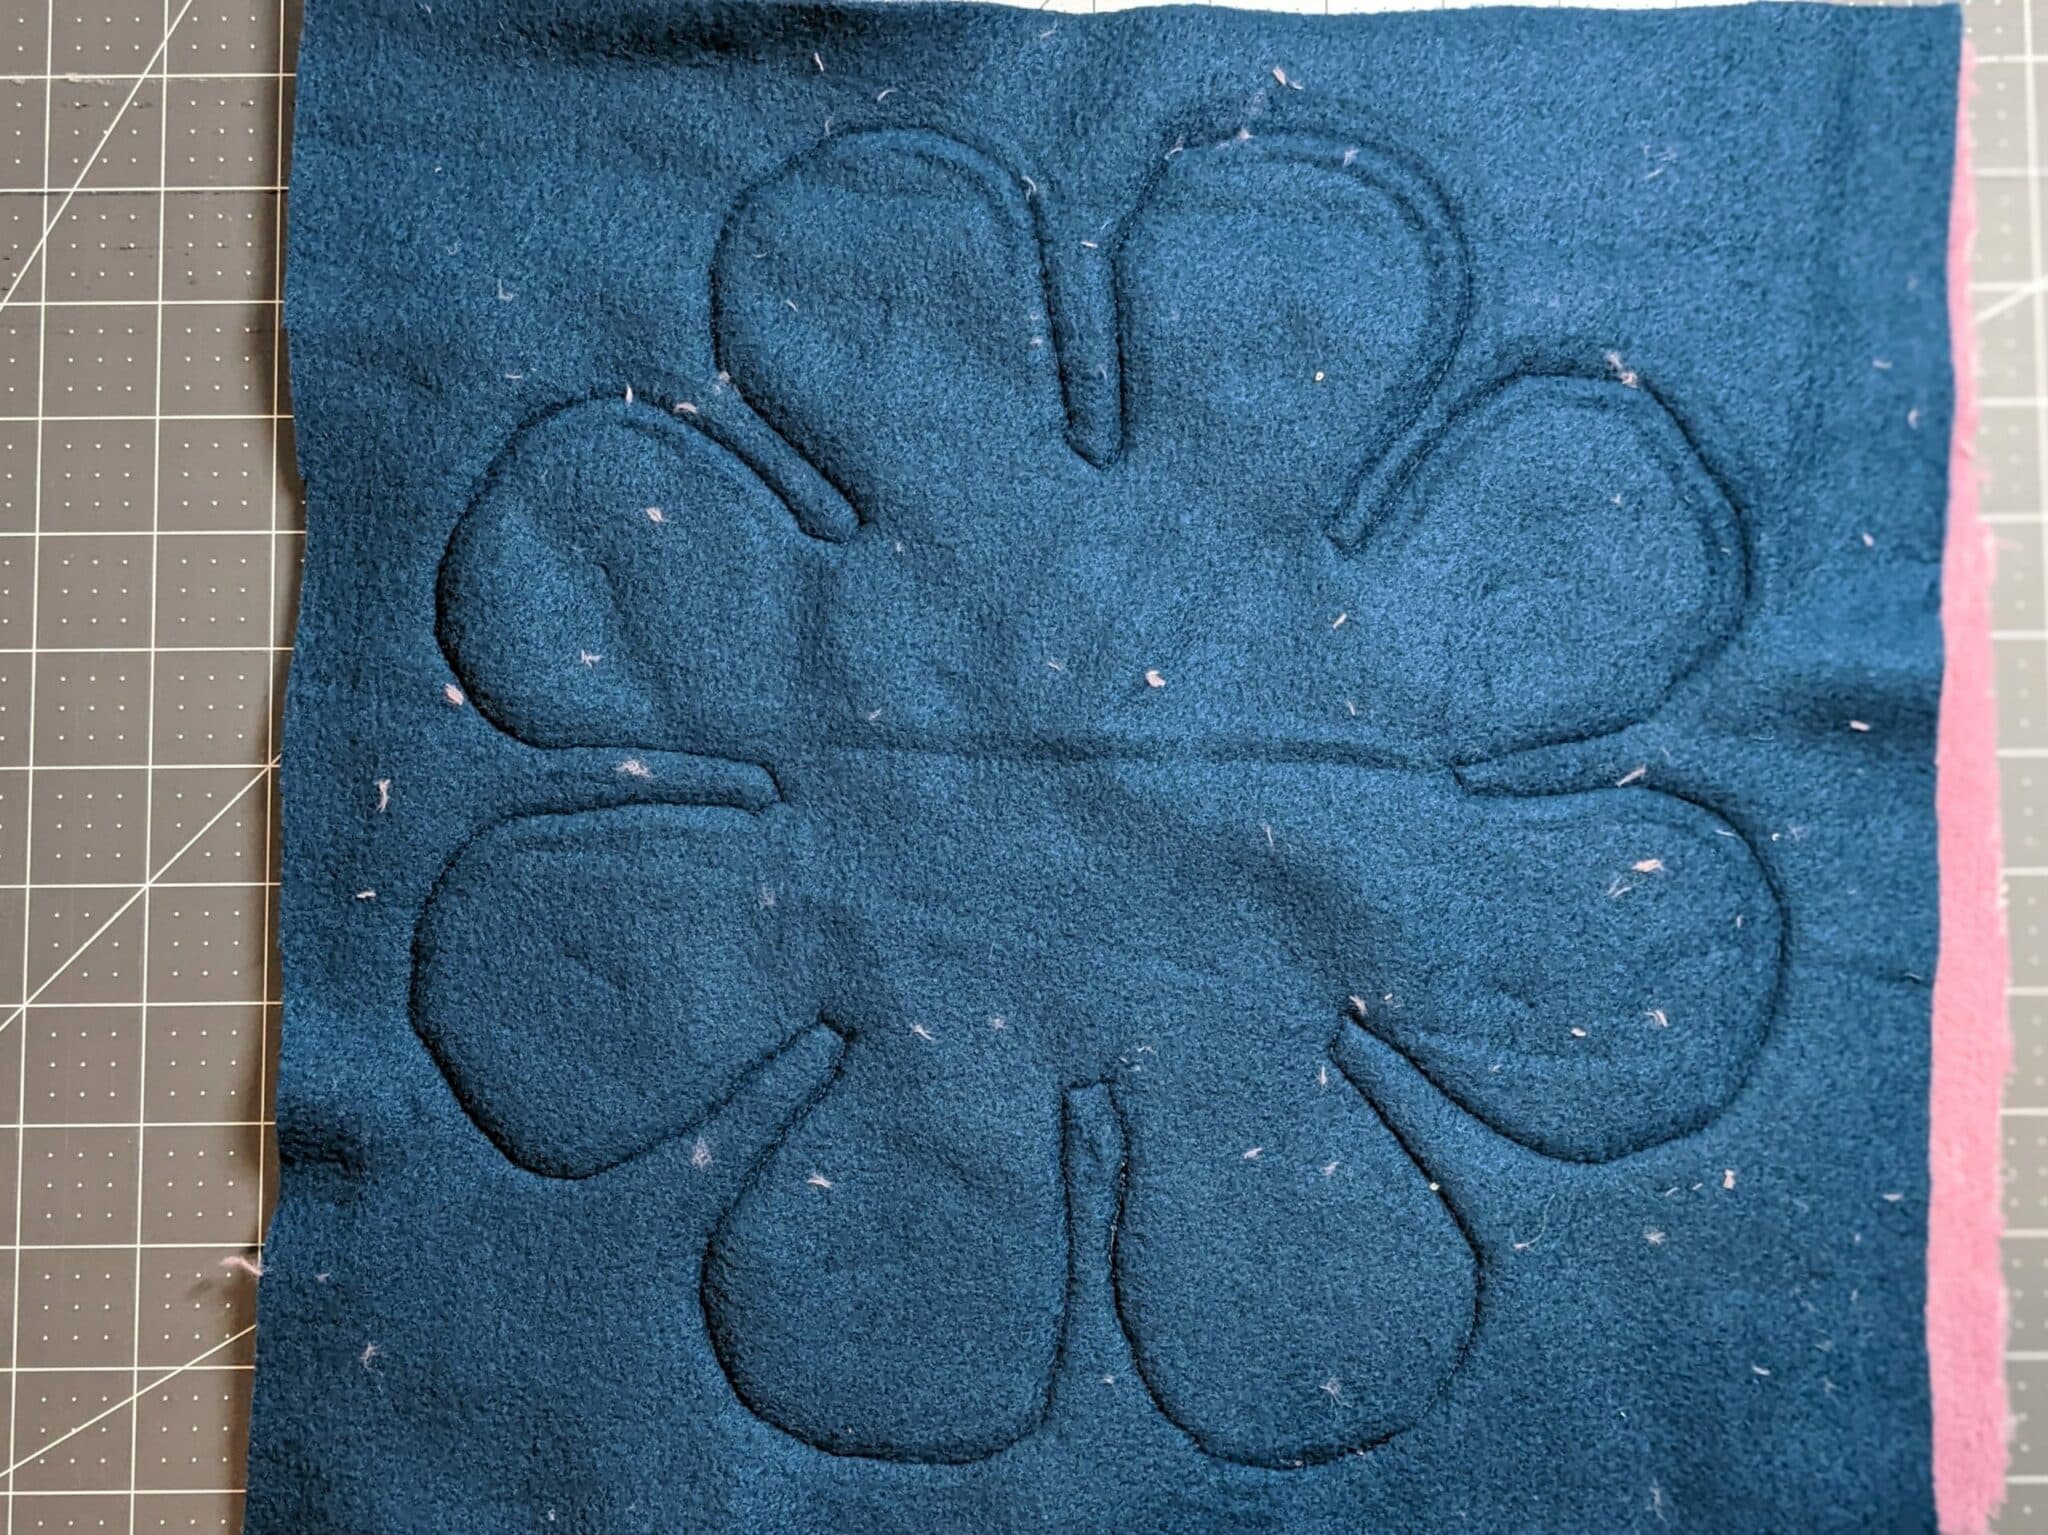
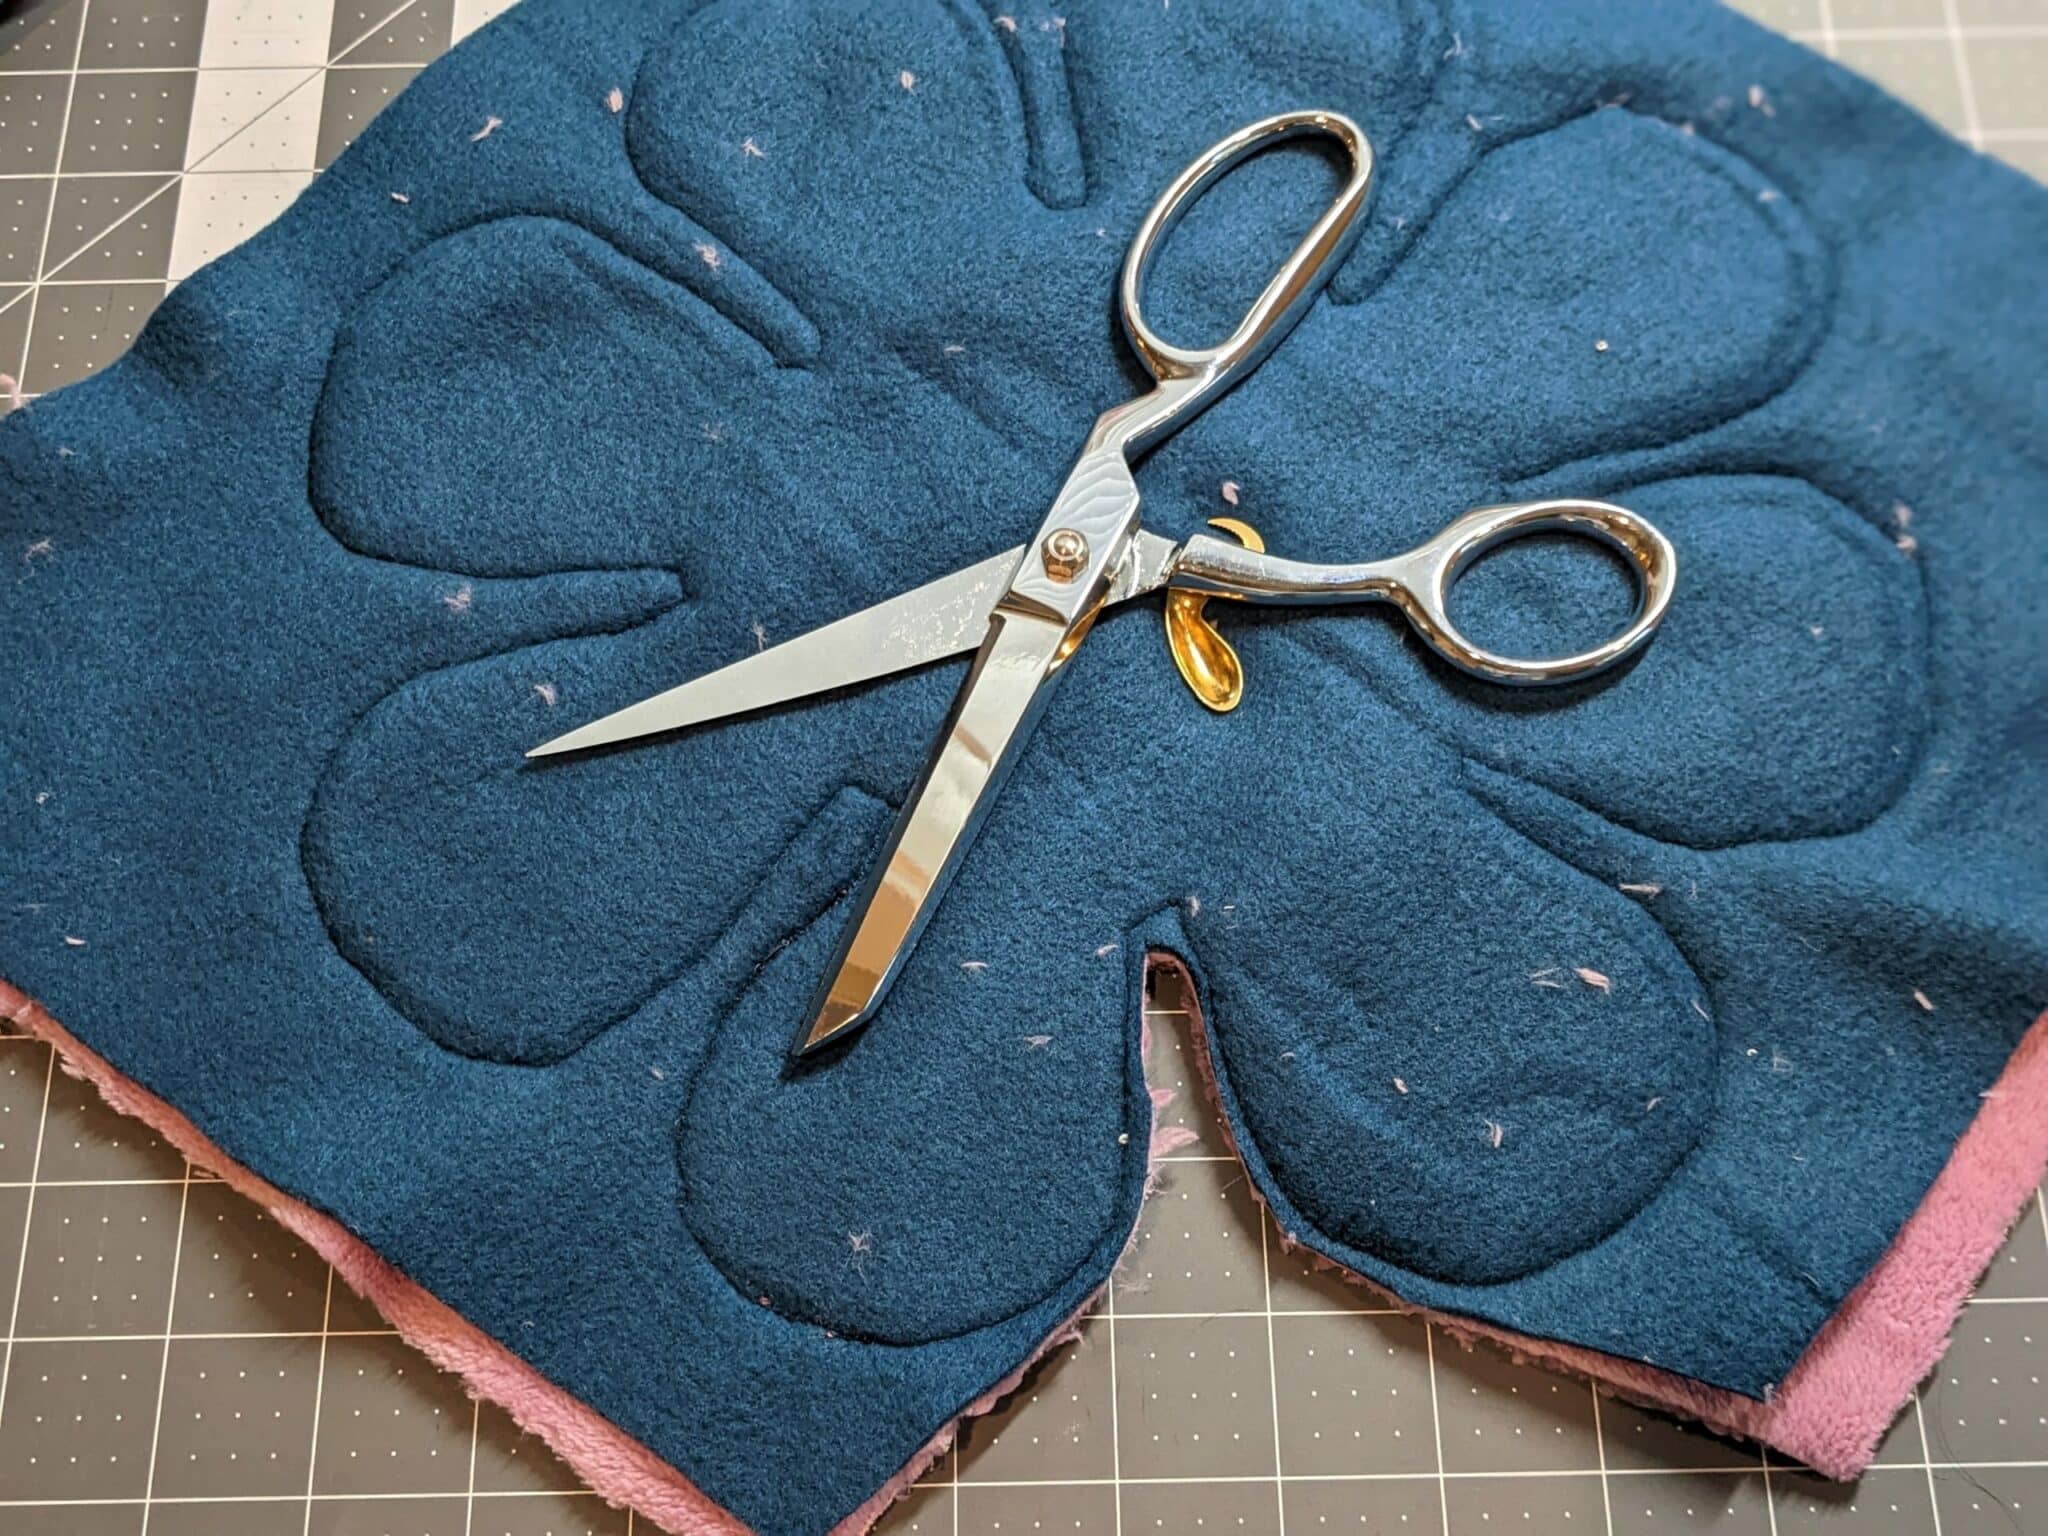
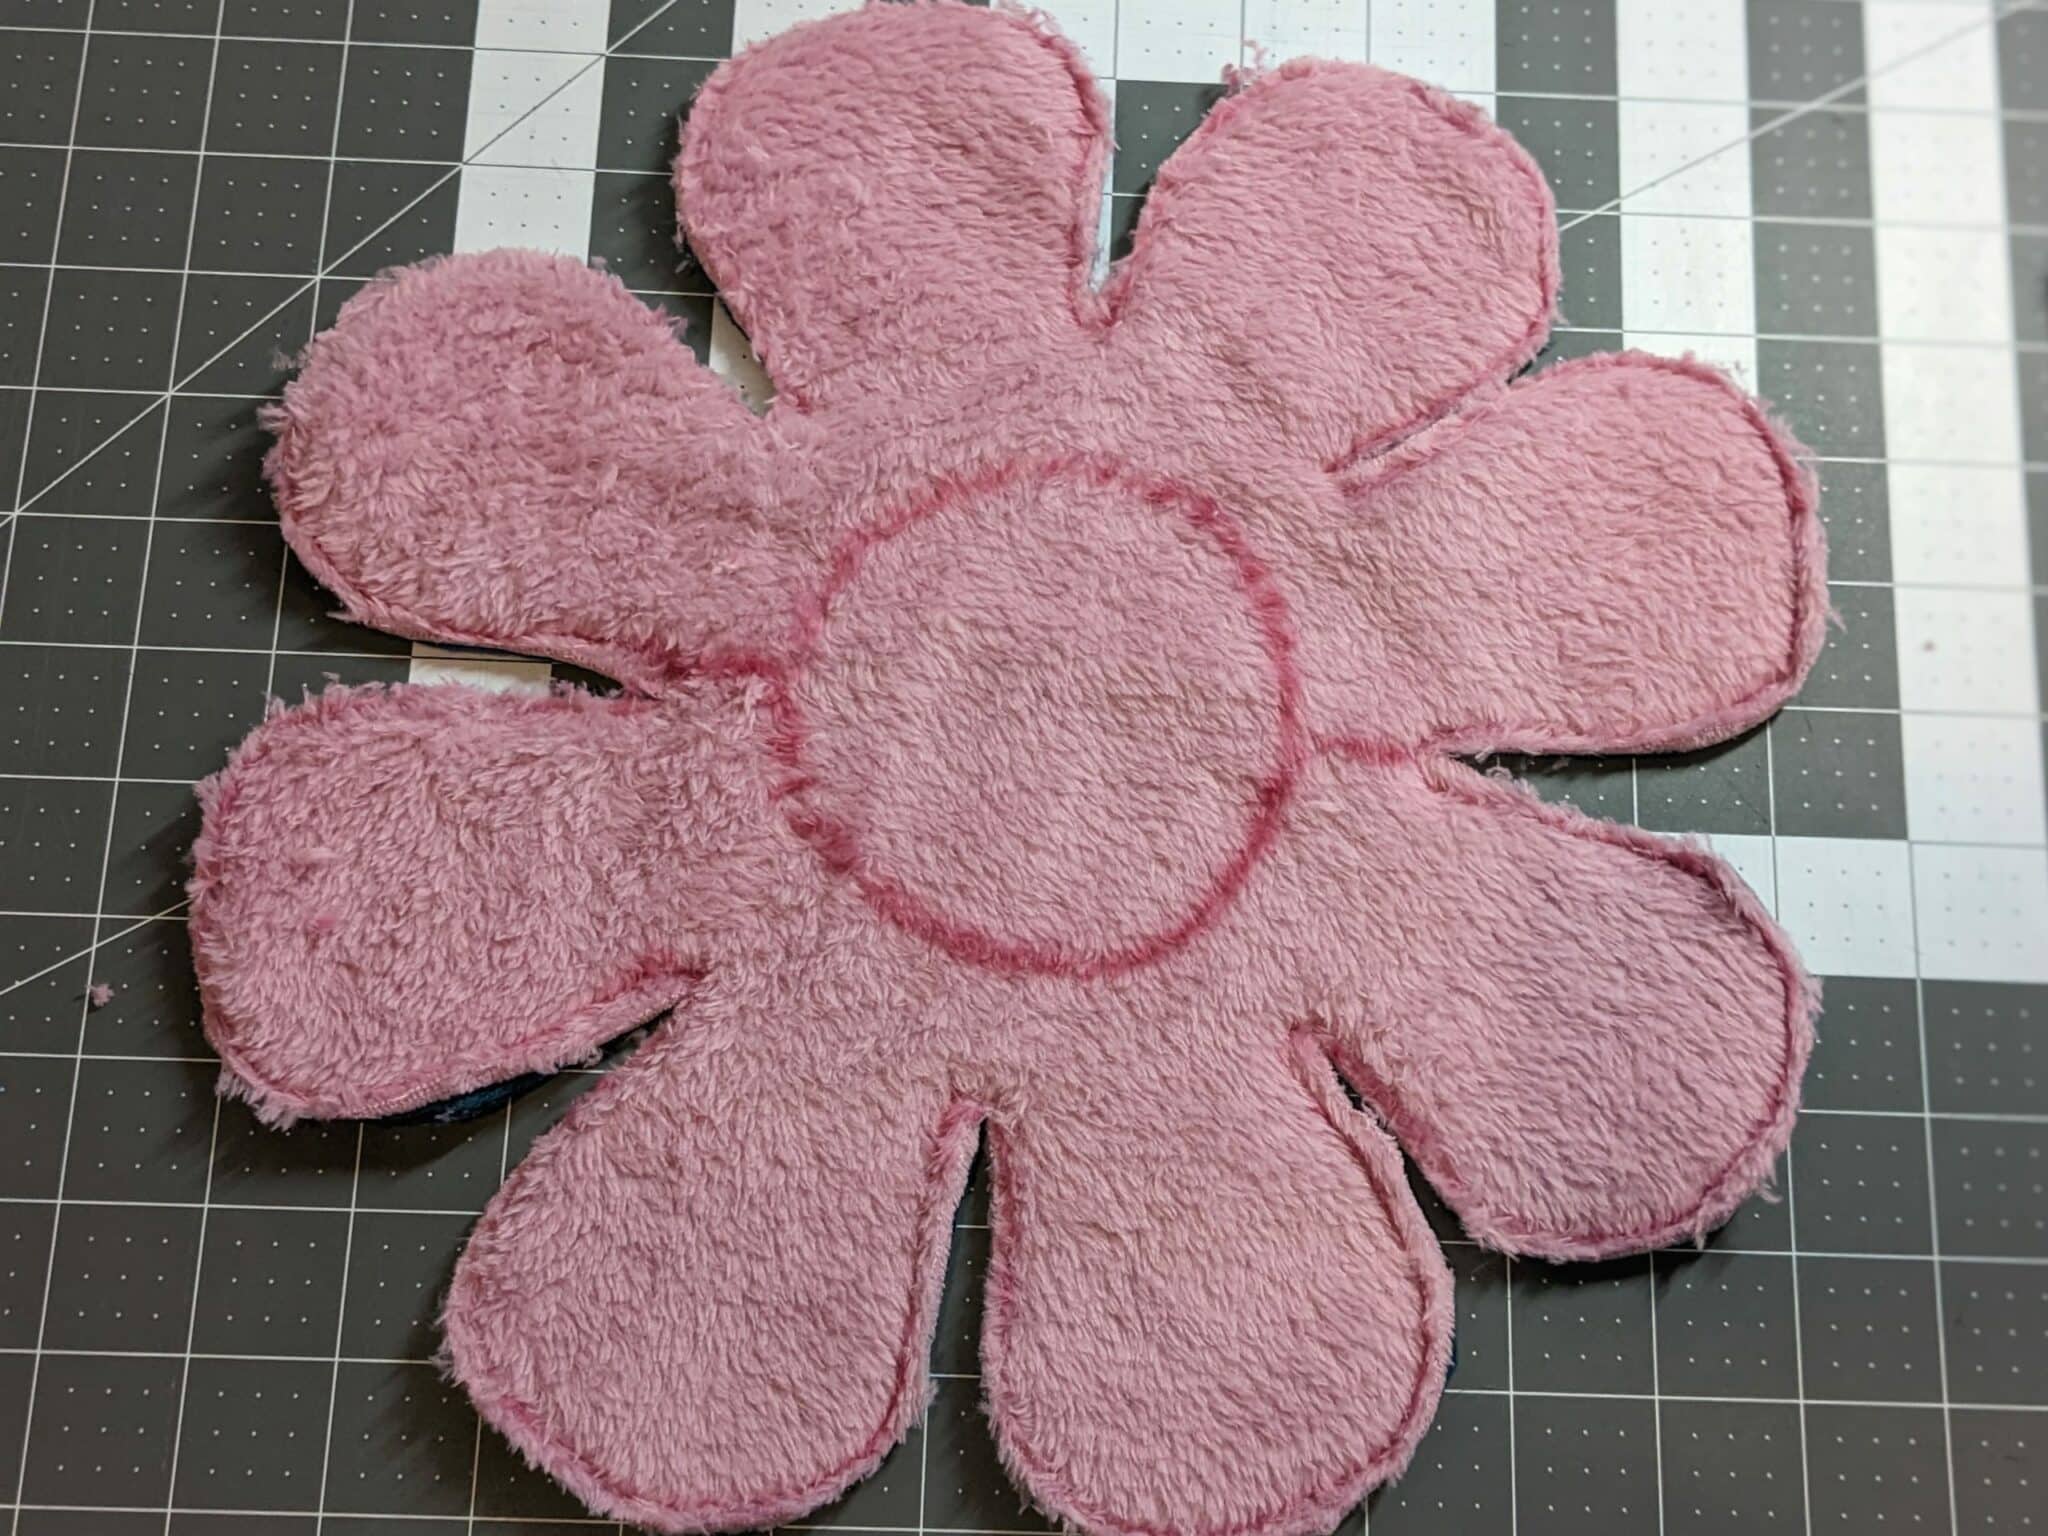
- Cut around the outer edges of the legs and in between each one approximately 1/8″ away from the stitching.
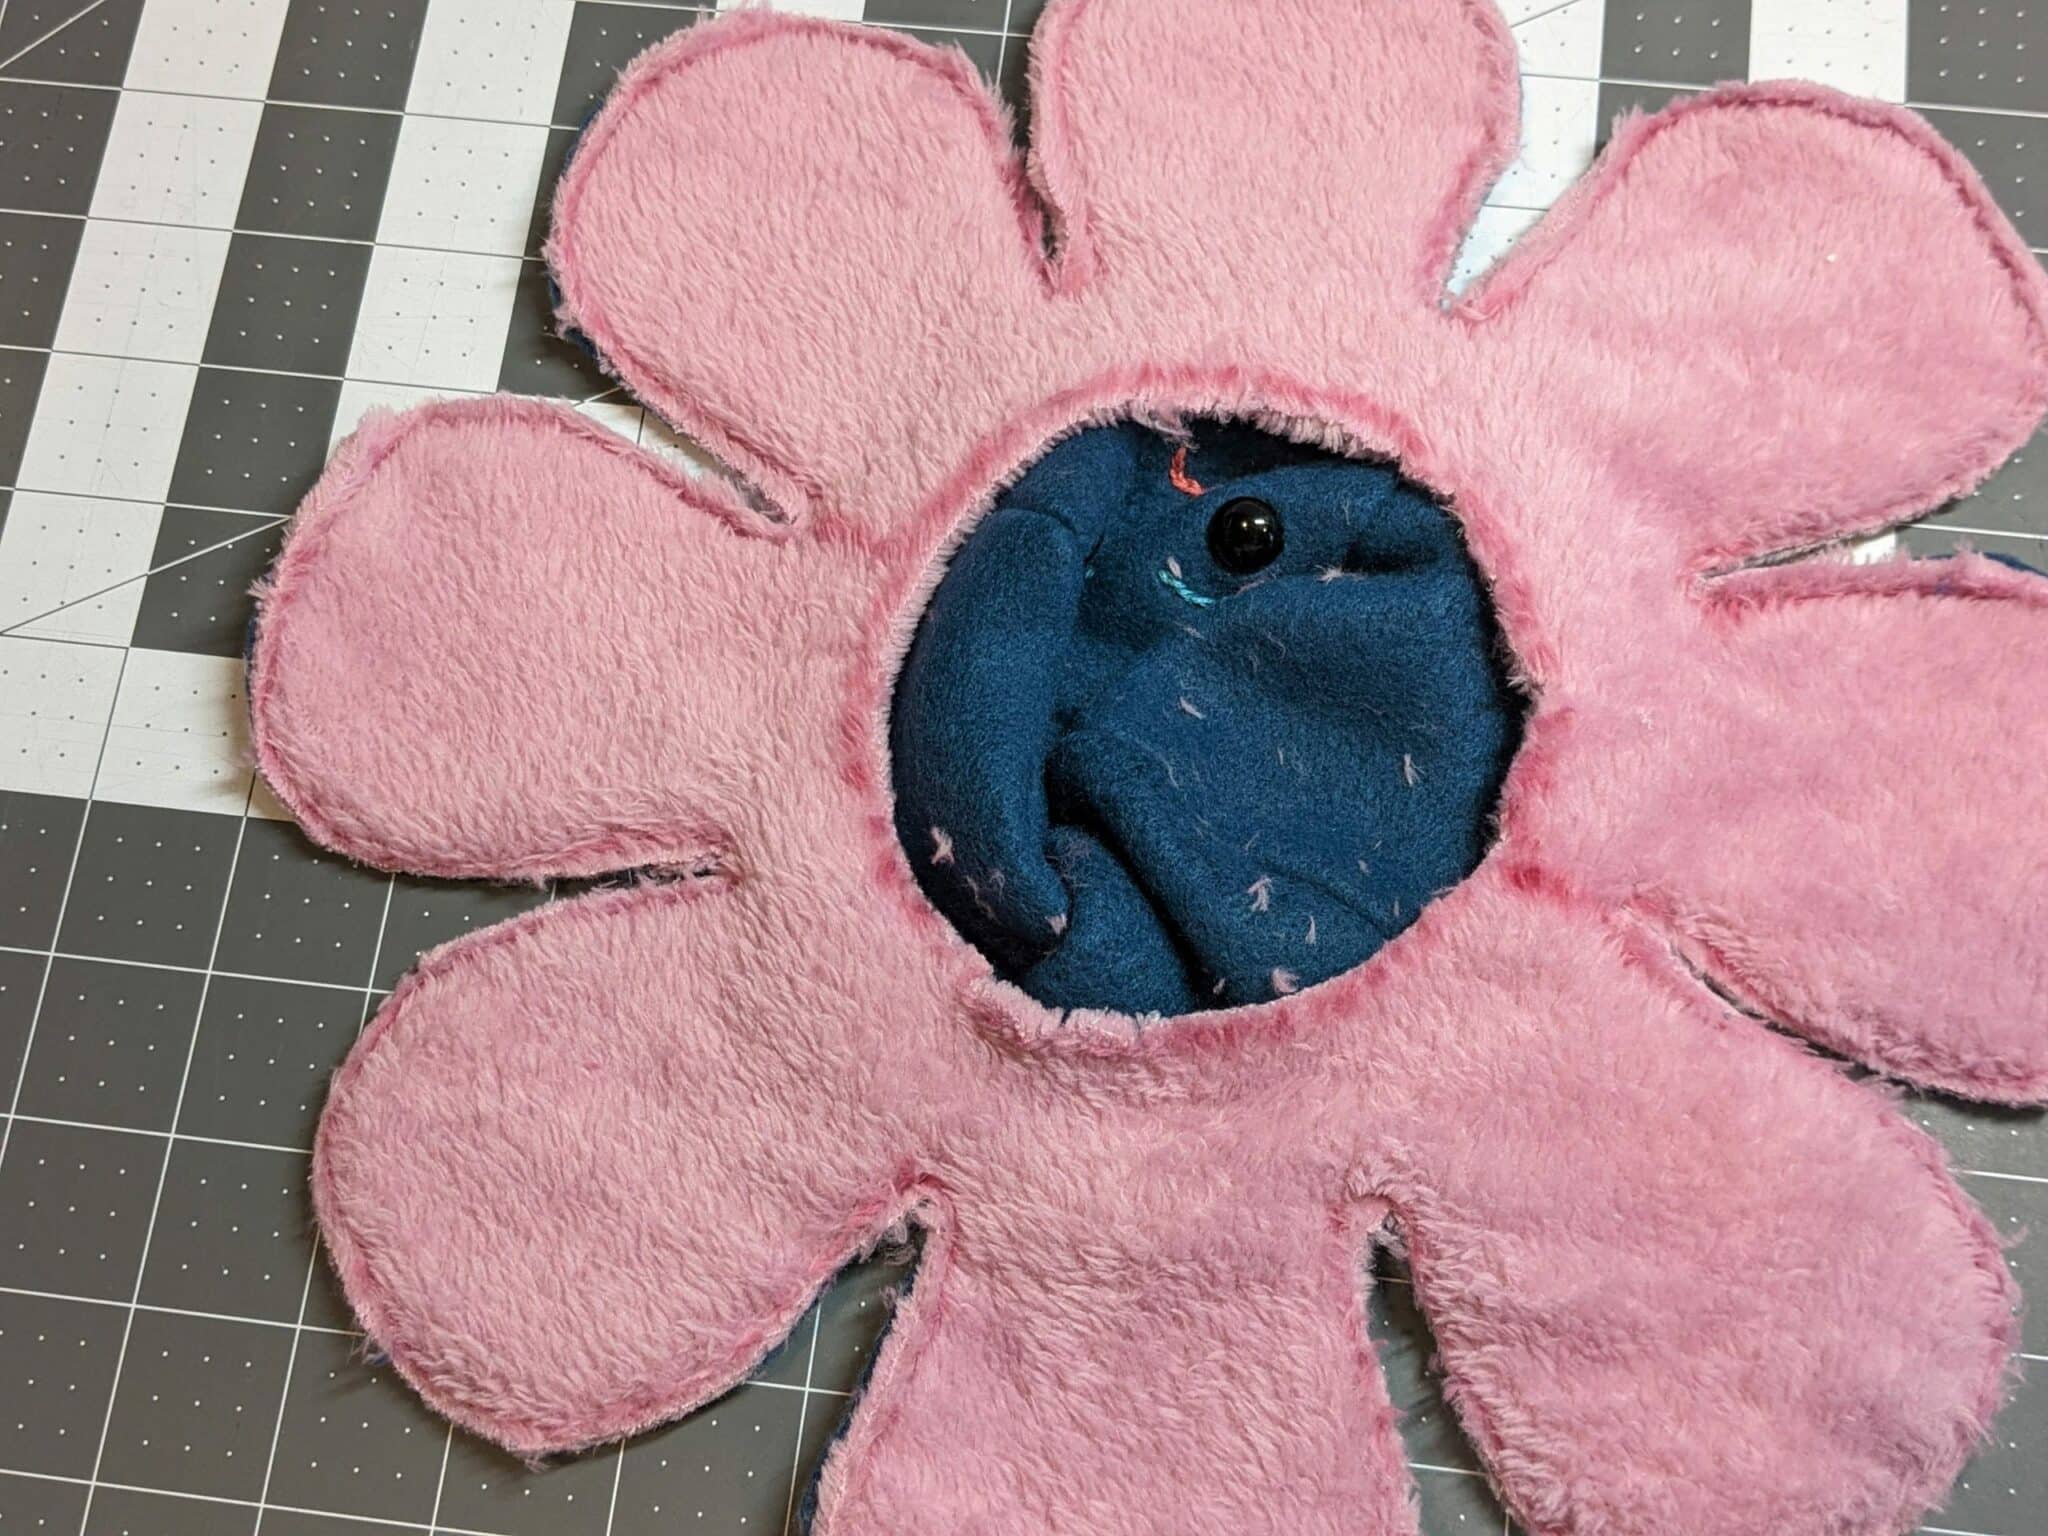
- Poke a hole through the inner circle and cut around the traced line through both sides of the fleece.

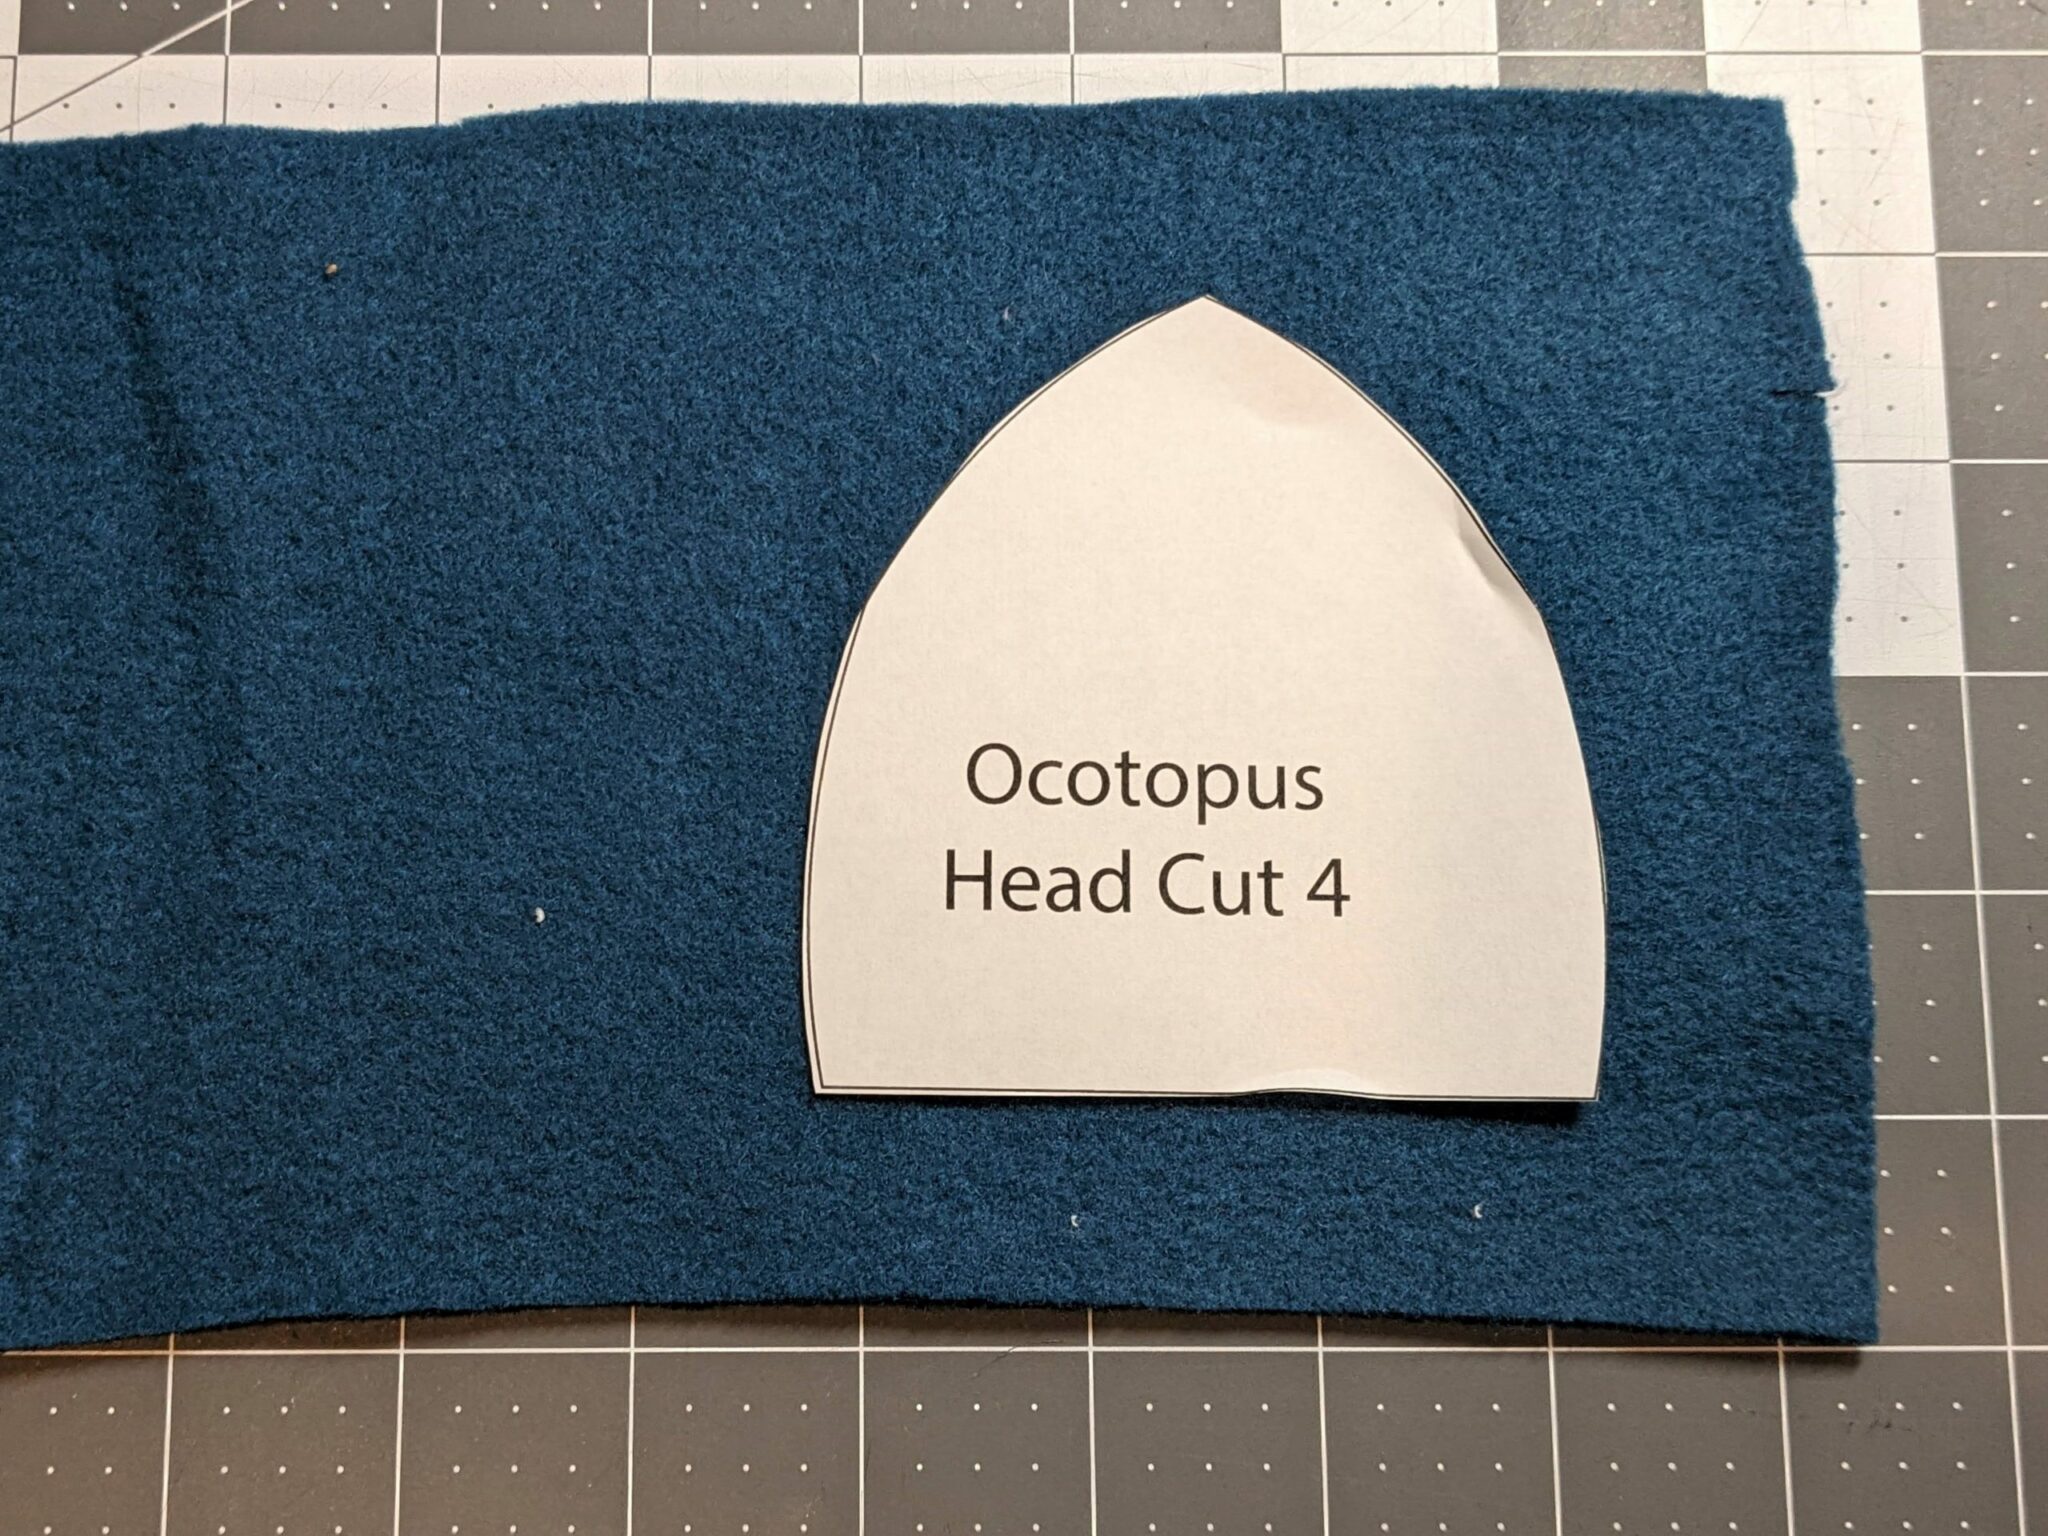
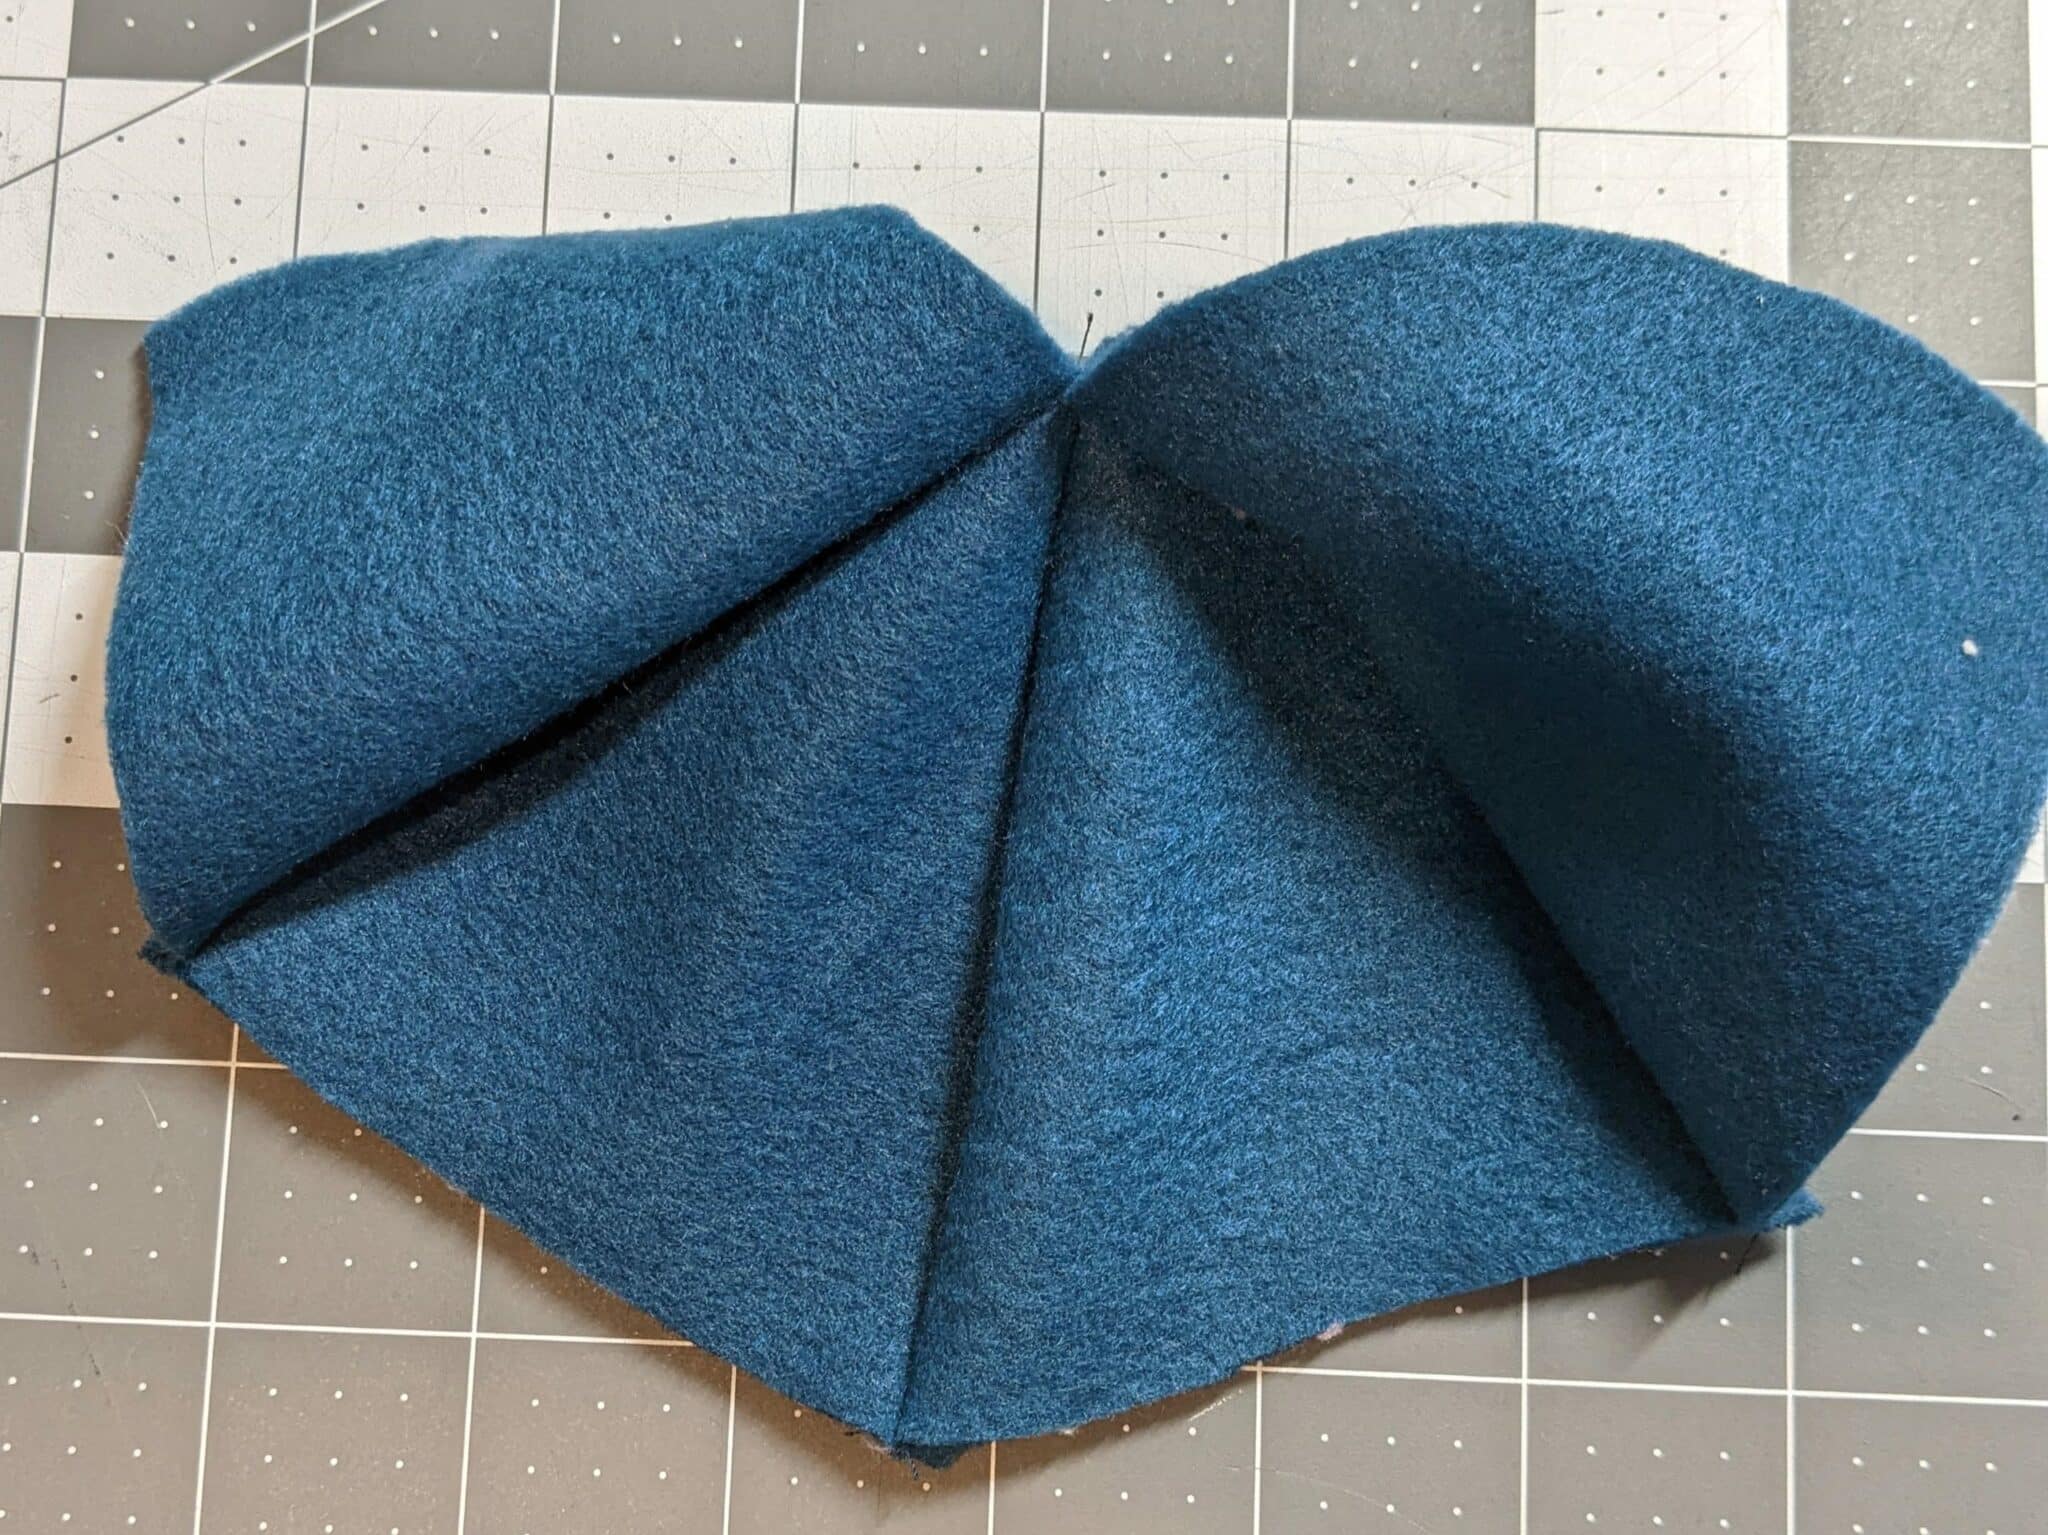
Octopus Head
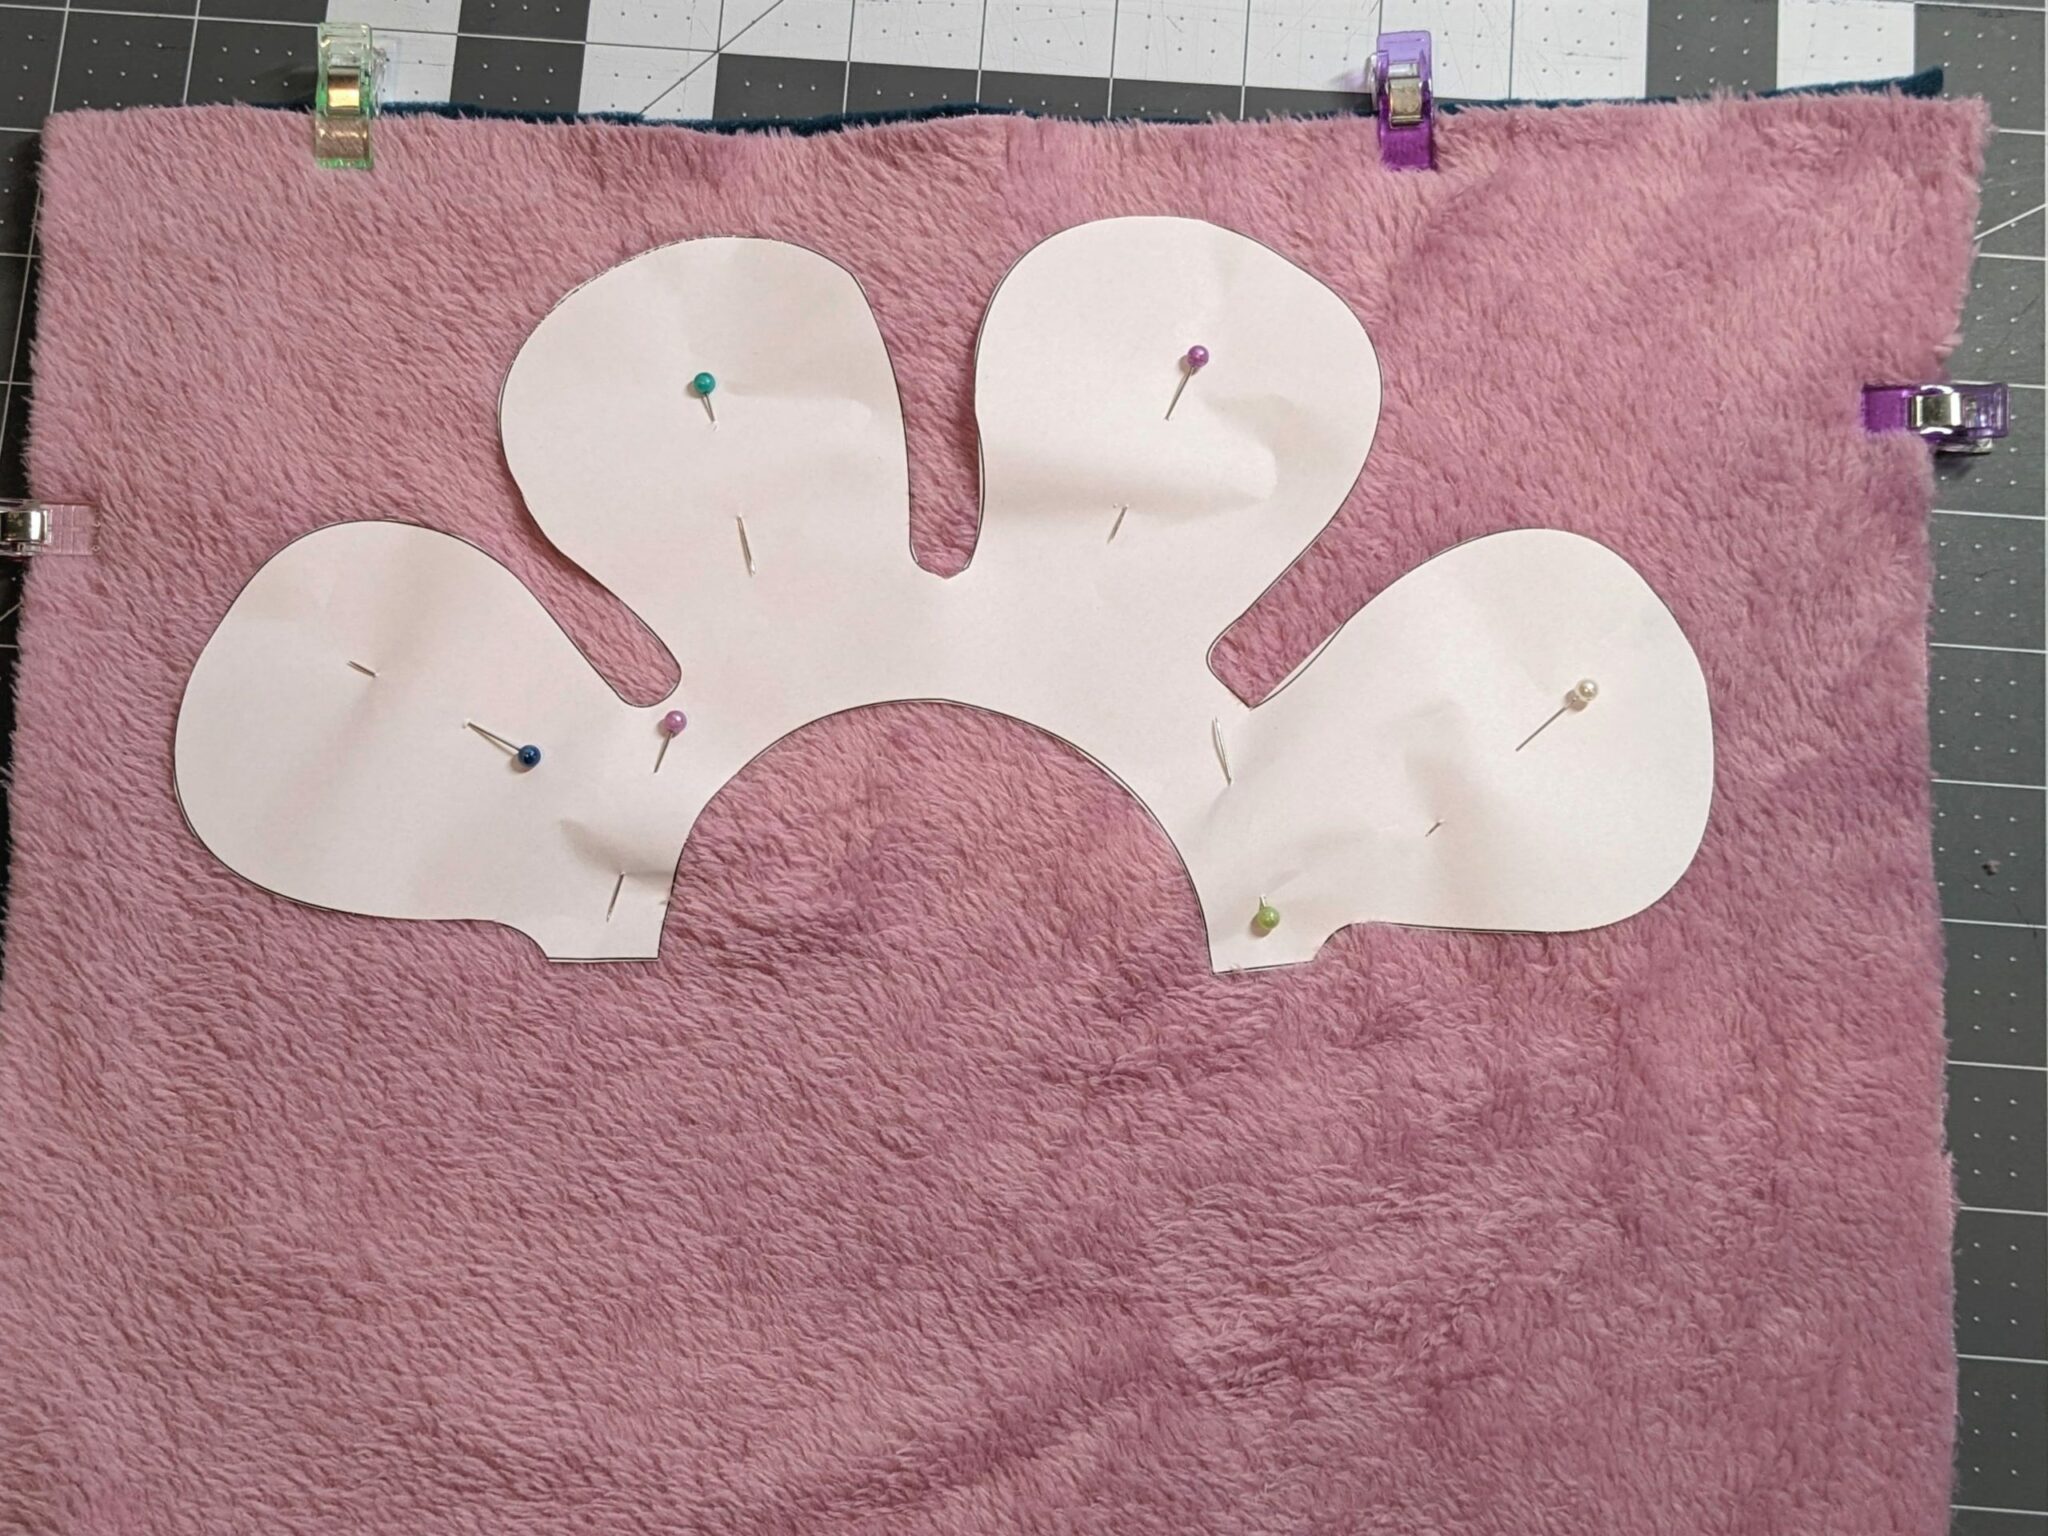
- Use the octopus head template piece and cut out four from each color of fleece.
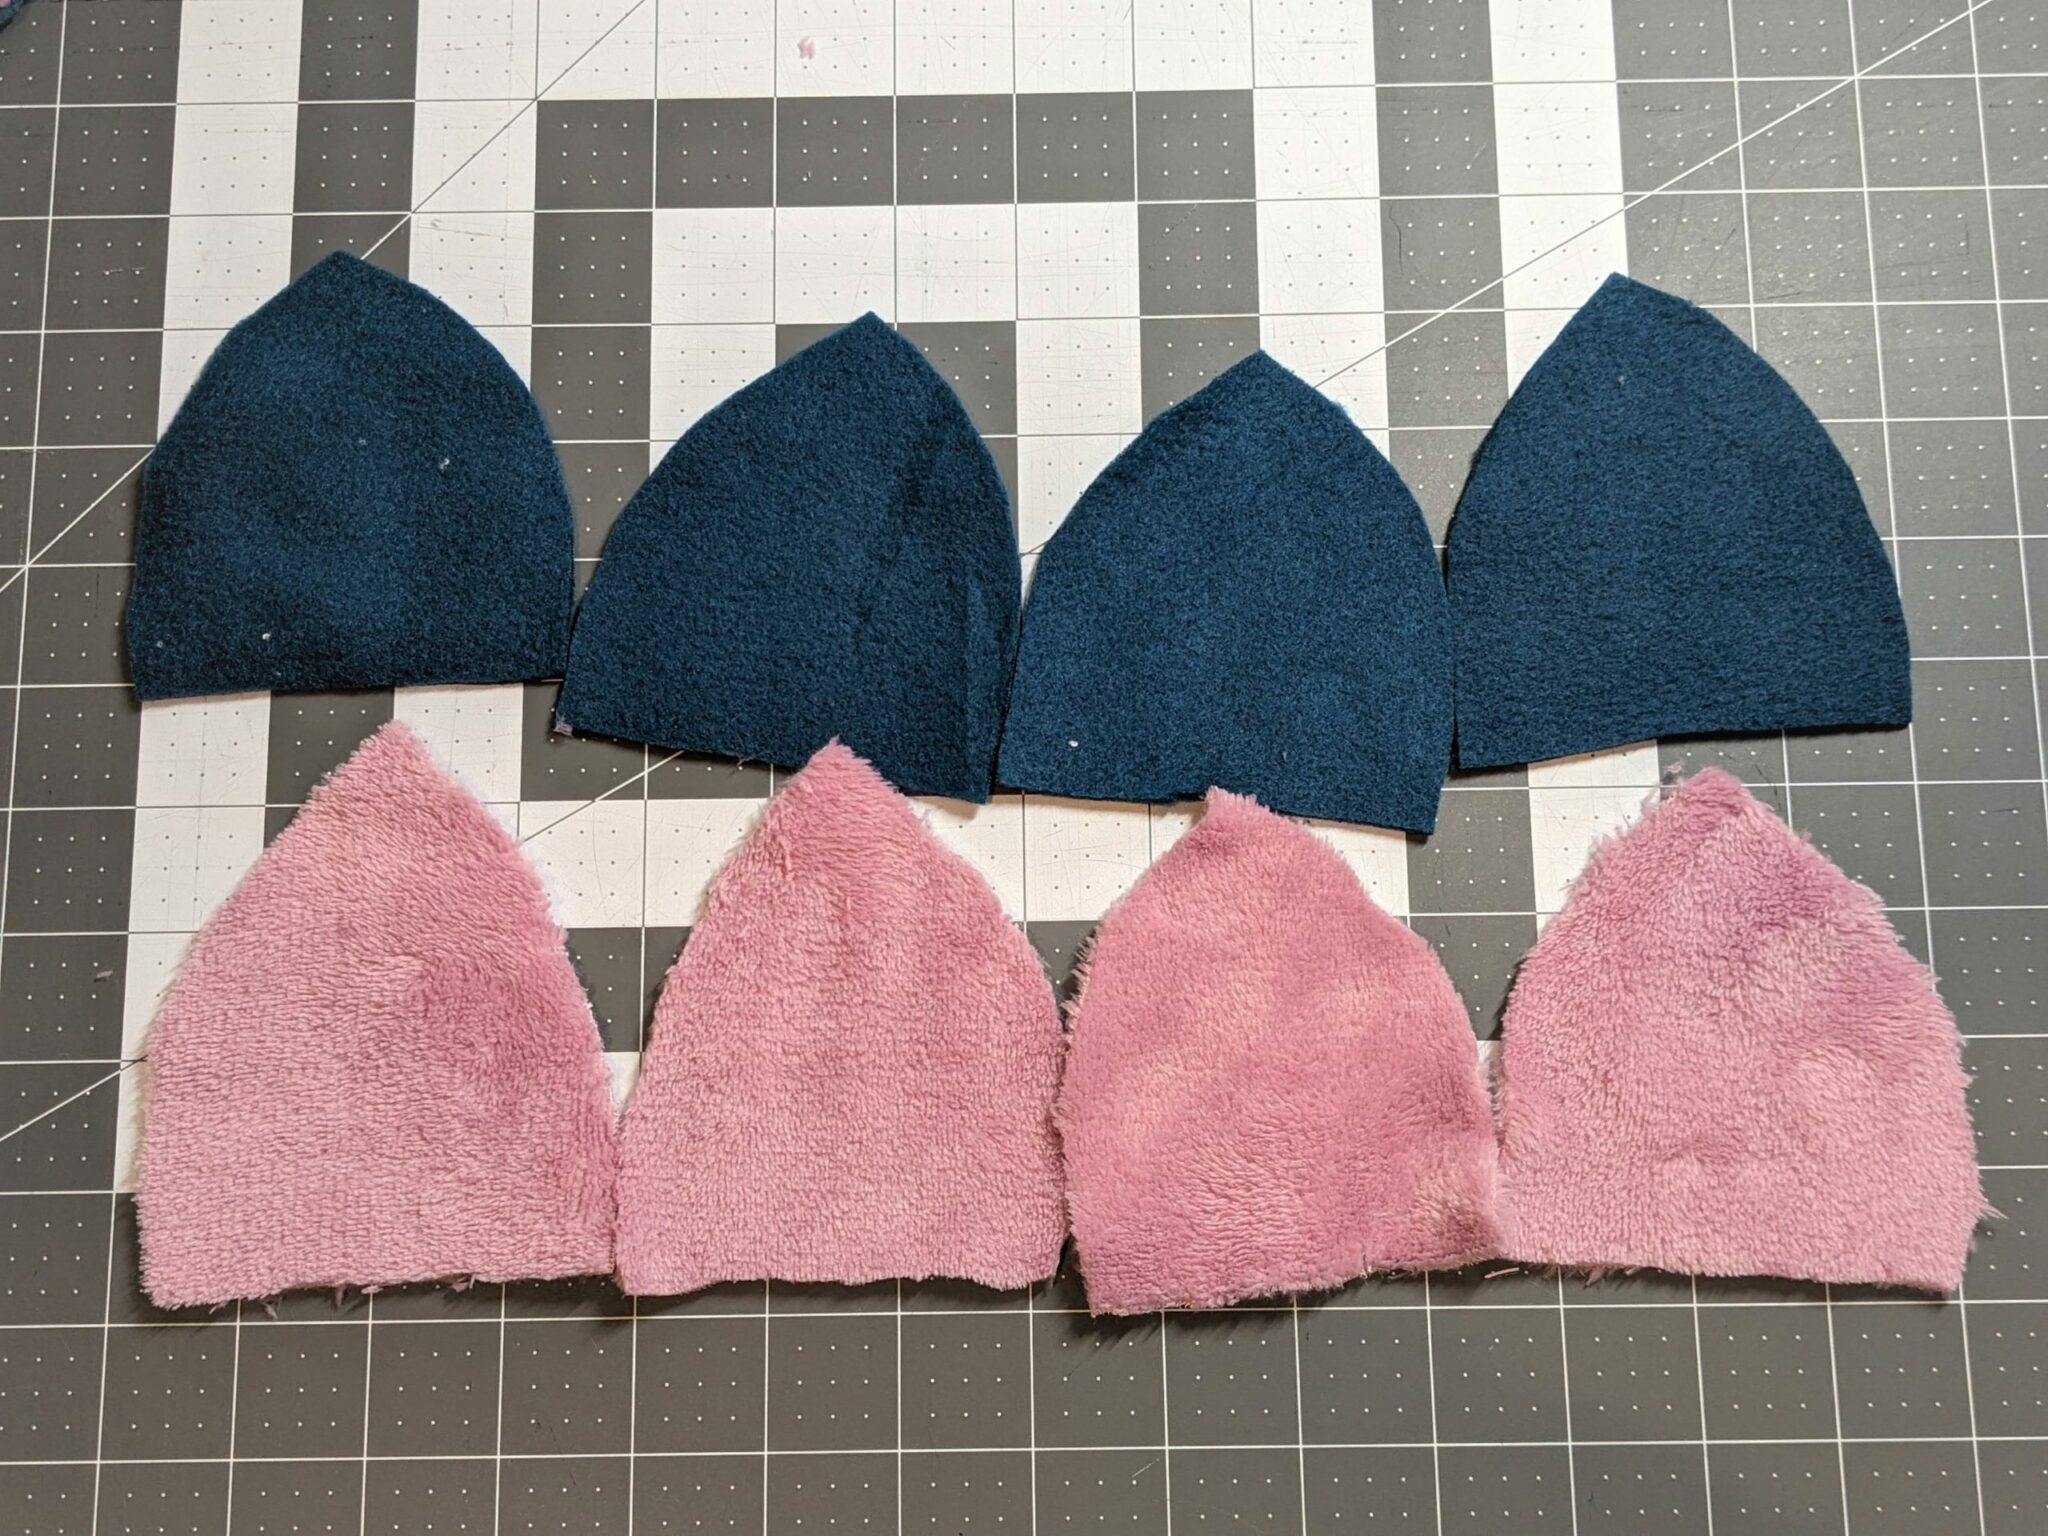
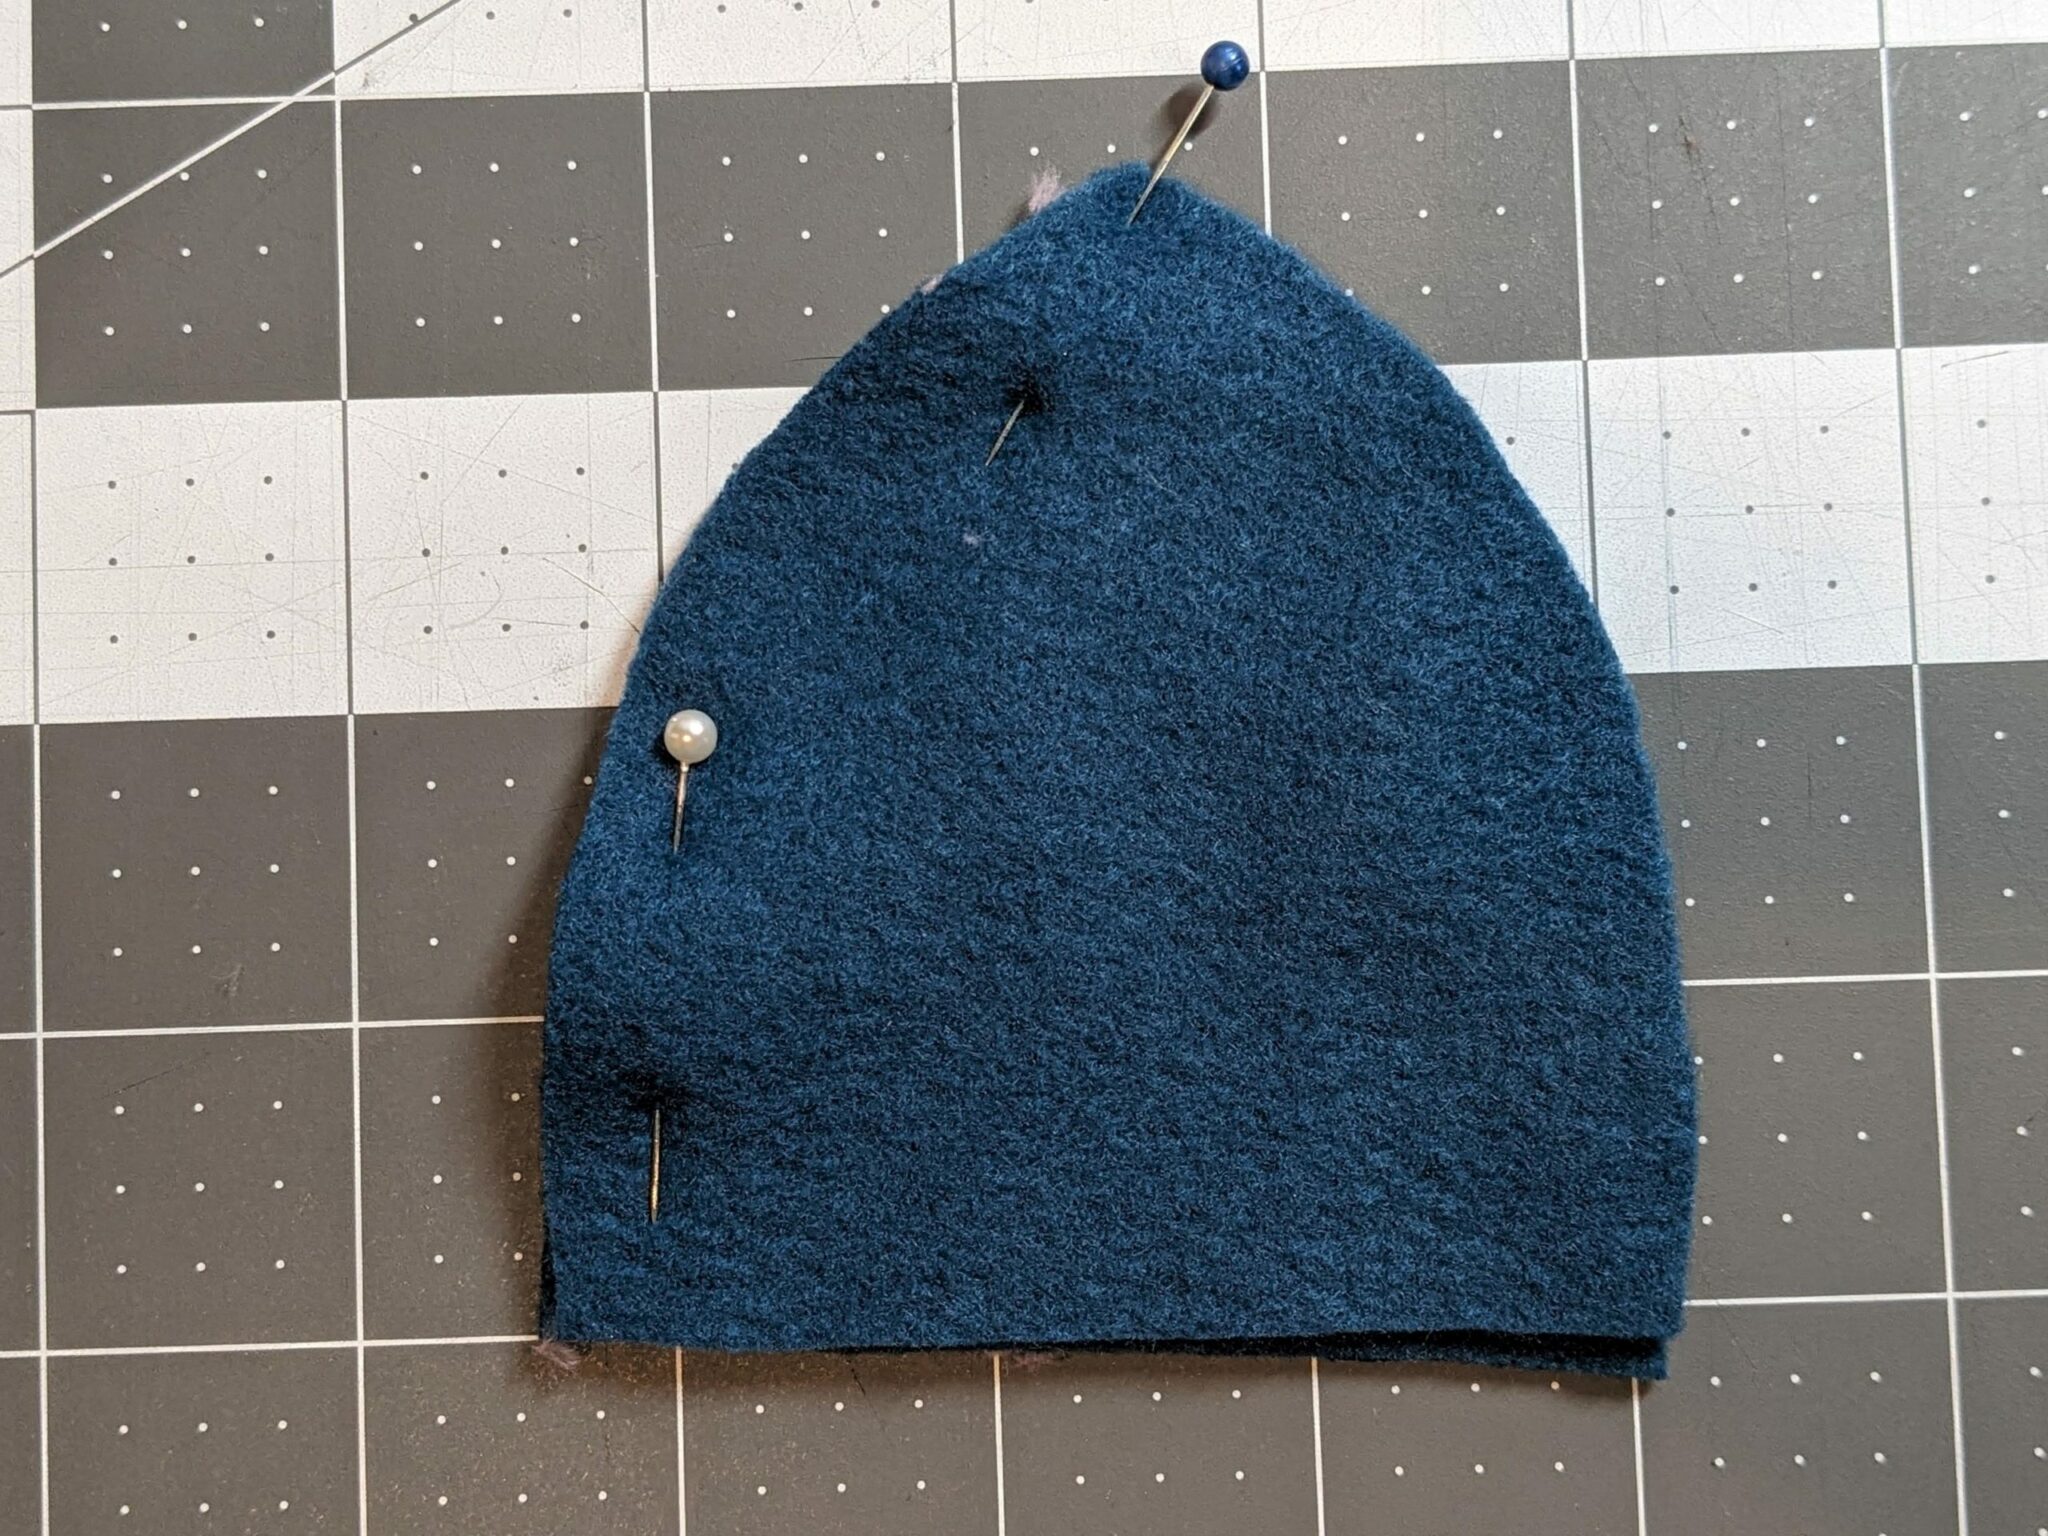
- Starting with one color, pin two head pieces right sides together along one curved side.
- Sew with a straight stitch and a 1/8″ seam allowance.
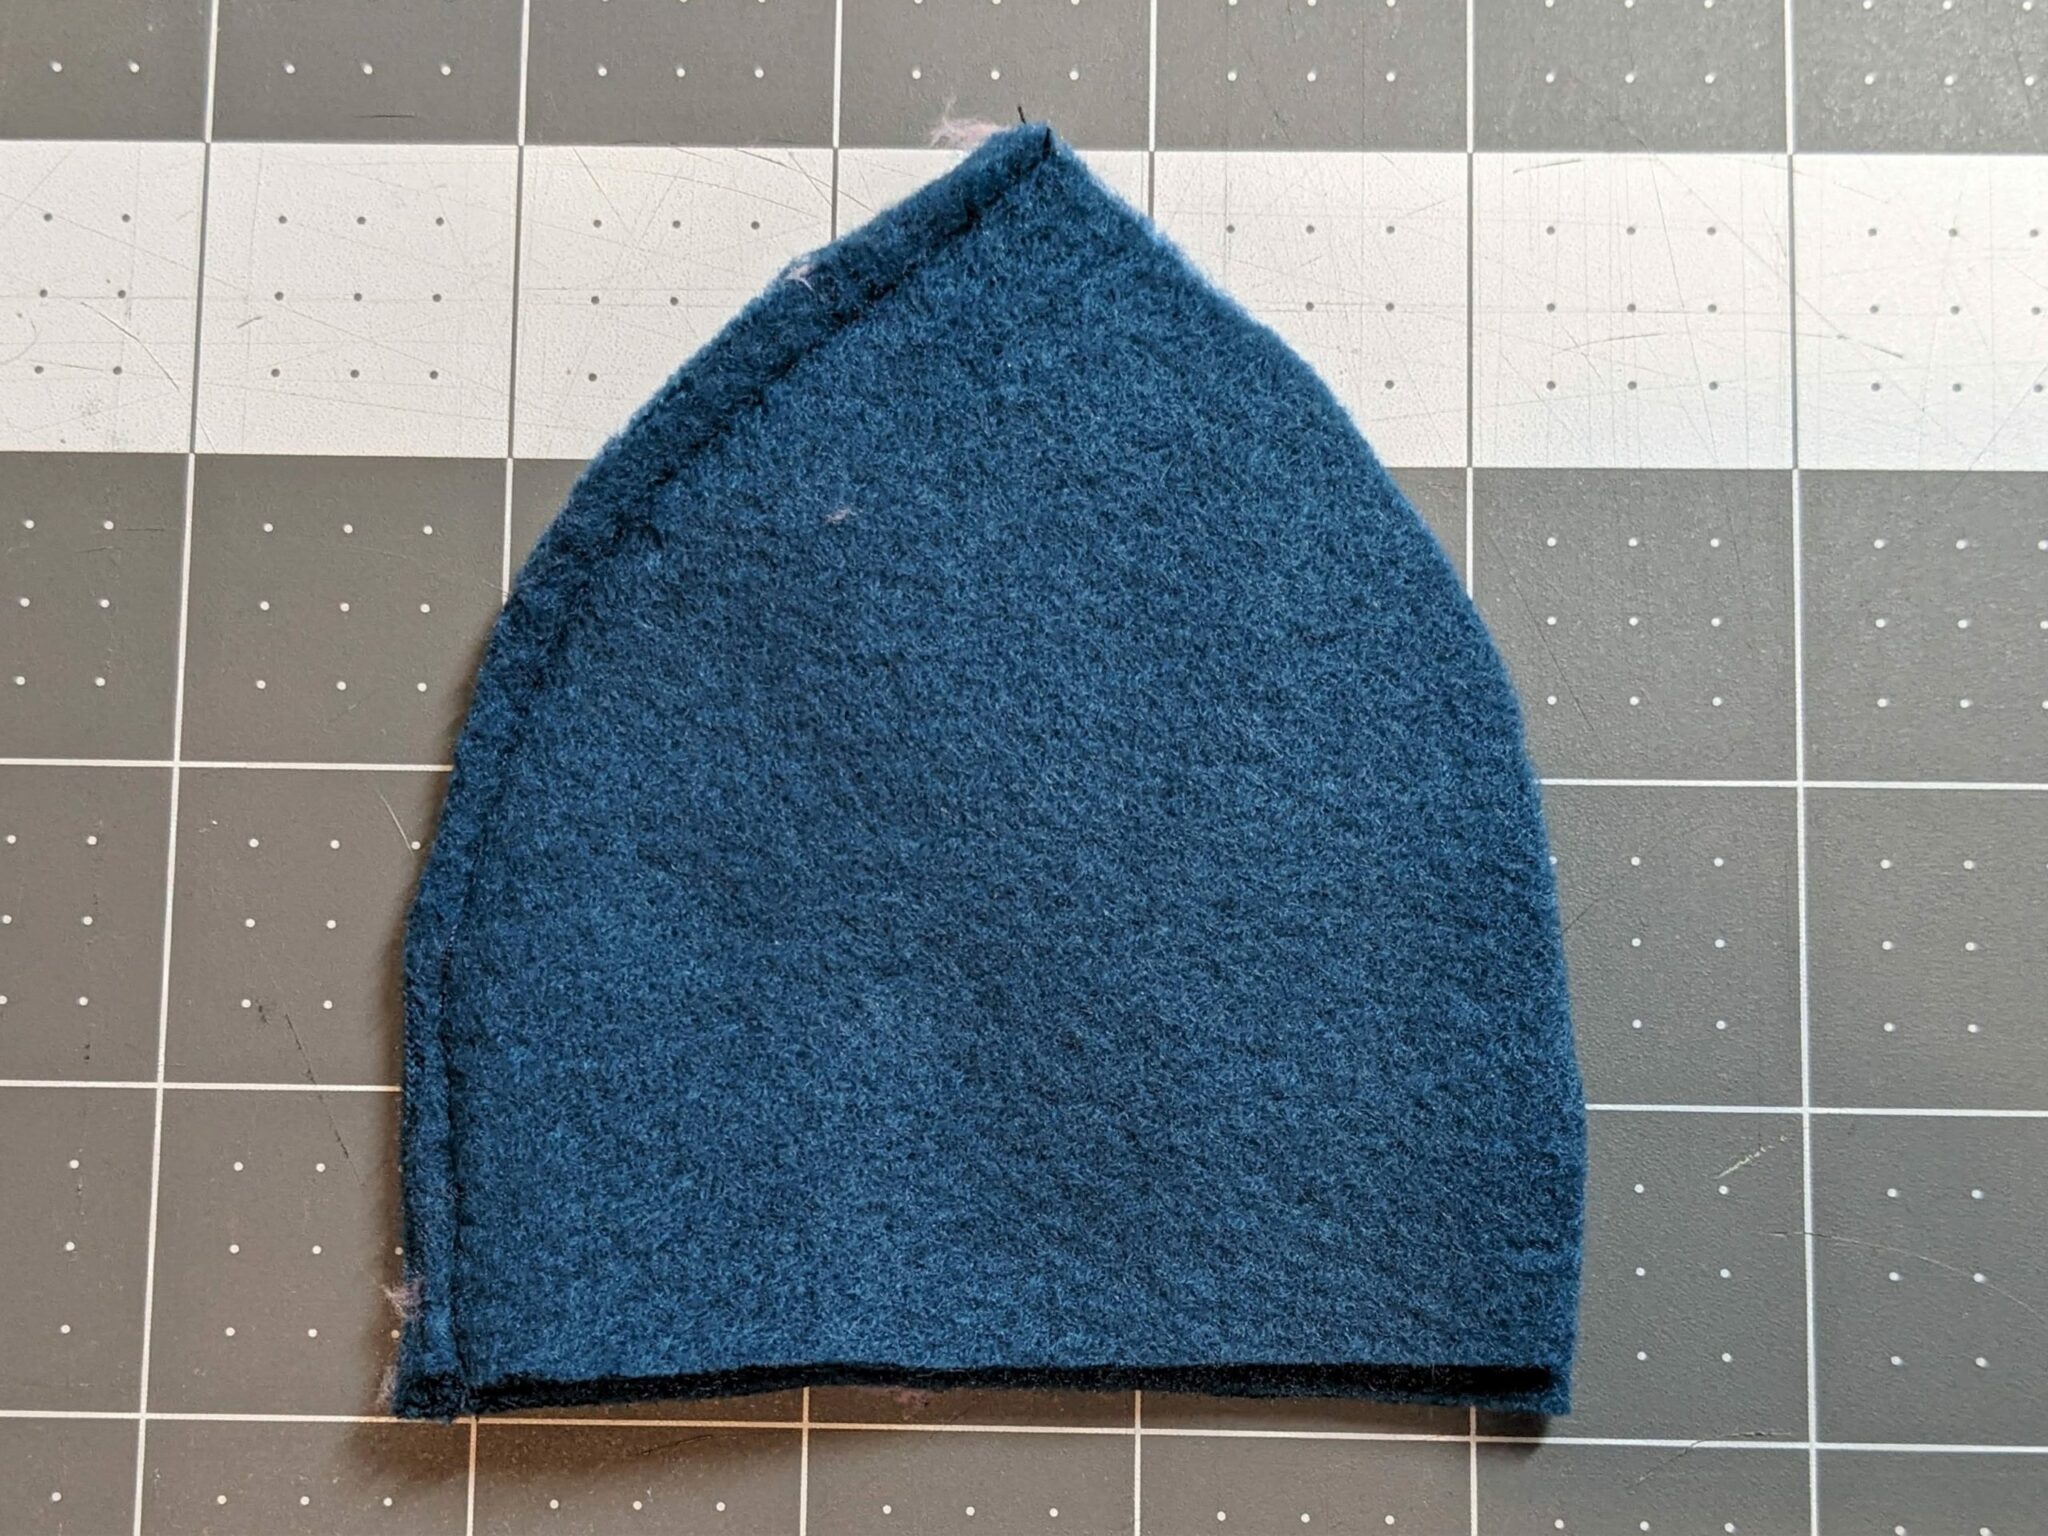
- Open up the first two head pieces, take another piece and pin one curved side to the previous piece and sew.
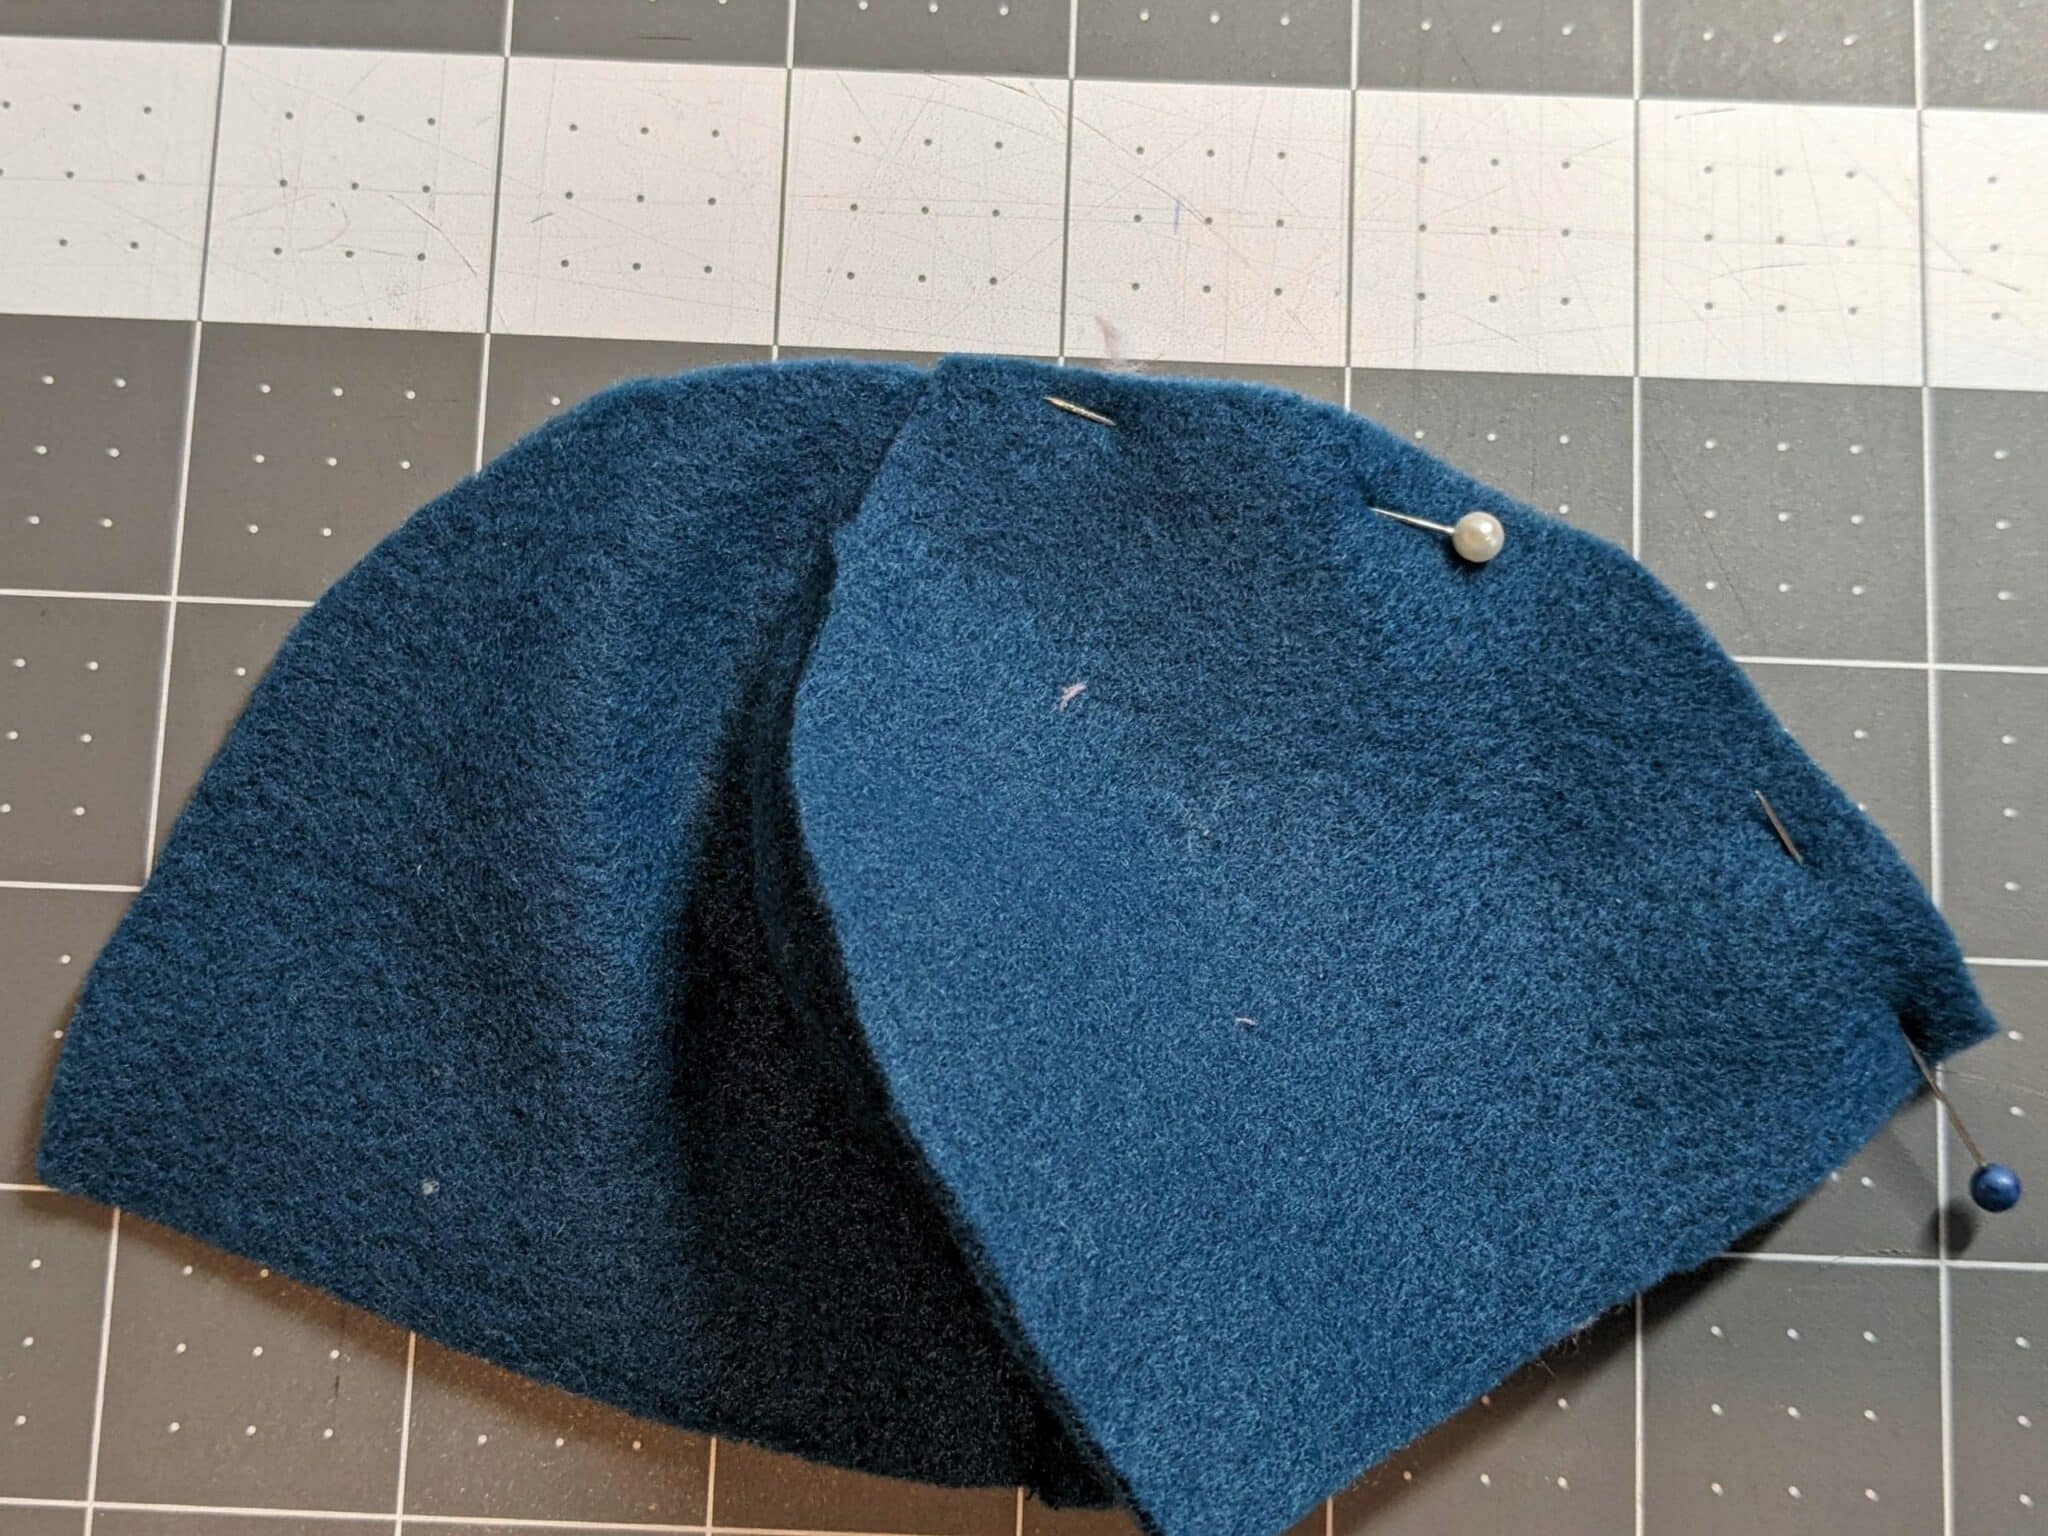
- Repeat pinning and sewing the fourth head piece along the curved edge of the previous piece until you have all four of them sewn together in a row.
- Finally, line up the free curved edges of the first and last head pieces, pin and sew.
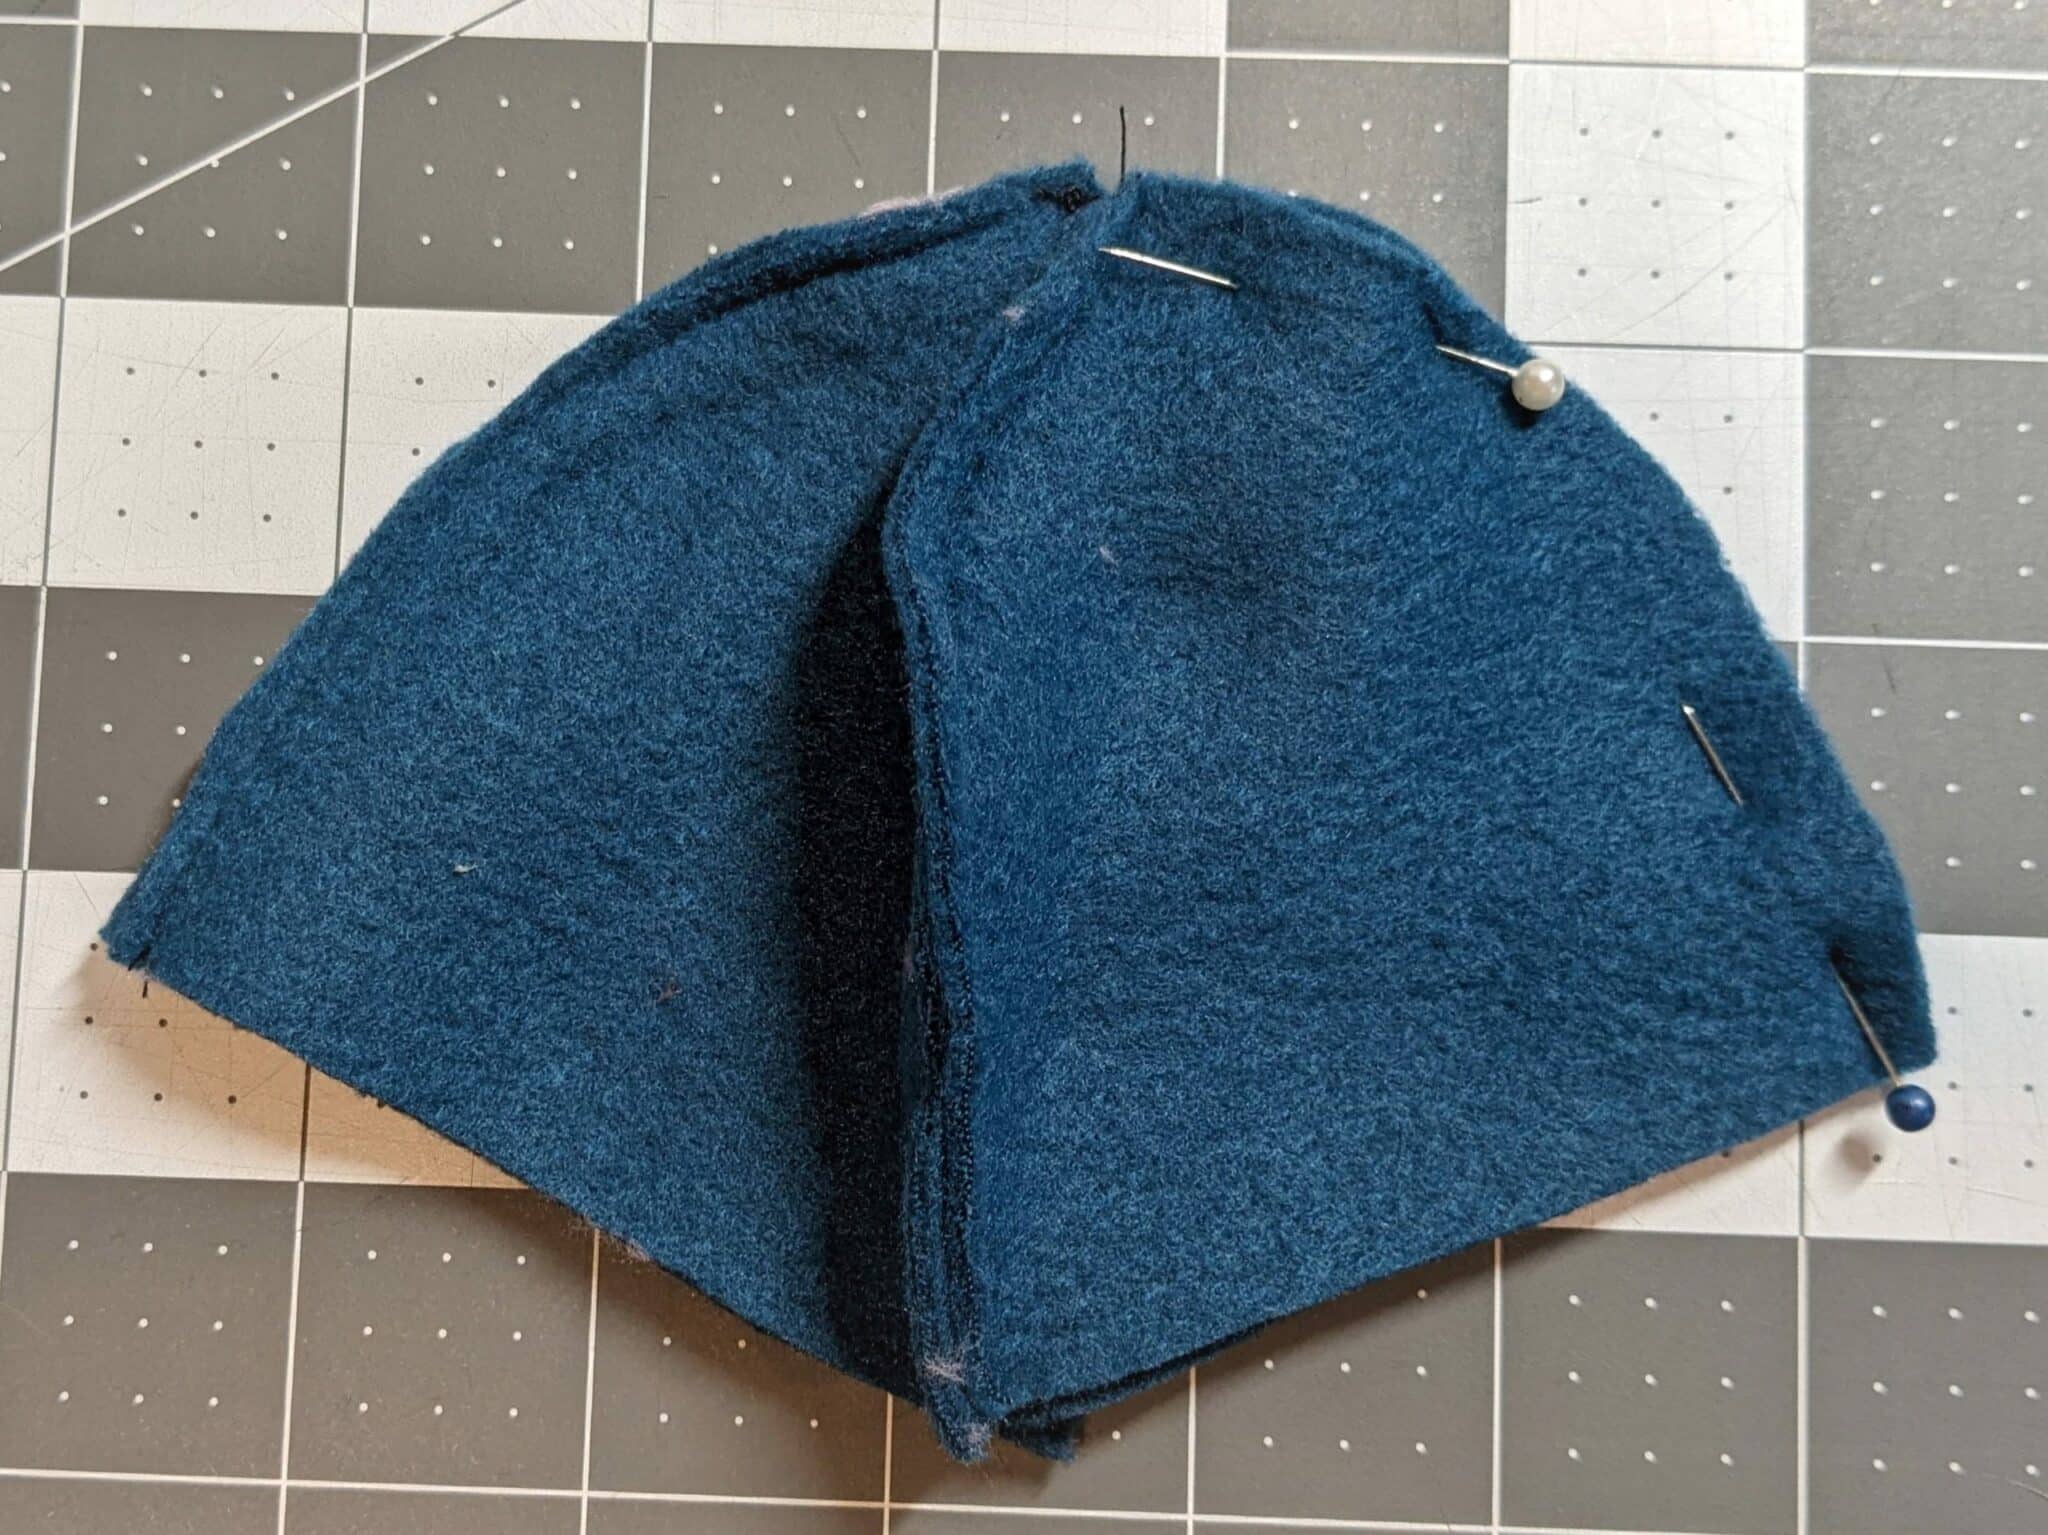
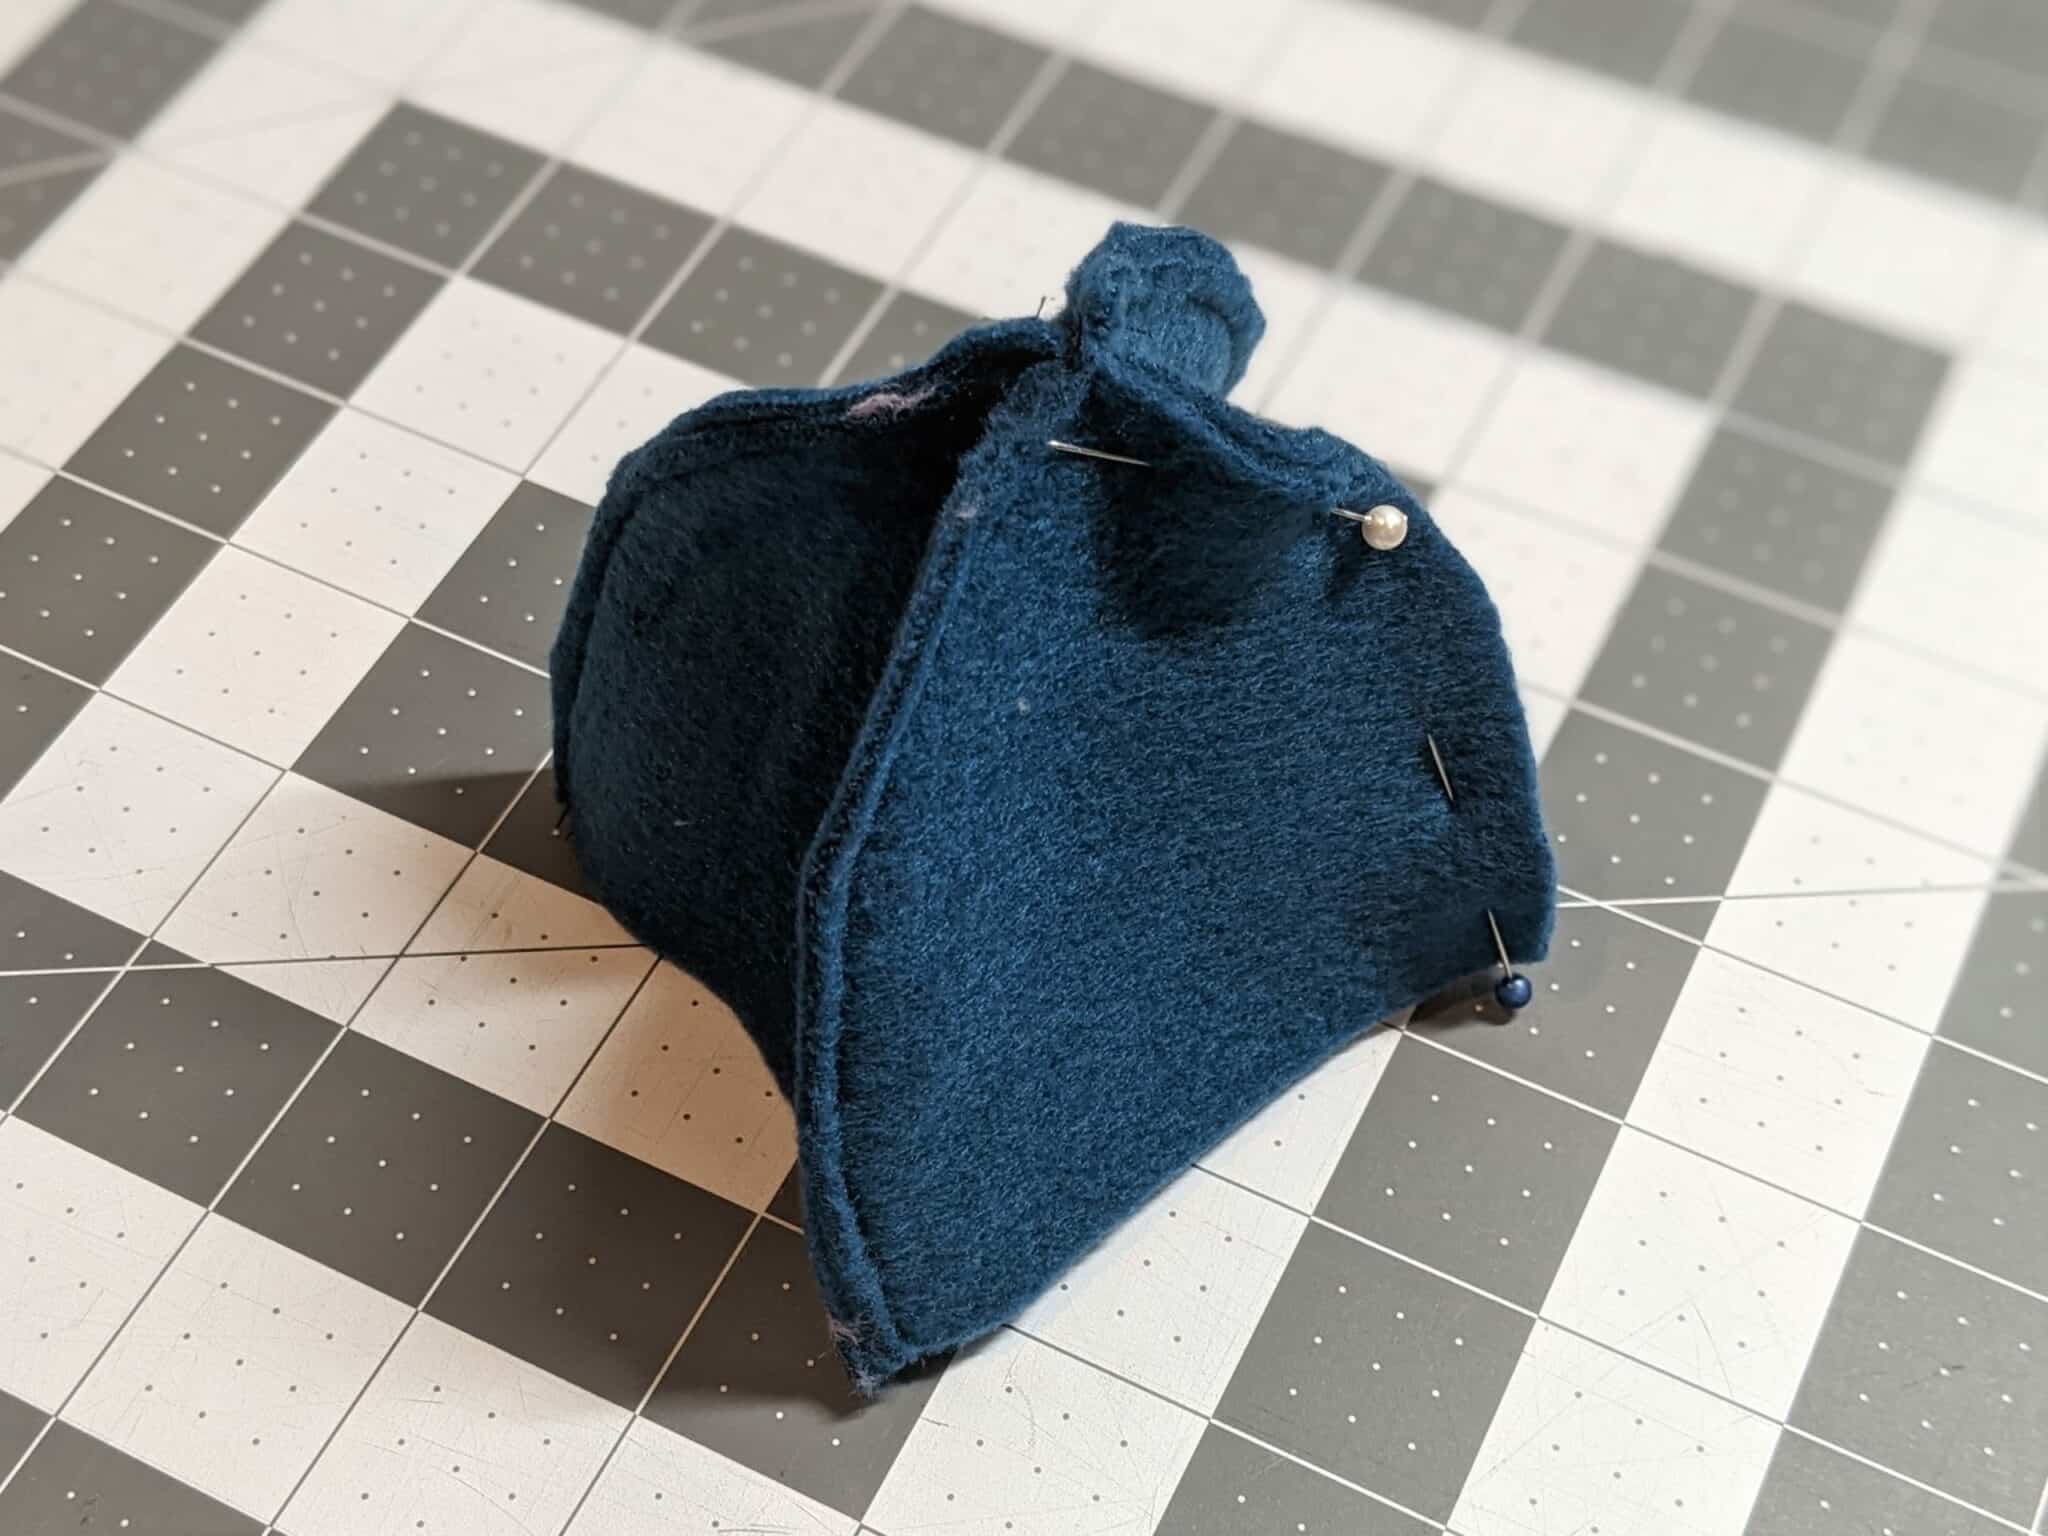
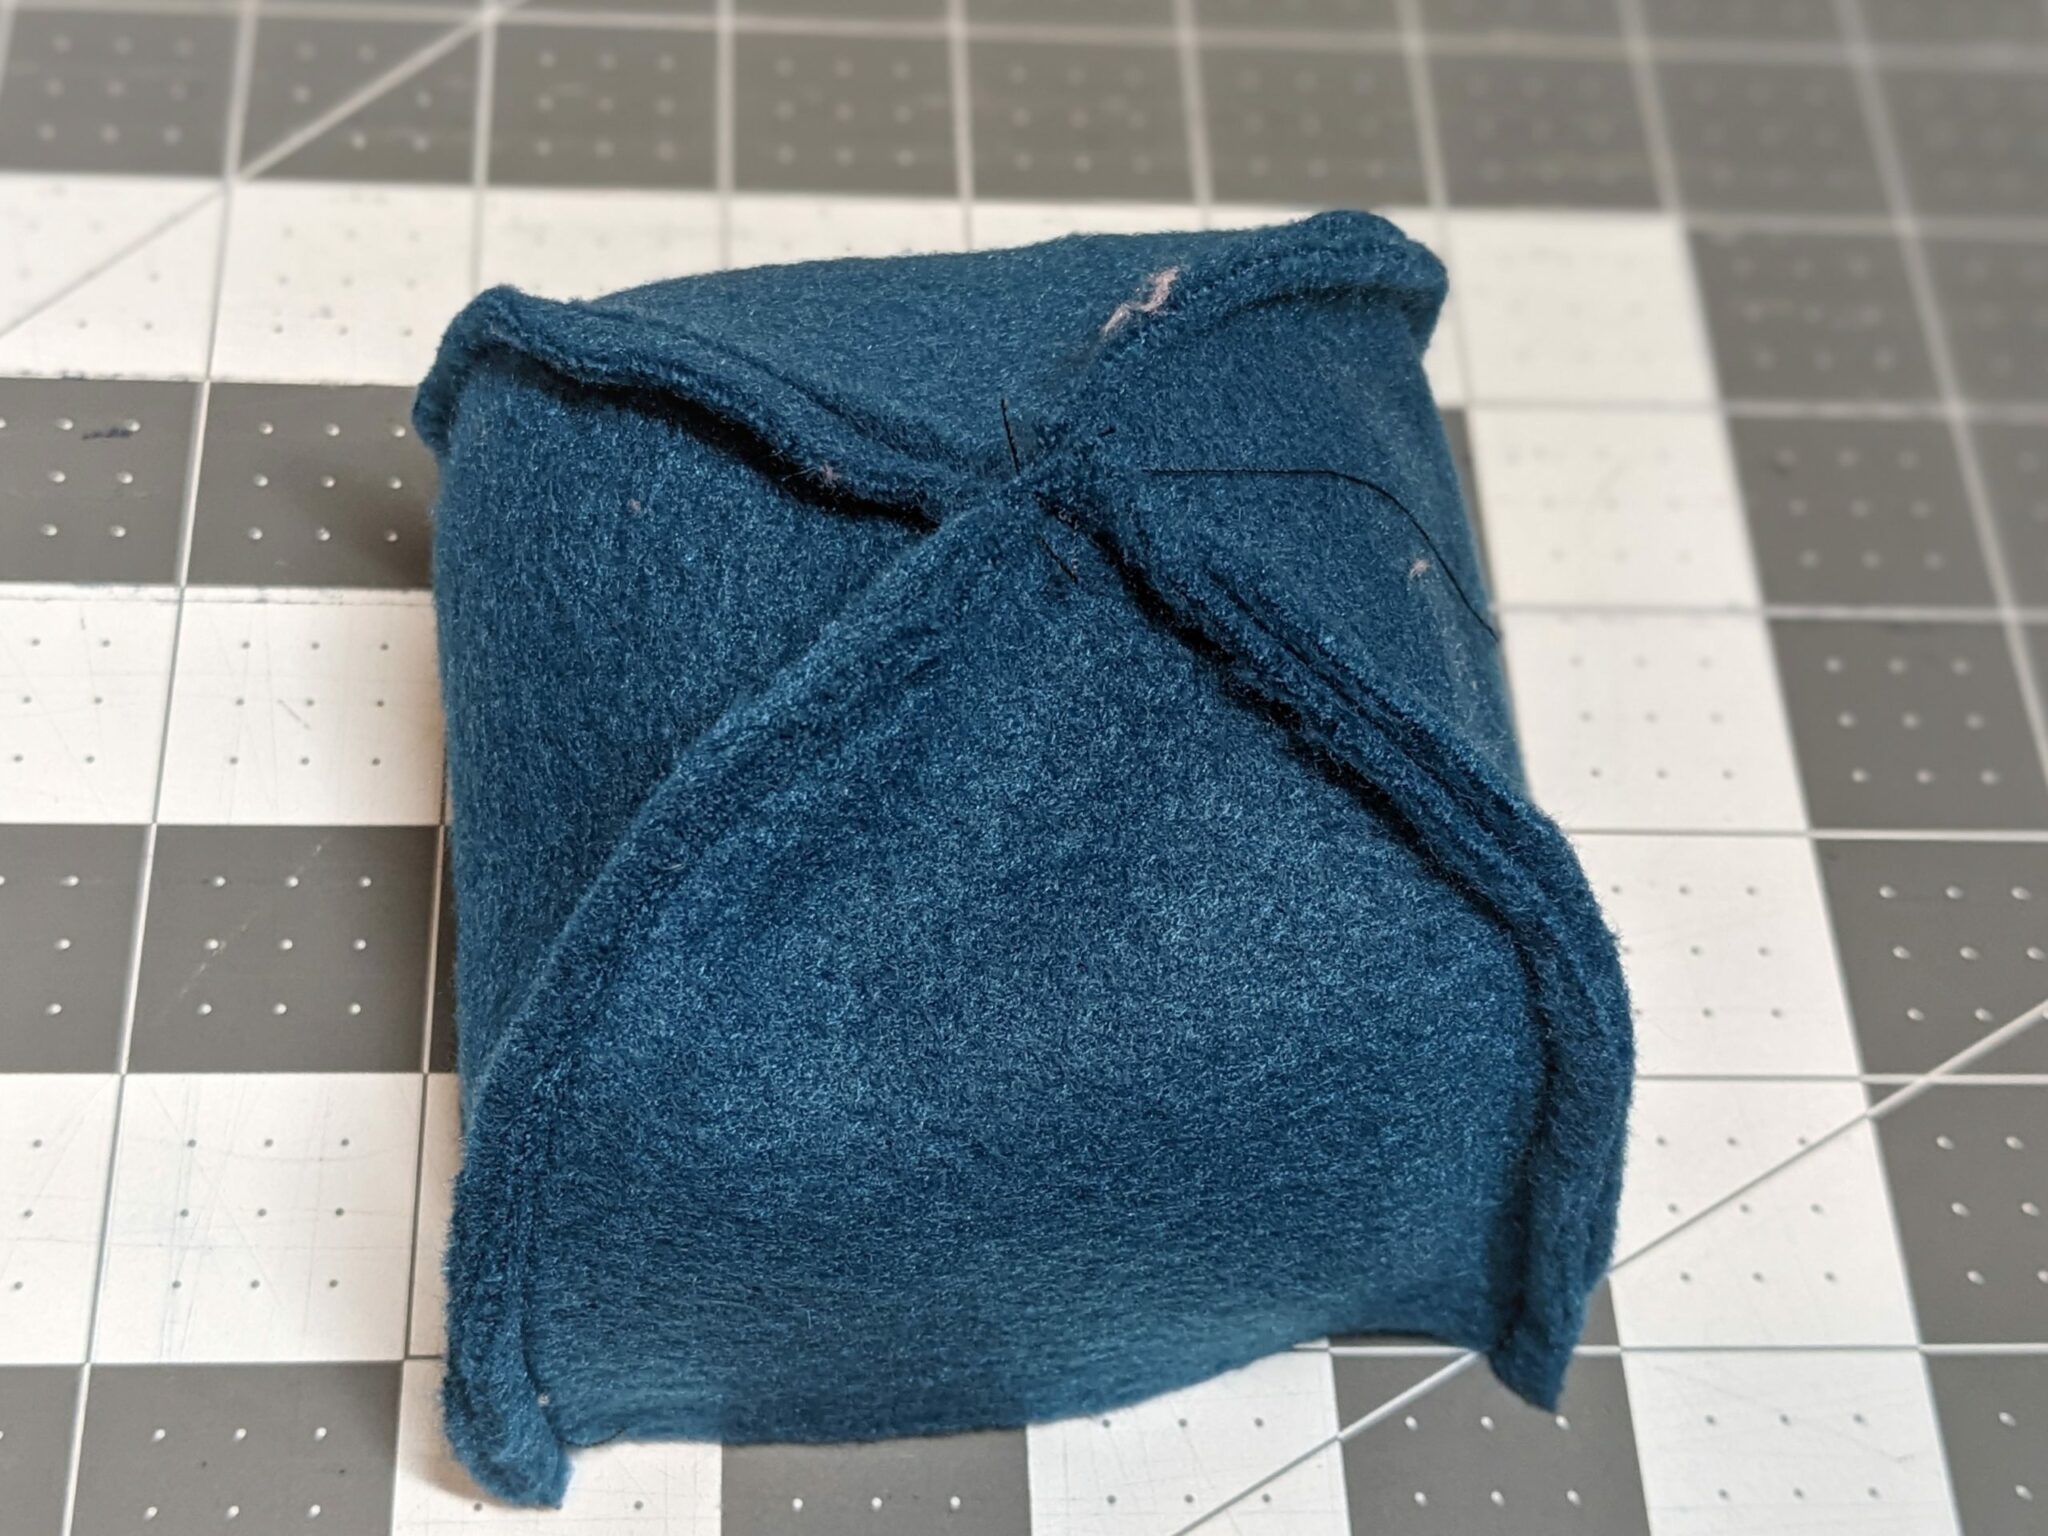
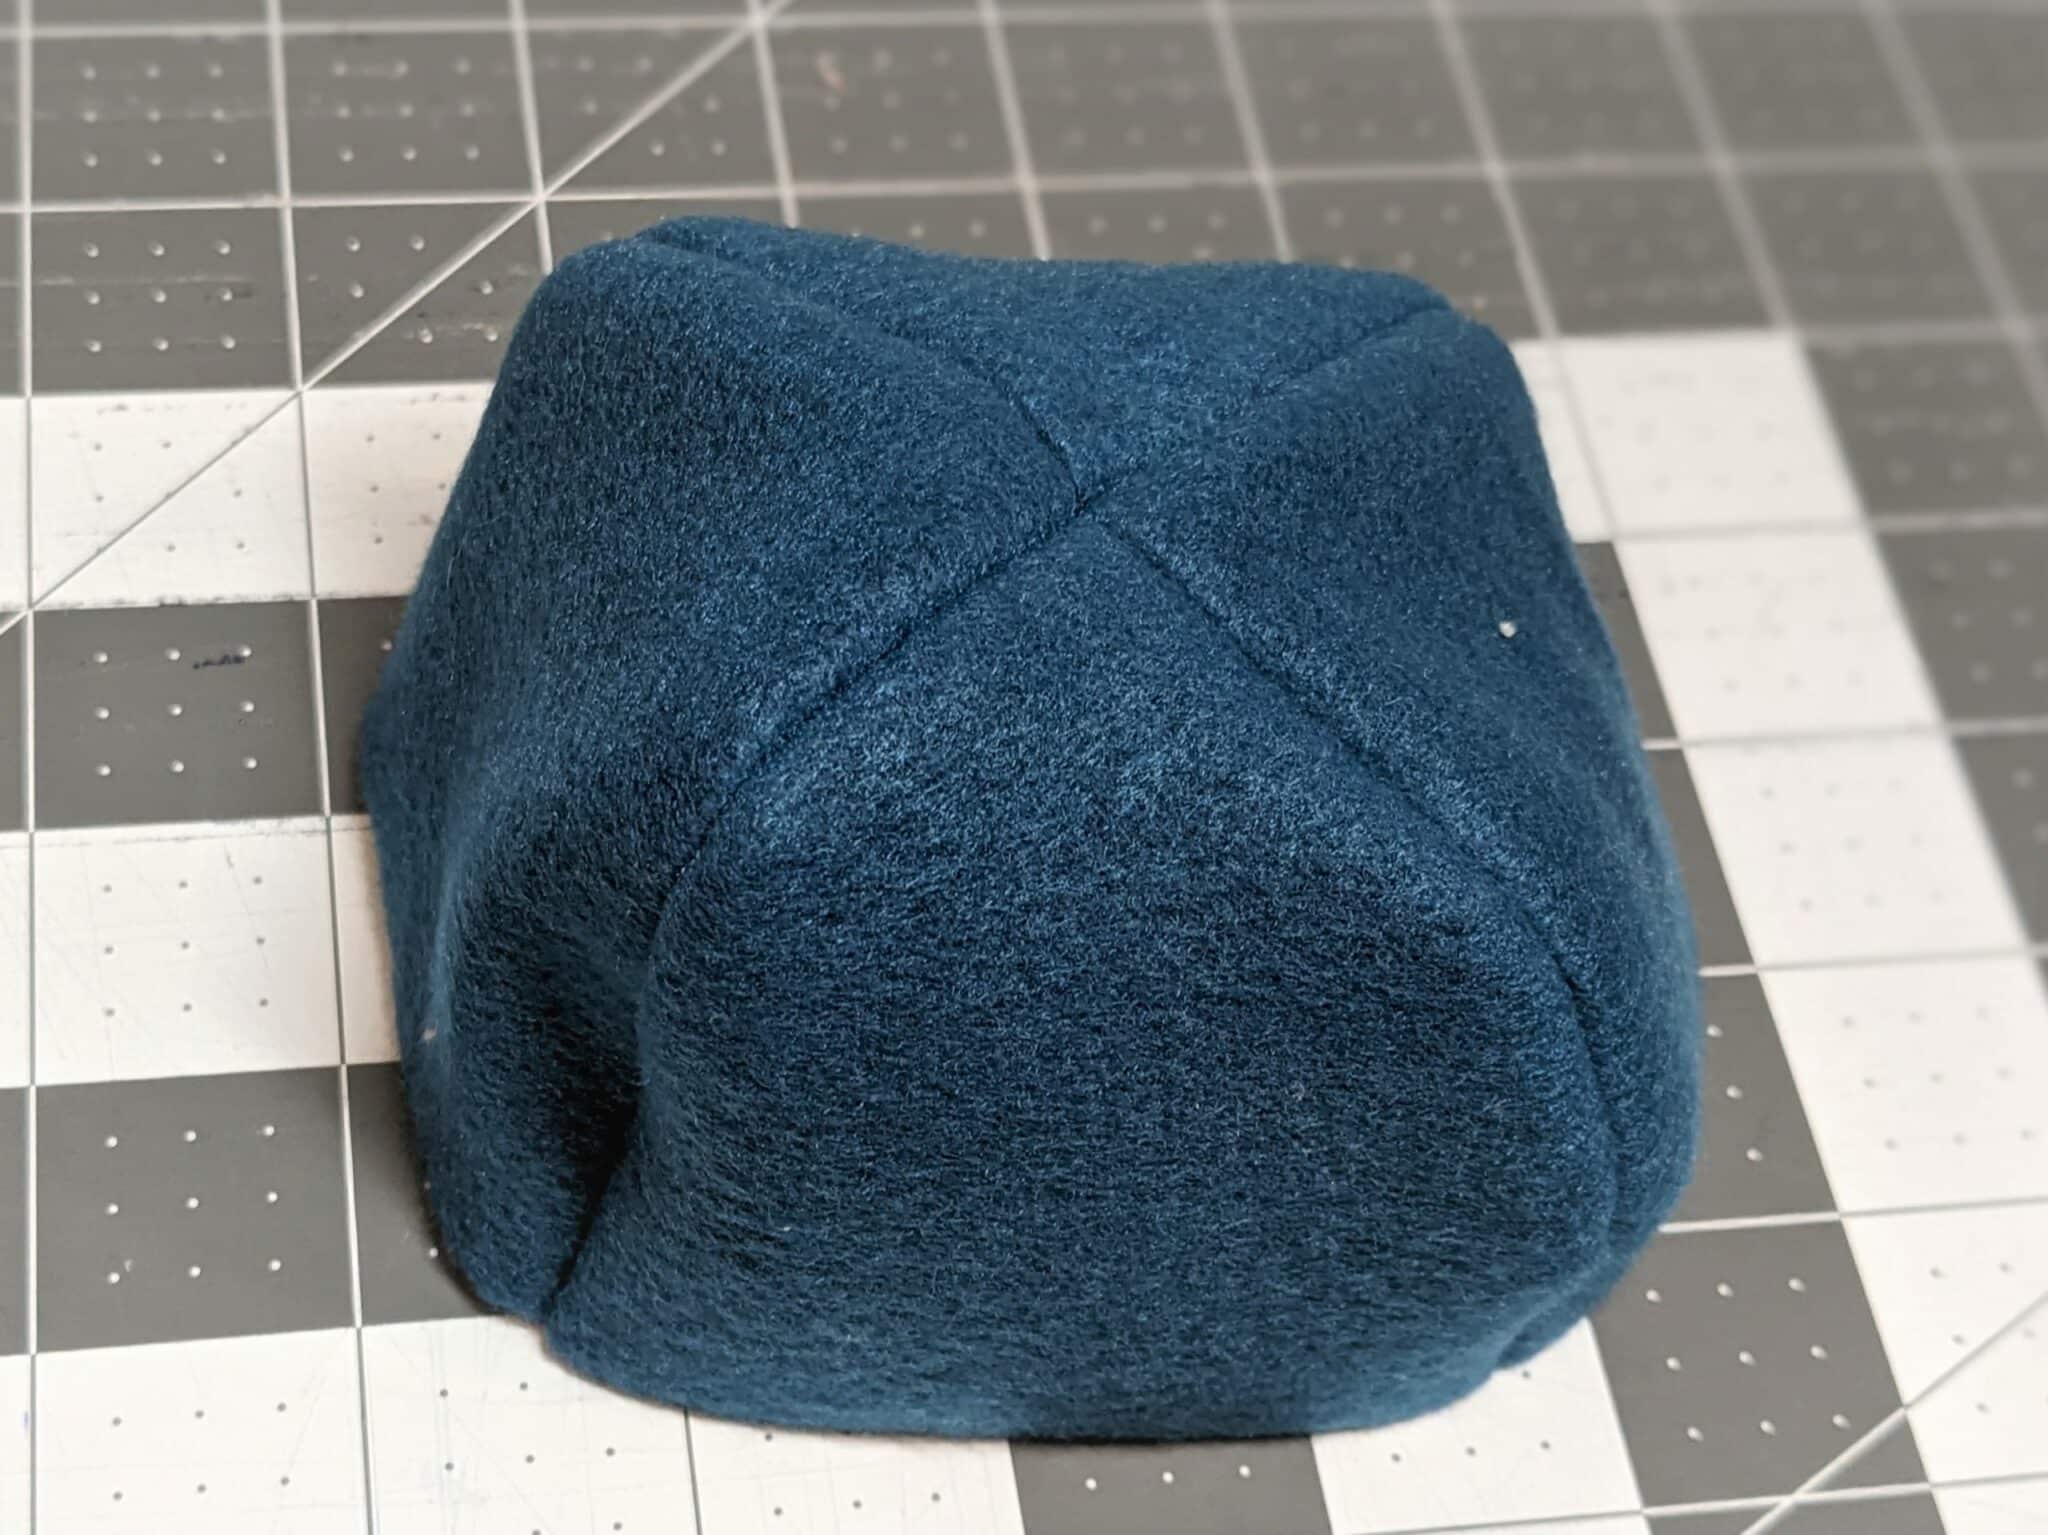
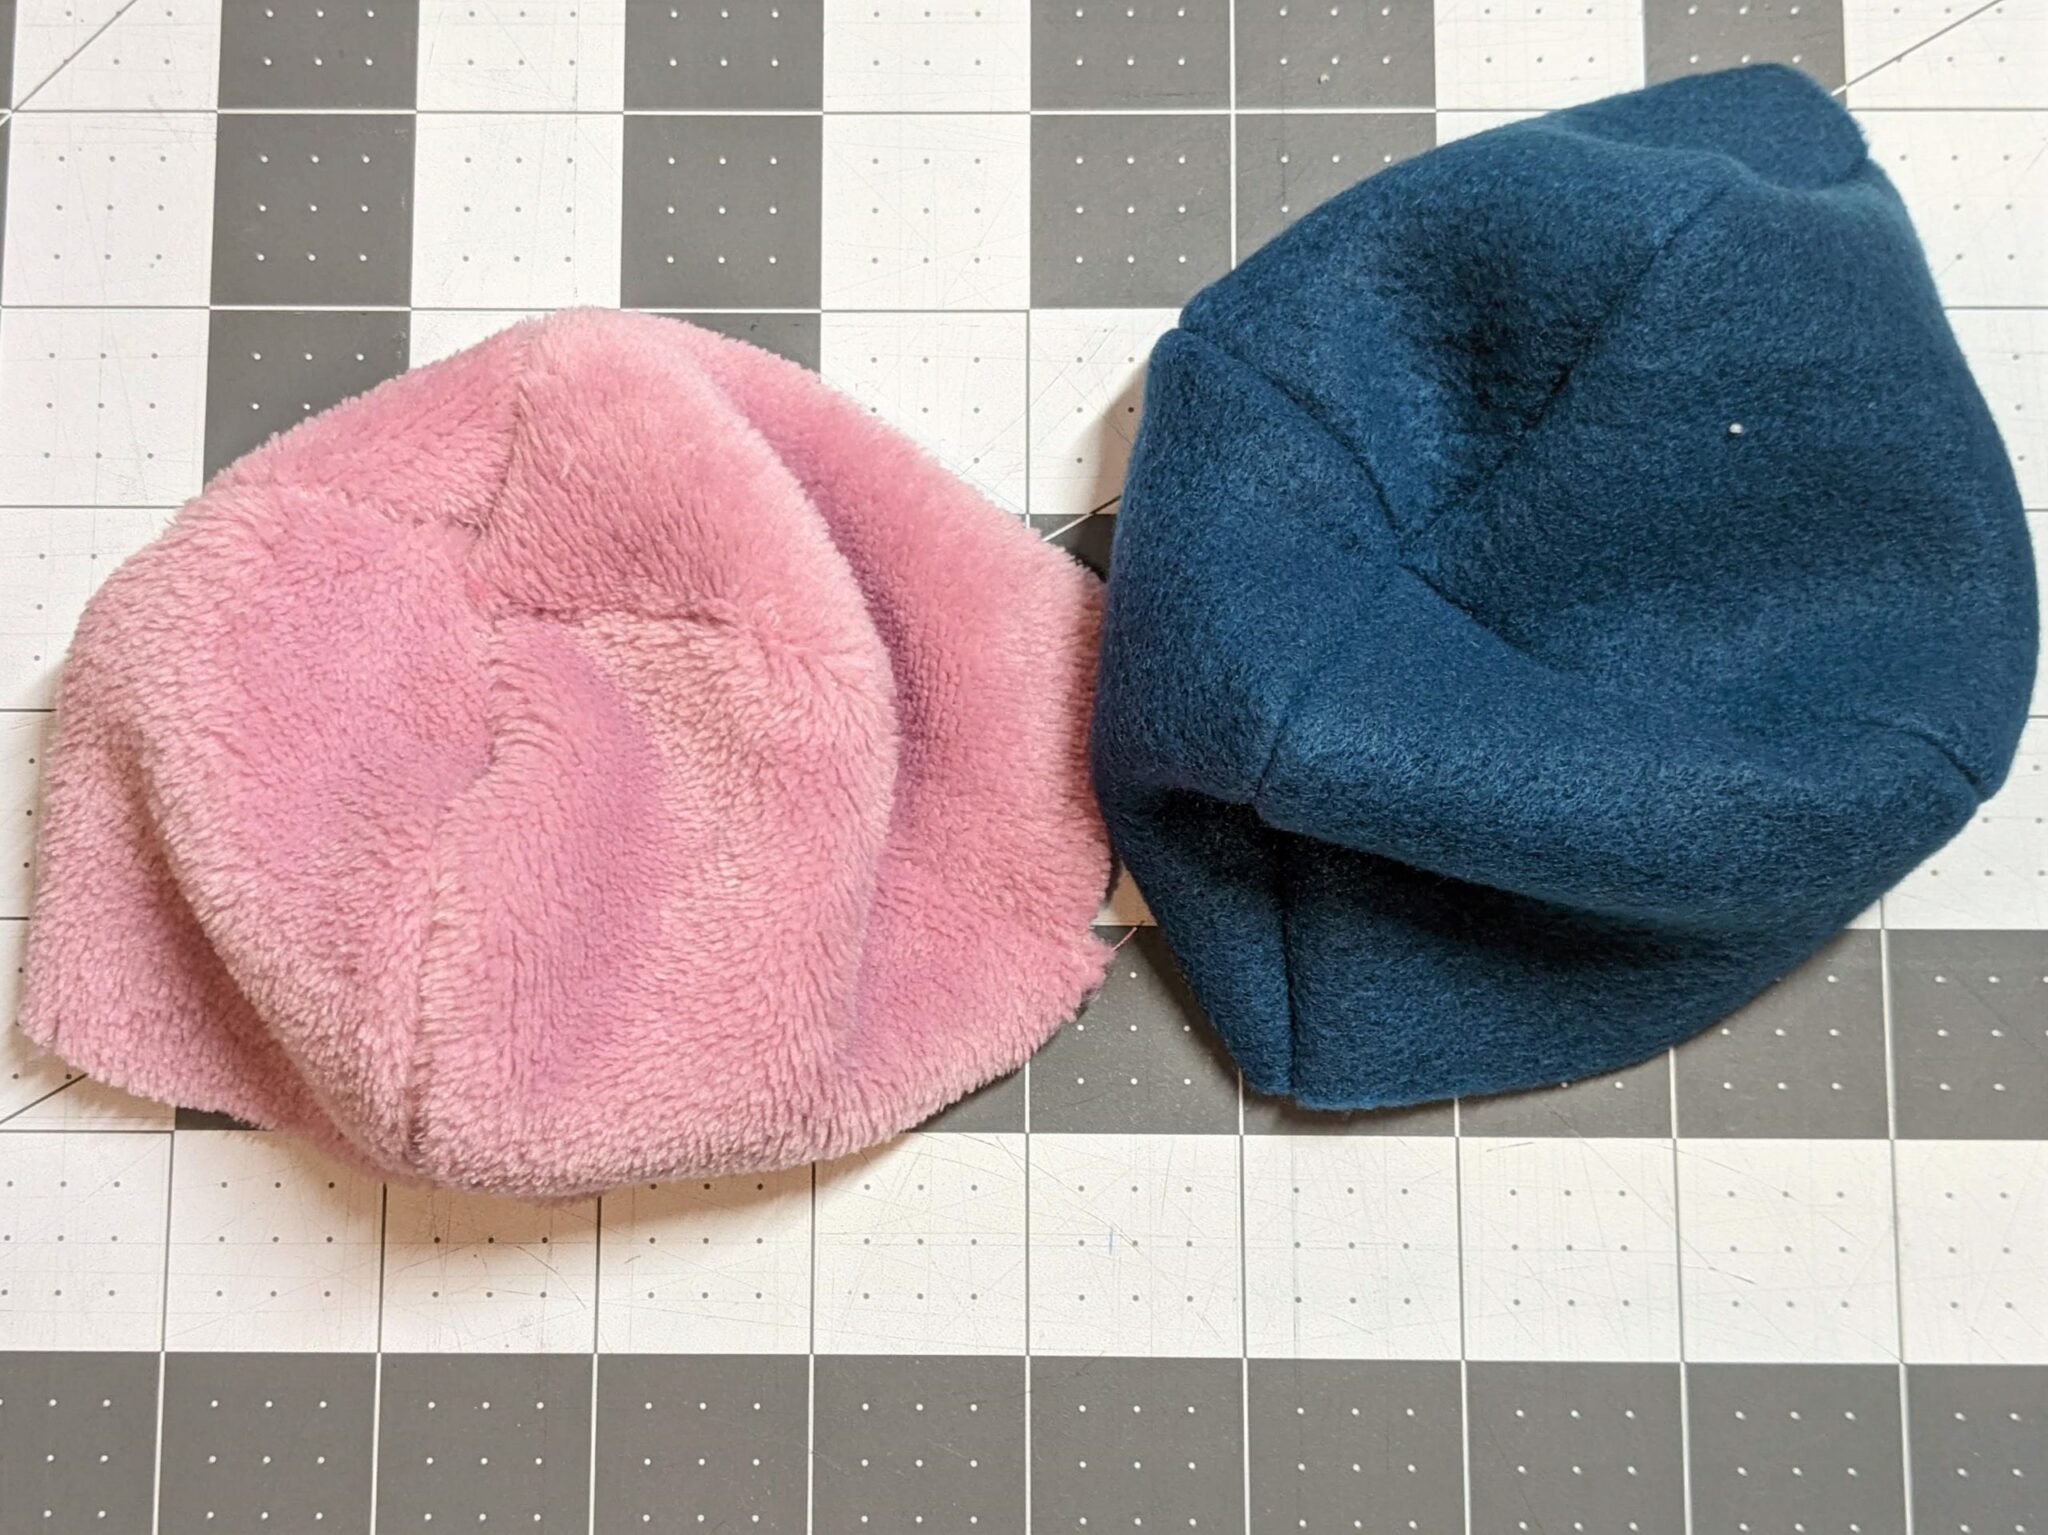
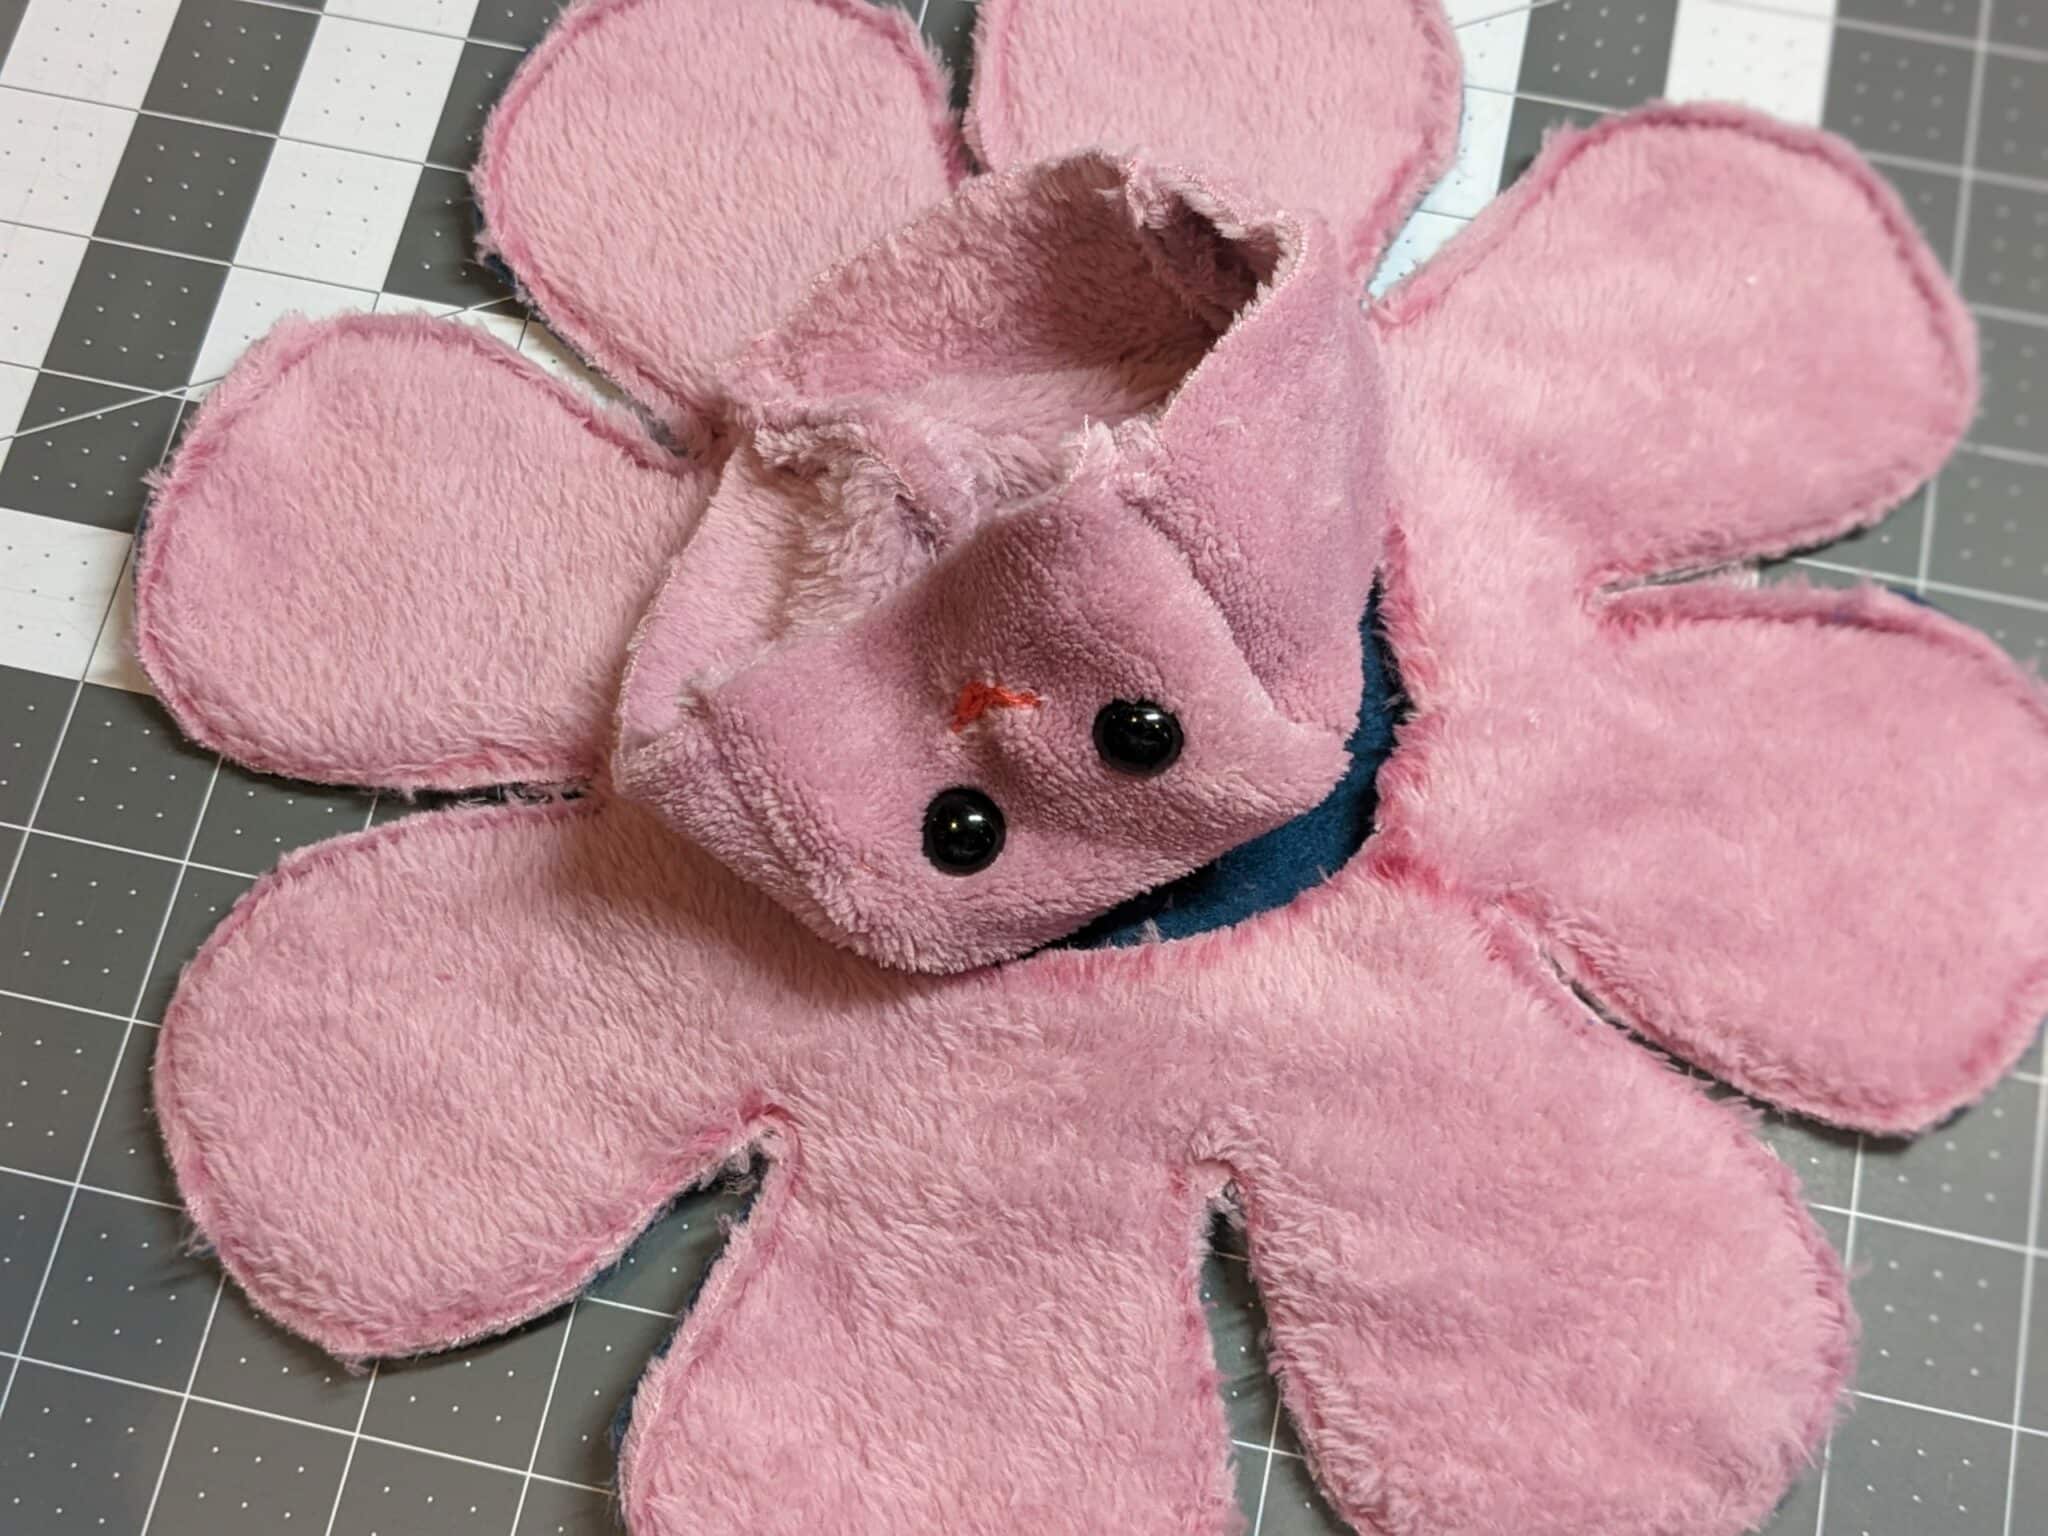
- Turn the head right side out.
- Repeat the same steps with the other color head.
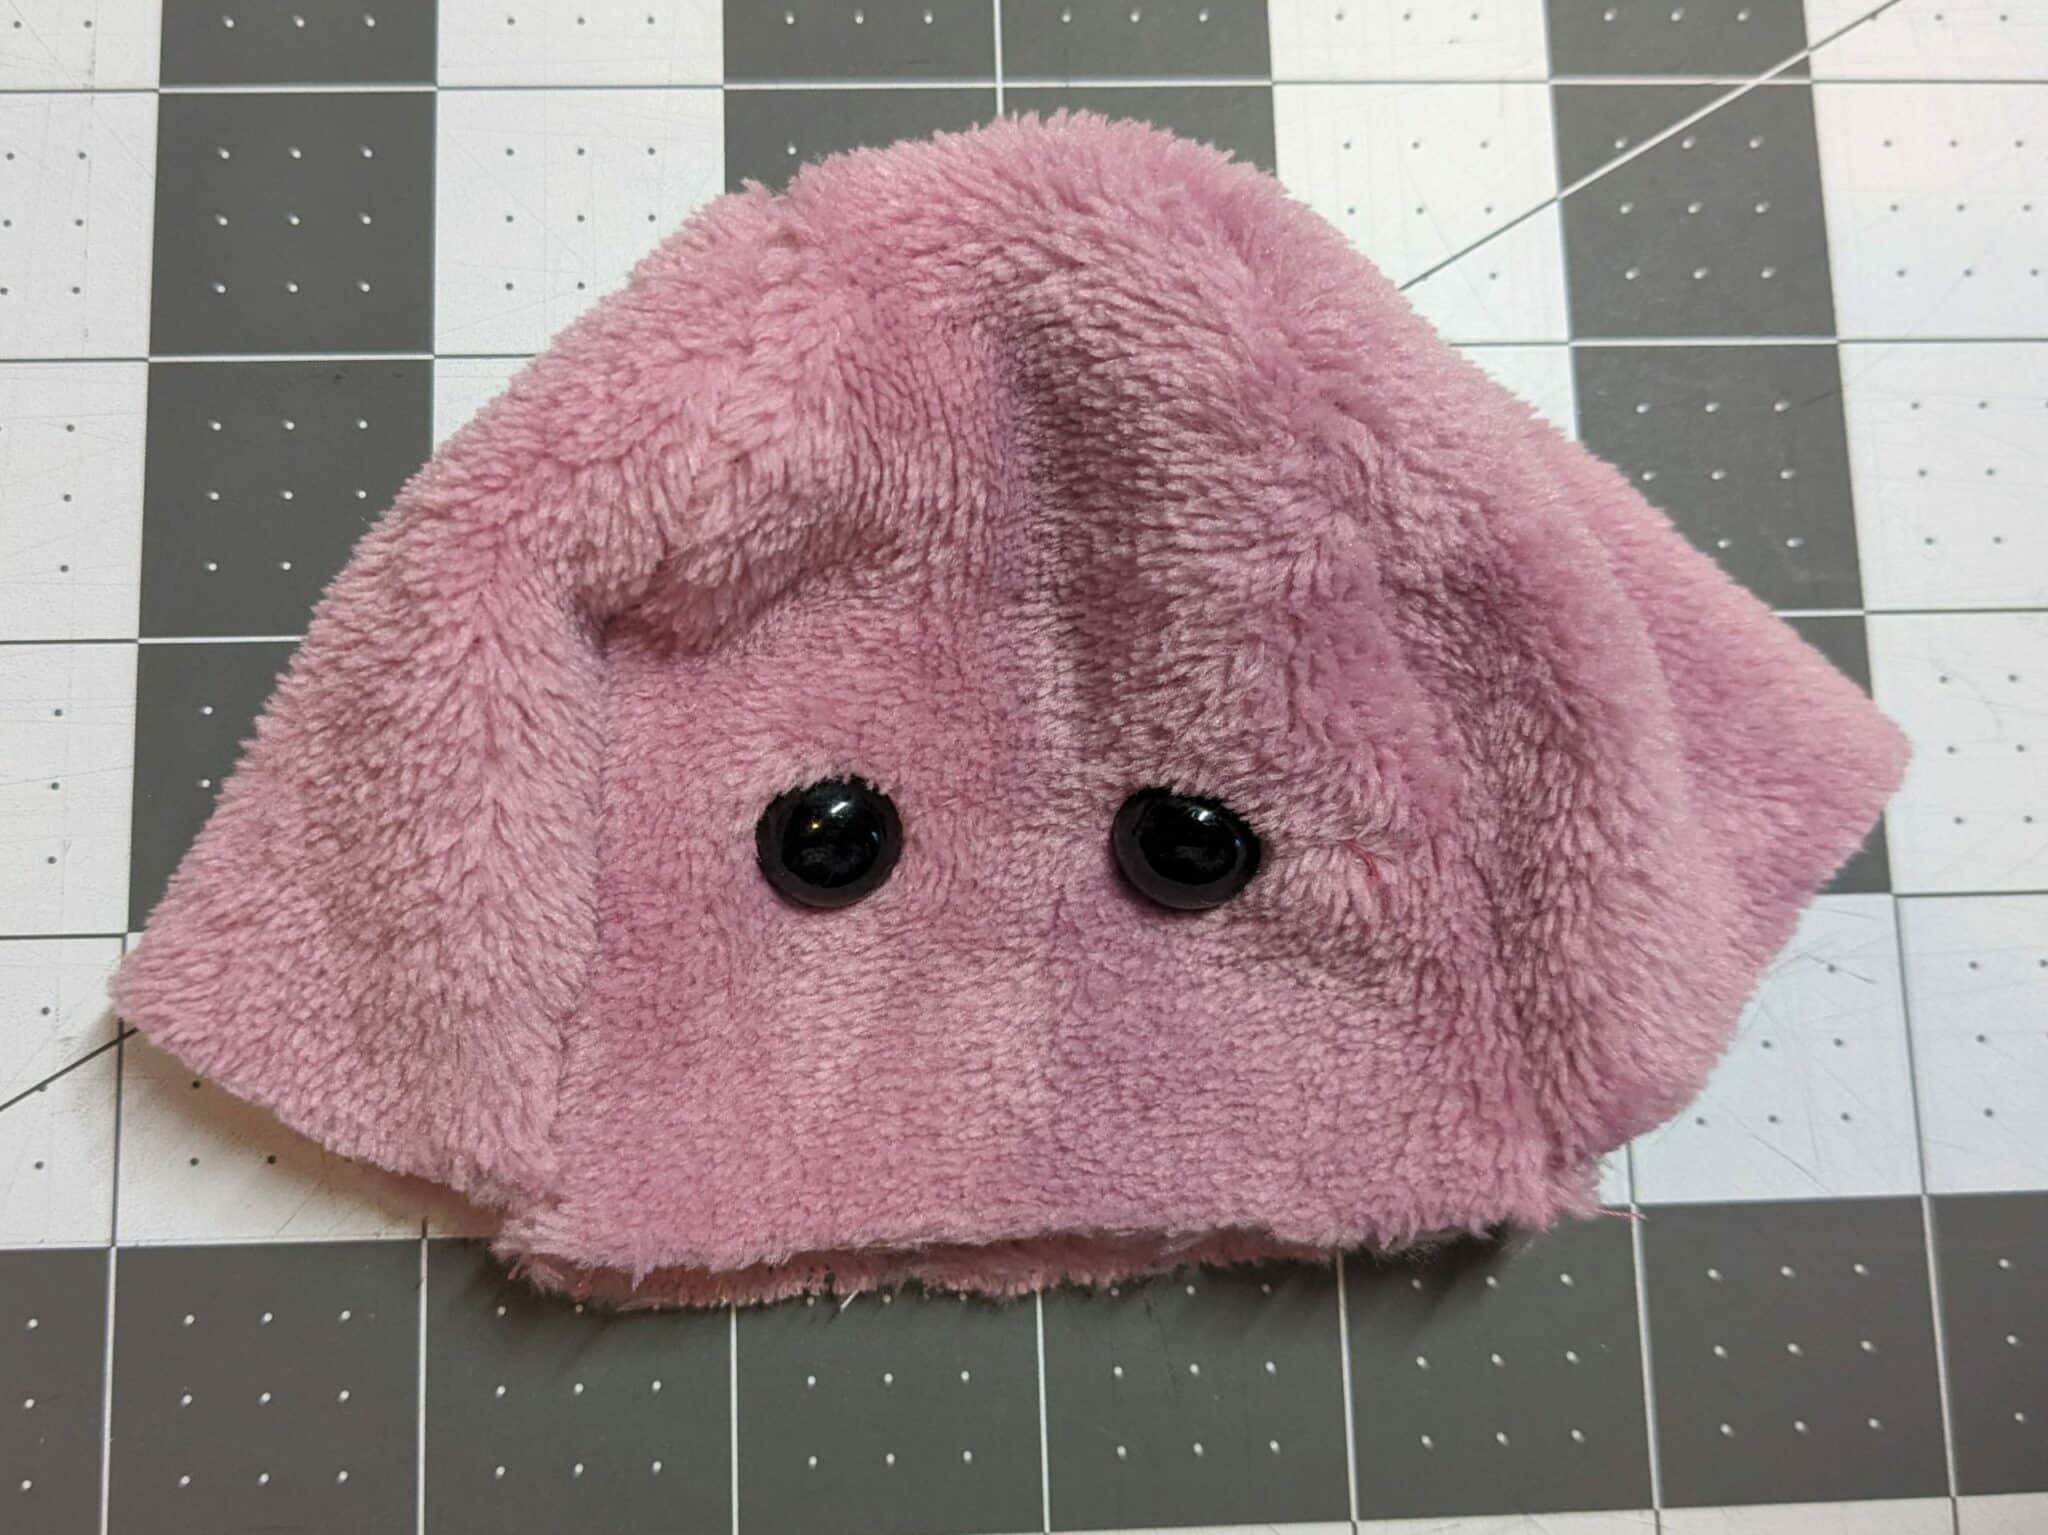
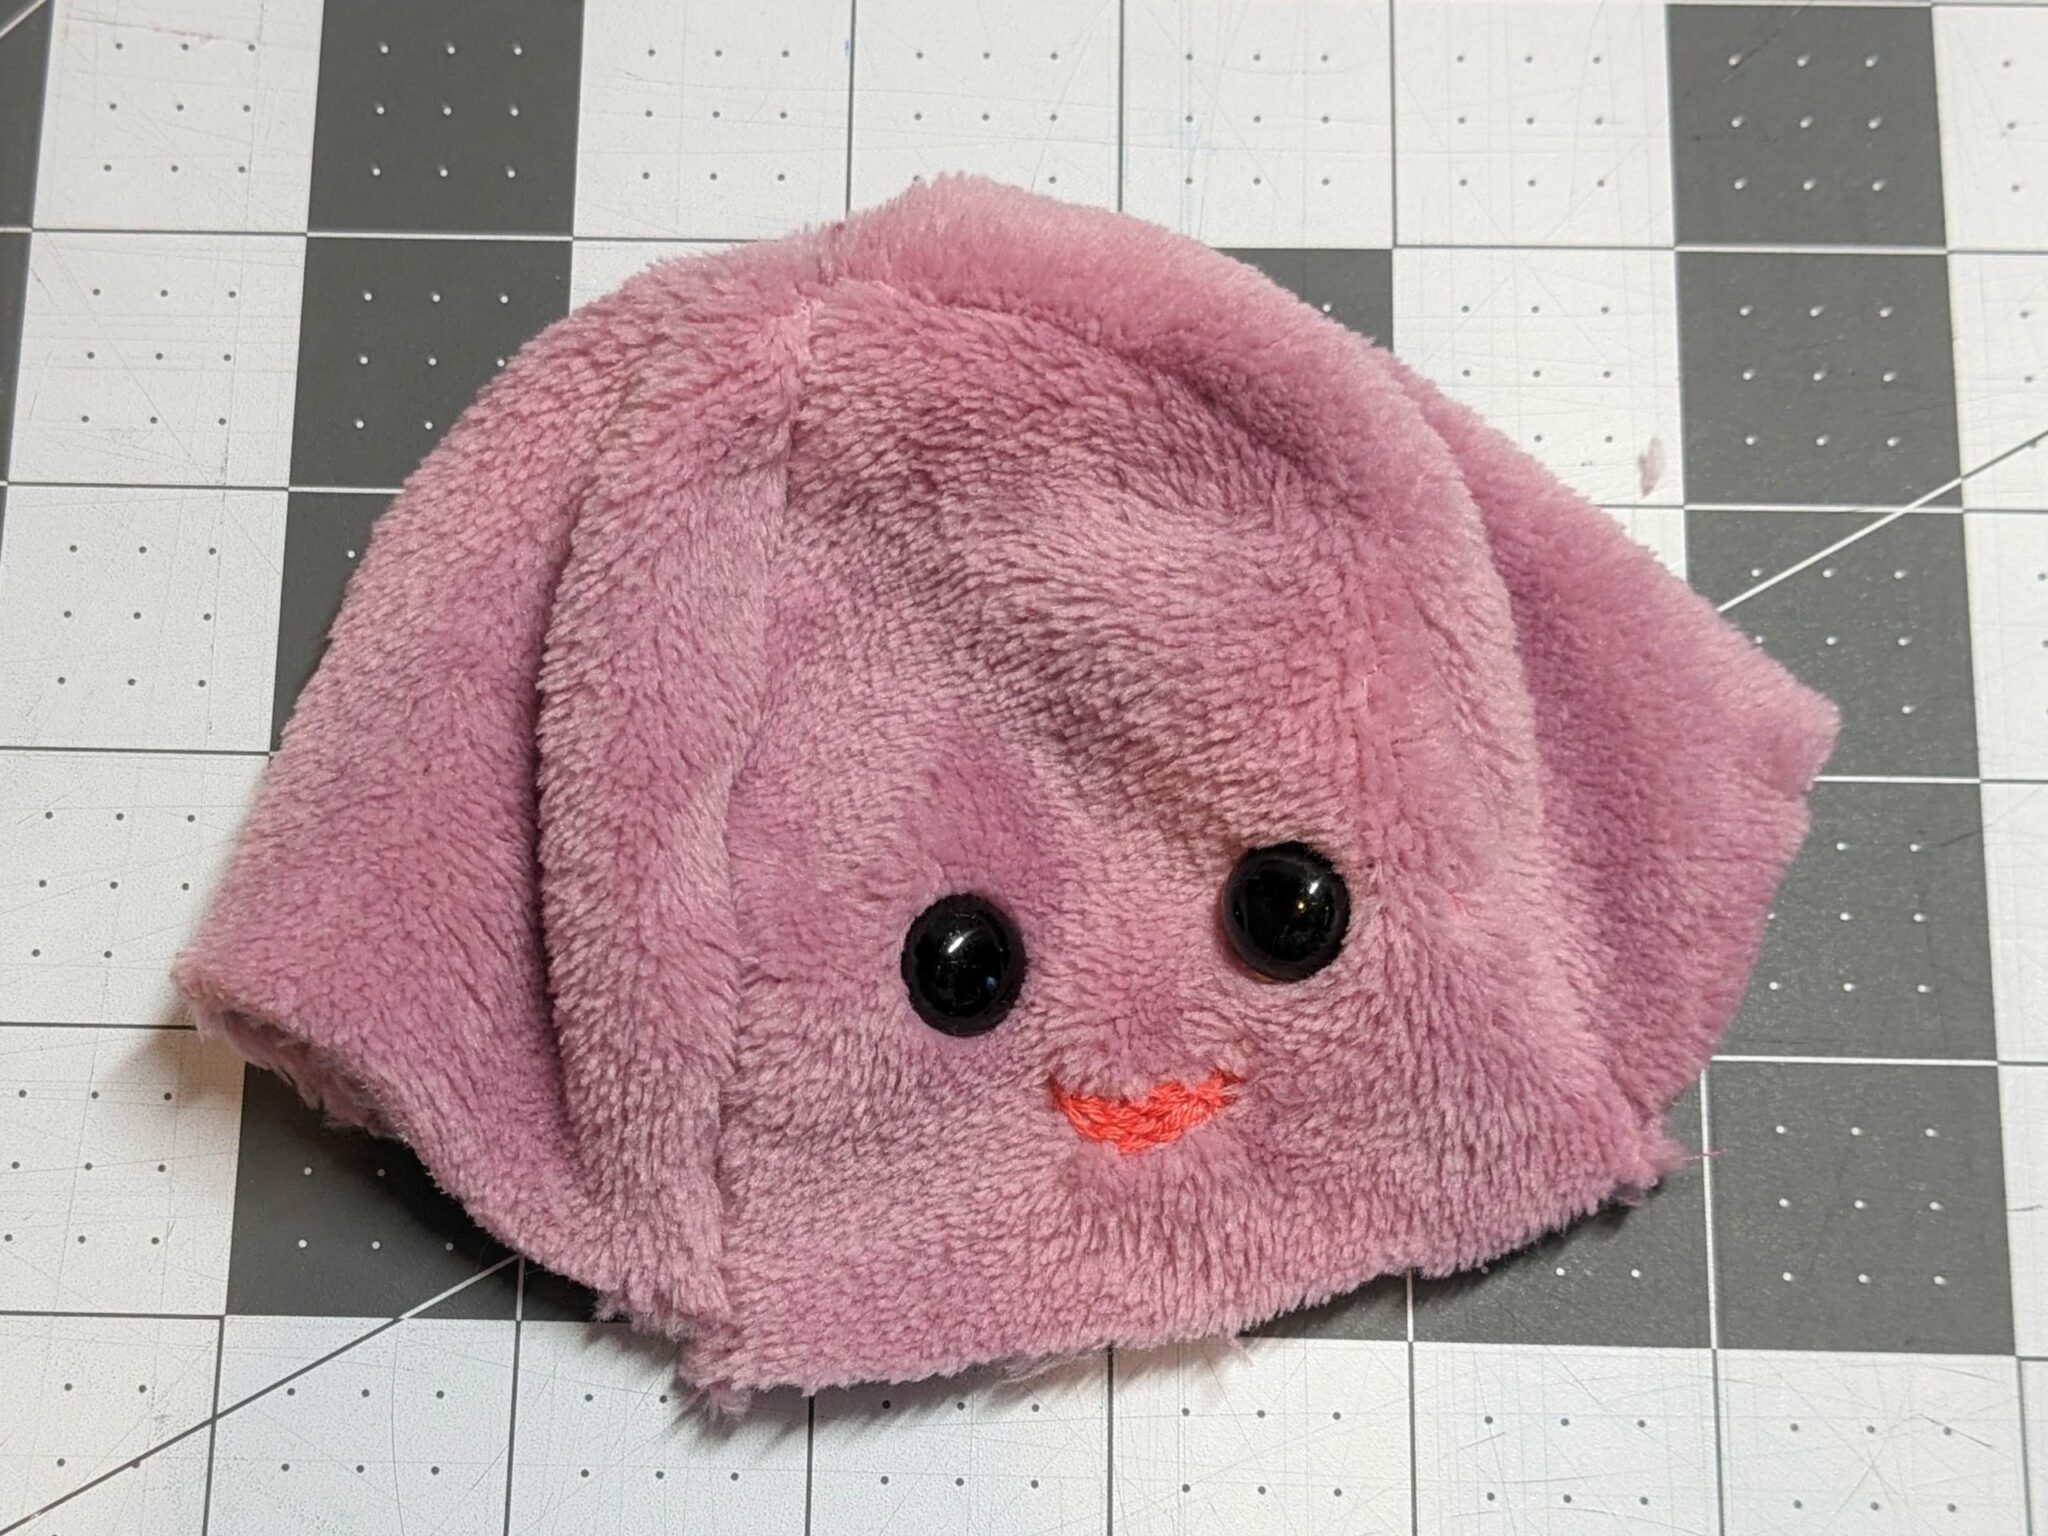
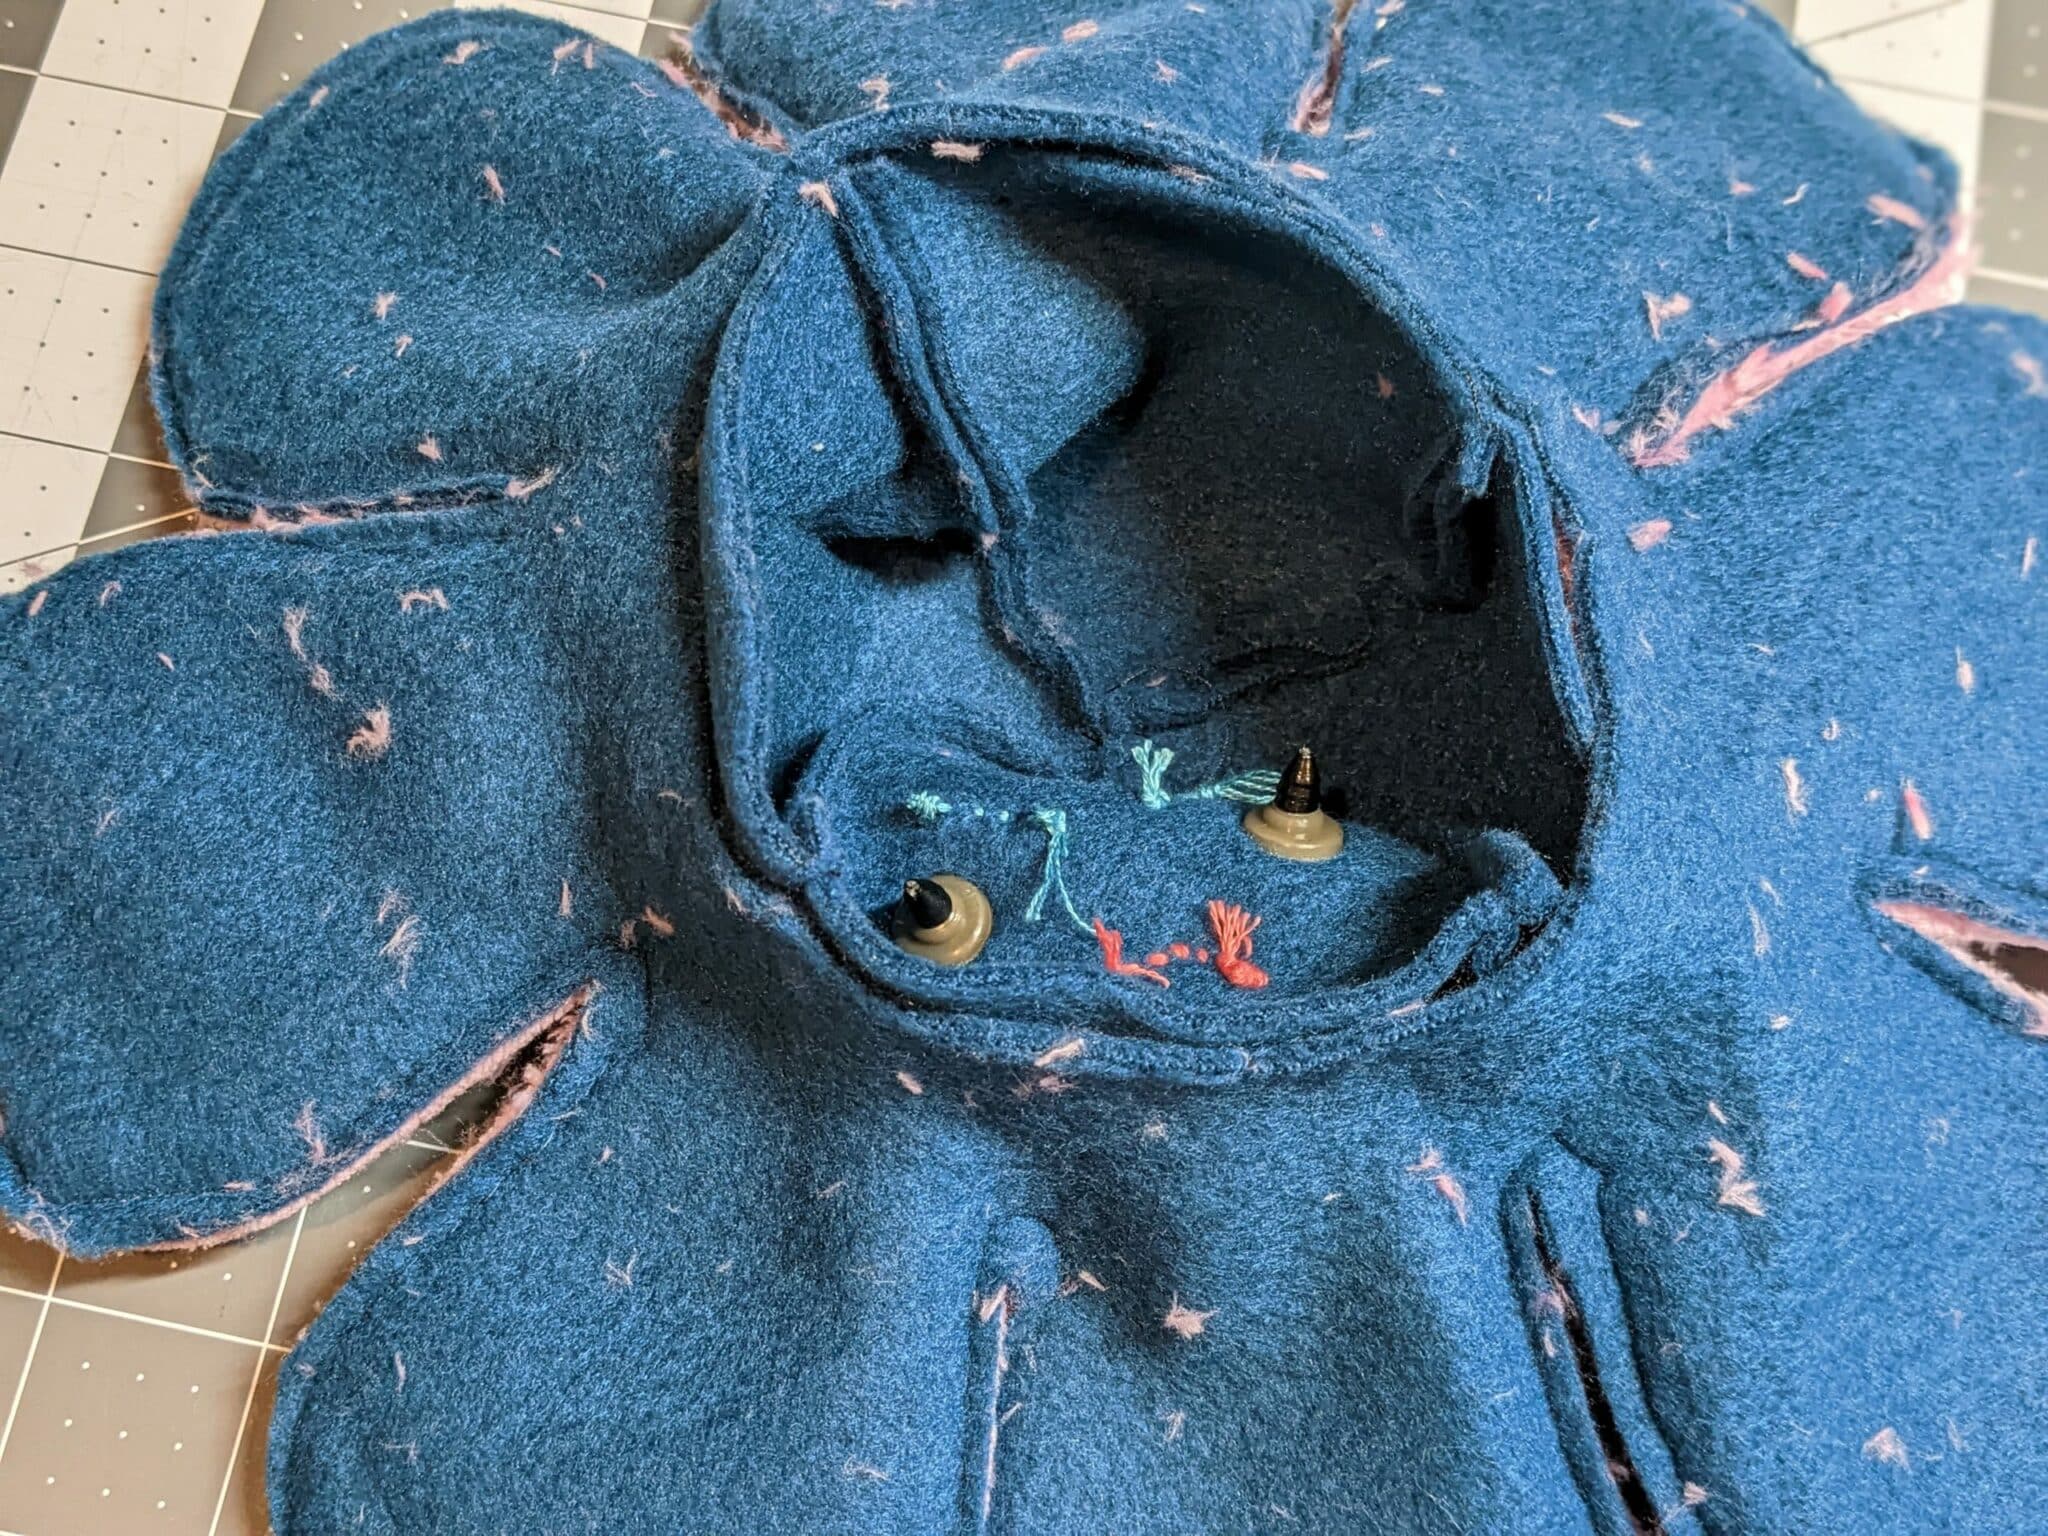
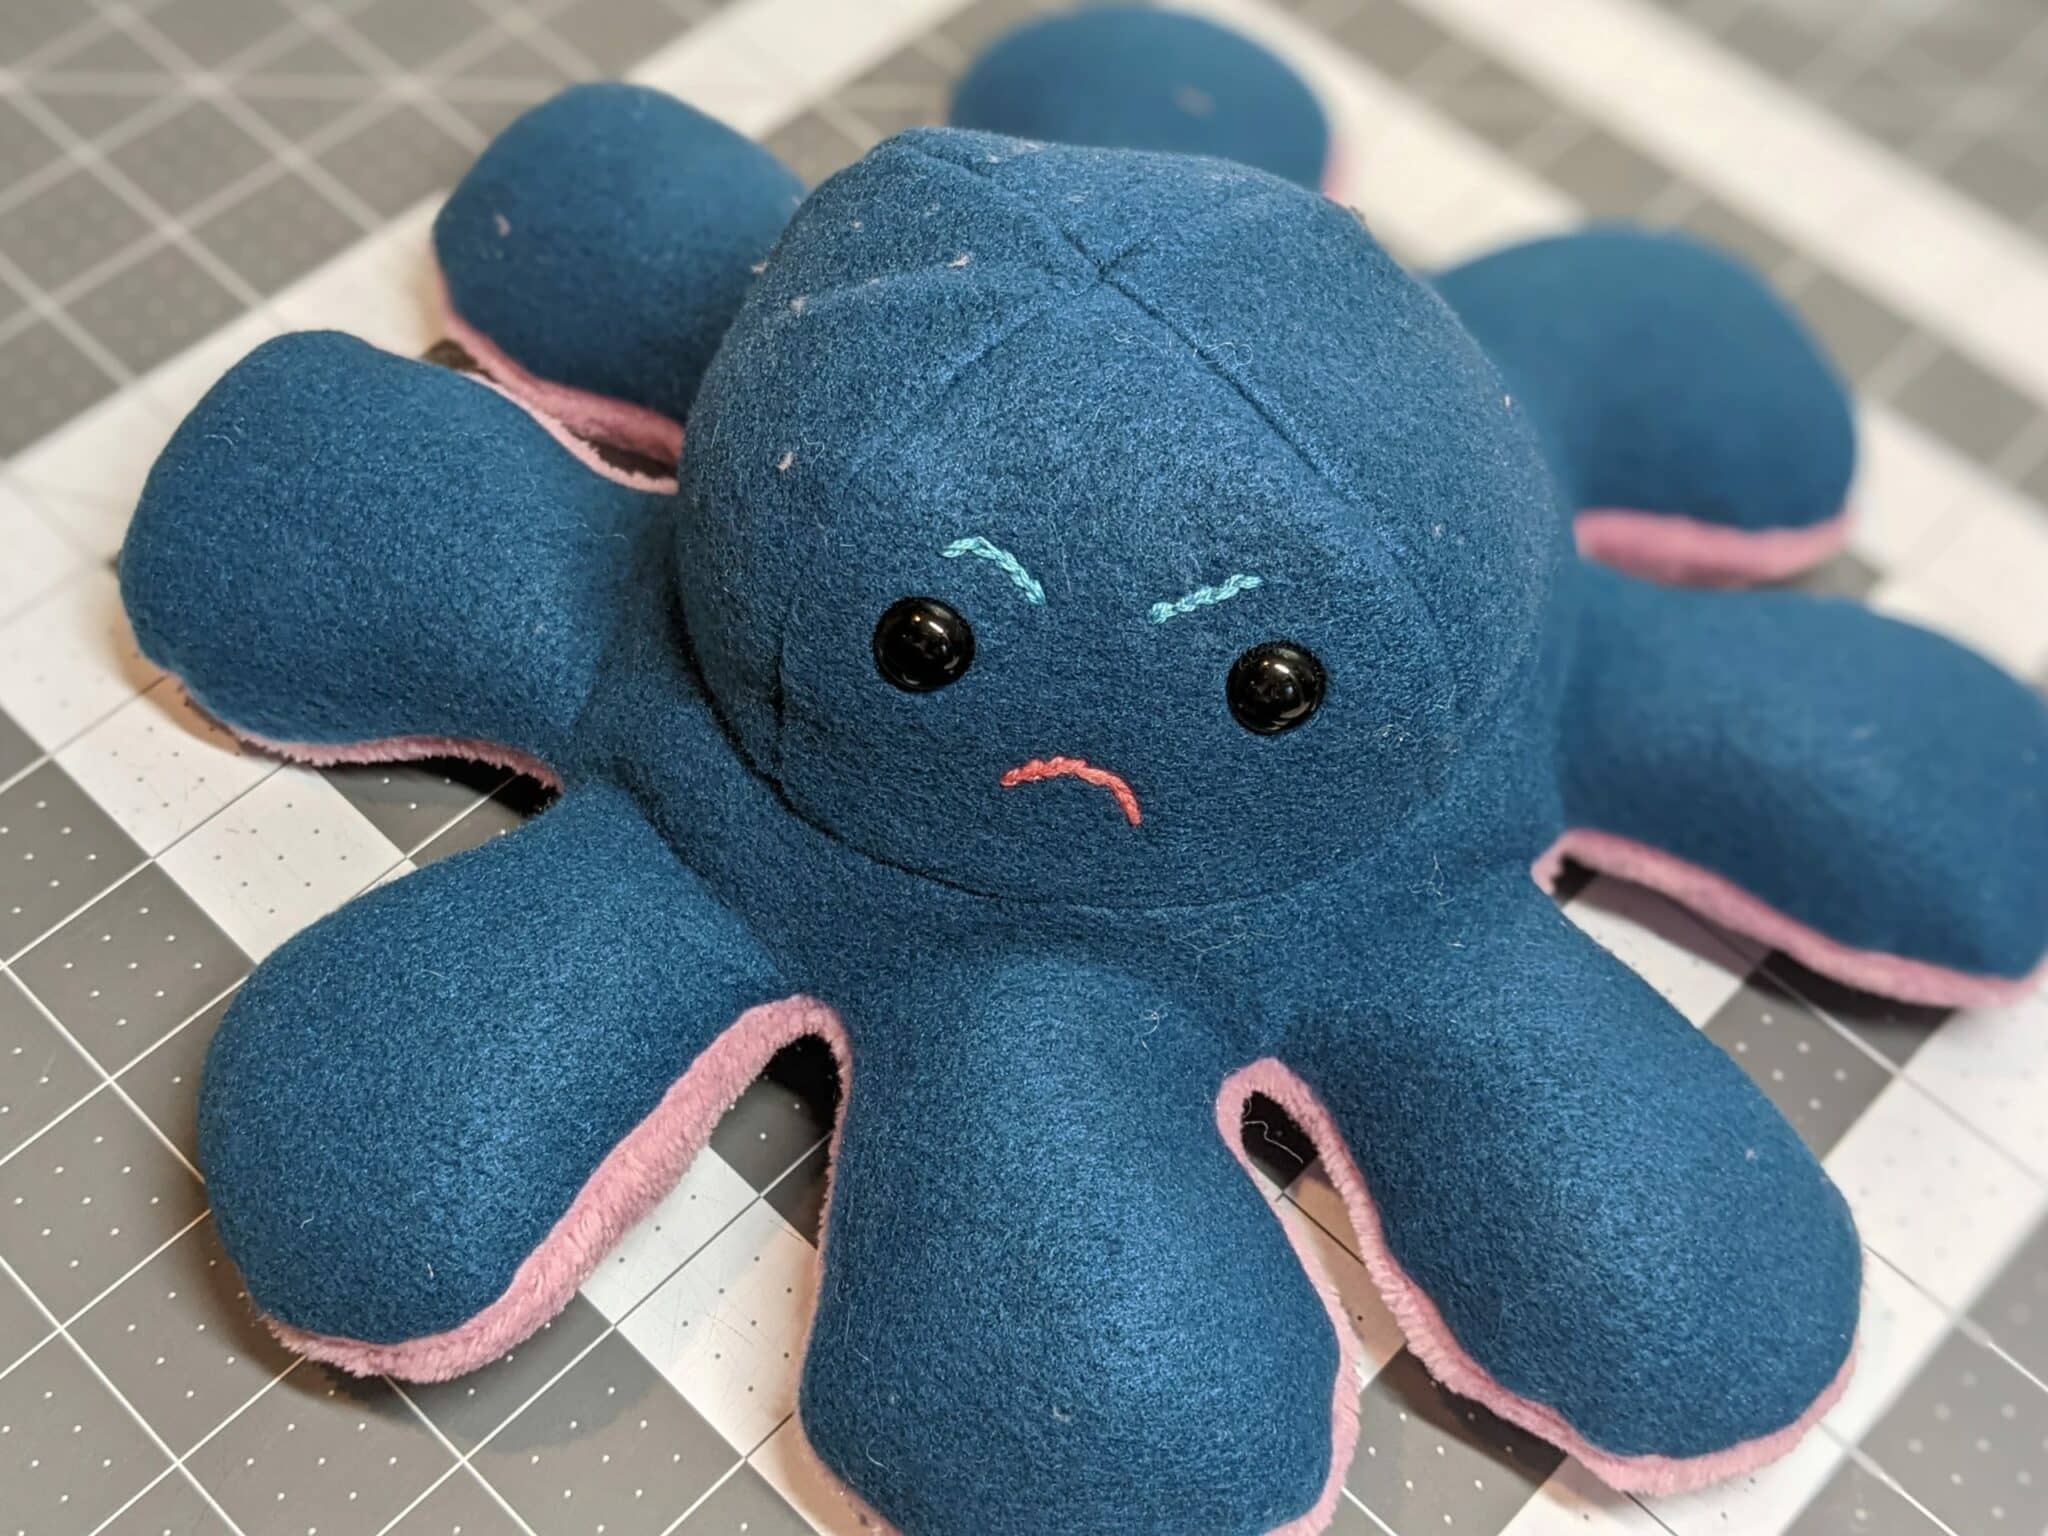
Add on the Faces
- Use embroidery floss, safety eyes, etc, and give each side of the head a different expression.

Sew the Head and Body Together
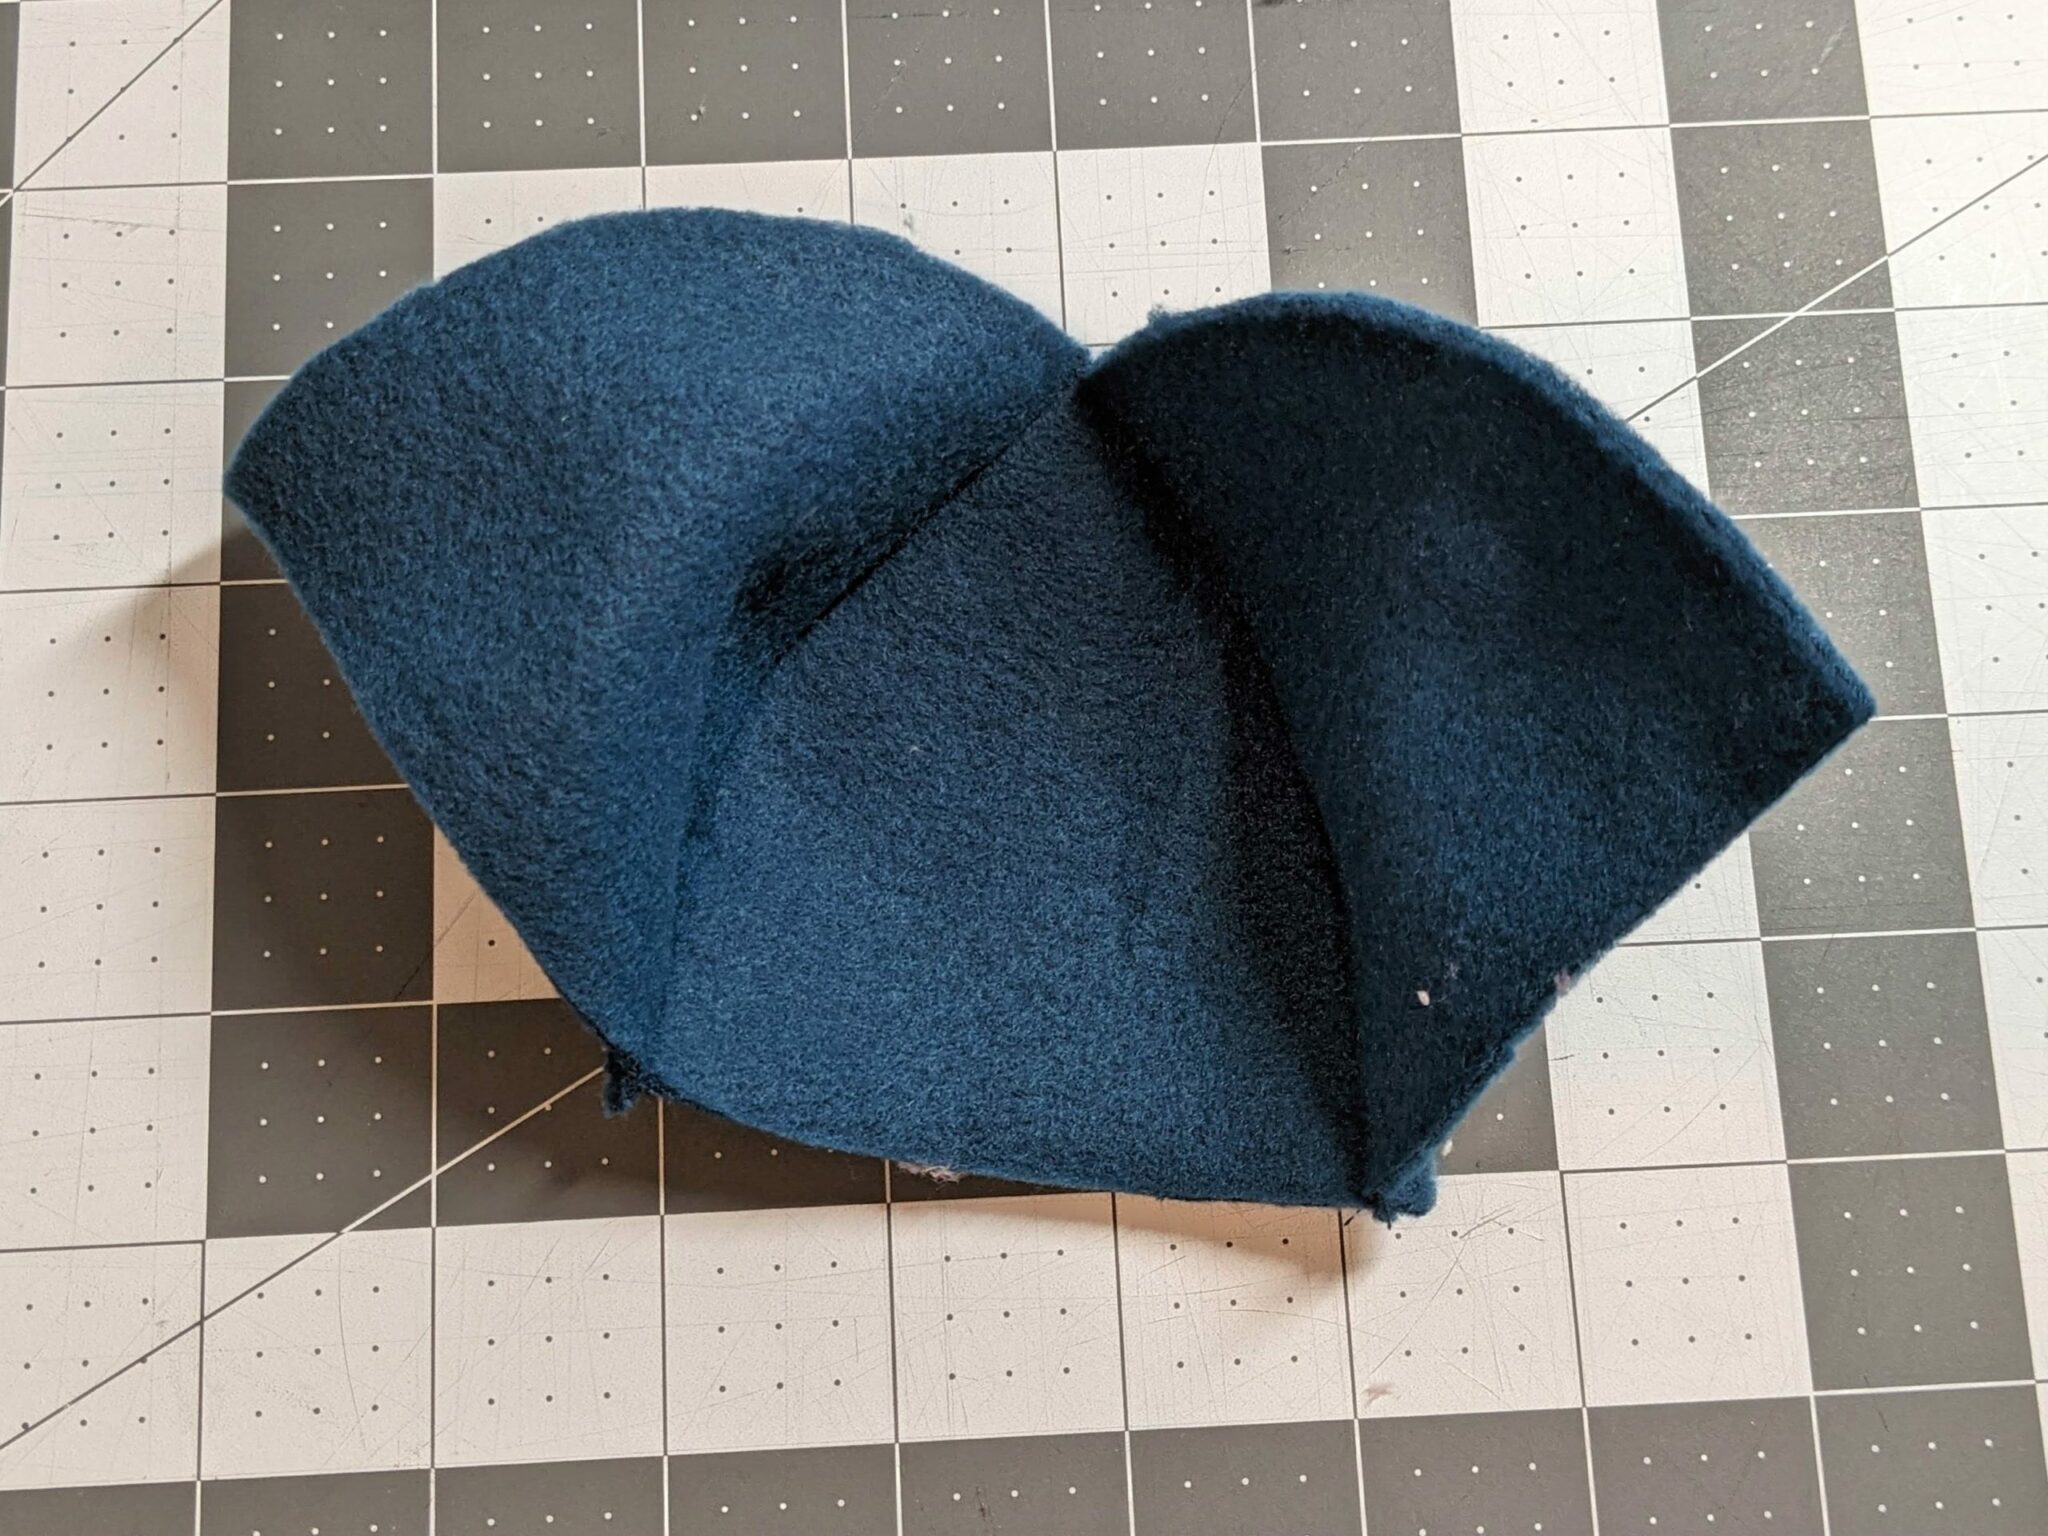
- Your body should still be inside out and the heads right side out.
- Turn the head upside down and slide it into the opening of the body.
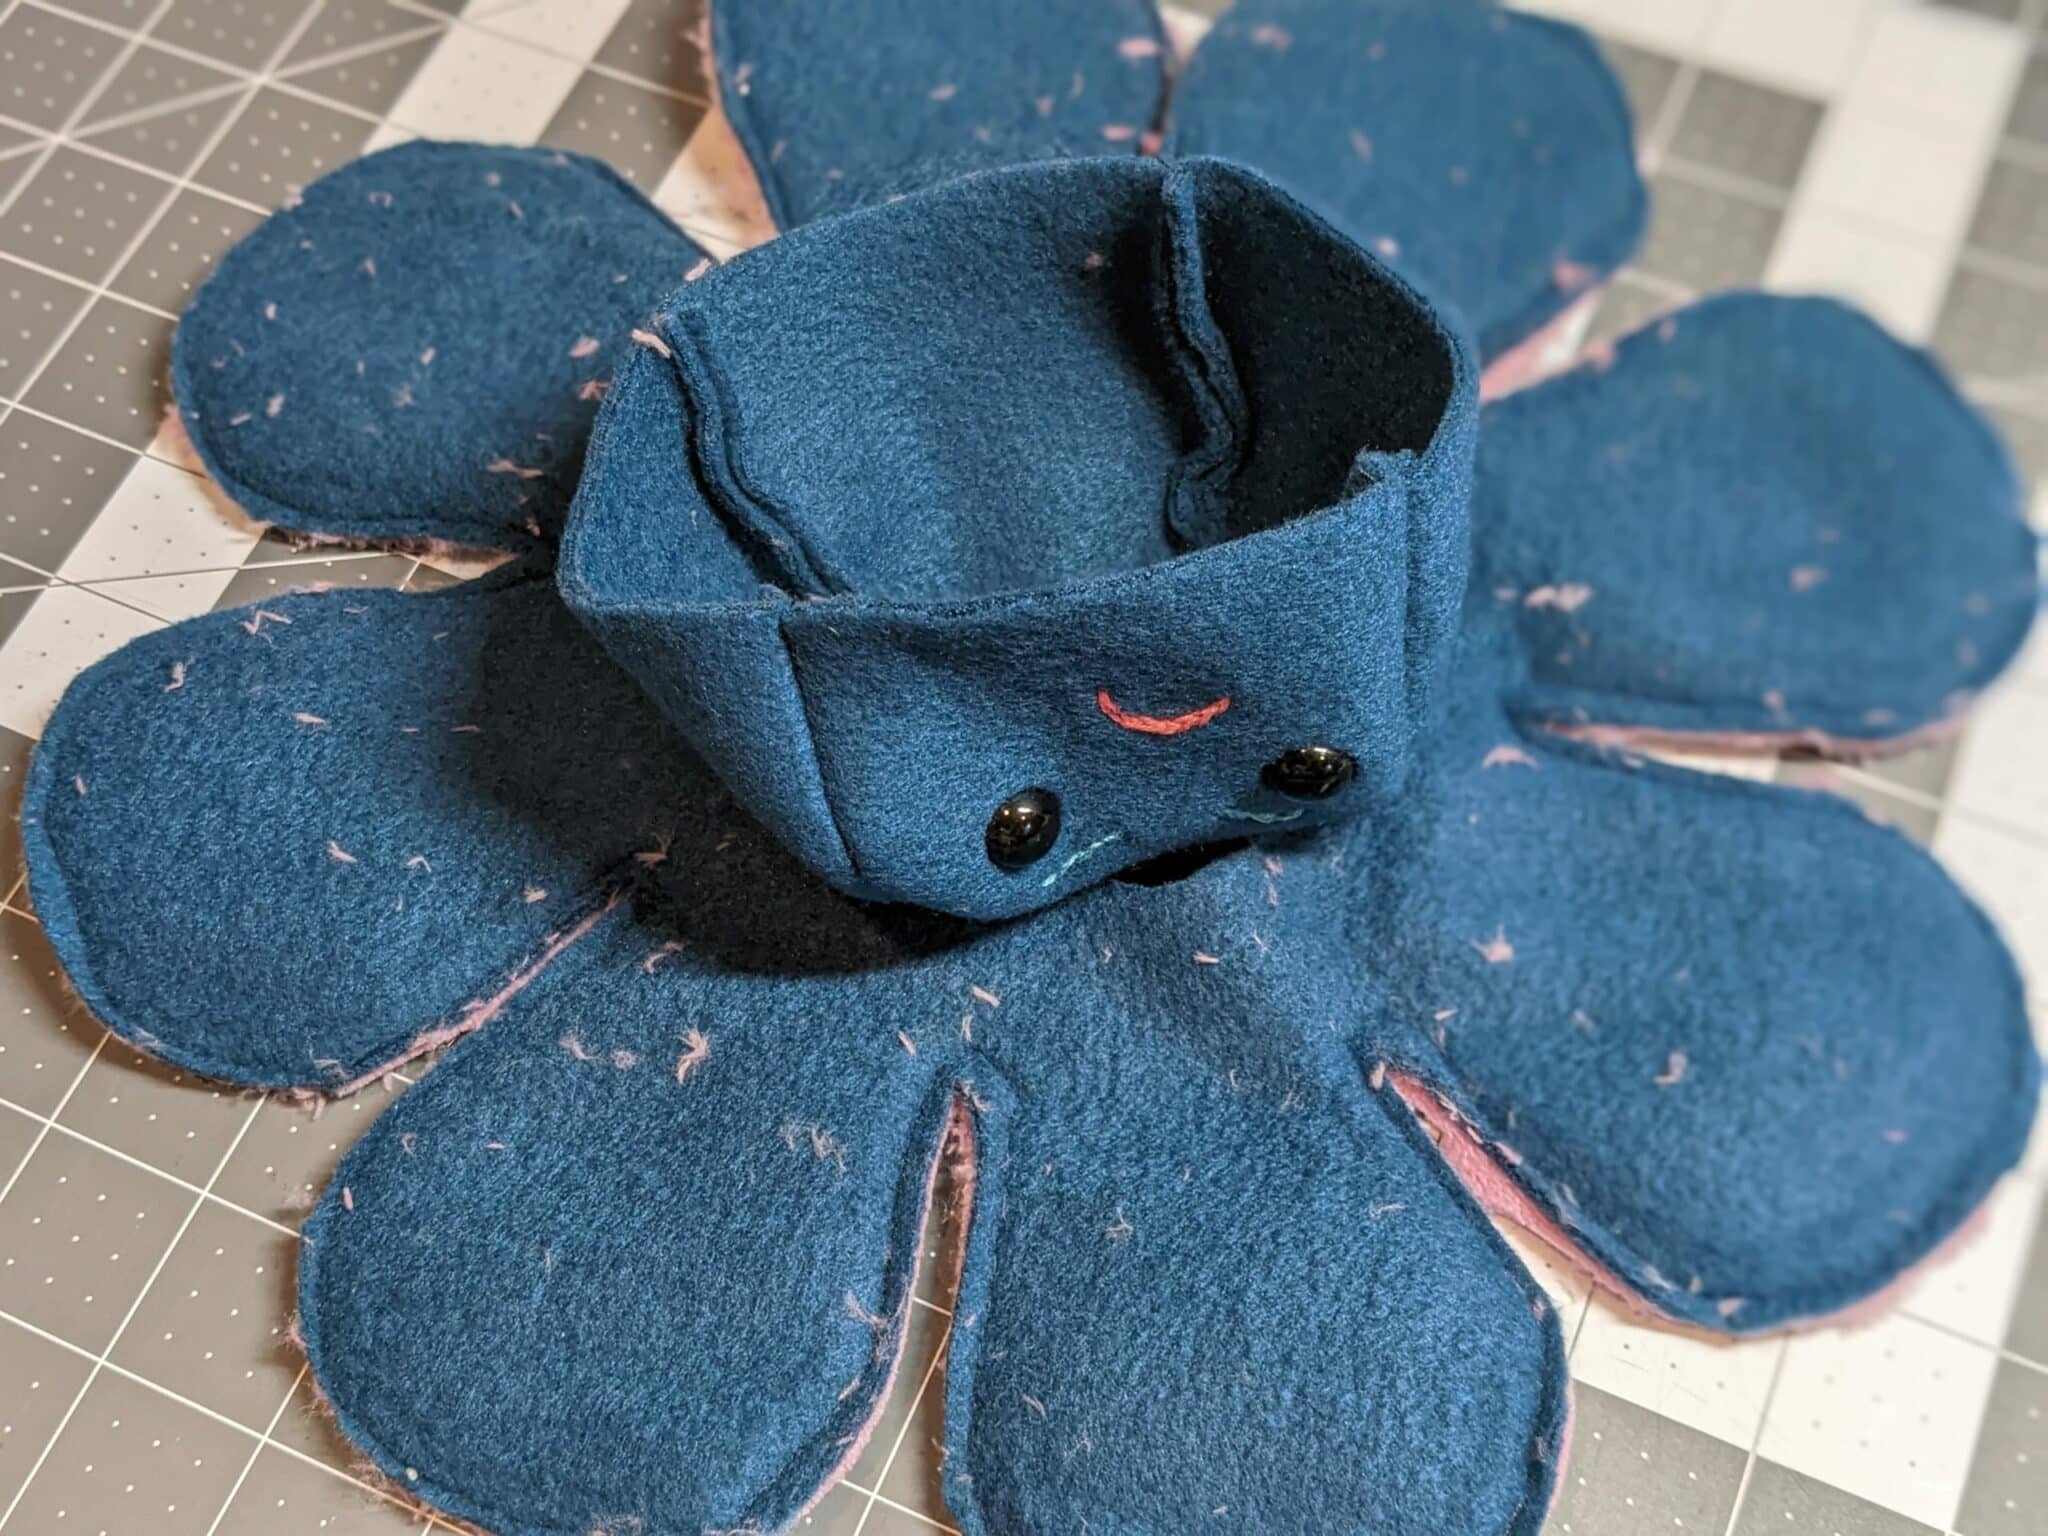
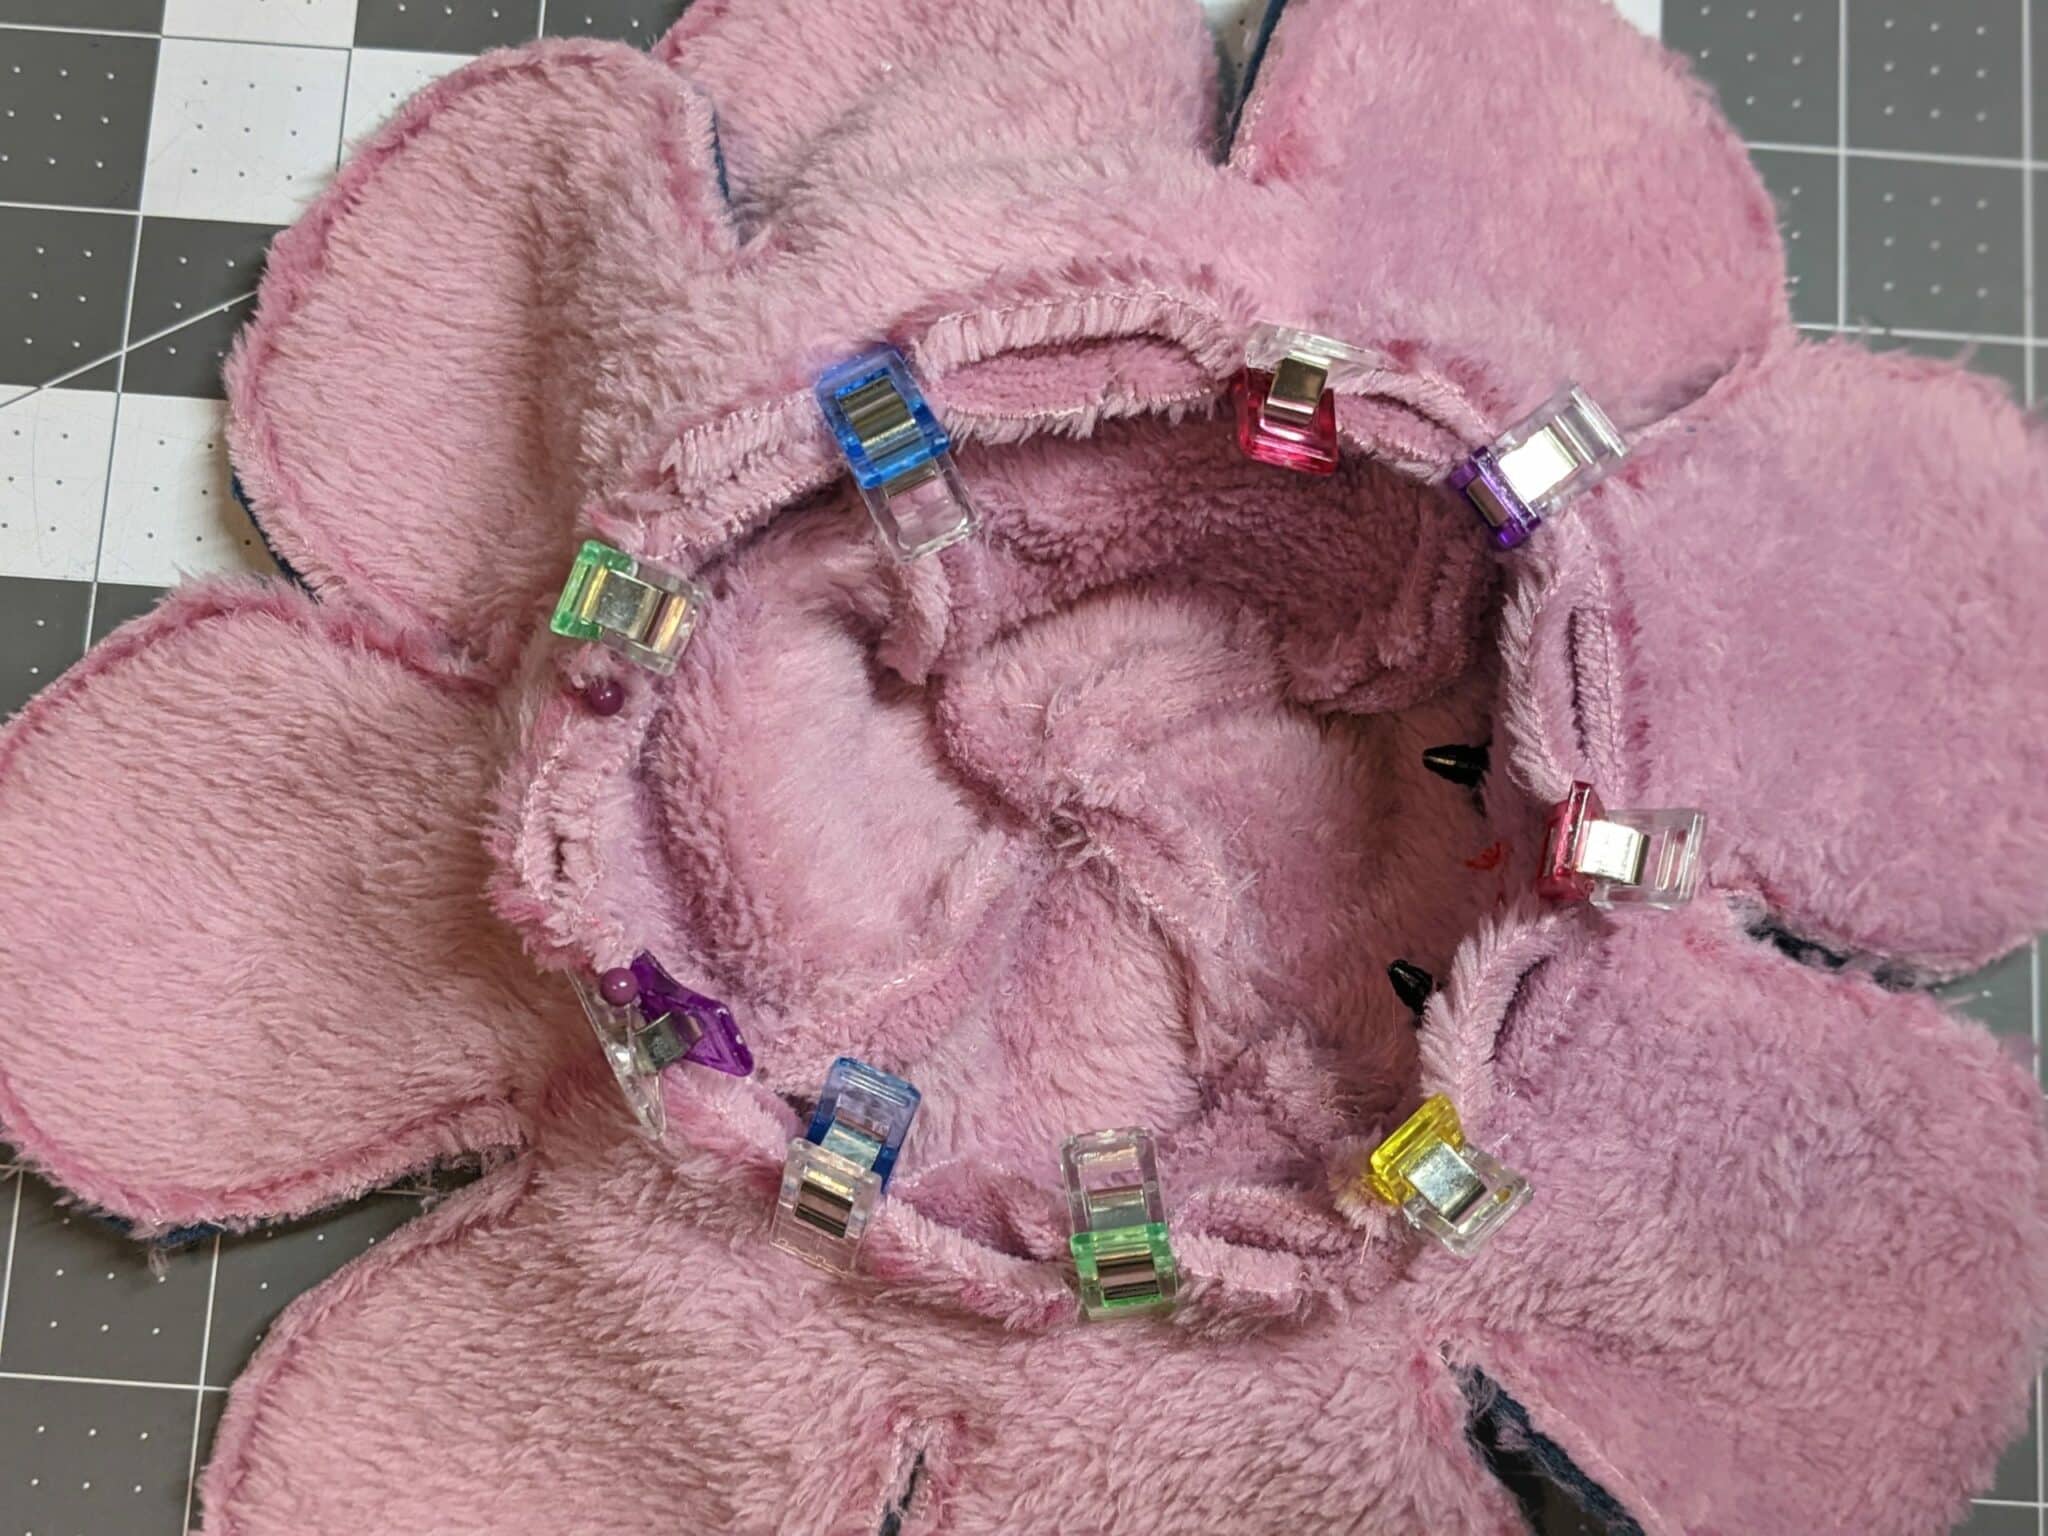
- Line up the edges and pin them together.
- Sew the pinned edge with a stretch stitch and 1/8″ seam allowance.
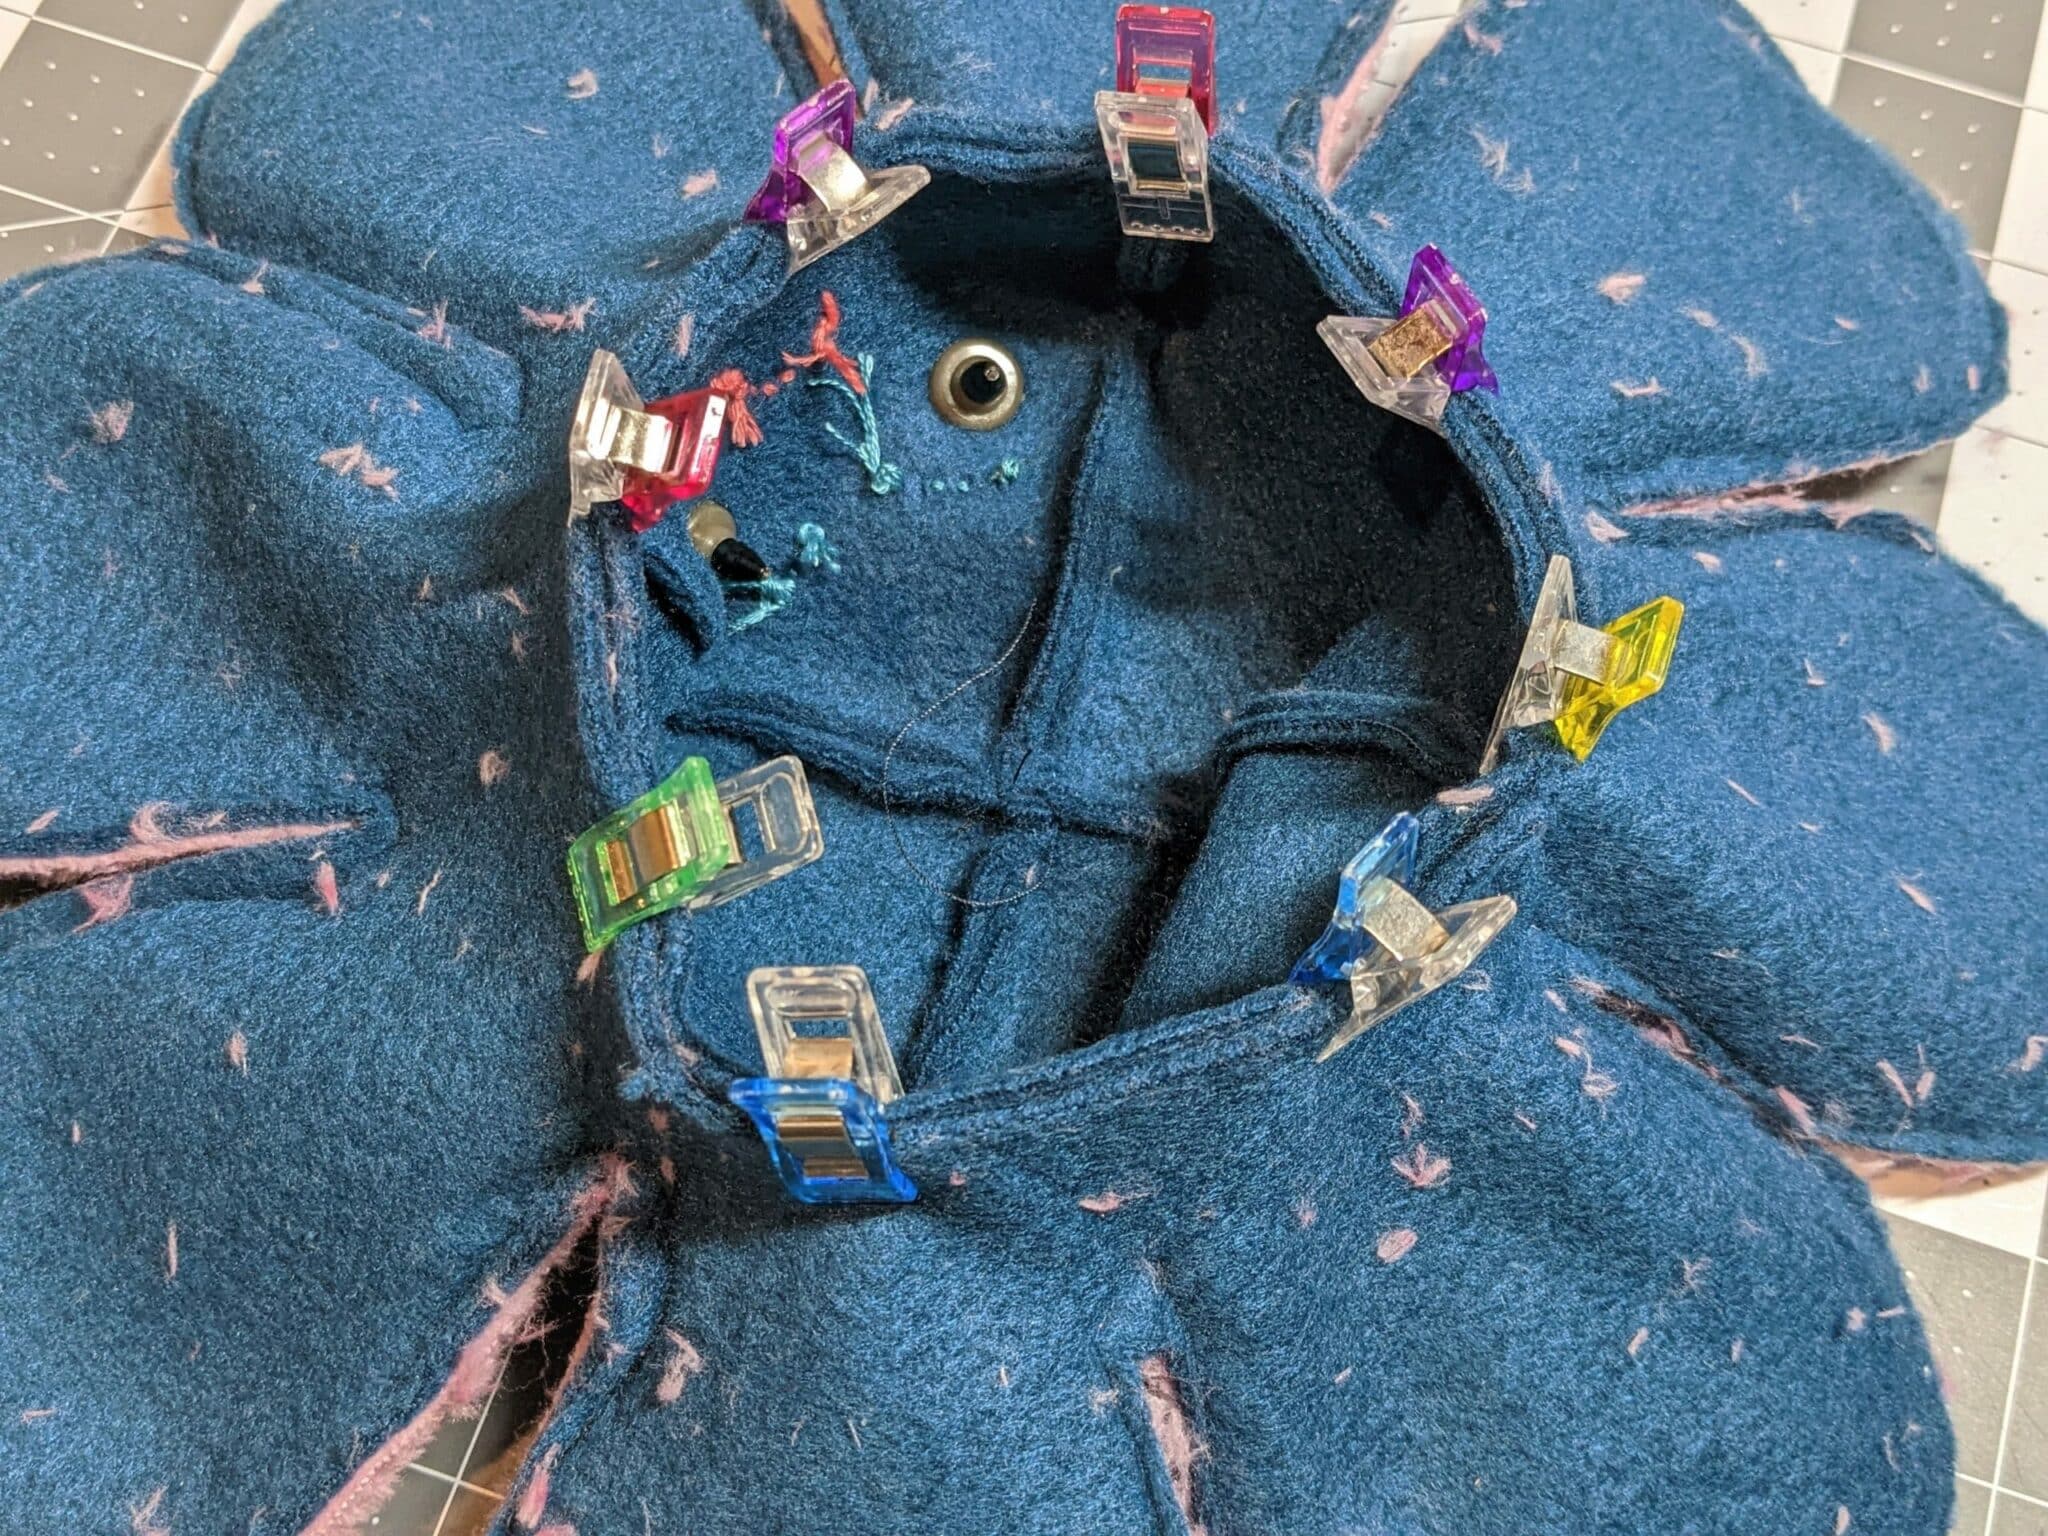
- Flip the octopus over to the opposite side.
- Insert the head into the body opening.
- Repeat the same steps except you will need to leave a 2″ opening.

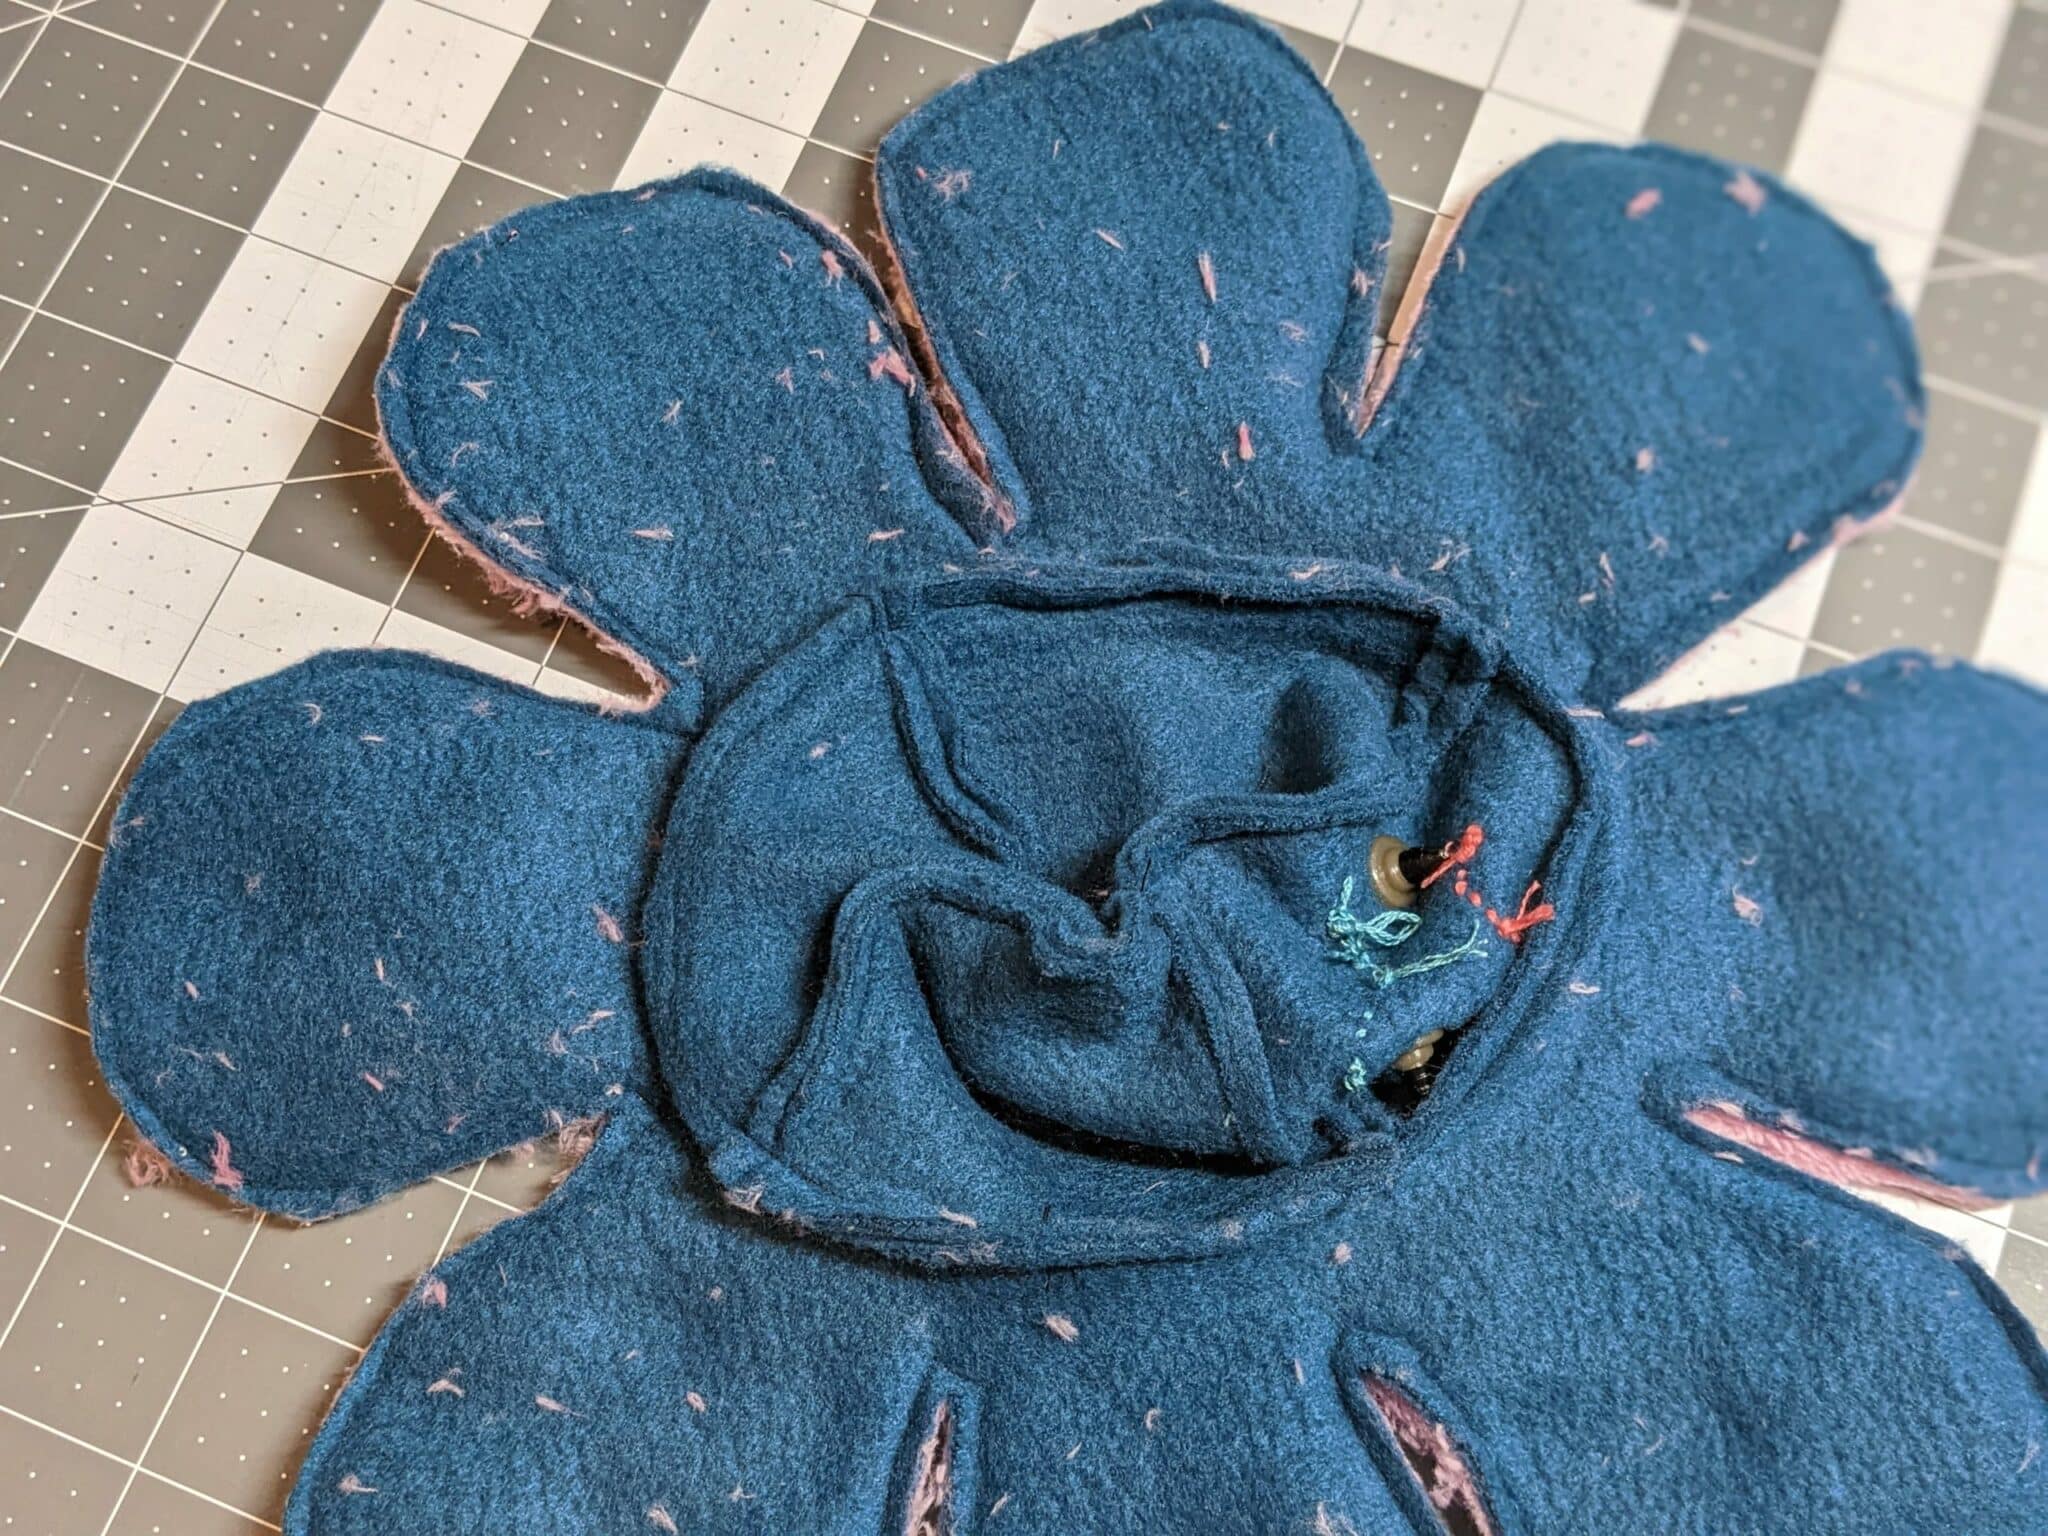
Turn, Stuff, Finish
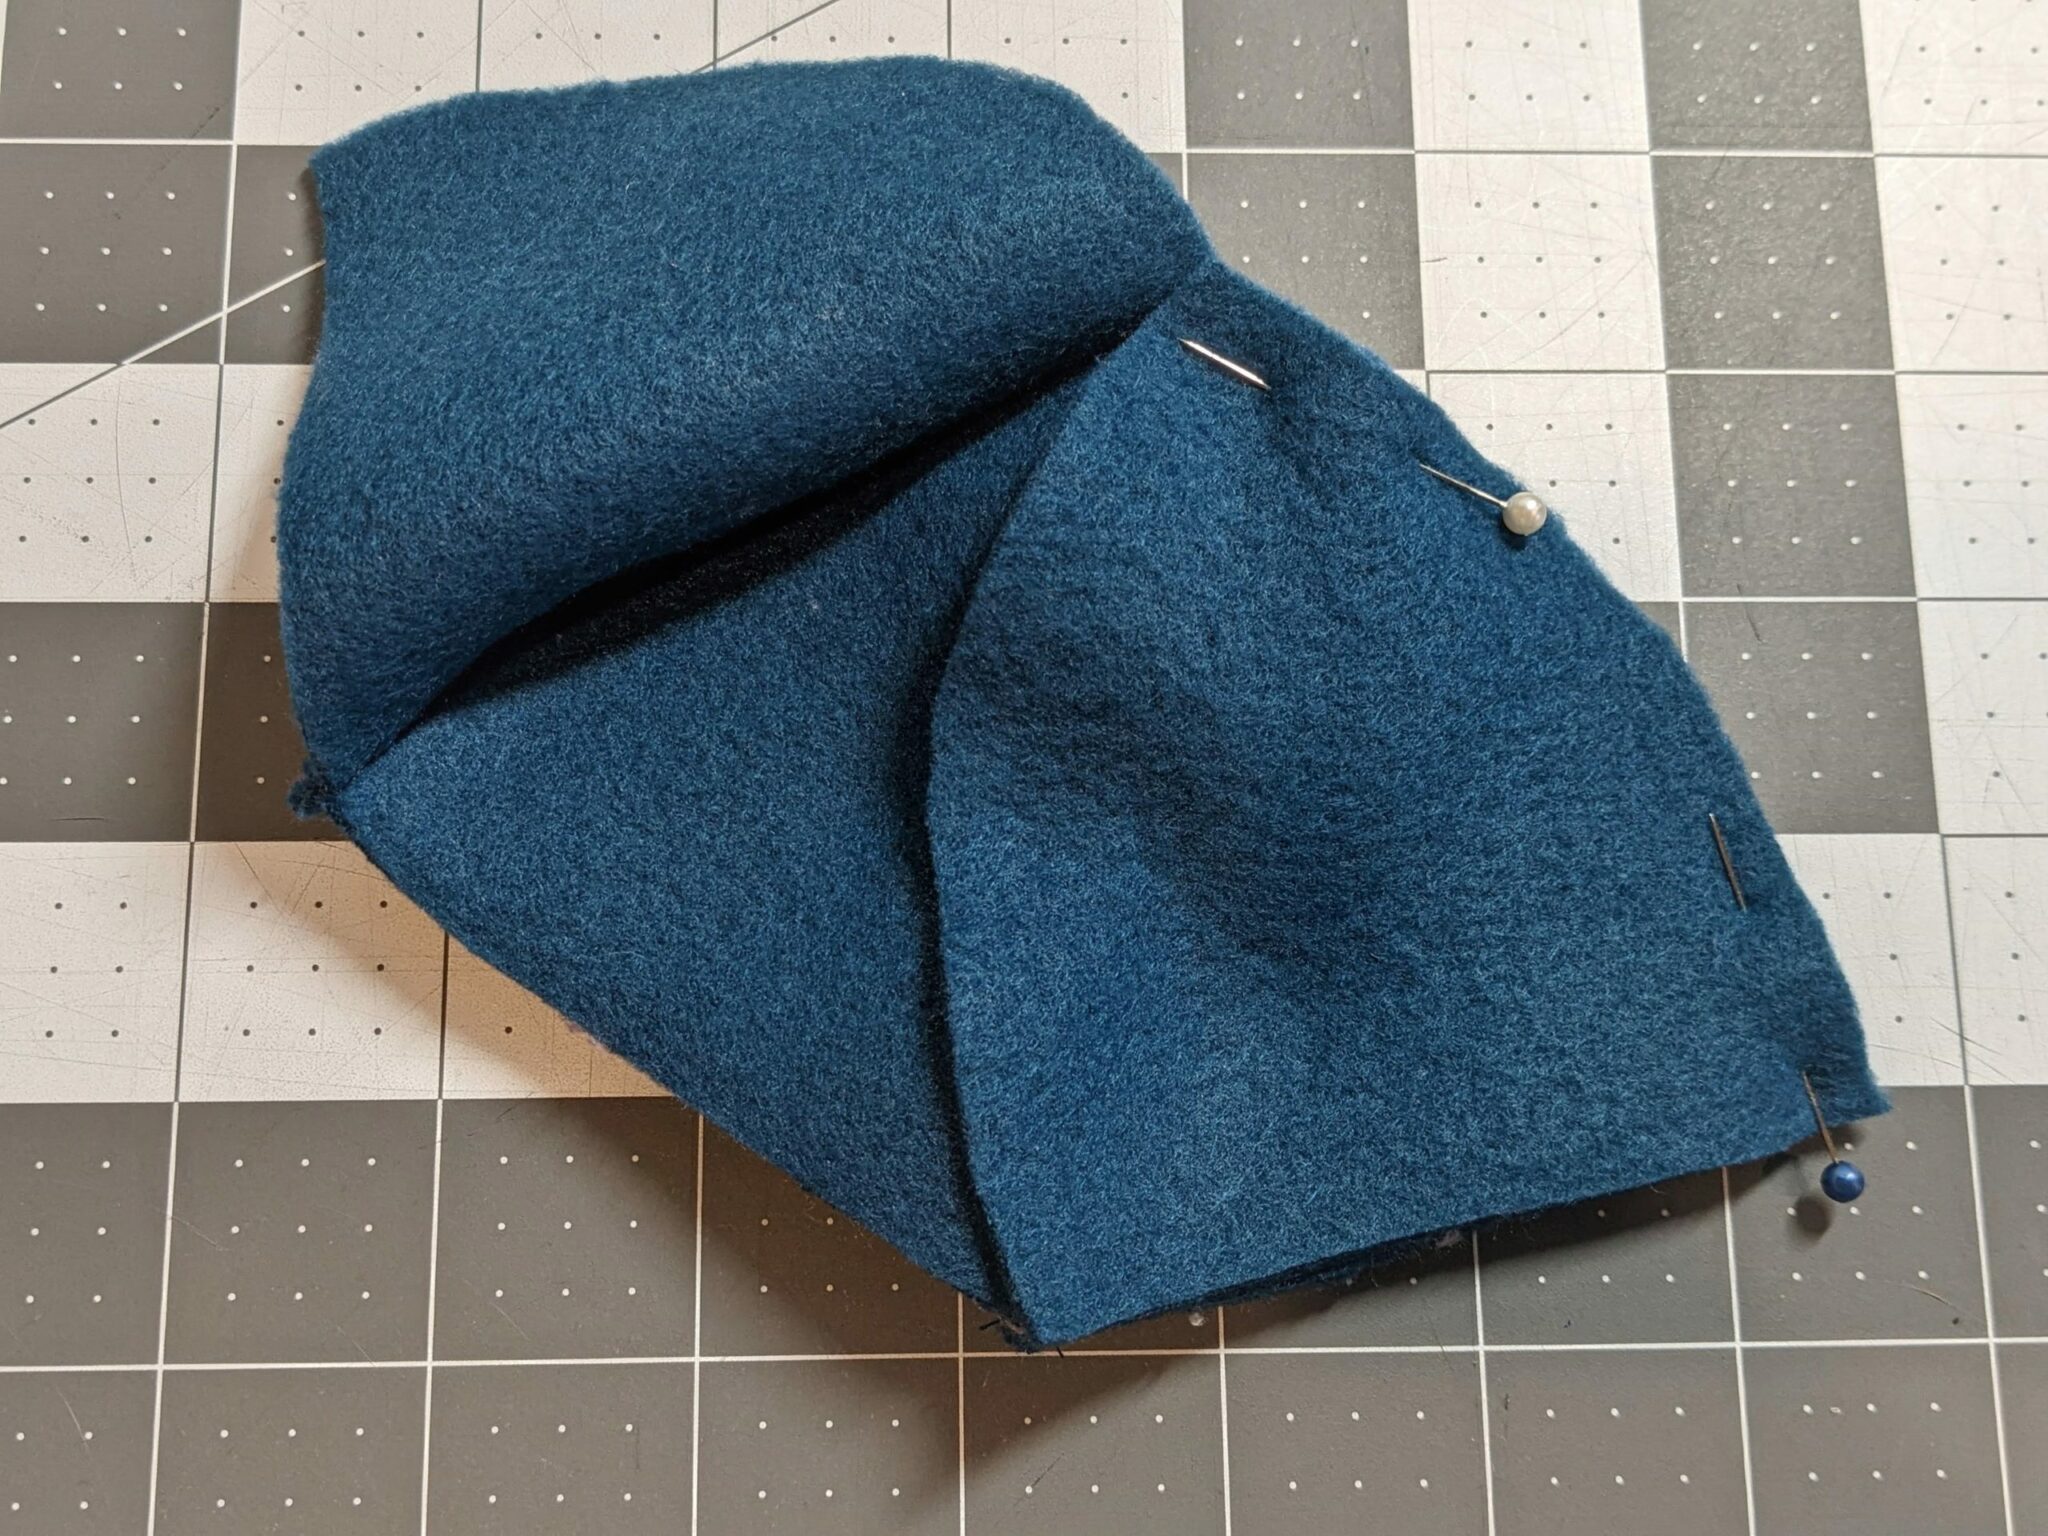
- Pull the octopus through the 2″ opening turning it right side out.
- Push each leg out completely all the way to the end.
- Insert fiber-fil stuffing through the hole pushing it all the way down into each leg.
- Once the legs are filled, stuff the head and the body section between the legs and head.
- You will not fill the opposite side of the head.
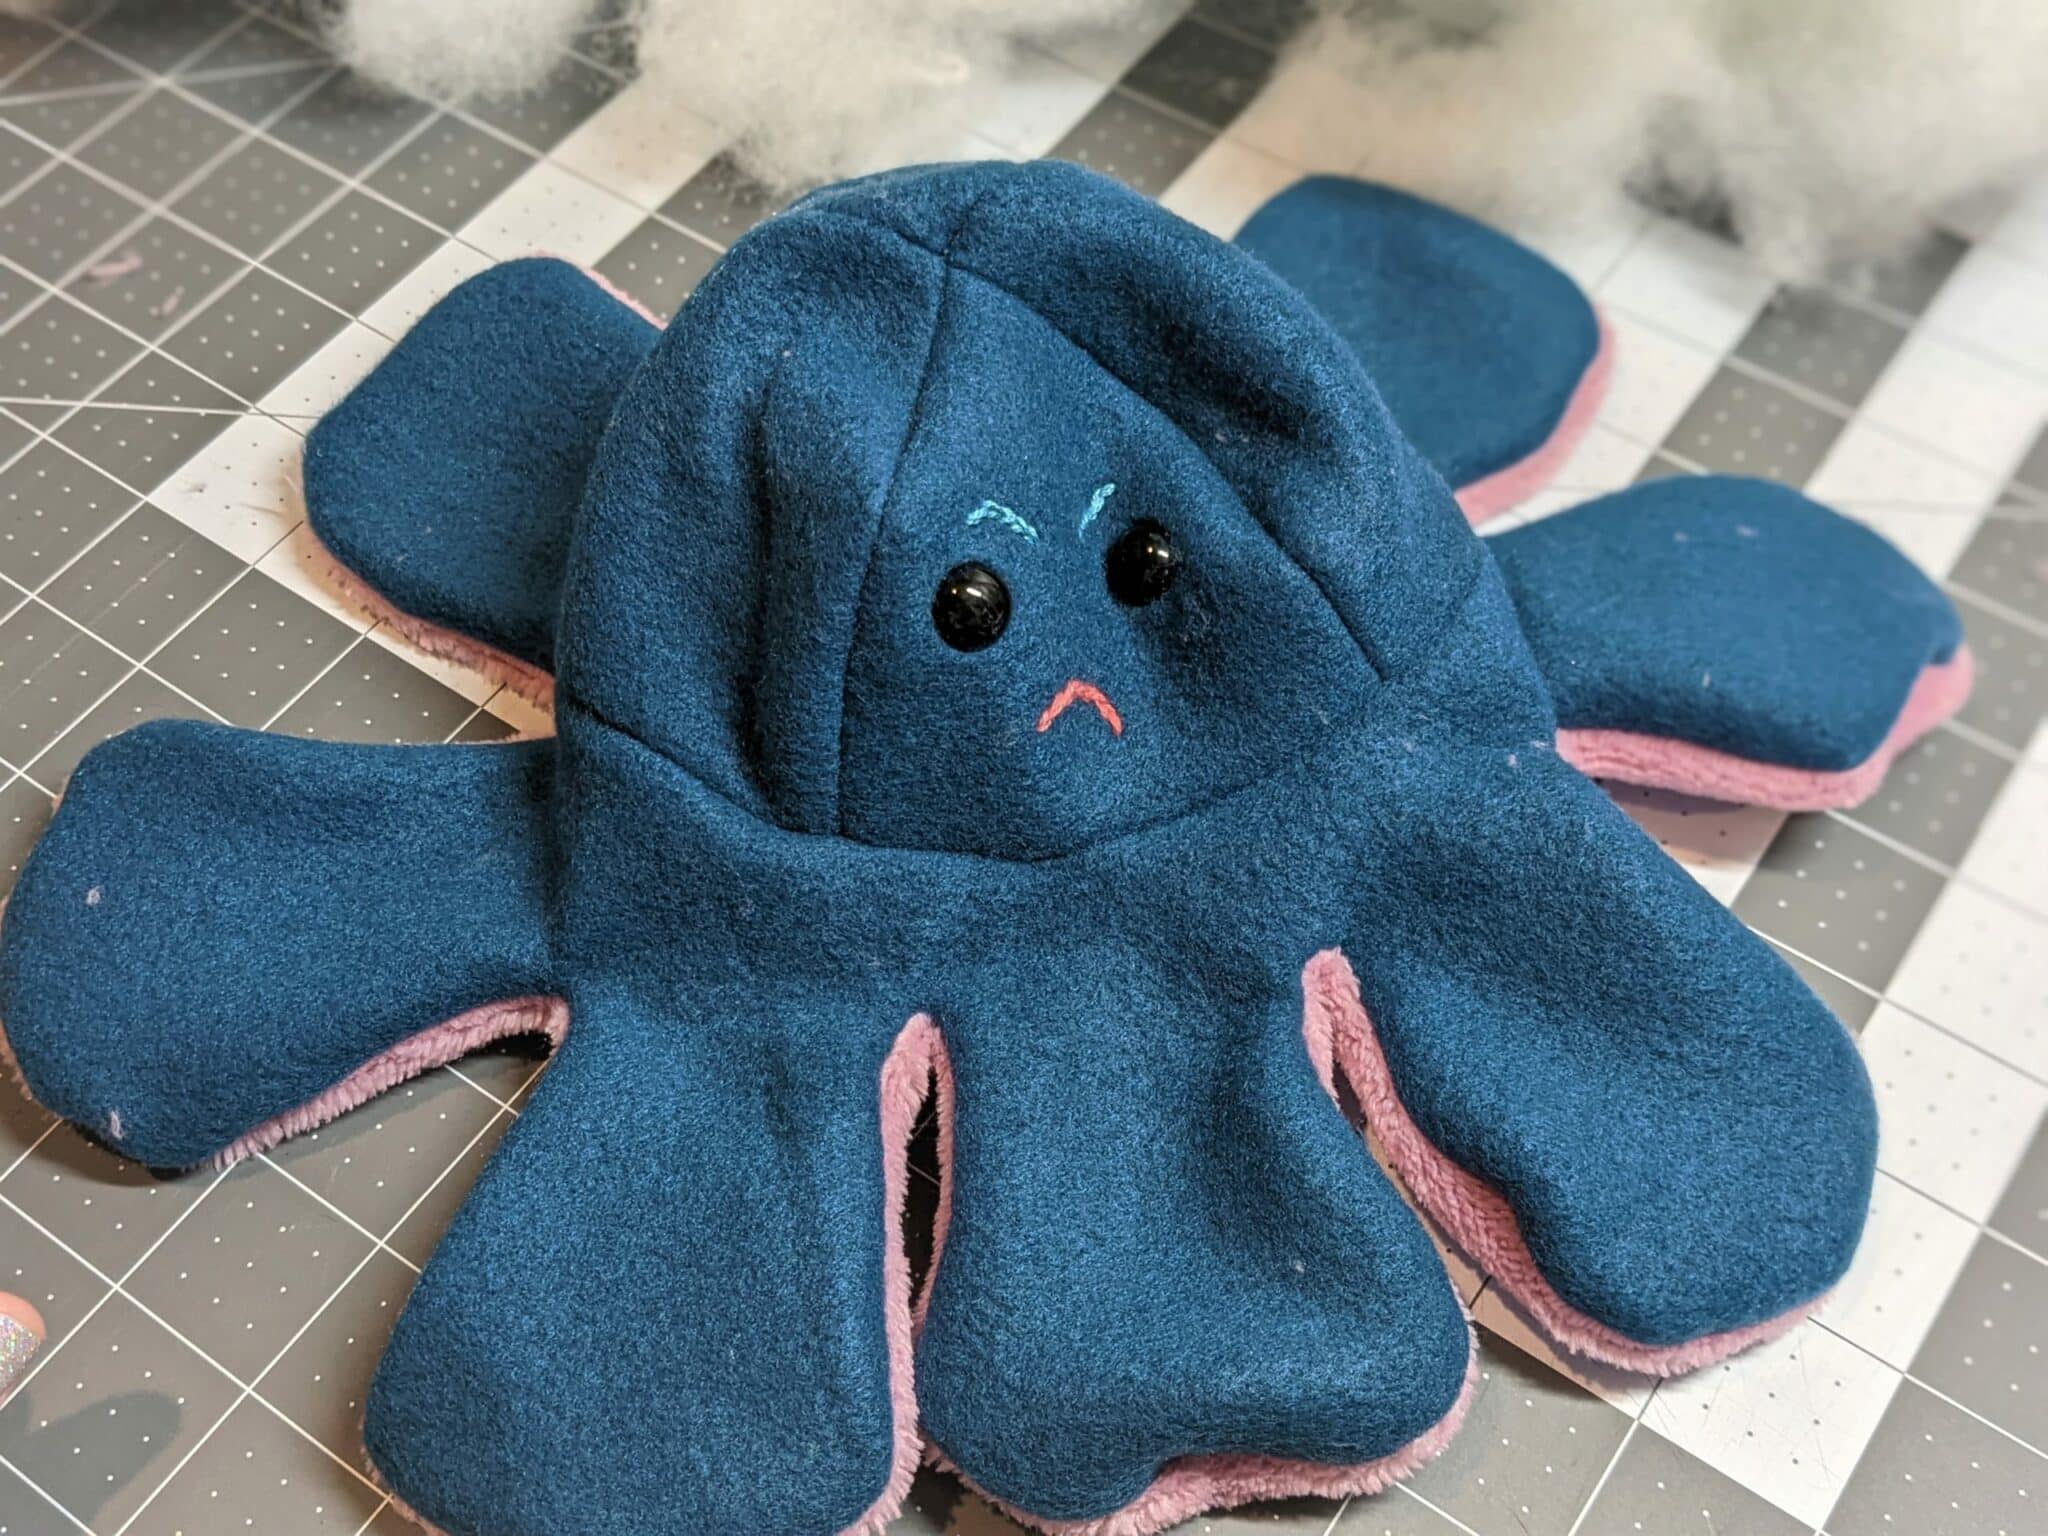
- The opposite side of the head will be floppy so that you can push it up into the body.
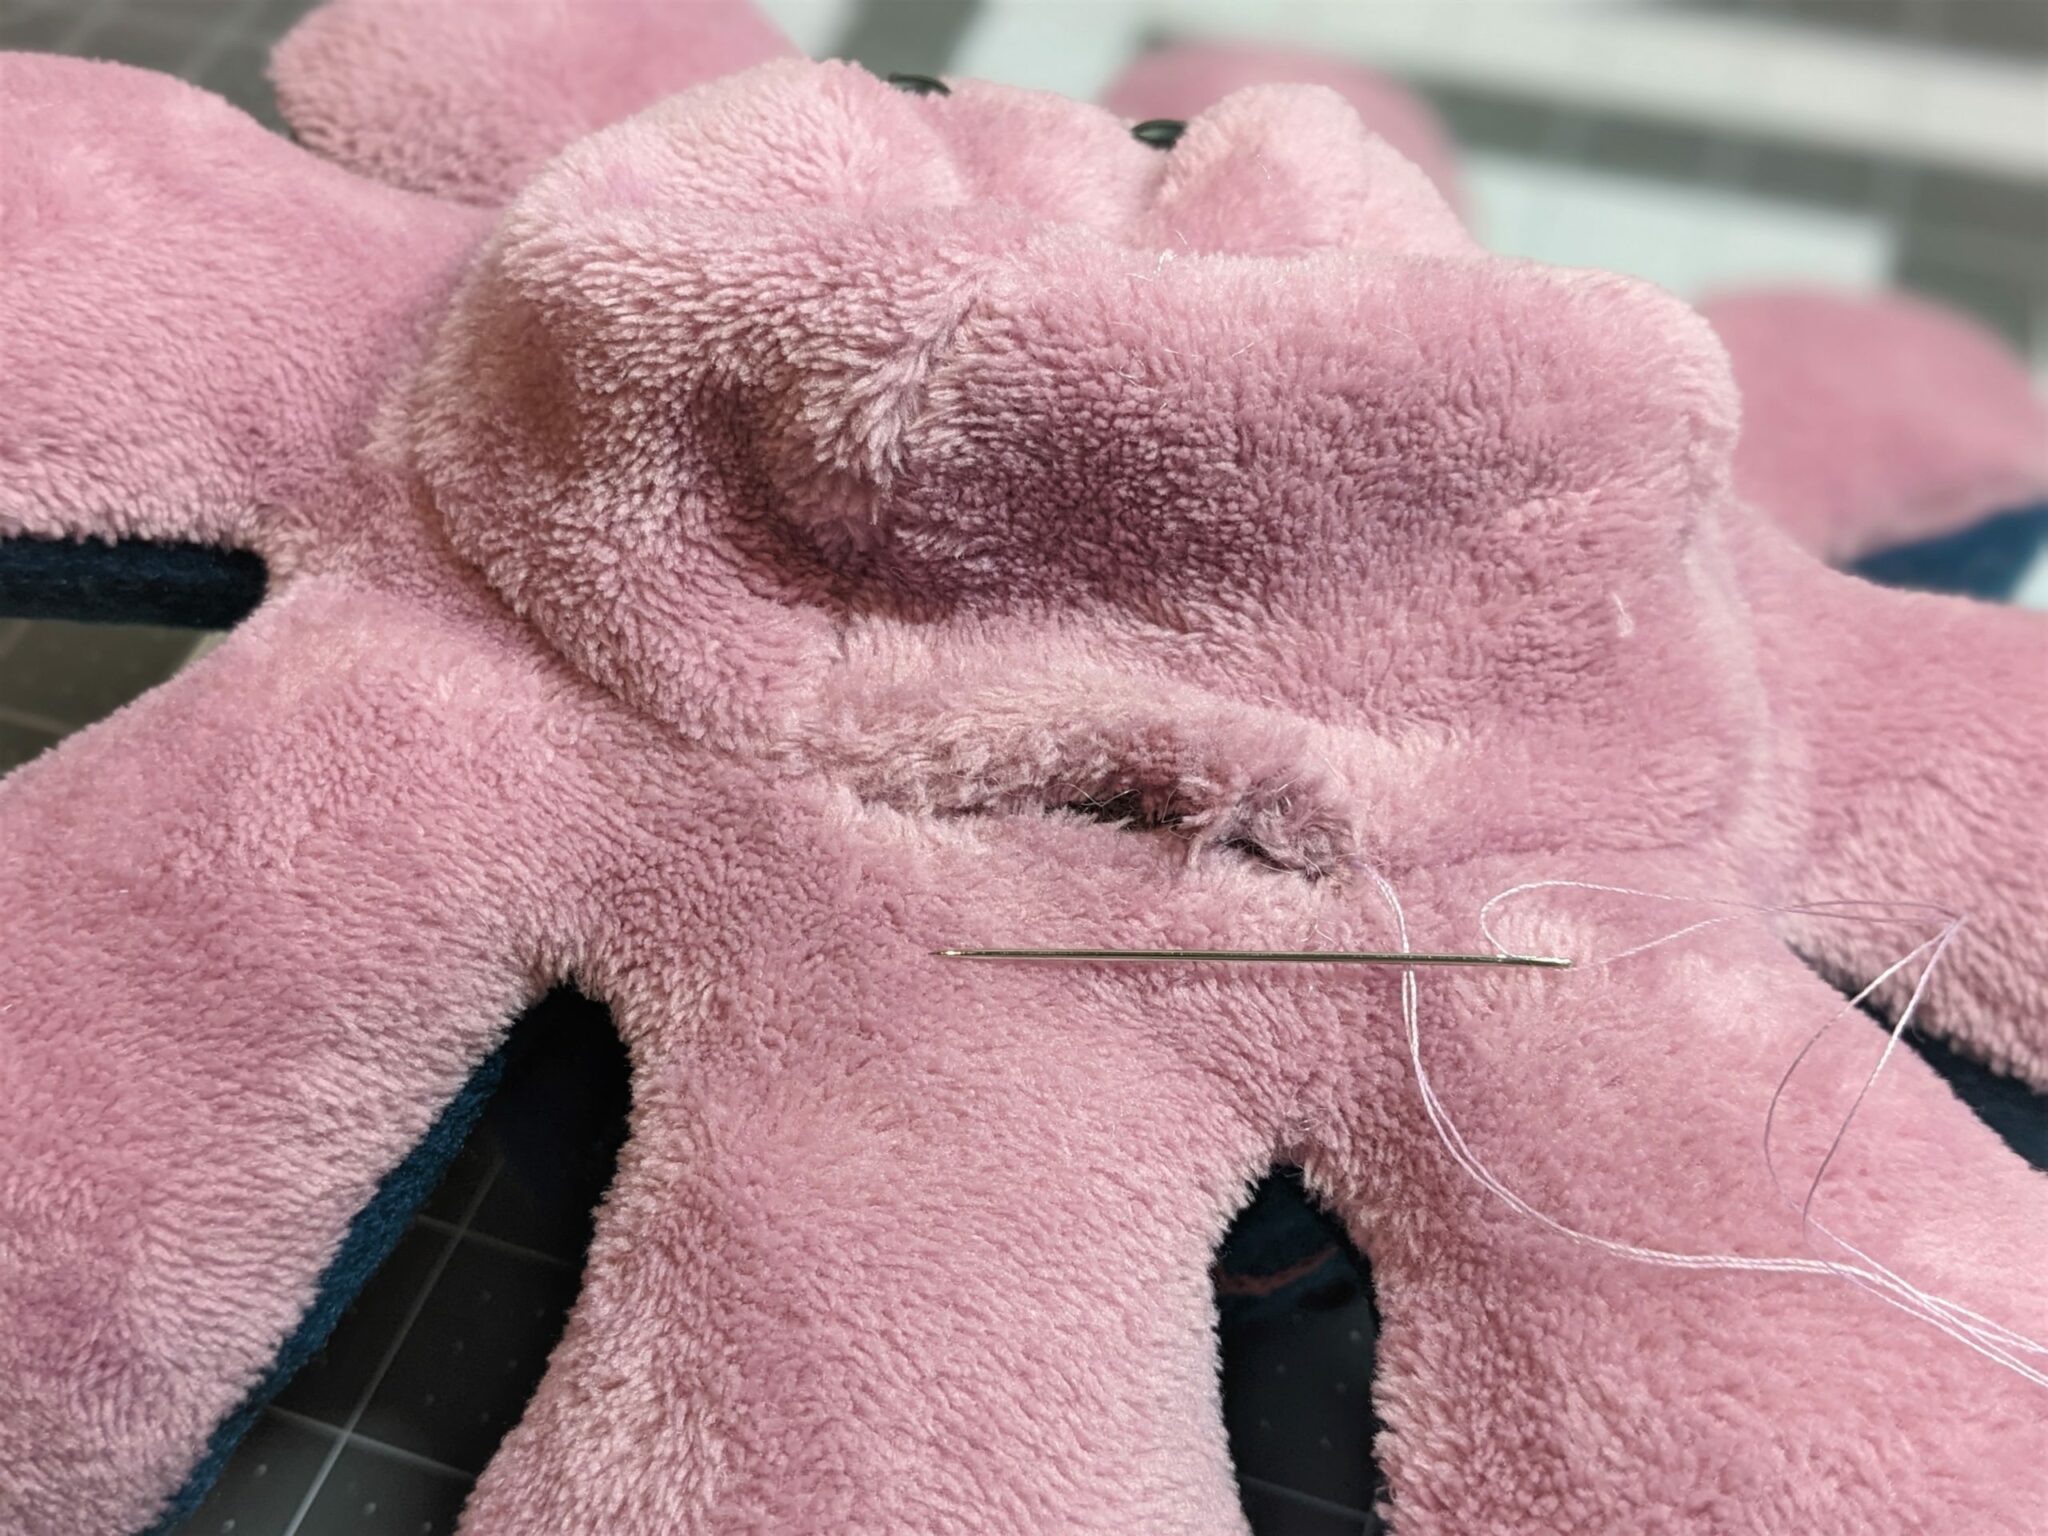
- Take a needle and matching thread and use a ladder stitch to sew the hole closed.
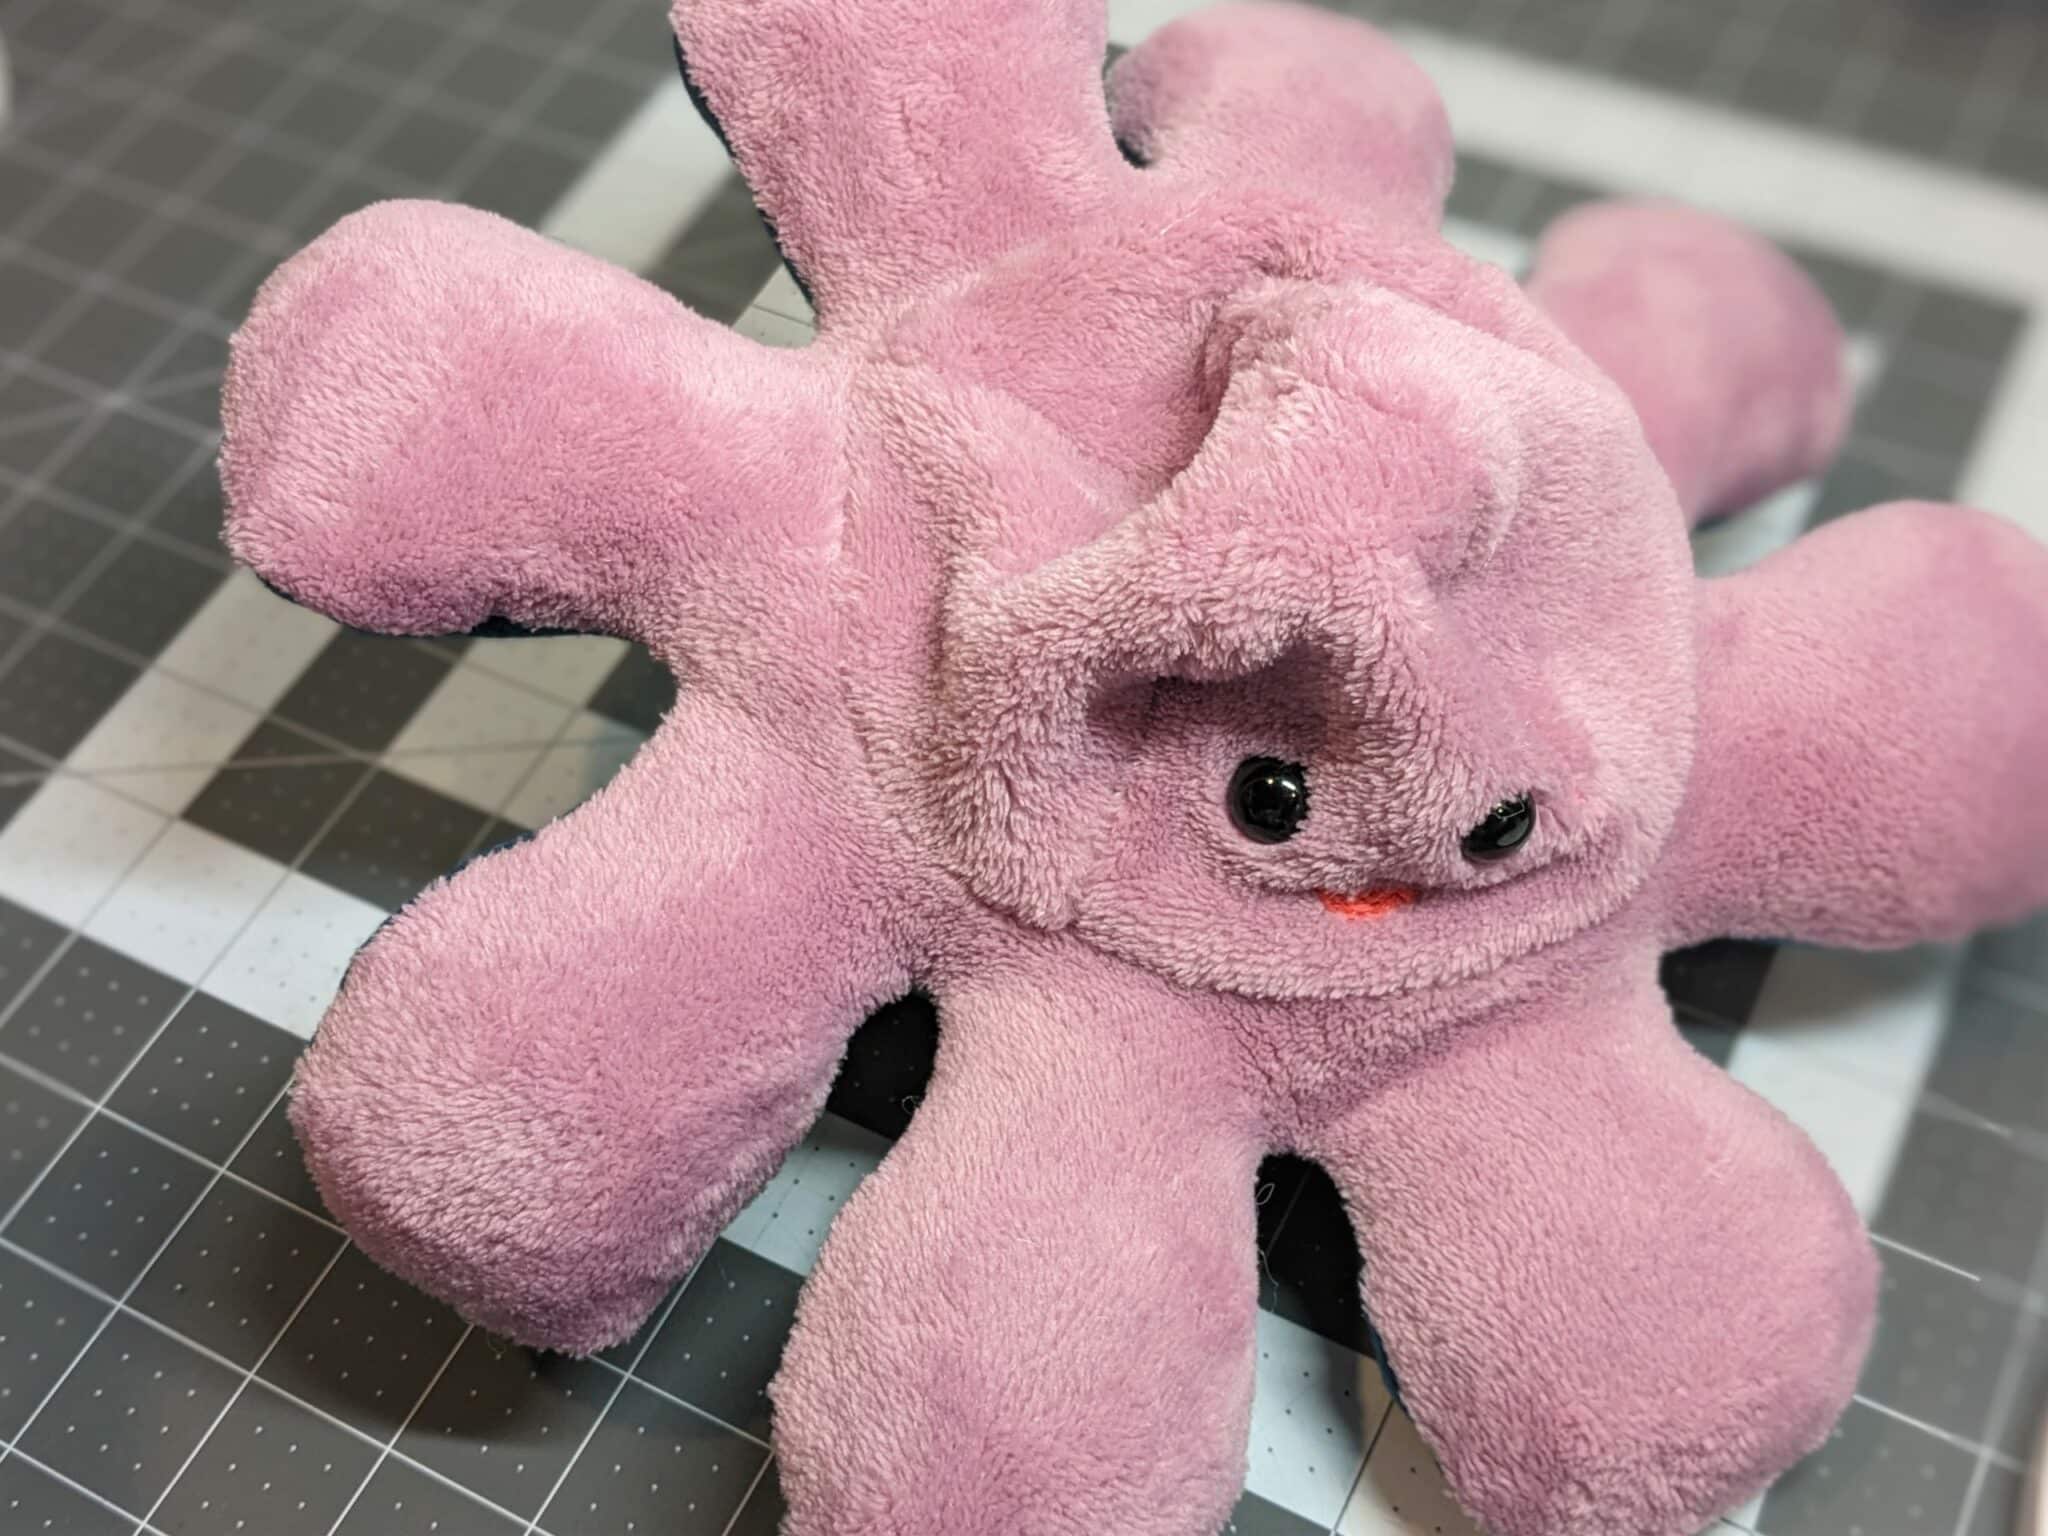
Push the head up into the body and flip it back and forth!
Want more FUN DIY Freebies? Check out the FREEBIE TUTORIALS and the FREEBIE PATTERNS!
As always, we’re here to help if you need it! Join us HERE and on Facebook, Instagram, Twitter, Youtube, and Pinterest. We’re everywhere you are.
Thank you so cute!
loving your designs
thankyou for these fantasic designs
I LOVE this pattern. I have always loved sewing toys for gifts. This fits my personality well 🙂
This is so cute! Thank you for sharing it. What size safety eyes did you use in this sample, please?
Thank you! I used the 14 mm size eyes.
Perfect! I have that size! 😀 Thanks!
We’re finding ourselves in need of a weighted “toy” to take with us to certain appointments like the dentist and the eye doctor. Has anybody made this a little bigger and put weighted beads in it?
Thank you so much!!! Loved this pattern and so easy to make. I even make it at 250 percent for my son!